20 Steps to an Easy Toddler Boy Haircut
You will probably not reach step twenty, which is why the order matters more than the technique. Every step is placed by what it costs you if the session ends before you get to it.
In this article · 27
- Order the Steps by What You Lose If You Stop
- How to Choose Yours
- The 20 Steps in Order
- 1. Set Up Everything Before He Is in the Room
- 2. Fit the Guard and Charge the Clipper First
- 3. Decide Which Section You Most Want Finished
- 4. Skip the Cape
- 5. Cut Dry
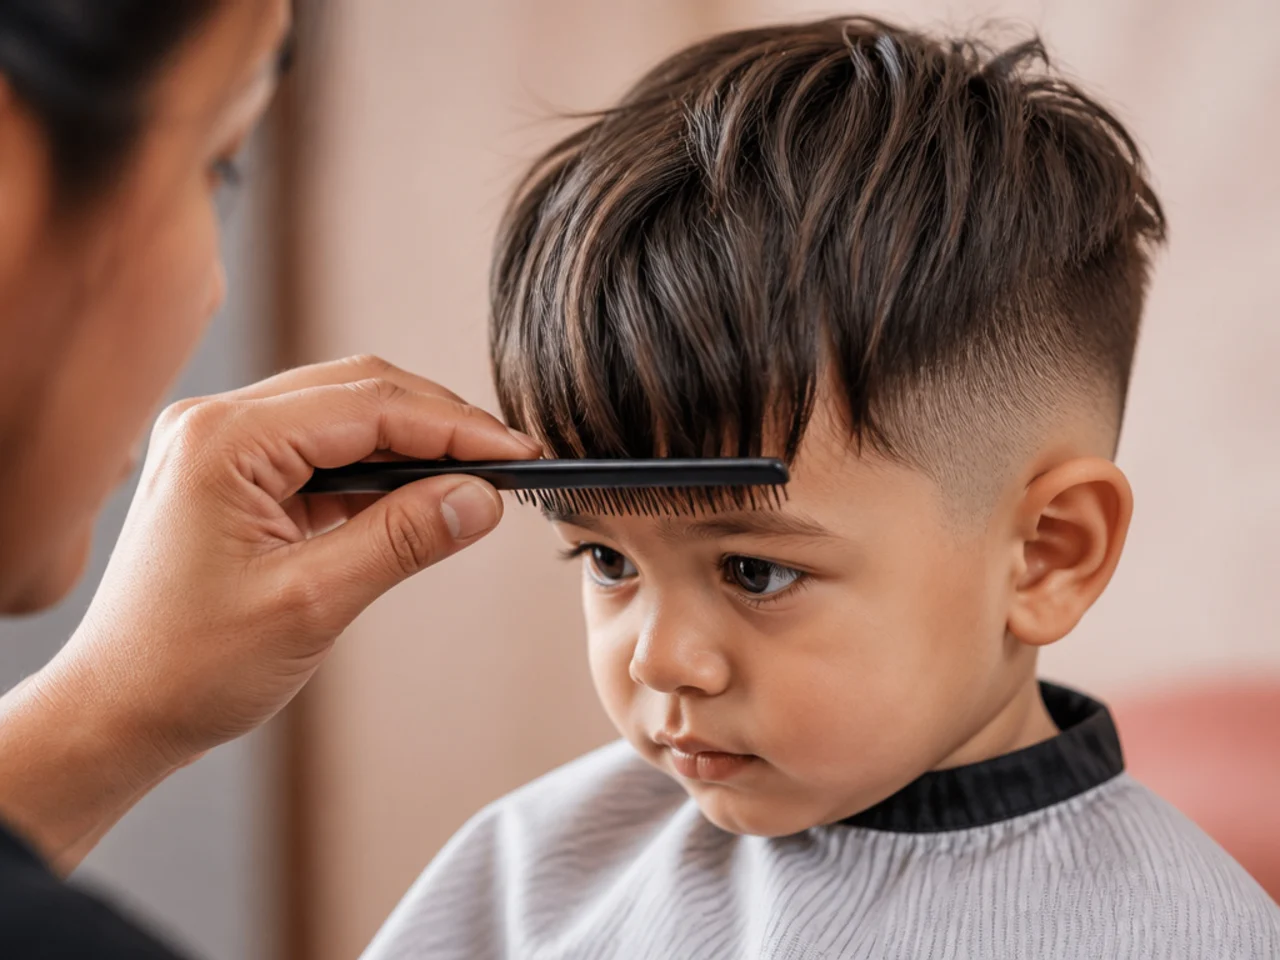
- 6. Comb the Fringe Down Flat From the Crown
- 7. Cut the Fringe in One Pass
- 8. Leave the Fringe Blunt
- 9. Take the Top With Scissors Over Fingers
- 10. Take the Sides With Scissors Over Fingers
- 11. Check the Two Sides Against Each Other From the Front
- 12. Finish Every Scissor Section Before the Clipper Appears
- 13. Let Him Hold the Clipper Switched Off
- 14. Start the Motor at Arm's Length
- 15. Rest the Running Clipper on His Shoulder
- 16. Take the Sides With a #4
- 17. Drop to a #3 Only If He Is Still Settled
- 18. Check the Crown Whorl
- 19. Take the Neckline Last
- 20. Brush the Neck, Stop, and Finish Tomorrow If You Need To
- Styling and Upkeep
- Mistakes to Avoid
- FAQ
- Final Thoughts
Most guides to cutting a toddler's hair describe a technique. The technique is not the hard part — the hard part is that you get somewhere between four and twelve minutes, and you do not find out which until you are already halfway.
So the order is the technique. You will probably not reach step twenty. Every step below is placed according to what it costs you if the session ends before you get to it.
The fringe comes before the back because the fringe is what everyone sees. The loud pass comes after the quiet one because noise ends sessions, and the neckline comes last because nobody photographs a neckline.
Order the Steps by What You Lose If You Stop
Rank the sections by visibility, then cut in that order. Fringe, top, sides, neckline — an abandoned cut then looks like a cut that is growing out rather than an accident.
Do every scissor section before any clipper section. The clipper is the thing most likely to end the session, so nothing quiet should be left waiting behind it.
Run the clipper for a few seconds away from the head first. The noise is a separate event from the contact, and separating them means only one new thing happens at a time.
Stop voluntarily while he is still happy. How this haircut ends decides how the next one starts, and a session you ended is worth more than a session he ended.
How to Choose Yours
Pick one section to guarantee before you start. Usually the fringe, because it is the one with an actual daily problem attached to it.
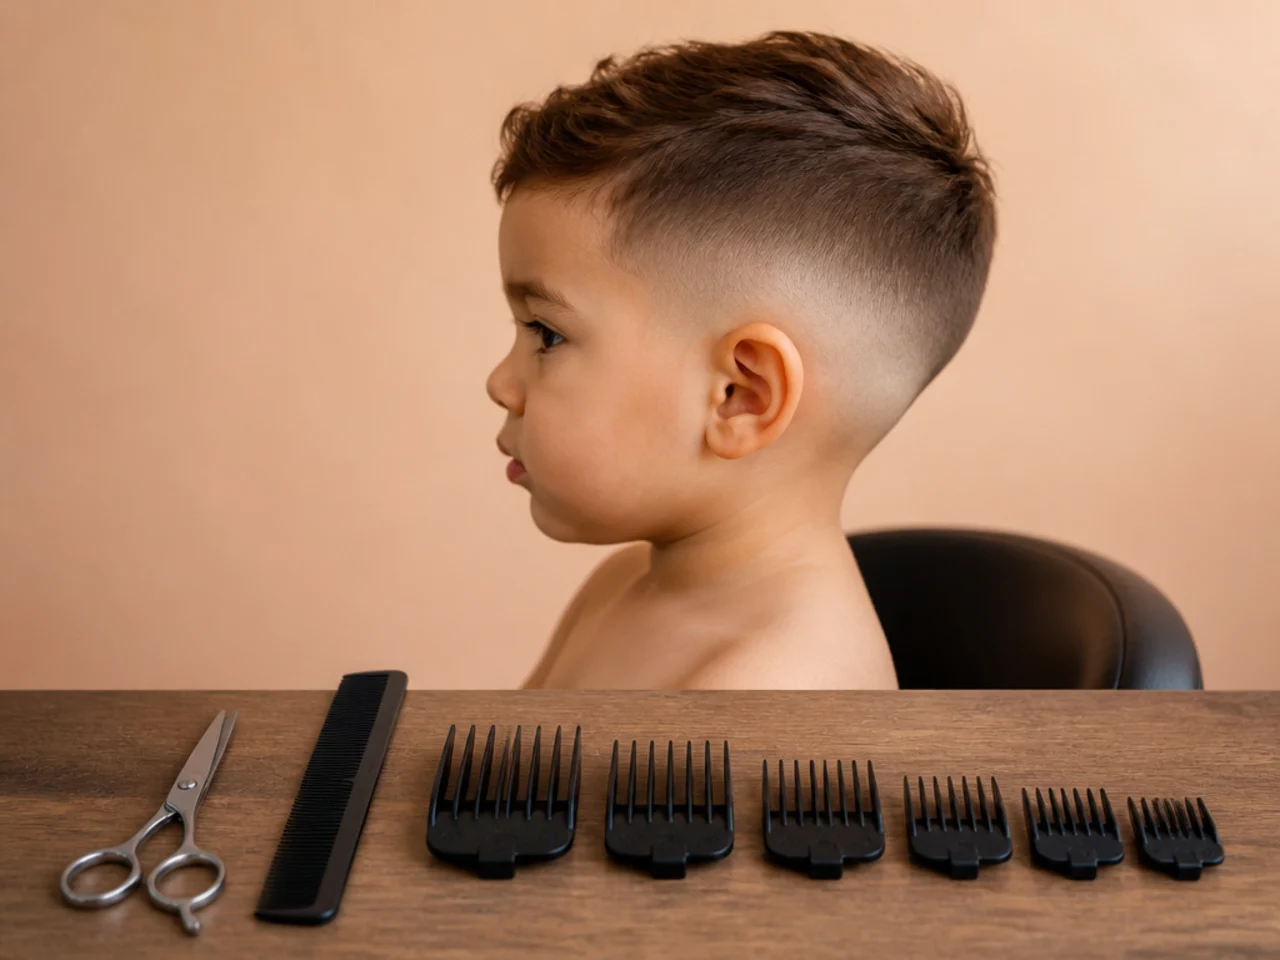
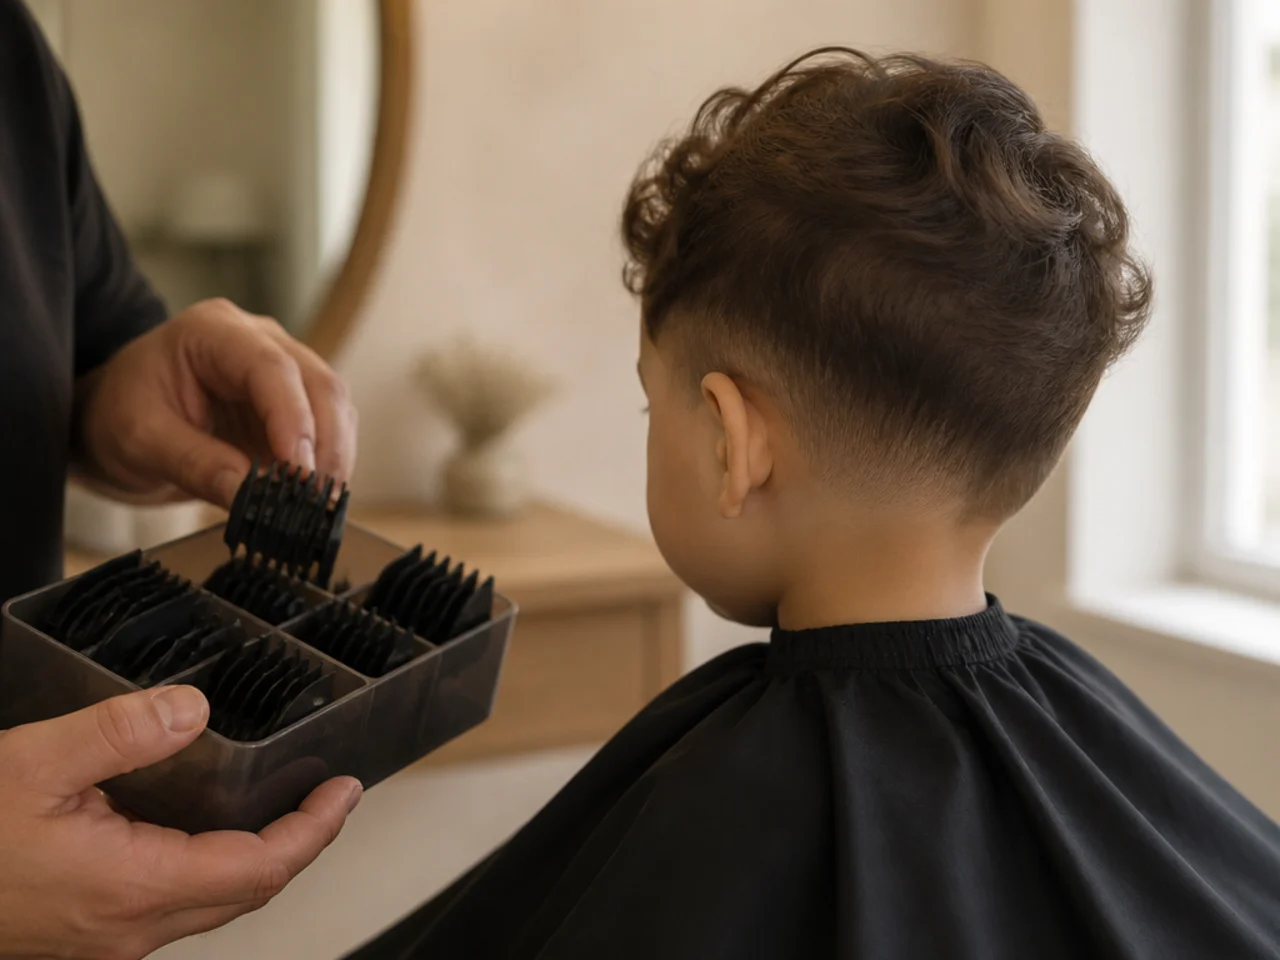
Decide the guard before he sits down. Fine baby hair shows scalp under a #2, so a #4 at 13mm or a #3 at 10mm is where a toddler cut lives.
Choose scissors only if he has ever screamed at a motor. A scissor cut cannot go short, but it can be finished, and a finished soft crop beats an abandoned fade — the home setups cover which positions suit scissors best.
Set a stopping point, not a finishing point. Decide now that you will stop at the first real protest, so the decision is not being made while you are holding clippers.
The 20 Steps in Order
1. Set Up Everything Before He Is in the Room
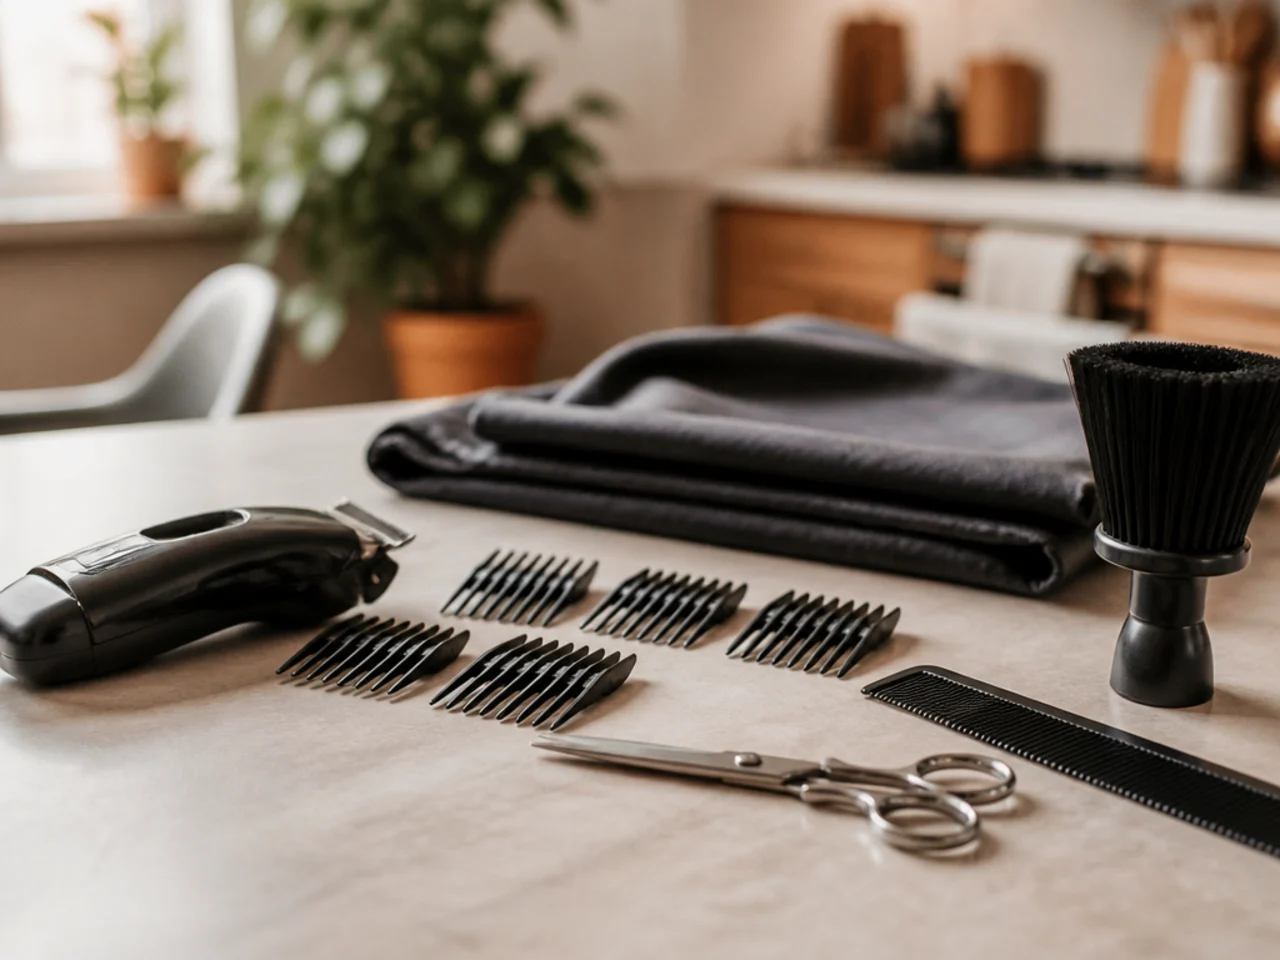
Scissors, comb, clipper and a bin bag all laid out and within reach while he is elsewhere. Every second spent hunting for a comb is spent out of the small budget of stillness he is going to give you.
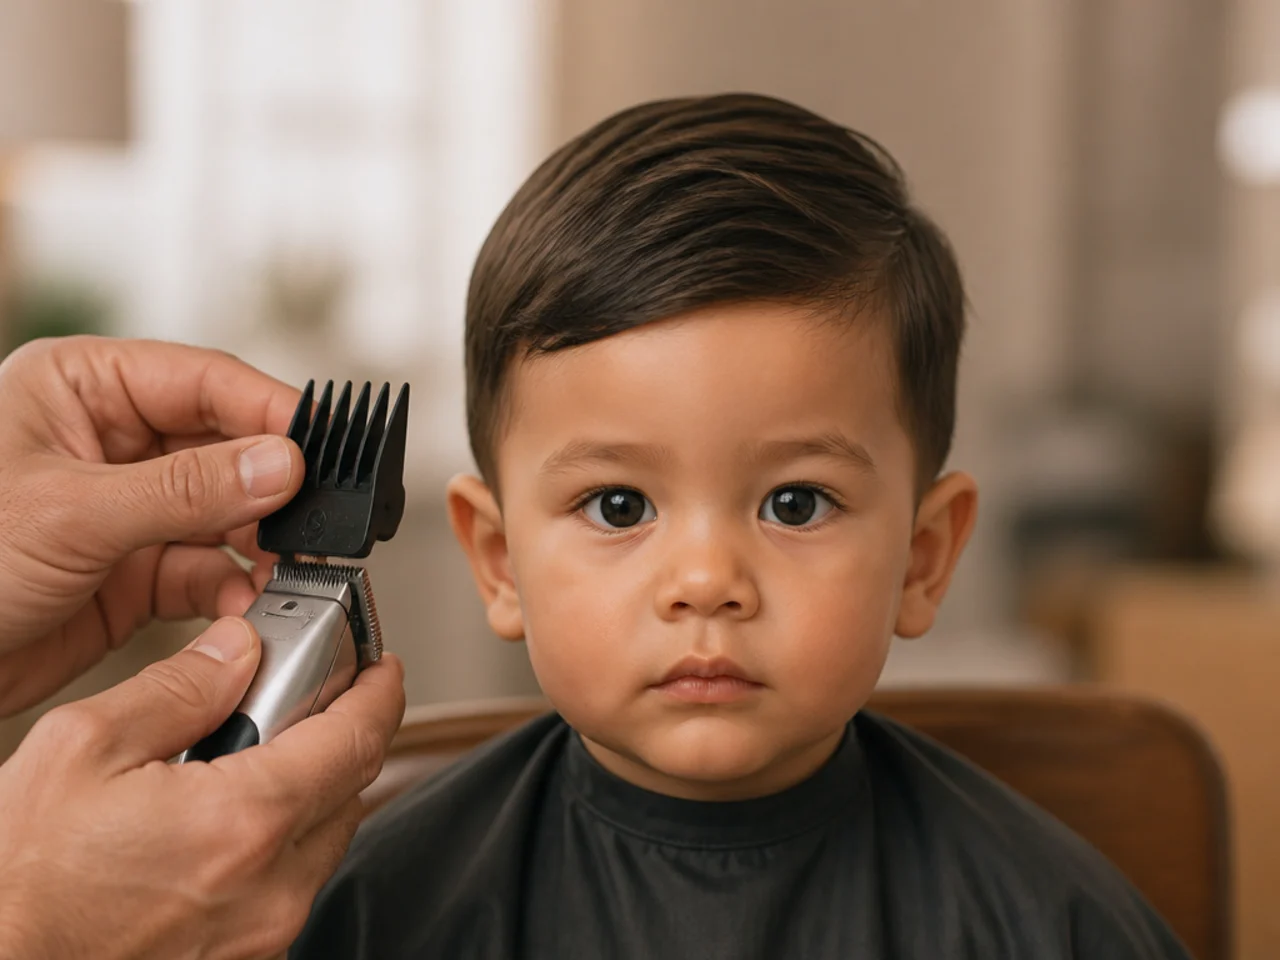
2. Fit the Guard and Charge the Clipper First
A guard clipped on afterwards means fiddling with a machine in front of a child who is already watching it. Charge it fully too, because a clipper that dies mid-pass leaves one side visibly shorter than the other.
3. Decide Which Section You Most Want Finished
Name it out loud to yourself before he sits down. If everything is a priority then the order collapses the moment he wriggles, and you end up doing whatever is easiest to reach.
4. Skip the Cape
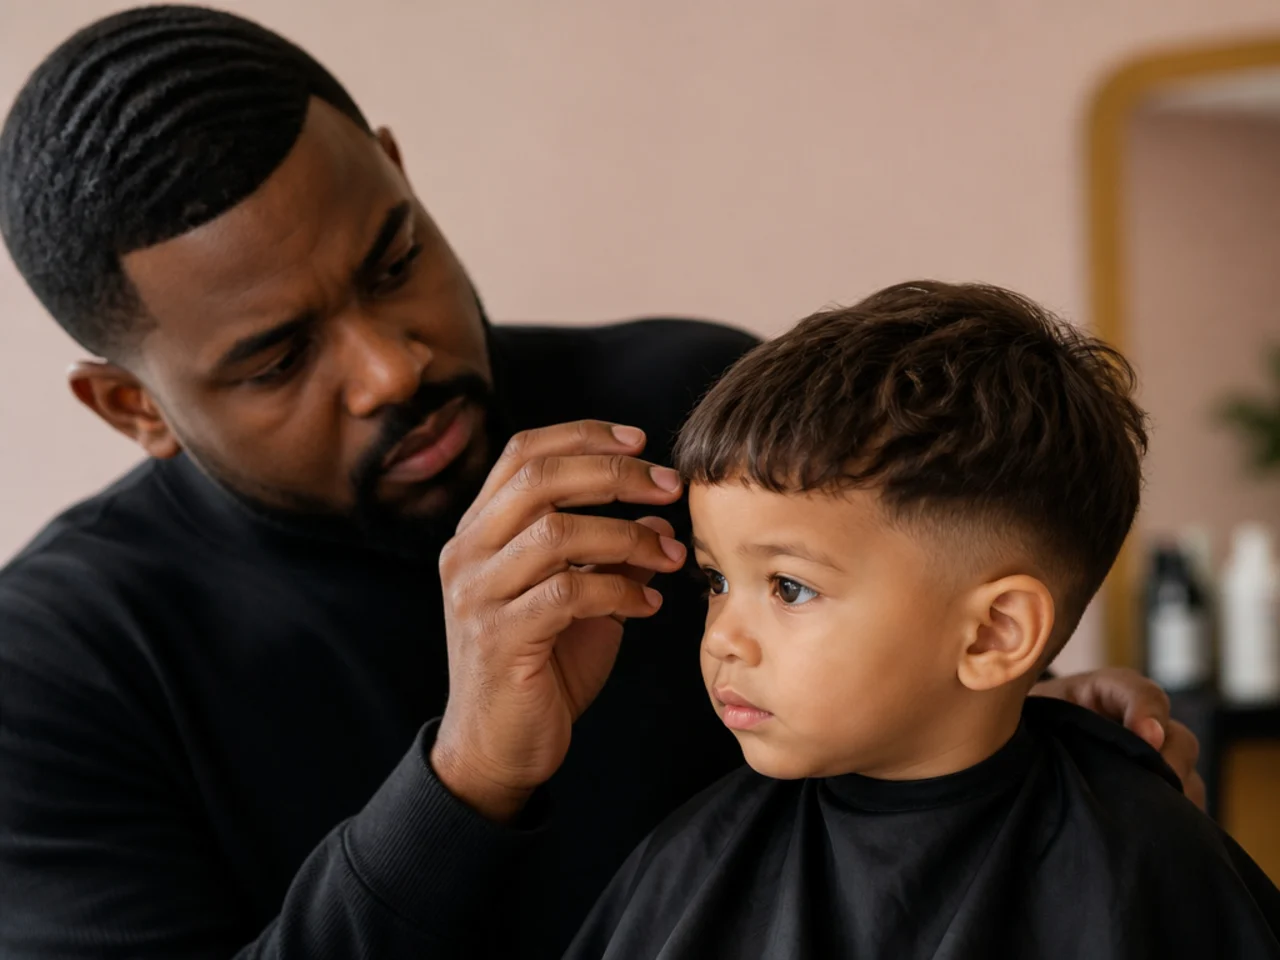
A cape goes round the neck and pins the arms, which is the same shape as being held down, and plenty of toddlers refuse at that point before a single hair is cut — it is the most common way a first haircut goes wrong. An old t-shirt he is already wearing does the same job invisibly.
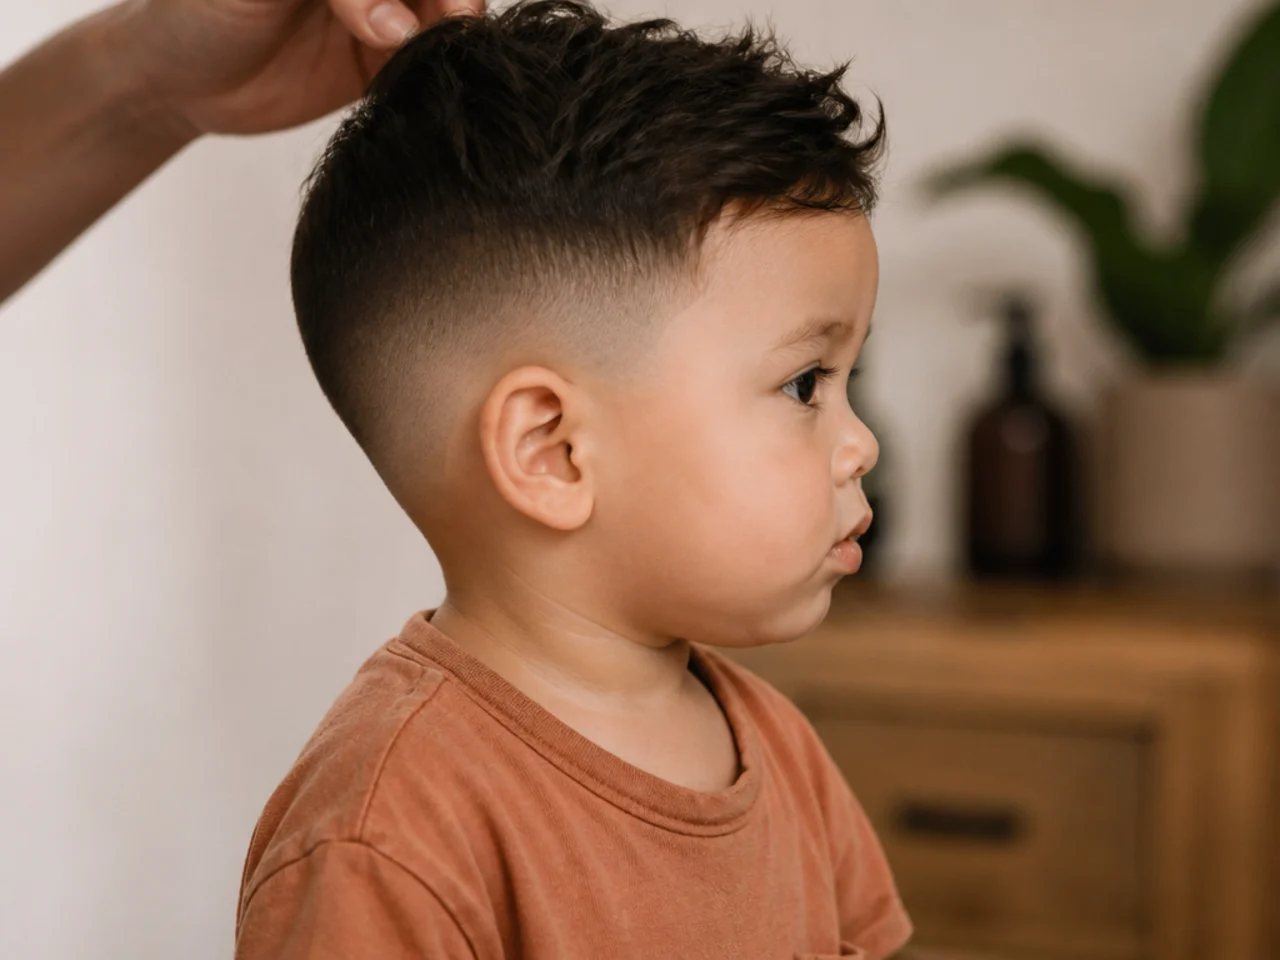
5. Cut Dry
Fine baby hair hangs noticeably longer wet and springs up as it dries, so a wet cut lands shorter than you meant. A spray bottle aimed anywhere near the face is also one of the quickest ways to end a session.
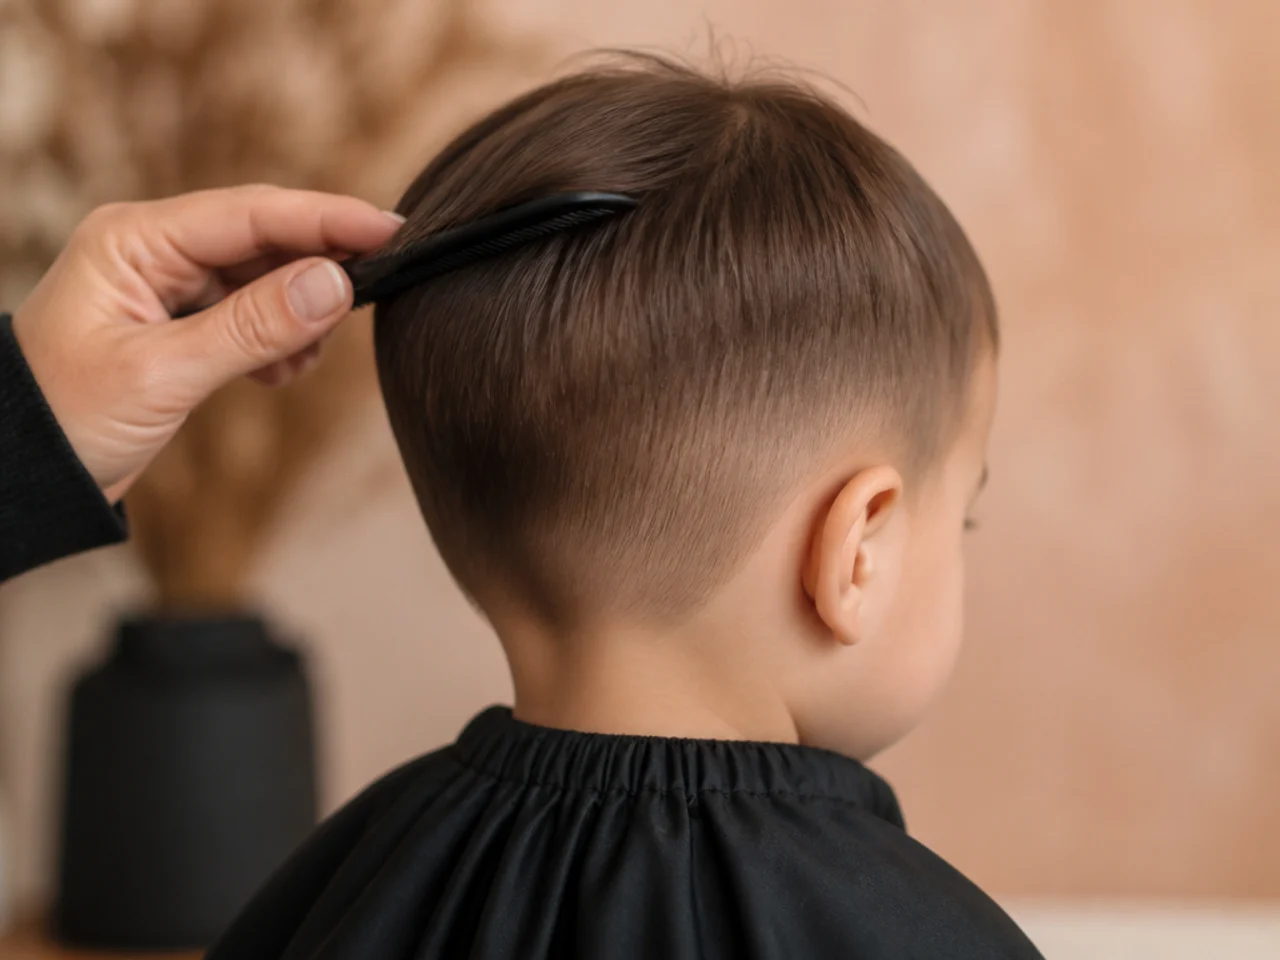
6. Comb the Fringe Down Flat From the Crown
Take it from the crown forward rather than from the hairline, so you catch every hair that will eventually fall into the fringe. Missing the back half of that section is why a fringe often looks thin and stepped once it grows a week.
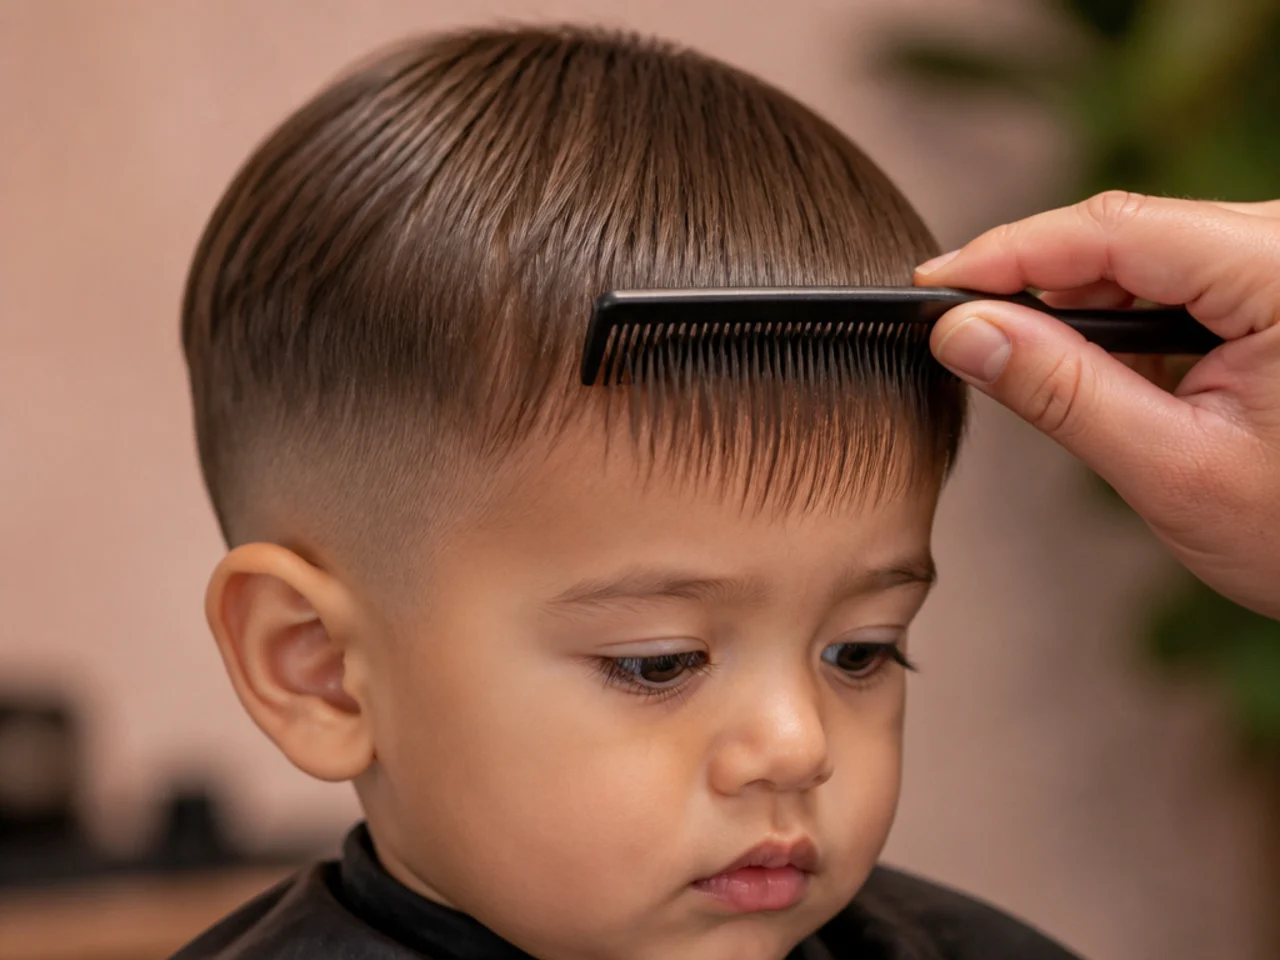
7. Cut the Fringe in One Pass
Hold the hair between two fingers, keep the blades flat and travelling sideways rather than pointing at the face, and cut the whole width in a single movement. Two passes means two chances for him to move, and the second pass is always the one that goes wrong.
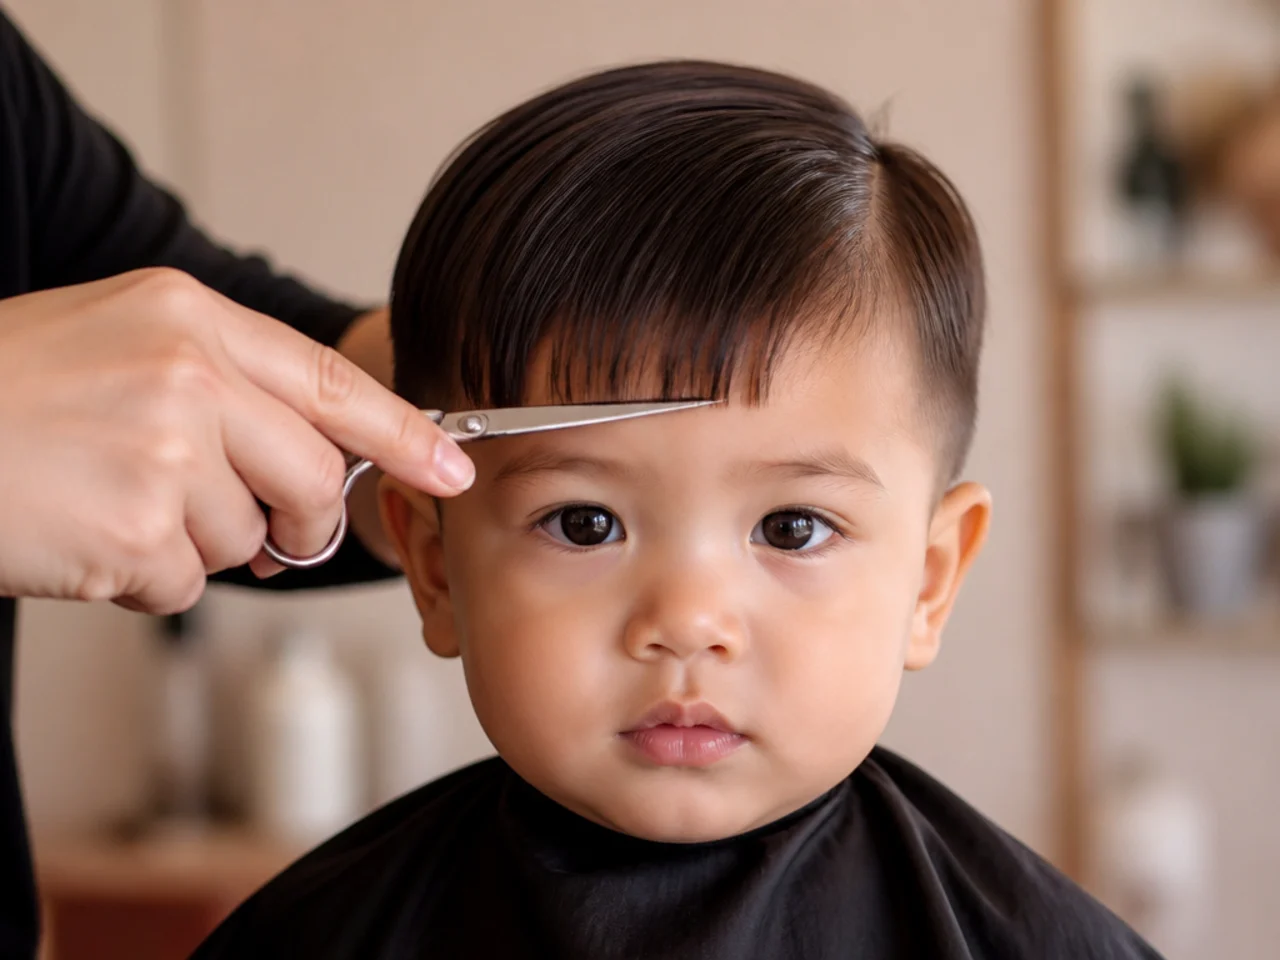
8. Leave the Fringe Blunt
Do not point-cut or thin it. Fine baby hair has too little body to hold a textured edge and simply goes stringy, whereas a blunt line is the one edge it does hold and it grows out evenly.
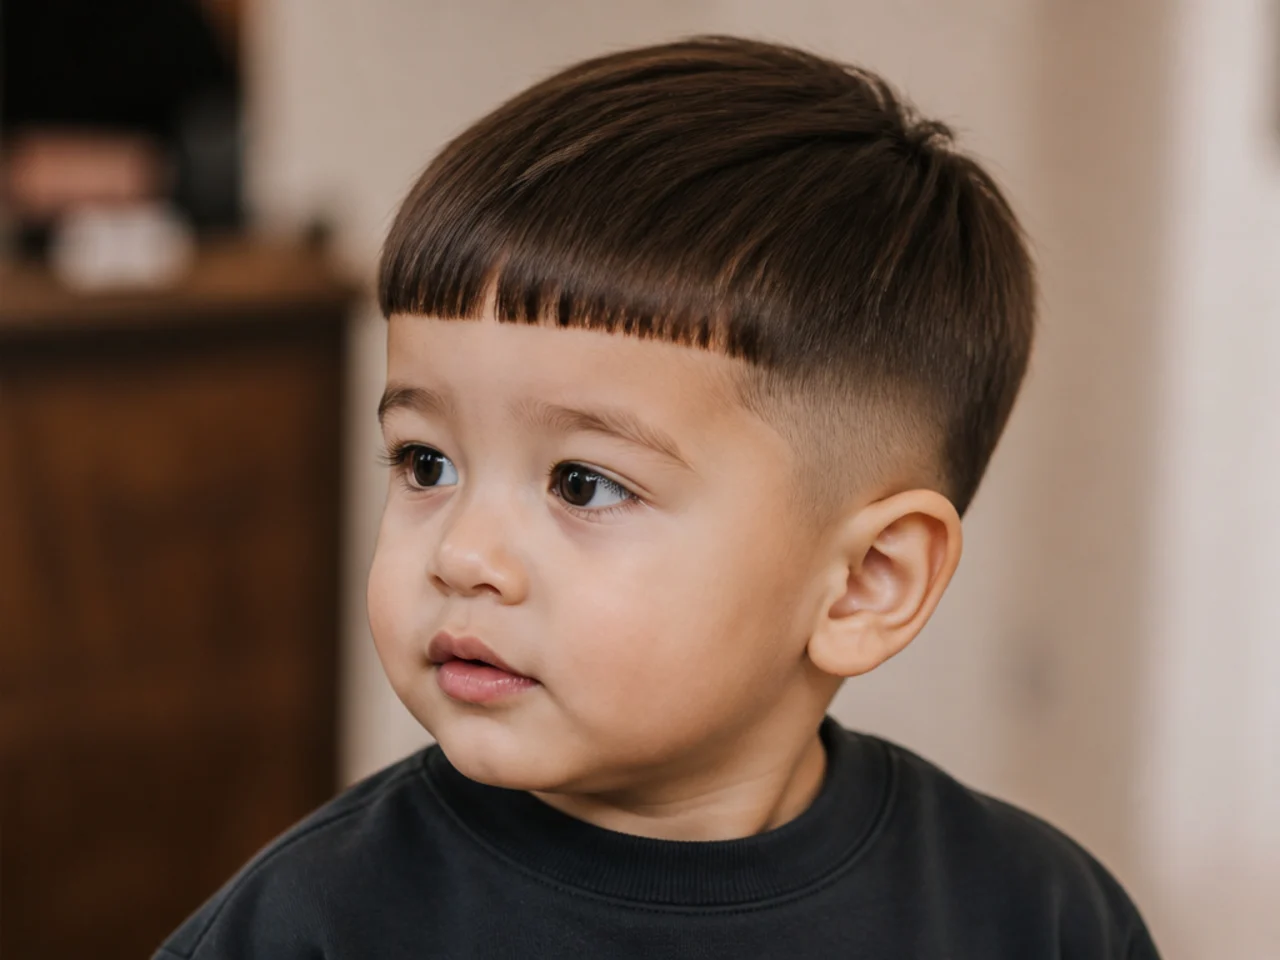
9. Take the Top With Scissors Over Fingers
Lift small sections straight up, use the previous section as the guide, and take a little at a time. Length on top is what covers the corner where the sides start, so leaving it generous is what makes an unfinished side look intentional.

10. Take the Sides With Scissors Over Fingers
Get the bulk off quietly before the clipper is ever switched on. If the session ends here you still have a complete scissor cut, which is a real haircut rather than a half-done one.
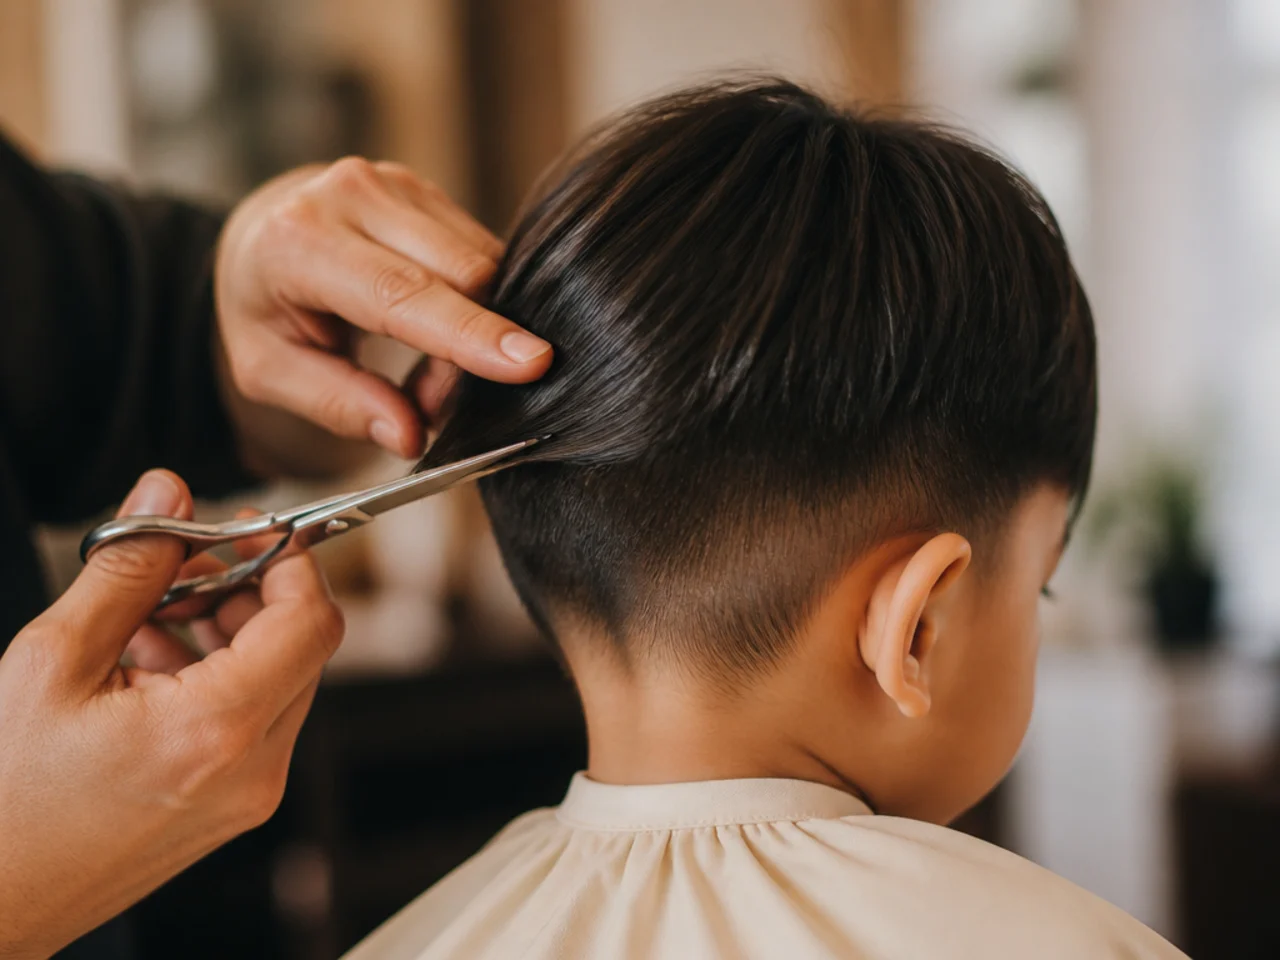
11. Check the Two Sides Against Each Other From the Front
Stand square in front of him and compare, because from the side you can only ever see one. Uneven sides are the single most visible fault in a home cut and the easiest one to fix while the hair is still there.
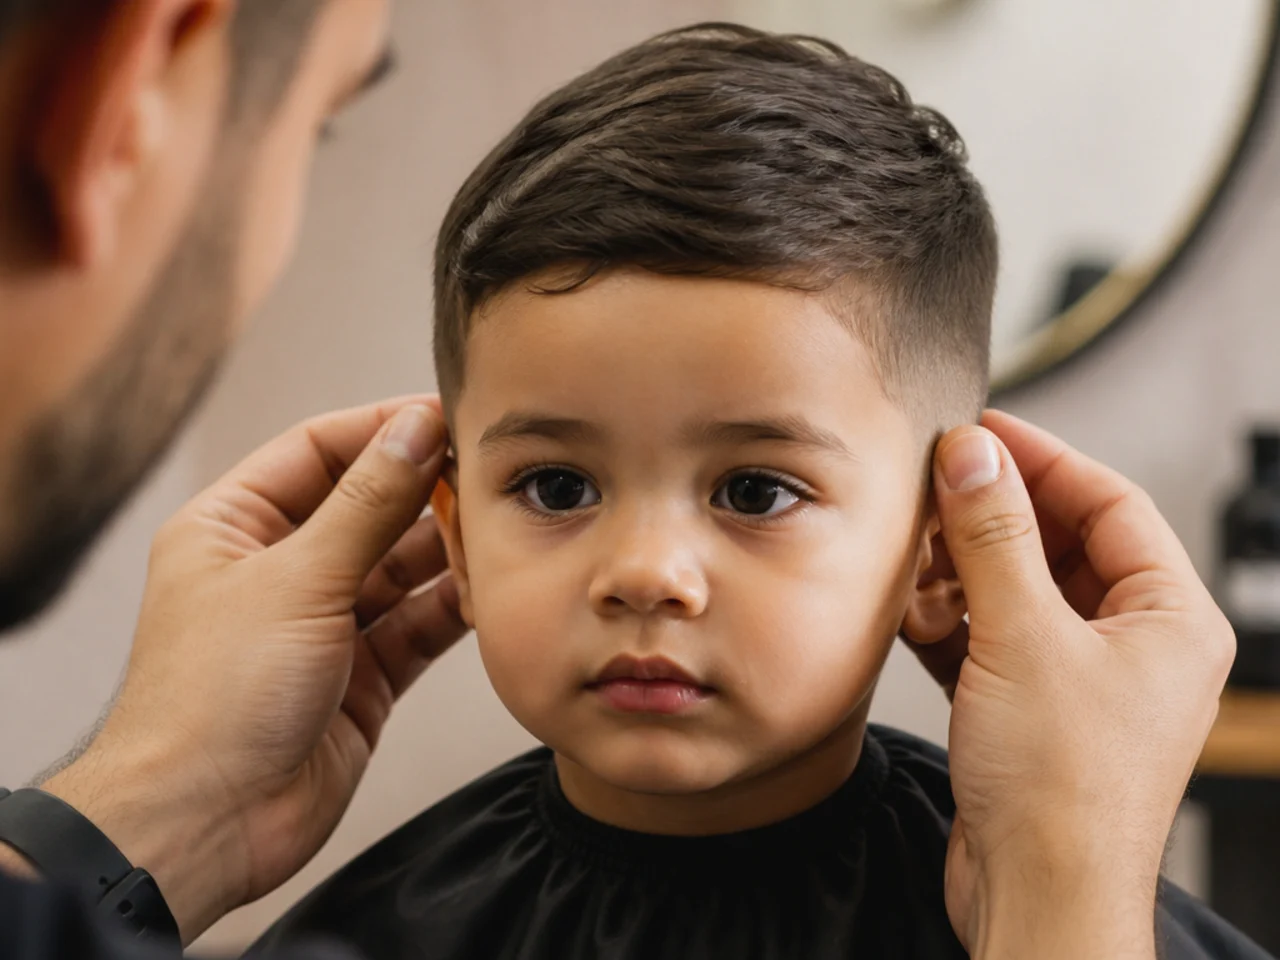
12. Finish Every Scissor Section Before the Clipper Appears
This is the checkpoint. Once the motor starts you may have thirty seconds left in the whole session, so nothing that could have been done in silence should still be outstanding.
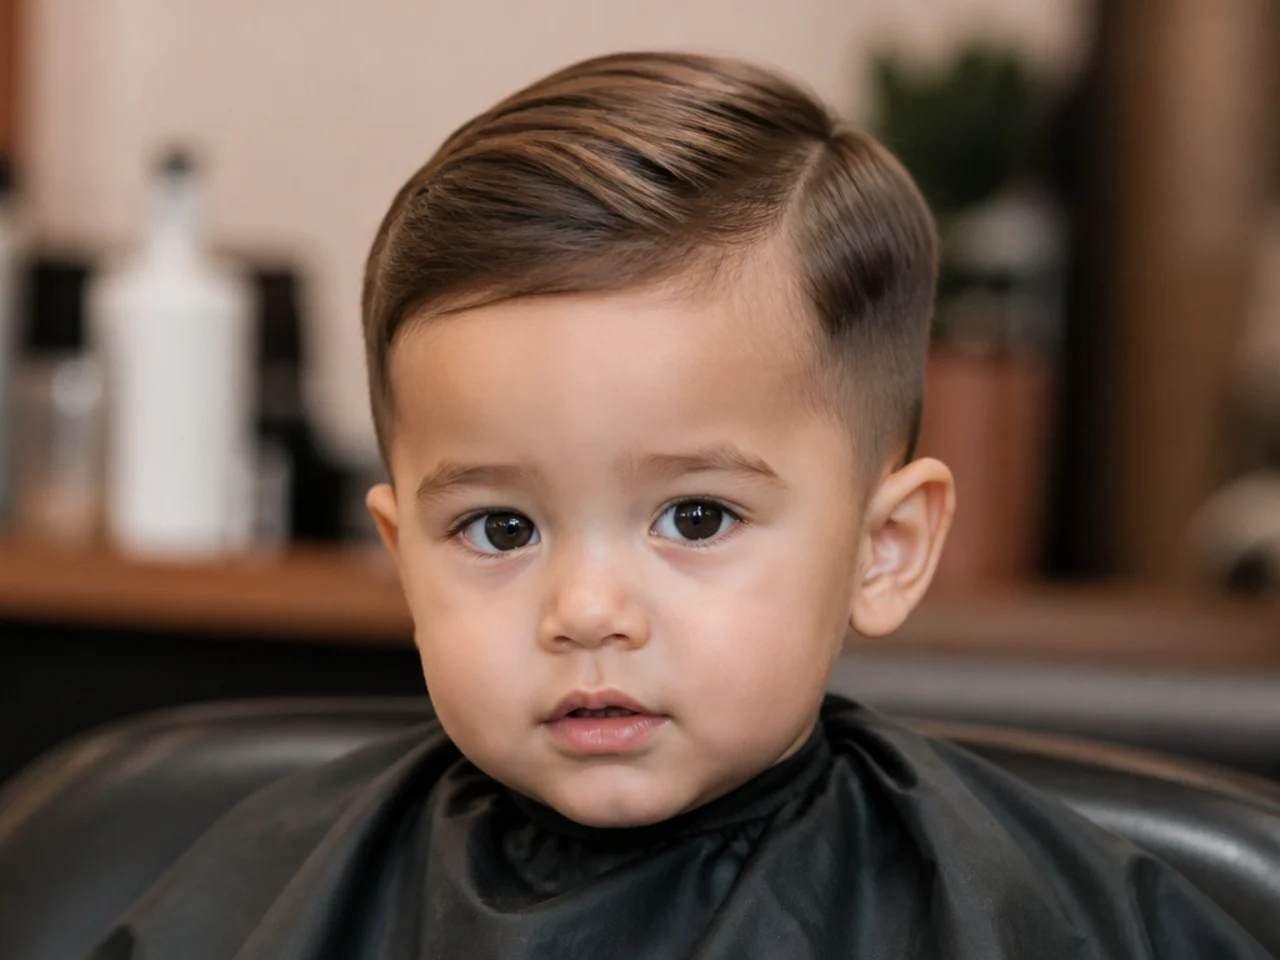
13. Let Him Hold the Clipper Switched Off
Hand it over, let him turn it round, take it back. It costs half a minute and converts the clipper from something being done to him into an object he has already handled, which is the difference between curiosity and a flinch.
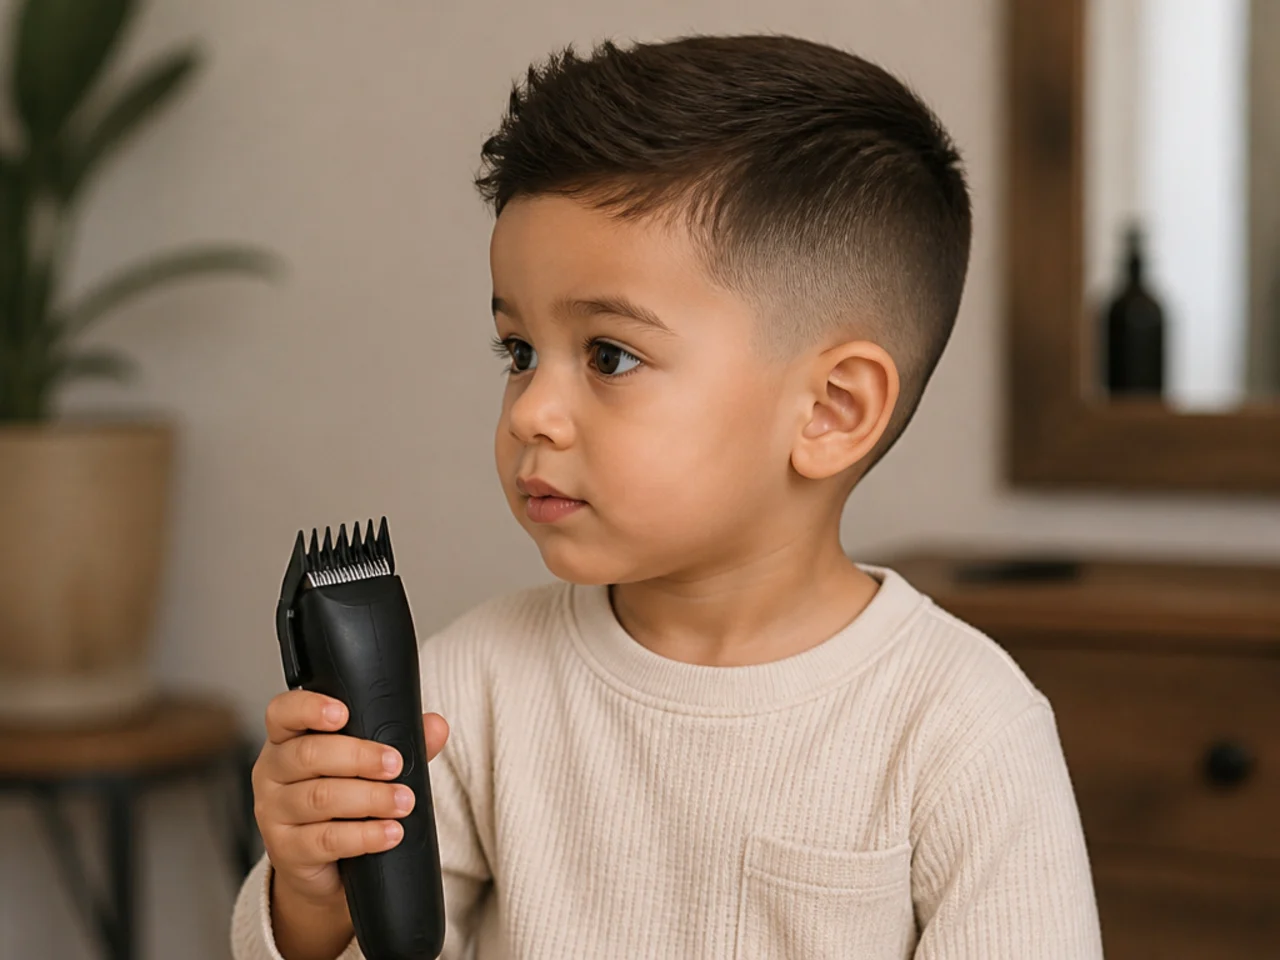
14. Start the Motor at Arm's Length
Switch it on well away from him and hold it there for a few seconds. The noise and the contact are two separate frightening events, and introducing them one at a time roughly halves the chance of a refusal.
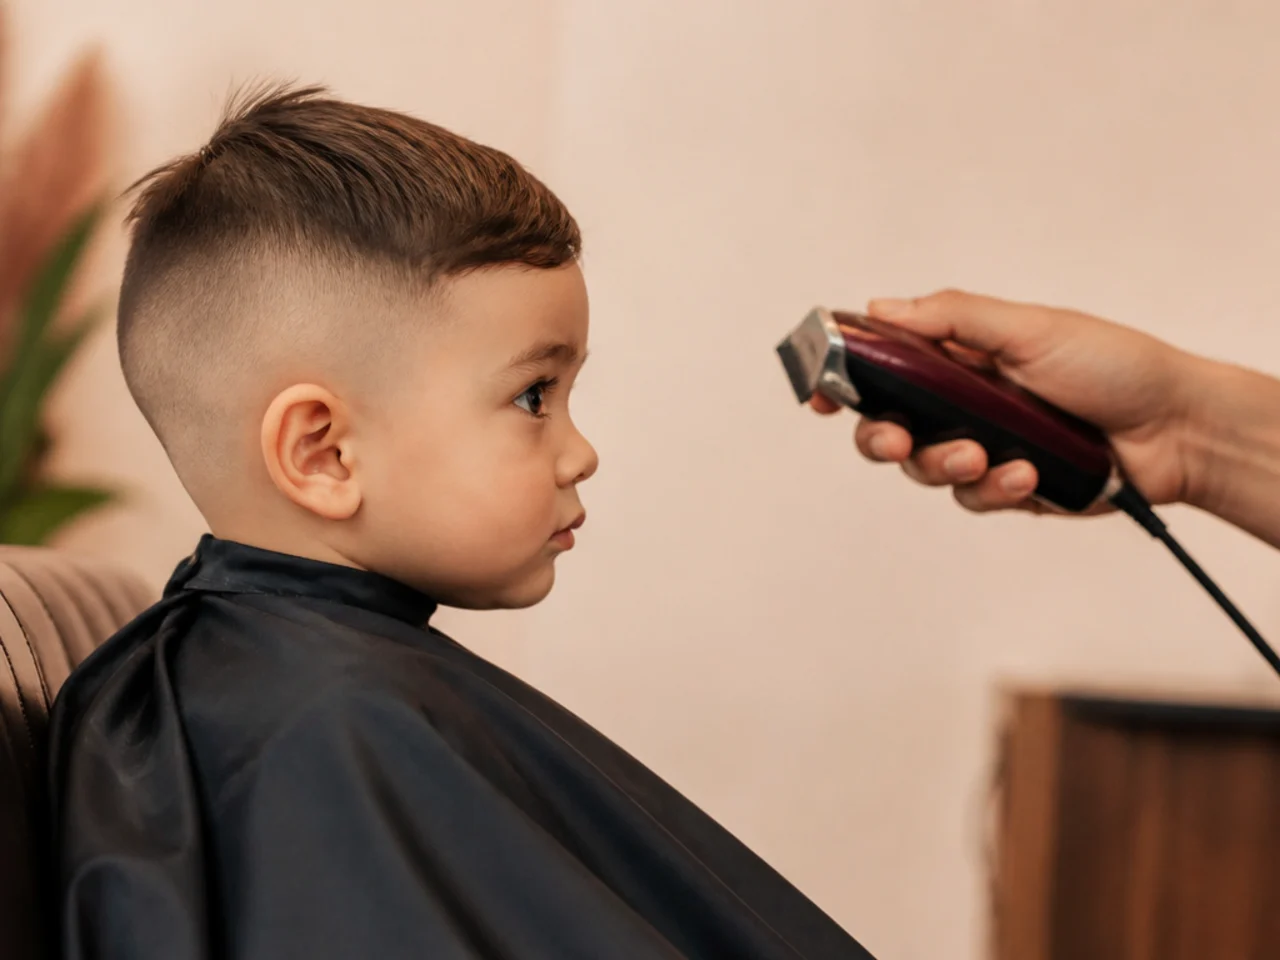
15. Rest the Running Clipper on His Shoulder
Let him feel the vibration somewhere harmless before it touches his head. A shoulder is not startling, and by the time the guard reaches his hairline the sensation is already familiar.
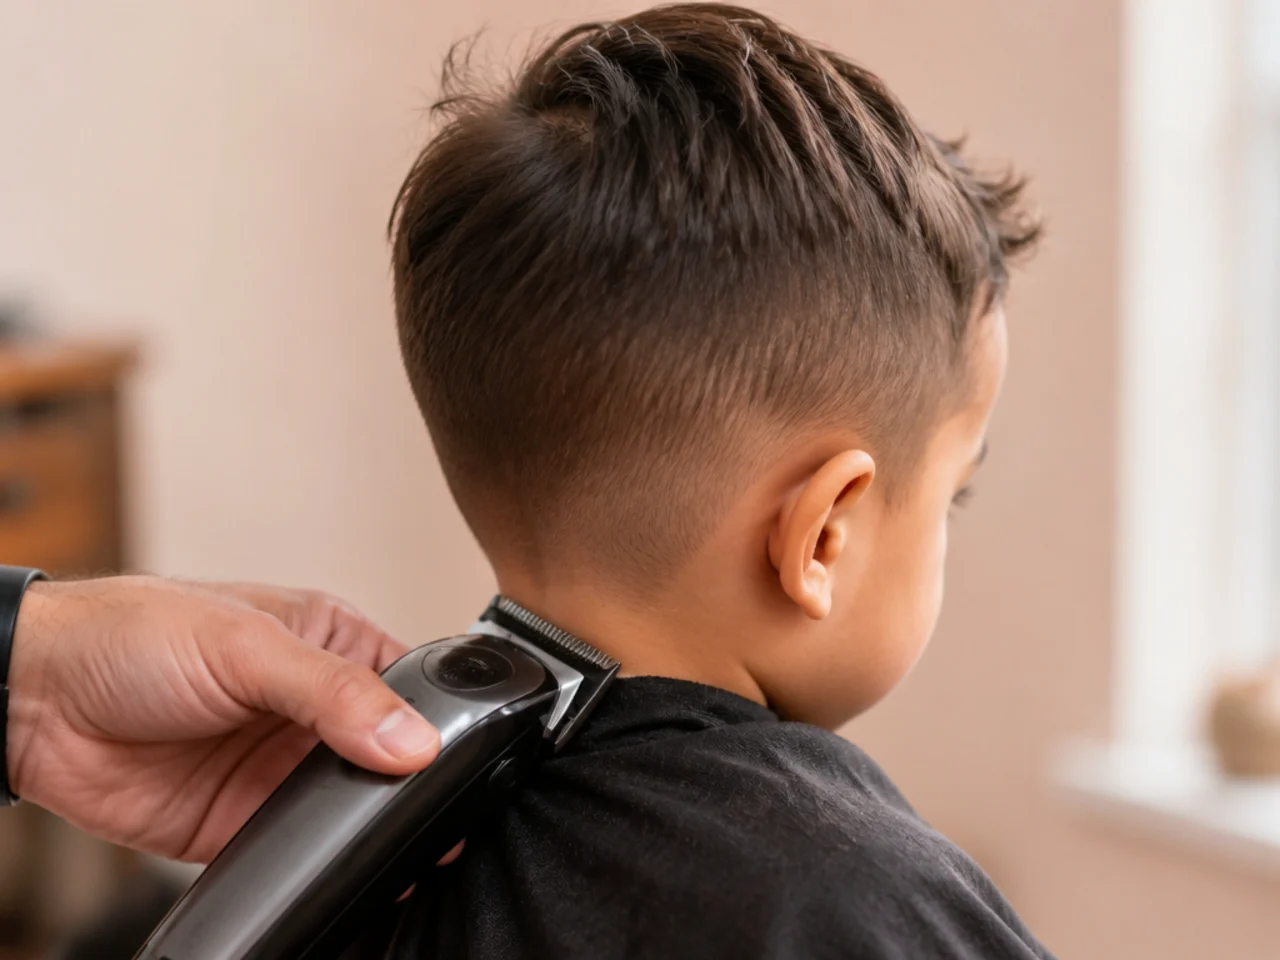
16. Take the Sides With a #4
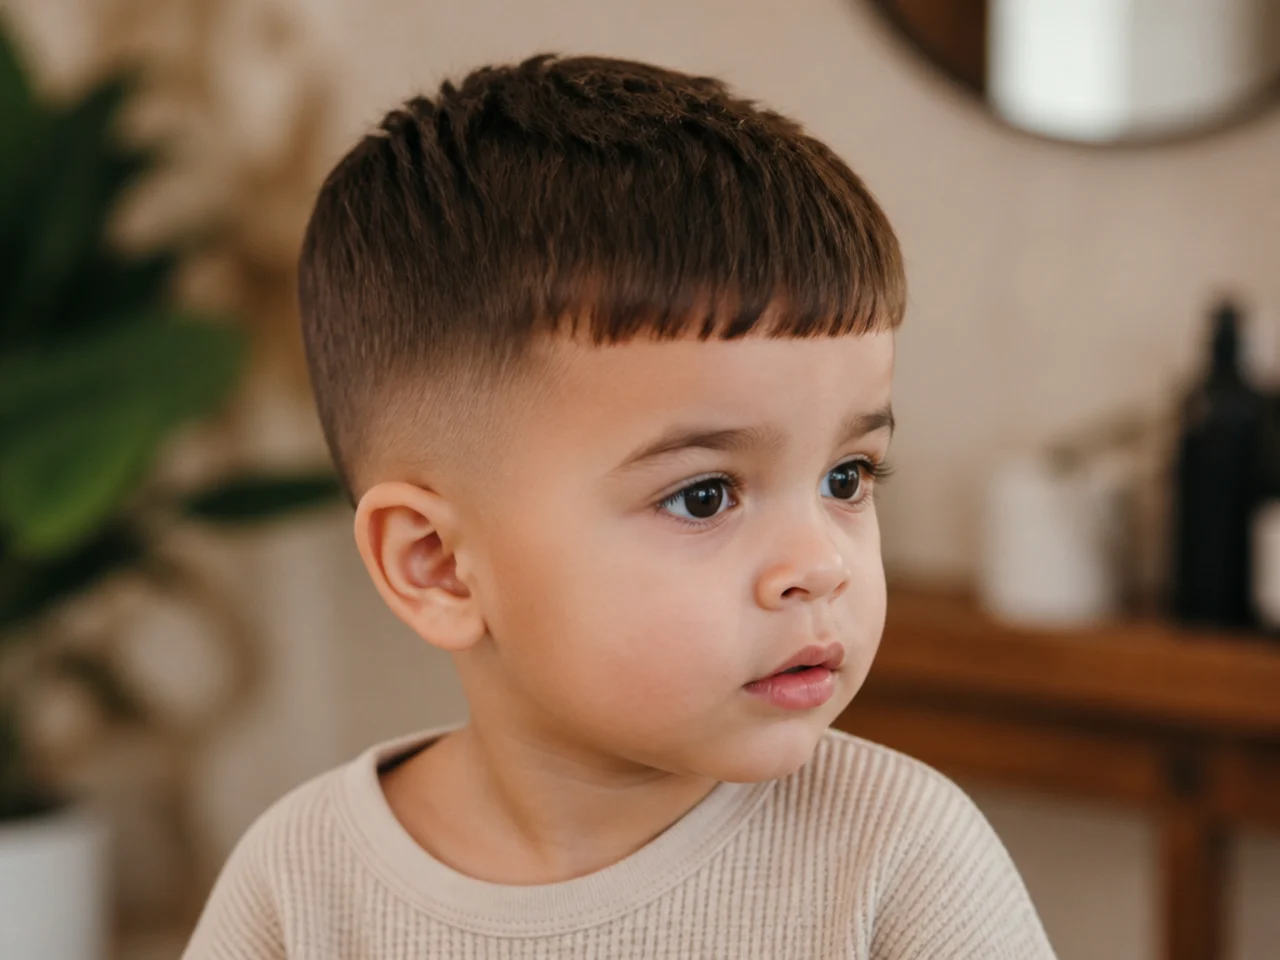
Start at 13mm, work bottom to top, and stop the pass level rather than flicking it out. A #4 leaves enough length that fine baby hair still covers scalp, and it blurs gently as it grows instead of showing a line.
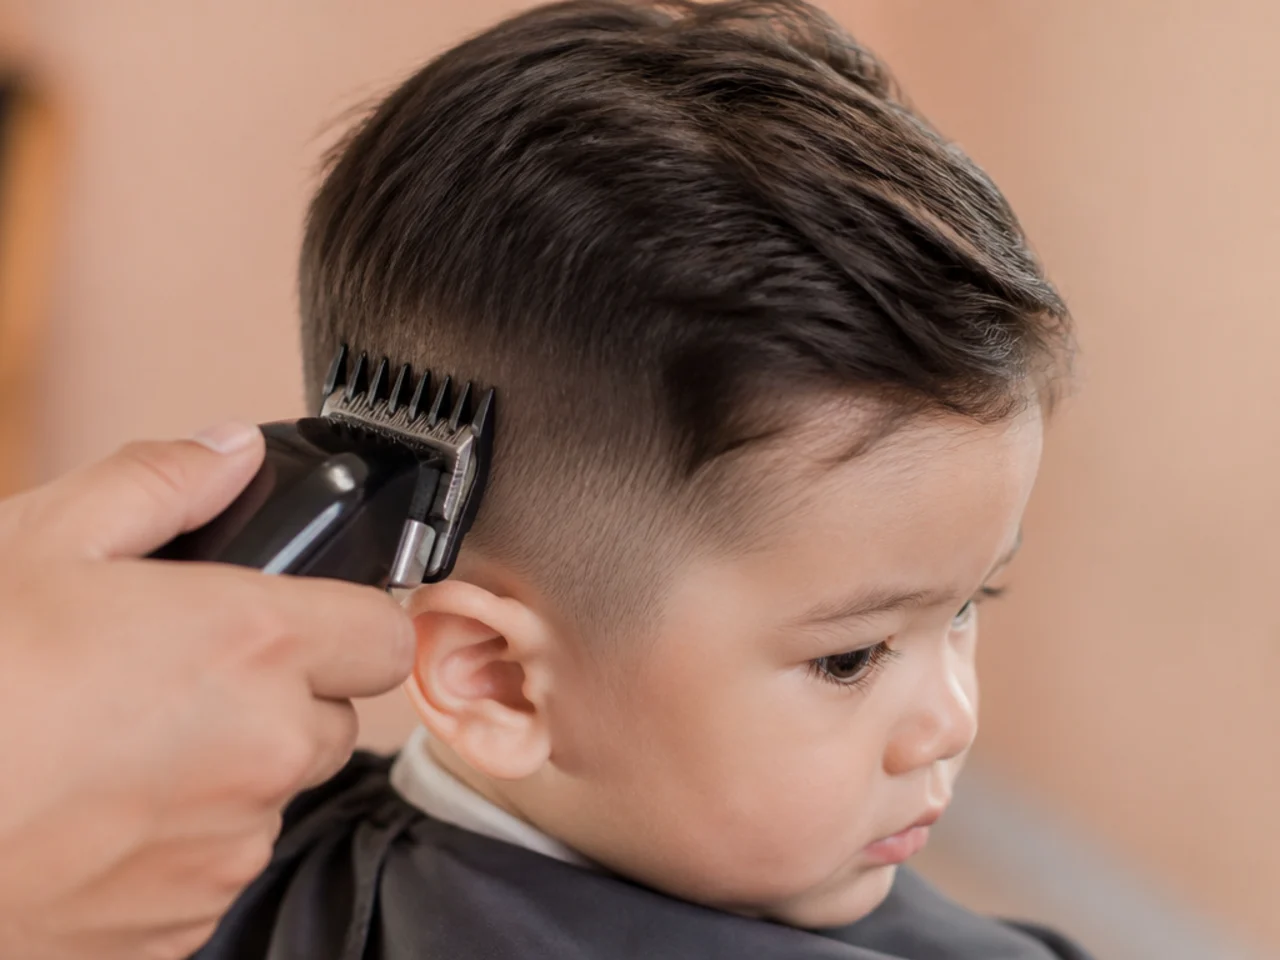
17. Drop to a #3 Only If He Is Still Settled
Ten millimetres is as short as fine hair usually goes before scalp starts showing through, which is why short toddler cuts live between a #3 and a #4. Treat the second, shorter pass as a bonus you take only when the first one went well, not as part of the plan.
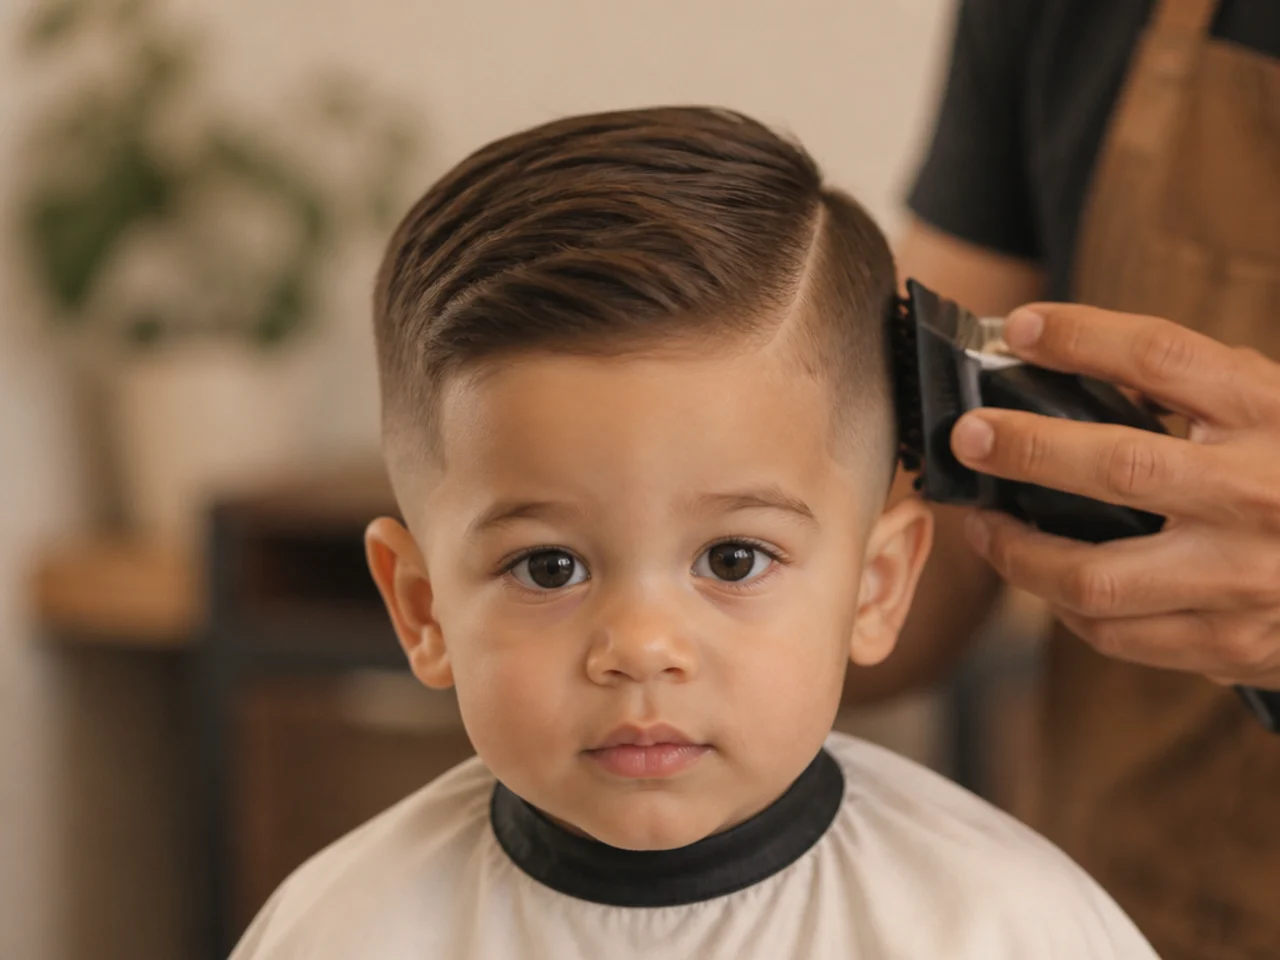
18. Check the Crown Whorl
Look at the spiral at the back of the crown with the hair dry and uncombed. Cut too short there and it stands straight up permanently, so leave the whorl slightly longer than everything around it.
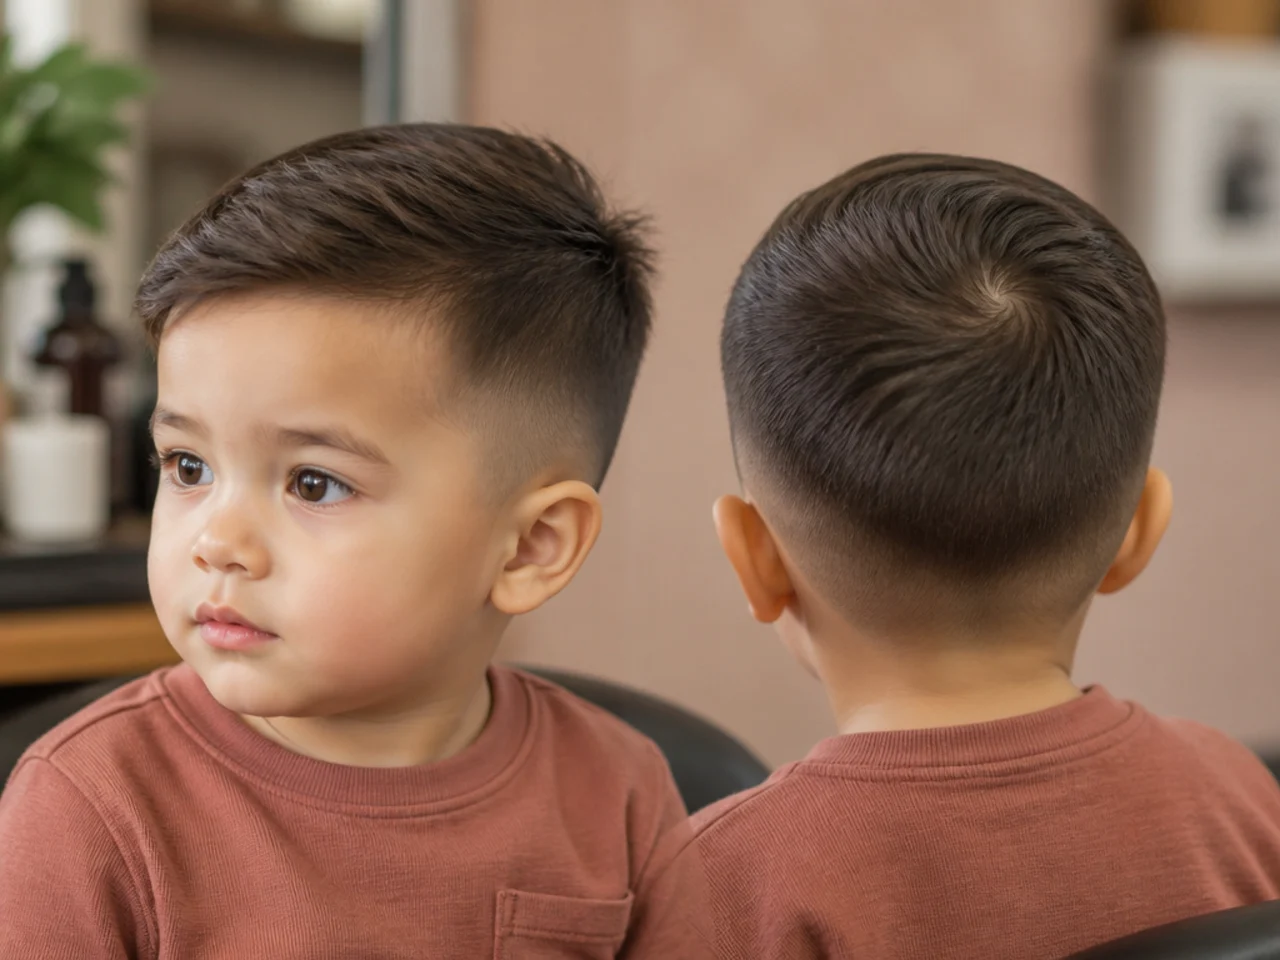
19. Take the Neckline Last
A quick straight line across, or a soft taper down into the hairline if he is still calm. It is last because it is the one section nobody looks at, so it is the cheapest thing to lose.
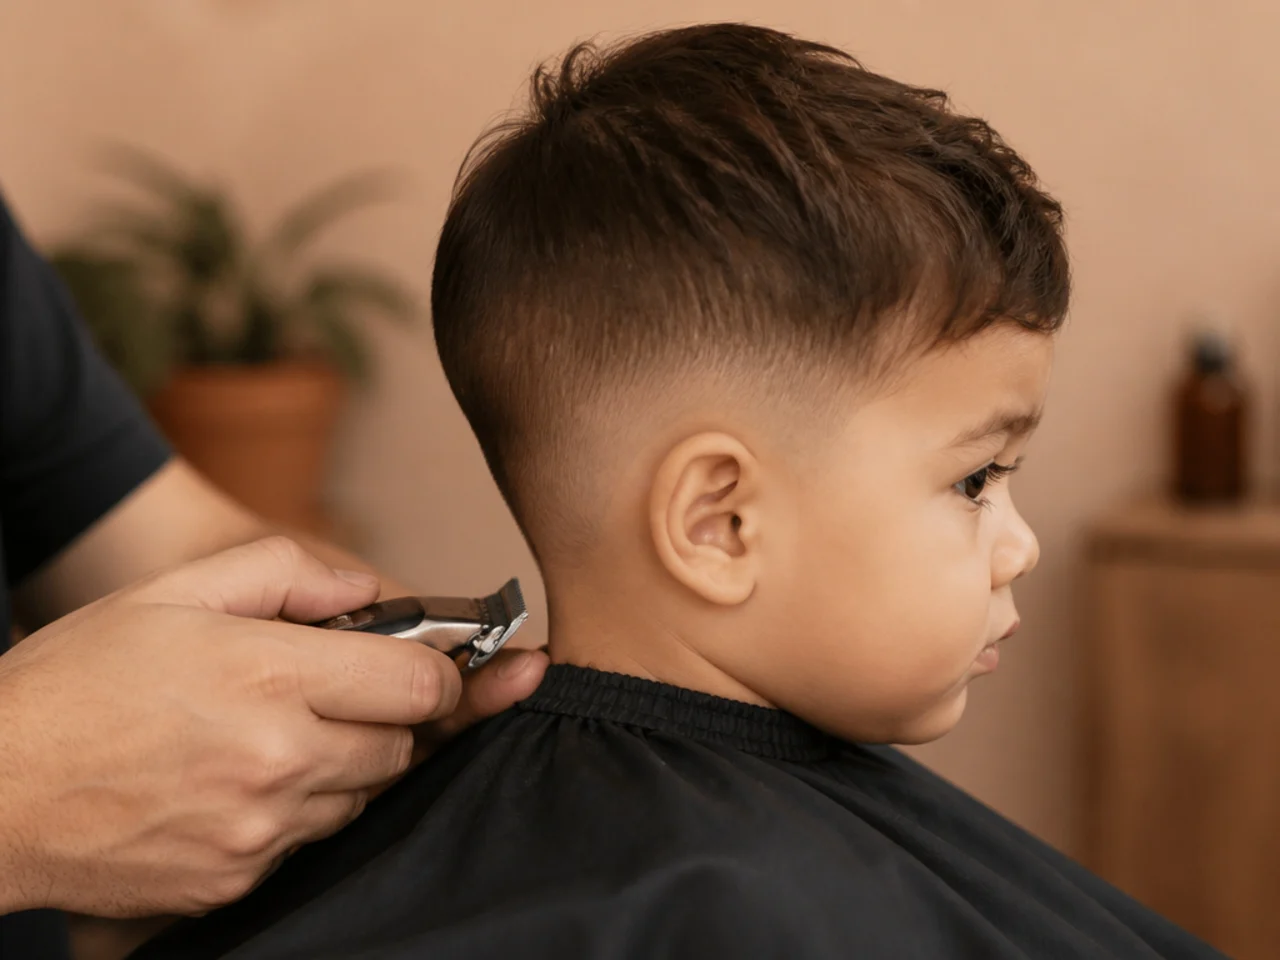
20. Brush the Neck, Stop, and Finish Tomorrow If You Need To
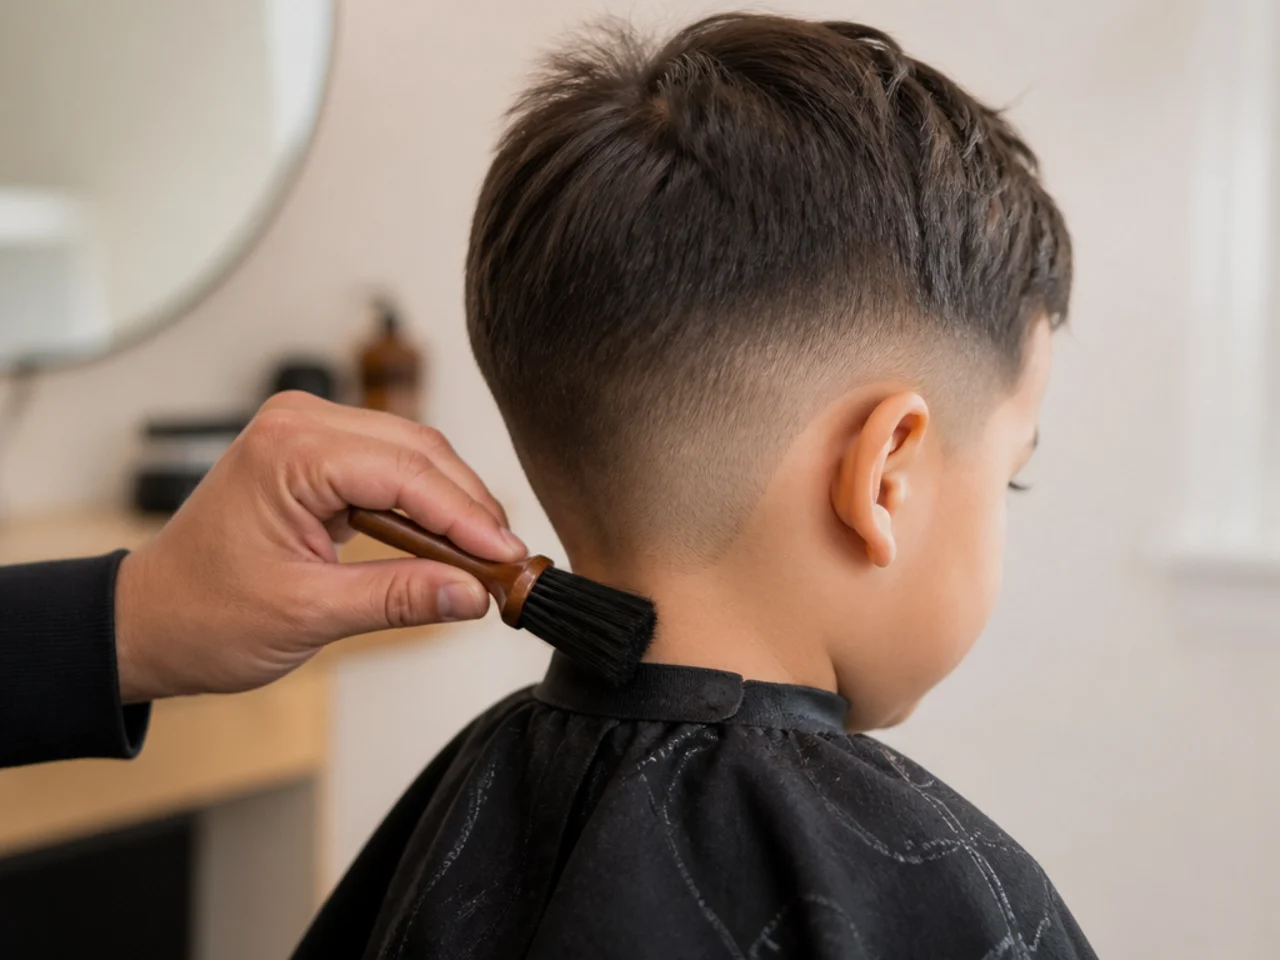
Brush the clippings off before he notices them itching, then stop and tell him he did well, ideally before he has asked to get down. Anything unfinished is a ten-minute job on another evening, and nobody paid for a finished result today.
Styling and Upkeep
Comb the fringe down every few days and cut it when it reaches the eyelashes. It is the only section with a real deadline.
Leave the top long enough to hang over the corner of the sides. That overhang is what hides the point where an unfinished blend stops.
Never restart a cut at the section you abandoned. Begin the next session at the front again so the visible half stays the finished half.
Keep the same guard number between cuts. Changing from a #4 to a #3 halfway through a growing-out cycle puts a step in hair that is too fine to hide one.
Check the crown dry after every wash. A whorl that was fine damp will stand up once it dries, and that is the only warning you get.
Mistakes to Avoid
Starting with the back because he is facing away. It finishes the section nobody sees and leaves the fringe long.
Wetting the hair to make it behave. It hangs longer wet, so you cut more than you meant and it dries shorter still.
Switching the clipper on beside his ear. Noise arriving at the same moment as contact is what creates a lasting fear of the machine.
Trying to blend a fade on a squirming child. A blend needs several consecutive passes, which is the one thing a toddler will not give you.
Pushing on past the first genuine protest. You gain a neckline and lose the next three haircuts.

FAQ
What order should you cut in? Fringe, top, sides, clipper work, neckline — most visible first.
Wet or dry? Dry, because fine baby hair lands shorter than it looked once it dries.
How do you introduce the clipper? Switched off in his hands first, then running at arm's length, then on his shoulder.
Final Thoughts
Write the order down the first time and follow it exactly, because the moment a child starts objecting is the moment you stop making good decisions about sequence. Get through step twelve and you have a complete haircut, and everything after that is a bonus you collect only on the days he is willing.
For a shape built to survive an interrupted session see the toddler burst fade guide, and for the clipper technique itself see cutting a taper fade at home. More in Men's Haircuts.