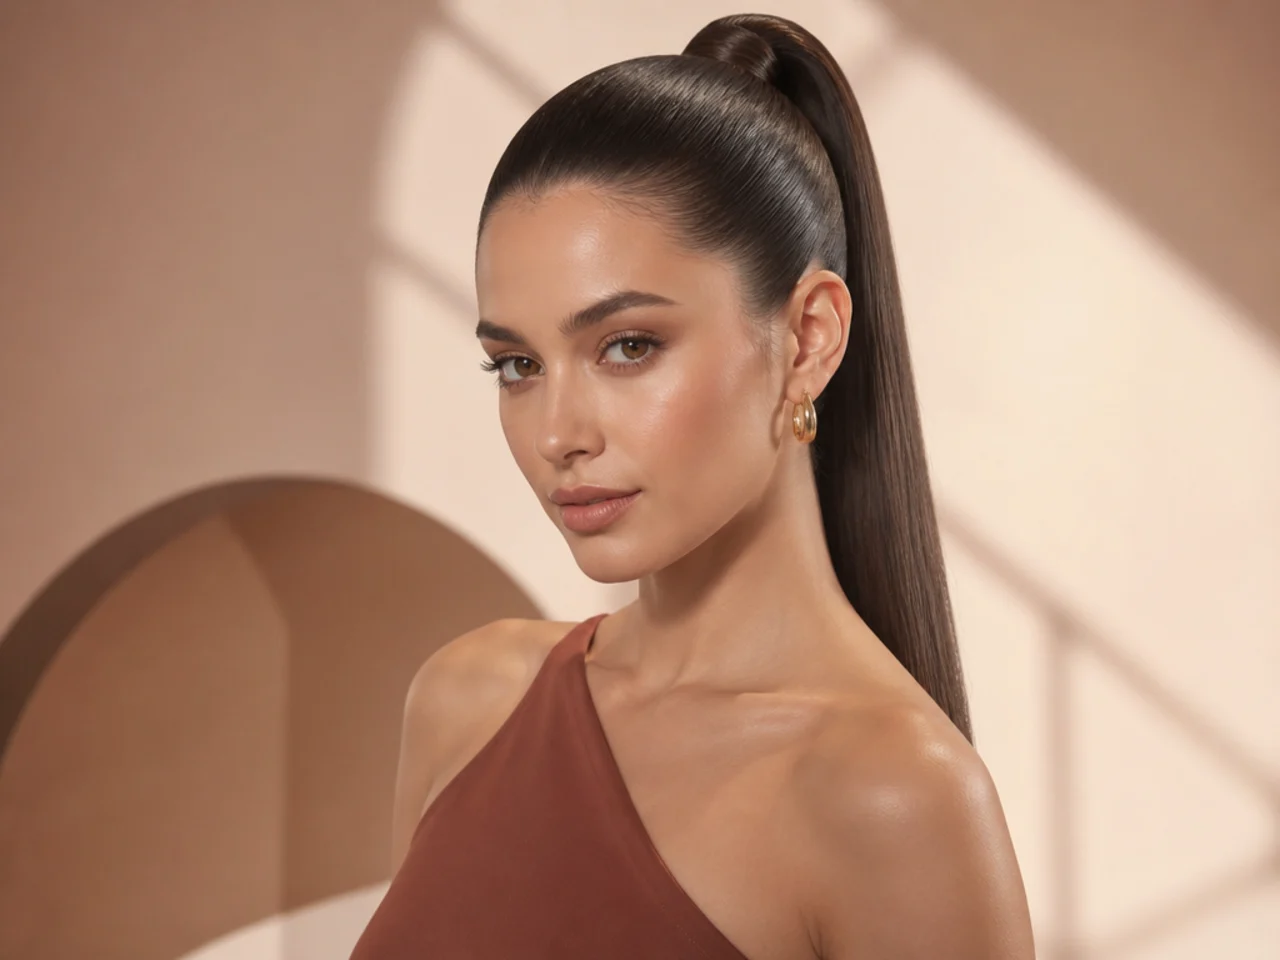
30 Sleek High Ponytail Hairstyles for Every Occasion
Sleek high ponytail hairstyles evolved from a simple gym convenience into the ultimate fashion statement. Whether you are aiming for the "clean girl" aesthetic, a red-carpet-r
In this article · 34
- Glass-Haired Classic
- Wrapped Base Power Pony
- Triple-Band Bubble Pony
- Braided Rope Twist
- Deep Side-Part Snatched Pony
- 90s Flip-Out
- Fishtail High Pony
- Sky-High Fountain
- Pearl-Embellished Sleek Look
- Blunt-Cut Edge
- Double-Stacked Ponytail
- Metallic Thread Wrap
- French Braid Undercut
- Sleek Half-Up High Pony
- Velvet Ribbon Bow
- Zig-Zag Parting
- Wet-Look Gym Pony
- Chain-Link Braid
- Soft Face-Framing Tendrils
- Multi-Elastic Tiered Pony
- Sculptural Loop
- Sleek Side-Swept Fringe
- Hollywood Wave Tail
- Rhinestone Parting
- Pompadour Sleek Pony
- Tapered Rope Braid
- Scarf-Intertwined Pony
- Spiky "Gen Z" Pony
- Low-Tension Silk Wrap
- Micro-Braided Crown
- How to Fix Common Sleek High Ponytail Hairstyles Problems
- Why Does My Ponytail Sag?
- How to Stop the Headache
- Keeping Edges Healthy
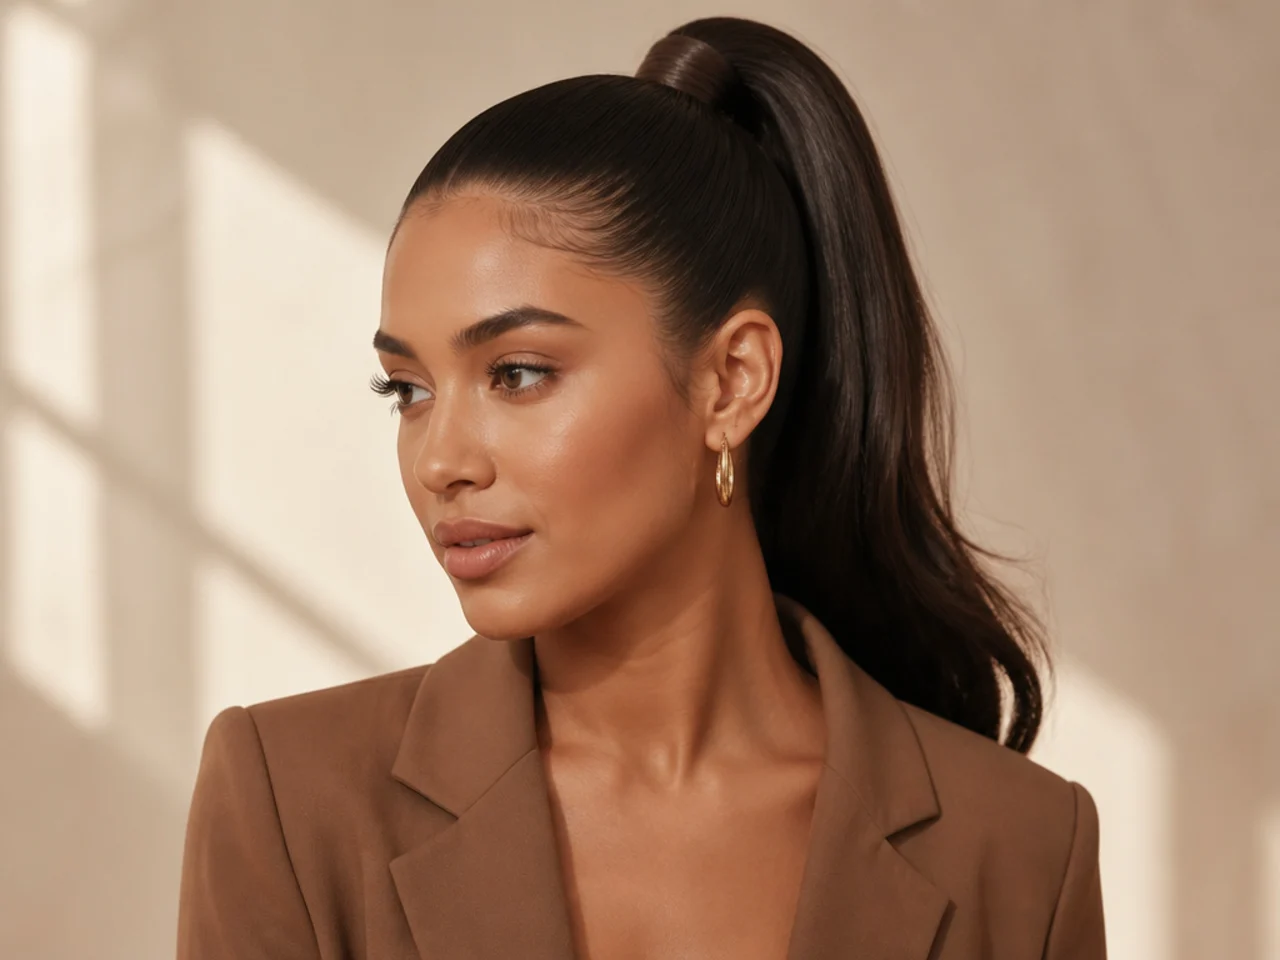
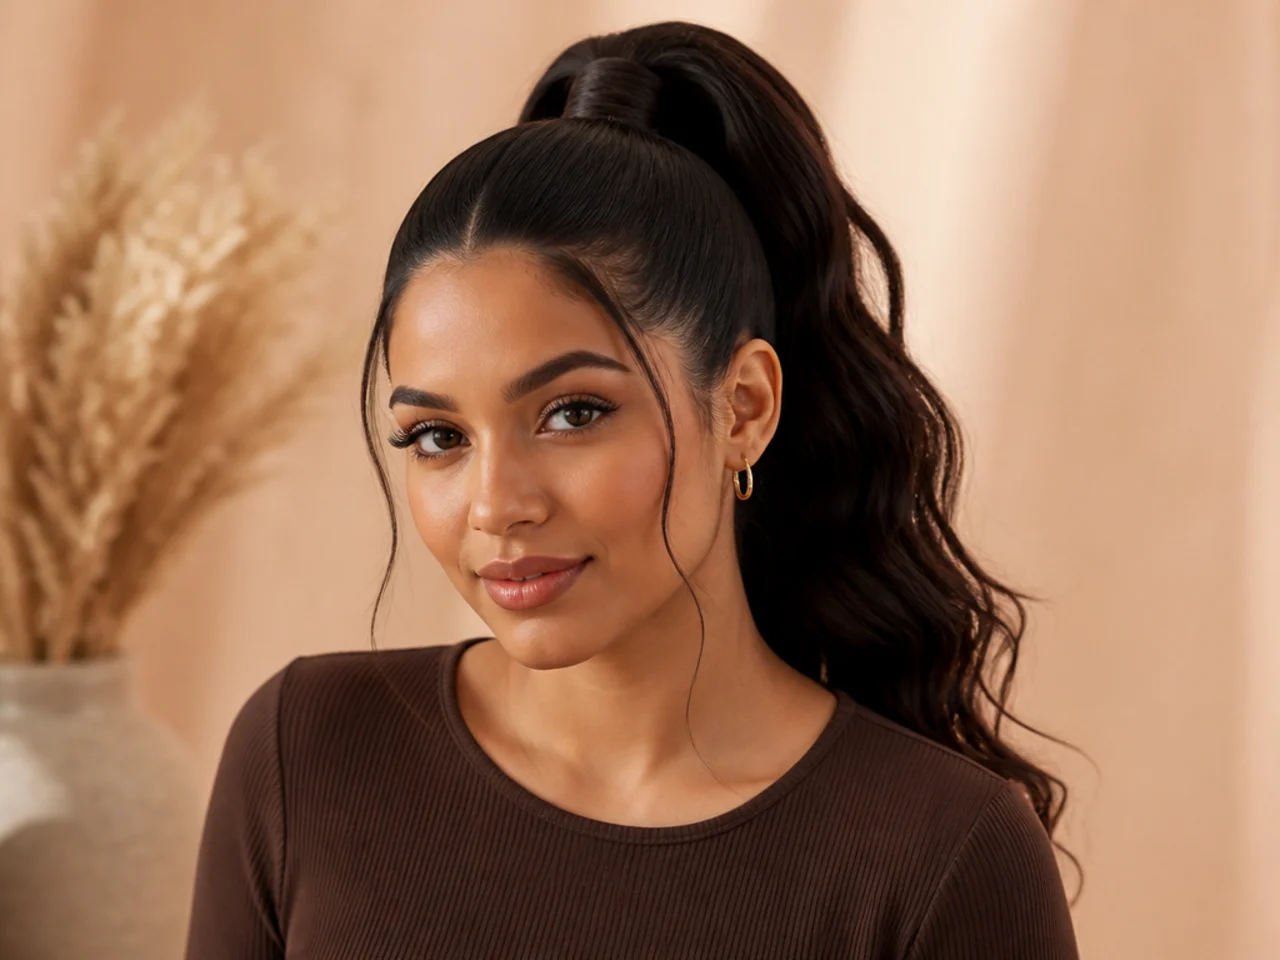
The sleek high ponytail is the modern polished pony. Think Bella Hadid, Ariana Grande, Hailey Bieber. You get wet-look smoothness at the scalp and lift at the crown at the same time. The formula never changes: strong-hold gel, a boar-bristle brush, and a mist of hairspray to seal it. Nail that base and every variation below builds on it. Here are 30 sleek high ponytail hairstyles worth stealing from your favorite off-duty models and red-carpet regulars.
Glass-Haired Classic
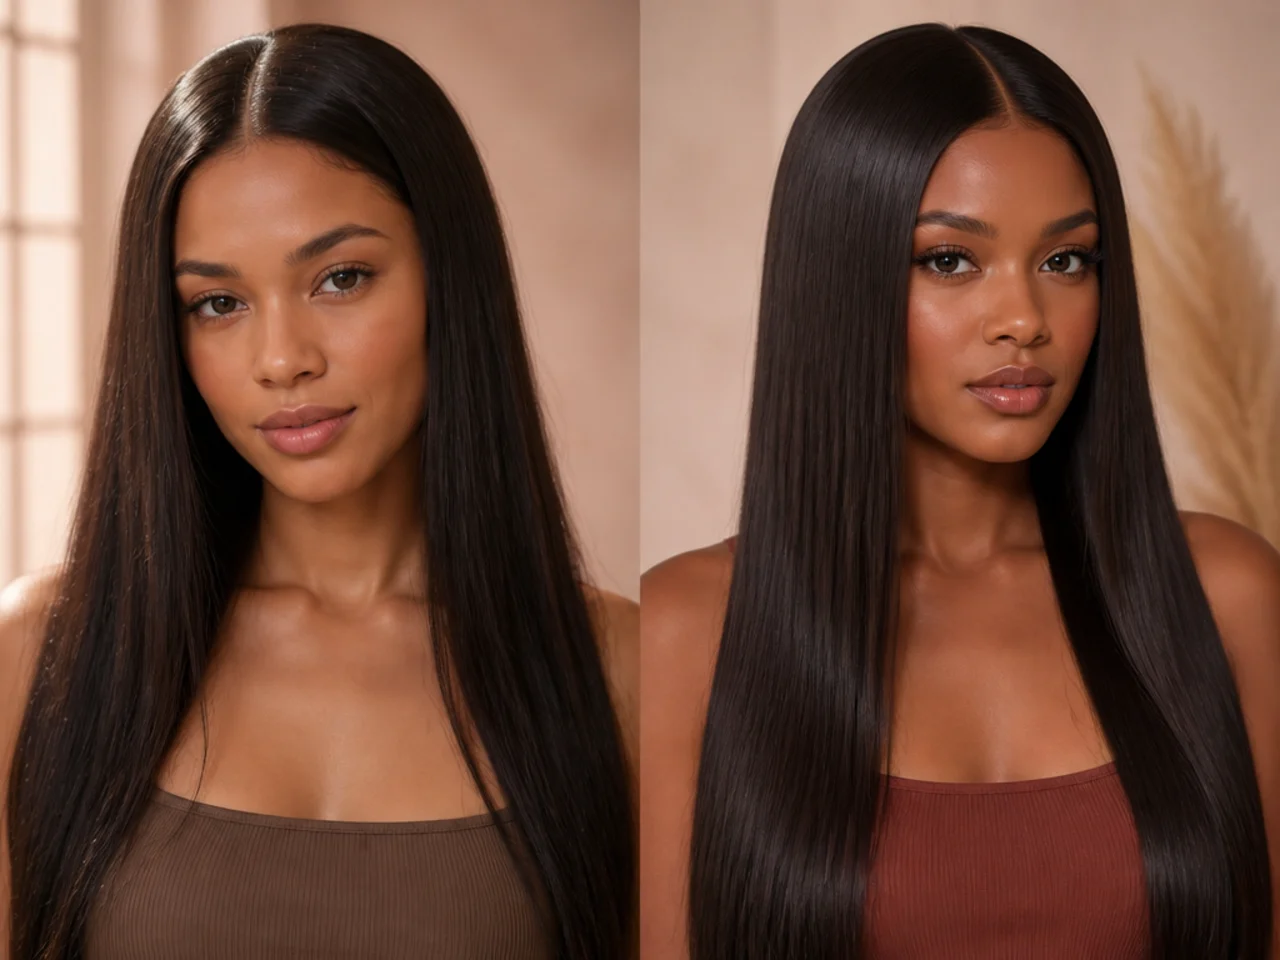
This is the reference build every other look on the list borrows from. No braids, no wraps, no hardware — just a mirror finish that reads expensive from ten feet away. It suits every face shape because the shine does the styling work, not the silhouette. Start on freshly washed, blow-dried hair. Apply heat protectant, then flat-iron in one-inch sections at 350 degrees. Any hotter and the cuticle roughs up and kills the shine. Flip your head forward and brush everything up to the crown with a boar-bristle brush loaded with strong-hold gel. Secure with a small clear elastic. Set with a light hairspray held twelve inches away.
Stylist tip: finish with one drop of dry oil rubbed between your palms and smoothed only over the outside of the tail. Never on the roots — oil at the base collapses your lift. That's what turns "shiny" into liquid glass.
Wrapped Base Power Pony
The wrap hides the elastic and replaces it with a seamless column of hair — the same trick you see on runway models and TV anchors. It suits anyone who wants a polished finish without hardware peeking through. Take a half-inch section from underneath the tail. Wrap it clockwise around the elastic. Pin the end underneath with a bobby pin pushed up toward the scalp. Keep the section tight so it does not loosen when you turn your head.
Stylist tip: mist the wrap section with hairspray before you wind it around. The hair grips itself, and the wrap will still be flat by dinner.
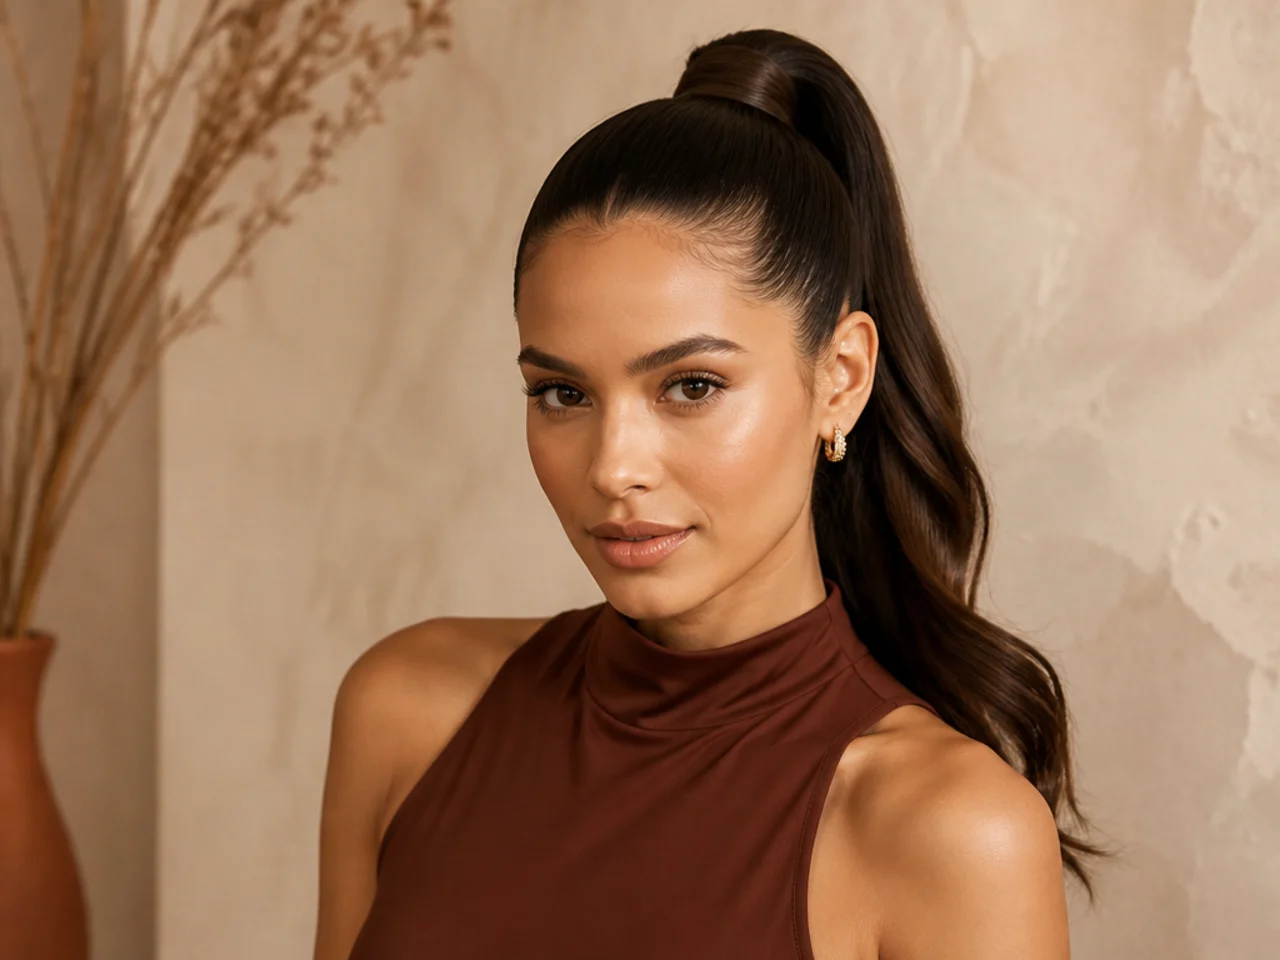
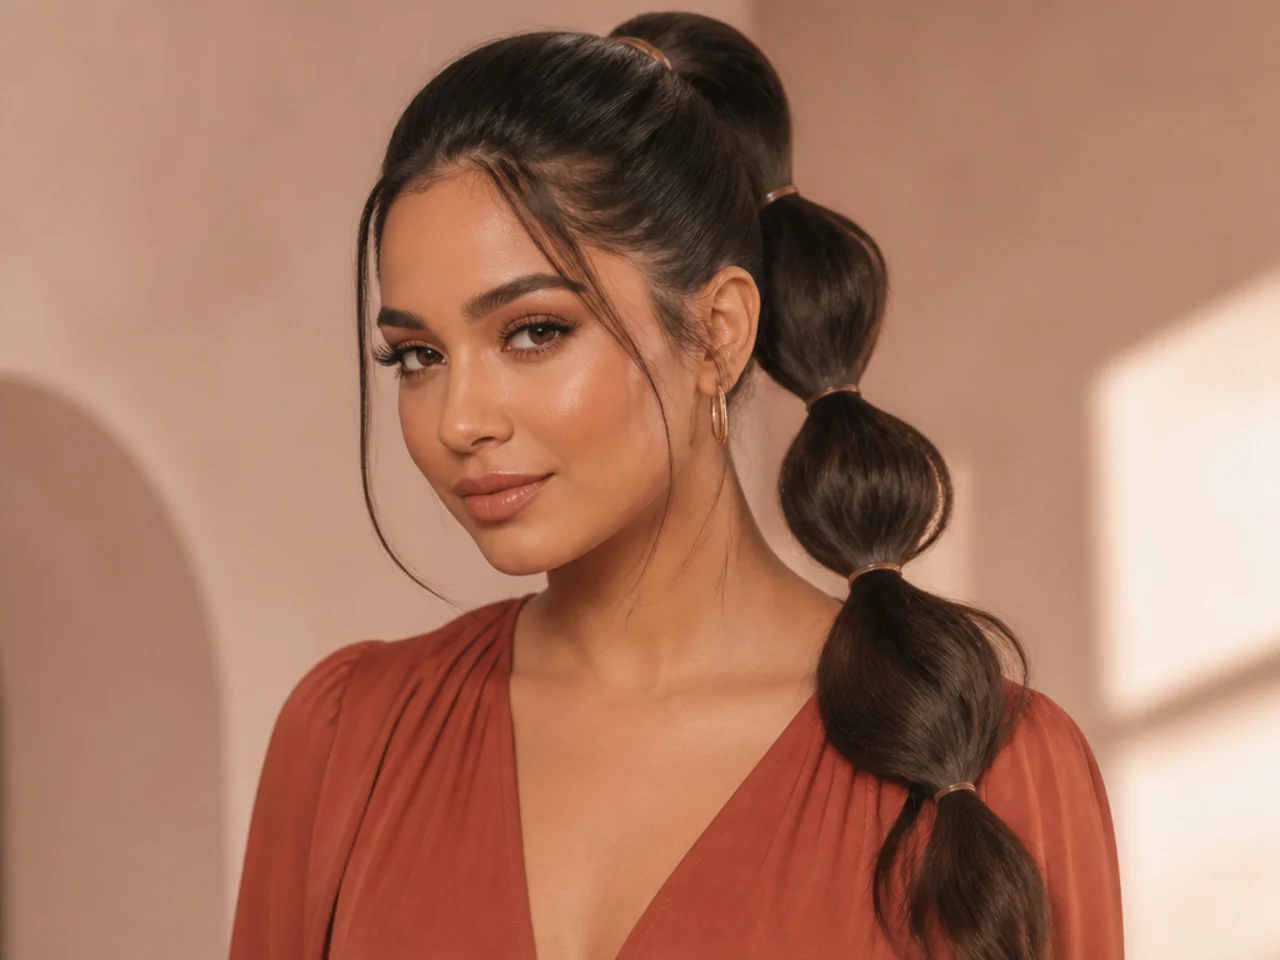
Triple-Band Bubble Pony
Bubbles add controlled volume down the length without breaking the sleek roots. This one suits fine or thin hair because the puffs read as fullness in photos. Tie your ponytail high. Place clear elastics every two to three inches down the tail. Gently pull the hair between each elastic outward with your fingertips to shape the "bubble." Work top-down so the tension stays even from top to tip.
Stylist tip: pinch each elastic between your thumb and forefinger while you tug. Otherwise the whole tail shifts and the first bubble goes lopsided.
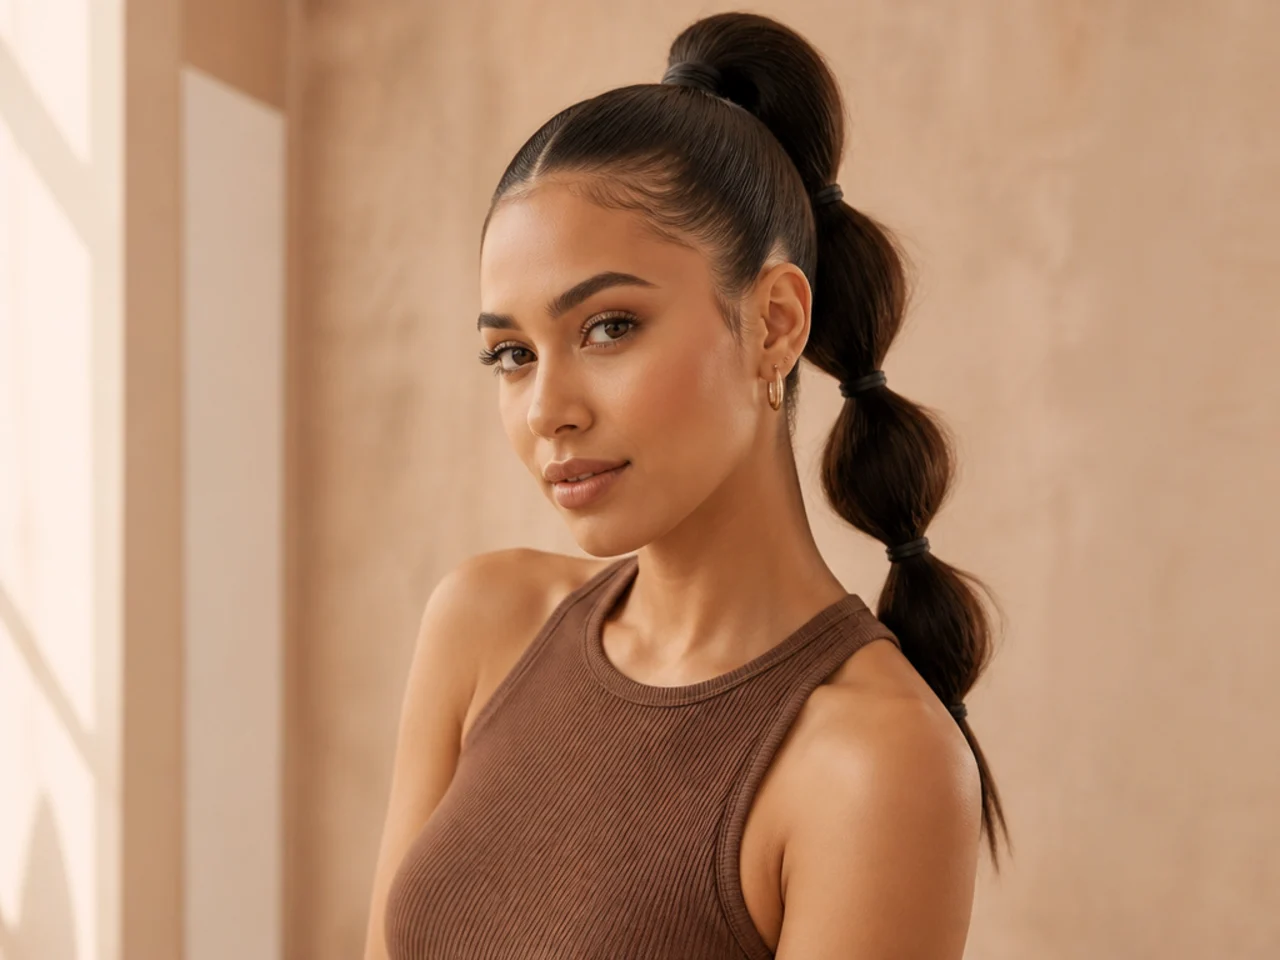
Braided Rope Twist
The rope replaces a standard three-strand braid with something more sculptural. It suits straight and wavy hair — coily textures need more moisture and grip to hold the twist all day. Split the ponytail in two. Twist each half clockwise as tightly as you can. Then wrap the two twisted sections around each other in the opposite direction. The opposing tensions lock the shape in place.
Stylist tip: work in a smoothing cream, not gel, before you twist. Gel makes the strands slippery and the rope unravels; cream gives you the grip you need.
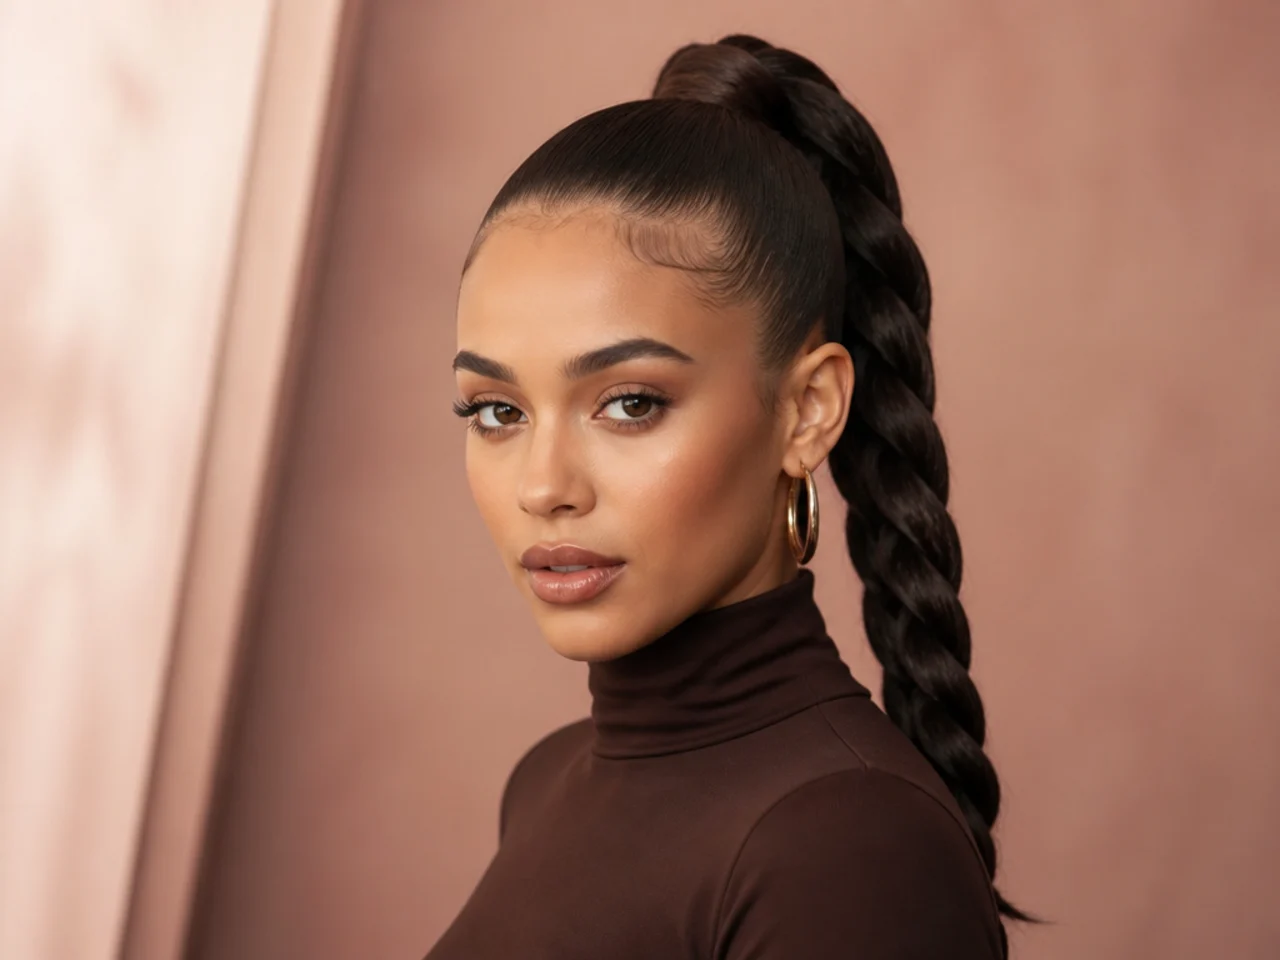
Deep Side-Part Snatched Pony
The deep part adds a vintage tilt to a modern high style. It suits round and square faces because the asymmetry breaks up the geometry. Use a rat-tail comb to draw a sharp part above the arch of your heavier brow. Sweep the heavy side across your forehead. Brush everything up and back into a high ponytail. Set with a hard-hold gel so the part stays crisp all night.
Stylist tip: blow-dry the heavy side flat before you comb the part in. A lifted root will fight the sleek finish every time.
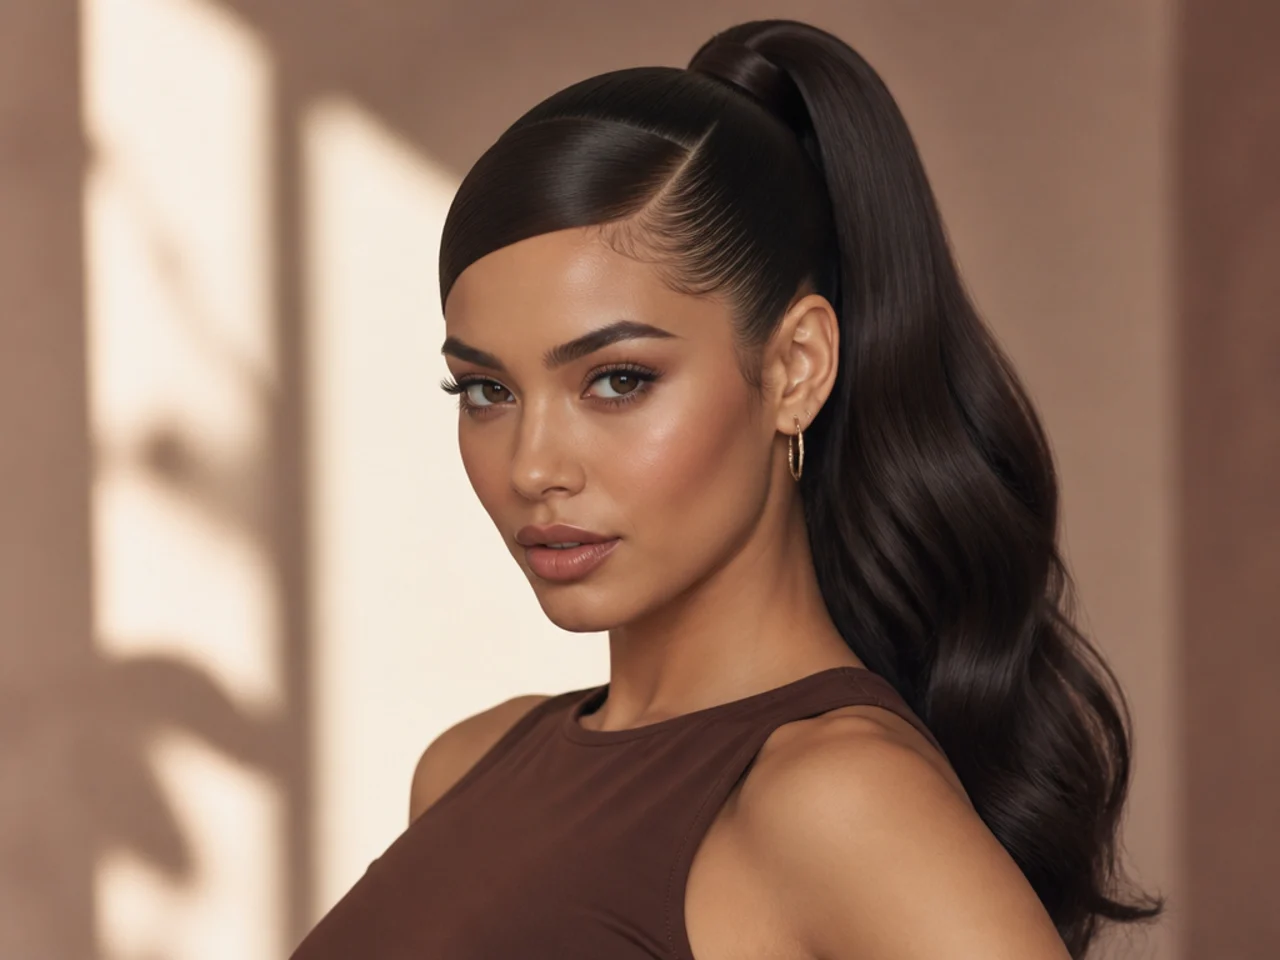
90s Flip-Out
The flip revives the supermodel silhouette from the era — polished at the scalp, bouncy at the tip. It suits blunt or one-length ends best. Once your sleek base is set, wrap the last two inches of the tail around a large round brush. Blast with hot air, then blast again with cold to lock the curl outward. A curling iron works too if you rotate the wand away from your face.
Stylist tip: if you want more visible movement in the tips, our guide on how to get choppy ponytail hair covers the point-cutting cheat that fakes the effect without a razor.
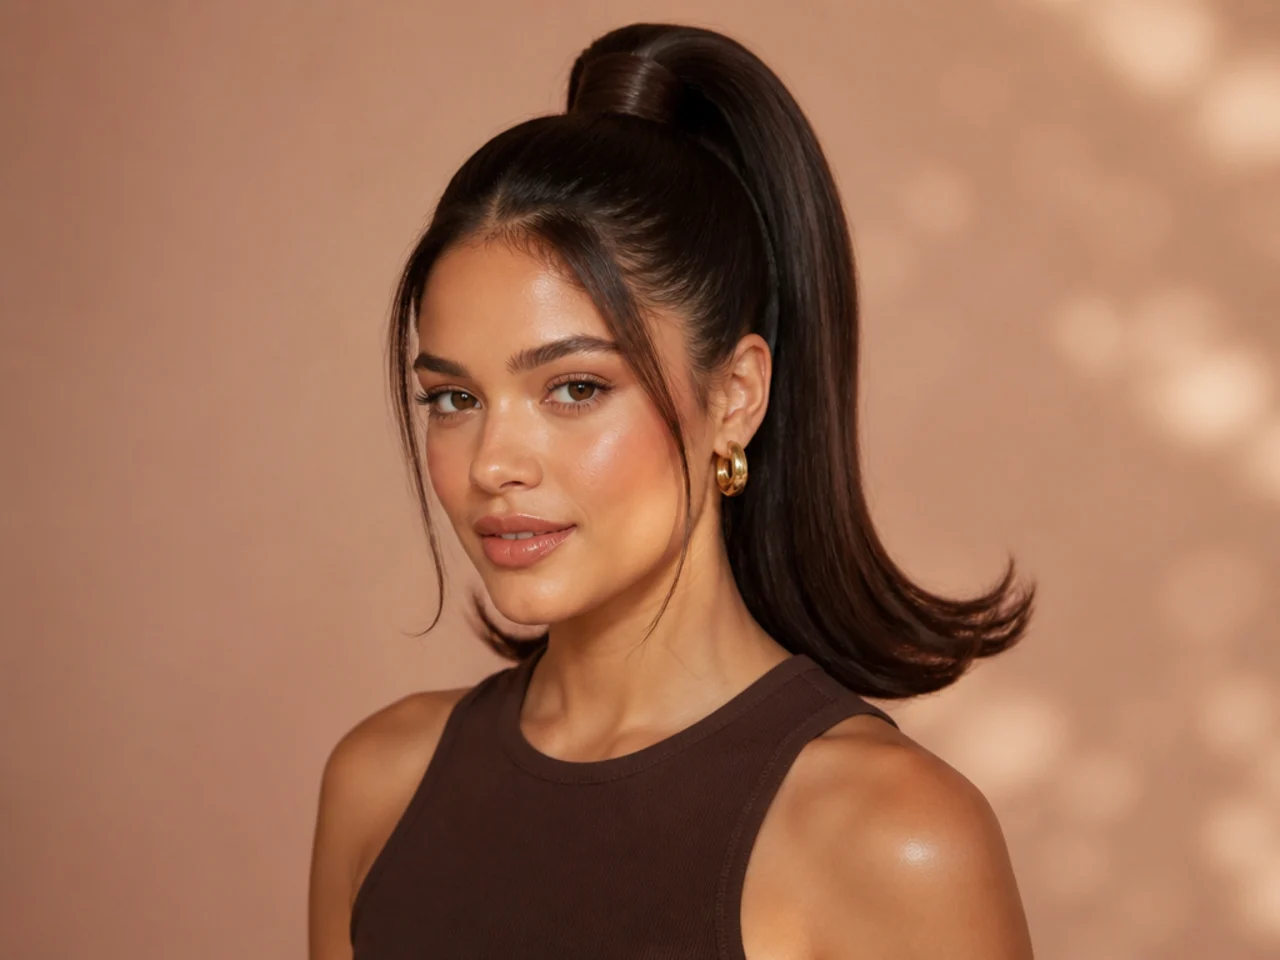
Fishtail High Pony
The fishtail adds intricate texture down the tail while the base stays clean. It suits medium to long hair — anything shorter unravels before you finish the plait. Split the ponytail in two. Take a small strand from the outside of the right section and cross it over to join the left. Repeat from the left. Keep each strand small for a tight, scaly finish rather than a chunky one.
Stylist tip: braid slightly looser than feels right. Then pancake the fishtail by pulling the edges outward once the ends are secured. It reads fuller in photos.
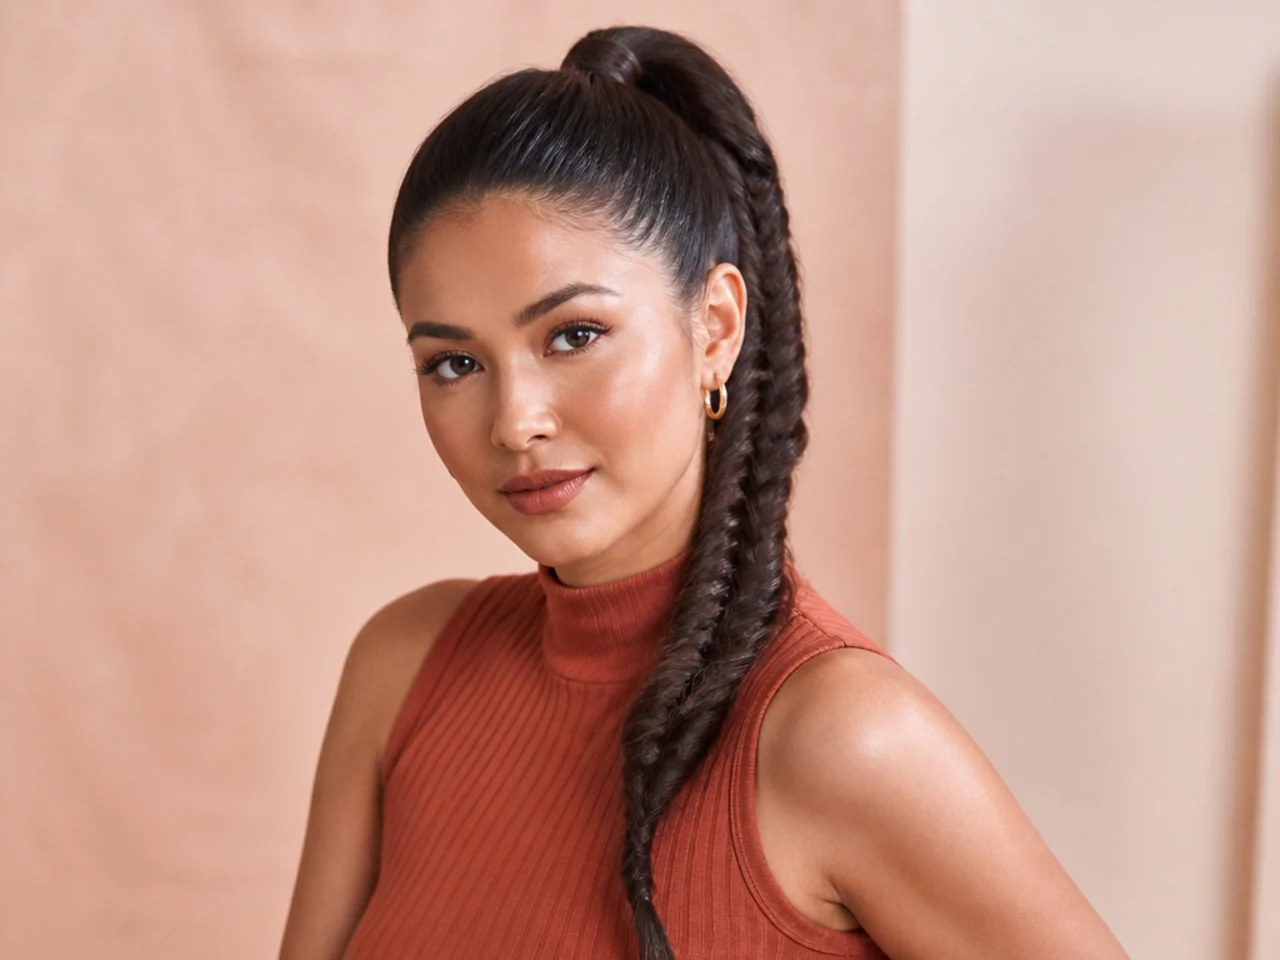
Sky-High Fountain
Placement is everything here. The base sits at the very crown — sometimes an inch forward — so the tail cascades over the top of your head. It's the Ariana Grande signature at maximum lift. It suits long faces because the height above the eyes is balanced by the length below. Flip forward, brush to the crown, tie with a strong elastic. Then push the tail forward with your palm so it falls, fountain-style, around the front.
Stylist tip: anchor two crossed bobby pins into the underside of the elastic, points aimed down toward the scalp. They act as a splint and stop the fountain from sagging by mid-afternoon. On heavier hair, a spin pin threaded through the base gives you even more hold.
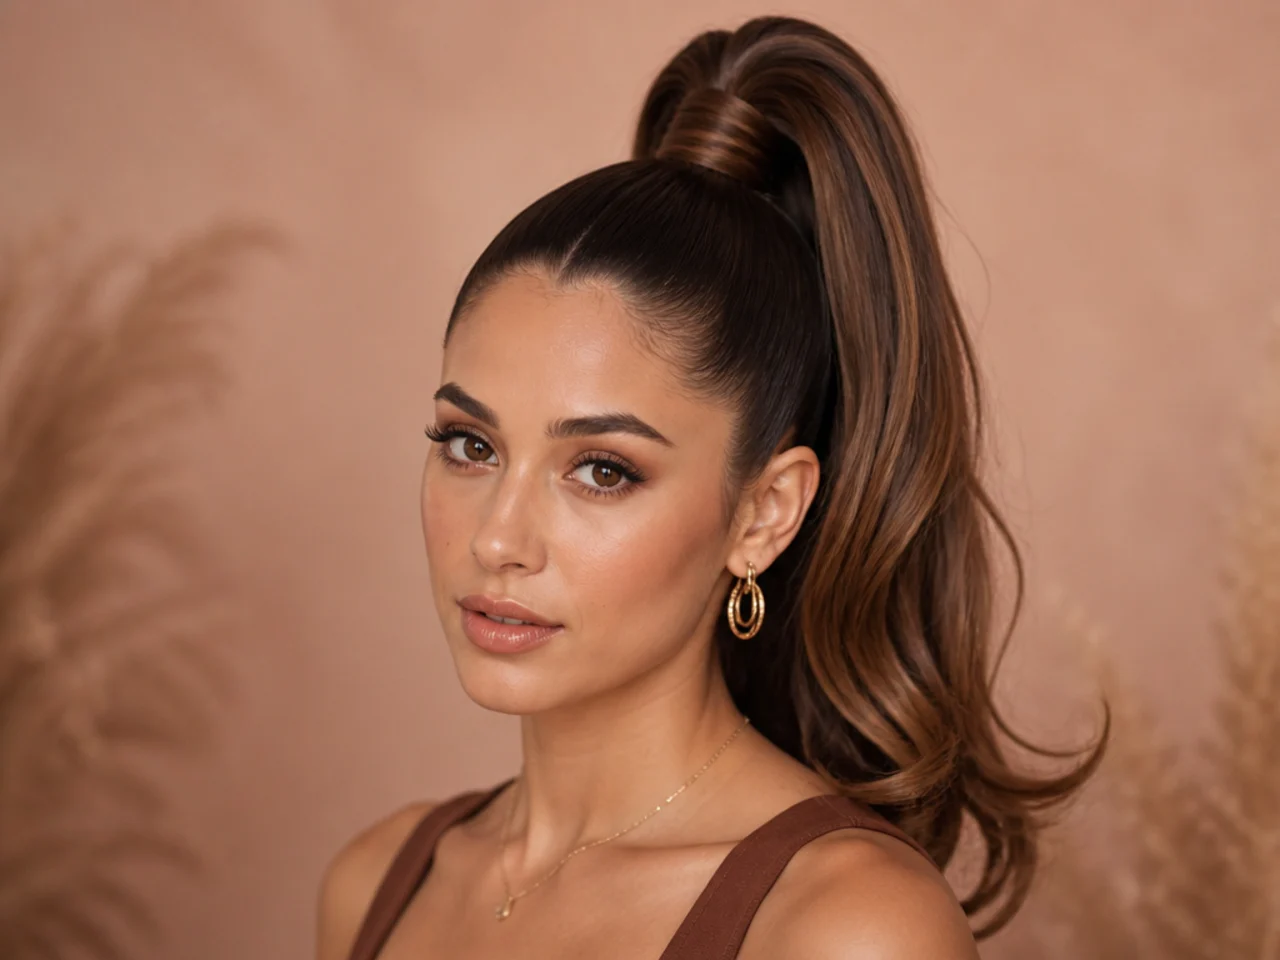
Pearl-Embellished Sleek Look
Pearls turn a sleek pony into bridal jewelry. This one suits weddings, engagement dinners, and any invite that reads "white tie." Use flat-back adhesive pearls in graduated sizes — biggest near the temples, smallest along the sides toward the elastic. Apply them along the smoothed hairline once the ponytail is fully dry. Wet gel will fight the adhesive.
Stylist tip: for the same bridal energy without the height, browse our low bun prom hairstyles for brown hair — same polish, softer silhouette.
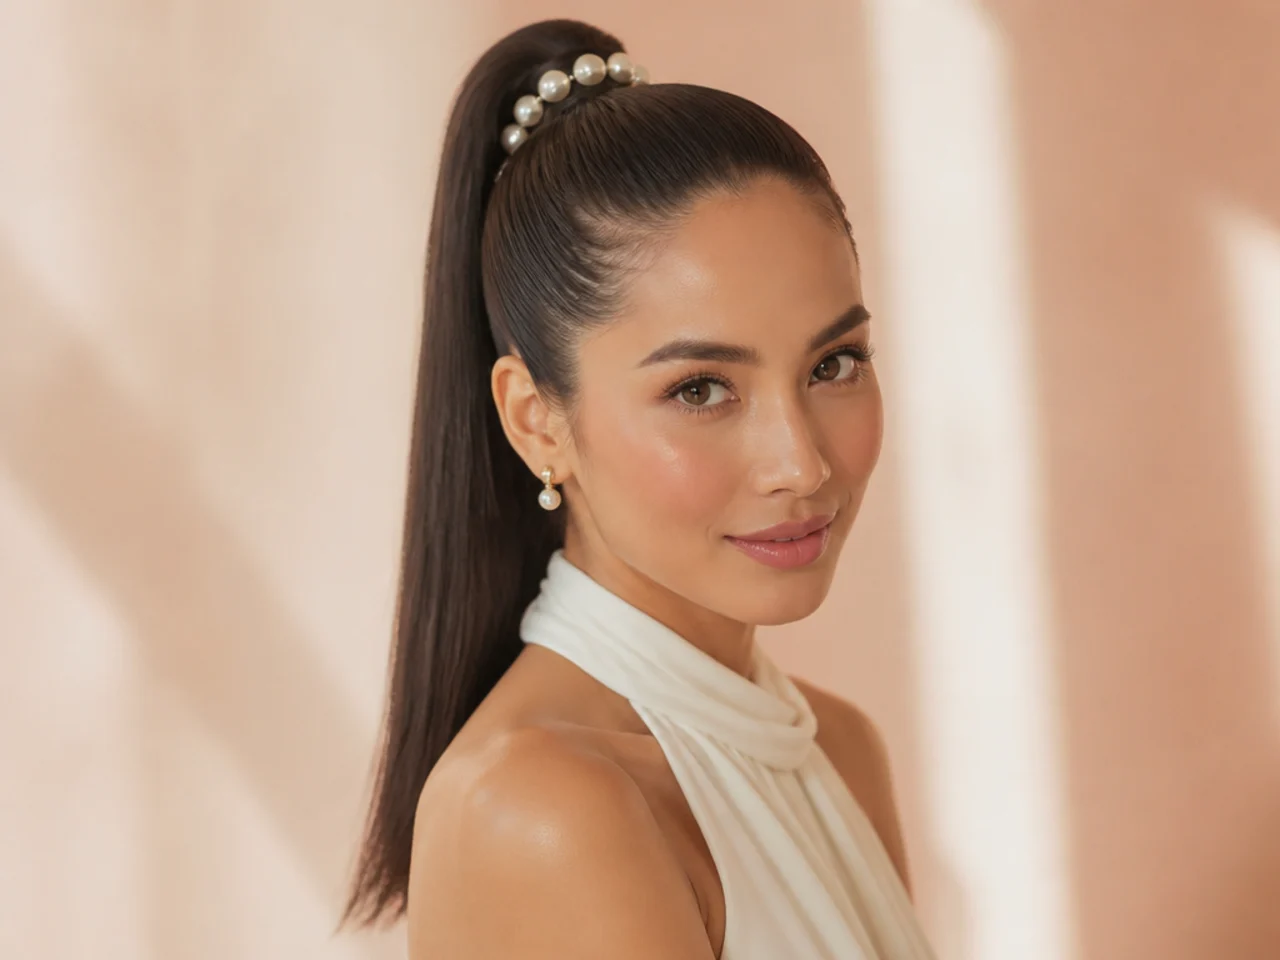
Blunt-Cut Edge
If your ends are one length, the sleek pony is your best showcase. It suits fine or medium-density hair — thick blunt hair gets too heavy at the ends and starts to fan. Skip any curl or flip. Keep the tail dead straight with a flat iron. Then run a pea-sized drop of finishing oil over the ends only, so they sit heavy and cohesive rather than frayed.
Stylist tip: if you have hair cut to one length, tuck the shorter face-framing pieces into the wrap so the tail reads as one clean rectangle.
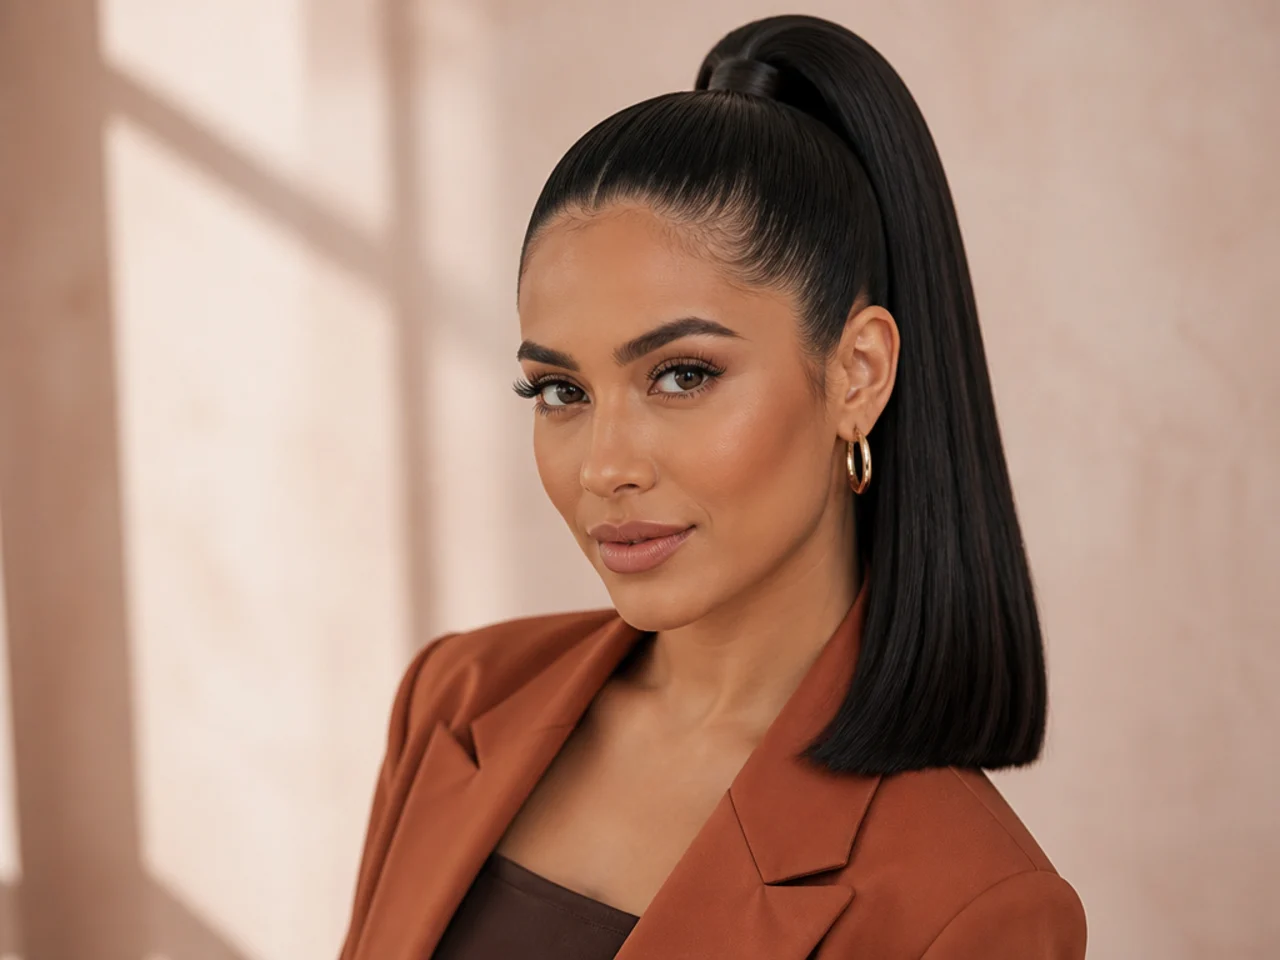
Double-Stacked Ponytail
Two elastics fake the length and thickness of a horse-tail. It suits thick, heavy hair that sags in a single elastic no matter how tight you pull. Split the hair horizontally at the crown. Tie the top half into one high ponytail. Take the bottom half and tie it directly under the first, tucking the lower elastic up so it hides behind the upper tail. From the front, you see one dense pony.
Stylist tip: point the lower elastic slightly upward when you tie it. Gravity drops it into position and you avoid the gap that gives the trick away.
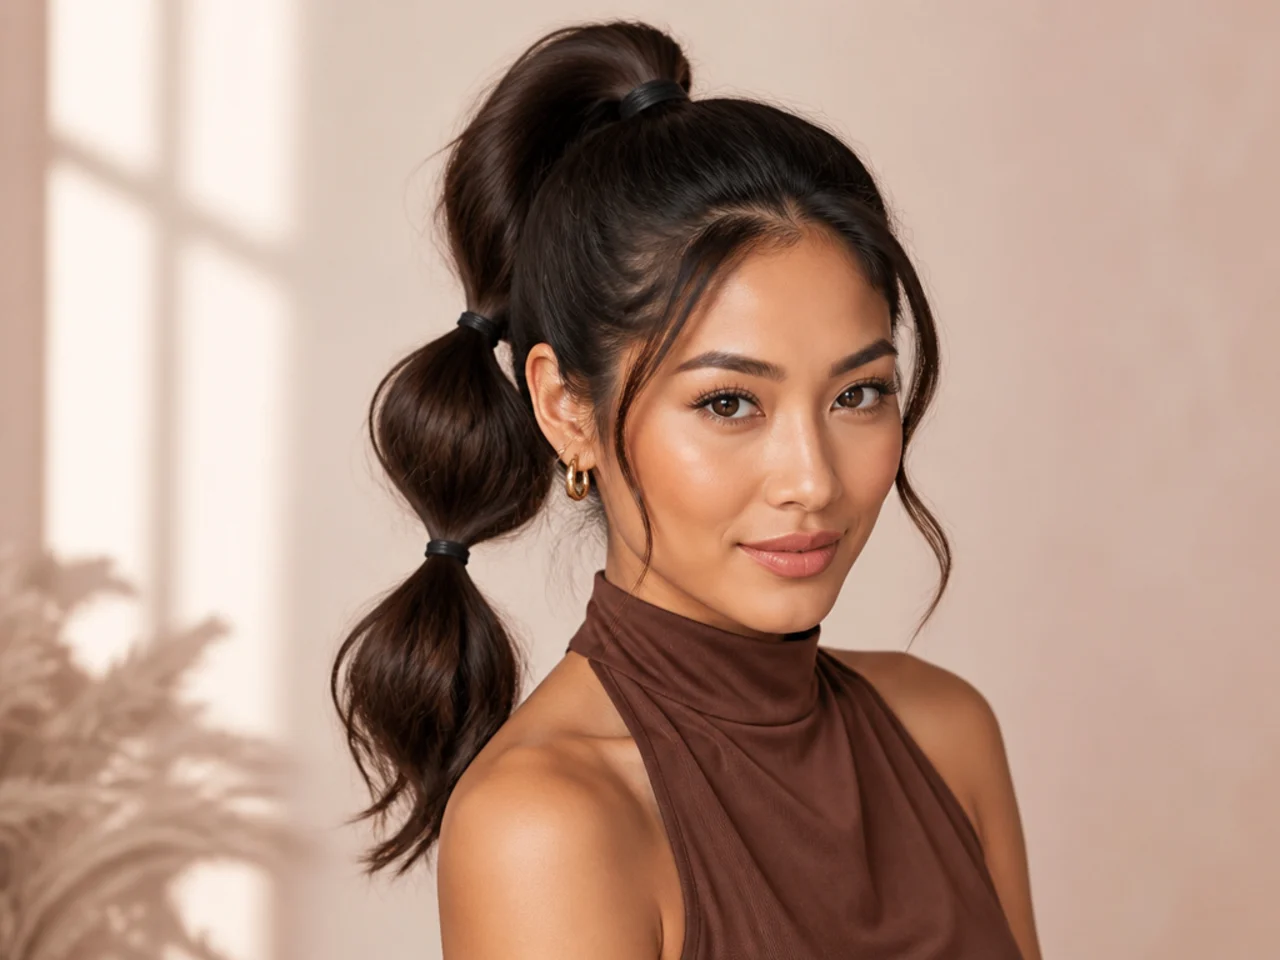
Metallic Thread Wrap
The metal cuff adds a hardware element that reads futuristic and expensive. It suits nights out, concerts, and editorial briefs. Wrap a fine gold or silver cord around the first three inches of the tail — millinery wire works, and so does a length of metallic embroidery thread. Wind tightly, spiral down, tuck the end under the last wrap. Secure with a single stitch of clear thread if needed.
Stylist tip: match the metal to your undertone. Warm skin takes gold. Cool skin takes silver. Chrome reads well on both.
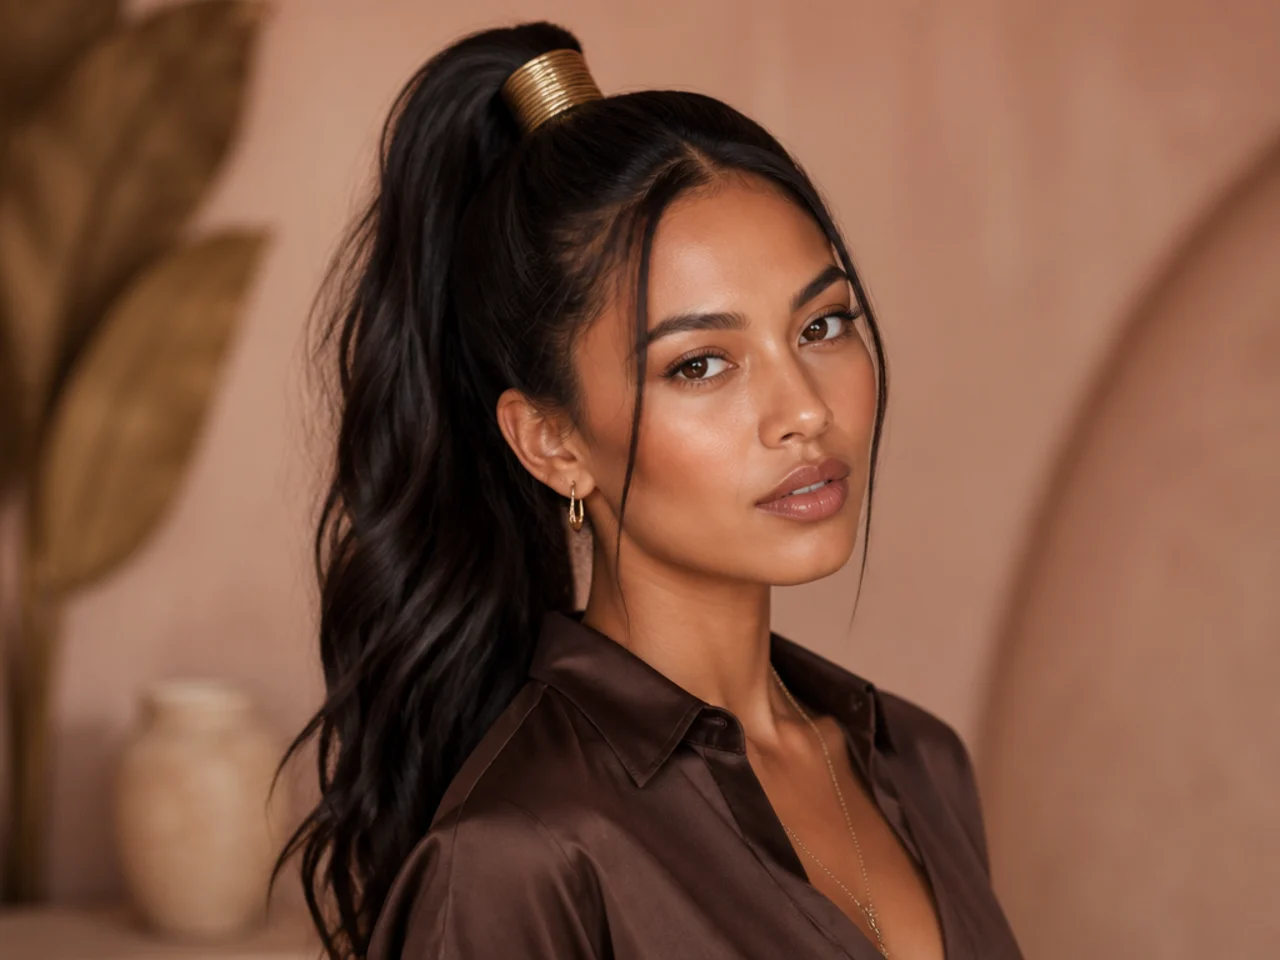
French Braid Undercut
The upside-down braid keeps the nape flat and moves all the visual weight to the crown. It suits active days when a loose pony would slide out by noon. Flip your head forward. Start a French braid at the nape and work upward, adding hair with each pass until you reach the crown. Gather everything remaining and tie the high pony. From the front you see a slick pony; from the back, a braid climbs your neck.
Stylist tip: dry-shampoo the nape before you braid. It gives you grip so the braid doesn't slide loose as you work upward.
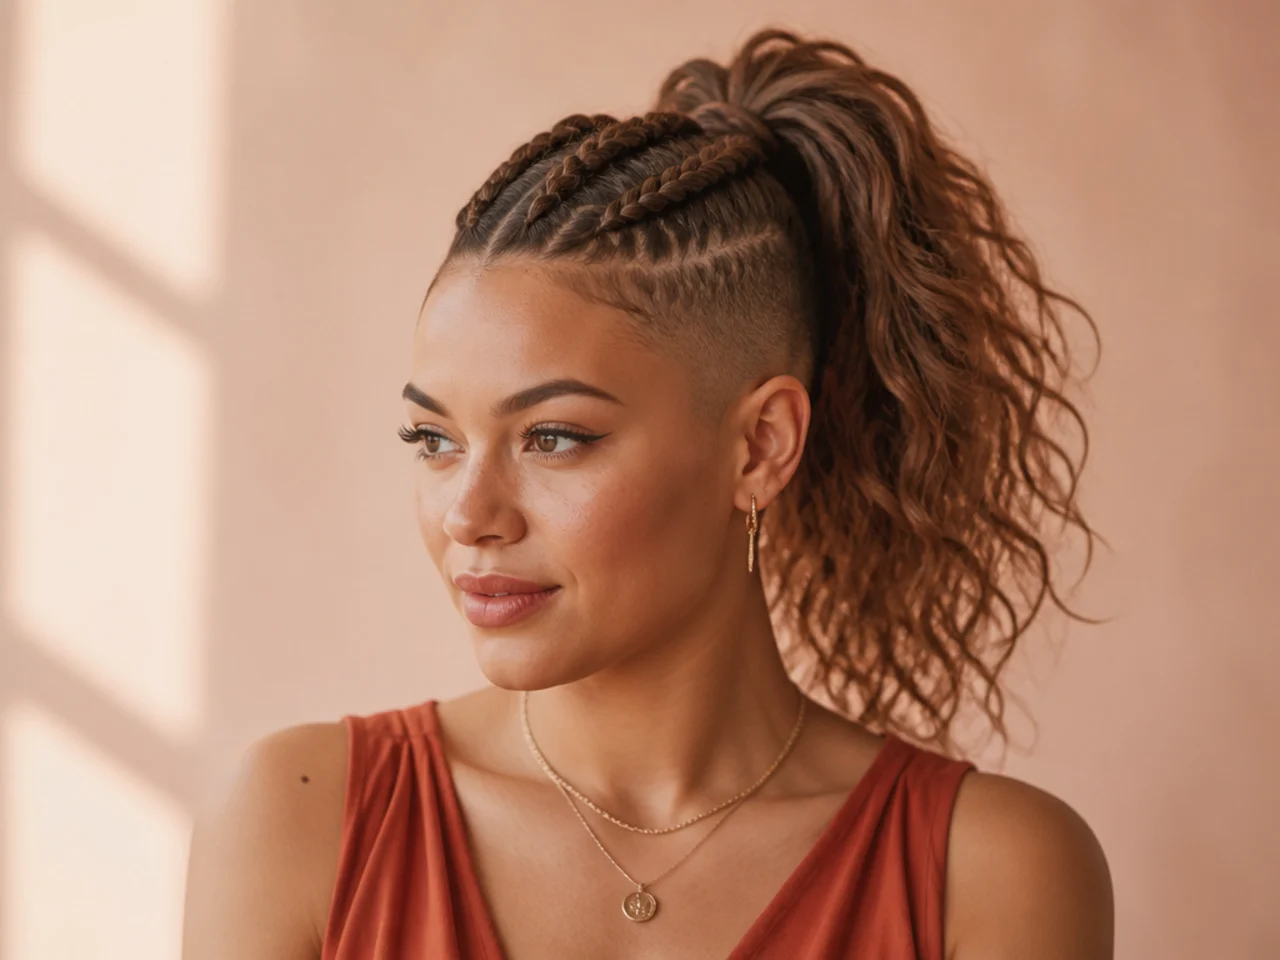
Sleek Half-Up High Pony
The half-up gives you polish at the top with length showing through the back. It suits anyone growing hair out who wants the "snatched" look without losing the reveal. Take everything from above the ear line. Brush it up to the crown and secure into a high pony. Leave the lower half loose and straight. The line between "up" and "down" should be a clean horizontal — no wisps allowed.
Stylist tip: flat-iron the lower half after you tie the top. Any bend or wave underneath will fight the sleekness up top.
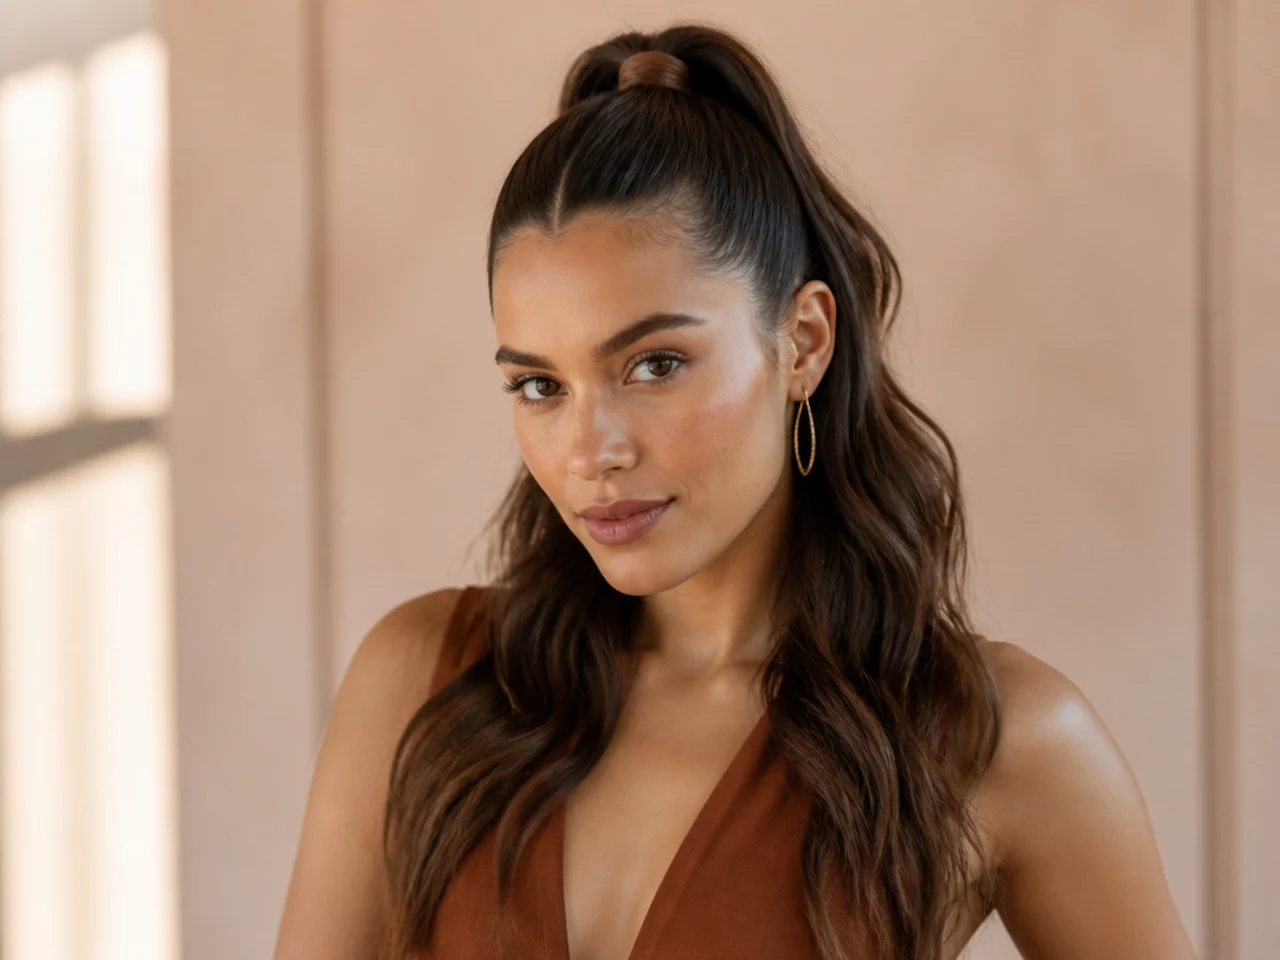
Velvet Ribbon Bow
The ribbon is the coquette-adjacent softener. It suits date nights, brunches, and anywhere the outfit already leans feminine. Tie your sleek pony first. Loop a long piece of velvet ribbon under the elastic. Knot it into a bow. Let the tails hang to whatever length the ribbon allows — even all the way down to the ends of your hair for maximum drama.
Stylist tip: matte velvet reads richer than satin under warm indoor light. For the wider mood the ribbon is borrowing from, read this coquette aesthetic explainer.
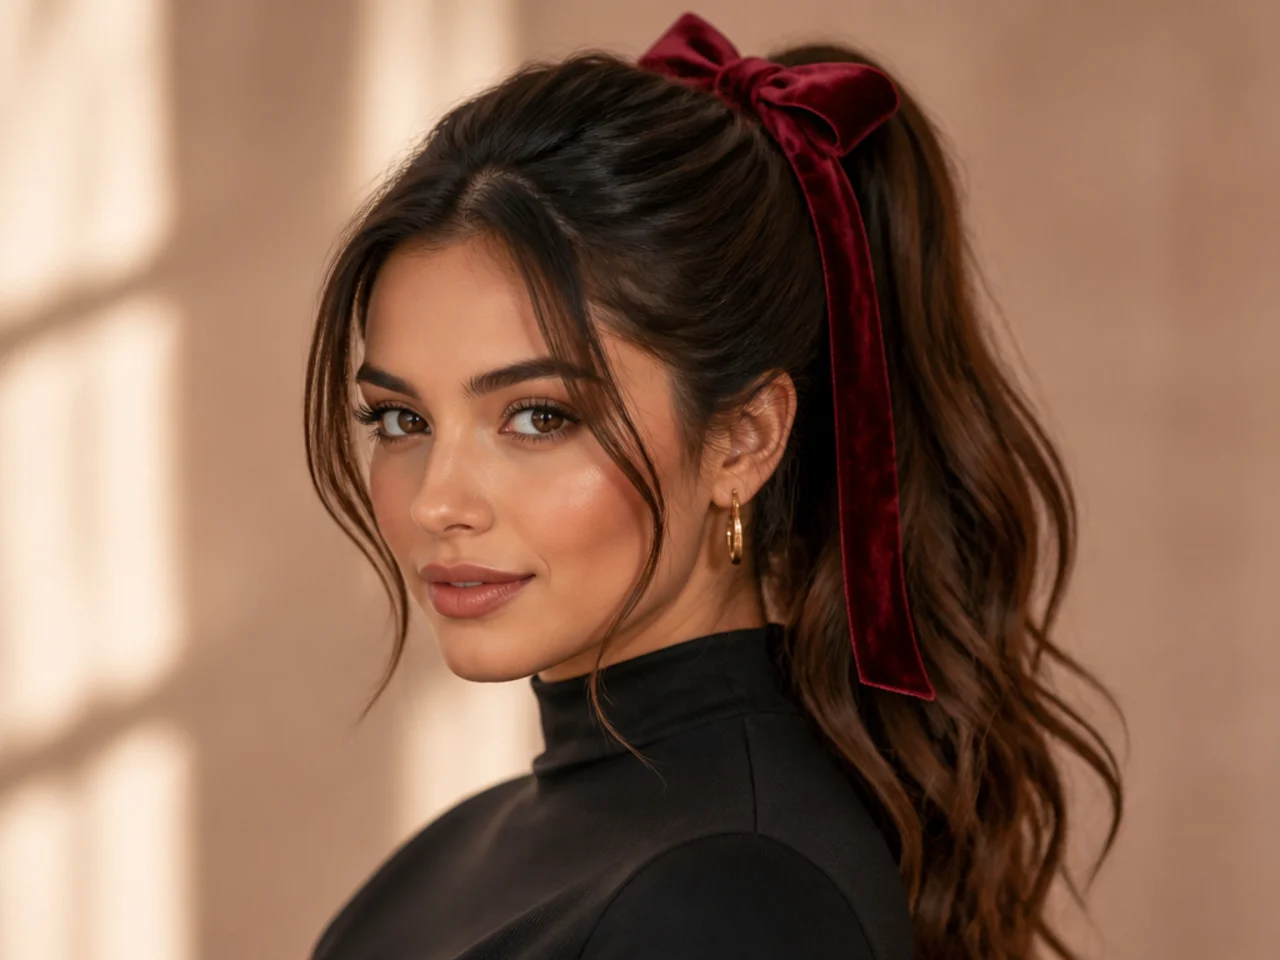
Zig-Zag Parting
The zig-zag is a small graphic detail that lifts a plain sleek pony out of the ordinary. It suits anyone who wears their part visible — center or side, either works. Use the pointed tip of a rat-tail comb. Start at the hairline. Push in a half-inch, angle the comb, push in another half-inch at a different angle. Repeat until you reach the crown. Then slick everything up and back.
Stylist tip: part on damp, product-loaded hair so the zigs stay defined. Dry hair blurs the lines within an hour.
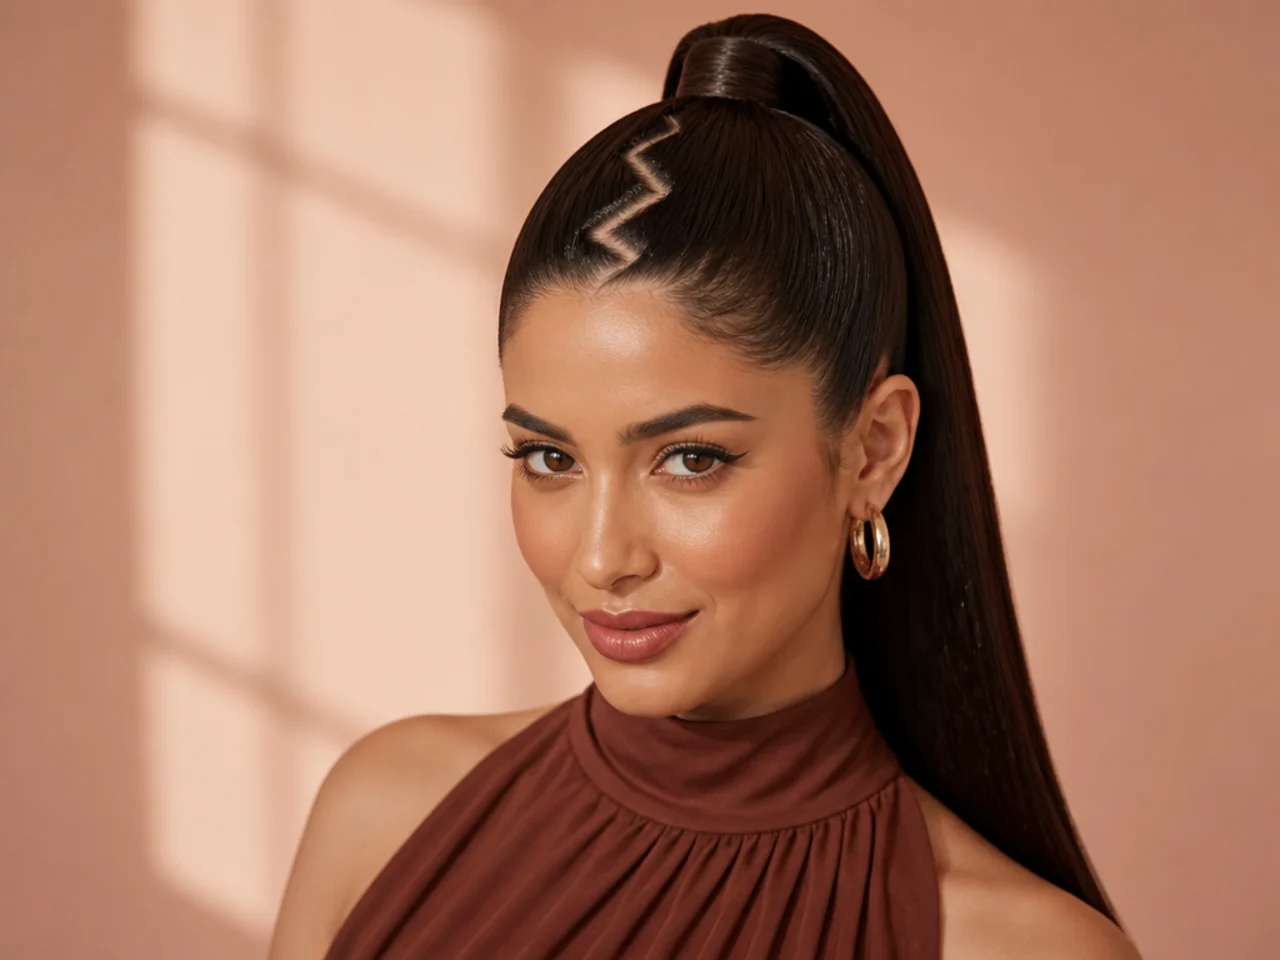
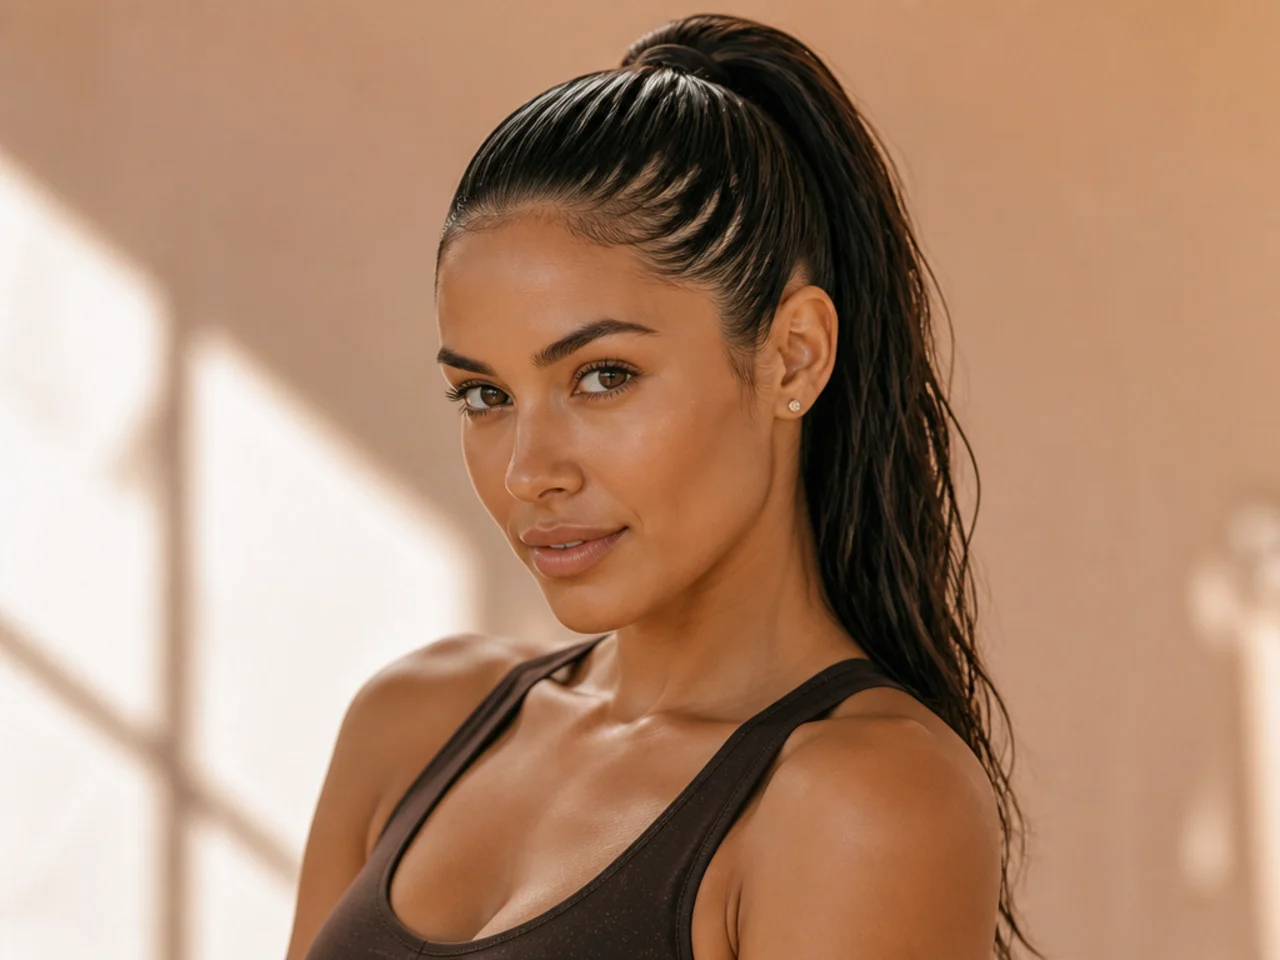
Wet-Look Gym Pony
This is the sleek pony in its most utility-focused form. It suits workouts, humid days, and anytime your hair needs to move but not shift. Rake a wet-look gel through damp hair root to tip. Brush everything up with a wide-tooth comb rather than a boar bristle — bristles drag the gel off before it sets. Tie with a no-crease elastic. The gel dries into a hard shell that will not fluff when you sweat, and rinses out cleanly in the shower.
Stylist tip: for softer wet-look days when you're not sweating through it, mix half gel and half leave-in conditioner in your palm. The look holds but the hair still moves. For quicker everyday running-around styles, our cute hairstyles for school roundup covers faster options.
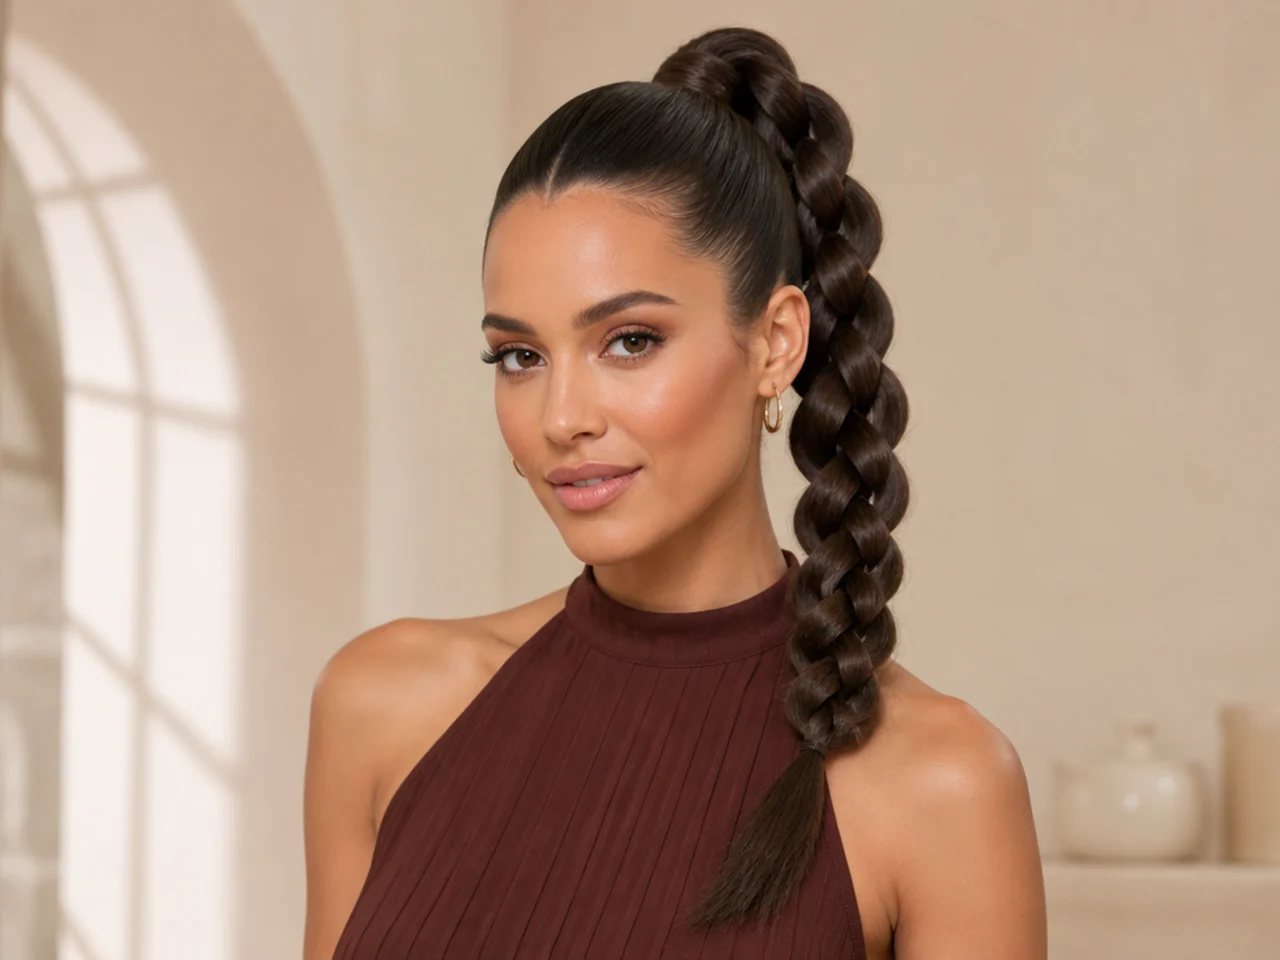
Chain-Link Braid
The chain sits inside the braid so glints of metal peek through the plait. It suits edgier looks — leather, denim, streetwear. Use a lightweight, fine-gauge chain (fashion chain from a craft store works). Anchor one end to the base of the pony with a bobby pin. Split the tail into three. Treat the chain as a fourth "strand" that follows the middle section as you braid down the length.
Stylist tip: tape the chain ends before you braid. Raw metal snags hair; taped ends slide clean through the plait.
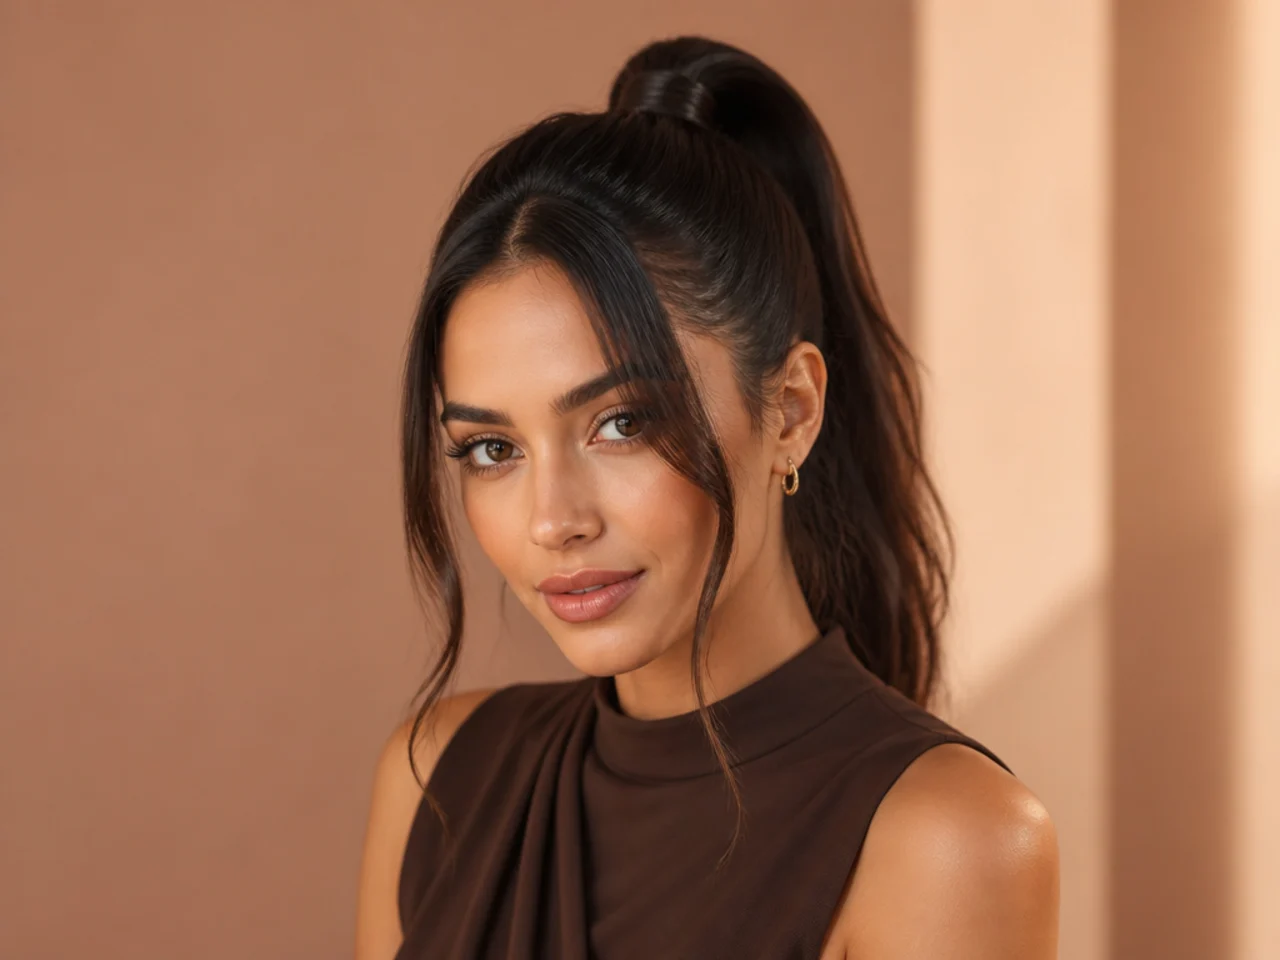
Soft Face-Framing Tendrils
Tendrils break the harshness of a tight scrape-back. They suit square and heart-shaped faces because the softer front reads more flattering. Once the ponytail is set, pull two thin sections free at each temple. Flat-iron them straight. Curve them slightly toward the cheekbones with a small curling wand. Keep them thin — pencil-thick, not thumb-thick.
Stylist tip: spray a light hairspray onto your fingers, then run your fingers down the tendrils. Spraying directly makes them stiff; the finger transfer keeps them soft.
Multi-Elastic Tiered Pony
Different from bubbles — the hair between the elastics stays flat, not puffed. It suits long, straight hair that would otherwise fall in one plain shape. Tie the pony high. Place a second elastic four inches down. A third four inches below that. Continue to the ends. Use metallic or clear elastics for a clean, segmented column.
Stylist tip: roll each elastic on with the pony flipped upward. It keeps the hair between the sections perfectly parallel and prevents unwanted bubbles from forming.
Sculptural Loop
The loop is the intentional "half-through" ponytail — half messy bun, half polished pony. It suits medium-length hair that struggles to hold a full high pony without slipping. Pull the hair through the elastic once. On the second pass, only pull the tail halfway through so a loop forms at the top and the ends hang from the bottom.
Stylist tip: for an even smaller, sharper loop, twist the tail once before pulling it through. The twist tightens the loop and gives the shape more architecture.
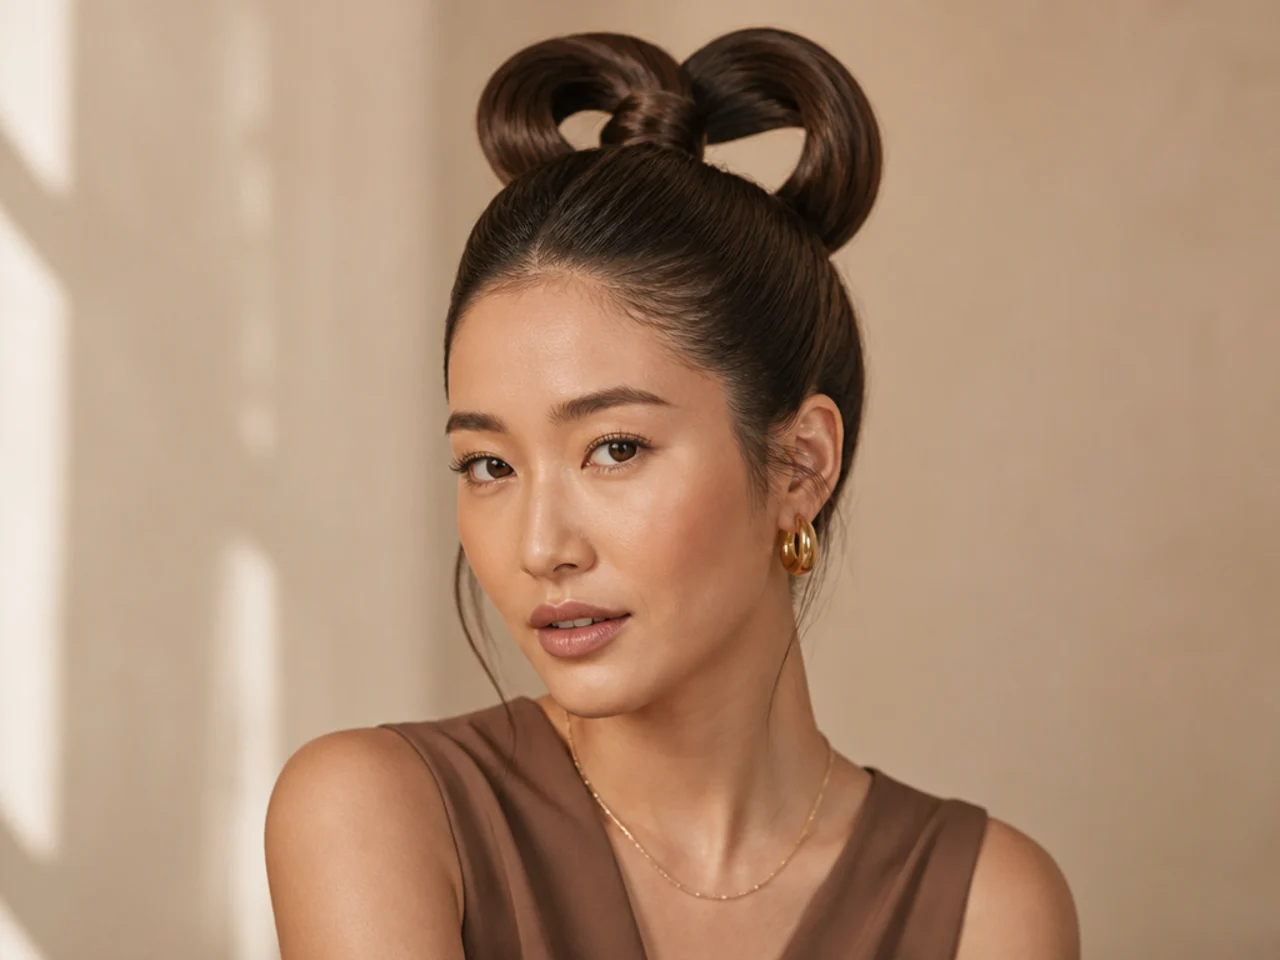
Sleek Side-Swept Fringe
The swept fringe blends bangs into the pony instead of fighting them. It suits anyone growing out a fringe or working with a curtain bang. Comb the fringe with a strong-hold pomade to whichever side matches your part. Sweep it flat toward the pony base. Let it merge into the surrounding smoothed hair.
Stylist tip: heat the fringe with a blow-dryer and a small round brush before you pomade it. Setting the shape with heat first makes the pomade hold instead of slip.
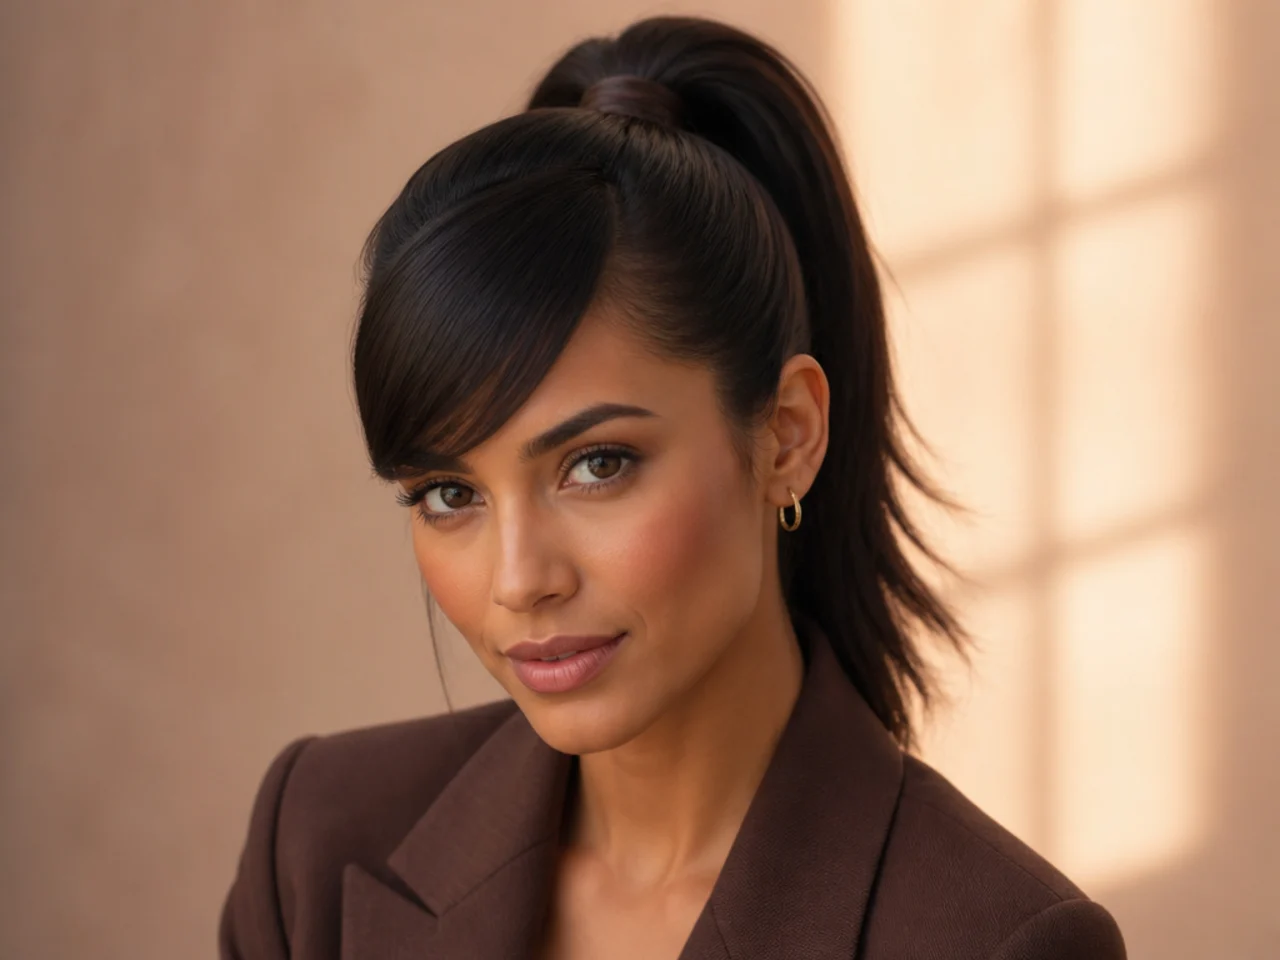
Hollywood Wave Tail
The scalp is glass; the tail is a single silver-screen wave. It's the Bella Hadid red-carpet formula. It suits red carpets and any brief that says "vintage glam." Set your sleek base as usual. Wrap the entire tail around a 1.5-inch curling iron in the same direction — always away from the face — and hold each section for eight seconds. Once the whole tail is curled, brush it out with a paddle brush loaded with light-hold hairspray. You want the individual curls to melt into one continuous wave rather than staying as separate ringlets.
Stylist tip: clip each cooled curl to itself with a duckbill clip and leave them pinned for ten minutes before brushing out. The set holds twice as long. For the same wave shape without the ponytail base, our soft blowout waves hairstyle guide walks through the down-style version step by step.
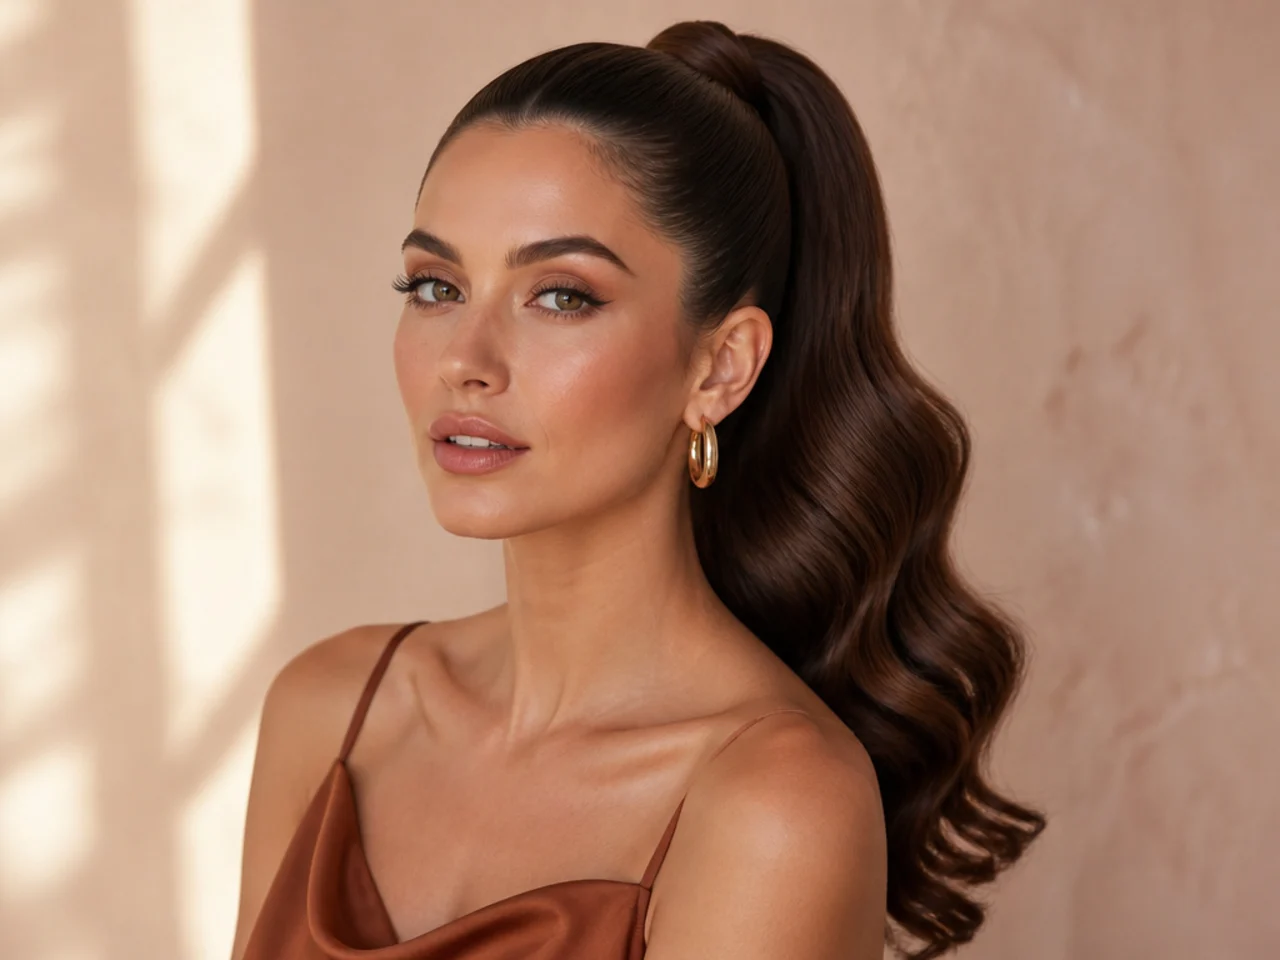
Rhinestone Parting
Stones along the part turn a plain center part into runway. It suits galas, New Year's Eve, and any brief where more is more. Use flat-back rhinestones in graduated sizes. Apply them in a single line along the part with lash glue or hair-specific adhesive. Start big at the hairline. Taper smaller toward the crown.
Stylist tip: apply the stones before you slick the sides. Once gel is set, adhesive will not grip through it. If you want to push the sparkle onto a formal updo instead, our updos for medium hair roundup takes stones the same way.
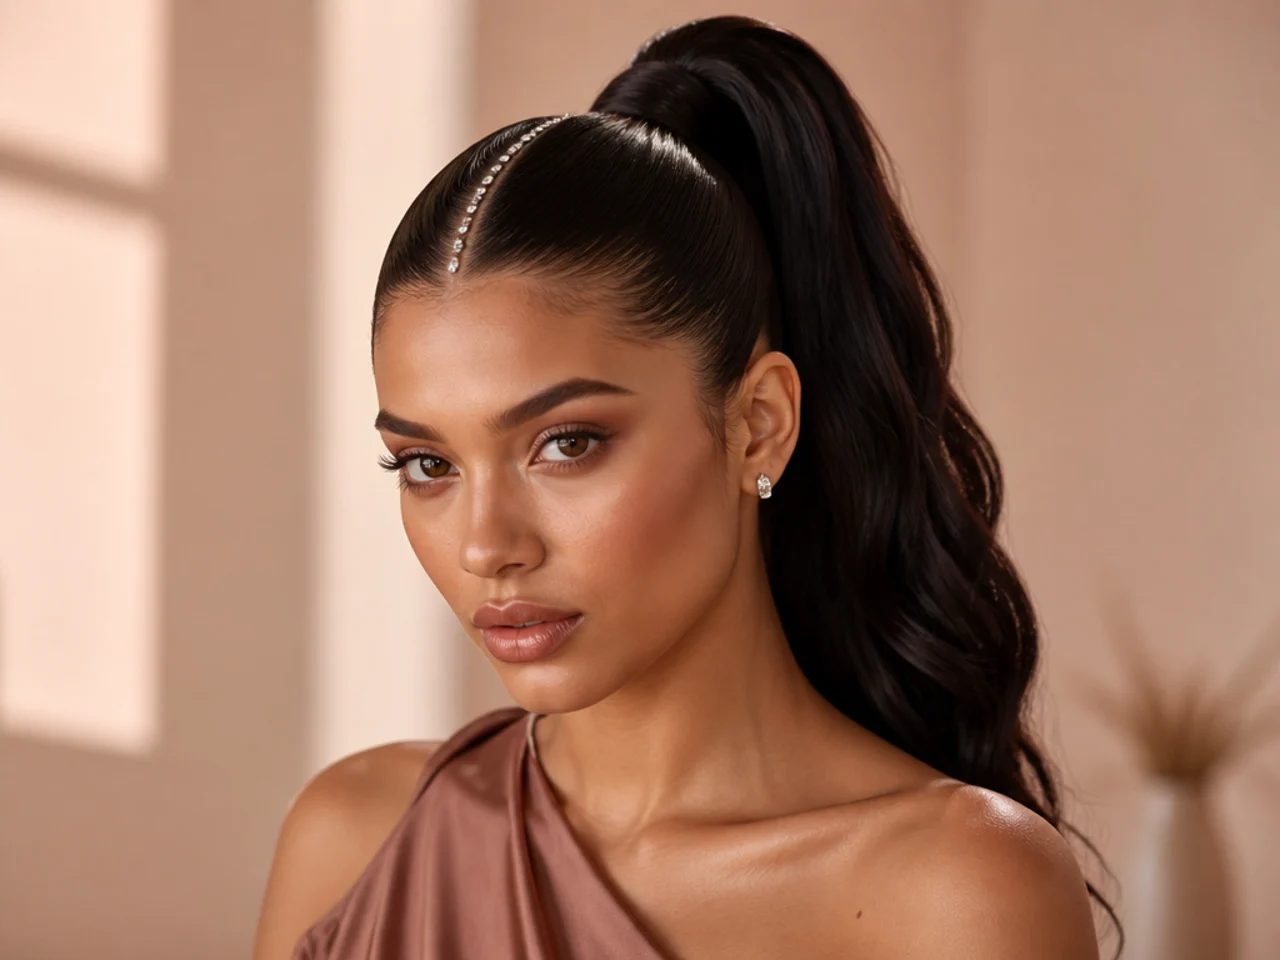
Pompadour Sleek Pony
The pompadour lifts the front to elongate the face. It suits round faces because the added vertical shifts the proportion of the whole head. Take a two-inch section at the front. Backcomb the underside from mid-length to root with a fine-tooth comb. Smooth the surface layer over the puff and pin it in place. Slick the sides down tight around it.
Stylist tip: pin the pouf from underneath using two crossed bobby pins. Face-visible pins ruin the sleek line — hide them under the shape.
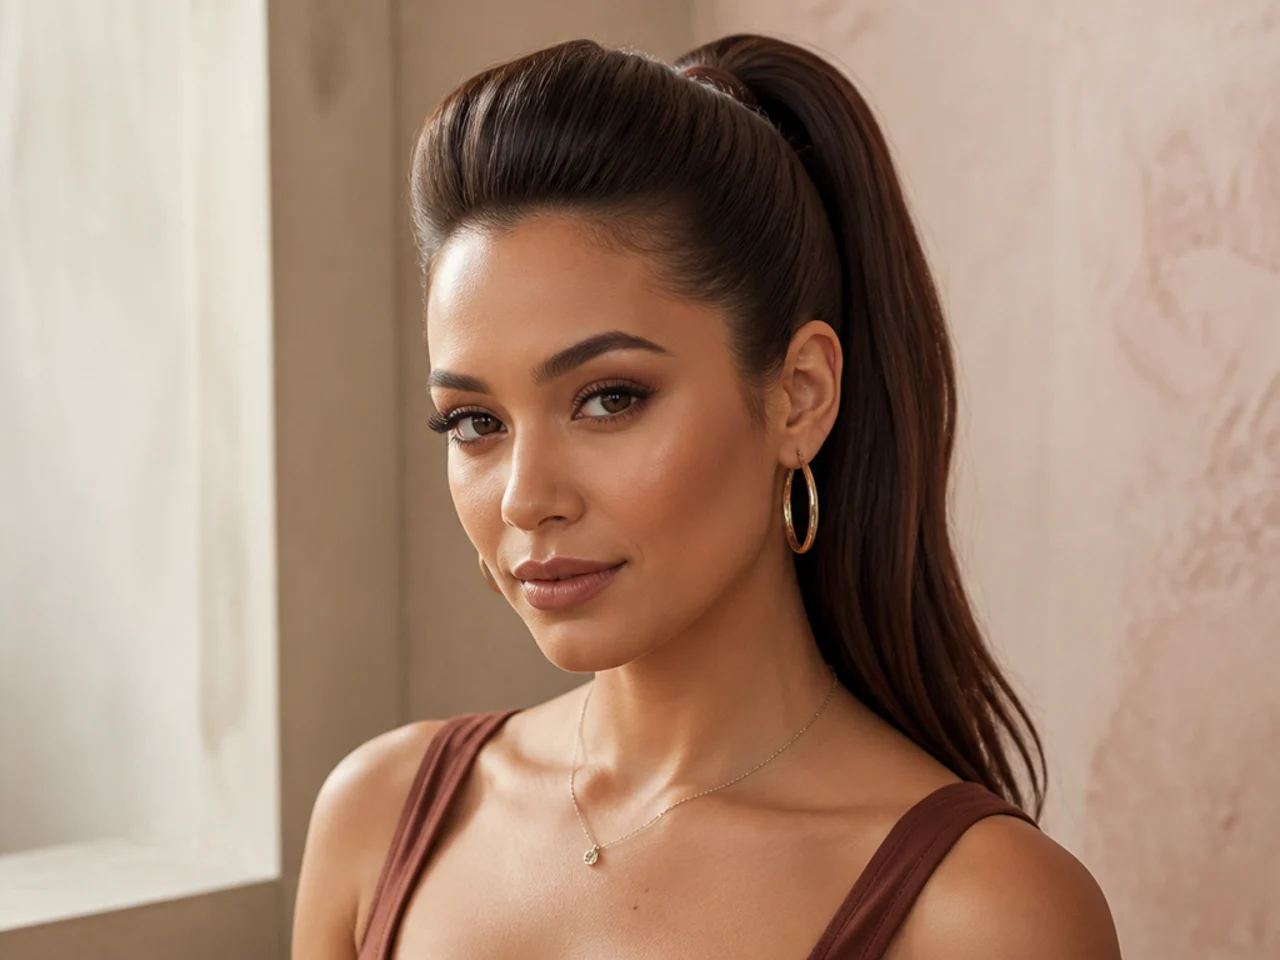
Tapered Rope Braid
The taper takes a rope twist and narrows it as it descends. It suits long hair because you need the length to sell the taper. Start twisting your two sections with thick portions of hair. Then tighten your grip and reduce the width of the twist as you work down. The braid ends thin and sharp, like a whip.
Stylist tip: stop twisting three inches from the ends. Leave a small tuft loose at the bottom. It stops the tail from looking blunt-pointed and adds a real hair finish.
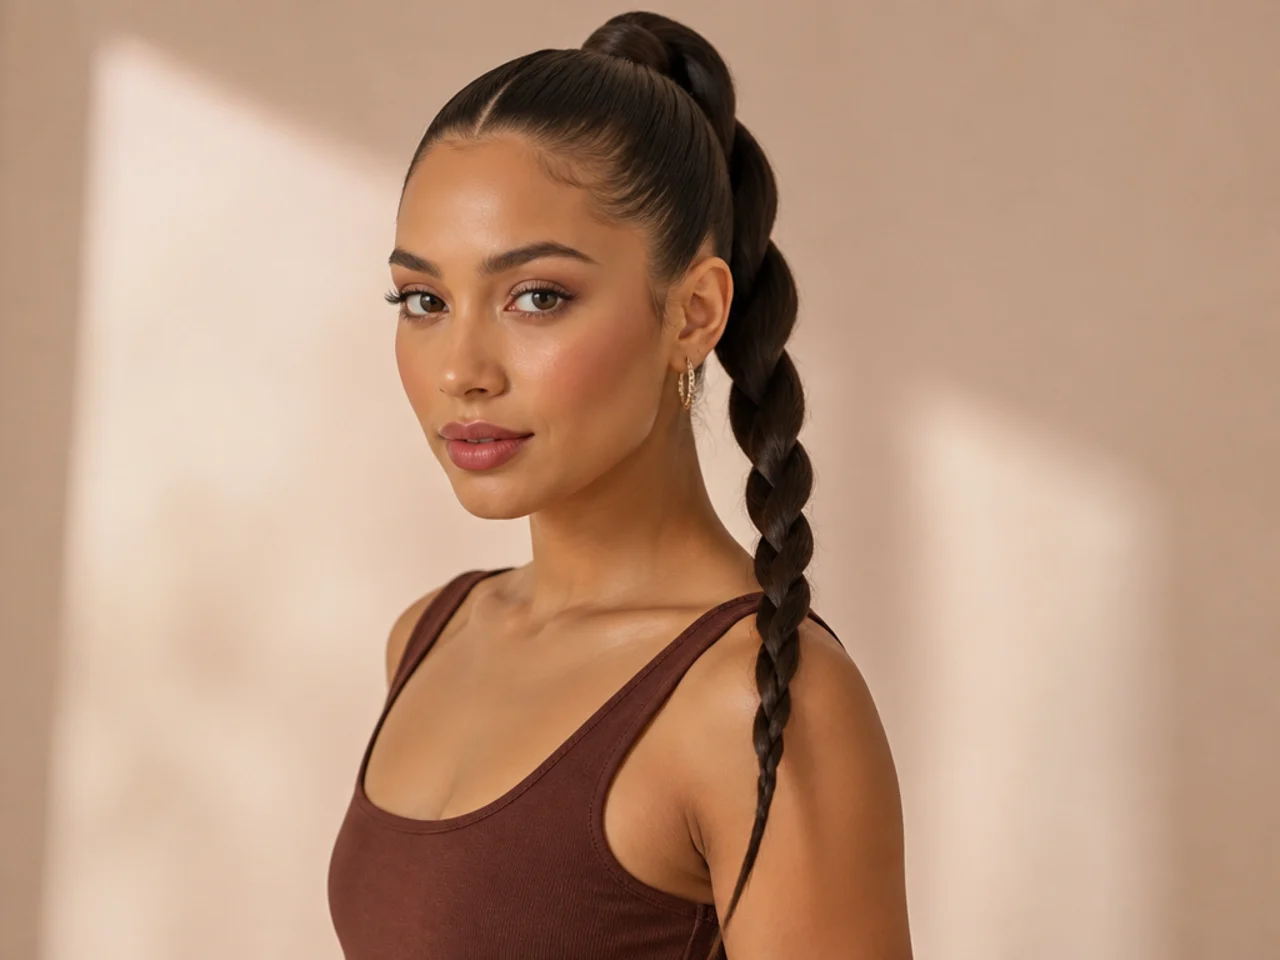
Scarf-Intertwined Pony
The scarf adds color, print, and softness to an otherwise minimal look. It suits summer outings, brunches, and warm-weather travel. Fold a silk square into a long strip. Loop it under the elastic. Braid it into a three-strand plait using two hair sections and the scarf as the third strand. Tie the ends together with a small elastic and let the scarf tails hang loose.
Stylist tip: if the scarf slips as you braid, spritz it lightly with a texture spray. Even fabric grips better when there's tackier product involved.
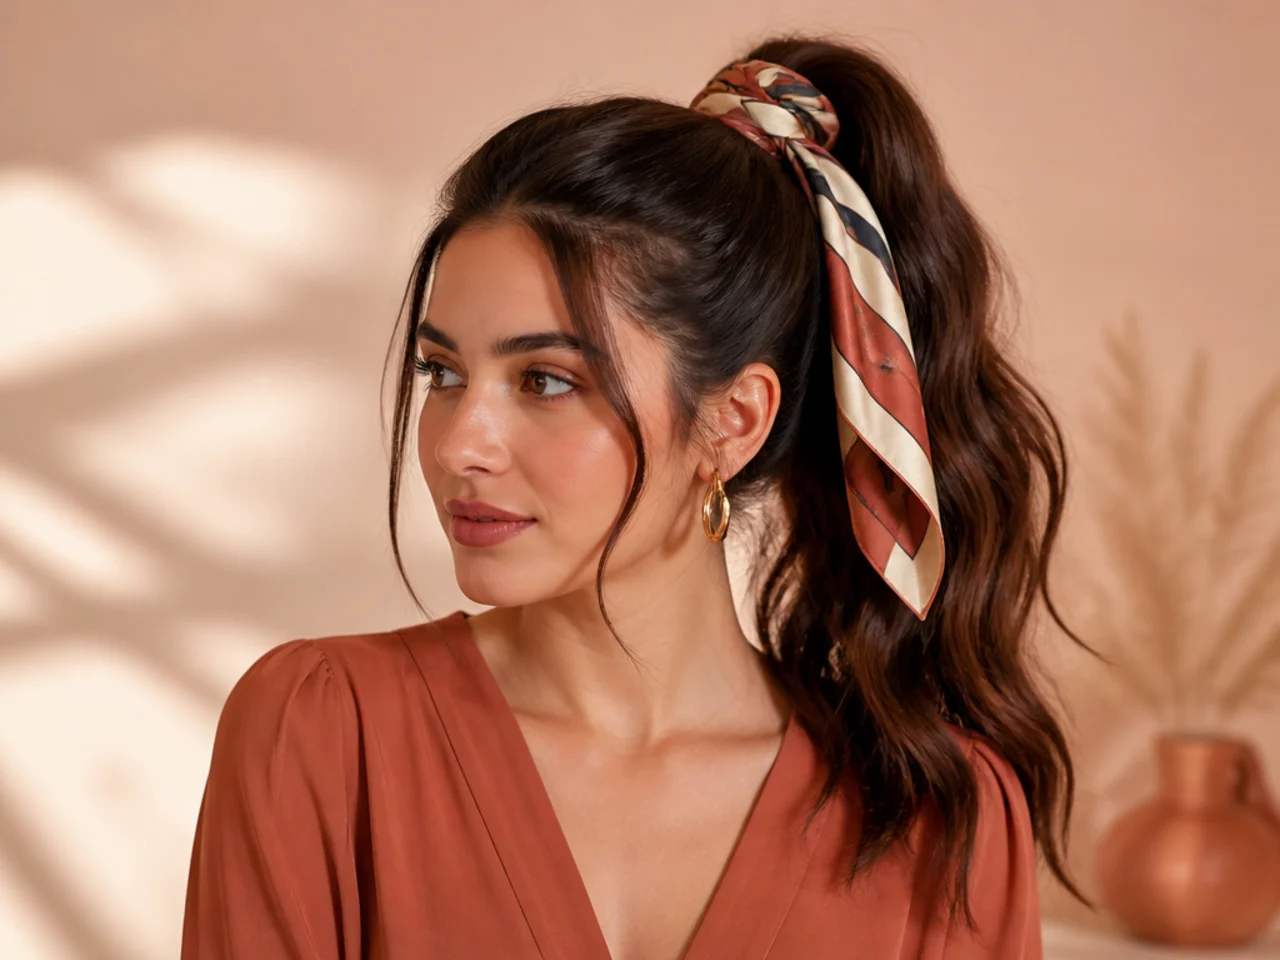
Spiky "Gen Z" Pony
The spikes reference the early-2000s pop-star pony without the gallons of gel used back then. It suits playful looks, shorter tails, and Y2K outfits. Instead of tucking the ends of your wrap-around under the elastic, leave a half-inch peeking out. Rub a wax stick between your palms. Pinch the loose ends into three or four sharp, defined spikes around the base.
Stylist tip: use hair wax, not pomade. Wax stays sculptable through the night; pomade goes flat within an hour.
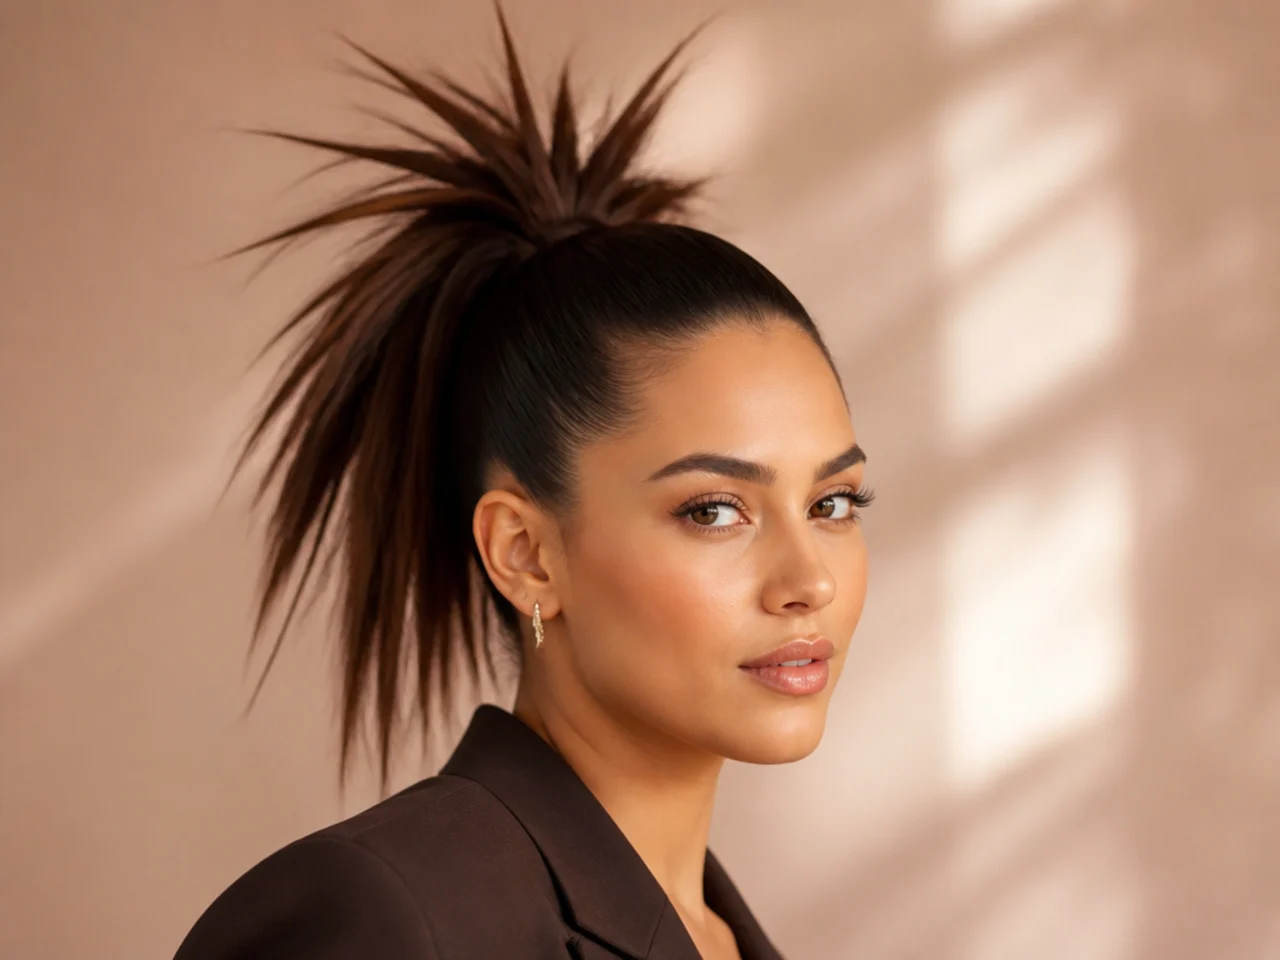
Low-Tension Silk Wrap
This is the sleek pony for people worried about breakage. It suits fragile, fine, or chemically treated hair. Skip the tight elastic. Use a silk scrunchie as your base — it distributes tension across a wider surface. Instead of gel, dampen a soft boar-bristle brush with a mist of water and a drop of light hair oil. Brush the surface smooth in slow, even strokes.
Stylist tip: if you like the ease of this look, our low updo hairstyles roundup covers even gentler options that avoid crown tension altogether.
Micro-Braided Crown
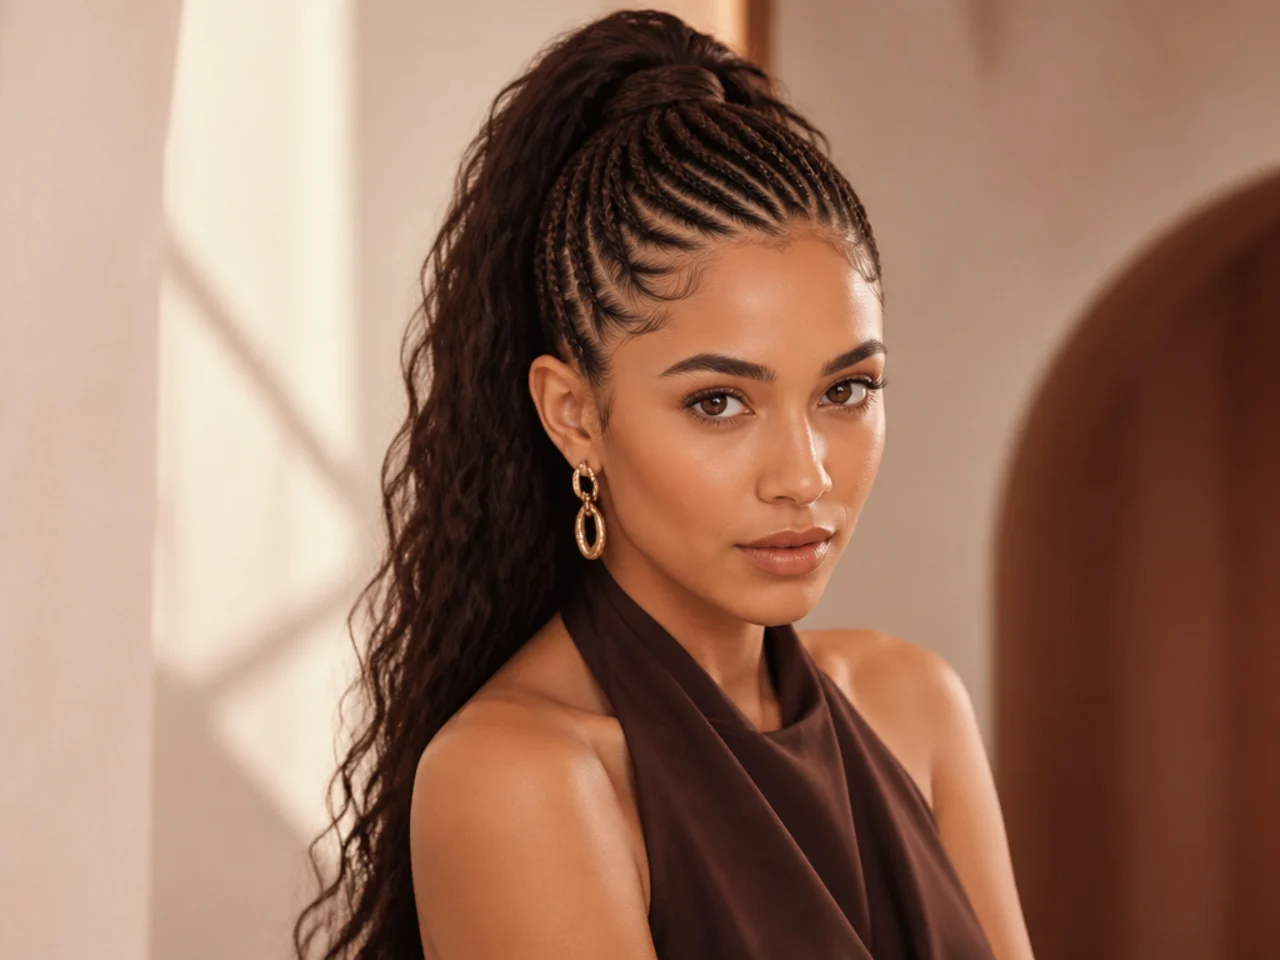
The micro-braids at the hairline add warrior-adjacent texture without disturbing the glassy back. They suit narrower faces because the braids add horizontal width across the front. Braid three thin plaits along the hairline, starting an inch behind the temples. Pull them back and incorporate the ends into the main ponytail before you set the elastic.
Stylist tip: pre-braid before you slick anything back. Trying to braid over slicked hair means gel gets dragged through the plait and it dries stiff and cardboard-y.
How to Fix Common Sleek High Ponytail Hairstyles Problems
Why Does My Ponytail Sag?
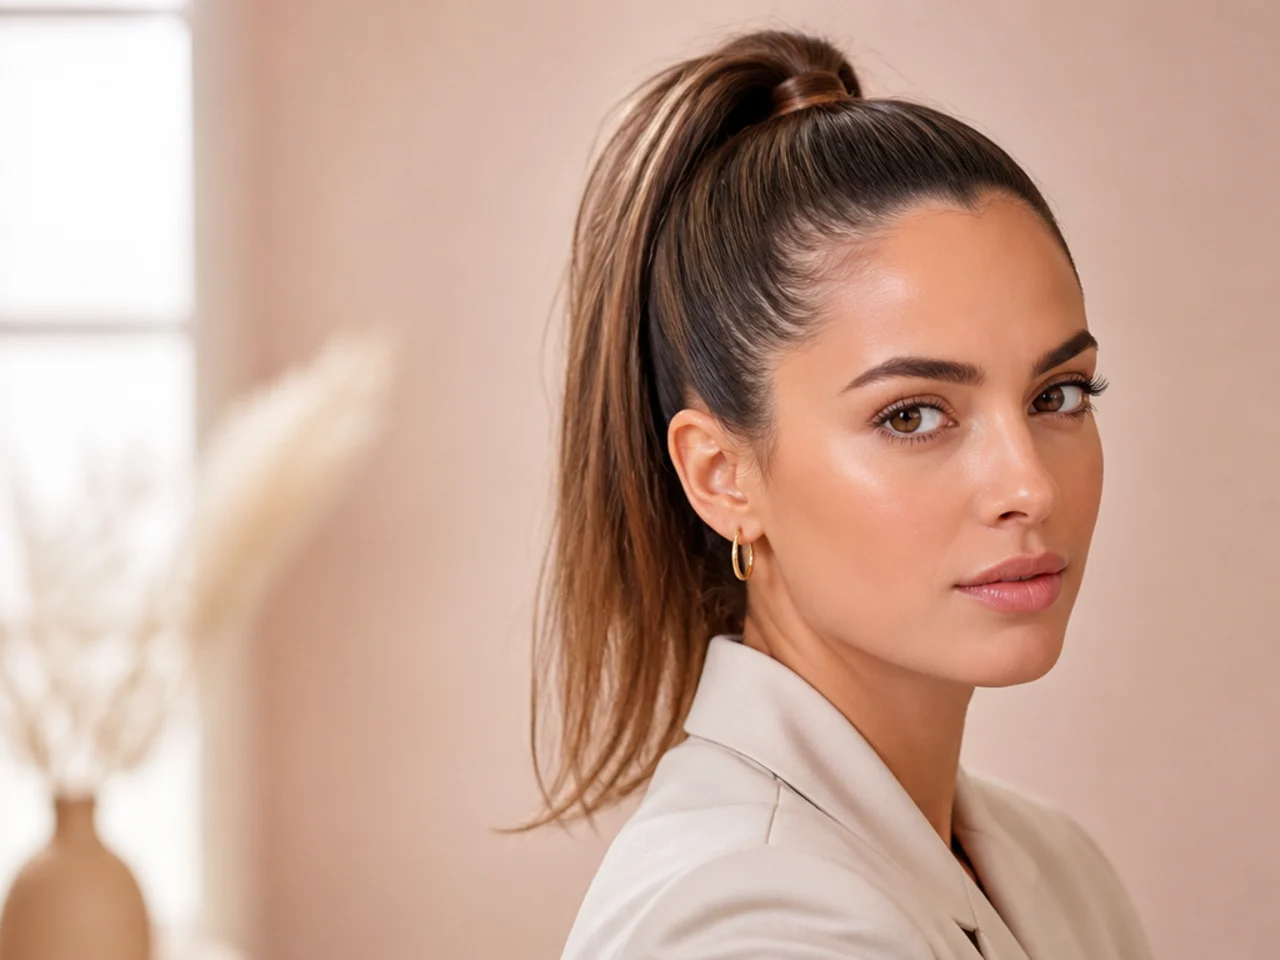
Gravity plus hair weight equals sag. The fix is a hidden internal splint. After you tie the pony, slide two bobby pins into the underside of the elastic, points aimed down toward the scalp. They act like a kickstand. The tail rests on the pins instead of the elastic alone, and the base holds height for hours. On thicker or longer hair, use four pins arranged in an X for extra structure.
How to Stop the Headache
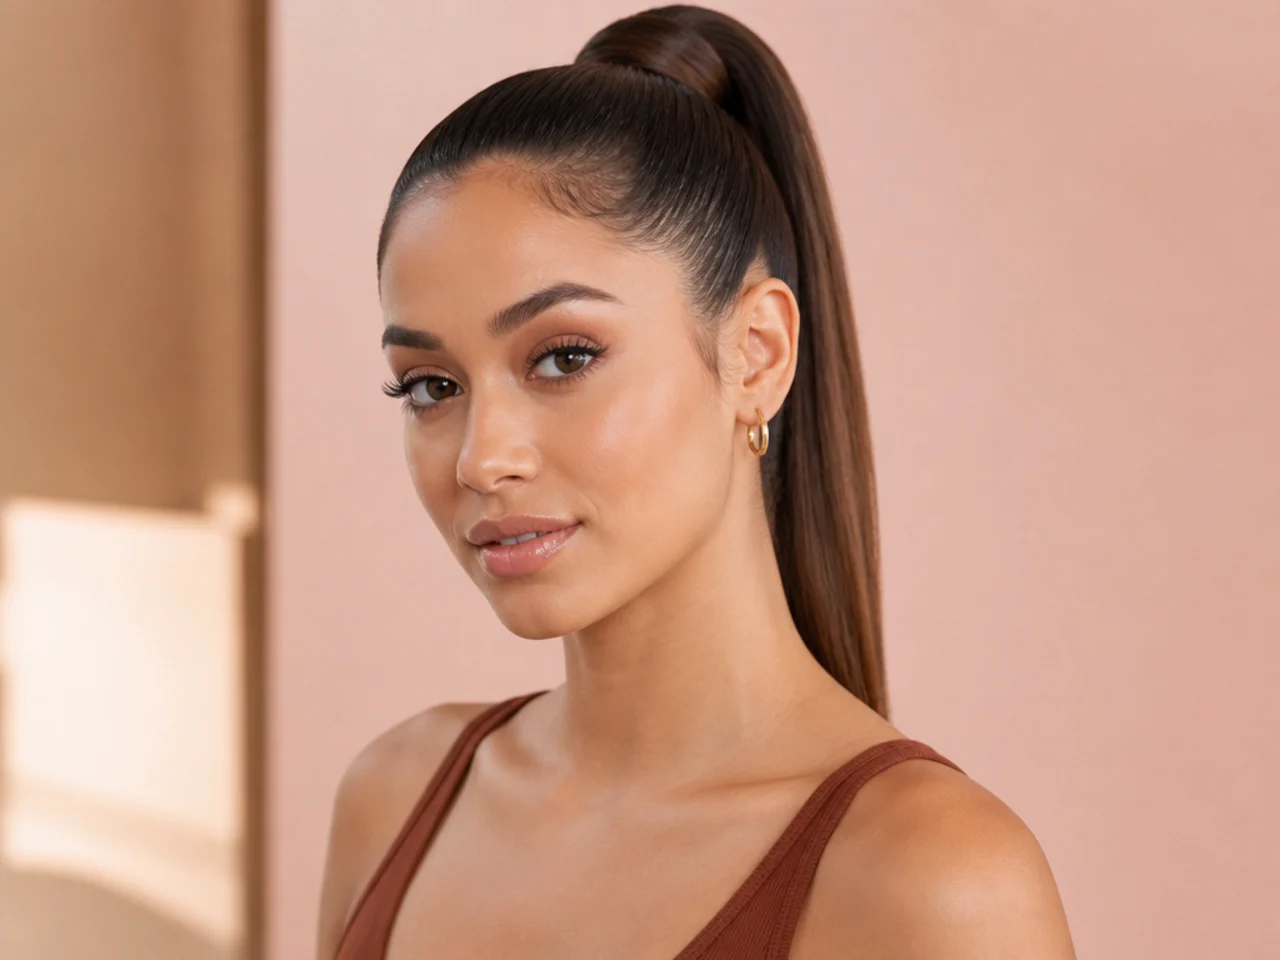
Ponytail headaches come from concentrated tension in one spot — usually along the front of the scalp where the follicles are most sensitive. Two fixes. First, switch to a bungee hair tie. It hooks into the hair so you control the tightness as you wrap. Second, loosen the sleek back at the temples by a quarter inch after you tie the pony. The finish reads just as smooth, but the pull on your nerves is gone.
Keeping Edges Healthy
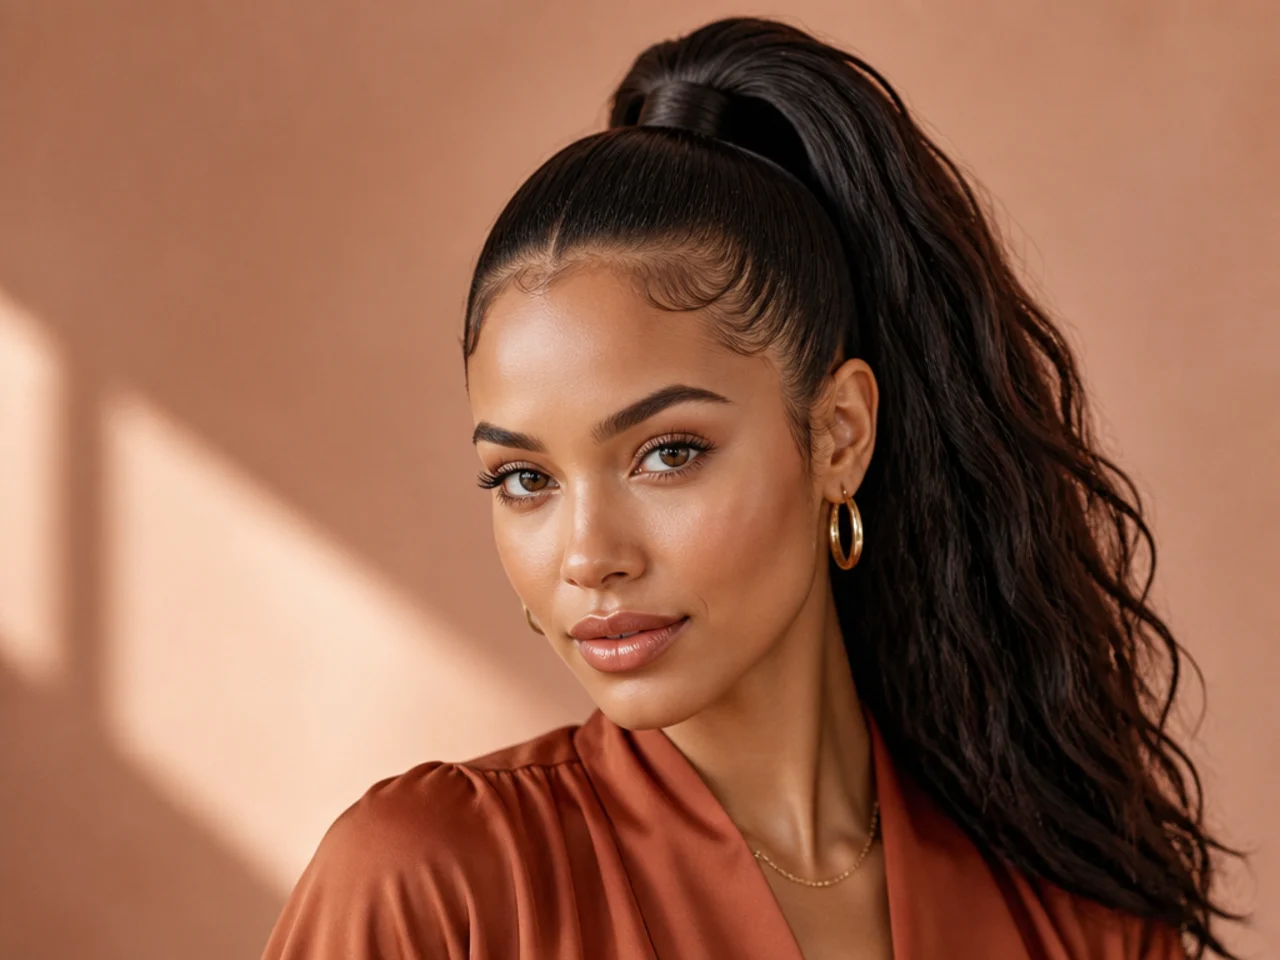
Wearing a tight high pony every day causes traction alopecia — permanent hair loss from repeated pulling at the roots. Once the follicle is scarred, the hair does not grow back. Rotate. Alternate sleek high ponytail days with low buns, half-ups, and hair worn down. Sleep in a silk scrunchie or a loose braid rather than tight elastics. If your edges are already thinning, drop the height for a few weeks. A slick low pony puts far less strain on the temples and gives the follicles time to recover. If you see baby hairs breaking or new bald patches forming along the hairline, book with a trichologist before you keep styling.