How to Get choppy ponytail Hair That Looks Elegant
The era of "perfectly polished" ponytail is taking a backseat. Today, it’s all about texture, movement, and that "I just woke up looking this cool" vibe. If you’ve been scroll
In this article · 16
- Why Choppy Ponytail is More Than Just a Hair Trend
- Foundation: It All Starts with Right Cut
- Prepping Your Hair: Key to Texture and Grip
- Step-by-Step: How to Get Choppy Ponytail Hair
- 1\. Create Base Texture
- 2\. Rough Gather
- 3\. Secure with a Bungee or Hook
- 4\. "Pinch and Pull"
- 5\. Define "Chops"
- Pro Tips and Tricks for Next-Level Texture
- Troubleshooting Common Choppy Ponytail Problems
- Conclusion: Your New Go-To Hairstyle Awaits
- FAQs
- Can I get a choppy ponytail with thin hair?
- How long does my hair need to be?
- What is best product for a choppy finish?
A choppy ponytail is not a sloppy ponytail. The difference is intentional texture at the ends — piecey, uneven, and cut to look that way instead of grown that way. Learn the three-minute version and you have a look that fits the gym, brunch, and a rooftop dinner without changing anything but the outfit. Here is exactly how a stylist builds one, from prep to the final piece-out.
Why Choppy Ponytail is More Than Just a Hair Trend
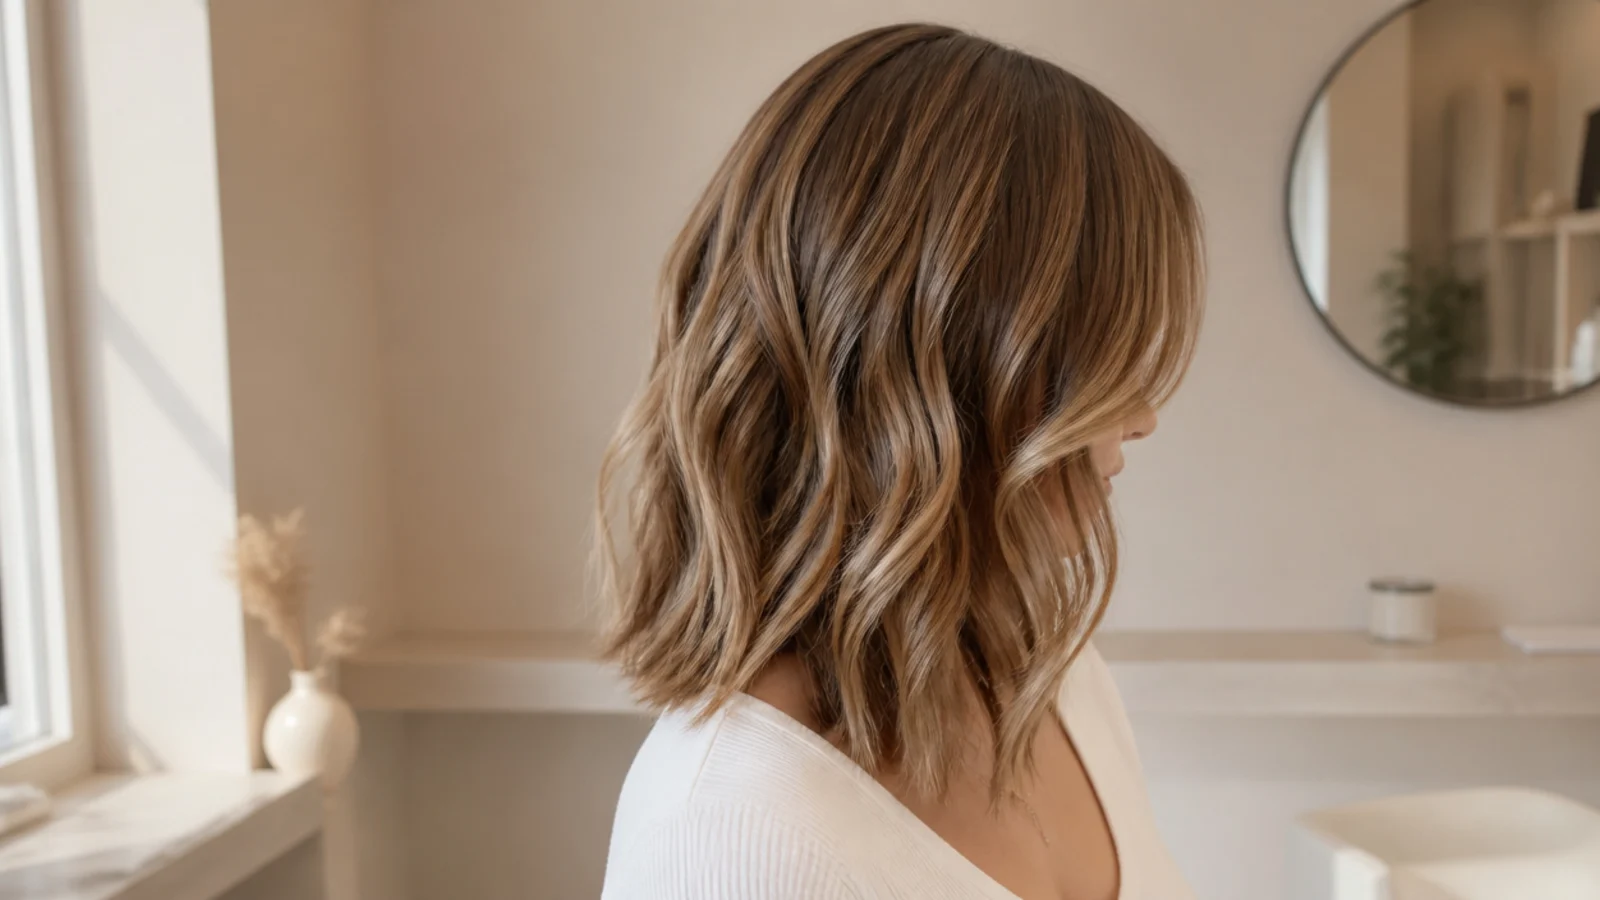
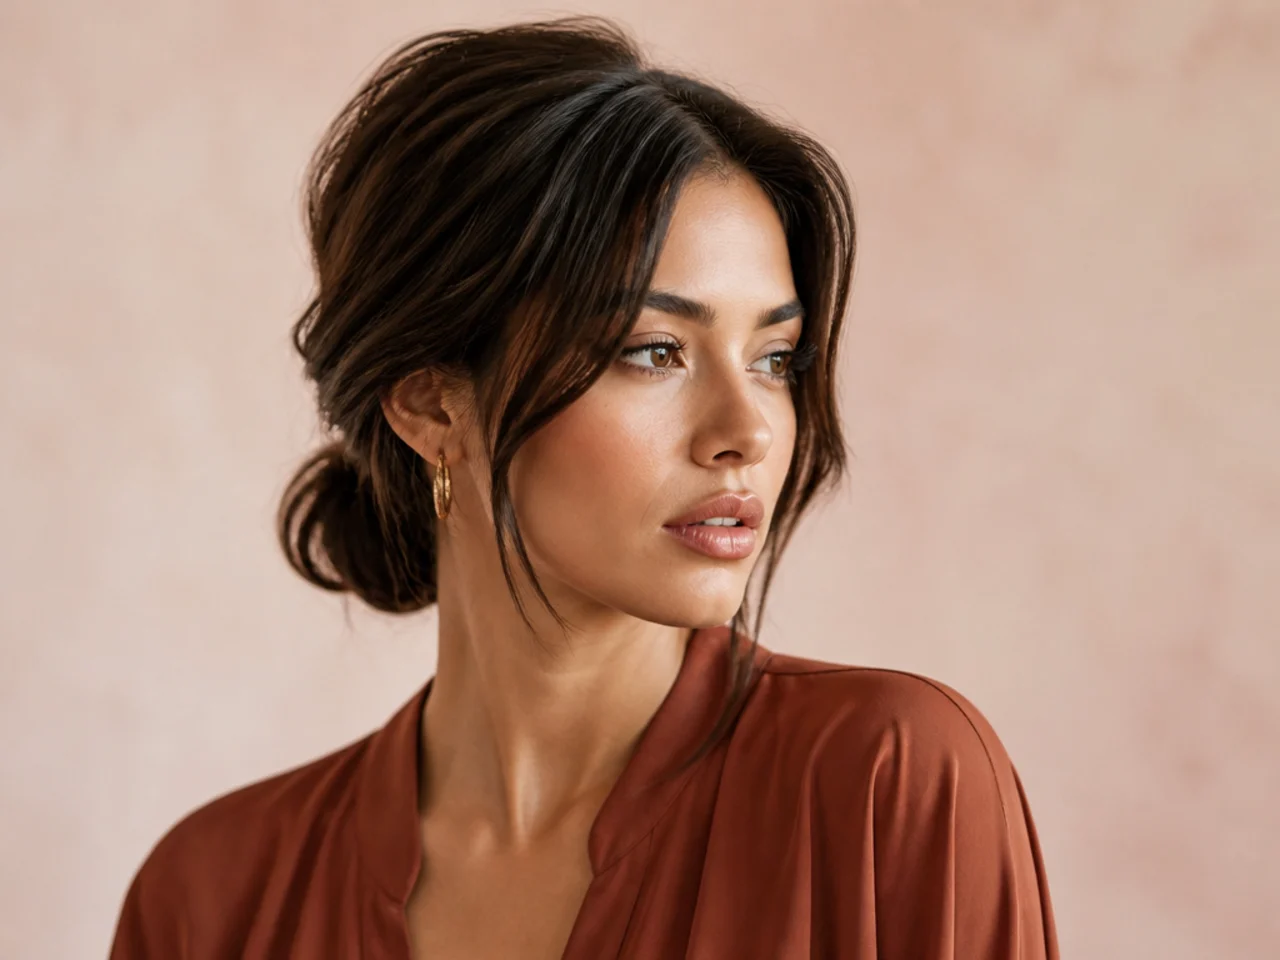
The choppy pony reads sharp, not sloppy. Sleek styles pull tight and glossy. Bubble braids stack. The choppy version sits between them — secure at the base, textured everywhere else. The ends look point-cut. The face-framing pieces look pulled, not fallen. Every strand is a choice, and that intention is what separates it from a hair-tie afterthought.
Wear it when you want one style to cover a full day. It handles a workout, a shift, a client meeting, and drinks afterward without a second brush. Skip it for black-tie unless the rest of the look leans editorial — for formal moments, a low updo or a soft low bun does the job better.
The technique follows a strict order: base texture first, high-set gather second, ends teased last. Skip a step and the whole thing collapses back into ordinary. Set your part before you flip your head — a deep side reads editorial, a center part reads clean-cool. Once the hair is gathered, the part is locked, so choose on purpose.
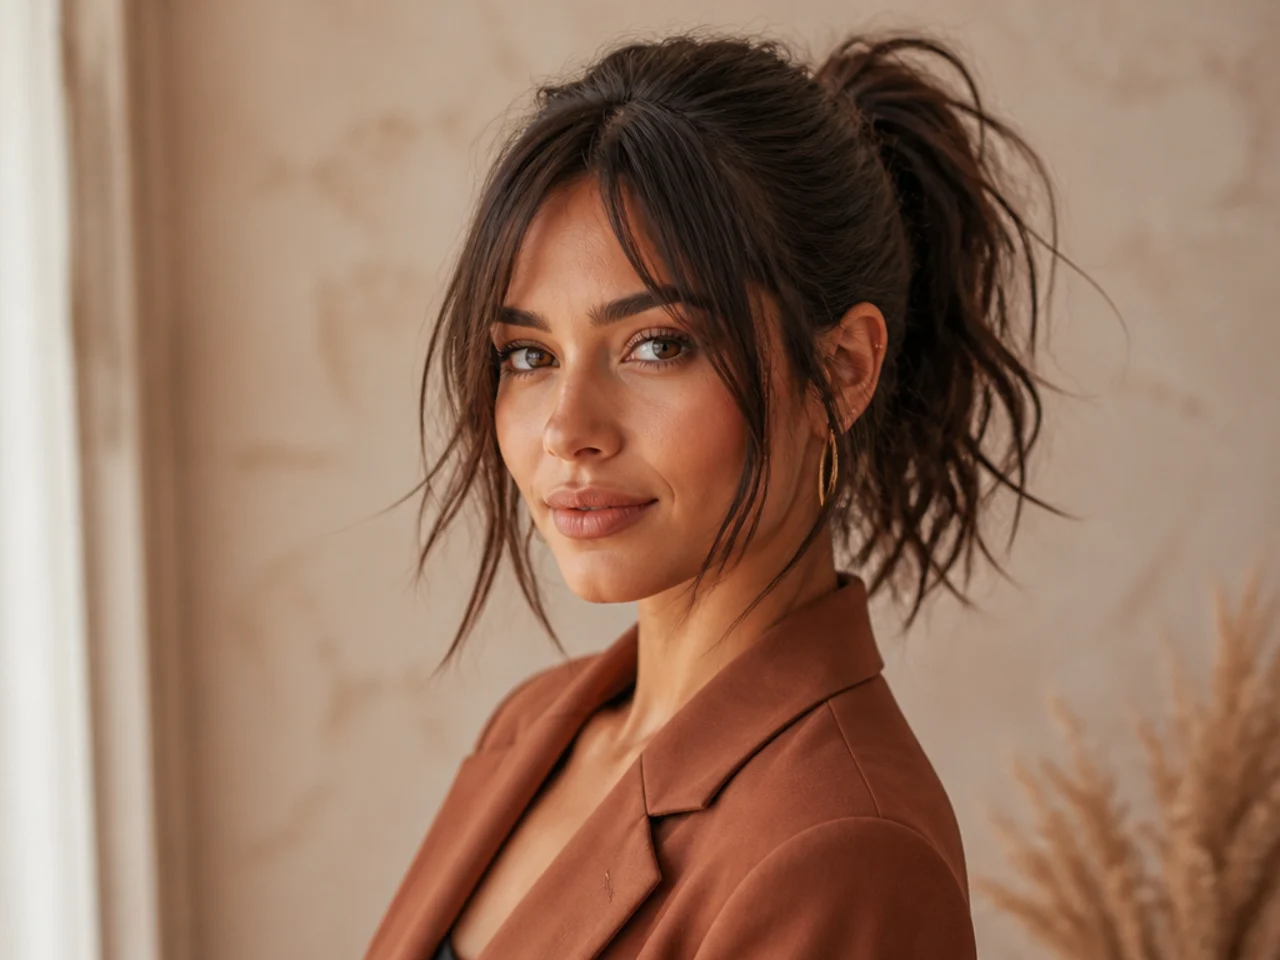
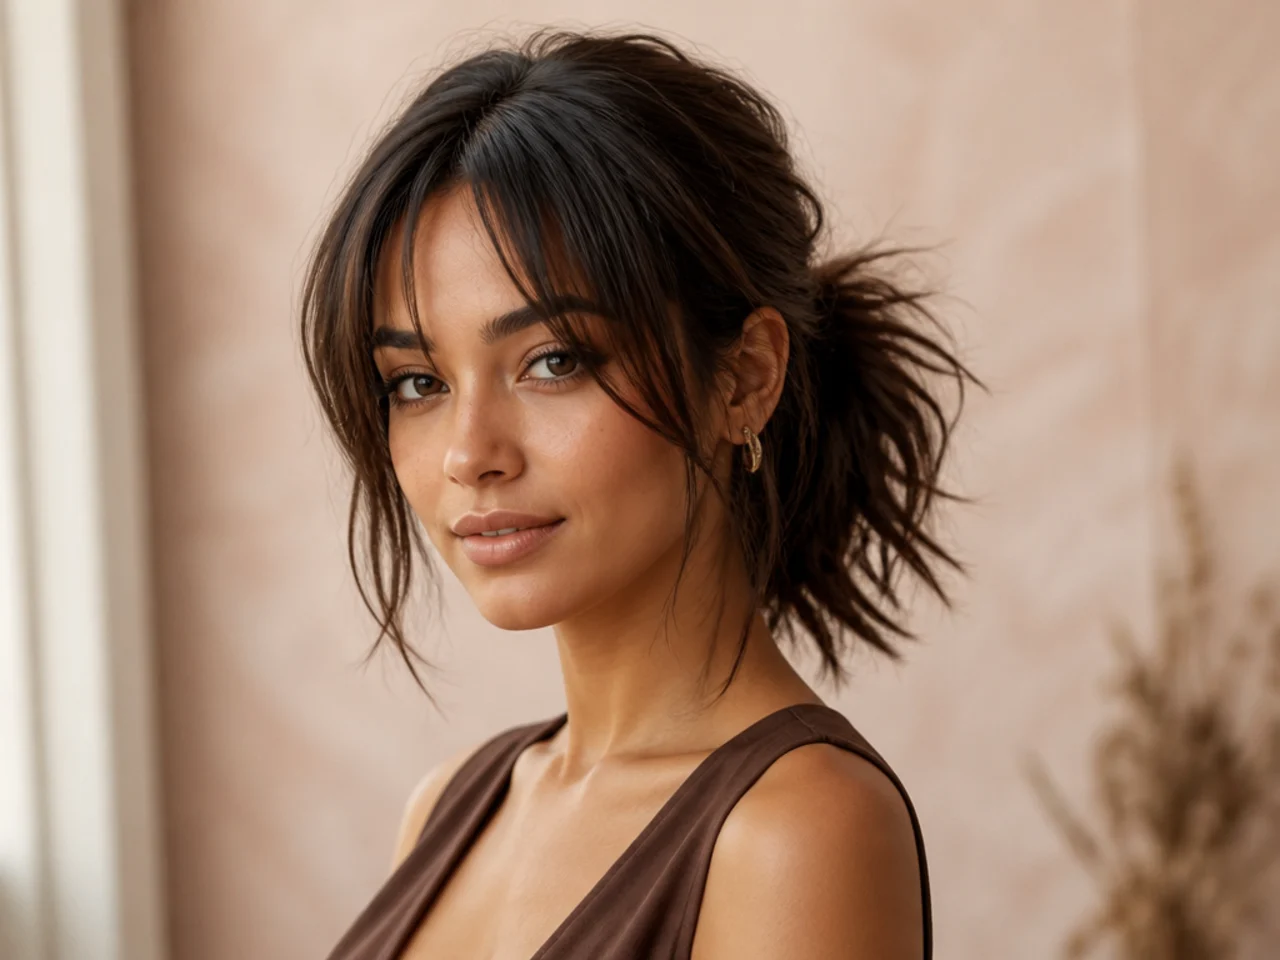
Foundation: It All Starts with Right Cut
Blunt ends will not chop, no matter how much product you spray. The look starts with the scissors. Book a trim two weeks before you plan to photograph the finished style so the ends have time to settle.
You need this cut if ponytails, low buns, half-ups, or everyday school-day styles make up your usual rotation. Textured ends photograph better in every category. Blunt cuts read heavy the moment you pull them up.
Ask your stylist for three things. First, point cutting along the perimeter — the shears aim into the ends vertically instead of straight across. Second, internal layers if your hair is thick. Two long layers underneath the top layer let the tail sit close to your head instead of ballooning at the base. Third, face-framing pieces starting at the cheekbone. Anything shorter reads like bangs and refuses to blend when you gather.
Bring a photo of the ponytail, not just the loose hair. Stylists cut differently for hair that lives in a pony most days. Show them where you set the base and how long you want the tendrils. Ask for a razor pass on the last inch of your face frame — it makes the pieces sit against the cheek instead of flaring out.
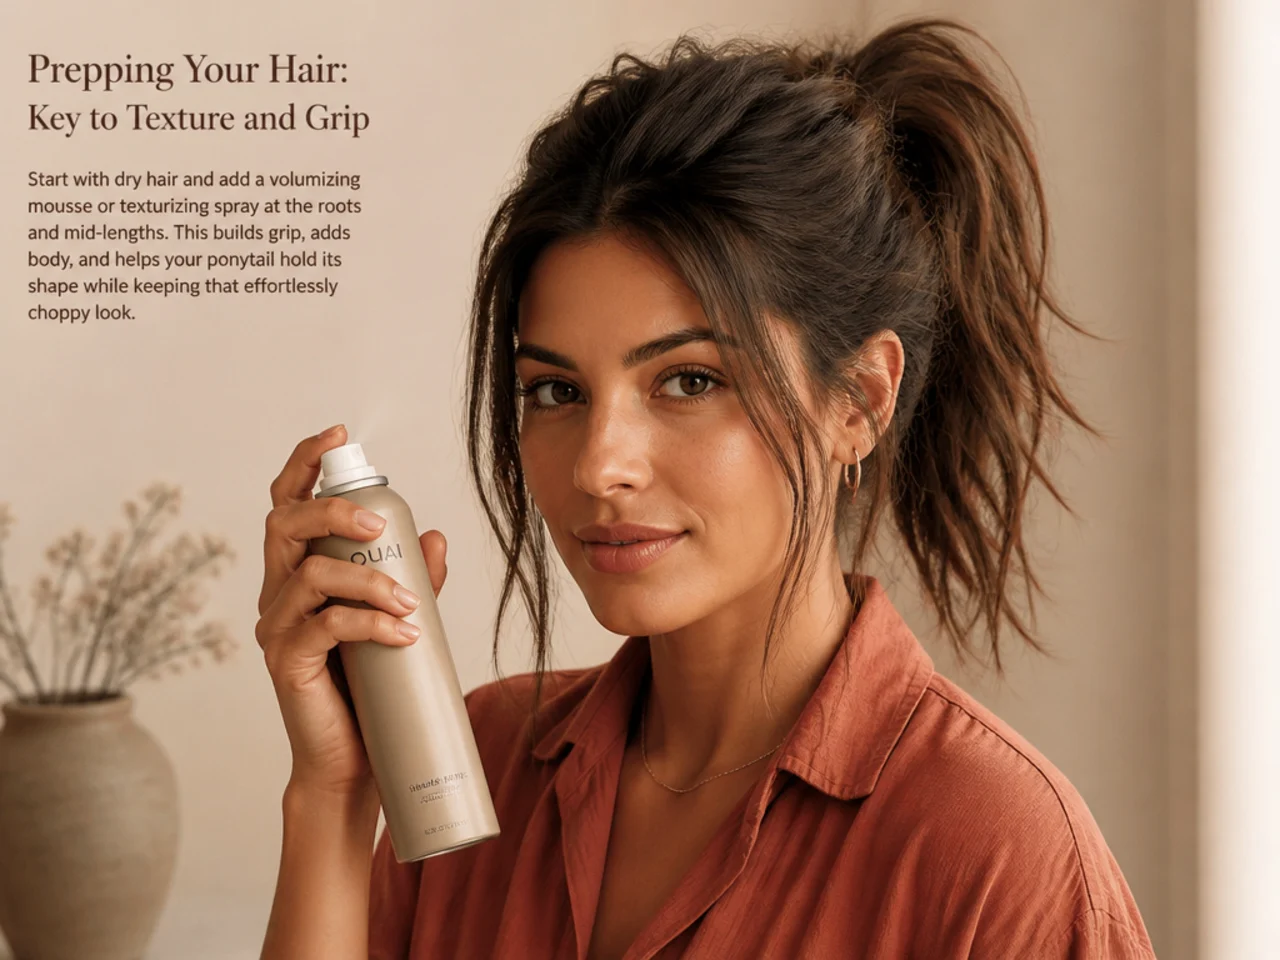
Prepping Your Hair: Key to Texture and Grip
Slippery, glossy hair slides out of the elastic within an hour. Dry, gritty hair holds the shape all day. You want day-two hair, not day-of. If you wash tonight and want to wear this tomorrow, plan around it — skip the conditioner on the mid-lengths and air-dry with texture spray in.
Start with dry shampoo. Spray it directly on the roots and rake through with your fingers. Two seconds of blast per section is plenty. Move to a dry texture spray from mid-length down — look for the word "dry" on the bottle, because wet formulas soak in and weigh the ends down. Then skip the round brush entirely. A rough blow-dry with your hands gives the base the movement you want. If you prefer a smoother foundation, borrow the technique from a soft blowout wave routine and stop before the final round-brush polish step.
If your hair is squeaky-clean and you cannot wait a day, rub a pea-sized amount of styling paste through the mid-lengths before you gather. It gives grip that dry product alone cannot match. Warm the paste between your palms until it disappears — you want tack, not clumps.
Step-by-Step: How to Get Choppy Ponytail Hair
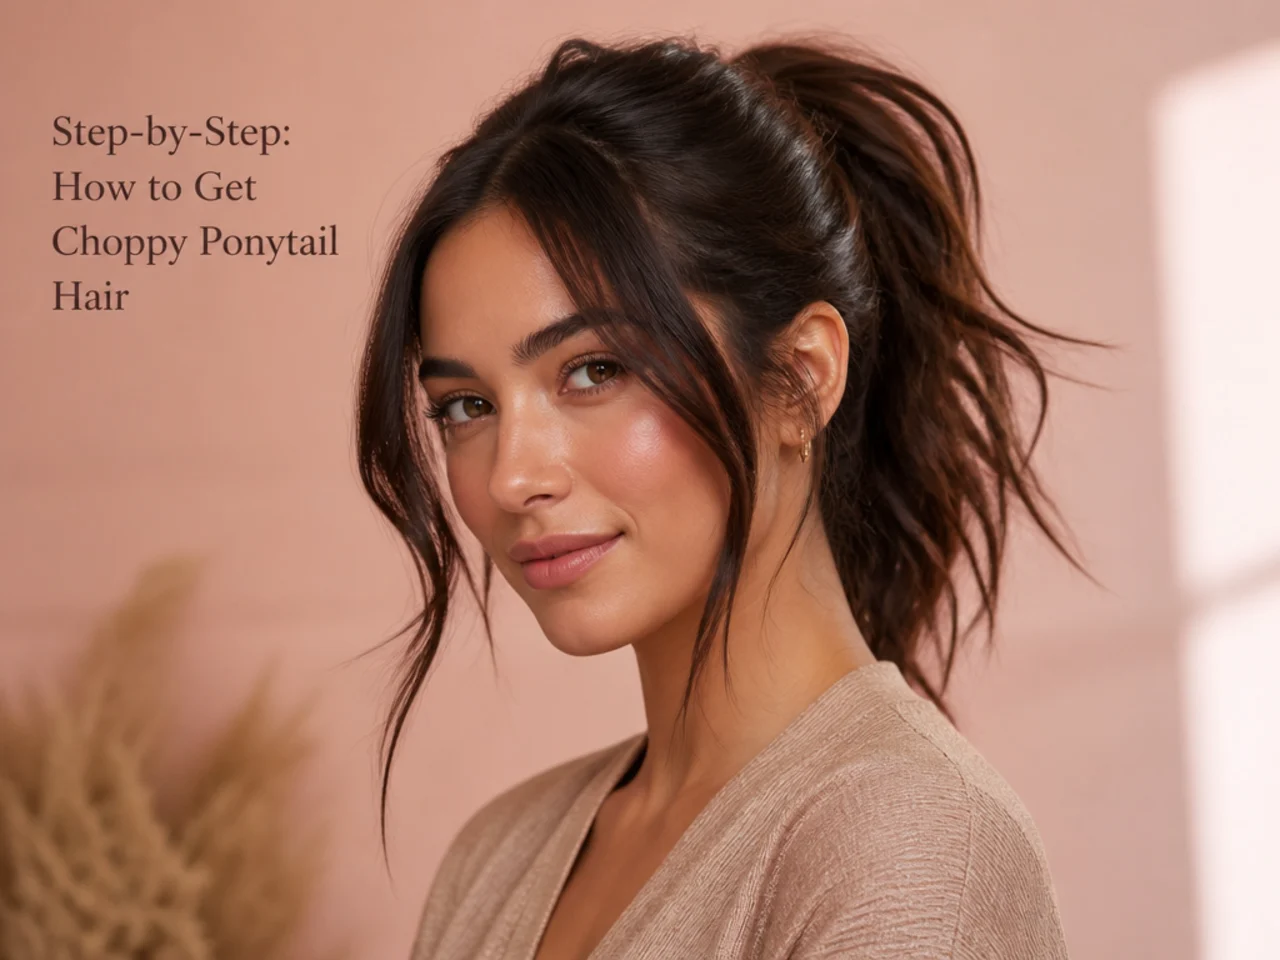
The whole routine takes three minutes once the prep is done. Follow the order below and do not skip the first step — it is the one that separates this look from a regular ponytail.
1. Create Base Texture
The shortcut nobody posts about: point-cut your ends before you gather. Take sharp hair-only shears and snip vertically into the last inch of your hair while it hangs loose. Aim the tip of the shears up into the bundle rather than across it. You are not trimming length — you are breaking the blunt line.
Do this the first time you wear the style and it carries through several wears before you need to refresh. Section the hair into three panels: left, right, back. Grab a one-inch bundle at a time. Point the shears at a 45-degree angle and snip three or four times. Move on.
If scissors feel risky, wave a one-inch curling wand through random sections instead. Leave the last inch straight so the ends read piecey rather than curled. Mist a dry texture spray after to lock the shape.
2. Rough Gather

Placement changes the mood entirely. Mid-crown reads modern. Low at the nape reads elegant, closer to a low updo. Very high on the crown reads runway. For most face shapes, aim for the point where a horizontal line from your earlobe meets a diagonal line from your outer eyebrow. That intersection is your sweet spot.
Flip your head forward. Rake the hair up with your fingers, never a brush. The bumps and dents left by your fingertips are the whole point — a brush smooths them out and you lose the texture you just built. Gather everything at your chosen height and hold it in one fist.
If you want extra lift, backcomb the crown for five seconds before you flip. Use a fine-tooth comb at the base, three quick passes, then smooth the top layer with your palm.
3. Secure with a Bungee or Hook
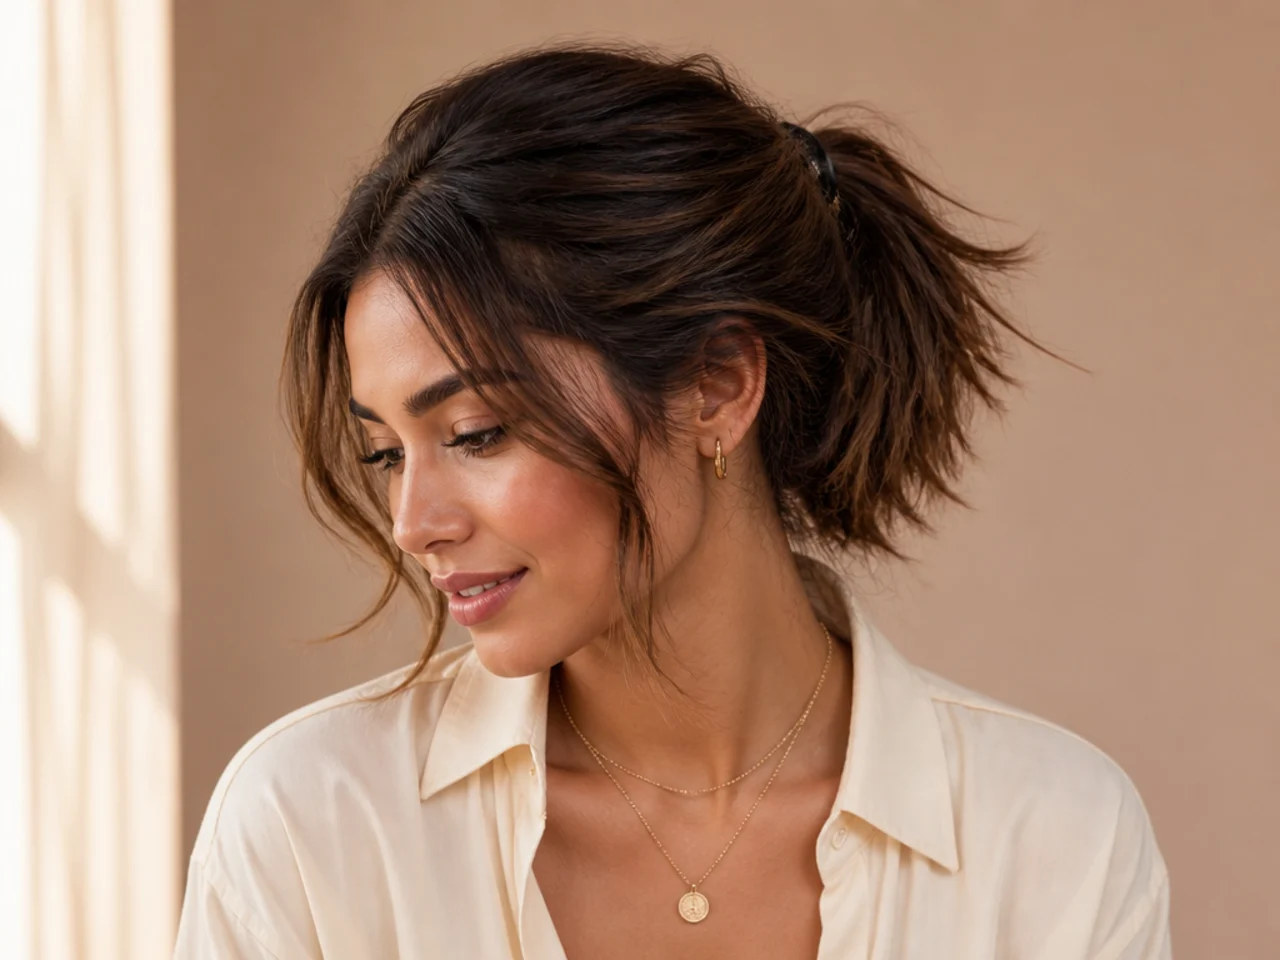
A standard rubber band slides. A hair bungee grips hard and does not leave a dent when you take it out. If you do not own one, stack two thin no-snag elastics instead — same effect.
Use this any time you want the pony to survive more than four hours without slipping. Hook one end of the bungee near the base, wrap the length tight around the gather, and tuck the second hook underneath the wrap. You should feel a firm pull at the scalp when it is right.
To hide the elastic, pull a pencil-thin piece from underneath the tail, wrap it once around the base, and pin it in with a bobby pin pointing up toward the crown. The pin disappears into the tail and holds the wrap in place all day.
4. "Pinch and Pull"
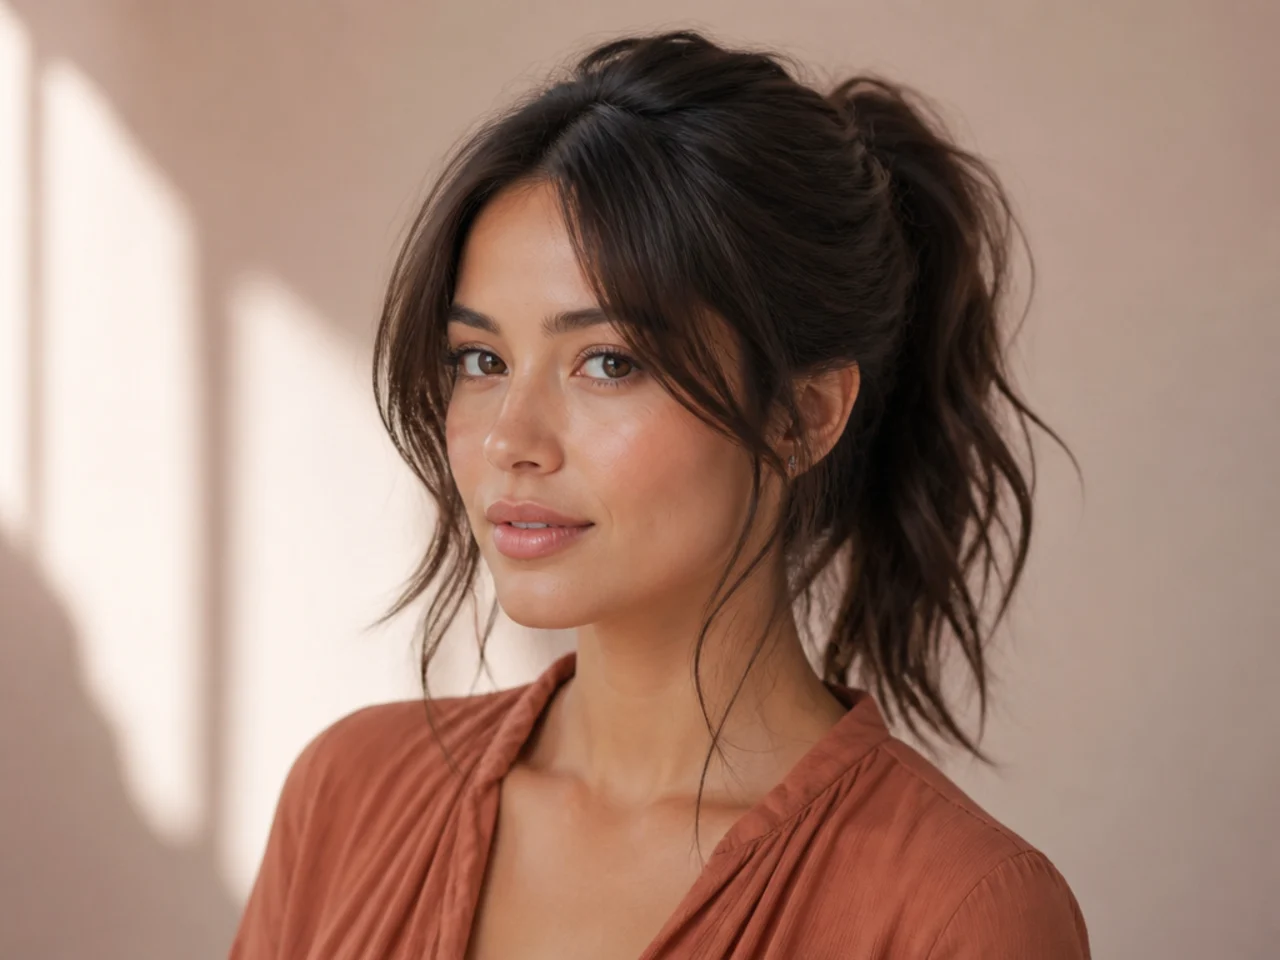
This is the two-minute step that changes the whole look. A tight pony reads gym class. A pulled-out pony reads editorial. There is no version of this style that skips the pull-out.
Pinch the fabric of the crown between your thumb and forefinger. Lift straight up until you see a small dome form. Do that in six or seven spots across the top of the head — not just the front. Then pull two pieces free at each temple. Leave them long and do not tuck them back in. Those pieces are the difference between a ponytail and a face-framing ponytail.
Curl the tendrils away from your face with a flat iron. Two seconds per piece is plenty. Any more and they read curled instead of pulled.
5. Define "Chops"
Piecey ends are what turn "ponytail" into "choppy ponytail," and product does the work in this final step. Do it last — spray earlier and the ends stick together in clumps you cannot separate.
Rub a pea of pomade or styling paste between your palms until it disappears completely. Twist the last two inches of the tail into six or seven skinny sections. Do not smooth them together — separate them so light passes between the pieces. Mist a dry texture spray from ten inches away for hold.
For extra edge, pair a sleek high ponytail base with these choppy ends. The contrast between the glossy top and the textured tail photographs beautifully. If you have thick or long hair, borrow layering tricks from updos for medium hair to keep the tail from feeling heavy at the base.
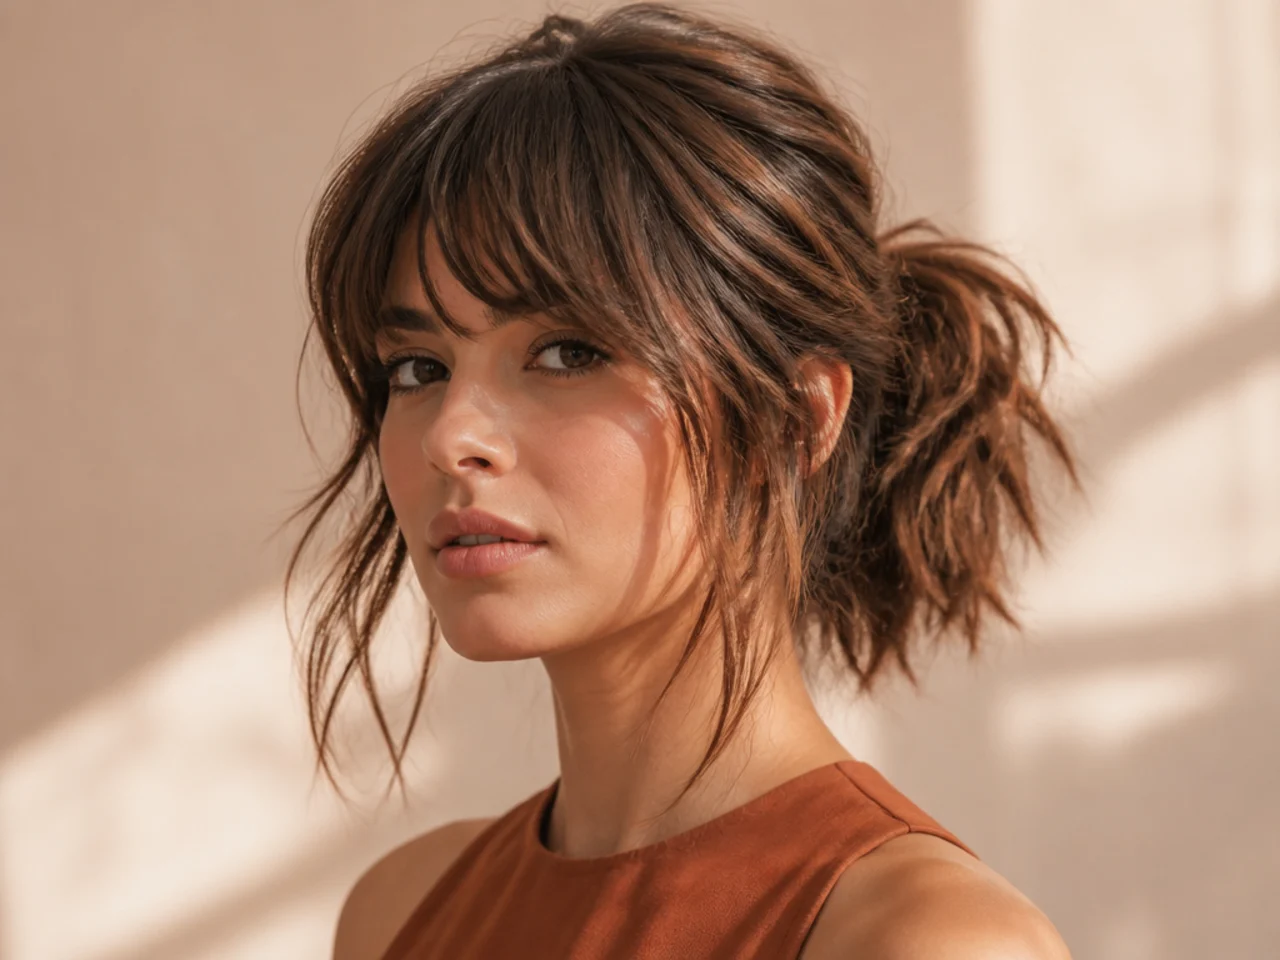
Pro Tips and Tricks for Next-Level Texture
The tricks below separate a passable ponytail from one that people ask about across the room. Save them for the days you want the style to photograph or read from a distance.
Dry-shampoo the tail itself, not only the roots. A quick mist through the length of the ponytail after you tie it adds matte texture instantly and kills any residual shine that flattens the pieces. Then swap your hairspray for a flexible-hold texture spray — aerosol texture sprays give hold without the stiffness that glues the pieces together and reads shellac.
Curl in random directions. Sameness reads flat. Alternate the direction of the wand every section — toward the face, away, toward, away. The mixed pattern is what makes the pony look styled by hand rather than set on a mannequin.

If you overshoot on volume and the crown looks puffy, press it flat with your palm for ten seconds. The heat from your hand sets the height down without killing the texture you built underneath. It is the fastest fix in the routine.
Troubleshooting Common Choppy Ponytail Problems
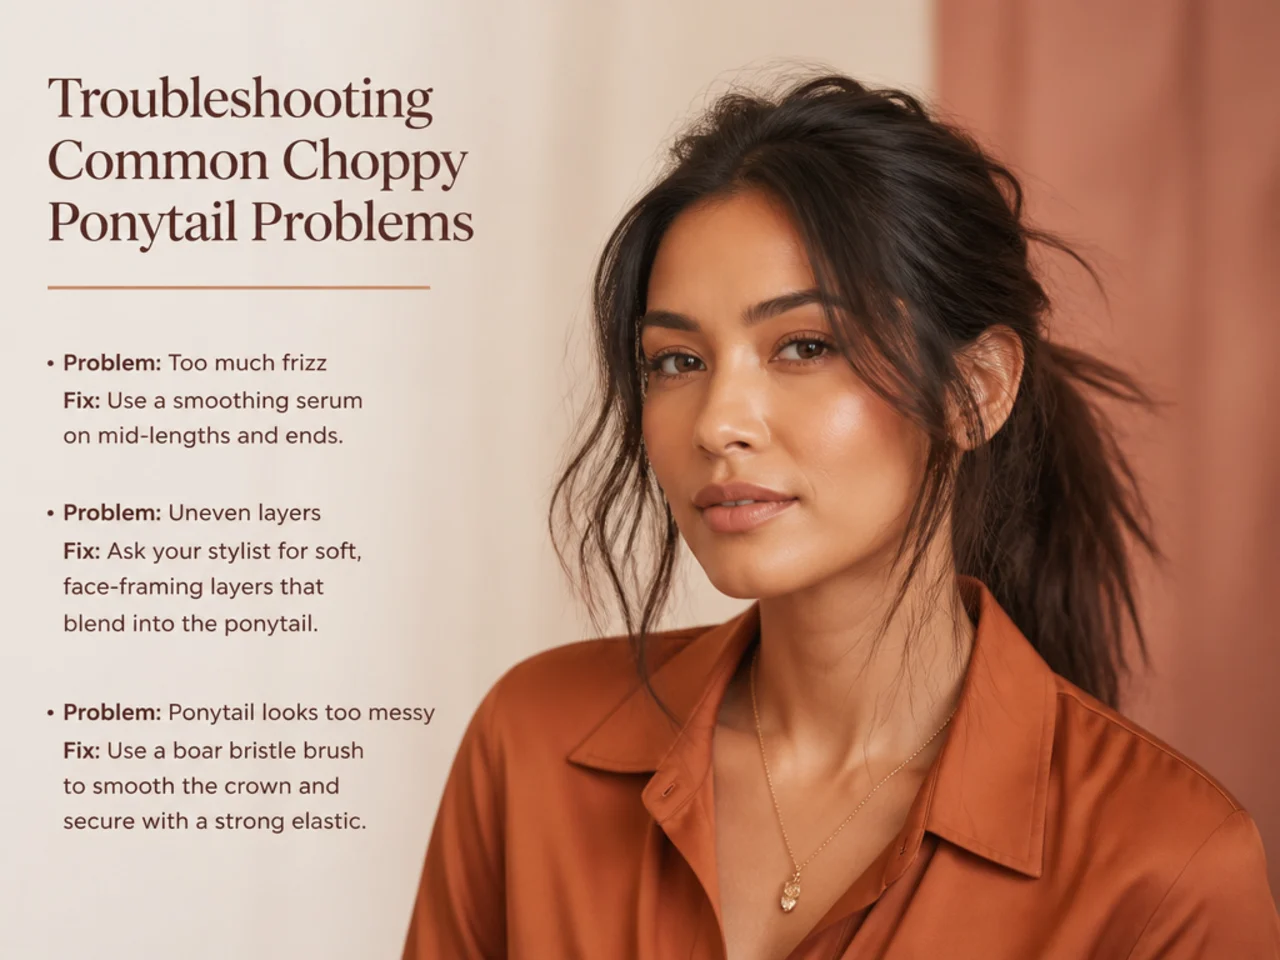
Every ponytail has a failure mode. The fix is almost always one product or one repositioned pin away. Read this section before your first attempt so you know what to do mid-styling instead of starting over from wet hair.
- Short pieces falling at the nape: use two matte bobby pins in an X shape at the base of the neck. This anchors the fall-out and reads intentional instead of accidental.
- Ponytail drooping after an hour: slide two bobby pins vertically through the base of the elastic, pointing up toward the crown. The pins act as a kickstand and lift the tail back into place.
- Ends looking frizzy instead of piecey: frizz is dryness. Rub one drop of hair oil between your palms and press only the very tips of your tail. Nothing higher. It turns fuzz into shine without weighing the pieces down.
- Elastic dented into the scalp: spritz the base with water, redo the tie, and let it air-dry in place for two minutes. The reset erases the ring.
- Base looks bumpy from the front: smooth only the top inch of your crown with a boar-bristle brush before you flip. Leave everything underneath rough.
Keep a mini texture spray and three bobby pins in your bag. Every touch-up is one of those two things.
Conclusion: Your New Go-To Hairstyle Awaits
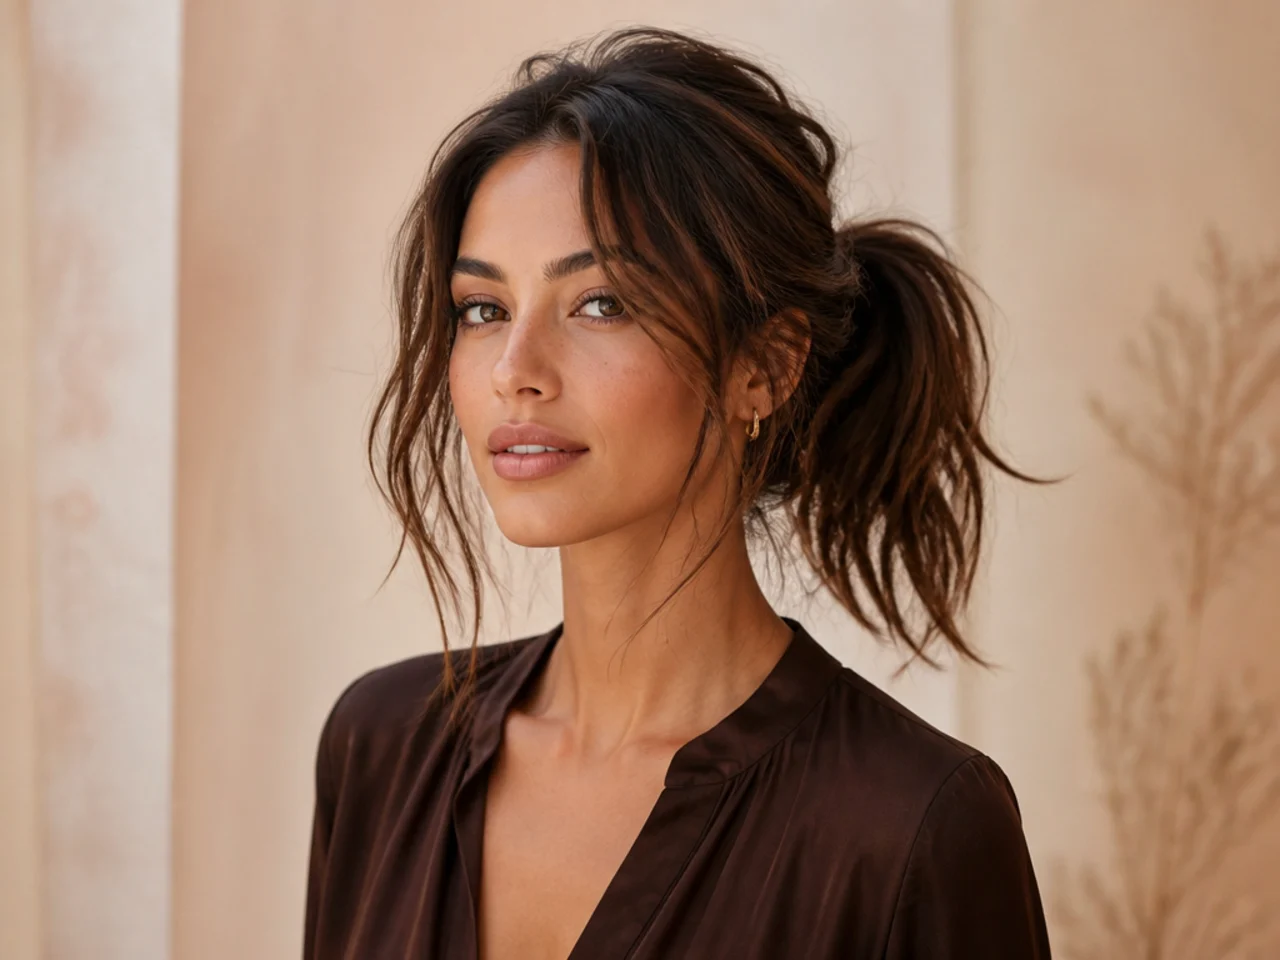
The choppy ponytail earns its rotation spot because it works on second-day hair, survives a full workday, and reads intentional under any lighting. Point-cut ends, a firm base, and thirty seconds of pinch-and-pull are the whole trick. Drop the placement low for evening and it reads soft enough to pair with the same dress you would wear for a low bun style. Same technique, different mood, one look you can rebuild anywhere.
FAQs
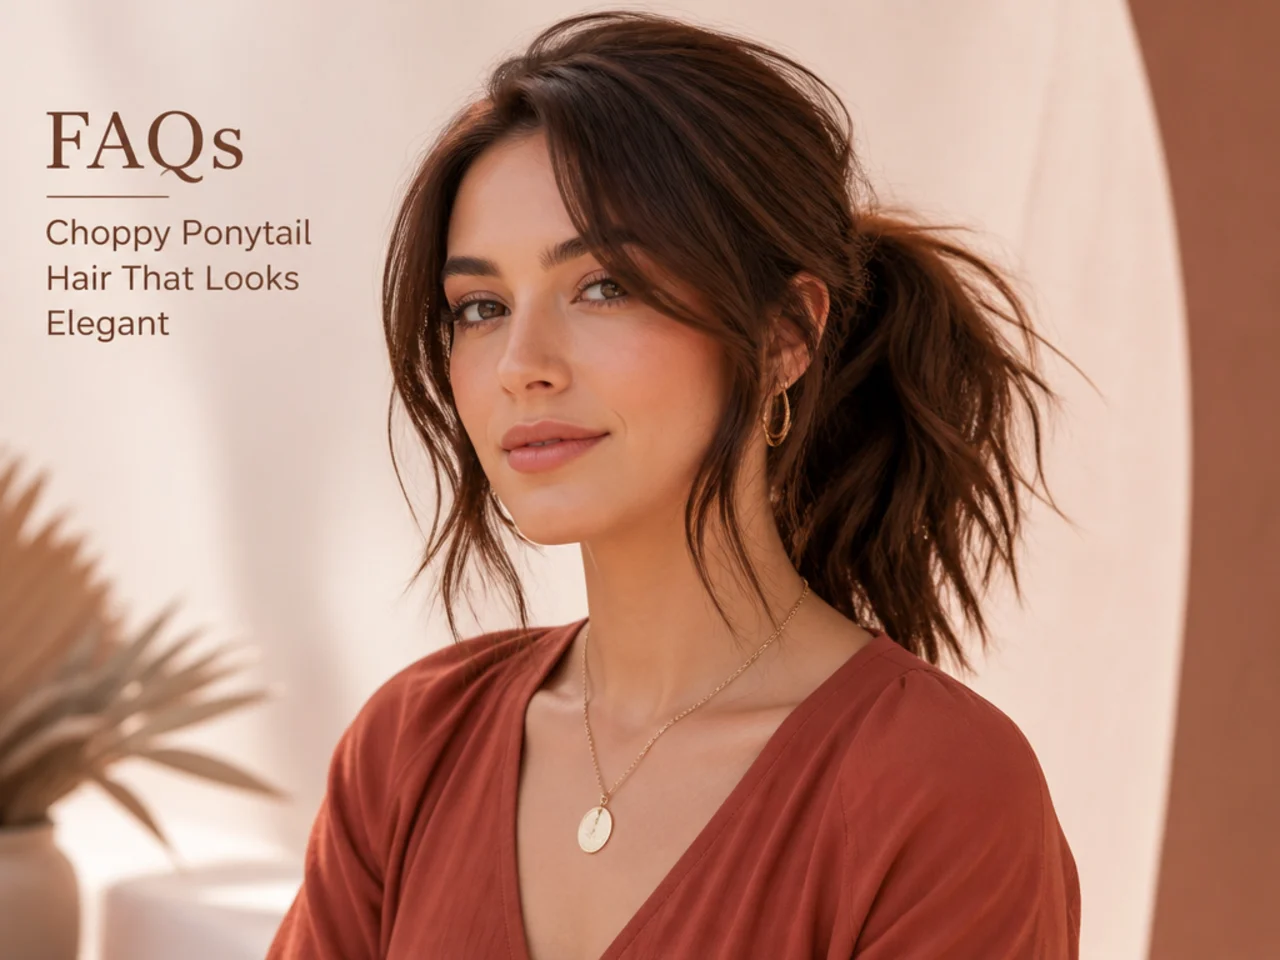
Can I get a choppy ponytail with thin hair?

Yes — thin hair is actually the ideal canvas. Texture spray and point cutting create the illusion of density that thick hair does not need. Skip conditioner on the mid-lengths the day before, prep with dry shampoo at the roots, and backcomb the crown for five seconds before you gather.
How long does my hair need to be?
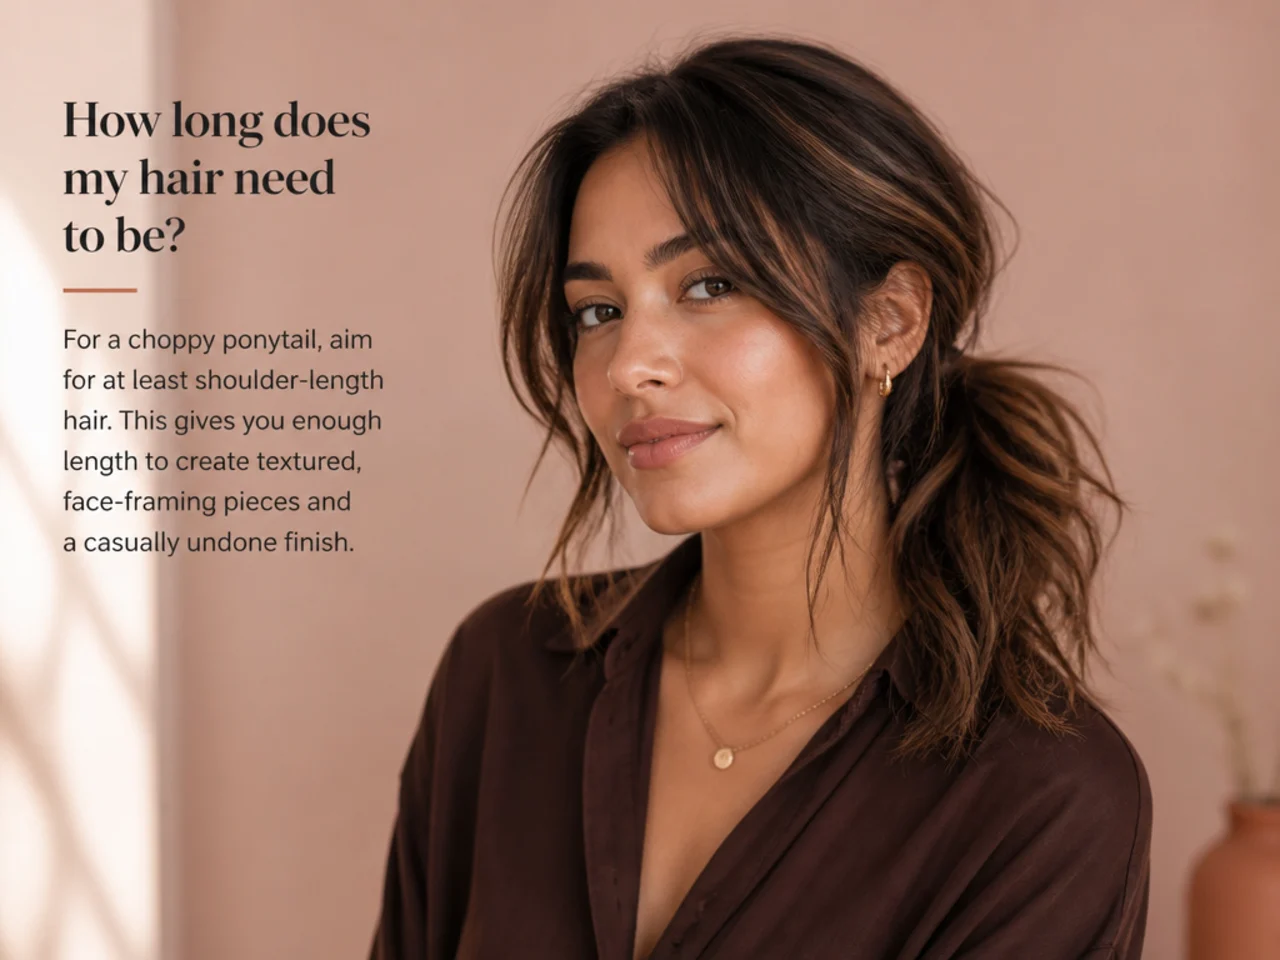
Bob length and up. A stubby chin-length pony with textured ends photographs beautifully — the trendy "mini pony" leans into this look. For longer hair, aim for the ends to sit just below the collarbone once the pony is secured, which gives you enough length to see the choppy definition.
What is best product for a choppy finish?
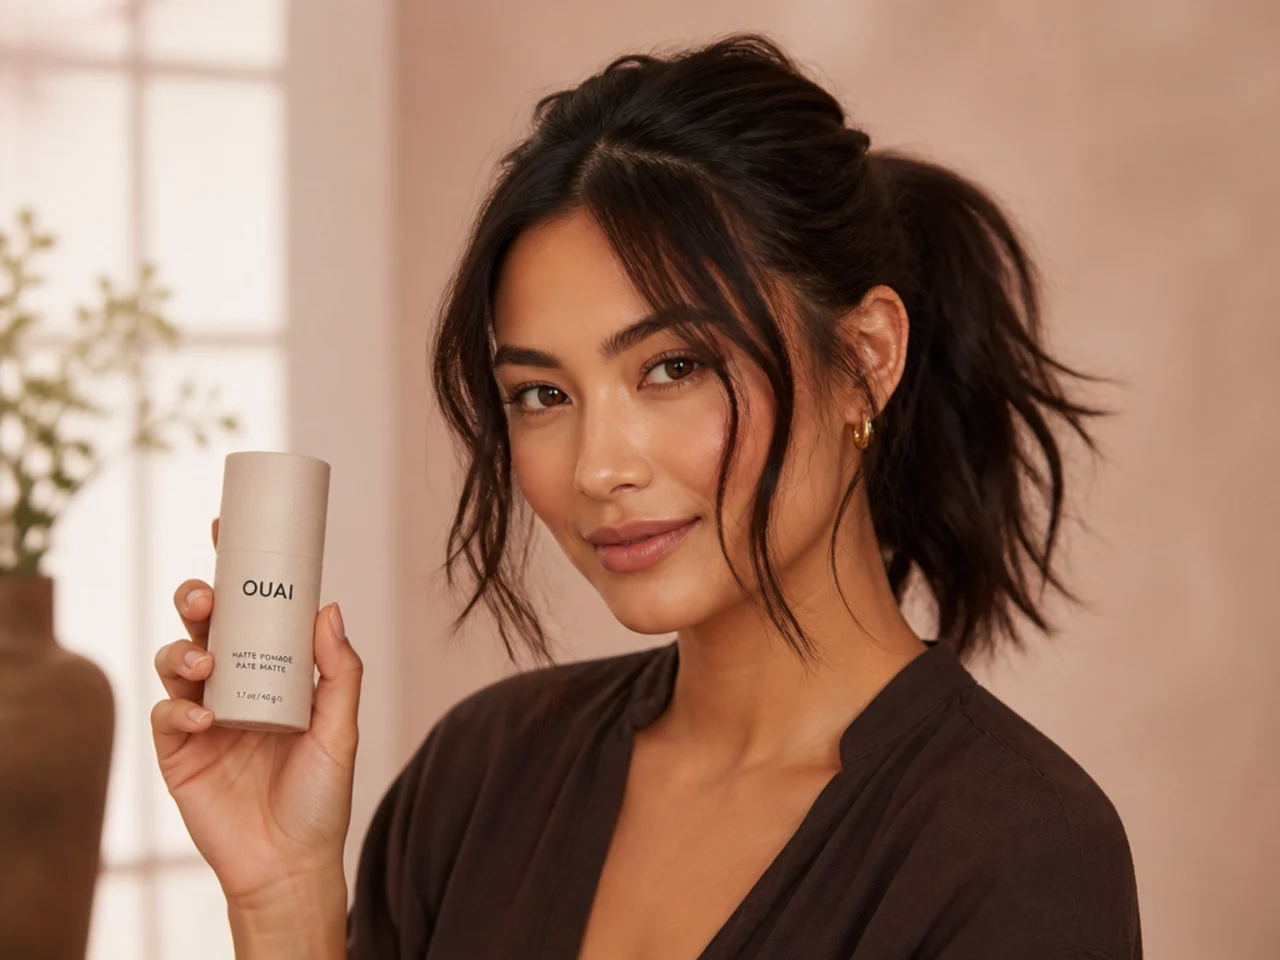
A dry texture spray. Look for one labeled matte or flexible hold. Hairspray freezes the pieces together and reads stiff. Salt spray gets crunchy on already-styled hair. Dry texture spray gives grit and hold without either problem, and you can layer it as many times as you want without buildup.