20 Steps to Get a Korean Haircut Look
Twenty steps to the look, and the sequencing detail that catches most people out — the perm decision comes before the cut, not after. A perm changes how much the hair shrinks and where the layers land.
In this article · 27
- What You Will Need
- Before You Start
- The 20 Steps
- 1. Decide Whether You Are Perming
- 2. Bring a Photograph of the Front
- 3. Name the Three Elements
- 4. Choose Where the C-Curl Starts
- 5. Choose Your Fringe, or None
- 6. Ask for a Thin Section if You Want See-Through
- 7. Ask for Slide-Cut Layers
- 8. Say Where the Layers Should Stop
- 9. Ask for the Framing to Be Cut Short Enough
- 10. Have It Cut Dry if You Are Wavy
- 11. Leave the Perimeter Plain
- 12. Perm Second, if You Are Perming
- 13. Let the Perm Settle for a Week
- 14. Learn the Crown Lift
- 15. Learn the Inward End Turn
- 16. Style the Fringe Separately
- 17. Cut the Product Back to Almost Nothing
- 18. Book the Framing Trim at Six Weeks
- 19. Book the Next Perm at Four Months
- 20. Judge the Whole Thing at Week Two
- Troubleshooting
- Mistakes to Avoid
- FAQ
- Final Thoughts
This look is usually approached as a haircut with some styling attached. There is one sequencing detail that decides whether it works.
The perm decision comes before the cut, not after. A perm shrinks the hair and changes where the layers land. A cut planned without knowing a wave is coming will not fit once it is in — the framing ends up higher than intended and the layers sit differently.
Even when the perm happens second, the decision has to come first.
What You Will Need
A consultation before any cutting. The elements need naming individually.
A decision about perming. Yes or no, before the scissors.
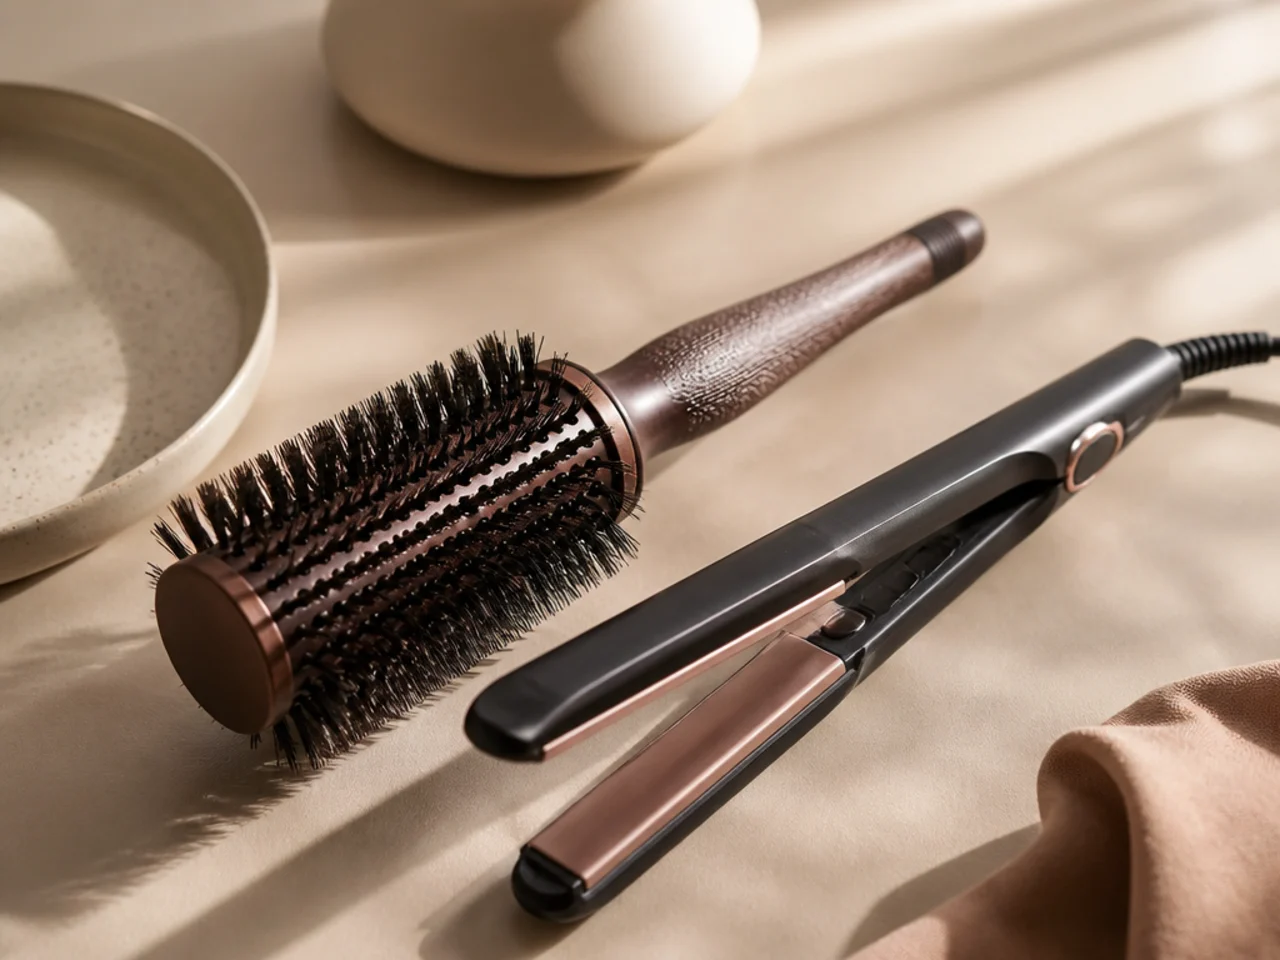
A round brush. For the crown and the ends, not the middle.
A small iron, if you are not perming.
One long appointment, or two shorter ones if perming separately.
Before You Start
Decide about the perm first. It changes everything downstream.
Work out which face-shape framing you want. Cheekbone, jaw or below.
Decide about the fringe separately. See-through, curtain, or none.
Bring a front-facing photograph. The back is not where the design is.
Do not ask for a length. Ask for the elements.

The 20 Steps
1. Decide Whether You Are Perming
The first decision, and everything follows from it. A perm changes what the cut needs to do, so deciding after the cut means one of the two was planned blind.
2. Bring a Photograph of the Front
Not the back, and not the length. The design lives at the face, so a photograph of the length shows the one thing that is not the point.

3. Name the Three Elements
Fringe, framing, crown volume. Say all three. Naming them separately is the difference between a Korean cut and a haircut of the same length.

4. Choose Where the C-Curl Starts
Cheekbone, jaw or below. The face-shape decision. The height of the curve is what balances the face, and it is the one choice with no default answer.

5. Choose Your Fringe, or None
See-through, curtain, or no fringe at all. Each has a different trim cycle, so this decision sets your appointment schedule as much as your look.

6. Ask for a Thin Section if You Want See-Through
Not "thinned out", which produces something else. Thinning removes weight from the ends; a shallow section takes less hair from the start.

7. Ask for Slide-Cut Layers
Tapered rather than blunt-cut, so they fade instead of stepping. A blunt layer ends at a point and a slide-cut one fades along the strand, which is the whole difference.

8. Say Where the Layers Should Stop
All over for a wolf cut, face only for a hush cut. Same technique, two different cuts, and the only thing separating them is where you say to stop.

9. Ask for the Framing to Be Cut Short Enough
Cheekbone to jaw, whatever your length. Framing scaled to your length is still your length, and it contrasts with nothing.

10. Have It Cut Dry if You Are Wavy
So the framing lands where it will actually sit. Wavy hair lifts as it dries, so framing cut wet finishes well above where it was placed.

11. Leave the Perimeter Plain
It is not where the design lives. A plain perimeter is deliberate here — the interest is all at the front.

12. Perm Second, if You Are Perming
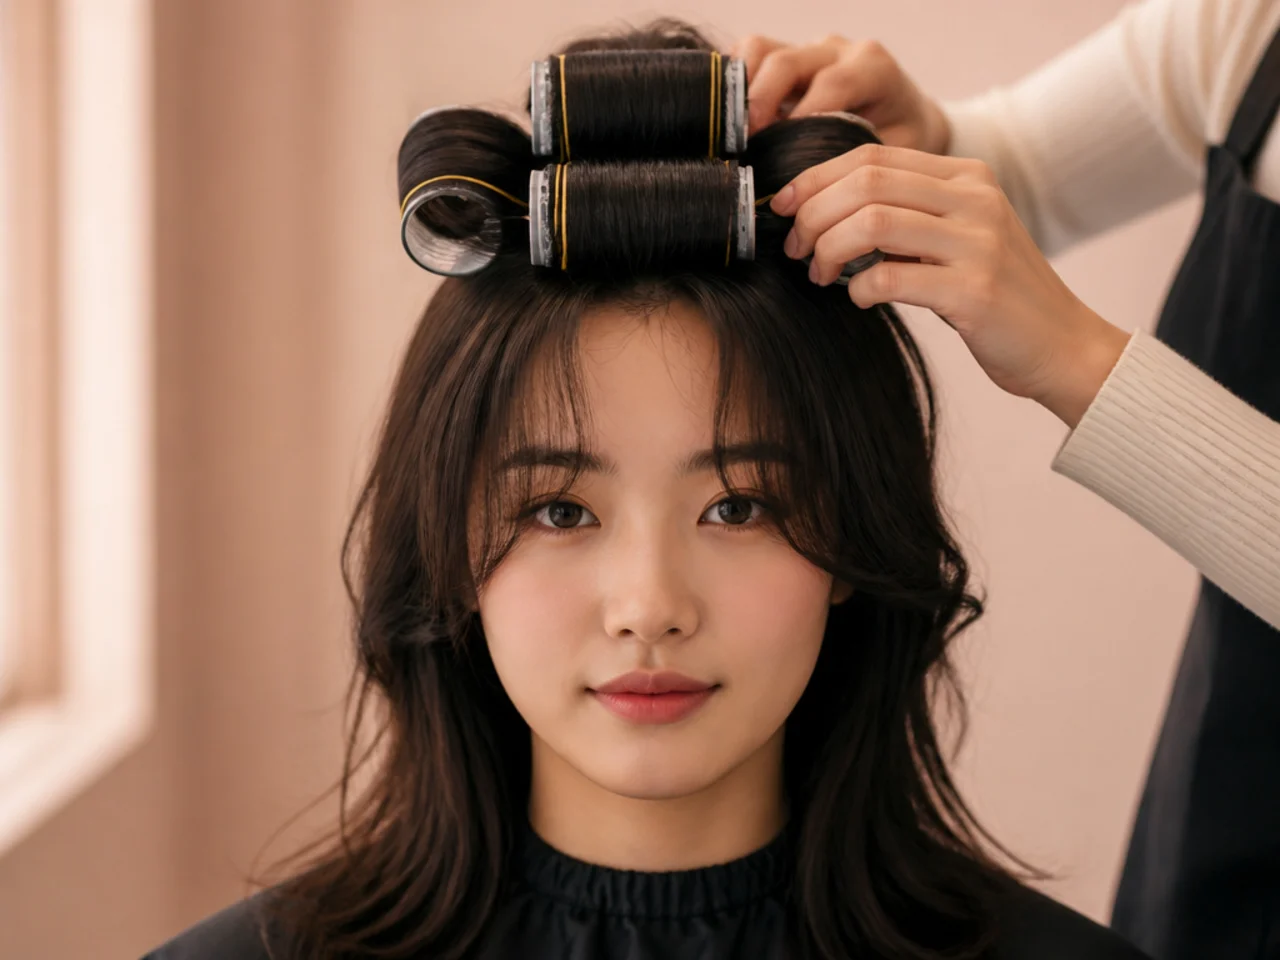
Large rods, gentle processing, mid-lengths and ends only. Rod diameter is what separates movement from curl, and root perming would create volume at the wrong height.
13. Let the Perm Settle for a Week
It looks tighter than intended at first. Do not book a correction in the first week; the shape is not finished yet.

14. Learn the Crown Lift
Wet hair, roots lifted, dried in from there. Root direction sets while the hair is genuinely wet, which is the ordering fact the whole routine depends on.

15. Learn the Inward End Turn
At eighty per cent dry, ends turned toward the jaw. Too early and they drop, too late and they will not take — eighty per cent is when they still bend but no longer feel cold.

16. Style the Fringe Separately
Flat and forward, in its own thirty seconds. The fringe is the one section dried against the crown instruction, because it needs no volume at all.

17. Cut the Product Back to Almost Nothing
Weight flattens the crown, which is the hard part to restore. Ends can be re-turned dry; a flattened root cannot be without starting again.

18. Book the Framing Trim at Six Weeks
Separately from the length. Two parts of one cut age at different rates, so they need two schedules.

19. Book the Next Perm at Four Months
Before it drops out entirely, not after. A perm softens gradually, so re-perming while some shape remains is easier on the hair than starting from flat.

20. Judge the Whole Thing at Week Two
Once the perm has settled and the styling is automatic. Week one tells you about the appointment; week two tells you about the cut.

Troubleshooting
The framing sits too high. The cut was planned without accounting for perm shrinkage. It will drop as it grows; next time, decide the perm first.
The layers have visible steps. They were blunt-cut. Ask for slide cutting explicitly next time.
The fringe is too dense. A deep section was taken. It cannot be made see-through by thinning — the section itself needs to be thinner next time.
The crown goes flat by midday. You are lifting it after drying. It has to be set while wet.
The perm is too tight. Normal in week one. If it is still tight at week three, the rods were too small.
It looks like an ordinary layered cut. The framing is probably cut to your length rather than to your face. It needs to be shorter than feels proportional.

Mistakes to Avoid
Perming after a cut planned without it. The framing ends up in the wrong place.
Asking by length. You will get the outline and none of the character.
Asking for "layers" and "bangs". Both words produce the Western versions.
Adding product for volume. It does the opposite at the crown.
Judging it on the day. Week two, once the perm has settled.

FAQ
Perm before or after? The decision comes first, even though the perm happens second.
What order? Decide the perm, cut for it, perm, then learn the styling.
How long does it take? One long appointment, plus a week for the perm to settle.

Final Thoughts
Say the word perm at the start of the consultation even if you are not sure yet. It is the one decision that changes every measurement afterwards, and it is far easier to plan a cut around a perm you might have than to fix a cut that was planned without one.
For the daily routine see 15 ways to style a korean haircut, and for the aesthetic in full see 25 stunning korean haircut ideas. More in Women's Hairstyles.