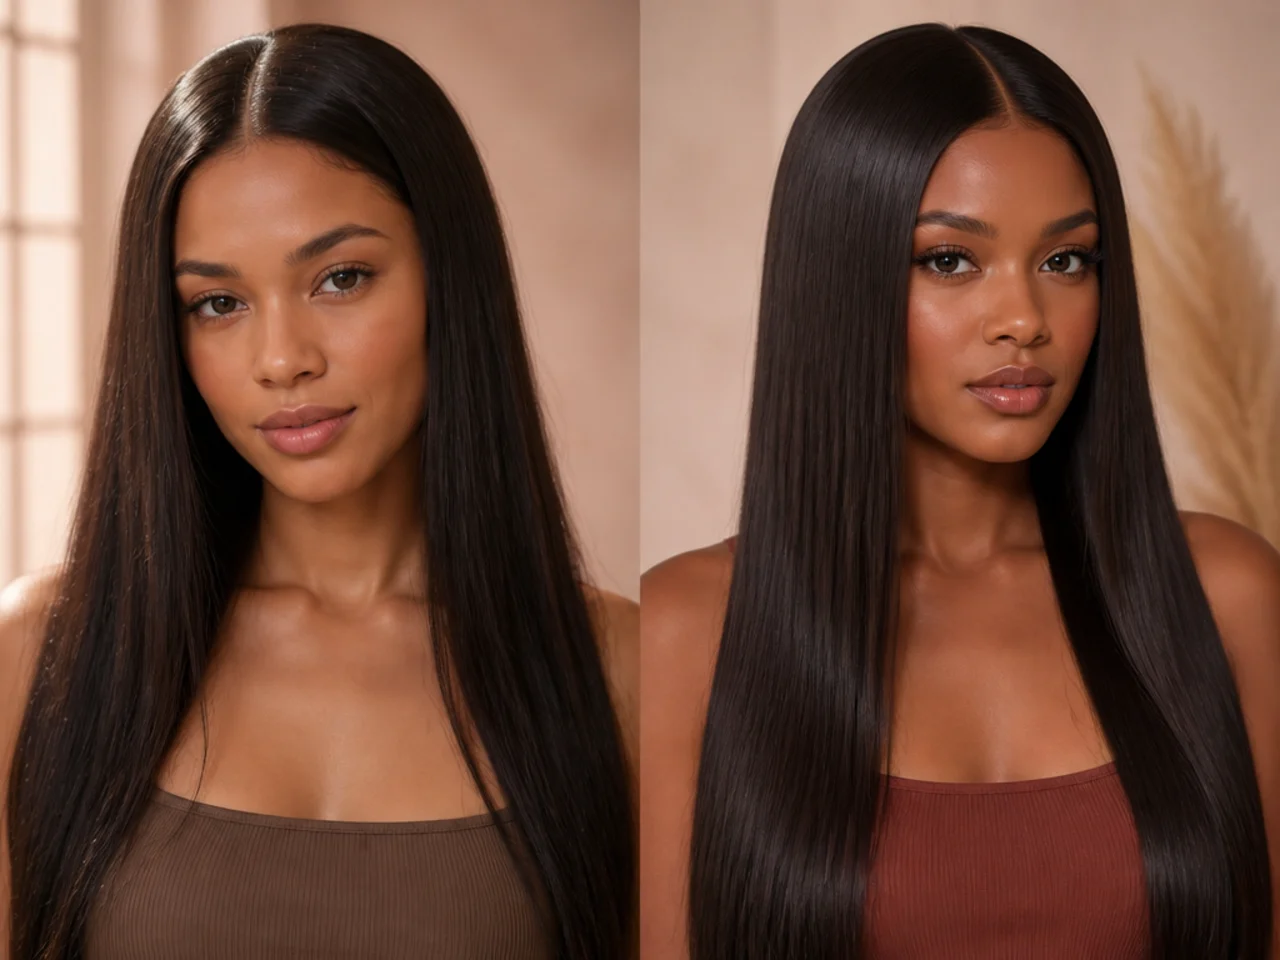
20 Steps to the Old Money Hair Look
Twenty steps to the look, in the order that actually works — condition, then cut, then colour, then styling. Most people start at the other end, and it is why the first attempt so often disappoints.
In this article · 27
- What You Will Need
- Before You Start
- The 20 Steps
- 1. Assess Your Ends in Daylight
- 2. Start a Weekly Treatment
- 3. Stop Heat Styling Daily
- 4. Give It Four to Six Weeks
- 5. Book a Consultation
- 6. Ask Where Your Hair Stops Being Dense
- 7. Agree the Length at That Point
- 8. Ask for Nothing Shorter Than Your Jaw
- 9. Ask for Internal Weight Removal
- 10. Ask for a Blunt Perimeter
- 11. Have It Cut Dry if You Are Wavy or Curly
- 12. Live With the Cut for Two Weeks
- 13. Consider Skipping Colour Entirely
- 14. If You Colour, Book a Gloss
- 15. Keep Colour Within Two Shades
- 16. Ask for a Root Shadow if You Go Lighter
- 17. Learn the Ninety Per Cent Blow-Dry
- 18. Reduce Your Products to Two
- 19. Book the Next Cut Before You Leave
- 20. Keep the Weekly Treatment Going
- Troubleshooting
- Mistakes to Avoid
- FAQ
- Final Thoughts
This look has a correct order, and it is the reverse of how most people approach it.
Condition, then cut, then colour, then styling. Most attempts start at styling — new products, a different blow-dry — and work backwards. That is why the first attempt so often disappoints: the styling stage cannot compensate for anything left wrong in the three before it.
What You Will Need
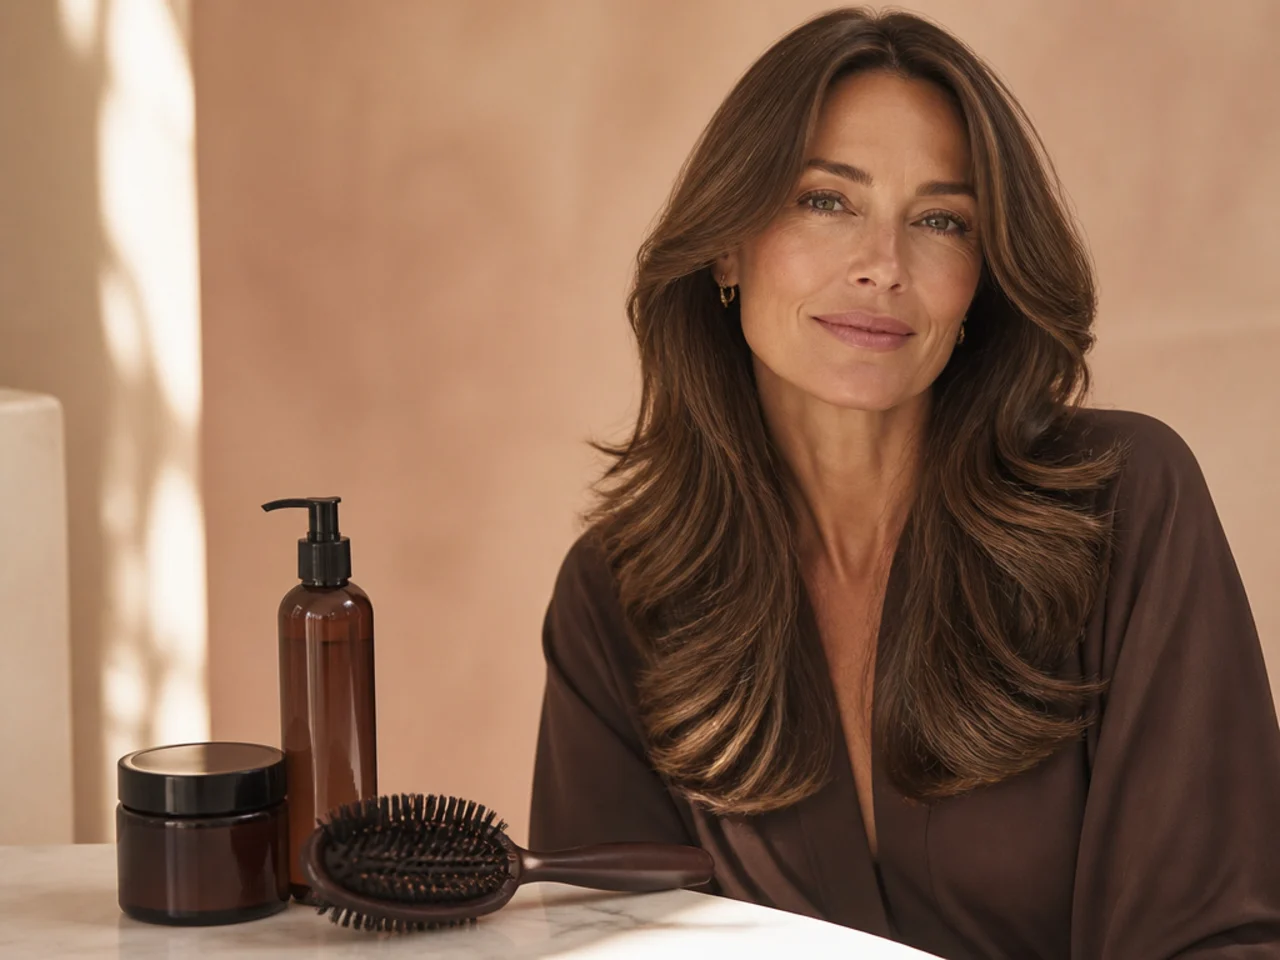
A bond or protein treatment, if your ends are in poor shape. Four to six weeks of use before anything else.
A consultation, not just an appointment. Ten minutes of talking before any cutting.
A gloss, possibly. Often the only colour service required.
Heat protectant. The only styling product this look needs.
Patience for about three months, if condition is the starting problem.
Before You Start
Assess your ends honestly. Hold the last few centimetres up to the light. If you can see through them, that is the first job.
Do not book colour yet. It is third in the order for a reason.
Photograph your hair as it is. Useful at the consultation, and useful in three months.
Decide length before the appointment. Not the cut — just roughly how much length you are willing to lose.
Stop using volumising and texturising products now. They are working against you at every stage.

The 20 Steps
1. Assess Your Ends in Daylight
If light passes through them, condition is step one. Nothing else on this list works until that is true, because the ends are the one thing this aesthetic cannot disguise.
2. Start a Weekly Treatment
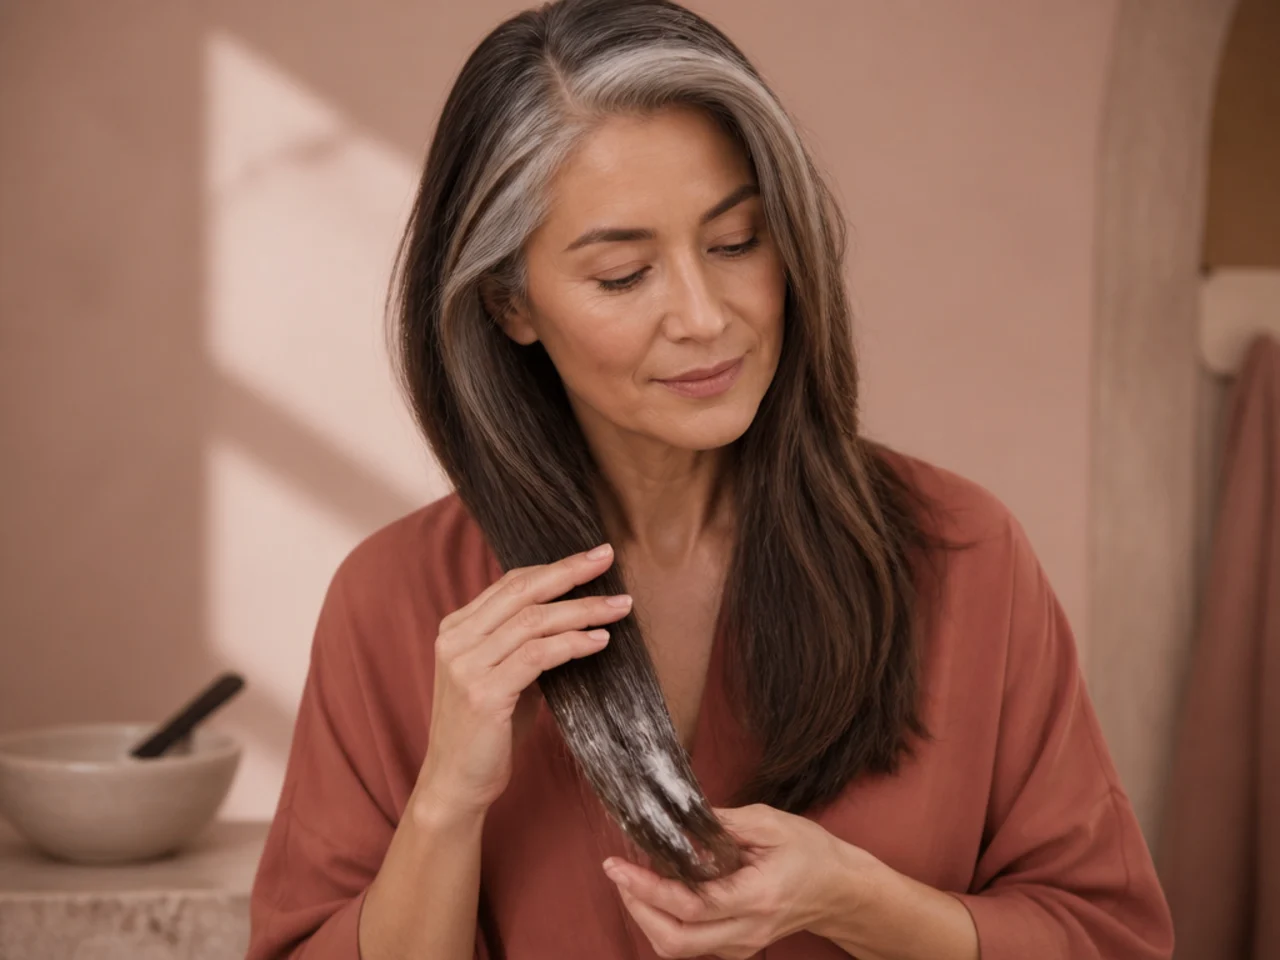
Bond or protein, on the bottom third only. The bottom third is the oldest hair on your head; the roots are weeks old and need nothing.
3. Stop Heat Styling Daily
Every day off is condition recovered. Heat damage is cumulative and silent, so the gain is in the days you skip rather than in the temperature you use.

4. Give It Four to Six Weeks
Condition work is slow and it is the foundation. Hair grows about a centimetre a month, so there is no version of this that happens quickly.

5. Book a Consultation
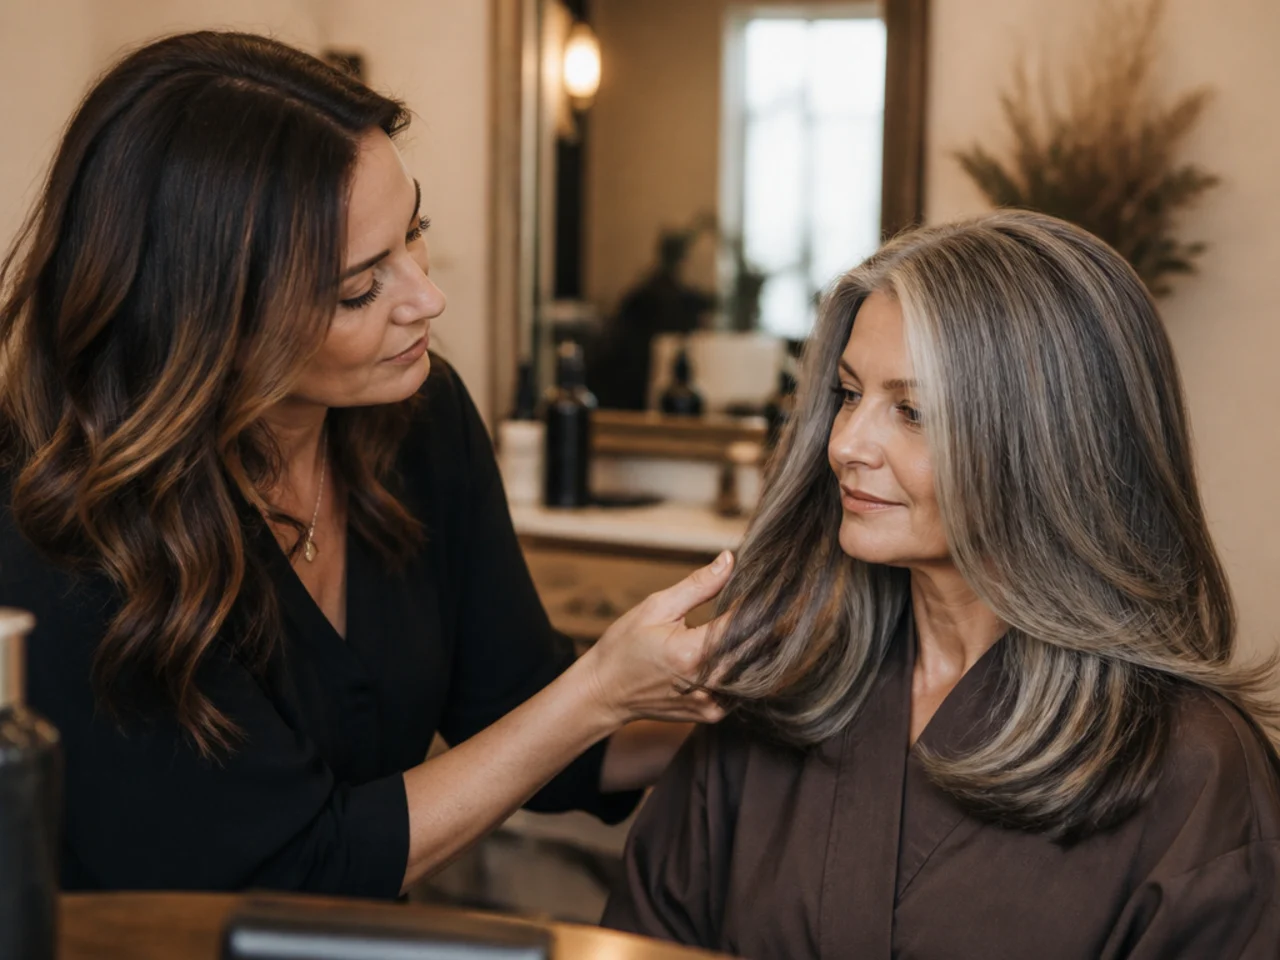
Ten minutes of talking before any scissors. Most of the value in this whole process is in the conversation rather than in the cut itself.
6. Ask Where Your Hair Stops Being Dense
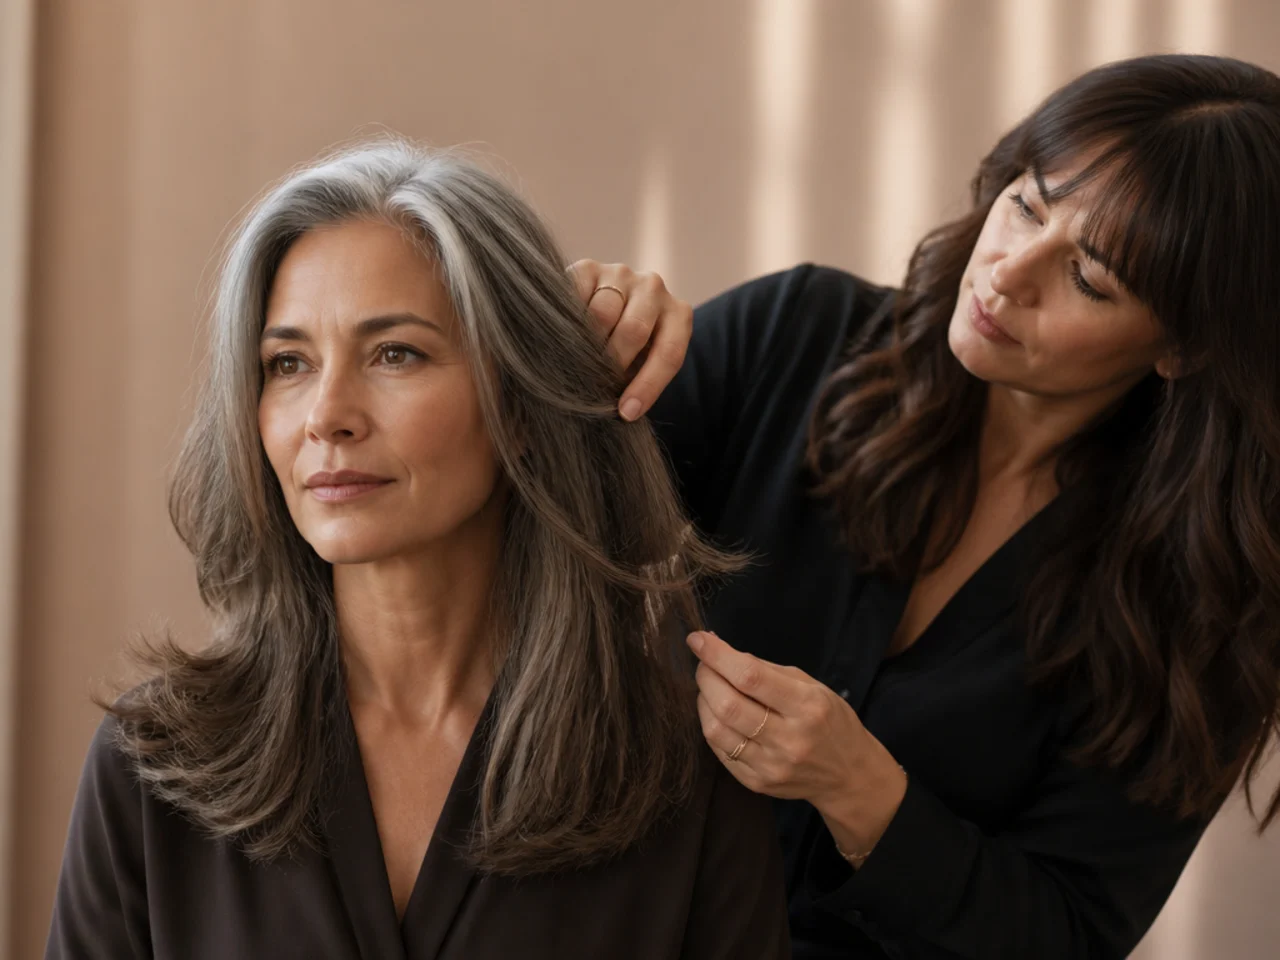
The single most useful question in the whole process. A stylist can show you the point in a mirror, and it is almost always higher than you expect.
7. Agree the Length at That Point
Cut to density, not to preference. The length you lose is nearly always less than you fear, and the perimeter you gain is the whole look.

8. Ask for Nothing Shorter Than Your Jaw
The layering rule, in one sentence. Above the jaw a layer becomes an identifiable feature, and identifiable features announce a salon appointment.

9. Ask for Internal Weight Removal
Movement from inside, outline untouched. Say internal out loud — layers is the default reading, and it produces visible ones.

10. Ask for a Blunt Perimeter
Say it explicitly. Softening it is a reflex. Ask at every appointment rather than only the first, because the reflex does not go away.

11. Have It Cut Dry if You Are Wavy or Curly
So the shape is judged in its own texture. Wavy and curly hair lift as they dry, so a shape cut wet lands somewhere other than where it was placed.

12. Live With the Cut for Two Weeks
Before touching colour. It tells you what colour is actually needed. A good cut often removes the reason you wanted colour in the first place.

13. Consider Skipping Colour Entirely
The strongest version of this look often has none. No service means no regrowth line, and a regrowth line is visible colour work by definition.

14. If You Colour, Book a Gloss
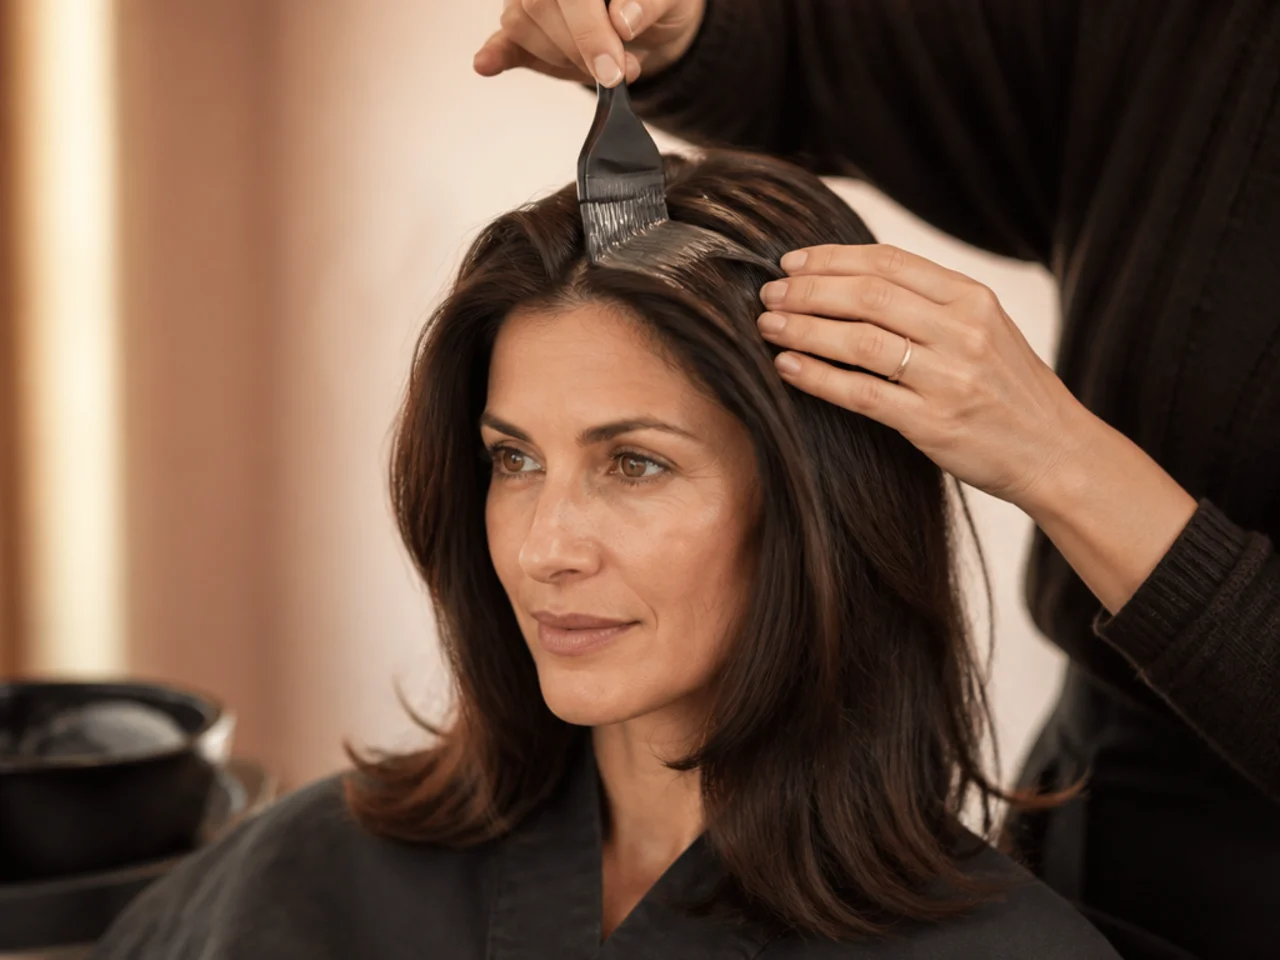
Shine and tone without a service anyone can identify. A gloss deposits rather than lifts, so nothing about the structure changes and there is nothing to grow out.
15. Keep Colour Within Two Shades
Anything further creates a visible grow-out line. The smaller the gap between root and length, the less there is for the eye to find.

16. Ask for a Root Shadow if You Go Lighter
It converts regrowth from a tell into part of the colour. The shadow works continuously rather than buying a single delay, which is what makes it sustainable.

17. Learn the Ninety Per Cent Blow-Dry
Stop before it is fully dry. Let the rest happen on its own. That last stretch is where a surface becomes uniform, and uniformity is what reads as styling.

18. Reduce Your Products to Two
Heat protectant, and a light cream for the ends. Anything with hold preserves regularity, and regularity is the thing this look is avoiding.

19. Book the Next Cut Before You Leave
Eight to ten weeks for length, six to eight for short. Short shapes carry more proportion per centimetre, so the same growth costs them more.

20. Keep the Weekly Treatment Going
The condition work does not stop once the cut is done. The cut is a one-off; the ends are a standing commitment, and they are what is on display.

Troubleshooting
It still looks styled. You are drying it to completely dry. Stop at ninety per cent.
The ends still look thin. Either the treatment needs more time, or the cut did not go far enough up. Usually the second.
The layers are visible. They were cut too short. Ask for nothing above the jaw next time and let them grow out.
The colour looks like a colour. Too many shades from natural, or no root shadow. A gloss closer to your base fixes it.
It looks flat rather than effortless. Almost always over-conditioning at the root or too much product. Condition the ends only.
It looked right for a week and then stopped. The cut may be a trendy shape rather than a durable one. Ask how it will grow out next time.

Mistakes to Avoid
Starting at styling. It is fourth in the order and cannot fix the other three.
Colouring before cutting. You pay to process hair you are about to remove.
Asking for layers without qualifying it. It produces visible ones.
Keeping length past where the hair is dense. It reads as neglect.
Expecting one appointment to fix poor condition. That part takes months.

FAQ
What order? Condition, cut, colour, styling.
Why cut before colour? Cutting removes damaged hair, so the colour takes better on what remains.
How long does it take? One appointment if your ends are good; about three months if they are not.

Final Thoughts
Do the boring part first. Four to six weeks of treating your ends before you book anything is the least appealing step here and the one that decides whether the rest of it works — because every stage after it is applied to whatever condition you brought.
For daily wear once it is done see 15 ways to style an old money haircut, and for the aesthetic in full see 25 elegant old money haircut ideas. More in Women's Hairstyles.