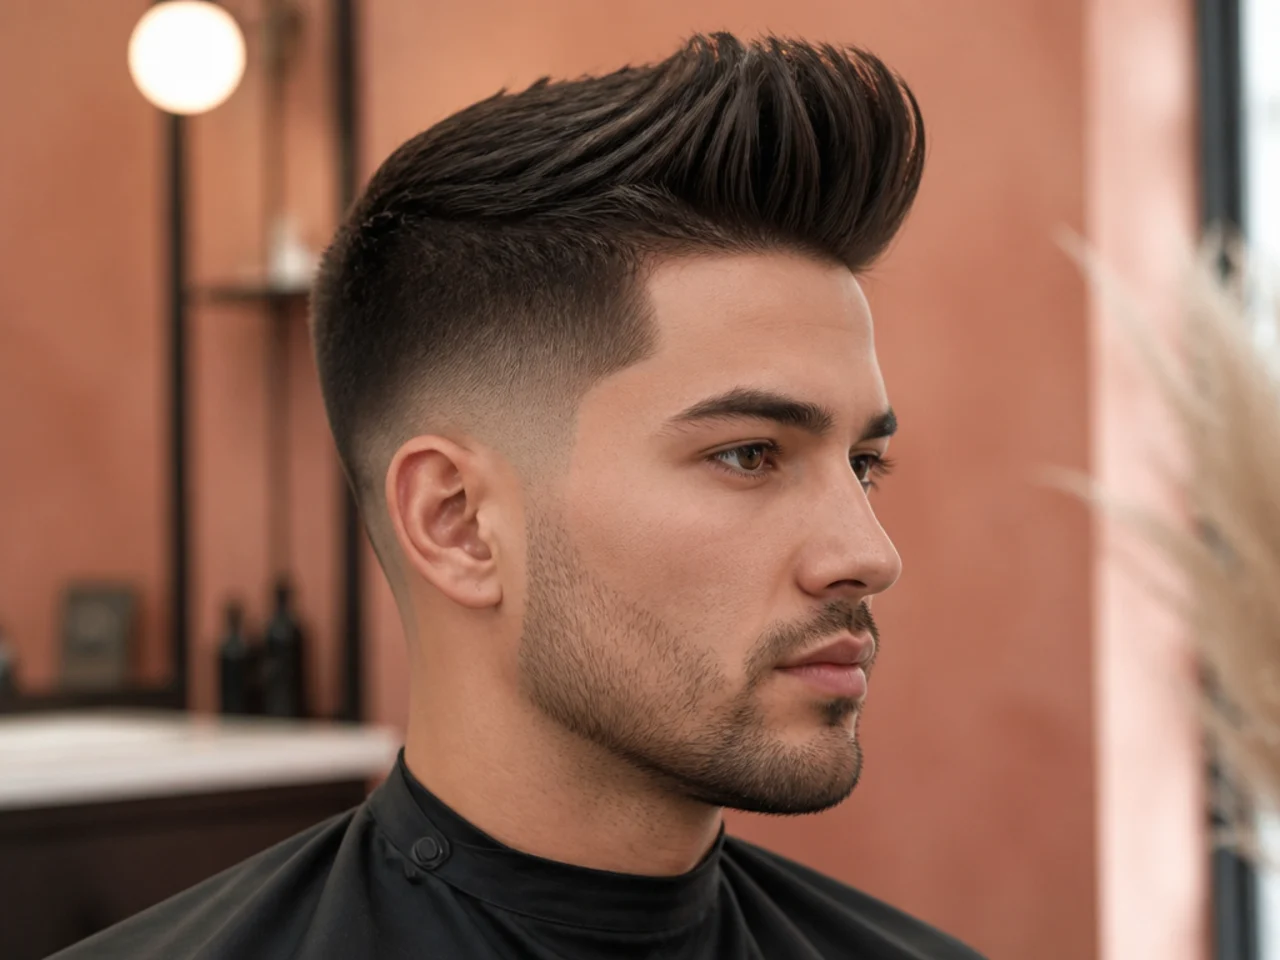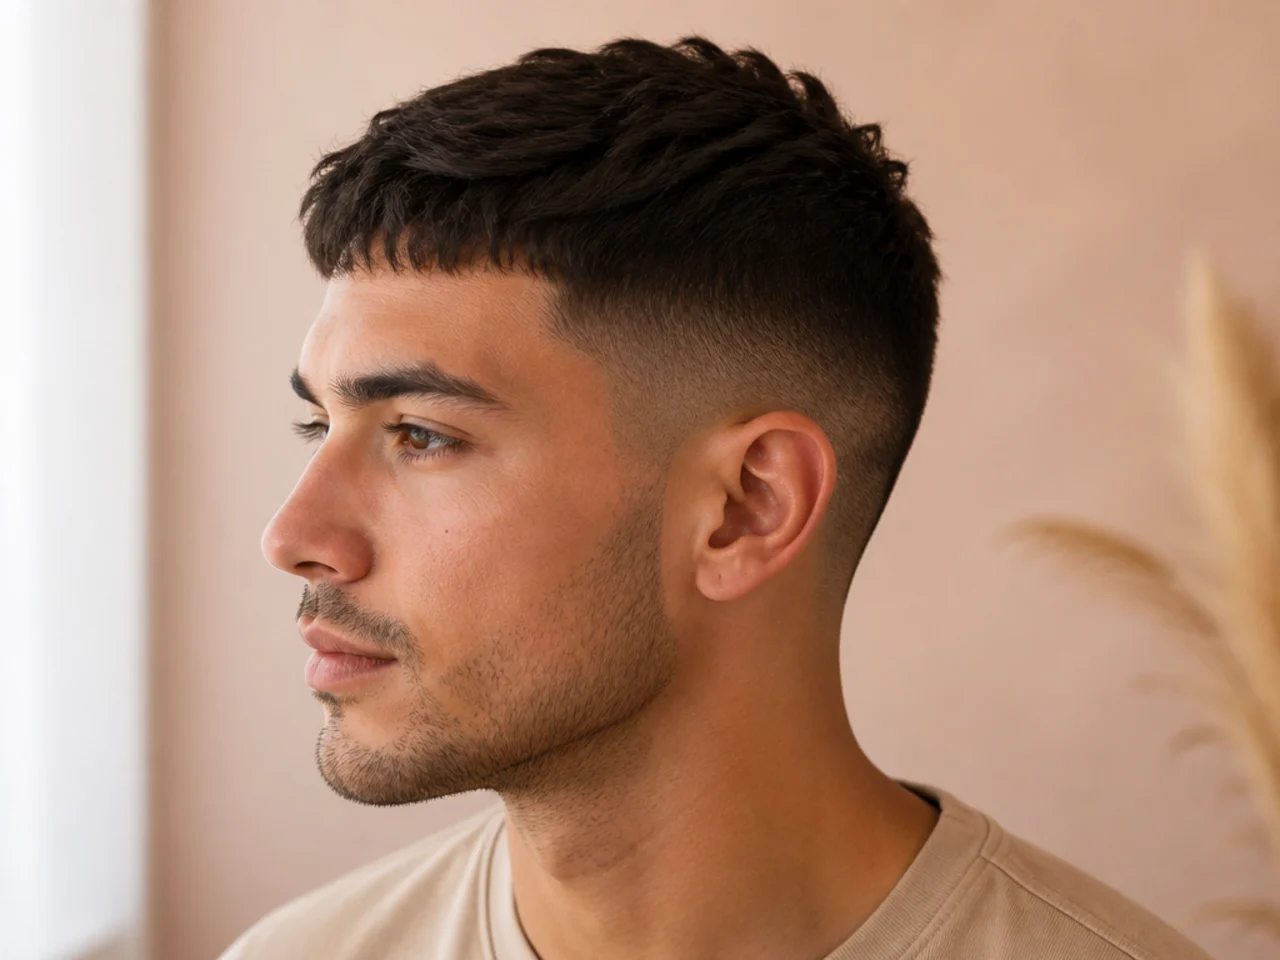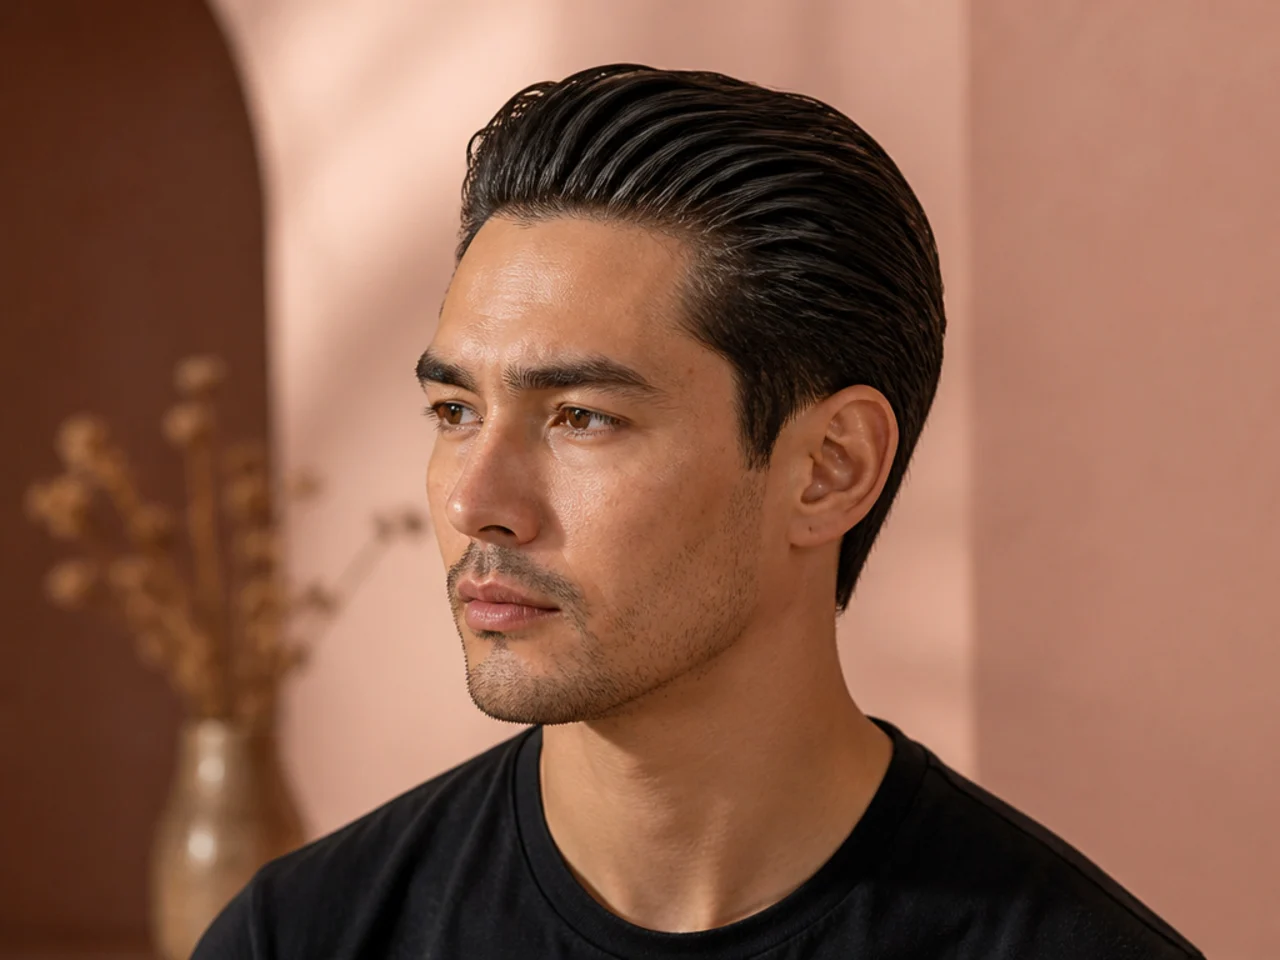
6 Steps to Style a Slick Back at Home
A working barber's six-step guide to a slick back style at home — the exact order that gives you a clean shape, all-day hold, and no greasy helmet.
In this article · 17
- What You'll Need
- The 6-Step Slick Back Routine
- 1. Start with Damp, Prepped Hair
- 2. Choose and Emulsify Your Product
- 3. Work Root to Tip in Sections
- 4. Comb Straight Back in One Pass
- 5. Set the Shape with Low Heat
- 6. Lock the Hold and Walk Away
- Troubleshooting Common Slick Back Fails
- How to Match the Finish to Your Day
- FAQ
- Can I skip the blow-dryer entirely?
- How do I keep the slick back style at home from looking too formal?
- What if my hair is too short for a proper slick back?
- How do I combine a slick back at home with a fade the barber cut?
- Why does my slick back look different from the barber's version?
- How often should I wash if I slick back every day?
The slick back is the fastest formal-looking hairstyle a guy can learn — pomade or clay, one comb, three minutes. The difference between a clean slick back and a helmet of greasy strands is technique, not product. These six steps are how working barbers style a slick back at home, in the order that actually holds. Get them down once and the routine becomes automatic before your first coffee.
What You'll Need
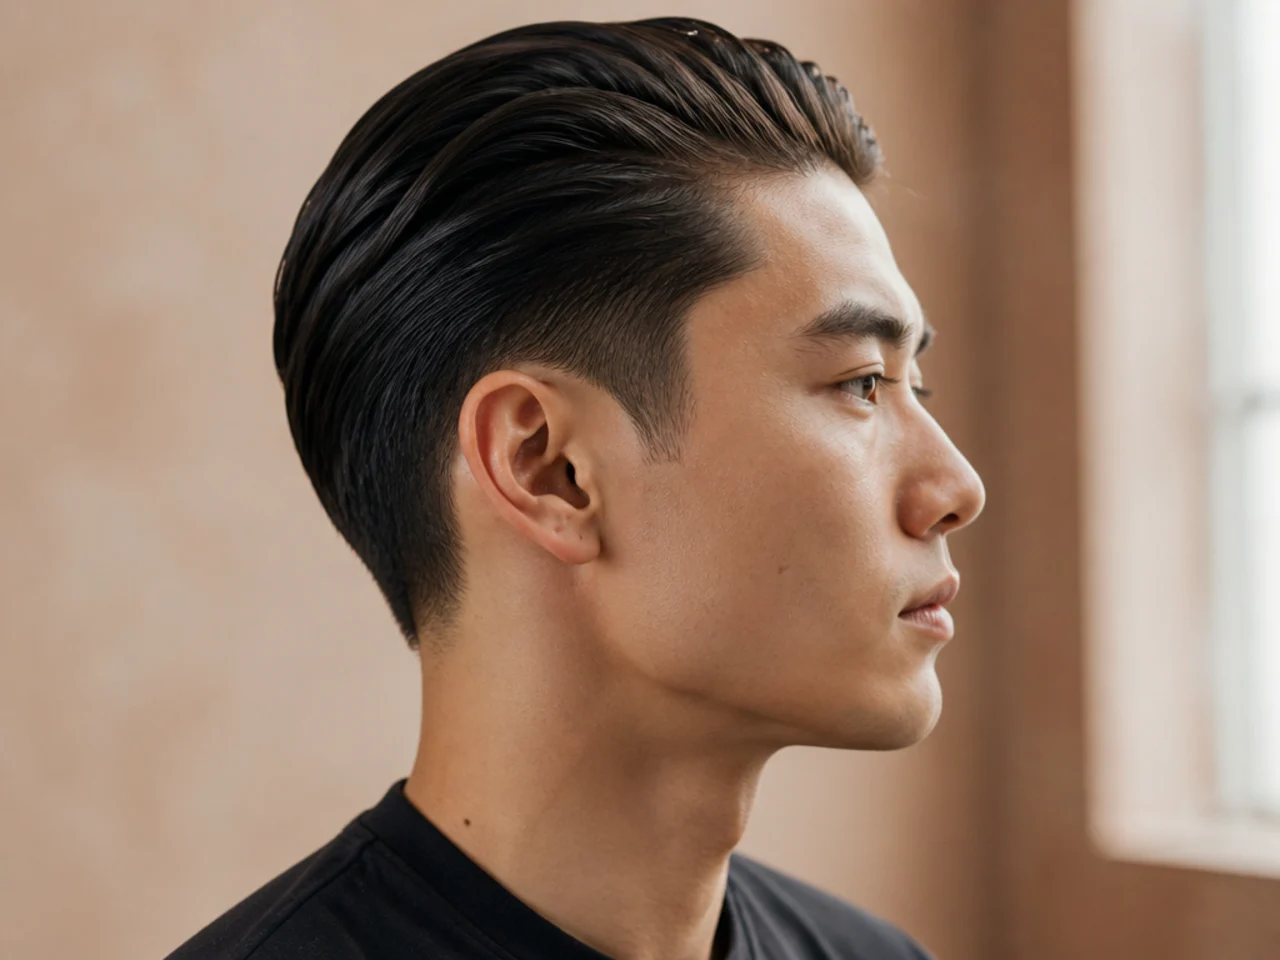
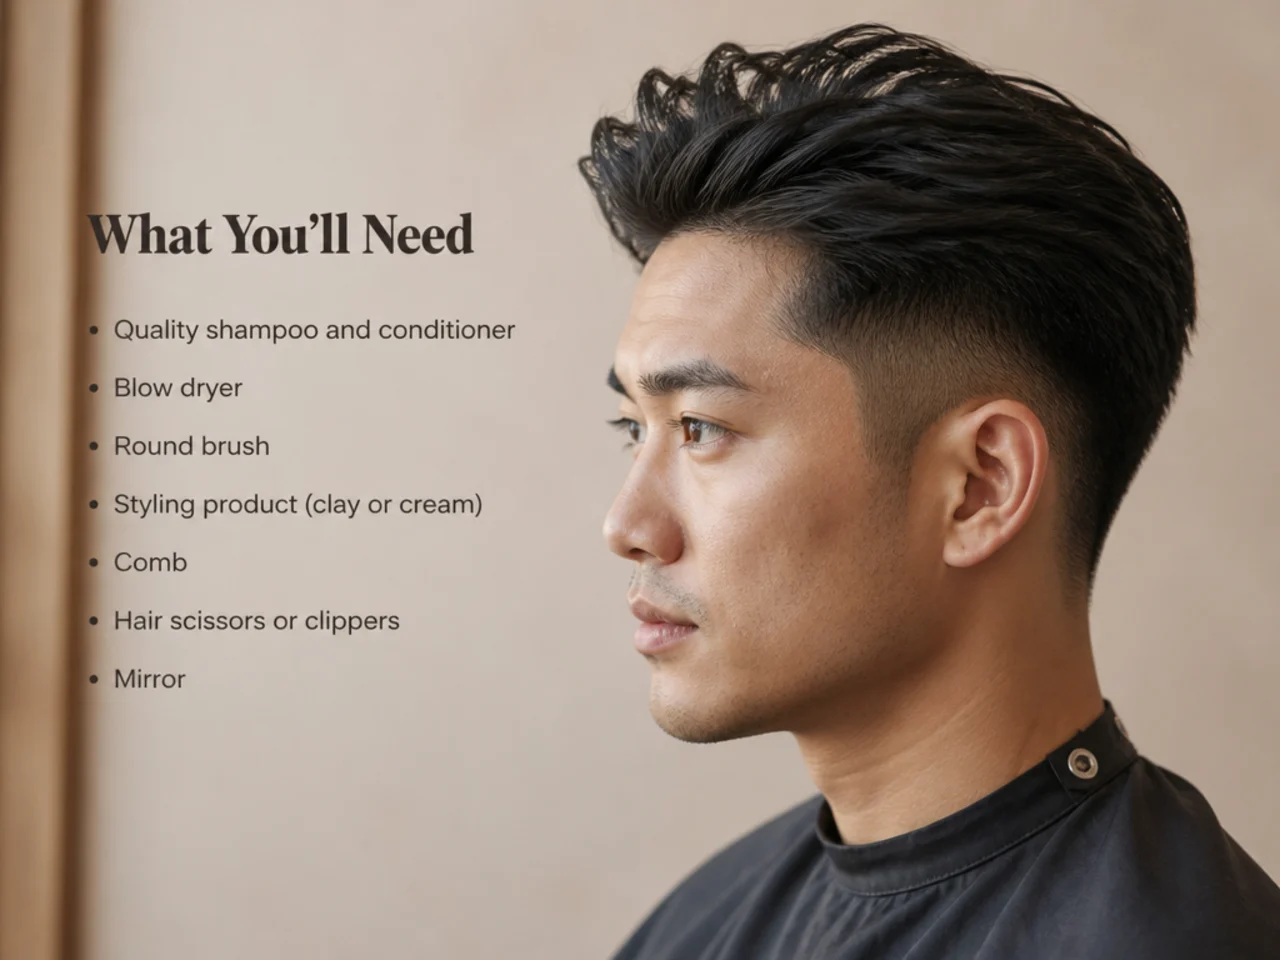
The kit is short. Six items cover every version of the slick back style at home, from a matte weekday finish to a wet-look wedding hold.
- A fine-tooth comb for high shine and defined lines. Wide-tooth if you want visible texture or your hair is coarse.
- One product, matched to your finish. Oil-based pomade for wet-look shine, water-based pomade for restyleable shine, matte clay or cream for the modern non-greasy look, gel for a locked hold.
- A spray bottle with plain water. Damp hair is where every routine starts.
- A blow-dryer with a concentrator nozzle. Optional but the difference between three-hour hold and all-day hold.
- A boar-bristle brush for smoothing the top layer at the end.
- A microfiber or regular towel for the initial dry-down.
Skip the sea-salt spray for this one — it dries the hair out and fights the smooth finish you want. Save that for a textured haircut or a quiff style. If you're still choosing tools, a solid rundown lives in the best hair clippers for men guide — same site, sister silo — for anyone maintaining the sides between barber visits.
The 6-Step Slick Back Routine
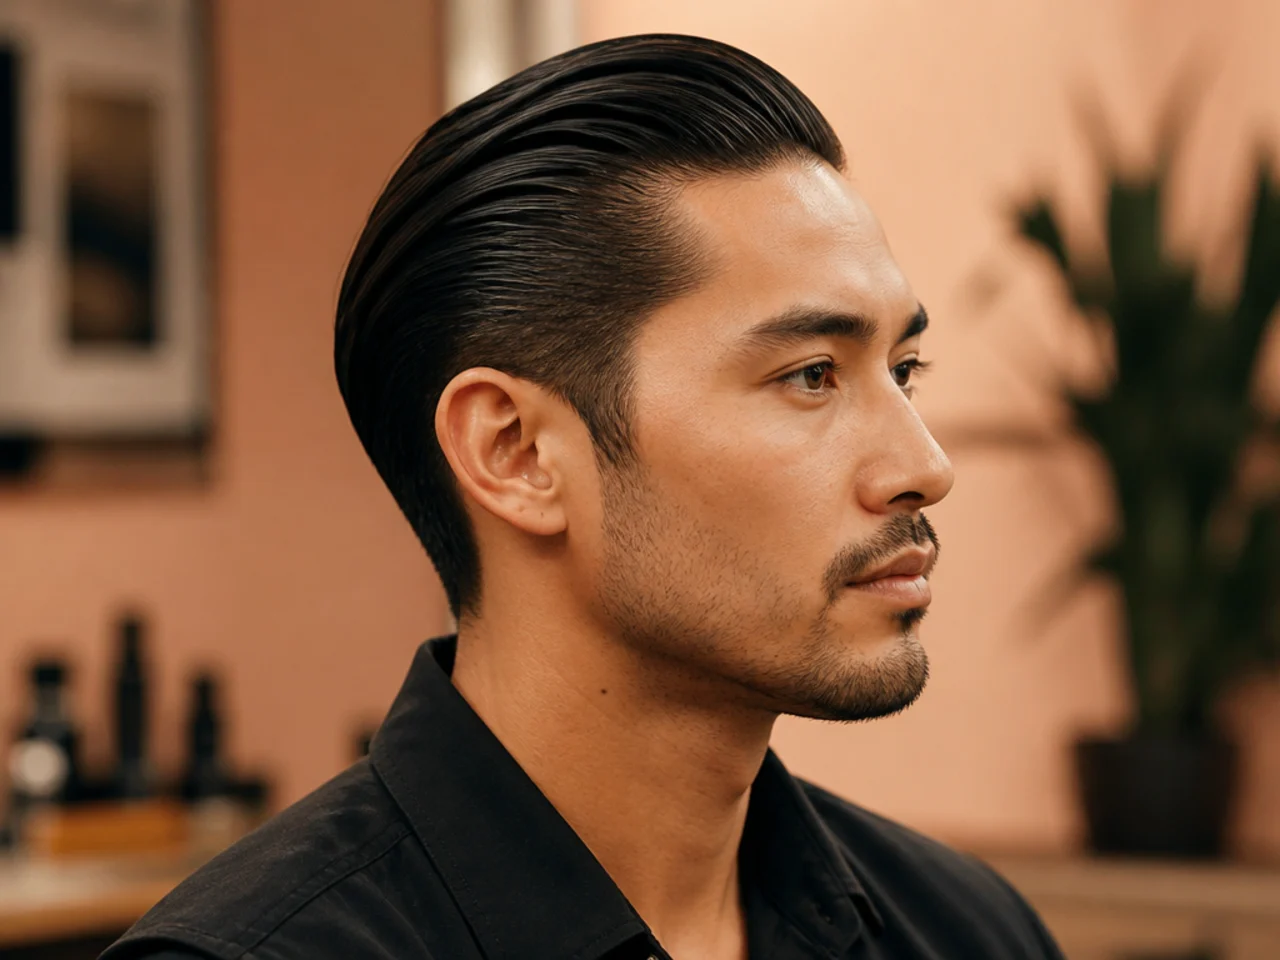
The routine goes in a strict order — skip one step and the finish reads sloppy. Read the whole sequence before your first attempt so you know what's coming. Every step below includes the common failure mode and the fix, because most guys learn this by getting it wrong twice before it clicks.
1. Start with Damp, Prepped Hair
Product spreads on damp hair. On soaking wet hair it slides off. On bone-dry hair it clumps. The sweet spot is towel-dried — the hair should feel cool to the touch but not drip, and running a comb through it should meet a little resistance without dragging.
If you didn't just shower, mist your hair with the spray bottle until it reaches that same towel-dried feel. Twenty to thirty pumps on medium-length hair, distributed evenly from front hairline to crown. Rake through with your fingers to open the strands before you touch product.
The common mistake: styling on hair that's still dripping. The product beads off and lands on your forehead instead of your hair. Wait two minutes after the shower with a towel wrapped around the shoulders. That two minutes changes everything downstream.
If your hair is fine, skip conditioner on wash day when you plan to slick back. Conditioner coats each strand with slip and the pomade slides right off. A classic slick back look needs grip at the root, and clean-but-conditioned fine hair does not have it.
2. Choose and Emulsify Your Product

Match the product to the day. Wet-look formal event — oil-based pomade. Restyleable office day — water-based pomade. Modern casual daily — matte clay or cream. If you don't own a range yet, start with a water-based pomade because it washes out with a single shampoo and reads current without dating you.
Scoop a nickel-sized amount into your palm. Nickel, not quarter — too much product weighs the roots down and makes the sides bulge. Fine and thin hair takes even less; use a dime.
Emulsify hard. Rub the product between your palms in circles until it thins out, warms to body temperature, and goes translucent. Straight from the tin, product lands in clumps that show up as white streaks between the strands. Emulsified product coats invisibly. This step takes ten seconds and is the step most home stylists skip.
The common mistake: applying too much because "more product means more hold." More product means more weight, and weight is what makes the top collapse by lunch. If you finish styling and want more hold, add a second small scoop after the fact — never start heavy.
3. Work Root to Tip in Sections
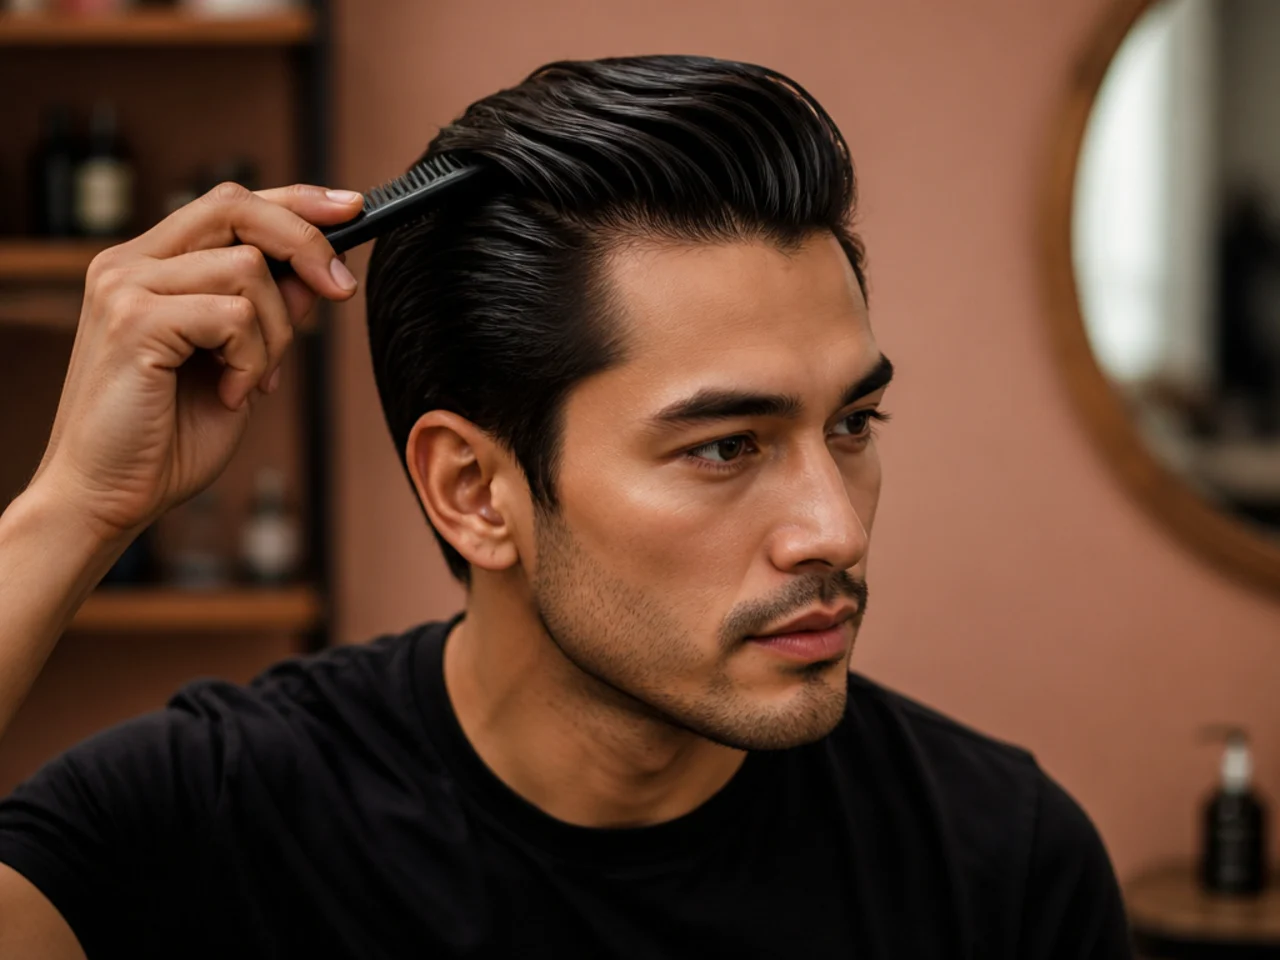
Coverage first, shape second. Rake the emulsified product from your front hairline back to the crown, then down the sides. Get every strand coated at the root before you touch a comb. The roots are where hold lives — miss them and the hair pops back up an hour later.
Work the top in three panels: front hairline to crown, left side, right side. Ten seconds each. Then use whatever product is left on your palms to smooth the temple area and the hair right above the ears. Skip the very back of the neck — you don't need it there and it just makes the collar of your shirt greasy.
The common mistake: working only the top, ignoring the sides. A slick back means every strand points back, including the ones above your ears. Uncoated side hair flips forward at the temples within an hour and ruins the whole shape. Two extra seconds per side prevents it.
If you're styling on second-day hair without a re-wash, this step is where the natural oil at your roots helps you — it gives the product something to bind to. Freshly washed hair sometimes needs a slightly bigger product scoop to compensate. This is also the step that separates a slick back from a side part style: sides get raked back, not down.
4. Comb Straight Back in One Pass
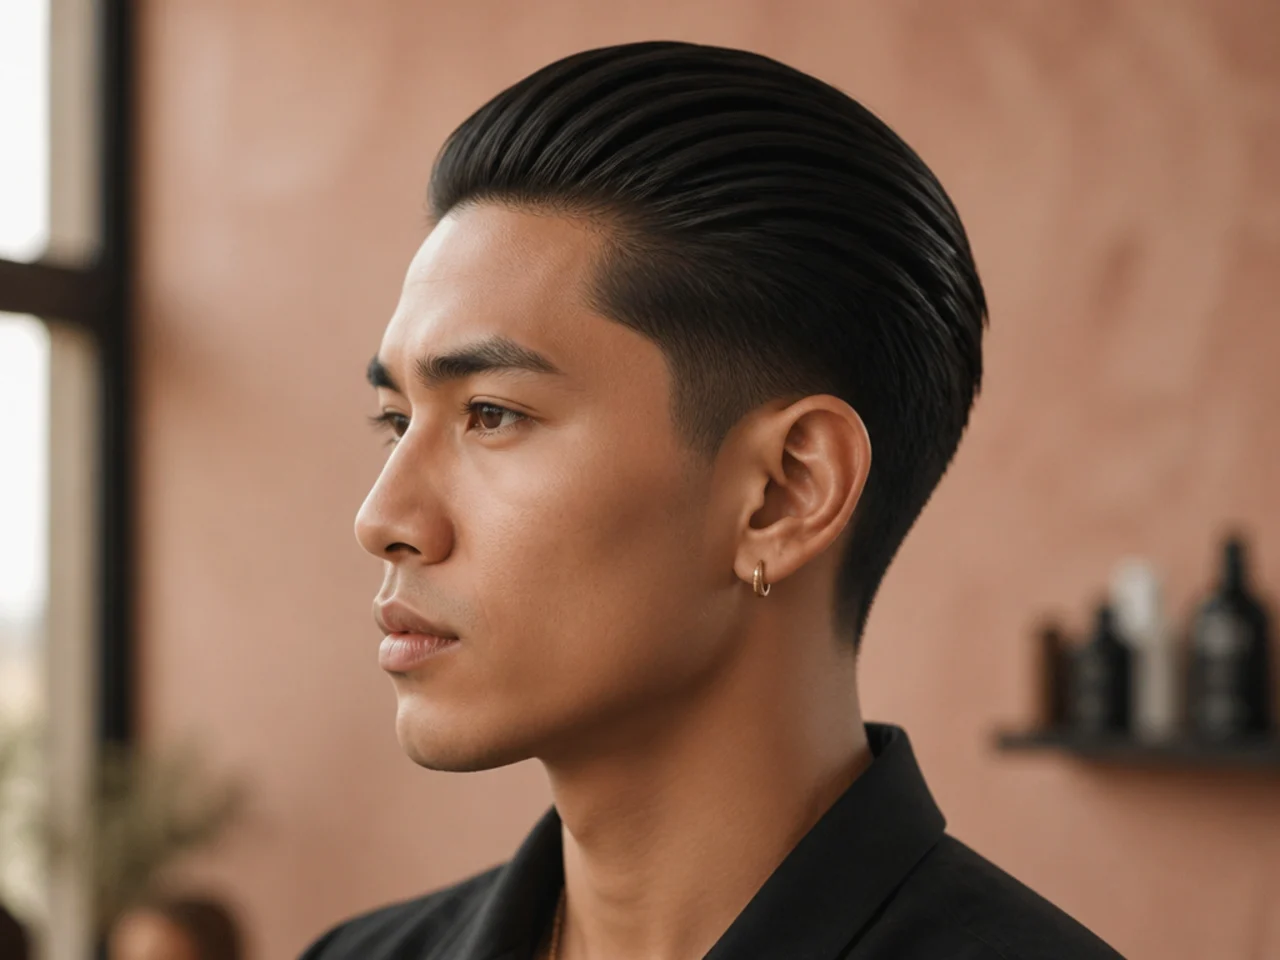
Start at the front hairline. Place the comb teeth flat against the scalp and pull straight back to the crown in one continuous motion. Do not stop. Do not lift. Do not zig-zag. The single pass is what gives you the polished line you're after.
Then do the sides. Comb from the temple straight back, following the shape of your skull. The top and the sides should meet at the crown pointing the same direction. Any strand pointing sideways or forward gets a second pass — but never more than two. Over-combing lifts product out of the roots and kills the hold.
Choose your comb based on the finish you want. Fine-tooth gives a defined line, high shine, and shows every strand — the classic Wall Street finish. Wide-tooth leaves visible texture between strands and reads more modern — think a matte, brushed-back look closer to what you'd see in an old money haircut for men rather than a wet-look version.
The common mistake: combing over and over trying to fix a bump. Every extra pass distributes more product across the surface and less at the root, which is exactly backward from what holds. Two passes maximum. If the bump won't lie flat after two passes, move to step five and use heat to solve it.
5. Set the Shape with Low Heat
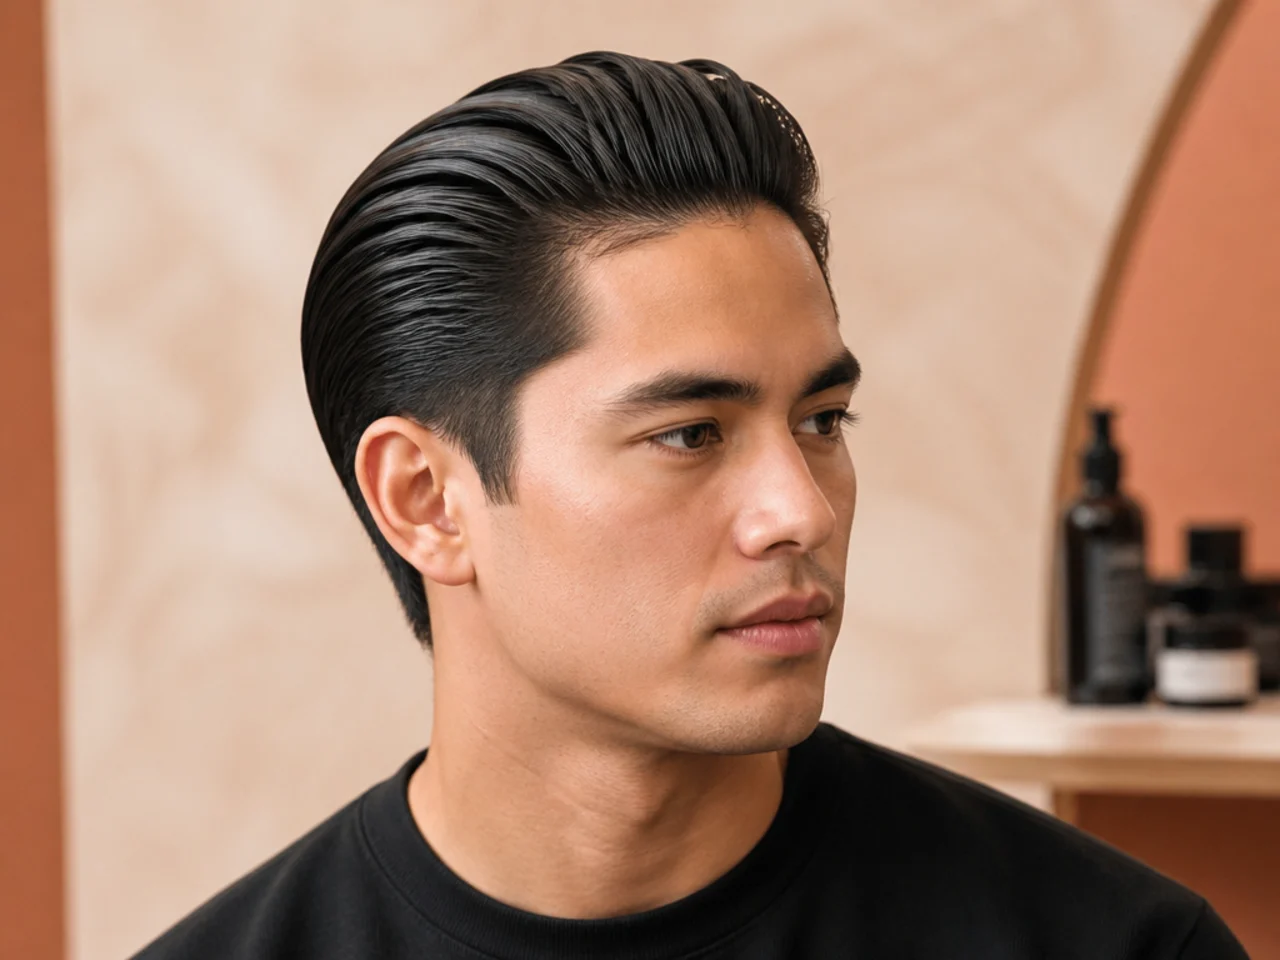
This is the step that separates a three-hour slick back from an all-day one. Skip it and the style holds through breakfast. Include it and the style holds through dinner.
Set the blow-dryer to low heat and low speed. Point the concentrator nozzle straight back along the direction the hair is combed — never sideways, never down at the scalp. Move the dryer in a slow sweep from front hairline to crown for thirty seconds, then over each side for fifteen seconds. Total time under a minute.
If you want extra lift at the front — the small dome that gives the shape movement instead of pancake-flat — tilt your head forward and blast the front hairline for another ten seconds while lifting the front strands with a boar-bristle brush. Then flip your head back and comb once more to smooth. This is the move that pulls a slick back closer to a quiff hairstyle — same direction, more volume up front.
The common mistake: high heat on high speed. High heat evaporates the water in the product and leaves crunch. High speed blows strands sideways and undoes step four. Low and low, always. You should feel warm air on your scalp, not hot.
Skip this step only if you're going for the wet-look finish. Wet-look is meant to stay wet-looking, and heat dries it into a matte version by accident.
6. Lock the Hold and Walk Away
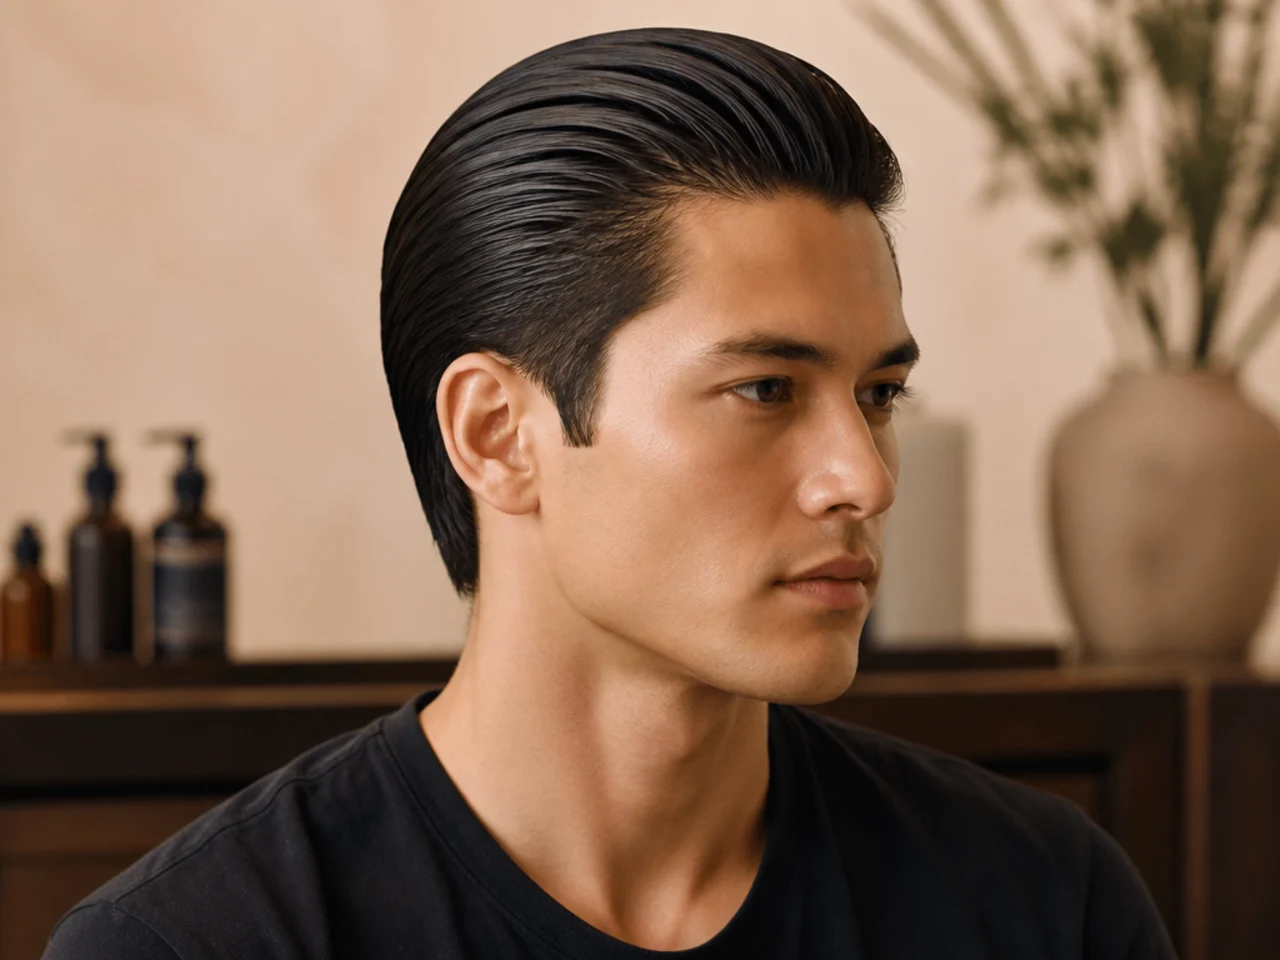
The final move is doing nothing. Once the shape is set, keep your hands off. The first two minutes are when the product transitions from tacky to set, and every touch during that window lifts the shape out of place.
If you want a hold that survives wind, humidity, or a long workday, a two-second mist of light-hold hairspray from ten inches away locks the shape without stiffening it. Aim for the crown and the back — not the front, because front hairspray flakes when it dries and shows white in your hairline. Skip hairspray entirely for the wet-look version — it kills the shine.
The common mistake: patting the top to "check" the shape. Every pat imprints a fingerprint of oil onto the surface and leaves a matte spot in the middle of a shiny finish. Look, don't touch. If a strand is genuinely wrong, use the tail of the comb to nudge it — never your hand.
Then walk away. Get dressed, make your coffee, do anything except think about your hair. When you check back in the mirror five minutes later, the shape has set and it will hold. If you're moving on to a beard trim or shave, do those first so any stray hairs from grooming don't land on the styled top.
Troubleshooting Common Slick Back Fails
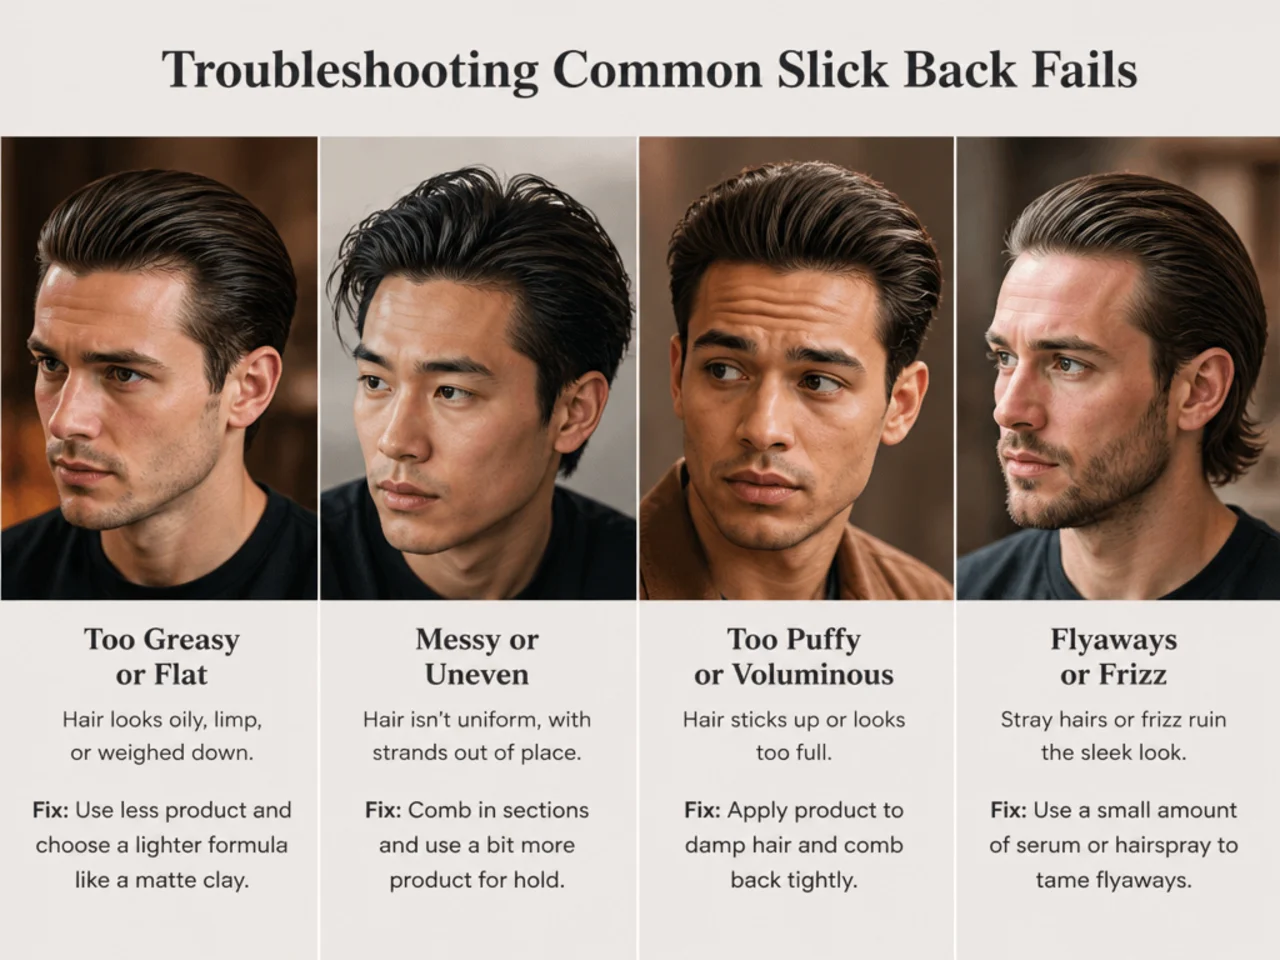
Every home slick back has a failure mode. The fix is almost always one variable away — wetter hair, less product, lower heat, or one different comb. Read this section before your first attempt so you can diagnose mid-styling instead of starting over from wet.
- Greasy helmet look: you used too much product, and it's oil-based. Scale to a dime, or switch to a water-based pomade or matte clay for a lighter finish. Emulsify longer next time — undemulsified product reads as chunks of shine instead of smooth coating.
- Flat by lunch: damp too wet, product too light, or no heat set. All three fixes stack — towel-dry longer, use a nickel scoop, and give it thirty seconds of low blast. Fine hair should also skip conditioner on wash day.
- Sides flip forward at the temples: you skipped step three. Rake product through the temple area and above the ears next time, then comb straight back at the sides in the same motion as the top.
- Bumpy back of the head: over-combing. Two passes max. If a bump persists, dampen the specific spot with a mist, rework a pea of product there, and comb again from the origin of the bump.
- Widow's peak splits down the middle: your comb is pulling the front hairline apart. Start the pass slightly to the side of your natural split, sweep across the whole front hairline in one direction, then pass again across the whole crown. This closes the peak into the mass instead of separating it.
- White flakes at the hairline: hairspray sprayed too close, or dry shampoo not fully brushed out from a previous day. Rinse the hairline with warm water and re-style. Next time, spray hairspray at least ten inches away and keep it away from the front.
- Shine fades to matte after two hours: the product oxidized or your hair absorbed it. Oil-based pomades hold shine longer than water-based ones. If you need eight-hour shine, use an oil-based product on wash-day hair — freshly washed strands don't absorb it as fast.
Keep a mini spray bottle and a travel-size pomade in your bag for touch-ups. Ninety percent of midday fixes are a mist plus a re-comb.
How to Match the Finish to Your Day
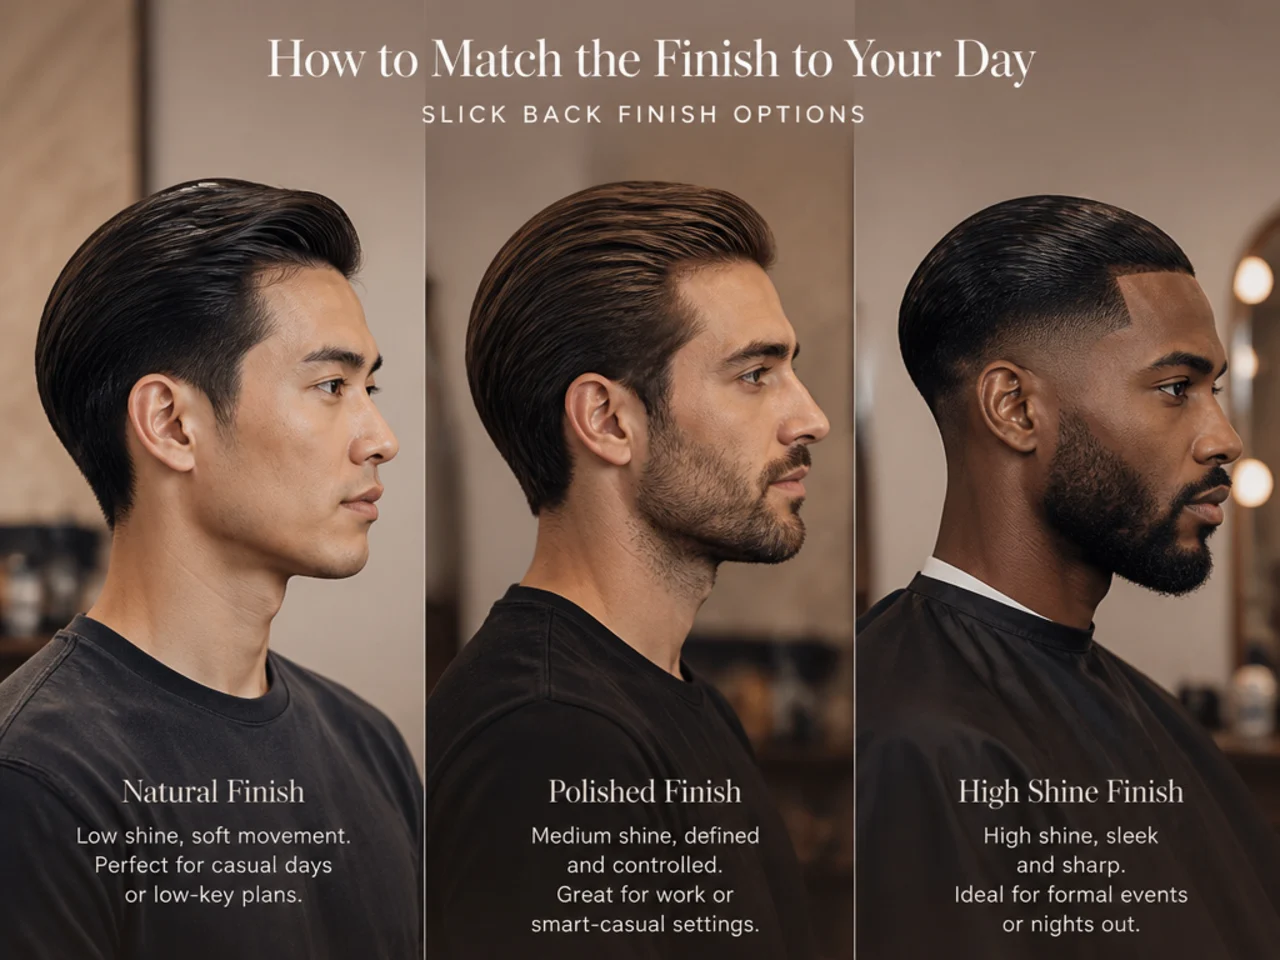
The same six steps produce three completely different looks depending on the product and comb. Pick the finish based on what you're doing, not the photo you saw.
Wet-look shine — pomade plus fine-tooth comb, no heat. For weddings, black-tie events, and anywhere a suit is mandatory. Reads formal, deliberate, unmistakably styled. Skip it for casual settings because it looks overdressed the moment you're in jeans.
Restyleable shine — water-based pomade plus fine-tooth comb, low heat. The workhorse finish for offices with a dress code. Holds through meetings but re-combs at lunch if you get caught in the rain. If you're between a side part and a slick back most mornings, this finish carries both.
Modern matte — clay or cream plus wide-tooth comb, low heat. For everyday wear, creative offices, and weekends. Reads current without dating you. This is the version most guys under forty wear as the default. It pairs cleanly with a low taper fade at the sides or a scissor-cut for a softer edge.
If your hair is short and you want something even more foolproof, look at the short mens haircuts guide for cuts that read polished with minimal product. And if you're growing your slick back out into something longer, the comb over style is the same technique with a directional shift — worth knowing as an alternative for days when the full slick back is too much.
FAQ
Can I skip the blow-dryer entirely?
Yes, but expect a shorter hold. Air-drying with product in works for three to four hours if your hair is medium thick and product-heavy. For an all-day hold in humidity, wind, or under a hat, the thirty-second low-heat set at step five is the difference-maker. If you truly hate blow-dryers, use a heavier pomade and comb twice — once when damp, once when air-dried — to build hold without heat.
How do I keep the slick back style at home from looking too formal?
Two changes soften the shape instantly. First, switch to a matte clay or cream instead of pomade — the finish reads current rather than eighties. Second, use a wide-tooth comb or your fingers instead of a fine-tooth, so visible texture stays in the strands. That combination gives you the modern slick back look without the "just came from a wedding" energy.
What if my hair is too short for a proper slick back?
If you have less than three inches on top, the shape breaks at the temples and flips up. You have two options — grow it out for six to eight weeks until you have at least four inches, or restyle into an ivy league or short simple cut that doesn't need the length. In the meantime, use matte clay to push what you have back rather than pomade — clay grips shorter hair better and doesn't over-slick a length that can't hold the classic finish.
How do I combine a slick back at home with a fade the barber cut?
The fade does the styling work at the sides — you barely have to touch them. Focus your product and comb passes on the top only, and use your fingers to smooth anything above the fade line. A fade cut paired with the six steps above means your morning routine takes under two minutes because there's no side hair to shape.
Why does my slick back look different from the barber's version?
Your barber blow-dries with a round brush at the same time as they cut, which builds shape into the hair. At home, without a round brush, the shape comes from the low-heat set at step five and a boar-bristle brush pass across the top. Add a round brush to your kit if you want to replicate the exact salon lift — hold the round brush at the front hairline, lift the strands up and back, and blast for ten seconds. That's the technique they use.
How often should I wash if I slick back every day?
Every two to three days, with a clarifying shampoo once a week to strip product buildup. Daily washing dries out the scalp and makes fine hair even harder to style. If your hair feels heavy or the product stops holding, that's buildup — one wash with a clarifying shampoo resets the slate and the next slick back holds like day one.