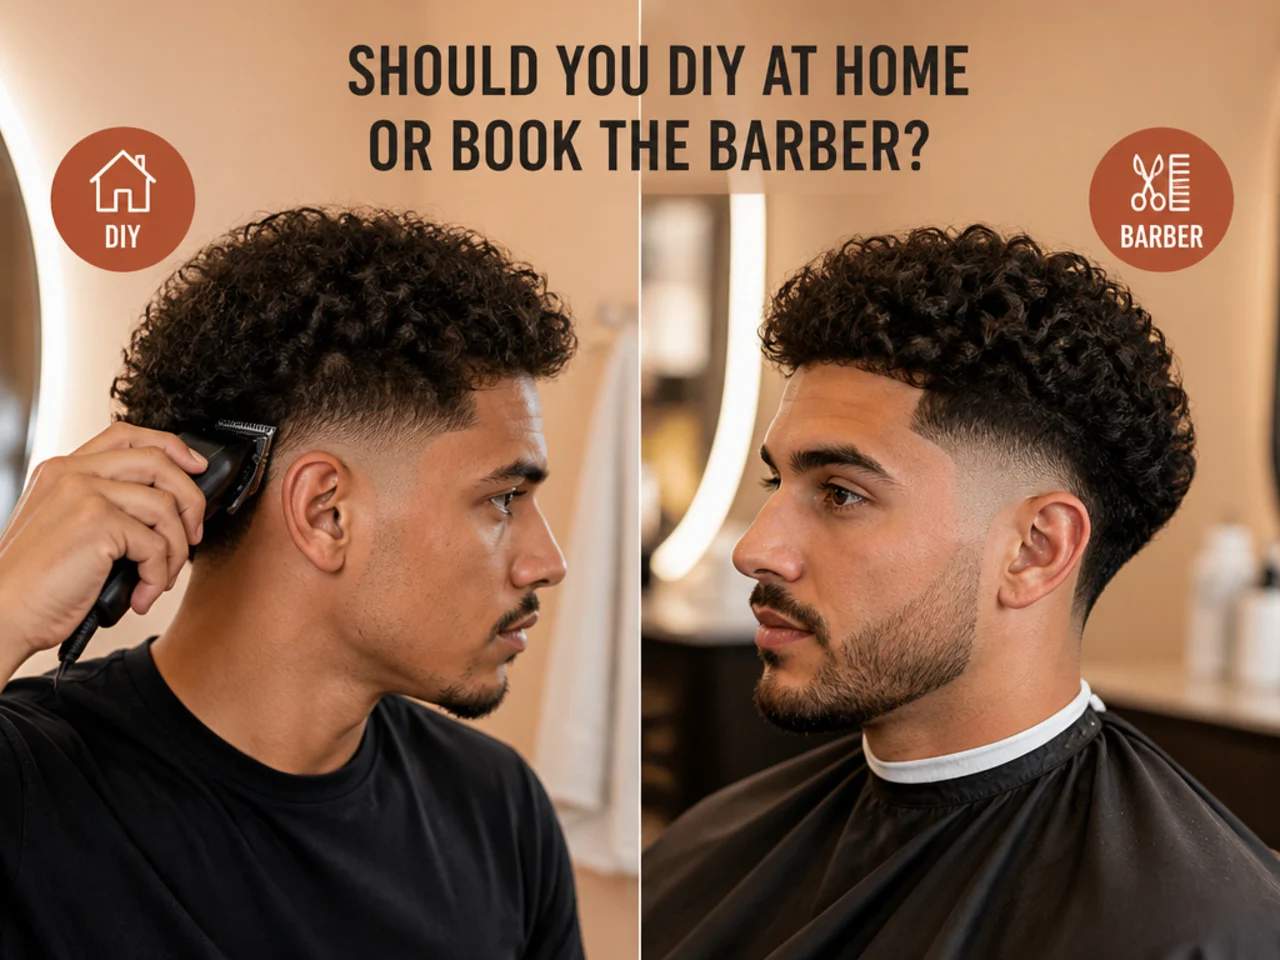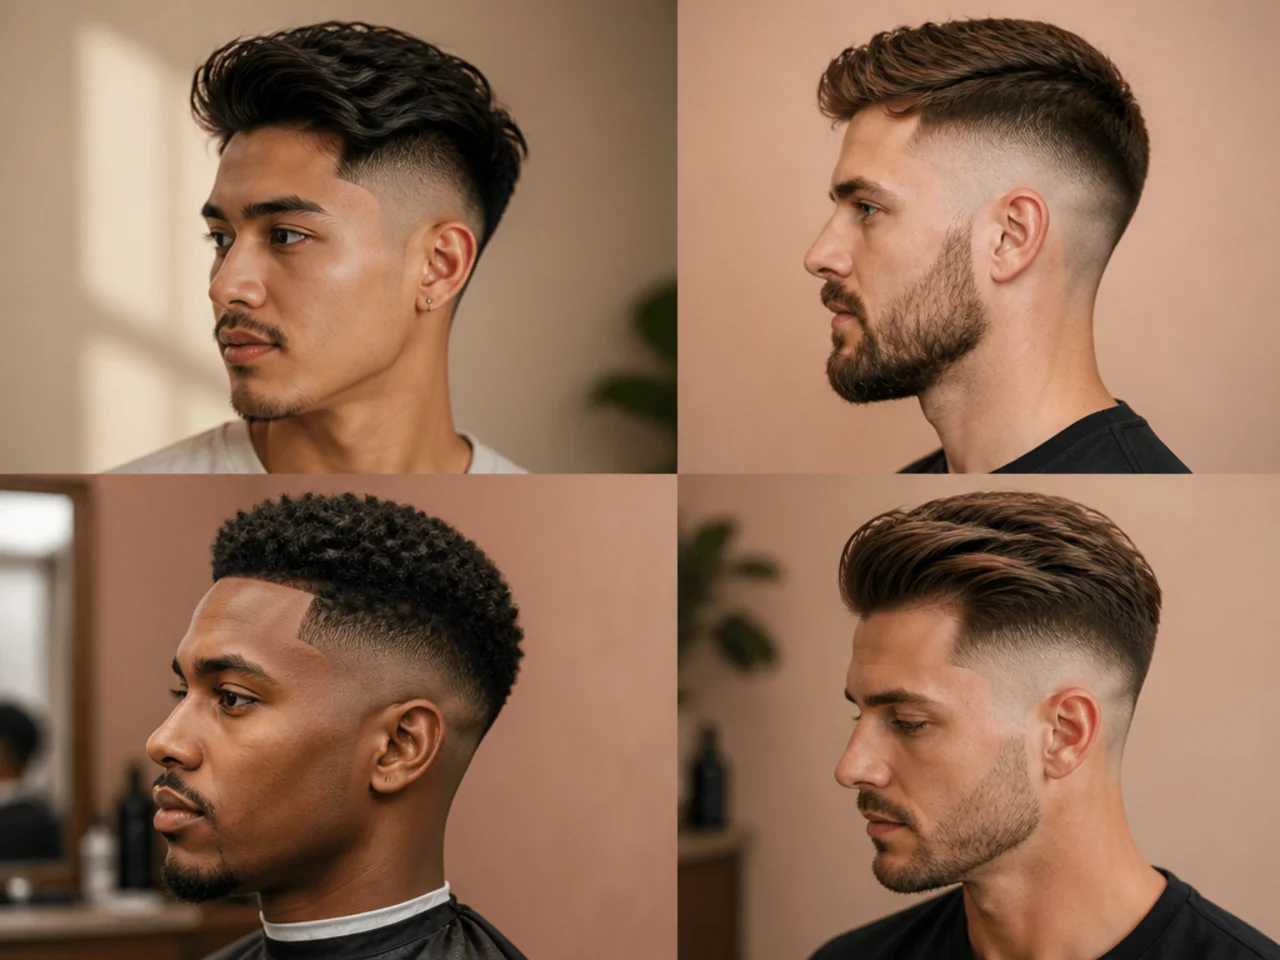
6 Tips to Style a Blowout Taper With Curly Hair
Six barber-tested tips to style a blowout taper on curly hair — wash cadence, product order, diffuser technique, and sleep protection that keeps the shape intact for men with 3A to 4C hair.
In this article · 9
- What You'll Need
- Tip 1: Wash on a Curl-Friendly Cadence, Not Daily
- Tip 2: Layer Your Products in This Order Every Time
- Tip 3: Diffuse for Volume, Air-Dry for Definition — Pick One
- Tip 4: Direct the Curl for the Blowout Silhouette
- Tip 5: Match Product Weight to Your Top Length
- Tip 6: Wrap or Pineapple Every Night — No Exceptions
- Troubleshooting Common Blowout Taper Fails
- FAQ
Getting the cut right is half the job. The blowout taper curly hair men keep asking their barbers for lives or dies at the styling counter — how you wash, what you layer on, how you dry, and how you sleep on it. Six tips below, tuned to 3A through 4C patterns and the domed silhouette this cut is built for.
Fresh to the shape? Start with the blowout taper pillar or the full twenty blowout taper ideas for curly hair roundup. This picks up the morning after your appointment.
What You'll Need
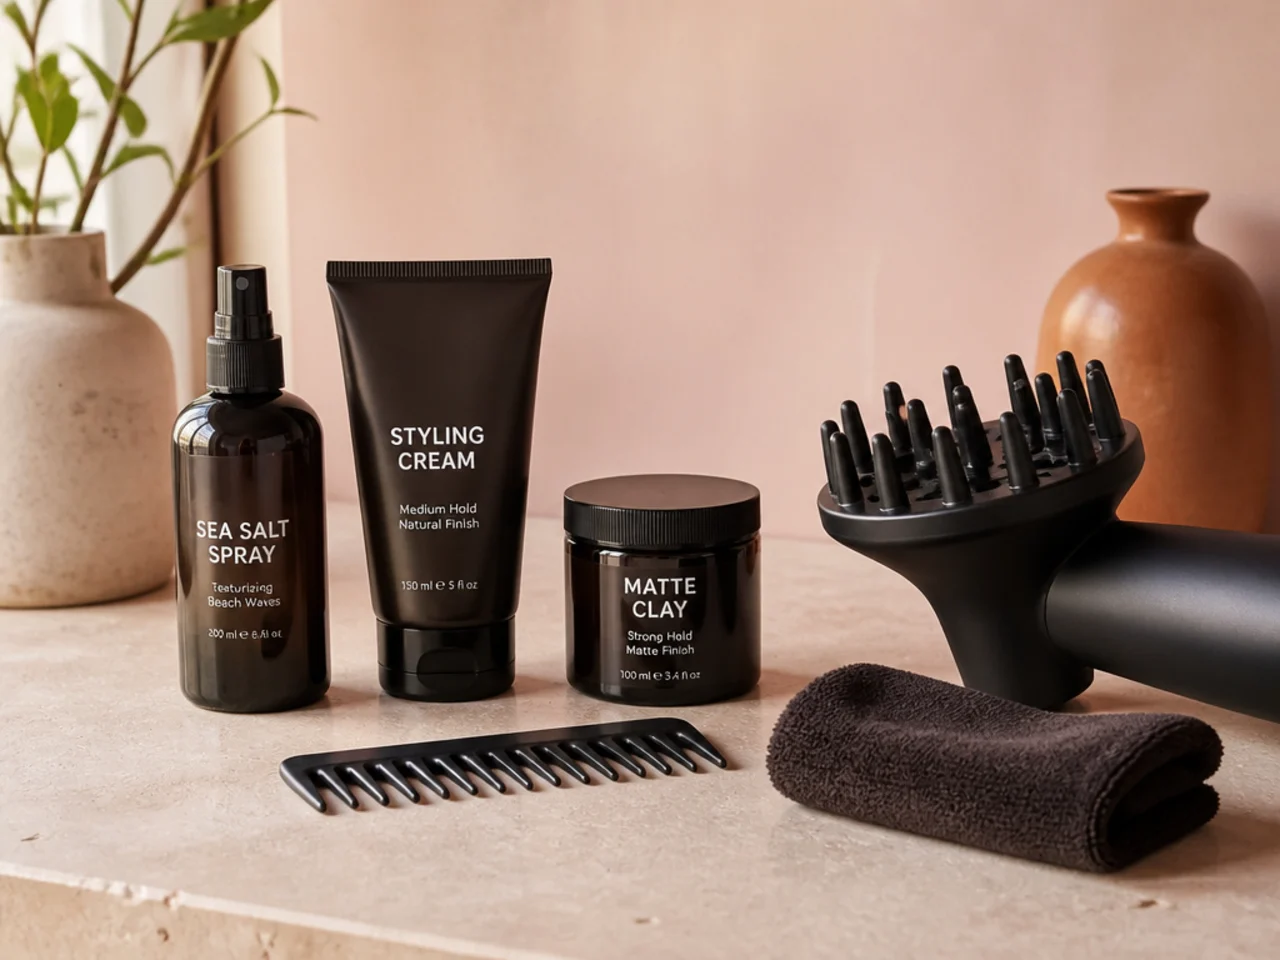
A minimal, curl-specific kit. Nothing here is optional if you want the shape to hold:
- Sulfate-free shampoo and a lightweight rinse-out conditioner.
- Water-based leave-in spray — the carrier that lets the cream lock in.
- Curl cream — the definer. Something creamy, not a stiff gel.
- Foam mousse — optional but useful on humid days for root lift.
- Blow-dryer with a diffuser attachment — a bowl-shaped diffuser with prongs, not the flat-plate accessory that came in the box.
- Microfiber towel or an old cotton T-shirt — for plopping. Never a terry cloth towel.
- Wide-tooth pick — for picked-out variations on 3C, 4A, 4B, or 4C hair.
- Silk or satin pillowcase — full stop. Cotton shreds pattern overnight.
- Fabric-covered scrunchie — for pineappling. Rubber bands snap curls and leave dents.
A quality best wavy hair products rundown covers lightweight picks that also carry looser 3A curl types. If you are still figuring out your pattern, run the curl types breakdown — 3A styles nothing like 4B, and this guide keeps flagging where.
Tip 1: Wash on a Curl-Friendly Cadence, Not Daily
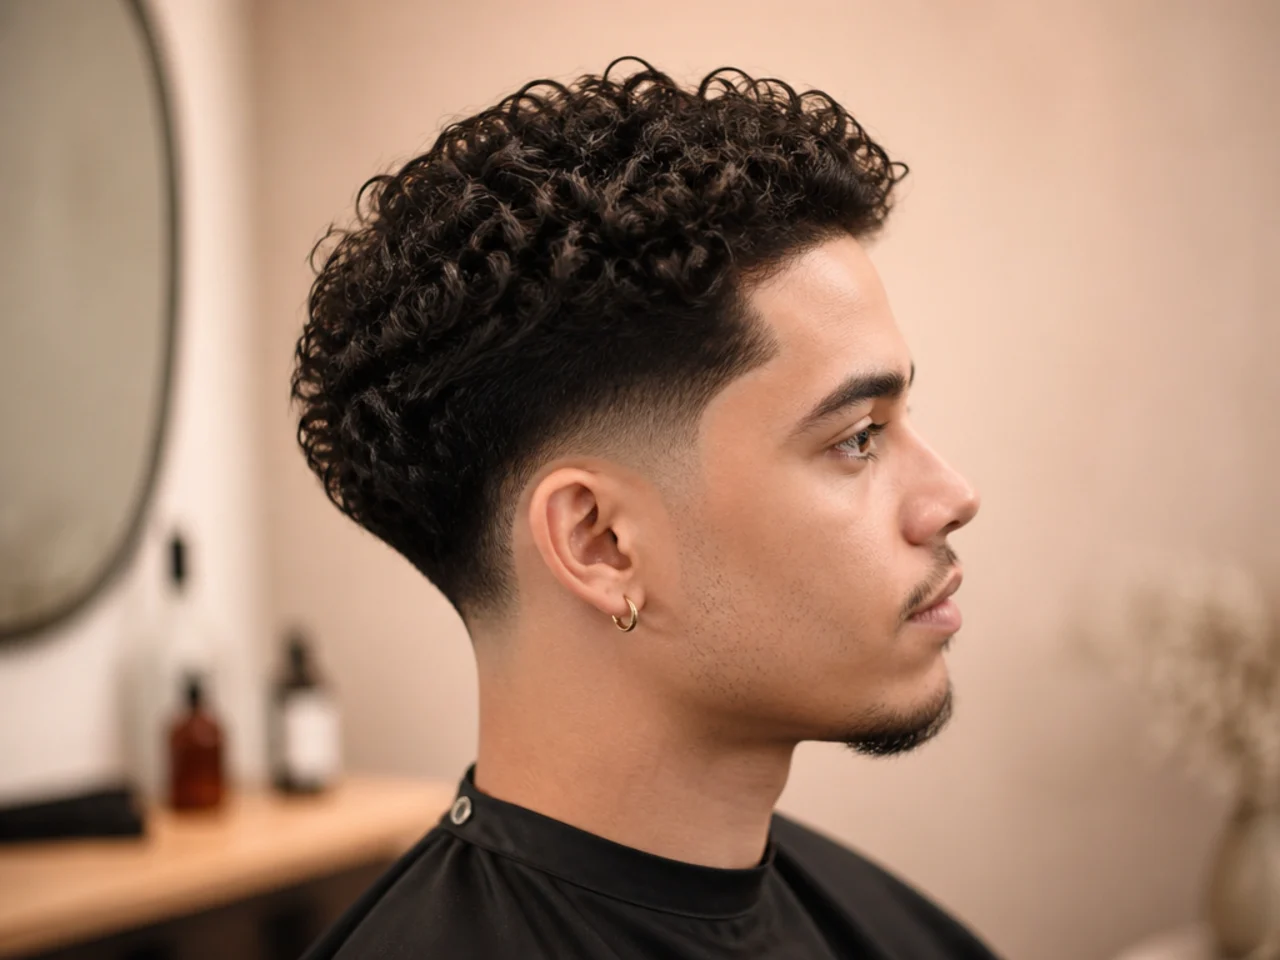
Curly hair is dry hair. Every scalp produces the same amount of oil per day; the difference on curls is that the oil has to travel the length of a coil to reach the ends, and it rarely gets there. Daily shampoo strips the little that made it, and the pattern collapses.
What to do: wash two to three times a week with a sulfate-free shampoo. Between washes, run a conditioner-only rinse ("co-wash") every other day to reset the pattern with water and hydration. Once a week, use a rich deep conditioner for ten minutes in the shower.
Why it matters for the shape: the blowout silhouette relies on curl bounce. A dehydrated curl goes limp, and the domed top collapses within an hour of styling. Well-hydrated curls hold the shape from wash-day through day three.
Common mistake: shampooing every morning to "reset" the shape. All you are doing is stripping oils and rebuilding a shape that is fighting itself. Switch to a morning water-rinse instead — mist the roots, scrunch a pea of leave-in through, and cup-diffuse for five minutes. The pattern comes back with none of the strip.
Wash timing: wash the day before you need the cut to look its best. Day-two curls almost always read fuller than day-one — the pattern has settled, the volume has redistributed, and the shape looks lived-in rather than laid-out.
Tip 2: Layer Your Products in This Order Every Time
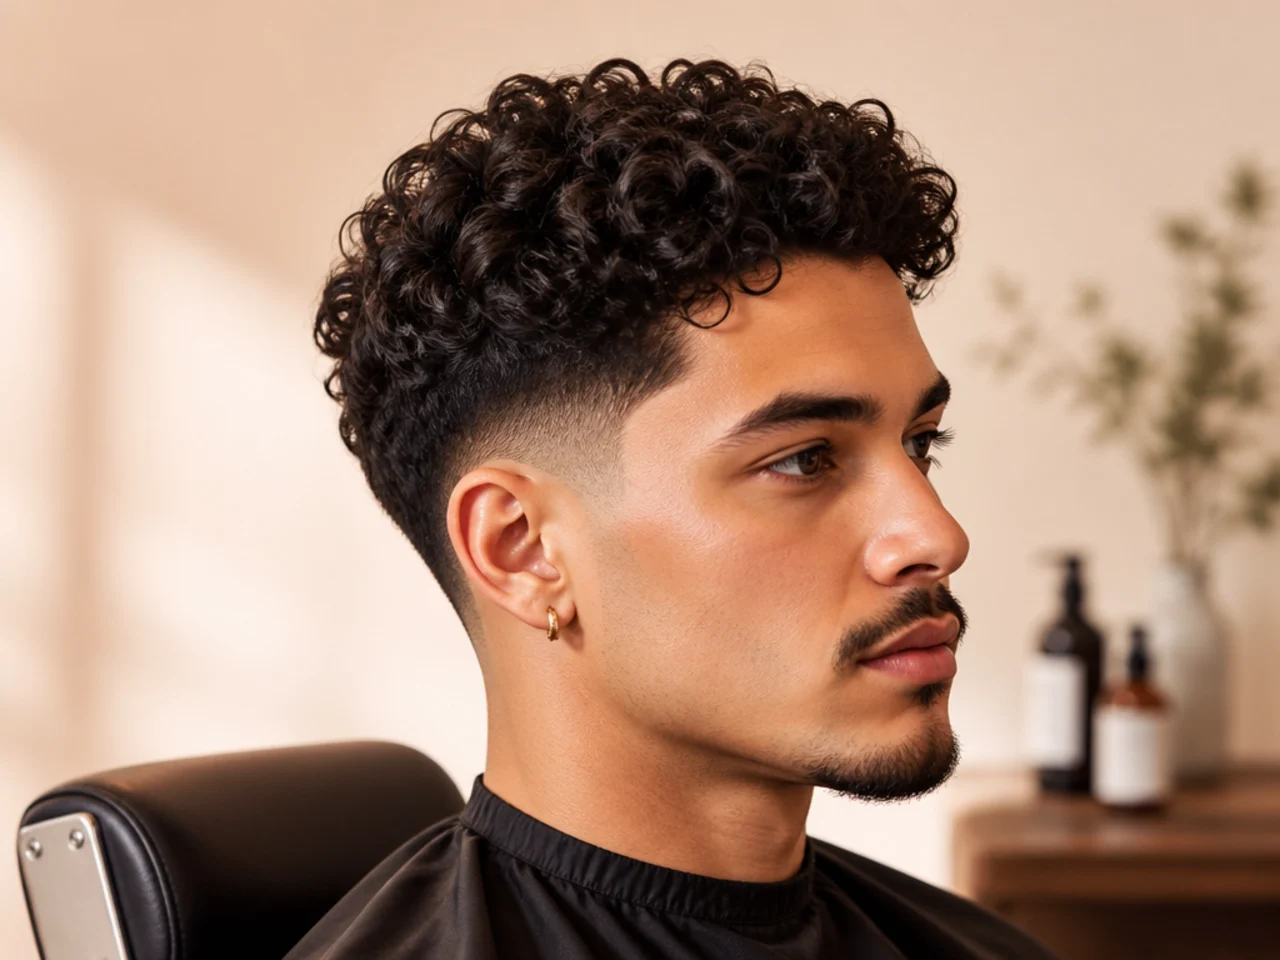
Product order on curly hair is not optional. Apply the same three things in the wrong sequence and you will get half the pattern definition and a third of the volume. The rule is water first, product second, in ascending viscosity.
The sequence:
- Water-based leave-in on soaking-wet hair, straight out of the shower. Do not towel first. The leave-in is a carrier — it needs the water to distribute the actives evenly through every strand.
- Curl cream over the leave-in, worked through with hands (no comb, no brush). This is the definer. Rake it top to bottom, then scrunch it upward toward the scalp to encourage the pattern to clump.
- Foam mousse on the crown only, if you need extra vertical lift for the blowout shape. Two pumps, worked through the top three inches. Skip the sides — they do not need the volume.
Why this order: the leave-in opens the strand and spreads the water evenly. The cream seals the moisture in and forms the curl. The mousse coats what is already defined and adds the root push. Reverse the order and the mousse never bonds, the cream sits patchy, and the pattern goes stringy.
Common mistake: applying to towel-dried hair. You lose the carrier effect, the cream turns to paste, and the top of the shape looks crunchy while the underneath looks undefined. Products on soaking wet — always.
How much: a nickel of leave-in, a quarter of cream, two pumps of mousse for a medium-density head with a four-inch top. Cut those amounts in half for 3A hair and add a quarter more for 3C or tighter. Watch how your curls respond over the first three wash cycles and adjust.
Tip 3: Diffuse for Volume, Air-Dry for Definition — Pick One
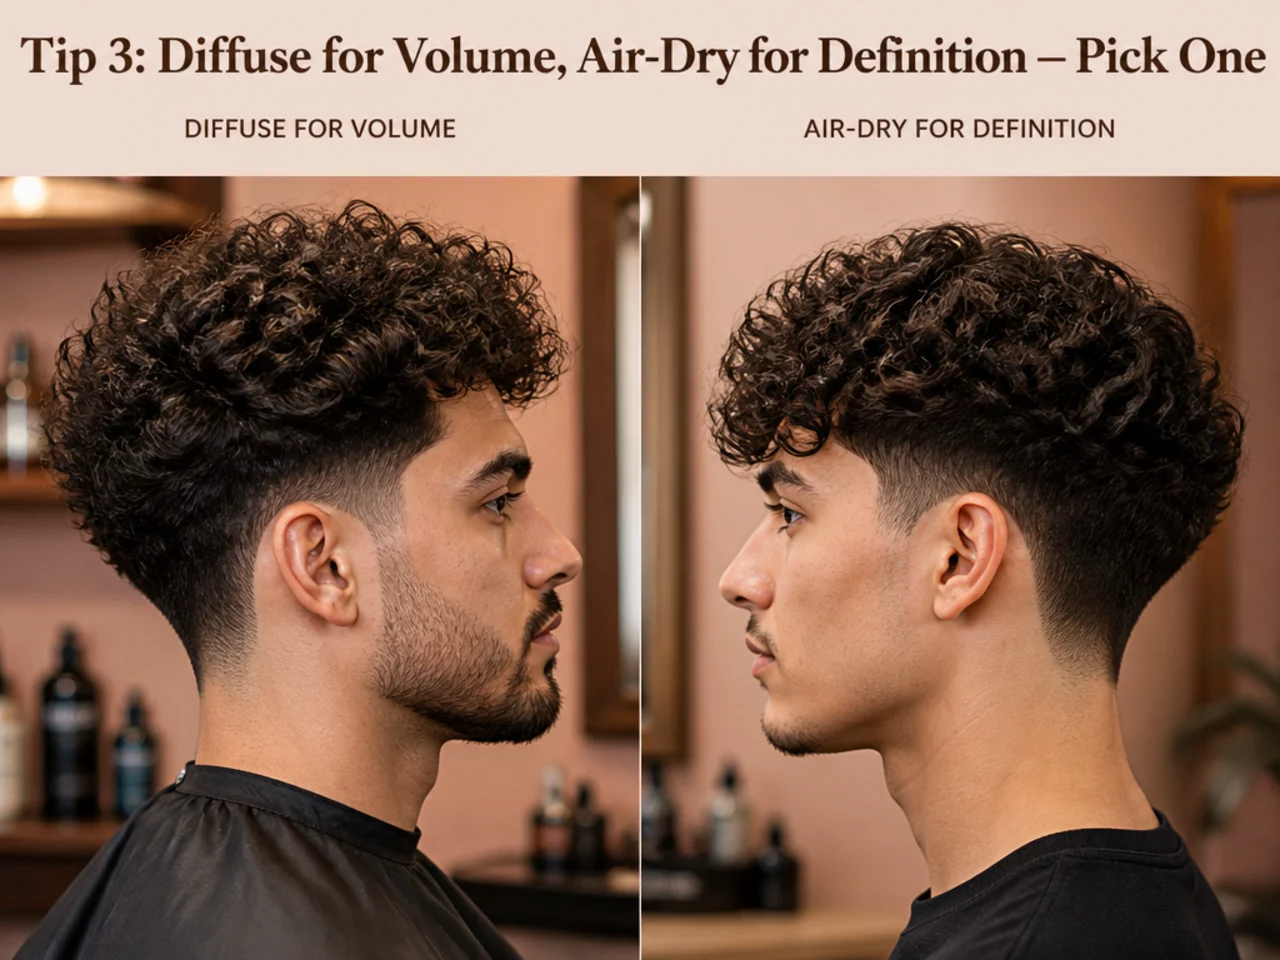
The choice between diffuser and air-dry is a choice between silhouette and softness. Both work for a blowout taper. Neither is universal.
Diffuse when you want maximum height, fast dry, or the picked-out afro shape. Set the dryer to low heat, low speed. Cup the bowl at the scalp with the prongs pointing up, hold eight to ten seconds, then move. Do not shake the diffuser — that creates frizz. Dry time: seven to twelve minutes.
Air-dry when you want softer, more defined clumps, or you are growing out heat damage. Plop for ten to fifteen minutes first, then let physics do the rest. The catch: the top will flatten a touch, so the shape reads lower and more organic. Dry time: forty-five to ninety minutes.
Common mistake: starting with high heat. High heat blows the pattern apart. If your dryer only has one heat setting, hold the diffuser six inches off the scalp instead of cupping tight.
The plop step (both methods): flip a cotton T-shirt upside down on a chair, drop your head forward into the middle, wrap the tail up over the back, twist and tuck. Ten minutes. This alone removes half the frizz you would otherwise get.
Tip 4: Direct the Curl for the Blowout Silhouette
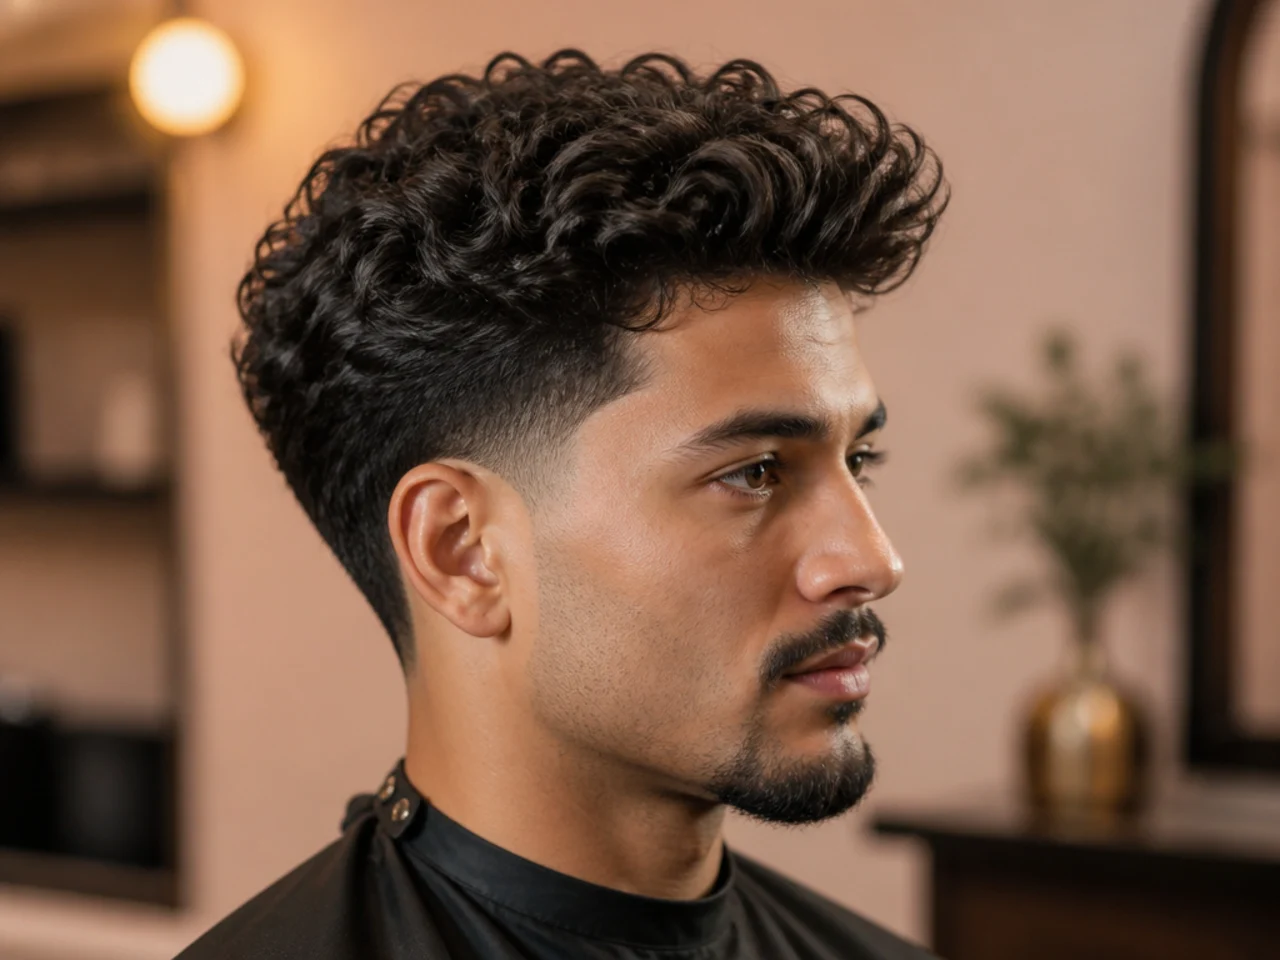
Curls grow in the direction you train them. During drying and finishing, the direction you push them is the direction they set. For a blowout taper, that direction is up, forward, and slightly out — building the domed shape the cut was designed to hold.
Root direction: push against the root. If your part naturally falls left, push the crown curls right for two seconds during diffusion — that breaks the flat lay and adds lift.
Forward direction: for the front third of the head, cup the diffuser under the curls and lift up and slightly forward. That is the swept-up-and-out shape that separates a "blowout" from a plain curly top. Do this before the back.
Side direction: the tapered sides need nothing. They are short enough to lay naturally.
For 4A, 4B, and 4C hair: direction is built with a pick, not a diffuser. Once your hair is 80% dry, use a wide-tooth pick from underneath in an upward-and-outward motion. Do not push through from the top — you will drag the pattern down.
Common mistake: finger-combing the curls flat while they dry. Every smooth trains them to lie down. Hands off during the last five minutes.
If your top is longer (five inches or more), see how the blowout taper straight hair round-brush direction differs — the concept is the same but the tool changes completely for curly patterns.
Tip 5: Match Product Weight to Your Top Length
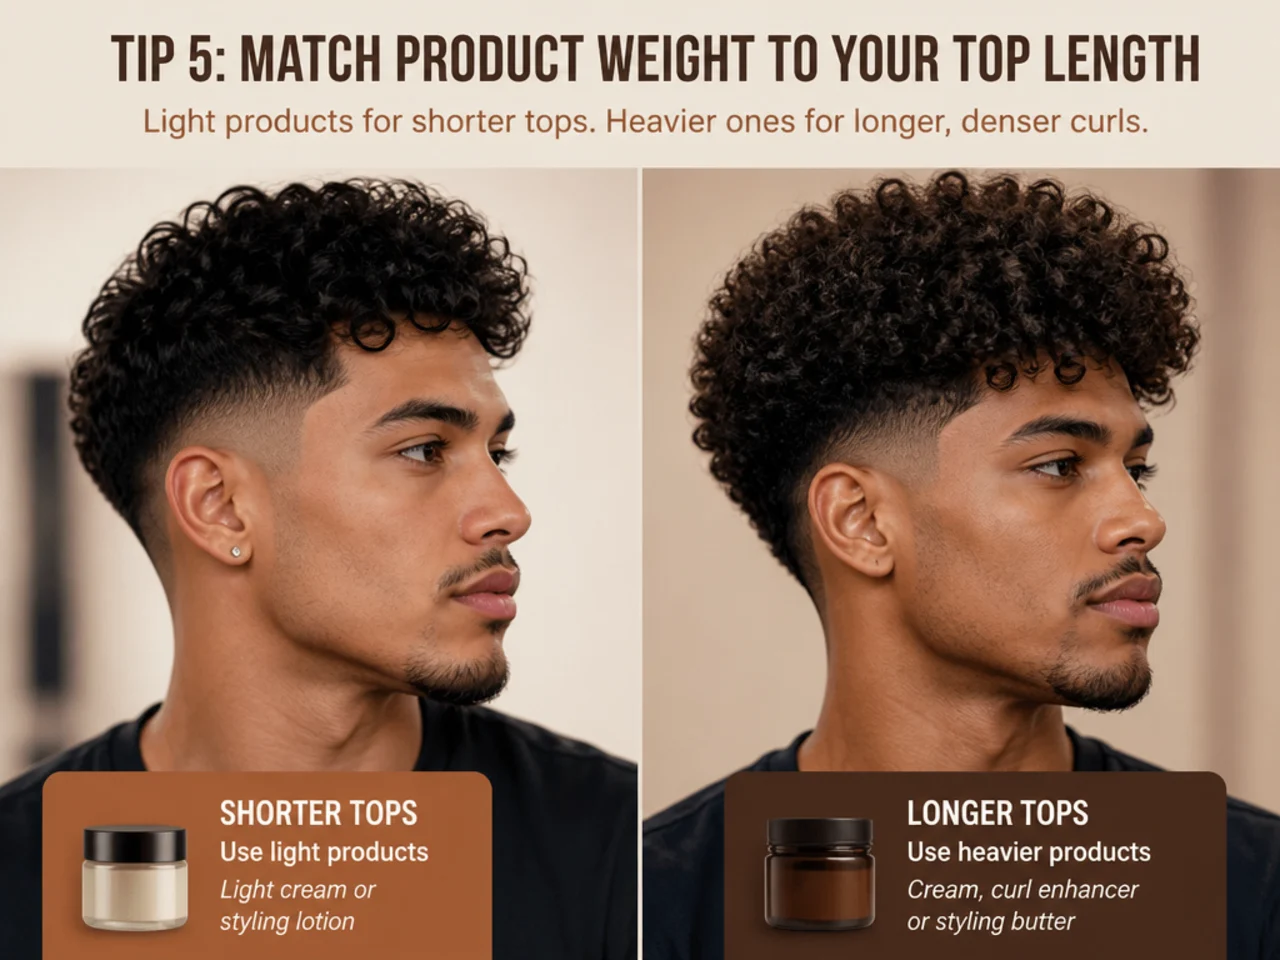
Length changes the physics. A two-inch coil holds a light cream and looks defined; the same cream loaded onto a six-inch curl weighs the whole shape into a wet-looking flop. Product weight has to scale with hair length, and this is where most guys go wrong.
Two to three inches (cropped blowout, 4B or 4C): leave-in only, or leave-in plus a very light cream. Skip mousse and oil. The shape is already close to the scalp.
Three to four inches (the standard blowout taper): the full sequence — leave-in, medium curl cream, one pump of mousse for extra crown lift. The sweet spot the cut is designed around.
Four to six inches (long curly blowout): leave-in plus a slightly richer cream, two pumps of mousse, and a drop of lightweight oil on the ends only. Extra length needs extra hydration or the ends split.
Six inches and up (curly middle-part, curly disconnect): leave-in, cream, mousse, oil, and consider a foam gel for one-day-only structure.
Common mistake: using a "little more product because my hair is long." Apply the same ratio of product to hair, not the same amount. A six-inch curl gets three times the product of a two-inch coil at the same ratio — not five times.
For style variations that suit different lengths on the same taper, the blowout taper curly hair roundup breaks the twenty most-asked-for versions down by top length.
Tip 6: Wrap or Pineapple Every Night — No Exceptions
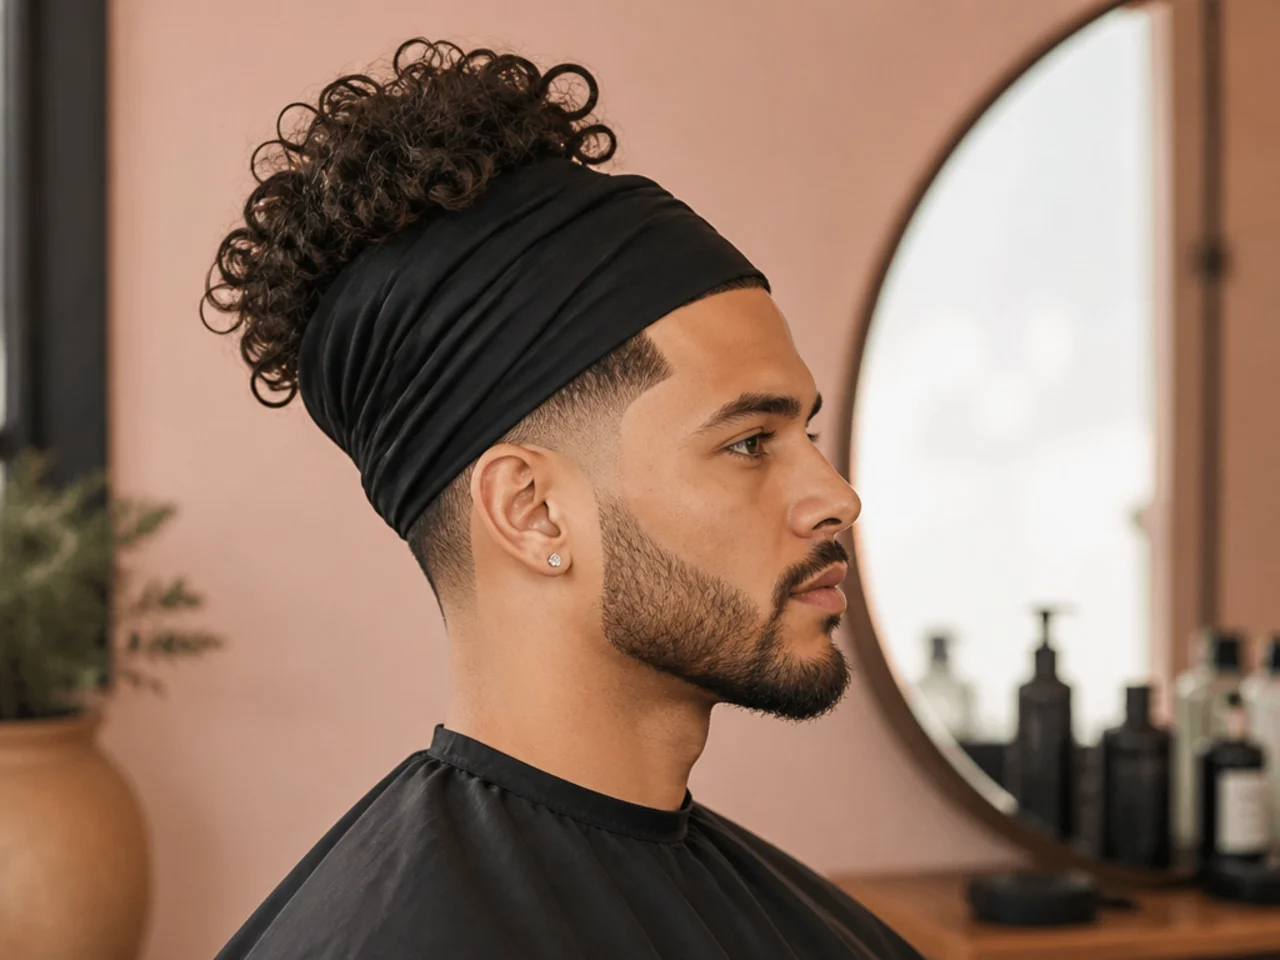
The morning-after is where most blowouts die. Cotton pillowcases wick moisture out of the strand, friction breaks the pattern, and the whole shape comes apart while you sleep. Two changes fix ninety percent of it.
Silk or satin pillowcase. Not silky-feeling polyester. Real silk or real satin — the material is what matters, not the color or the thread count. A single case runs fifteen to thirty dollars and lasts years. Buy two so you can wash one.
Pineapple the top. Flip your head forward, gather all the length at the very top of your head, and secure with a fabric-covered scrunchie so the curl points straight up. This keeps the shape suspended above the pillow and preserves the volume by morning. Never use a rubber band — the elastic band snaps individual curls and leaves permanent dents you can see under any light.
For very short tops (2 to 3 inches): pineapple is not physically possible. Instead, wear a satin bonnet or wrap a satin scarf around the top of your head. Same principle: no cotton friction, no compression on the shape.
Morning refresh: mist damp with a water-and-leave-in mix (three parts water, one part leave-in in a small spray bottle), scrunch through, and diffuse for five minutes on low. The shape resets in under ten minutes. If you are picked-out (3C, 4A, 4B, 4C), a wide-tooth pick from underneath restores the vertical volume without needing to re-wet.
Common mistake: thinking "I'll shower in the morning and just re-style." That is not maintenance — that is a full reset every day, and it will destroy your hair inside two months. The wrap protects the shape overnight so you can extend a wash to three, four, even five days.
Troubleshooting Common Blowout Taper Fails
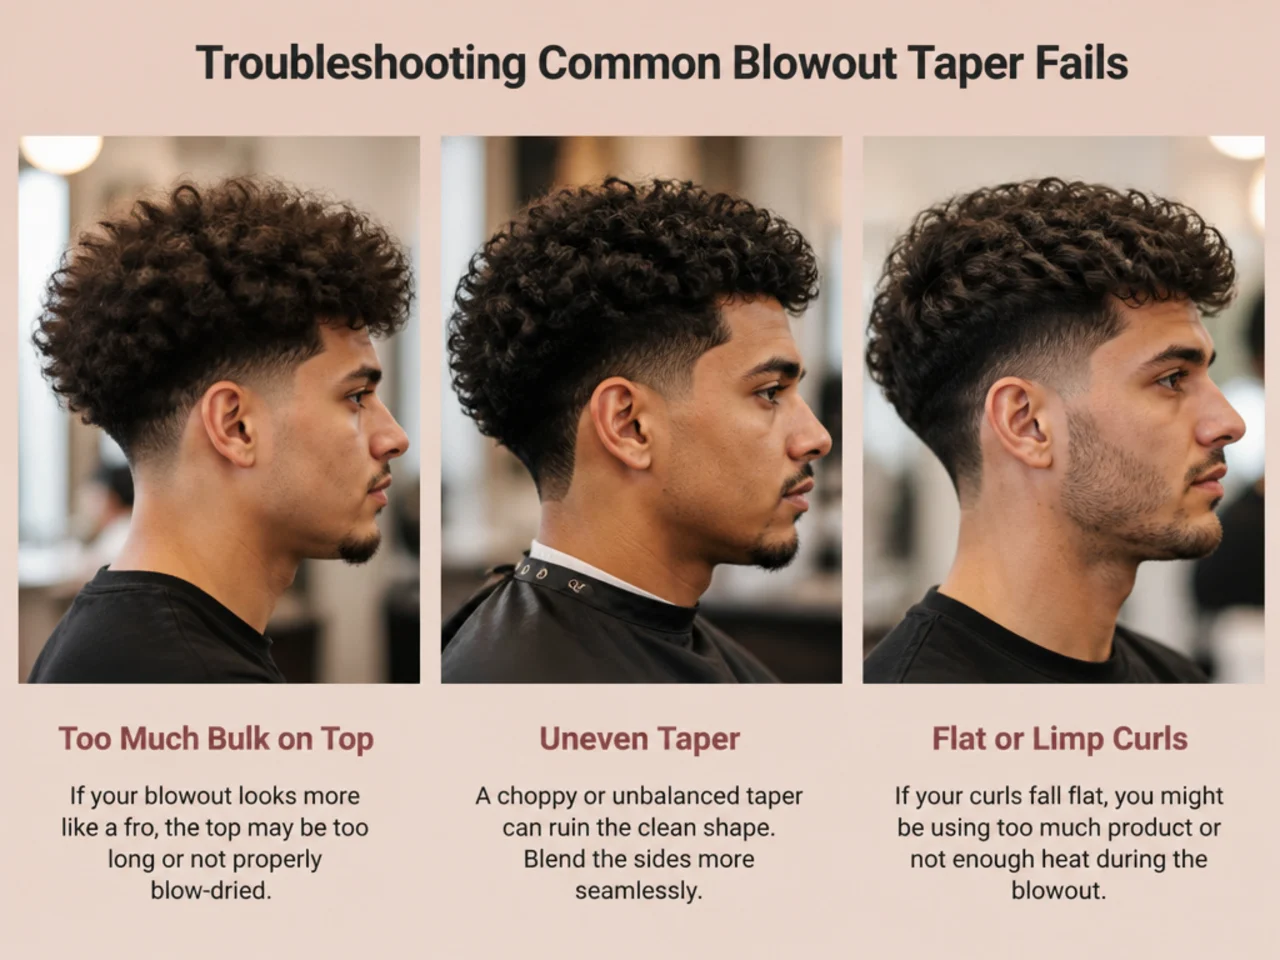
The top collapses by lunch. Too much product, or wrong drying method. Cut product by 30% and cup the diffuser at the scalp for the first four minutes. If it still flops, add a pump of mousse before styling — the extra root scaffolding buys you eight hours.
The sides puff out. Your taper is due for a touch-up. Book a $15-to-$25 taper-only every three to four weeks between full cuts. Mid-cycle, mist the sides and press flat with your palm for thirty seconds. Next haircut, ask for a softer #1.5 or #2 blend line.
The pattern went stringy or frizzy. Usually product order. Confirm you are applying to soaking-wet hair (not towel-dried), leave-in first, then cream, then mousse. If it stays stringy, back off the mousse for a week — it might be over-drying your hair.
Flat every morning. Cotton pillowcase, or you are not pineappling. Fix both today. If you already do both, wrap a satin scarf on top of the pineapple for softer 3A patterns.
Dry, brittle, or breaking. Deep-condition weekly under a shower cap, switch to a fully sulfate-free shampoo, add a lightweight oil to the morning refresh. If nothing helps in a month, book a scissor-only ends trim — dead ends drag the shape down and no product can fix them.
Reads more "afro" than "taper." Barber left the top too dense or the taper too low. Next appointment, ask for scissor-cut internal layers and move the taper from low to mid. The low taper fade curly hair guide covers when to hold low and when to move up.
FAQ
Do I need to style this every day? No, if you wrap or pineapple properly. A well-executed blowout taper goes three to five days between full styles. Day one is your fresh wash. Days two through four are a five-minute morning refresh. Full re-style happens two or three times a week.
How long does the shape take to master? Four wash cycles. The first is always awkward — you are learning product ratios, diffuser hand position, and how your pattern responds. By the fourth, the routine takes fifteen minutes and the shape is repeatable.
Can I use gel instead of curl cream? For most 3A to 3C, no — gel over-defines and fights the domed silhouette. For 4A, 4B, and 4C, a curl-defining gel over cream helps hold the picked-out shape. Never use hair gel meant for straight hair — it flakes.
What if my hair is a mix of curl types? Very common. Most men have looser 2C or 3A at the crown and tighter 3B or 3C at the nape. Product for the tighter zone, technique for the looser zone — heavier cream at the back, more diffuser lift at the front. The curly hair men haircut styling guide covers the multi-pattern approach.
Does the blowout taper work if I dye or bleach my hair? Yes, but dryness spikes. Add a bonded repair treatment once a week, deep condition twice, and switch to a moisturizing shampoo. Never bleach at home if you want the shape to hold.
How does this compare to styling a burst fade on curly hair? Similar technique, different visible shape — the burst fade fans in a semicircle around the ear and usually drops to skin. See the burst fade curly hair breakdown for the styling differences if you are weighing options before booking.