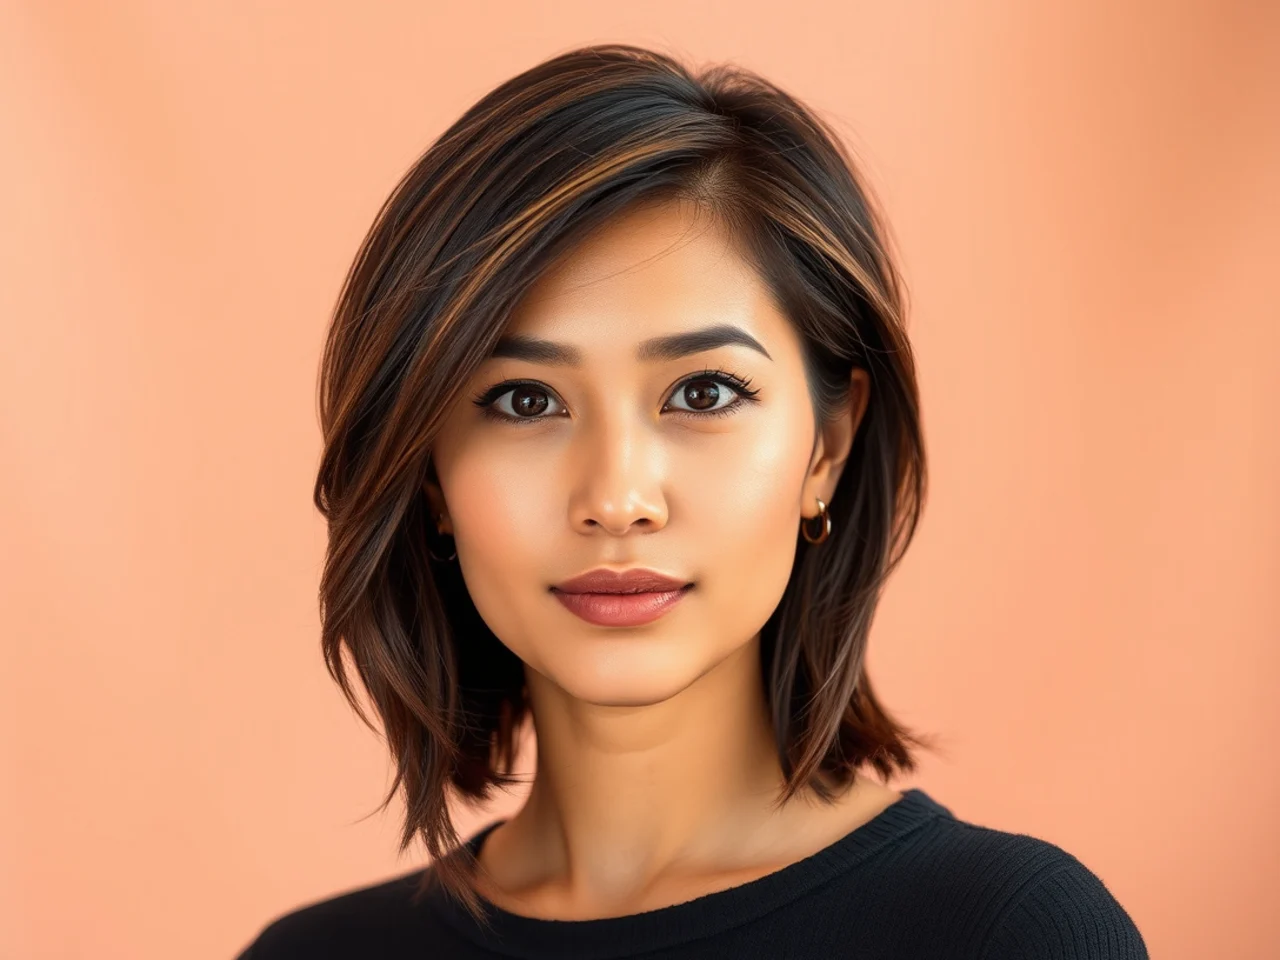
20+ Butterfly Haircut: Easy Guide to Layers, Lengths & Styles - 2026
Explore butterfly haircut in detail—variations, face shapes, styling tips, and celebrity inspiration. Your complete guide to this trendy layered haircut...
In this article · 43
- 20+ Popular Butterfly Haircut Variations
- 1\. Long Butterfly Haircut
- 2\. Medium-Length Butterfly Haircut
- 3\. Short Butterfly Haircut
- 4\. Butterfly Haircut with Curtain Bangs
- 5\. Butterfly Haircut with Side Bangs
- 6\. Butterfly Haircut with Wispy Bangs
- 7\. Straight Hair Butterfly Cut
- 8\. Wavy Hair Butterfly Cut
- 9\. Curly Hair Butterfly Cut
- 10\. Layered Butterfly Cut
- 11\. Subtle Butterfly Cut
- 12\. Voluminous Butterfly Haircut
- 13\. Blunt Butterfly Cut
- 14\. Choppy Butterfly Haircut
- 15\. Butterfly Haircut for Thick Hair
- 16\. Butterfly Cut with Highlights
- 17\. Face-Framing Butterfly Haircut
- 18\. Two-Tier Butterfly Haircut
- 19\. Messy Butterfly Haircut
- 20\. Glamorous Butterfly Haircut
- 21\. DIY Butterfly Haircut
- Butterfly Haircut for Different Face Shapes
- Round Face
- Oval Face
- Square Face
- Heart-Shaped Face
- Key Features of the Butterfly Haircut
- Benefits of the Butterfly Haircut
- How to Ask for a Butterfly Haircut at the Salon
- How to Style a Butterfly Haircut
- Maintenance and Hair Care Tips
- Celebrity Inspiration
- Butterfly Haircut vs. Other Popular Cuts
- Butterfly vs. Wolf Cut
- Butterfly vs. Octopus Cut
- Butterfly vs. Classic Layered Cut
- Conclusion
- FAQs
- Is a butterfly haircut good for thin hair?
- Can I try the butterfly haircut at home?
- How is it different from regular layers?
- Does it work for curly hair?
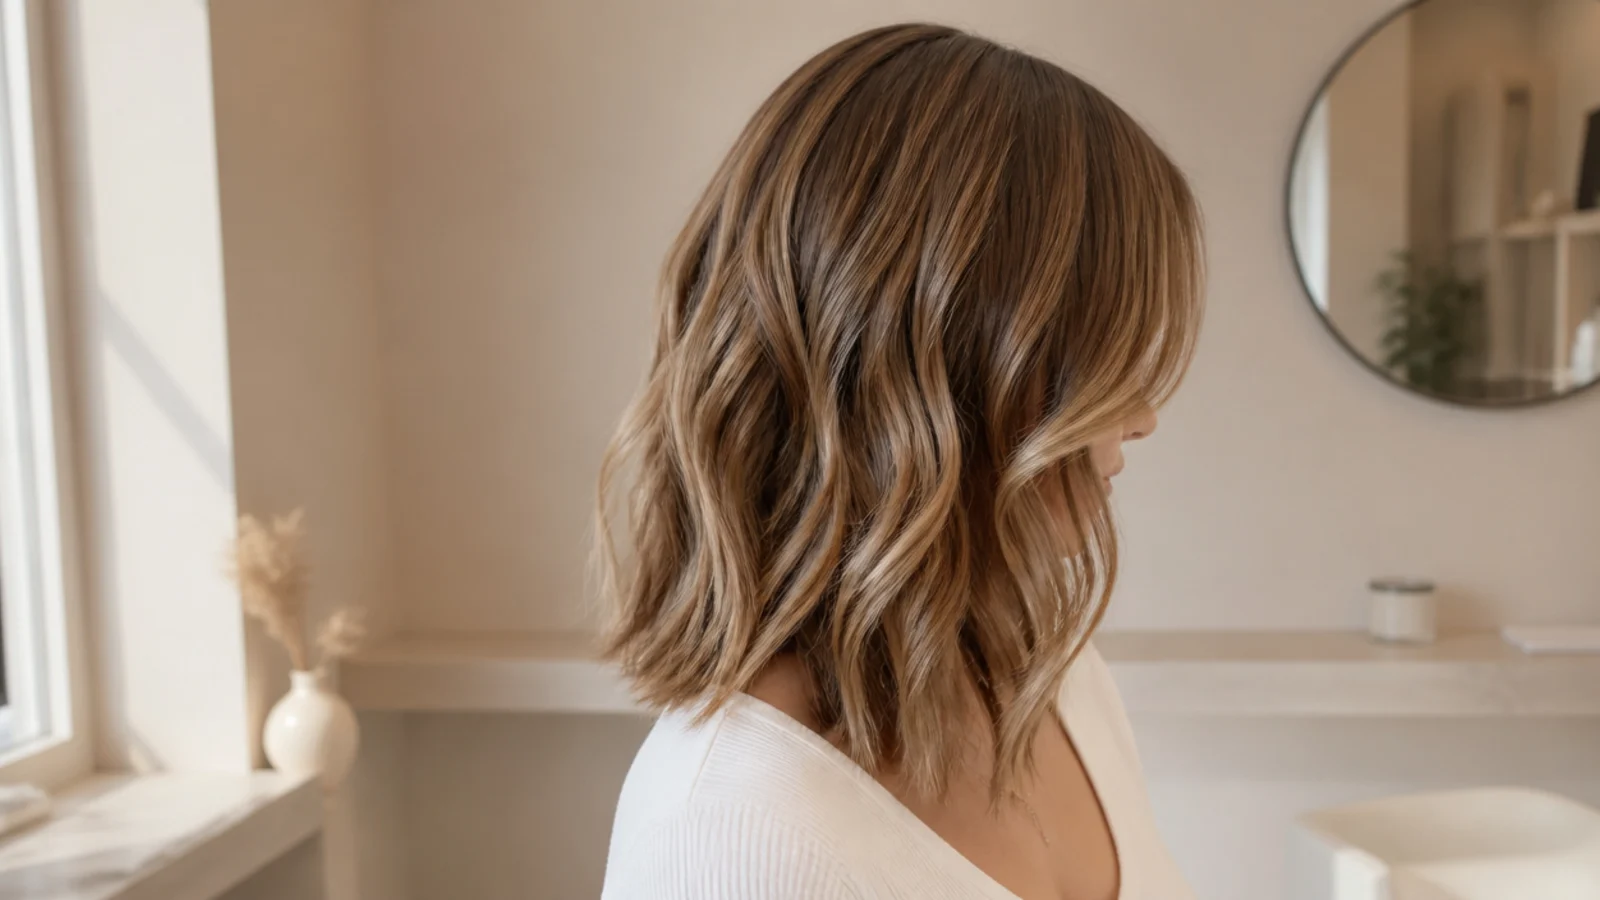
The butterfly haircut is Jennifer Aniston's Rachel-era layers rebuilt for now. Long face-framing pieces sit at your crown and flip outward like wings, while length stays kept underneath. You need at least shoulder-length hair to pull it off, and it lives best on straight-to-wavy texture. Below: 21 variations worth asking for by name, exactly how to describe each one to your stylist, and the round-brush trick that makes the wing flip hold at the ends.
20+ Popular Butterfly Haircut Variations
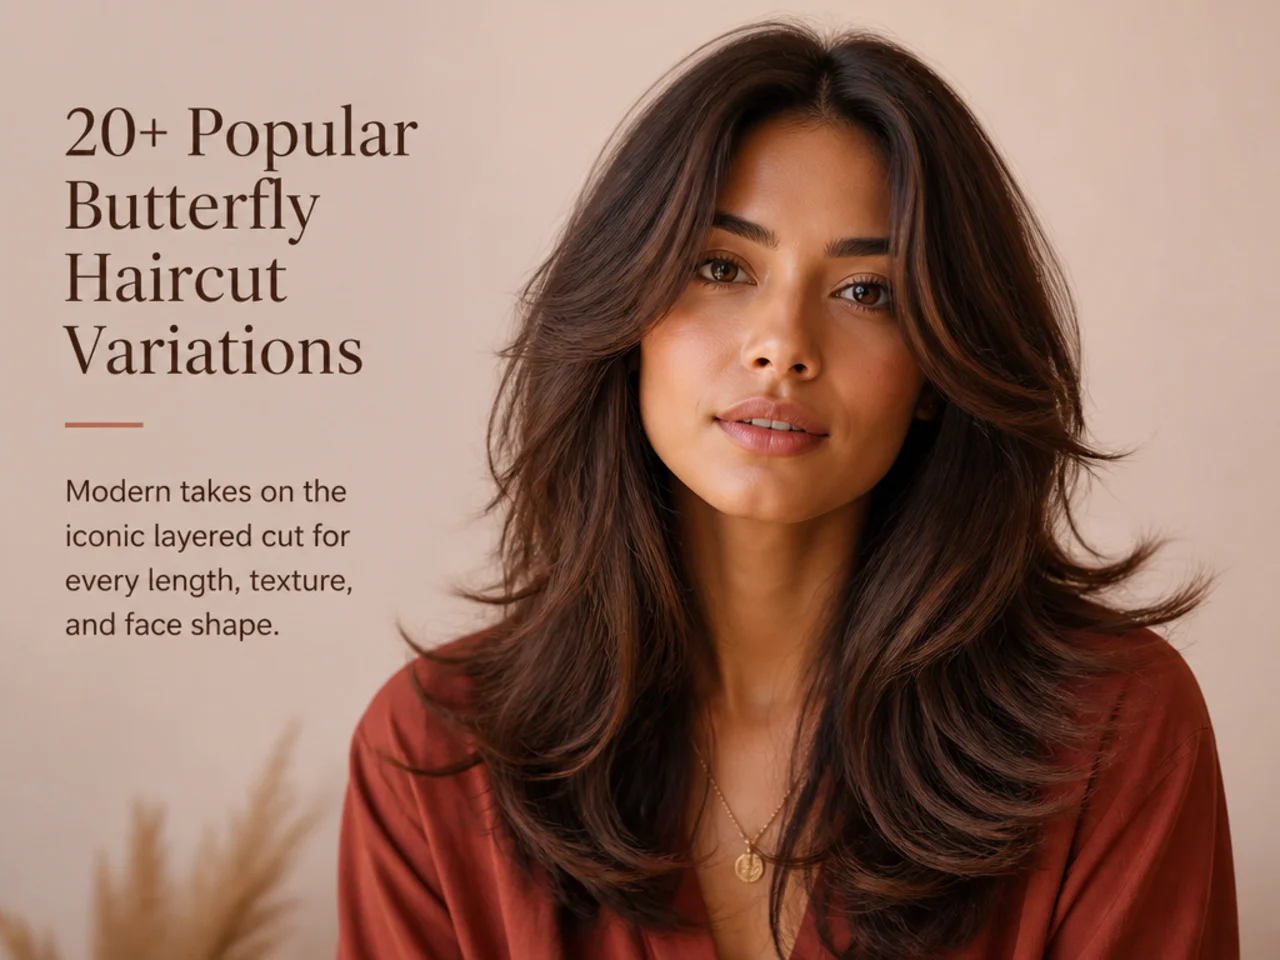
Every version below shares the same DNA. Shorter layers around the crown that flare out. Longer length kept underneath. Face-framing pieces that start high on the cheekbone. What changes across variations is length, weight, texture, and where the shortest crown layer lands. Pick one and ask for it by name.
1. Long Butterfly Haircut
This is the closest version to the original 90s Rachel cut — mid-back length with layers that begin at the collarbone and cascade all the way down. You keep every inch you've grown. It flatters oval, heart, and long face shapes best. The length balances a wide forehead and softens a strong jaw, and it needs at least mid-back hair to read correctly.
To ask: keep the perimeter mid-back or longer, drop the shortest crown layer to your collarbone, and start face-framing pieces at the cheekbone so they graze your jaw on the way down. Style with a 2-inch round brush, rolling the ends out and away from your face on the last pass. That outward roll is what creates the wing flip. Hit each section with a cool shot to set it.
2. Medium-Length Butterfly Haircut
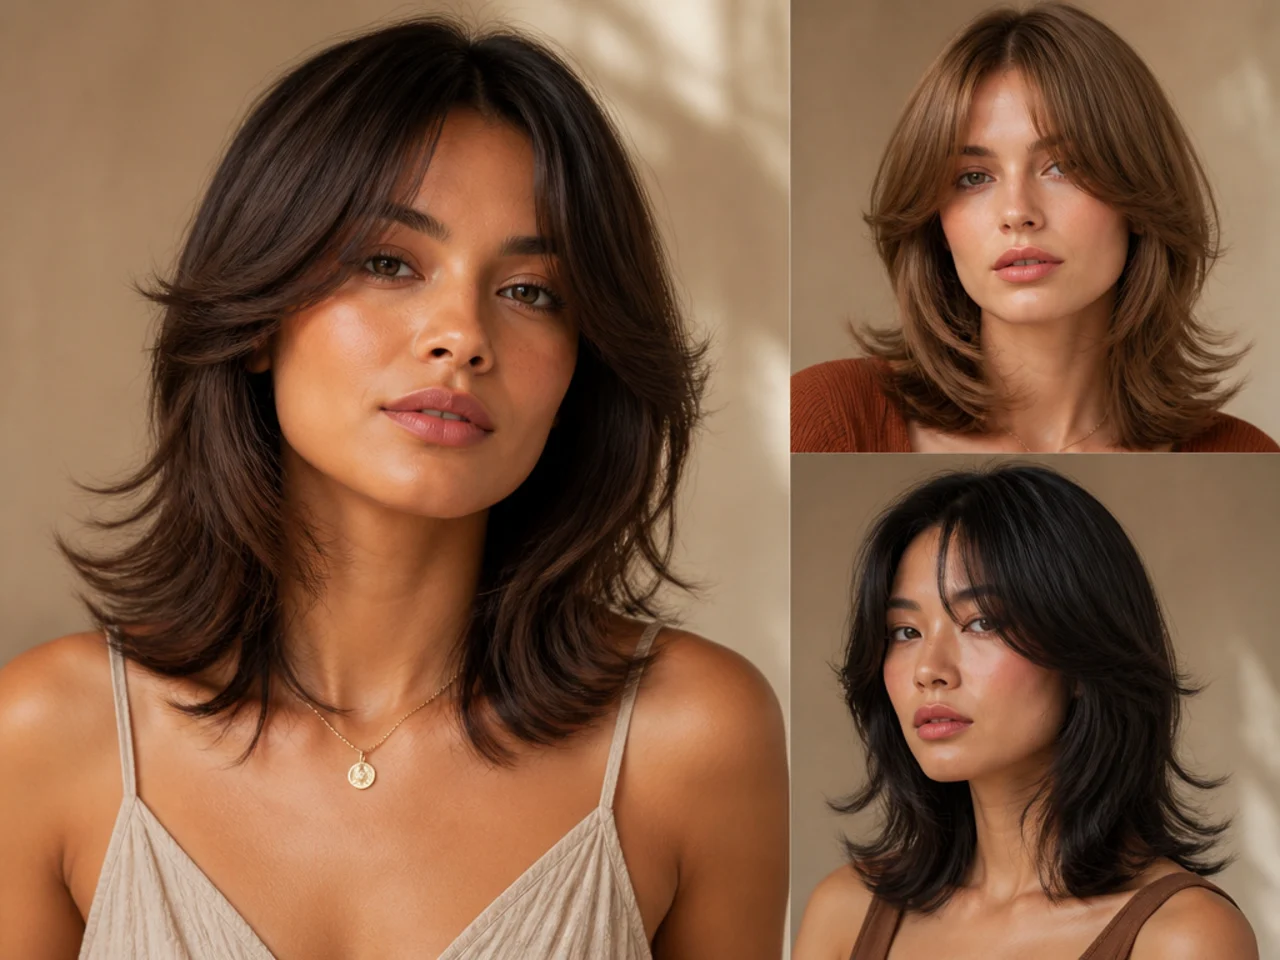
Shoulder to collarbone length is the sweet spot for this cut. You get enough length underneath for the layered contrast to read as intentional, without the maintenance of long hair. It fits every face shape and works for most hair densities. If you're growing out a layered bob, this is the natural next stop before you commit to full length.
Ask for a shoulder-length perimeter, the shortest crown layer at the top of your collarbone, and face-framing that starts at the chin. Use a 1.5-inch round brush, lift the crown at the roots as you dry, and flip the ends outward with a cool shot on the last pass. Skip mousse — it'll weigh the flip down.
3. Short Butterfly Haircut
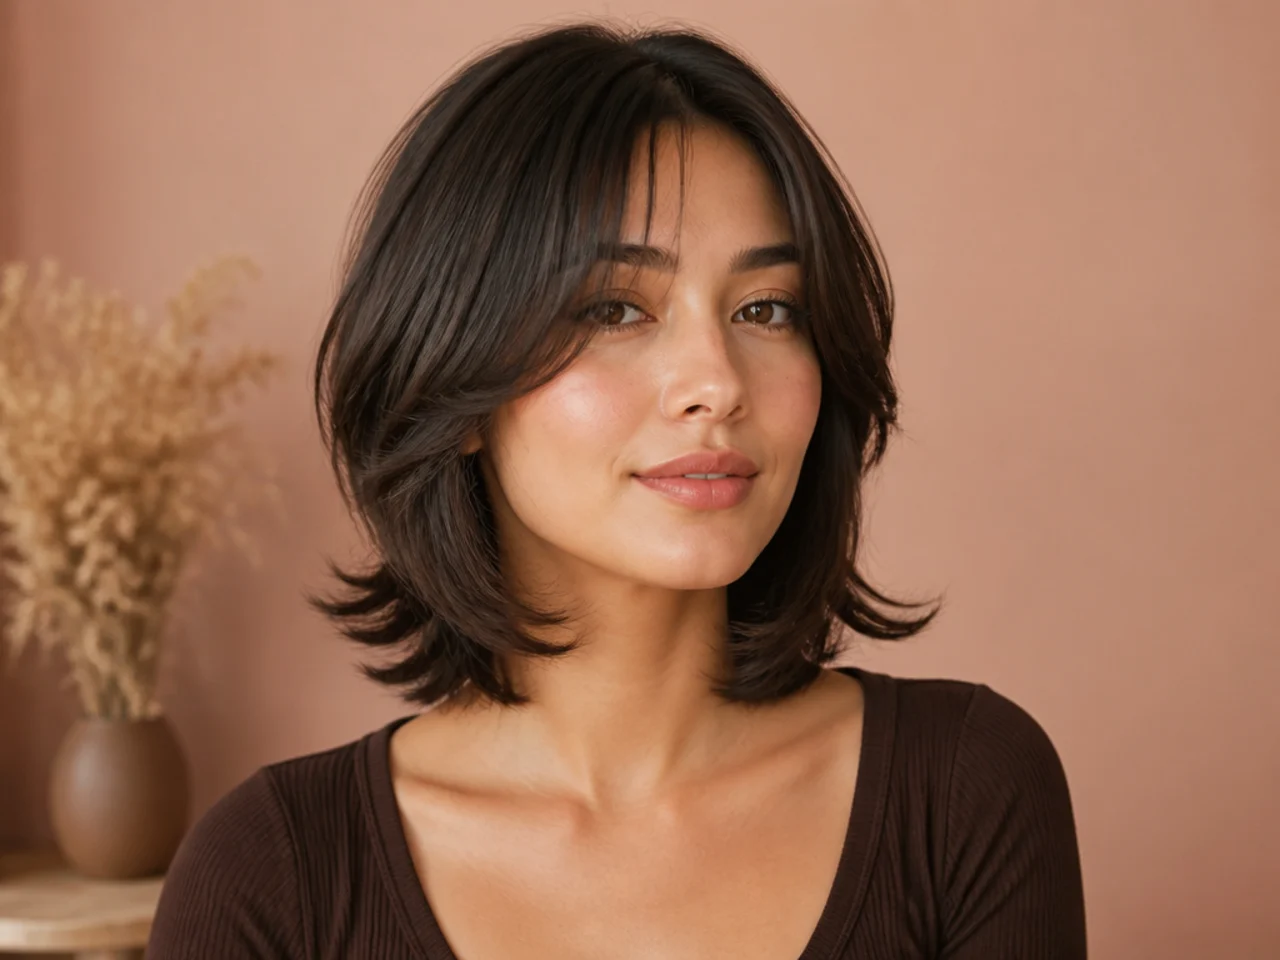
The short version pushes the perimeter up to just below the jaw. Technically it borders on a bob haircut with butterfly styling on top. It only works if you have thick or medium-density hair — thin hair will look sparse without enough length underneath to anchor the layered contrast. Best on oval and heart-shaped faces where you want to accent the bone structure.
Ask for a chin-to-jaw perimeter, a crown layer that lands at the mouth, and face-framing that begins at the cheekbone. Style with a small round brush (1 inch), flip the crown pieces out sharply, and keep the underneath pieces tucked slightly inward for maximum contrast. This is the highest-styling version — plan for ten minutes with a brush every morning.
4. Butterfly Haircut with Curtain Bangs
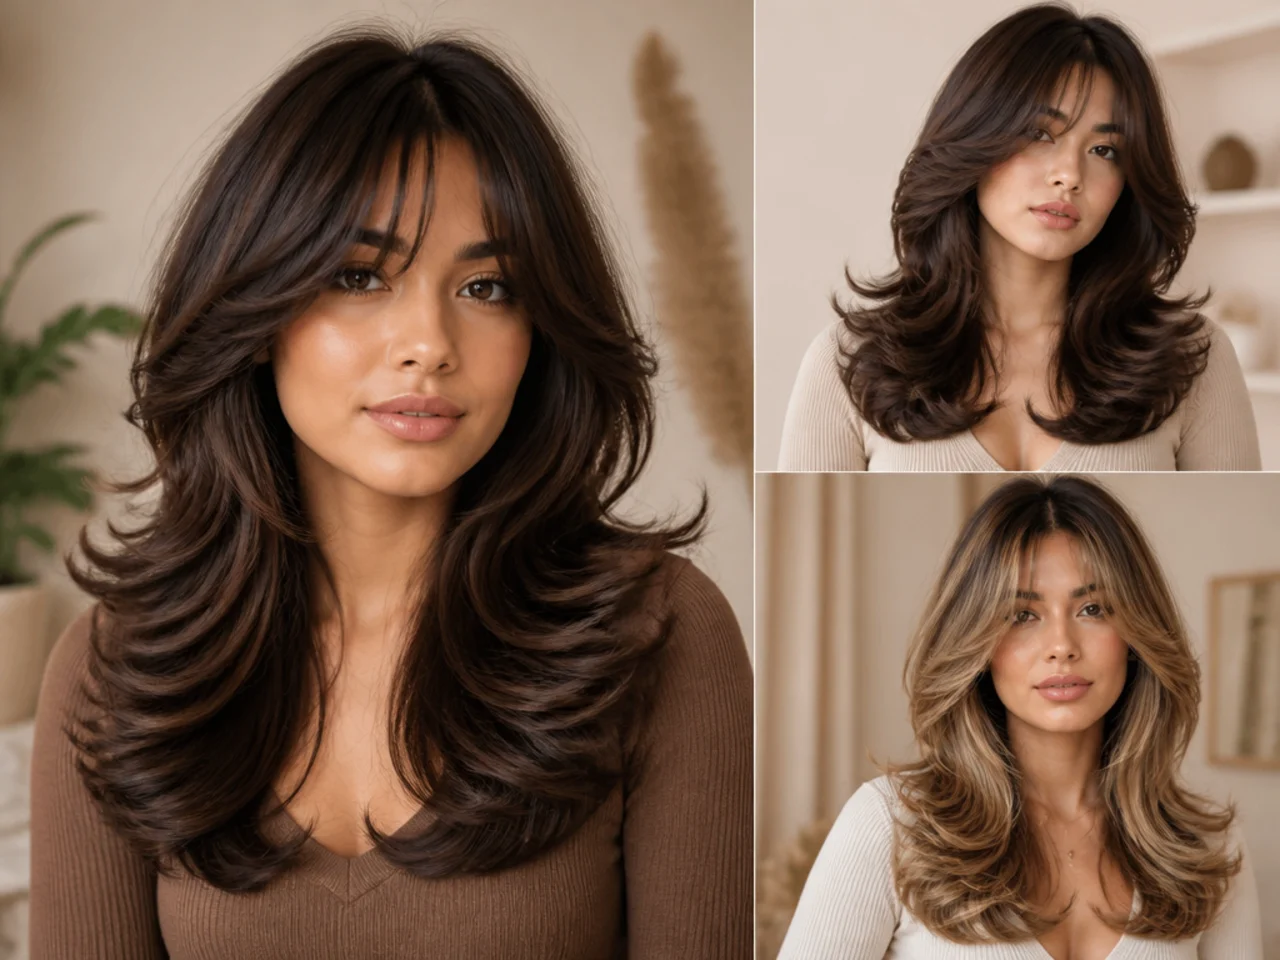
Curtain bangs are the natural front-end of a butterfly cut. They part in the middle and sweep outward to meet the face-framing layers, so the whole shape reads as continuous rather than pieced-together. This variation flatters heart-shaped and round faces because the parted sweep creates the illusion of higher cheekbones and a longer face.
To ask: cheekbone-length curtain bangs that split at the nose, blended into face-framing layers that continue down to your collarbone. Perimeter mid-back. Style with a round brush on the bangs, rolling them away from center, then flip the crown layers outward on both sides to echo the shape. The bangs and crown should look like one continuous line, not two separate elements.
5. Butterfly Haircut with Side Bangs
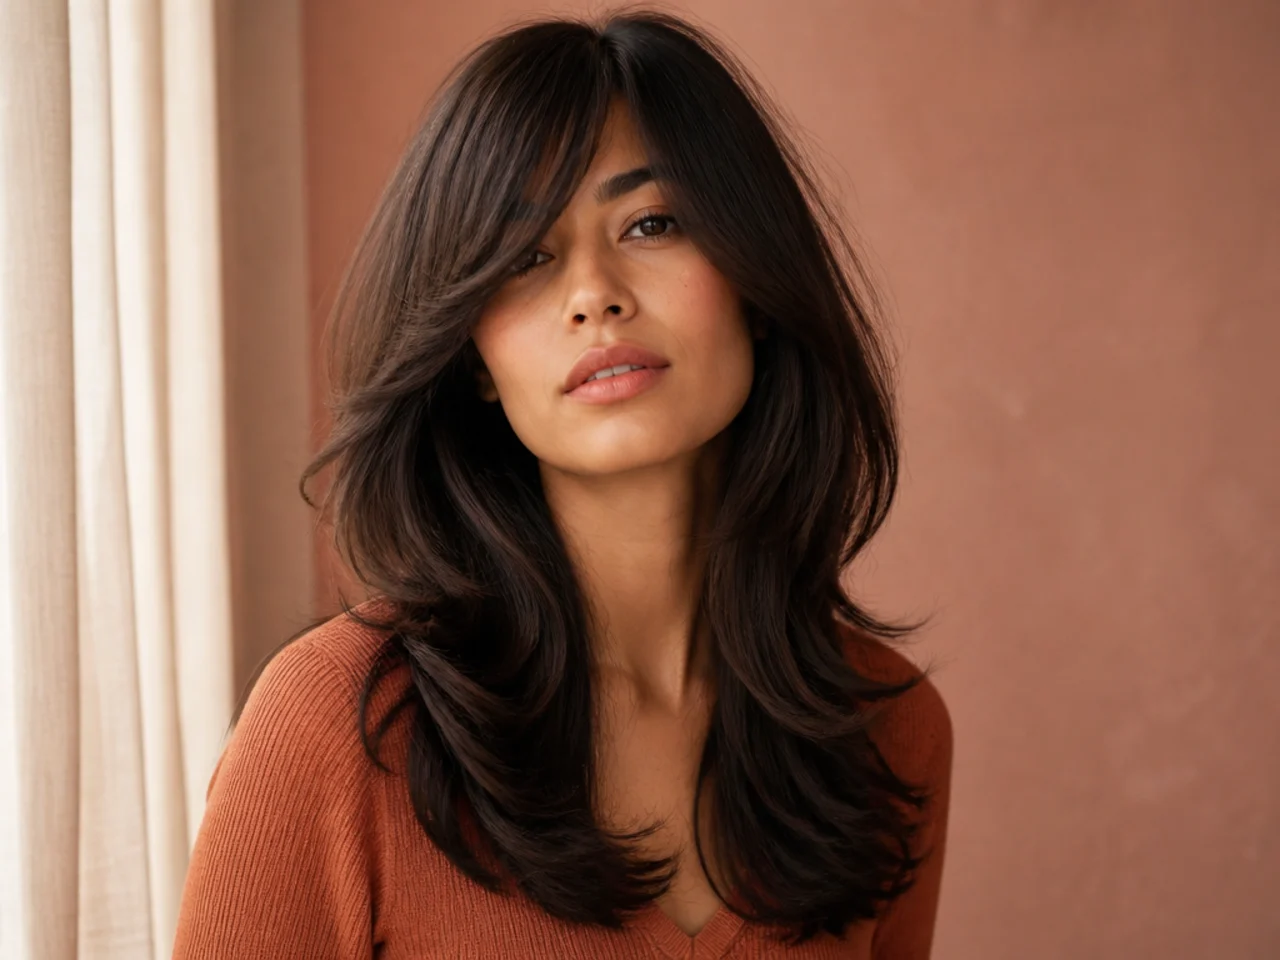
Side bangs give you asymmetry. One side sweeps across the forehead; the other blends straight into the crown layer. It softens a square jawline and shortens the appearance of a long face. It's a good compromise if you want fringe but don't want the commitment of a full curtain.
Ask for side-swept fringe cut on a diagonal, longest edge landing at the cheekbone, blending seamlessly into the shortest crown layer. Perimeter to the collarbone or lower. Round-brush the fringe flat across your forehead, then flip the length outward from mid-shaft down. Anchor the fringe with a light hairspray so it doesn't drift into your eyes by lunch.
6. Butterfly Haircut with Wispy Bangs
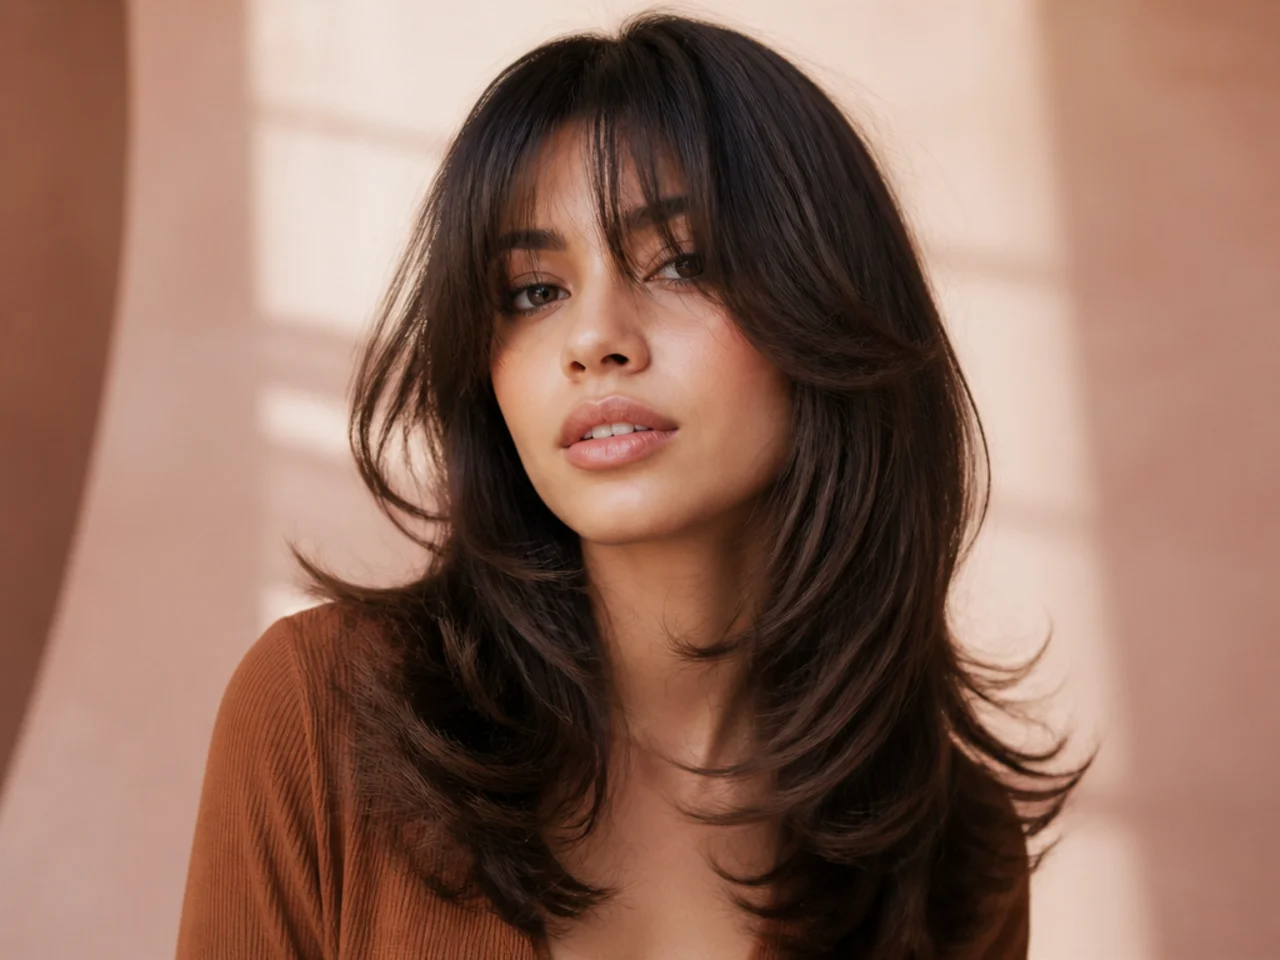
Wispy bangs are heavily point-cut so the ends feather rather than sit blunt. They read as lighter and younger than a full curtain or a hard side bang. This works on fine hair and delicate features because the wispy weight matches the rest of your hair. Round and heart faces suit this best.
To ask: brow-skimming wispy fringe with aggressive point-cutting through the ends, blended into face-framing pieces starting at the cheekbone. Crown layer at the collarbone. Style with a flat brush on low heat — over-styling the fringe kills the wispiness and it starts to clump into a curtain. Finger-comb after drying instead of brushing.
7. Straight Hair Butterfly Cut
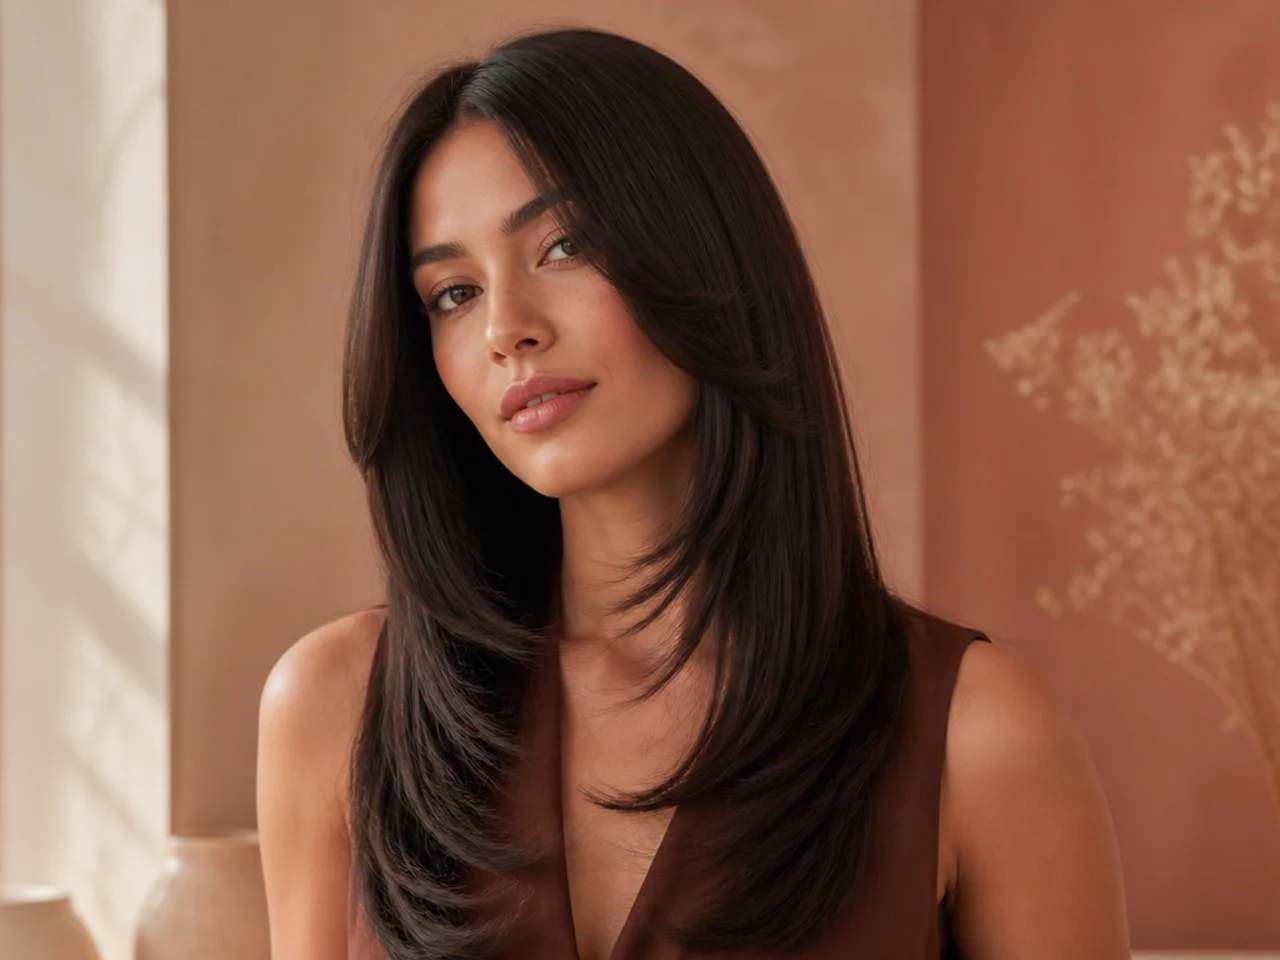
Straight hair shows every layer cleanly. That's why the butterfly is such a strong pick for it. The contrast between the shorter crown and the longer underneath reads as a deliberate architectural line rather than random movement. Straight hair also holds the wing flip well without fighting your tools every step.
To ask: emphasize precision. Perimeter blunt, crown layer sharply defined at the collarbone, face-framing at the cheekbone. Style with a 2-inch round brush and real tension. Roll the ends outward, hit them with a cool shot to set the flip, and finish with a light shine spray on the mid-lengths. Skip texture spray — it'll fight the smooth finish.
8. Wavy Hair Butterfly Cut
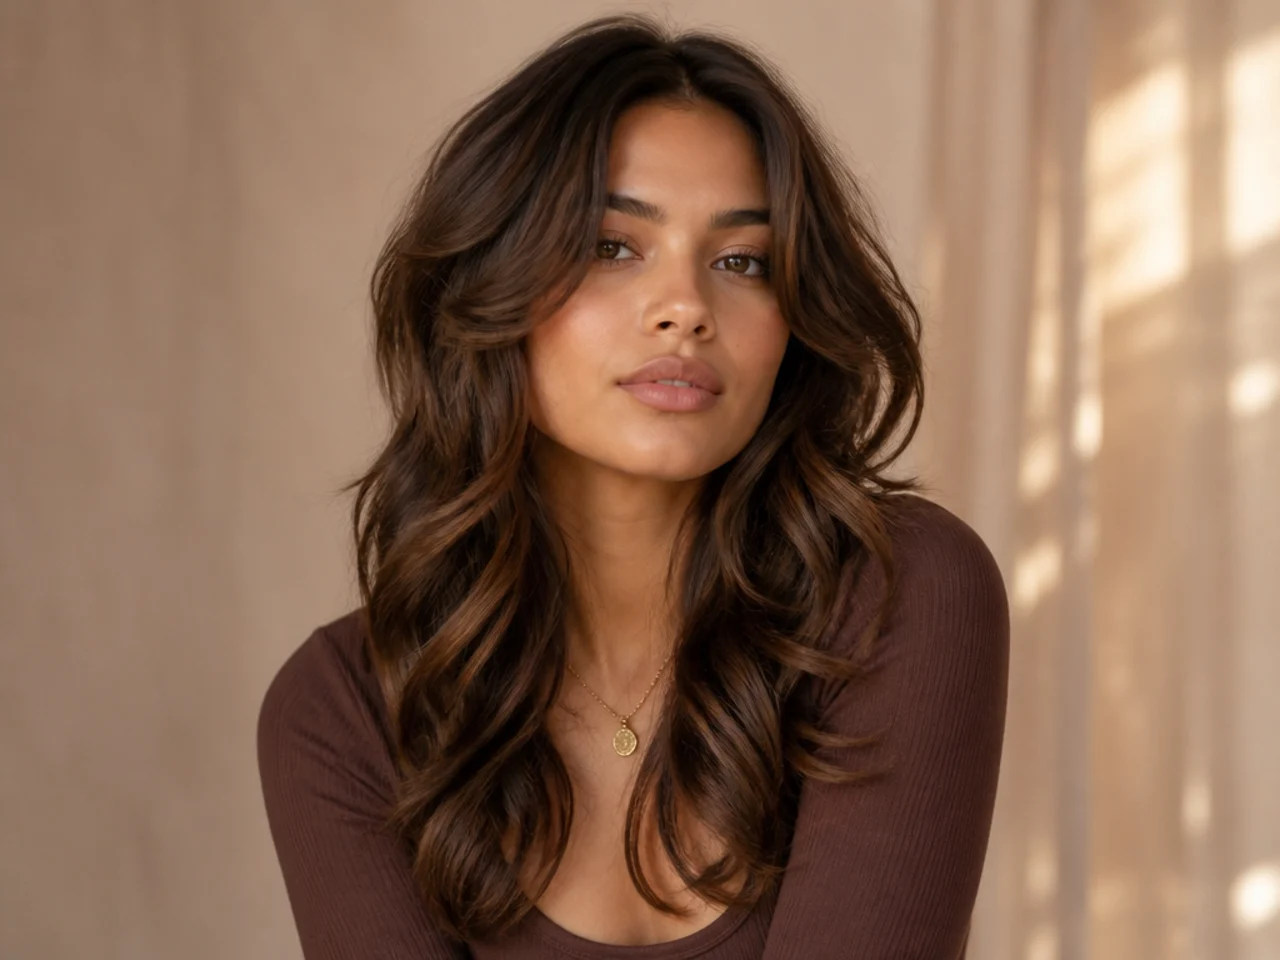
Wavy hair is the ideal texture for this cut. Your natural bend does half the work — the crown layers automatically lift and the ends flip on their own without a hot tool. It's the low-maintenance version and it fits every face shape.
Ask for a diffused version: perimeter slightly longer to account for wave shrinkage, crown layer at the collarbone, face-framing that starts at the cheekbone and stays soft. Enhance the wave with a curl cream on damp hair, diffuse upside-down for volume at the roots, then scrunch out the crunch once dry. A round brush isn't required here — your wave already does the flip for you.
9. Curly Hair Butterfly Cut
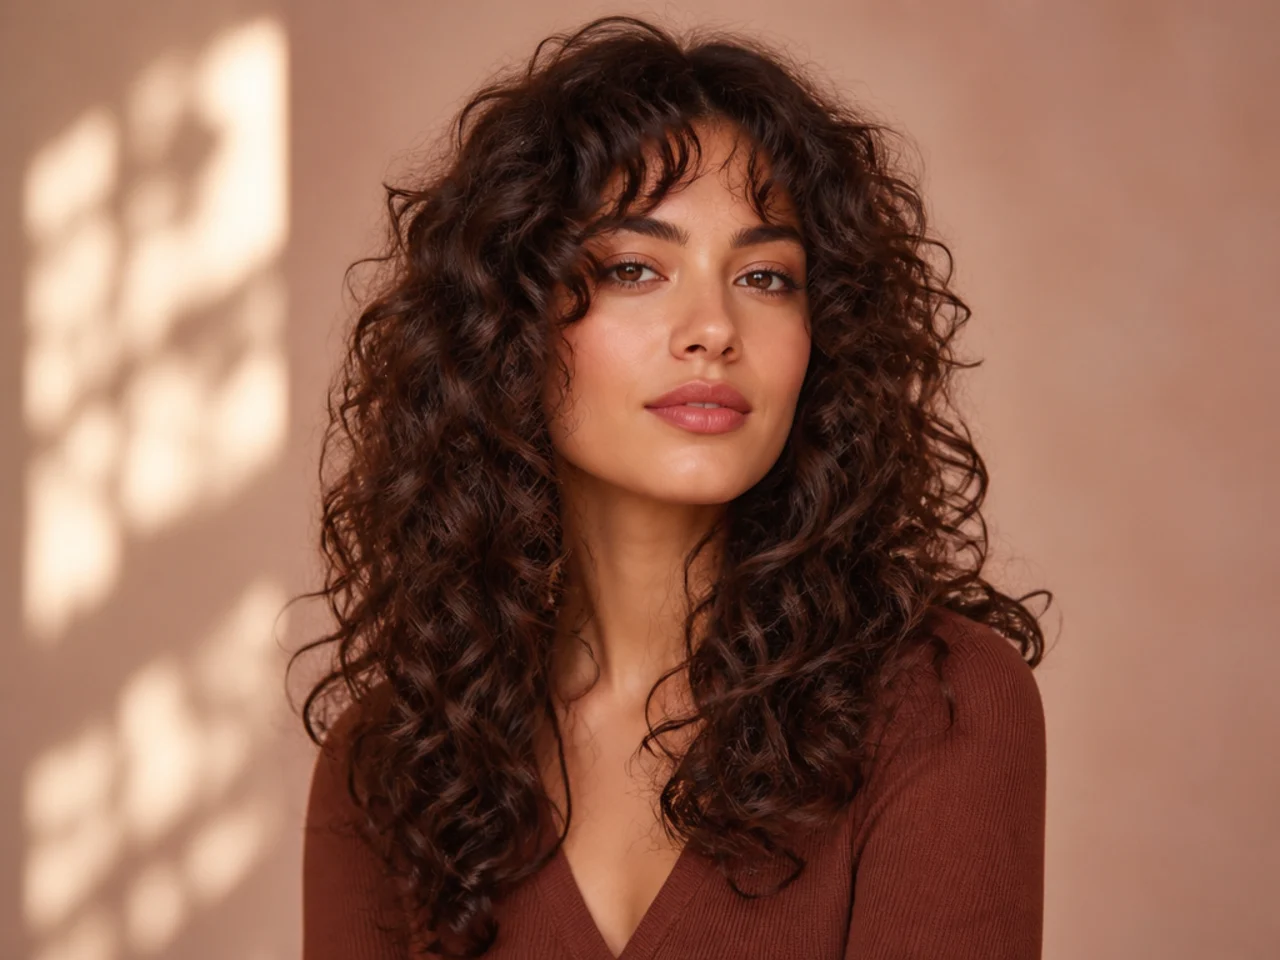
Curly hair needs a layered haircut approach, but the butterfly translates beautifully if the cut is done dry, curl by curl. Internal layering removes bulk from the mid-lengths and lets the crown pieces spring forward instead of pyramiding out to the sides. Suits round, oval, and square faces; long faces should keep the perimeter longer.
To ask: request a dry curly cut with butterfly shaping — shorter internal layers around the crown, longer perimeter, face-framing that starts at the cheekbone. Style with leave-in conditioner and a light gel, scrunch to encourage clumping, and diffuse on low heat. Never brush this cut dry; you'll break up the curl pattern and lose the wing shape entirely.
10. Layered Butterfly Cut
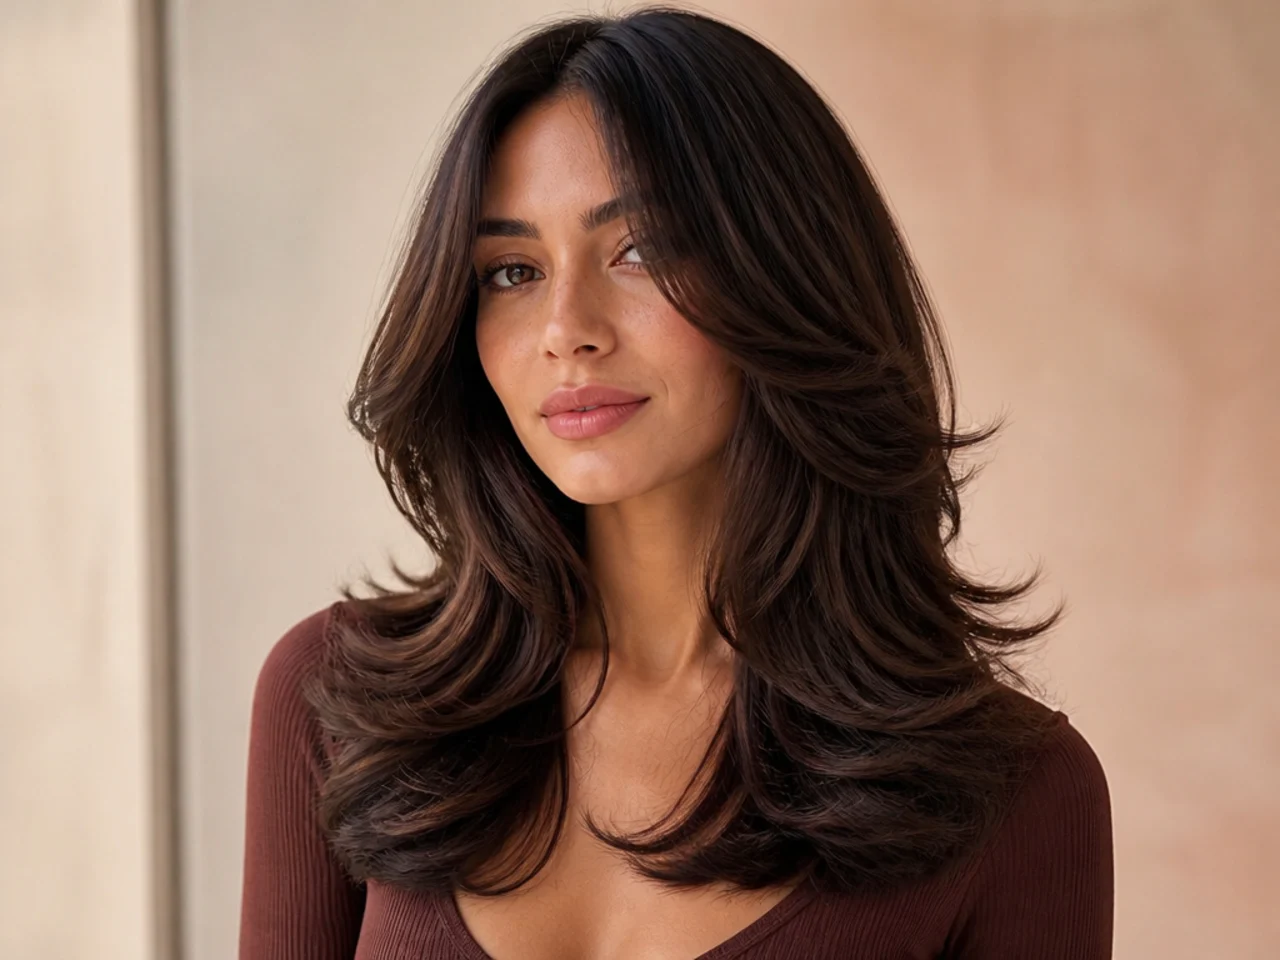
This is the reference version — what most people picture when they hear the name. Distinct crown layers, longer underneath, obvious visual contrast between the two tiers. It's a proper layered shape with a specific silhouette rather than random layering scattered throughout the length. It works on any face shape from shoulder-length up.
Ask for a two-tier layered structure: the top tier ends at your collarbone, the bottom tier stays mid-back or longer, face-framing starts at the cheekbone. Style by rough-drying to 80% dry, then finishing with a round brush from the crown outward — this is where the wing flip lives. The underneath stays smooth and heavy; the top pieces do all the movement.
11. Subtle Butterfly Cut
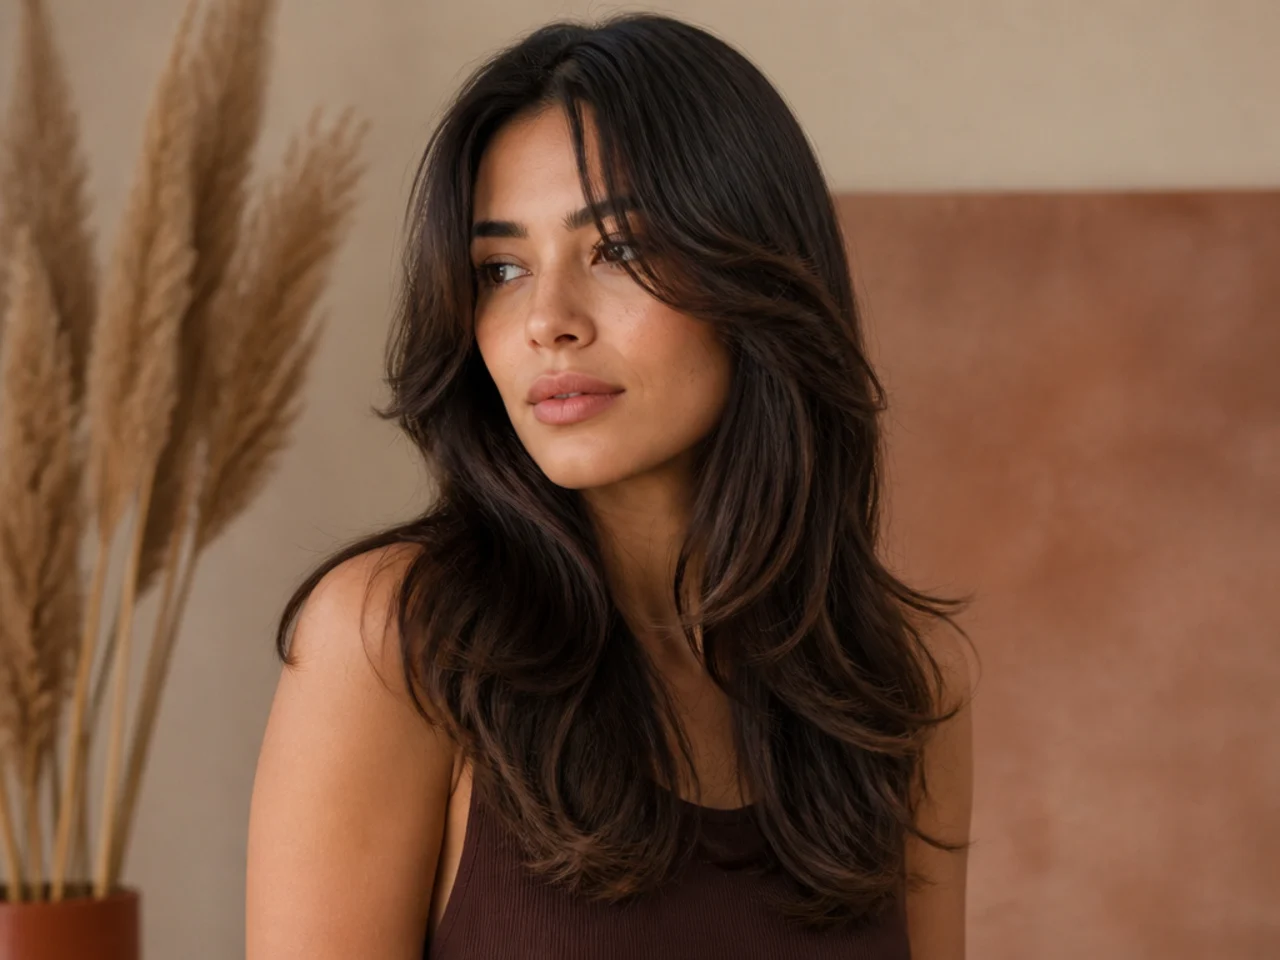
For the shape without the drama. The subtle version blends the crown and underneath so you get some flip and volume, but no sharp visual contrast between the tiers. Good if you want the trend without committing to obvious layering. Reads well in professional or conservative settings.
To ask: request minimal layering with only a 2–3 inch difference between the shortest crown layer and the perimeter. Face-framing that starts at the jaw rather than the cheekbone — lower start point equals softer effect. Perimeter to the mid-back. Style with a medium round brush and add a light flip on the ends only, not the crown. The result should read as "great layers" rather than "trend cut."
12. Voluminous Butterfly Haircut
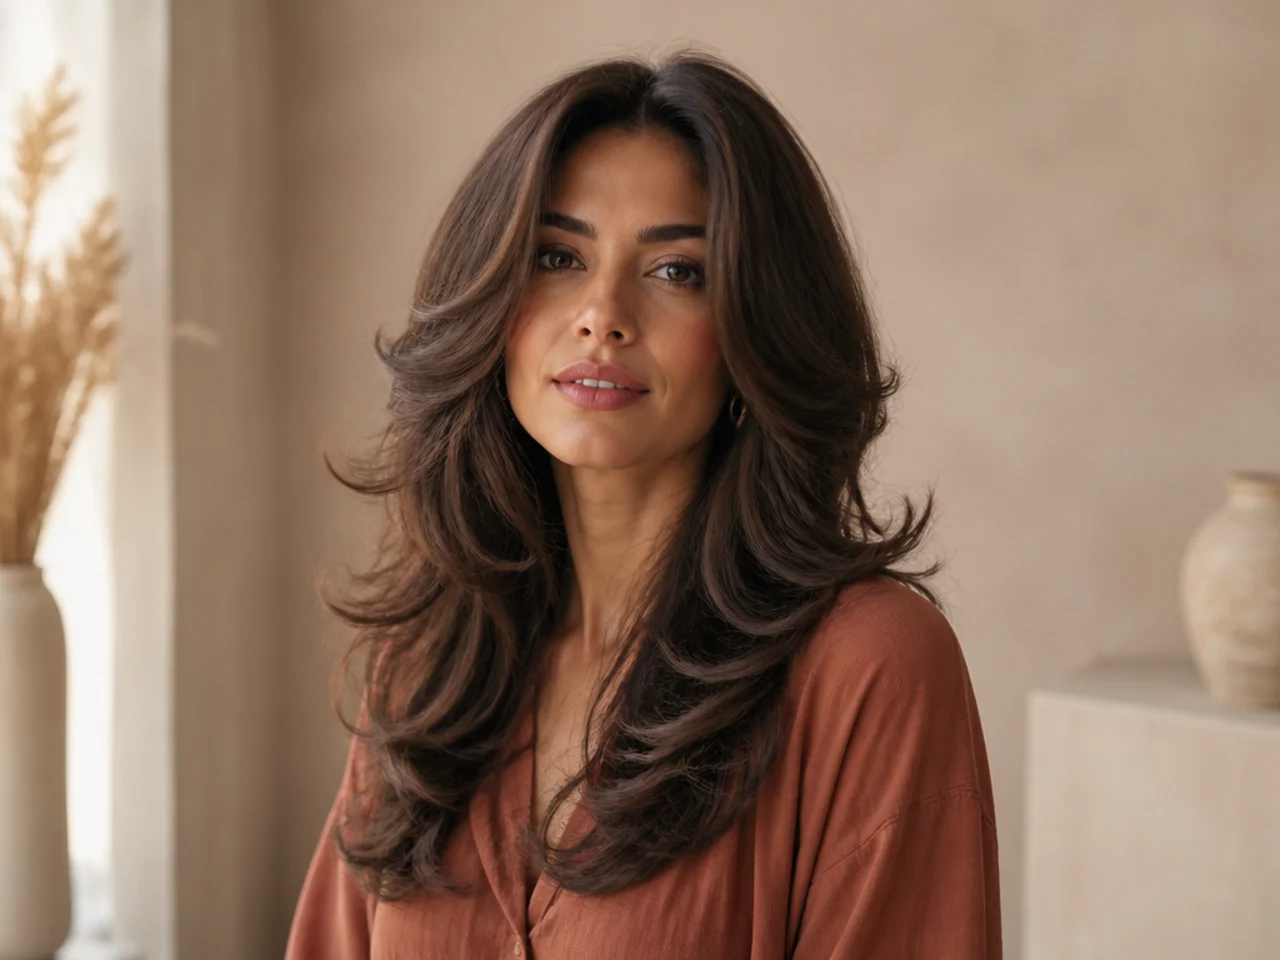
Fine hair benefits from a butterfly cut specifically because the layered crown creates lift where thin hair goes flat. The key is asking your stylist to leave the ends blunt (not point-cut) so the perimeter holds visual density, and to keep the crown layers short enough to actually spring up at the root instead of falling flat again.
Ask for a blunt perimeter at the collarbone, crown layer at the top of your ear, and face-framing at the cheekbone. Rough-dry with root-lift spray at the crown, round-brush the crown up and over your head, and finish with a shot of dry shampoo at the roots for grip. Skip conditioner above your ears.
13. Blunt Butterfly Cut
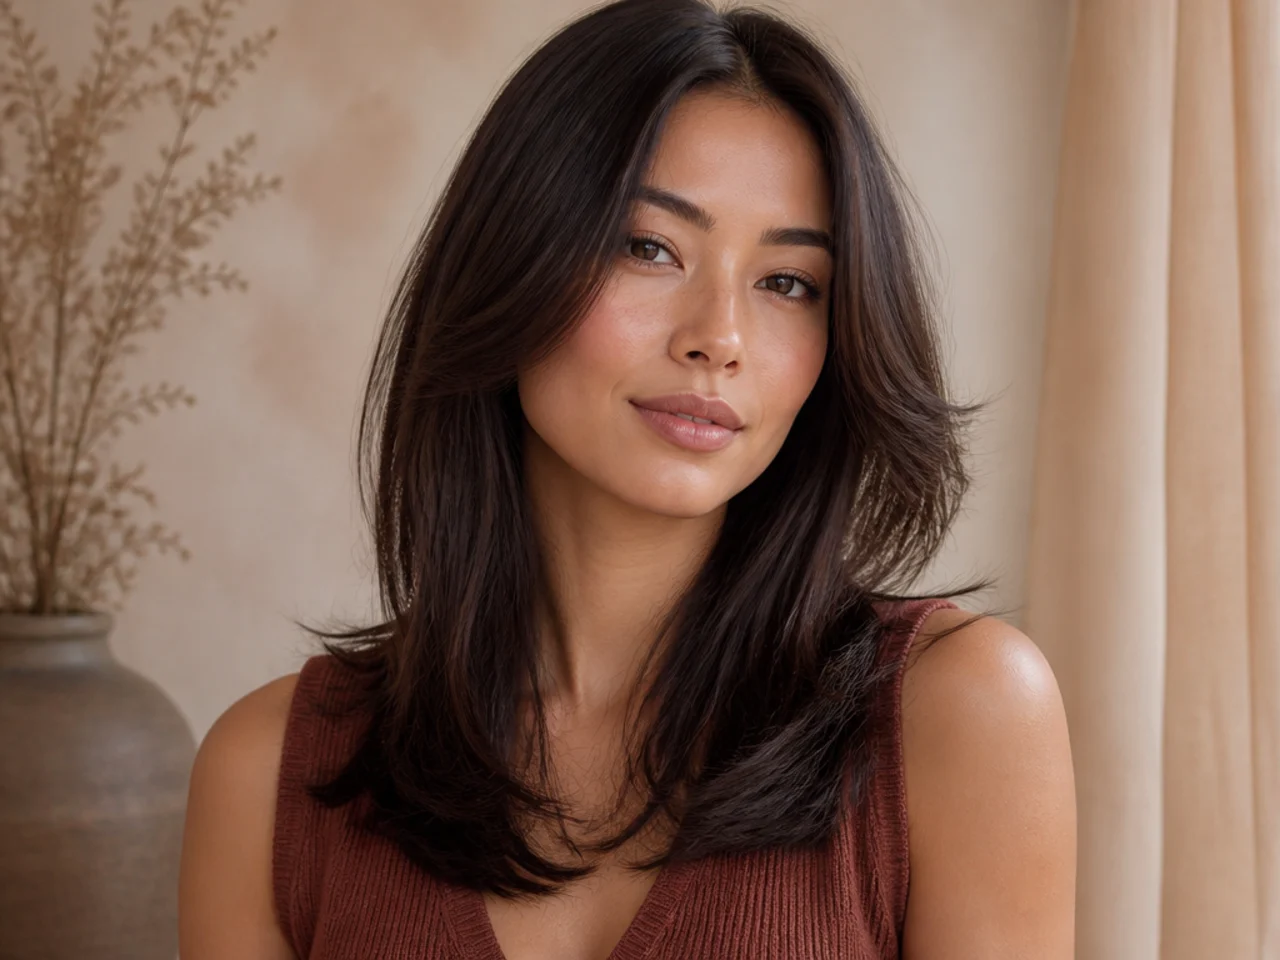
The blunt version keeps every end razor-precise. No feathering, no texturing, no thinning. You get the layered shape but with an almost architectural finish. It's a strong option for fine hair (blunt ends add visual density) and it pairs naturally with a blunt haircut with layers perimeter.
To ask: emphasize the word blunt. Perimeter cut with sharp scissors — no razor, no point-cutting anywhere. Crown layer blunt across at the collarbone. Face-framing at the cheekbone with a clean line. Style straight and flip only the crown pieces outward. The perimeter stays clean and heavy so the contrast between the flipped top and solid bottom is unmistakable.
14. Choppy Butterfly Haircut
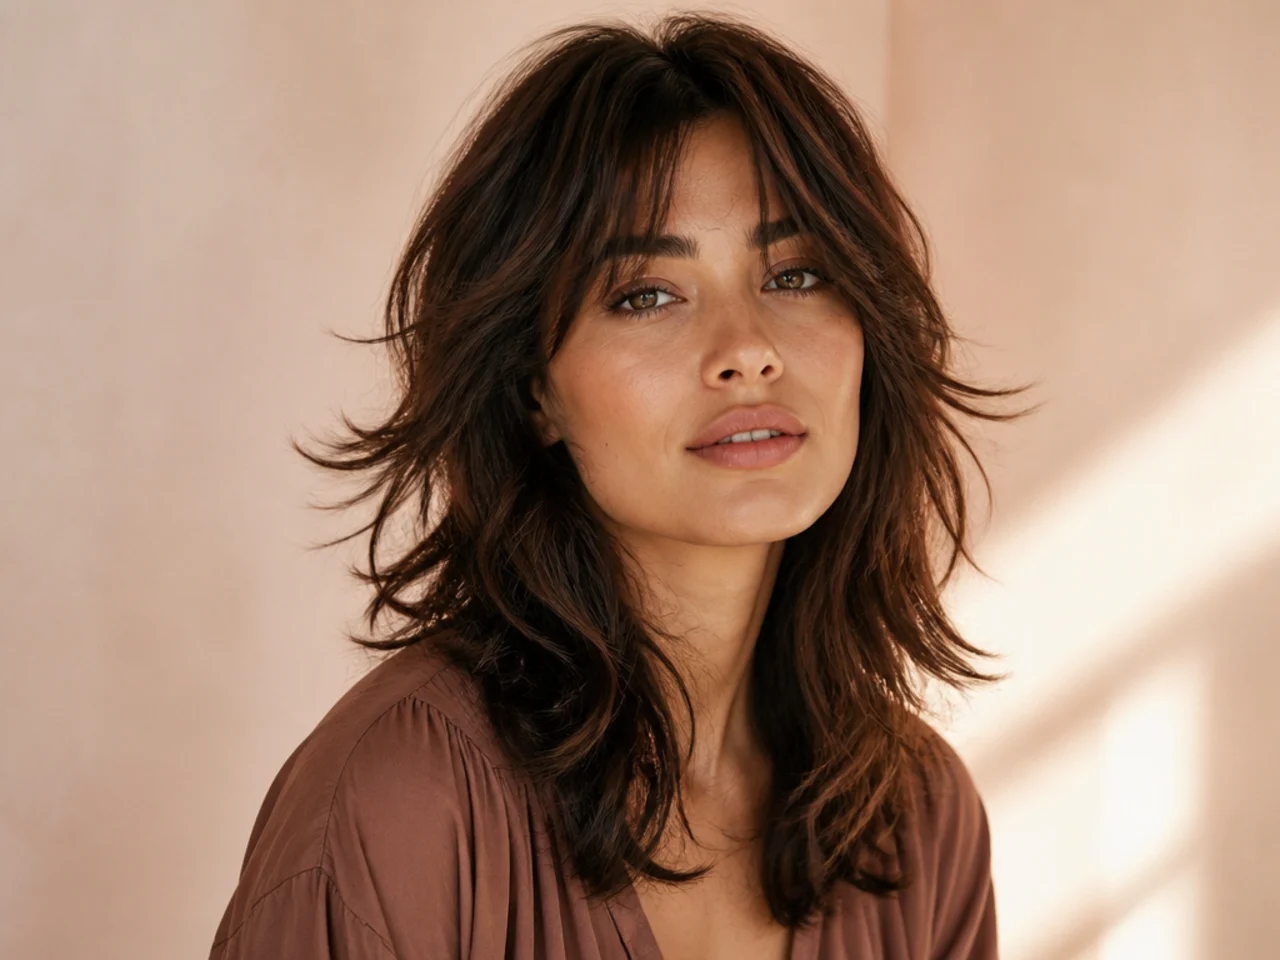
Choppy layers are cut with a razor or aggressive point-cutting so the ends taper unevenly. It gives the butterfly a rock-and-roll edge, closer in feel to a shag haircut than a Rachel cut. Suits square and oval faces; the deliberate messiness softens strong angles and adds attitude.
Ask for razor-cut ends throughout, a crown layer chopped at the collarbone, and face-framing that starts high — at the eye — with a heavy taper down. Style with texture spray and finger-comb only. Skip the round brush entirely and flip the crown pieces with your hands. You want lived-in, not blown-out.
15. Butterfly Haircut for Thick Hair
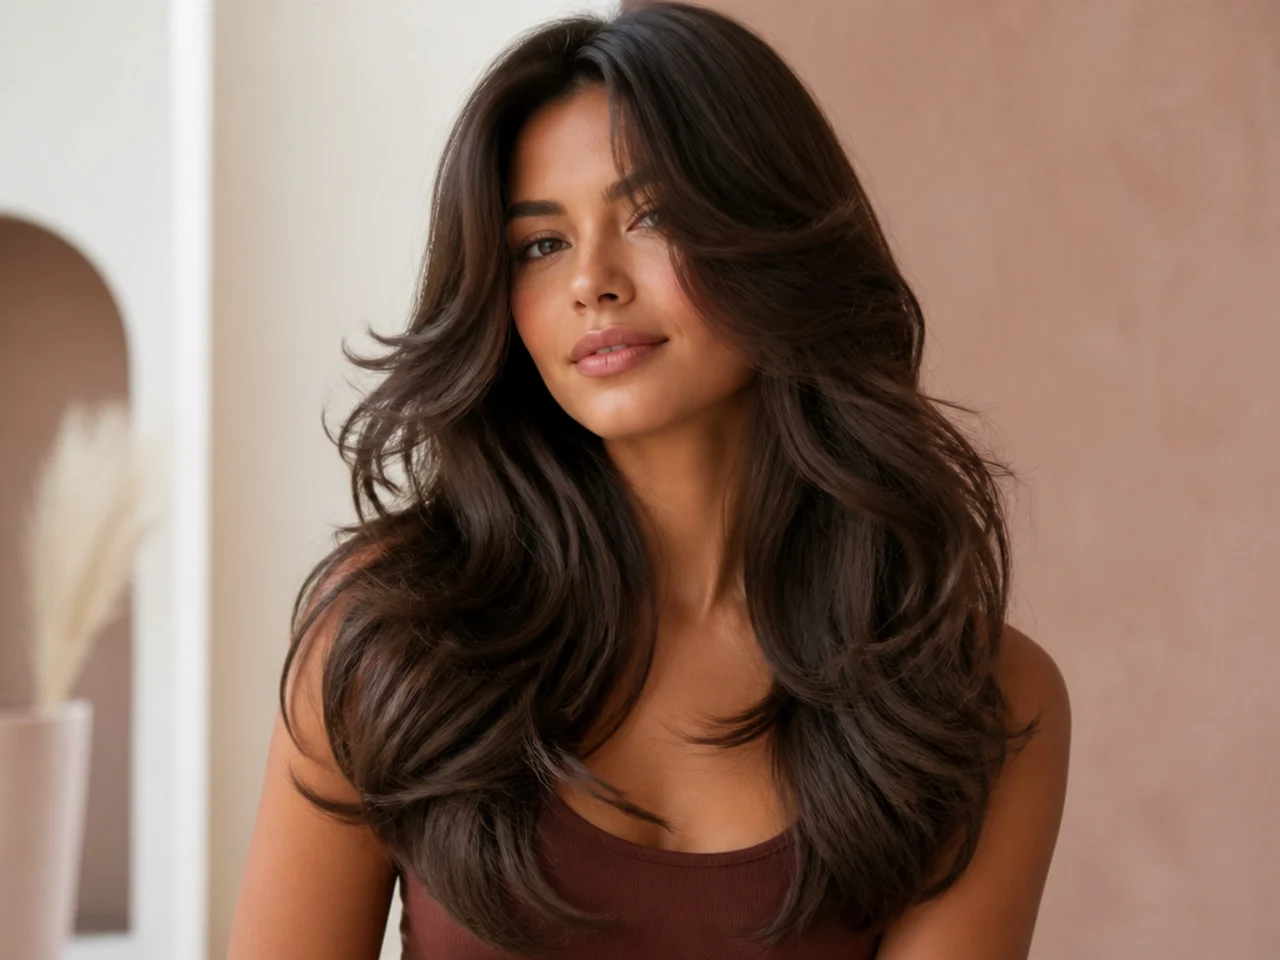
Thick hair needs internal weight removed or the butterfly cut turns into a triangle. Your stylist should use point-cutting and internal thinning through the mid-lengths to hollow out the underneath while keeping the perimeter blunt and heavy on the ends.
To ask: request internal thinning through the mid-shaft, blunt perimeter at the collarbone or longer, crown layer at the collarbone. Style by rough-drying first to break up the density, then round-brushing section by section with tension — thick hair needs the brush to sit properly and hold the flip. A large barrel (2+ inches) works better here than a small one.
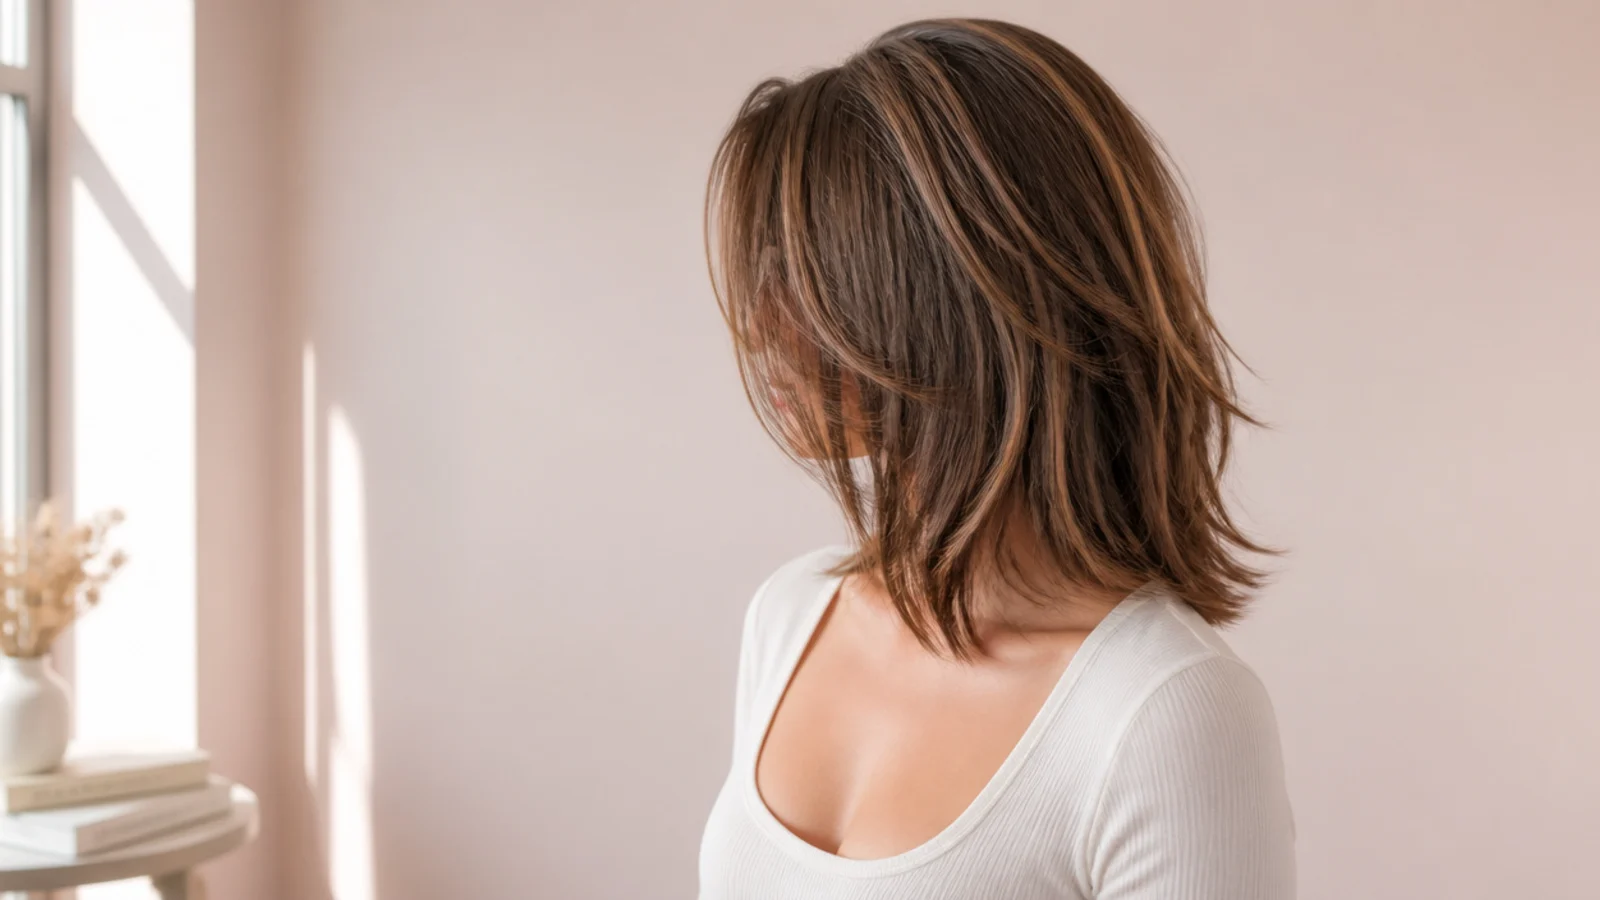
16. Butterfly Cut with Highlights
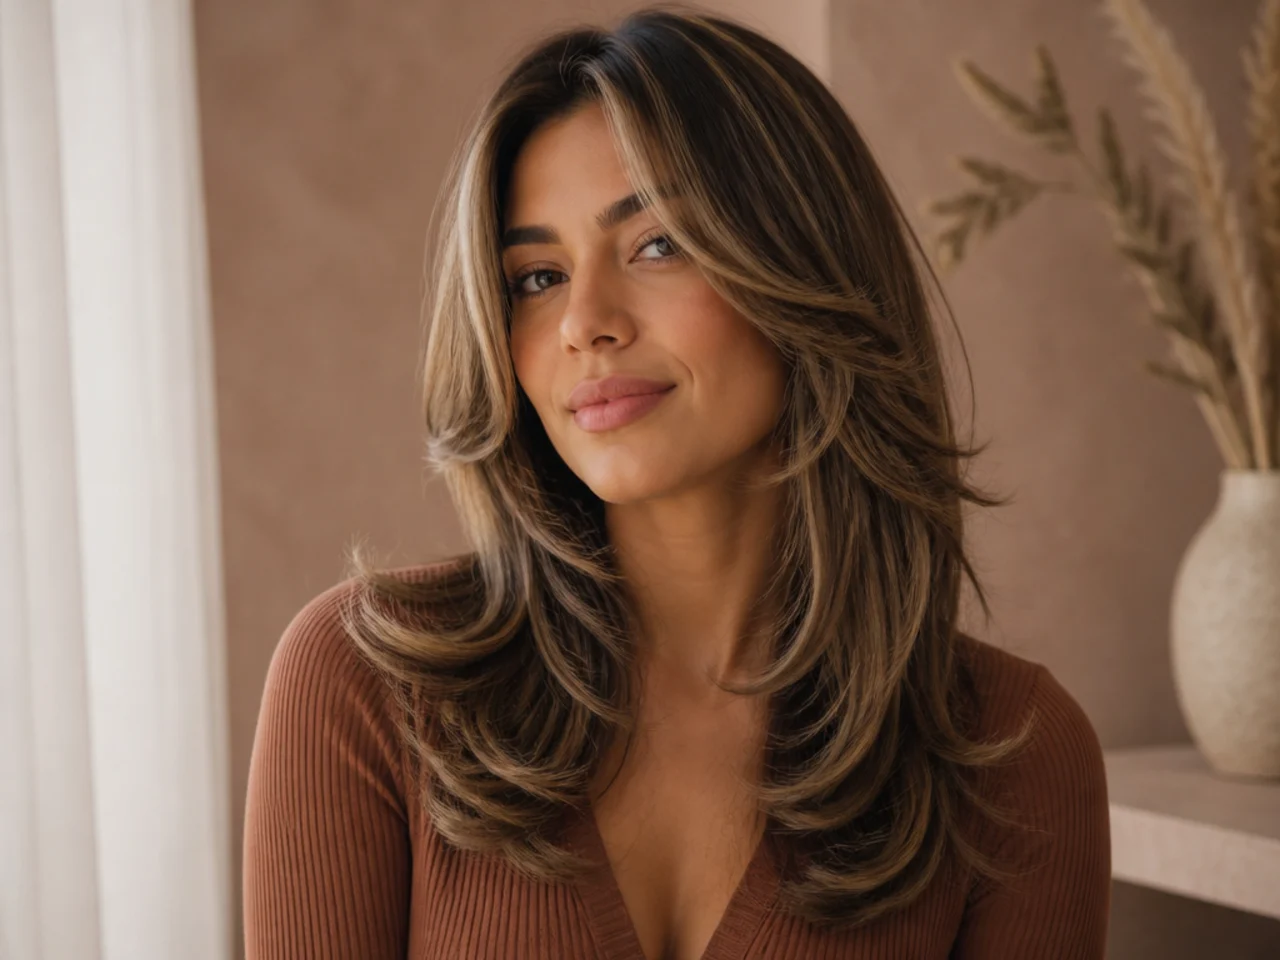
Color multiplies the visual layering. Face-framing highlights around the crown make the flip pieces pop against the darker underneath, so the butterfly shape reads even when your hair is pulled back or tied up. See our hair color trends guide for what pairs best with a layered shape this year.
To ask: money-piece highlights on the face-framing pieces, plus a few finer highlights running through the crown layer. Leave the underneath and perimeter untouched. The color contrast between top and bottom is the whole point — going lighter everywhere kills the effect and turns it into a standard balayage.
17. Face-Framing Butterfly Haircut
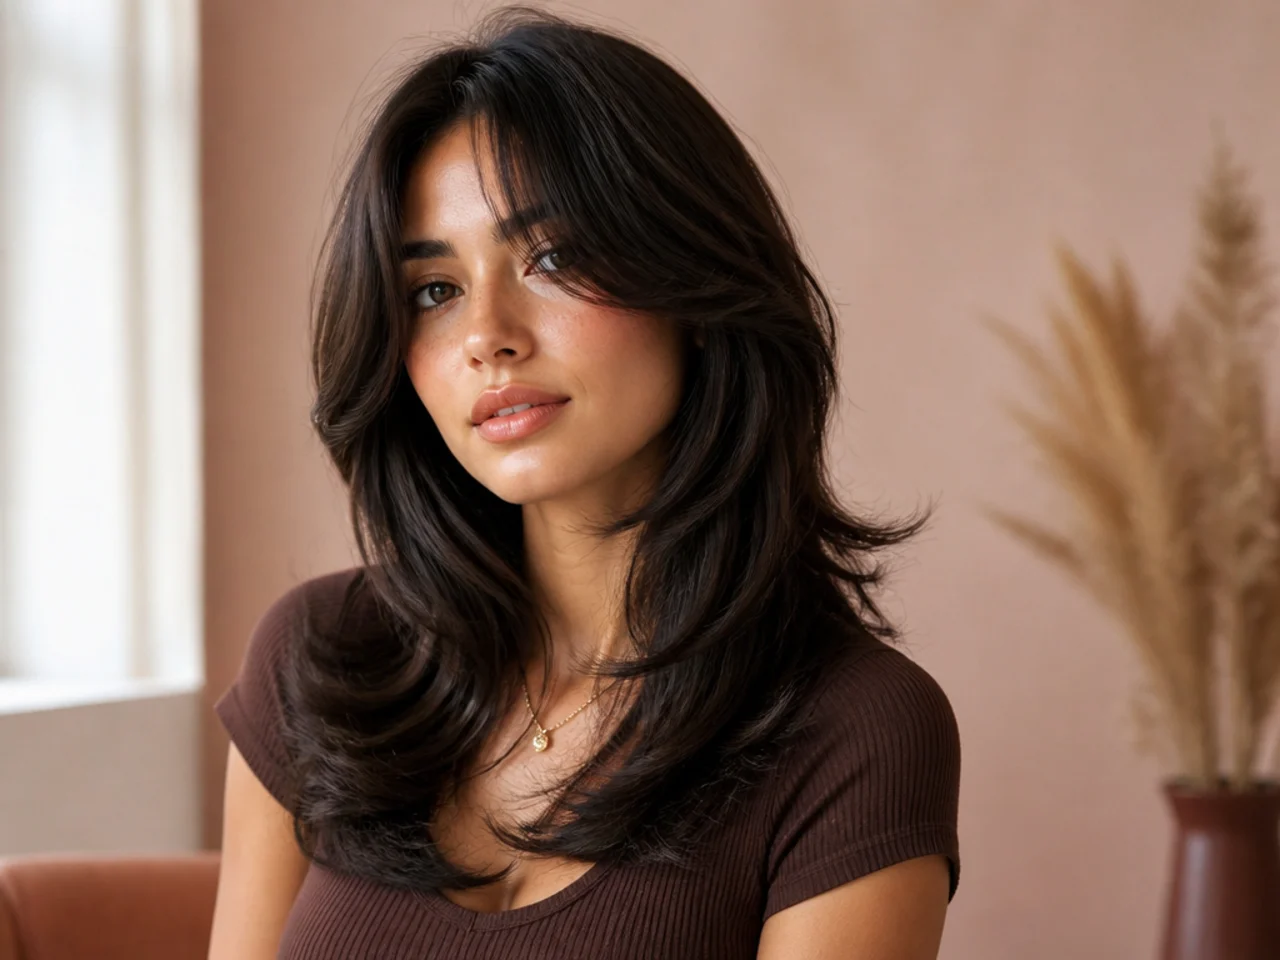
This version emphasizes the front pieces over the crown layer. Face-framing starts higher (at the eye) and stays heavier through the length, so you get strong contouring around the cheekbones and jaw. Suits round, square, and heart faces because the front pieces do the sculpting of your whole face shape.
Ask for heavy face-framing that starts at the eye and tapers down to the collarbone, a subtle crown layer at the collarbone, and a blunt perimeter. Style with a round brush on the front pieces only, pulling them away from your face for maximum sculpting. The back stays flat and heavy so the front does all the work.
18. Two-Tier Butterfly Haircut
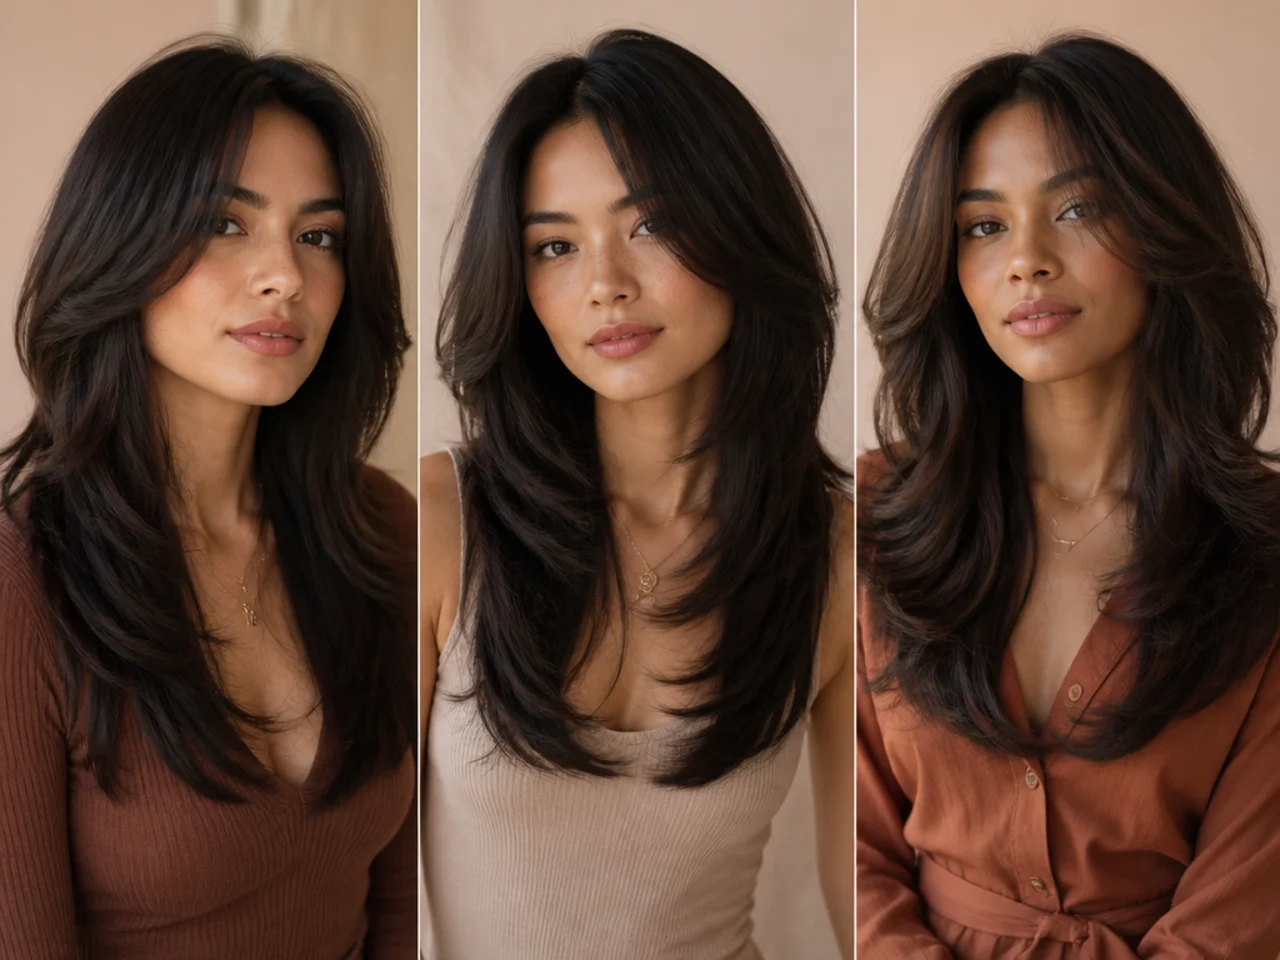
The most dramatic version. Two distinct tiers — a short top and a long bottom — with a visible gap between them where you can see the layering. It's the runway version of the cut. Only works if you have medium-to-thick density and are comfortable with the shape being obvious to everyone in the room.
To ask: two clearly separated layers, top tier at the top of the ear, bottom tier at mid-back or longer. Face-framing at the cheekbone. Style each tier separately — round-brush the top tier up and outward with lift, straighten or wave the bottom tier depending on your mood. They should read as two distinct textures stacked on each other.
19. Messy Butterfly Haircut
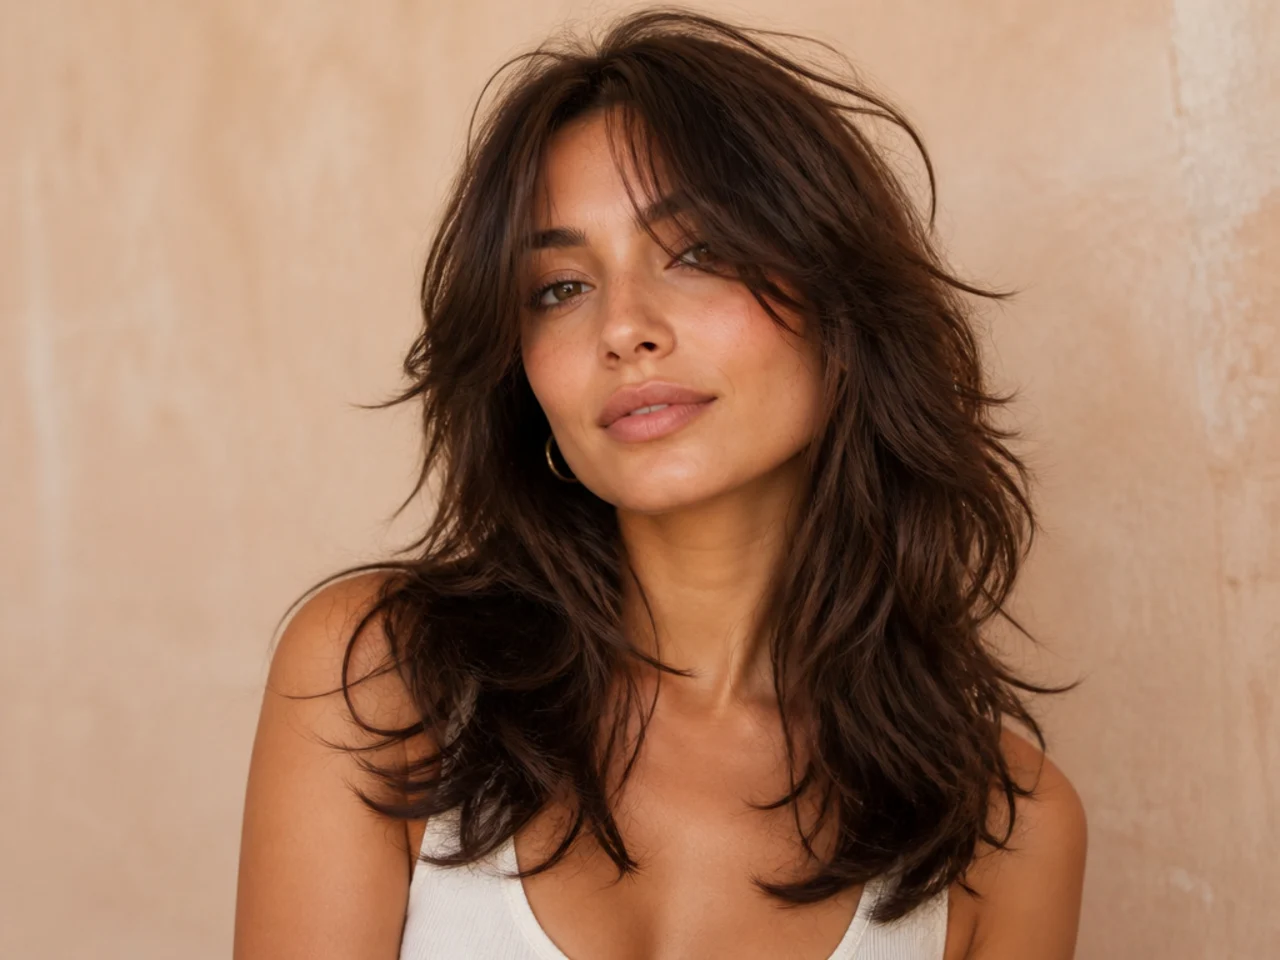
The lived-in version. Same architecture as the standard layered butterfly, but styled with texture spray and finger-styled rather than round-brushed. It looks like you slept on it in the good way. Suits every face shape and works especially well on wavy hair.
Ask for the same cut as the standard layered version, but tell your stylist you plan to air-dry — that changes how they point-cut the ends. Style by scrunching texture spray into damp hair and letting it dry naturally, then shake it out at the roots and go. Refresh day two with dry shampoo, not a hot tool.
20. Glamorous Butterfly Haircut
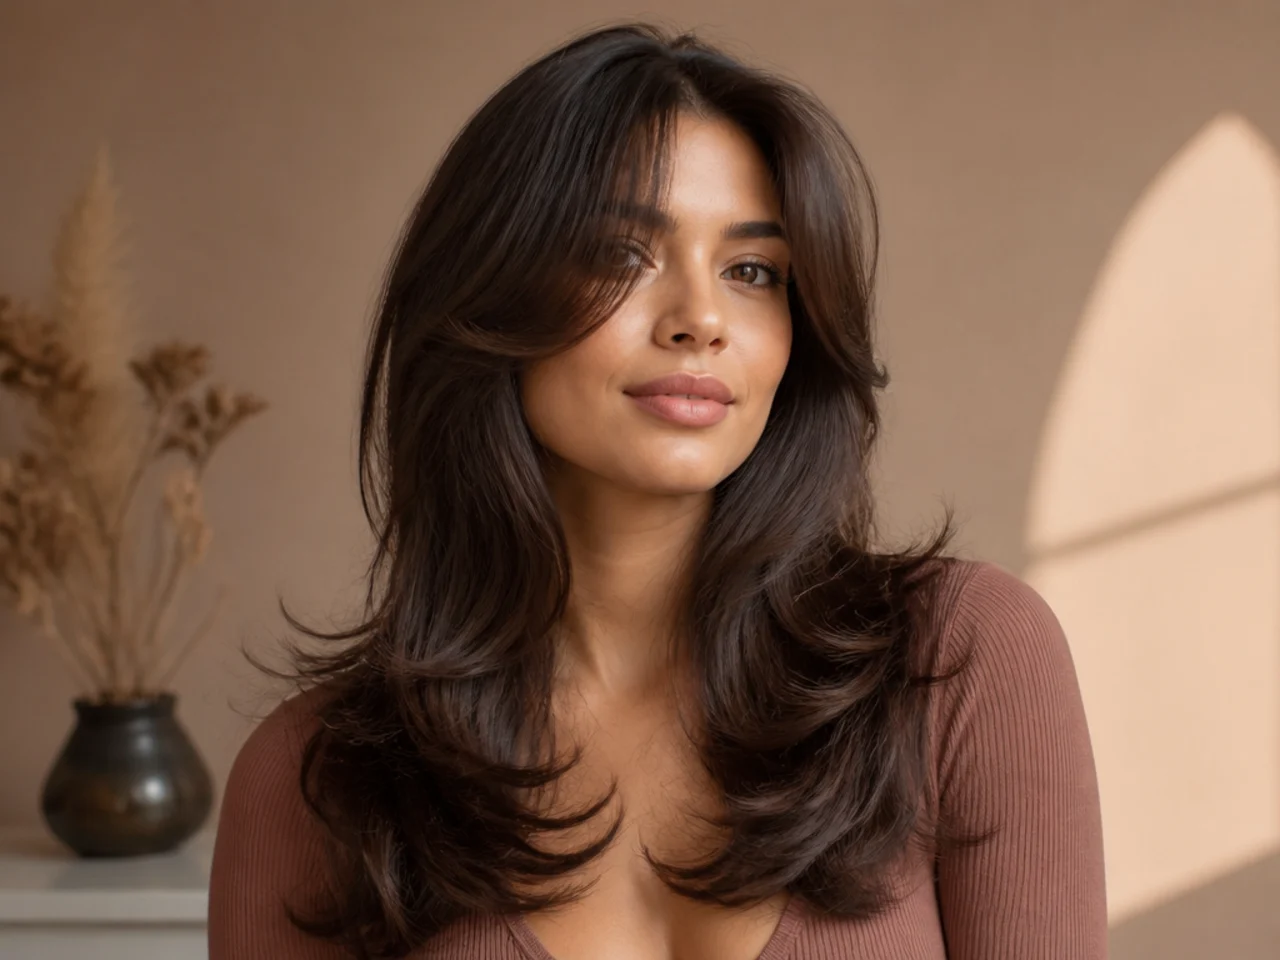
The event version. Round-brushed to a mirror finish, then curled with a large-barrel iron and brushed out into soft Hollywood waves. The butterfly layers give the waves natural body without needing extensions or padding underneath to prop them up.
To ask: nothing changes in the cut — this is a styling variation of any layered butterfly. On the day, blow-dry with a large round brush, curl 1.5-inch sections away from your face with a 1.25-inch iron, pin each curl flat to your scalp until fully cool, then brush out with a boar bristle brush. Finish with shine spray, not hairspray.
21. DIY Butterfly Haircut
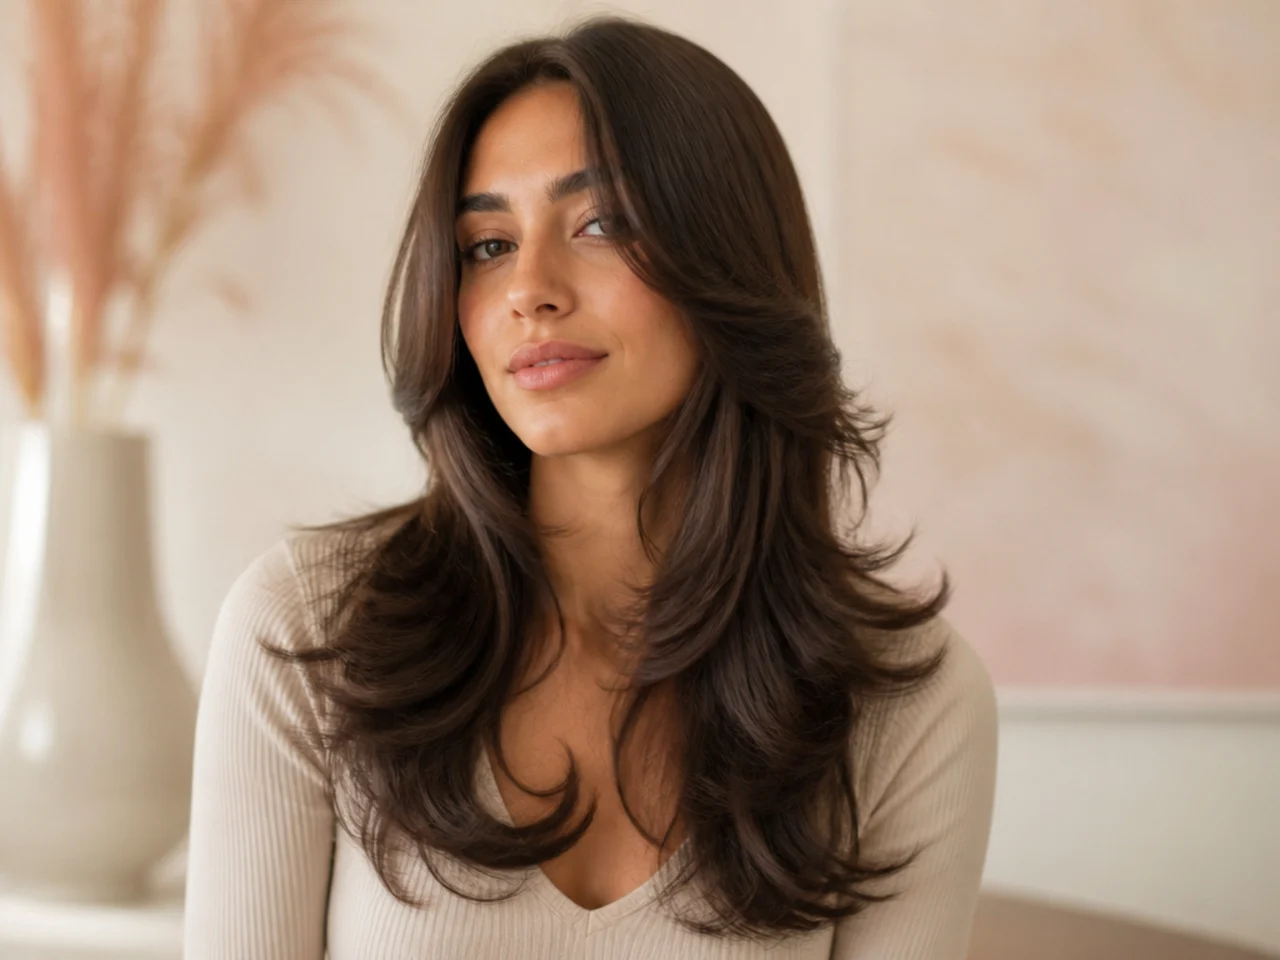
You can approximate this cut at home with the ponytail method — flip your head upside down, gather your hair into a high ponytail at your forehead, and cut straight across. It creates auto-layered ends when you flip your head back up. It's a rough approximation, not a real substitute for a stylist.
Only try this if your hair is already at least mid-back length. Cut conservatively — you can always take off more, you can't put length back. Book a stylist to clean up the perimeter and face-framing after; the ponytail method won't give you a defined front, which is the whole personality of the cut.
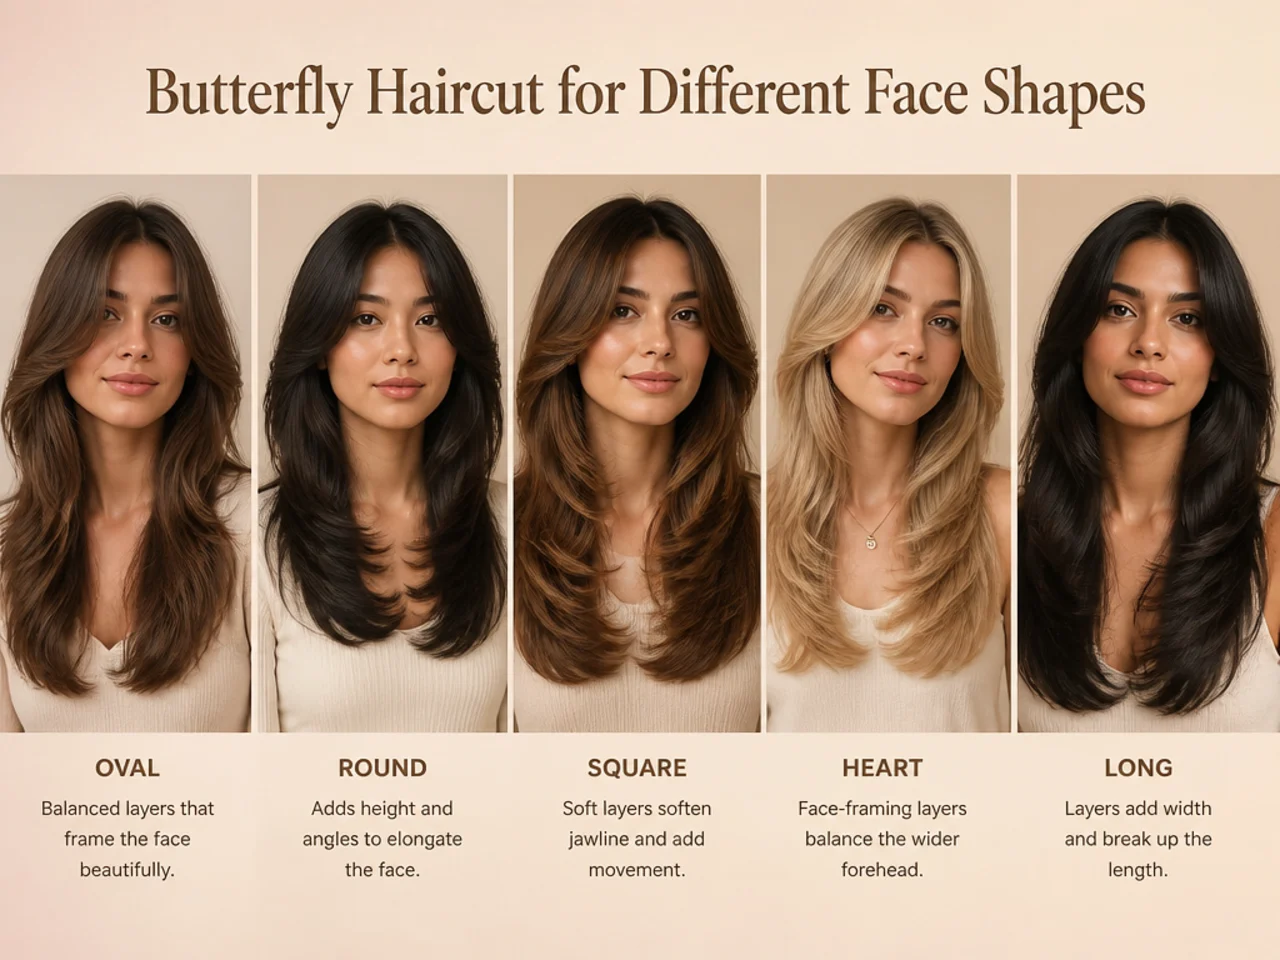
Butterfly Haircut for Different Face Shapes
Round Face
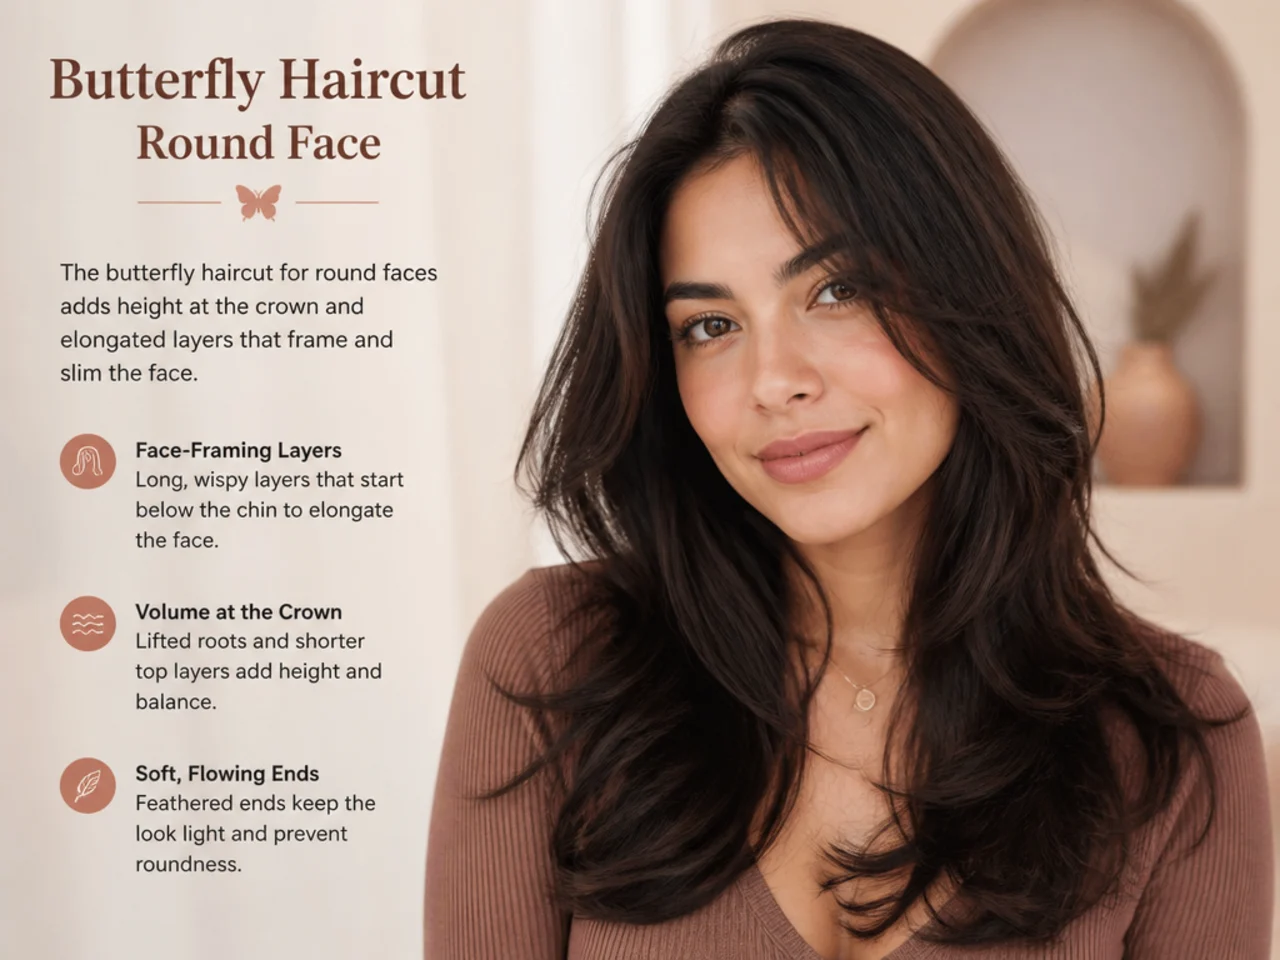
Ask for longer layers and start face-framing high — at the cheekbone or higher — so the front pieces elongate rather than widen. Keep the perimeter mid-back or longer. Skip the blunt jaw-length version; it adds width exactly where you don't want it. A slight side part elongates further and makes the vertical line stronger.
Oval Face
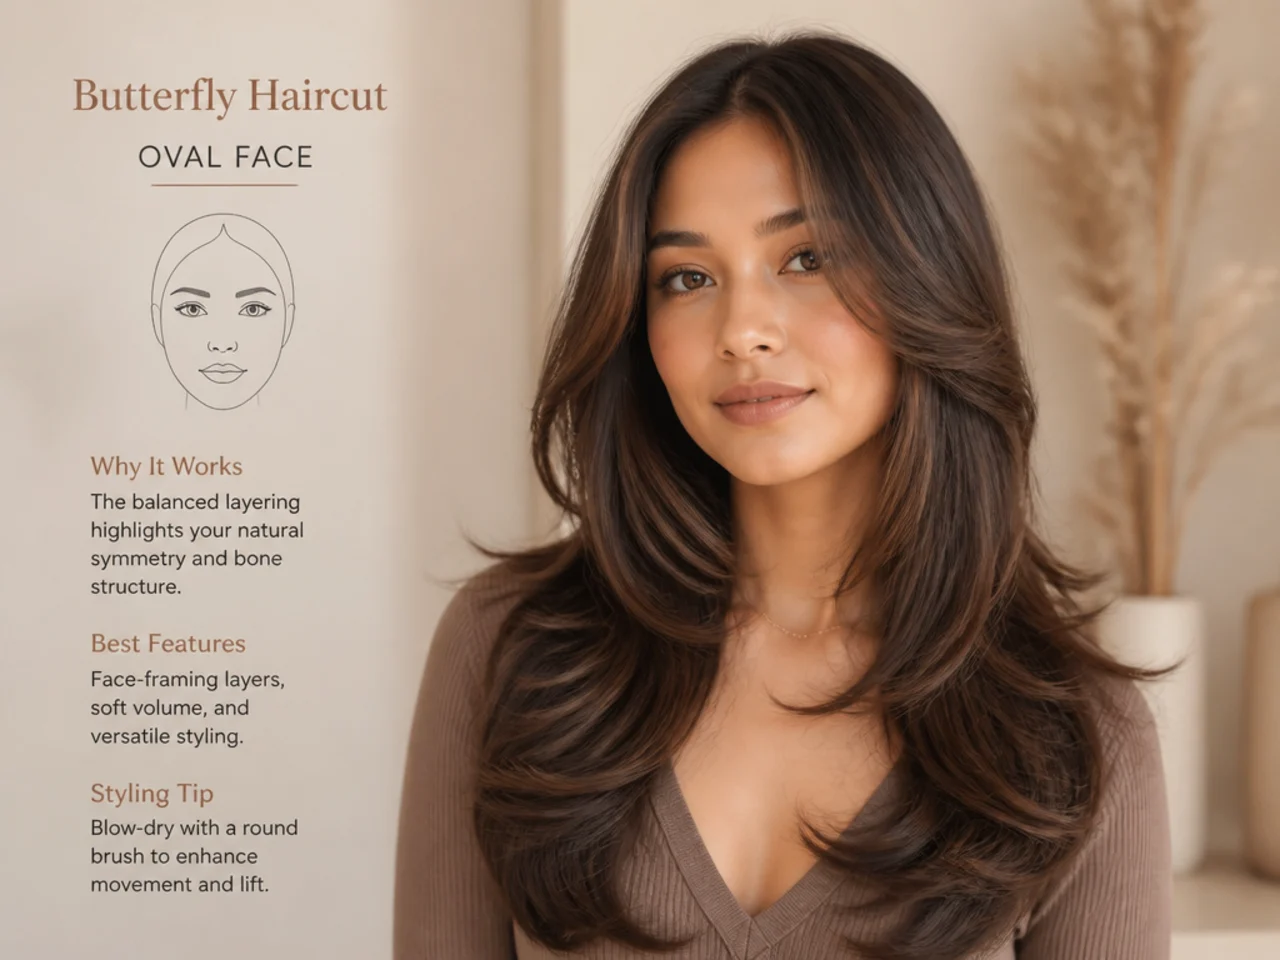
You can wear any butterfly variation. Play with length: try a short version to accent your bone structure, or the long version for maximum softness. The classic Rachel-era proportions — collarbone crown, mid-back perimeter, cheekbone face-framing — are your default and will always work.
Square Face
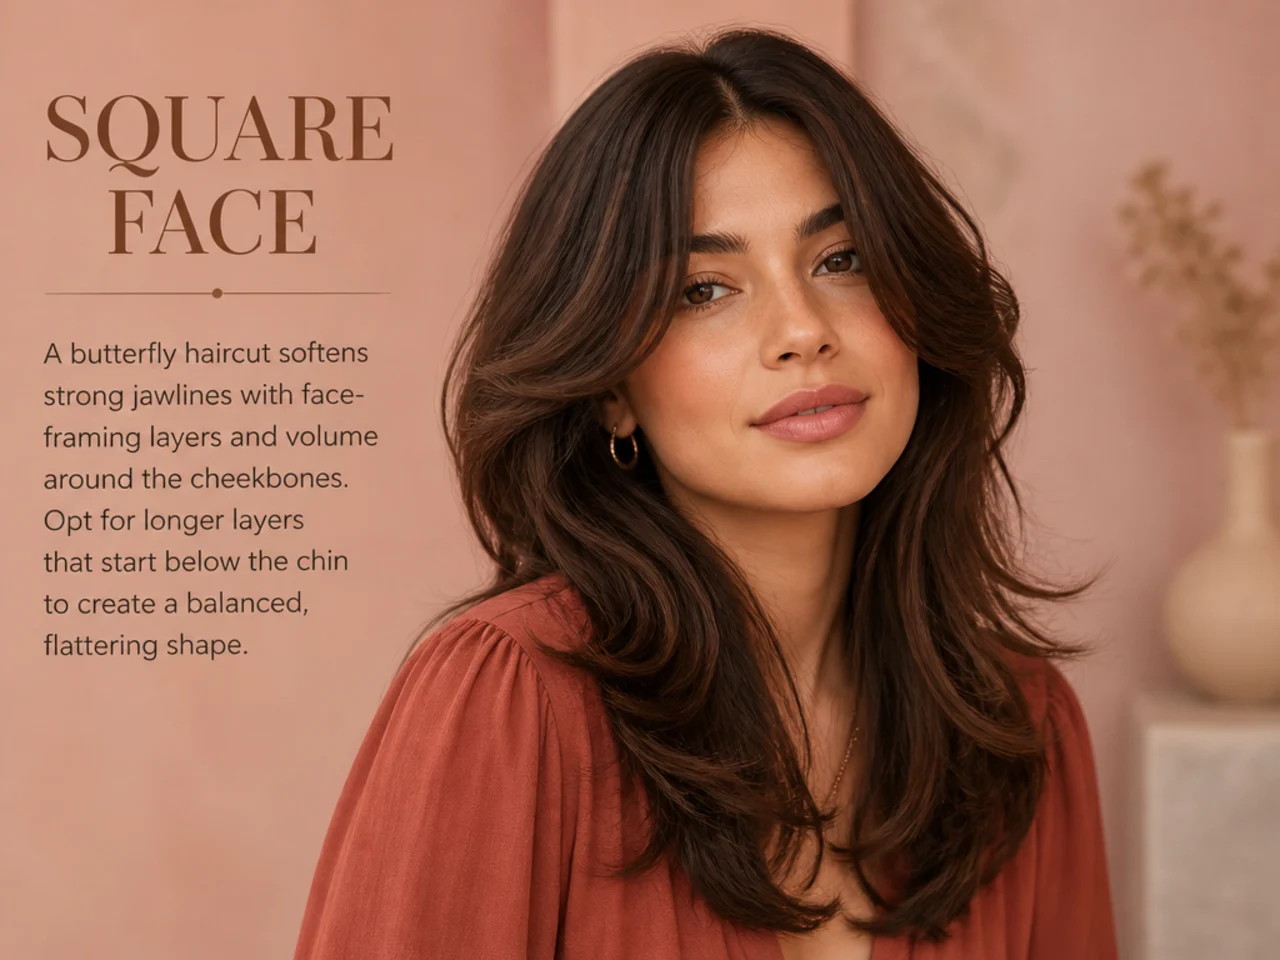
Soften your angles with a wavy or choppy butterfly. Face-framing should start at the jaw and taper past it to blur the corner rather than emphasize it. Curtain bangs work well here — the parted sweep breaks up the strong forehead line and adds curvature where your face has hard edges.
Heart-Shaped Face
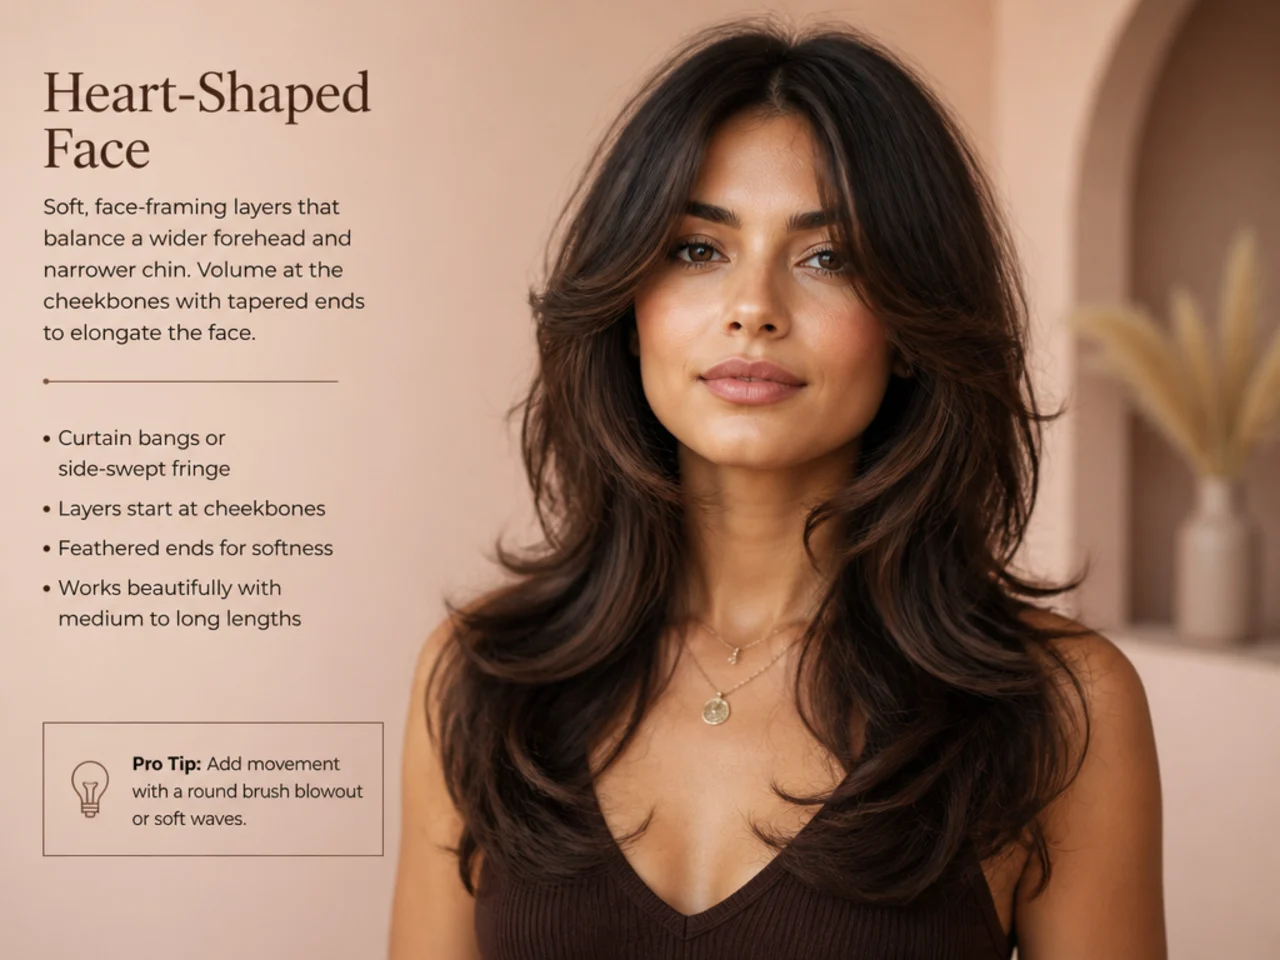
You want width at the chin to balance a wider forehead. Ask for face-framing that starts at the cheekbone and gets heavier toward the jaw, curtain bangs to soften the forehead, and a crown layer that adds volume mid-face rather than up at the temples where it'll make the top wider.
Key Features of the Butterfly Haircut
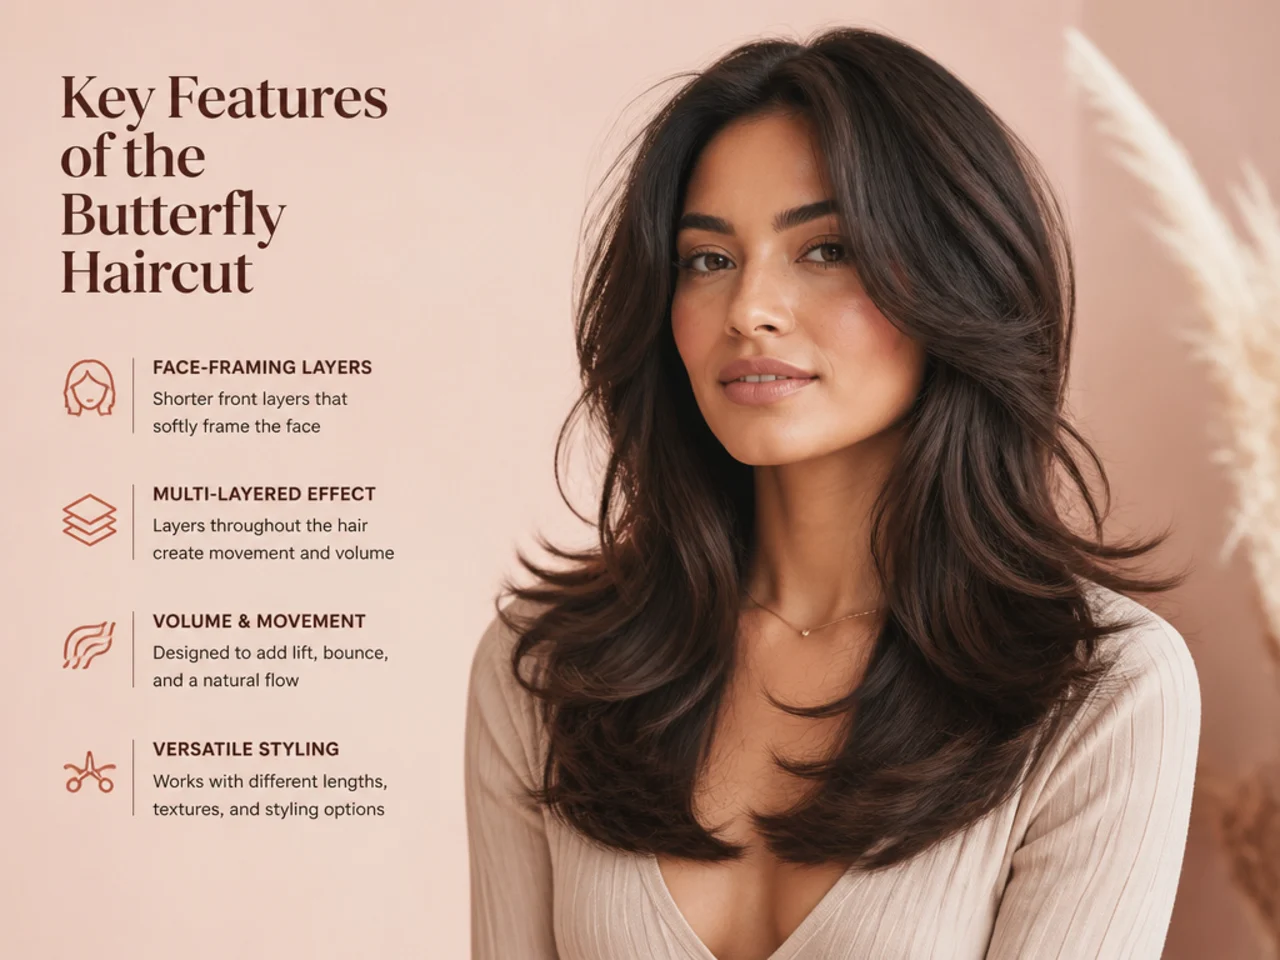
- Short crown layers that flip outward like wings when styled
- Longer length kept underneath, mid-back or beyond in most versions
- Face-framing pieces starting at the cheekbone
- Volume concentrated at the crown that reads as bounce, not bulk
- Movement in the front, weight and length kept in the back
Benefits of the Butterfly Haircut
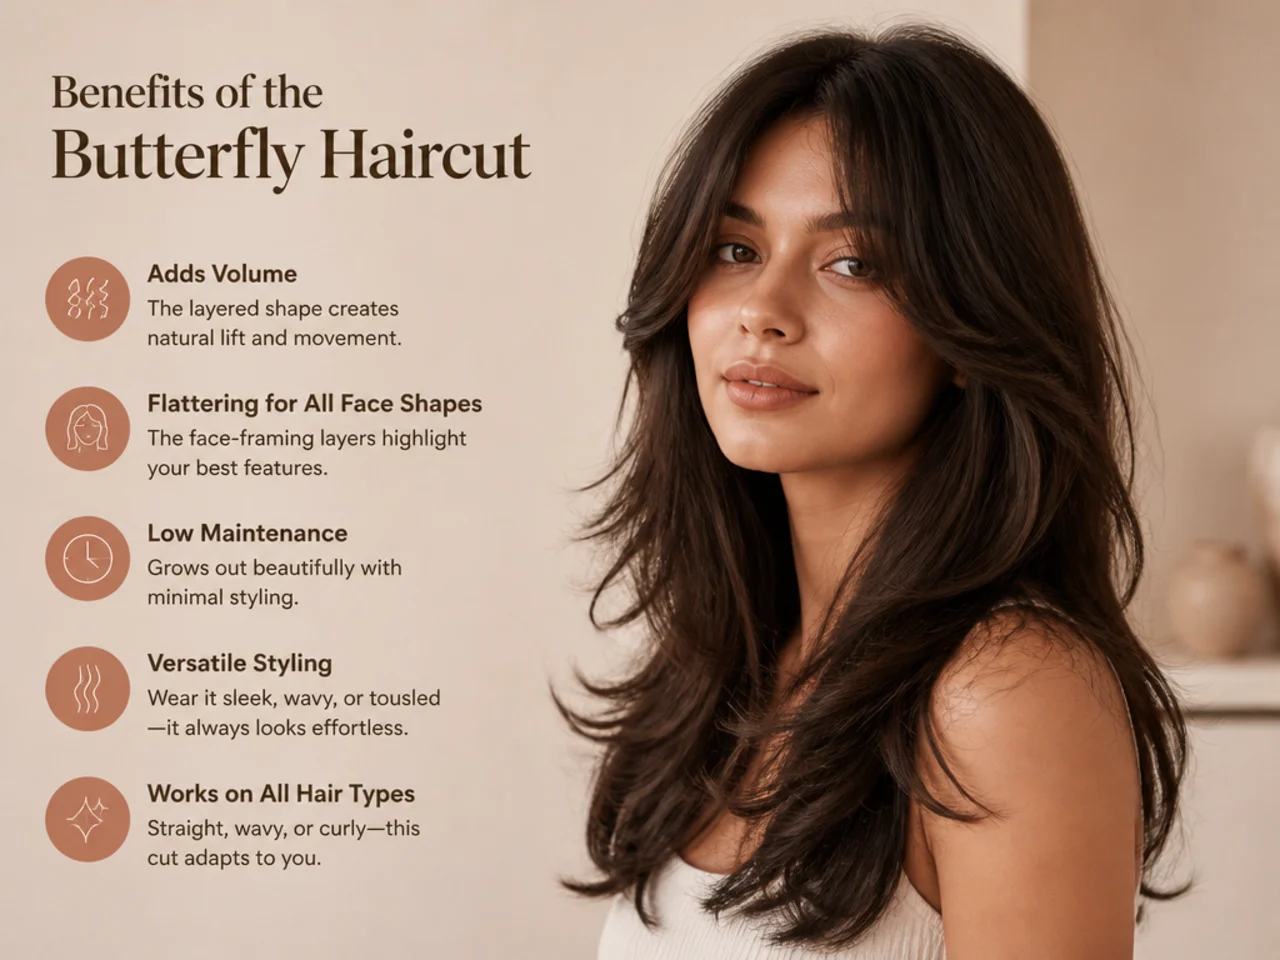
- You keep your length. Nothing gets chopped off — the crown layers are additive on top of what you already have.
- It grows out well. The layers stretch into a shag or a classic long layered cut without an awkward in-between phase.
- It works on most hair types. Straight, wavy, and curly all take it with the right adjustments.
- It's fast to style. Round brush, ten minutes, done.
- It photographs well from every angle — the flipped crown pieces frame your face in every shot.
How to Ask for a Butterfly Haircut at the Salon
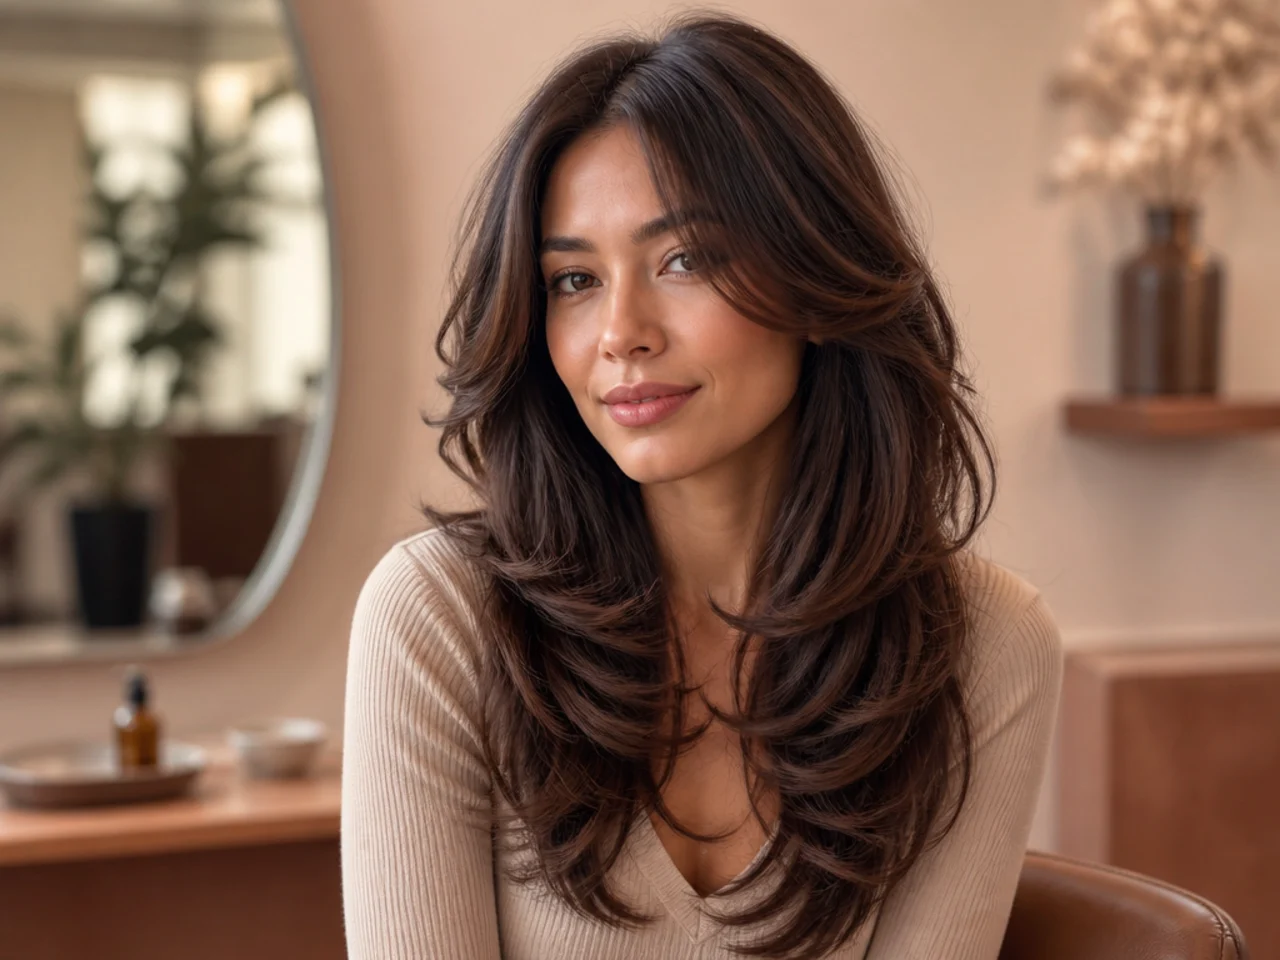
- Bring 2–3 reference photos. The shape is genuinely hard to describe in words.
- Say the words butterfly cut. Every working stylist knows the term now.
- Specify the crown layer length in inches, measured from your earlobe or shoulder.
- Specify where face-framing starts — cheekbone, jaw, or chin.
- Confirm the perimeter length in inches so you and your stylist are on the same page.
- Say whether you want the ends blunt, point-cut, or razor-cut.
- Mention your styling routine at home. A stylist will cut differently for a client who air-dries versus one who round-brushes daily.
How to Style a Butterfly Haircut
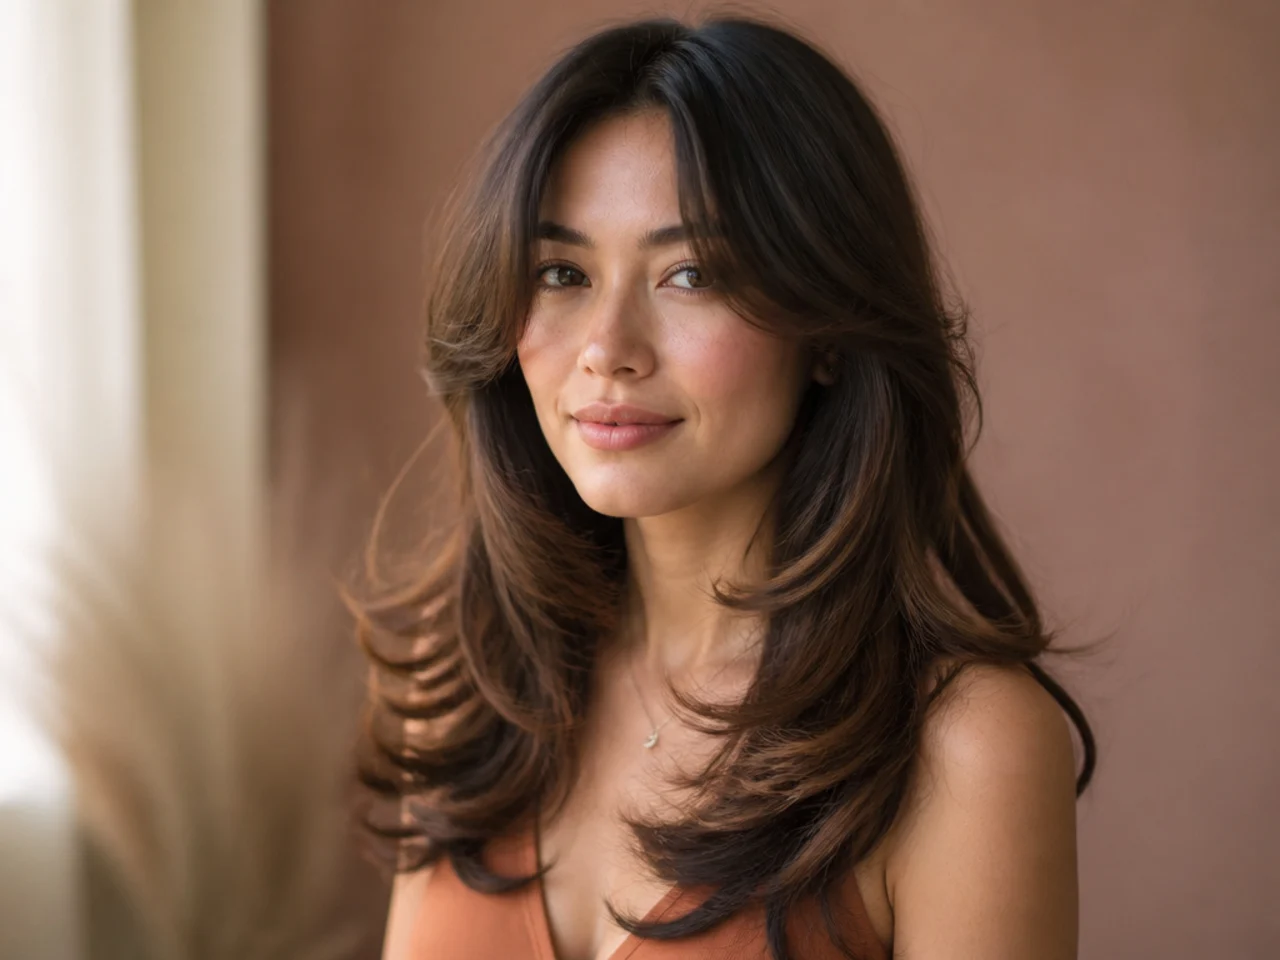
- Rough-dry to 80% with a nozzle on your dryer, pointing down the hair shaft to smooth cuticles.
- Section the hair into top, middle, and underneath. Clip the top two sections out of the way.
- Round-brush the underneath first. Smooth it, keep the ends flat and tucked in toward your neck.
- Round-brush the middle section next, rolling the ends slightly outward.
- Round-brush the crown and face-framing pieces last. Roll them out and away from your face on the ends. Hit each section with a cool shot to set the flip in place.
- Finish with a light hairspray on the crown only. Leave the underneath movable — you want the contrast between structured top and free-flowing bottom.
For a curled version, use a 1.25-inch iron on 1.5-inch sections, always curling away from your face. Pin each curl flat to your scalp to cool for at least ten minutes, then brush out with a boar bristle brush for that soft, brushed-out finish.
Maintenance and Hair Care Tips
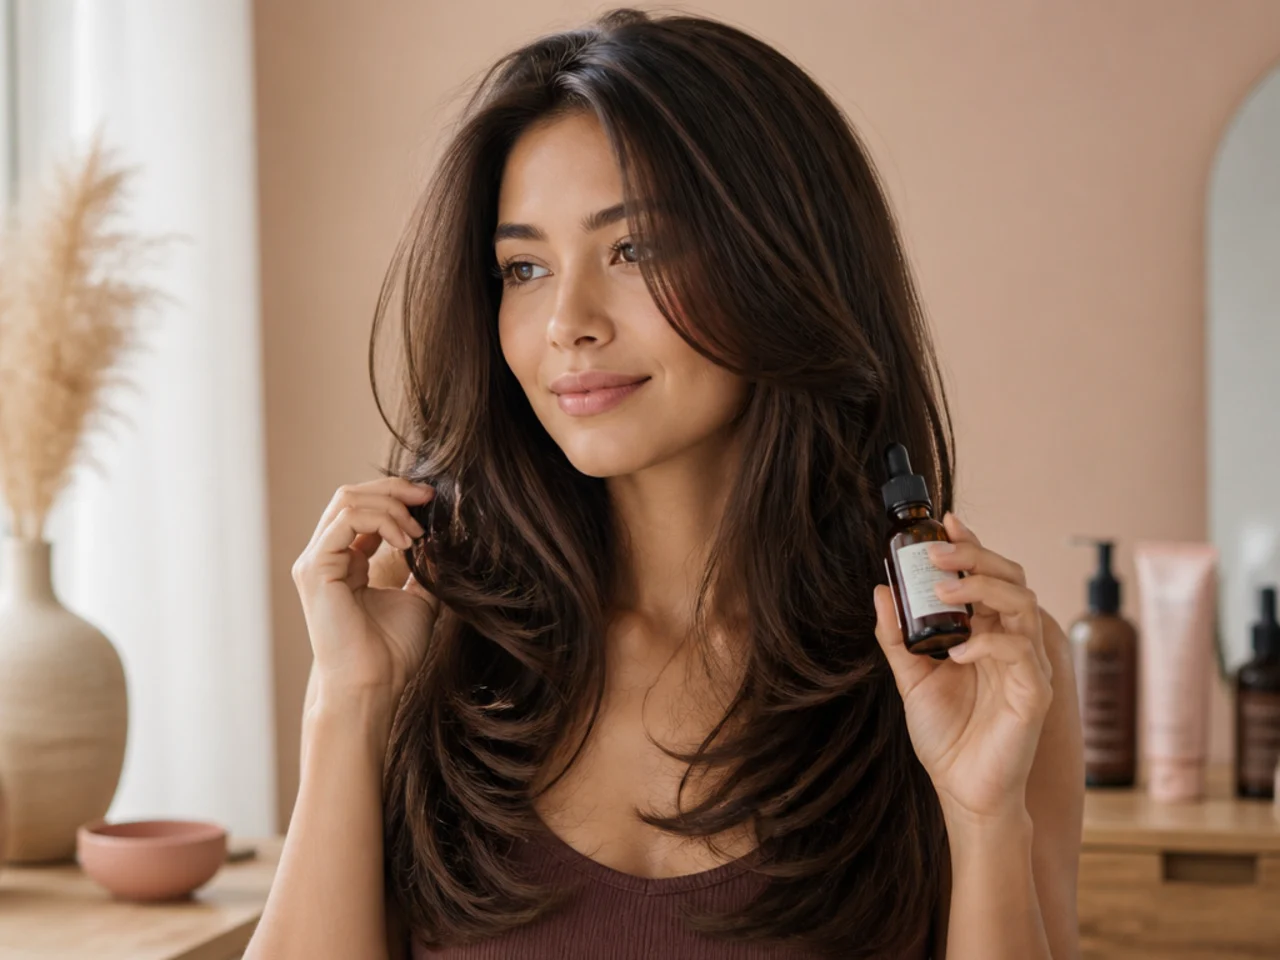
- Get a trim every 6–10 weeks — the shorter your crown layer, the tighter the schedule. A long butterfly stretches to ten weeks; a short version needs six.
- Use a lightweight volumizing shampoo. Heavy moisturizing formulas weigh crown layers down and kill the flip.
- Skip conditioner at the roots. Mid-shaft to ends only.
- Use heat protectant every single time you touch a hot tool. The crown layers get styled most and burn first.
- Sleep on a silk pillowcase. It keeps the crown pieces from friction-frizzing overnight.
- Consider color to accent the layers: a rich chocolate brown shows every layer without demanding the salon time of blonde.
Celebrity Inspiration
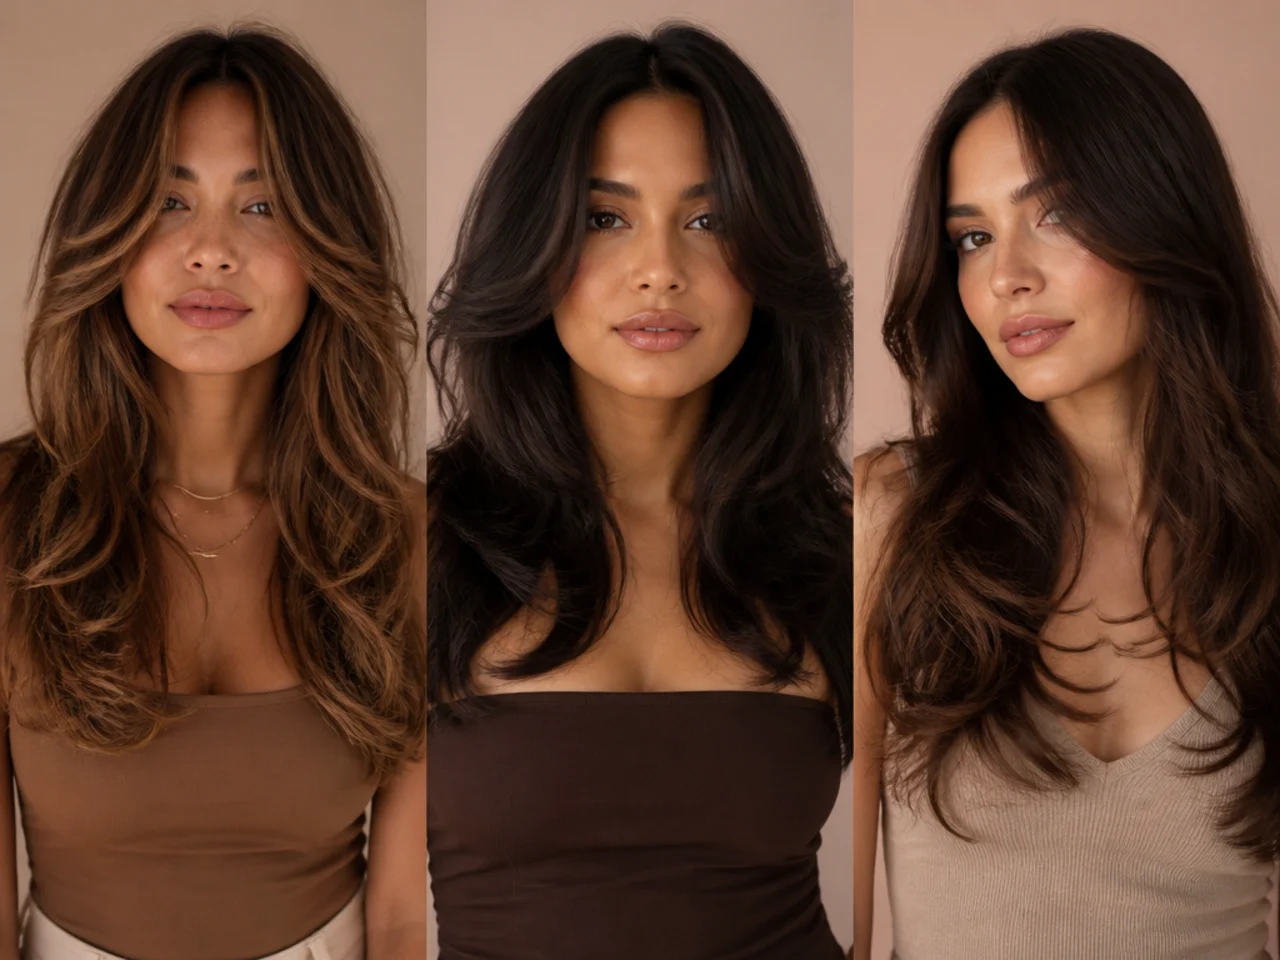
- Matilda Djerf — the modern reference. Long butterfly with heavy face-framing and a curtain bang. Most current requests are based on her exact look.
- Jennifer Lopez — glamorous butterfly on straight hair, styled to a mirror finish and set with shine spray.
- Kaia Gerber — the wavy, off-duty version with visible layering and minimal styling.
- Sydney Sweeney — face-framing butterfly with curtain bangs, styled with a soft wave through the mid-lengths.
And the original: Jennifer Aniston in Friends, 1994–1996. The Rachel cut is the butterfly cut with less-refined layering. Every modern version traces back to that shape and those exact proportions.
Butterfly Haircut vs. Other Popular Cuts
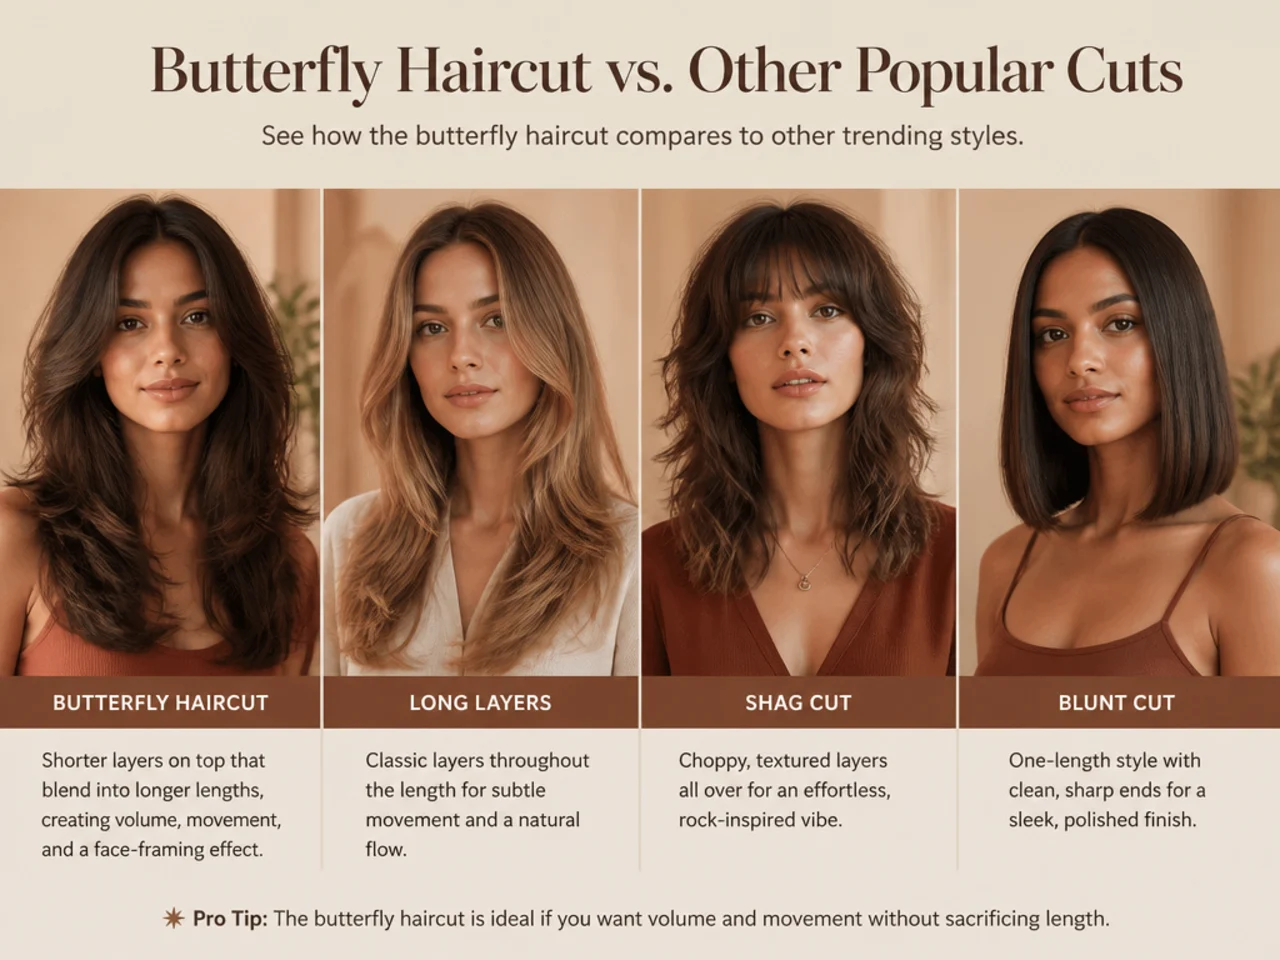
Butterfly vs. Wolf Cut
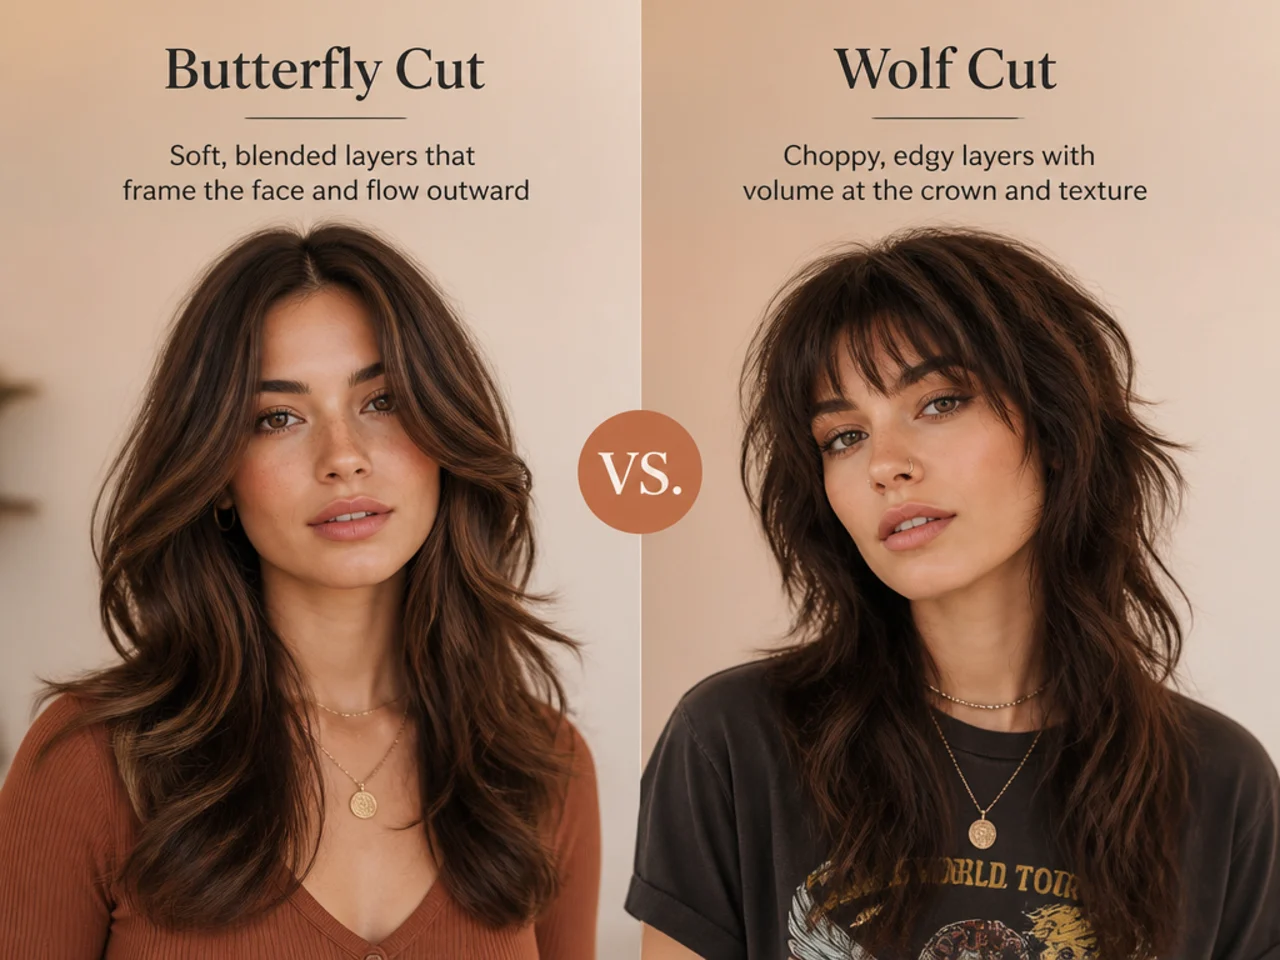
The wolf cut is shaggier, choppier, more textured — think 70s rock. The butterfly is smoother and more refined — think 90s Hollywood. Same silhouette family (shorter on top, longer underneath) but different finish. Wolf cut ends are razored and messy; butterfly ends are point-cut and flippy. Wolf reads as edgy; butterfly reads as polished.
Butterfly vs. Octopus Cut
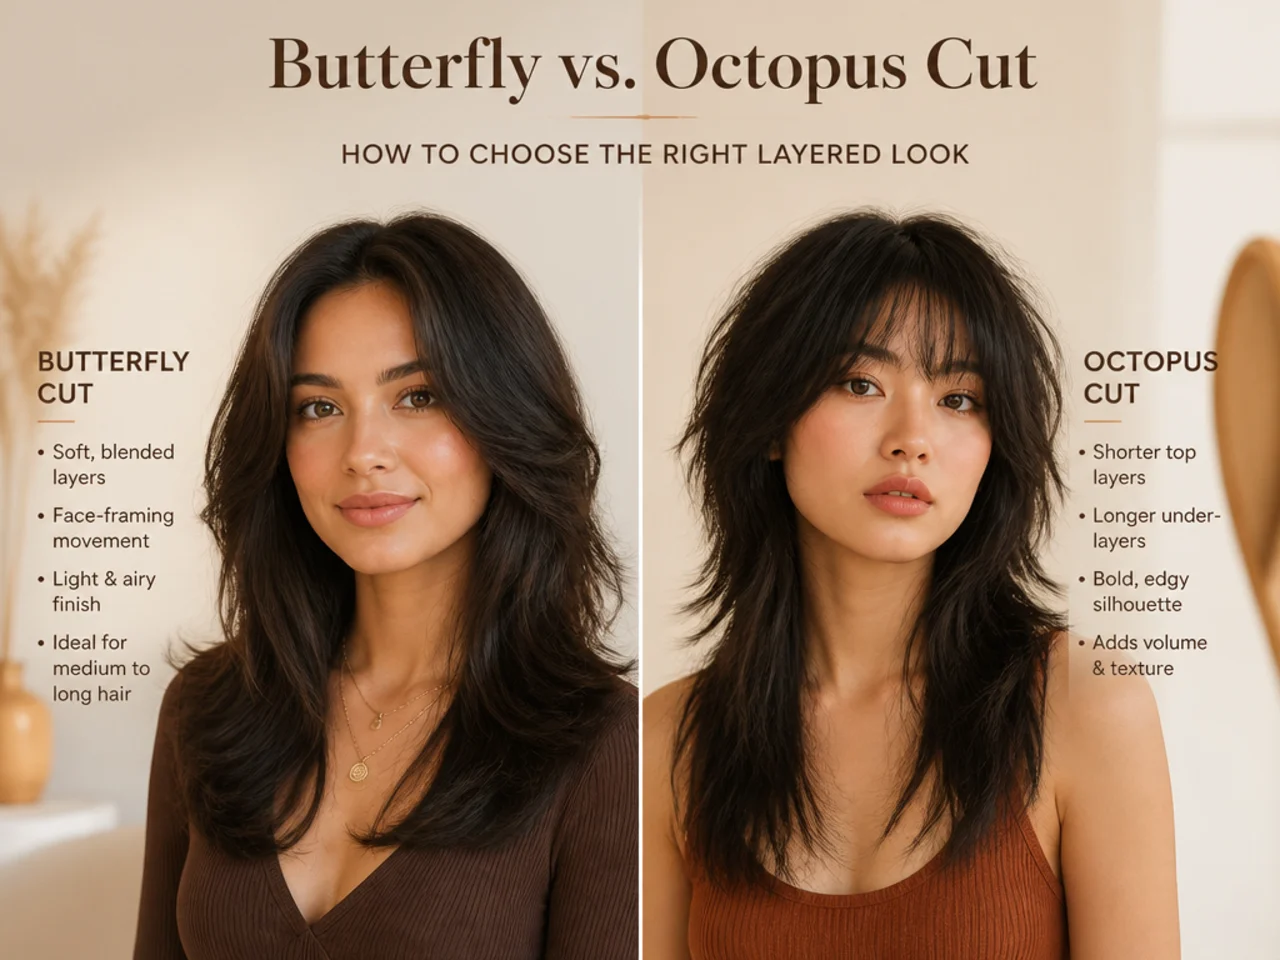
The octopus cut has a defined cap of shorter hair on top with tentacle-like pieces cascading down separately. The butterfly blends its layers into one continuous wing shape. Octopus reads as graphic and dramatic; butterfly reads as feminine and soft. The octopus also needs more length underneath than the butterfly does — mid-back minimum versus shoulder-length minimum.
Butterfly vs. Classic Layered Cut
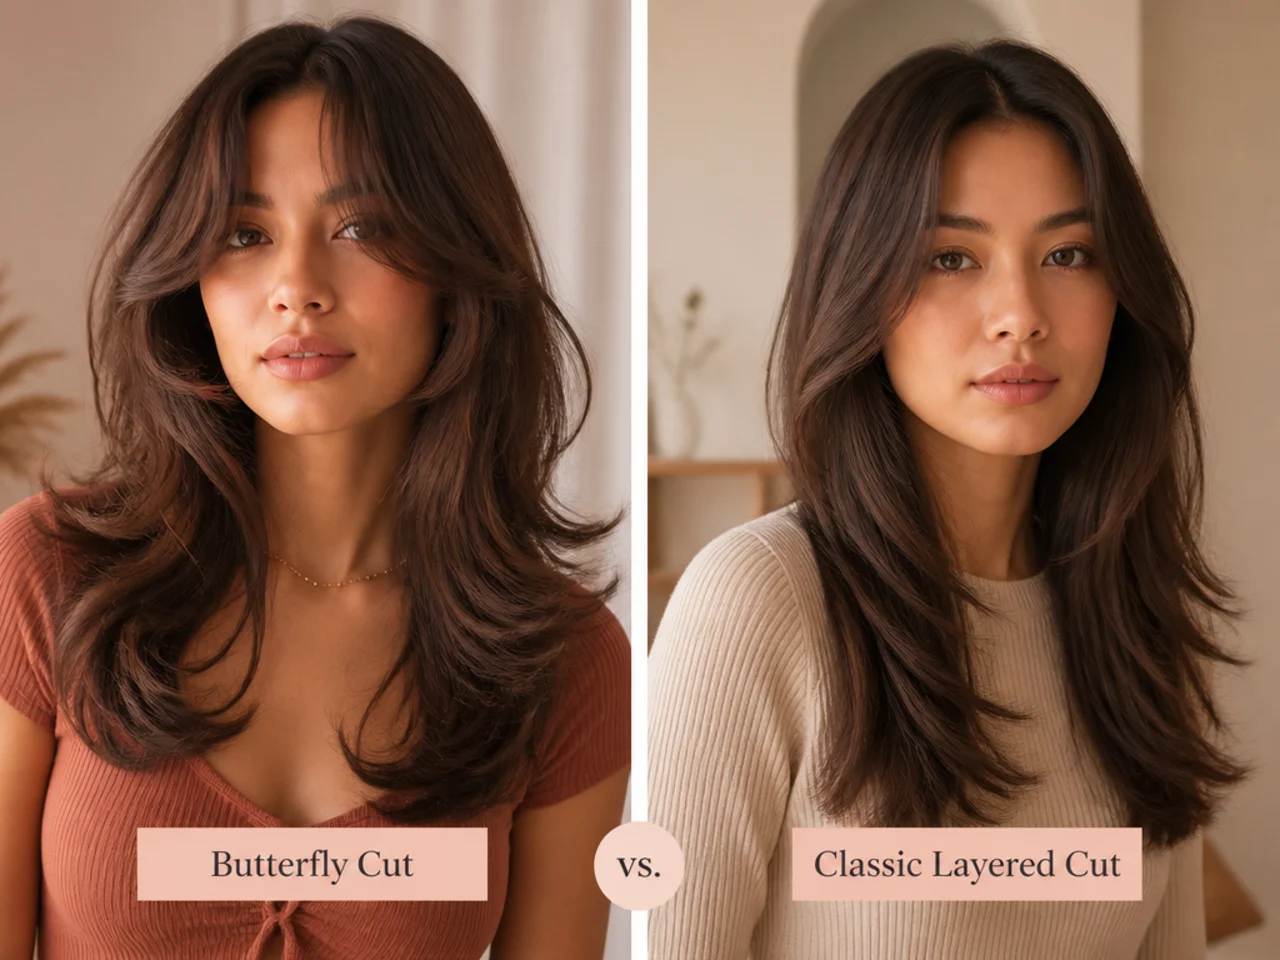
A classic layered haircut distributes layers evenly through the hair from top to bottom. The butterfly concentrates layering in one place — the crown — and keeps the rest long and heavy. Classic layers give even movement everywhere; butterfly gives concentrated volume in one specific spot at the top with a defined face-framing frame.
Conclusion
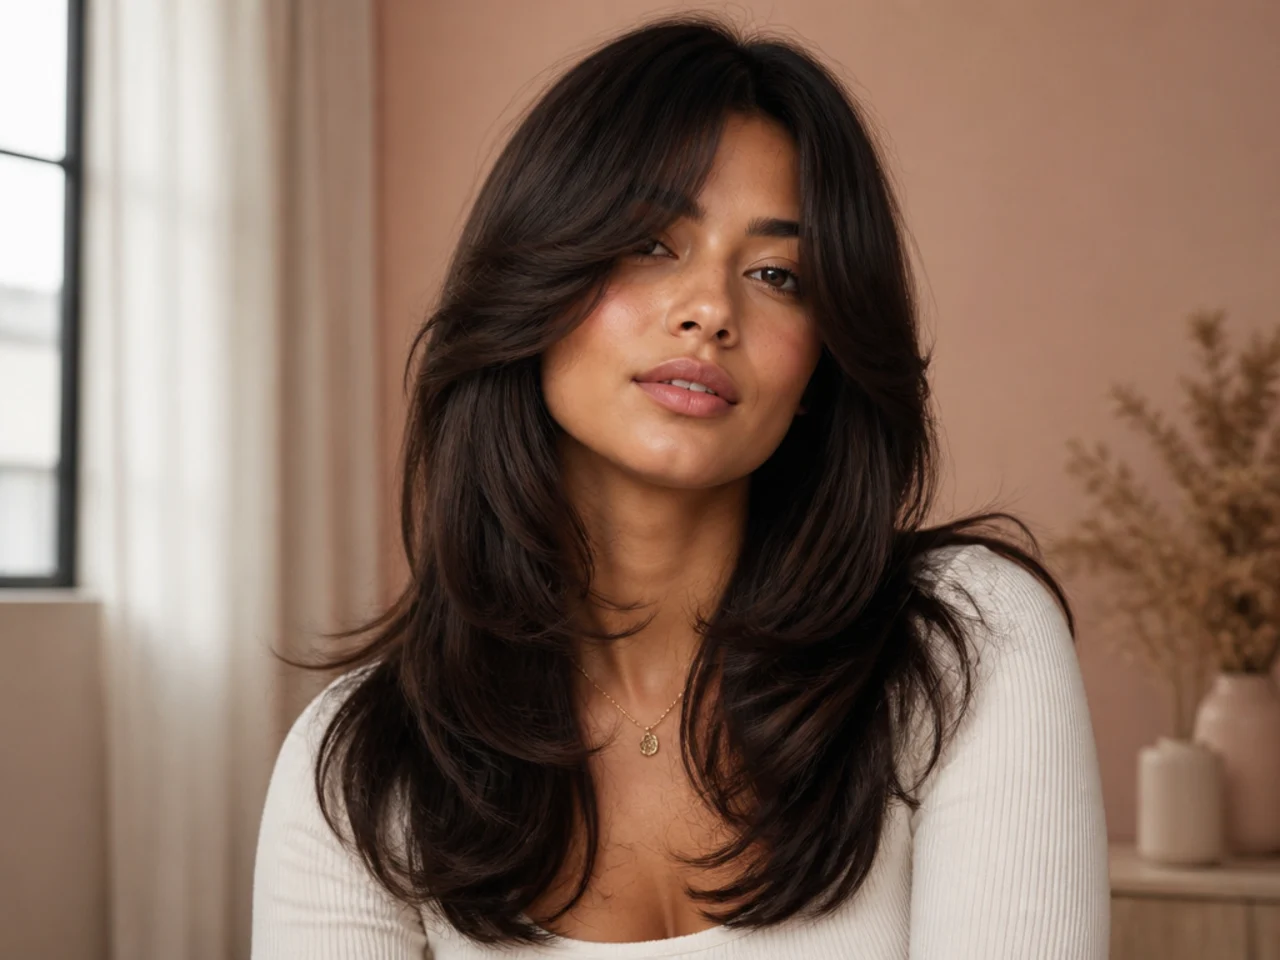
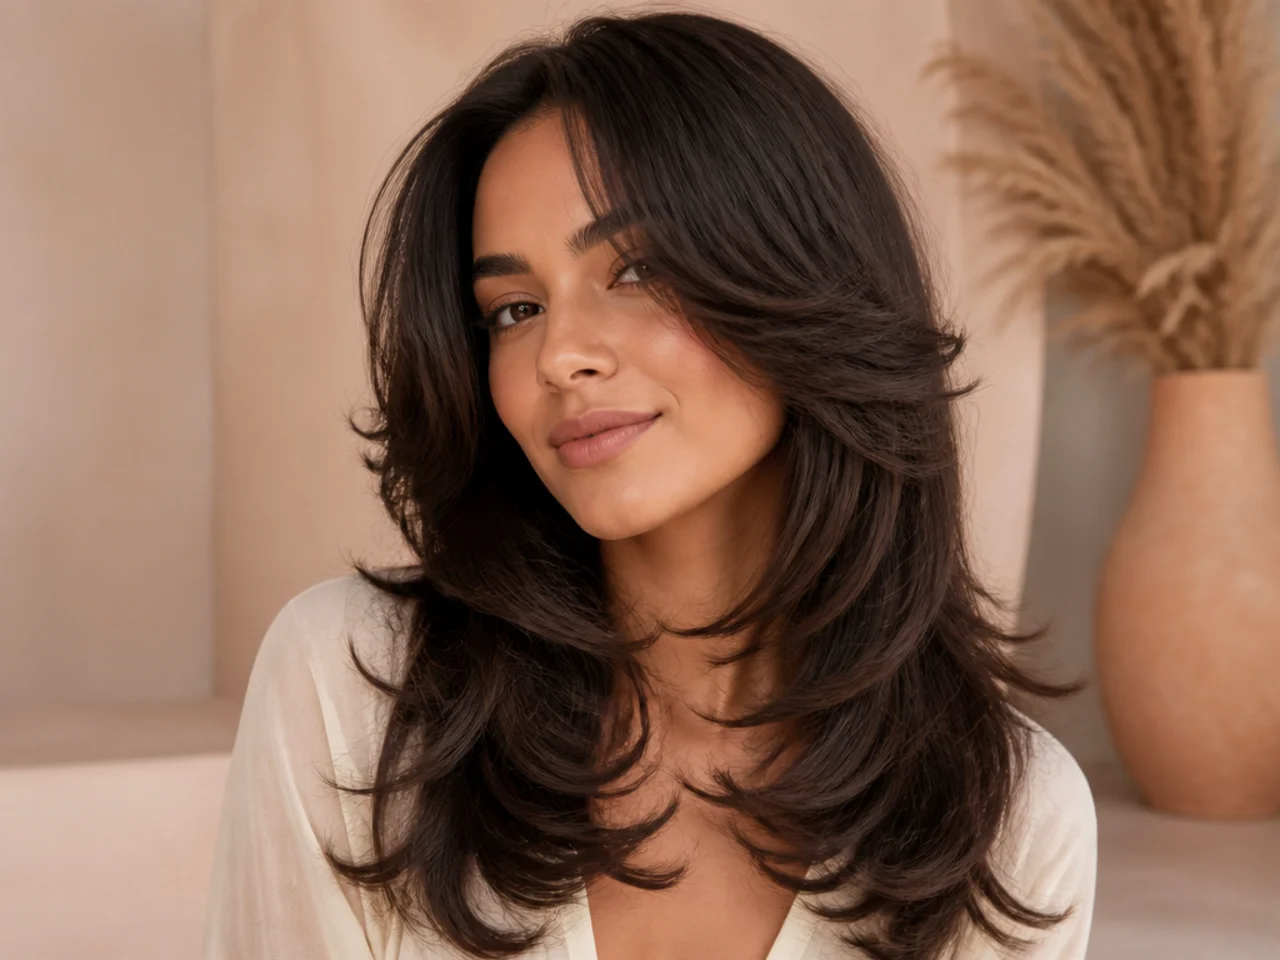
The butterfly cut earned its name honestly. Those flipped crown pieces look like wings when the light catches them. It suits most face shapes, works with most textures, and keeps every inch of length you've grown out. Bring reference photos, ask for a specific crown length in inches, and learn the round-brush flip. That's the whole cut.
FAQs
Is a butterfly haircut good for thin hair?
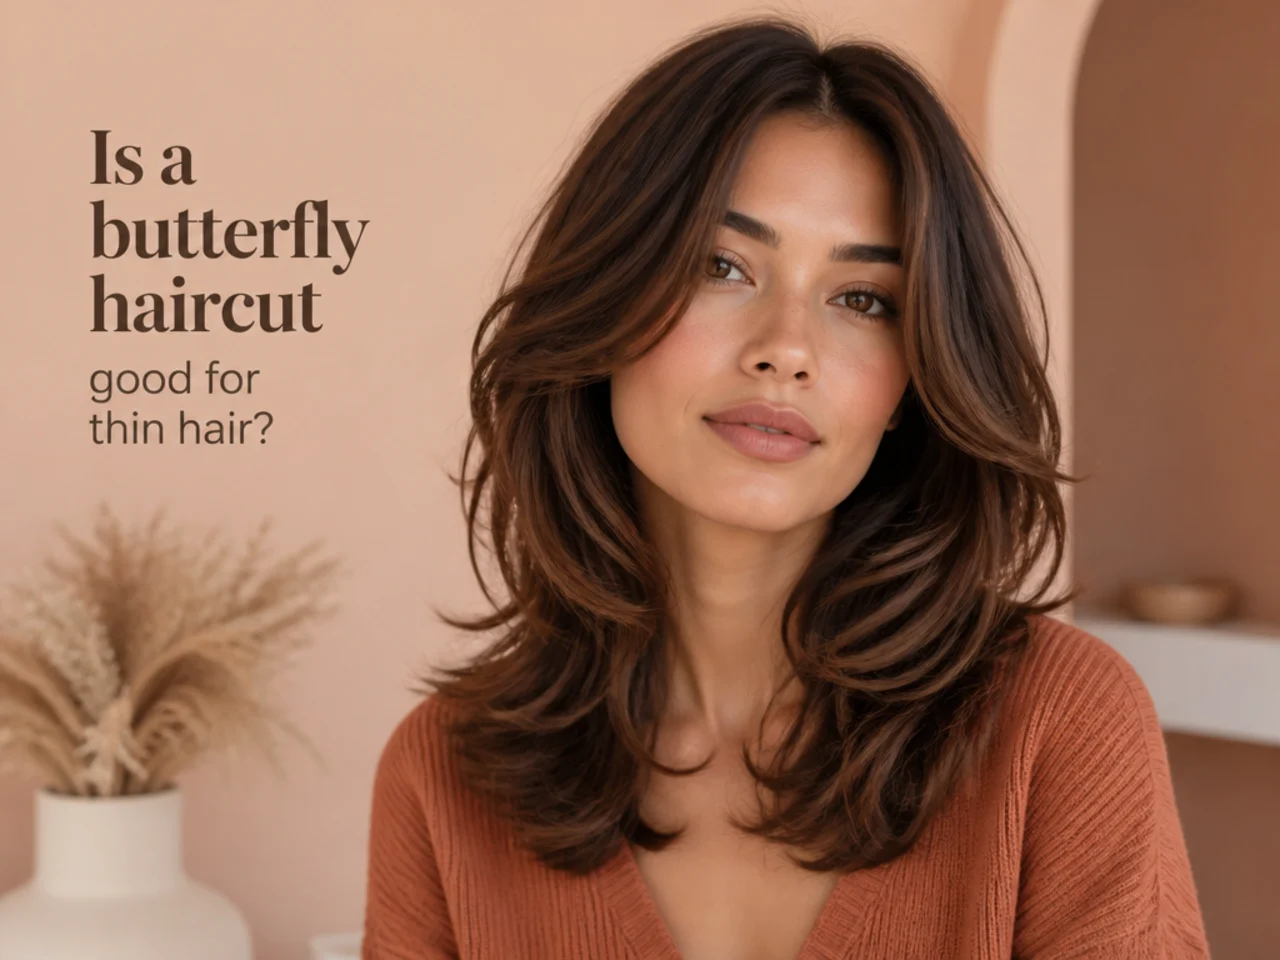
Yes, with two adjustments. Keep the ends blunt (not point-cut) so the perimeter looks denser, and keep the crown layers short enough to add real lift at the root — around the top of your ear. Skip razor cutting entirely. Add dry shampoo at the crown on styling day for grip.
Can I try the butterfly haircut at home?
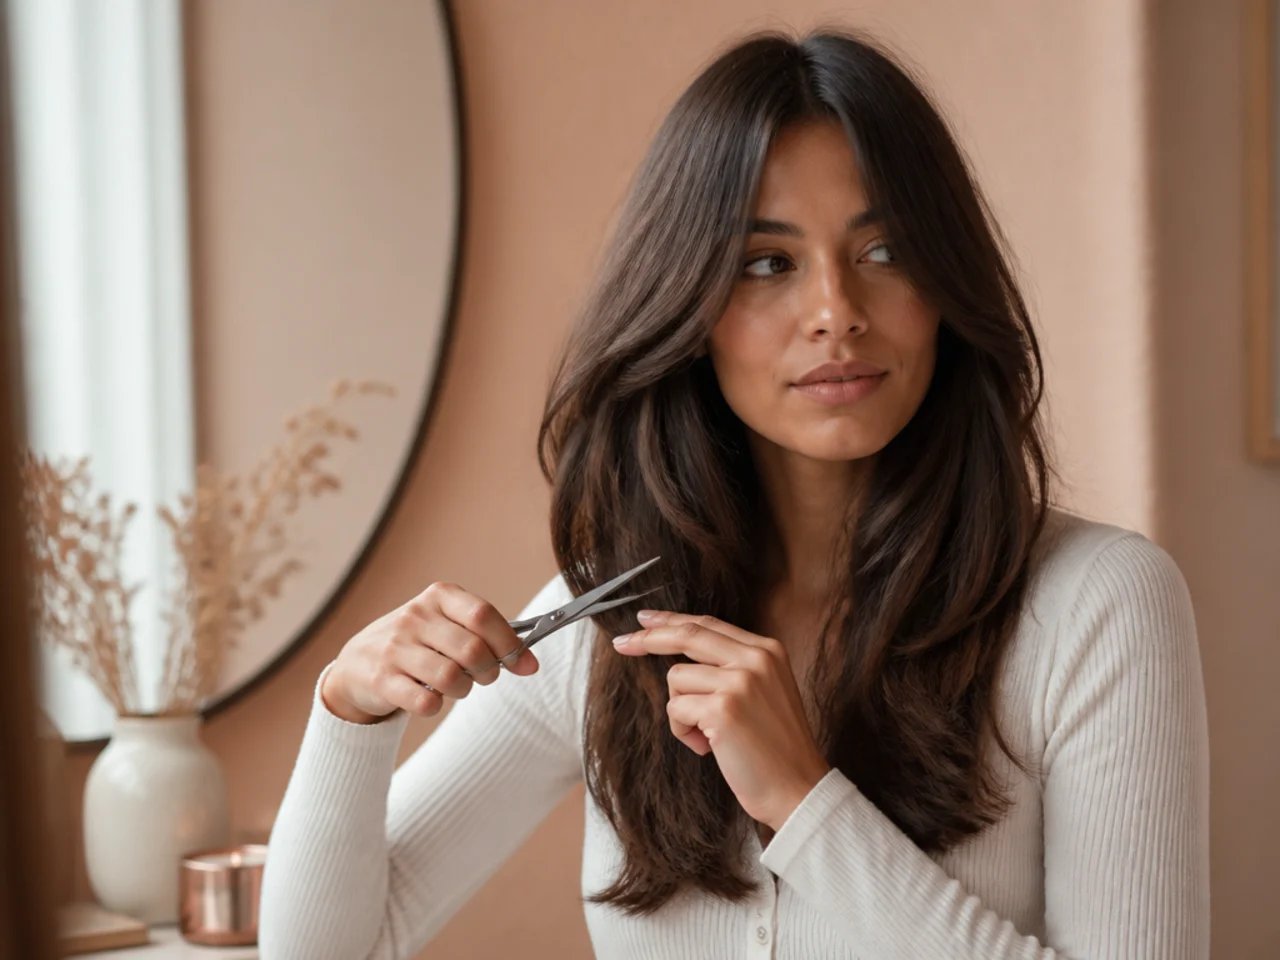
You can approximate it with the high-ponytail method, but you'll lose the face-framing precision that defines the cut. If you try at home, cut conservatively — a half inch at a time — and book a stylist to clean up the front pieces after. Your face-framing needs a professional to sit right against your bone structure.
How is it different from regular layers?
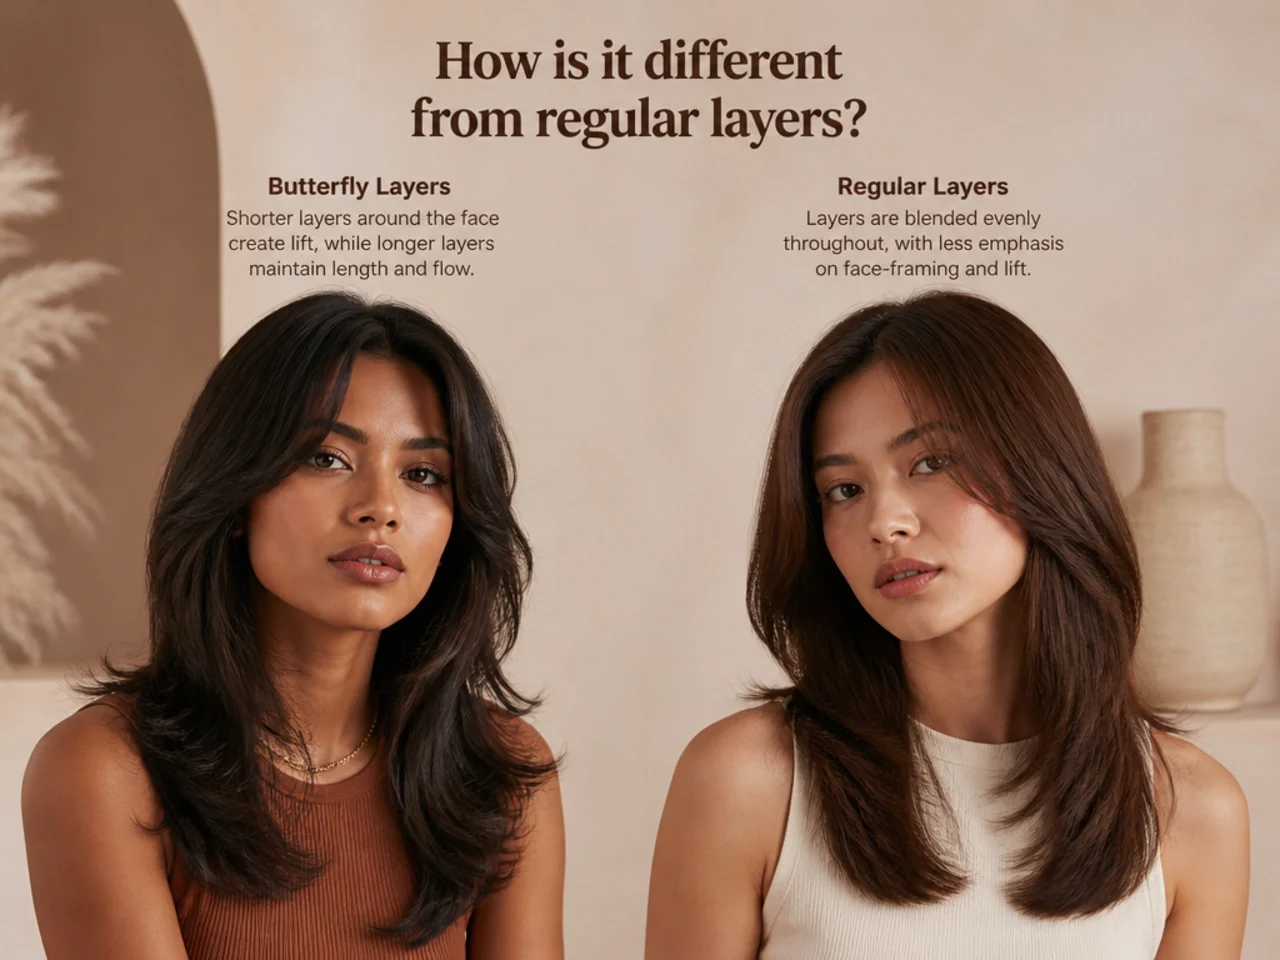
Regular layers distribute throughout the hair evenly from top to bottom. The butterfly concentrates layering at the crown, with longer length kept underneath and face-framing starting high at the cheekbone. It creates volume in one specific spot instead of everywhere at once. Same tools, different placement, very different silhouette.
Does it work for curly hair?
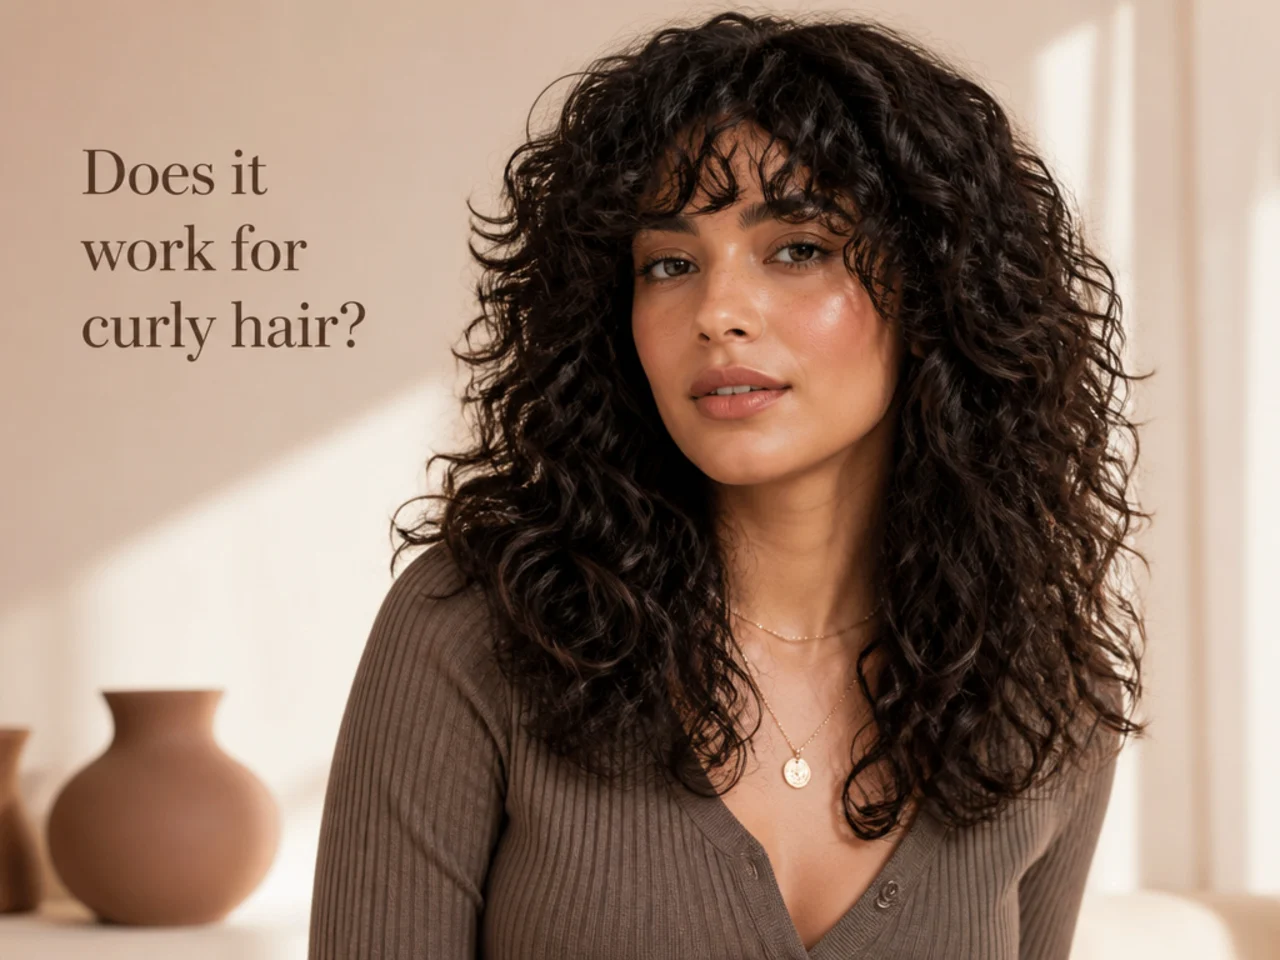
Yes — ask for a dry curly cut with butterfly shaping. Internal layers remove bulk without disrupting the curl pattern, and the shorter crown pieces spring forward naturally. Don't have this cut done on wet hair; curl behavior on wet versus dry looks completely different and you'll end up with the wrong shape once it dries.