5 Steps to Get the 16 Guard Blowout Taper
The 16 guard blowout taper leaves two inches on top and tapers the sides softly — here are the five steps a barber uses to build the cut at home or in the chair.
In this article · 11
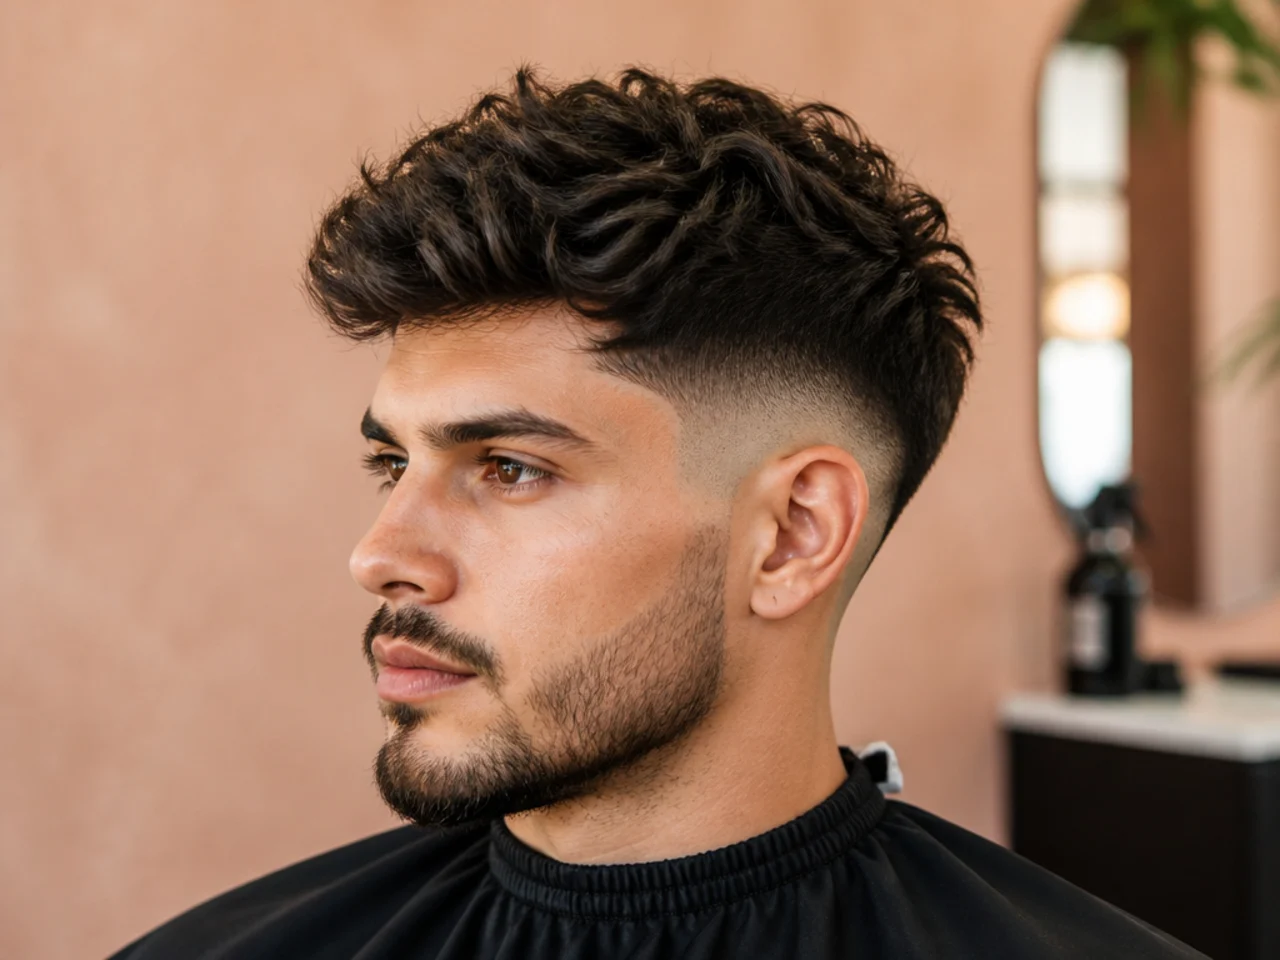
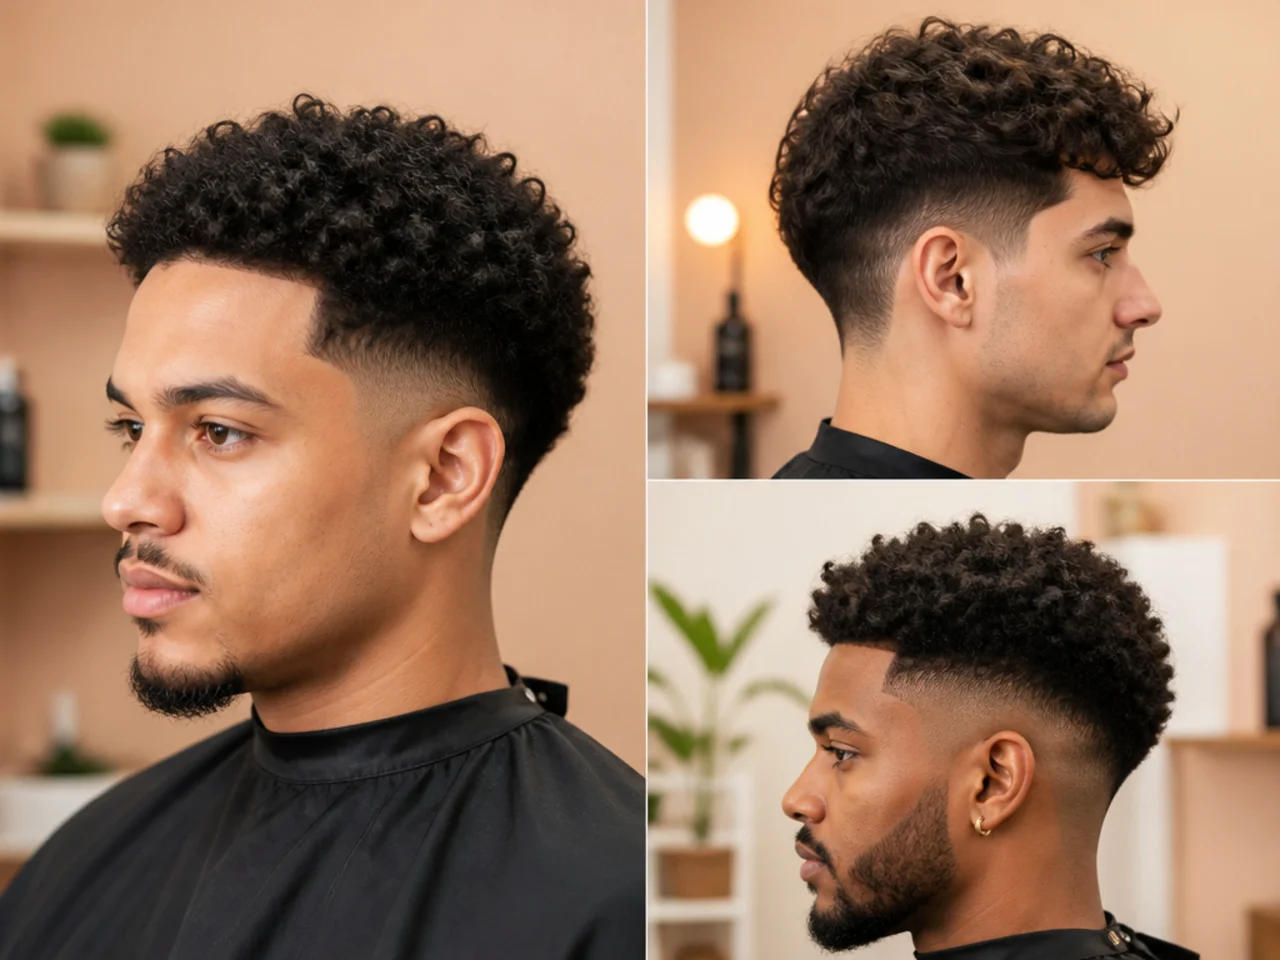
The 16 guard blowout taper is a two-part cut: two inches of length uniformly clipped on top with the #16 guard, and a soft taper hugging the sides. Round-brush the top forward and it puffs into a rounded, air-filled dome; the taper keeps the perimeter clean without touching skin. Here are the five steps a barber uses to build it, in the exact order they belong so the shape lands the first time.
What Is the 16 Guard Blowout Taper?
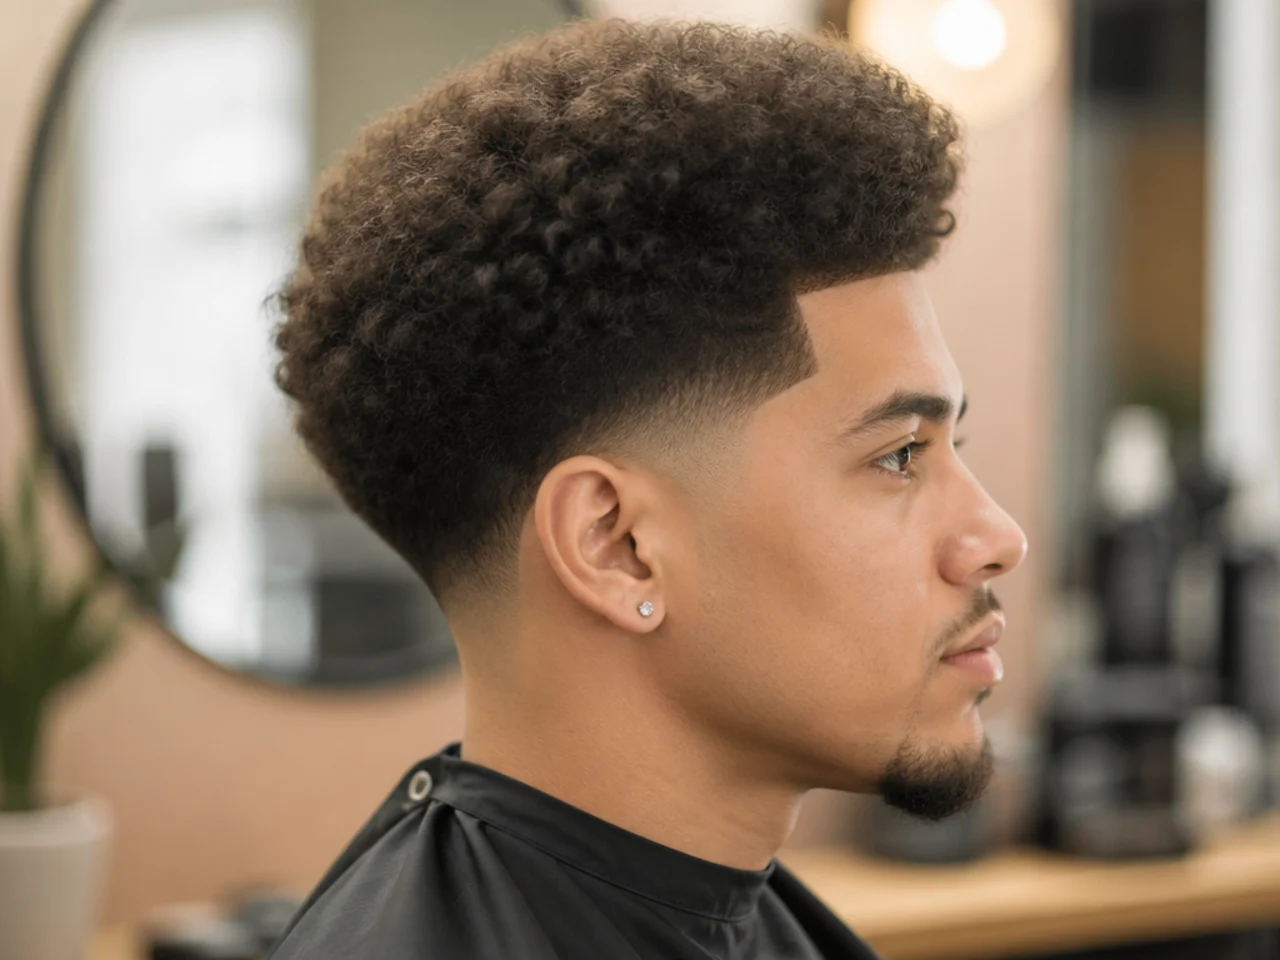
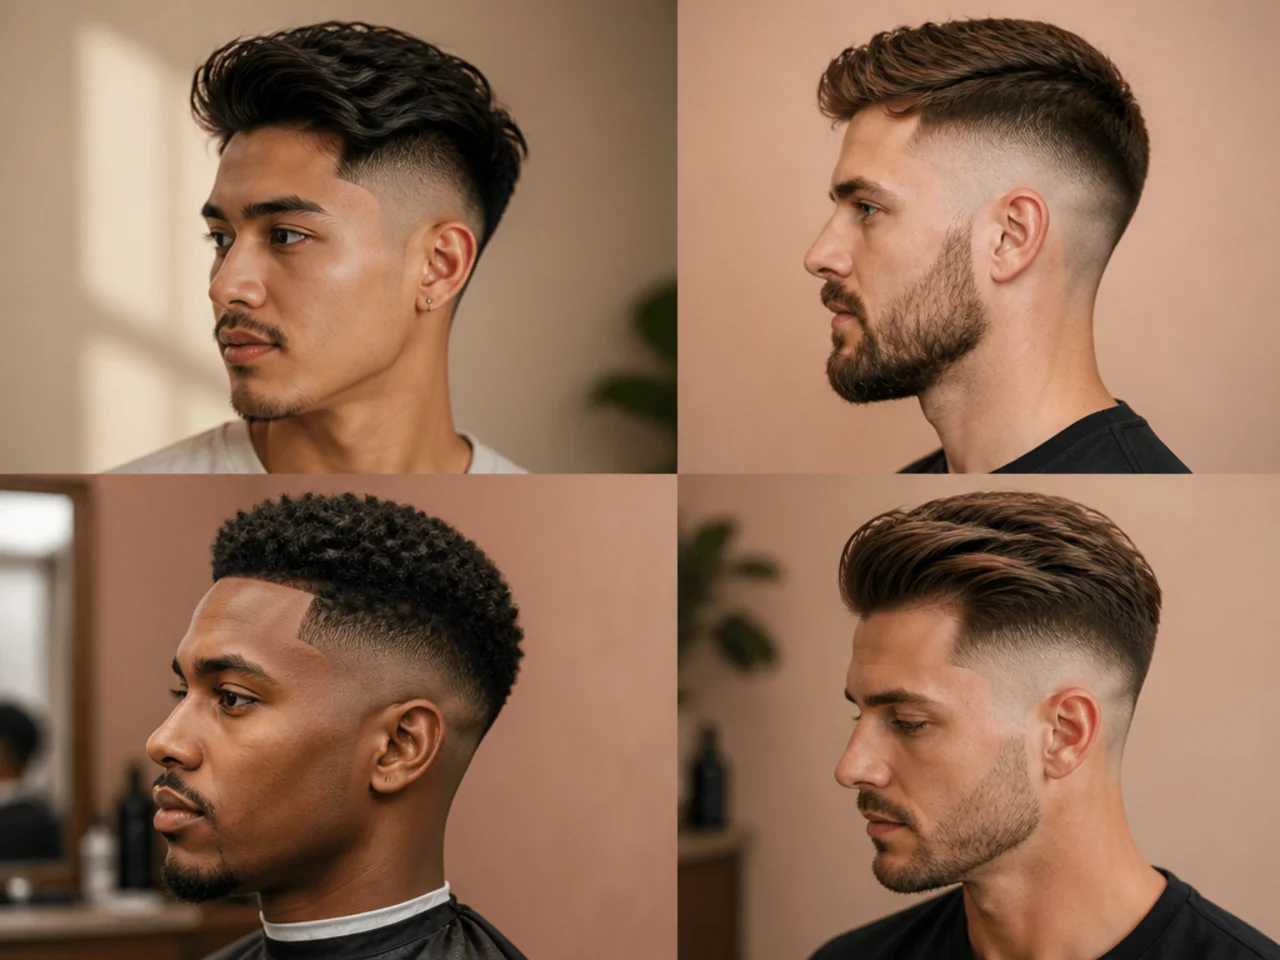
The blowout taper family names itself for the finish — hair blown up and forward with a round brush into a domed, air-filled top. The "16 guard" spec pins down exactly how much length to leave. On any clipper that ships with a #16 attachment, the guard removes hair to two inches. That length gives you enough hair to catch on the brush without weighing itself down.
The sides are the taper part. Instead of buzzing to skin like a fade haircut, you shrink the length gradually — a #4 to a #3 to a #2 to a #1 as you move toward the neckline. No hard line. No razor edge. Just a soft slope that lets the two-inch top own the silhouette.
Put the two halves together and you get a barbershop-ready shape that photographs well, styles in three minutes, and grows out cleanly for three weeks. It suits straight and wavy hair best. Coarse straight hair holds the round-brushed shape for a full day. Fine hair needs a light mousse pre-set to lock the volume. Tight curls will wear the length but need pick-and-pat styling instead of a brush.
What You'll Need
Five tools carry the whole cut. Buy them once and you can rebuild the shape at home between barber visits.
- Clippers with a #16 guard. Not every home set ships one. See our best hair clippers for men guide for models that come guard-complete, or buy the individual #16 comb from the manufacturer. A #16 measures two inches — no substitutes.
- Lower guards for the taper: #4, #3, #2, #1. These are the standard blending set. A #0.5 is optional if you want the shortest point at the neckline to come in tighter.
- A round brush, 1.75 to 2.5 inches barrel. Boar or mixed bristle grips fine hair; nylon vents dry faster on thick hair.
- A blow-dryer with a concentrator nozzle. The nozzle is not optional. It aims the airflow where the brush is working.
- Matte paste or matte clay. Water-based, medium-to-strong hold, low shine. Wax and pomade look wet under a blown-out shape.
Optional but useful: a sea-salt spray on damp hair for extra grip; a wide-tooth comb to section the top before clipping; a barber cape or old towel for cleanup.
The 5 Steps
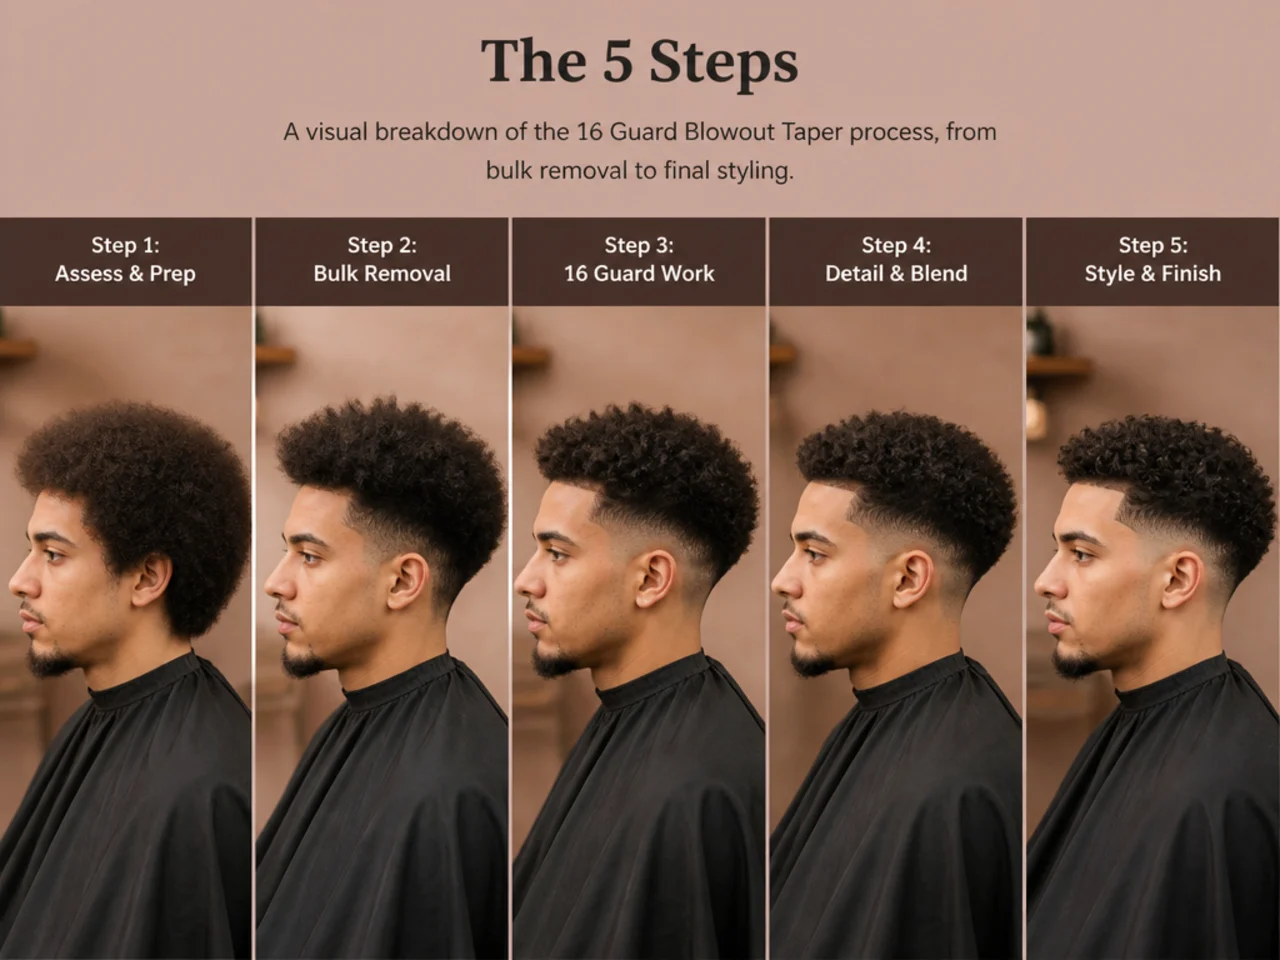
Follow the order below. Each step depends on the one before it. Skip the blow-dry and the clipper pass leaves rabbit tracks. Skip the taper prep and the sides collapse into the top instead of framing it.
1. Pick Your Length
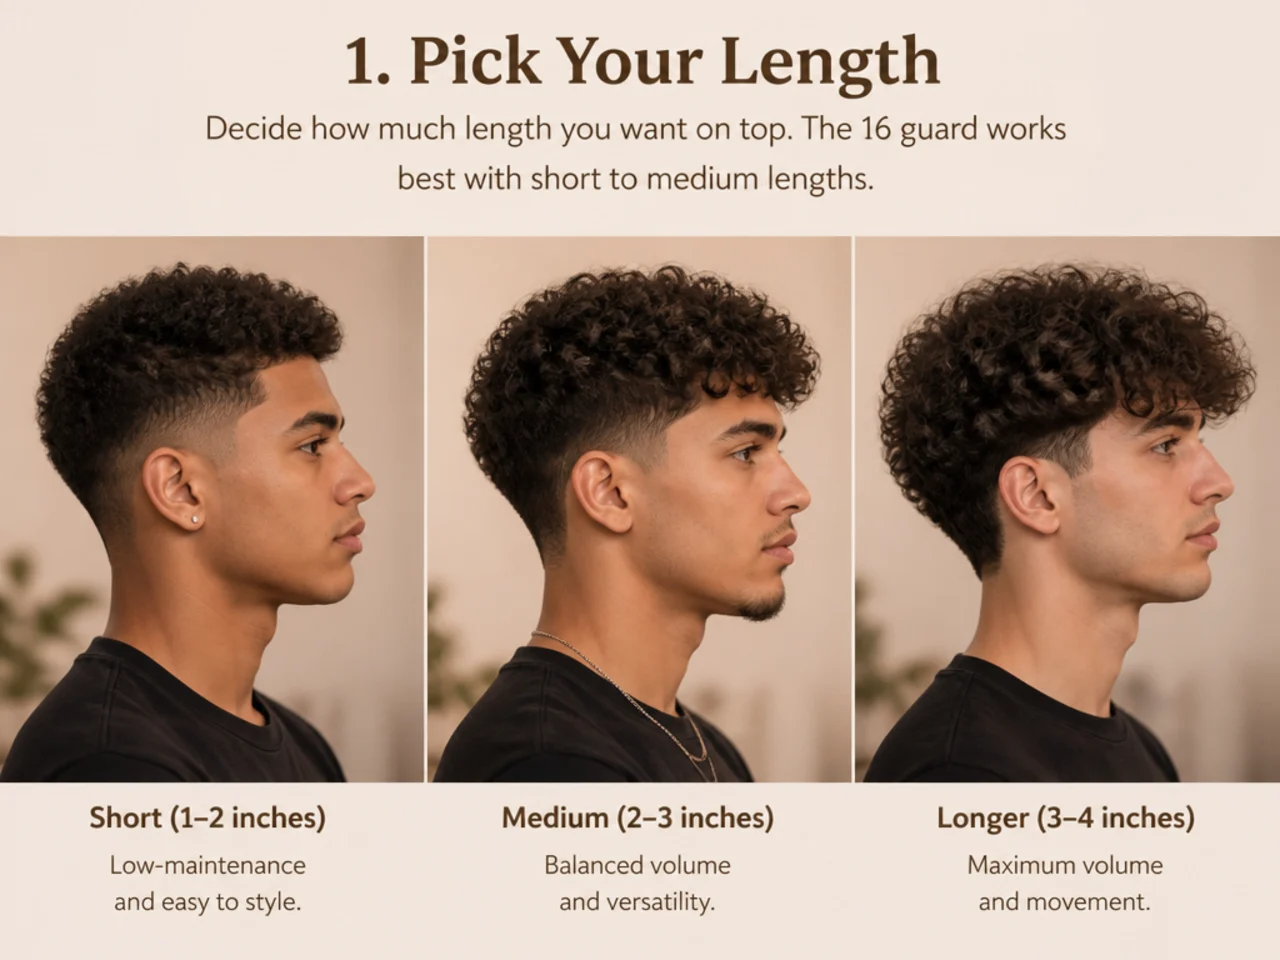
The #16 guard equals two inches. That is the whole reason this cut has "16 guard" in the name. Two inches gives you a top long enough to catch on the brush and hold a rounded shape, short enough to stay off the forehead when you push it forward.
Step up to a #18 (2.25") if you want extra puff or a comma sweep at the front. Drop to a #14 (1.75") if the shape reads too tall on your head. Under a #12 the top is too short to round-brush — you'll end up with a textured crop rather than a blowout.
Why this comes first: Every other decision follows from the top length. The taper on the sides has to blend up to whatever guard you pick, so a #16 top needs a #4 to start the blend; a #14 top can start at a #3.
Common mistake: Assuming every brand's #16 equals two inches. Guard numbers count in eighth-of-an-inch increments on Wahl, Andis, BaBylissPRO, and most professional lines. Off-brand sets sometimes use their own scale. Read the printed number on the guard itself before you cut — a mislabeled comb that measures 1.5" ruins the whole silhouette.
2. Blow-Dry to Set Your Direction
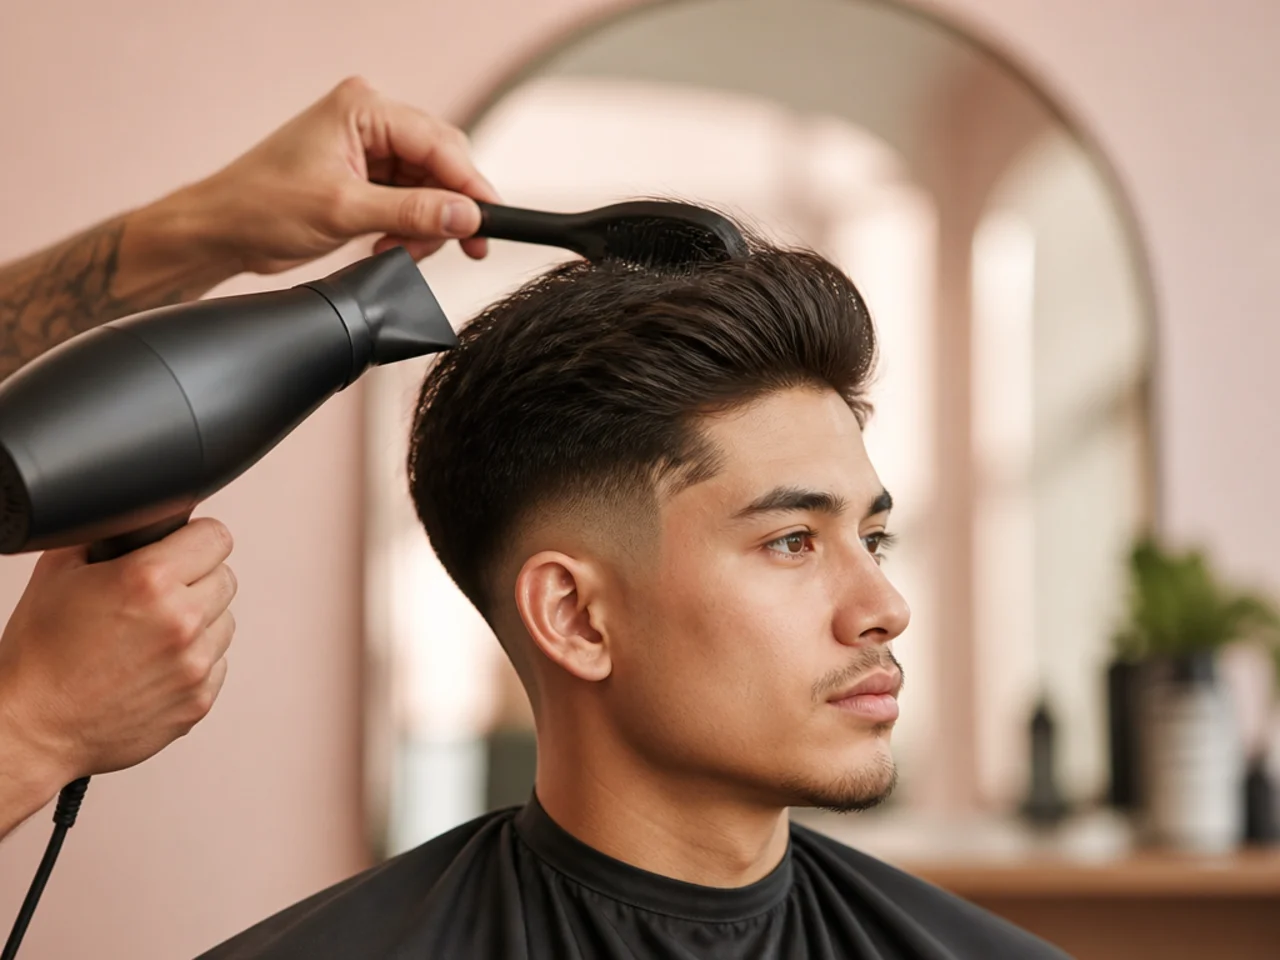
Wash and towel-dry until the hair is damp — not wet, not dry. Squeeze a small amount of matte paste through the mid-lengths or mist a sea-salt spray for grip. Then blow-dry.
Hold the concentrator nozzle four inches from your scalp, angled downward. Push the hair up and forward with the round brush, section by section, working front to back. The airflow decides the finished shape: brush forward and the hair falls in the direction you want to clip. Brush at random and the clipper will fight you at every pass.
Why this comes before the clip: The blow-dry sets each hair's memory. When you clip against dried, directional hair, the guard rides at a uniform height above the scalp. Clip wet, undirected hair and the length varies as strands relax later — the shape reads uneven the moment it dries down.
Common mistake: Blow-drying with fingers or a paddle brush and calling the prep done. A round brush is the tool that builds volume at the root. Without root lift the top sits flat and the finished cut reads like a helmet.
3. Clip the Top Uniformly with the #16 Guard
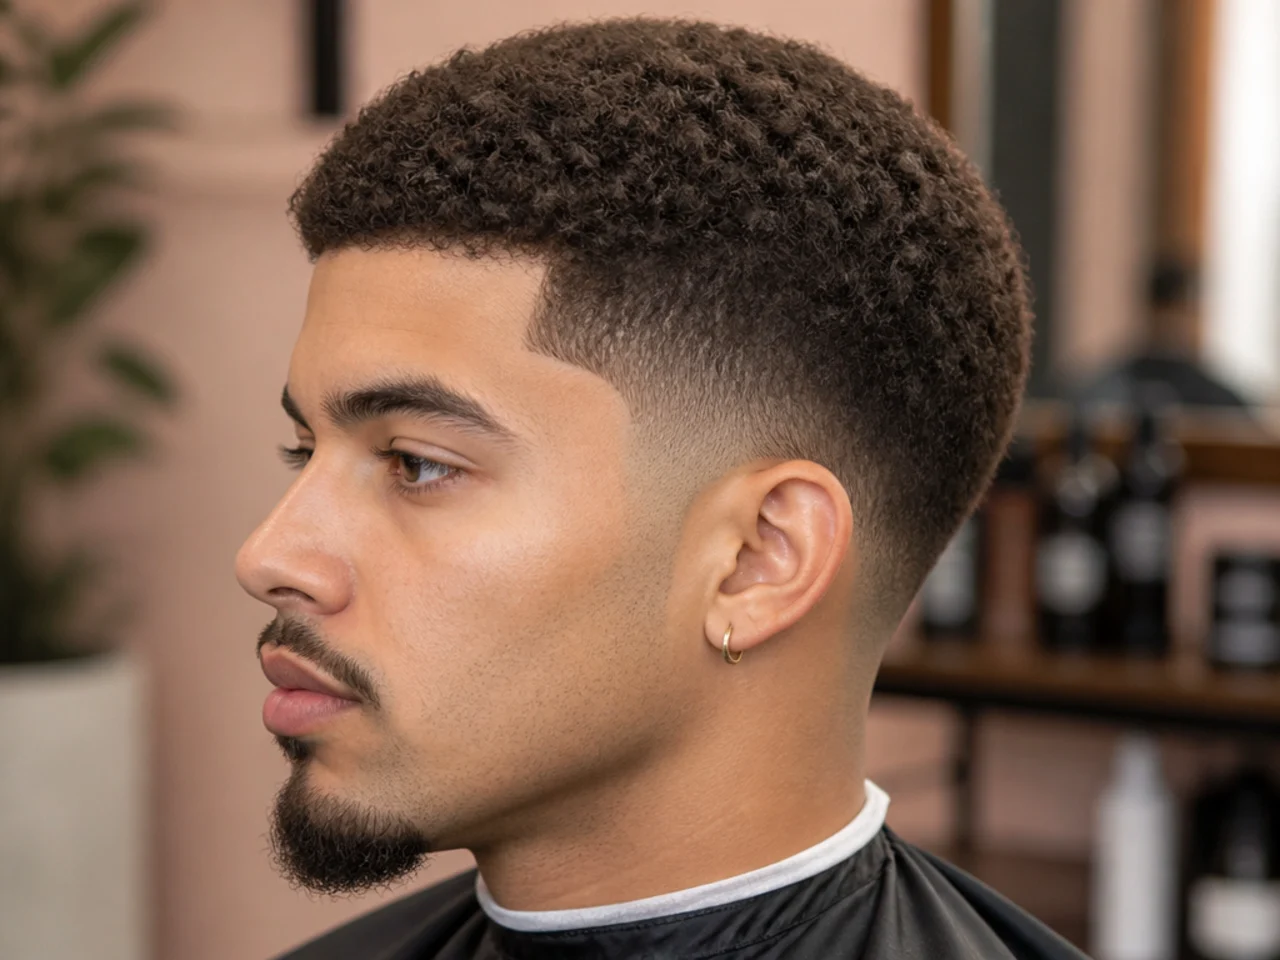
Snap the #16 guard onto your clipper. Start at the crown. Run the blade against the direction of hair growth in slow, even passes. Cover the entire top — front hairline back to the crown, temple to temple across the parietal ridge.
Work in a grid. First pass: front to back. Second pass: side to side across the same territory. Third pass: at a 45-degree angle. Three passes at different angles catch every hair the first two missed. Lift the clipper cleanly at the end of each pass — do not scoop or twist out.
Why uniform matters: The whole point of clipping the top rather than scissor-cutting is a perfectly consistent length. Two inches everywhere means the brush shape lands the same on every square inch. Scissor cuts drift by a quarter inch or more between sections — fine for a shag or a grown-out crop, wrong for a blowout that lives or dies by its dome.
Common mistake: Pressing the guard flat to the scalp. The plastic already sits at the length it is designed to sit at. Hold the clipper as a light glide, not a scrape. Pressing down pulls the guard tight and shaves hair a fraction shorter than #16, breaking the uniform read.
4. Taper the Sides with Lower Guards
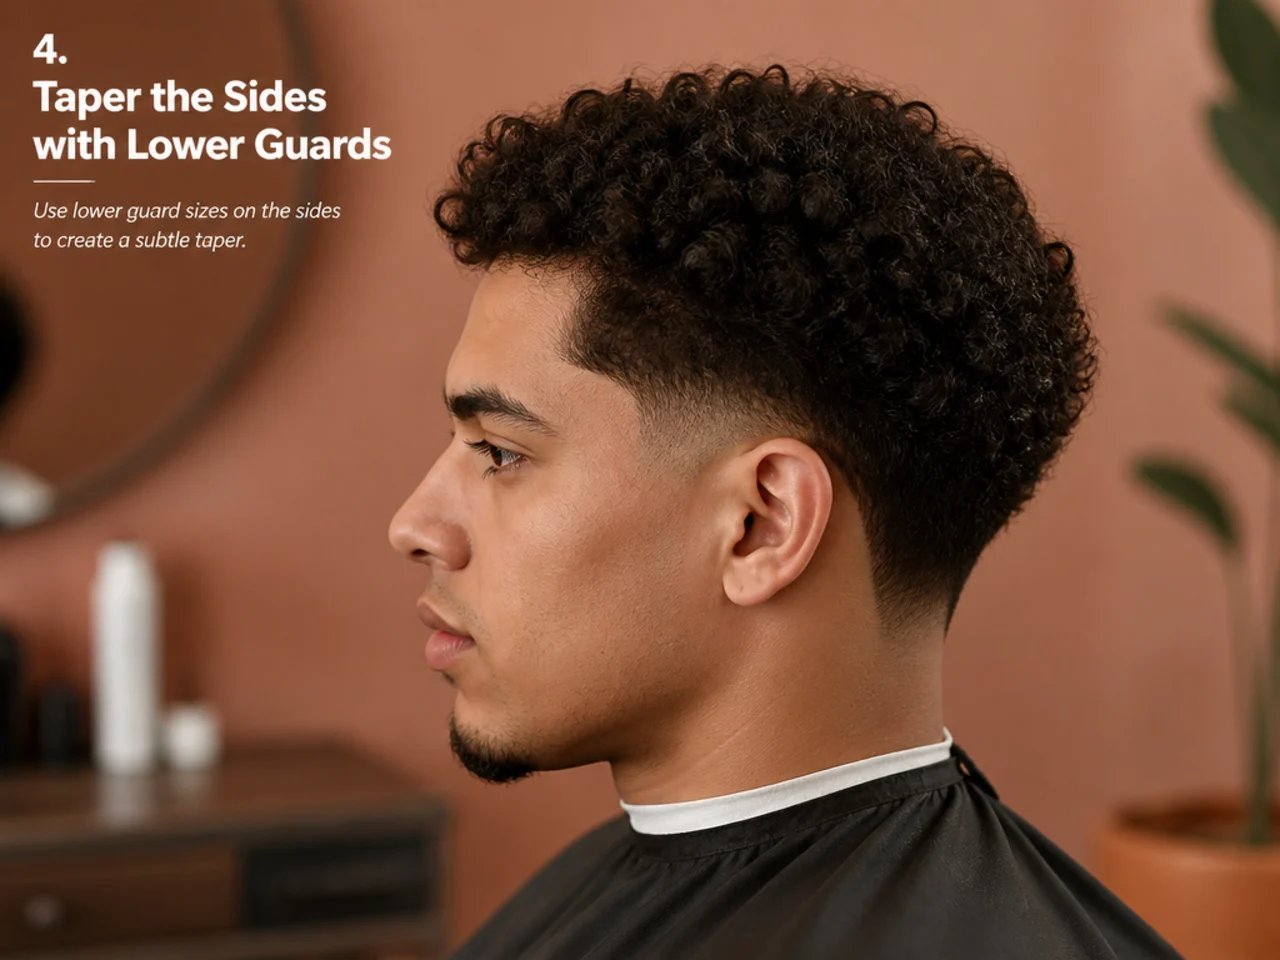
The taper is a stacked blend. Start with a #4 guard from the top of the sideburn down to the ear. Switch to a #3 and cut just the bottom two-thirds of the same territory. Switch to a #2 and cover the bottom third. Switch to a #1 for the last inch above the neckline. An optional #0.5 pass right along the neckline tightens the base further.
Each guard travels less distance than the one before it. That is the taper — shorter at the bottom, longer as you approach the top length. When you swap guards, angle the clipper away from the scalp at the top of each pass so you flick the length out instead of cutting a hard line. Barbers call this move "scooping."
Why lower guards, not zero: A blowout taper is not a fade. Fades go to skin at the shortest point; tapers stop at a #0.5 or #1. That non-skin bottom keeps the silhouette soft and lets the volume on top read as the loudest thing on your head. Skin-tight sides pull the eye down and away from the blowout. If you want the contrast dialed up, use a taper haircut approach and just drop the shortest guard.
Common mistake: Not blending between guard changes. Every time you switch, run the previous guard across the transition line once more — a #3 blends the #4 line; a #2 blends the #3 line. Un-blended taper reads like stripes on wet hair.
5. Style with Matte Paste

Brush the trimmings off, then dry-style. Warm a nickel-sized amount of matte paste between your palms until it goes clear. Rake it back to front through the top, then push forward and up with the round brush and dryer combined. Twenty seconds of heat on high, then a burst of cool air to lock the shape.
Pull a few pieces forward at the hairline for a soft break. The shape reads too helmet-like if every strand points the same direction. Finish with a light spritz of hairspray if humidity is a threat; skip it on dry days so the top keeps its natural movement.
Matte, not shiny. Pomade puts a wet gloss over the whole top and the shape reads dated. A matte clay or matte paste keeps the finish barbershop-fresh — the same rule that governs a modern quiff style.
Common mistake: Applying paste to wet hair. The paste dissolves and the hold vanishes with it. Blow-dry to 90 percent dry first, then style.
Troubleshooting
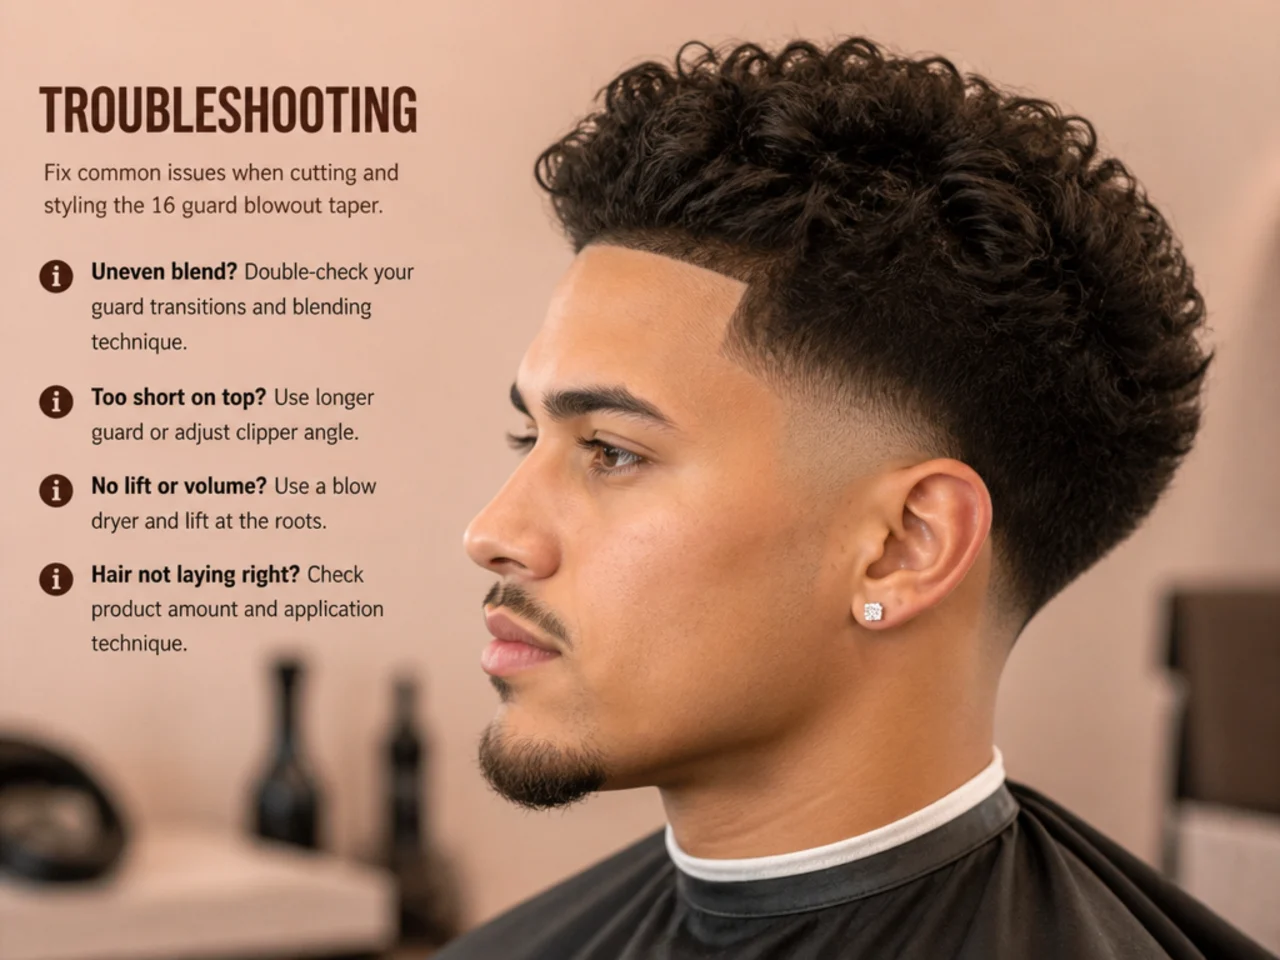
The four things that most often go wrong, and the fixes.
The top reads flat. You skipped the round brush or you skipped the cool-air burst at the end. Hot air makes the shape; cool air sets it. Re-dry the top with the brush lifting straight up at the root, then hit each section with two seconds of cool.
The taper has visible lines. You did not blend between guards. Take the guard one number up from where the line shows and skim across the transition once more, angling the clipper away from the scalp as you finish each pass. If the line still shows, drop back a number and repeat until the eye stops catching it.
The sides puff out. Your #4 guard is running too high. On most heads the #4 belongs from the sideburn top downward only — anything above that stays part of the top-length two inches. If your #4 zone runs into the #16 zone you get a mushroom silhouette.
The finish looks greasy. Wrong product. Pomade, wax, and shine-forward creams read wet. Swap for a matte paste, a matte clay, or a light styling powder. Half the amount you think you need is the right amount.
Maintenance and Rotation
Book or DIY every two to three weeks. The taper blurs at the transition line by week four and the top loses its clean geometry by week five. Between full re-cuts, run the #16 guard over the top on week two if the perimeter starts to catch on the forehead.
Wash the top every second day at most. Daily shampoo strips the natural oil that gives blow-dried hair its grip. Sulfate-free shampoo on wash day, conditioner on the mid-lengths and ends only. Blow-dry with the round brush after every wash so the direction stays trained in your favor — even a two-minute rough pass beats letting it air-dry flat.
If you like the shape but want a shorter refresh cadence, drop into a low taper fade between full cuts — the taper stays visible longer at the low position. If you want the contrast dialed up higher instead, step across to a high taper fade at your next appointment and let the sides go tighter than a #1 finish.
FAQ
Is the 16 guard blowout taper hard to do at home?
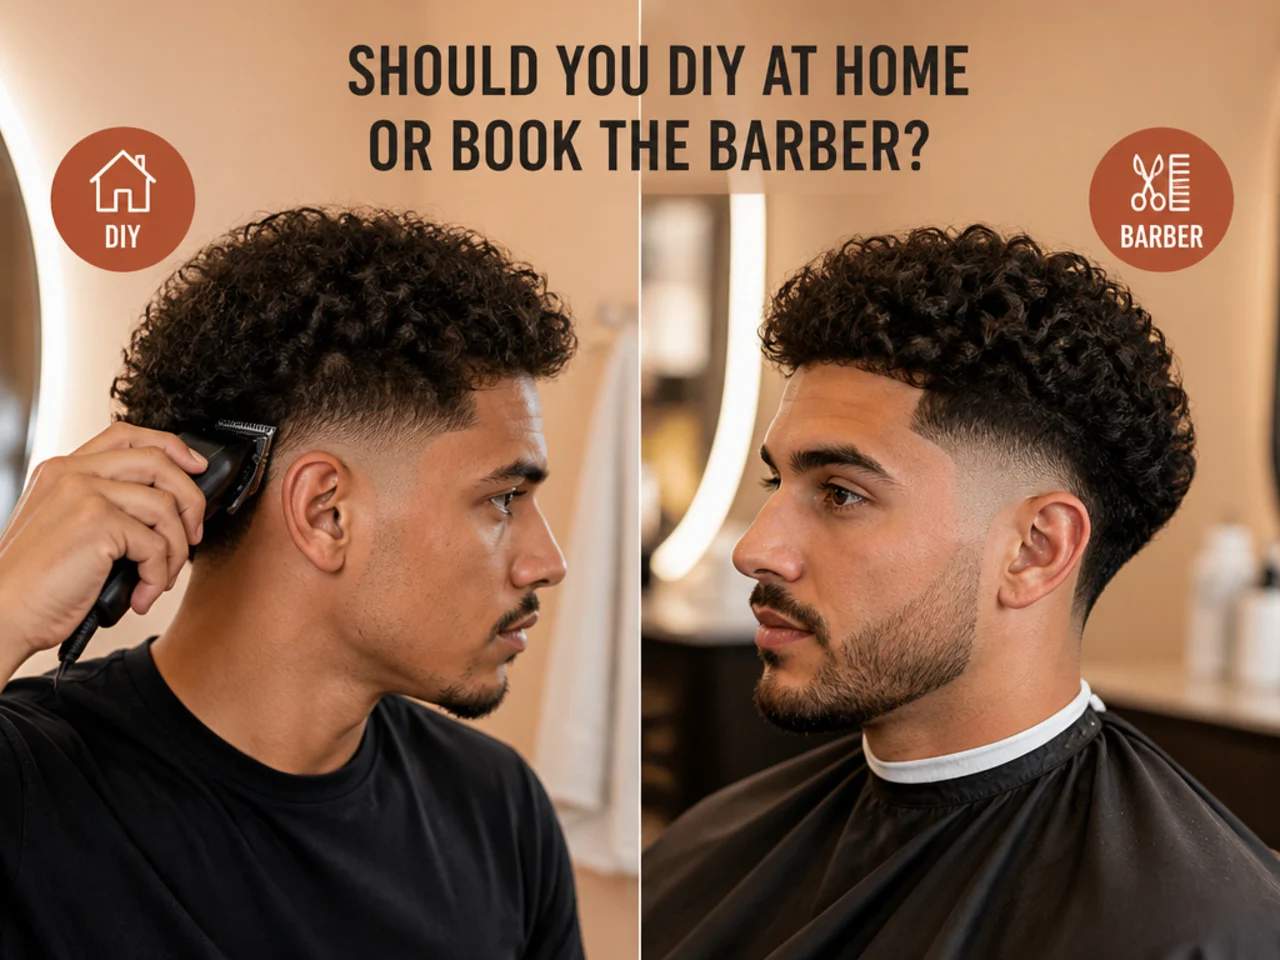
The taper is the tricky part — clipping the top with the #16 is genuinely easy. If you have never blended before, start by scissoring the sides shorter and only bring clippers in once the top pass is dialed. Or book a barber for the first cut and DIY the maintenance runs.
What length is a #16 guard exactly?
Two inches, or 50 millimeters. Guard numbers count in eighth-of-an-inch increments — #8 is one inch, #16 is two. Confirm by reading the number printed on the guard itself before you clip; off-brand sets sometimes use different sizing.
Can I get the 16 guard blowout taper on curly or coily hair?
Yes, but you'll style it differently. The two-inch top stretches to about an inch of visible curl length. Skip the round brush and pick or pat the top into shape after a leave-in cream. Our blowout taper for curly hair guide covers the coil-specific styling adjustments.
What face shape does the 16 guard blowout taper suit?
Oval, square, and diamond faces first. Round faces can add a little more height at the front to lengthen the read; long faces should drop the top guard to a #14 (1.75") so the finished shape does not add vertical inches.
Can I ask my barber for this cut in any barbershop?
Yes — show a photo and say "two inches on top with a #16 guard, soft taper on the sides down to a #1, no skin, styled with a round brush." Any barber comfortable building a taper will finish the whole cut in one appointment.
How is the 16 guard blowout taper different from a blowout fade?
The blowout fade takes the sides to skin at the shortest point; the 16 guard blowout taper stops at a #0.5 or #1 for a softer perimeter. The top-length spec — two inches, clipped with a guard rather than scissors — is what makes the "16 guard" version its own thing.