20 Steps to a Clean Taper Fade at Home
Twenty steps to cut a taper fade on yourself, including the guard ladder that does the blending for you and the mirror setup that makes the back possible. Honest about what you can and cannot do alone.
In this article · 27
- What You Will Need
- Before You Start
- The 20 Steps
- 1. Comb the Hair Down Flat
- 2. Decide the Fade Height and Mark It
- 3. Cut the Top Length First
- 4. Start with the Longest Guard on the Sides
- 5. Work Upward, Not Downward
- 6. Take the Next Guard Down to the Middle Band
- 7. Take the Shortest Guard to the Bottom Band
- 8. Look at the Steps
- 9. Flick Out at the Top of Each Band
- 10. Blend with the In-Between Guards
- 11. Check in Bright Light from the Side
- 12. Repeat on the Other Side
- 13. Set Up the Mirrors for the Back
- 14. Carry the Bands Around the Back
- 15. Blend the Back with Half Guards
- 16. Clean the Neckline with the Trimmer
- 17. Tidy Around the Ears
- 18. Blend the Top into the Sides
- 19. Rinse and Recheck Dry
- 20. Fix Only What You Can Still See
- Aftercare and Upkeep
- Troubleshooting
- FAQ
- Final Thoughts
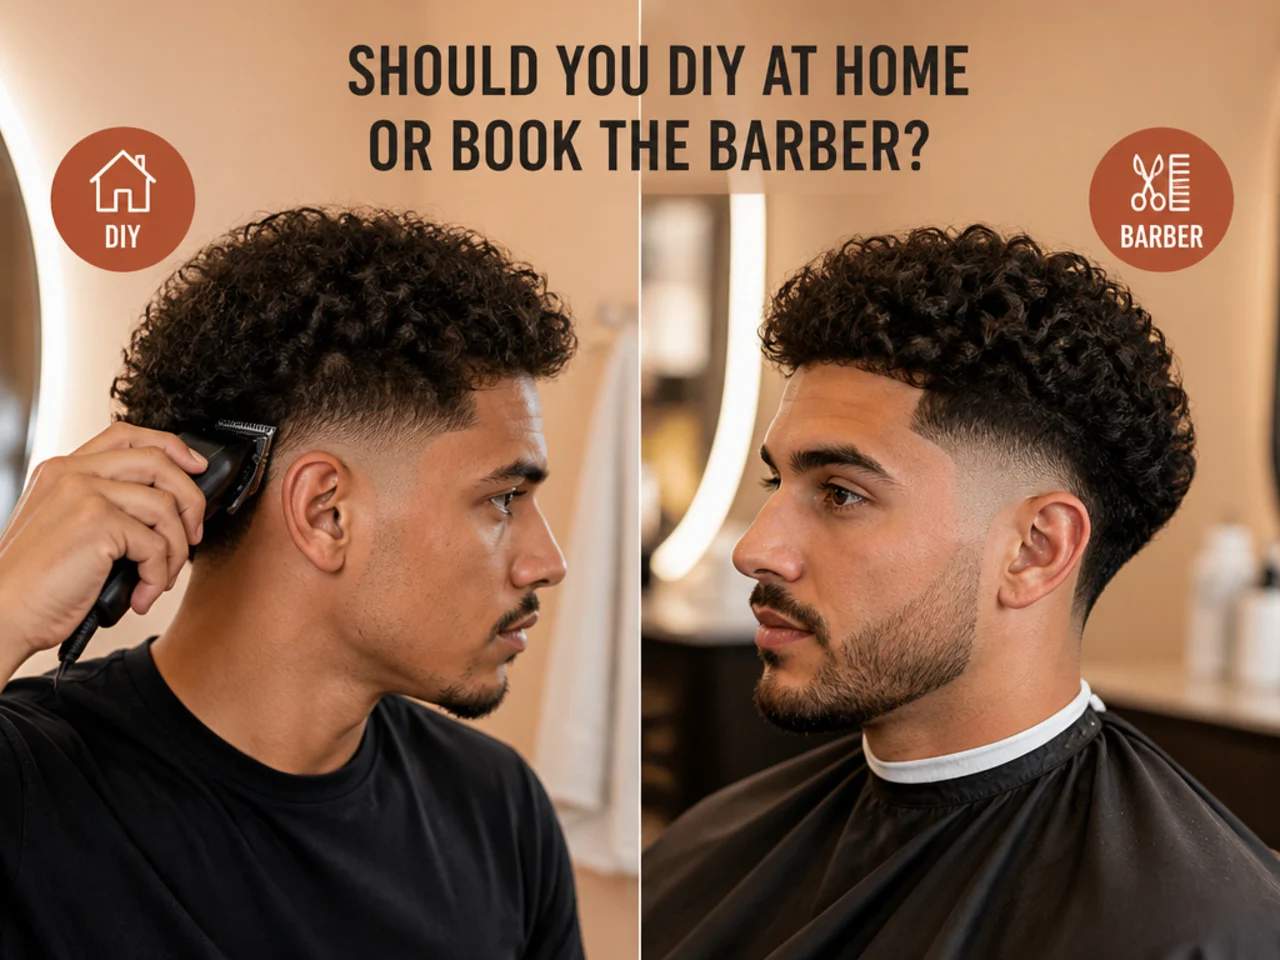
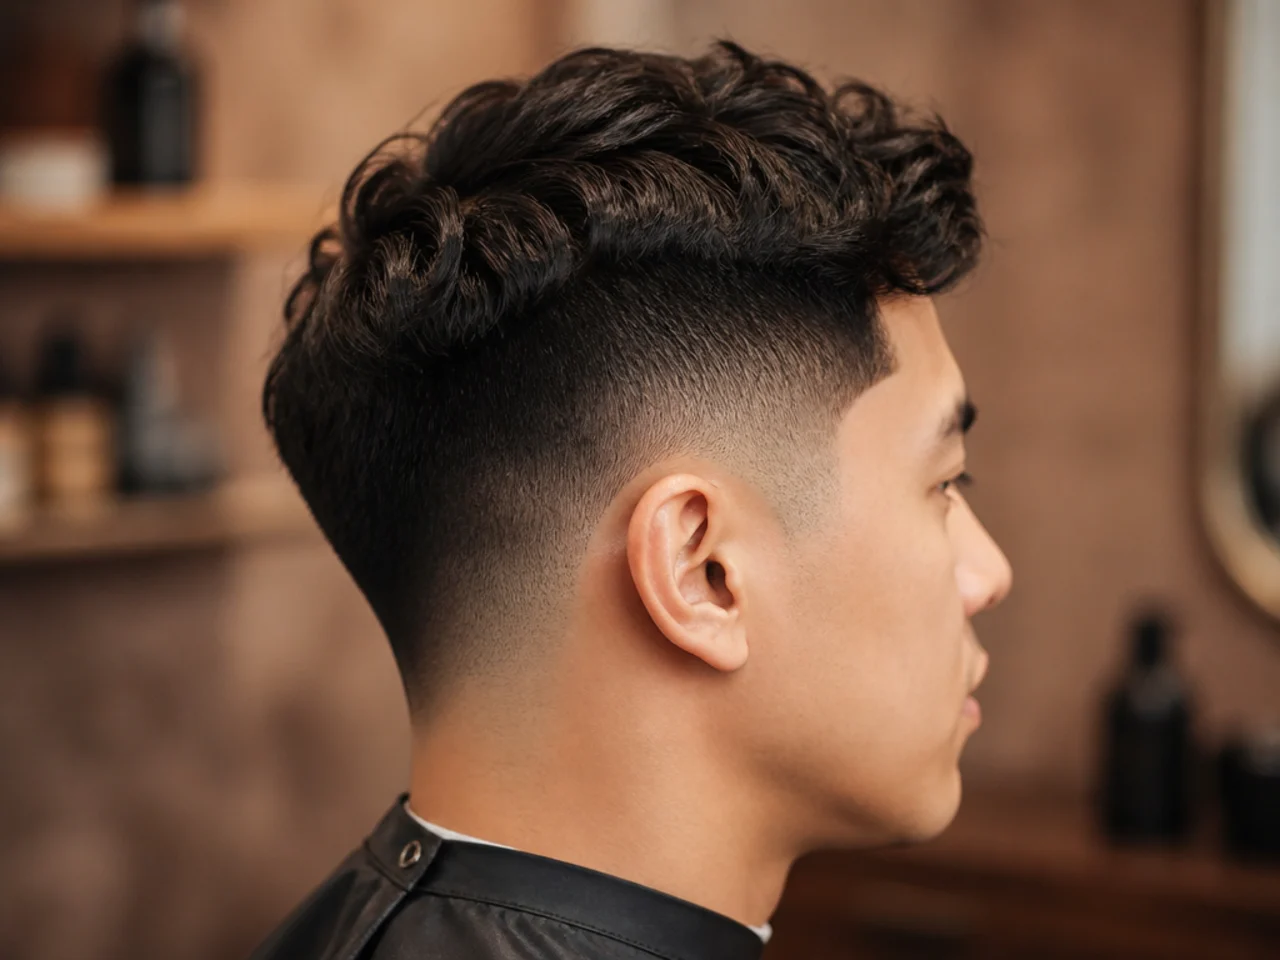
Cutting a taper fade on yourself is realistic for the sides and difficult for the back. What follows is the order that works, with the guard ladder that does most of the blending for you.
What You Will Need
A clipper with real torque and a full guard set from 0 to 8. A separate trimmer for edges. A comb, a hand mirror, and a wall mirror you can stand with your back to. Good overhead light — shadows hide the very steps you are trying to blend.
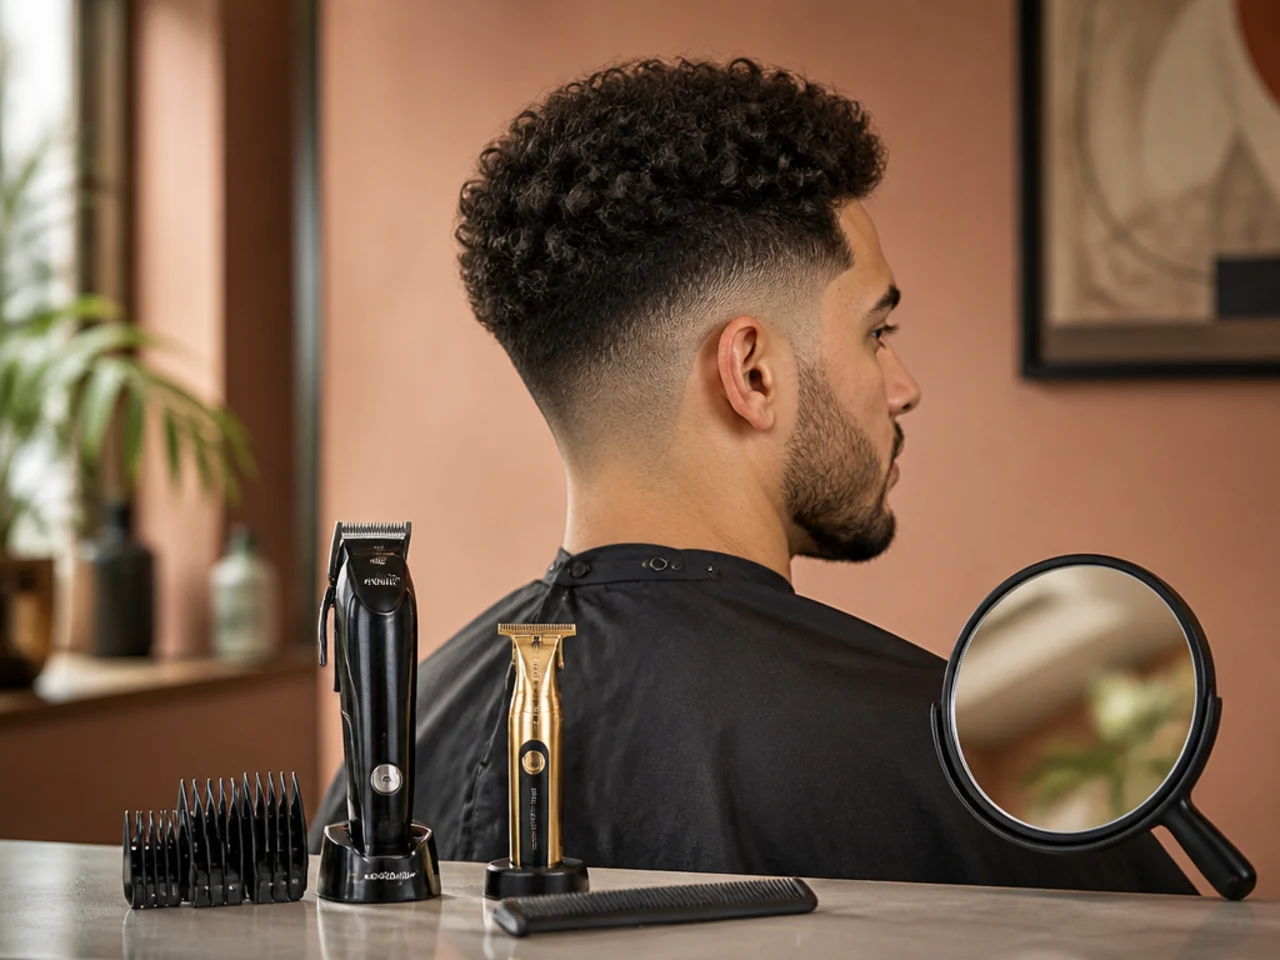
Before You Start
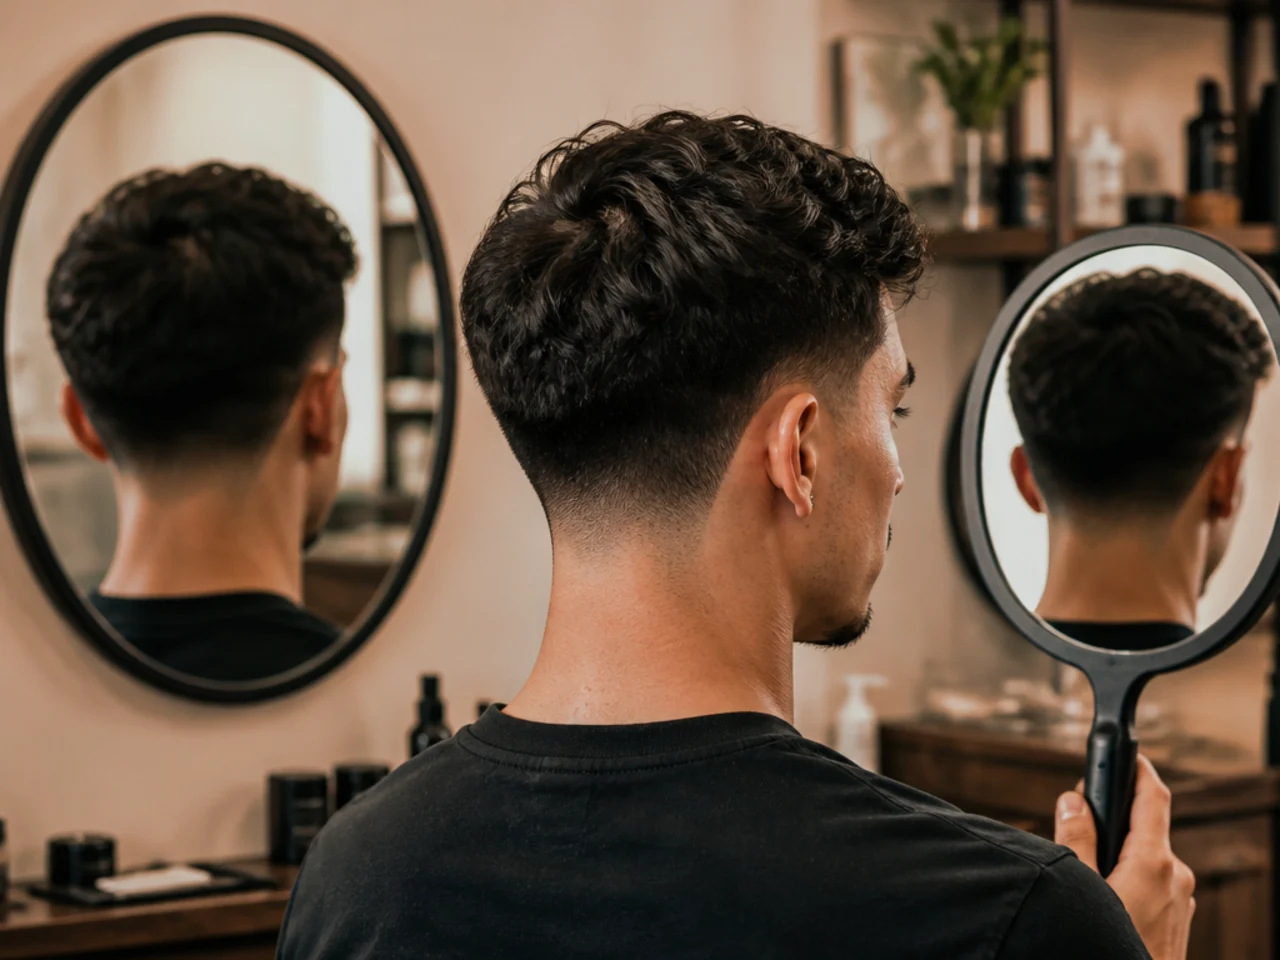
Cut on dry, clean hair — wet hair lies flat and you will take off more than you intend. Set the mirrors so you can see the back without twisting your shoulders, because twisting changes the angle you are cutting at.
Start longer than you think. You can always take more off; you cannot put it back.
The 20 Steps
1. Comb the Hair Down Flat
Everything in its natural fall direction so you can see the real outline.
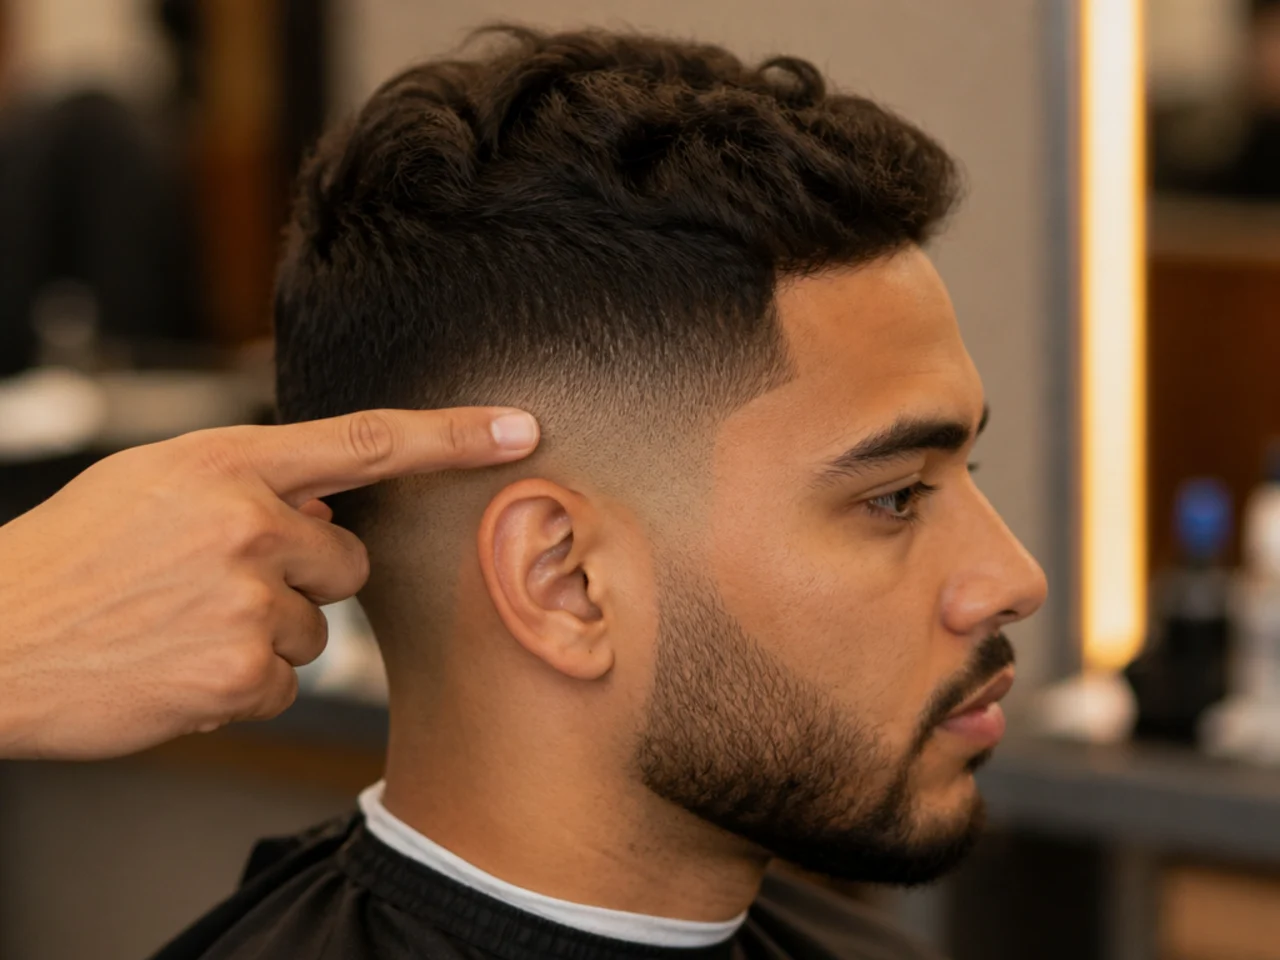
2. Decide the Fade Height and Mark It
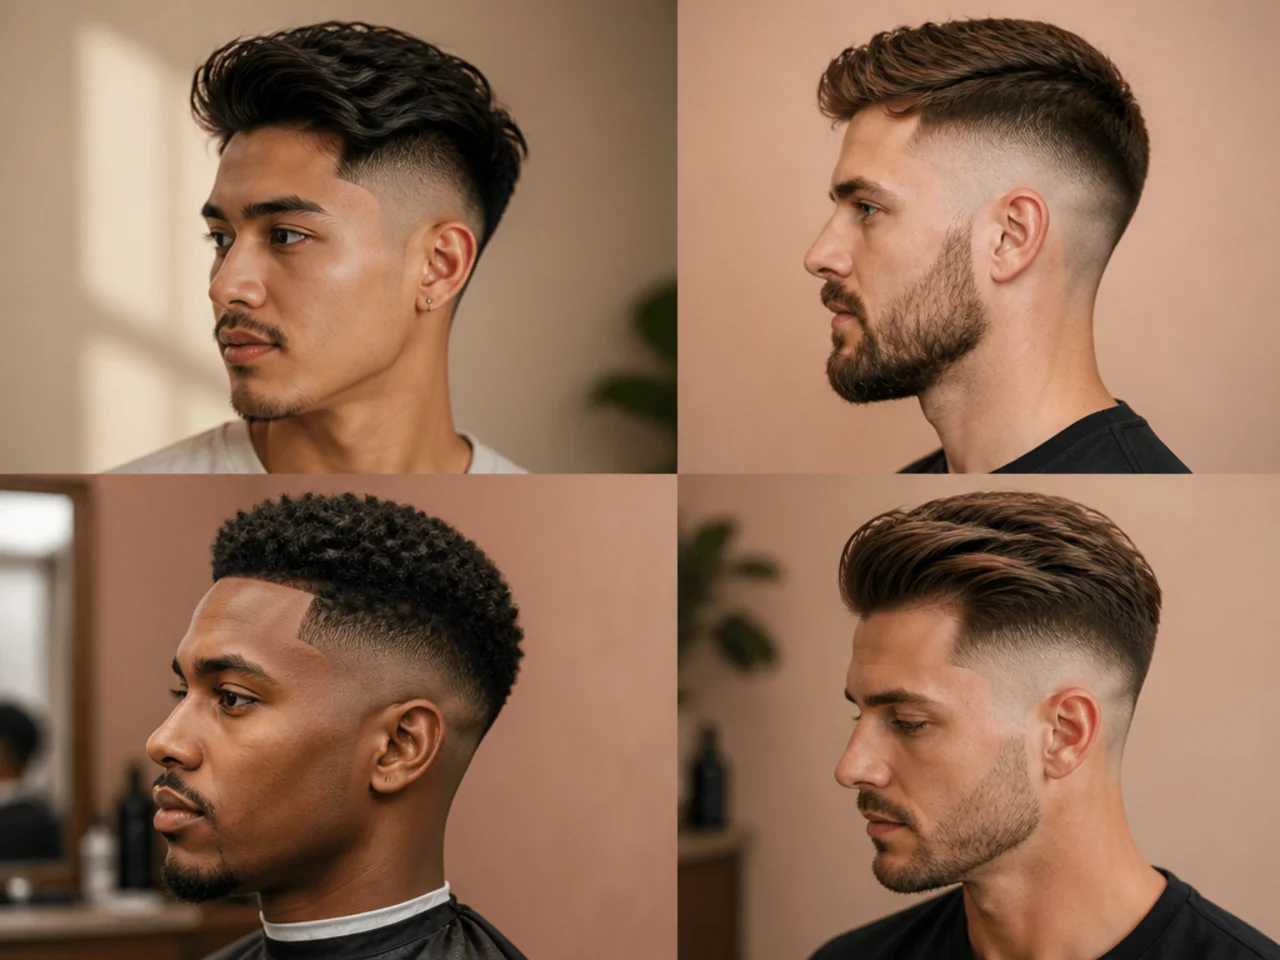
Touch the point where you want the fade to finish. Low is above the ear; mid is level with the temple.
3. Cut the Top Length First
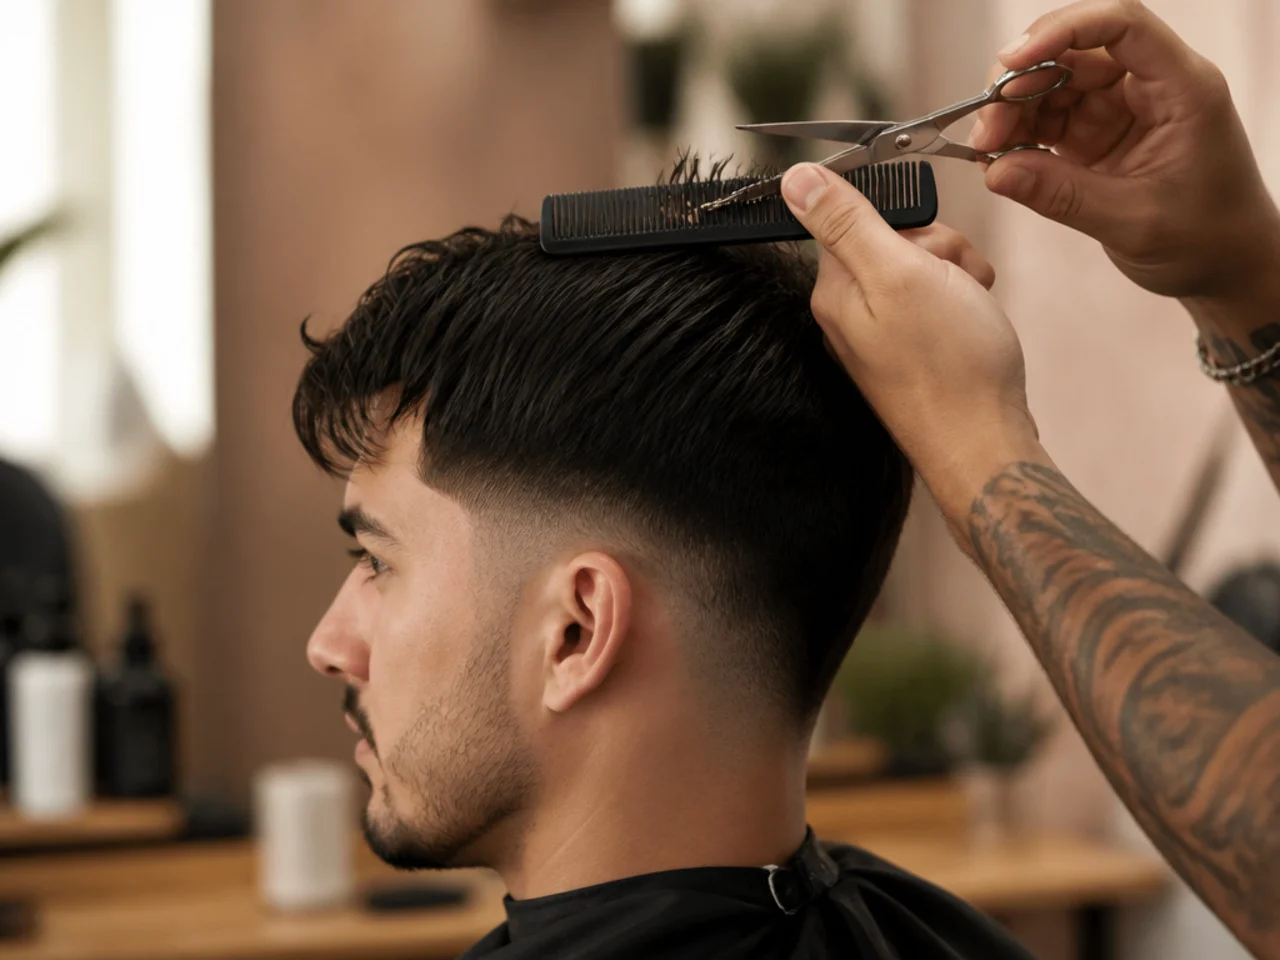
Whatever you are keeping on top, do it before the sides. It sets the proportion everything else works against.
4. Start with the Longest Guard on the Sides
A 4 or 3 over the whole side. This is your top band and your safety margin.
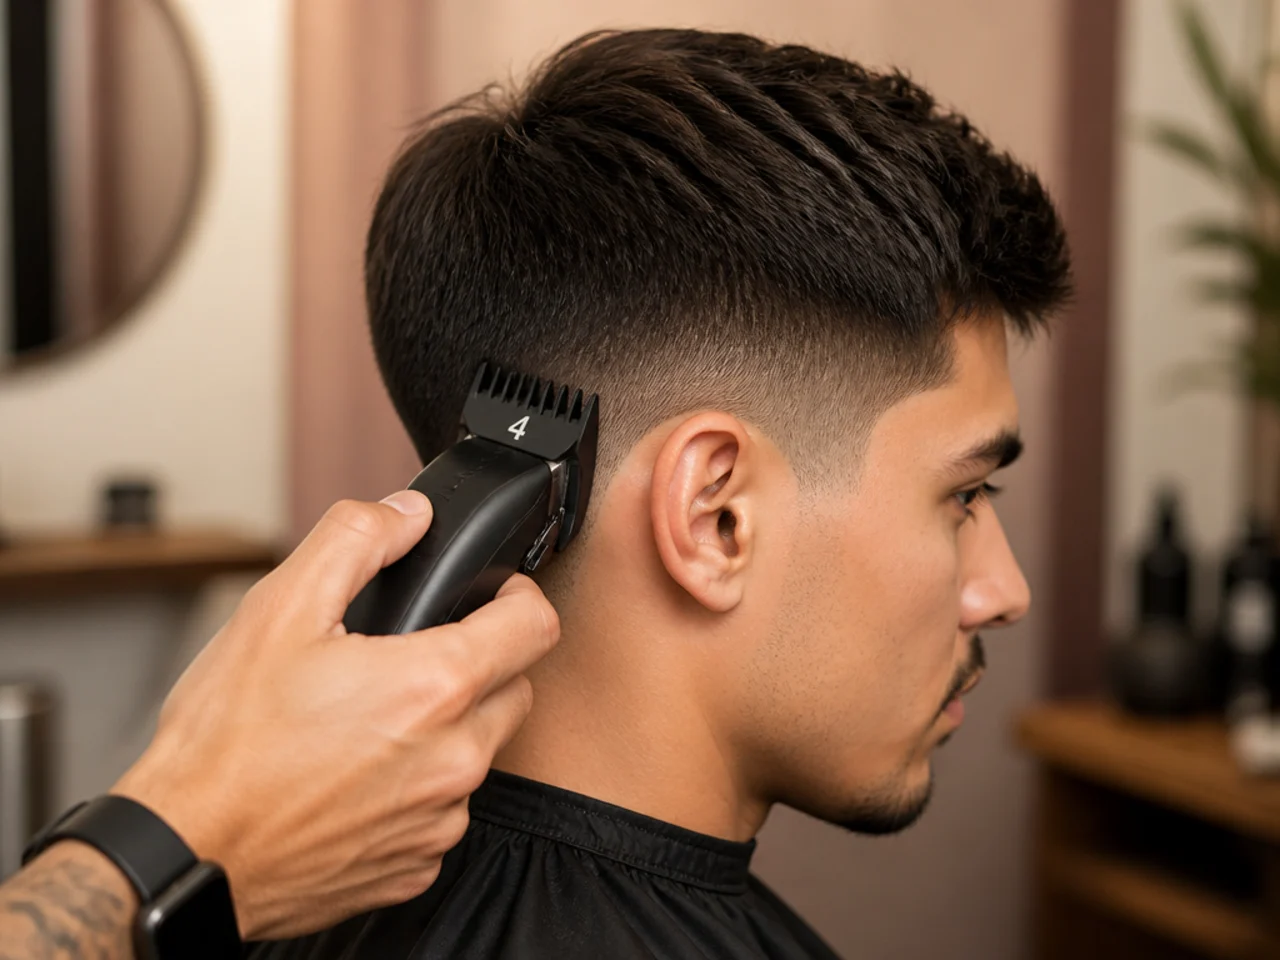
5. Work Upward, Not Downward
Move the clipper against the direction of growth. Cutting downward skims and leaves length behind.
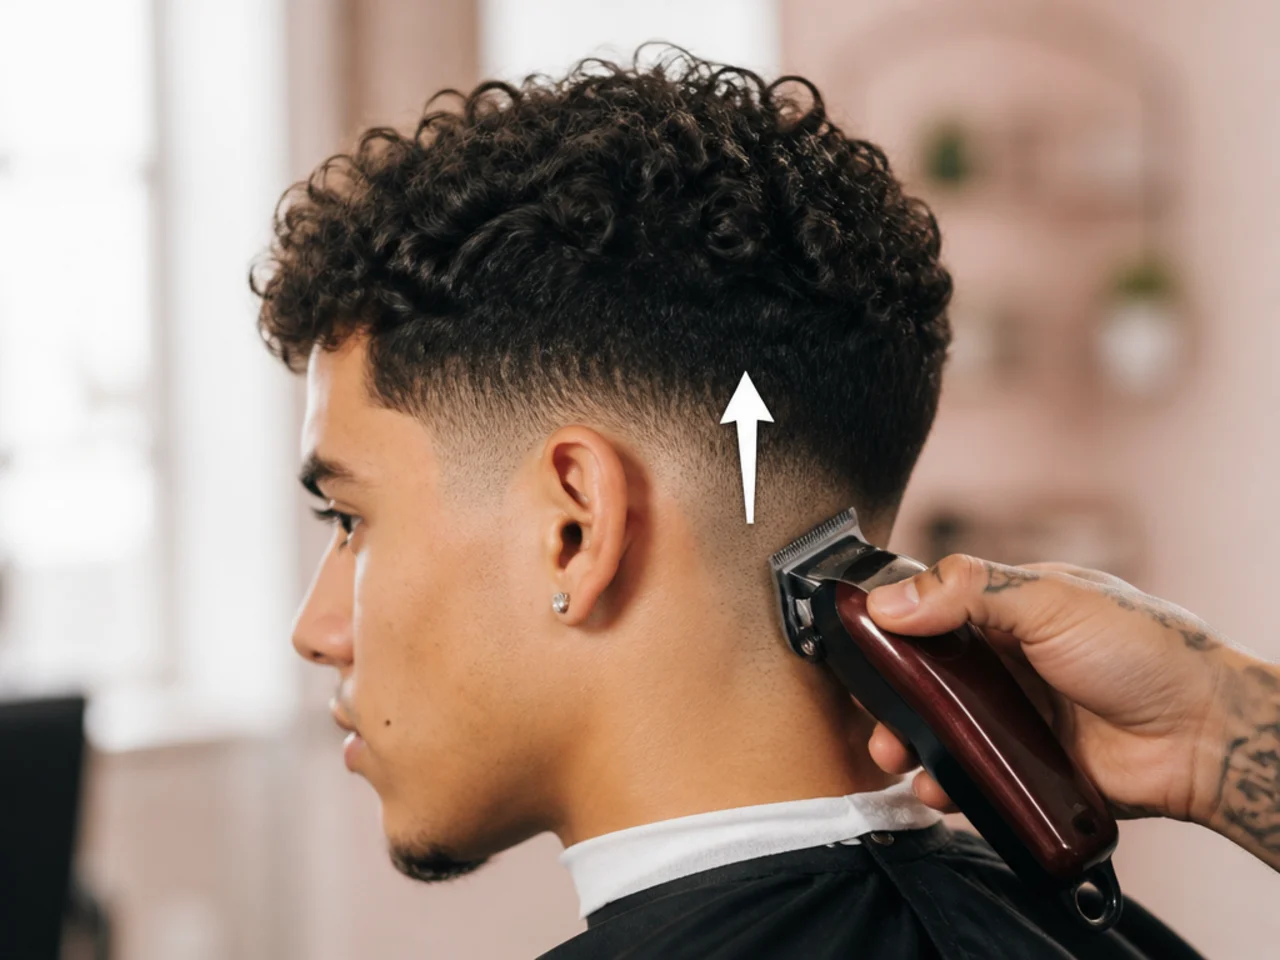
6. Take the Next Guard Down to the Middle Band
A 2, taken up to about two-thirds of your fade height.
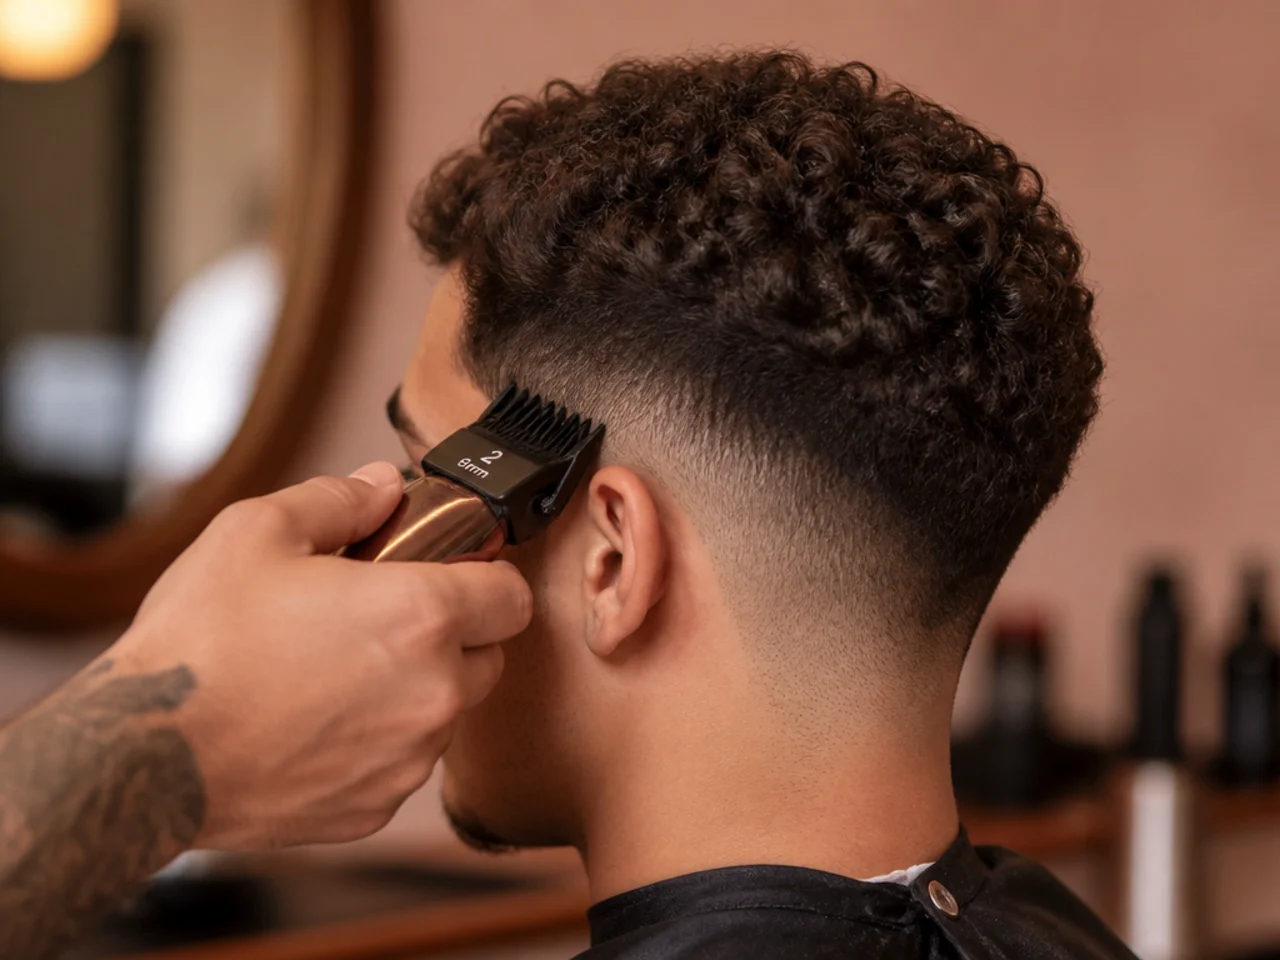
7. Take the Shortest Guard to the Bottom Band
A 1 or 0 along the very bottom and around the ear.
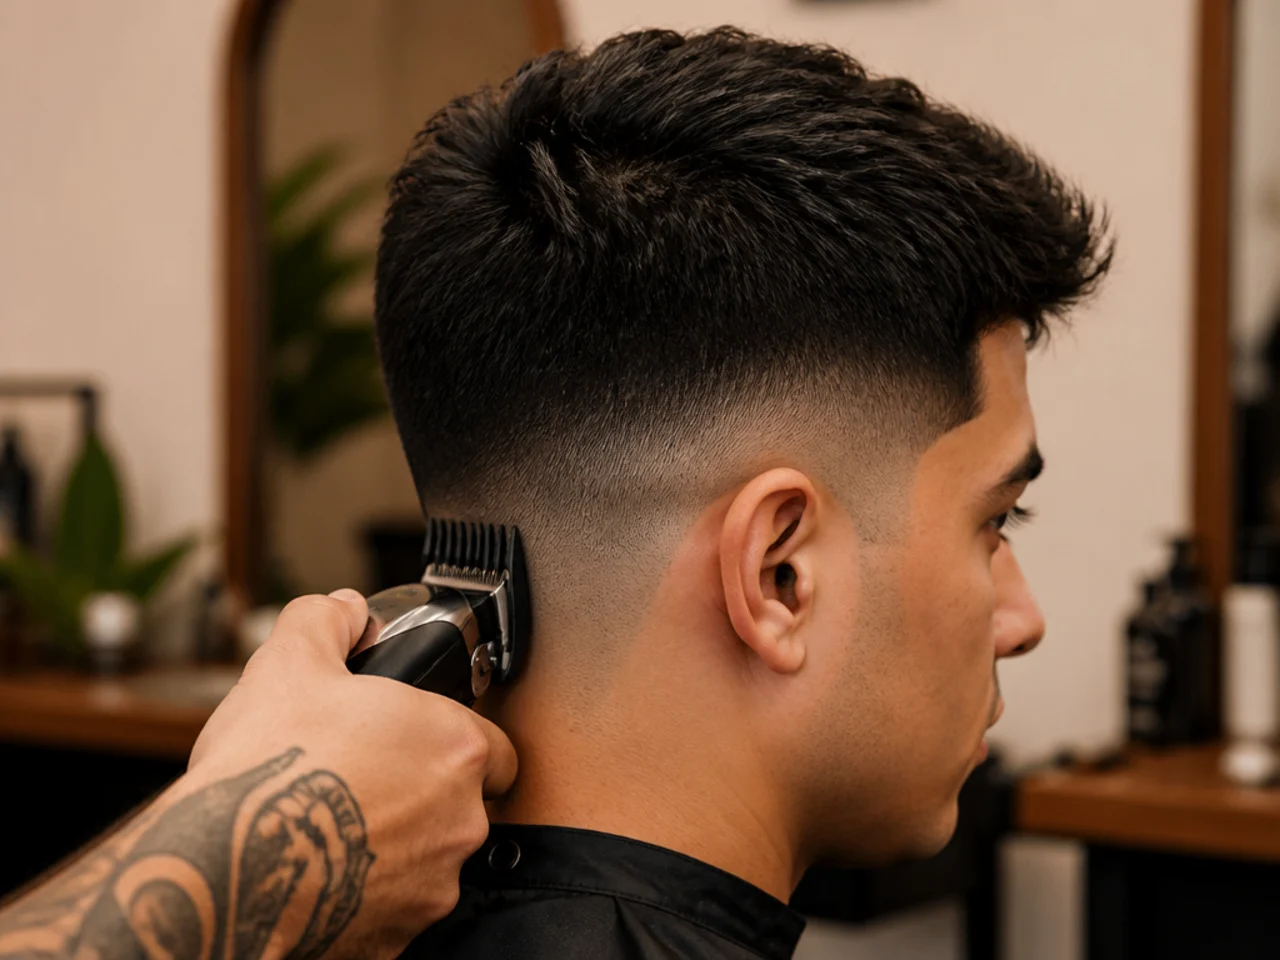
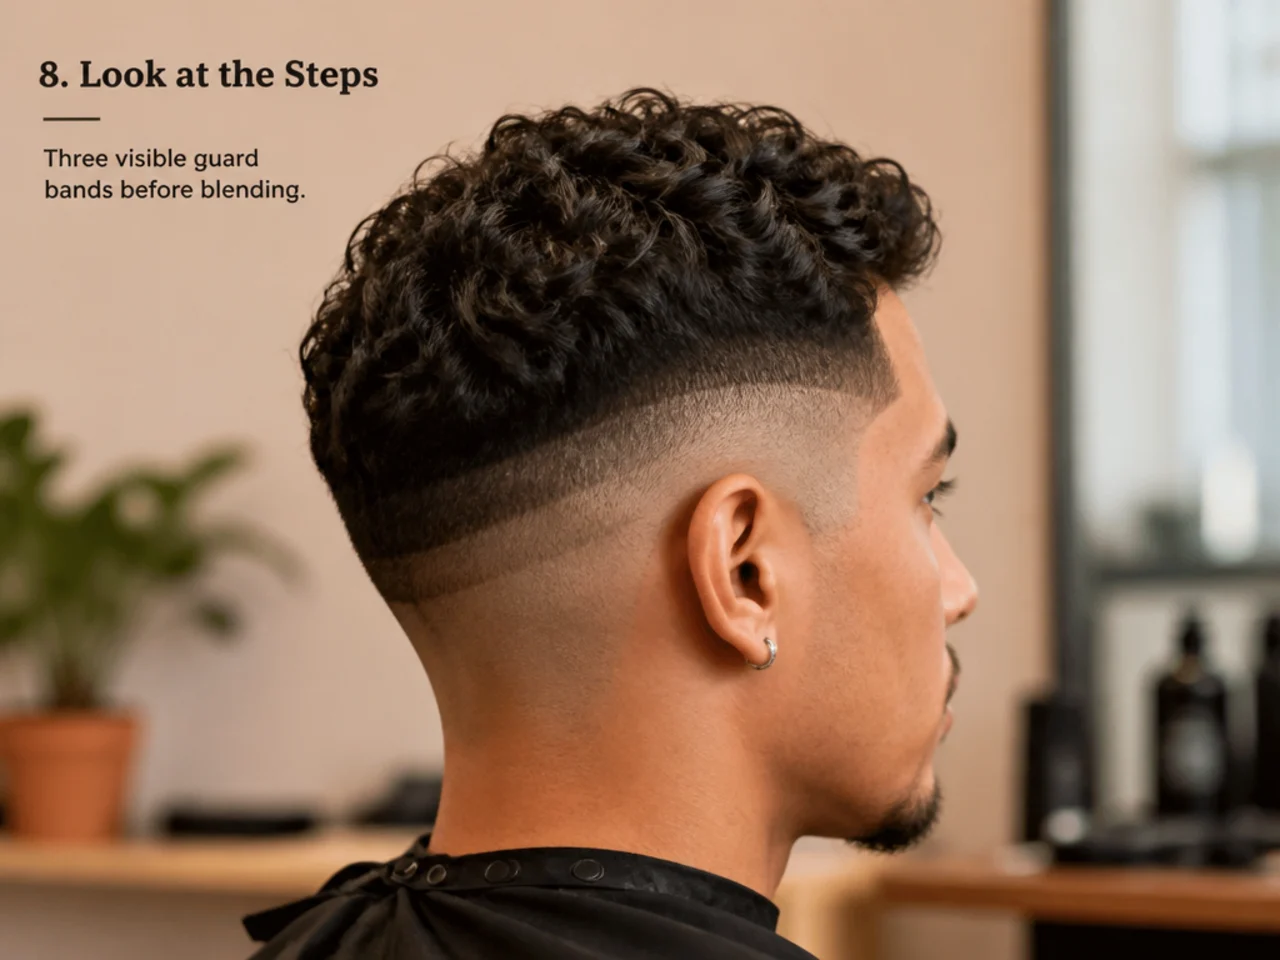
8. Look at the Steps
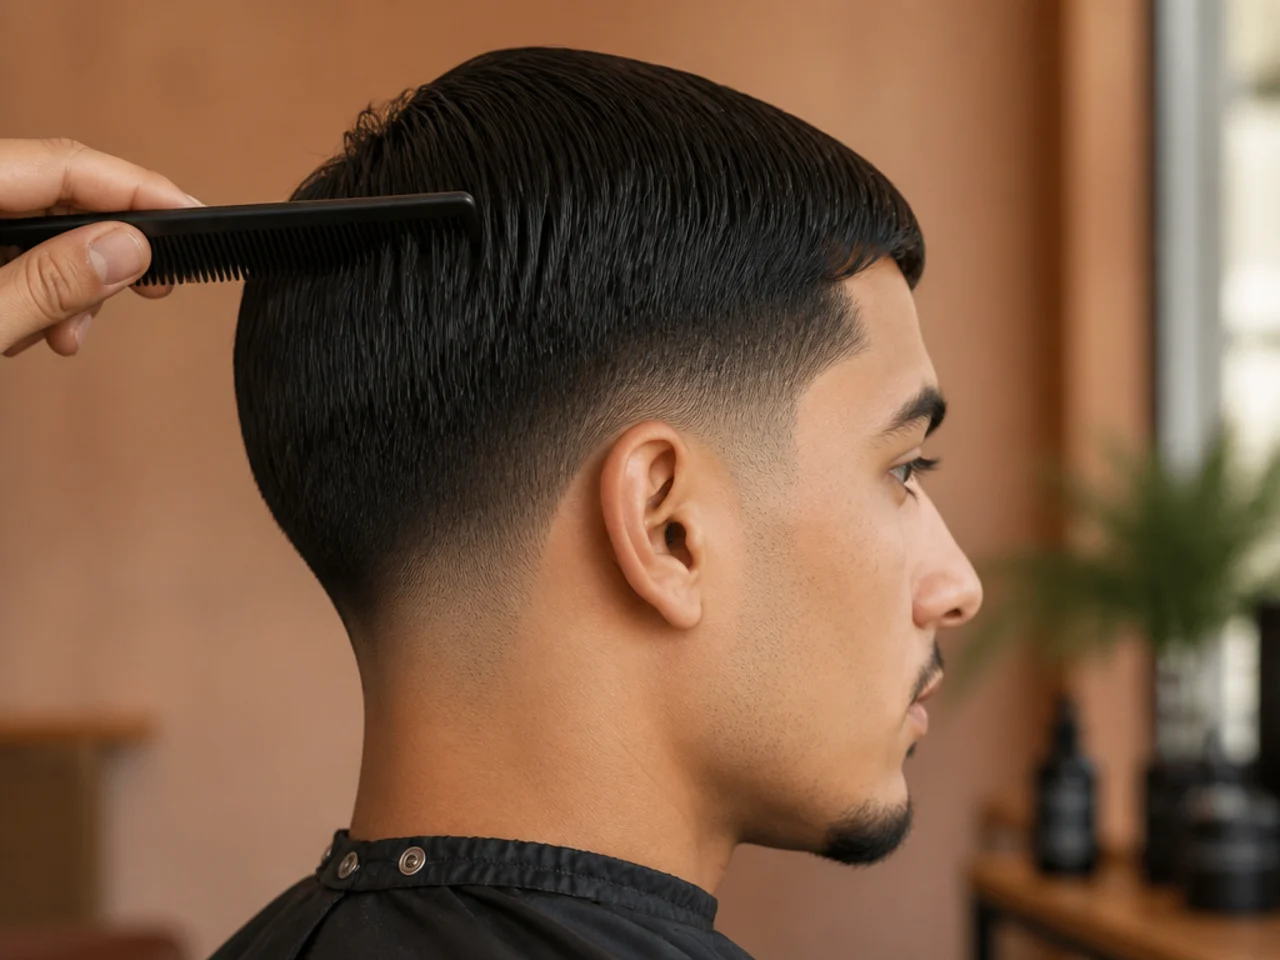
You should now see three distinct bands. That is correct at this stage — do not panic.
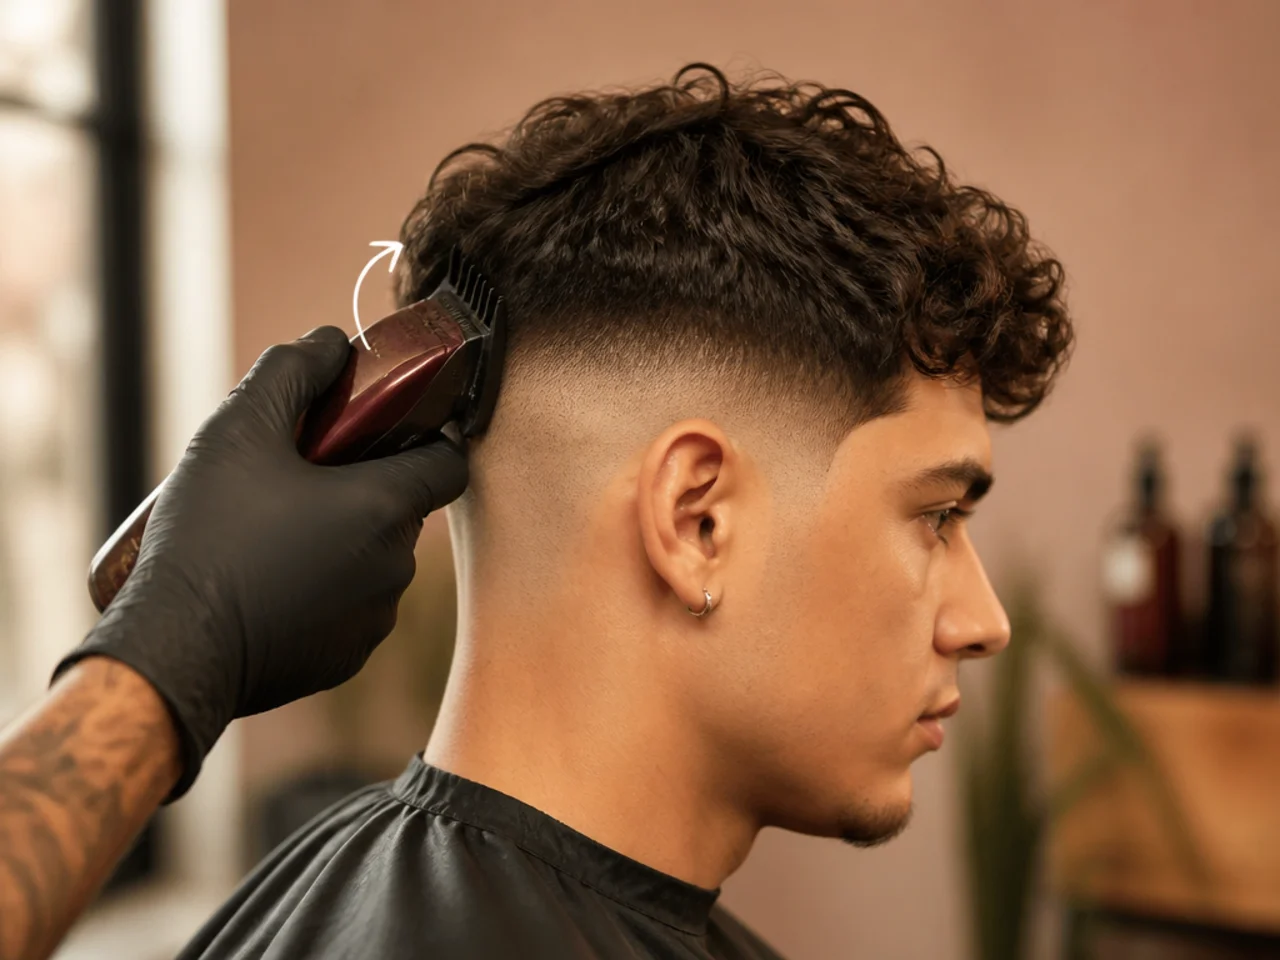
9. Flick Out at the Top of Each Band
Roll the clipper away from the head as you reach the top of a band. This softens the hard line.
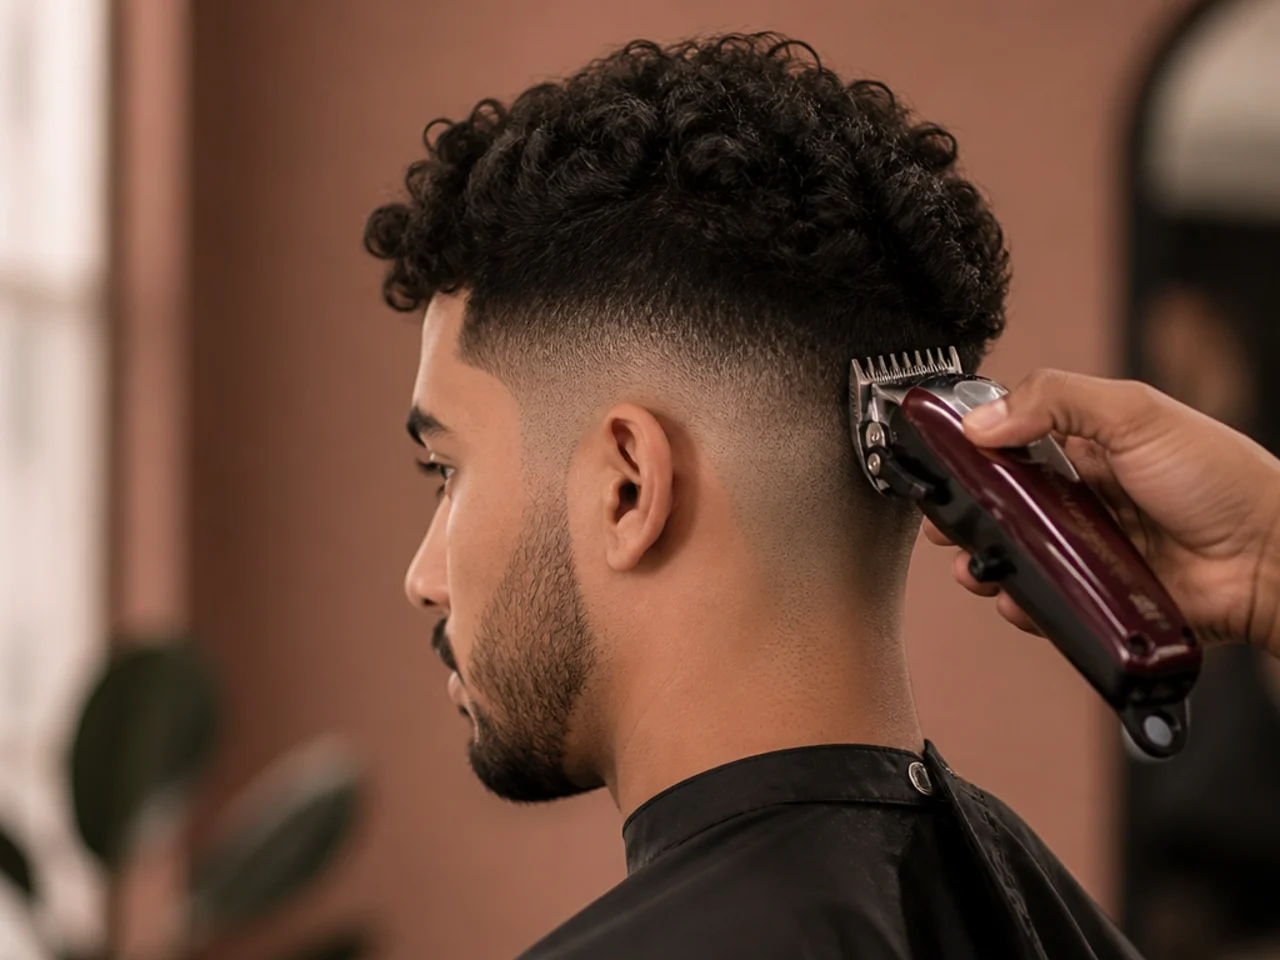
10. Blend with the In-Between Guards
Run a 1.5 over the 1-to-2 line and a 2.5 over the 2-to-3 line. This is what the half sizes are for.
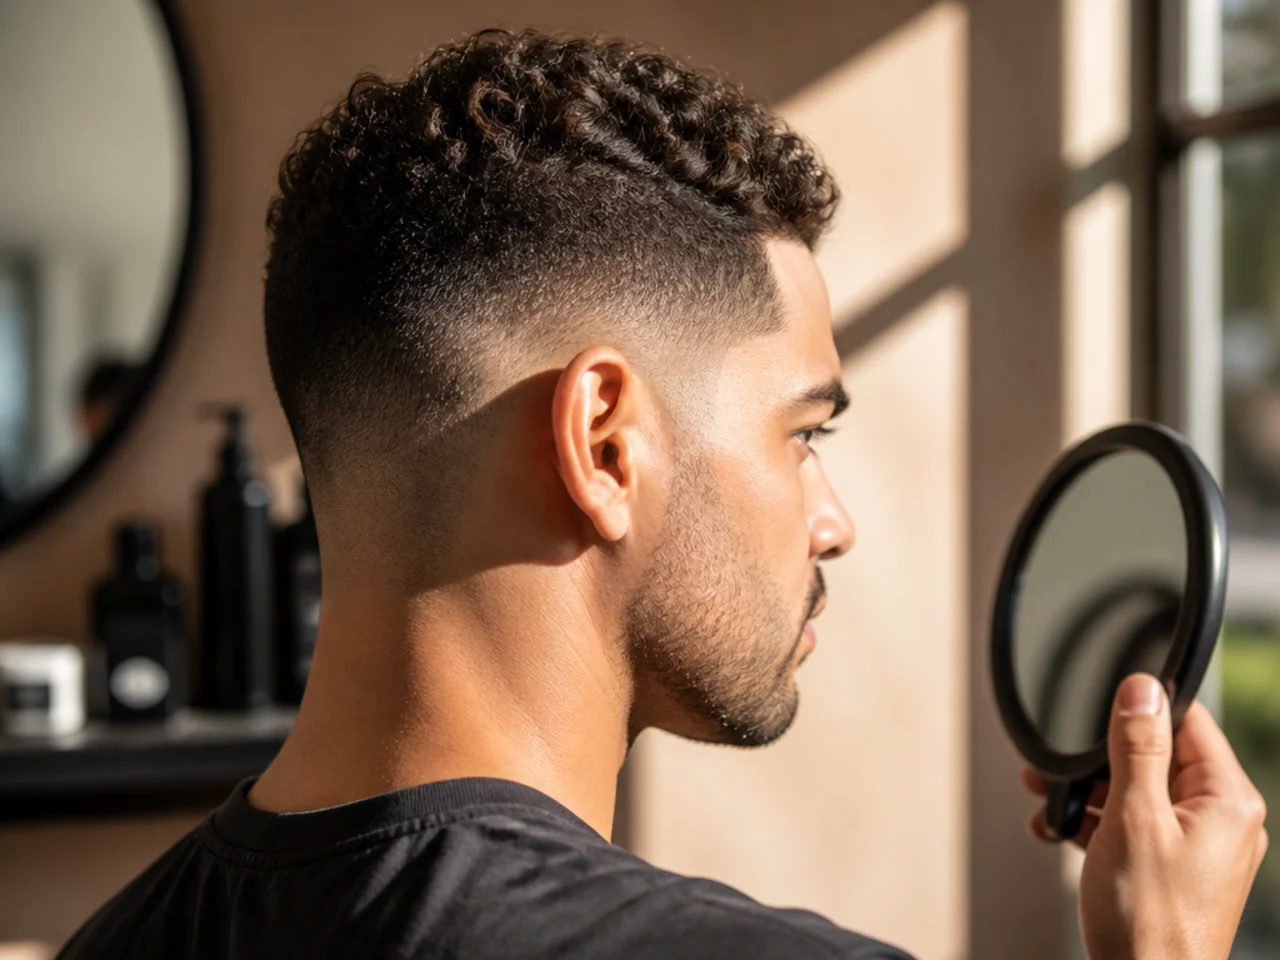
11. Check in Bright Light from the Side
Step to a window. Overhead light hides steps; side light exposes them.
12. Repeat on the Other Side
Match the fade height by touch, not by eye — feel where the line sits on each side.
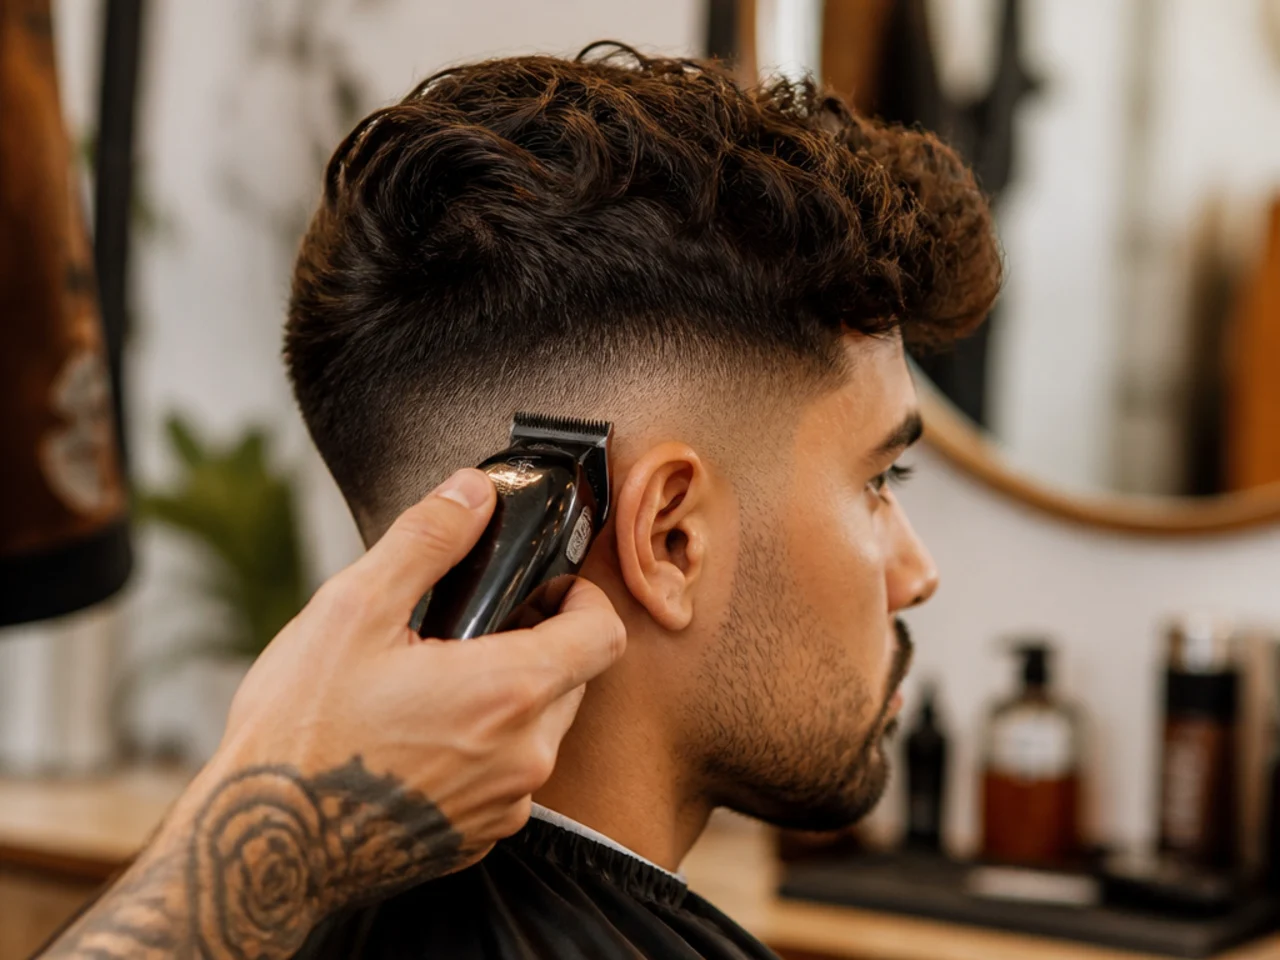
13. Set Up the Mirrors for the Back
Hand mirror in one hand, back to the wall mirror. Move your eyes, not your head.
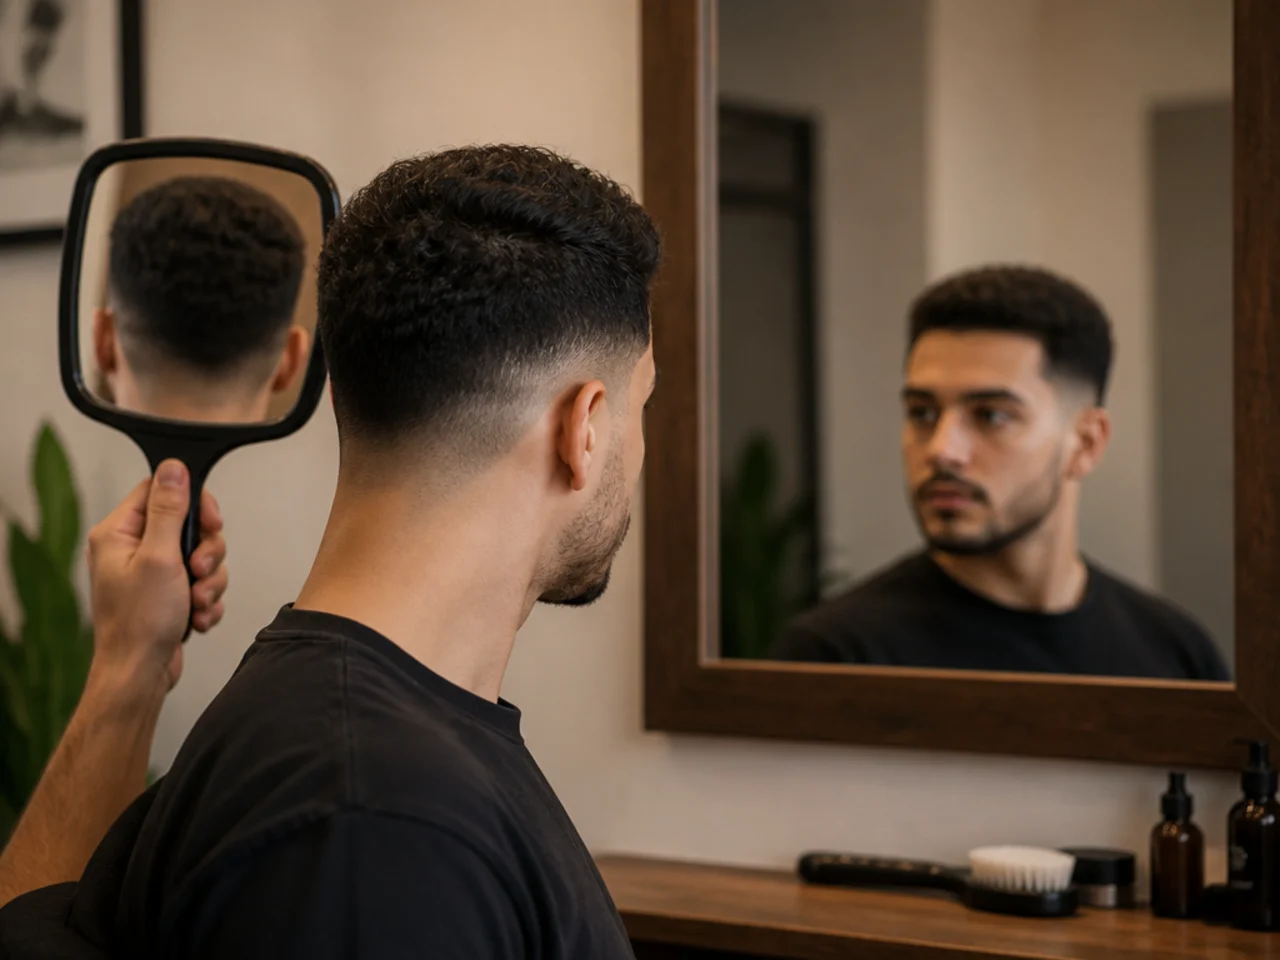
14. Carry the Bands Around the Back
Continue each guard band around at the same height. Work slowly — this is the hard part.
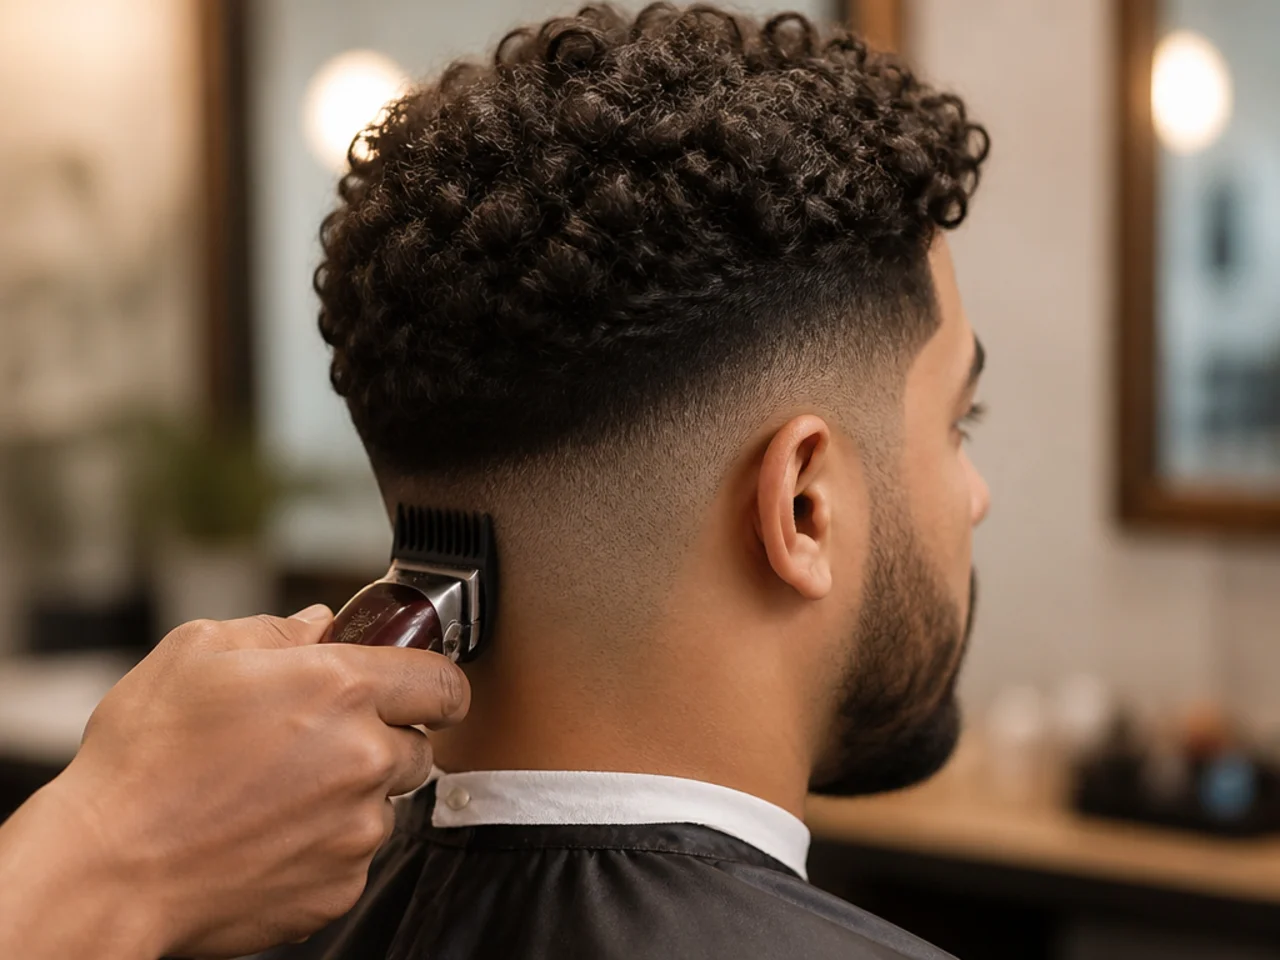
15. Blend the Back with Half Guards
Same ladder as the sides. Take your time; you cannot feel a step the way you can see one.
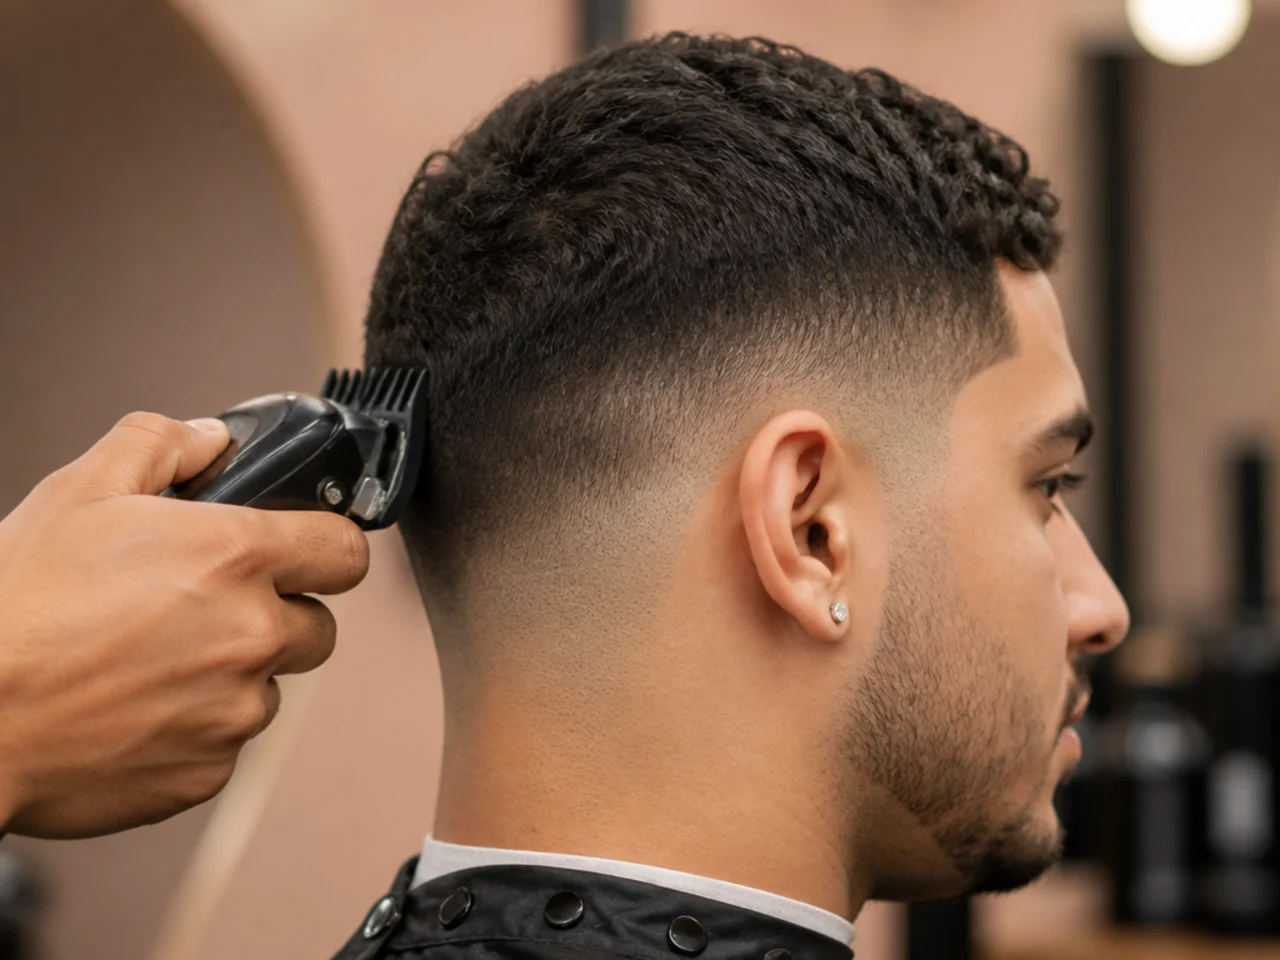
16. Clean the Neckline with the Trimmer
Follow your natural hairline rather than cutting a square. A tapered nape grows out invisibly.
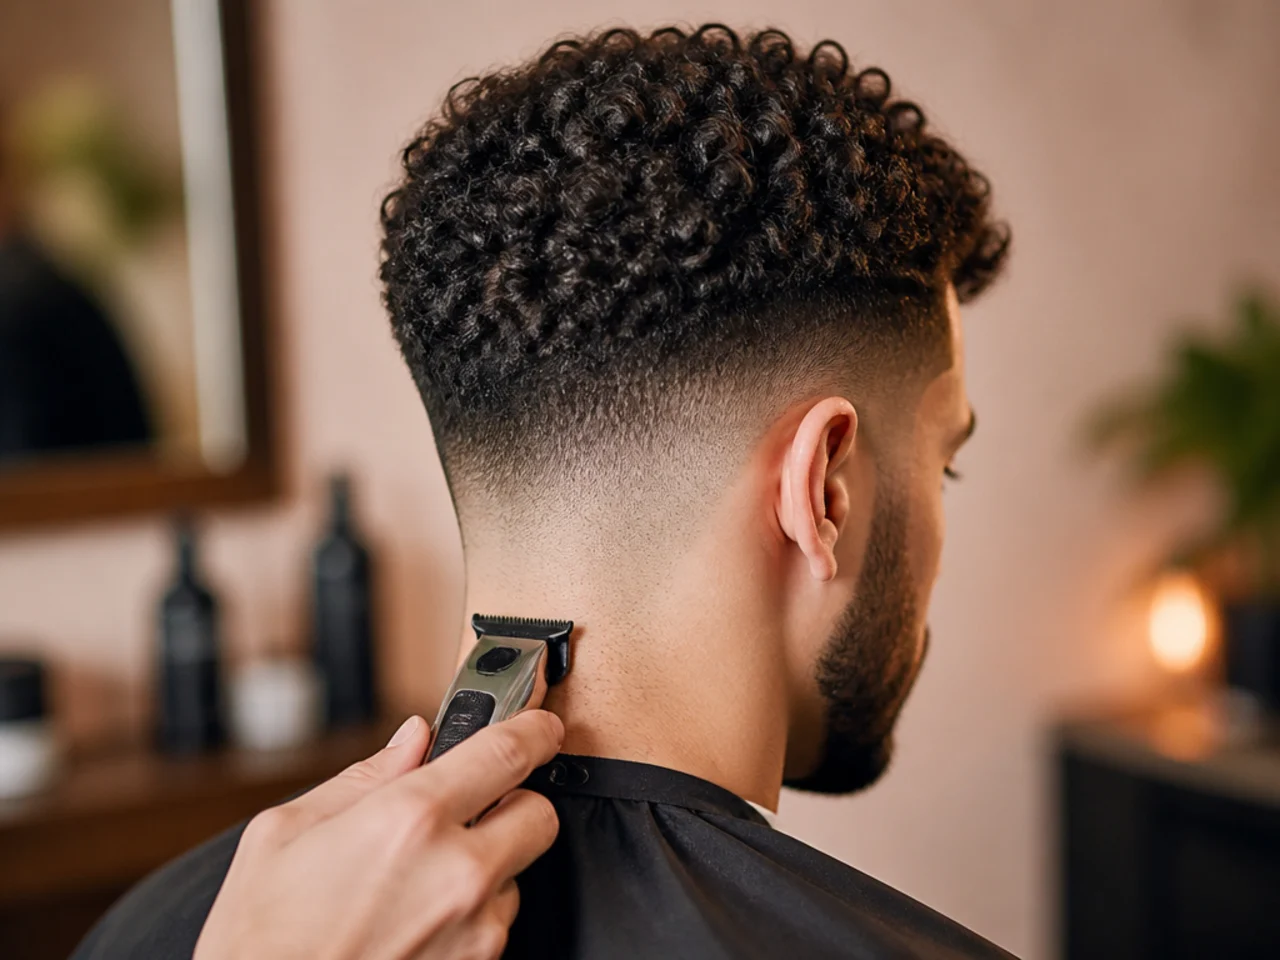
17. Tidy Around the Ears
Trimmer, short strokes, ear folded down with your other hand.
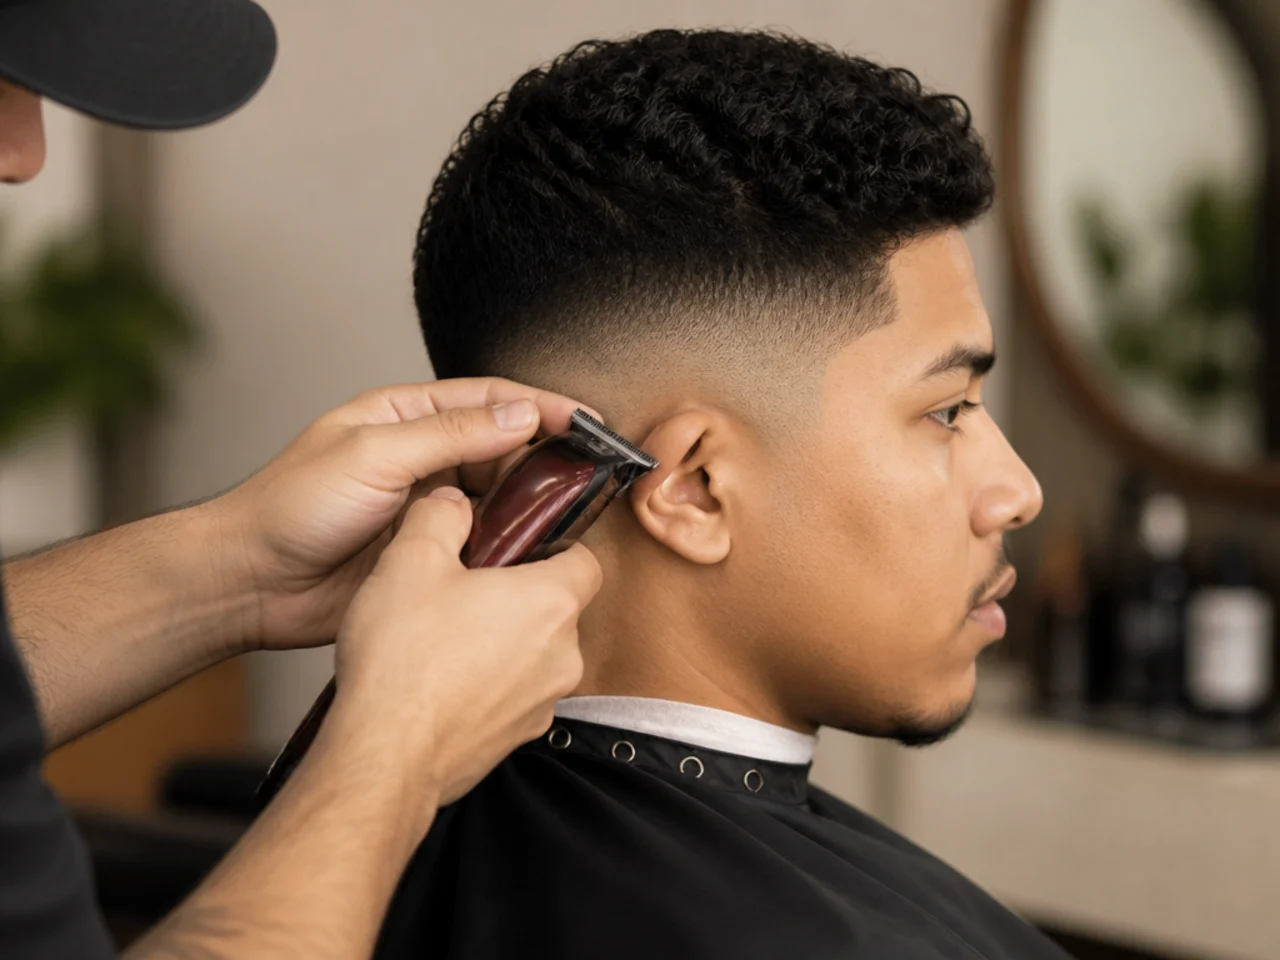
18. Blend the Top into the Sides
Comb the top down over the fade and scissor off whatever hangs past the blend.
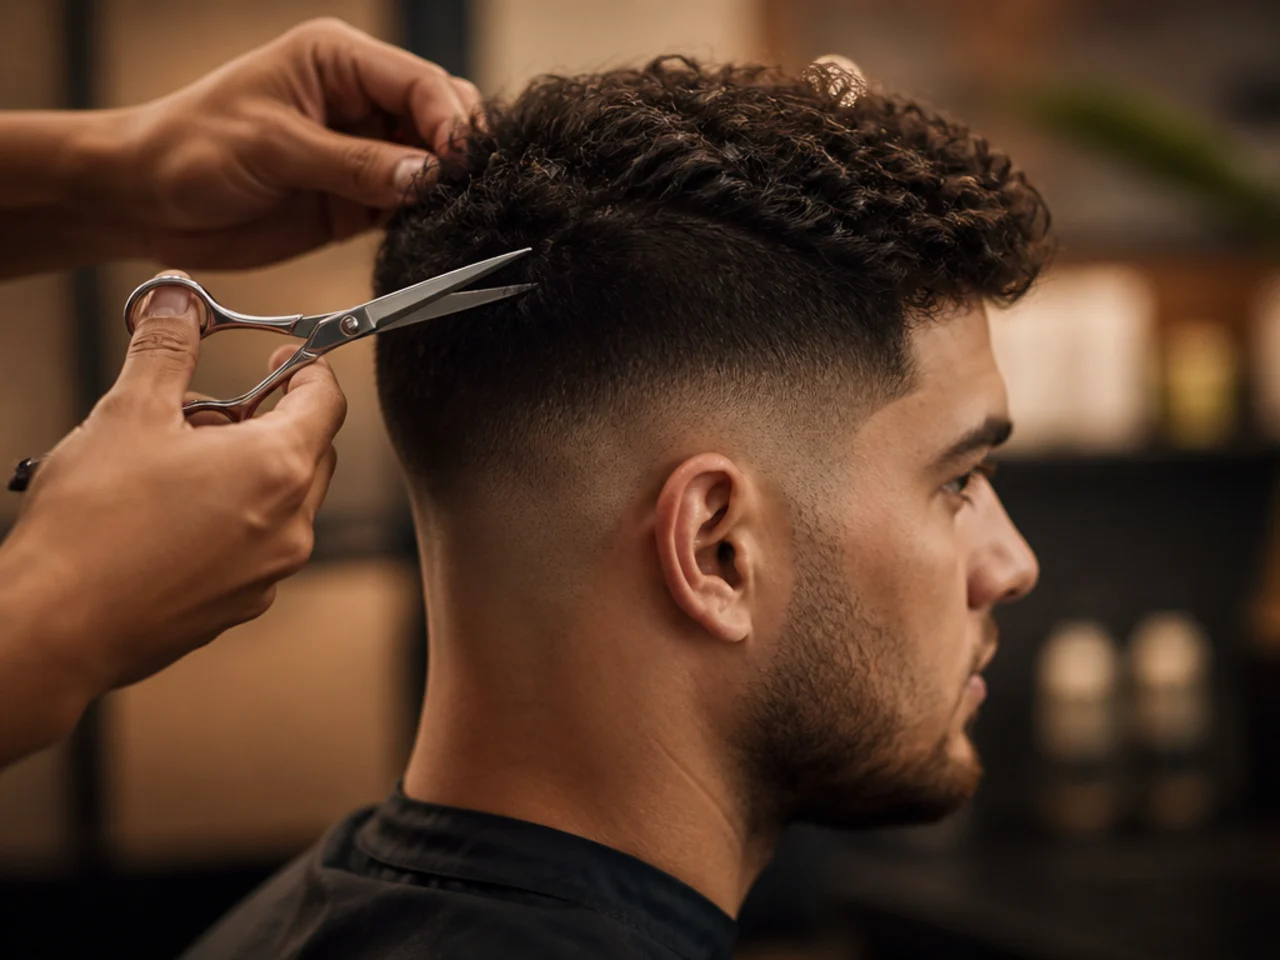
19. Rinse and Recheck Dry
Wash off the clippings and look again. Steps show far more clearly on clean dry hair.
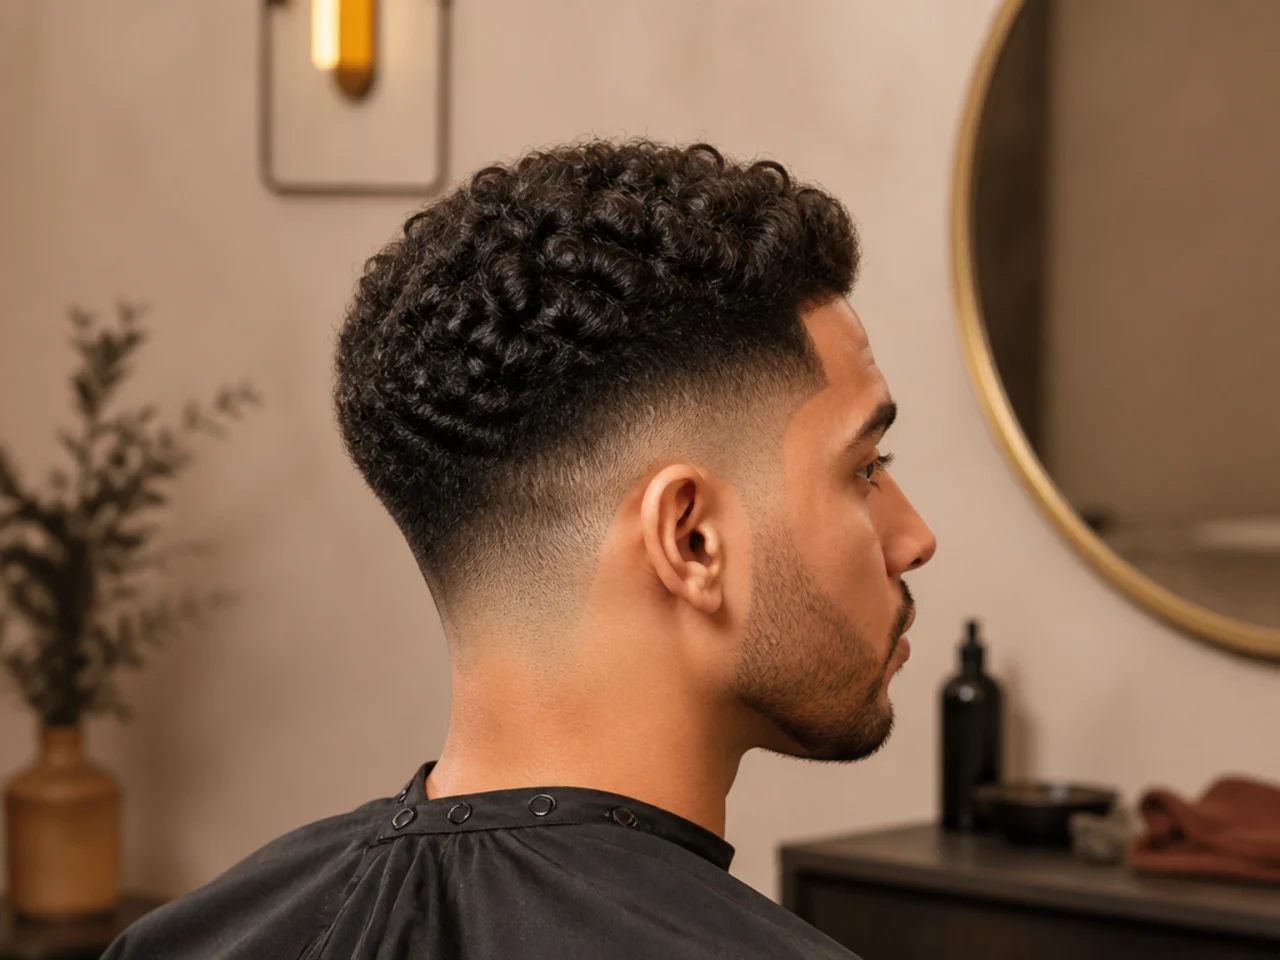
20. Fix Only What You Can Still See
Resist chasing perfection. Every correction removes length, and a small step is far less visible than a bald patch.
Aftercare and Upkeep
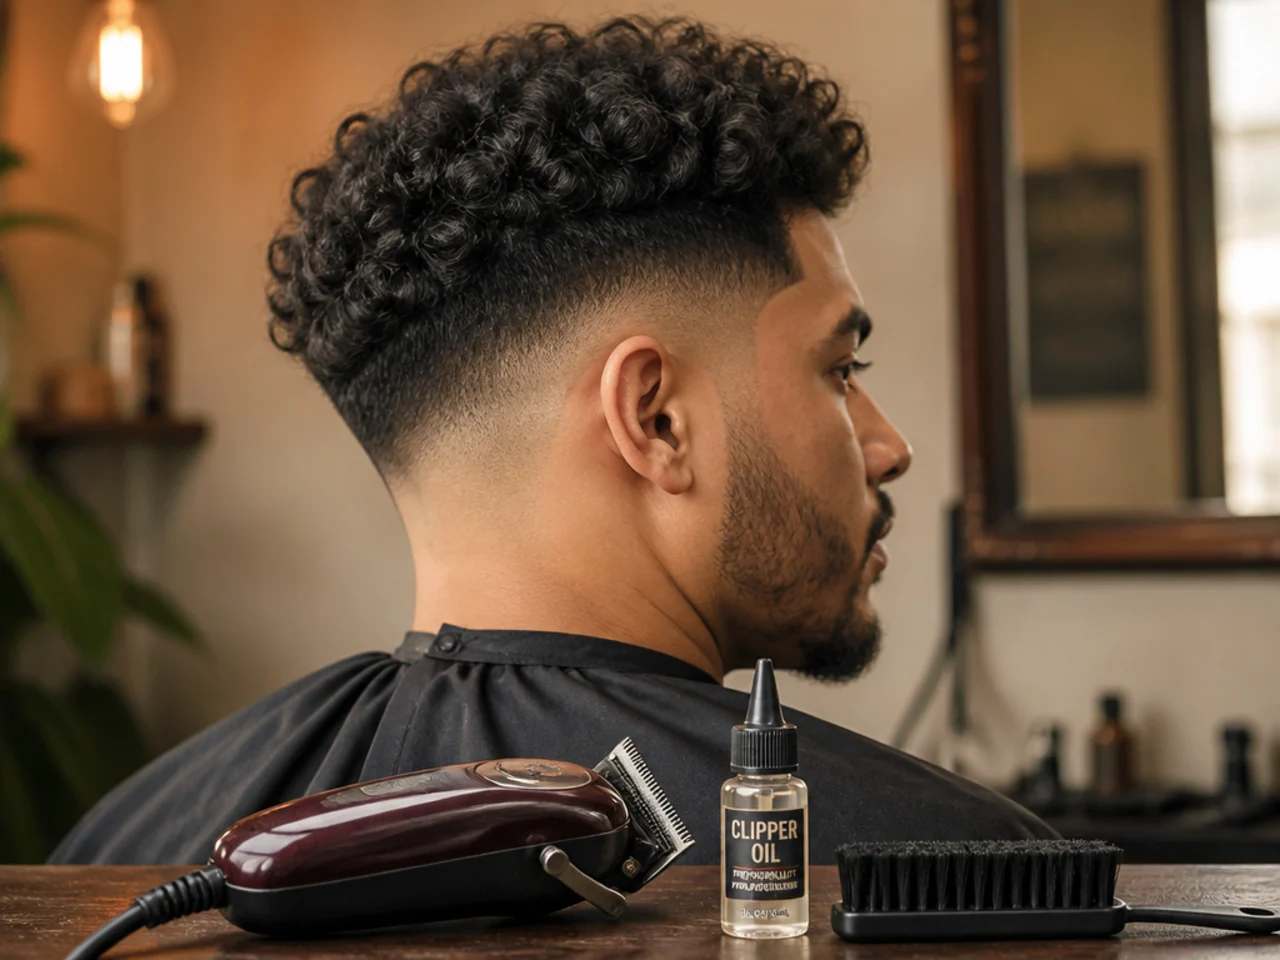
Oil the clipper blades after every cut and brush the teeth clean. Blunt blades pull and are the most common cause of a patchy home fade.
Touch up the neckline weekly. Re-cut the fade every two to three weeks — home fades are easier the second time because you are correcting rather than creating.
Troubleshooting
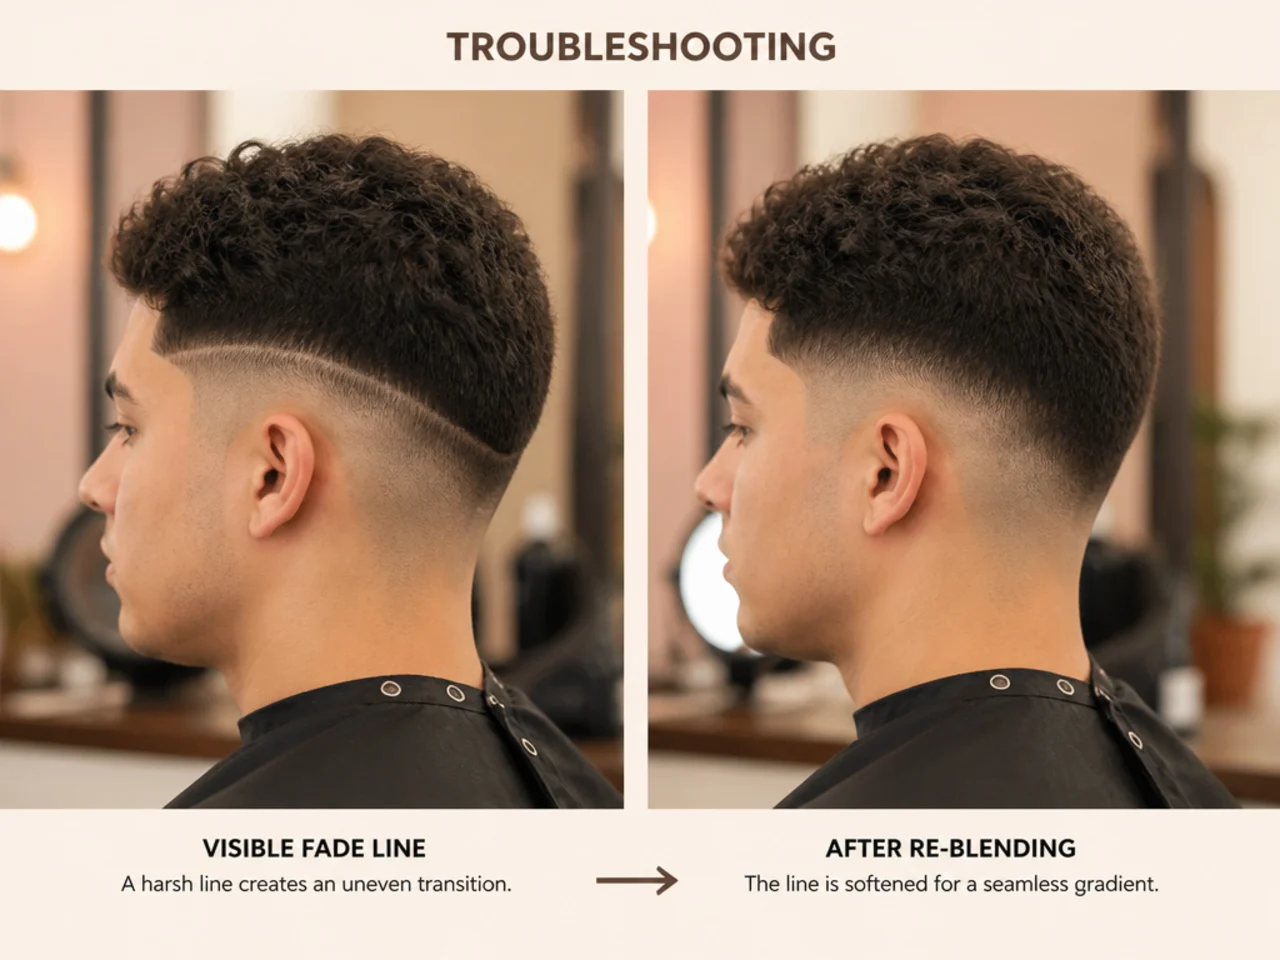
A visible line you cannot remove. Go one guard longer over the whole area above it and re-blend downward.
Patchy strips. Blunt or clogged blades. Clean, oil, and go over the area again.
One side higher than the other. Match by touch at the ear, then blend the higher side down.
Bald patch. Nothing fixes it but time. Take the surrounding area shorter to reduce the contrast and wait.
FAQ
Can you really cut your own fade? The sides yes, with practice. The back is genuinely hard alone.
What clippers? A high-torque clipper with guards 0 to 8, plus a separate trimmer for edges.
What is a guard ladder? Cutting successive bands with the next guard up, then blending the steps — far easier than freehand fading.
Final Thoughts
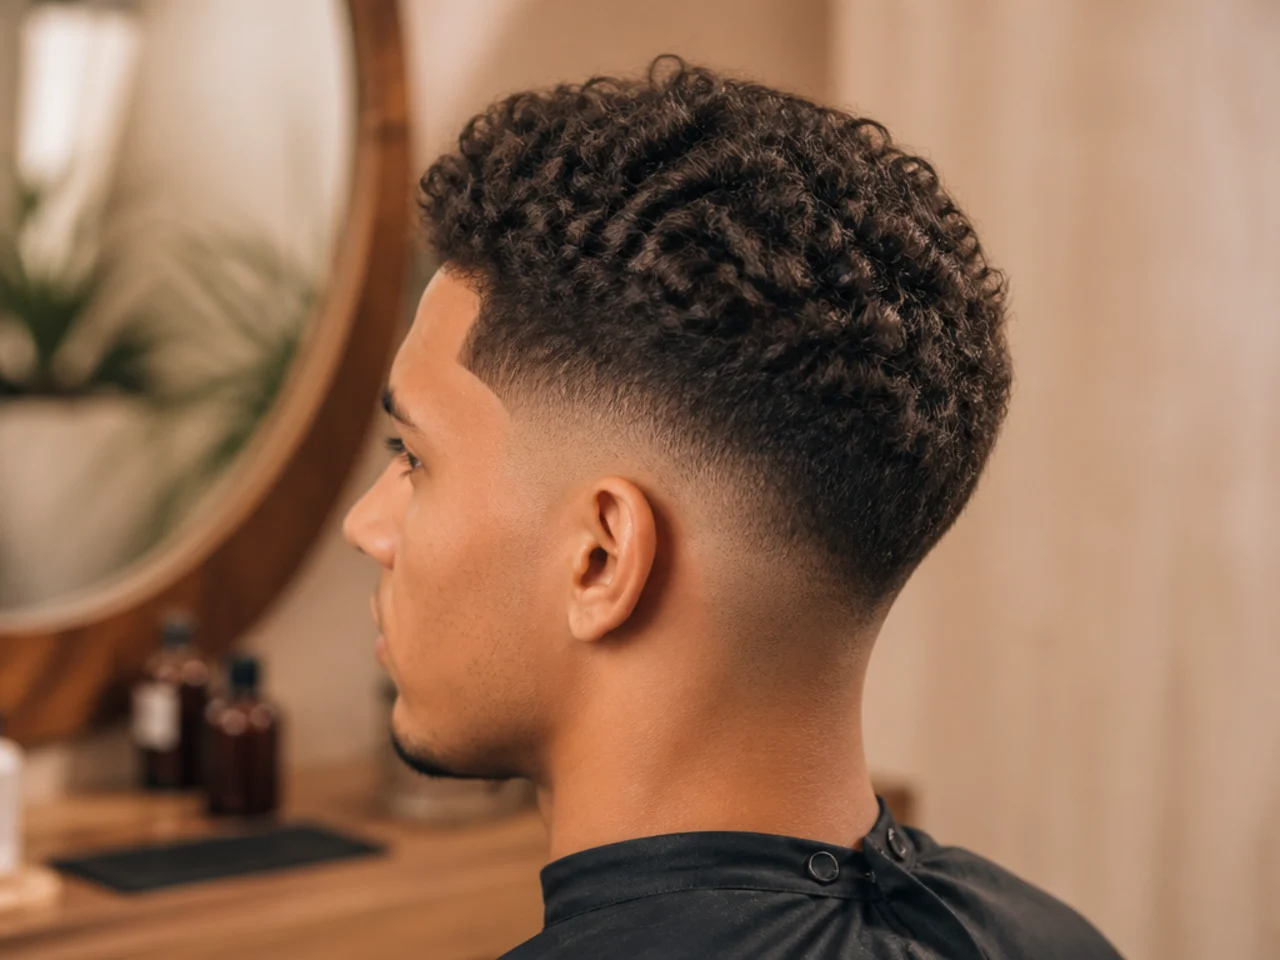
Start longer than you need, use the guard ladder, and check in side light. Your first attempt will not be your barber's work — but the second is usually wearable and the fifth is genuinely good.
See the cut you are aiming for in 20 low taper fade ideas, and browse Fade Haircuts.