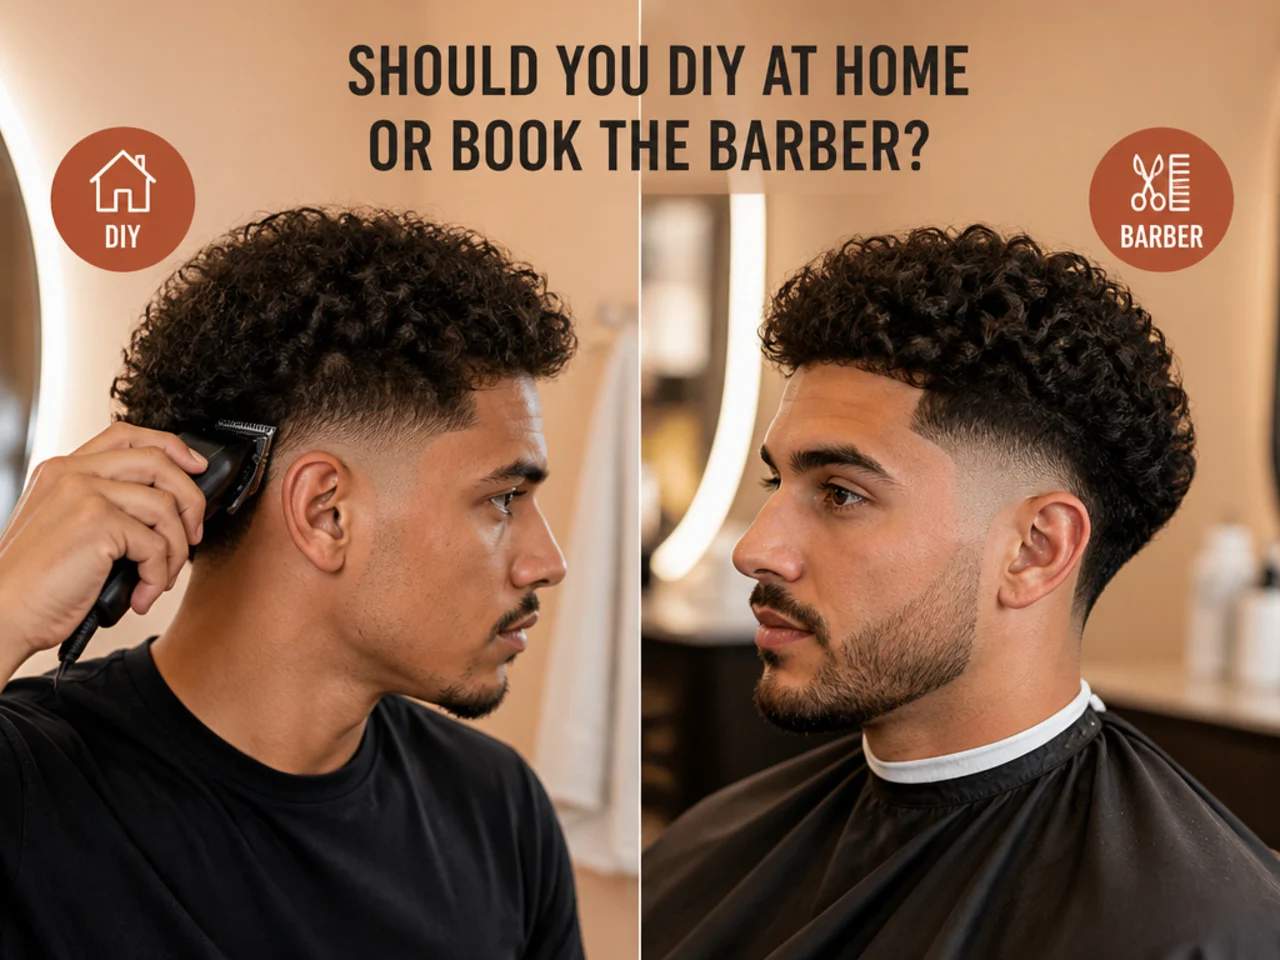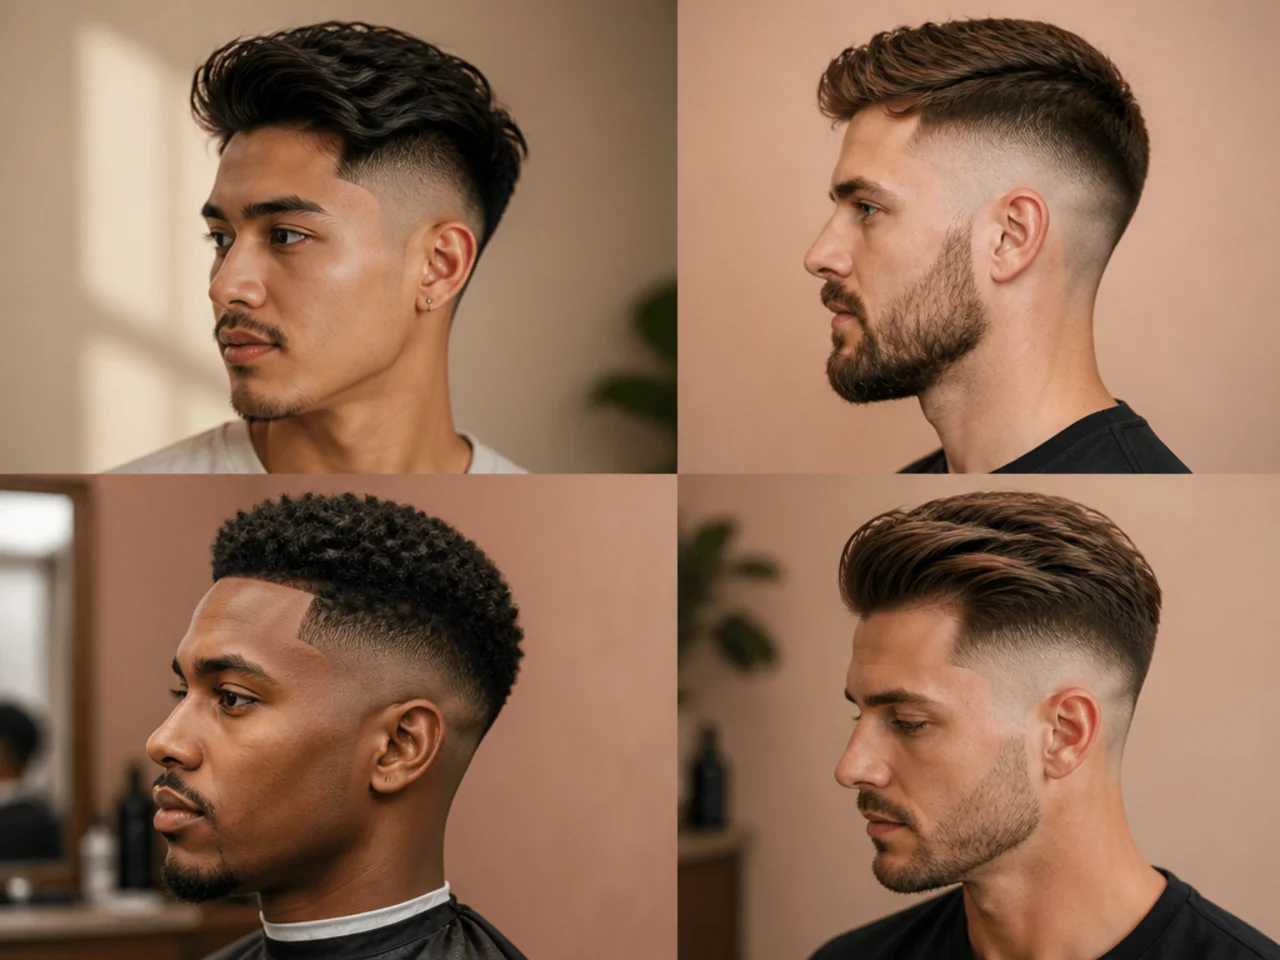
15 Simple Steps To Style A Mullet Fade At Home
Fifteen steps for styling a mullet fade without going back to the barber, in the order that actually works. The step most people skip is drying the faded sides flat before the crown is touched, which is what protects the disconnection.
In this article · 22
- What Separates a Mullet Fade From a Plain Mullet
- Choosing Your Fade Height and Tools
- The 15 Steps to Style a Mullet Fade
- 1. Wash and Towel Dry to Damp
- 2. Comb the Length Out Before Anything Else
- 3. Mist Salt Spray Into the Roots Only
- 4. Rough Dry the Crown Upside Down
- 5. Flatten the Faded Sides With Cool Air
- 6. Dry the Fringe Back Away From the Face
- 7. Set the Crown With a Round Brush
- 8. Diffuse the Tail if the Hair Is Curly
- 9. Warm the Clay Between Your Palms First
- 10. Work Product Into the Crown From Underneath
- 11. Leave the Tail Almost Untouched
- 12. Separate the Crown With Your Fingertips
- 13. Check the Disconnection in a Hand Mirror
- 14. Set It With a Light Flexible Spray
- 15. Reset on Day Two With Water Not Shampoo
- Styling and Upkeep
- Mistakes to Avoid
- FAQ
- Final Thoughts
Most mullet fades collapse at home because the crown gets styled first and the faded sides get flattened afterwards, which erases the one line the cut is built on.
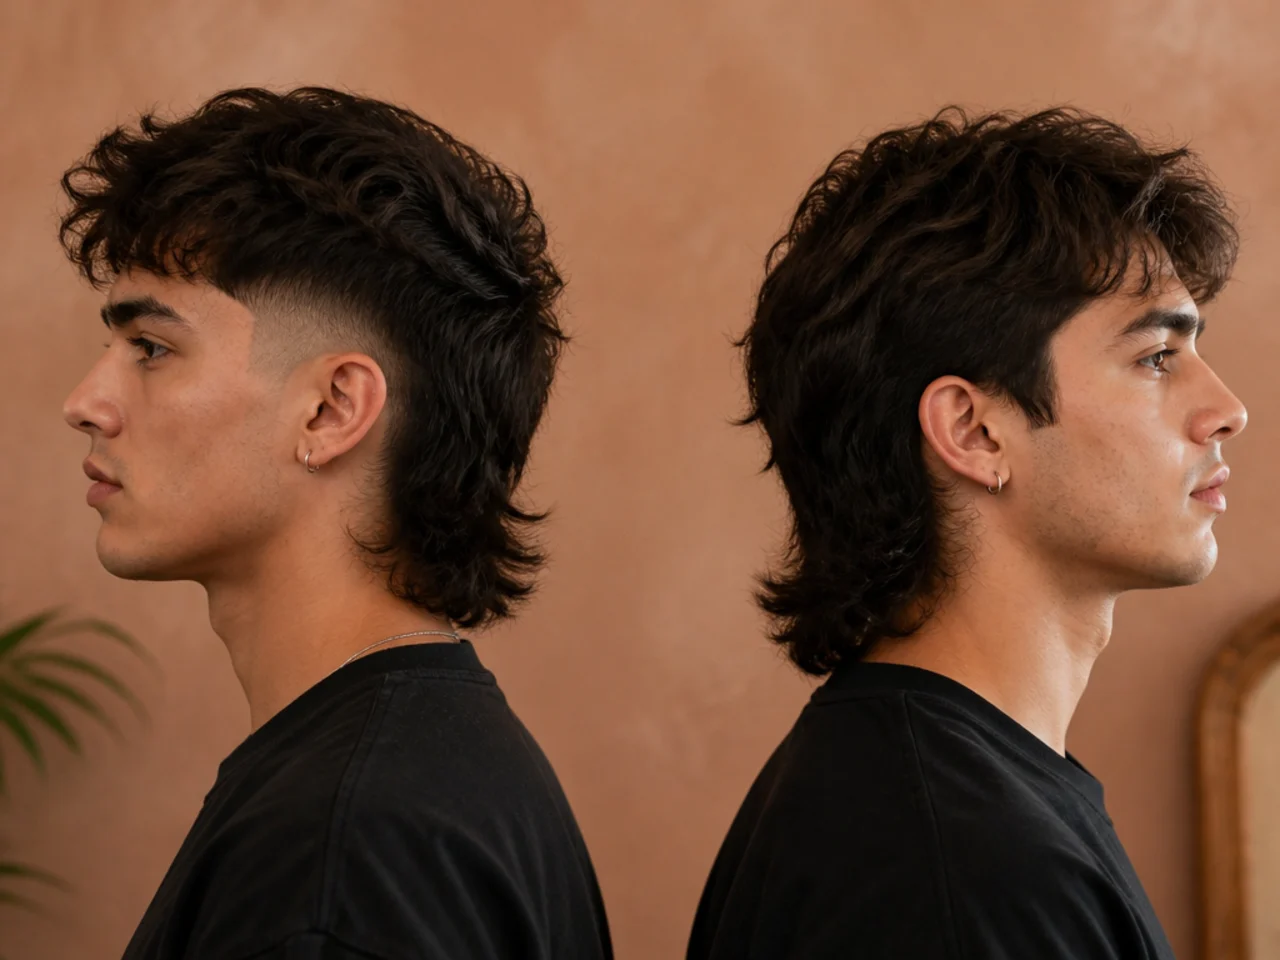
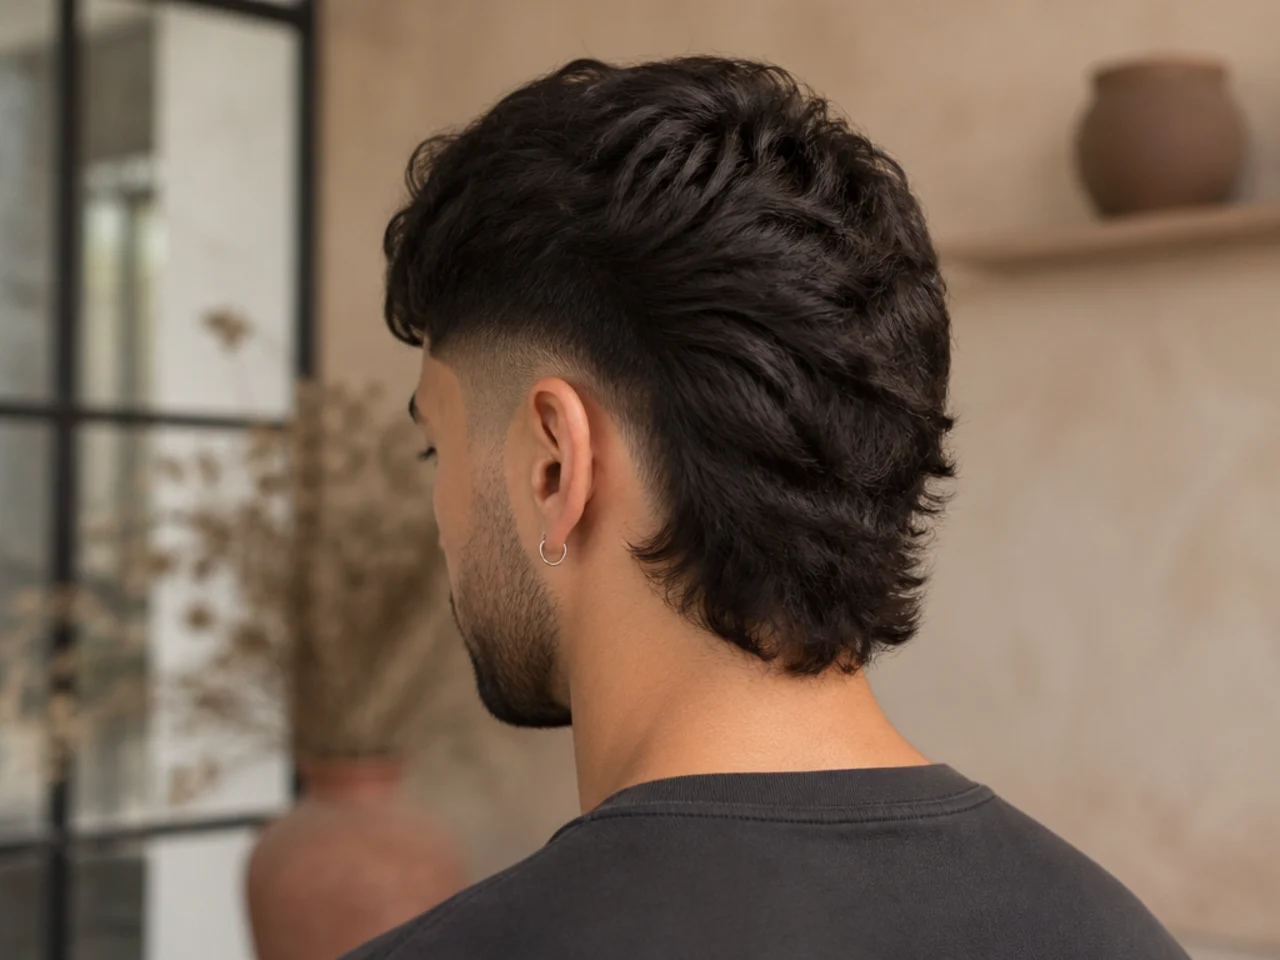
A mullet fade is two lengths held apart. Long at the crown and back, short at the sides, with nothing bridging them. Every step either widens that gap or closes it.
Order of operations is the whole technique. Once the crown is loaded with product you cannot press the sides flat without touching it, so the sides get dried first.
What Separates a Mullet Fade From a Plain Mullet
A plain mullet keeps weight at the sides. Length runs uninterrupted from the front to the back, so the tail reads as long hair rather than as a deliberate shape.
A fade strips the side weight out. With the sides taken to skin or near it, the back stands alone, and that isolation is what makes the silhouette read as a mullet instead of as neglect.
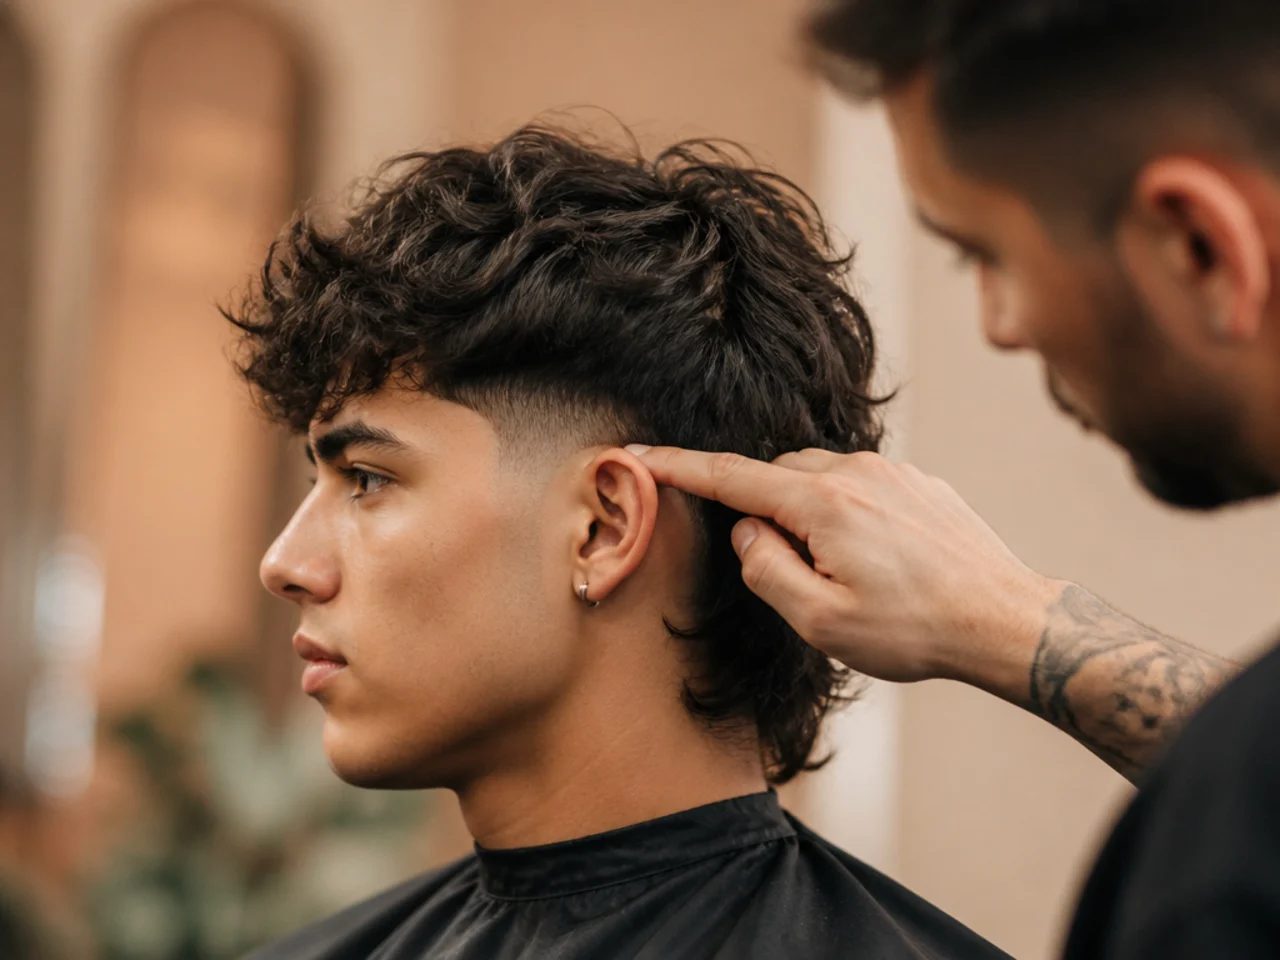
The disconnection is a step, not a gradient. Where the faded panel stops and the long section starts there is a hard change in length, and the cut is judged almost entirely on how clean that change looks.
Fade height sets the width of the tail. A high fade leaves a narrow strip of length and a dramatic outline. A low fade keeps hair around the tail and reads far softer.
Choosing Your Fade Height and Tools
Low fade for a first mullet. Starting the shortening at the top of the ear leaves enough hair around the tail to forgive an uneven line while you learn to dry it.
Mid fade for the standard version. The line sits between the ear and the parietal ridge, giving obvious contrast without exposing the whole side of the head.
A dryer with a nozzle beats any product. Direction is decided while the hair dries; product only holds the position the drying already chose.
One matte clay and one light spray is the entire kit. Shine reads greasy against a faded side, because bare skin already reflects light and a glossy top doubles it.

The 15 Steps to Style a Mullet Fade
1. Wash and Towel Dry to Damp
Style from damp, never soaking. Water sitting in the hair absorbs the dryer's heat and the machine spends its energy evaporating instead of setting shape, so the crown never gets root lift. Squeeze with a towel until the hair stops dripping and feels cool rather than wet.
2. Comb the Length Out Before Anything Else
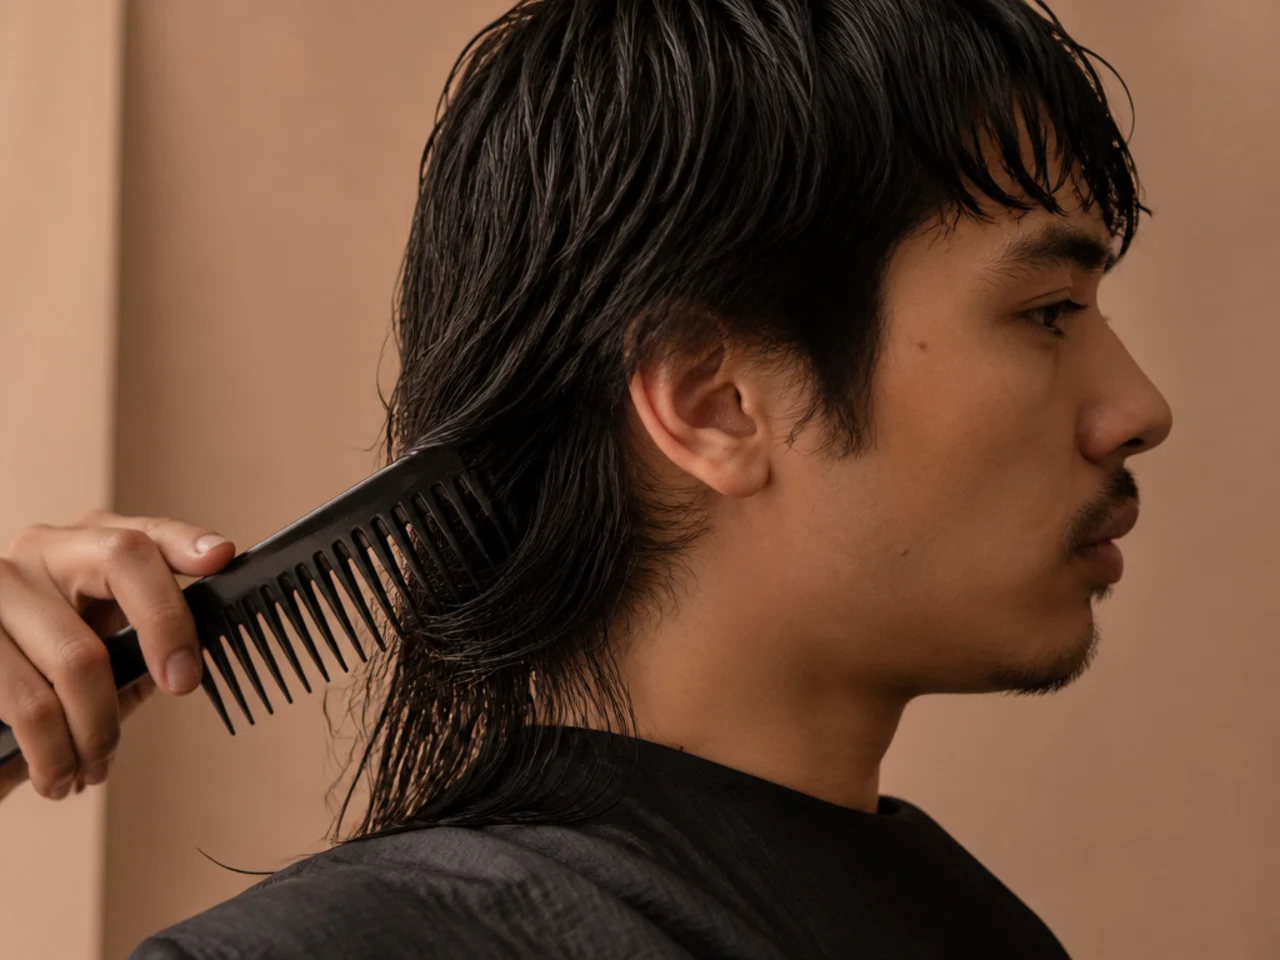
Detangle the tail while it is damp and heavy, working from the ends upward. A knot in the back is invisible until the hair dries and then it holds a kink no product will pull out, and combing it dry to fix it snaps the ends the tail needs to keep its edge.
3. Mist Salt Spray Into the Roots Only
Salt swells the hair shaft slightly and leaves grit between strands, which is what stops the crown collapsing by lunchtime. Keep it off the tail — the same grit that adds grip at the root turns long hair coarse and makes the ends look damaged.

4. Rough Dry the Crown Upside Down
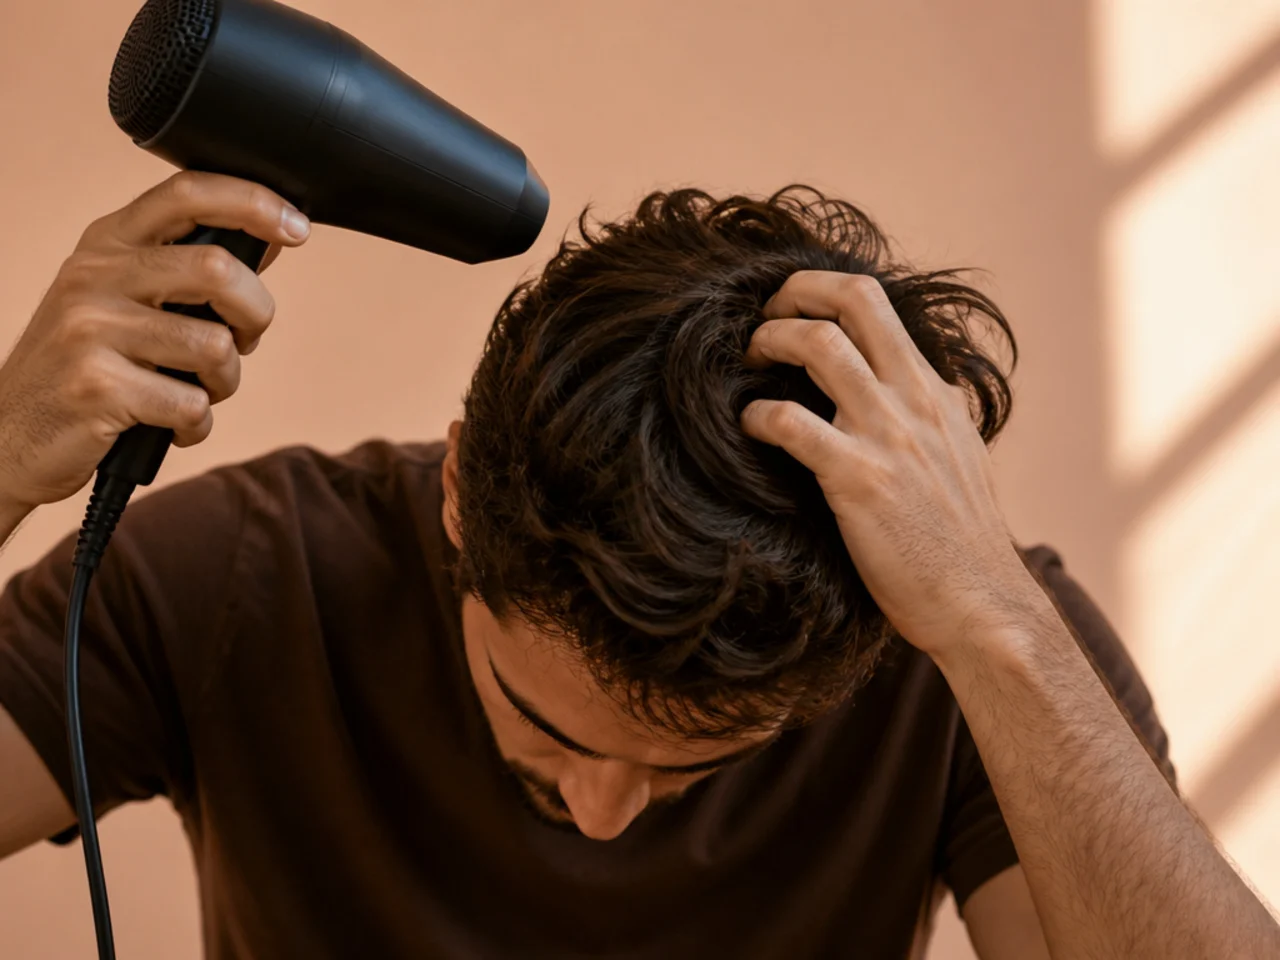
Flip the head forward and push the roots against their natural direction with your fingers as the dryer runs. Hair sets in whichever direction it dries, so these two minutes are where every millimetre of crown height comes from. Dry it hanging down and the top lies flat all day.
5. Flatten the Faded Sides With Cool Air
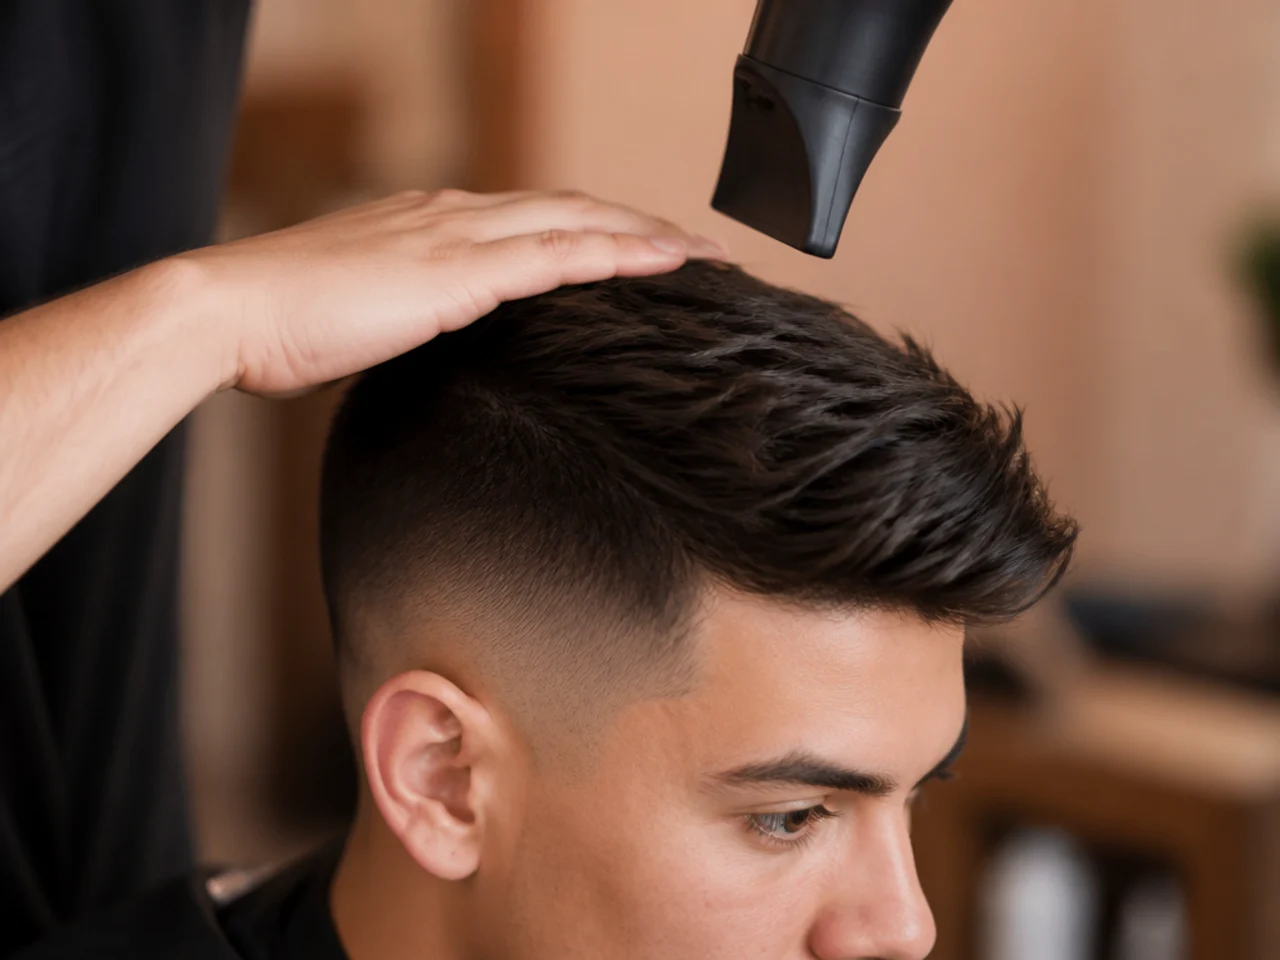
Point the nozzle straight down the side of the head on cool and press the hair flat with your palm. Even a fade leaves enough length at the top of the gradient to fluff, and fluffed sides fill exactly the gap the fade was cut to open.
6. Dry the Fringe Back Away From the Face
Pull the front section up and back as it dries rather than letting it fall forward. Hair that sets forward fights every attempt to move it later, and a fringe dropping into the eyes gets shoved sideways in a way that breaks the symmetry of the crown.
7. Set the Crown With a Round Brush
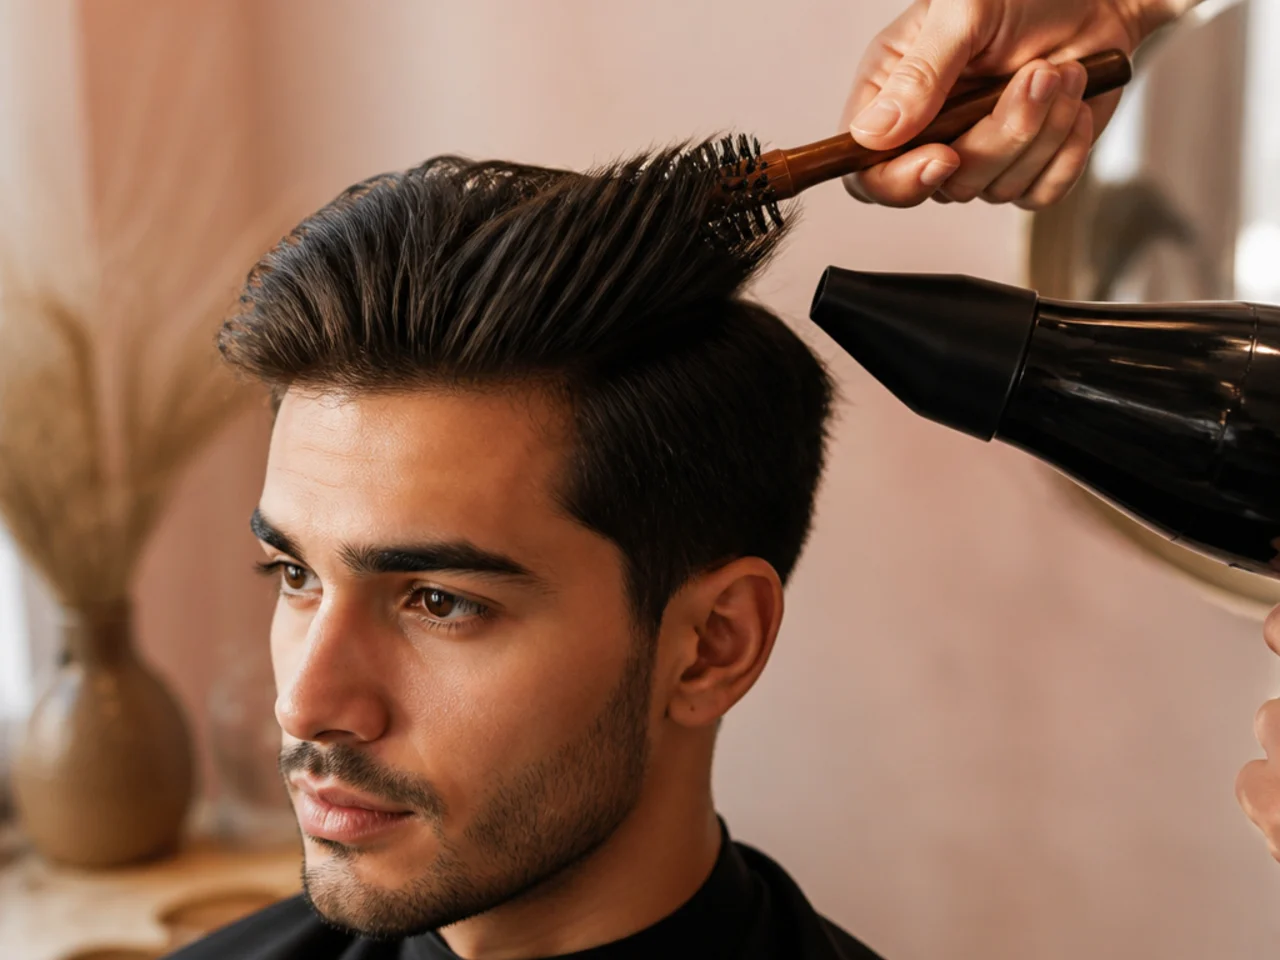
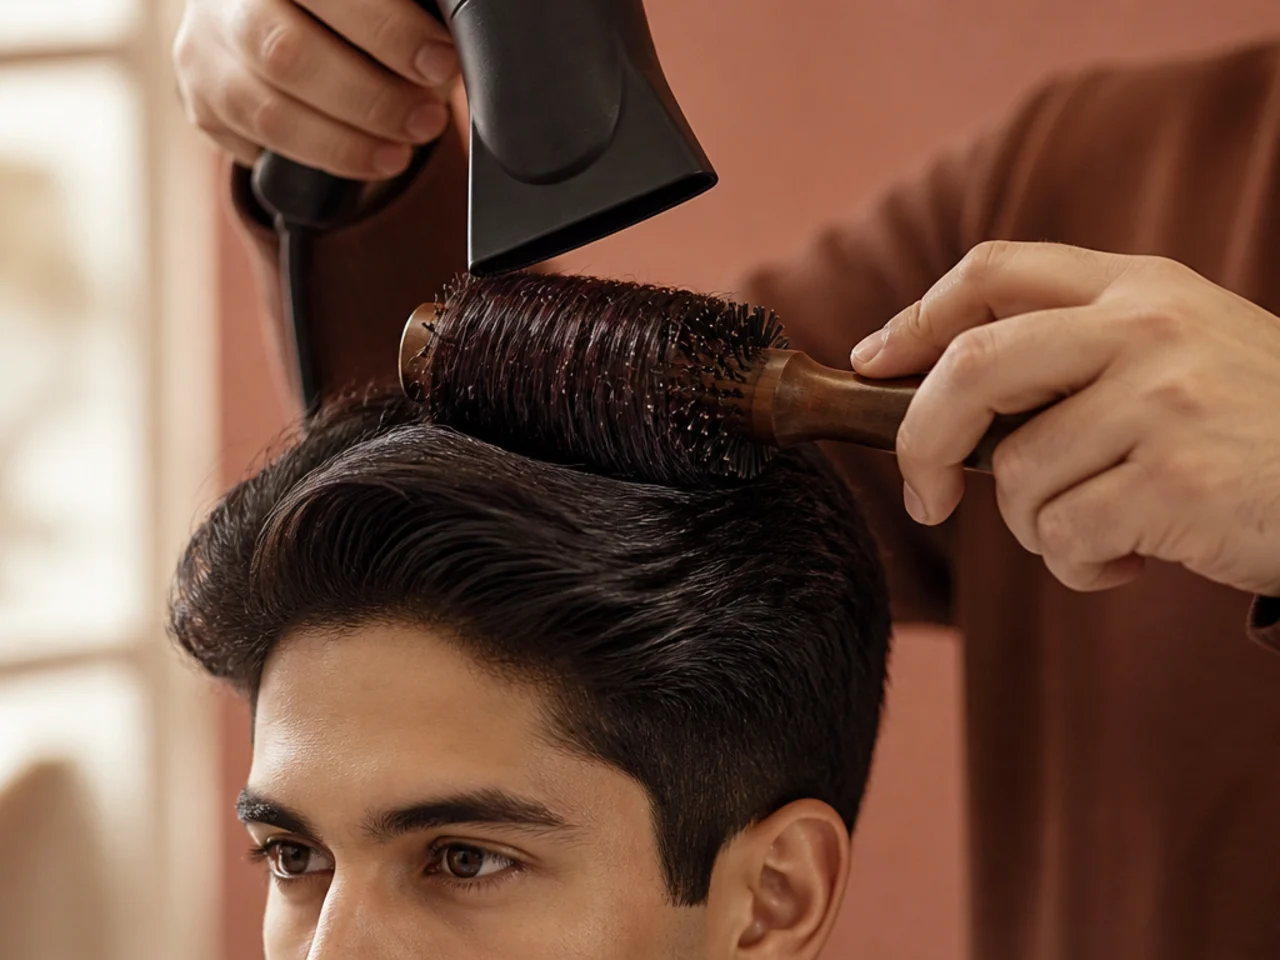
Take sections across the top, roll them back over a round brush with heat, then hold each one in place for a few seconds after the heat stops. The shape is set by the cooling rather than the heating, so releasing the brush while the section is still warm undoes the work instantly.
8. Diffuse the Tail if the Hair Is Curly
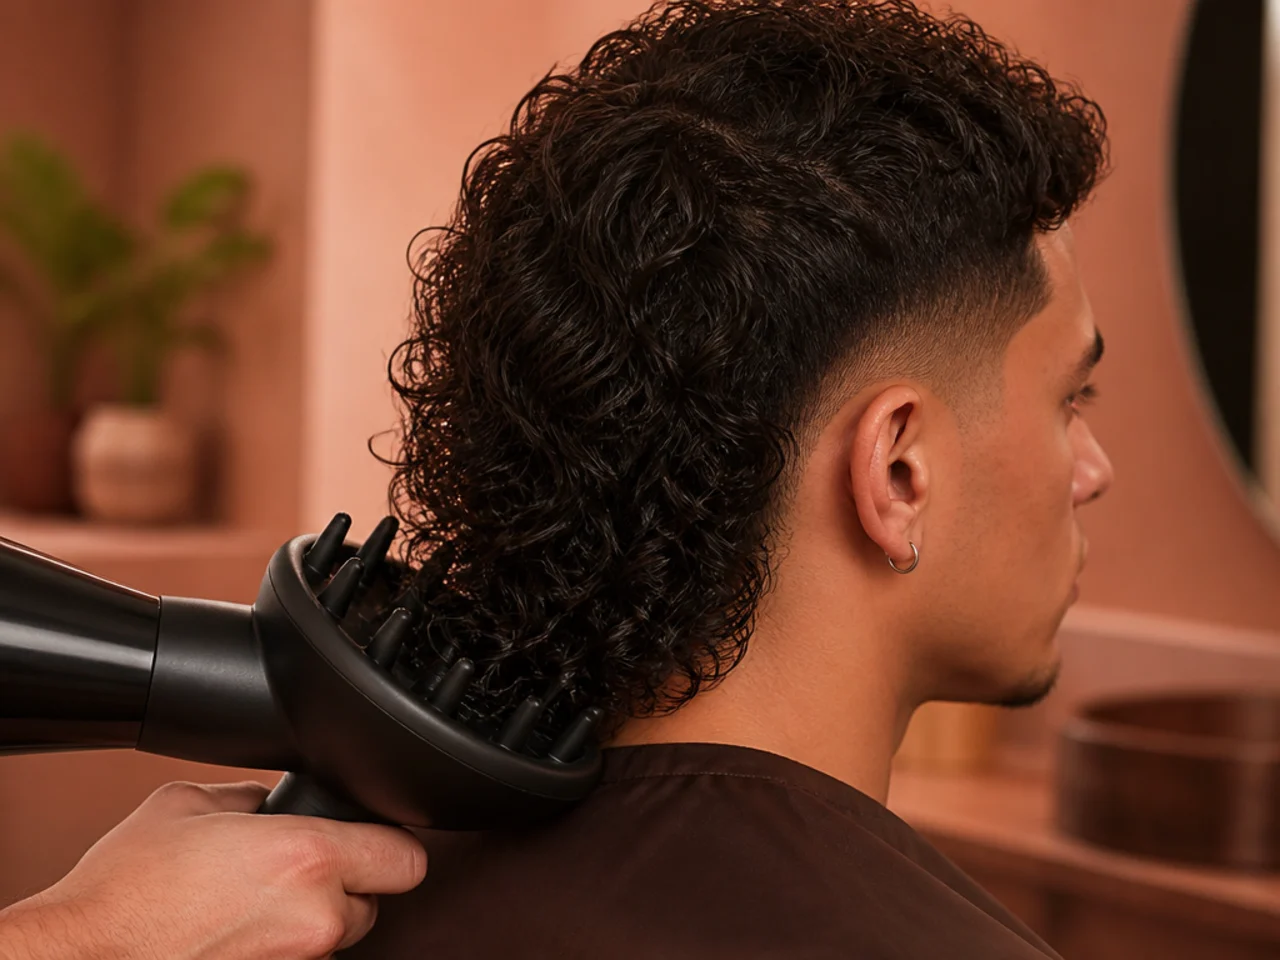
Curly length wants low speed air through a diffuser cupped underneath, not a nozzle blowing across it. Fast air pulls the curl clumps apart into frizz, and the curly version of this cut relies on those clumps staying intact for the tail to keep any definition.
9. Warm the Clay Between Your Palms First
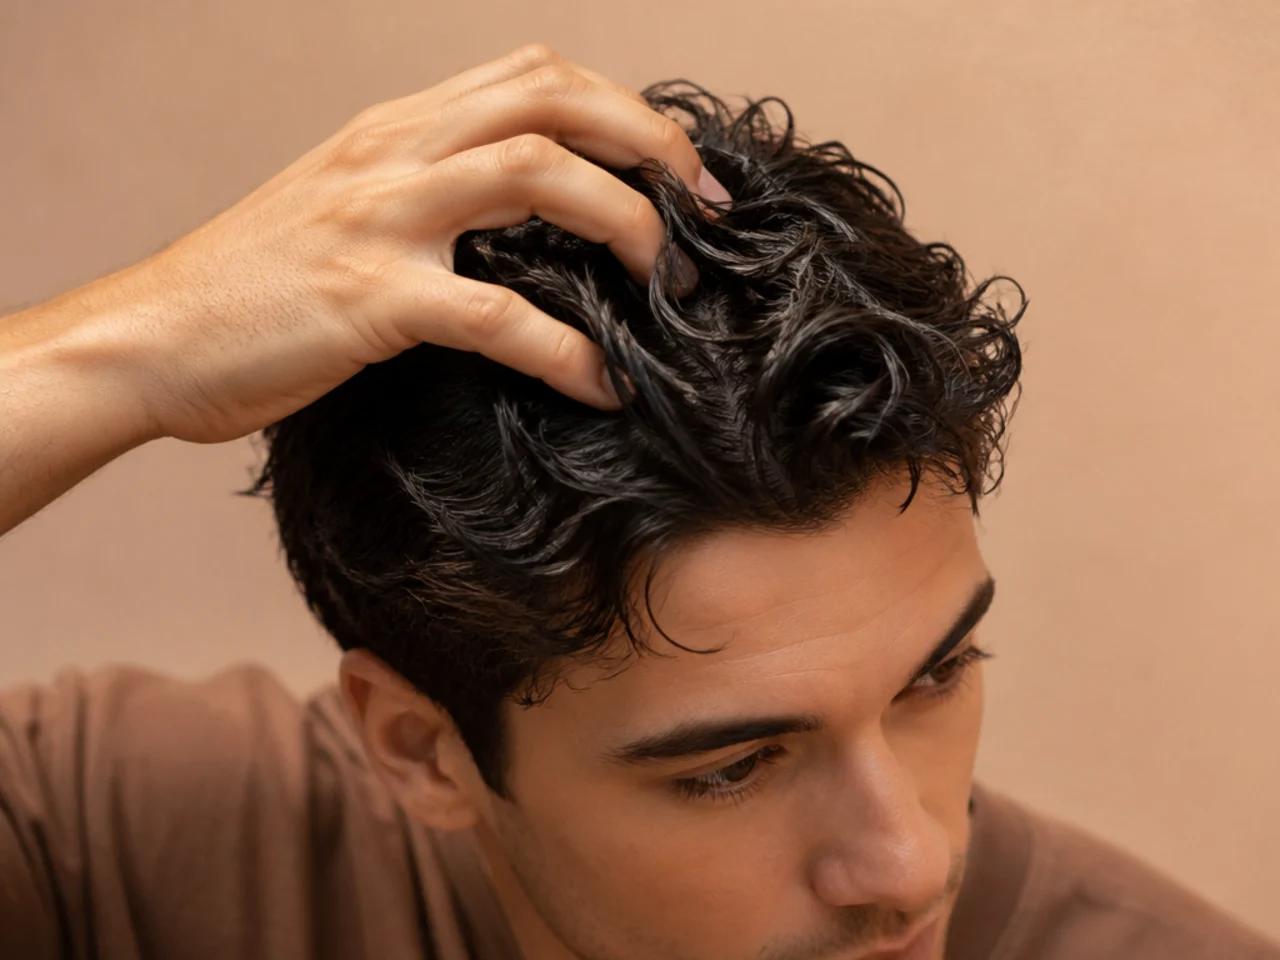
Clay applied cold arrives as lumps that sit on the surface and grab one section far harder than the rest. Rub a pea sized amount until it turns thin and glossy on your hands, then it spreads evenly and you can always add more, which you cannot do in reverse.

10. Work Product Into the Crown From Underneath
Push your fingers up into the roots at the top of the head instead of smoothing product across the surface. Surface product weighs the hair down and flattens the lift you just dried in, while product at the root props each section up from its base.
11. Leave the Tail Almost Untouched
The long back needs a trace of cream on the ends and nothing at the roots. Weighting the tail where it leaves the scalp drags it flat against the neck and removes the small amount of lift that separates a deliberate mullet from hair that simply grew out.
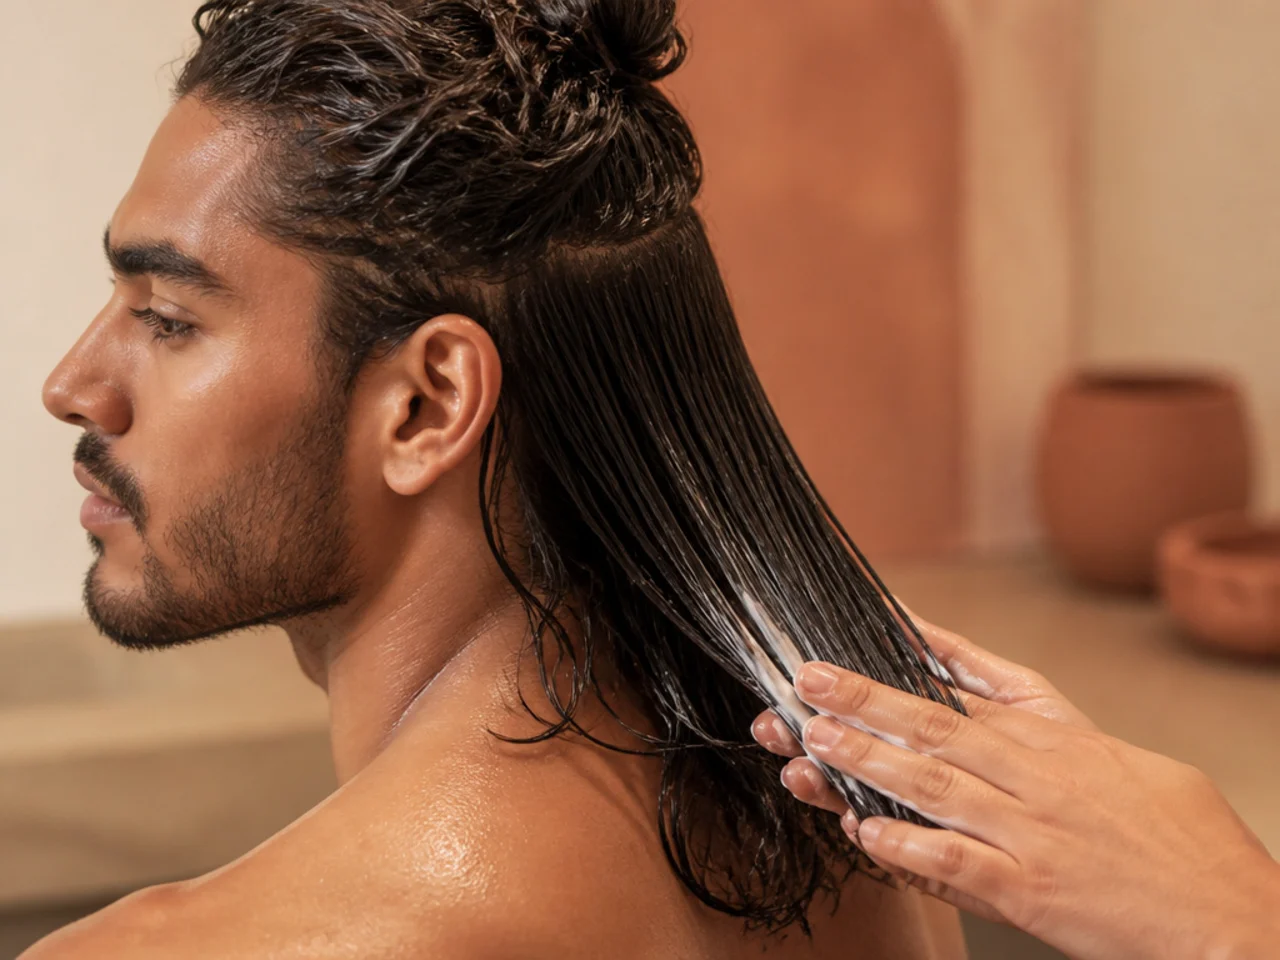
12. Separate the Crown With Your Fingertips
Pull a few sections apart at the tips so the top breaks into pieces rather than sitting as one sheet. A solid mass of hair reads as a helmet under any light, and this separation is what makes the crown look thick instead of merely long.
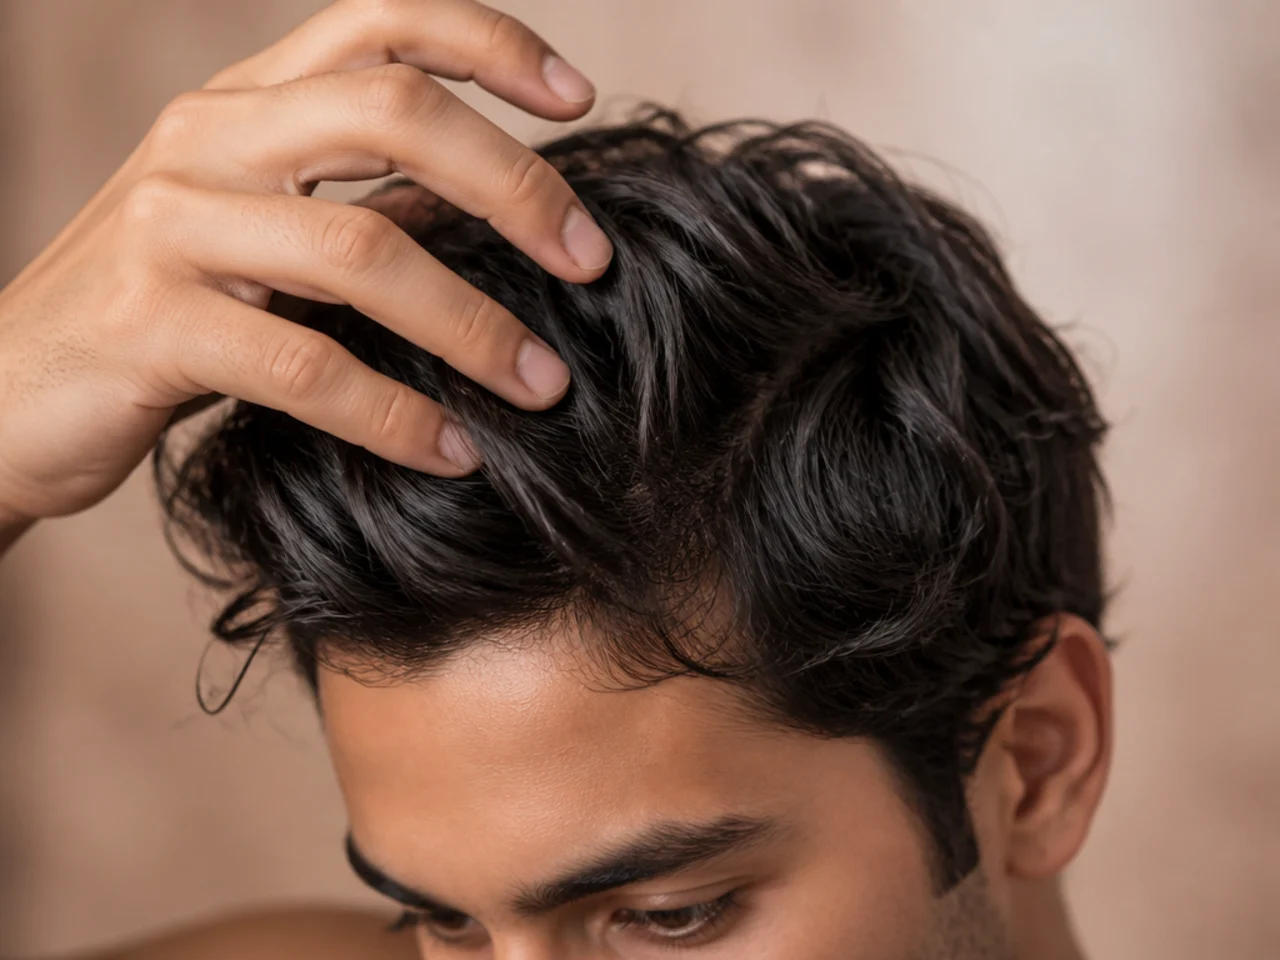
13. Check the Disconnection in a Hand Mirror
Hold a second mirror so you can see the side of your head where the fade meets the length. It is the part of the cut you never look at and the part everyone else sees first, and one flat section falling over the fade line closes the contrast the whole cut depends on.
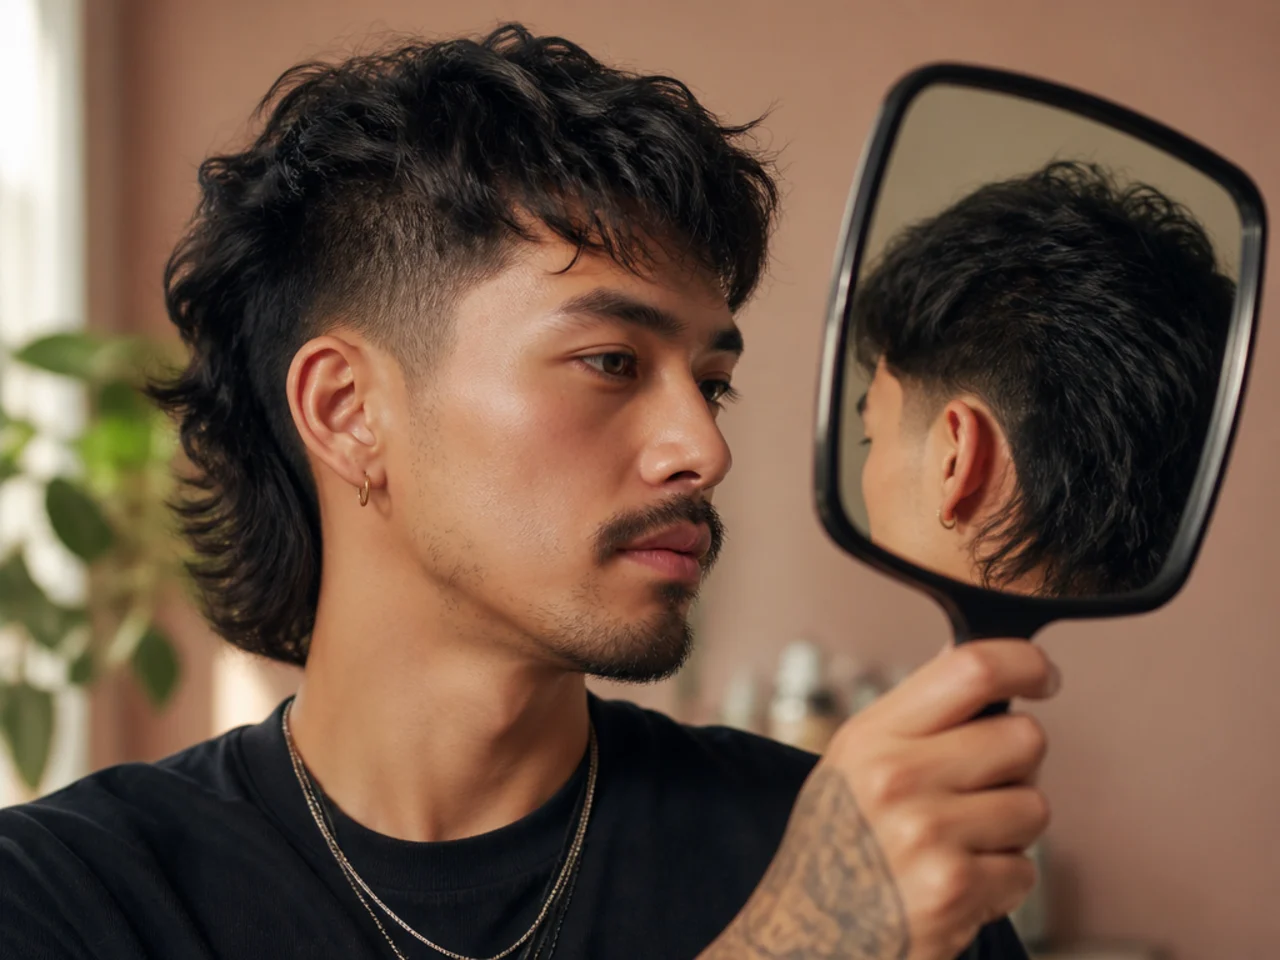
14. Set It With a Light Flexible Spray
Hold the can far enough away that the mist lands dry rather than wet. Spray arriving wet re-softens the shape you just set and lets it dry back into whatever position gravity picks, which on a crown is always flat.
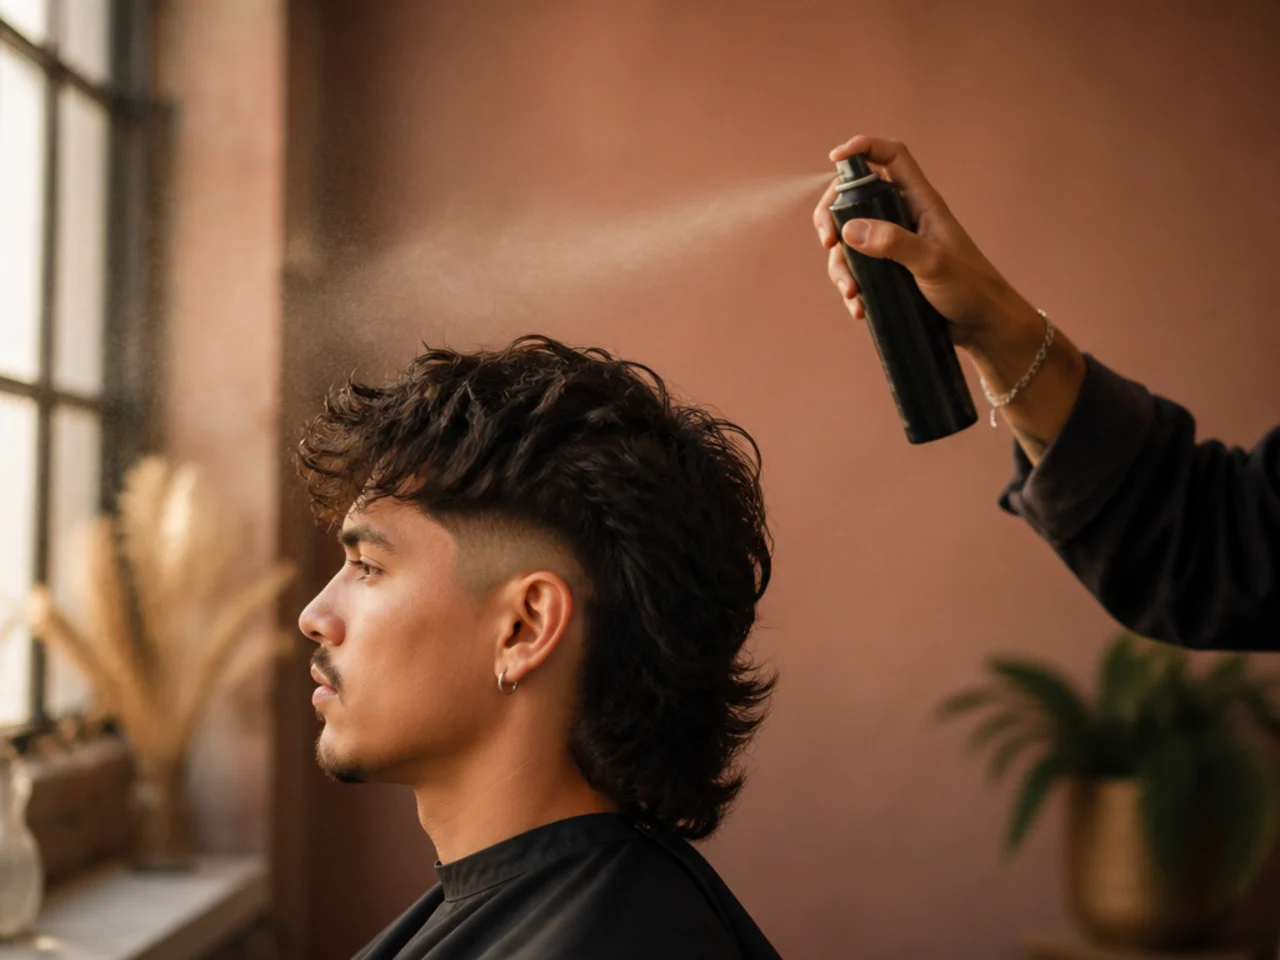
15. Reset on Day Two With Water Not Shampoo
Damp the crown with water, redry it upside down for a minute and add nothing new. Day two hair still holds yesterday's product, so washing strips the grip and starts you from zero, while water alone softens what is already there and lets you reshape it.

Styling and Upkeep
Dry the sides before the top, every time. The order is what preserves the disconnection, and reversing it undoes twenty minutes of work.
Rebook the fade at two weeks, not four. Skin at the sides shows stubble inside a fortnight and the contrast fades with it.
Trim the tail ends every second appointment. Split ends make long hair sit wider and softer, which blurs the outline the fade sharpens.
Keep the crown product matte. Shine next to a faded panel reads as grease, because the bare skin beside it is already reflecting light.
Photograph the fade line in week one. It is the only reliable way to ask for the same height again.
Mistakes to Avoid
Styling the crown first. Every attempt to flatten the sides afterwards drags product into the top and pulls it down.
Using cream or wax on fine hair. Both are heavy enough to close the root lift that gives the crown its height.
Blow drying curly length with a nozzle. Concentrated air separates curl clumps into frizz and widens the tail into a triangle.
Letting the fringe dry forward. It sets in that direction and then has to be forced back all day, which pulls the crown off centre.
Waiting five weeks between fades. The sides grow into the disconnection and the cut stops reading as a mullet at all.

FAQ
Fade or taper? A fade goes to skin for maximum contrast; a taper leaves length and lasts longer.
How much product? A pea sized amount of matte clay, worked in at the root.
How often? Two weeks for a skin fade, three to four for a taper.
Final Thoughts
Styling a mullet fade at home is mostly a sequence problem. Dry the sides flat, build the crown upside down, then leave the tail alone. Product decides very little; the direction the hair dried in decides almost everything.
For the shape itself and how to ask for it see the mullet haircut for men, and for how the fade sits against the length see the mullet fade. More in Fade Haircuts.