

15 Steps To Style A Modern Short Fade Mullet
The barber builds the fade, but the tail and the top are yours every morning. Fifteen steps in the order they actually happen, from damp hair to the cold set that decides whether the shape survives past lunchtime.
In this article · 22
- What a Short Fade Mullet Is Doing
- Choosing Your Fade Height
- The 15 Styling Steps
- 1. Start From Damp Hair Not Dry
- 2. Work Salt Spray Through the Mid Lengths
- 3. Rough Dry the Roots Against the Growth
- 4. Push the Top Forward As It Dries
- 5. Direct the Tail Down and Back
- 6. Leave the Faded Sides Alone
- 7. Let It Cool Before Any Product
- 8. Warm the Clay Between Your Palms
- 9. Apply From the Back Forward
- 10. Build the Top in Two Thin Passes
- 11. Separate the Fringe With Fingertips
- 12. Comb the Tail Only With Fingers
- 13. Check the Silhouette in Profile
- 14. Set It With Hairspray From Arms Length
- 15. Reset on Day Two With Water Not Product
- Styling and Upkeep
- Mistakes to Avoid
- FAQ
- Final Thoughts
The barber owns the fade for about ten days. The tail and the top are yours every single morning, and that is where a short fade mullet is won or lost.
Hair sets in the direction it dries. Water lets the bonds inside the strand reform in a new position, so the direction you push the hair while it dries is the shape you keep.
Product cannot fix a bad dry. Clay adds texture and hold to a shape that already exists. Applied to a flat dry, it only makes the flatness stay put.
What a Short Fade Mullet Is Doing
The fade clears the sides so the tail can be read. With the sides taken short, the eye has nothing to look at except the length at the back, which is the entire point of the shape.
A fade goes to skin. A taper leaves length. Both work under a mullet, but a skin fade shows regrowth within one to two weeks while a taper finishing at a number one still reads correctly at three to four.
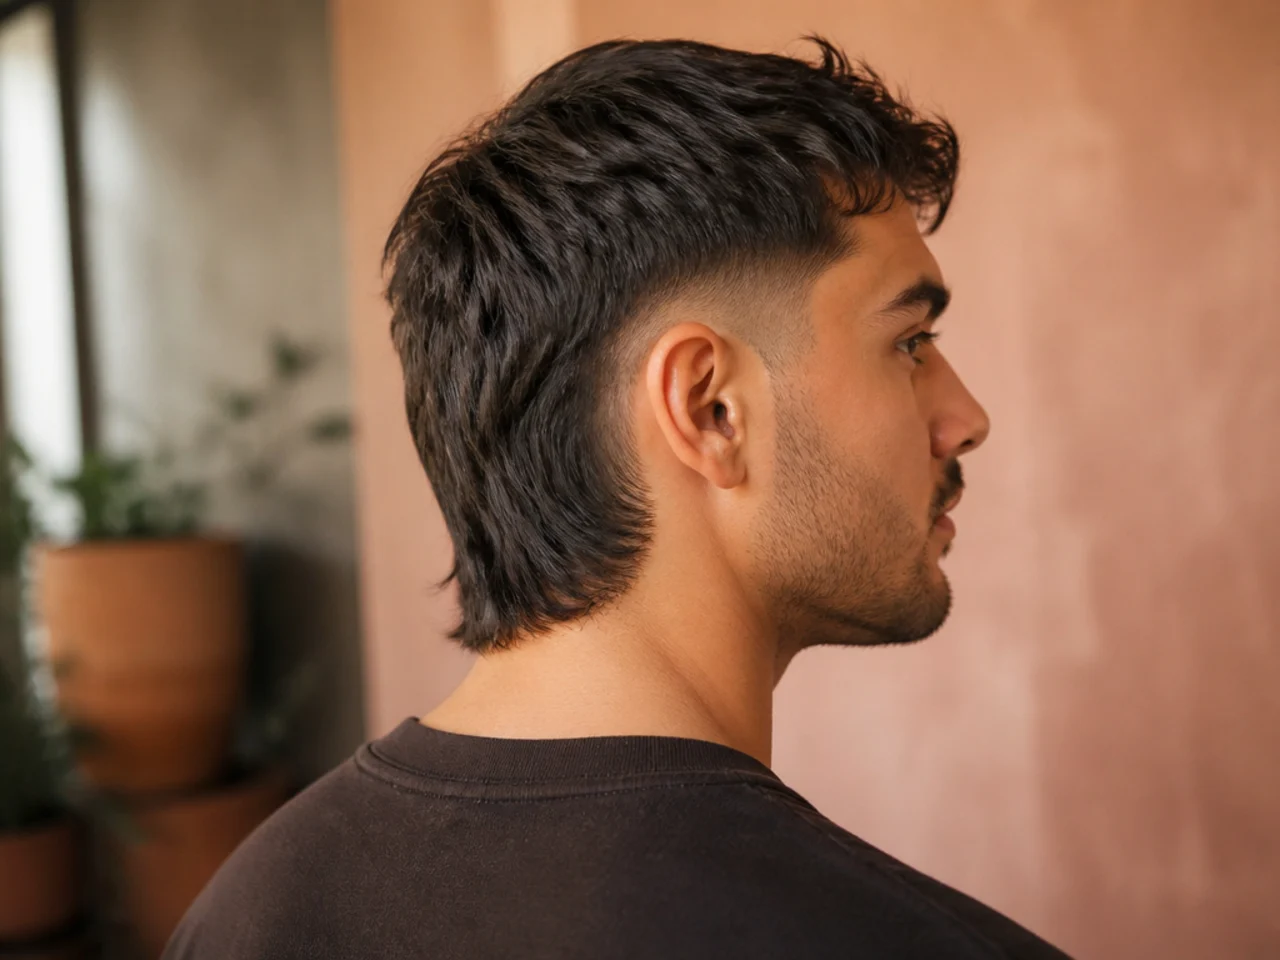
The tail carries the silhouette. Everything else is context. If the tail sits flat against the neck the cut looks like a bad haircut rather than a deliberate one.
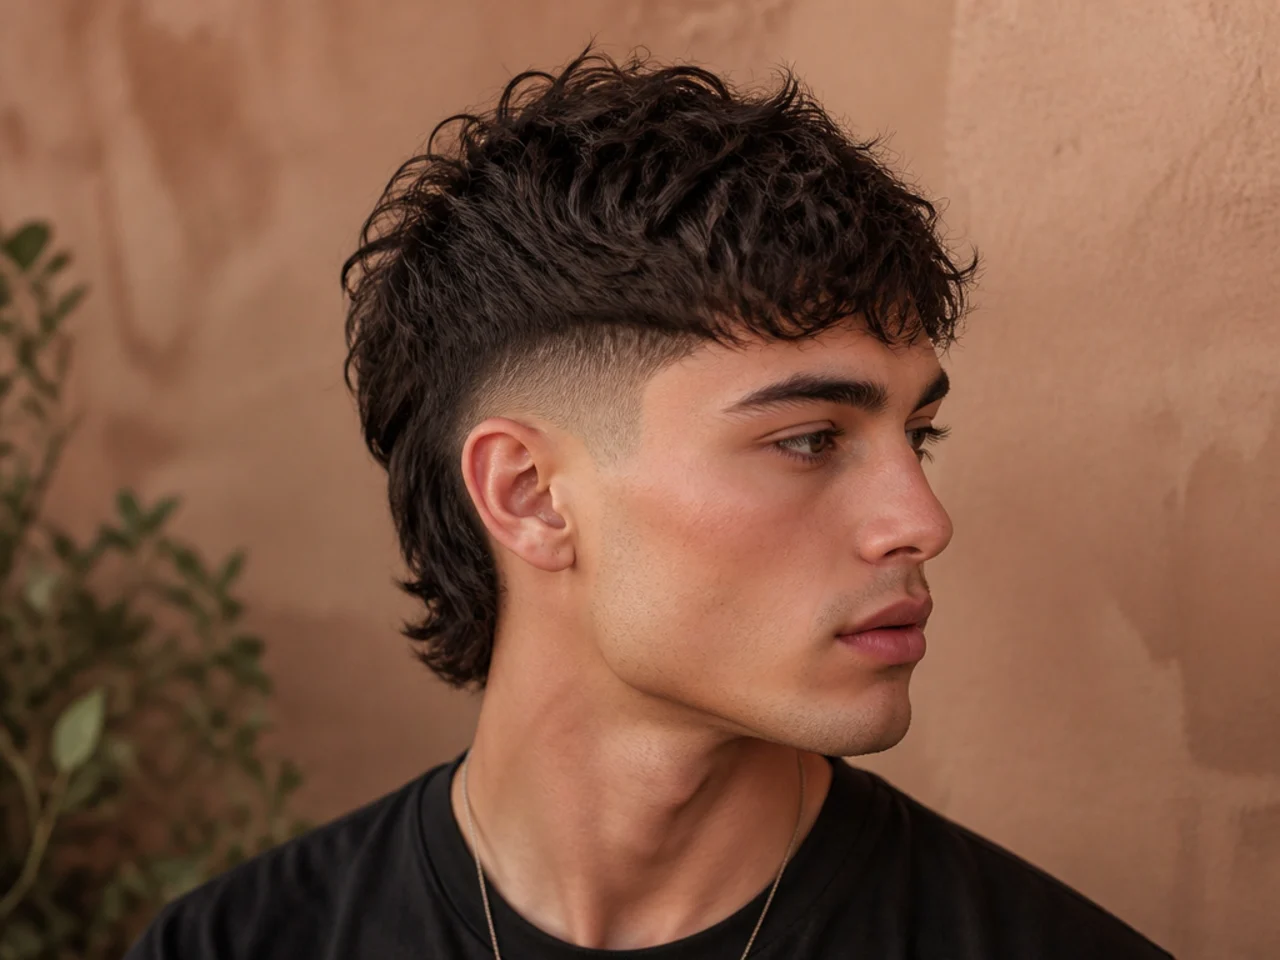
Modern means short on top as well. The current version pairs a cropped, textured top with the length at the back, which is what separates it from the long topped mullet.
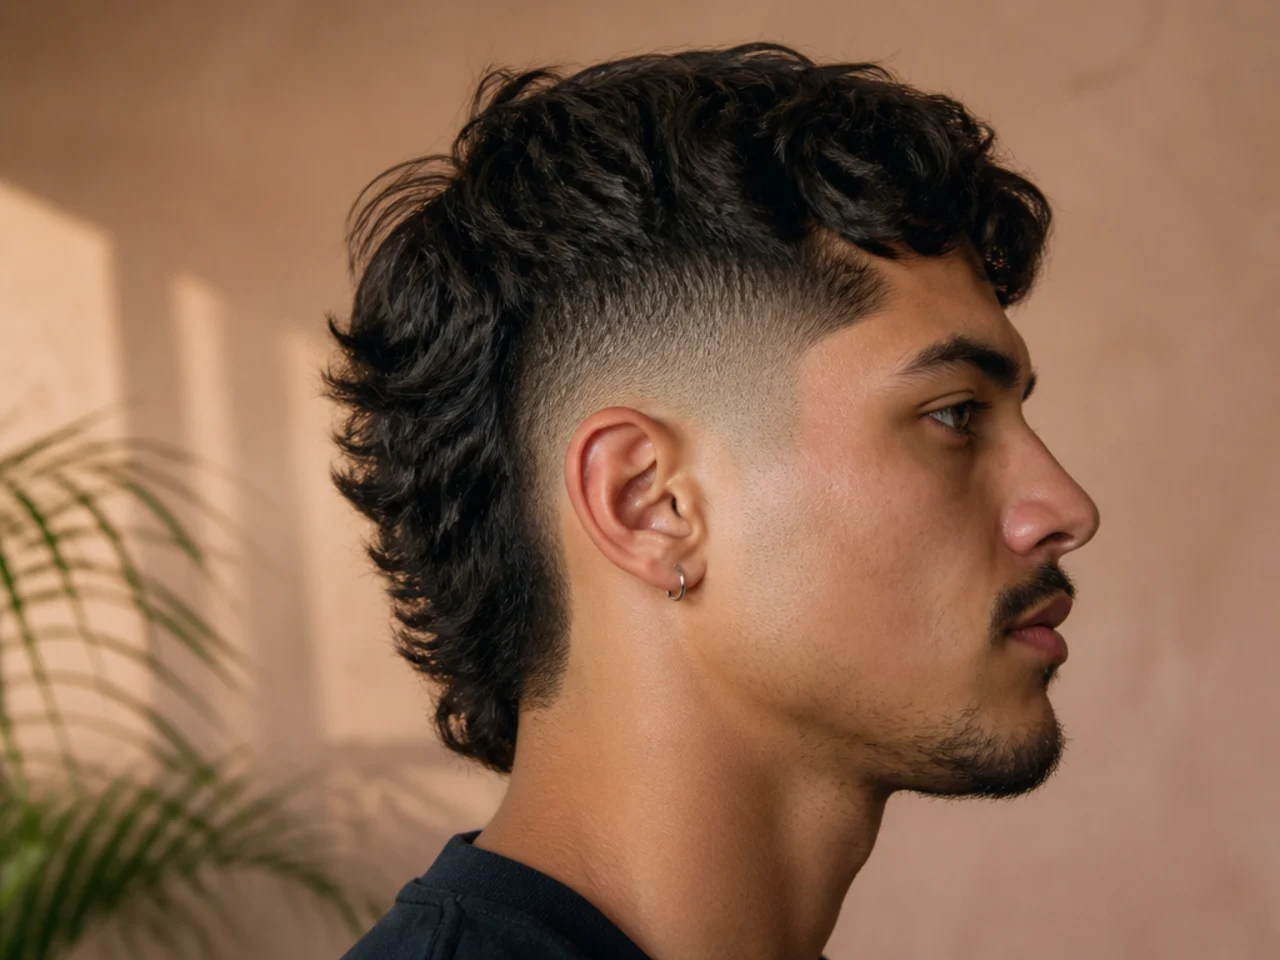
Choosing Your Fade Height
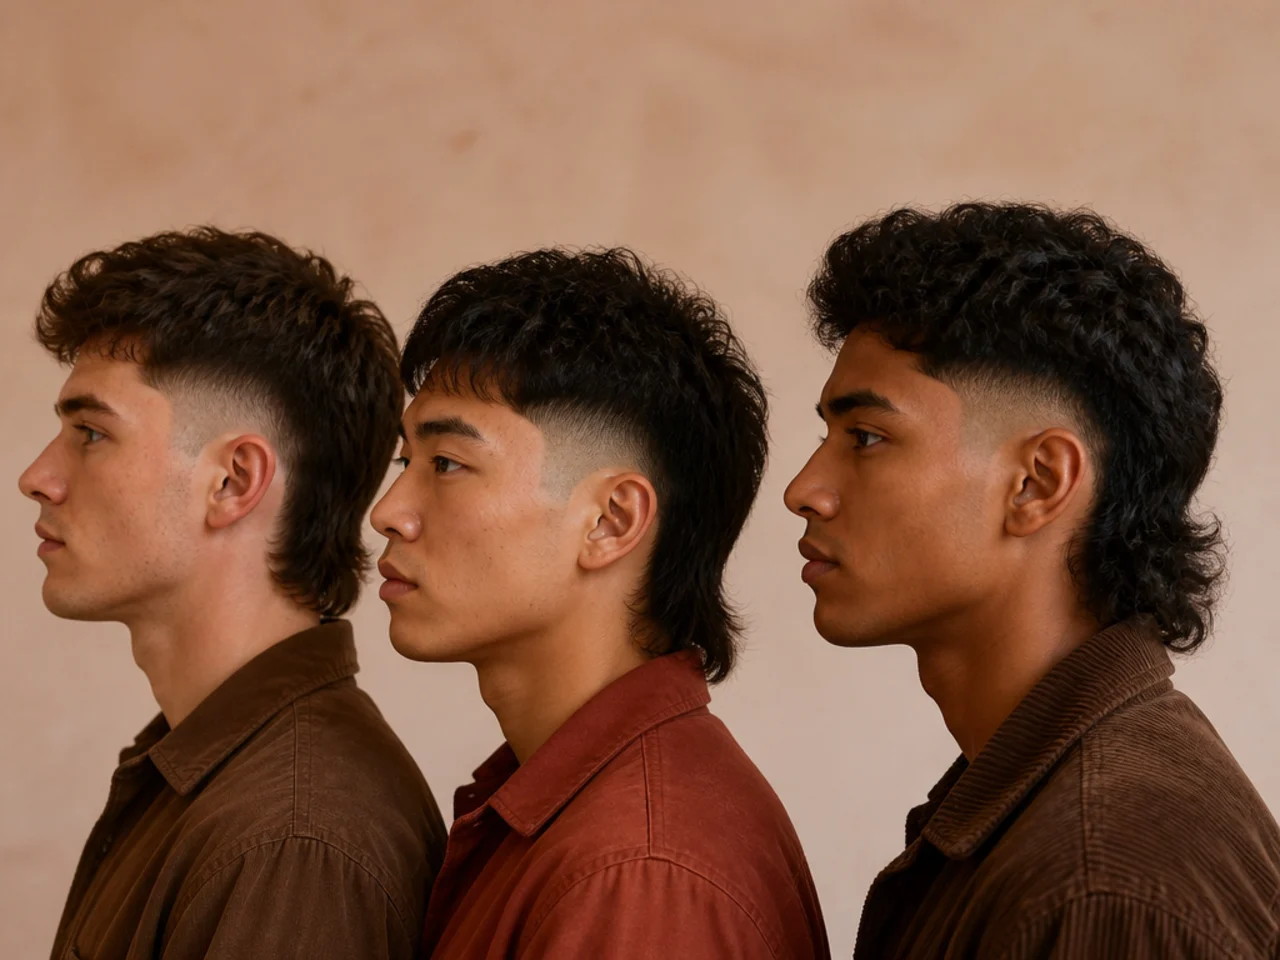
Low fade for the quiet version. The shortening begins just above the ear, which keeps most of the side length and makes the tail look like a natural continuation.
Mid fade for real contrast. Starting around the temple leaves a larger area of skin and a harder jump into the tail, so the mullet reads immediately.
Burst fade to frame the tail. The gradient curves around the ear and leaves the nape long, so the tail is joined to the cut rather than hanging off a straight line.
Choose by your trim schedule, not the photograph. Skin needs a barber every one to two weeks. If that is not realistic, ask for the same shape finishing at a number one, which is three millimetres of hair and blurs instead of stubbling.
The 15 Styling Steps
1. Start From Damp Hair Not Dry
Towel the hair until it stops dripping but still feels cool. Water is what allows the internal bonds to break and reform in a new position as the hair dries, so a bone dry head cannot be redirected at all and a soaking one just takes ten extra minutes.
2. Work Salt Spray Through the Mid Lengths
Two or three sprays into the top and the tail, none at the roots. Salt leaves deposits on the cuticle that raise friction between strands so pieces stay separated, but at the root that stiffness locks the hair flat before you have had a chance to lift it.

3. Rough Dry the Roots Against the Growth
Hands in, dryer on medium, pushing the roots the opposite way to how they grow. A fibre dried in a bent position keeps that bend, and the root is the only part of the strand carrying the weight of everything above it, so this is where all the height comes from.
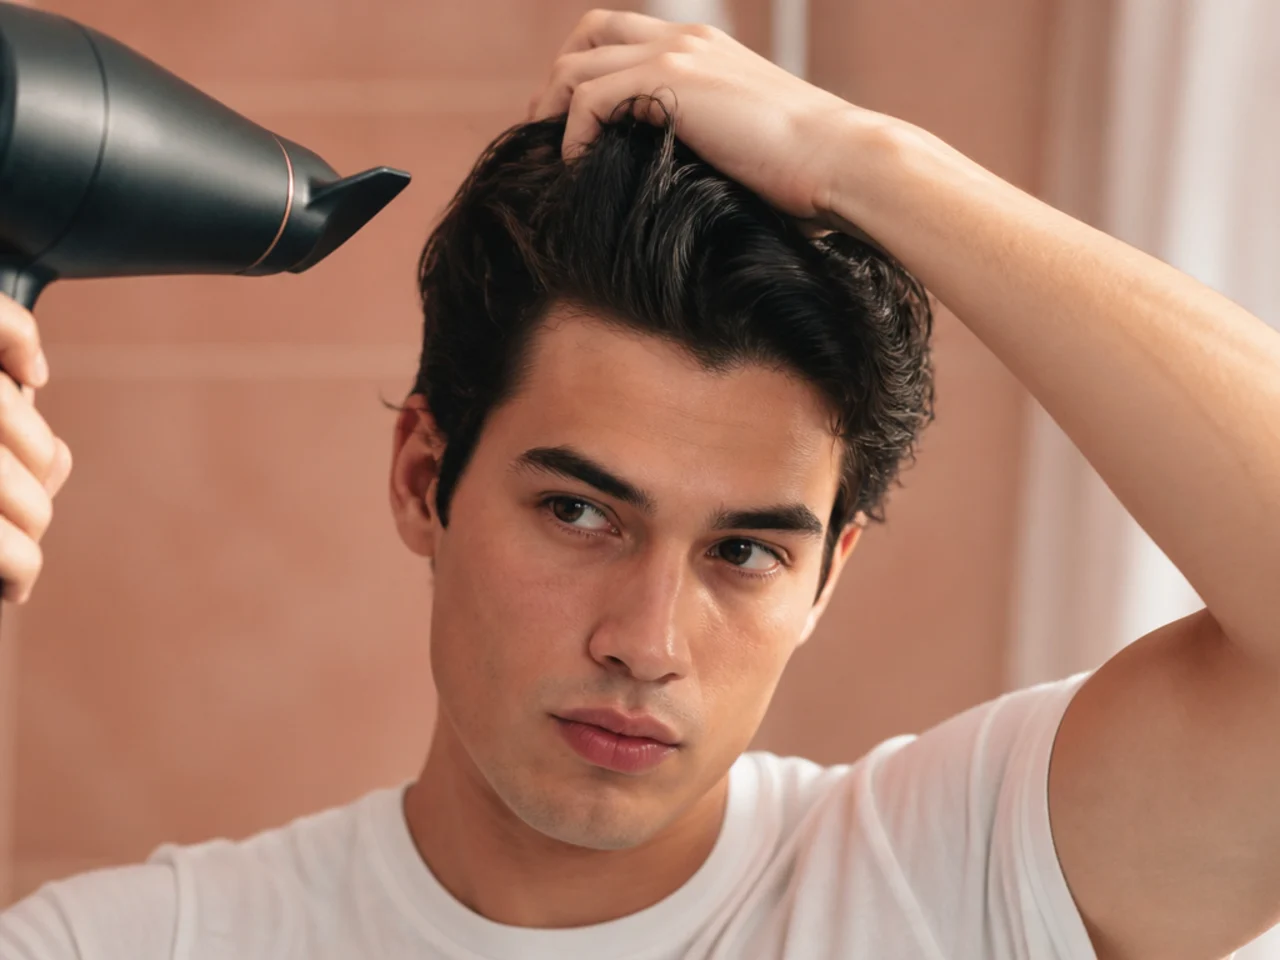
4. Push the Top Forward As It Dries
Once the roots are lifted, drive the length of the top toward the forehead. The forward fringe is the modern half of the cut, and hair dried backward sets backward, which leaves you combing it forward all day against a shape that wants to go the other way.
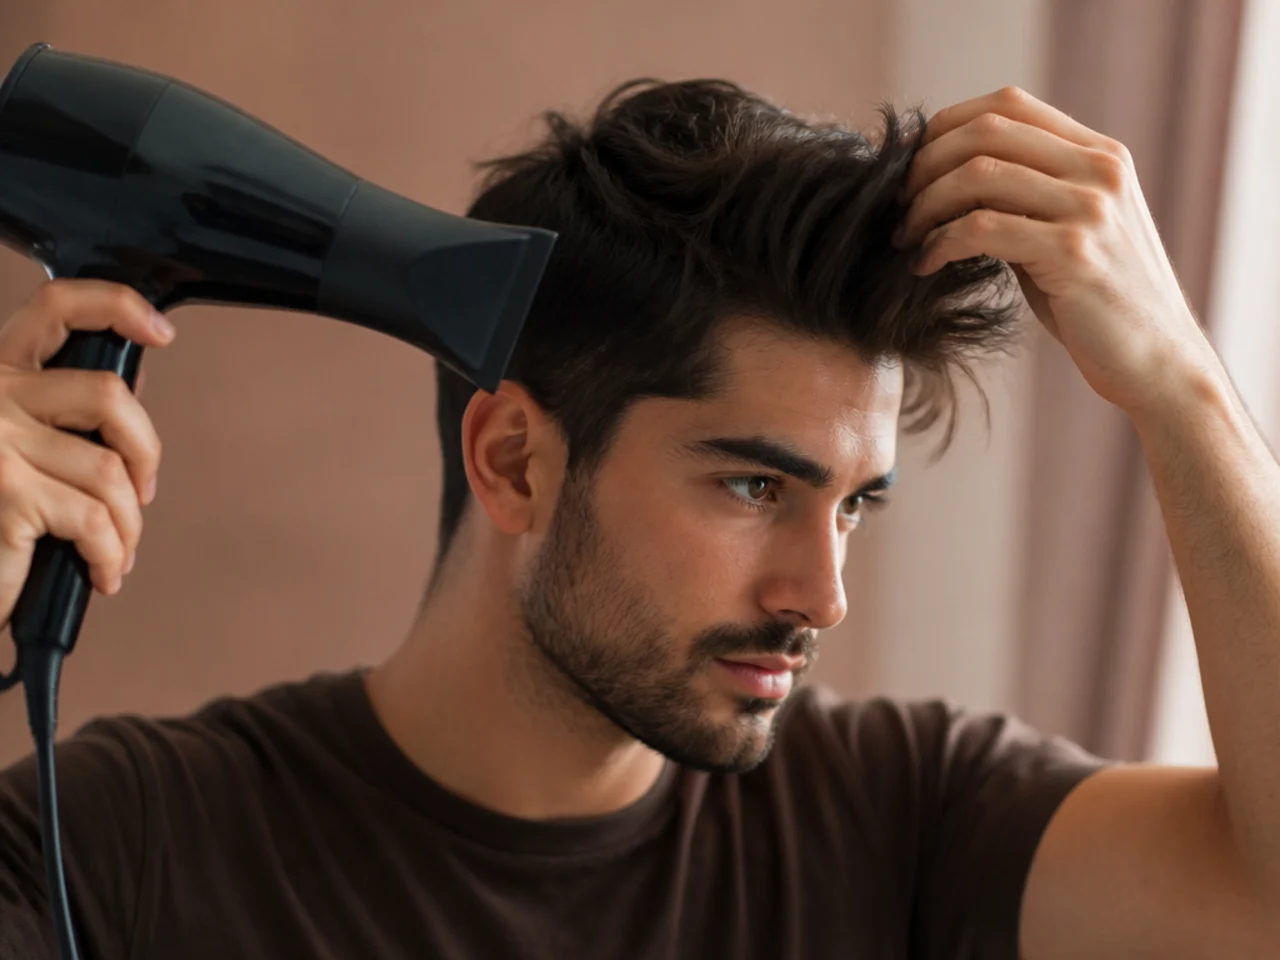
5. Direct the Tail Down and Back
Aim the nozzle down the back of the head with the tail combed back and slightly away from the neck. Dried straight down onto the collar the tail sticks there, because the roots at the nape are the hinge the whole length swings from.
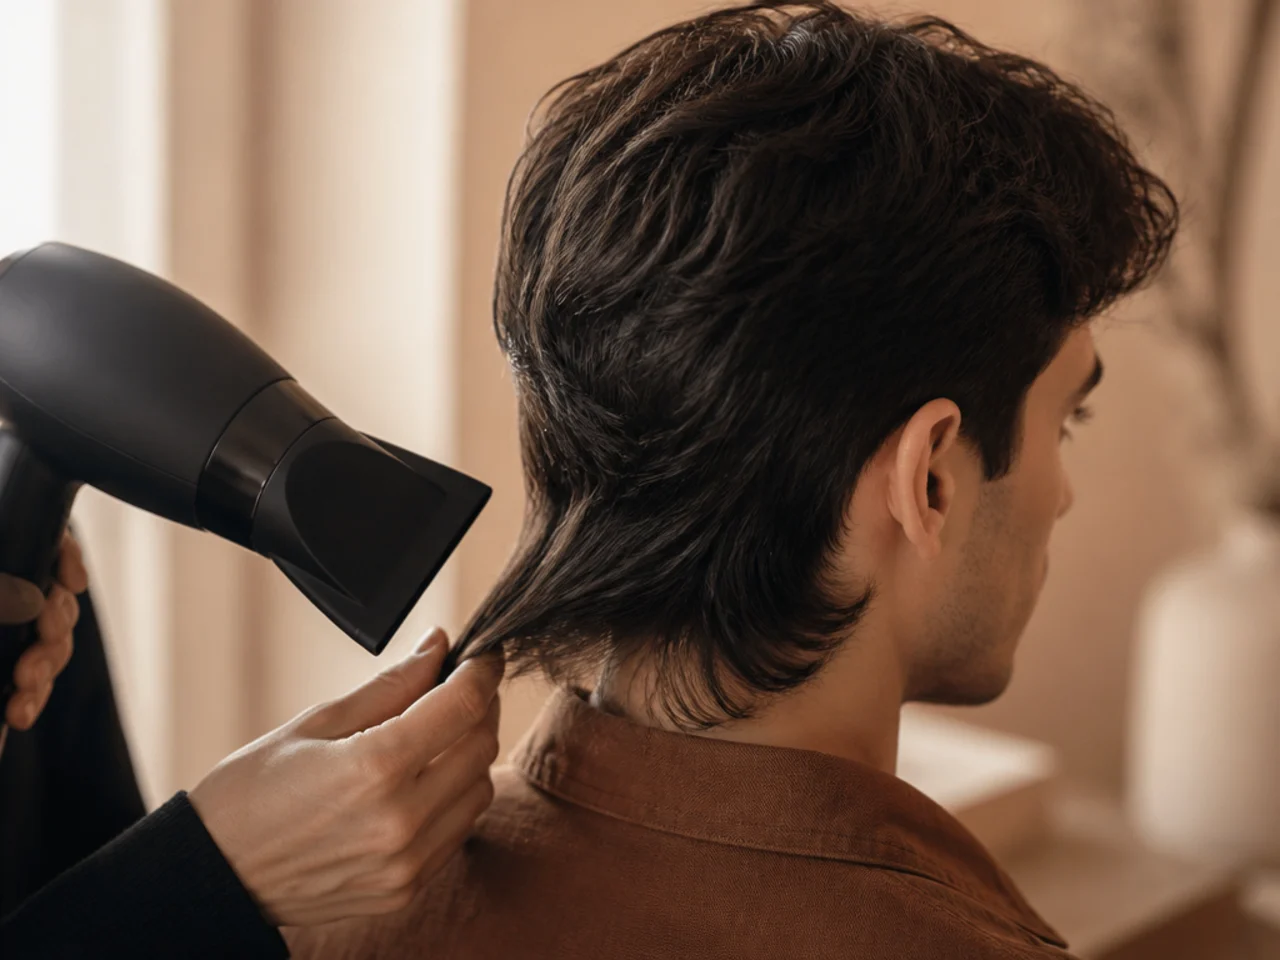
6. Leave the Faded Sides Alone
No product, no dryer, no comb. There is nothing there long enough to style, and anything you put on skin or a number one shows as shine, which draws the eye straight to the regrowth line you are trying to ignore.
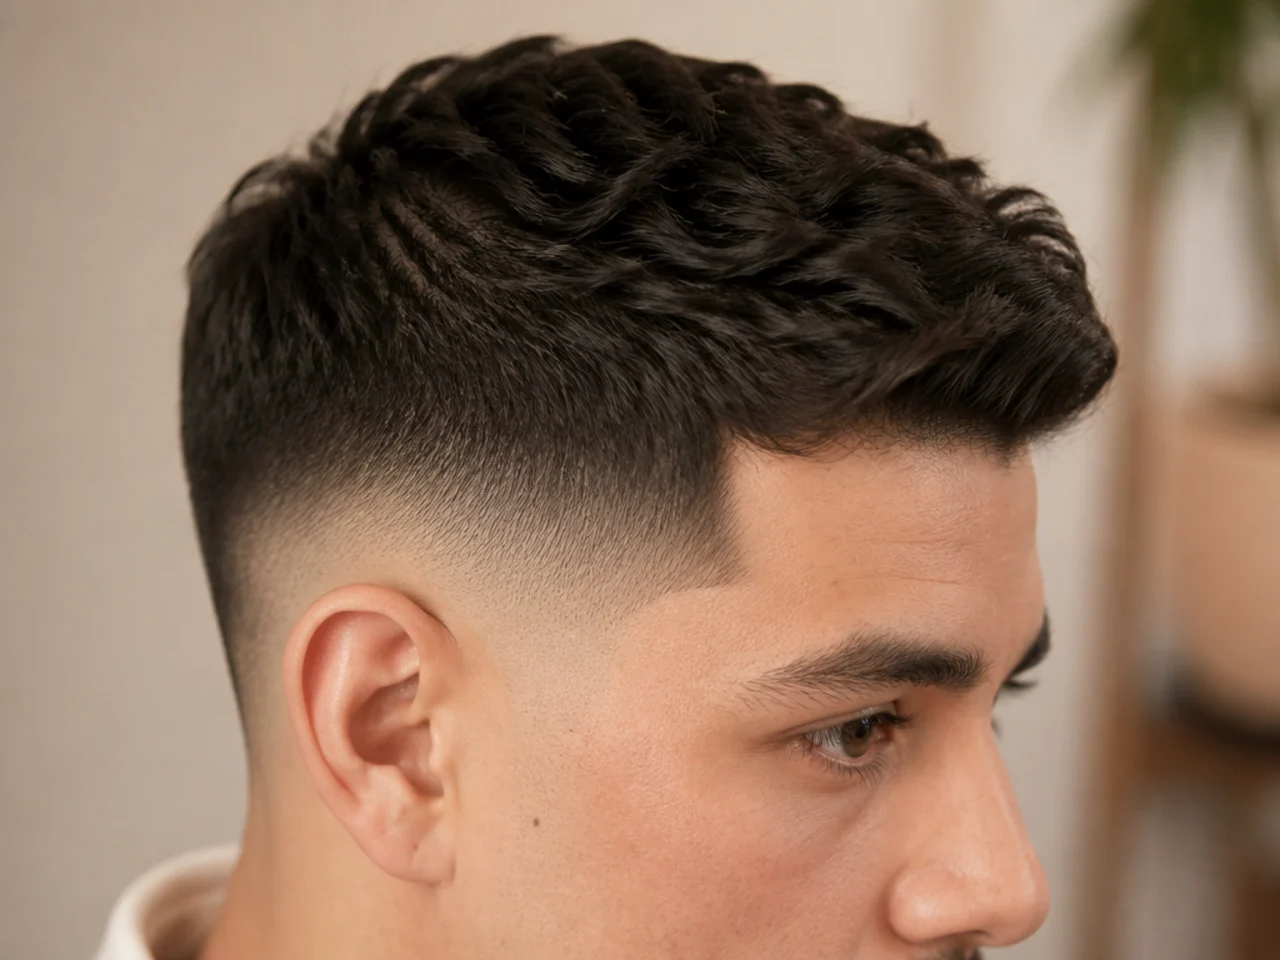
7. Let It Cool Before Any Product
Give it a minute off the heat. Hair holds the shape it is in when it cools, and clay worked into hot hair softens, slides toward the scalp and takes the lift with it before the shape has locked.

8. Warm the Clay Between Your Palms
A fingertip of clay rubbed until it turns glossy and thin. Warming drops its viscosity so it spreads as a film over many strands instead of sitting as a lump on a few, and a lump is what makes hair look greasy in one spot and untouched everywhere else.

9. Apply From the Back Forward
Start at the crown and the tail, finish at the fringe. Your hands carry most of the product on the first contact, so starting at the front loads the fringe with the heaviest dose and it hangs instead of separating.

10. Build the Top in Two Thin Passes
Half the clay, shape it, then the other half only where it needs more. A single heavy application concentrates weight at the roots, and weight at the root is the only thing that reliably flattens a short top.
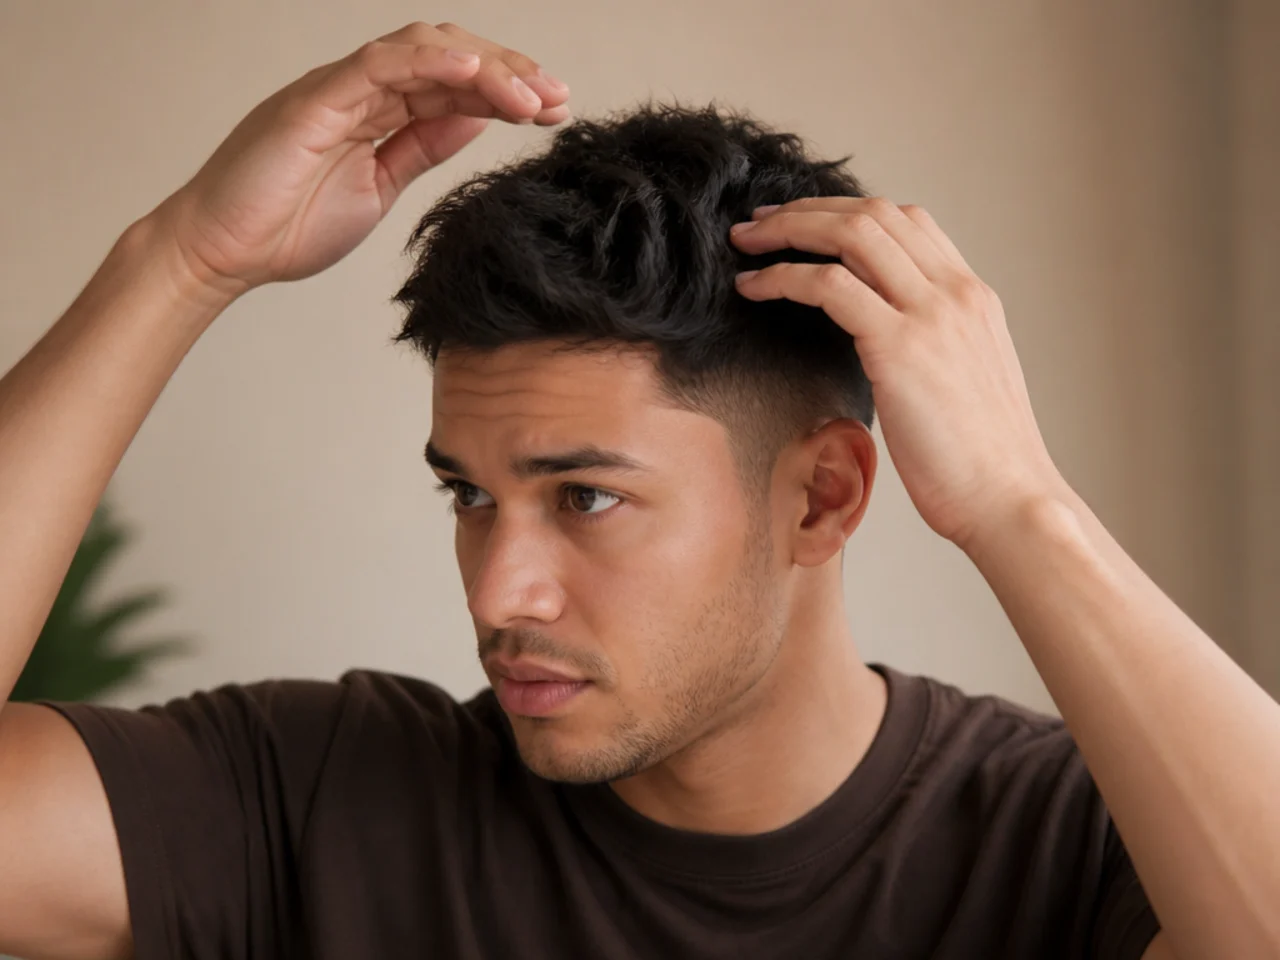
11. Separate the Fringe With Fingertips
Pinch small pieces at the very ends and twist them apart. Separation is a friction effect at the tips, so working the ends is what creates it; running your whole hand through the fringe merges the pieces back into a single sheet.

12. Comb the Tail Only With Fingers
Rake it back with spread fingers. A comb pulls every strand into the same plane, which is exactly what removes the texture from a tail, and once the tail is smooth it reads as unstyled long hair rather than part of the cut. The same rule applies across short mullets generally.

13. Check the Silhouette in Profile
Turn side on in a mirror before you leave. A mullet is a profile cut and the front view hides the entire tail, so the one angle that tells you whether it is working is the one you never look at.

14. Set It With Hairspray From Arms Length
Hold the can far enough away that the mist feels dry when it lands. Close up the droplets arrive wet and clump the pieces together; from a distance they partly dry on the way and settle as a light shell that fixes the separation you just built.
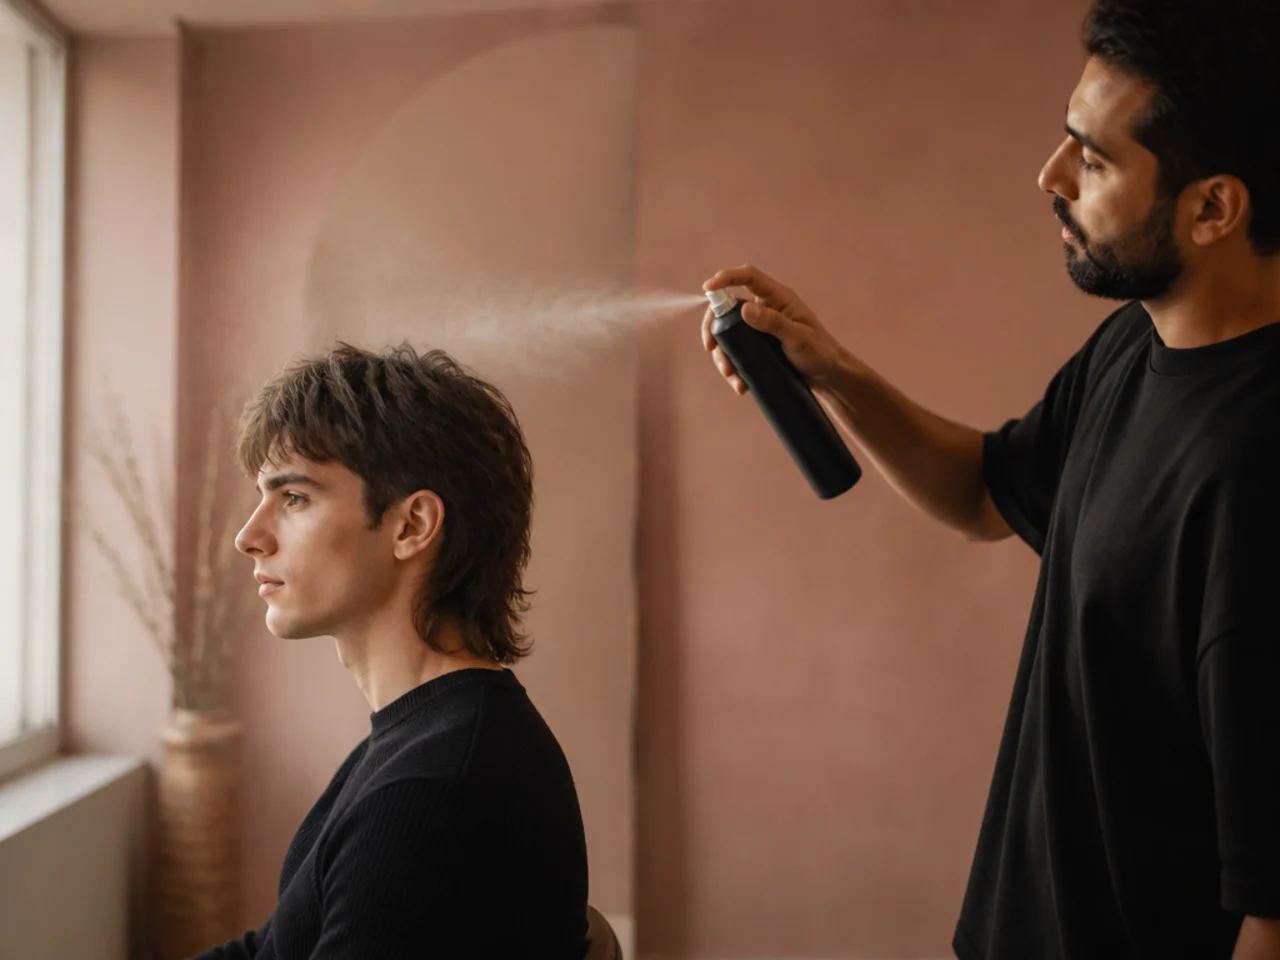
15. Reset on Day Two With Water Not Product
Wet the roots, rough dry again, add nothing. Water is what reopens the bonds and lets the hair take a new direction, while a second layer of clay on top of yesterday's only adds weight to a shape that has already dropped.

Styling and Upkeep
Book the fade at one to two weeks. Bare skin becomes visible stubble in days, and the gradient closes from the bottom up.
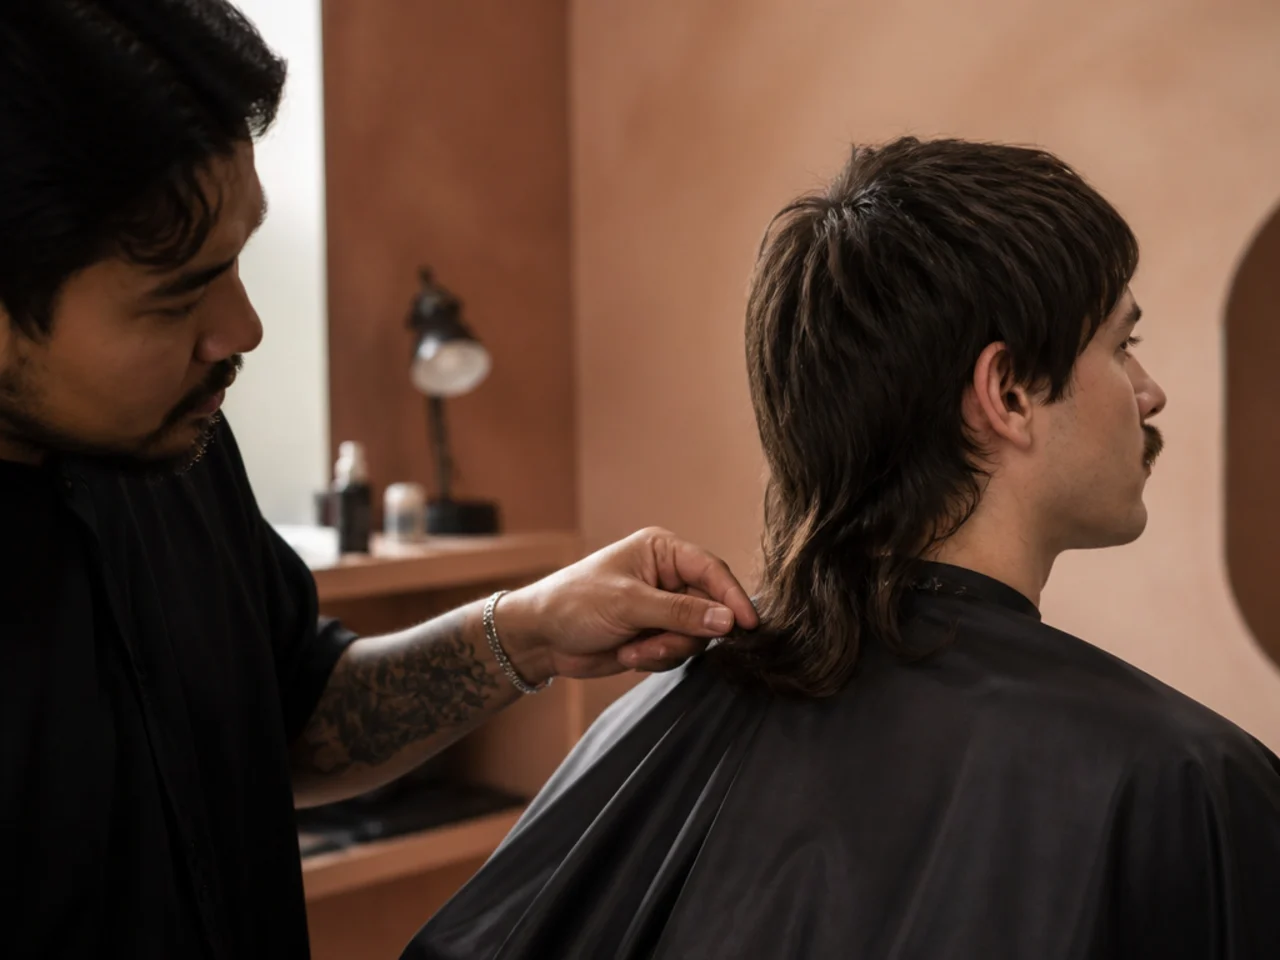
Ask for the tail to be left alone at every visit. Barbers tidy it by instinct. Two centimetres taken off the back over three visits removes the cut.
Use a matte product, not a shine one. Gloss on a short top makes it look wet and thin; matte clay scatters the light and reads as thickness.
Wash the tail less than the top. The top carries the product and the tail carries the length, and the length benefits from the oil that washing removes.
Dry it every day, even without product. Five minutes of directed drying is worth more than any amount of clay applied to hair that dried flat on its own.
Mistakes to Avoid
Styling from bone dry hair. Without water there is nothing to redirect, and you are only sticking the existing shape in place.
Product before the hair has cooled. It slides to the roots and takes the lift down with it.
Combing the tail. A comb removes the separation the cut relies on. Fingers only.
Letting a skin fade run past three weeks. It grows into a plain short back and sides, and the tail suddenly looks like it belongs to a different haircut.
Asking for a fade when you meant a taper. A fade goes to bare skin, a taper finishes with hair still there, and the difference is two extra weeks between appointments.
FAQ
Damp or dry to start? Damp. Dry hair cannot be redirected without heat.
How often for the fade? One to two weeks for skin, three to four if it finishes at a number one.
Comb or fingers on the tail? Fingers. A comb flattens the texture the shape depends on.
Final Thoughts
Direction while drying, then a cold set, then the smallest amount of matte product you can get away with. That order is the whole routine, and reversing any two steps of it produces the flat version of this cut.
For the fade underneath it see mens haircuts with a short fade, and for the shape with a curved gradient around the ear see burst fade mullet. More in Mullet and Wolf Cut.



