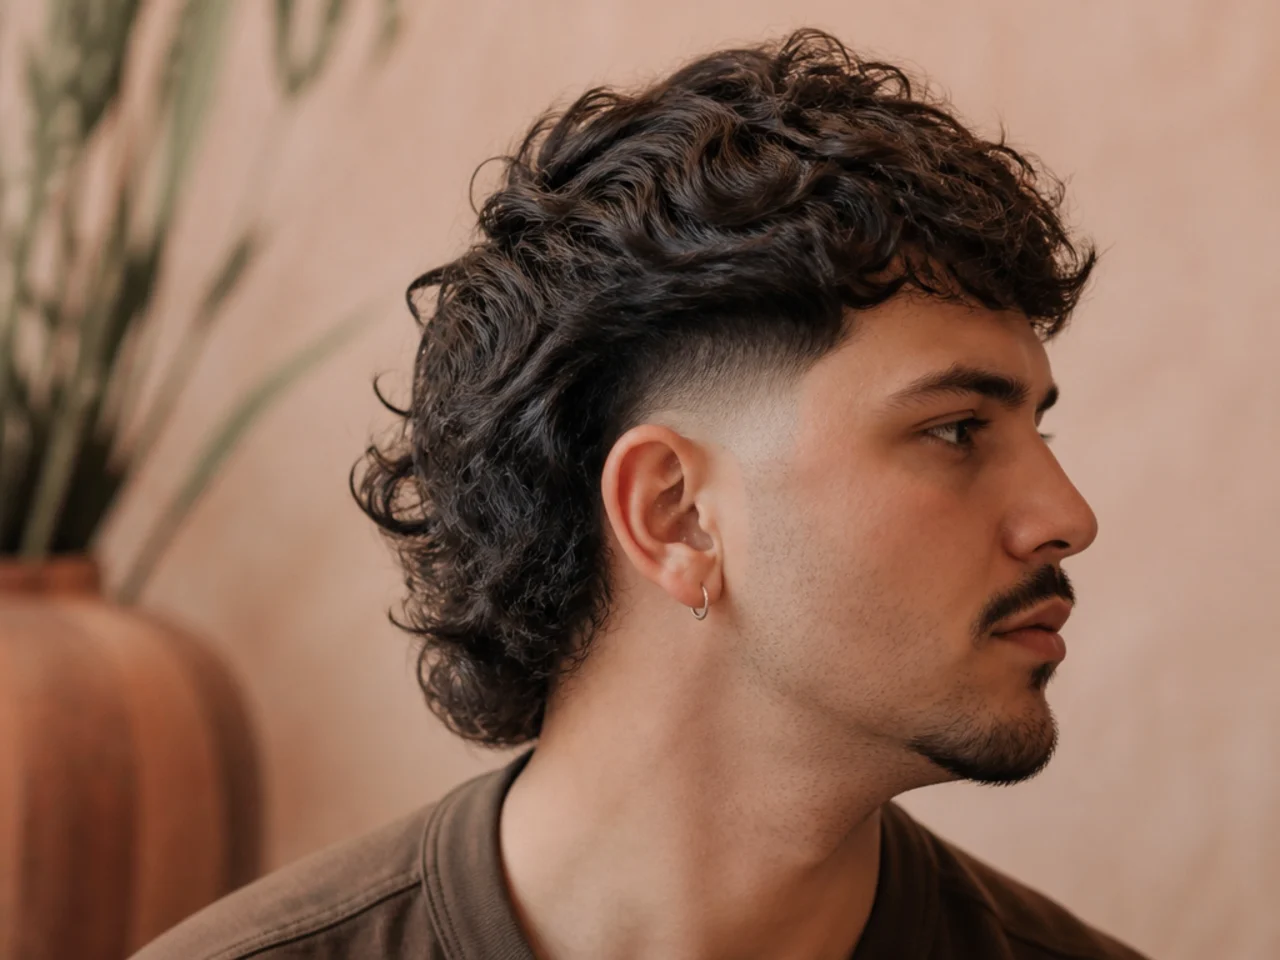
25 Genius Mullet Fade Ideas That Look Sharp Every Day
Twenty-five mullet fades, and the decision that sets all of them — where the fade stops and the length begins. Put that line too high and the back reads as a disconnected flap rather than a graded shape.
In this article · 32
- What a Fade Changes About a Mullet
- Choosing Your Fade Height
- The 25 Mullet Fade Ideas
- 1. Burst Fade Mullet
- 2. Low Taper Fade Mullet
- 3. Mid Fade Mullet
- 4. High Fade Mullet
- 5. Skin Fade Mullet
- 6. Drop Fade Mullet
- 7. Temple Fade Mullet
- 8. Mullet Fade With a Hard Part
- 9. Curly Mullet Fade
- 10. Wavy Mullet Fade
- 11. Straight Hair Mullet Fade
- 12. Coily Mullet Fade
- 13. Textured Top Mullet Fade
- 14. Mullet Fade With a Fringe
- 15. Short Mullet Fade
- 16. Long Mullet Fade
- 17. Modern Mullet Fade
- 18. Retro Mullet Fade
- 19. Mullet Fade With a Beard Connection
- 20. Mullet Fade on Fine Hair
- 21. Mullet Fade on Thick Hair
- 22. Bleached Mullet Fade
- 23. Mullet Fade With a Line Up
- 24. Shadow Fade Mullet
- 25. Mullet Fade at Week Three
- Styling and Upkeep
- Mistakes to Avoid
- FAQ
- Final Thoughts
Most mullet fades go wrong at one point only — the place where the fade stops and the long back begins.
The fade and the length have to meet somewhere. On a mullet that junction is the entire cut. Put it too high and the back looks stuck on rather than grown out of the sides.
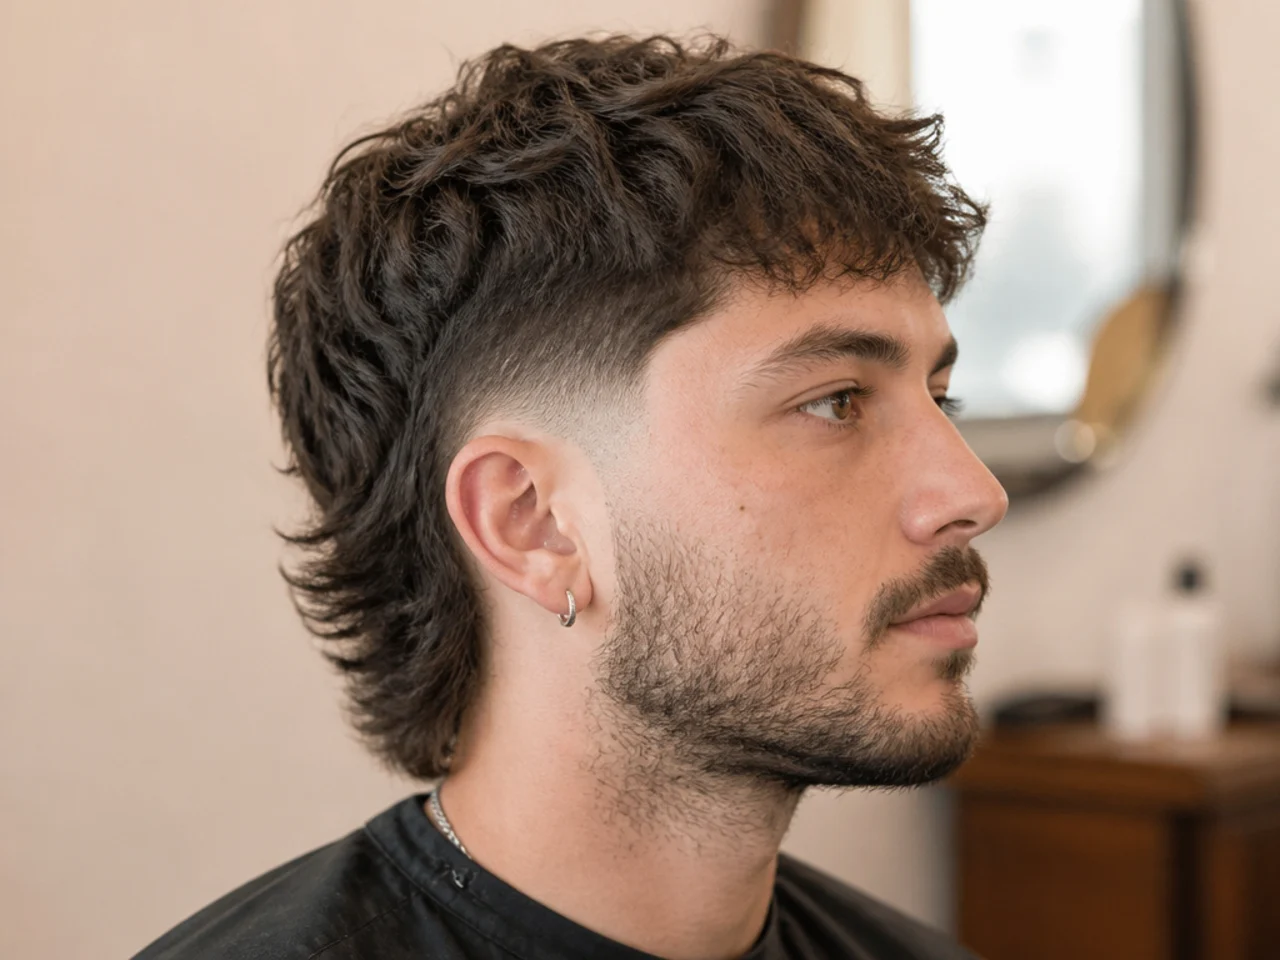
A burst fade avoids the problem completely. It curves around the ear and stops before the nape, so the length at the back is never crossed by a gradient at all.
What a Fade Changes About a Mullet
A classic mullet is disconnected. Short sides meet long back with a visible step. That step is the traditional shape and it still reads as retro.
A fade replaces the step with a gradient. The eye reads a continuous change in length instead of a jump, which is the whole difference between a modern mullet and an eighties one.
Fade height controls how loud the cut is. Low keeps it wearable; above the parietal ridge the contrast against the back gets stark.
Skin is a different commitment. A number one guard leaves 3mm and blurs slowly. Bare skin shows stubble within a fortnight and needs a two week schedule.
Choosing Your Fade Height
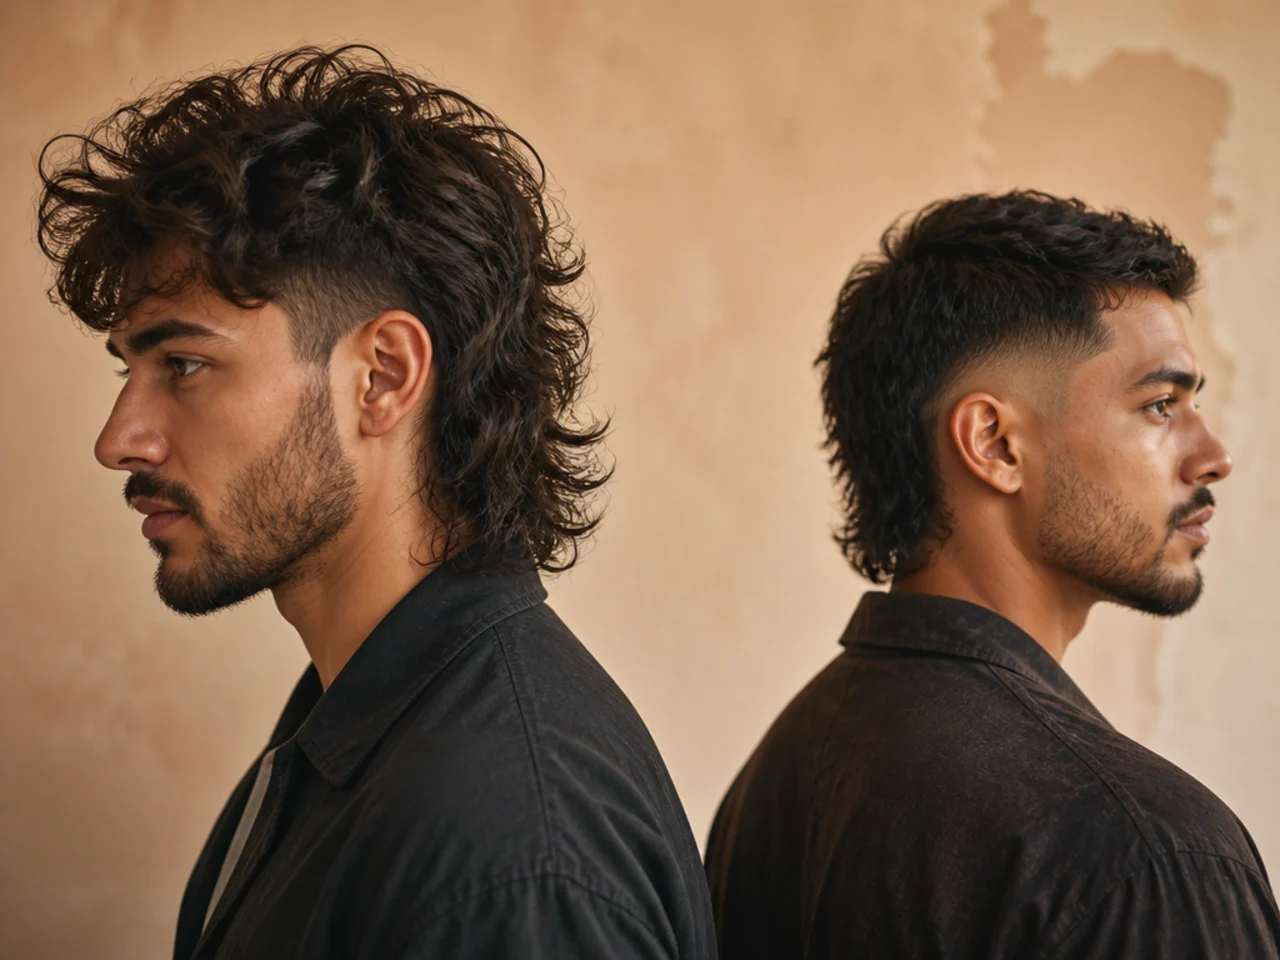
Low, at the top of the ear, for daily wear. The gradient stays below the hatline and the shape works in any setting.
Mid, between ear and parietal ridge, for more contrast. It sharpens the outline without exposing much scalp on the sides.
High, at or above the ridge, for the loudest version. There is very little hair left beside the length, so the back stands alone.
Burst, arcing around the ear, if you want the length untouched. It is the only shape that leaves the nape at full weight, which is why it suits a mullet better than the rest.
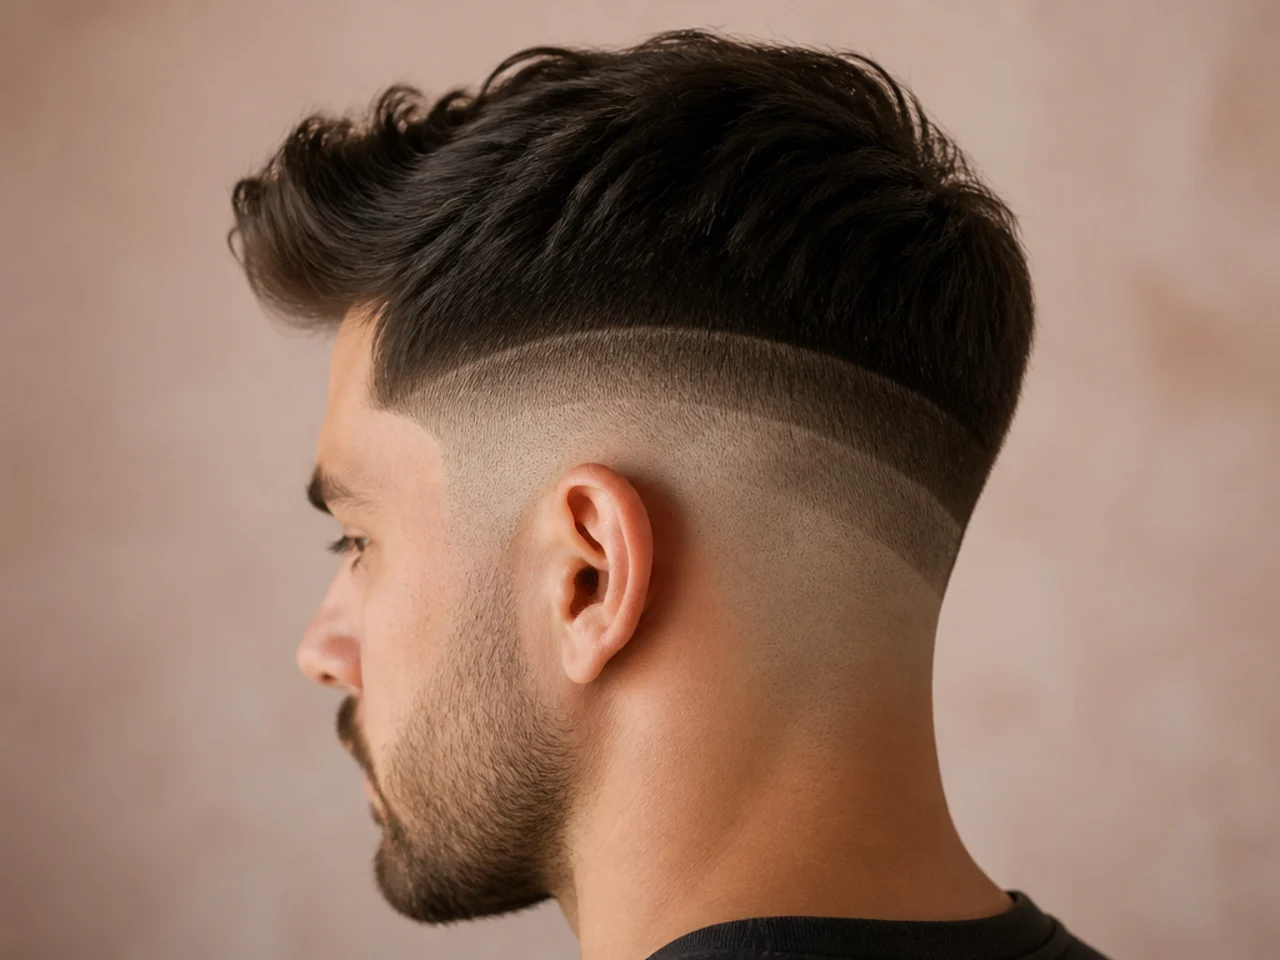
The 25 Mullet Fade Ideas
1. Burst Fade Mullet
The gradient runs in a semicircle around the ear and stops before it reaches the nape, so the long hair at the back keeps its full weight. Covered in depth in the burst fade mullet guide, and it is the cleanest solution to the junction problem.
2. Low Taper Fade Mullet
The shortening starts at the top of the ear and finishes at a number one guard rather than skin, so nothing is ever bare. That remaining 3mm blurs as it grows, which is why this version still reads correctly at three to four weeks. More on it in the low taper fade mullet.
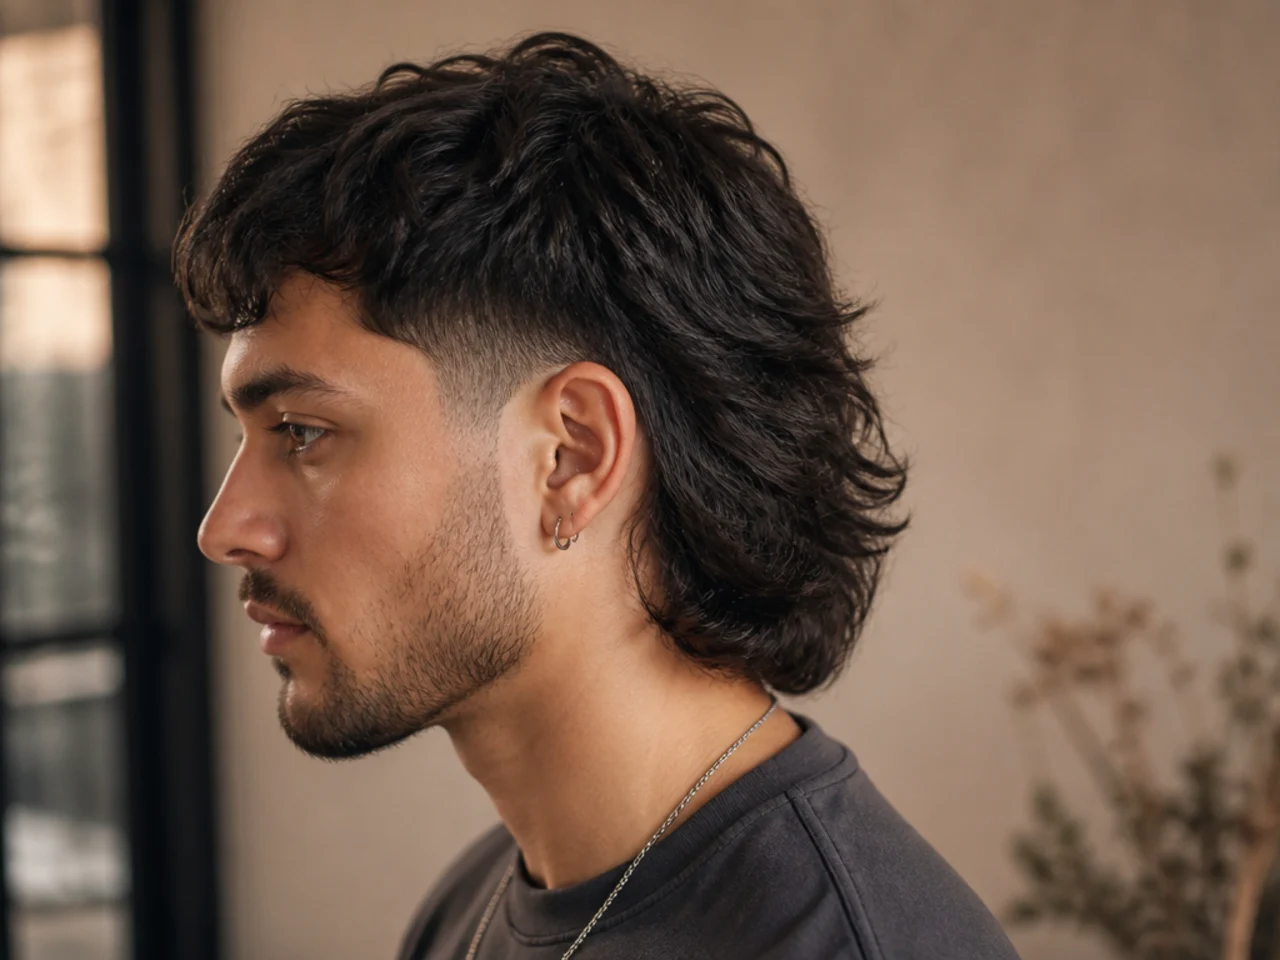
3. Mid Fade Mullet
The line begins between the top of the ear and the parietal ridge. The gradient has further to travel than a low fade, so it needs more passes to stay smooth and shows a rushed blend far more obviously across the flat of the side panel.
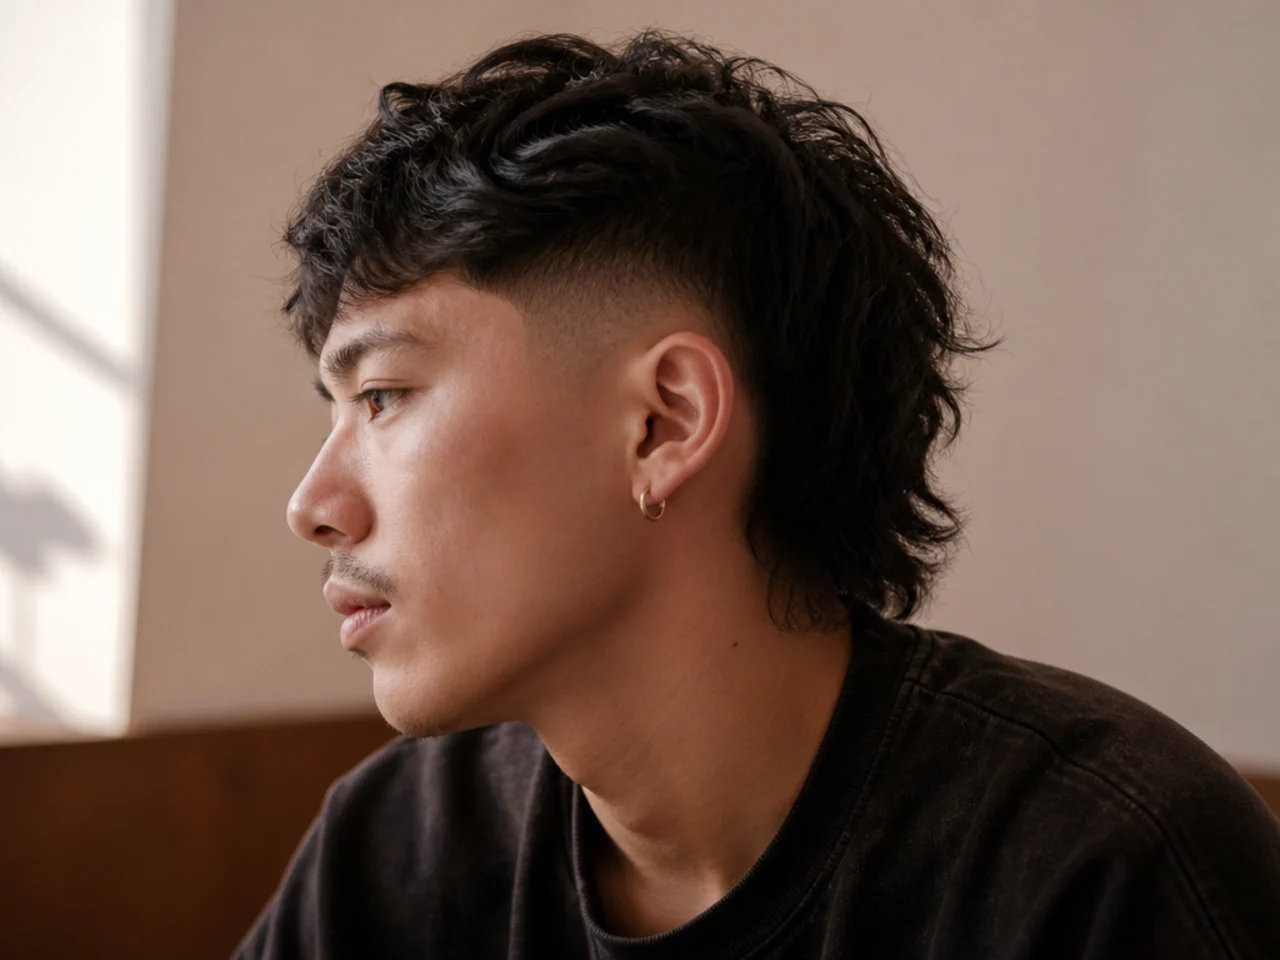
4. High Fade Mullet
Starting at or above the parietal ridge leaves almost no hair beside the long back. The contrast is at its maximum here, which flatters a narrow head shape but exaggerates a wide one because there is nothing left at the sides to soften the outline.
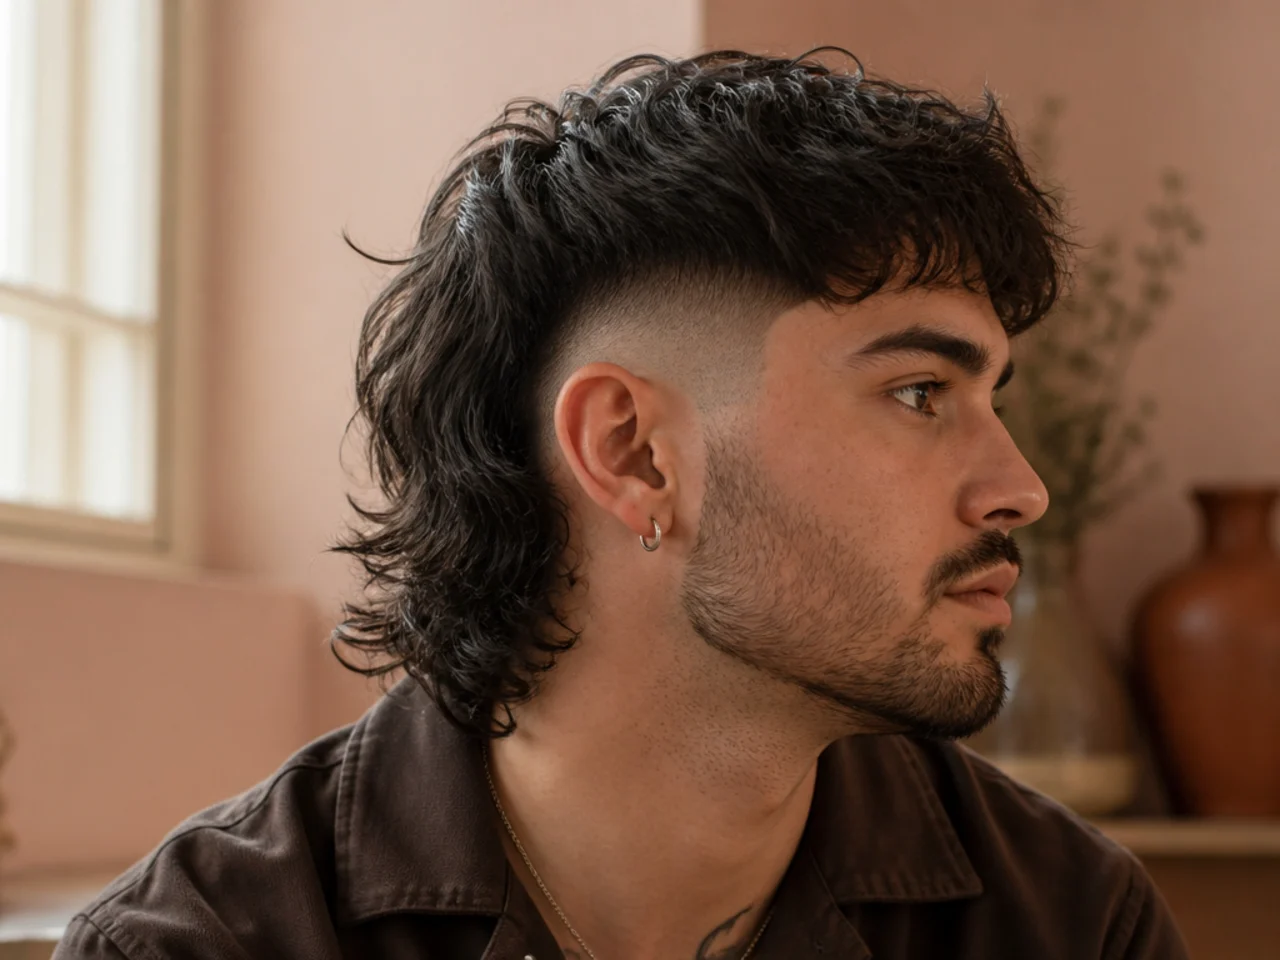
5. Skin Fade Mullet
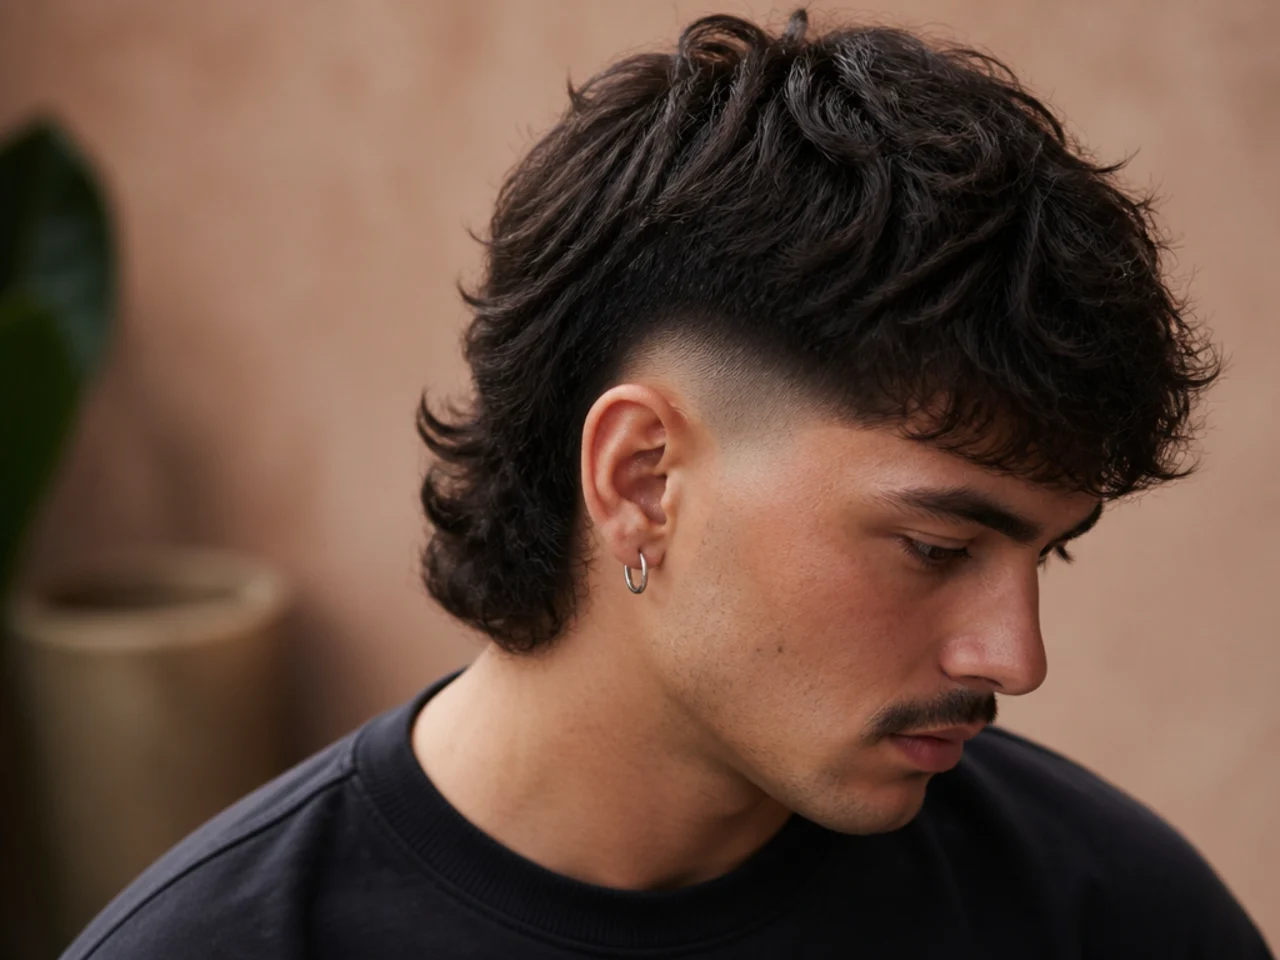
The sides taken to bare skin at the lowest point. Skin reflects light where hair absorbs it, so the jump to the long back is far harder than the same fade stopped at a guard — and stubble is visible again inside two weeks.
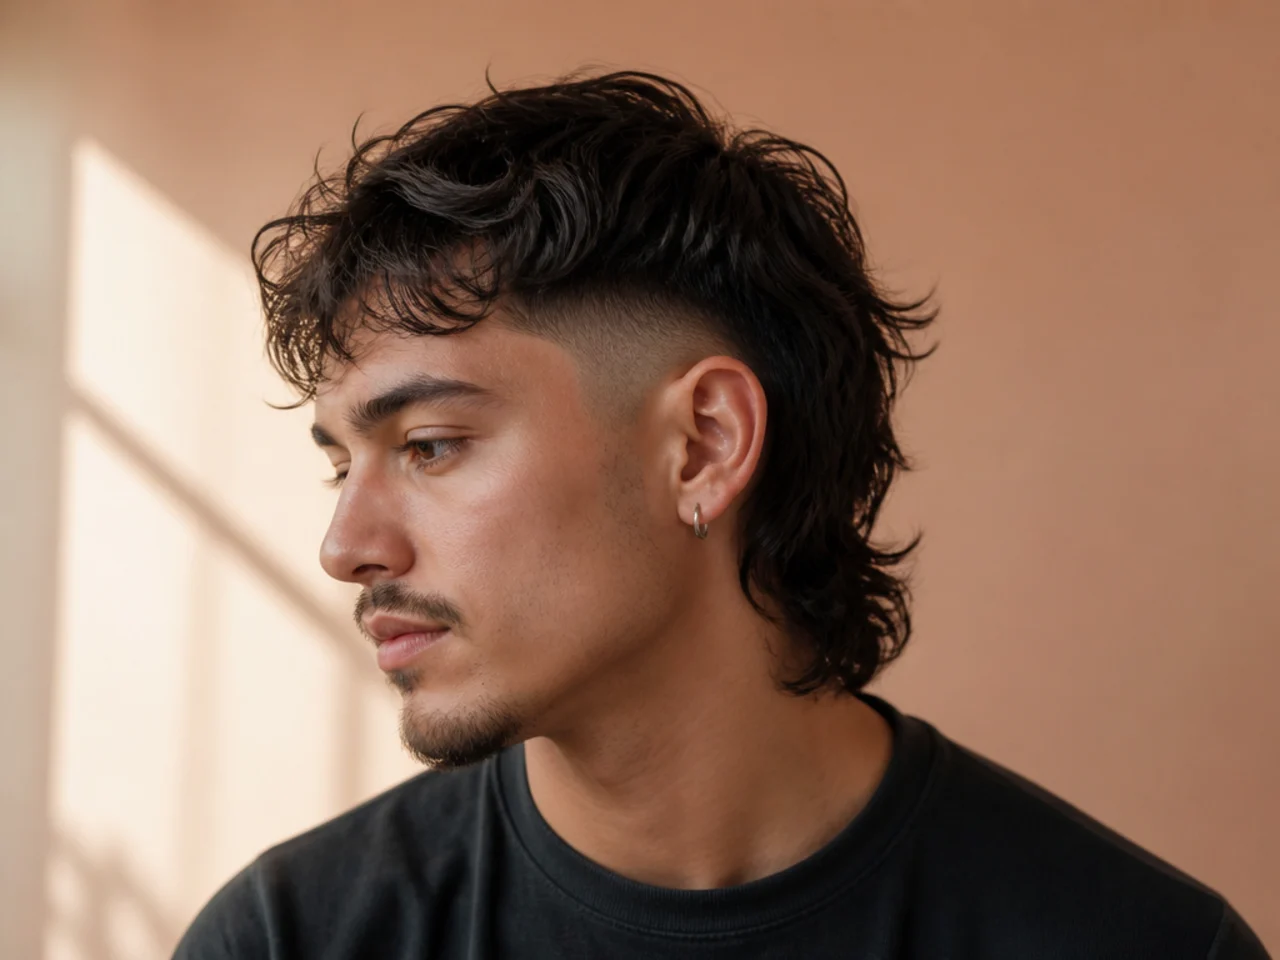
6. Drop Fade Mullet
The fade line curves downward behind the ear instead of running straight across. Dropping it lowers the point where the gradient meets the length, which buys extra weight at the back and softens the junction the mullet depends on.
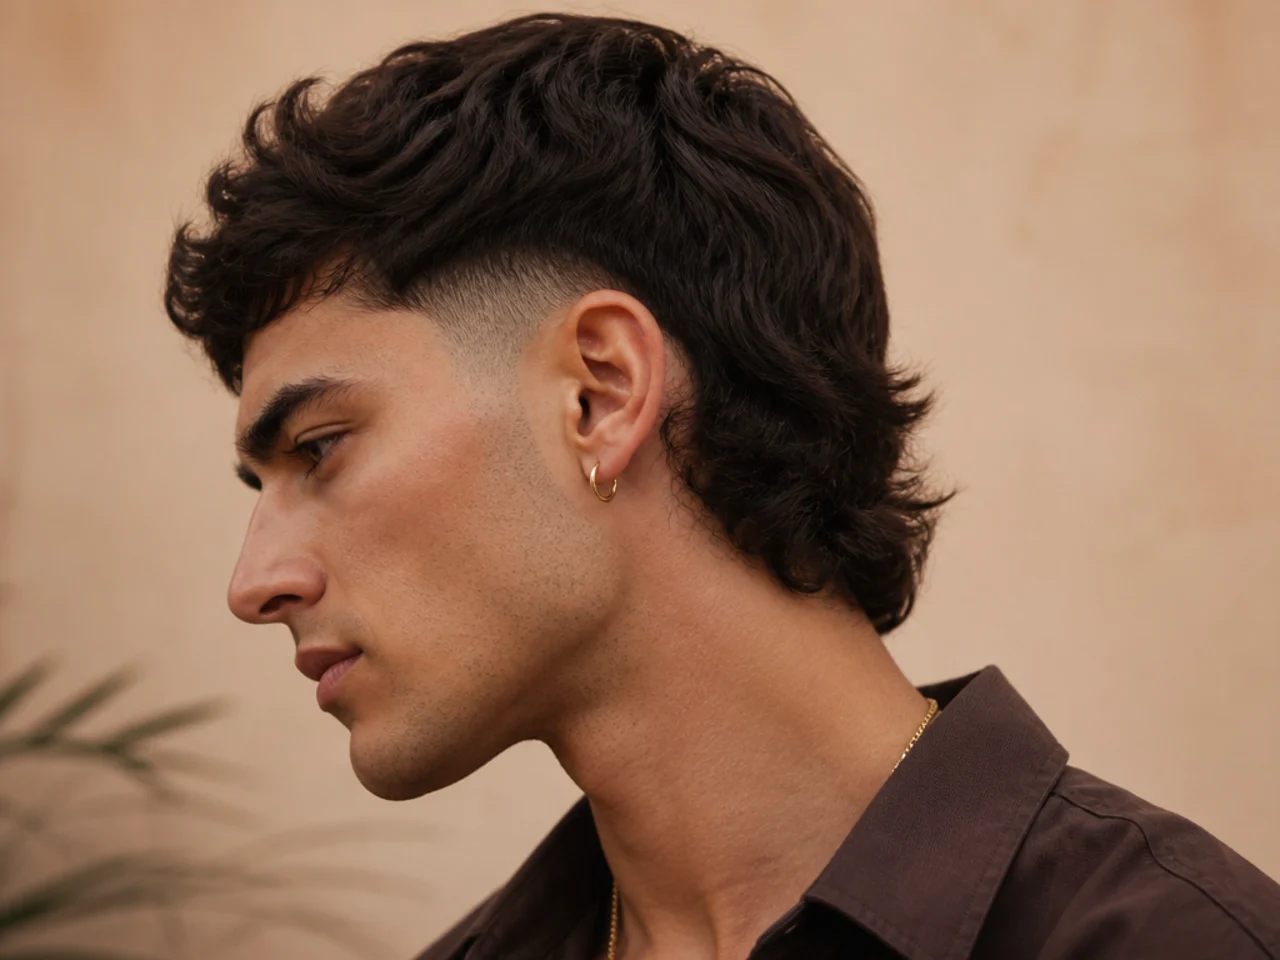
7. Temple Fade Mullet
Only the corners at the temples are taken short, leaving the rest of the side at length. It cleans up the front outline without touching the volume, which keeps a thick head of hair from looking shorn while still giving the cut a defined edge.
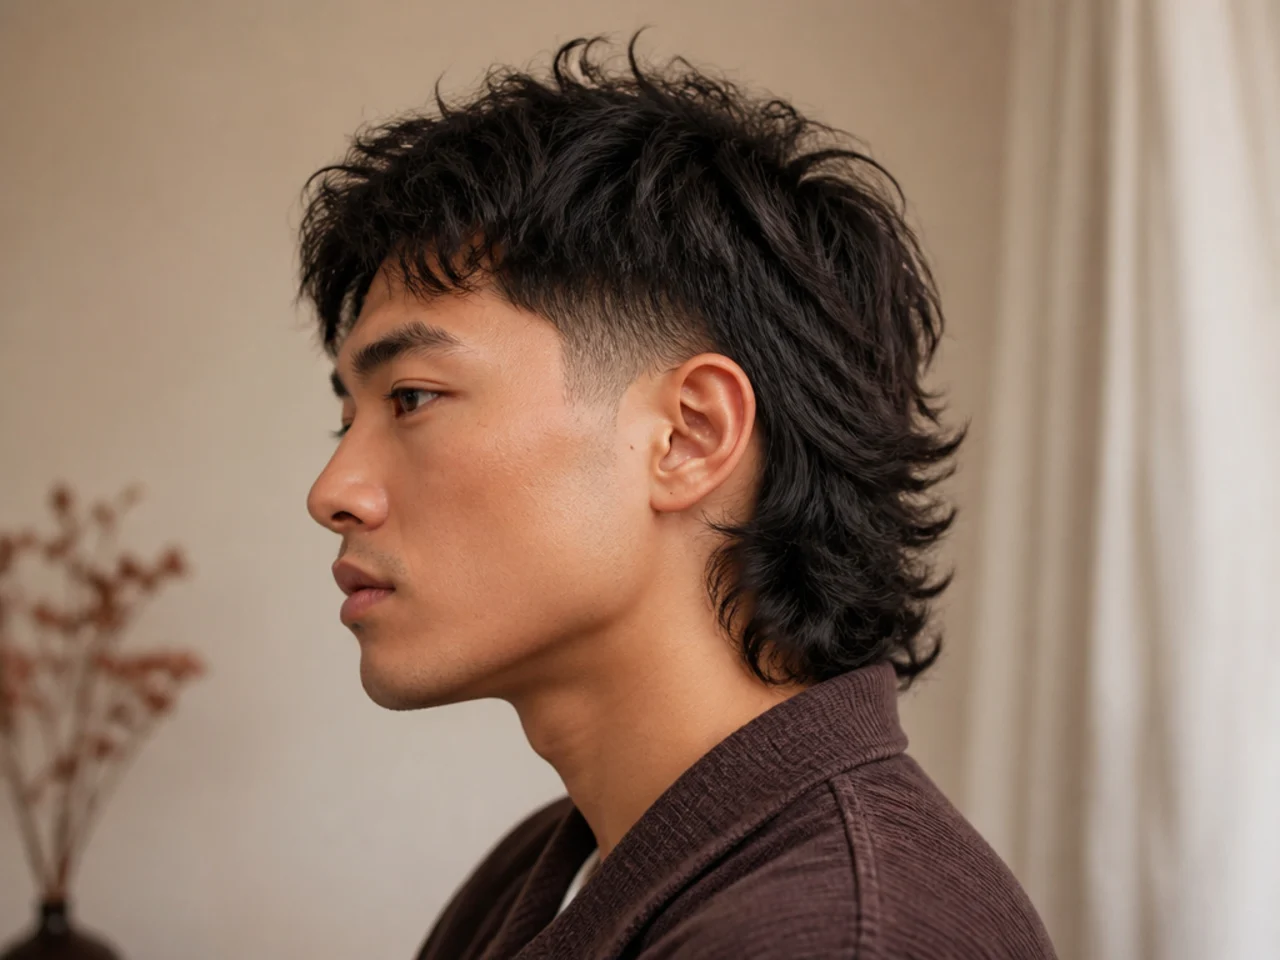
8. Mullet Fade With a Hard Part
A trimmer line cut along the parting gives the eye a vertical against the fade's horizontal. That crossing is what stops the side panel reading flat, and it holds its definition for around five days before the regrowth starts closing the line.
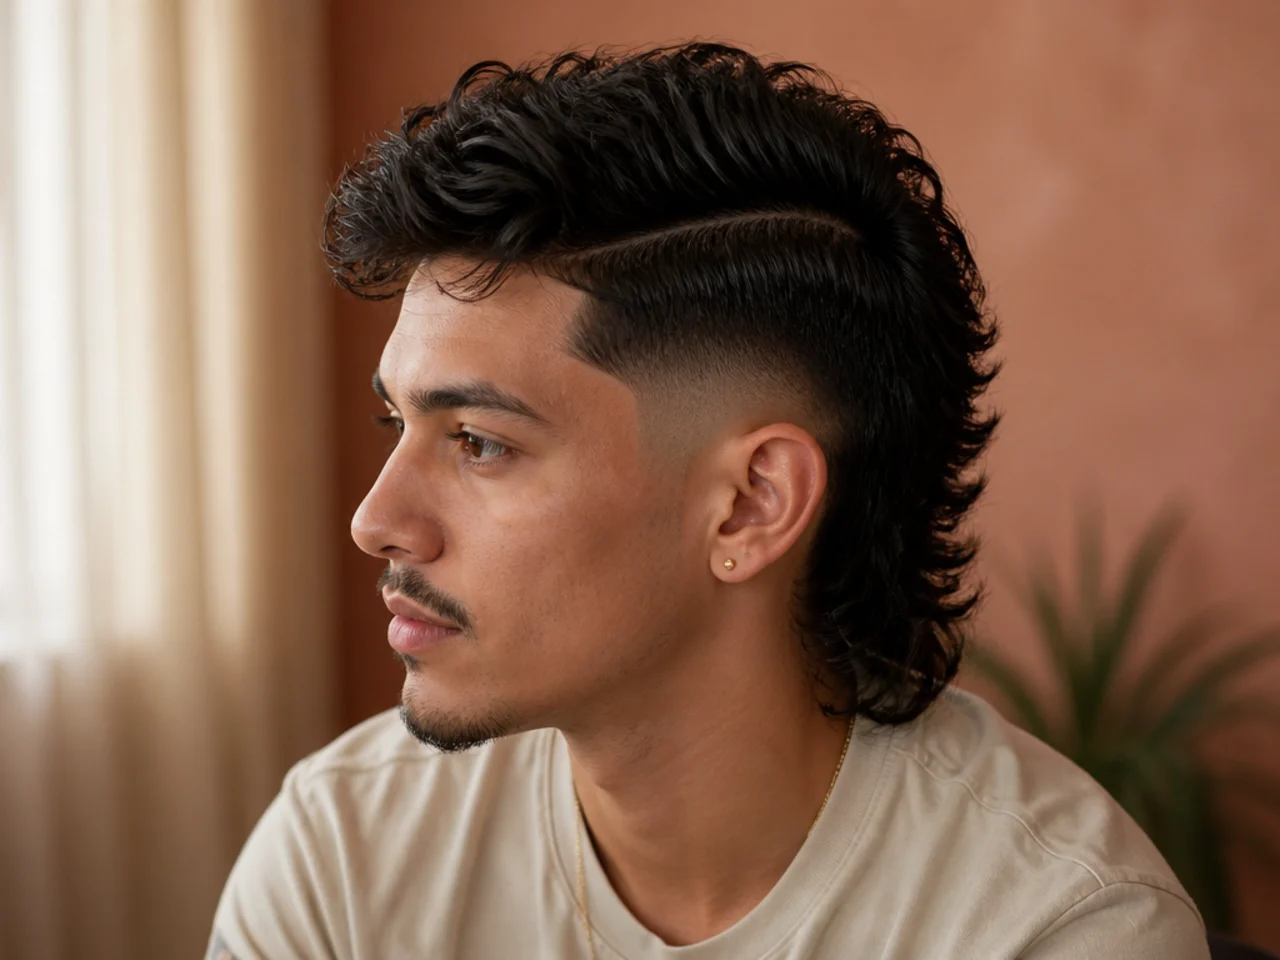
9. Curly Mullet Fade
Curls shrink as they dry, so the length at the back must be cut wet with that shrinkage accounted for or it lands well short of where it looked. The fade itself is forgiving on curls, because the bend scatters light and hides small steps in the gradient.
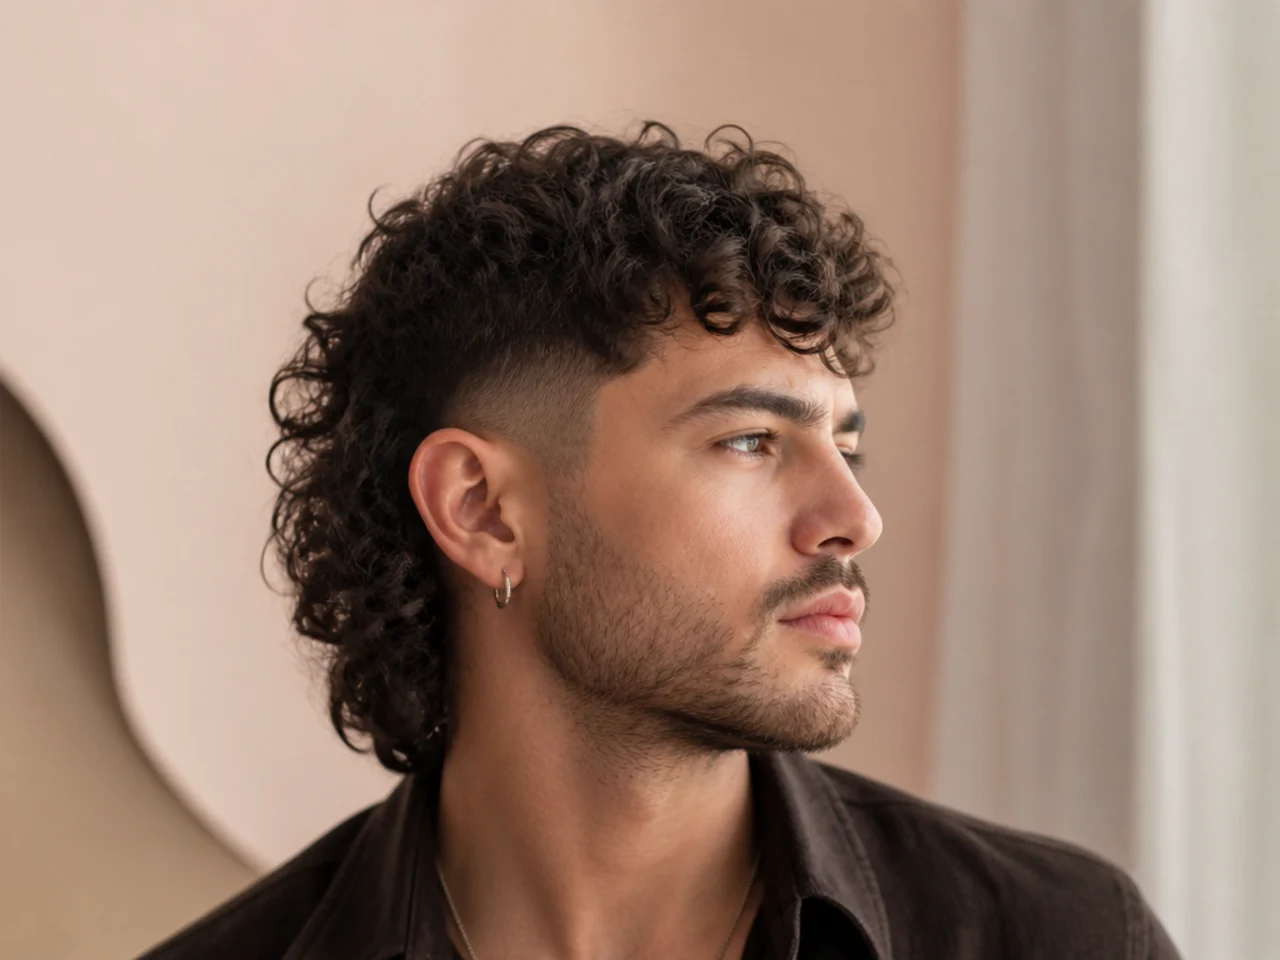
10. Wavy Mullet Fade
An S-bend throws light in several directions at once, so the boundary between two guard lengths blurs before the eye can find it. This is the most forgiving texture for a fade and the easiest to keep looking clean between appointments.

11. Straight Hair Mullet Fade
A straight strand sits in a single line with no bend to scatter light, so every uneven pass is read as a step rather than as shadow. Ask for extra blending time here — this texture shows a rushed gradient more clearly than any other.
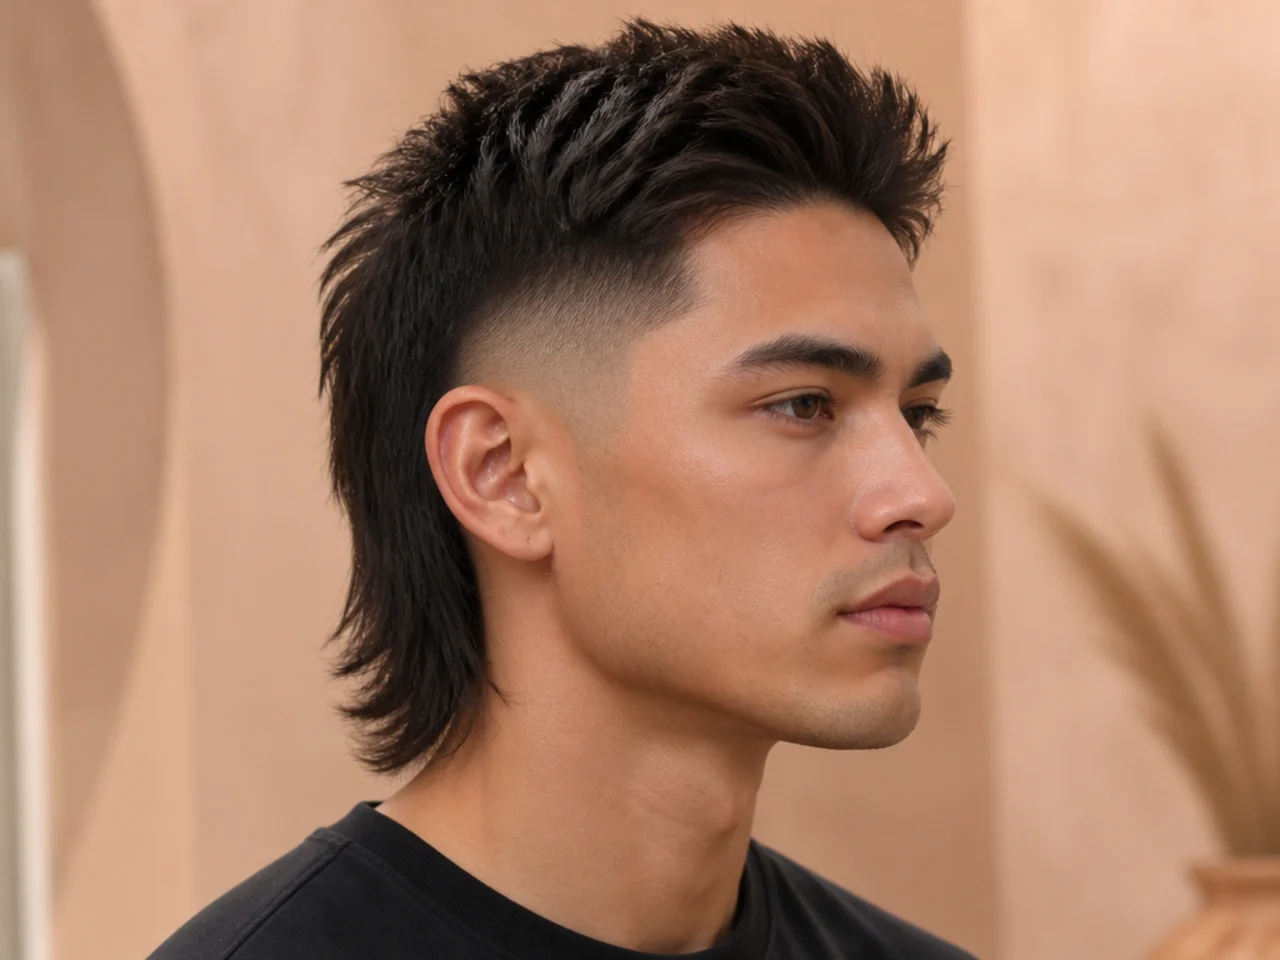
12. Coily Mullet Fade
Coils sit densely enough that the gradient can be built in fewer guard steps without a visible line. The trade is that the fade line reads very crisply against the scalp, so the height it starts at needs to be exactly where you want it.
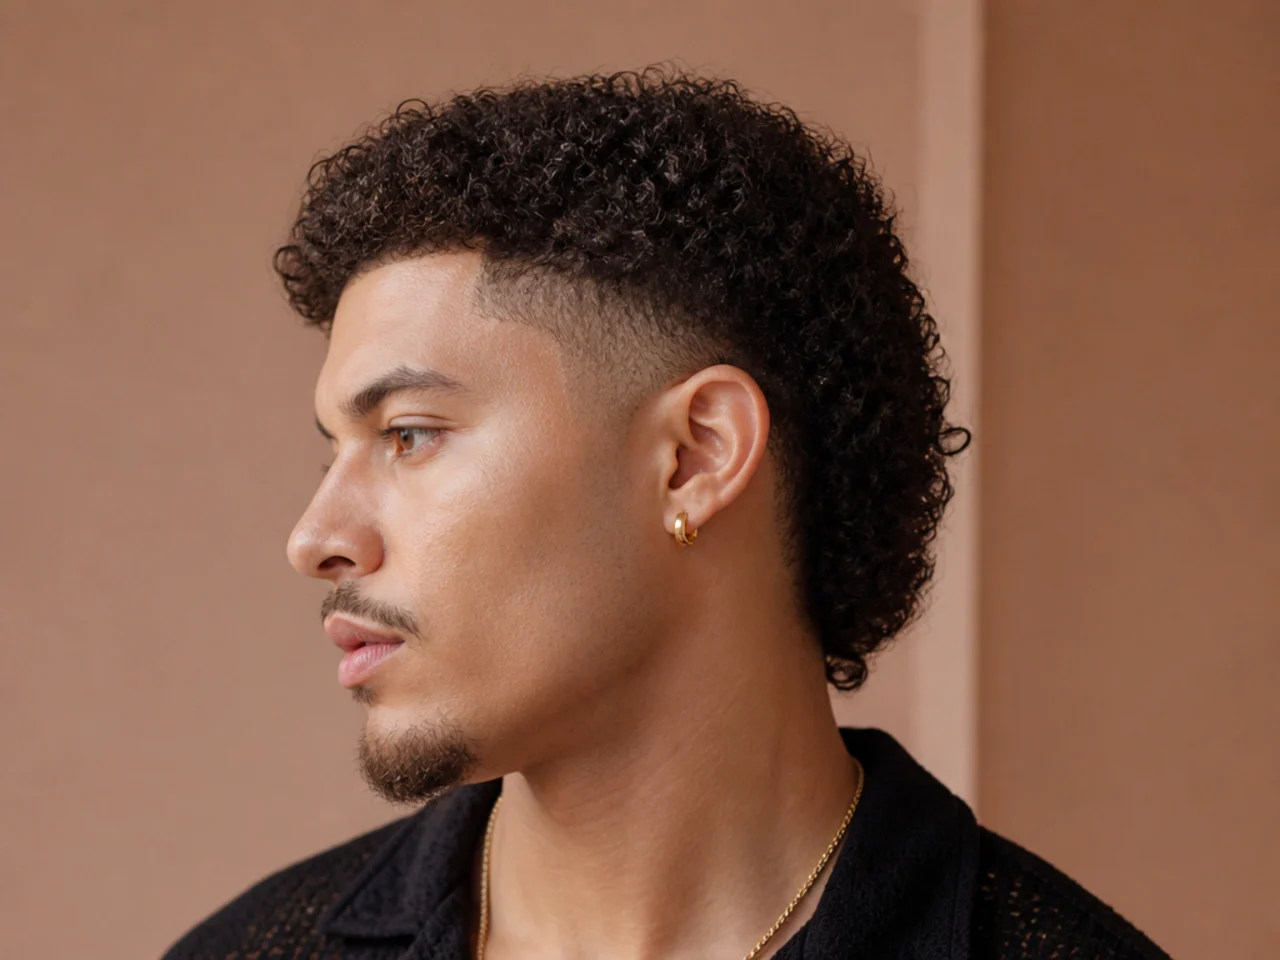
13. Textured Top Mullet Fade
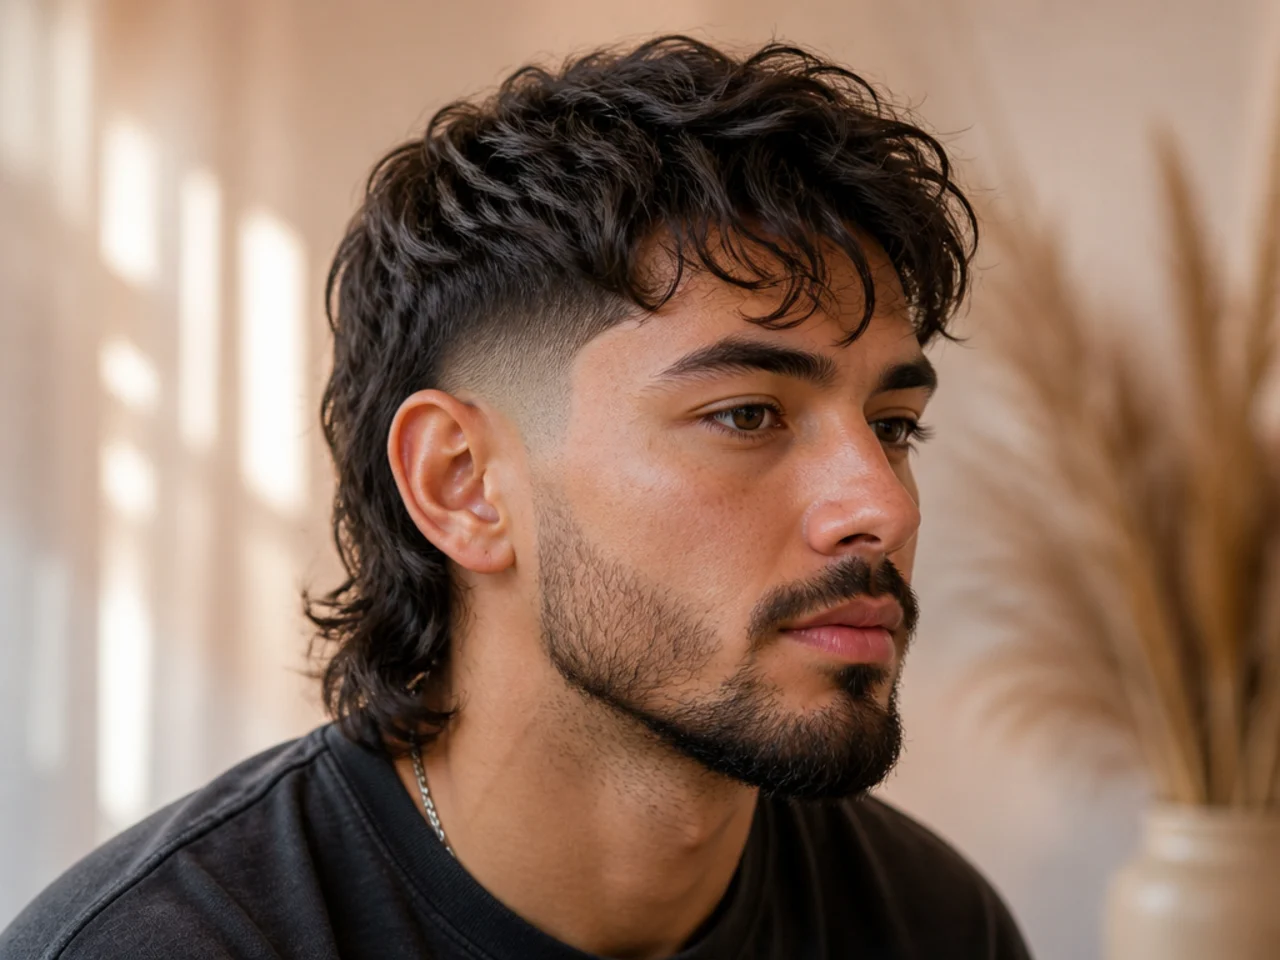
Point cutting through the top breaks the ends into different lengths so they separate instead of sitting as one mass. That separation is what makes the top read as deliberate rather than simply long, and it also lets the fade line show through cleanly at the side.
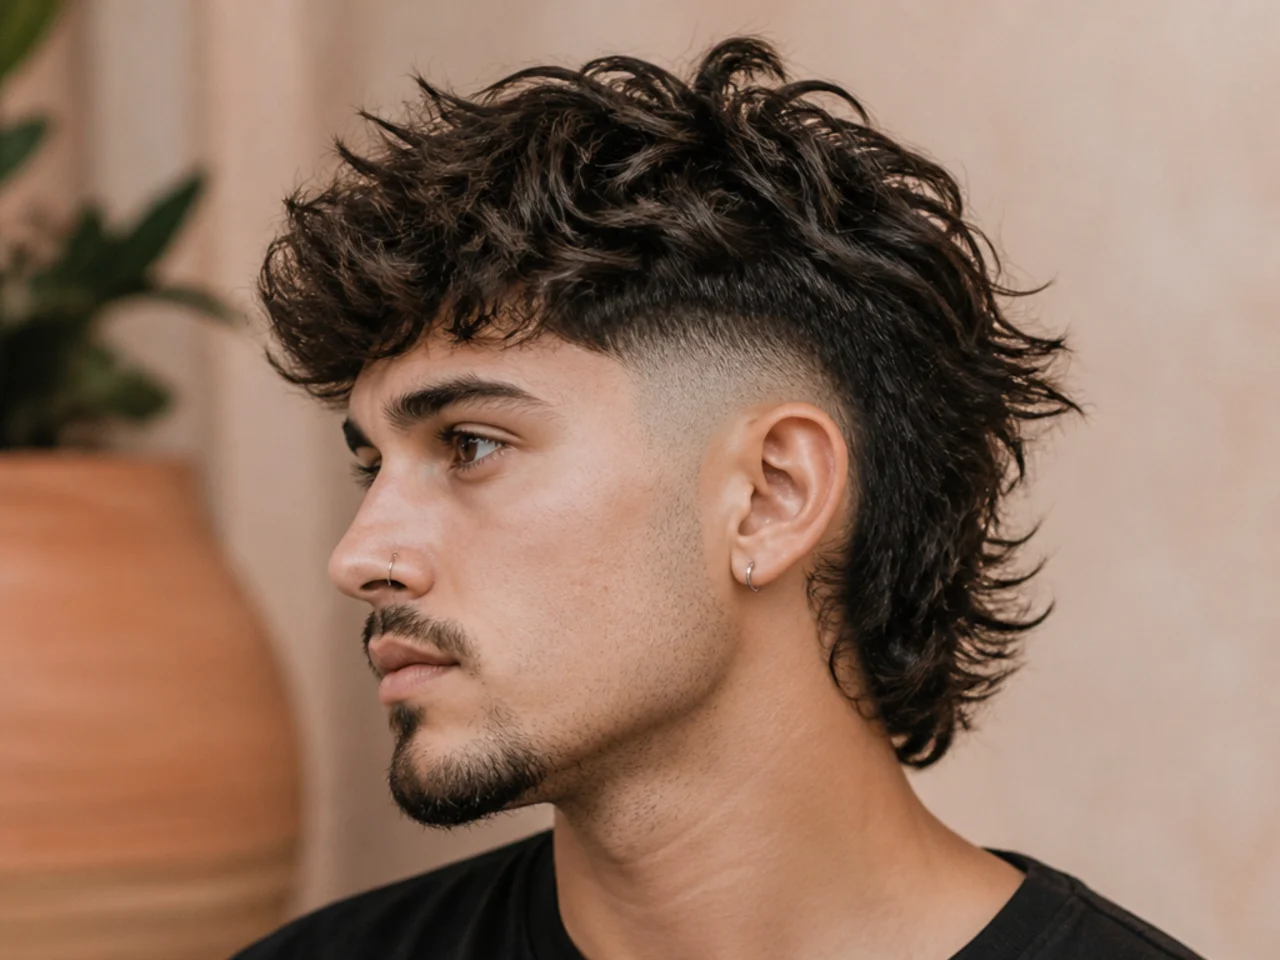
14. Mullet Fade With a Fringe
Length left forward over the brow balances the length at the back, so the silhouette reads as front to back rather than back only. Without it a faded mullet can look weighted entirely behind the ear, which shortens the face.
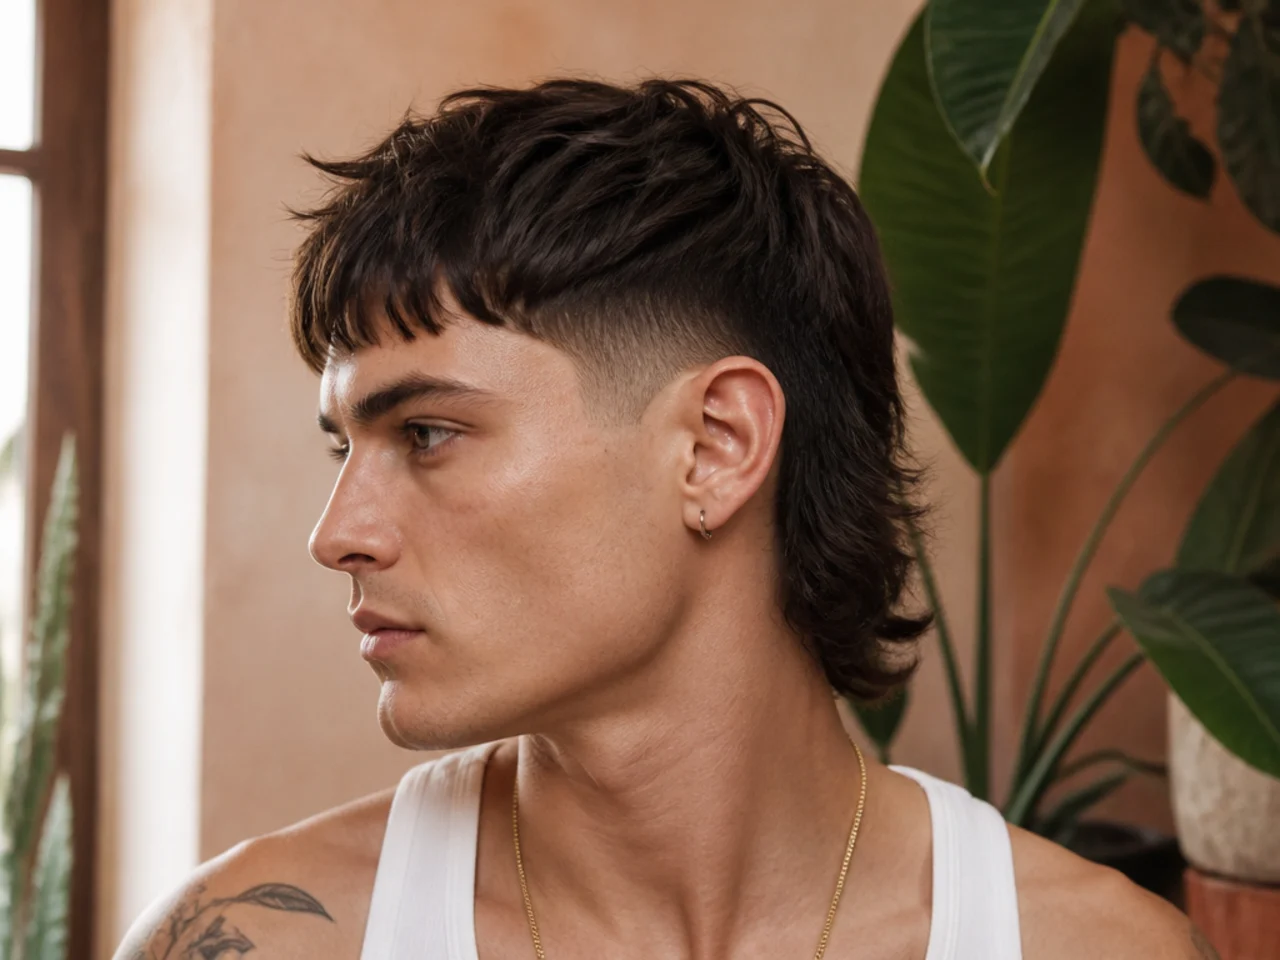
15. Short Mullet Fade
The back kept just past the collar rather than well below it. There is less weight pulling downward, so the length holds its shape without needing product, which makes this the lowest maintenance version of the cut.
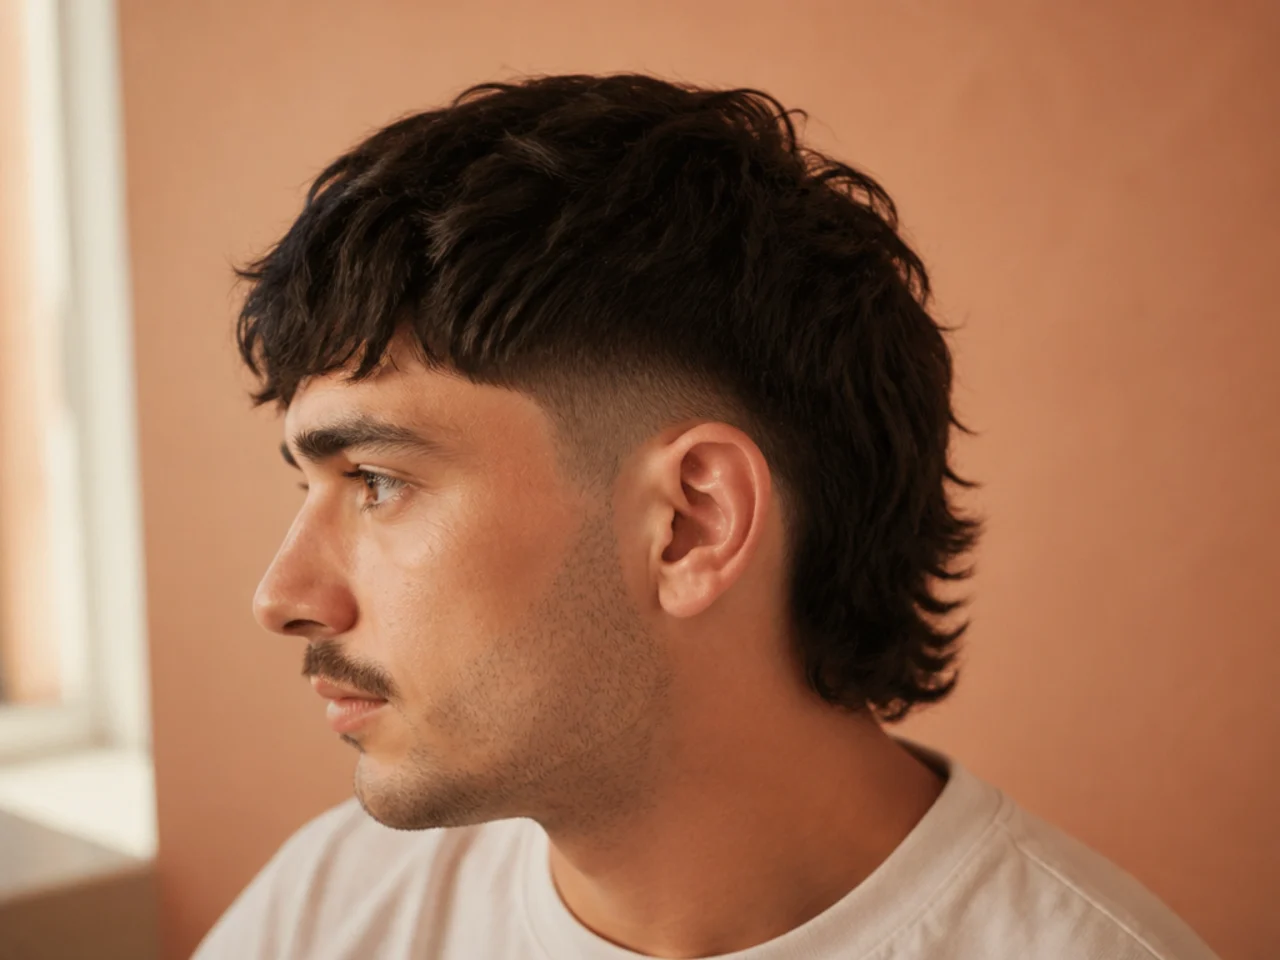
16. Long Mullet Fade
Length well past the collar with the sides faded tight. The longer the back, the more its own weight flattens the crown above it, so the top needs layering or the whole shape collapses into a flat plane by the afternoon.
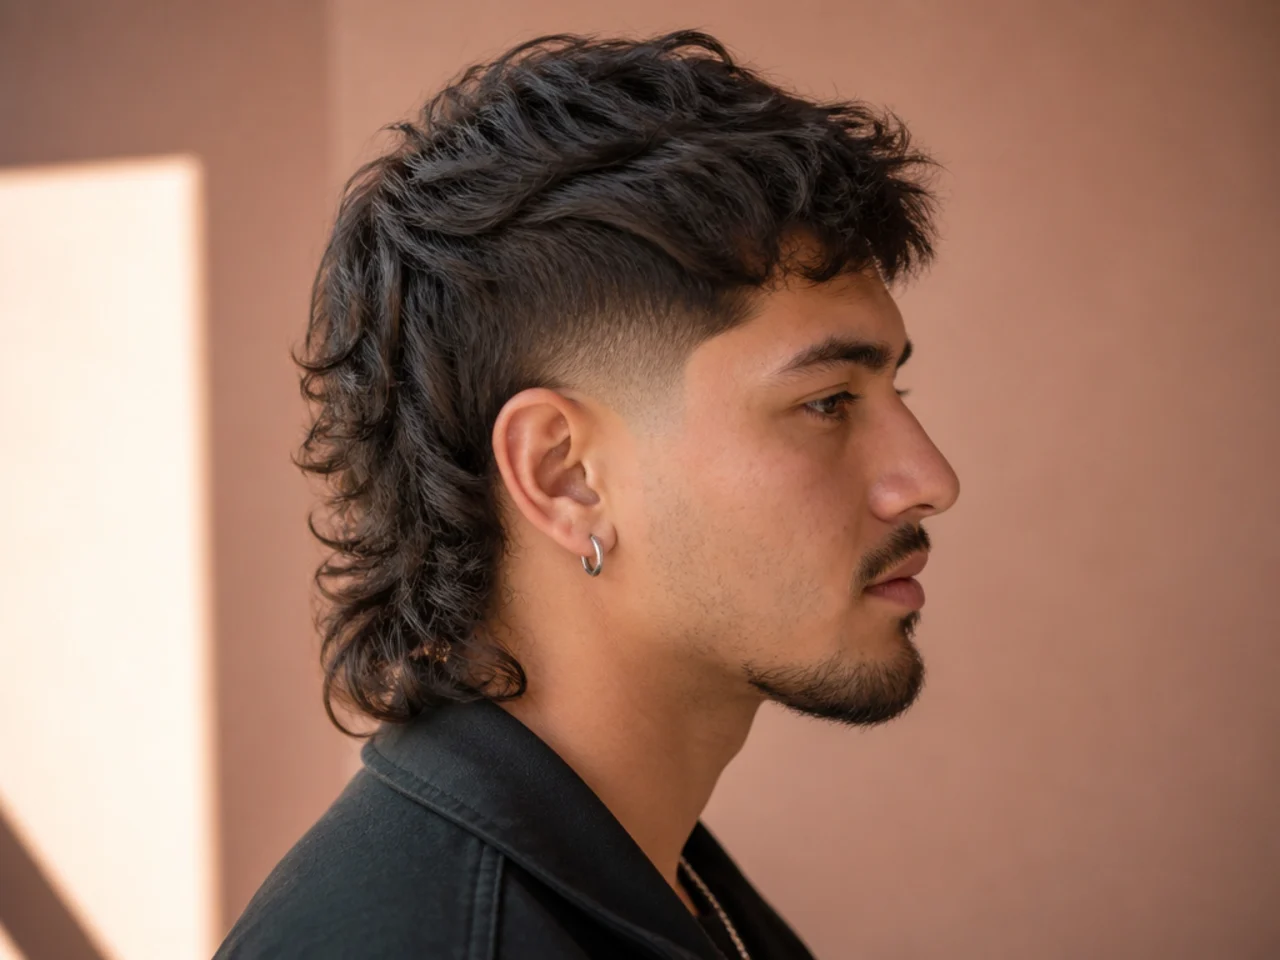
17. Modern Mullet Fade
Soft gradient, textured top, length that tapers into a point rather than ending in a blunt line. The tapered end is the modern marker — a blunt horizontal edge across the back is what reads as an eighties mullet no matter how sharp the fade is.
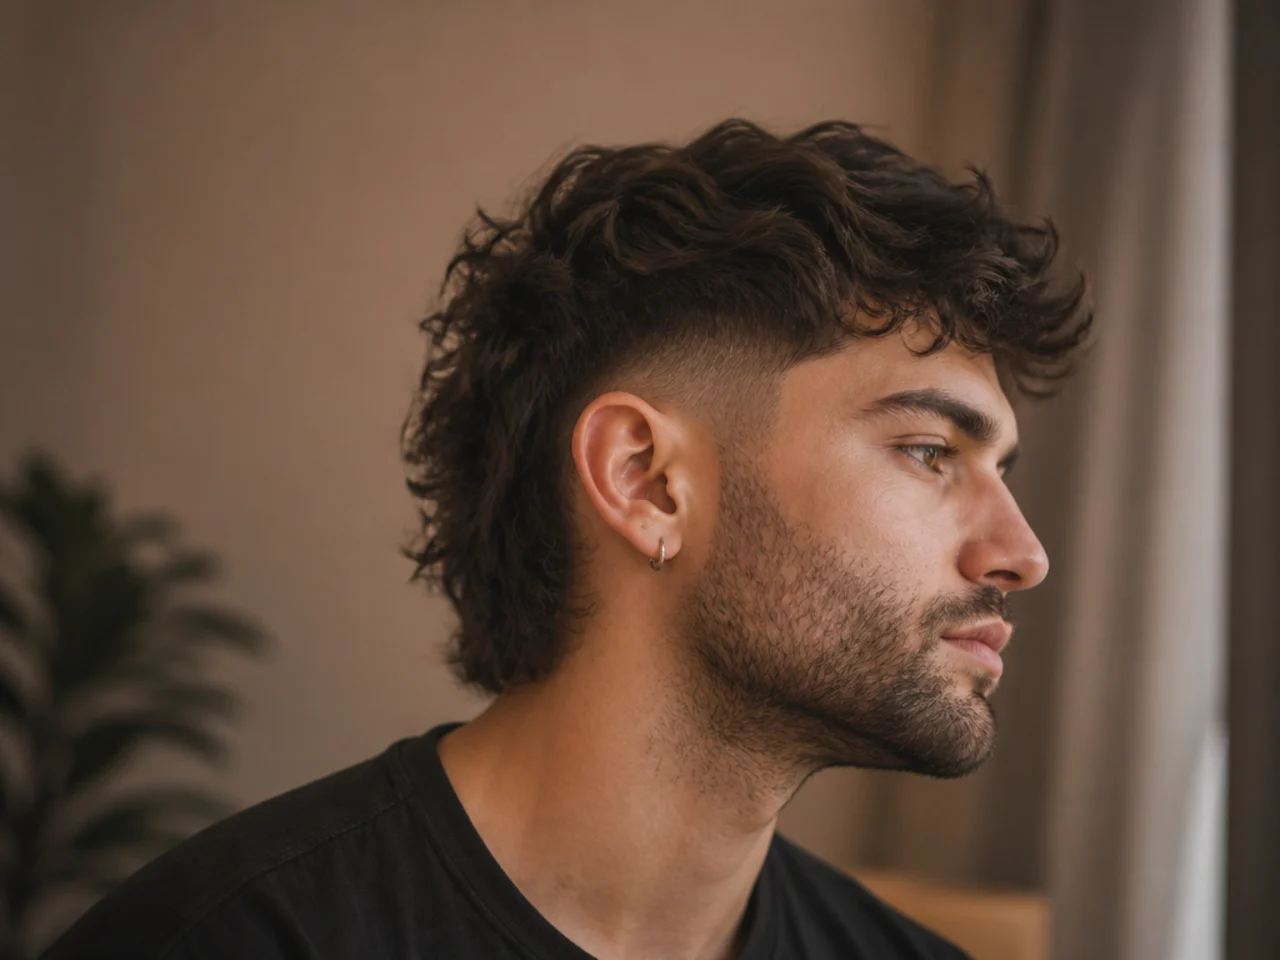
18. Retro Mullet Fade
Blunter back edge, more disconnect at the side, less blending through the top. The step between the two lengths is left visible on purpose, and that visible step is exactly what a modern version spends its blending time removing.

19. Mullet Fade With a Beard Connection
The fade runs down into the beard as one continuous gradient, removing the second horizontal line across the jaw. The join has to land where beard density genuinely begins, usually just below the earlobe, or the gradient runs out of hair partway down.
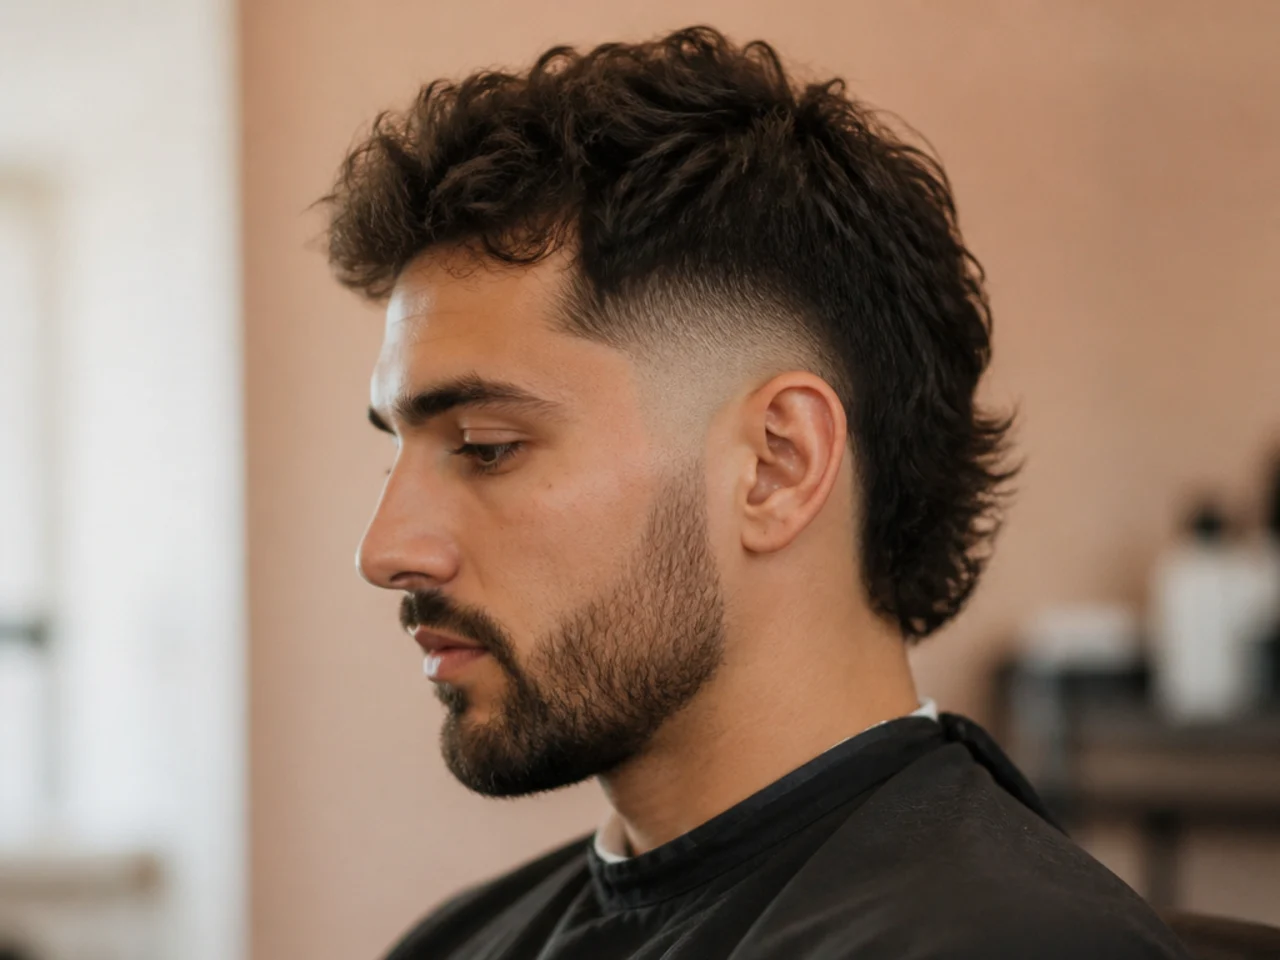
20. Mullet Fade on Fine Hair
Stop the fade at a number two guard rather than a one. A number one leaves 3mm, and on a sparse head those three millimetres sit far enough apart to show scalp between them in daylight, which reads as thinning rather than as a fade.
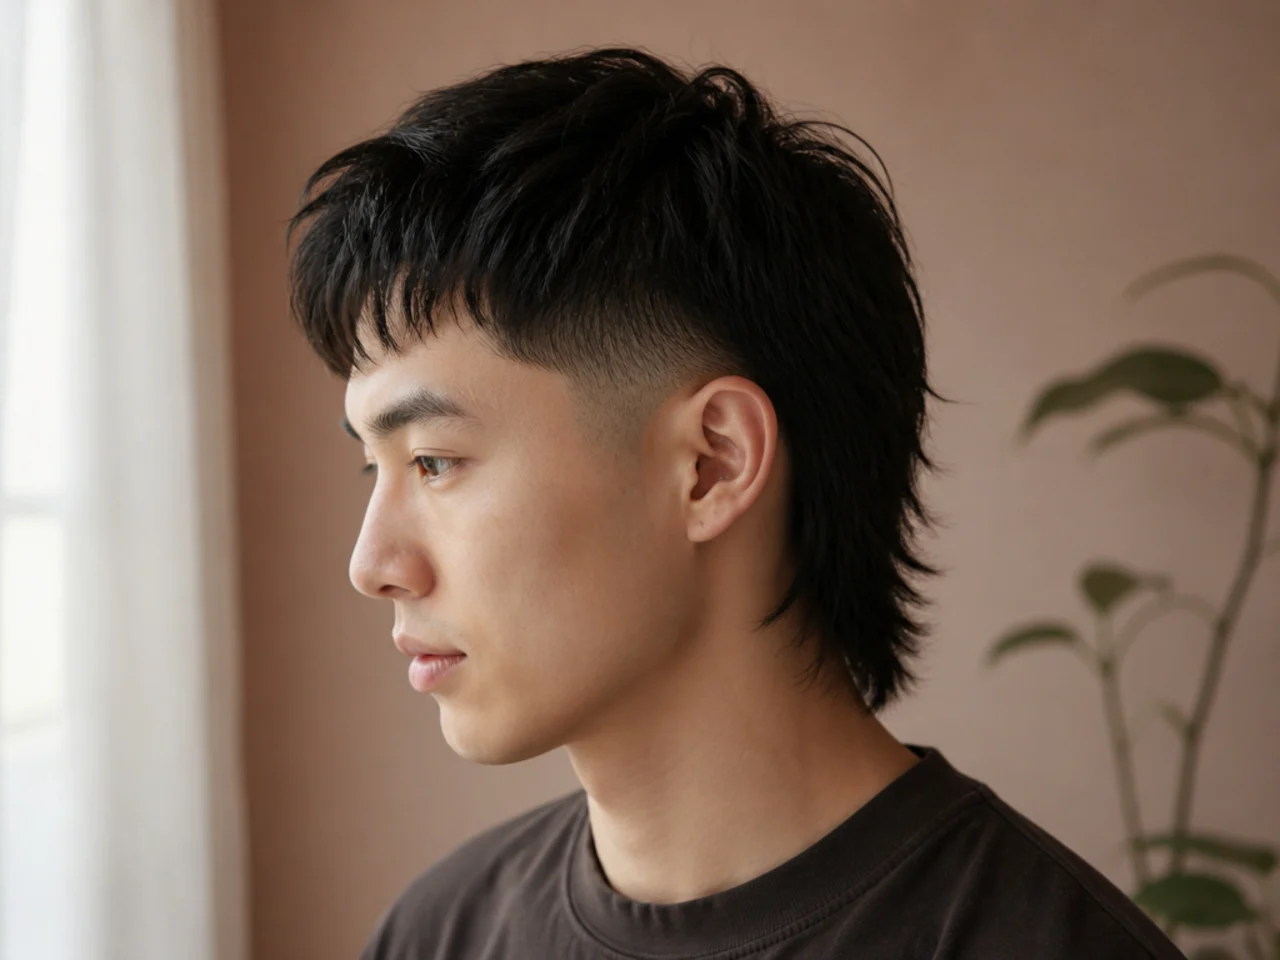
21. Mullet Fade on Thick Hair
Thick hair holds a fade line sharply, so each guard change shows as a band unless the barber works between the steps. Ask for extra blending passes rather than a shorter guard — going shorter removes the density you wanted at the back.
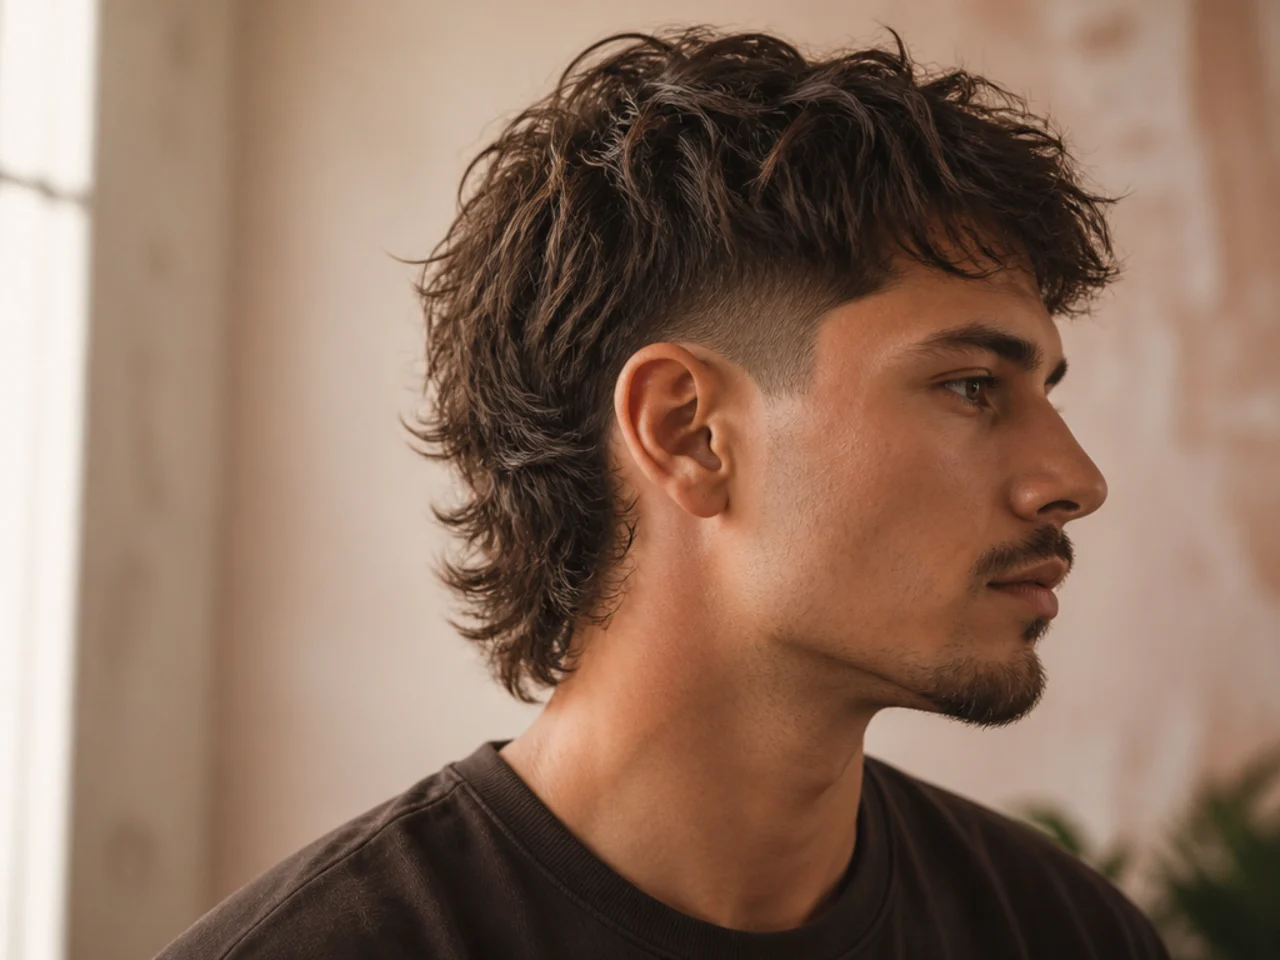
22. Bleached Mullet Fade
Lightening the top and back raises the contrast without changing a single length. Colour and cut both create contrast, so a bleached top over a dark fade reads several steps louder than the same cut in one shade.
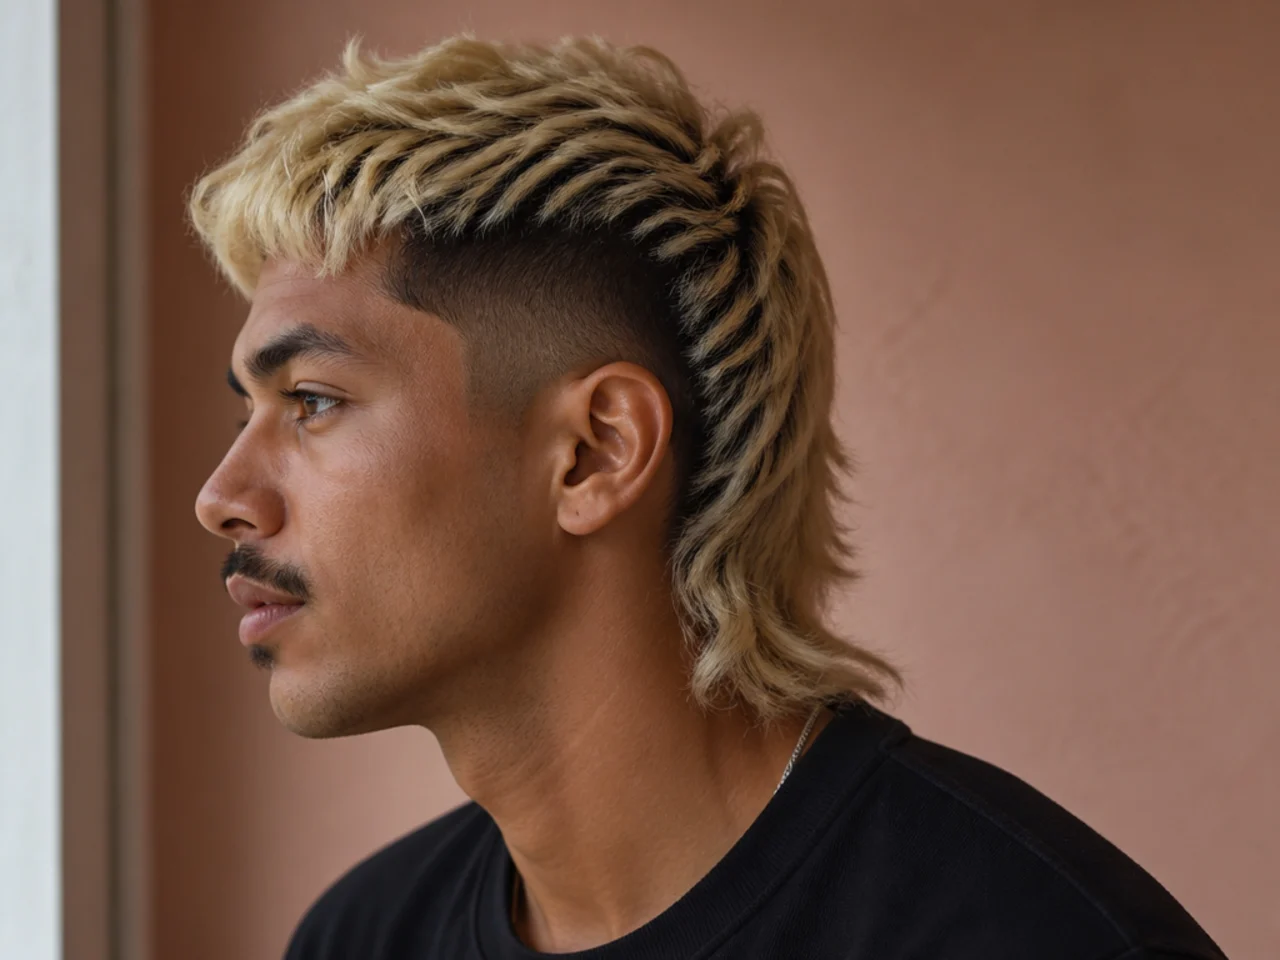
23. Mullet Fade With a Line Up
A straight edge cut along the front hairline and down the temple. It sharpens the whole cut, but it also moves the hairline back permanently on that visit, so a line up taken too aggressively costs you ground you cannot get back for weeks.
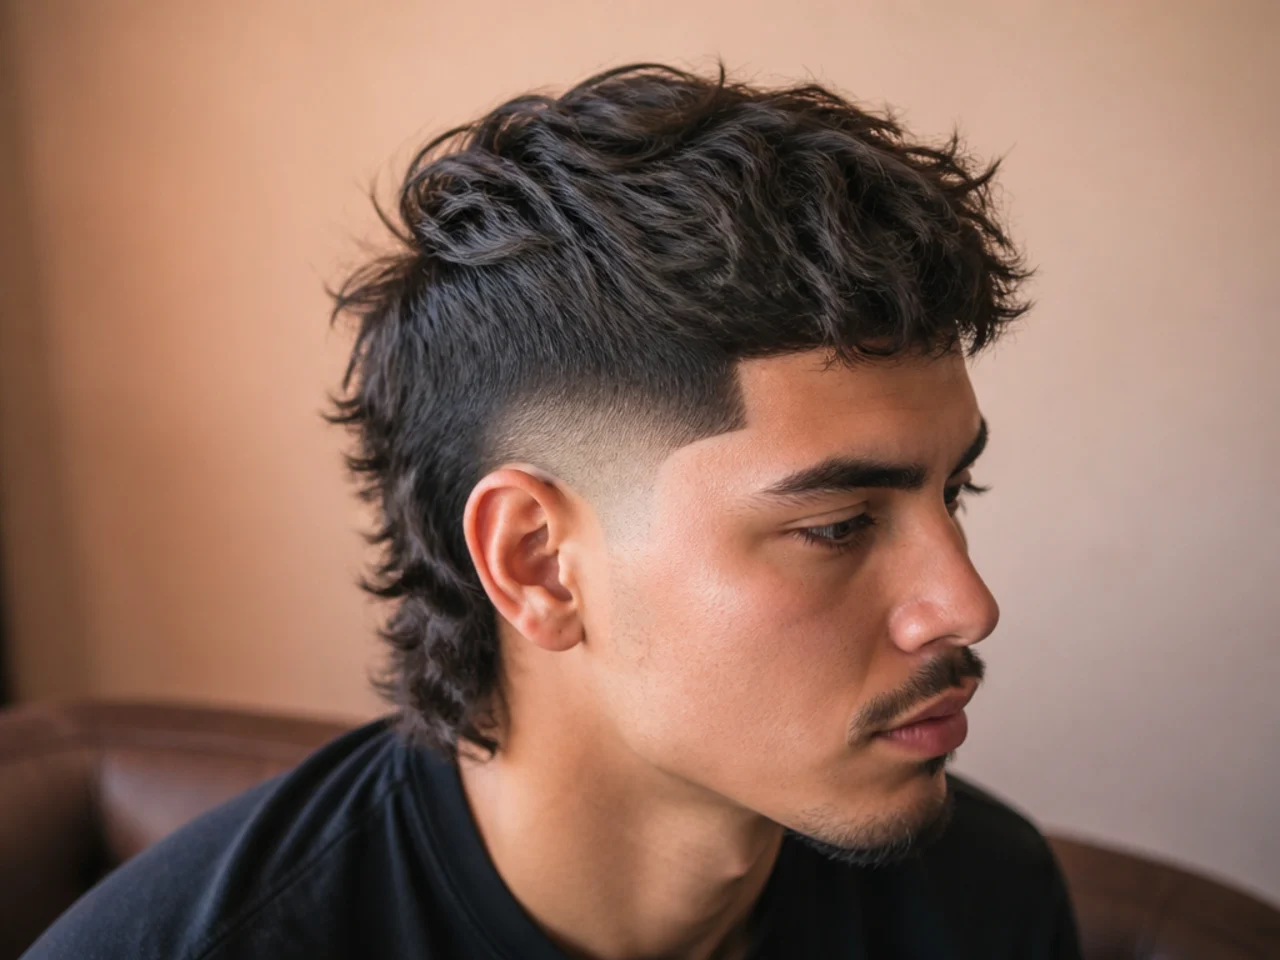
24. Shadow Fade Mullet
The gradient stops just short of skin, leaving a faint shadow of stubble at the lowest point. It gives most of the contrast of a skin fade with the grow-out behaviour of a taper, which is the useful middle for anyone on a three week schedule.
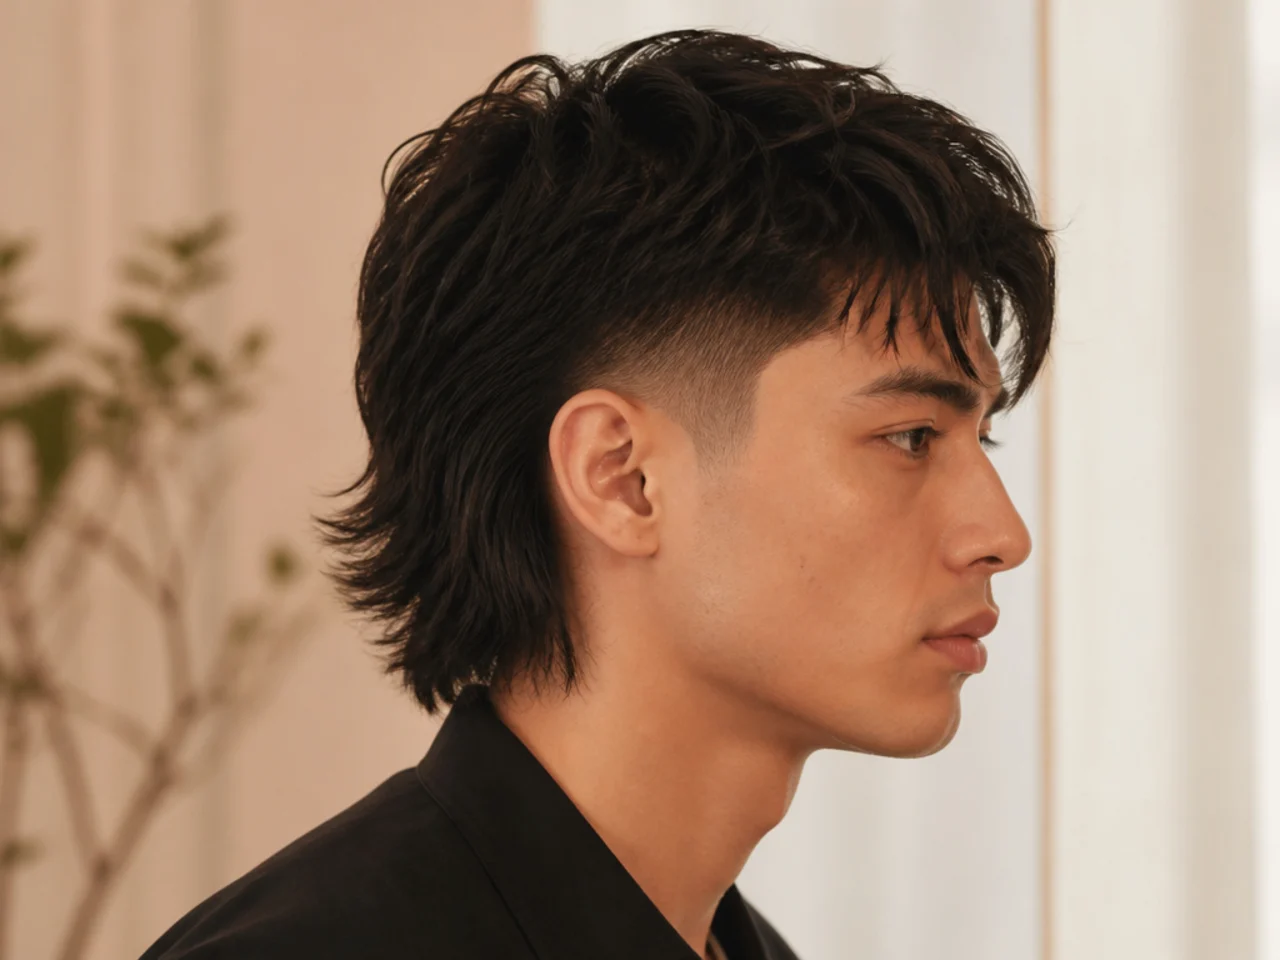
25. Mullet Fade at Week Three
The gradient has softened but the shape still holds, provided it was cut to a guard rather than to skin. This is the argument for stopping at a number one — three weeks in it still reads as the cut you asked for. More versions in the mullet fade haircut guide.
Styling and Upkeep
Name the fade height in guard numbers. "Number one at the bottom, starting at the top of the ear" is two facts a barber can act on.
Say whether you want skin. Barbers use taper and fade loosely, and the difference is the whole grow-out schedule.
Book at two weeks for skin, three to four for a guard. Bare skin shows stubble first because there is nothing for regrowth to blend into.
Dry the back downward. The length only hangs correctly if it was dried in the direction it is meant to sit.
Keep the top matte, not wet. A shine product weighs the crown down, and the crown is what stops the length reading flat.

Mistakes to Avoid
Starting the fade too high. Above the parietal ridge the back separates from the sides and the cut stops reading as one shape.
Asking for a fade when you meant a taper. A fade goes to skin, a taper leaves length. Say which finish you want.
Cutting curly length while it is wet. It shrinks as it dries, so the back ends up well above the point you agreed.
Leaving a blunt horizontal edge across the back. That flat line is the single clearest eighties marker in the whole cut.
Letting a skin fade run past three weeks. The gradient closes up and the sides read as short back and sides with a long piece attached.
FAQ
Which fade suits a mullet best? A burst fade — it stops before the nape and leaves the length untouched.
How high should it start? Top of the ear for daily wear, parietal ridge for maximum contrast.
How often? Two weeks for skin, three to four if it stops at a guard.
Final Thoughts
Decide the junction first and the rest of the cut follows. Where the fade stops and the length begins is the only measurement that changes how this haircut reads, and it is worth naming out loud at every appointment.
For the version that leaves the nape untouched see the burst fade mullet, and for the lowest maintenance option see the low fade mullet. More in Fade Haircuts.