30 Mullet Fade Haircut Ideas Barbers Recommend Most
Thirty mullet fades, and the choice that decides them all — the shape of the fade determines whether the tail keeps its density or loses it. A burst fade curves around the ear and leaves the back alone; a straight fade line cuts into the hair the tail grows from.
In this article · 37
- What the Fade Does to a Mullet
- Choosing Your Fade Height
- The 30 Mullet Fade Ideas
- 1. Low Fade Mullet
- 2. Mid Fade Mullet
- 3. High Fade Mullet
- 4. Burst Fade Mullet
- 5. Drop Fade Mullet
- 6. Taper Fade Mullet
- 7. Skin Fade Mullet
- 8. Mullet Fade Finishing at a Number One
- 9. Temple Fade Mullet
- 10. Mullet Fade With a Hard Part
- 11. Mullet Fade With a Line Up
- 12. Textured Mullet Fade
- 13. Curly Mullet Fade
- 14. Wavy Mullet Fade
- 15. Straight Hair Mullet Fade
- 16. Coily Mullet Fade
- 17. Mullet Fade With a Connected Beard
- 18. Mullet Fade With Long Sideburns
- 19. Short Mullet Fade
- 20. Long Mullet Fade
- 21. Modern Mullet Fade
- 22. Retro Mullet Fade
- 23. Mullet Fade With a Fringe
- 24. Disconnected Mullet Fade
- 25. Bleached Mullet Fade
- 26. Two Tone Mullet Fade
- 27. Permed Mullet Fade
- 28. Mullet Fade on Thick Hair
- 29. Mullet Fade on Fine Hair
- 30. Mullet Fade at Week Three
- Styling and Upkeep
- Mistakes to Avoid
- FAQ
- Final Thoughts
Most mullet fades that lose their shape were faded on the wrong path — a straight line carried right around the head cuts into the exact hair the tail needs.
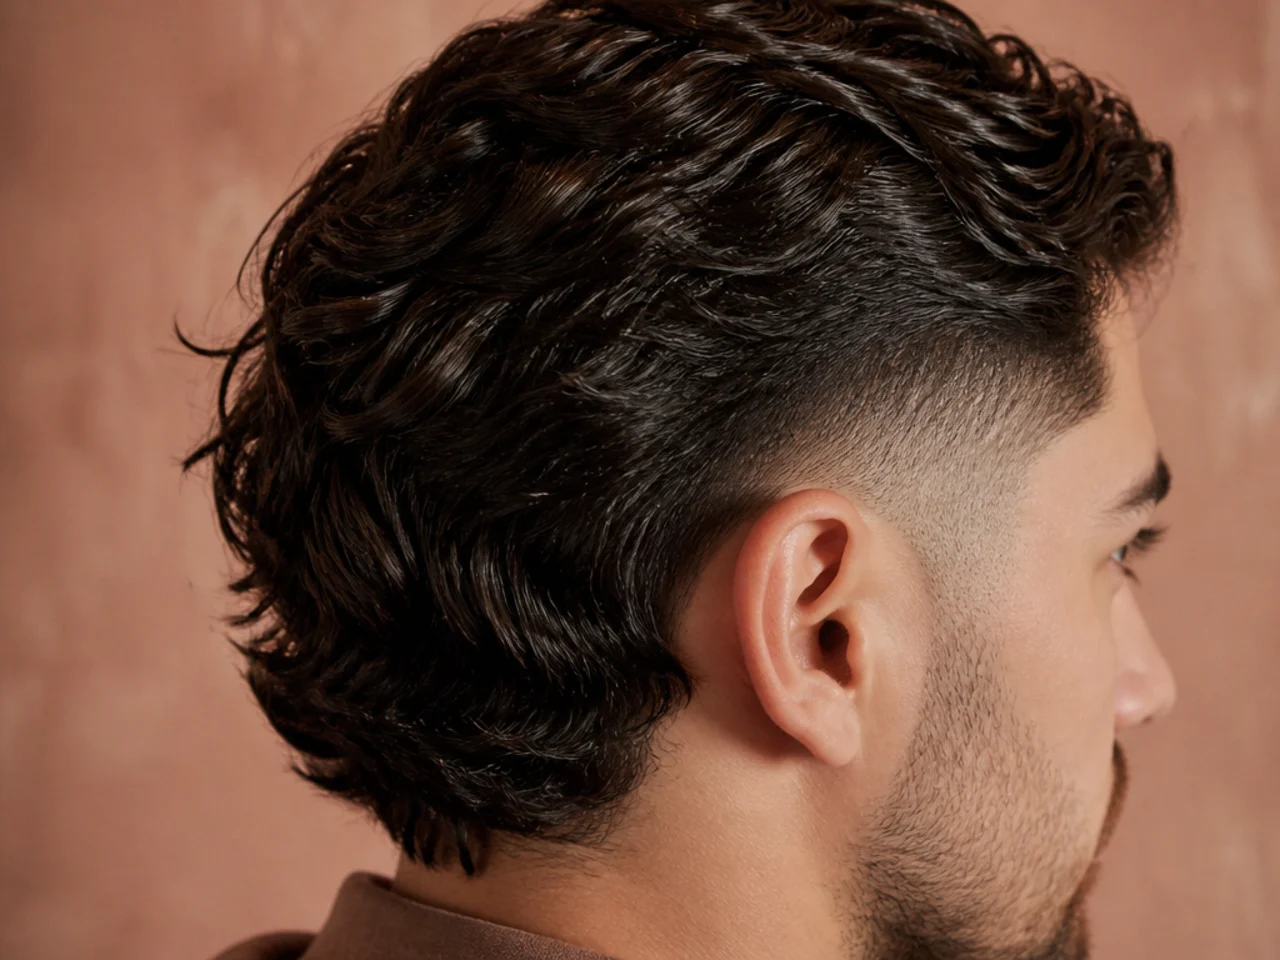
The fade shape matters more than the fade height. A burst fade curves around the ear and stops; a straight fade keeps going into the back.
A fade to skin halves your window. Bare skin shows stubble in one to two weeks, where a fade finishing at a guard still reads correctly at three or four.
What the Fade Does to a Mullet
It creates the disconnection. Without short sides there is no step, and without a step the cut is a layered shape rather than a mullet.
It controls how wide the head reads. Removing bulk at the sides narrows the silhouette, which is why a fade makes the tail look longer than it measures.
It decides where the tail begins. The higher the fade climbs at the back, the further down the tail has to start, and the less length it has to work with.
It sets your appointment schedule. Everything else in the cut holds for months; the fade is the part with a clock on it.
Choosing Your Fade Height
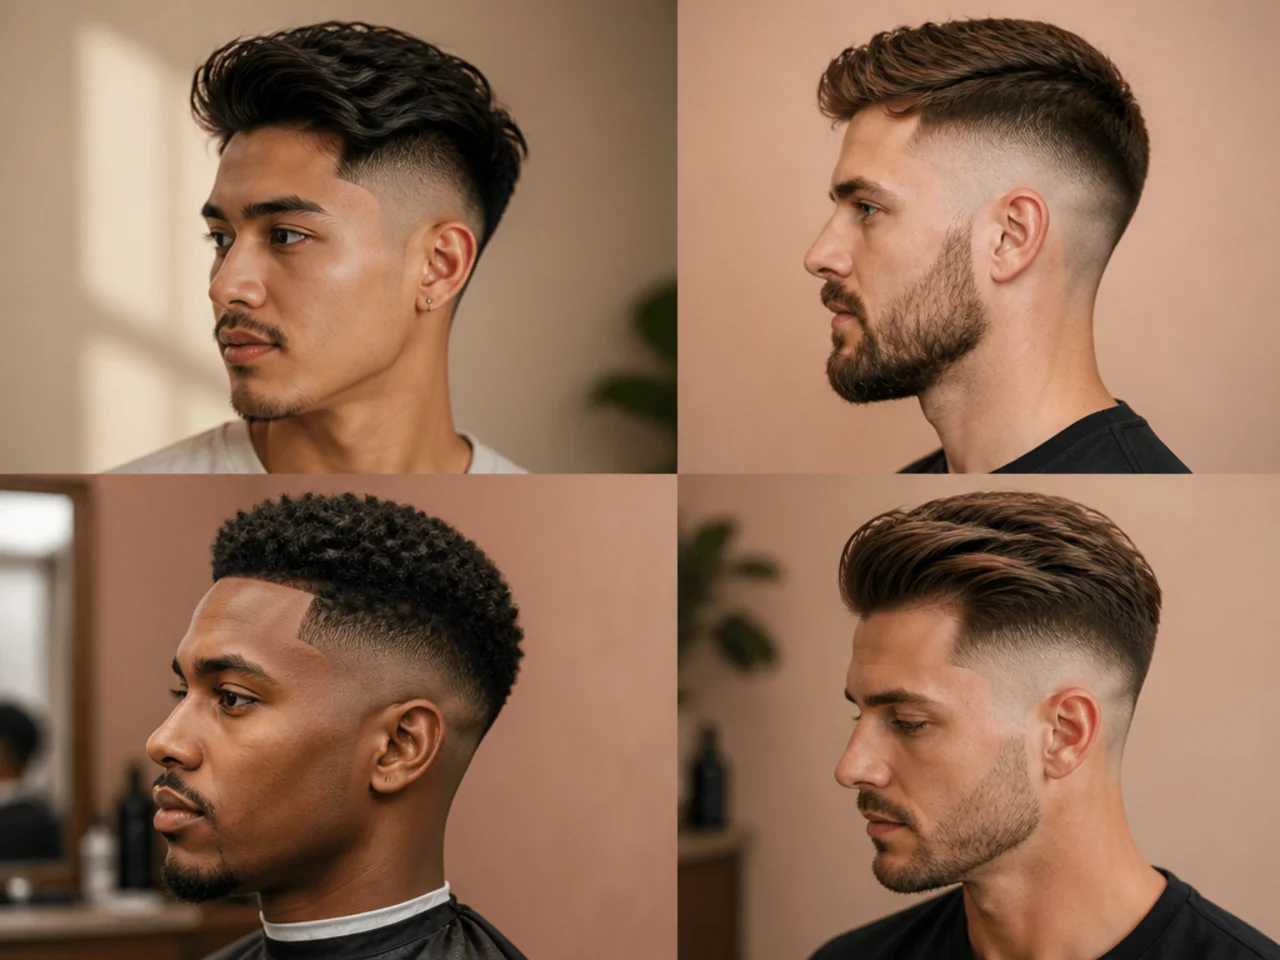
Low keeps the mullet subtle. Starting at the top of the ear leaves side length that softens the step, which is what makes a low fade mullet wearable anywhere.
Mid is the standard. Starting between the ear and the temple gives real contrast without exposing the whole side of the head.
High commits you. Above the parietal ridge there is no side hair left to soften anything, and the cut reads as a statement from every angle.
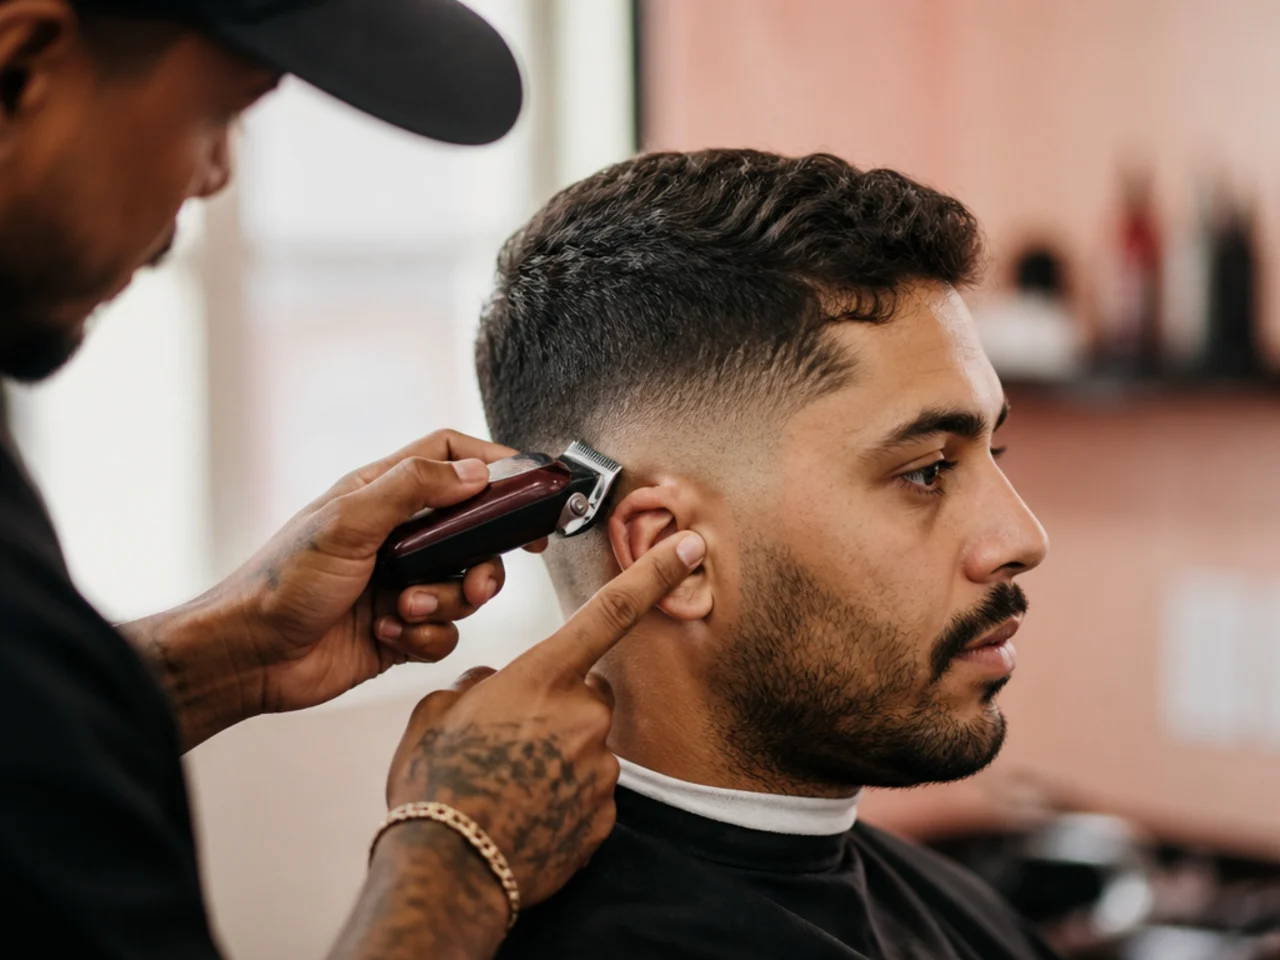
Choose a finish, not just a height. Say whether it ends at skin or at a guard number — the two grow out on completely different timetables.
The 30 Mullet Fade Ideas
1. Low Fade Mullet
The line starts at the top of the ear and stays there all the way round. It leaves the most side hair of any version, which softens the step into the tail and keeps the cut readable in conservative settings. The low fade mullet is where most people should start.
2. Mid Fade Mullet
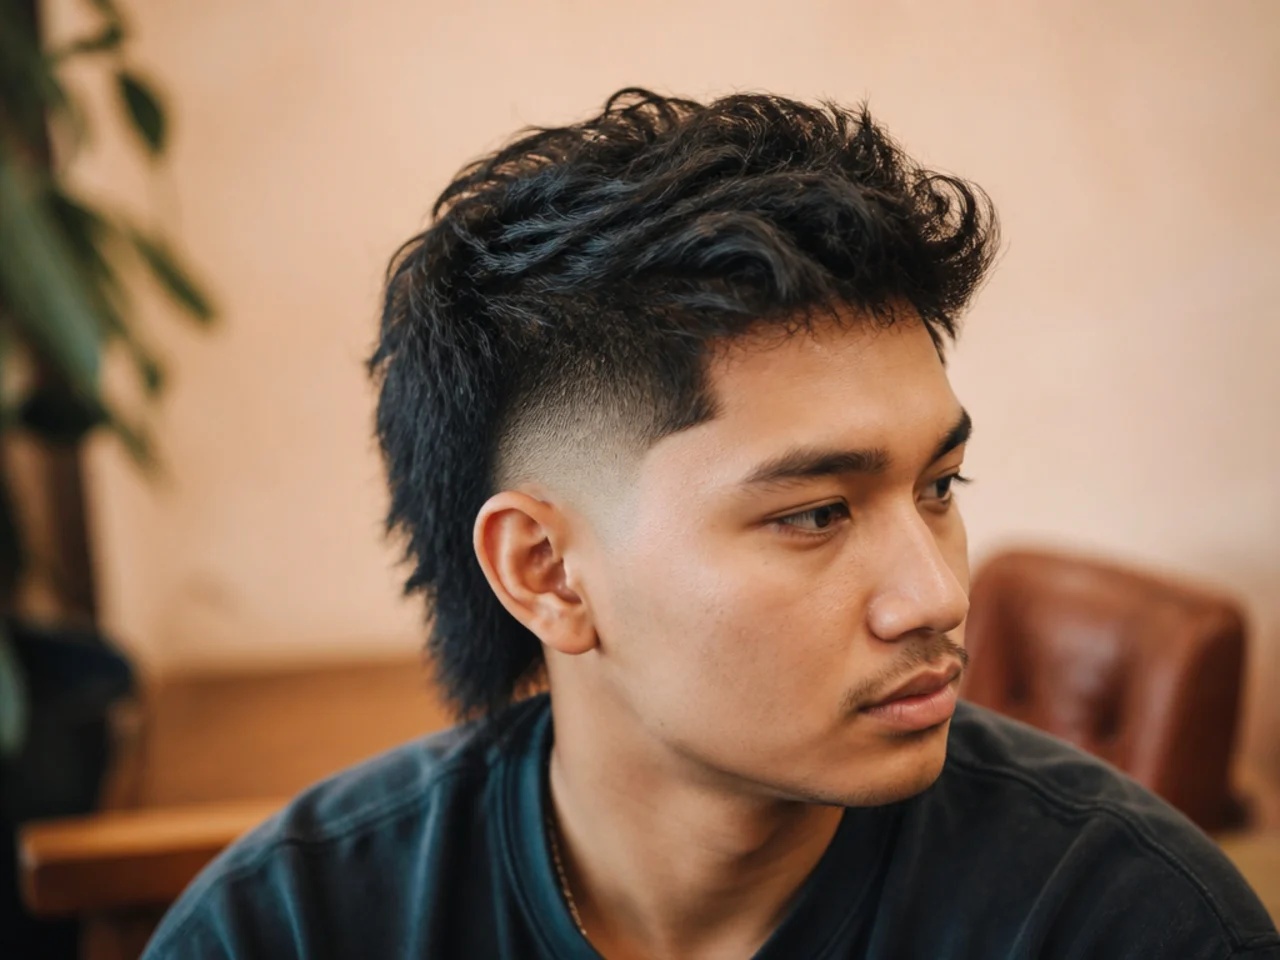
Starting between the ear and the temple removes roughly half the side mass. That doubles the contrast against the tail without exposing the upper side of the head, which is why it is the most requested height on a mullet.
3. High Fade Mullet
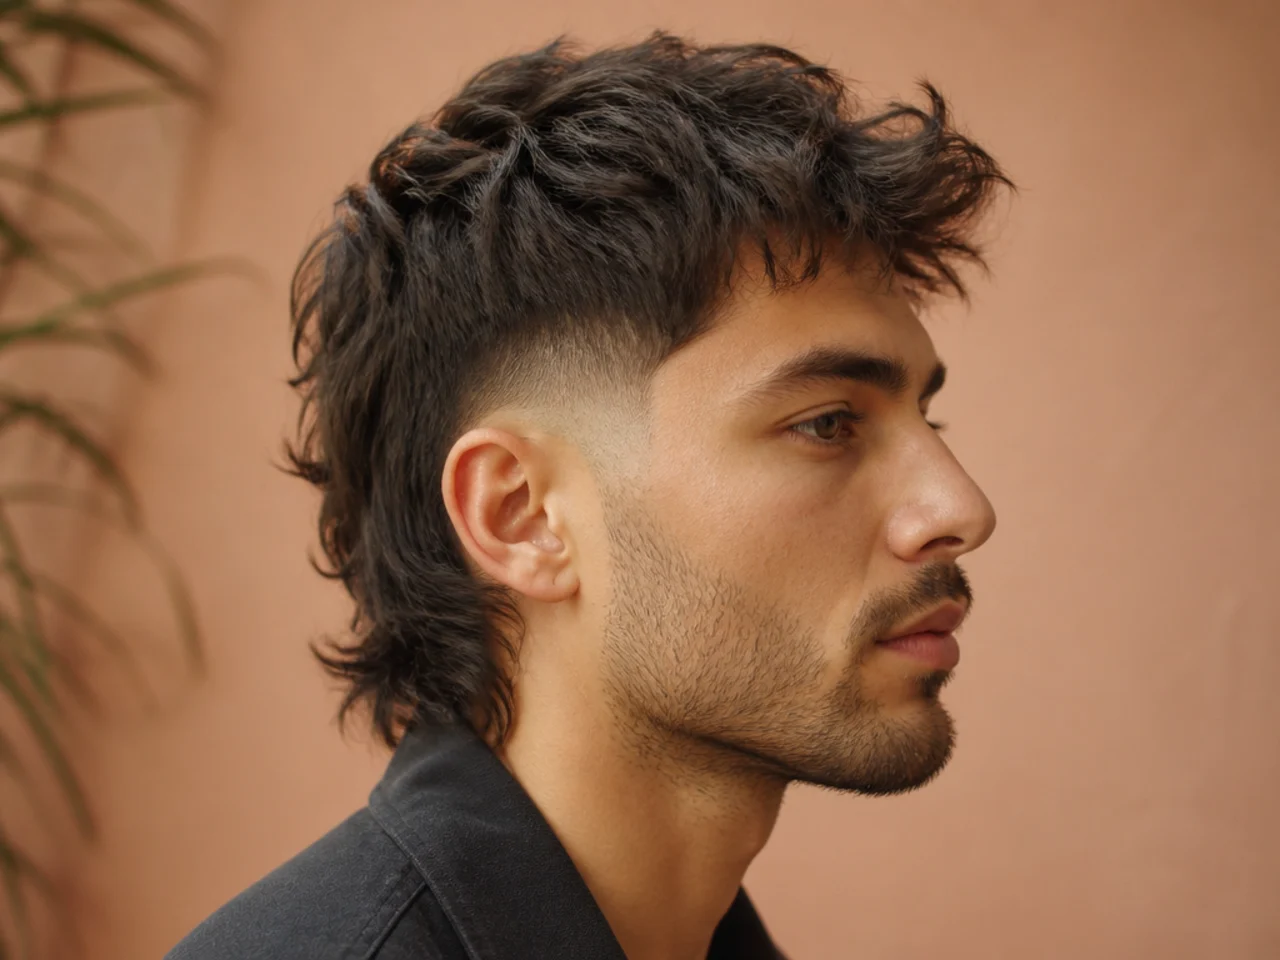
The gradient begins at or above the parietal ridge, the corner where the side turns into the top. With no side hair left to soften it, all the visual weight moves onto the top and the tail, and the head reads narrower and taller.
4. Burst Fade Mullet
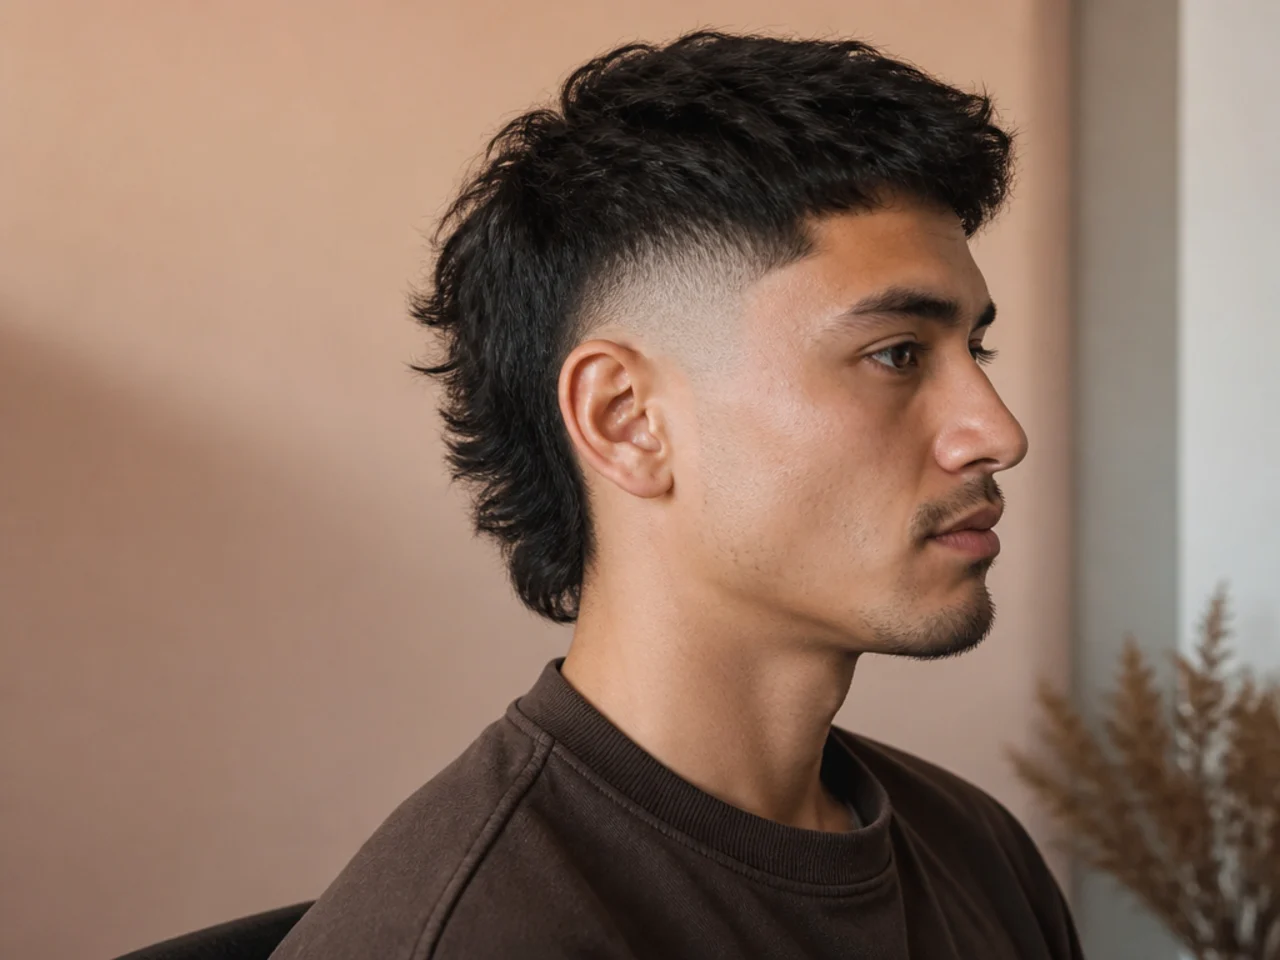
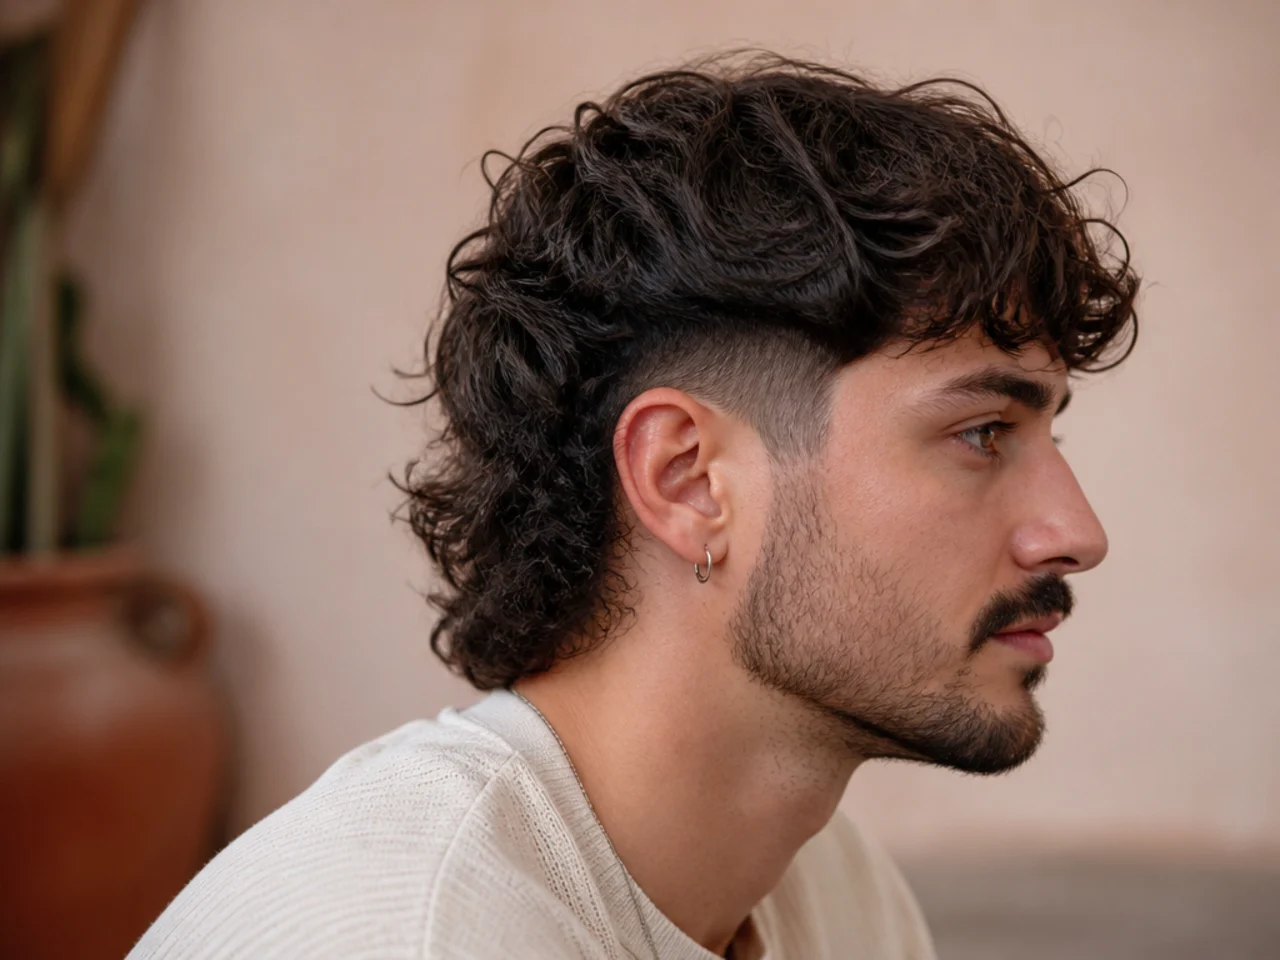
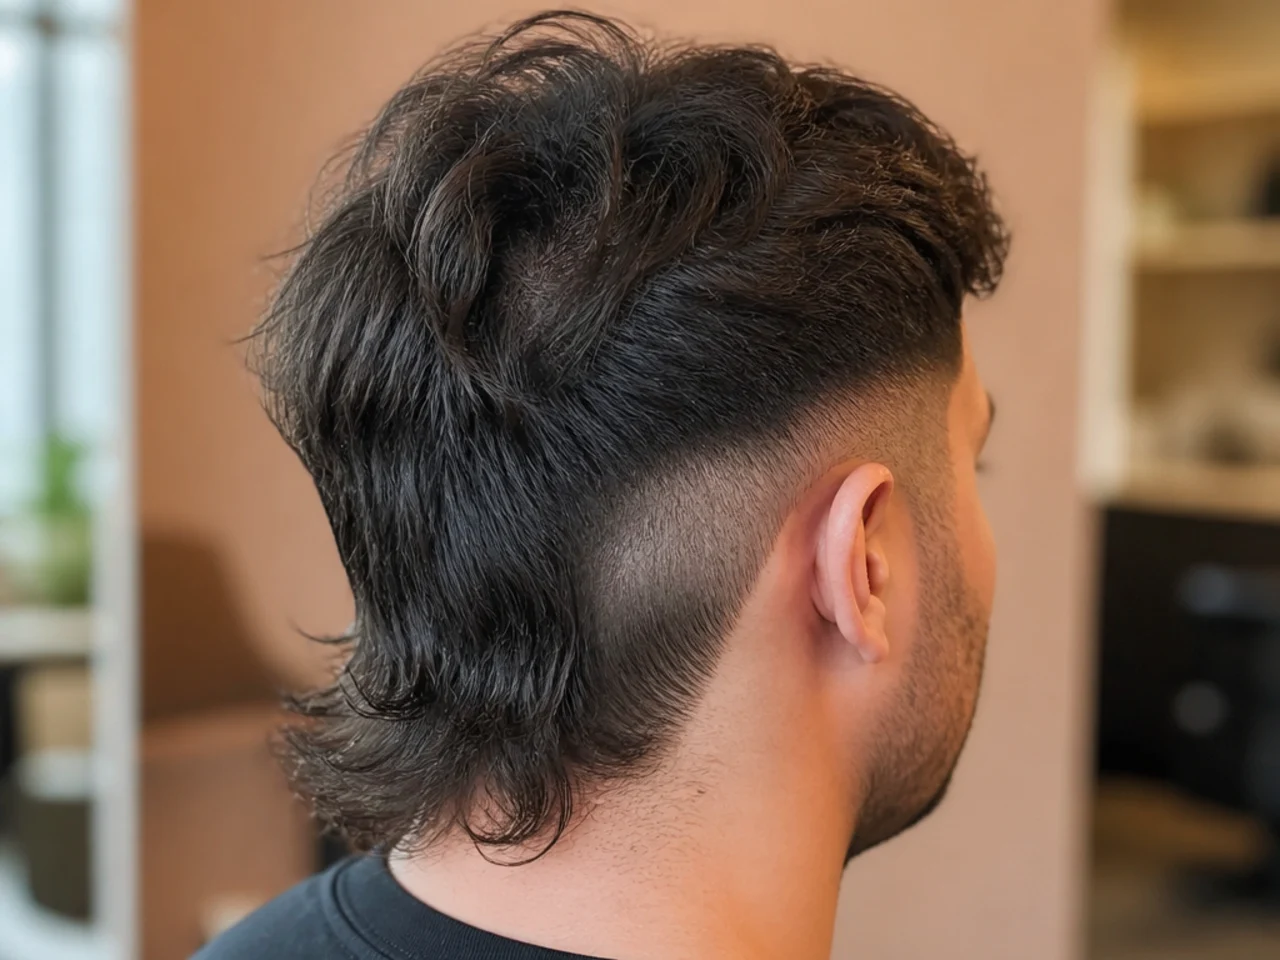
The fade runs as a semicircle around the ear and stops before it reaches the back. Because it never crosses the occipital area, the hair the tail grows from keeps its full density — which is why the burst fade is the shape most barbers reach for on this cut.
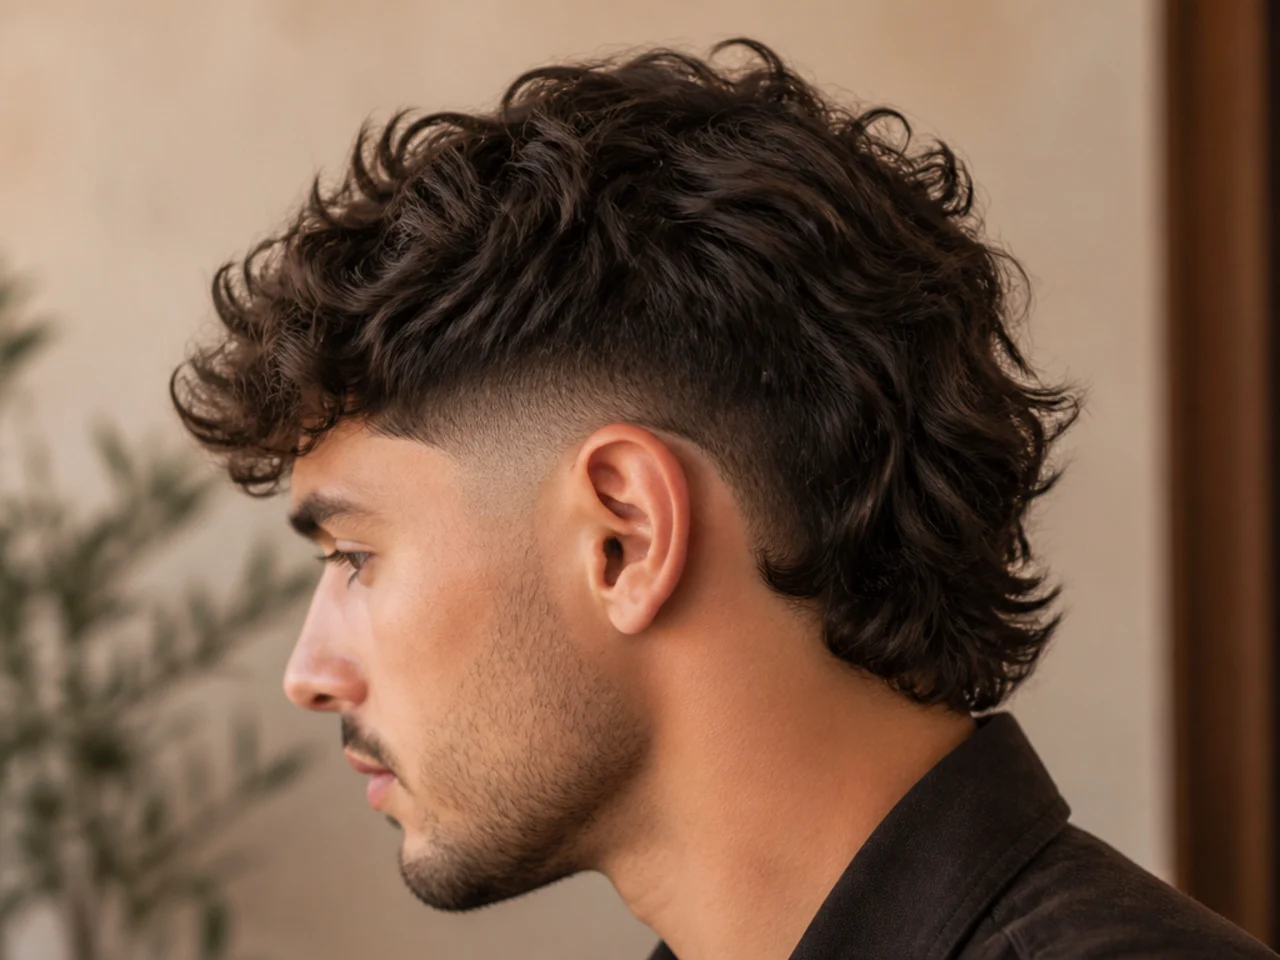
5. Drop Fade Mullet
The line drops behind the ear, following the curve of the skull rather than running level. It finishes lower at the back than at the front, so the tail begins further up and gains an extra inch of usable length.
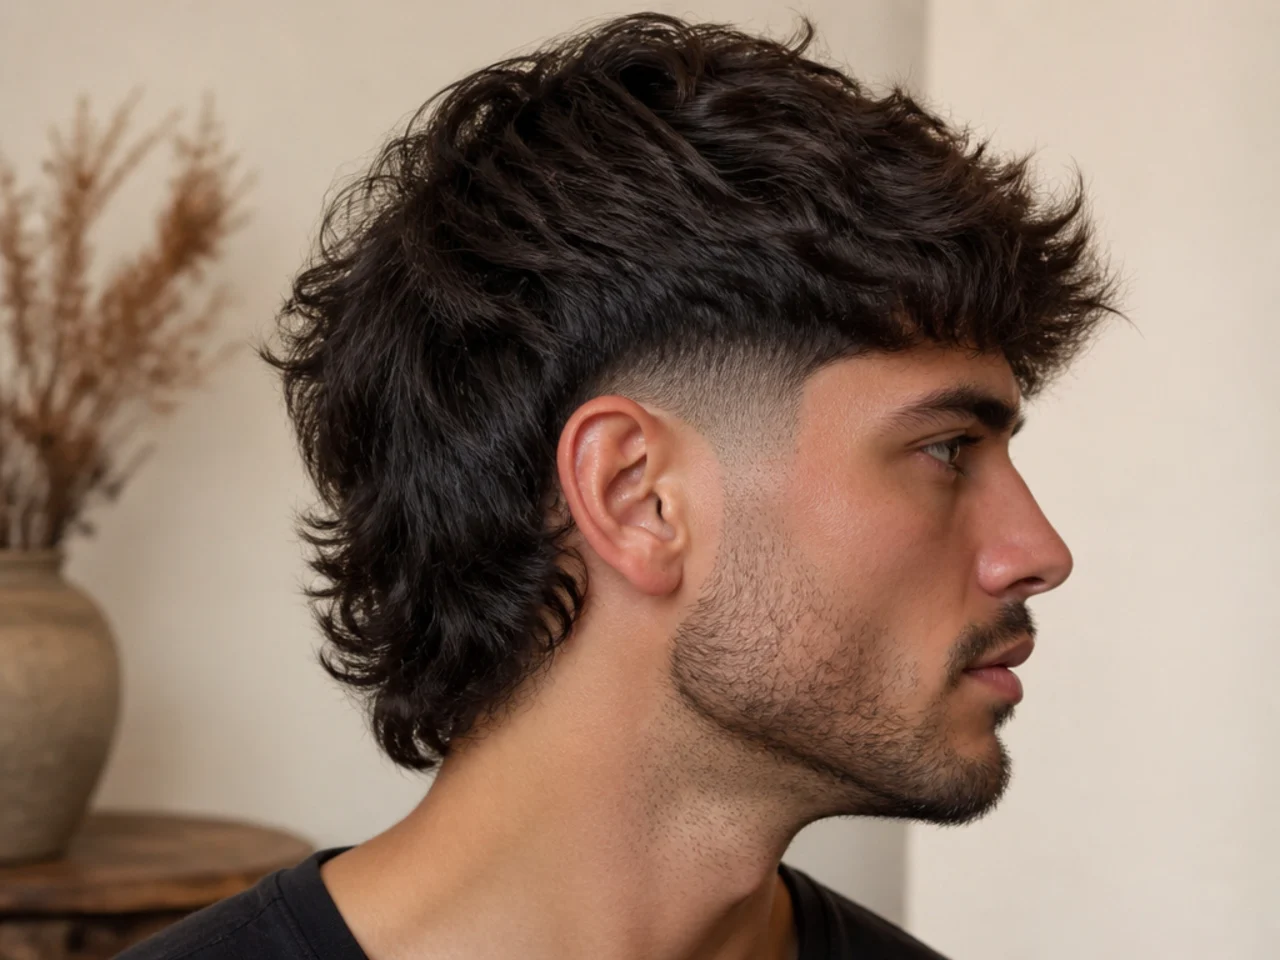
6. Taper Fade Mullet
A taper shortens gradually and always leaves hair behind, usually finishing at a number one at the very bottom. That remaining three millimetres is what lets it blur rather than grow out, and it buys two extra weeks over a fade to skin.
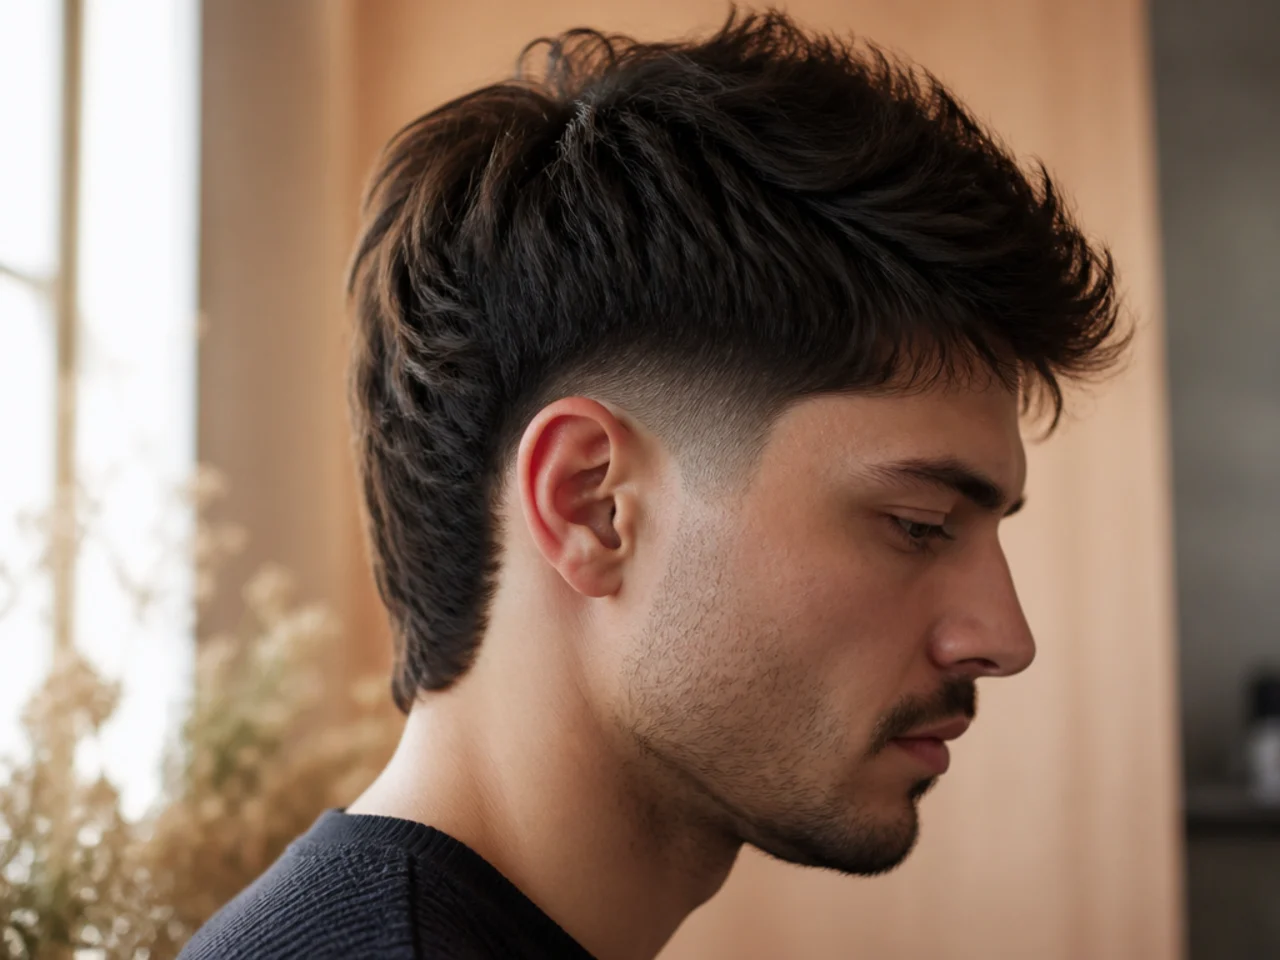
7. Skin Fade Mullet
Taken to bare scalp at the lowest point. Skin reflects light where hair absorbs it, so the jump to the tail reads harder than any guard length can achieve — at the cost of a one to two week cycle before stubble breaks the effect.
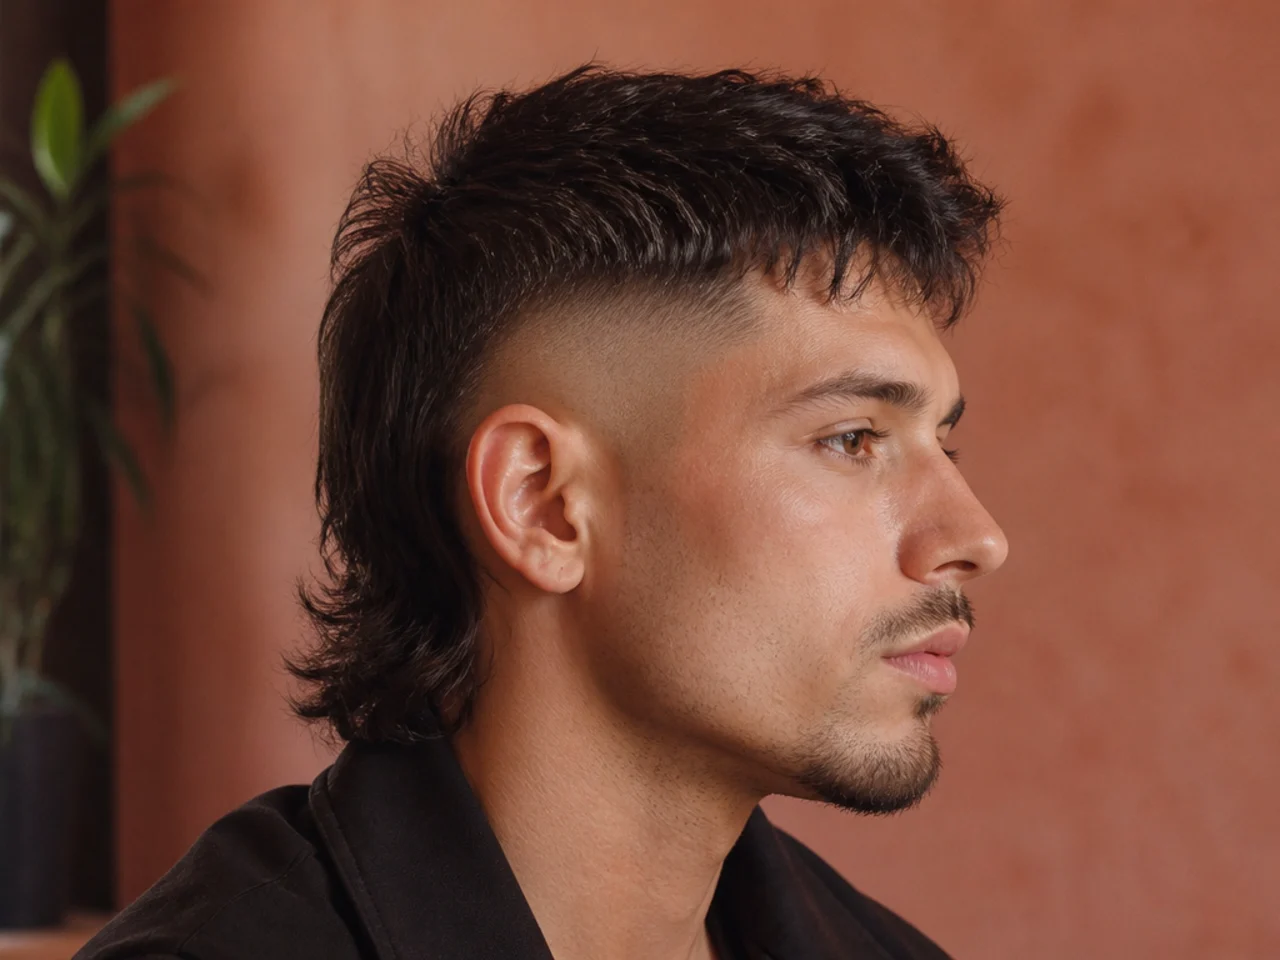
8. Mullet Fade Finishing at a Number One
Three millimetres at the lowest point instead of skin. It reads as almost the same contrast at arm's length while grading out over three to four weeks, which makes it the best value fade on the list.
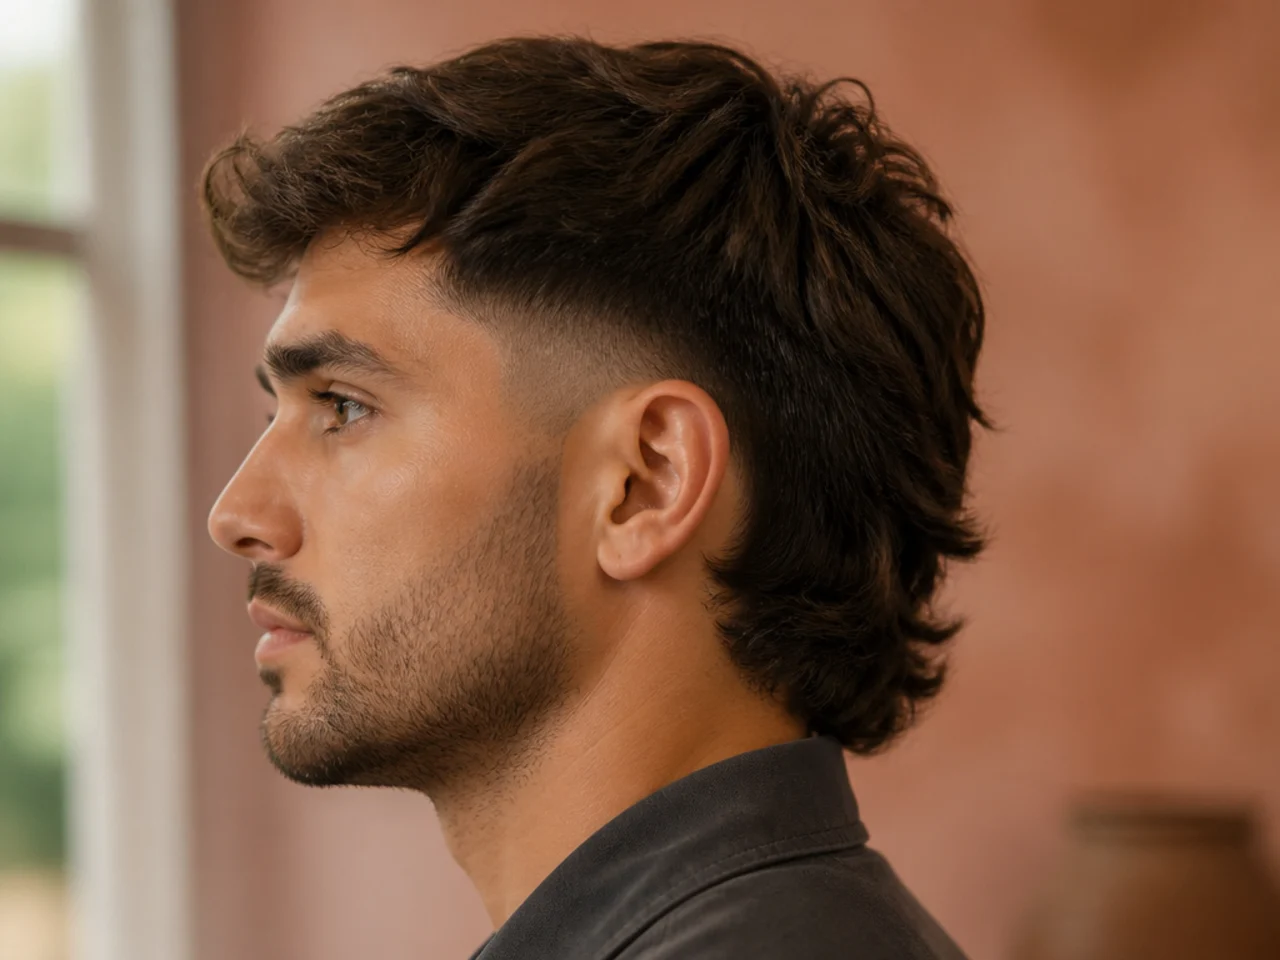
9. Temple Fade Mullet
Only the corners at the temple are shortened, with the rest of the side left long. It is the smallest intervention on the list — enough to open up the face and sharpen the front, without committing to short sides at all.
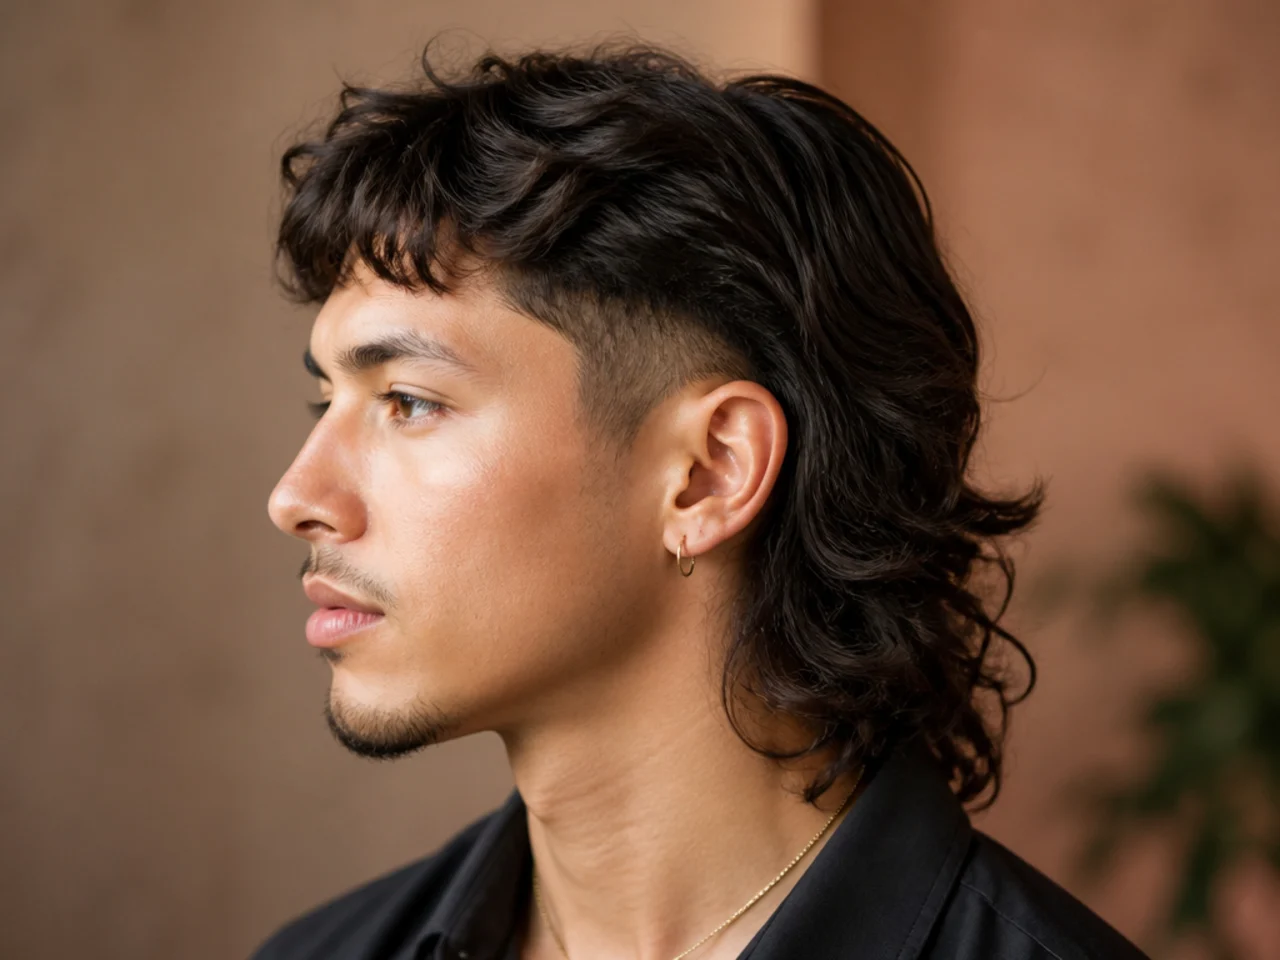
10. Mullet Fade With a Hard Part
A trimmer line cut along the natural parting. It supplies a vertical against the fade's horizontal, which is what stops the side of the head reading as a flat panel of one length.
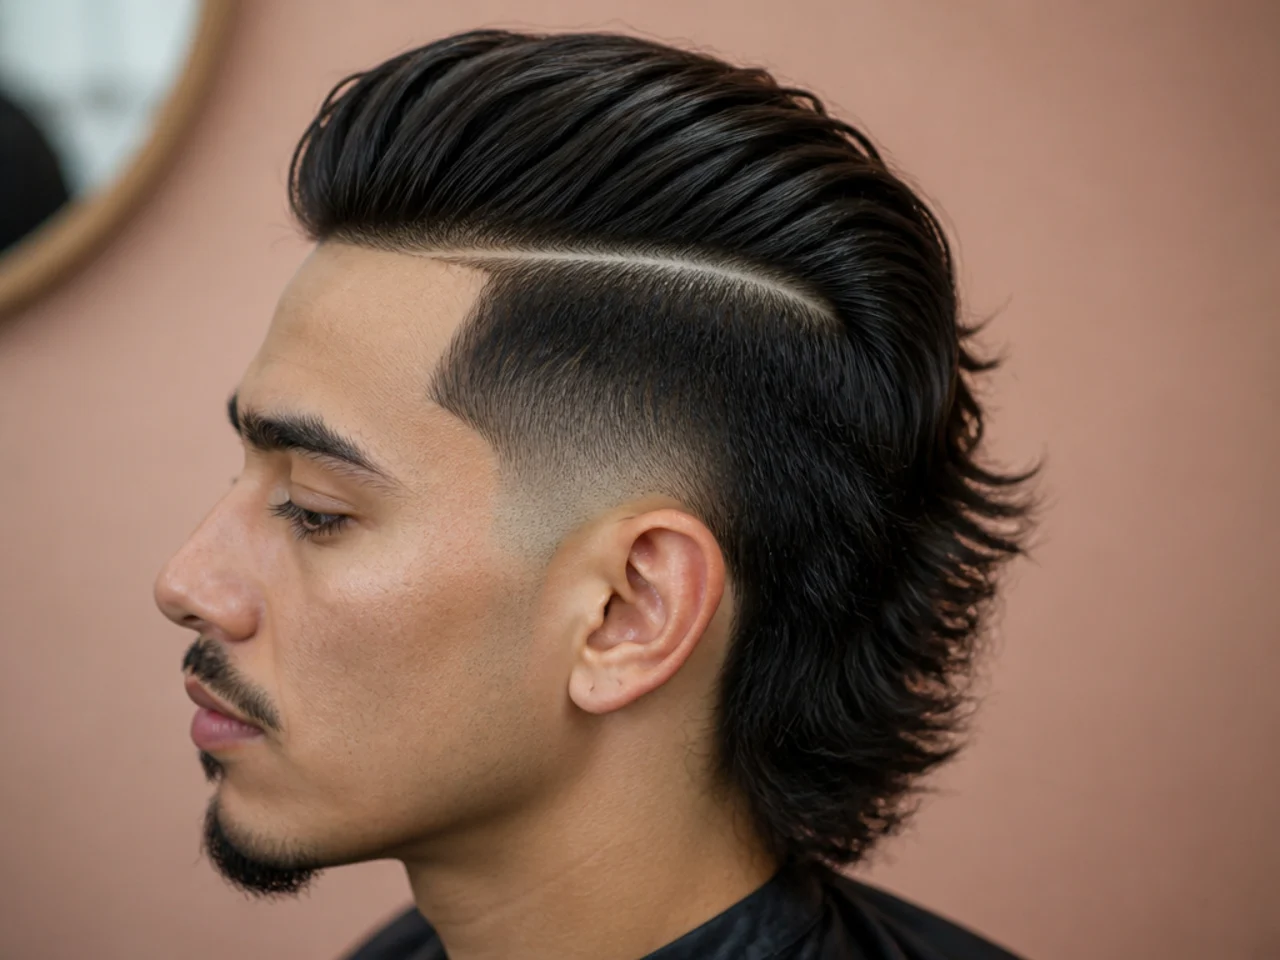
11. Mullet Fade With a Line Up
The frontal hairline squared off with a trimmer. It sharpens the whole front, but it also draws a hard edge on wherever your hairline genuinely is, so a receding corner becomes a geometric statement rather than a soft one.
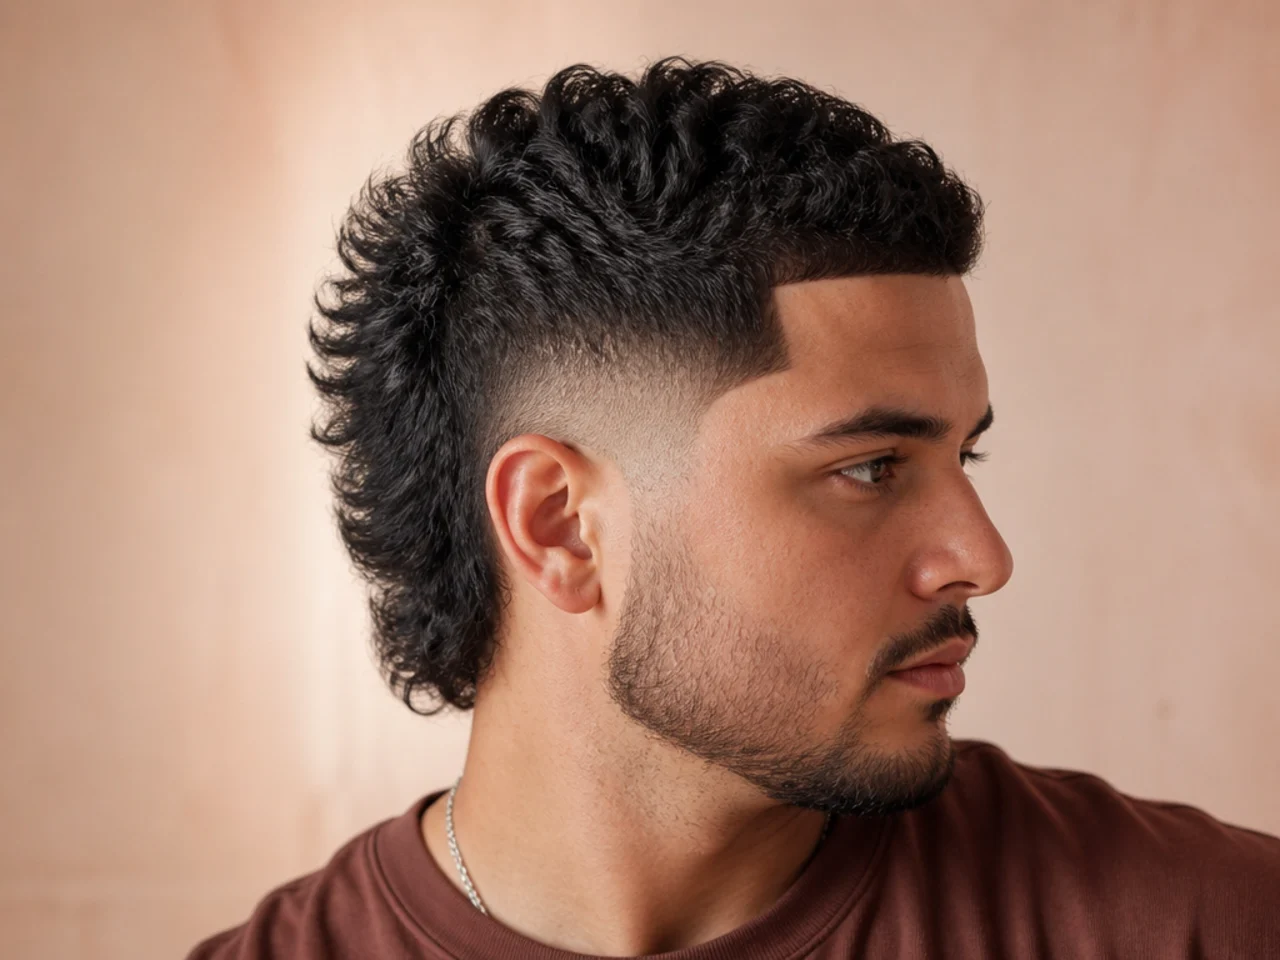
12. Textured Mullet Fade
The top and tail point cut so the ends finish at slightly different lengths. Uneven ends catch light separately instead of as one surface, which is what stops a mullet reading as a solid block of hair from behind.

13. Curly Mullet Fade
Curl is widest at the sides, so fading there removes the exact bulk that hides the shape. Cut it dry — a curl sectioned wet springs up as it dries and takes the top of the fade with it.
14. Wavy Mullet Fade
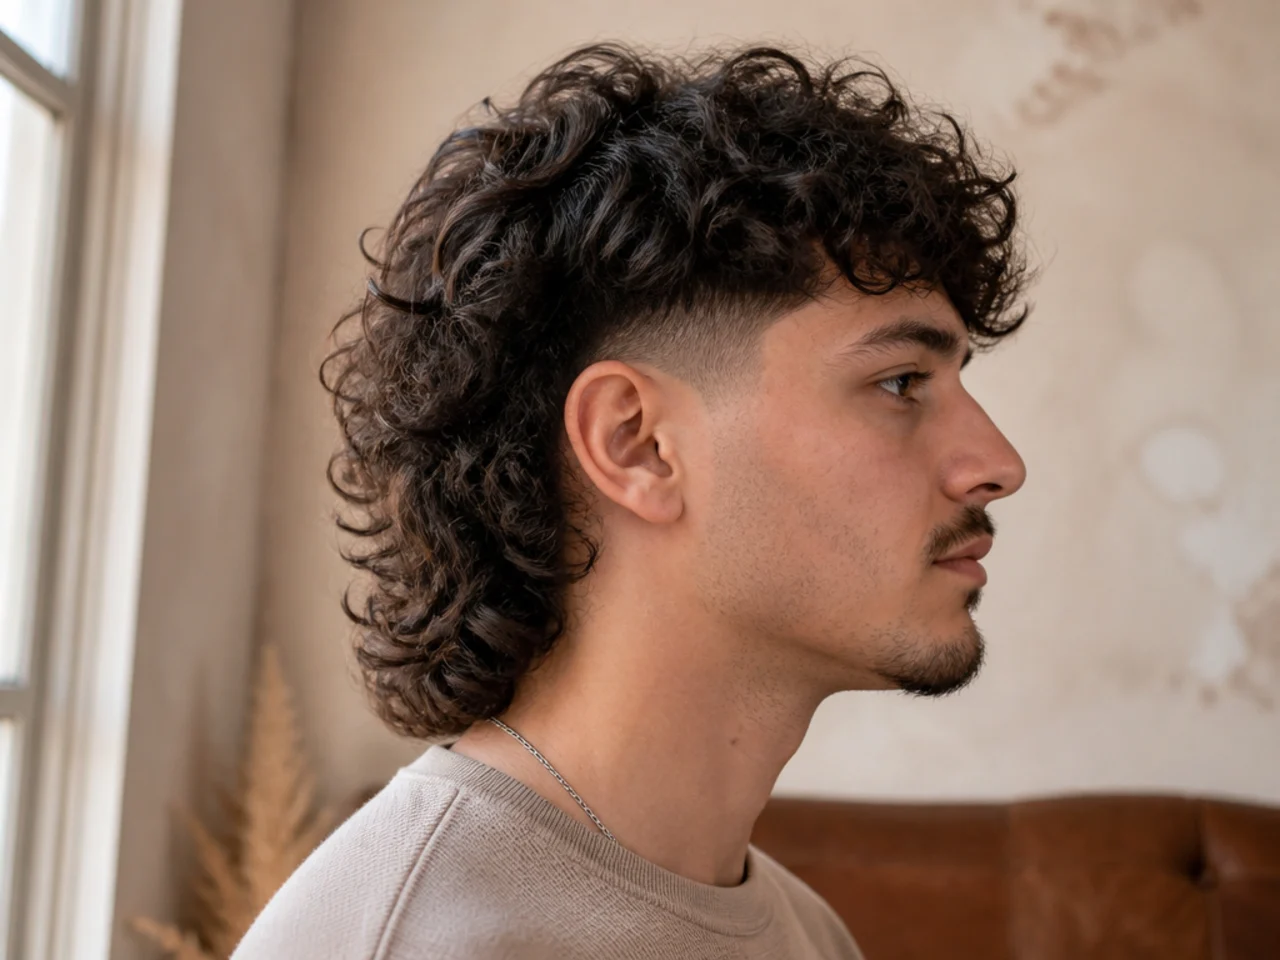
An S bend throws light in several directions at once, so the boundary between two guard lengths blurs before the eye finds it. Waves are the most forgiving texture for a fade that had to be done quickly.
15. Straight Hair Mullet Fade
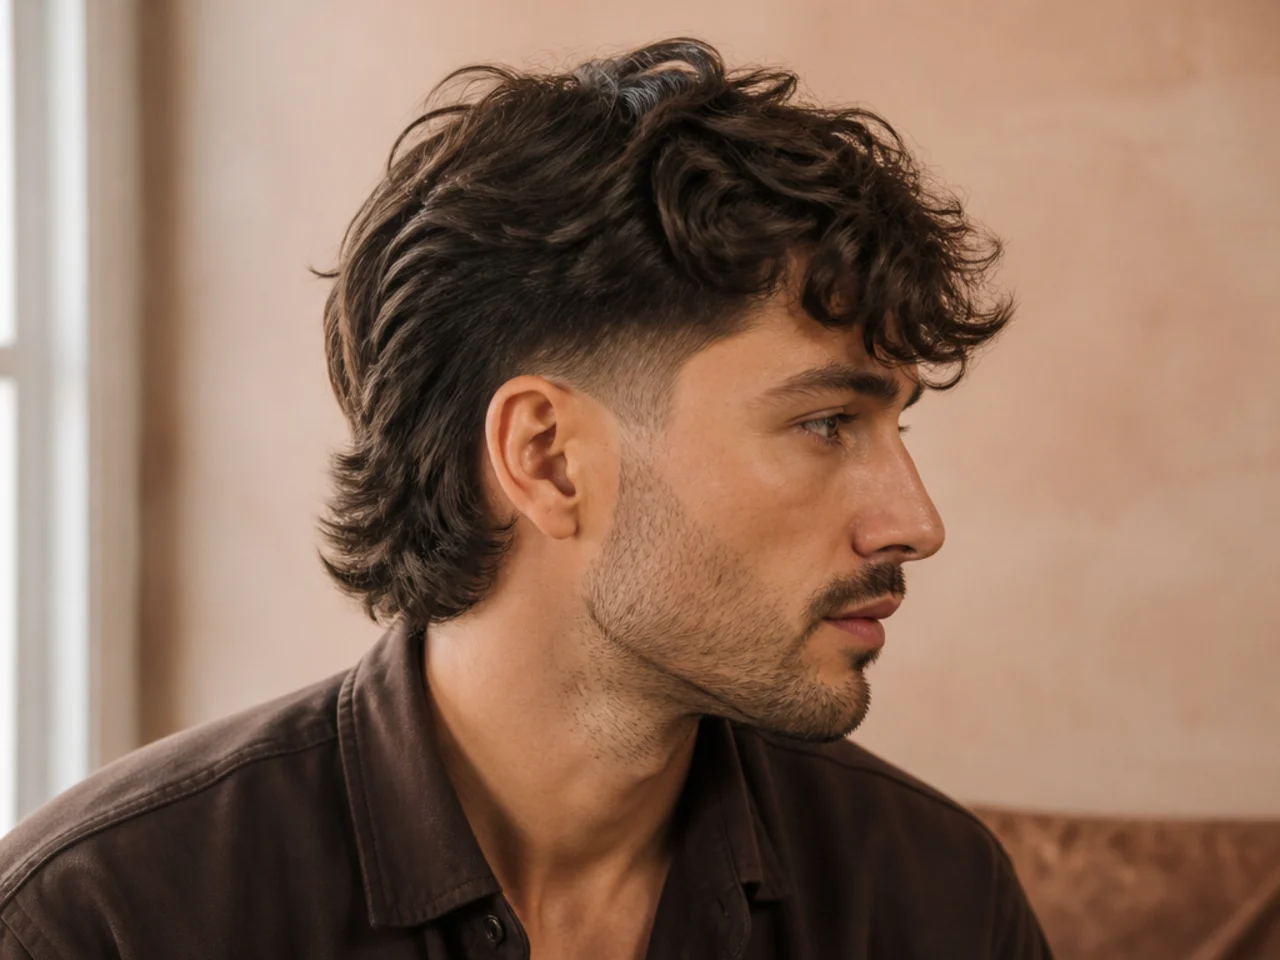
A straight strand lies in a single line with no bend to scatter light, so every step in the gradient reads as a step rather than as shadow. Ask for extra blending passes rather than a shorter guard.
16. Coily Mullet Fade
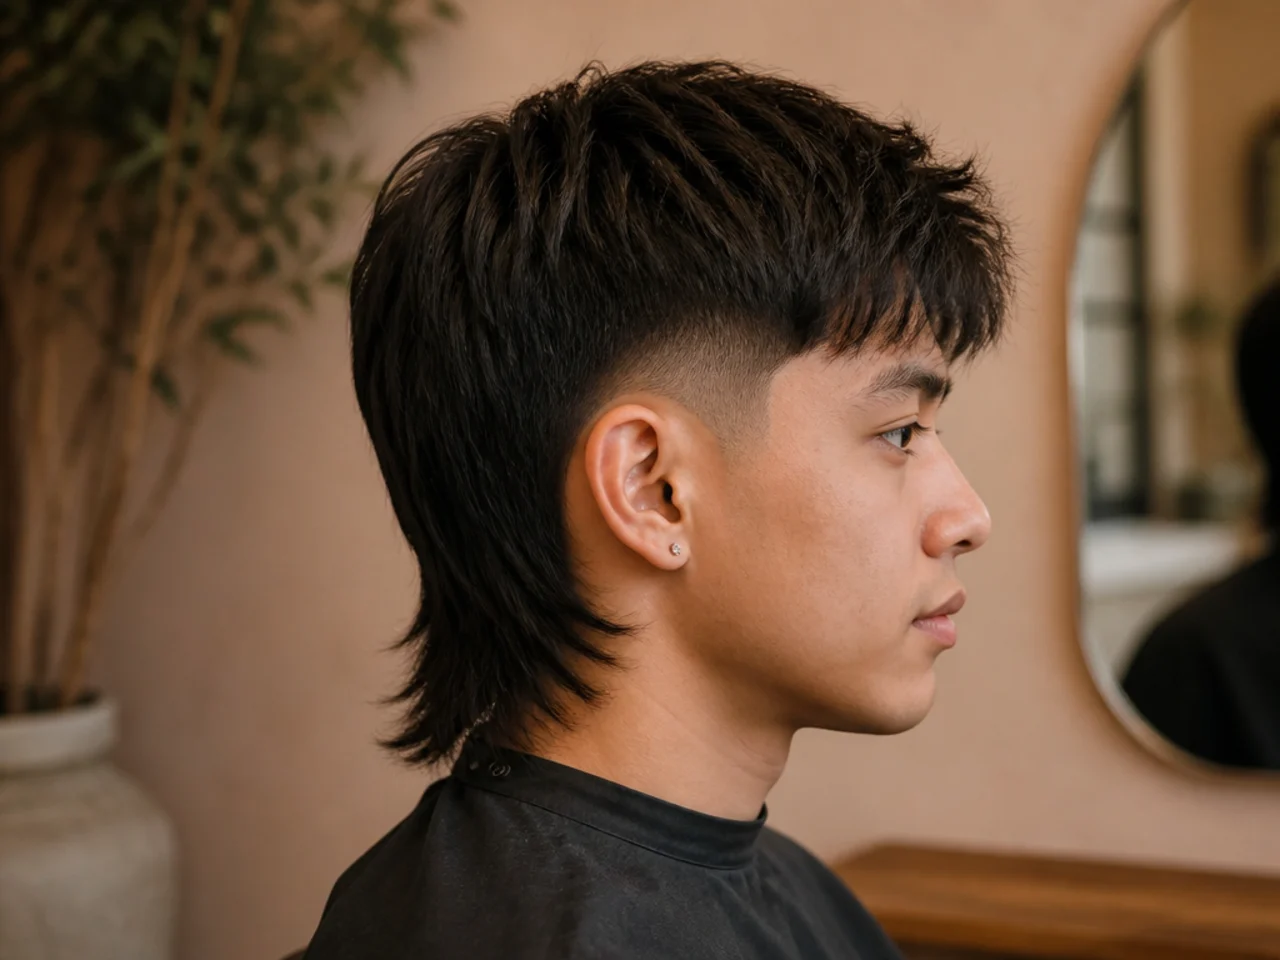
Coils change density gradually from the scalp outward, which makes the blend itself the easiest of any texture. The difficulty moves to the tail, which grows up and out before it grows down and needs real length before it hangs.
17. Mullet Fade With a Connected Beard
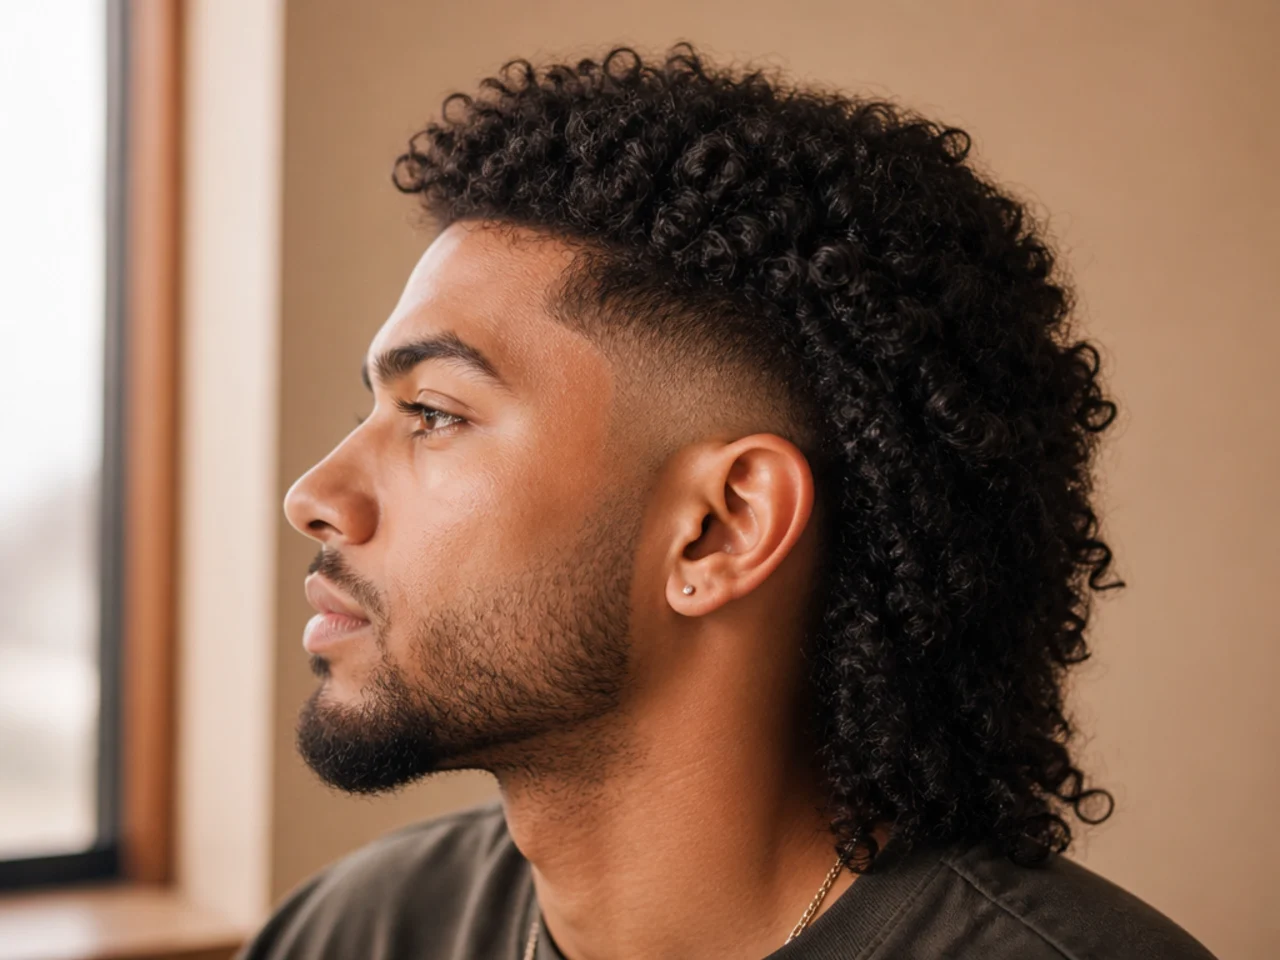
The fade runs down into the beard as one gradient, which removes the second horizontal line across the jaw. The join has to land where beard density genuinely starts, usually just below the earlobe, or the gradient runs out of hair halfway down.
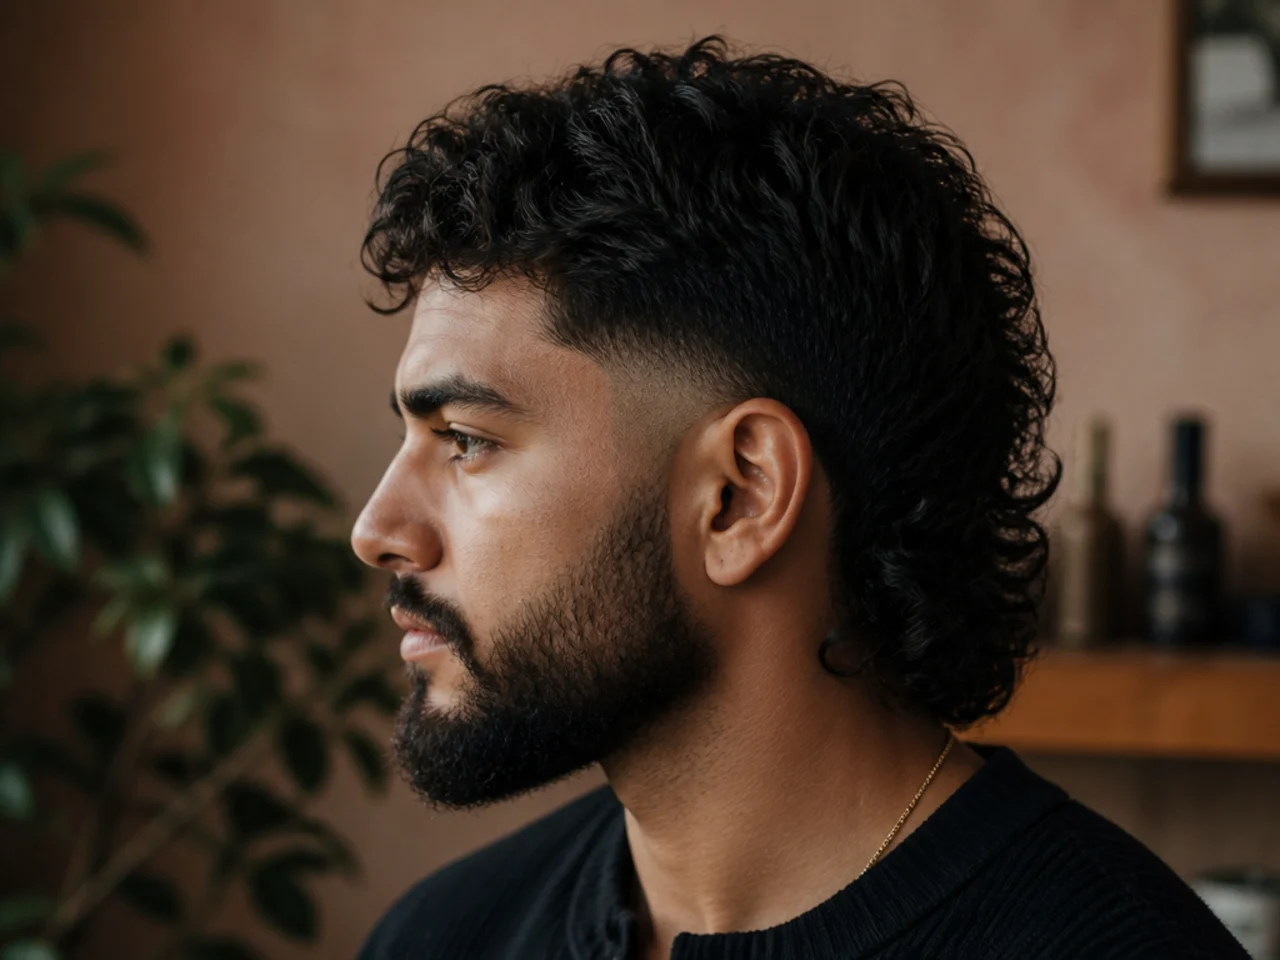
18. Mullet Fade With Long Sideburns
The sideburn left full and squared while everything behind it fades. It gives the eye a vertical anchor beside the ear, which keeps a high fade from making the side of the head look empty.
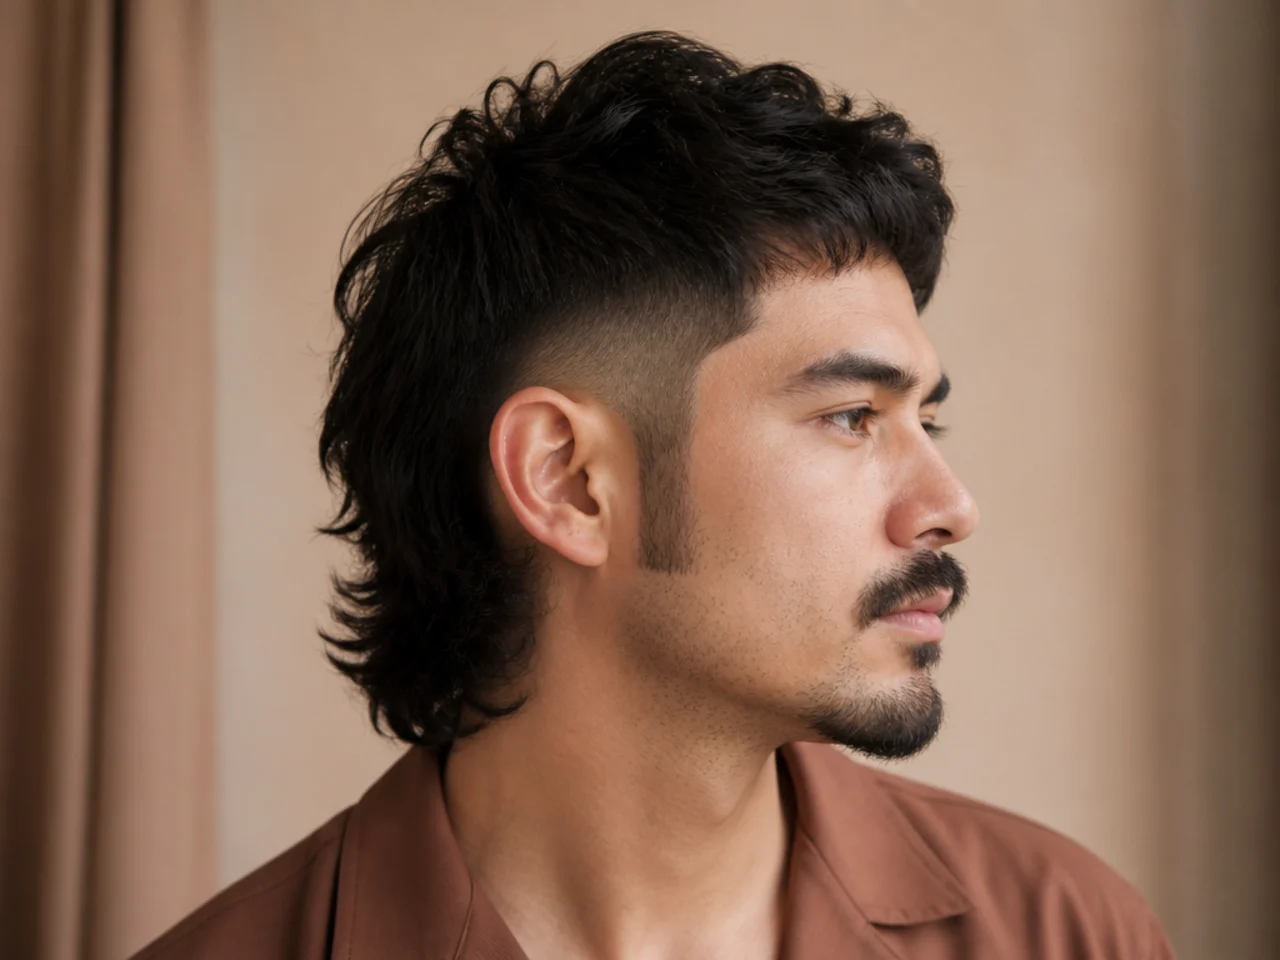
19. Short Mullet Fade
The tail stops at the nape rather than below it. This is the shortest length at which a mullet still reads as one, because the step needs somewhere to land and a tail above the hairline has nowhere.
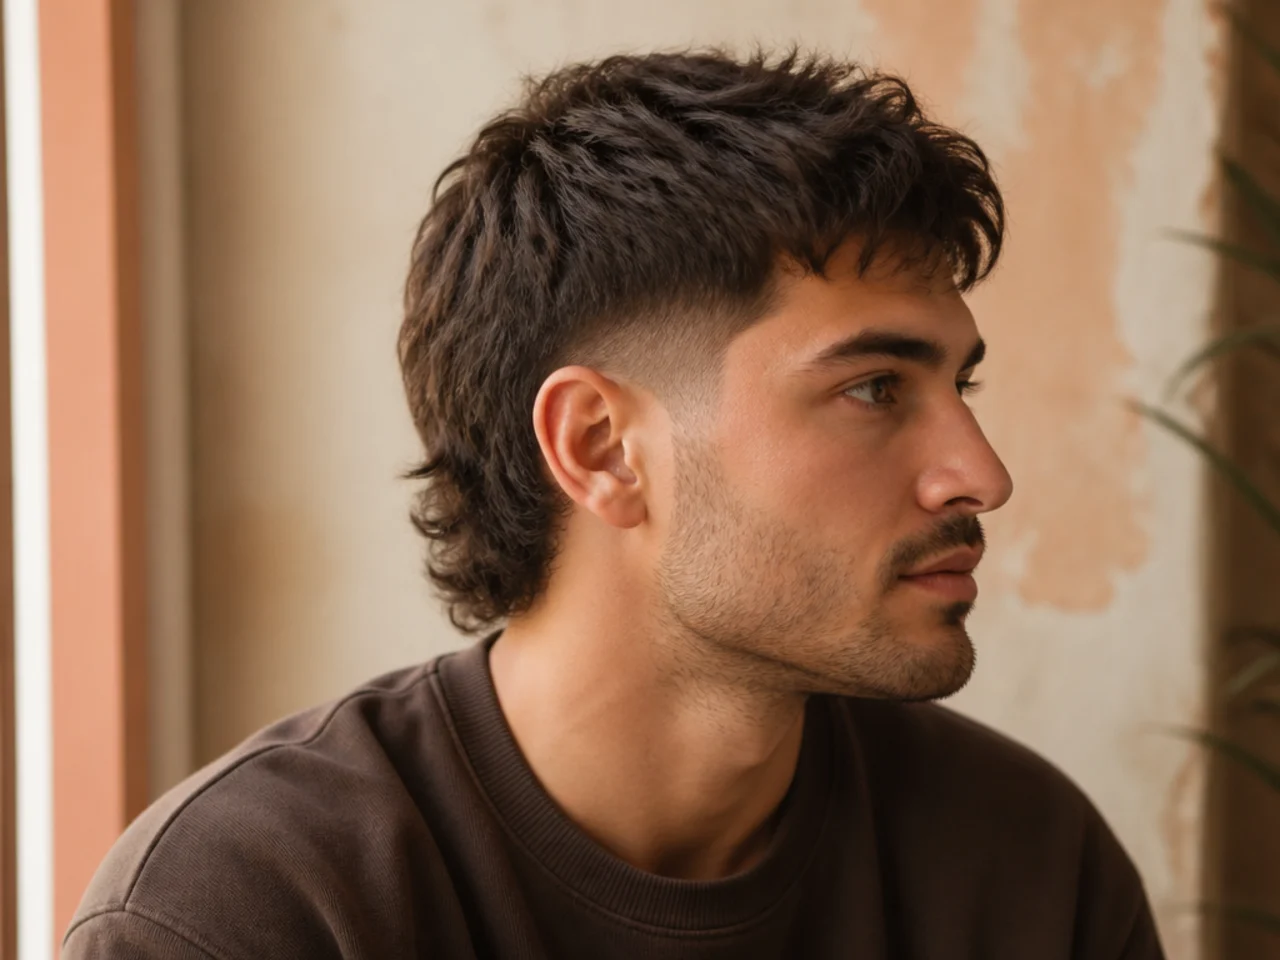
20. Long Mullet Fade
A tail reaching the shoulder blades. Past a certain length the tail's own weight pulls it flat against the back, so the longest versions need internal thinning to keep any movement at all.
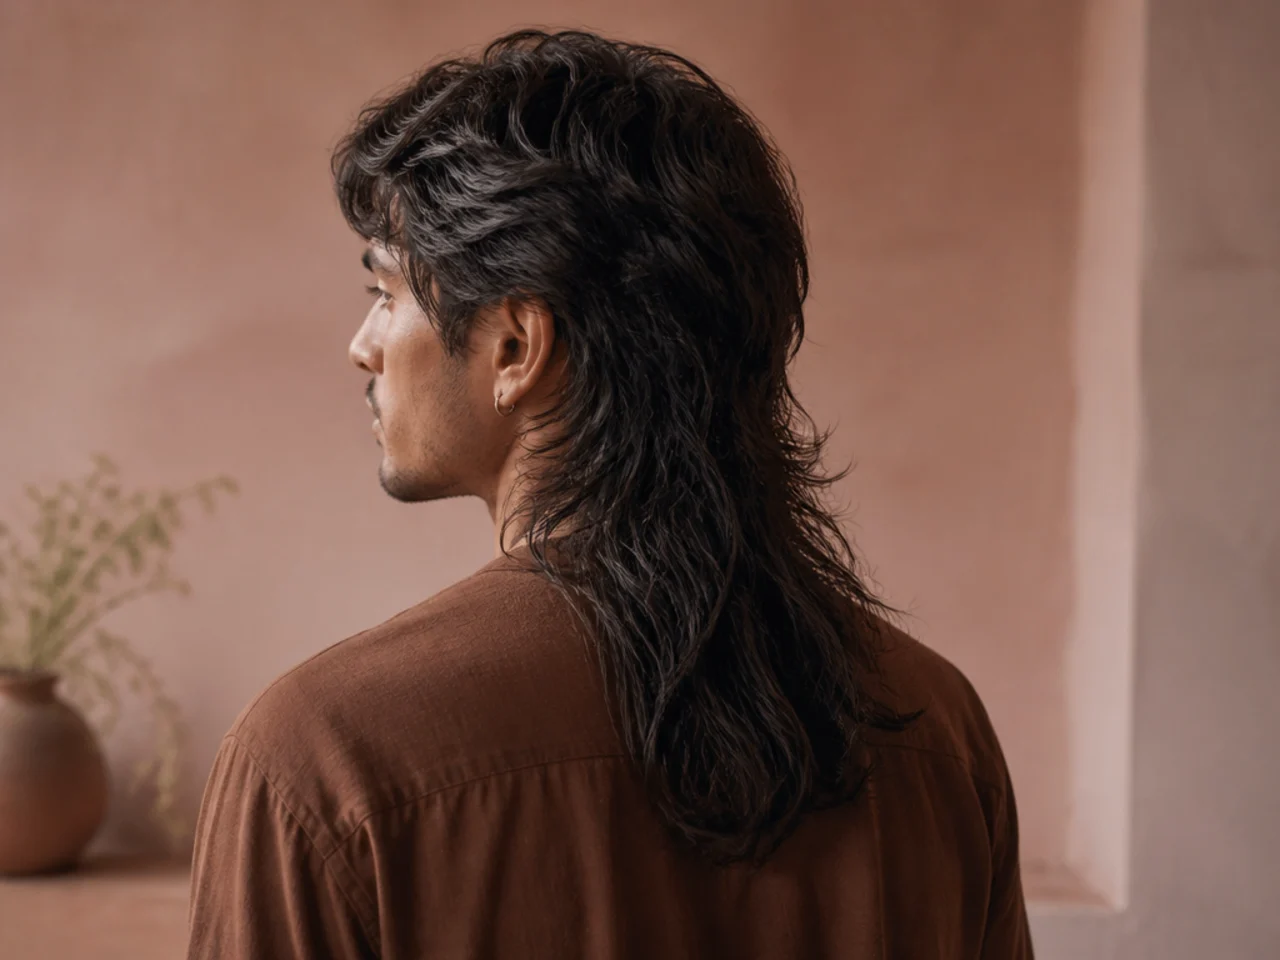
21. Modern Mullet Fade
The top blended into the tail with no scissor step, leaving the fade to do all the disconnecting. It reads as a long layered cut from the front and only declares itself in profile.

22. Retro Mullet Fade
The hard step kept intact, with no blending between the short side and the long back. Period accuracy costs upkeep — an unblended edge shows regrowth as a fuzzy line rather than as a softened one.
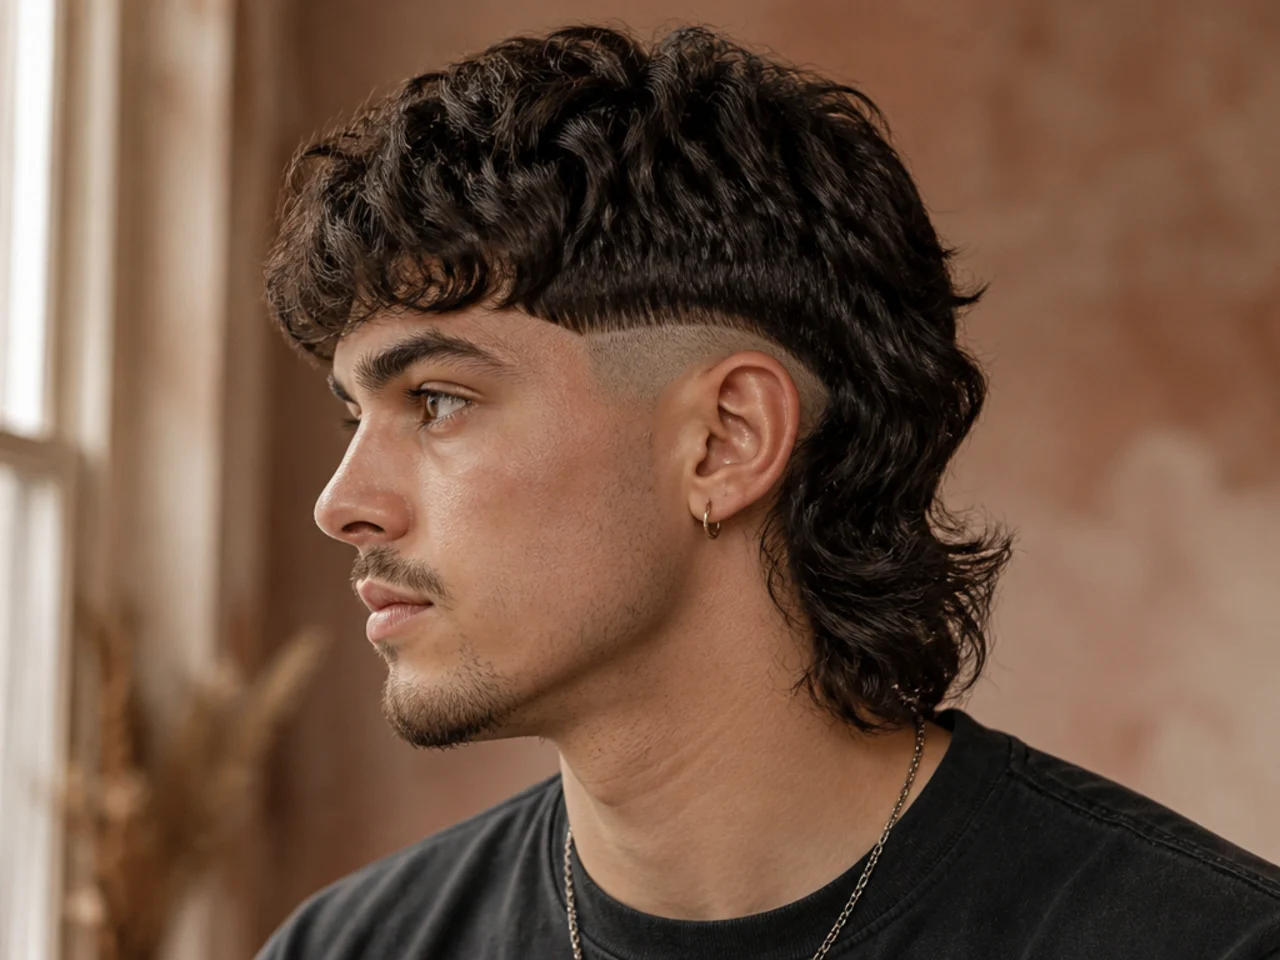
23. Mullet Fade With a Fringe
Length brought forward over the forehead. It balances the mass sitting at the back, and without it a long tail makes the whole head read as though it is leaning backward.
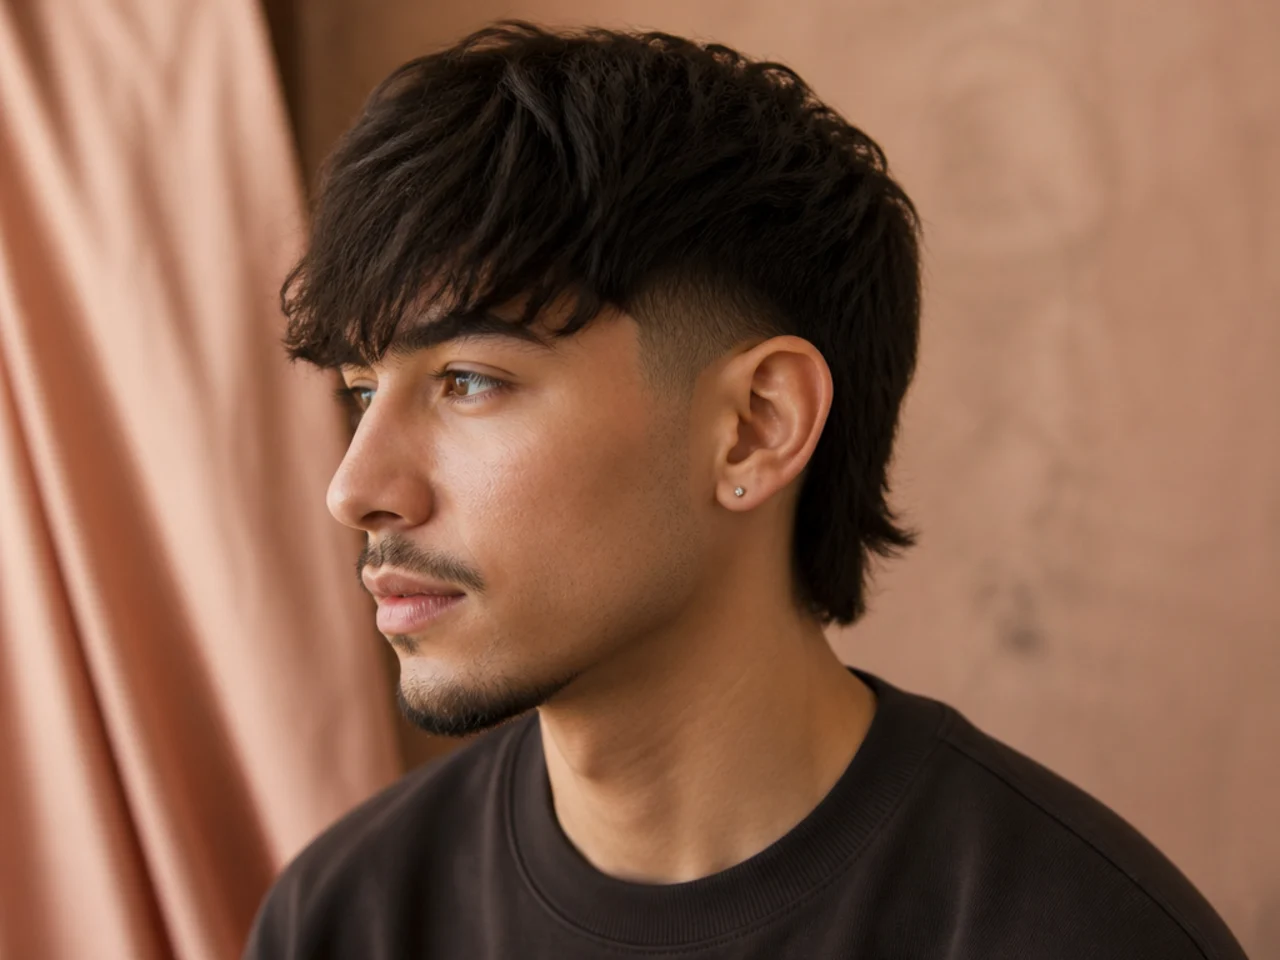
24. Disconnected Mullet Fade
The top left long with no blend at all where it meets the faded side. It is the hardest line available on the cut, and it requires enough density on top to hide the join, or the parting shows scalp.
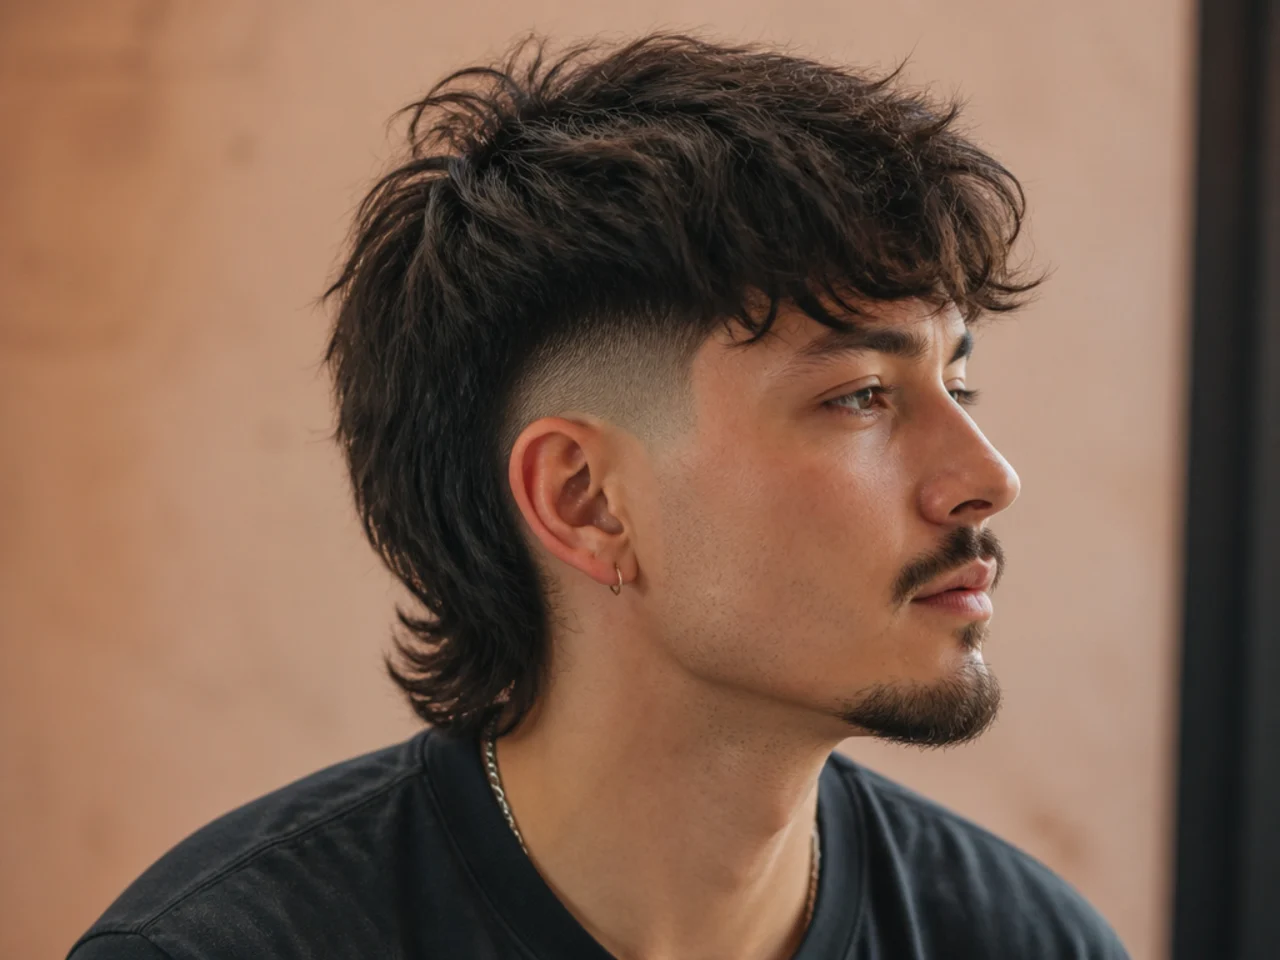
25. Bleached Mullet Fade
The top and tail lightened while the faded sides stay natural. Tone contrast stacks on top of length contrast, so a low fade with bleached length reads as strongly as a high fade left one colour.
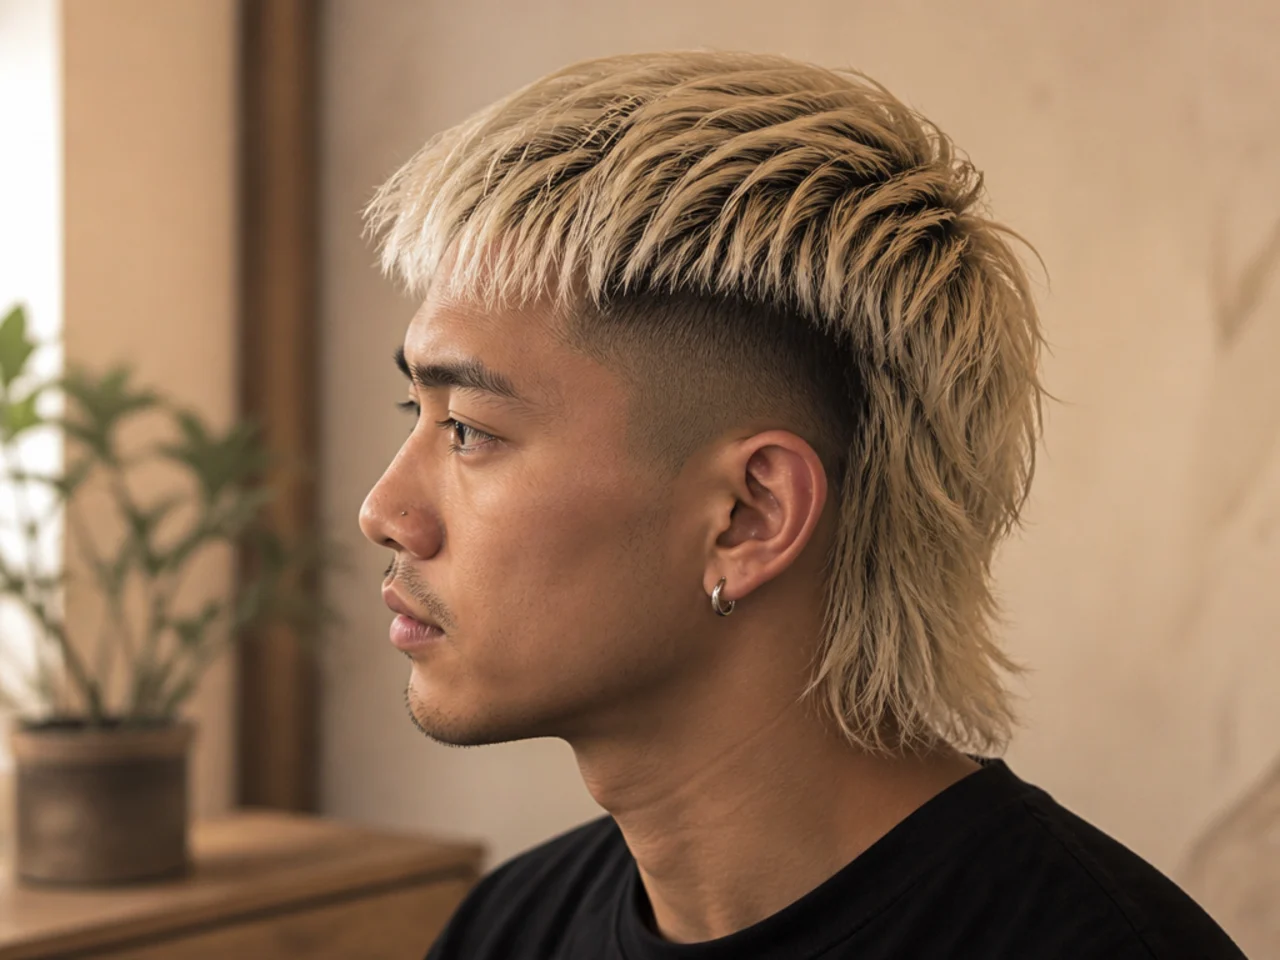
26. Two Tone Mullet Fade
The tail coloured differently from the top. Because the two sections are already separated by the step, a colour change lands on an existing boundary rather than creating an arbitrary one.
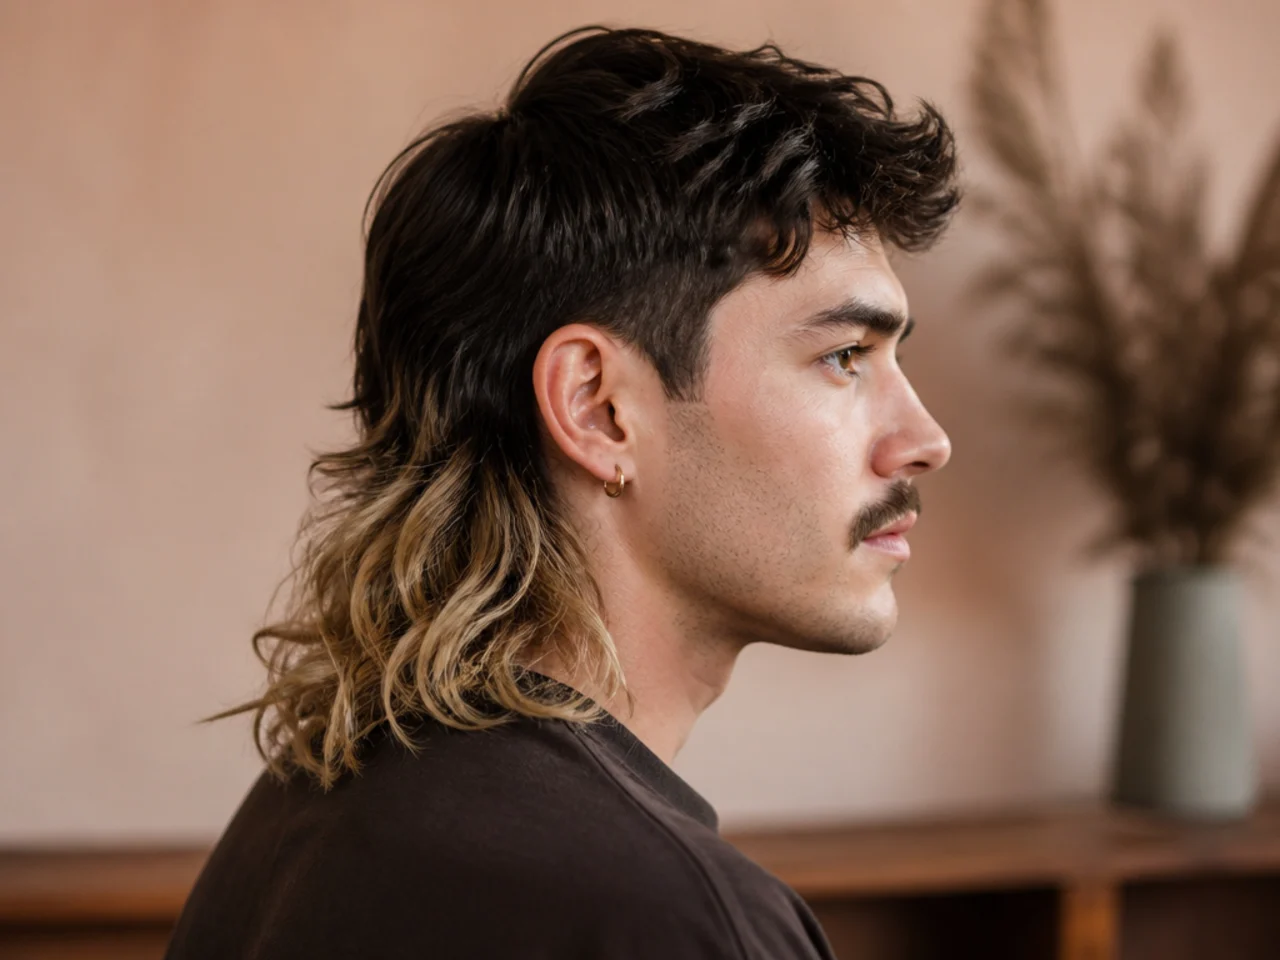
27. Permed Mullet Fade
A perm through the top and tail on otherwise straight hair. The added bend lifts the tail away from the neck instead of letting it lie flat, which is the usual reason a straight mullet looks lifeless.
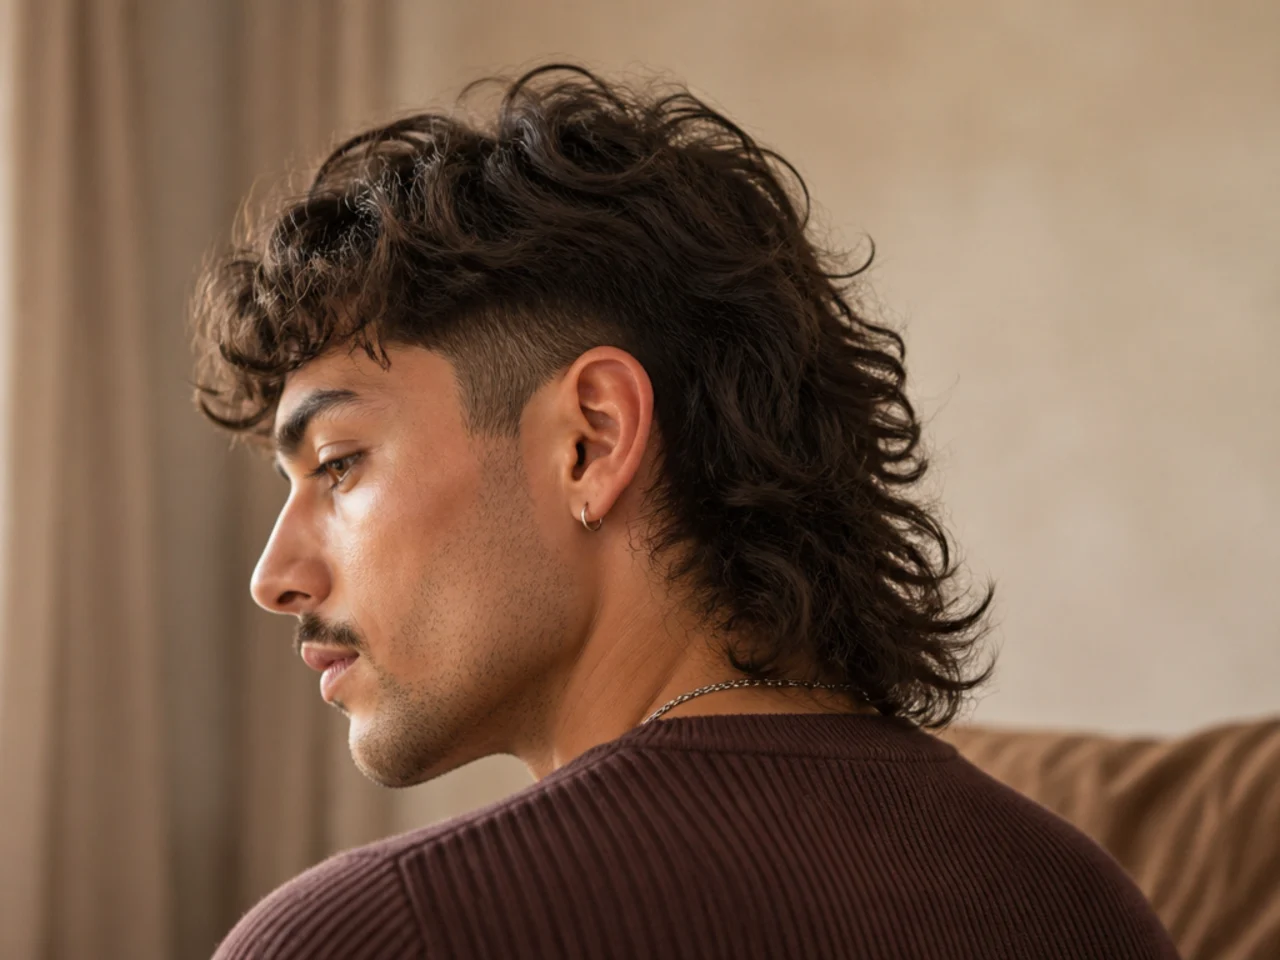
28. Mullet Fade on Thick Hair
Thick hair holds a clipper line sharply, so the gradient needs more passes to stay smooth. The tail also needs thinning from the inside, or its own bulk turns it into a wedge that widens as it grows.
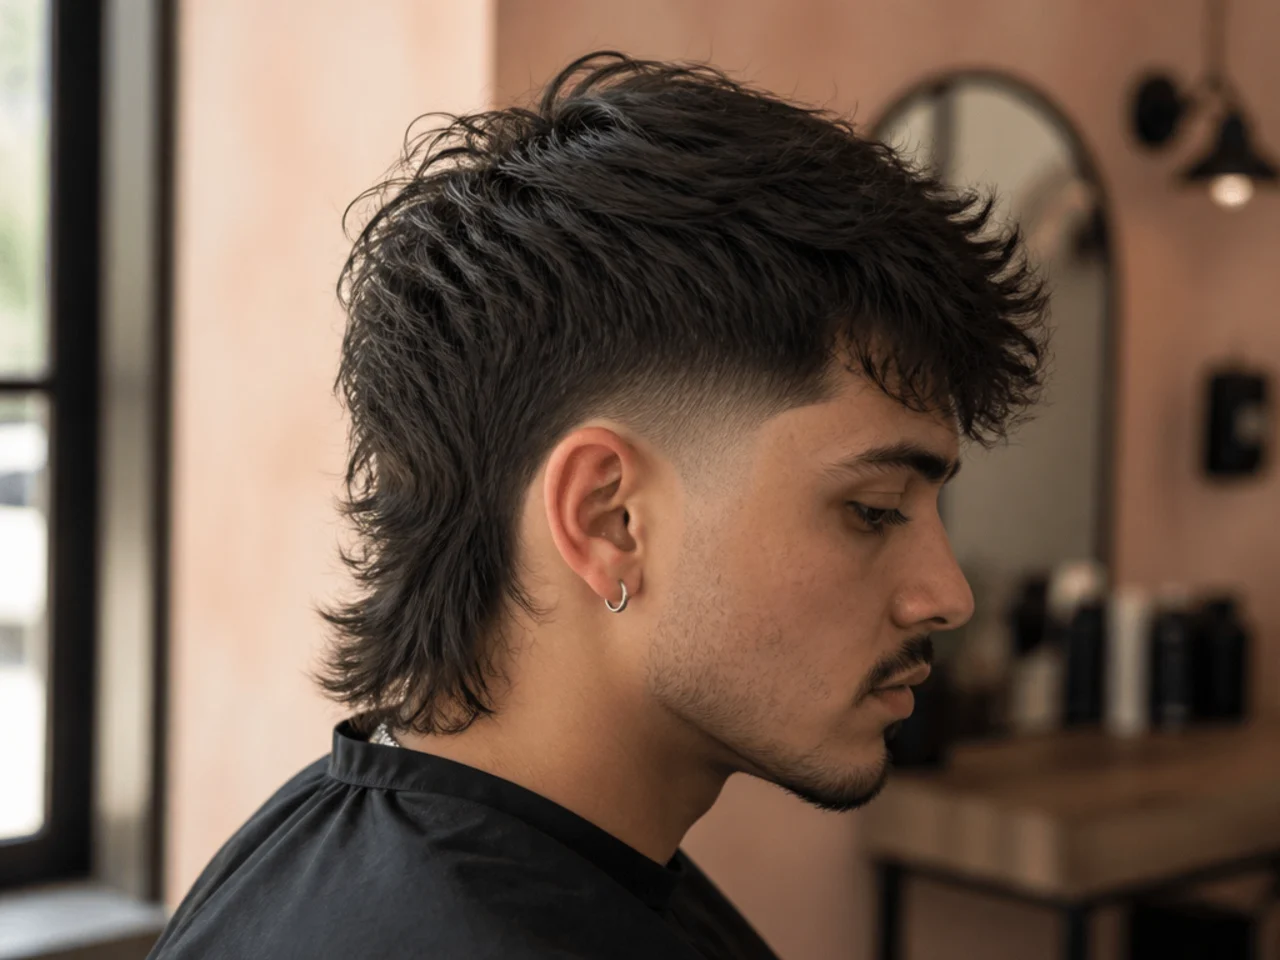
29. Mullet Fade on Fine Hair
Fine hair shows scalp at short guards, so keep the lowest point at a number two, which leaves six millimetres, rather than a number one at three. Keep the fade low as well, since less exposed side means less scalp on show.
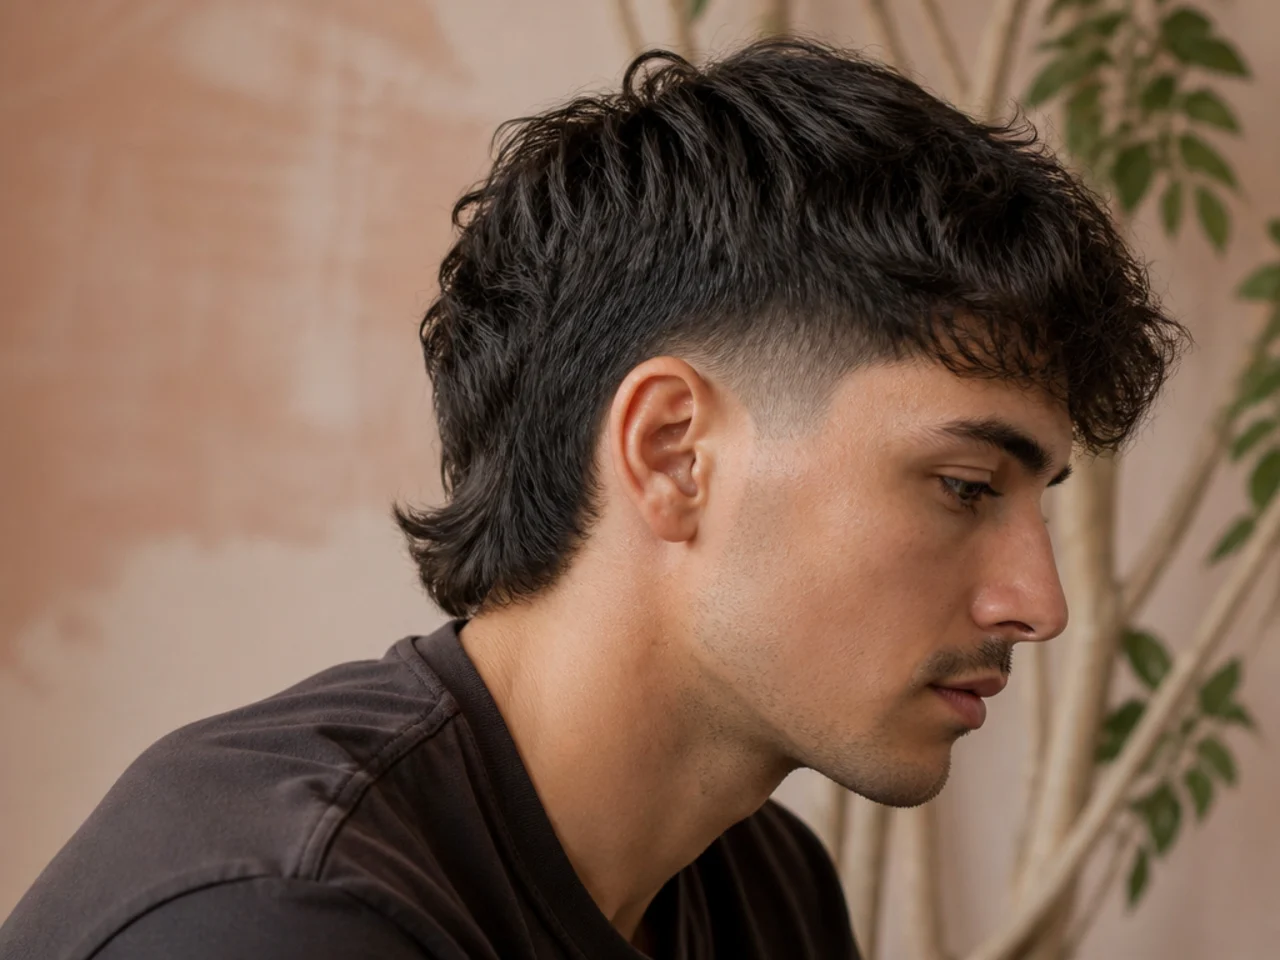
30. Mullet Fade at Week Three
The gradient has softened but the step is intact. A taper still reads correctly here; a skin fade lost its edge two weeks ago. This is the frame in which most mullet fades spend most of their life.
Styling and Upkeep
Name the finish, not just the height. Say where it starts and what it ends at, in guard numbers, at every appointment.
Book by the finish. Skin at one to two weeks, a guard at three to four. Choosing a skin fade on a monthly schedule guarantees three bad weeks in four.
Dry the tail downward. Blowing it forward or sideways sets it away from the neck, which reads as bulk rather than length.
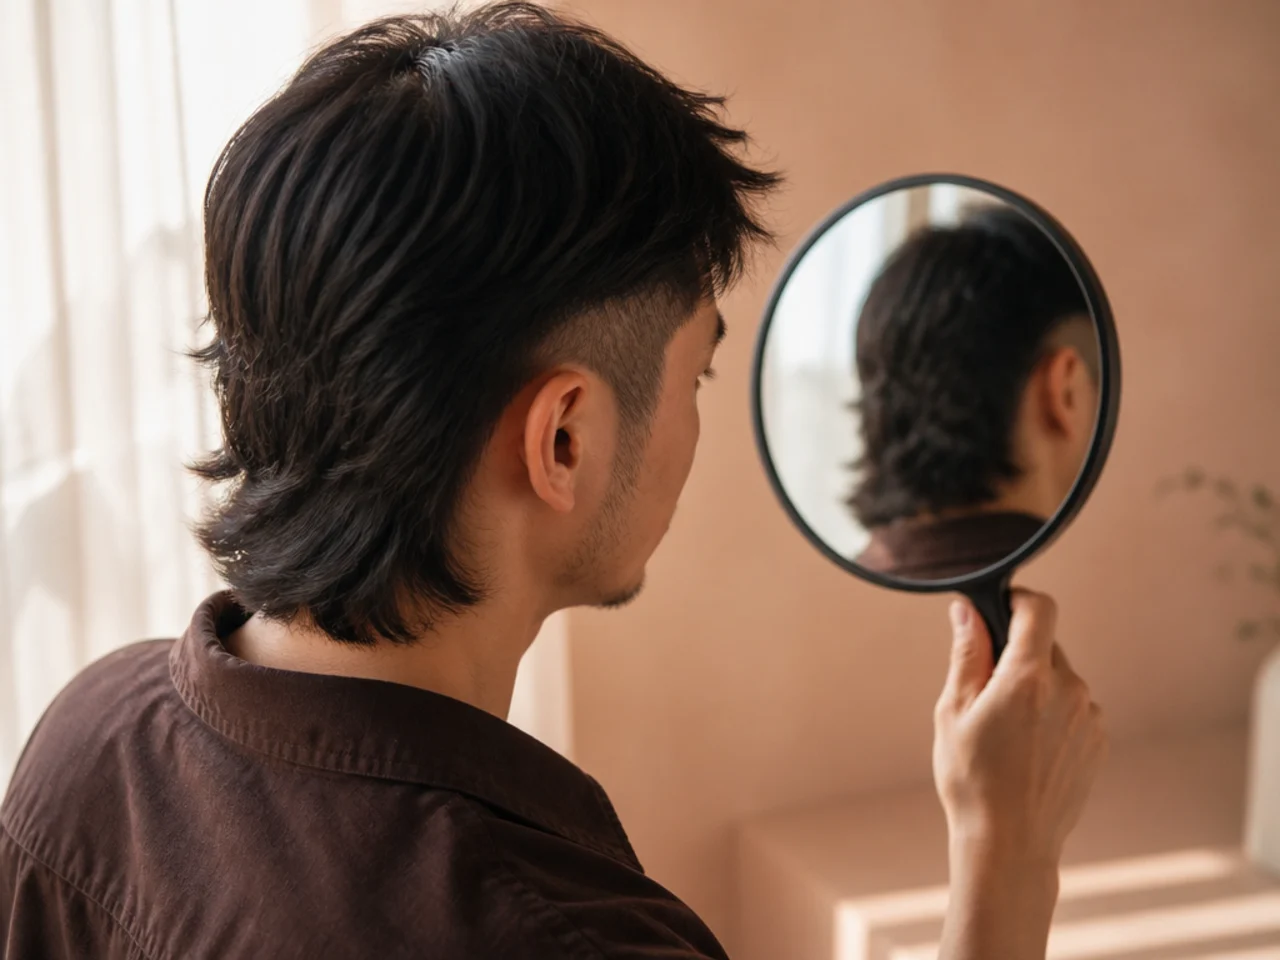
Check the back in a hand mirror. The tail is the part of the cut you never see and everyone behind you does.
Photograph the fade at week one. It is the reference for the next appointment and the only reliable record of the height you agreed.
Mistakes to Avoid
Carrying the fade line straight around the back. It cuts into the hair the tail grows from and the shape never recovers until it grows back.
Asking for a fade and meaning a taper. A fade goes to skin, a taper leaves length. The words get used loosely and the results do not.
A high fade on fine hair. It exposes scalp exactly where there is least hair to cover it.
Leaving a thick tail unthinned. The weight drags it flat and the disconnection stops reading from the side.
Changing the fade height every visit. It is the single variable that makes the same cut look different each time. Write the number down.
FAQ
Which fade shape? A burst fade — it leaves the tail's density alone.
How often? One to two weeks for skin, three to four for a guard.
Fine hair? Yes, at a number two and kept low.
Final Thoughts
Two sentences get you the right cut: the fade shape and the finish. "A burst fade around the ear, finishing at a number one" tells a barber where to cut, where to stop, and how short to go, and it protects the length the whole shape depends on.
For the wider range of the cut see the mullet fade for men, and for how fade heights work generally see the fade haircut guide. More in Fade Haircuts.