

20 Steps To Cut A Curly Shag At Home On A Budget
A twenty-step method for cutting a curly shag at home, in order, with what goes wrong at each step if you rush it. The whole thing rests on one rule — cut it dry, because a wet curl measures longer than it lives.
In this article · 27
- What Cutting Curly Hair Dry Changes
- Choosing How Short to Go
- The 20 Steps
- 1. Start on Clean Dry Hair
- 2. Detangle Before Anything Else
- 3. Get Sharp Shears Not Kitchen Scissors
- 4. Find Your Natural Part
- 5. Section the Hair Into Four
- 6. Set the Guide Length at the Back
- 7. Cut the Guide One Curl at a Time
- 8. Work From the Back Forward
- 9. Leave the Layers Longer Than You Think
- 10. Cut Each Curl Where It Falls
- 11. Build the Crown Layers Shortest
- 12. Check Both Sides for Symmetry
- 13. Cut the Face Framing Pieces
- 14. Point Cut the Ends
- 15. Add the Fringe Last
- 16. Never Pull a Curl Straight
- 17. Step Back Between Sections
- 18. Wash and Check the Result
- 19. Correct Only After It Is Fully Dry
- 20. Know When to Stop Cutting
- Styling and Upkeep
- Mistakes to Avoid
- FAQ
- Final Thoughts
Almost every home haircut that ends badly ended badly for the same reason: it was cut wet, and the hair dried two inches shorter than it measured.
Cut it dry, always. A curl stretched under water reads at its full length. It springs back as it dries, and everything you measured against is suddenly wrong.
Take less than feels right on the first pass. You can always cut more. The one thing that cannot be undone is the thing every home haircut does first.
What Cutting Curly Hair Dry Changes
You cut the length you will wear. No conversion, no guessing at shrinkage. Where the curl sits now is where it will sit tomorrow.
Every curl is cut individually. Dry curls clump into groups of their own accord, and each group is cut where it hangs rather than combed into an artificial section.
Mistakes stay small. Cutting a whole section at once multiplies one bad angle across all of it. Cutting curl by curl keeps errors isolated to a single clump.
It is slower, and that is the point. A dry cut takes longer because you are constantly reassessing. Speed is what produces a shelf instead of a shag.
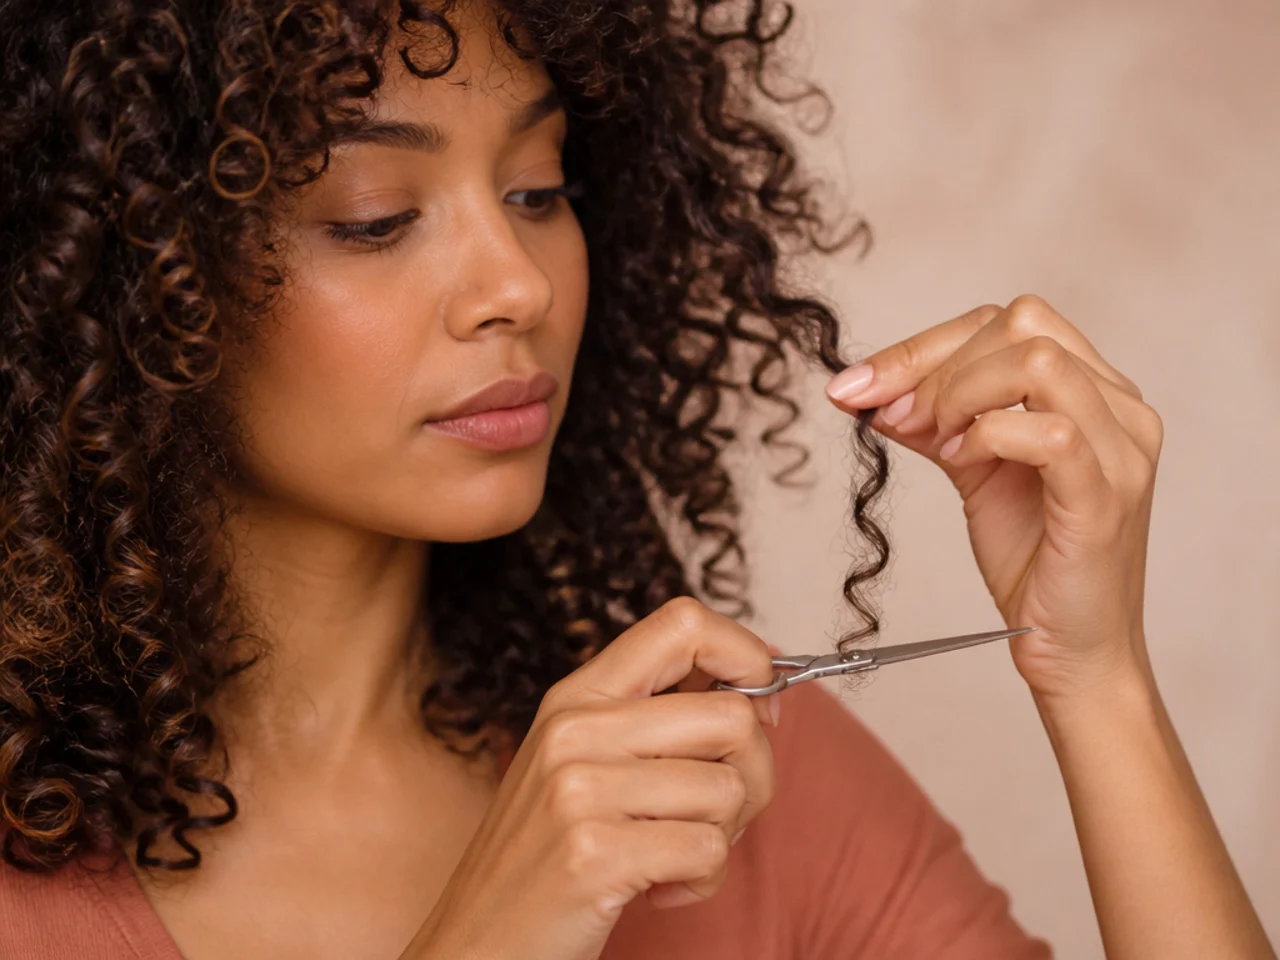
Choosing How Short to Go
Set the longest length first. The perimeter is the one measurement everything else is built against. Decide it before a single layer is cut.
The crown layers decide the volume. Short crown pieces sit on top of the longer ones and prop them up. That is where the shape comes from, so this is the length to be least brave about.
Leave an inch of insurance everywhere. A shag looks better slightly long than slightly short, and one inch is the difference between a trim and a grow-out.
Match the shortest layer to your pattern. A tight coil supports a very short crown layer. A loose wave will not — it drops flat and reads as a gap.

The 20 Steps
1. Start on Clean Dry Hair
Wash, condition and dry the hair completely before you pick up shears, styled the way you normally wear it. Product build-up weighs curls down and makes them hang longer than they do naturally, so cutting over it means every length you set is measured against a curl that is not behaving normally.
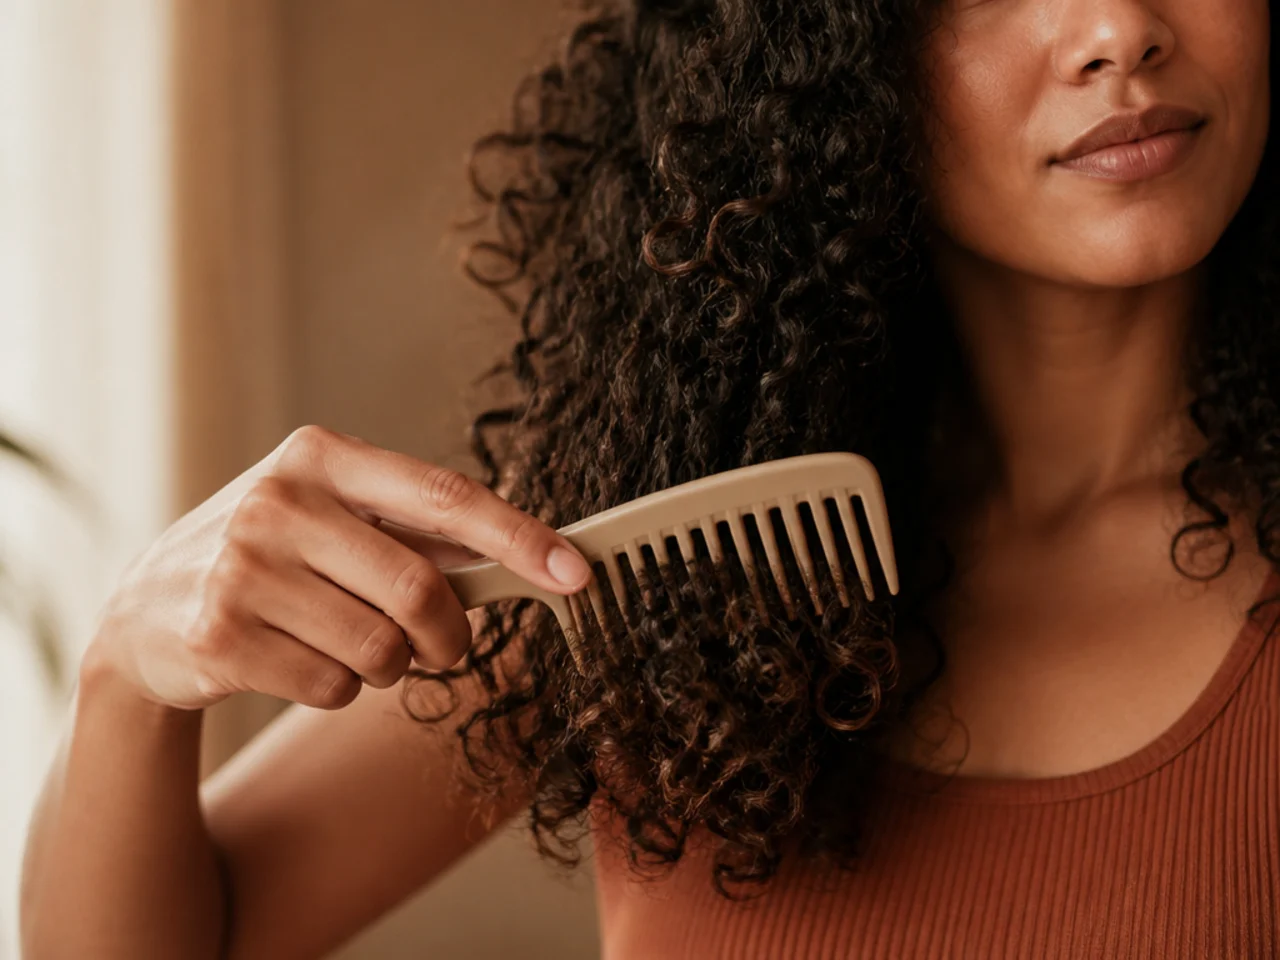
2. Detangle Before Anything Else
Work through knots with fingers or a wide-tooth comb, from the ends upwards. A knot holds two curls together as one, so any cut across it lands in two different places on two different strands, and you will not see the mismatch until it separates in the next wash.
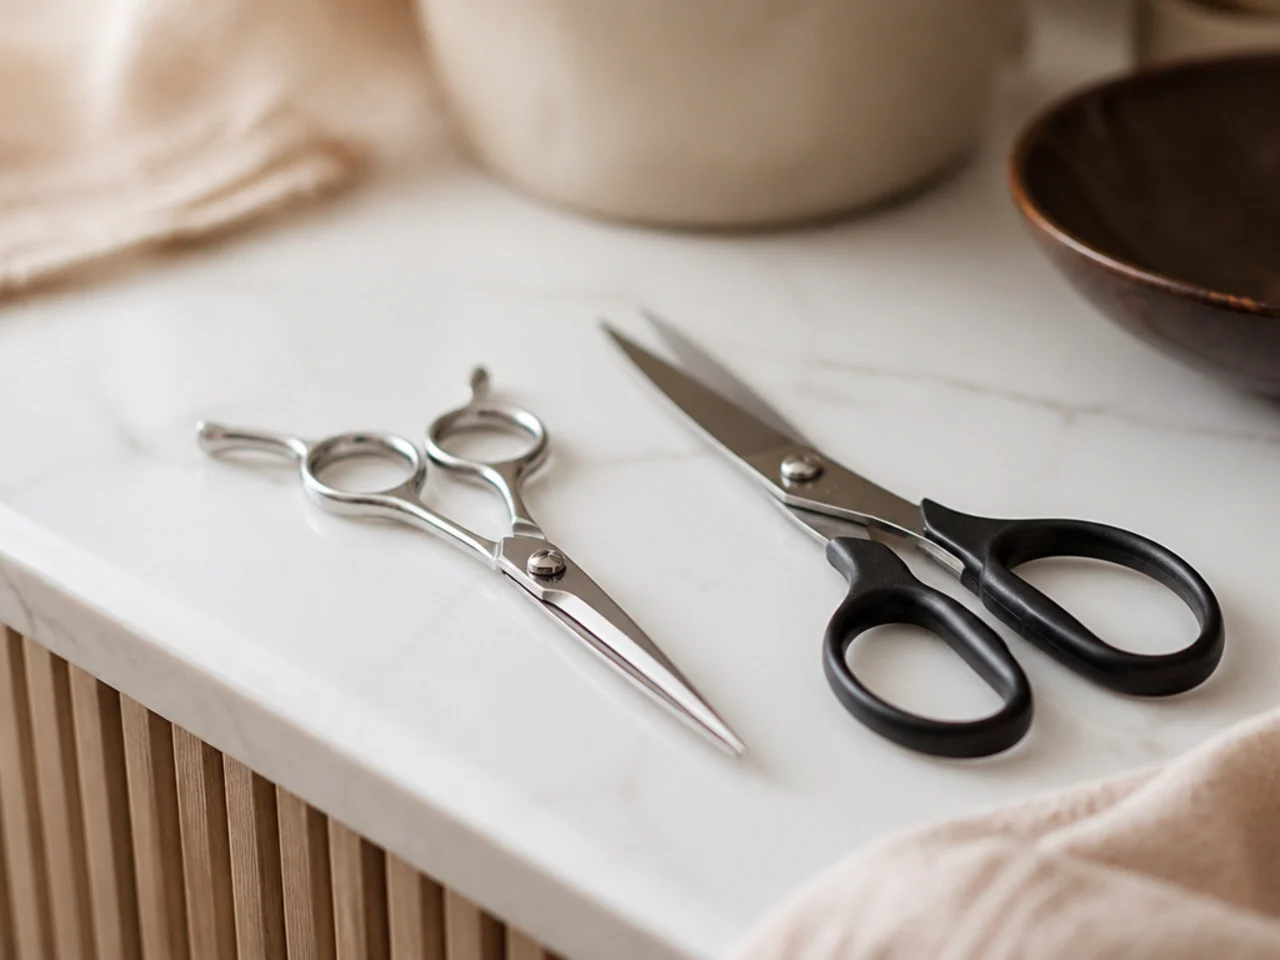
3. Get Sharp Shears Not Kitchen Scissors
This is the one purchase worth making. A dull kitchen blade crushes the hair as the blades close rather than slicing through it, and a crushed end frays and splits within days no matter how carefully you conditioned it.
4. Find Your Natural Part
Push the hair back with your palms and let it fall where it wants to. Cutting to a parting you do not actually wear means the layers land asymmetrically the moment you part it normally, and no amount of styling will move them back.

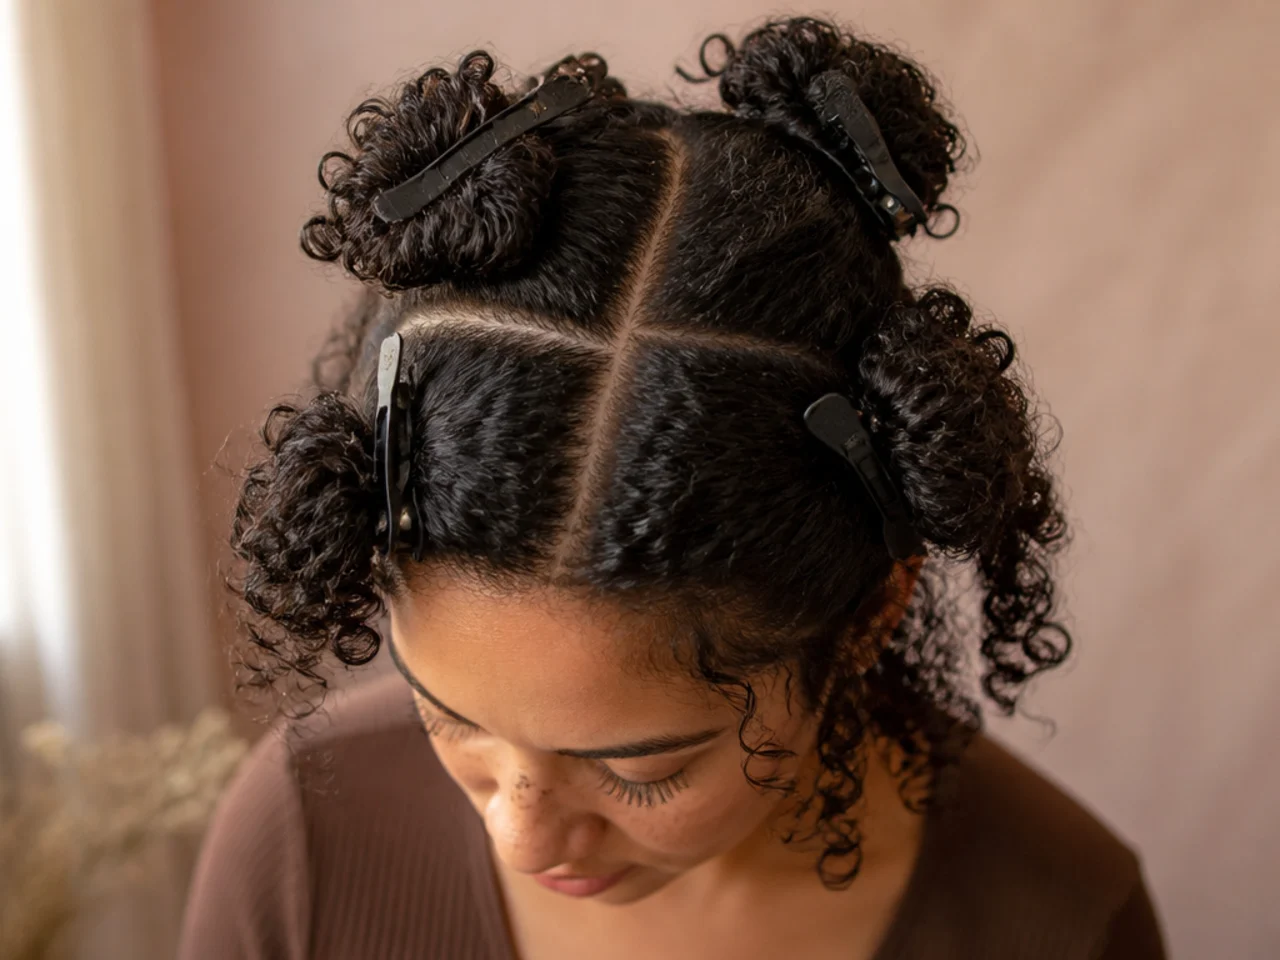
5. Section the Hair Into Four
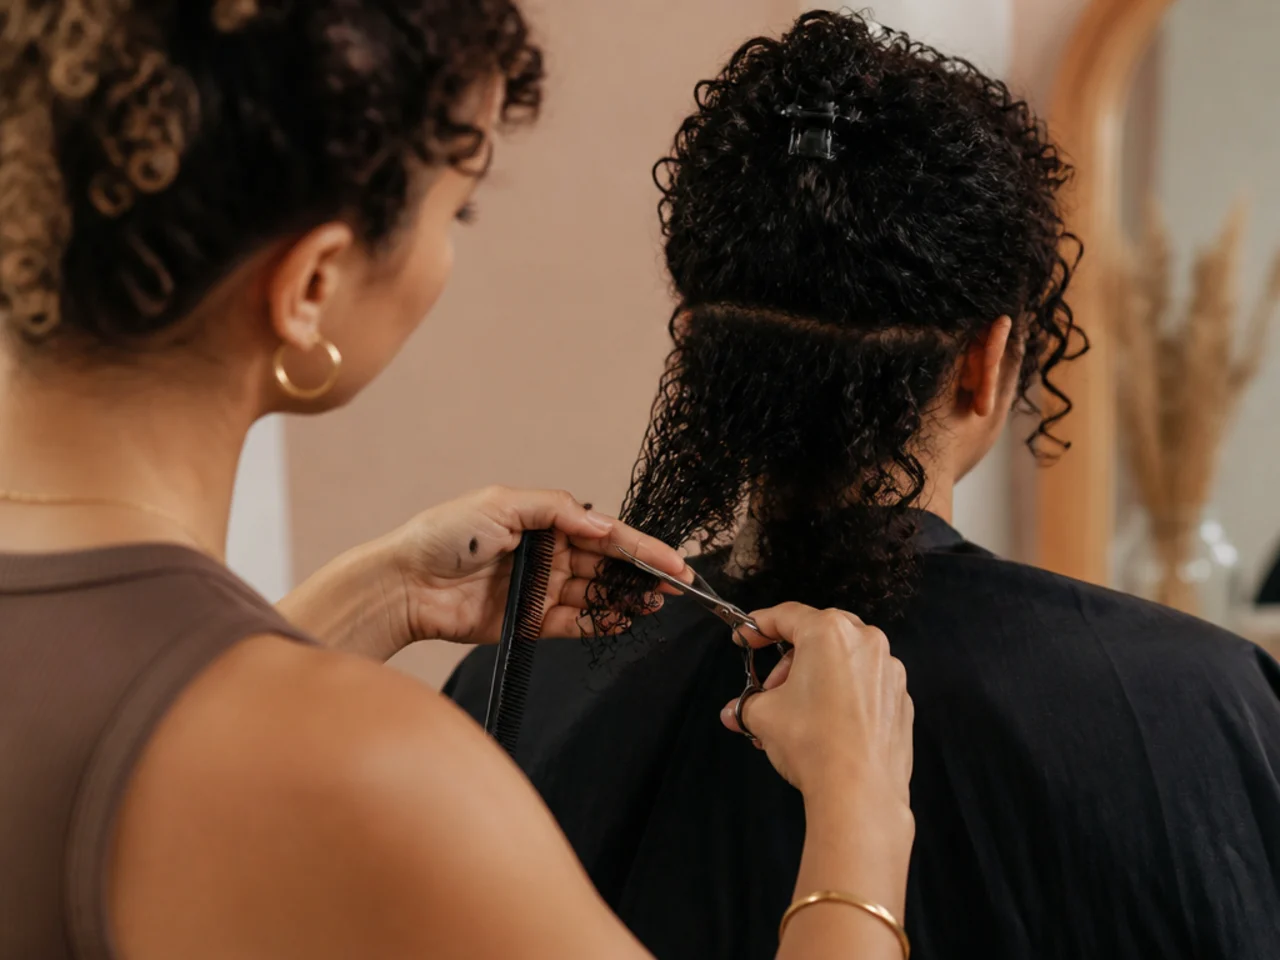
Part down the middle and again ear to ear, and clip the four quarters apart. Without sections you will keep cutting into hair you have already finished, and the second pass is always shorter than the first because you cannot see where you stopped.
6. Set the Guide Length at the Back
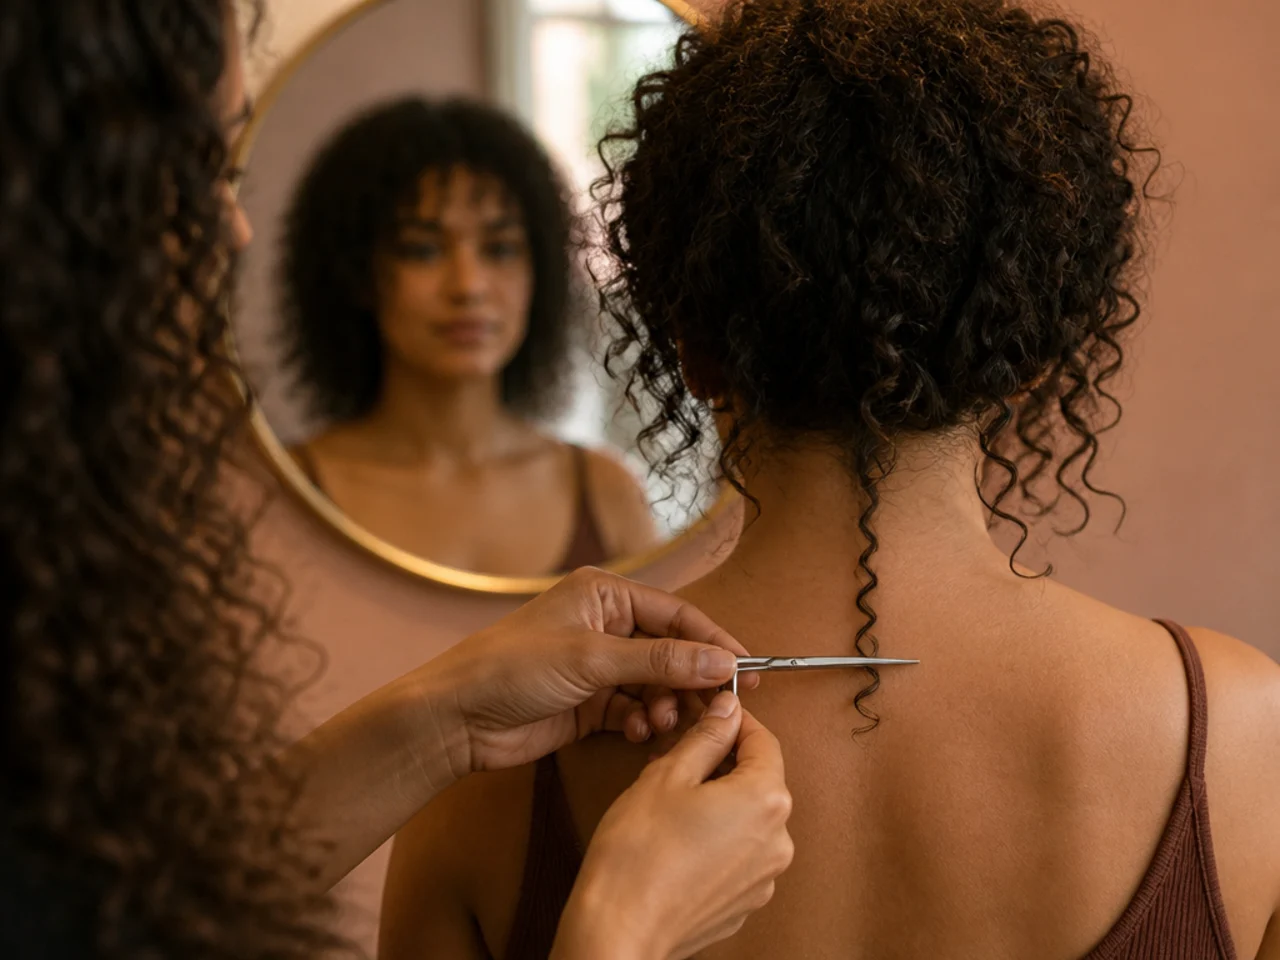
Take one curl from the centre back and cut it to your chosen perimeter length. Every other length in the cut is measured against this one, so if it is wrong, everything after it is wrong by the same amount and you will not notice until the sides do not match the back.
7. Cut the Guide One Curl at a Time
Work along the back row, taking each clump on its own and matching it to the guide by eye. Cutting several clumps as a bundle forces them into a straight line they do not naturally form, which produces a blunt shelf across the back instead of a soft perimeter.
8. Work From the Back Forward
Finish the back quarters entirely, then the sides, then the front. Starting at the front means you are cutting the most visible pieces while your eye is least calibrated, and the front is the section you cannot hide if it comes out short.
9. Leave the Layers Longer Than You Think
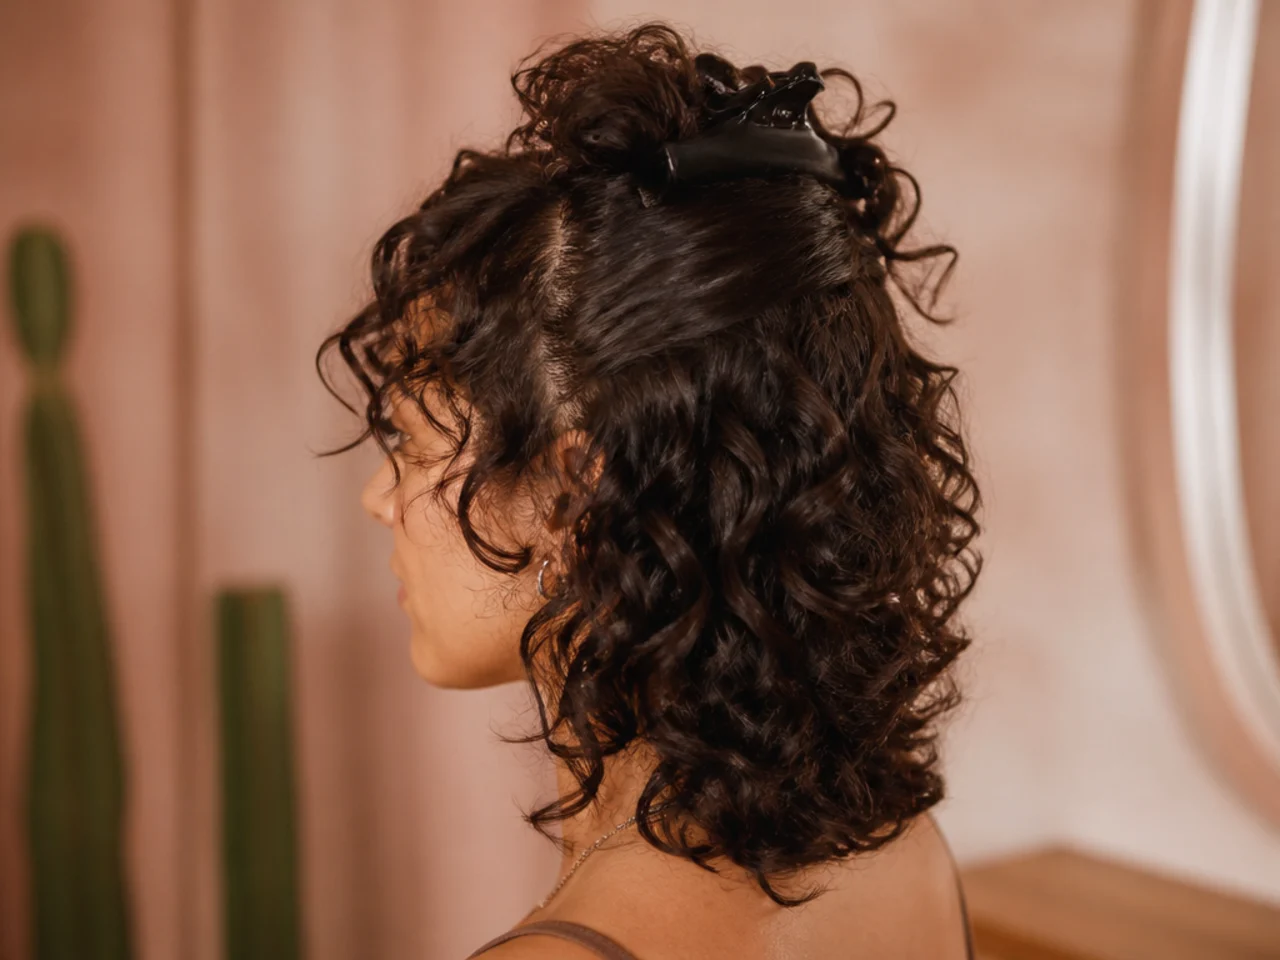
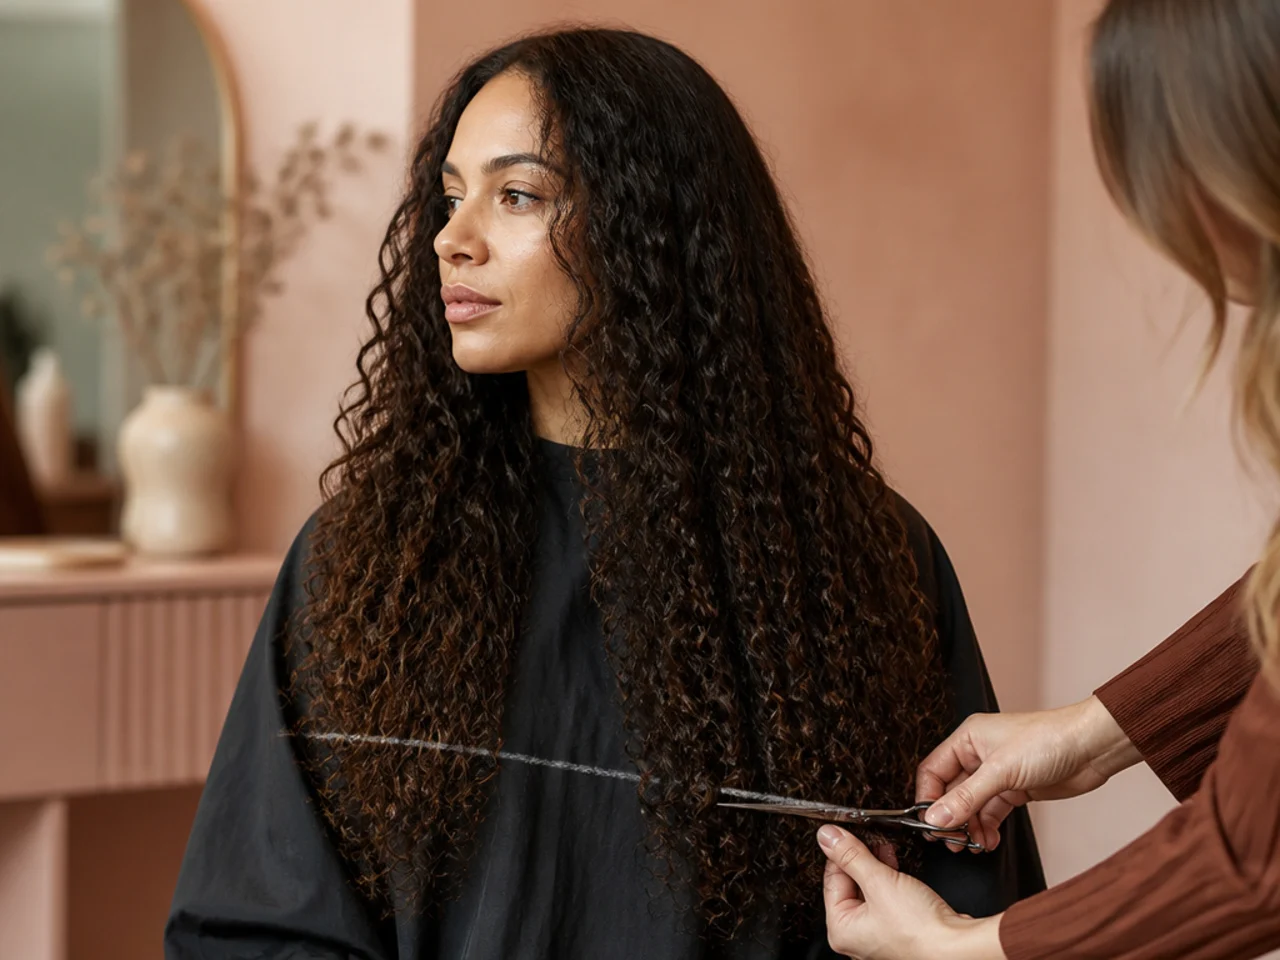
Cut every layer at least an inch longer than your target on the first pass. Curls sit lower when they are damp and lift as they dry over the following hours, so a layer that looks correct in the mirror at this moment will read shorter by the evening.
10. Cut Each Curl Where It Falls
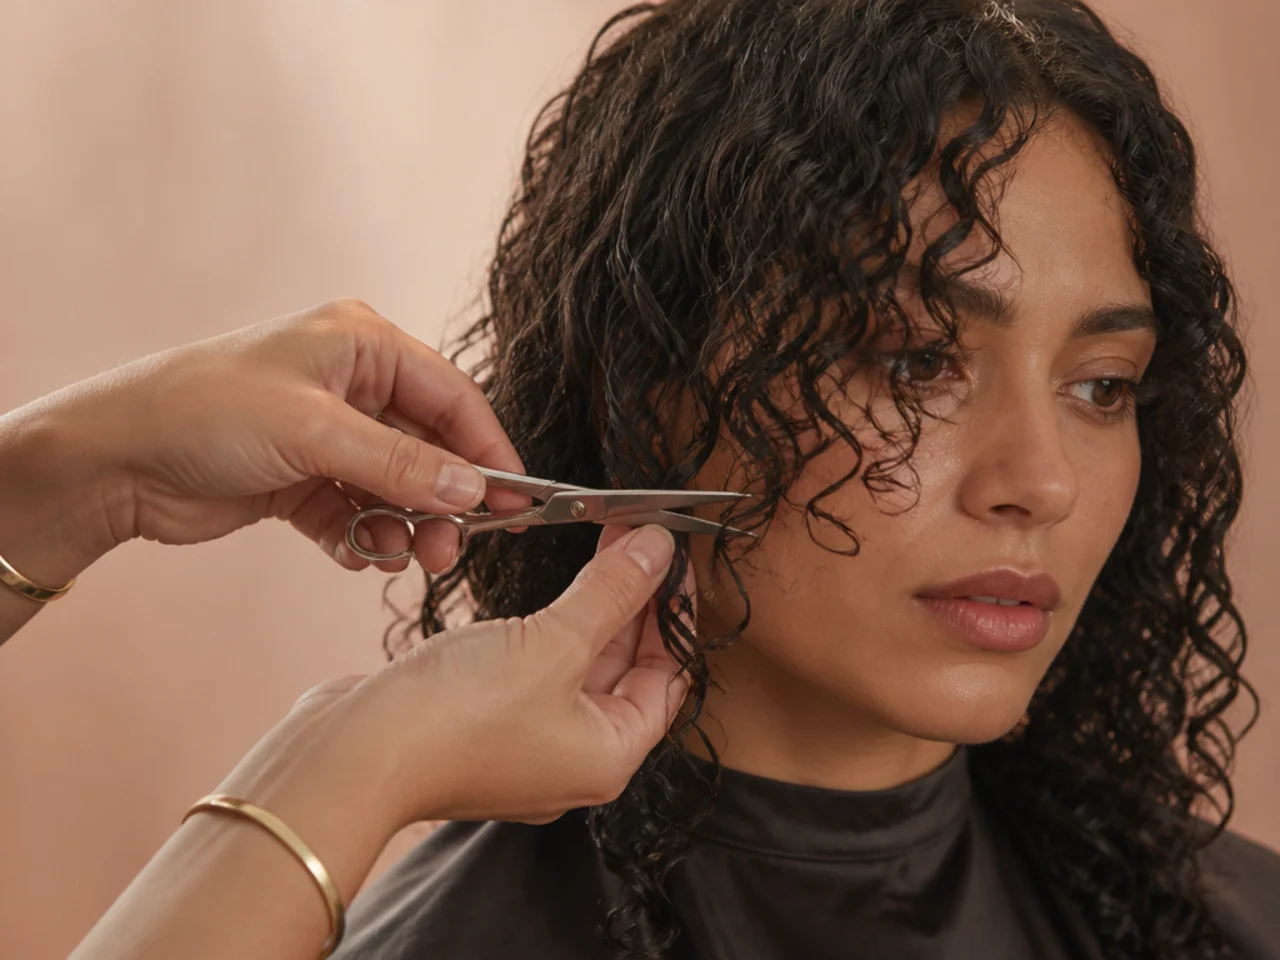
Do not lift a clump away from the head to cut it. Elevation changes the angle the hair is cut at, so a curl cut while held out to the side lands in a completely different place when it drops back, and the layer above ends up shorter than the one below.
11. Build the Crown Layers Shortest
The shortest pieces belong at the top of the head, graduating longer as you move down. If the crown is left long, there is nothing sitting above the mid-lengths to prop them up, and the whole cut hangs as one flat mass with no visible shape.

12. Check Both Sides for Symmetry
Pull one clump from each side down in front of your chin and compare them directly. Judging symmetry in a mirror alone is unreliable because the reflection reverses everything, and a difference of half an inch is invisible until someone photographs you from the front.

13. Cut the Face Framing Pieces
Take the front sections last and cut them shortest at the cheekbone, lengthening towards the ear. Cut them all to one length instead and they form a solid curtain either side of the face, which is a very different cut and a hard one to reverse.

14. Point Cut the Ends
Hold the shears vertically and cut into the ends rather than straight across them. A blunt end on a curl reads as a hard dot at the bottom of the clump, while a pointed one tapers and lets the curl finish in a spiral instead of stopping abruptly.
15. Add the Fringe Last
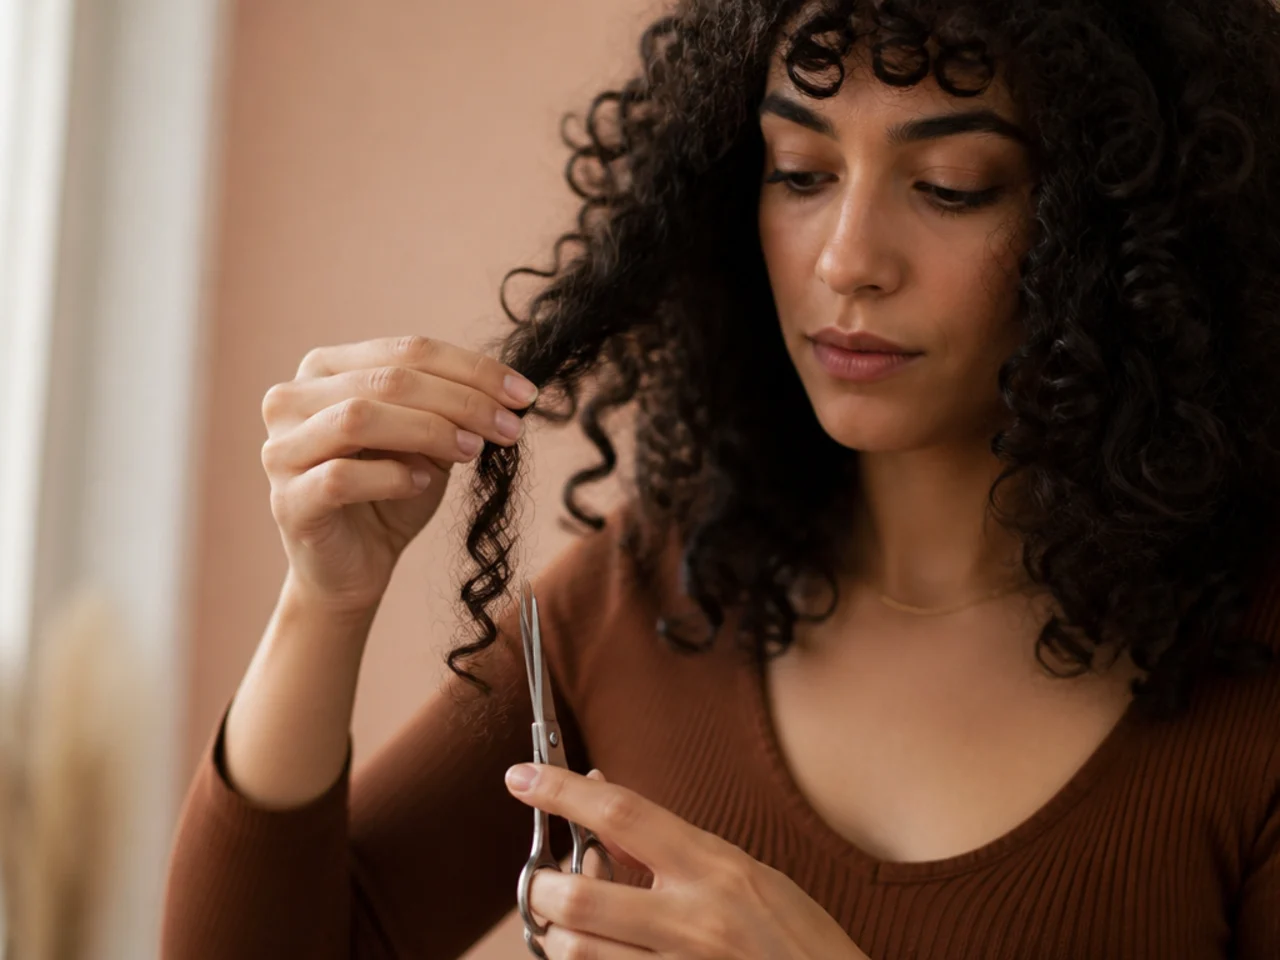
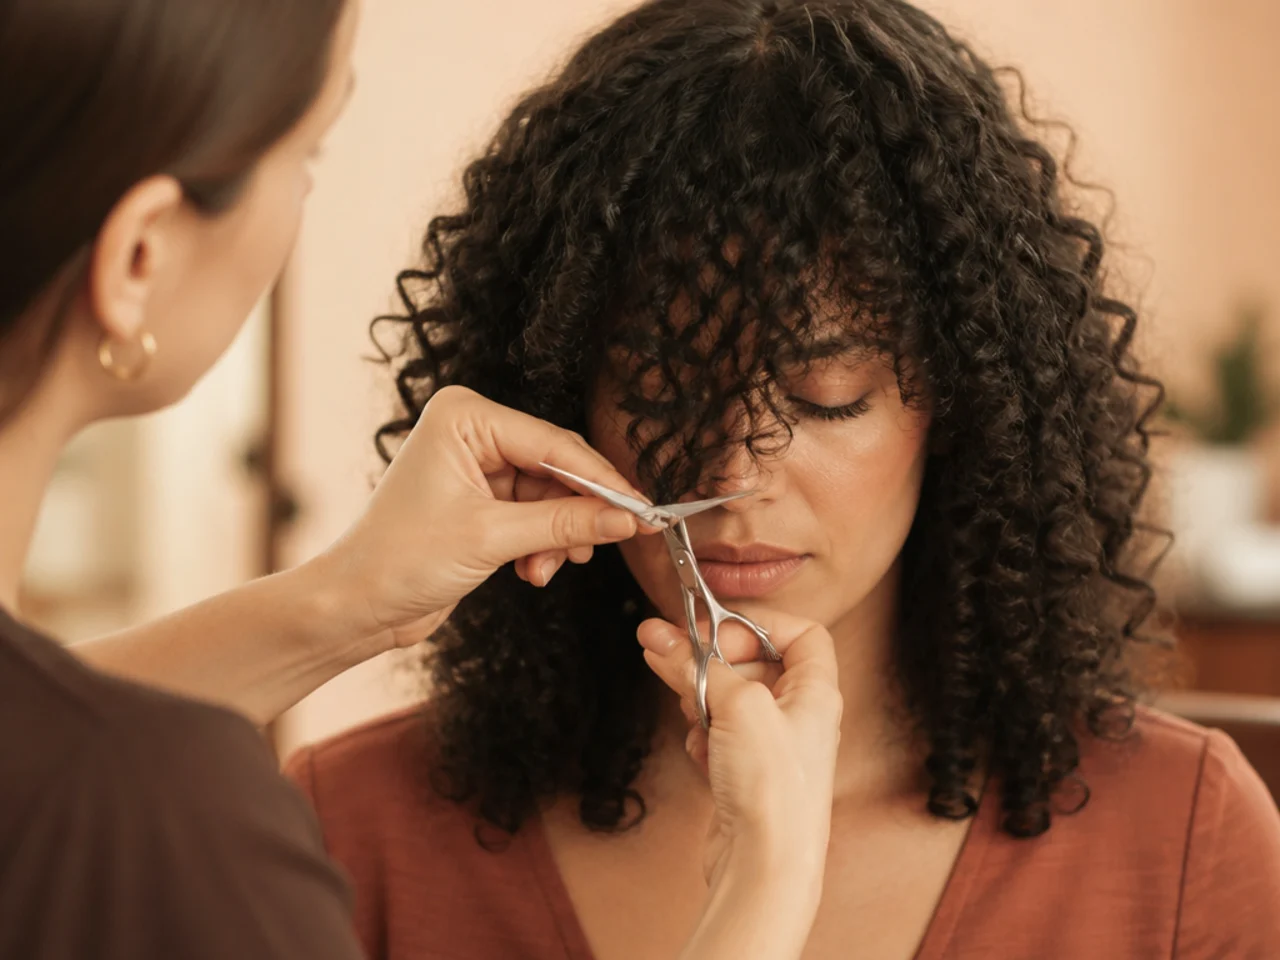
Cut a fringe only once everything else is finished, and cut it long enough to reach the bridge of the nose before you shorten it. A fringe is the shortest hair on the head and shrinks the most, so a single over-confident snip costs three months.
16. Never Pull a Curl Straight
Tension is the enemy of a dry curly cut. Stretching a coil to cut it means you are cutting at its wet length while the hair is dry, which gives you the worst of both methods and a layer that jumps up the moment you release it.

17. Step Back Between Sections
Put the shears down and look at the whole head after each quarter. Working close up means judging the cut from six inches away, and shapes that look balanced at that distance are routinely lopsided from across the room.

18. Wash and Check the Result
Wash, condition and dry the hair the way you normally would before deciding anything. Cut hair carries clipped fragments that make the shape look thicker and rougher than it is, and judging the cut through them leads to correcting problems that do not exist.

19. Correct Only After It Is Fully Dry
Any tidying happens on a second, completely dry head, not on the same day in damp hair. Damp curls sit lower than dry ones, so a correction made while the hair is still drying removes length that would have lifted into place on its own.
20. Know When to Stop Cutting
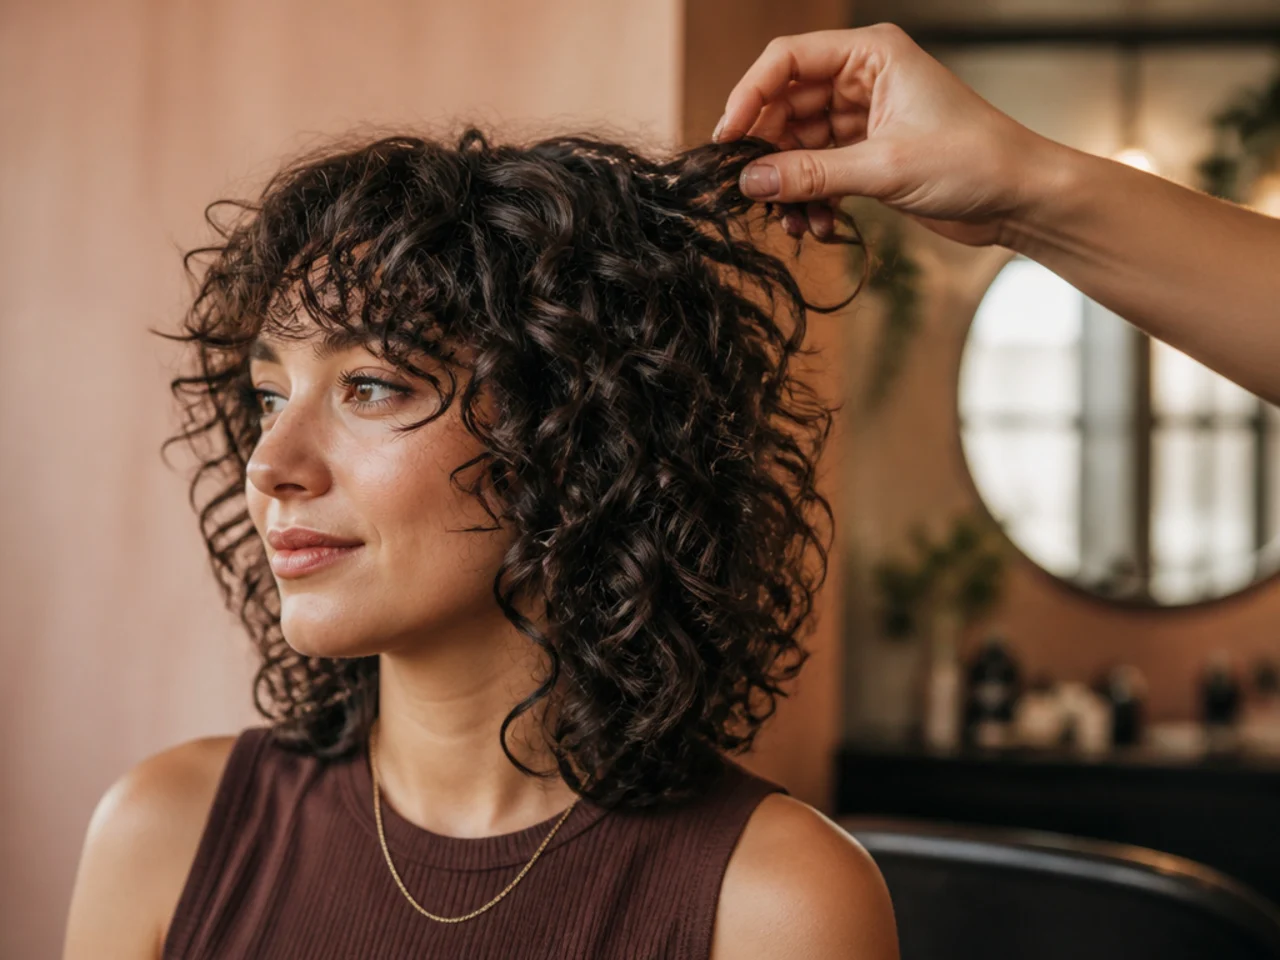
If you have corrected the same area twice and it still looks wrong, the problem is somewhere else in the cut. Chasing symmetry with repeated small snips is how a shoulder-length shag becomes a chin-length one over the course of an afternoon.

Styling and Upkeep
Apply product to soaking wet hair. Water is what spreads a gel or cream evenly through a clump. On damp hair it coats the outside and never reaches the centre.
Diffuse on low speed. High airflow separates the clumps before they set, which turns definition into frizz. Low speed and medium heat, held still.
Break the cast once it is bone dry. Scrunching a half-dry cast collapses the curl. Wait, then scrunch firmly until the crunch is gone.
Trim every ten to twelve weeks. The short crown layers grow down into the ones below and the shape closes up, which is what makes a grown-out shag look flat.
Sleep in a pineapple or on satin. Cotton drags on the cuticle overnight, and the frizz that creates is usually blamed on the cut.

Mistakes to Avoid
Cutting it wet. The single most common home-haircut failure. Wet curls measure their stretched length and dry back shorter.
Combing sections into a straight line. That is how you build a blunt shelf. Curly hair is cut in the clumps it forms on its own.
Using kitchen scissors. A dull blade crushes rather than cuts, and the split ends show up within the week.
Correcting on the same day. The hair has not settled. Almost every over-cut head was over-cut during a correction, not the original pass.
Cutting the fringe first. It is the shortest hair on the head and shrinks the most. It goes last, every time.

FAQ
Wet or dry? Dry, always — a wet curl measures longer than it lives.
What do I actually need to buy? Sharp shears. Clips, a comb and a mirror you already have.
How much should I take off first time? An inch less than you want. You can repeat the pass tomorrow.

Final Thoughts
The method is not complicated. It is dry, it is one curl at a time, and it is slower than you want it to be — and those three things are what separate a home shag that works from one that has to be fixed in a salon.
Cut long, wash it, sleep on it, and only then decide whether it needs anything more. See also curly shag haircut and shag haircut with bangs. More in Mullet and Wolf Cut.



