20 Rules for Cutting Mid Length Hair at Home
Twenty rules for trimming collarbone length hair yourself, built around the one number that decides everything. Hair grows about half an inch a month, so every half inch removed in error is a month of waiting to get it back.
In this article · 37
- What Counts as Mid Length
- Dusting Versus a Real Cut
- Face Framing Start Point
- Fine Thick and Curly Hair at Home
- Trim Cadence and Cost
- Mistakes and Recovery
- The 20 Rules for Cutting at Home
- 1. Two Mirrors Setup
- 2. Hairdressing Shears
- 3. Wash and Dry First
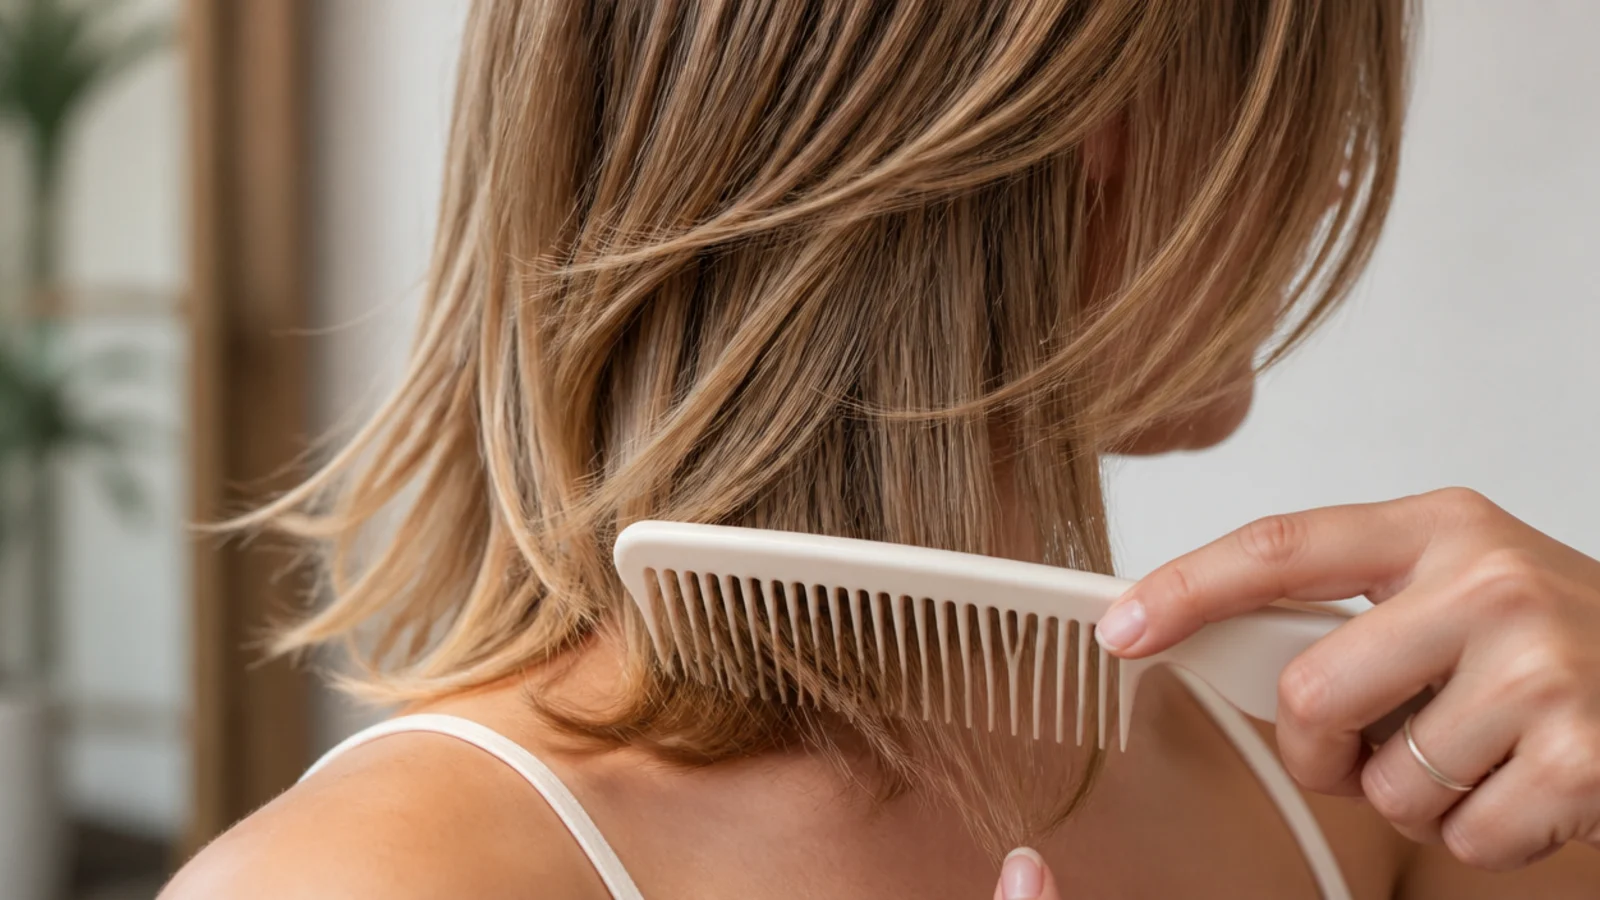
- 4. Detangle From the Ends Up
- 5. Mark Collarbone Length
- 6. Dusting Versus a Cut
- 7. Center Part to the Nape
- 8. Clip the Crown Sections
- 9. Level the Front Sections
- 10. Half Inch Passes
- 11. Point Cut the Ends
- 12. Reassess Every Half Inch
- 13. Tension Control
- 14. Face Framing at the Jaw
- 15. Unicorn Ponytail Layers
- 16. Curly Dry Cut
- 17. Fine Hair Wants Fewer Layers
- 18. Thick Hair Weight Removal
- 19. Balance Both Sides
- 20. Final Check and Next Trim
- How to Cut Mid Length Hair at Home
- Step 1. Set Up Tools and Mirrors
- Step 2. Wash Dry and Detangle
- Step 3. Mark the Length
- Step 4. Center Part and Section
- Step 5. Cut the Baseline by Half an Inch
- Step 6. Point Cutting
- Step 7. Face Framing at the Jaw
- Step 8. Balance Check
- Final Thoughts
Most home haircuts fail on the same two things, and neither of them is a shaky hand. They fail because the hair was pulled tighter on one side than the other, and because too much came off before anyone looked at it dry.
Cut half an inch, then stop. Hair grows roughly half an inch a month, so one pass costs one month if you were wrong. Two passes cost two.
Tension decides the length, not the scissors. A section held tight is stretched at the moment it is cut, so it lifts when you release it and lands shorter than the section beside it.
What Counts as Mid Length
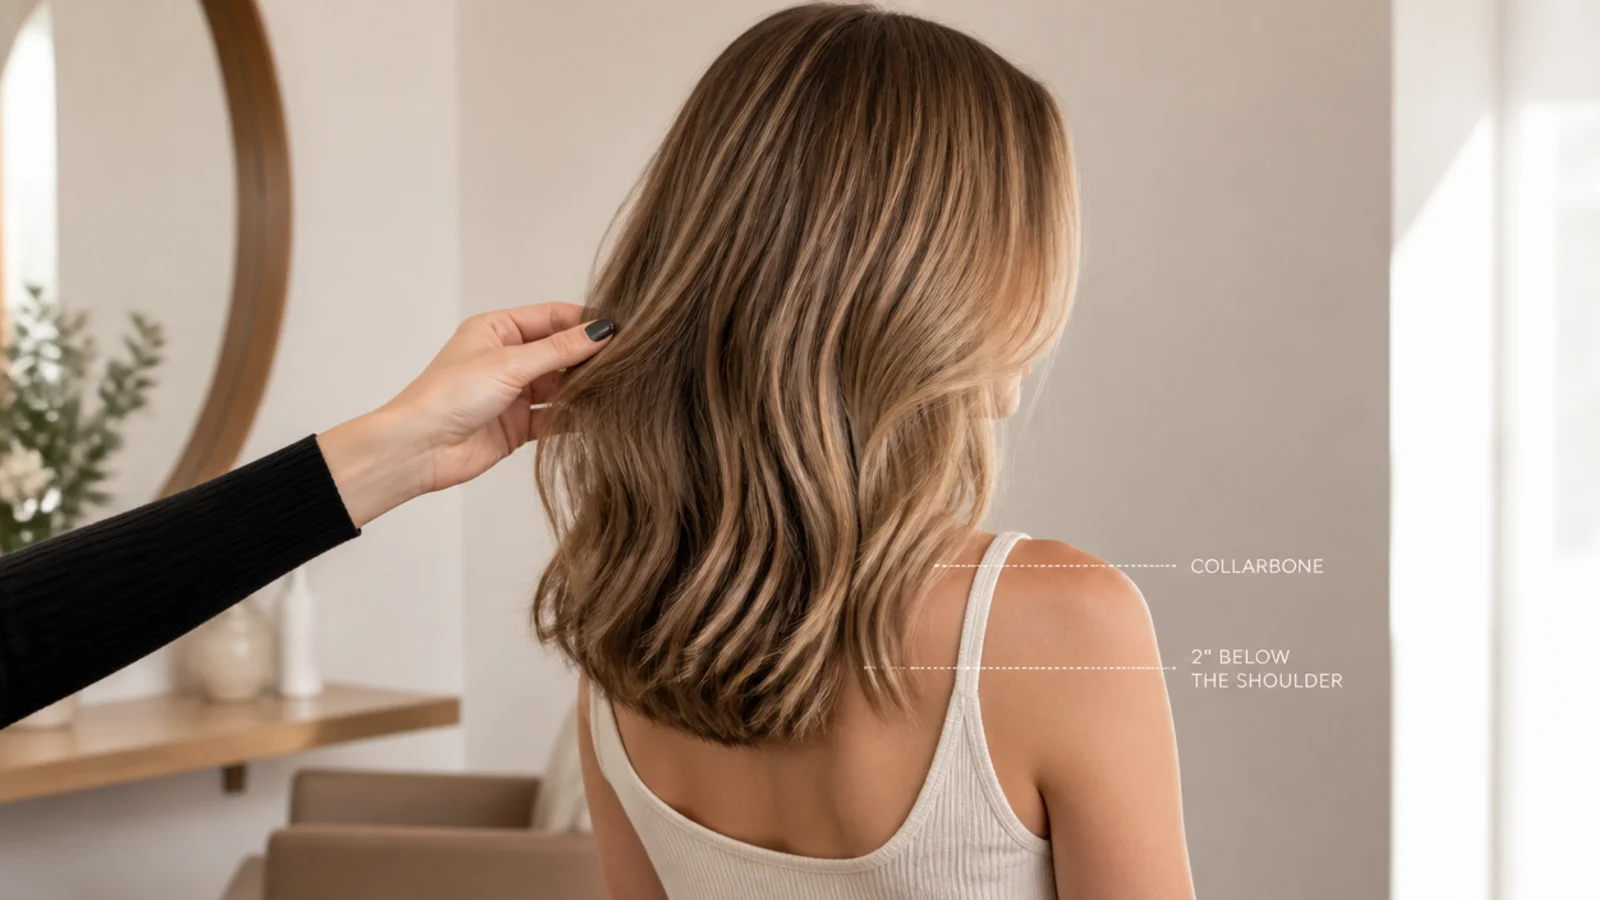
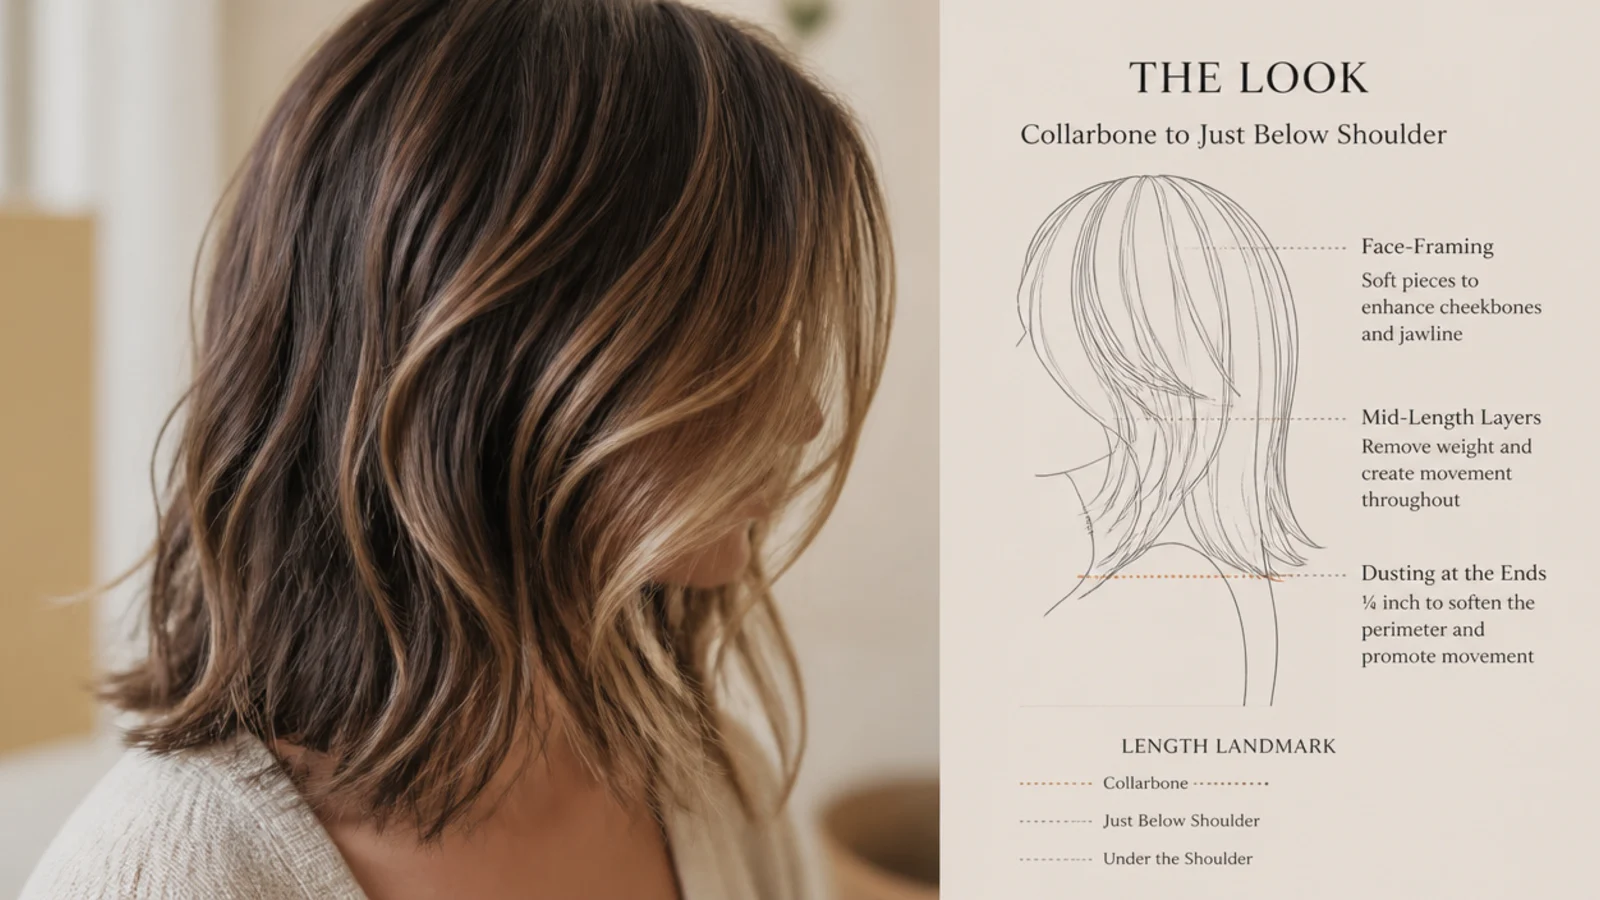
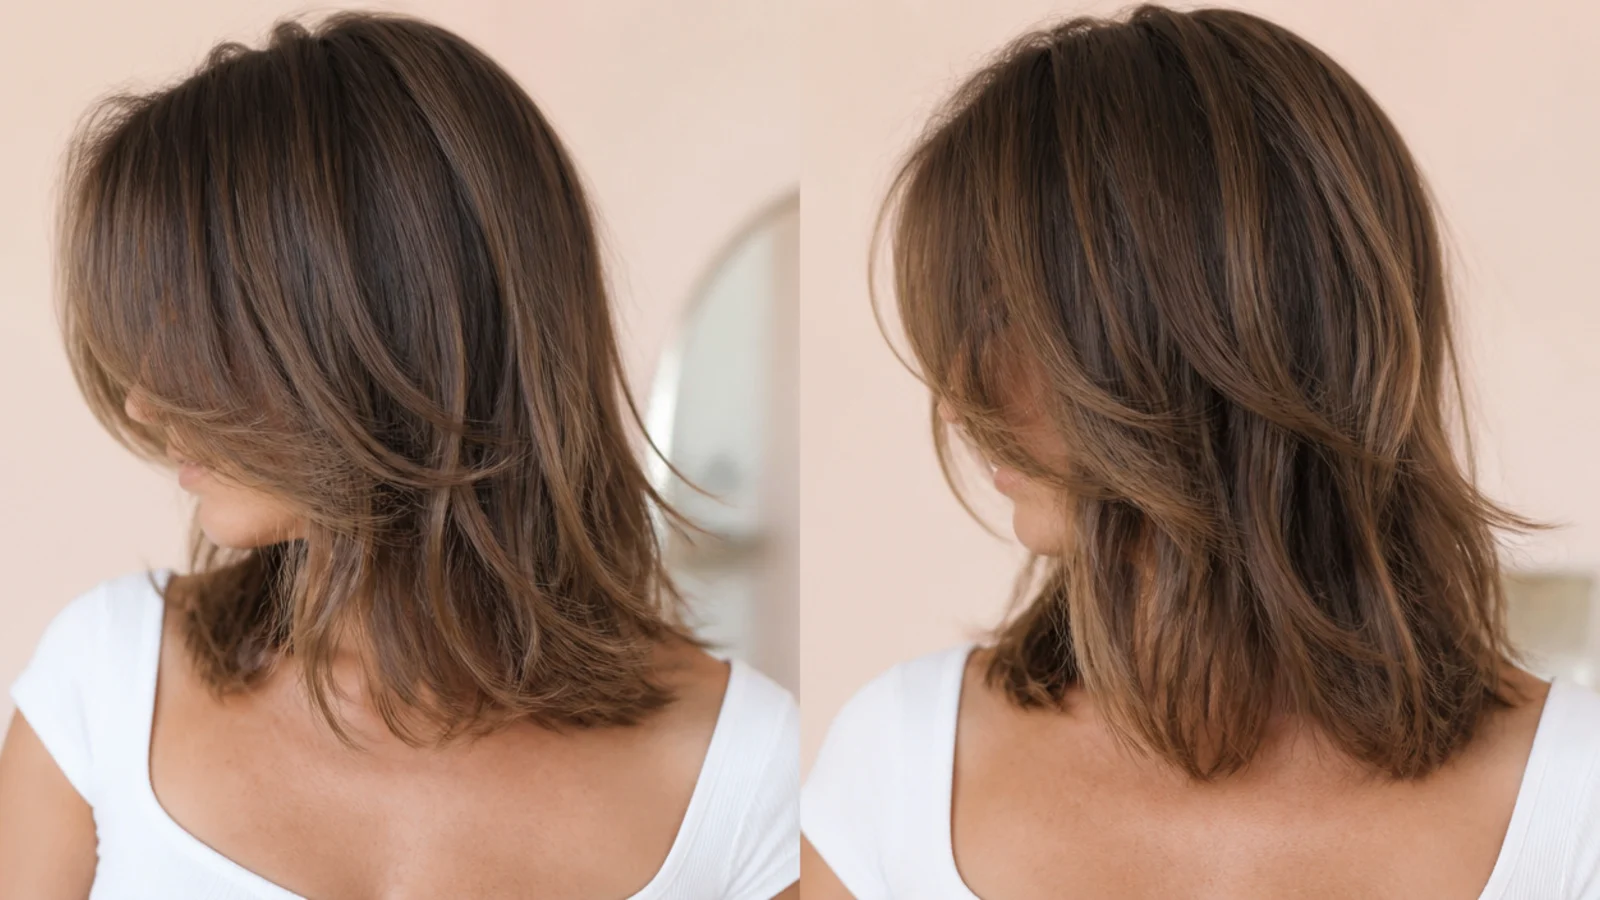
Collarbone to a couple of inches below the shoulder. That is the working range, and it is the easiest length in existence to cut yourself because all of it can be brought forward where you can see it.
The shoulder itself is the awkward point. Hair that ends exactly at the shoulder gets pushed back up by it and flicks outward all day. Land an inch above it or two inches below it.
It is the last length that holds a blunt line. Past the shoulder blades the perimeter stops reading as an edge and starts reading as where the hair happens to run out.
Measure standing, with the chin level. Tipping your head forward to see the ends drops them by an inch, which is exactly how a home cut comes out shorter at the back than anyone intended.
Slouching costs you length too. Sit down mid cut and the shoulders round forward, moving the reference point you set while standing.
Dusting Versus a Real Cut
Dusting removes an eighth of an inch and changes nothing. It takes the split off and leaves the shape exactly where it was, which is why it is the only home cut with no real downside.
A split travels upward once it starts. The cuticle has already lifted, so the shaft keeps separating further up until something removes the damaged tip. Early removal is cheap, late removal costs inches.
A real cut moves the perimeter. Different job, different technique, and a decision you make before you pick the shears up rather than halfway through.
Dusting still nets you length. An eighth of an inch every six weeks against half an inch of growth a month leaves you comfortably ahead.
Confusing the two is how people lose three inches. Dusting drifts into cutting when you keep going back to fix one uneven bit.
Face Framing Start Point
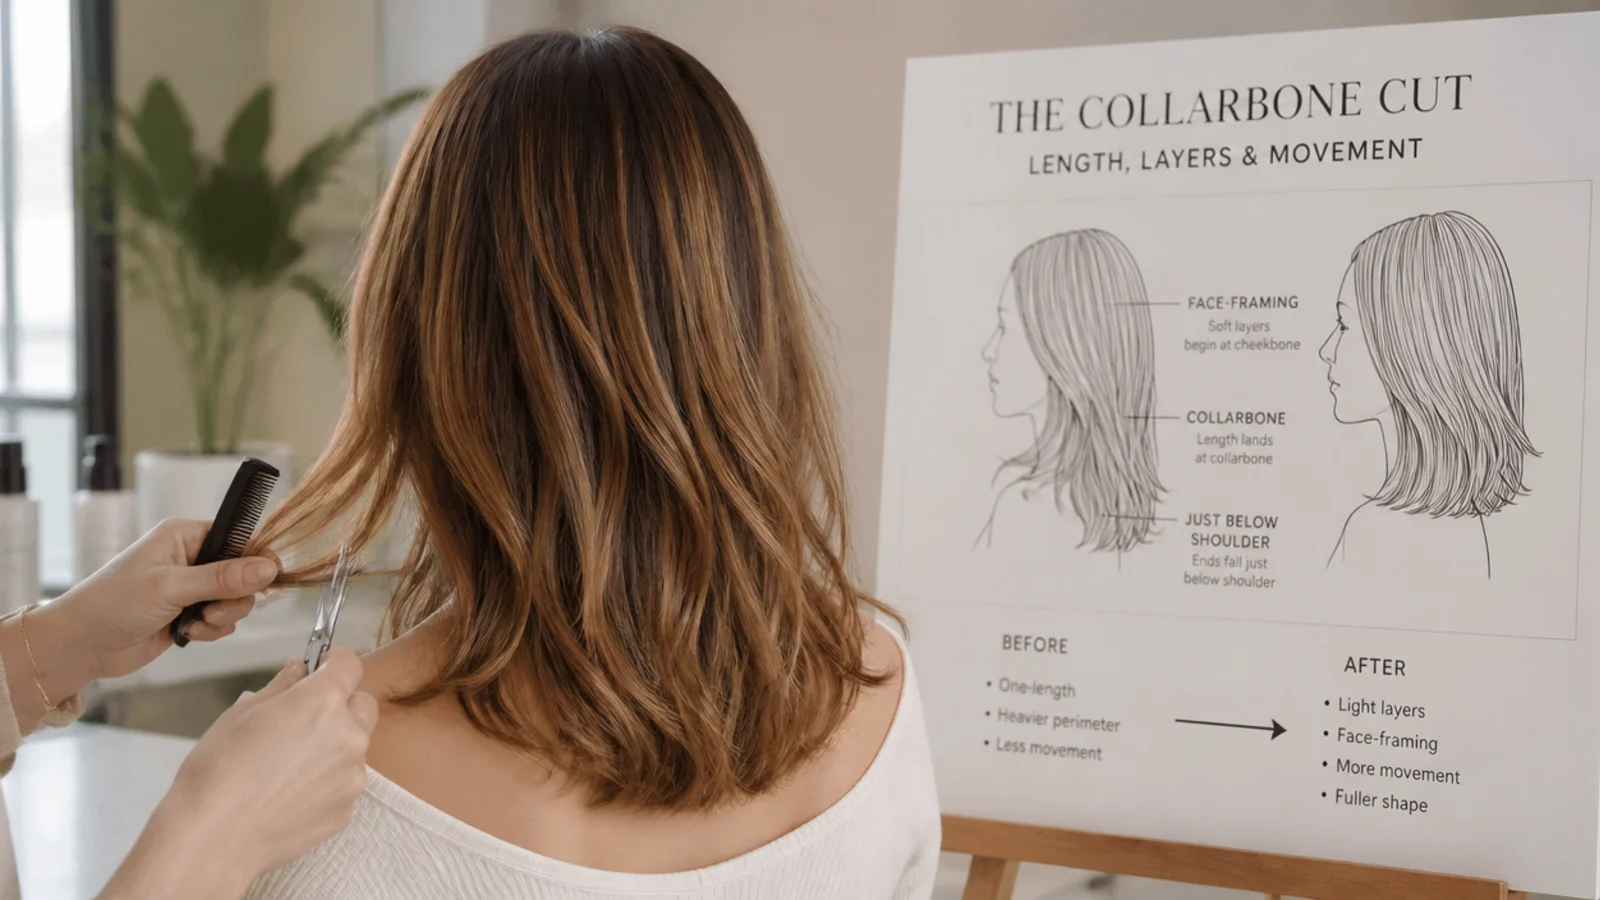
The start point is the whole decision. Where the shortest front piece begins sets the angle everything below it travels on, and nothing after that changes the character of the cut.
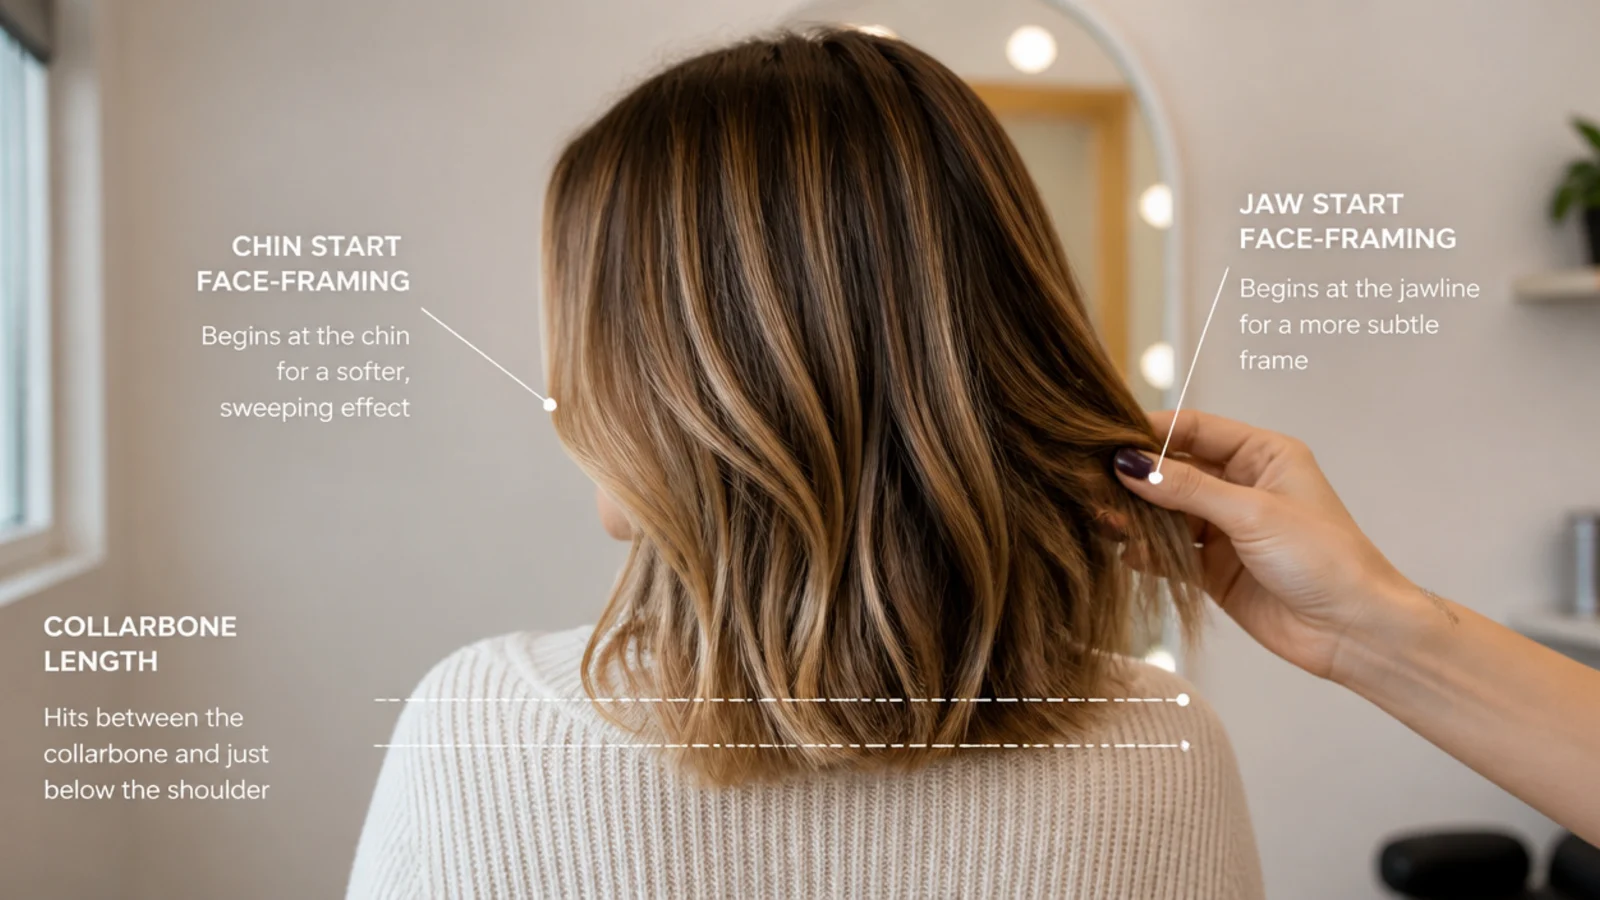
Jaw is the safe default. Short enough to read as a frame, long enough to tuck behind an ear when you want it gone.
A higher start point steepens the angle. The front piece has less length to reach the perimeter, so the graduation gets sharper and the ends thin out visibly at the bottom.
Cut it dry, in front, head level. Face framing is the one part of the cut you can genuinely see, so use that and stop guessing.
Start lower than you want. Raising the start point later takes a single snip. Lowering it takes eight weeks.
Fine Thick and Curly Hair at Home
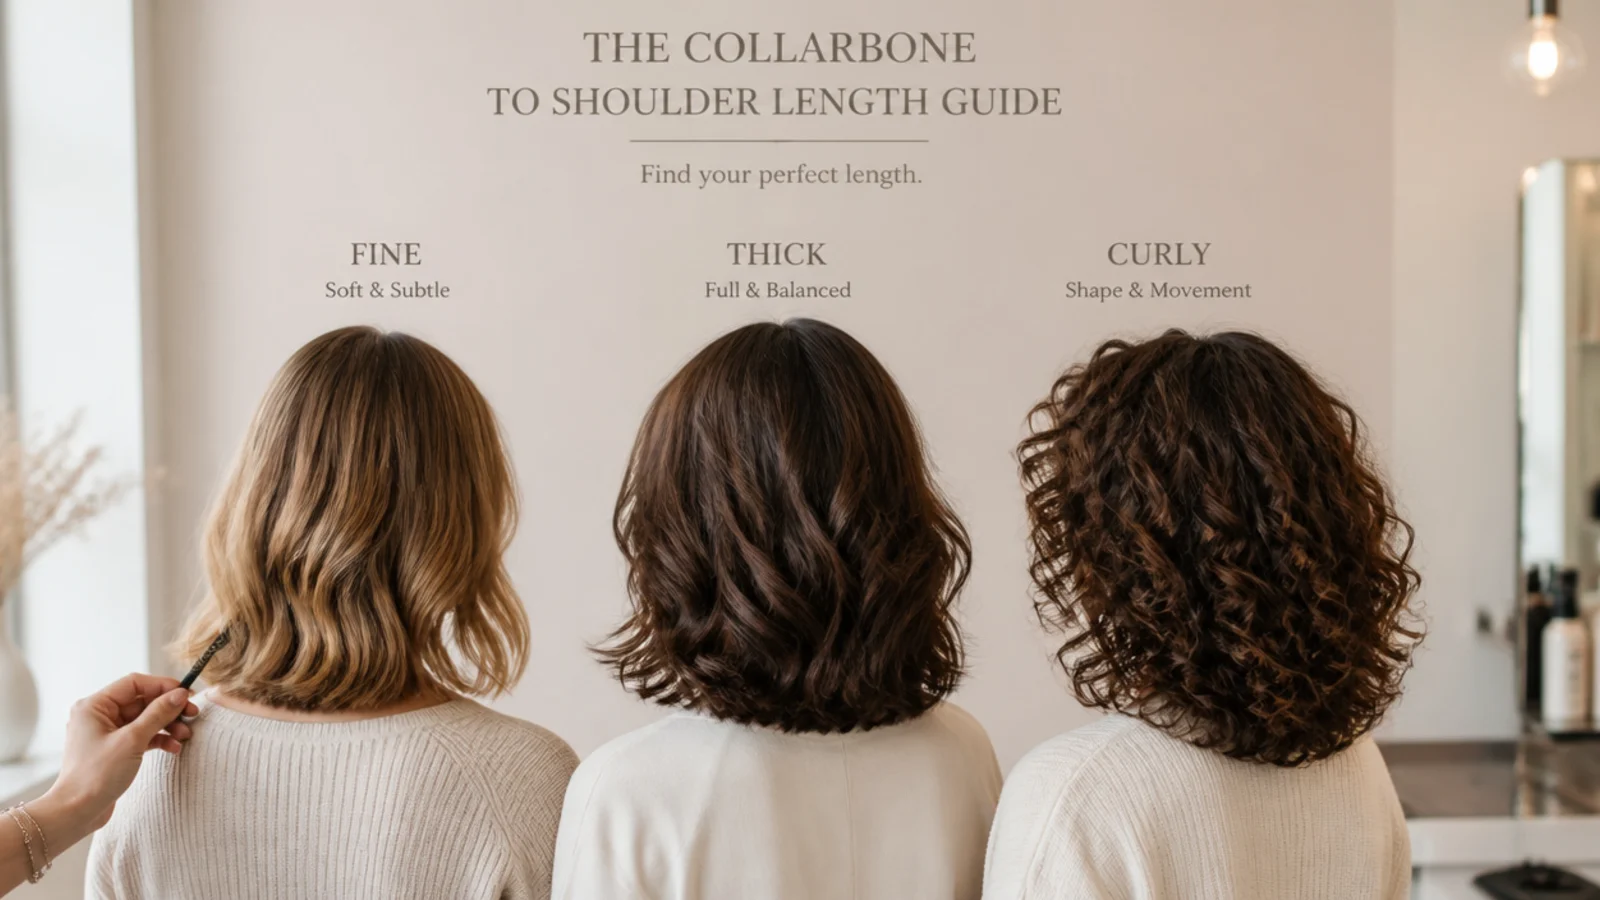
Fine hair wants a blunt perimeter and almost no layers. Every strand ending on the same line reads as density, while tapered ends read as thinning even when nothing has been lost.
Thick hair wants weight taken from underneath. Remove bulk from the interior and leave the surface and the perimeter intact, because surface thinning grows back as short pieces standing up through the top.
Curly hair is cut dry, curl by curl. A stretched wet curl can dry back a third shorter, so a wet cut is a bet on how much spring you are about to get.
Wavy hair sits between the two. Cut it dry, but expect the bend to lift the ends by half an inch or so as it dries down.
Coily hair shrinks the most of all. If you are working on it at home, cut in small released clumps and check each against the one beside it rather than against a comb.
Trim Cadence and Cost
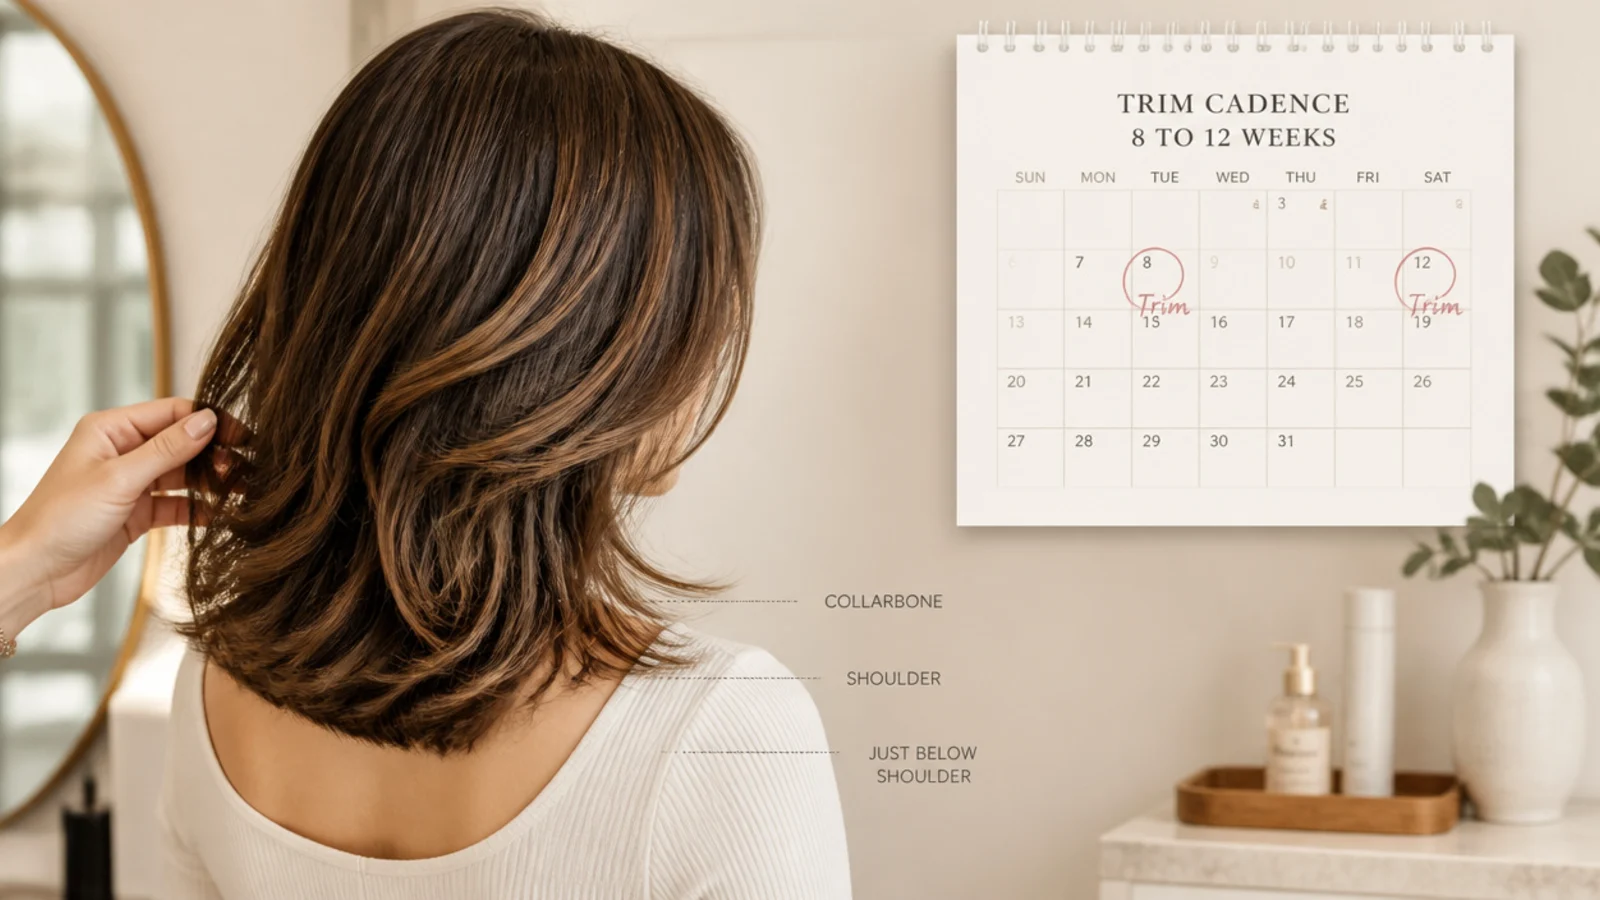
Half an inch a month is the budget. Everything you take off is spent against that, and there is no way to spend faster than you earn without going shorter.
Dust every six to eight weeks, reshape every three or four months. The dusting keeps damage from climbing and the reshape resets a perimeter that has gone uneven.
The real cost of a home cut is time, not money. A mistake is not paid for at the till. It is paid for in weeks of growing it back out.
Book someone else for the shape once or twice a year. You cannot see the back of your own head, and everything behind your ears is being cut by feel.
Write down what you took off. Half an inch in March tells you what to do in June far better than memory does.
Mistakes and Recovery
Cutting wet and forgetting the spring. The commonest home haircut error by a distance, and the one that produces a cut two inches shorter than the photograph.
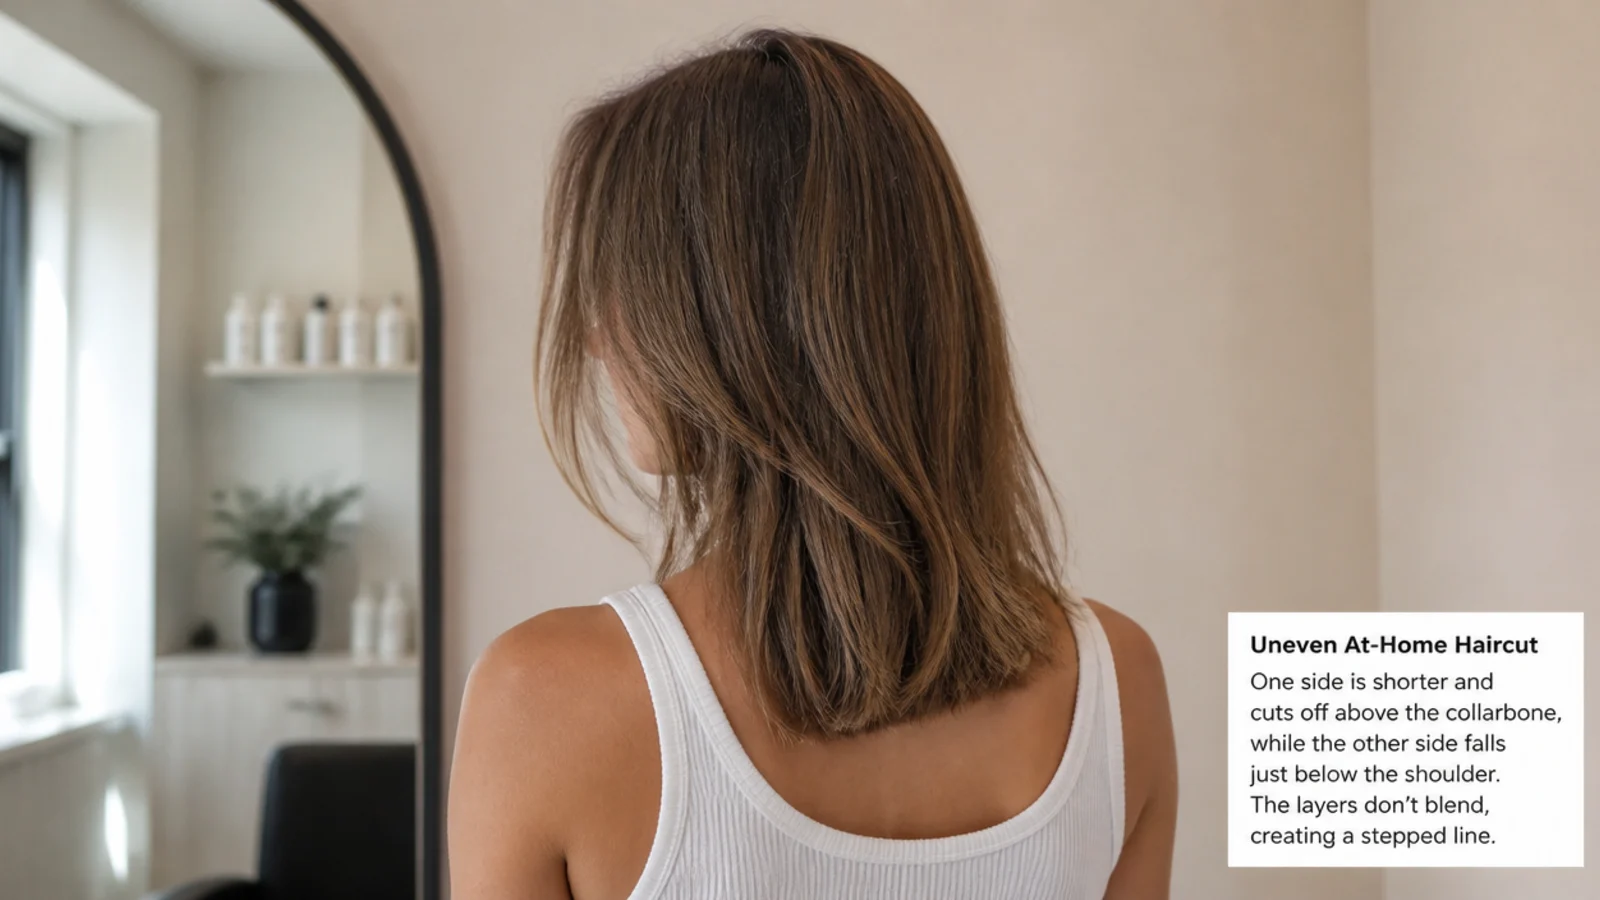
Uneven tension across the two sides. One side pulled harder is one side shorter, and it will not show until you let both go and stand up.
Cutting a gathered ponytail straight across. Hair from the crown has to travel further to reach the elastic than hair from the nape, so a straight cut across the end produces a deep V rather than a level line.
Chasing the error. Every corrective pass on the longer side takes more length off the head, and three corrections is how a trim becomes a bob.
Recovering by levelling at the shortest point. Find the shortest piece, decide whether you can live at that length, and if you can, bring everything to it in one pass rather than six.
The 20 Rules for Cutting at Home
1. Two Mirrors Setup
A single mirror reverses left and right and shows you nothing behind your ears, so half the cut is being made blind. A hand mirror angled into a wall mirror reverses the image a second time, which puts the back of your head the right way round and makes your hands move the direction you expect.

2. Hairdressing Shears
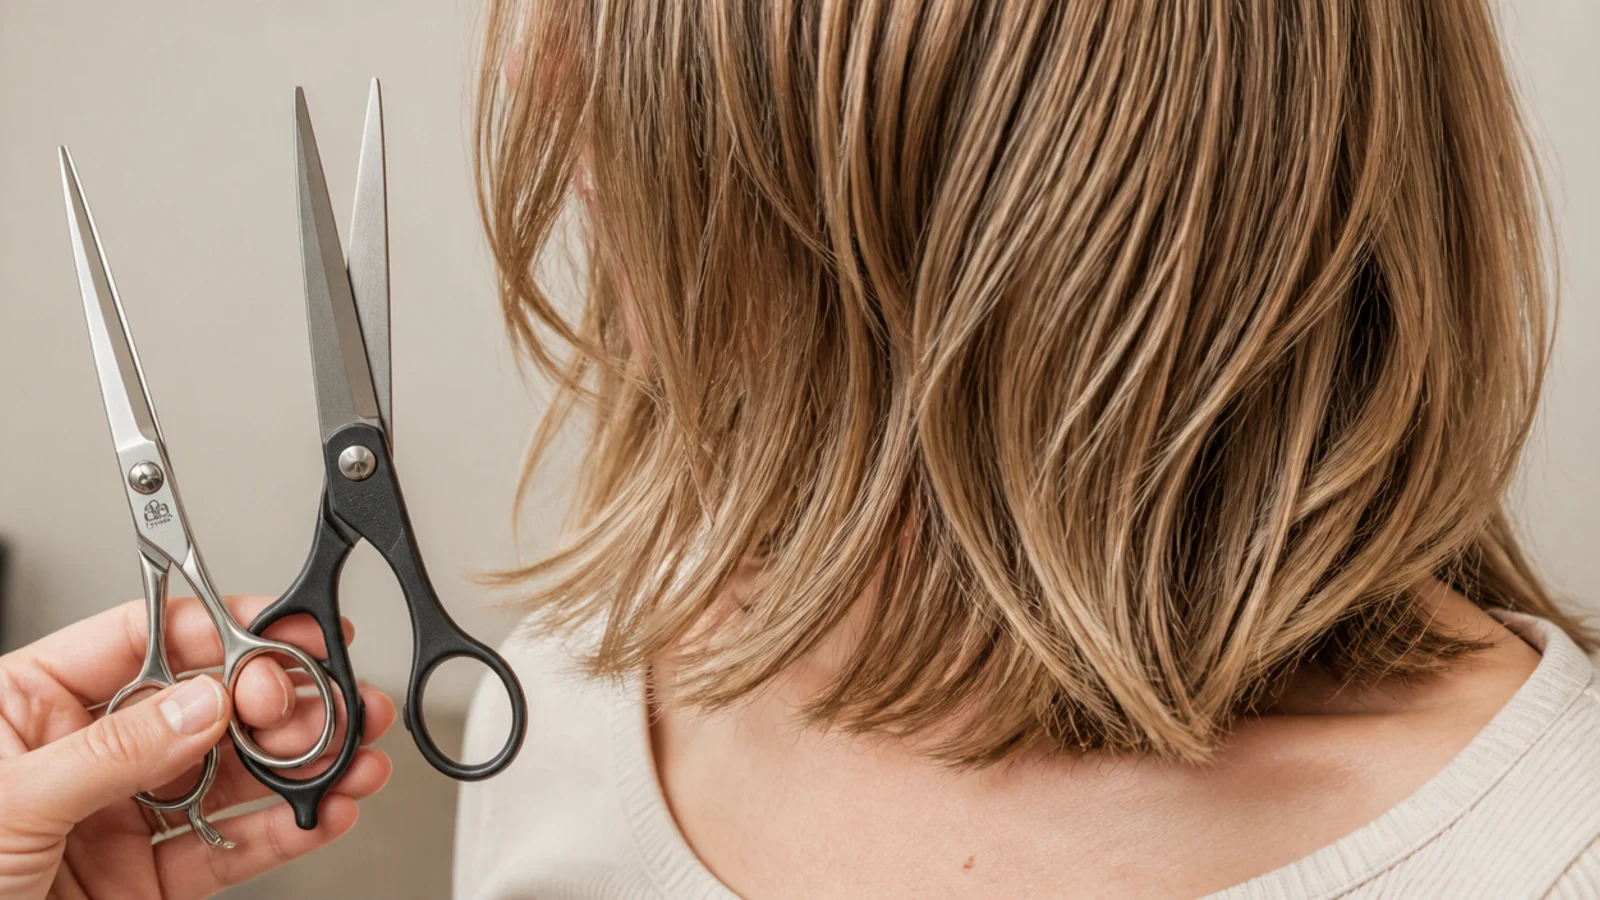
Kitchen and craft scissors have a blunt bevelled edge that crushes the shaft before it severs it, leaving a frayed tip that splits again within weeks. Hairdressing shears are hollow ground to a much finer angle and slice through in one clean shear, which is the difference between an end that holds and one that fails.
3. Wash and Dry First
Cut hair in the state you actually wear it. Product build up, dry shampoo and yesterday's texture all change how a section hangs, so a cut made through unwashed hair sits differently the moment it is clean.

4. Detangle From the Ends Up
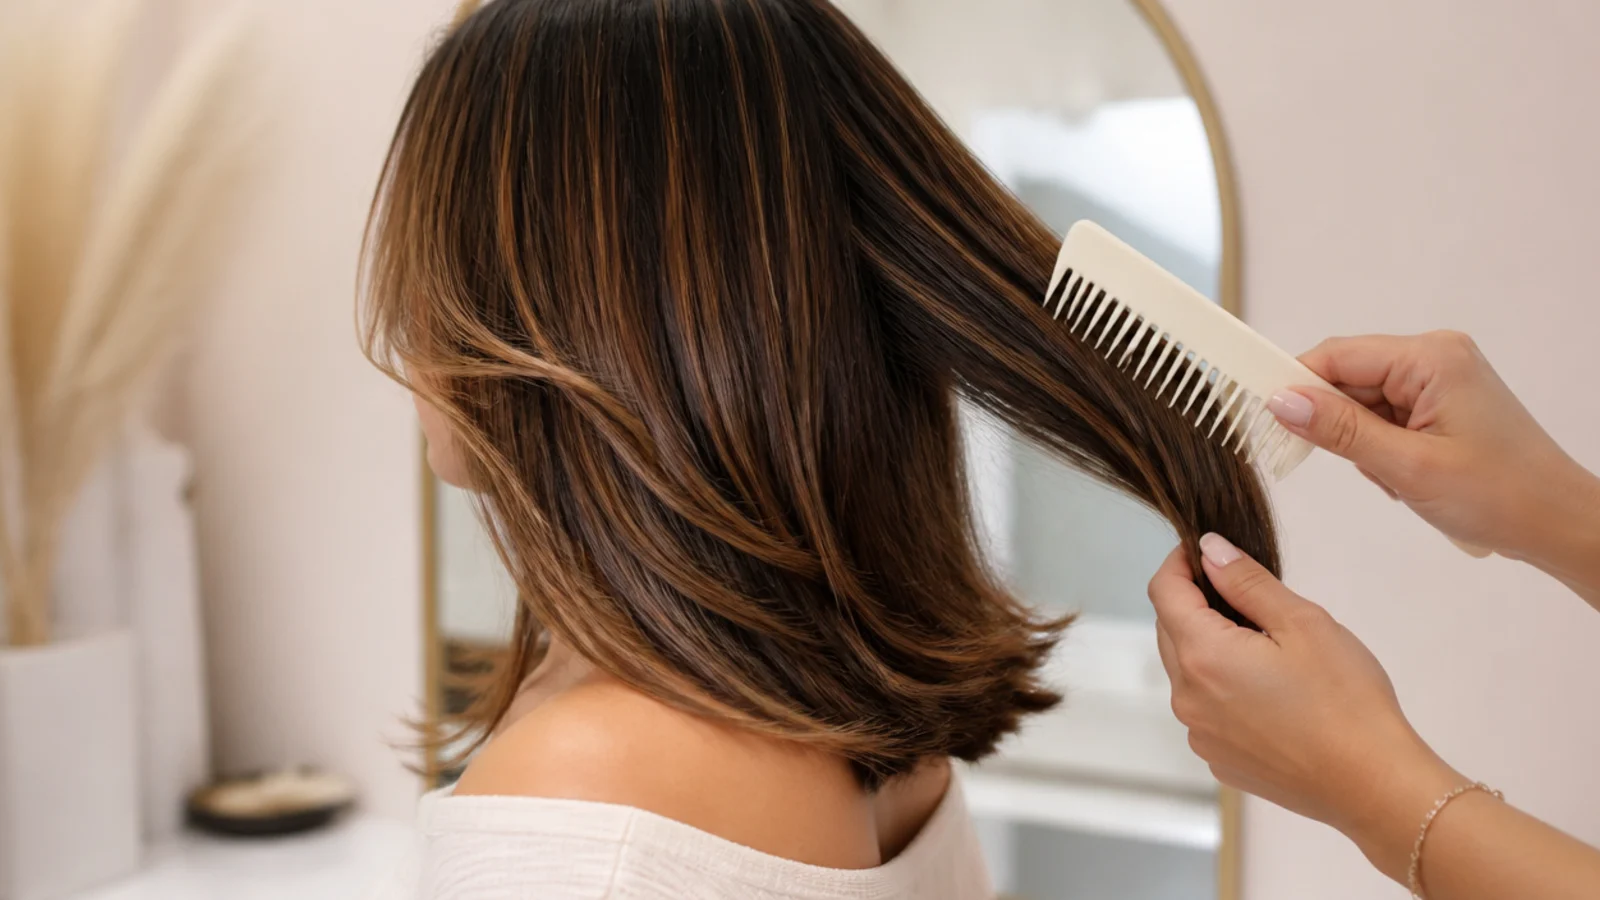
Starting a brush at the roots pushes every knot down the shaft and compacts them into one bigger knot at the ends. Working upward in short passes releases one small tangle at a time, and it matters for the cut because a tangle inside a section holds hair short and lets it spring long after the scissors have passed.
5. Mark Collarbone Length
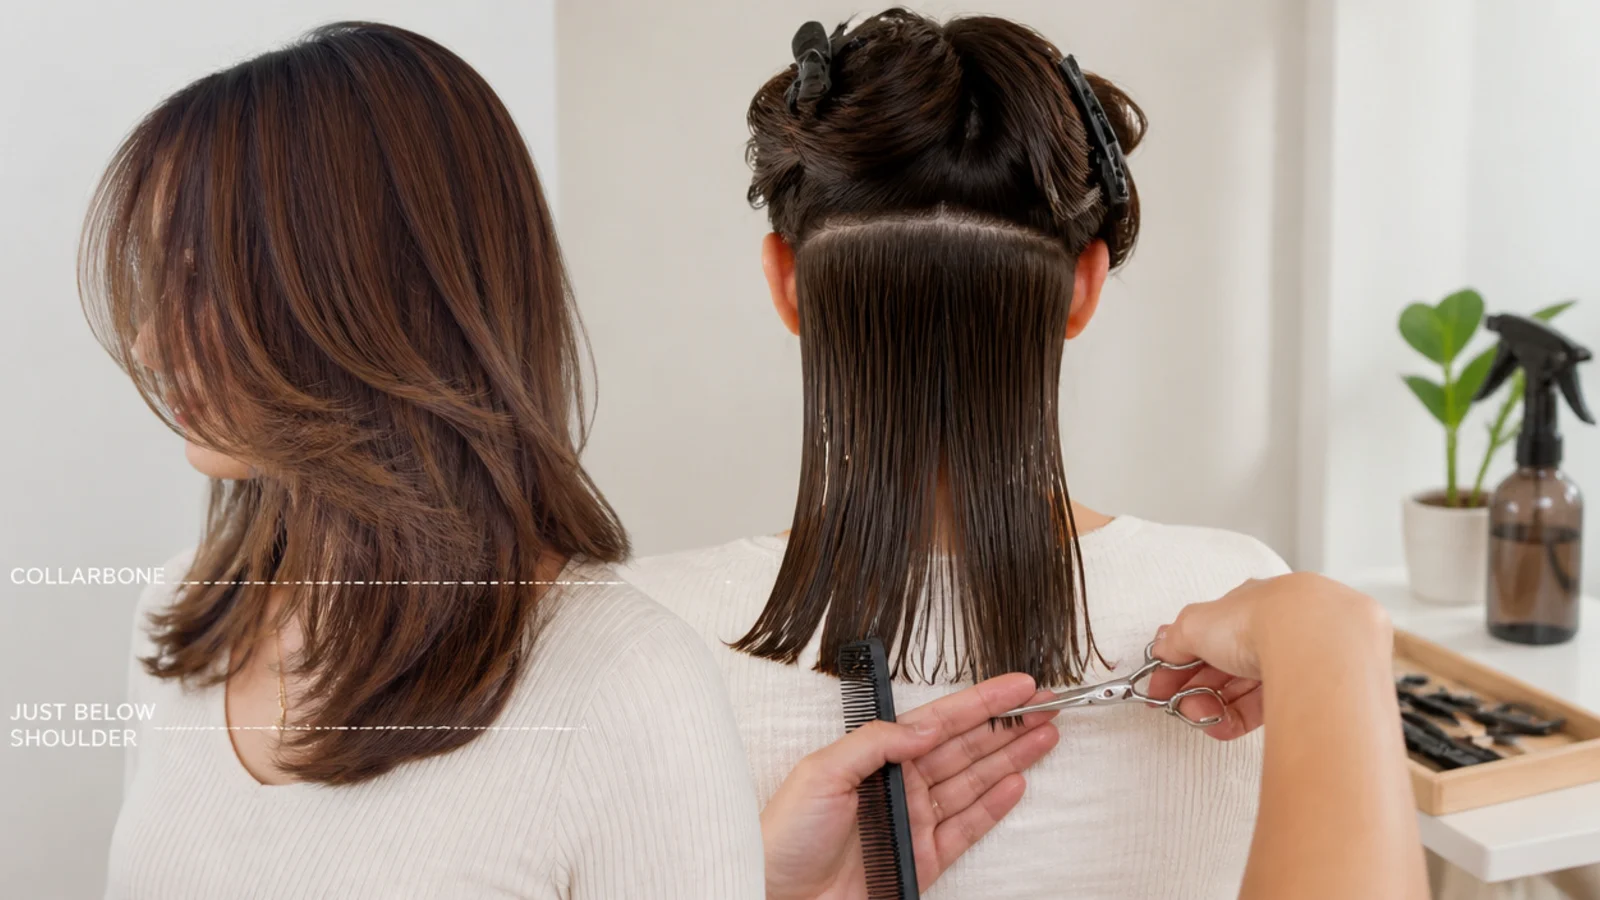
Clip one front section at the exact point you want the finished length to land, standing up with your chin level. Everything afterwards is matched to that physical mark rather than judged by eye, which removes the drift that happens when each section is compared only to the one before it.

6. Dusting Versus a Cut
Decide which one you are doing before the shears are open. Dusting takes an eighth of an inch off the tips and leaves the shape untouched, while a cut moves the perimeter and needs sectioning, marking and a plan you can follow to the end.
7. Center Part to the Nape
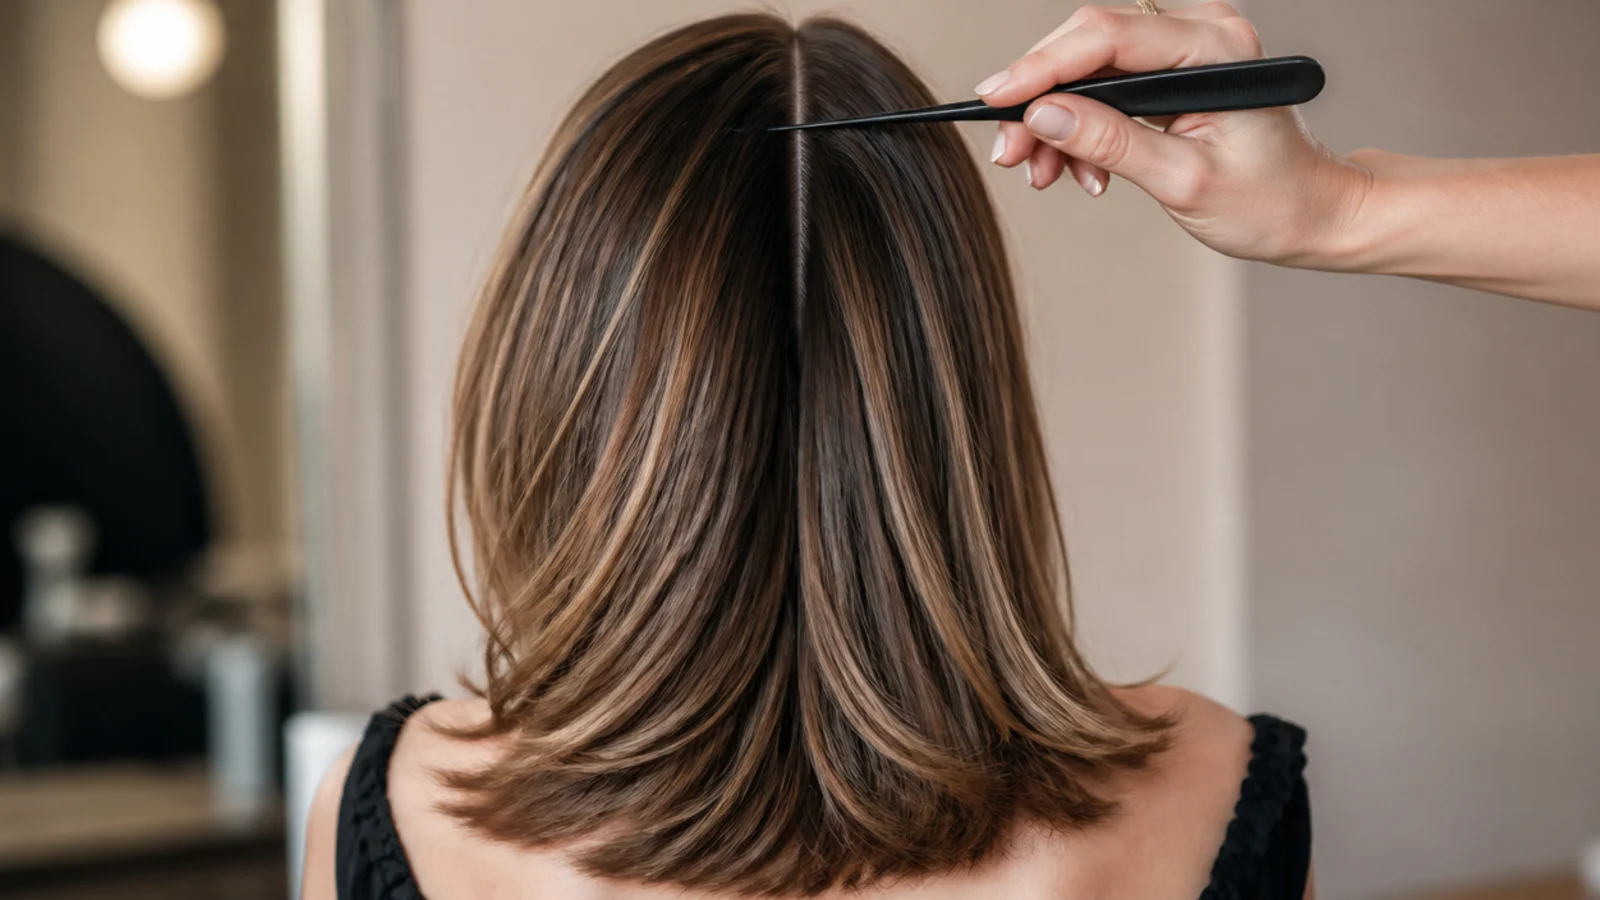
Run the part all the way down to the nape rather than stopping at the crown. It splits the head into two halves that can be pulled forward and compared directly, and without that line there is no reference point for symmetry anywhere on the head.
8. Clip the Crown Sections
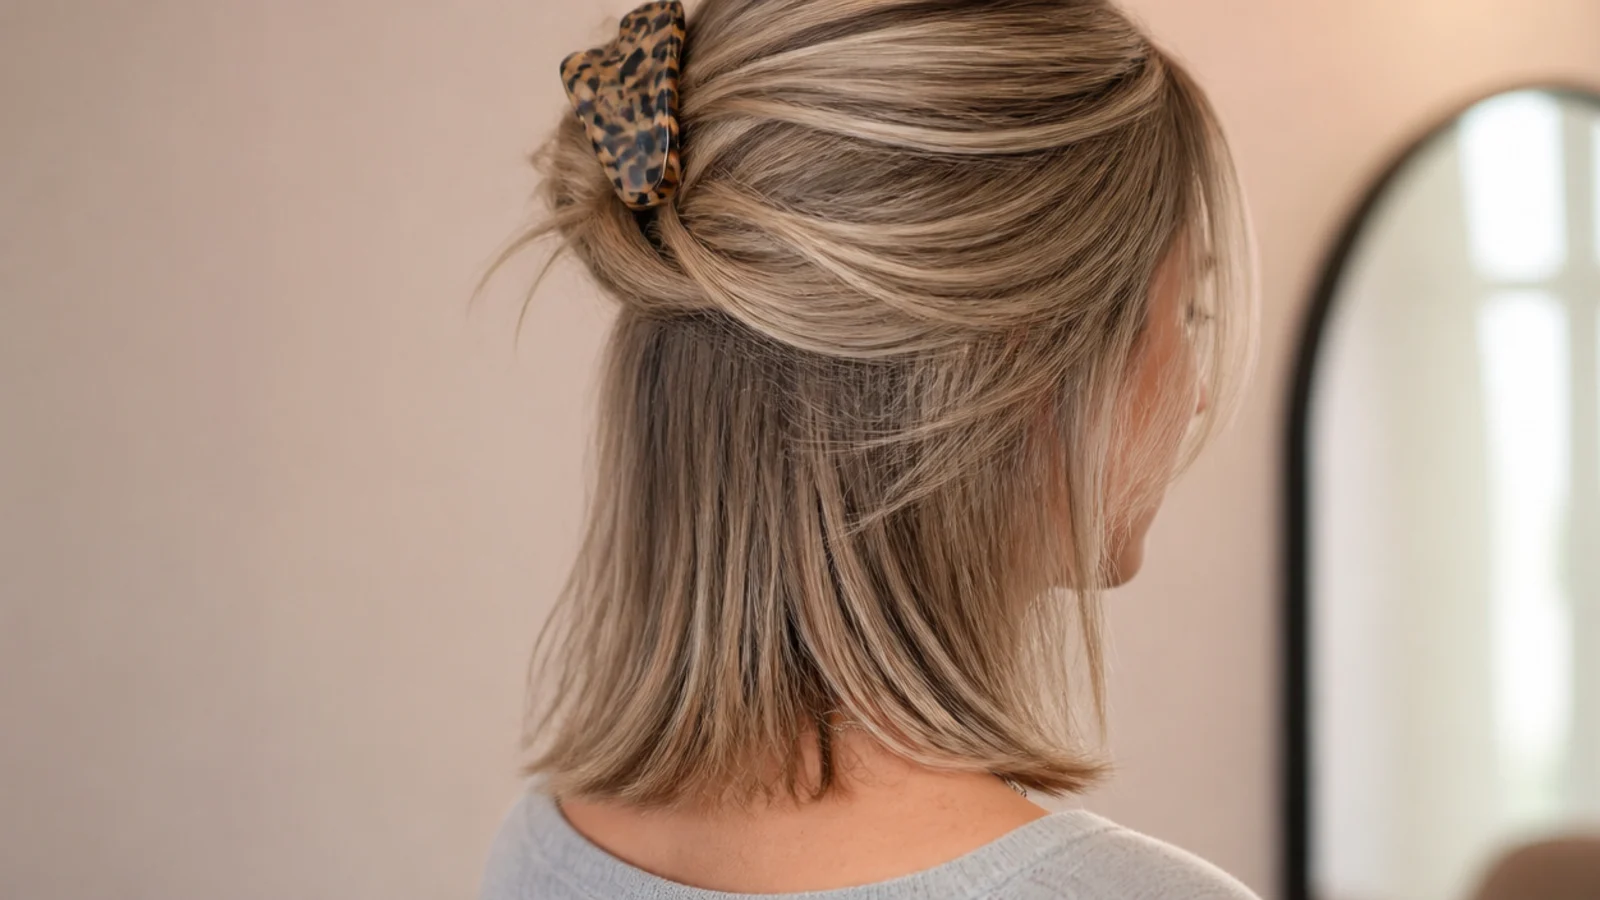
Hair growing from the crown has further to travel to reach your hand than hair growing at the nape, so if the two get gathered together the crown hair is cut relatively shorter. Clipping the crown out of the way keeps each section made of hair that starts from roughly the same place.
9. Level the Front Sections
Bring one section from each side forward and hold them together under the chin at matching tension. Faces are not symmetrical and neither are heads, so comparing the two in a mirror gives a false read while comparing them against each other in your hand does not.

10. Half Inch Passes
Never remove more than half an inch in a single pass, however far off the target you are. Half an inch is one month of growth, so a bad pass has a fixed and survivable cost, and you can always take a second one once the first is dry and judged.
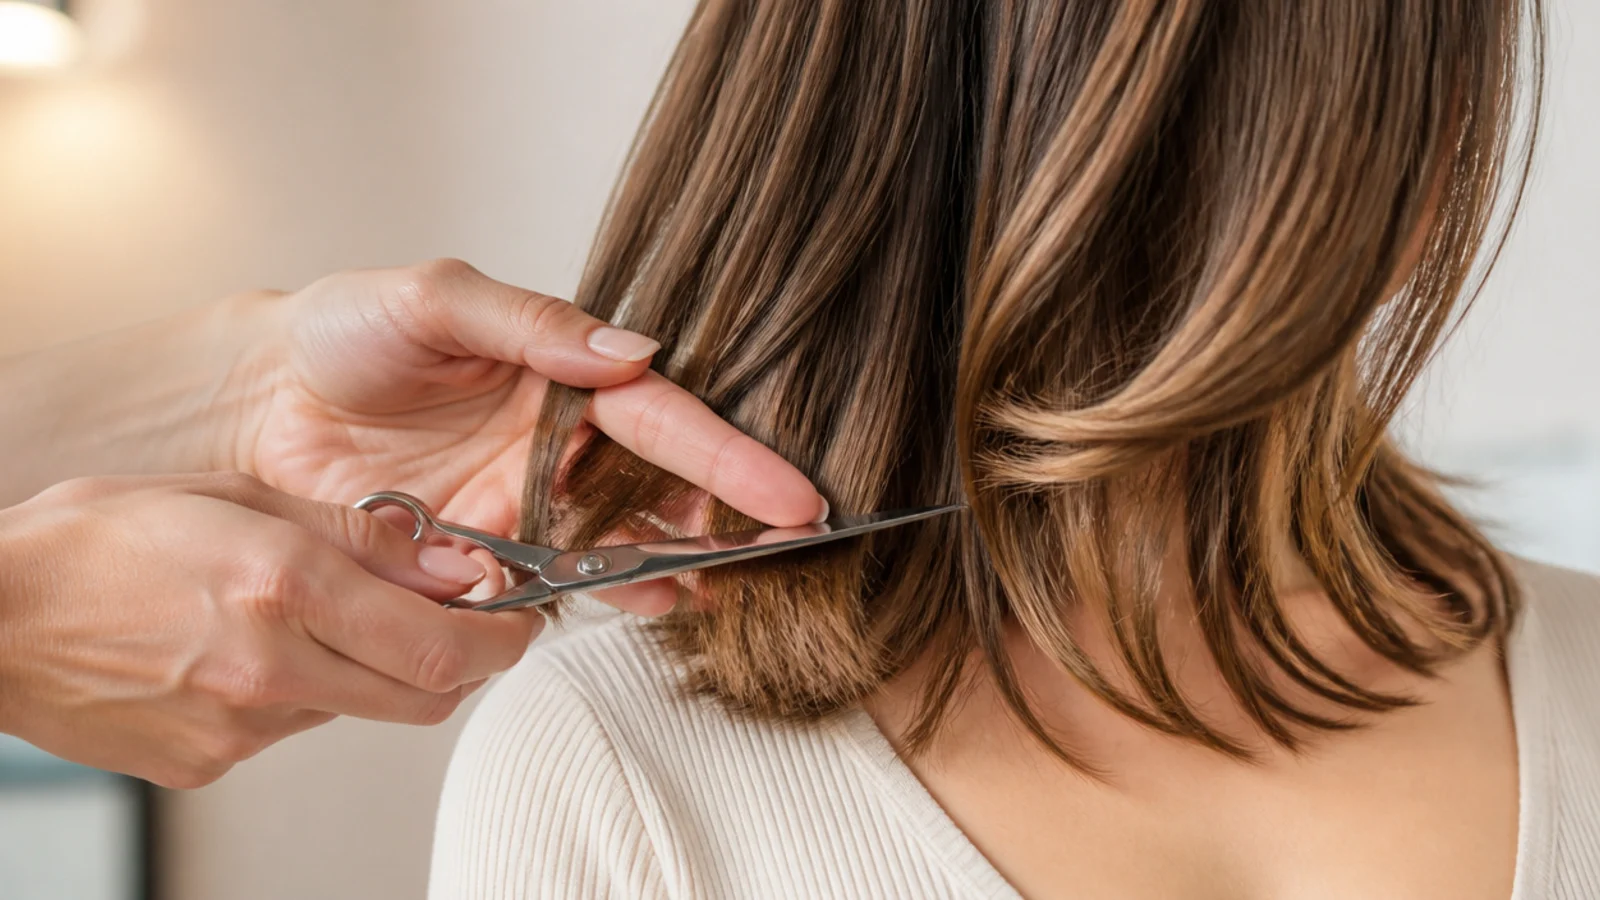
11. Point Cut the Ends
Turn the shears vertical and cut a short way into the ends rather than straight across them. Each strand then finishes at a slightly different height, so the eye reads texture instead of a line, and small unevenness from a wobbly hand disappears into it.
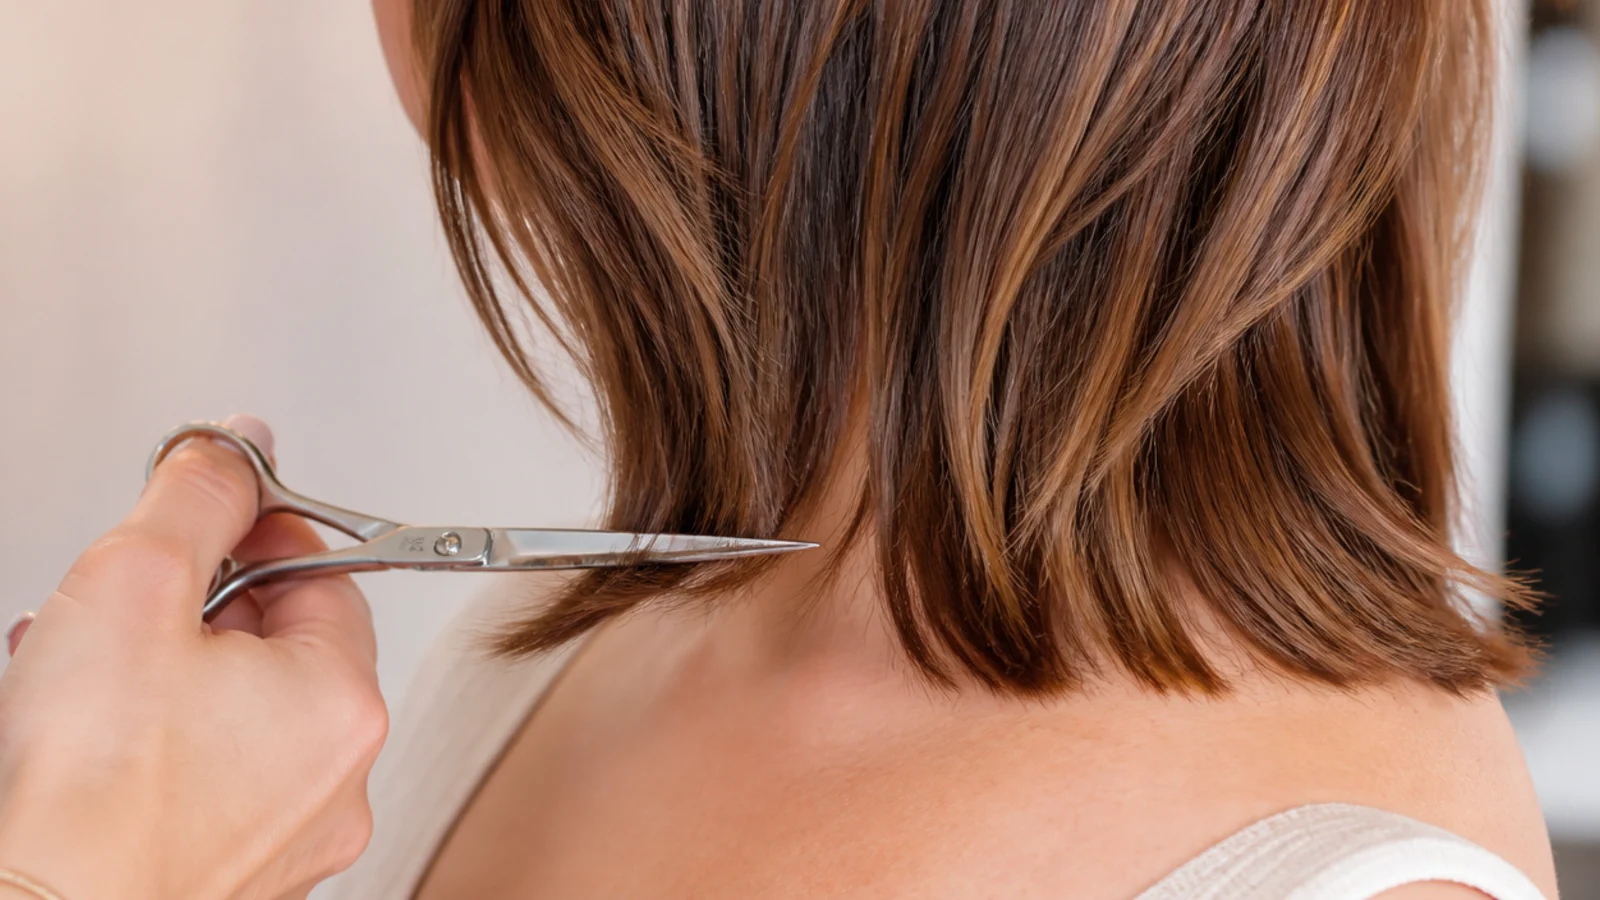
12. Reassess Every Half Inch
Put the shears down, release the section, stand up straight and look at it dry before deciding whether to go again. Hair under tension hangs lower than hair let go, so the length you are judging mid pass is not the length you will be wearing.
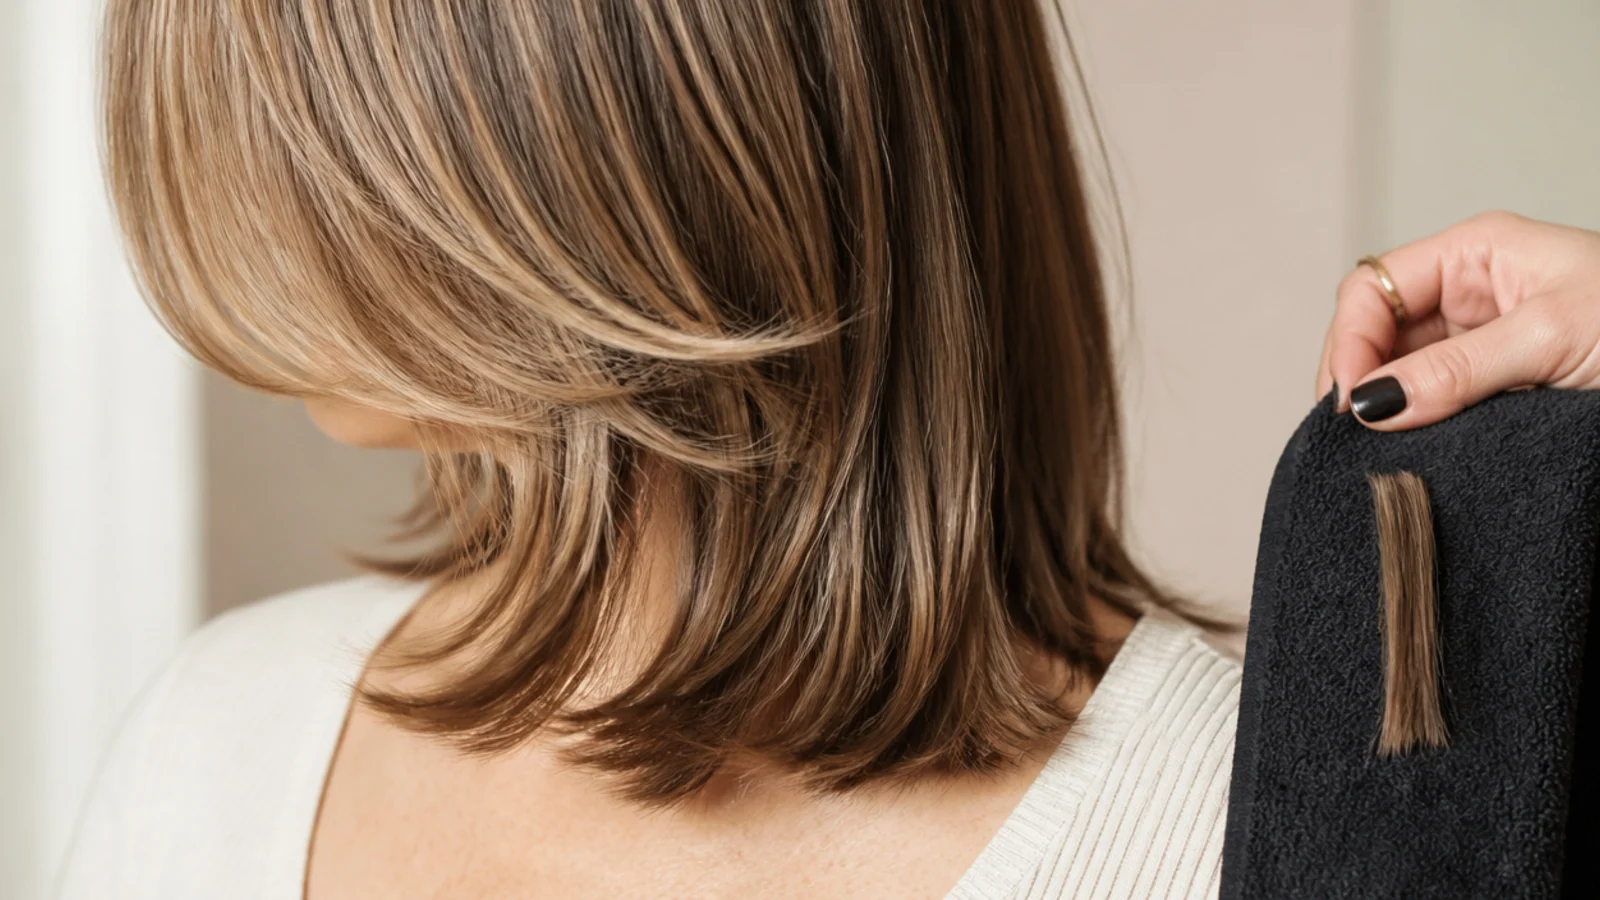
13. Tension Control
The same section held tight comes up shorter than one held loosely, because the hair is stretched at the instant the blade closes and recovers once released. Use the lightest tension that keeps the section straight, and use the identical amount on every section you touch.

14. Face Framing at the Jaw
Starting the shortest front piece at the jaw gives you a frame that reads clearly and still tucks behind the ear when you want it out of the way. Any higher and the piece has less length to reach the perimeter, which steepens the angle and thins the ends noticeably.

15. Unicorn Ponytail Layers
Gathering everything into a ponytail at the front hairline and cutting across the end creates long face framing layers in one action, because hair from the front reaches the elastic with the least length to spare. It also produces a strong graduated shape that cannot be undone, so treat it as a full commitment rather than a shortcut.

16. Curly Dry Cut
Cut curly hair dry, in its natural clumps, taking one curl at a time. Wet curl is stretched to something close to its full straight length and can dry back a third shorter, so a wet cut is a bet on exactly how much spring you are about to get.

17. Fine Hair Wants Fewer Layers
Every layer you cut removes weight from the perimeter, and on fine hair a thinned perimeter reads immediately as thinning hair. One long hidden layer through the interior is usually the ceiling, with the outline left completely blunt to carry the density.

18. Thick Hair Weight Removal
Remove bulk from the interior underneath and leave the top surface and the outline alone. Thinning the surface cuts short pieces that stand upright as they grow back, producing a halo of frizz exactly where you were trying to make the hair sit flatter.
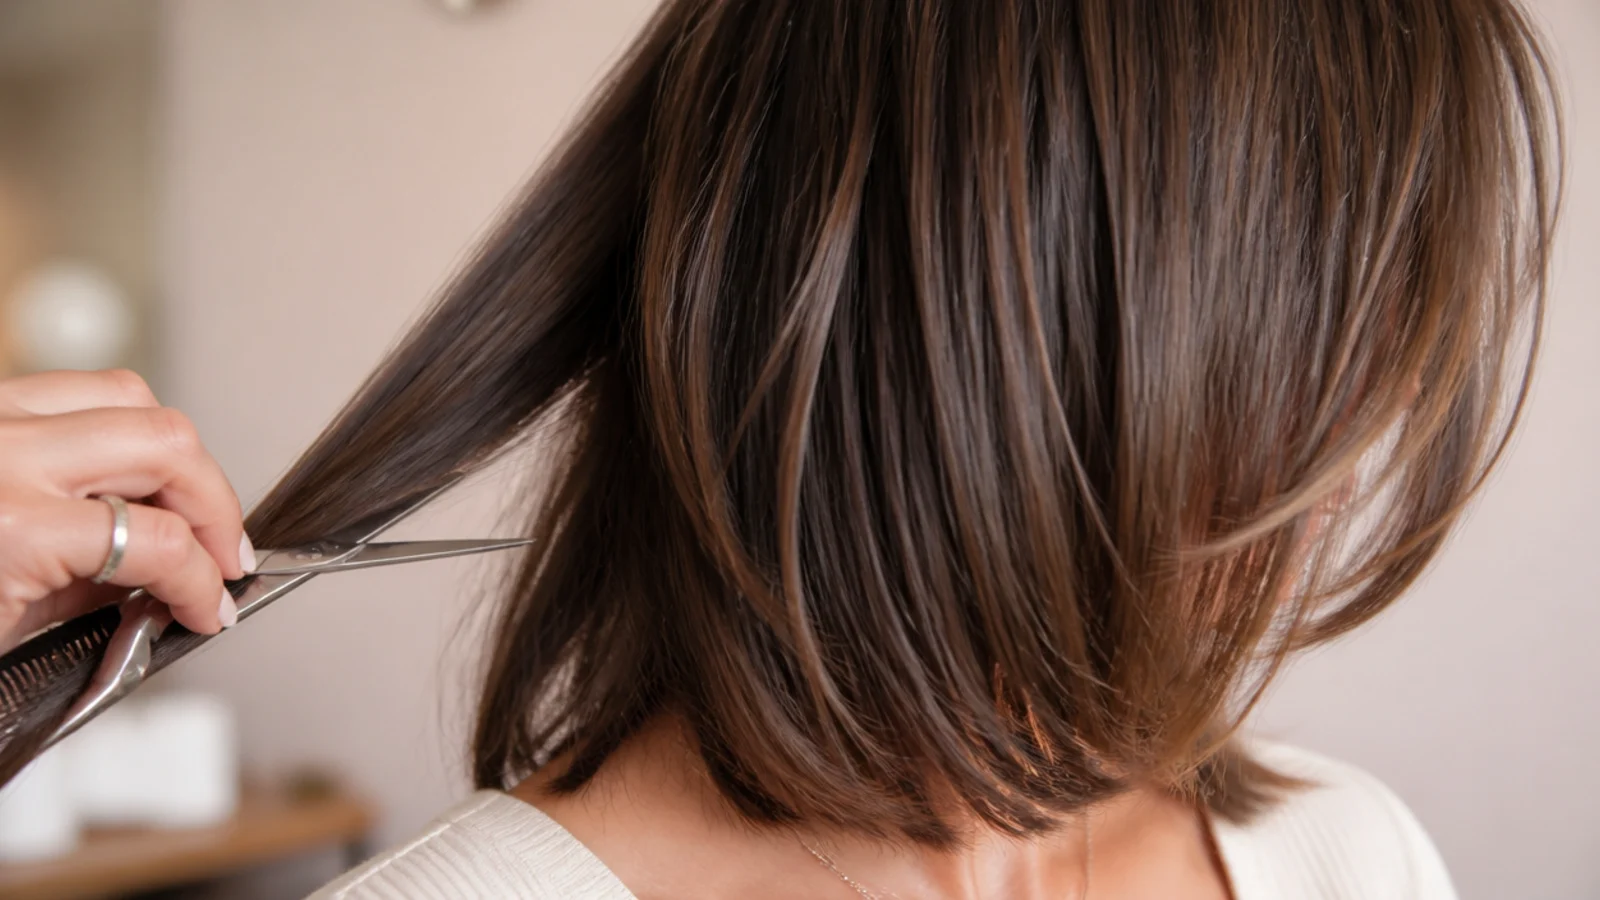
19. Balance Both Sides
Take one section from each side, pull them forward together and check them at a single point under the chin at identical tension. Mirrors lie by half an inch in either direction because heads sit slightly off centre on the neck, and your hands do not.
20. Final Check and Next Trim
Photograph the back with a hand mirror, write down how much you took off, and set a date six to eight weeks out. The photograph is the only view you will ever have of the half of the cut you cannot see, and the note turns guesswork into a repeatable schedule.

How to Cut Mid Length Hair at Home
Step 1. Set Up Tools and Mirrors
Lay out hairdressing shears, a fine tooth cutting comb, four sectioning clips and a hand mirror, and position yourself so the hand mirror reflects into a wall mirror. That double reflection is what puts the back of your head the right way round, so your hands move in the direction the image tells them to rather than the opposite one.
Step 2. Wash Dry and Detangle
Wash, dry smooth and detangle from the ends upward until a comb passes through in one movement. Any knot left in a section holds part of the hair short while you cut and releases it long afterwards, which is one of the few home cutting errors that shows up only the following day.
Step 3. Mark the Length
Stand up, chin level, and clip one front section at the exact height you want the finished perimeter to land. Everything from here is matched against that single physical mark, which stops the slow drift that happens when each new section is judged only against the one you cut before it.

Step 4. Center Part and Section
Part from the forehead straight down to the nape, then clip the crown up and leave two working sections hanging in front of the shoulders. The part gives you two mirrored halves you can compare directly, and clipping the crown out stops long travel hair being pulled into a section it does not belong to.
Step 5. Cut the Baseline by Half an Inch
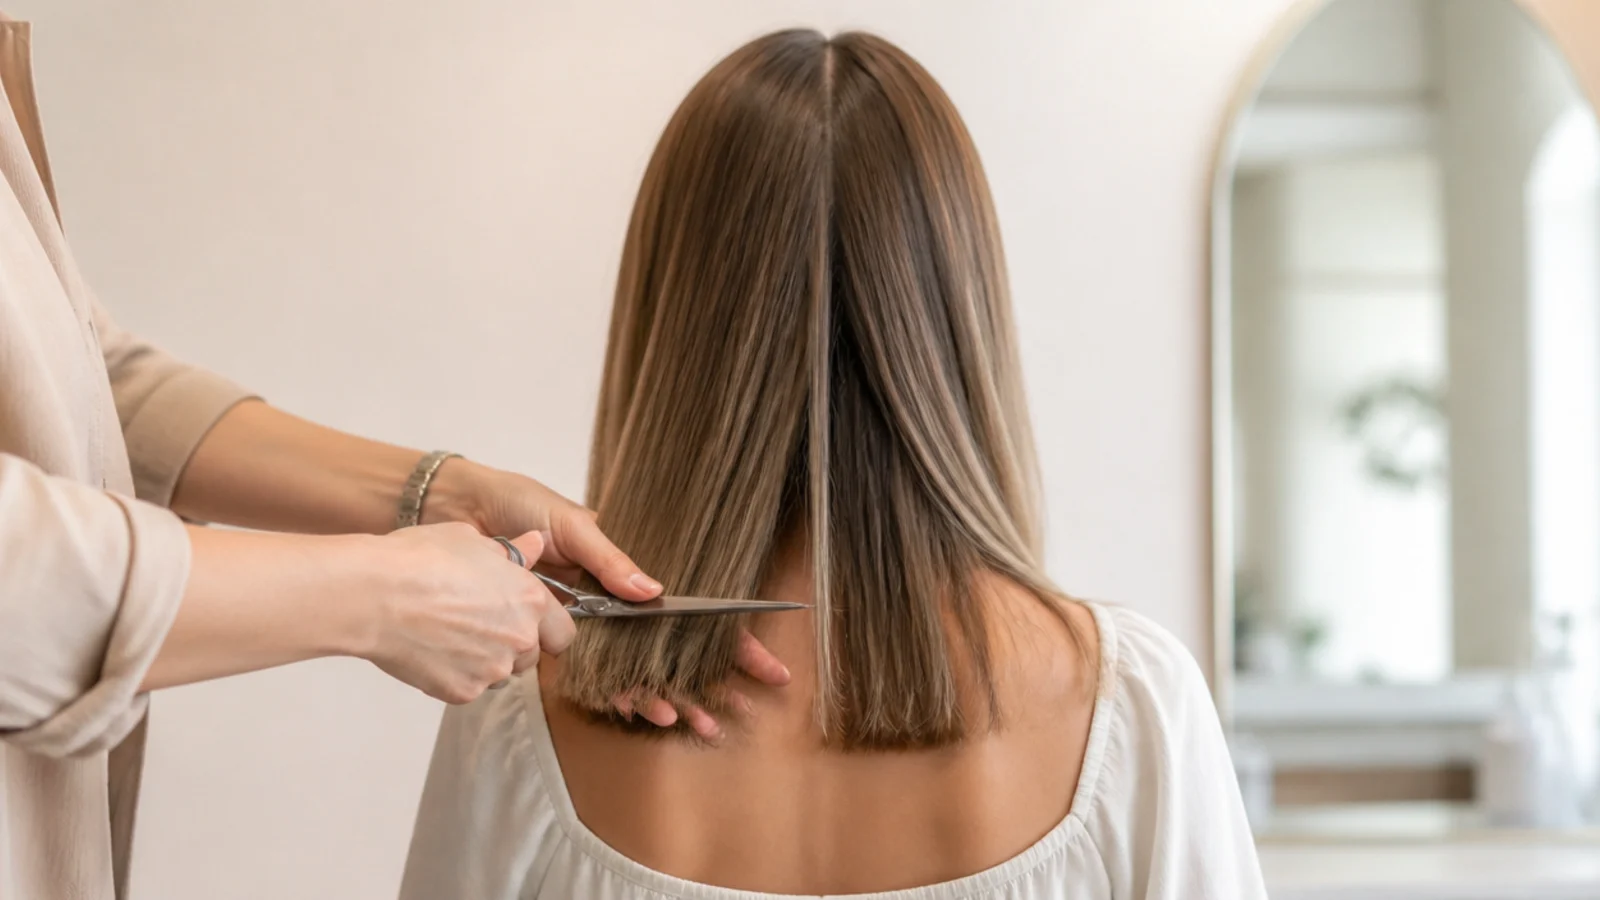
Bring the first section forward, hold it lightly between two fingers at the marked point and take half an inch straight across. Half an inch is one month of growth, so the worst outcome of the pass is bounded, and the light grip keeps the hair from being stretched at the moment it is cut.
Step 6. Point Cutting
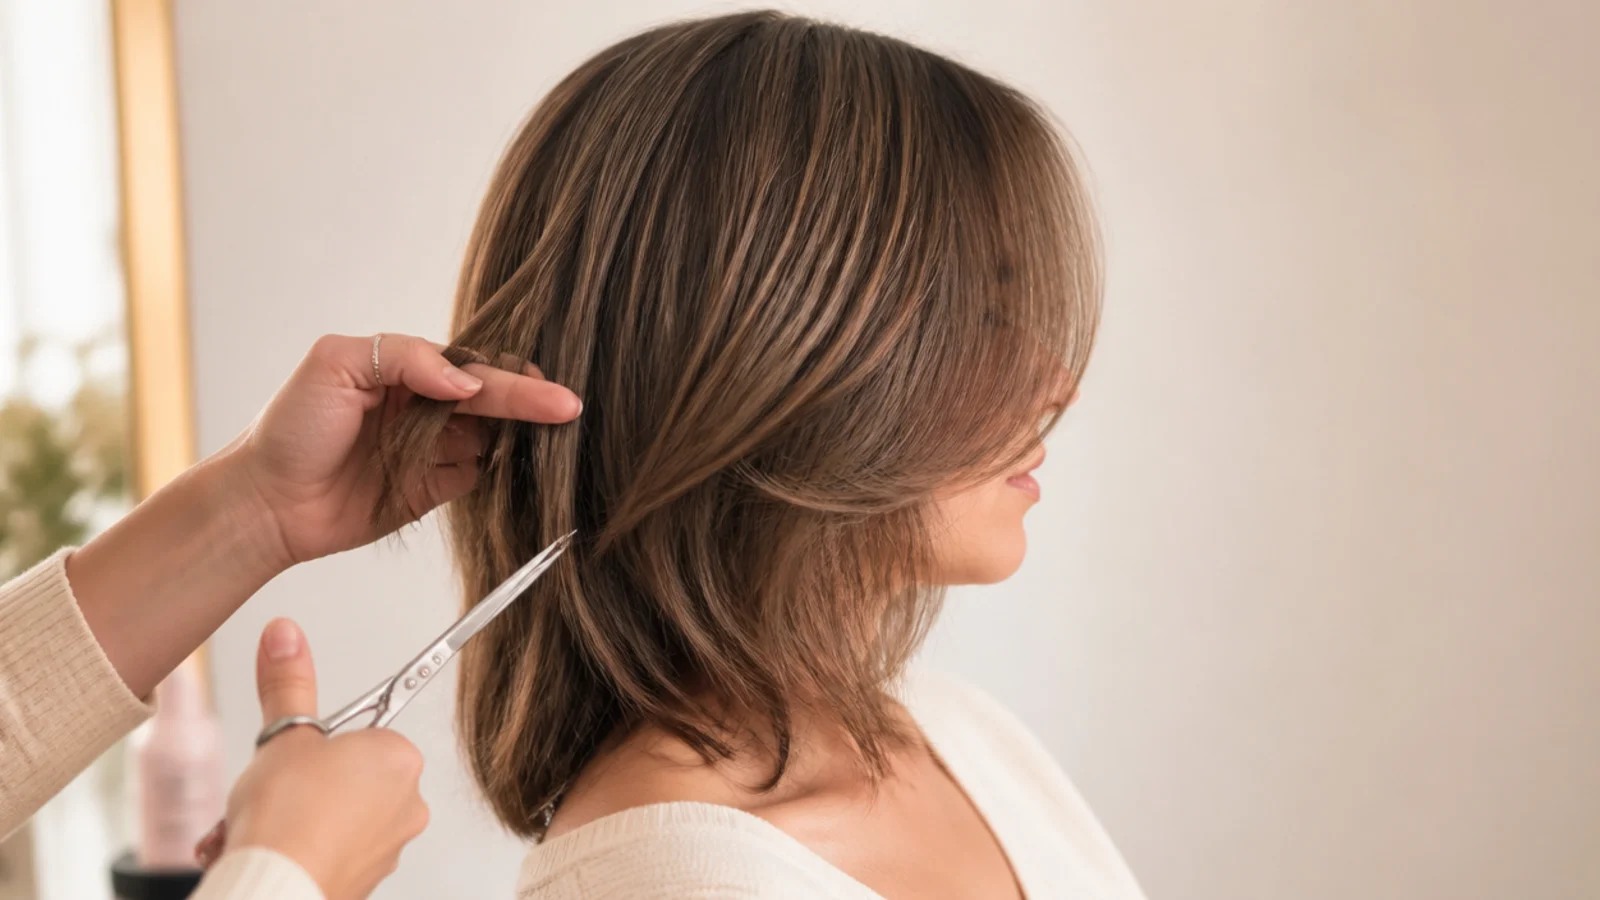
Go back over the fresh baseline with the shears turned vertical, cutting a short distance up into the ends. Staggering where the strands finish softens the line and hides the small inconsistencies a straight pass always leaves, which is why a point cut edge looks tidier than a blunt one done at home.
Step 7. Face Framing at the Jaw
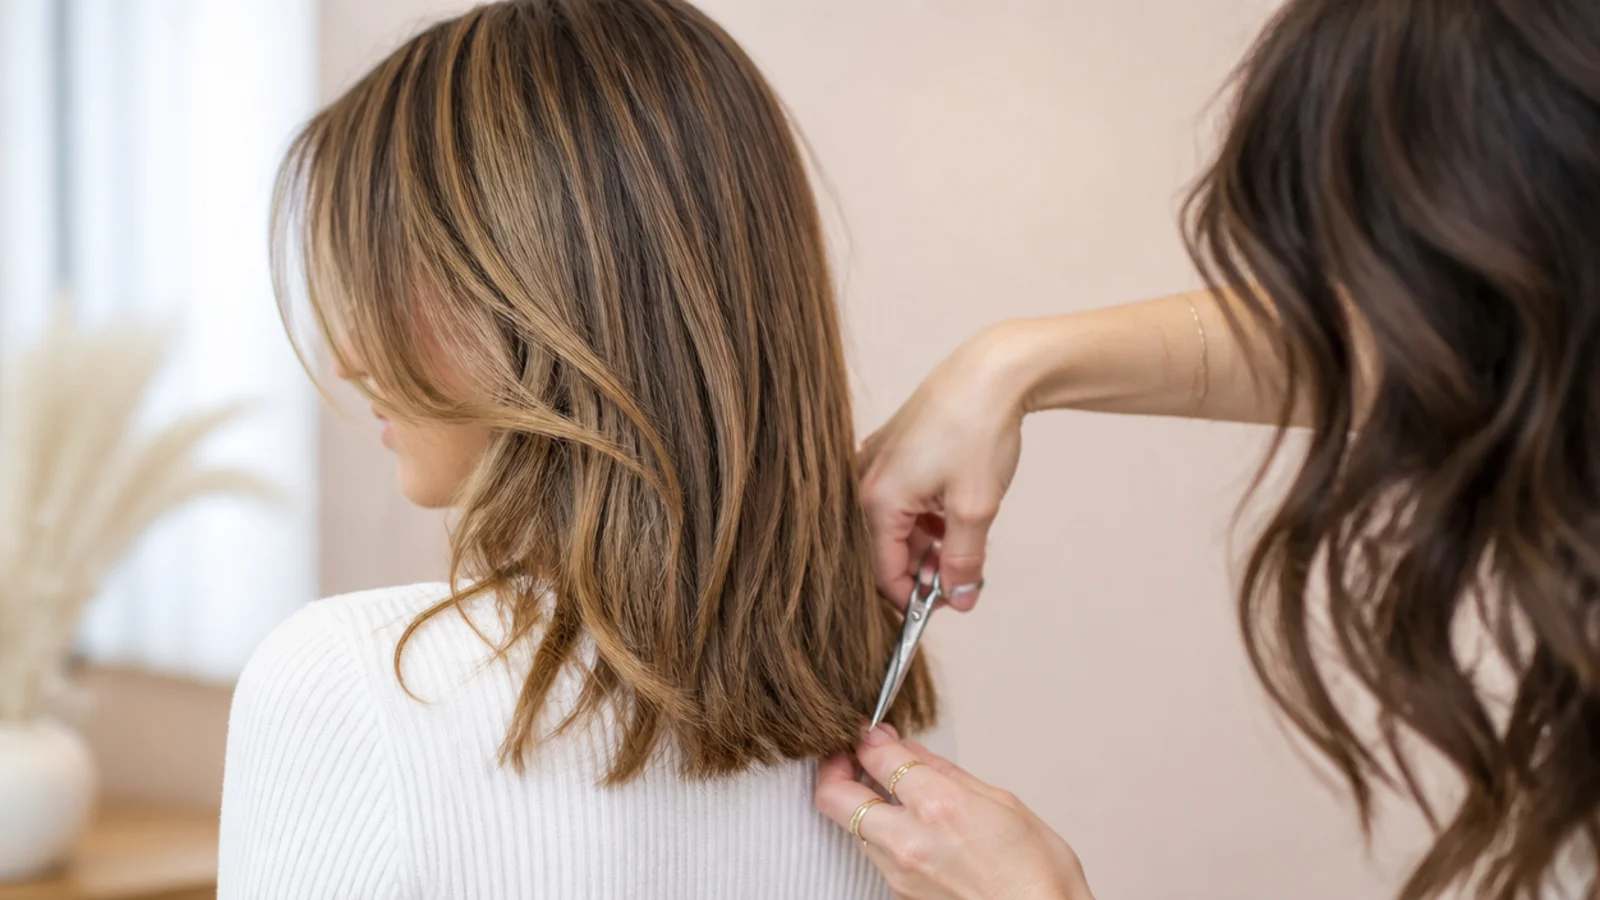
Release the two front pieces, comb them forward flat and cut the shortest point level with the jaw, angling down to meet the perimeter. Cutting this part dry and in front is the one moment in the whole process where you can actually see what you are doing, so take the time it deserves.
Step 8. Balance Check
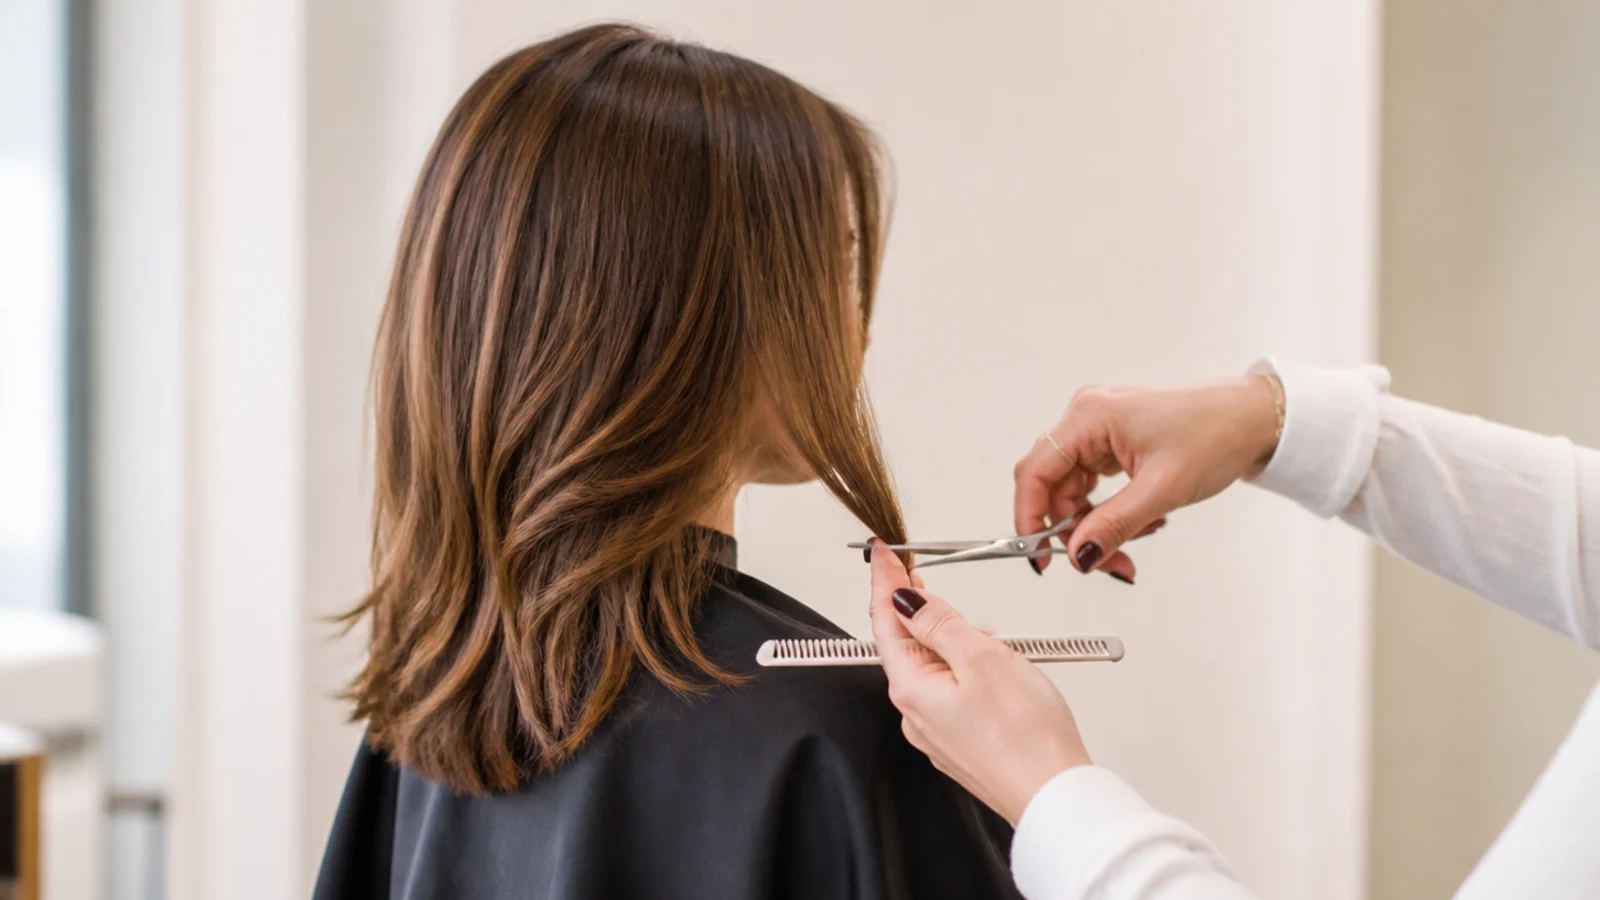
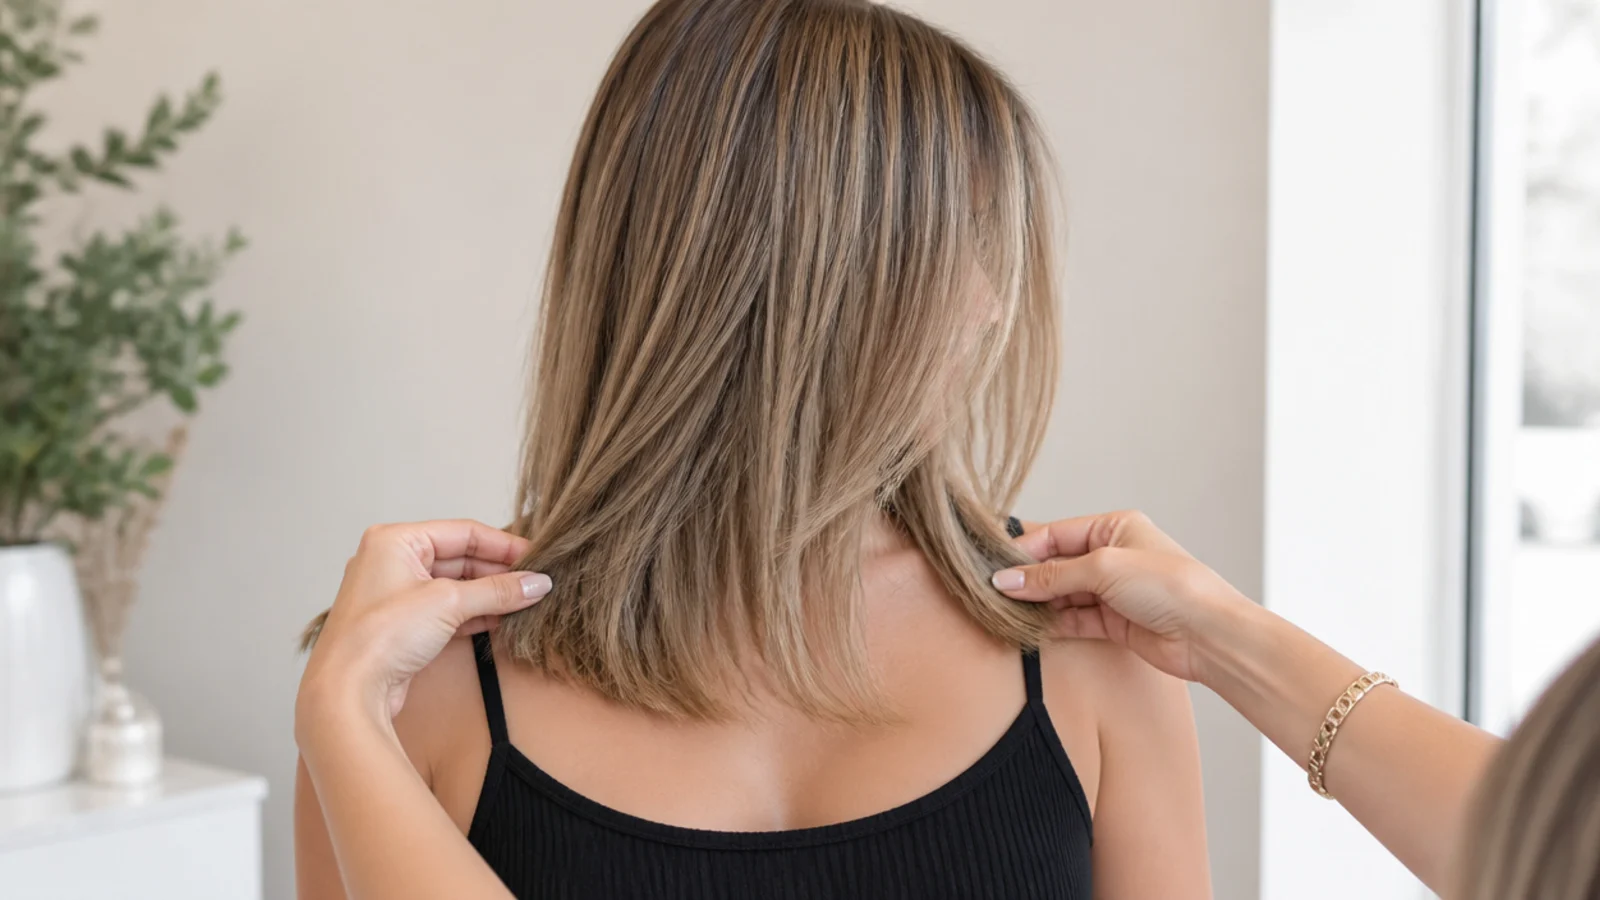
Take a matched section from each side, pull both forward and hold them together under the chin at the same light tension. Any difference shows instantly in your fingers, where it is still fixable, rather than in a photograph three days later when the only remedy is taking more off the longer side.
Final Thoughts
Half an inch at a time, judged dry, at the same tension every pass. That is genuinely the whole method, and almost every home haircut that goes wrong went wrong because one of those three was skipped rather than because the person holding the shears lacked talent. The mark you clip at the start does more work than anything else you do, because it converts a series of judgement calls into a series of comparisons against a fixed point.
Know where the limit is too. The back of your own head is being cut by feel through two reflections, and no amount of care makes that as accurate as someone standing behind you, which is why a shape correction once or twice a year keeps the perimeter honest between home trims. Photograph the back each time so you have a reference, and give the hair its half inch a month to recover. More on the same length in 7 tips to style medium length hair for men, and more in Womens Hairstyles. See also the choppy version.