20 Steps To Cut Curtain Bangs At Home On A Budget
Twenty steps for cutting curtain bangs at home, and the two that decide everything — the width of the section and the shortest point. Cut on dry hair combed flat forward, because wet hair hangs longer and lifted hair falls further than where you cut it.
In this article · 27
- What Curtain Bangs Actually Are
- Choosing Your Shortest Point
- The 20 Steps
- 1. Start With Dry Styled Hair
- 2. Buy Shears and Nothing Else
- 3. Find Your Natural Parting
- 4. Set the Width at the Outer Eyebrows
- 5. Set the Depth at Two Inches
- 6. Section a Triangle
- 7. Clip Everything Else Away
- 8. Comb the Section Flat Forward
- 9. Split the Section at the Parting
- 10. Decide the Shortest Point
- 11. Add Half an Inch of Insurance
- 12. Twist the First Half Once
- 13. Point Cut Into the Twist
- 14. Release and Look Before Cutting the Second Half
- 15. Cut the Second Half Against the First
- 16. Bring Both Halves to the Centre
- 17. Blend the Outer Corners
- 18. Release the Rest and Judge It Whole
- 19. Dry It Backward and Over
- 20. Book the Next Trim at Six Weeks
- Styling and Upkeep
- Mistakes to Avoid
- FAQ
- Final Thoughts
Almost every home curtain fringe goes wrong in the first thirty seconds, when the section is taken too wide and too deep before a single cut is made.
Cut dry, combed flat forward. Wet hair hangs long and lifted hair falls further than where it was cut, so both mistakes finish the fringe shorter than you asked for.
The shape is a diagonal, not a straight line. Shortest in the centre, longest at the outer corners. Without that angle you have a blunt fringe with a parting in it.
What Curtain Bangs Actually Are
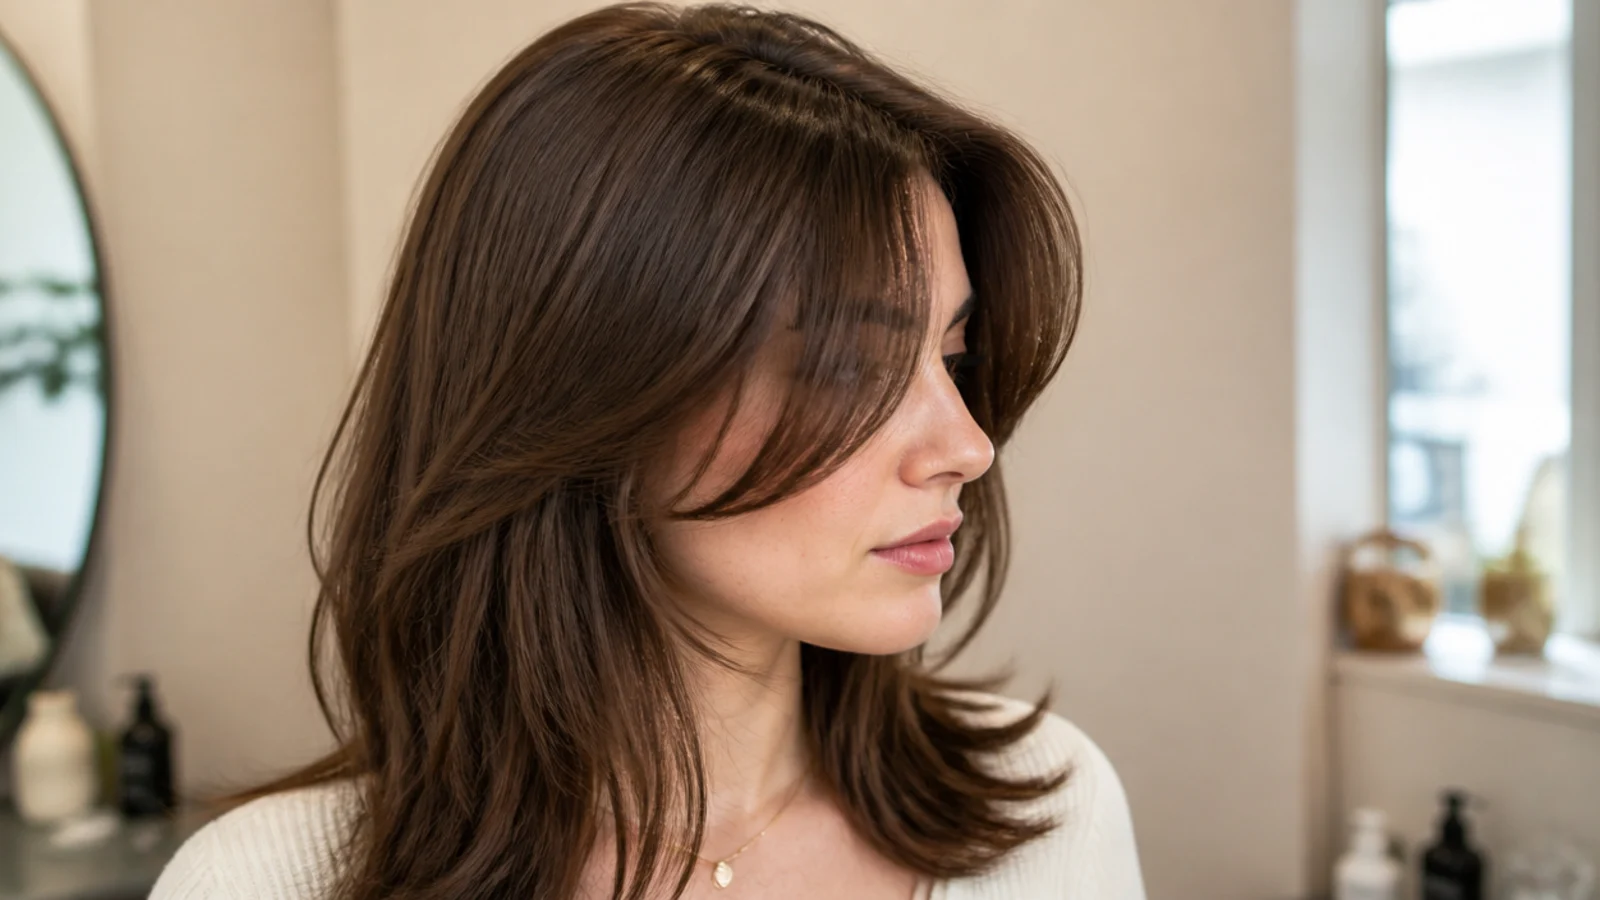
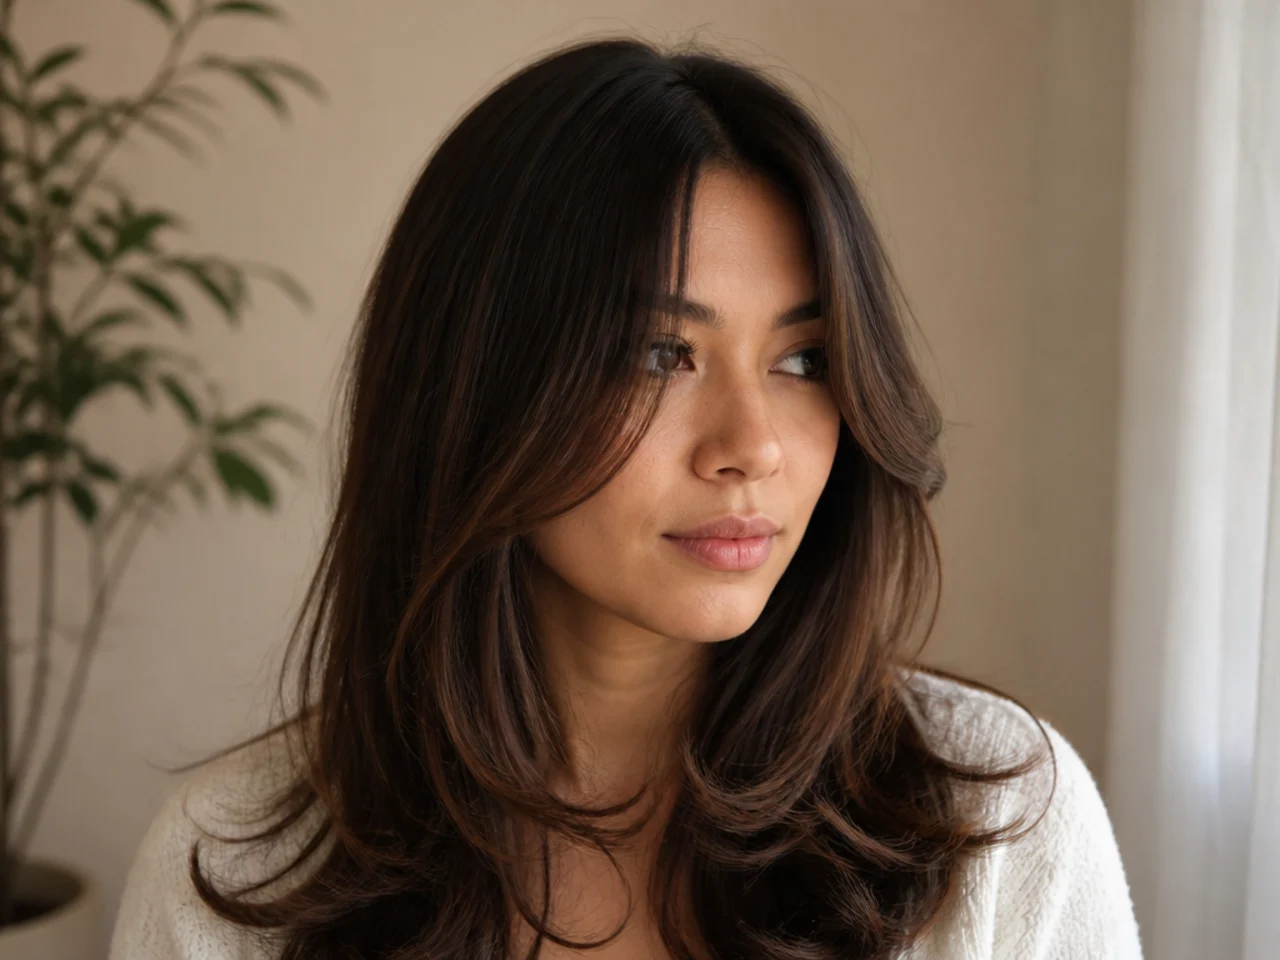
A fringe cut long at both ends. The shortest point sits at the centre parting and the length increases outward, so the hair falls either side of the face like a drawn curtain.
A zero elevation cut. The section is combed straight forward and cut exactly where it hangs, which is the only reason a home version is realistic at all.
A cut that has to connect. The longest ends must meet the hair beside them. A fringe that stops in mid air reads as a separate piece stuck onto the face.
Not a French fringe. A French fringe is wider, heavier and closer to blunt across the middle. The two are asked for interchangeably and cut completely differently.

Choosing Your Shortest Point
The bridge of the nose is the standard. It clears the eye, leaves enough length to sweep back, and is the position most reference photographs are actually showing.
The cheekbone is the cautious version. Barely shorter than face framing layers, so if you dislike it there is no awkward stage to grow through.
The eyebrow is the committed version. It reads as a fringe first and a curtain second, and it needs a trim every three weeks to keep the parting clean.
Add height for texture. Wave lifts the finished fringe around half an inch as it dries and curl lifts it far more, so cut lower than the position you want.

The 20 Steps
1. Start With Dry Styled Hair
Wash and dry as normal, and style the hair the way you actually wear it. Cut on wet hair and the fringe lifts as it dries, finishing roughly half an inch above the line you carefully measured.
2. Buy Shears and Nothing Else
The only purchase that matters is a pair of hairdressing shears. Kitchen and craft scissors crush the strand rather than slicing it, so the cut ends split and the fringe frizzes along the whole line within a week.
3. Find Your Natural Parting
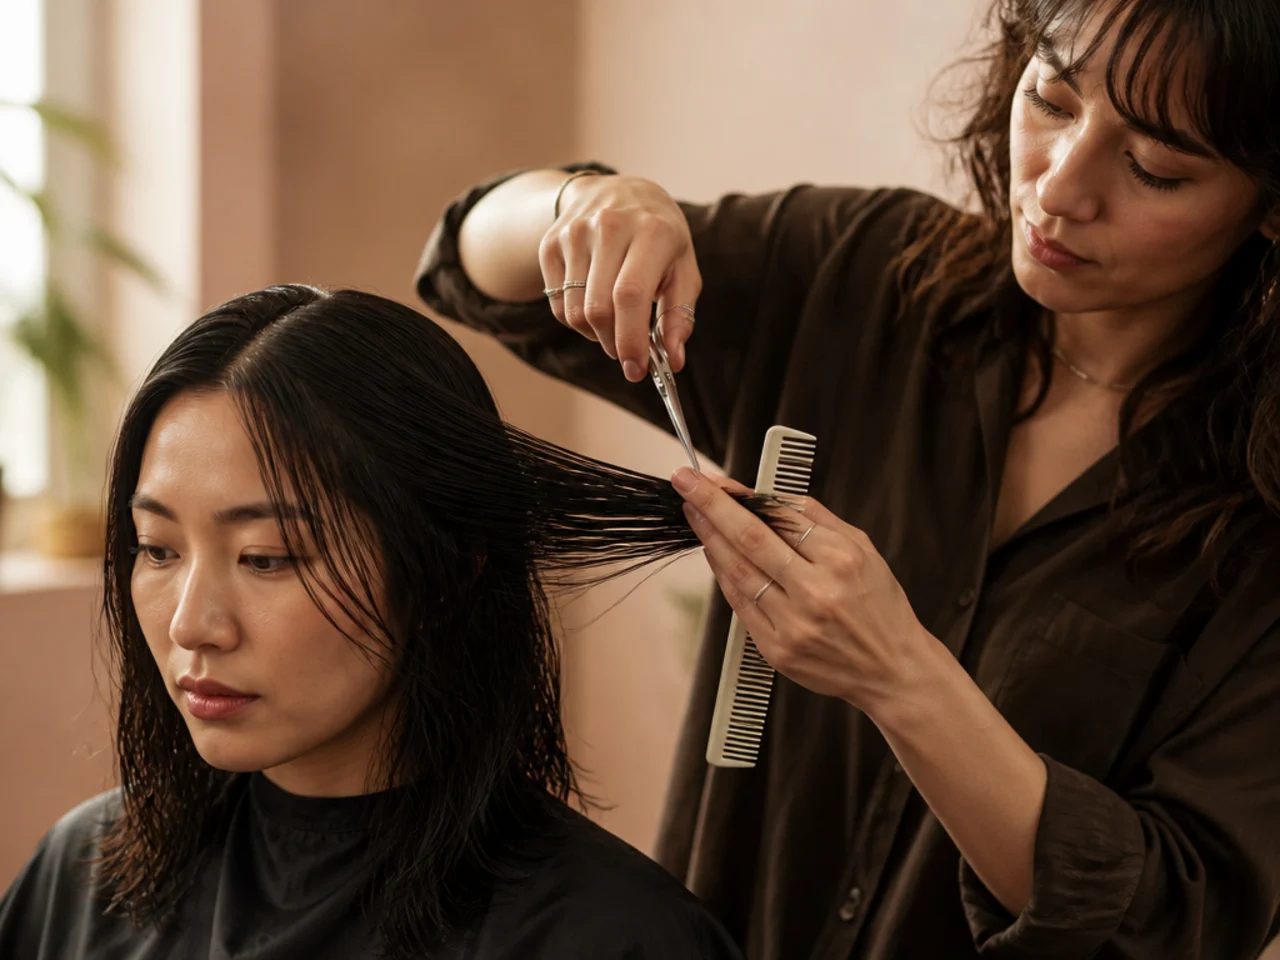
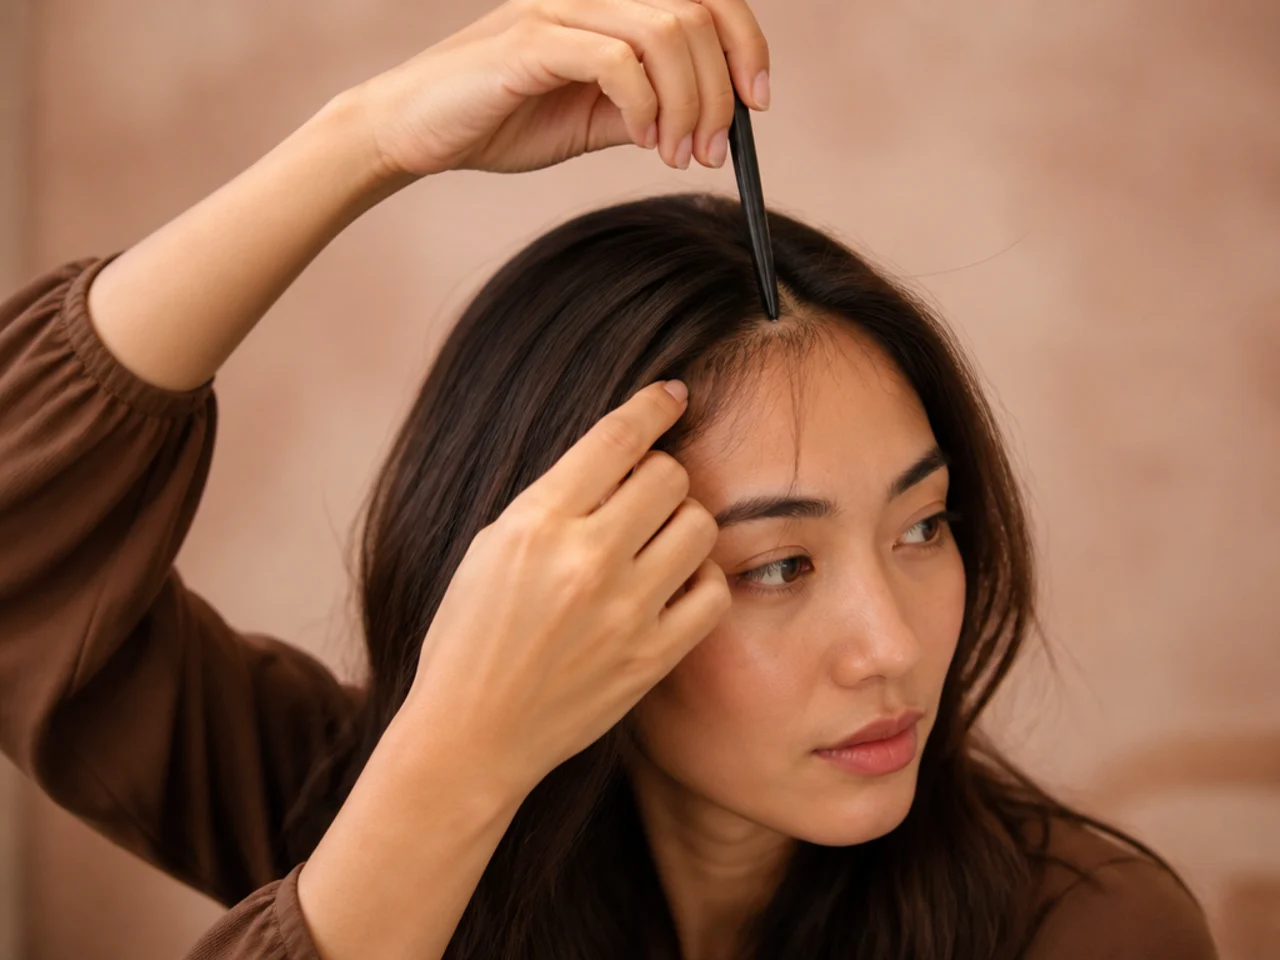
Push all the hair back with your fingers and let it drop. It splits where it always splits. Cut to a parting you have forced with a comb and the fringe swings back to the real one and hangs lopsided.

4. Set the Width at the Outer Eyebrows
Mark the section from the outer corner of one eyebrow to the other. Go wider and you are cutting a full fringe that will not part cleanly. Go narrower and there is nothing to sweep into the sides.

5. Set the Depth at Two Inches
Measure back from the hairline along the parting. Deeper than that and you pull in hair that belongs to your length, which then refuses to lie forward and sticks up at the crown instead.
6. Section a Triangle
Apex at the parting two inches back, base running to the eyebrow corners. A square section leaves two corners of hair with nowhere to travel, and those corners stick out at the temples no matter how you dry them.
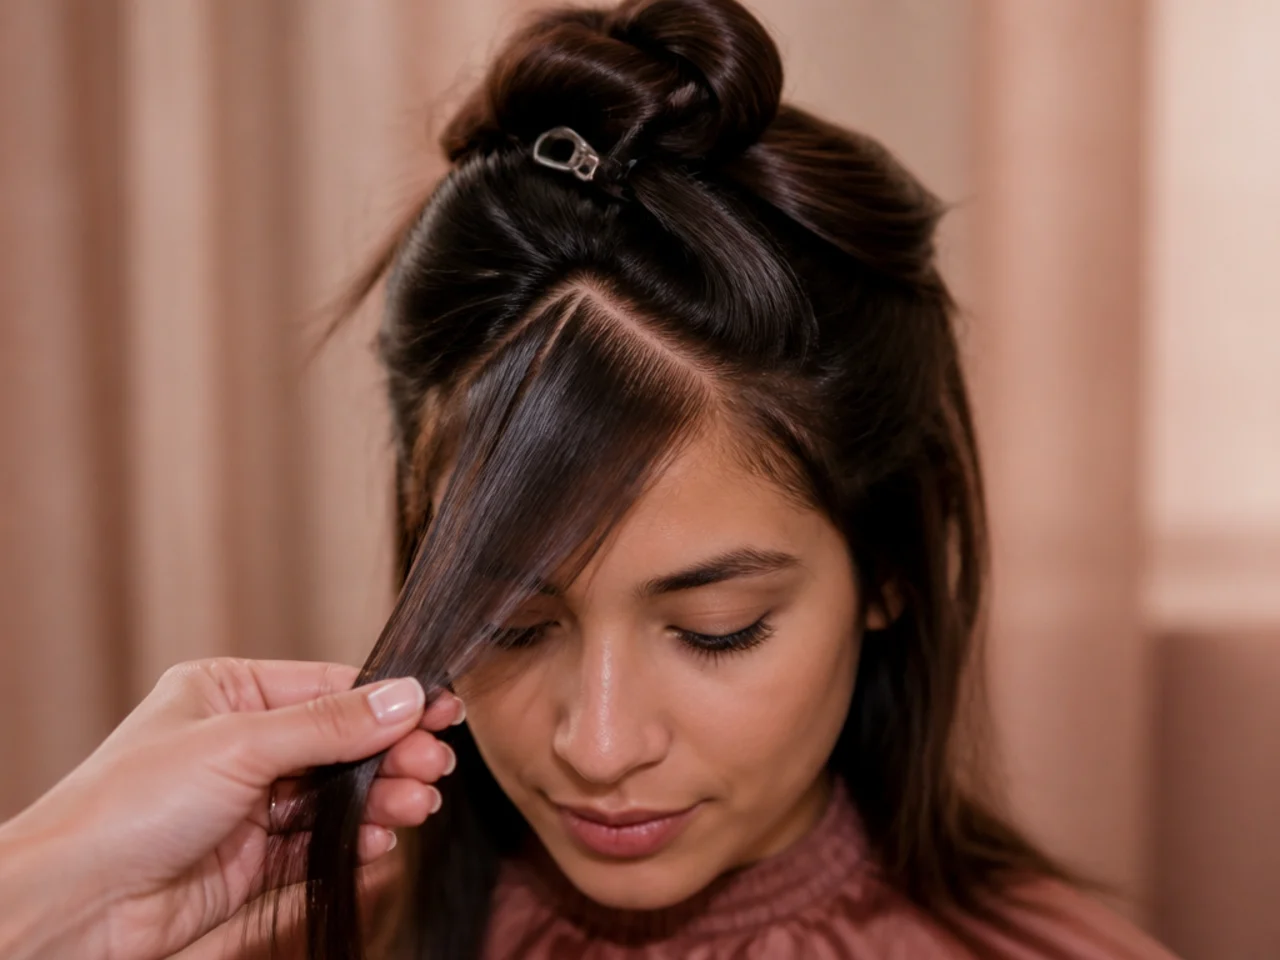
7. Clip Everything Else Away
Twist the rest of the hair back and pin it properly. One loose strand falling into the section gets cut at fringe length and then sits as an obvious short piece in the middle of your length for months.
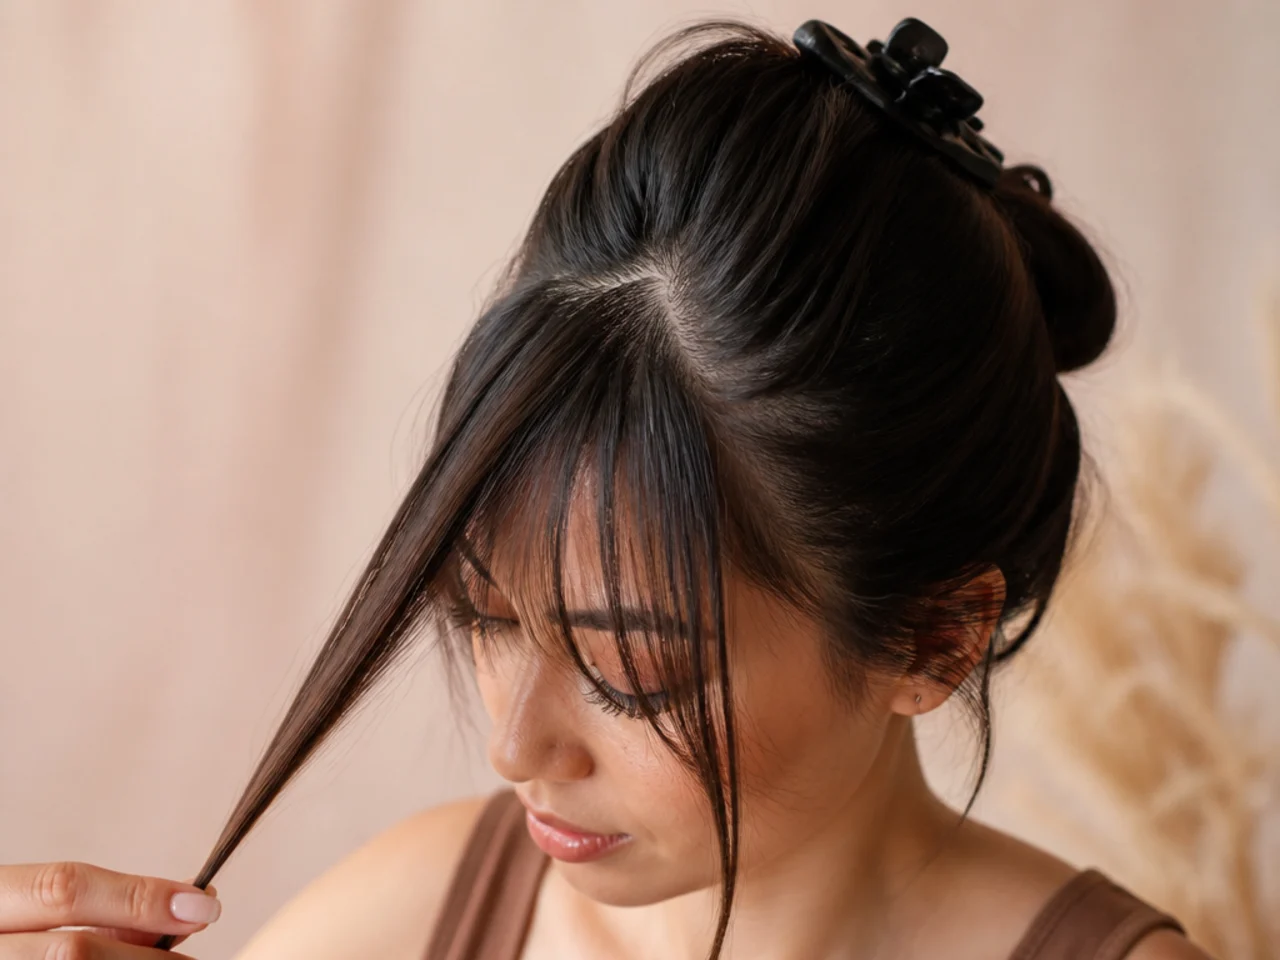
8. Comb the Section Flat Forward
Comb it down over the face with no lift at all. Every degree you raise it shortens the finished length, because hair cut at an angle falls back below the line where the shears actually closed.
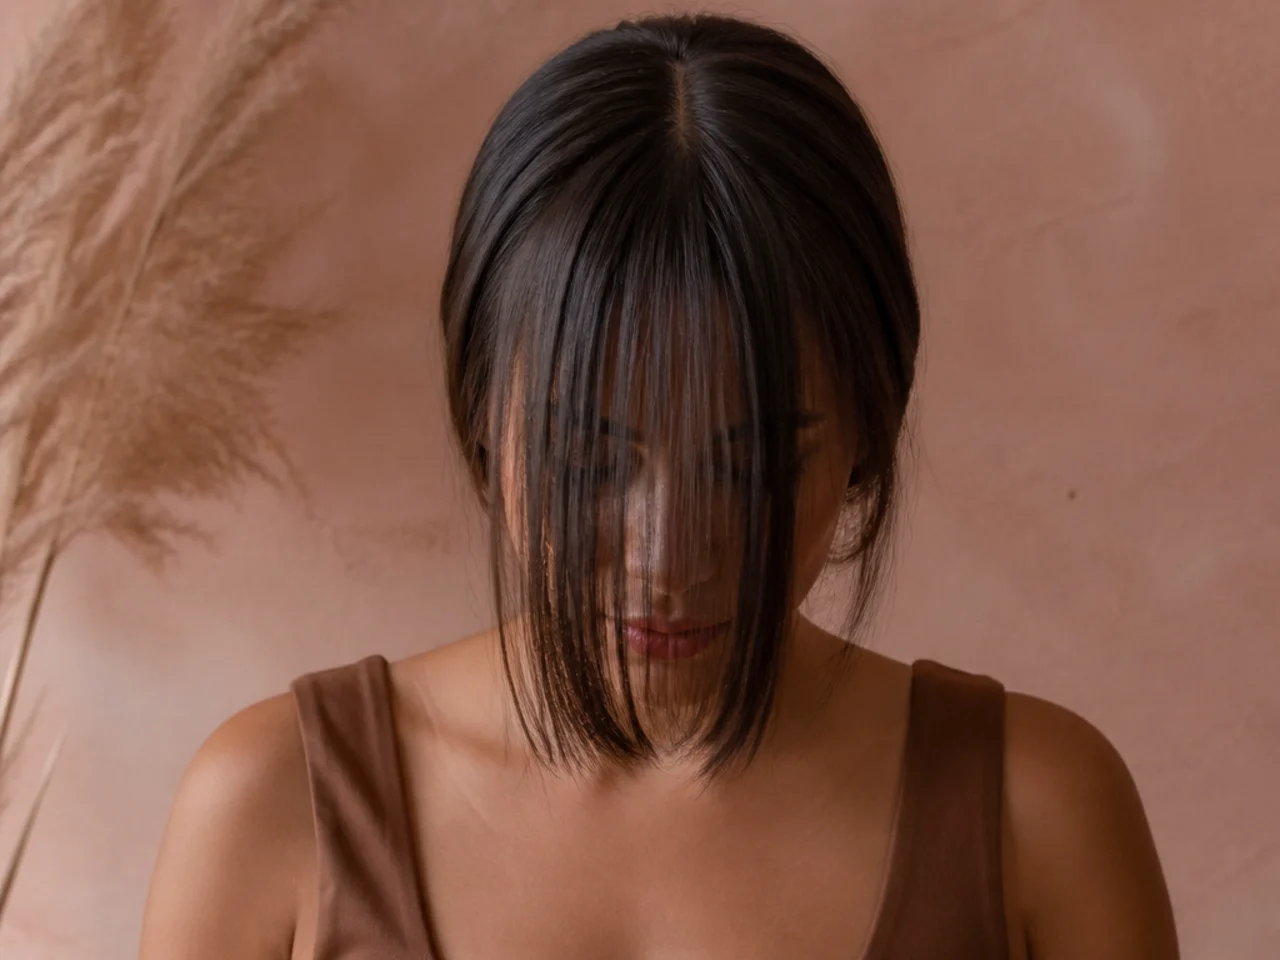
9. Split the Section at the Parting
Two halves, one either side, and they must contain the same amount of hair. An uneven split gives one curtain more weight than the other, and the heavier half always hangs lower and dries flatter.
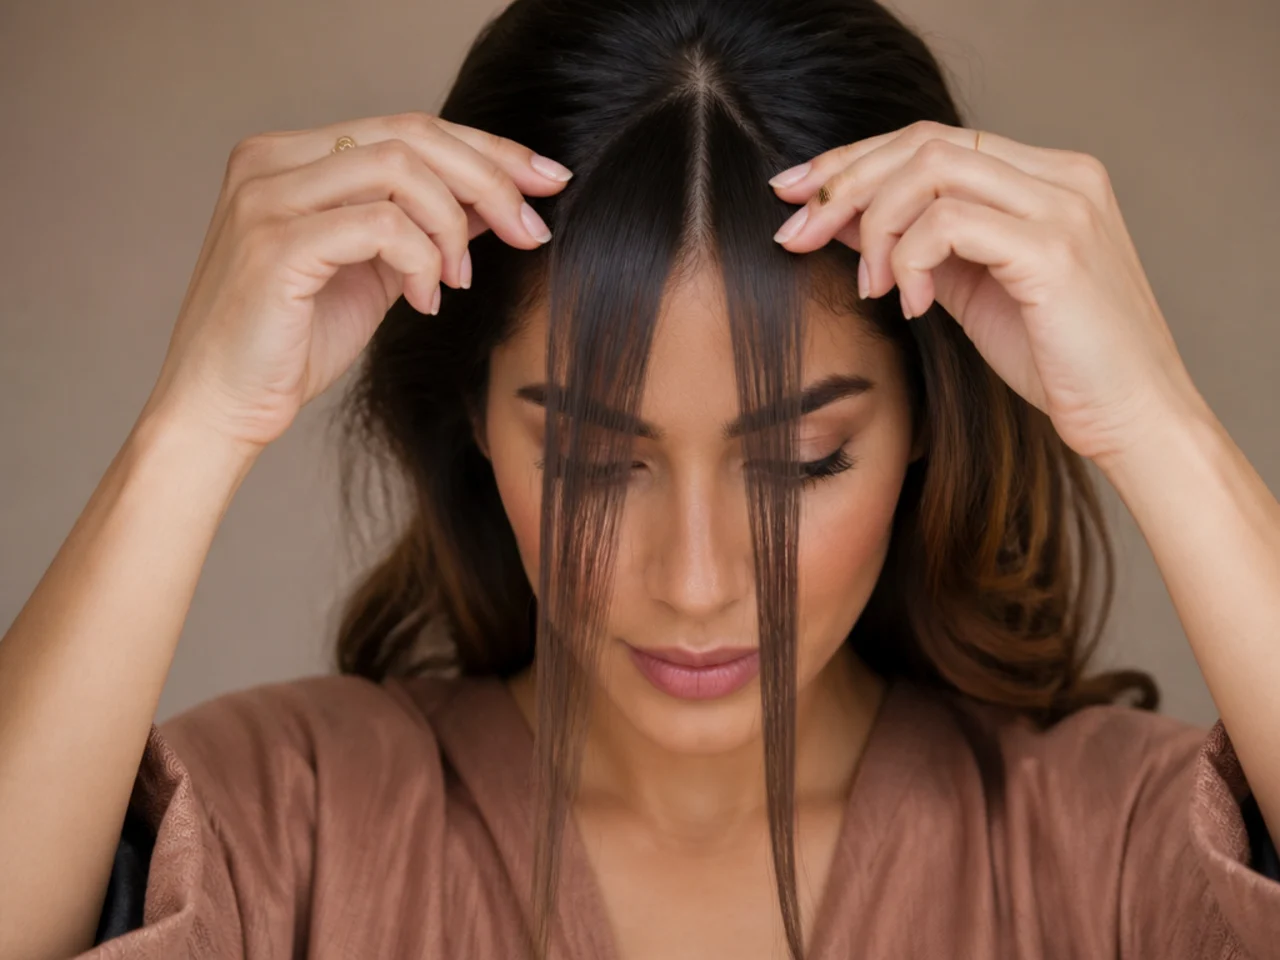
10. Decide the Shortest Point
Pick where the centre of the fringe will finish and hold a finger there. If you find yourself choosing a point at or above the brow, you are describing a French fringe instead, so check french vs curtain bangs before you cut.

11. Add Half an Inch of Insurance
Cut the first pass below your target. Hair only travels one direction, so a fringe left long is a two-minute correction while one cut short is a ten-week wait with nothing you can do about it.
12. Twist the First Half Once
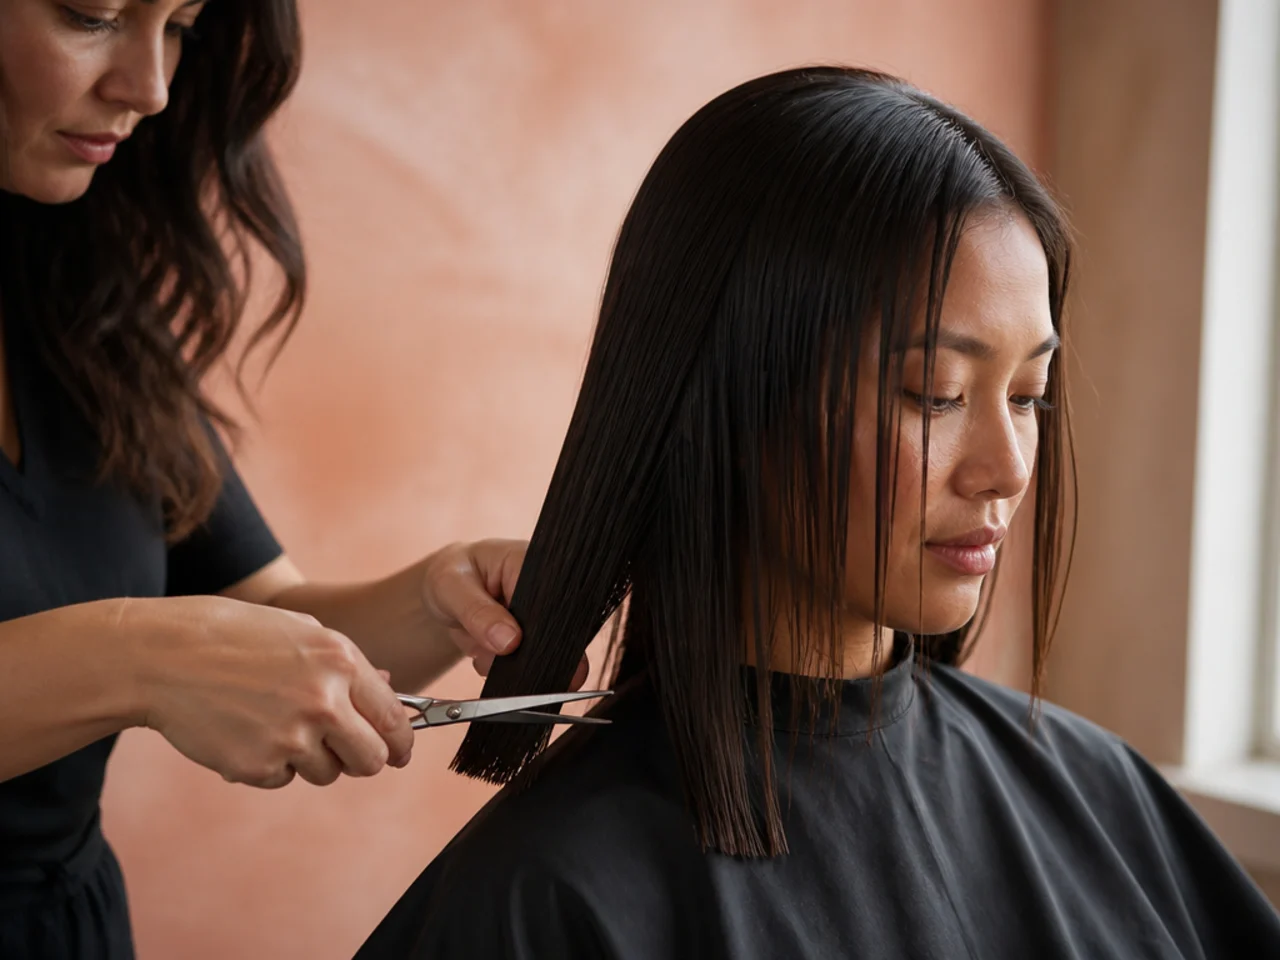
Take one half, twist it a single turn toward the face and hold it against the cheek. The twist stacks the outer hairs longer than the inner ones, which builds the diagonal for you without measuring an angle.
13. Point Cut Into the Twist
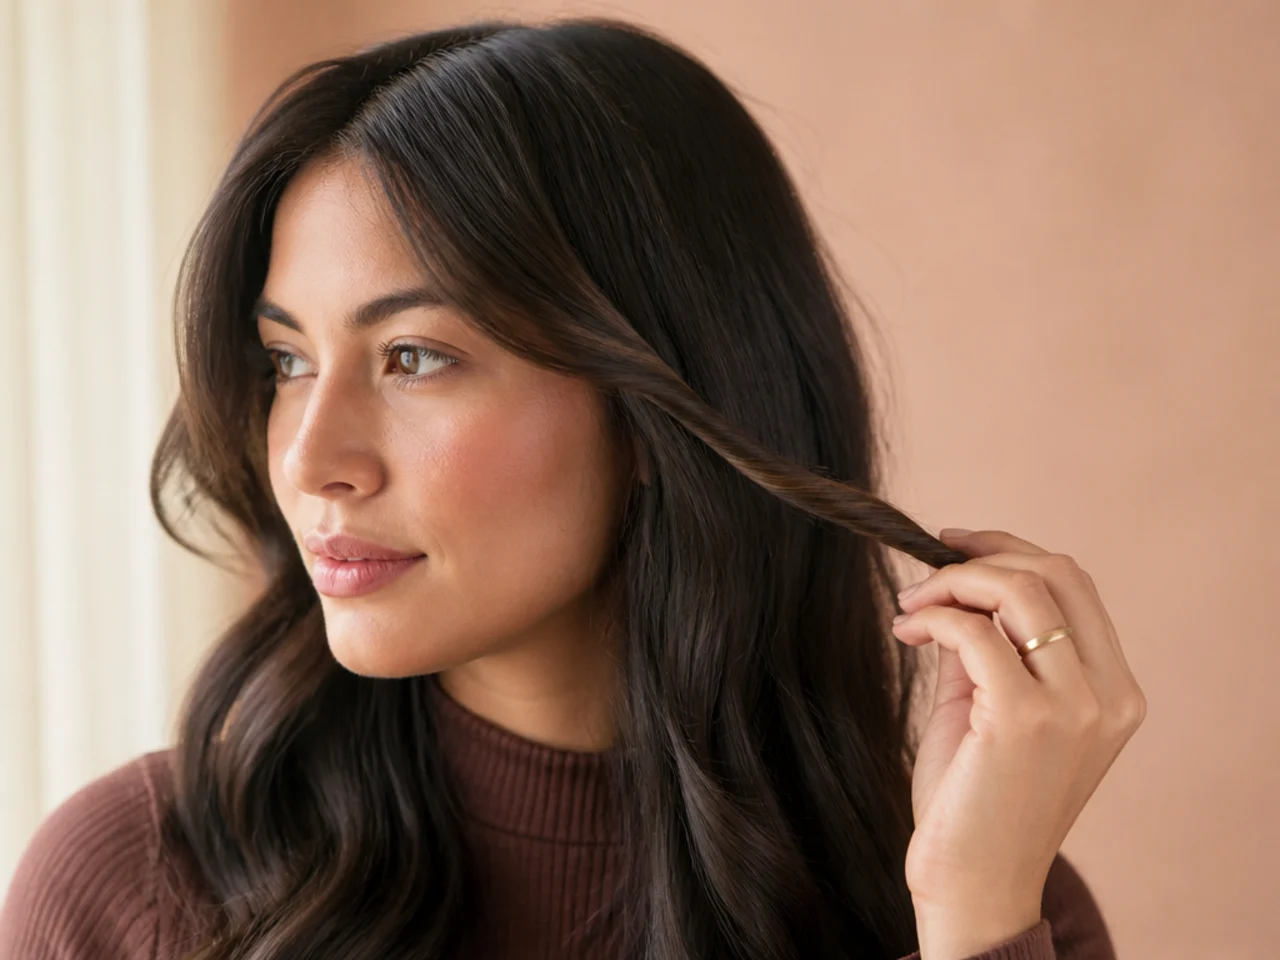
Hold the shears vertically and cut upward into the ends rather than straight across. A blunt line across a twist creates a hard edge that shows every unevenness, where point cutting leaves the ends able to blend.
14. Release and Look Before Cutting the Second Half
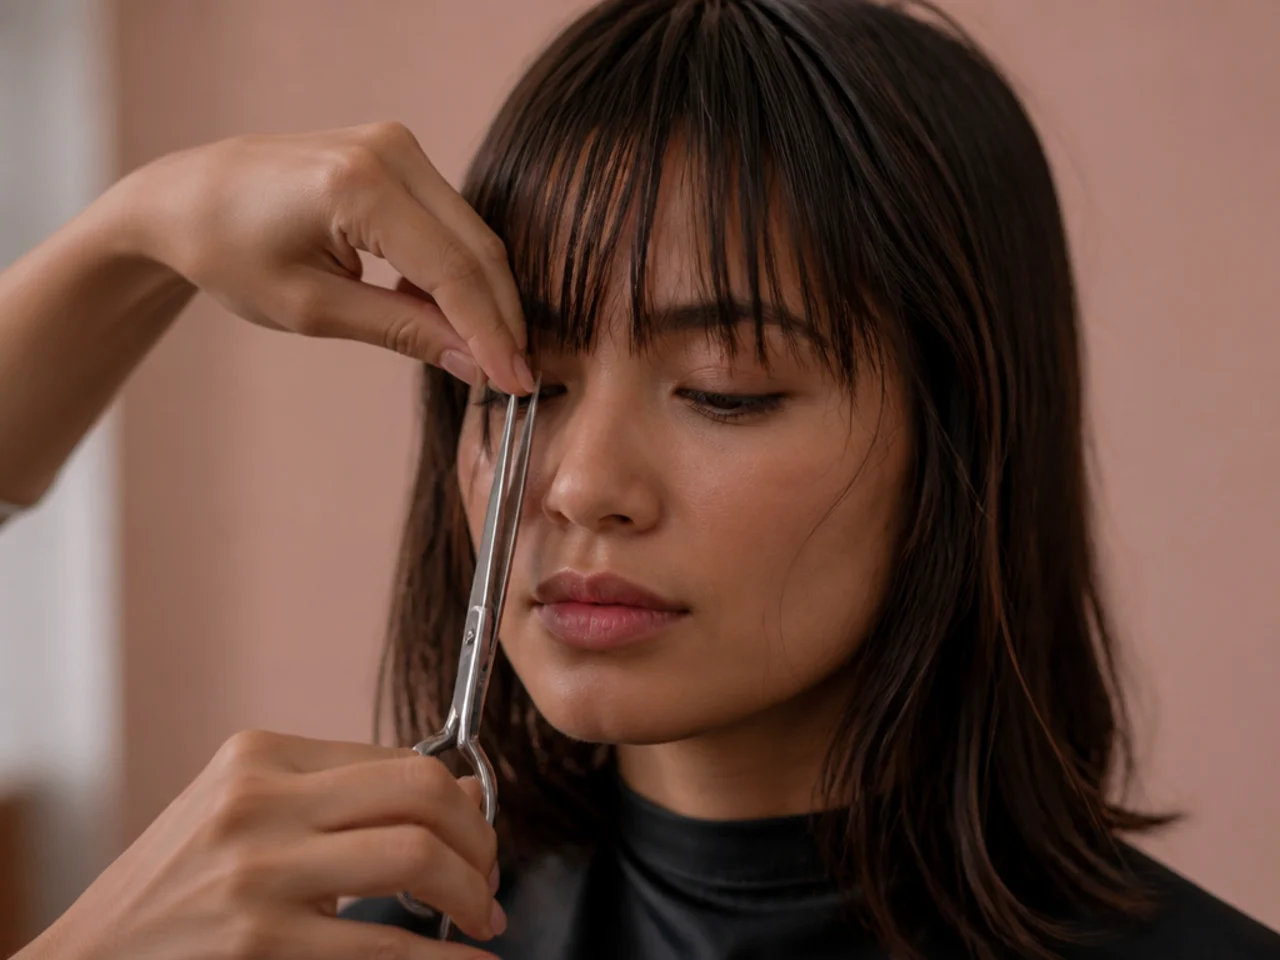
Untwist, comb it forward and see what you actually made. Cutting both halves before checking either doubles a mistake you have not noticed yet, and there is no way back from that.

15. Cut the Second Half Against the First
Twist, cut and check the second side by comparing it to the finished first side, never to the mirror. Matching against a mirror image reverses your judgement of which side is longer and you will chase it back and forth.

16. Bring Both Halves to the Centre
Pull both sides down across the nose and hold them together. Any difference in the shortest point shows instantly here, and the only correction is bringing the longer side up to the shorter one.

17. Blend the Outer Corners
The longest ends of each curtain have to melt into the hair beside them. Leave a step there and the fringe reads as a separate piece rather than the front of the haircut, which is the giveaway on every home attempt.

18. Release the Rest and Judge It Whole
Take the clips out and let everything fall. Inside its own section a fringe always looks even; against the rest of the hair the errors appear, and they are far easier to fix now than after a wash.

19. Dry It Backward and Over
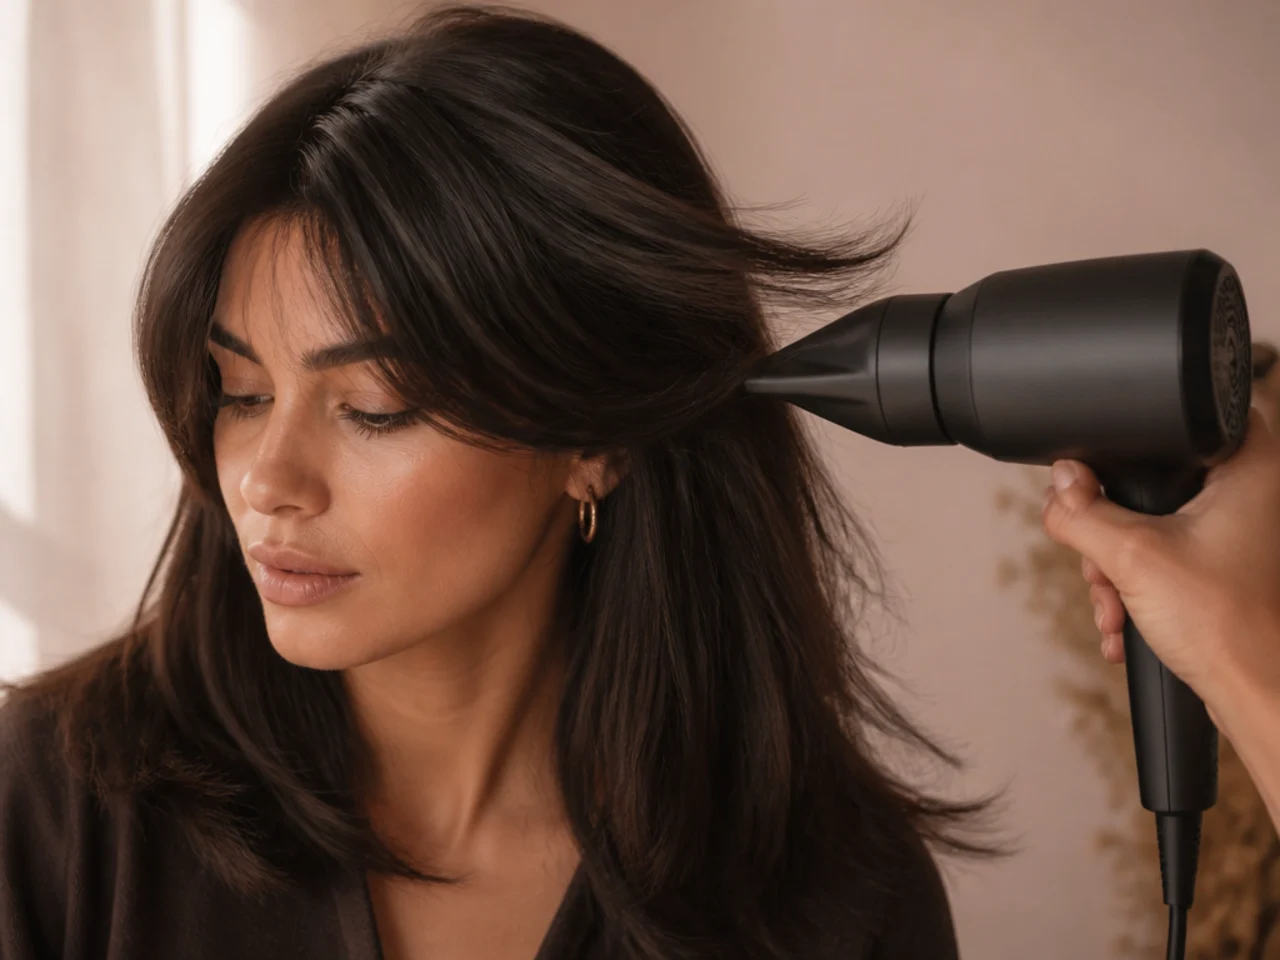
Direct the airflow from the face toward the crown with a brush or your fingers. Curtain bangs hold whatever direction they were dried in, so drying them forward gives you a blunt fringe shape from a curtain cut. The same rule sets side swept versus curtain bangs apart.
20. Book the Next Trim at Six Weeks
Hair grows around half an inch a month, so within six weeks the shortest point has dropped far enough that the two halves stop parting cleanly and start hanging into the eye instead of beside it.

Styling and Upkeep
Dry the fringe first, wet. It is the only section that sets its shape in the first two minutes, and once it has air dried into a shape no brush will undo it.
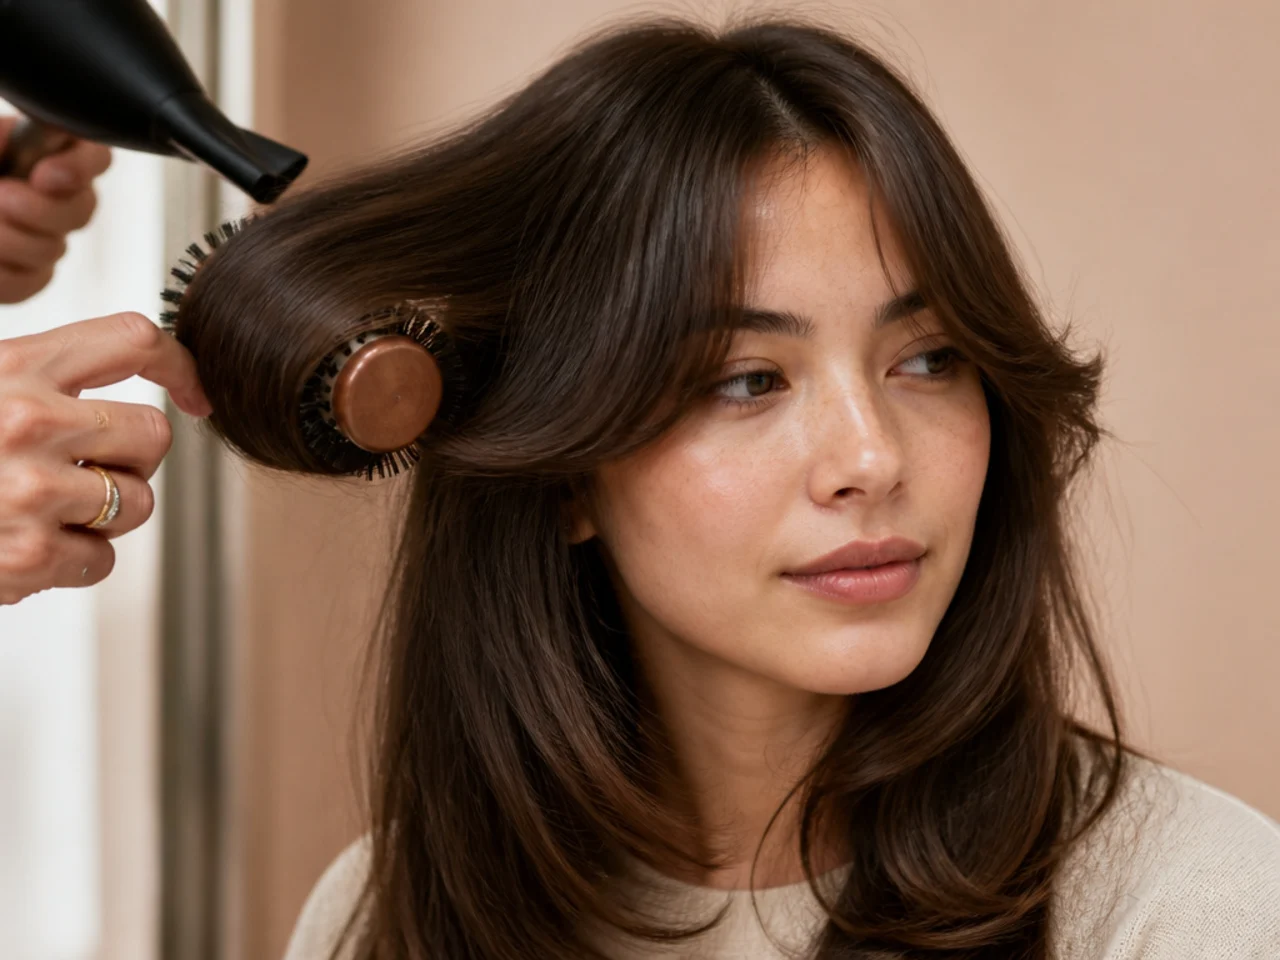
Use a round brush over the top. Rolling the fringe back and over creates the bend at the root that holds the curtain open all day.
Keep product off the roots. Anything at the root weighs the fringe down onto the forehead, which flattens the bend and drops the curtain shut.
Dry shampoo the fringe alone. The fringe touches your skin all day and gets oily long before the rest of the head does. Treating it separately buys two days between washes.
Trim only the centre between cuts. Half an inch off the shortest point restores the parting, and leaving the long ends alone keeps the connection to the sides intact.
Mistakes to Avoid
Cutting wet. Half an inch of lift as it dries, and more on wave. Everything after that is correction rather than cutting.
Taking too wide a section. A fringe wider than the eyebrows cannot split cleanly at the centre, so it hangs as a full fringe with a gap in it.
Cutting straight across. Without the centre to corner diagonal there is no curtain, only a blunt fringe that happens to have a parting.
Pulling the section sideways. Combing the hair across before cutting shortens whichever side you pulled from, and the difference only appears when you let go.
Chasing symmetry. Every correction pass takes length, and four passes take an inch. Stop at close enough and let the next wash settle it.

FAQ
Wet or dry? Dry and styled, because wet hair hangs half an inch longer.
How wide? Outer eyebrow to outer eyebrow, no further.
How short? Bridge of the nose is the standard shortest point.

Final Thoughts
The section is the haircut. Get the triangle right and the twist method will produce a usable curtain even on a first attempt, because the shape is coming from how the hair is held rather than from a line you have to cut accurately.
For how the same fringe is scaled up on longer hair see curtain bangs on long hair, and for the shape it is most often confused with see french vs curtain bangs. More in Bangs and Fringe.