6 Steps to a High Fade Slick Back at Home
Cut a high fade slick back at home in six steps — clippers, guard progression, top length, styling, and the maintenance routine that keeps it sharp.
In this article · 16
- What You'll Need
- How the High Fade Slick Back Is Built
- Step 1: Set Up Your Clippers and Prep
- Step 2: Run the Guard Progression on the Sides
- Step 3: Cut the Top to Slick-Back Length
- Step 4: Blend the Fade Transition
- Step 5: Style the Slick Back
- Step 6: Maintain the Cut Between Trims
- Troubleshooting Common Home Fade Mistakes
- FAQ
- Do I need scissors or can I do the whole cut with clippers?
- How long does a home high fade slick back take?
- Can I do this cut on curly or coily hair?
- What is the difference between a high fade slick back and a low taper slick back?
- What if my hair is thinning at the crown?
- Can I get away with cheap clippers for a home fade?
Cutting a high fade slick back at home takes about forty-five minutes the first time and twenty every time after. The kit is one adjustable clipper, a set of guards, and a pair of detail trimmers. This guide walks the six moves in order — from the first upward pass on the bare panel to the last comb-through of pomade — plus fixes for the two mistakes every home barber makes on the first try.
What You'll Need
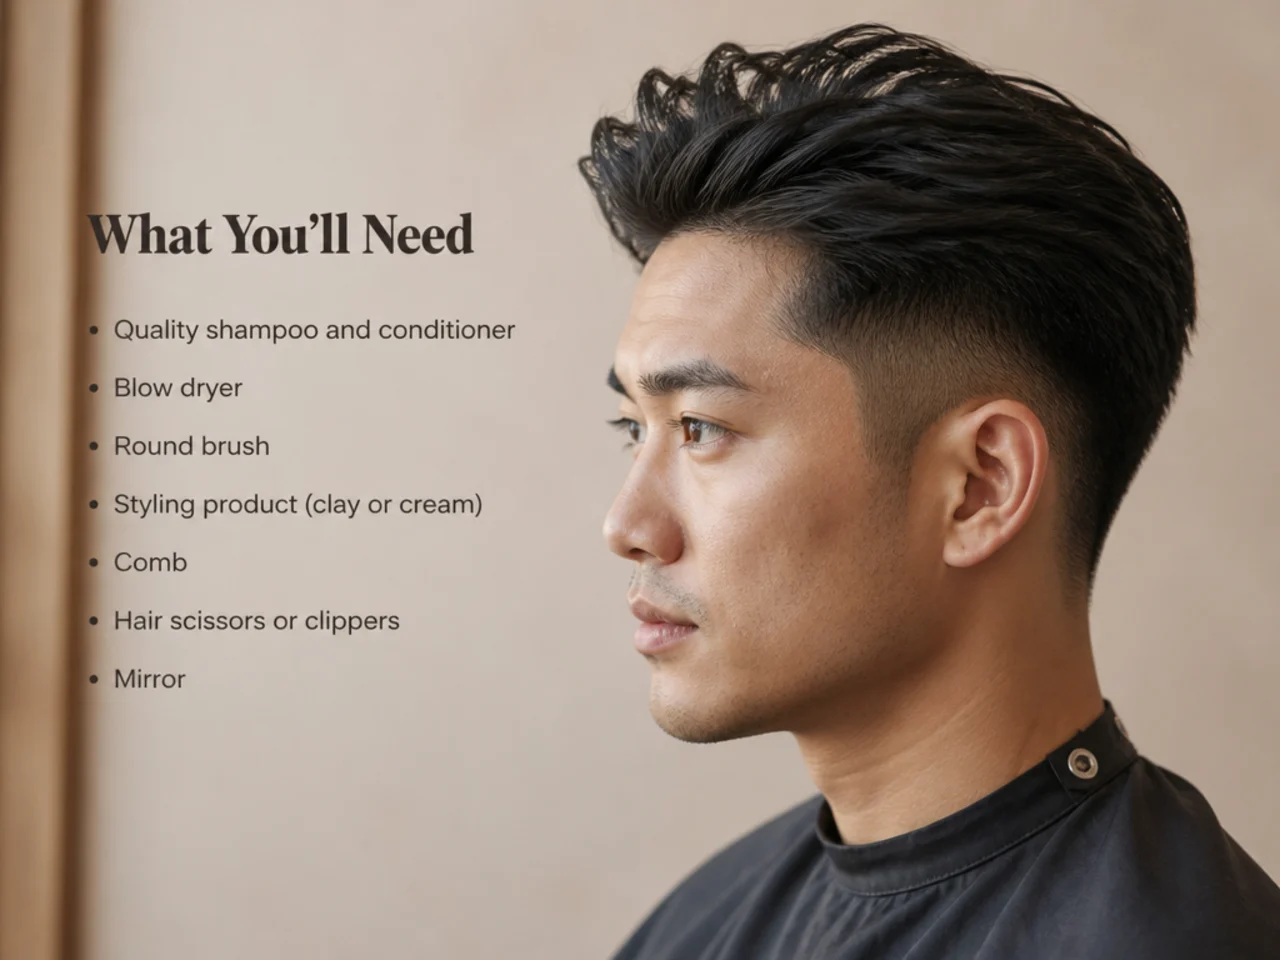
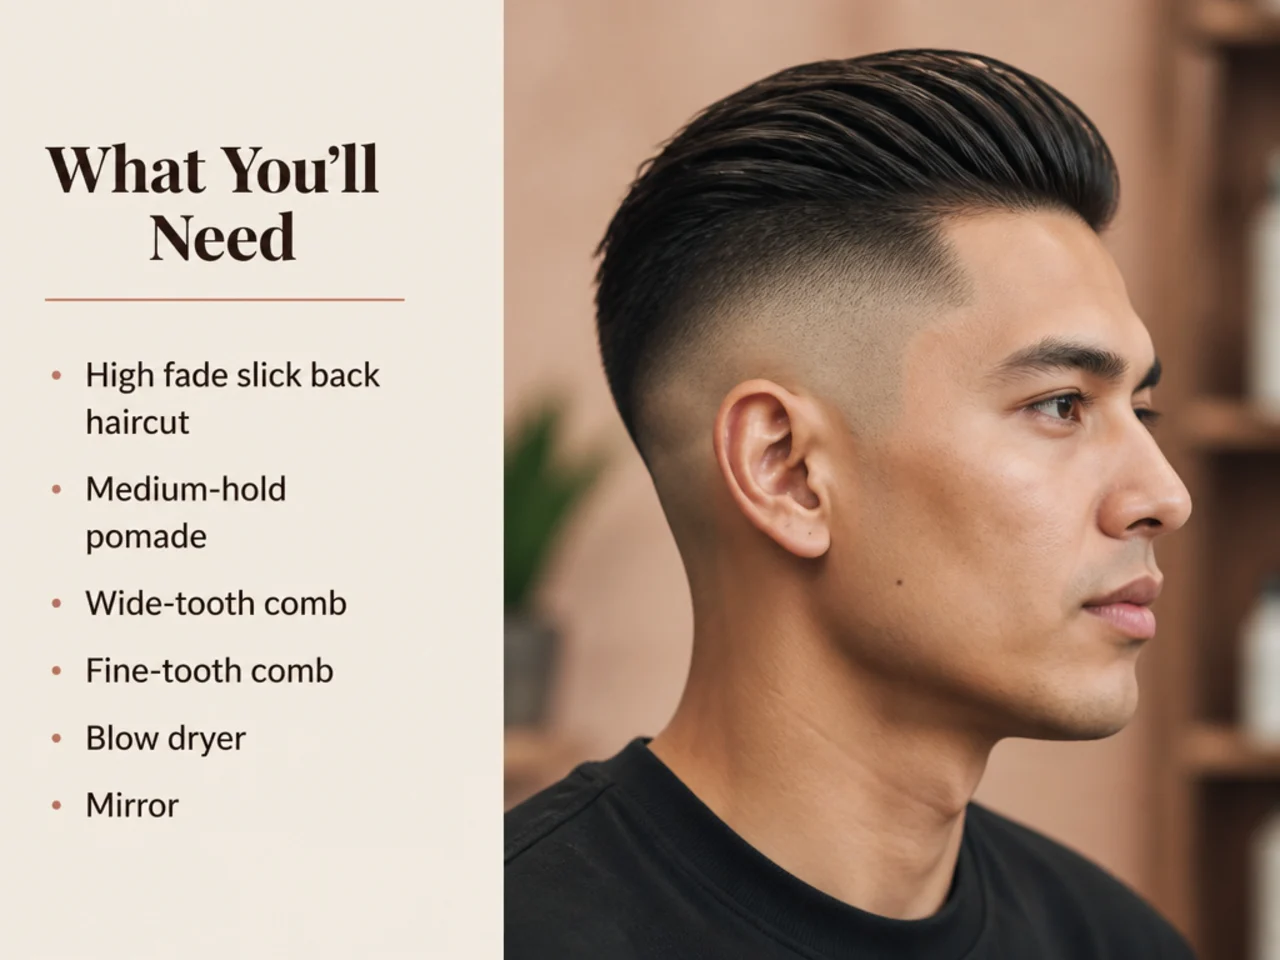
Buy the tools once and the cut costs nothing after that. The best hair clippers for men guide covers the shop-tested models in detail — the shortlist below is what you actually need on the counter before you start.
- Adjustable-lever clipper — Wahl Magic Clip, Andis Master, or BaBylissPRO GoldFX. Cordless is easier for the back-of-head passes.
- Detail trimmers or a T-liner — for the neckline, sideburn edges, and around the ears.
- Full set of clip-on guards — at minimum #0.5, #1, #1.5, #2, and #3.
- Two mirrors — one wall-mounted, one hand-held. You cannot cut what you cannot see, and the back is where home fades go wrong.
- Fine-tooth comb, wide-tooth comb, and a boar-bristle brush. Three tools, three jobs.
- Barber scissors — sharp, hair-only, six to seven inches. Kitchen scissors chew the ends.
- Spray bottle with water for damping the hair mid-cut.
- Styling product — matte clay, water-based pomade, or an oil-based pomade depending on the finish you want (covered in Step 5).
Hair should be clean and damp — not soaking wet, not fully dry. Wash the night before or an hour before you cut, then comb everything back so you can see how it naturally falls.
How the High Fade Slick Back Is Built
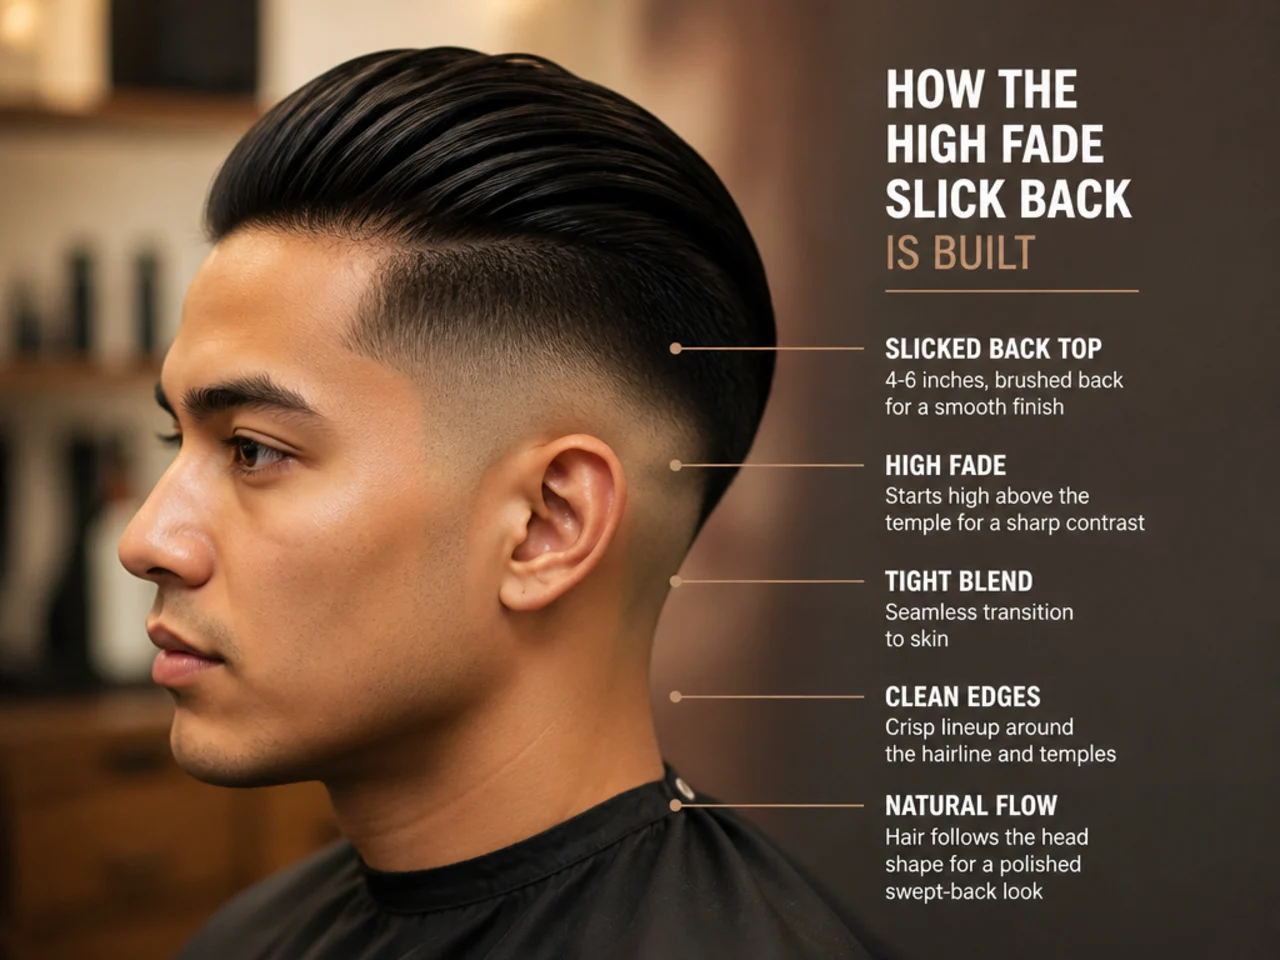
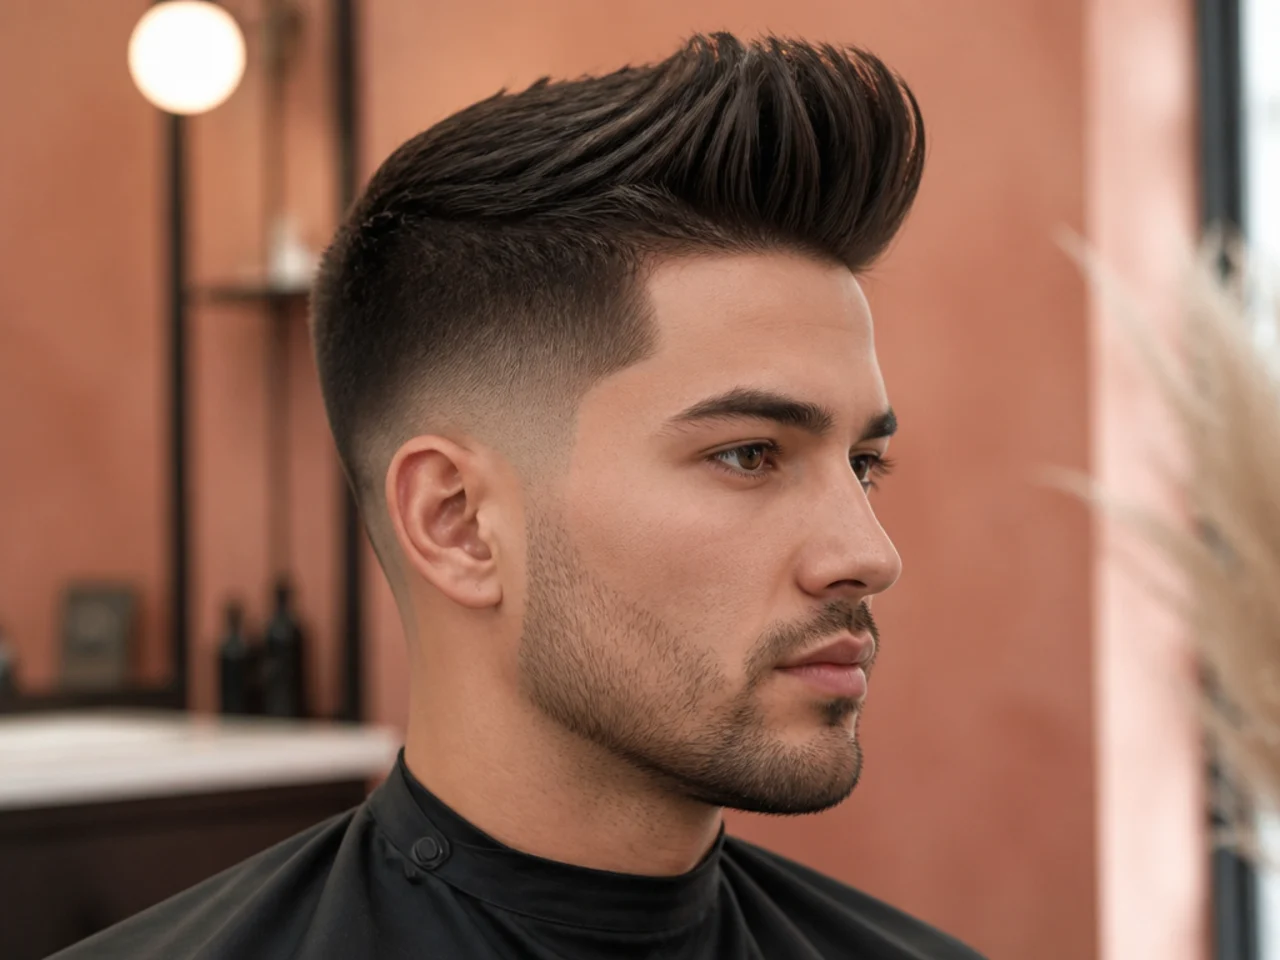
The high fade slick back is two moves stacked as one silhouette. The sides gradient from bare skin at the temple up through short guards to a longer blend zone near the crown. The top runs four to six inches — long enough to comb straight back off the forehead and reach the crown. Where the two meet is the transition, and it sits high on the head at the parietal ridge instead of down at the ear.
That high placement is what separates this cut from every other slick back fade. The full slick back fade family covers low, mid, drop, burst, and taper versions of the same idea. A high fade specifically pushes the transition up near the crown — the high taper fade guide breaks down the line placement in more detail. It is also the friendliest fade to cut at home because the line is high enough to see in a wall mirror without contorting.
The parietal ridge is easy to find. Run your fingers up the side of your head from your temple. You will feel a natural curve where the vertical side starts to turn inward and up toward the crown. That ridge is where the top of the fade sits.
Step 1: Set Up Your Clippers and Prep
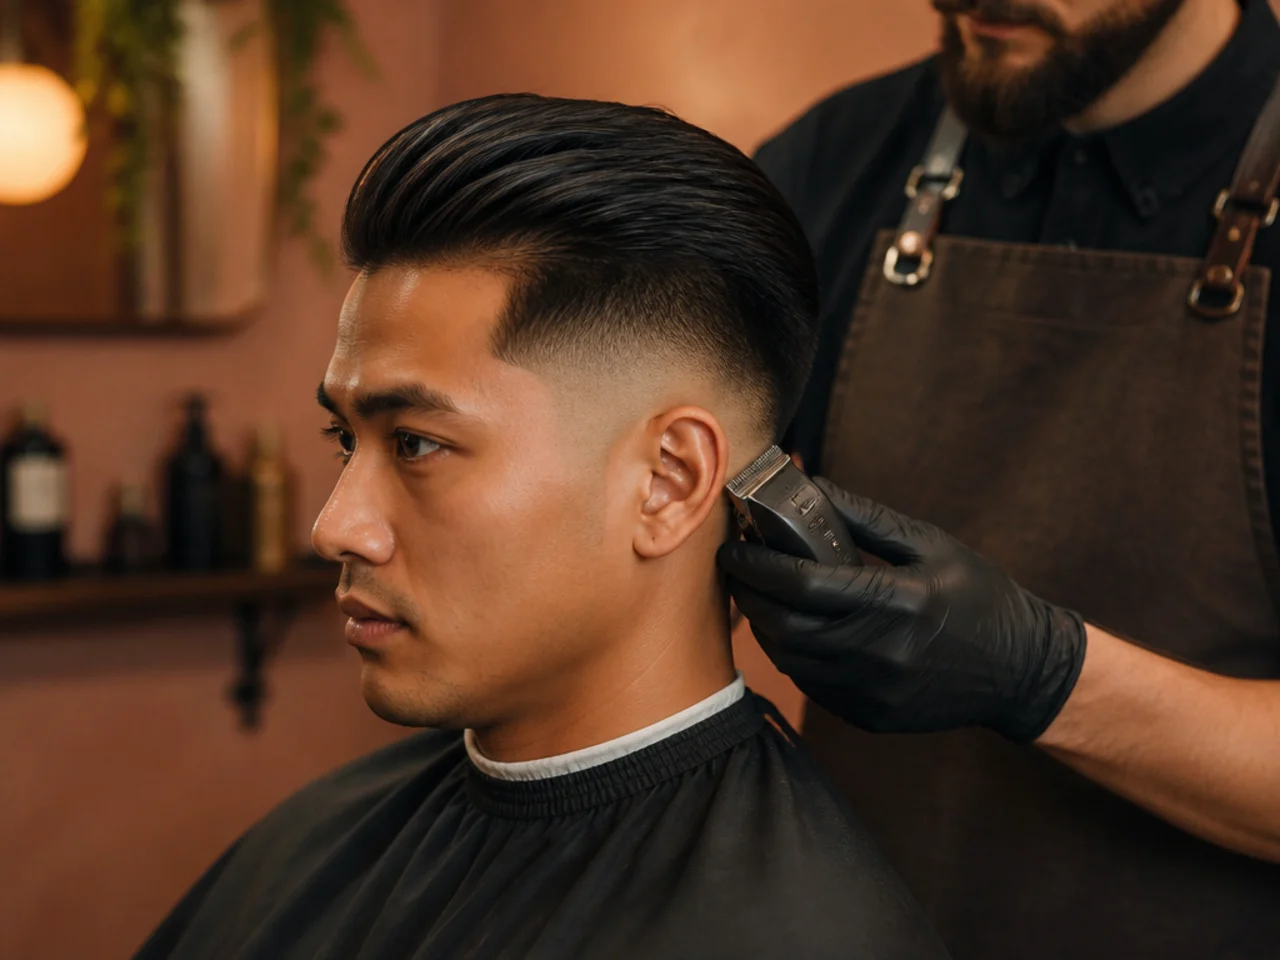
Wipe the clipper blades with a dry rag, brush the tooth gap out with the little brush that came in the box, and add three drops of clipper oil across the teeth. Run the motor for five seconds so the oil coats. Skip the oil and the blades drag on the second pass — the drag is what pulls hair and leaves those ugly step lines.
Set your lever. On a Wahl Magic Clip and most magnetic clippers, the lever slides between fully closed (shortest cut) and fully open (about half a guard length longer). Learn the feel of both — you will bounce the lever open mid-fade to soften transitions.
Charge the battery fully, or plug in. Cutting hair with a clipper battery in the red is how you end up with a bald patch when the motor cuts out mid-pass.
Get the light right. Overhead bathroom light throws shadows on the side of your head. Set up a lamp or use a bathroom mirror with side lights so both sides of your face are lit evenly. Position the hand-held mirror so you can angle it to see the back of your head without letting go of the clippers.
Comb the top forward off the crown. This is the neutral starting position — top hair out of the way while you cut the sides.
Step 2: Run the Guard Progression on the Sides
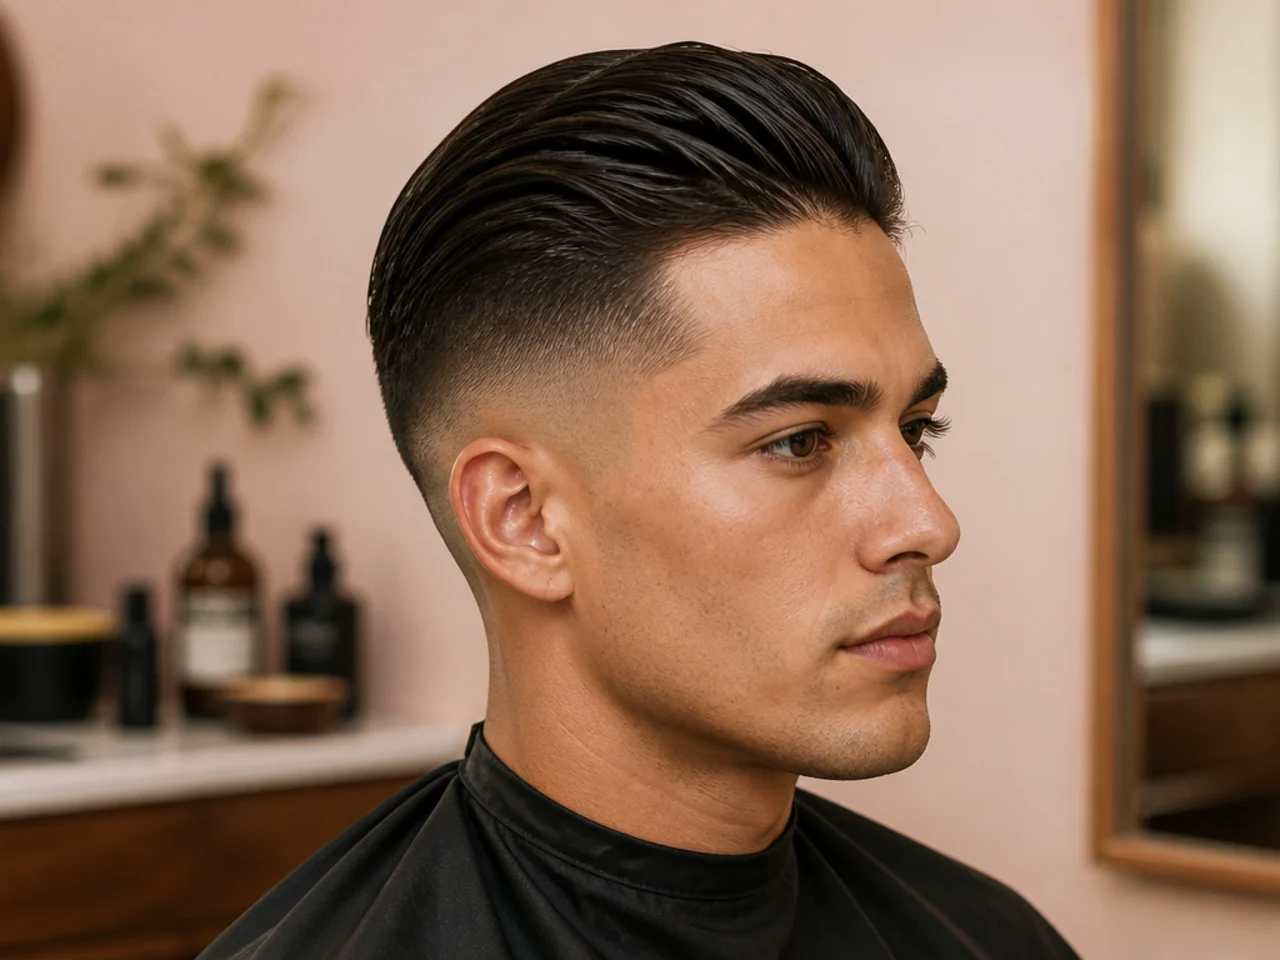
This is where the high fade is built. Work through the guards from shortest to longest and take each guard only up to a specific height on the head.
Start bare. No guard, closed lever. Run the clipper upward from the bottom of the neckline to about an inch below the parietal ridge. Move in short, overlapping upward strokes with the blade rocking off the head at the top of each pass — that rocking motion is what prevents a hard line at the transition. This bare panel is the fade's low point and the reason a high fade reads sharp.
Step up to #0.5. Take from the top of the bare panel to half an inch higher. Same upward stroke, same rocking motion at the top of each pass.
Step up to #1. From where the #0.5 stopped to half an inch above the parietal ridge line — you are now crossing the ridge.
Step up to #1.5. Layer the top two clipper widths of the fade zone, riding right up to where the top length starts.
Step up to #2. The final blend band, sitting just below the top length. Two passes here, then stop.
Run the same progression on both sides and the back. The back is the section most guys shortchange — bring the hand mirror up and check that the fade lines match at the crown from left to right.
Step 3: Cut the Top to Slick-Back Length
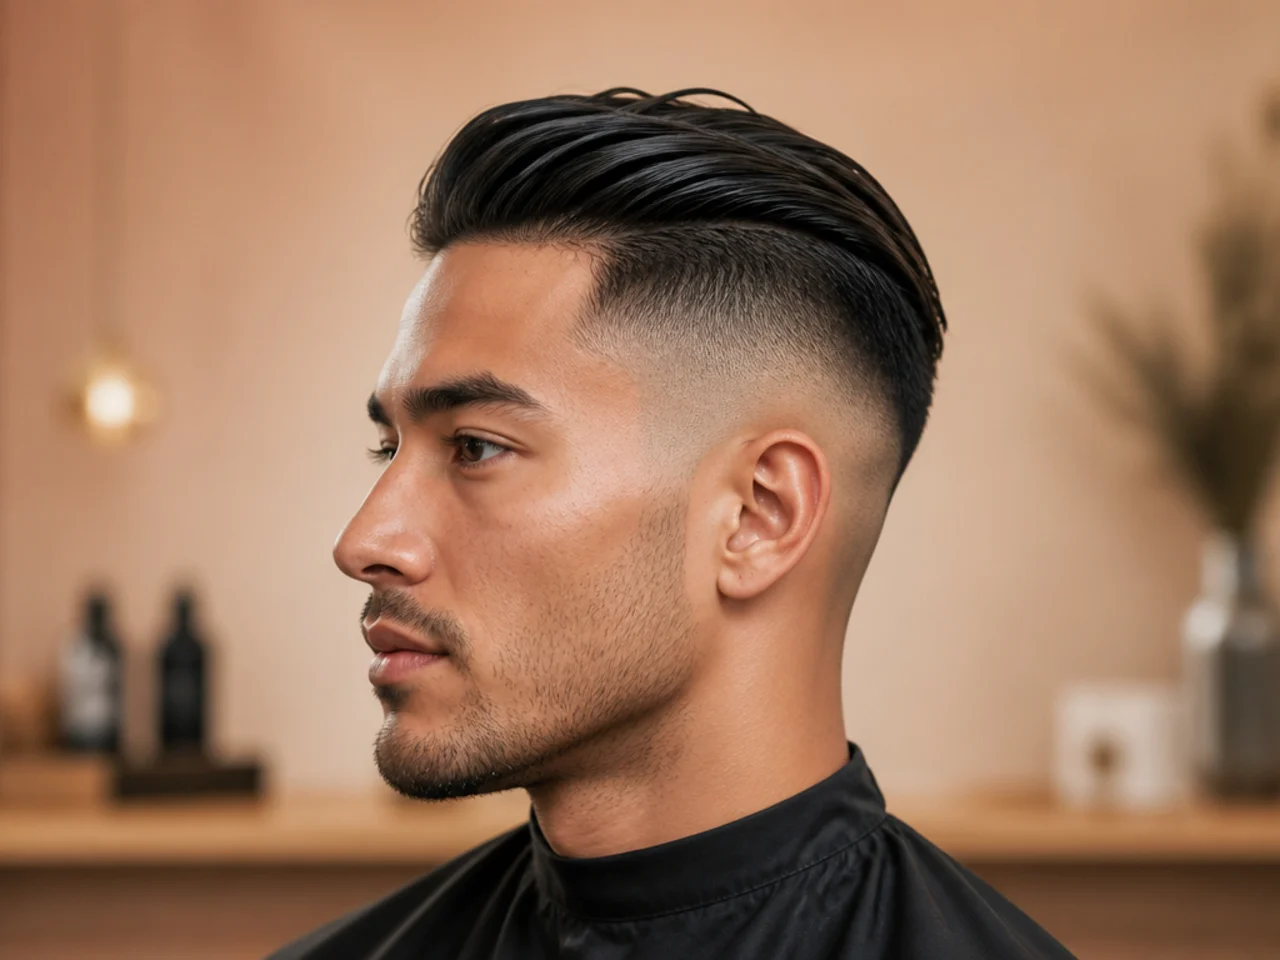
The slick back needs four inches on top minimum. That is the length where the hair reaches the crown when combed back and lies flat instead of flipping up at the temples. Five inches is the sweet spot for most guys. Six gives real flow. Under four inches and no amount of product will hold the shape.
Comb the top forward over your forehead. Pinch a one-inch section between your index and middle finger, pull the section straight up, and cut with the scissors held vertically — never horizontally. Vertical cuts point-cut the ends and let them blend when brushed back. Horizontal cuts leave a blunt line that fights the slick.
Work section by section from front to crown. Leave the crown a quarter-inch longer than the front — that extra length gives the slick back its arc when combed. If you are growing an existing cut out and the top is already long enough, skip the length cut entirely and jump to point-cutting the fringe.
The main slick back haircut guide covers the top-length variations if you want a longer flow build or a shorter executive version.
Comb the top back the way it will finish and check the silhouette in the mirror. If any section flips up when combed, that section is too short — accept it for this cut and grow it out for the next one. Recutting to correct a too-short piece only makes it shorter.
Step 4: Blend the Fade Transition
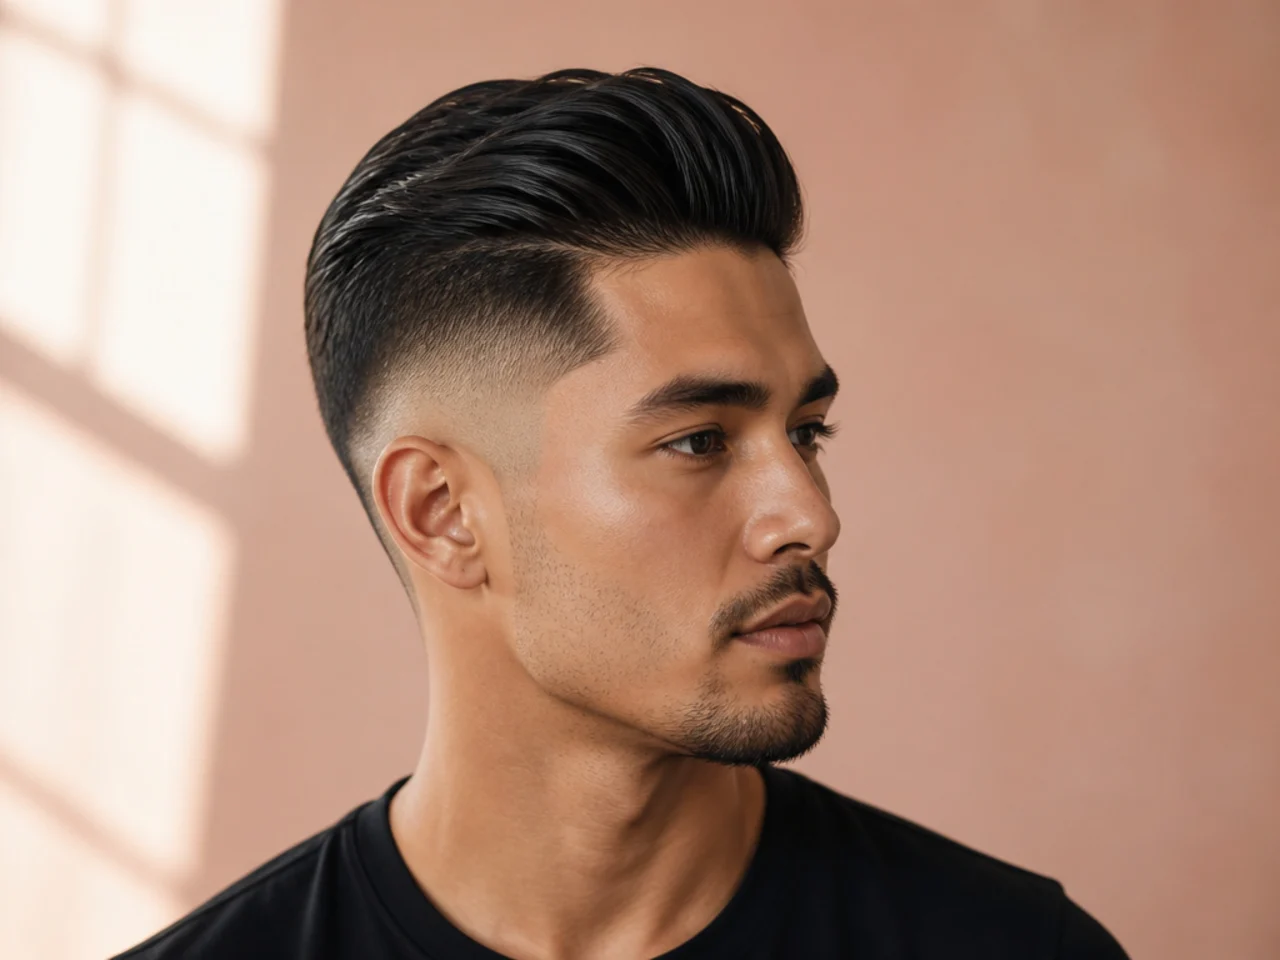
The transition zone is the two-inch band where the top length meets the highest guard on the sides. Untreated, that band shows a hard line — the biggest tell of a home cut. Blending it takes two techniques stacked.
First, scissors-over-comb. Comb the top length down over the fade zone. Slide the comb up through the hair, angling it away from the head so the hair sticking out gets longer as you climb. Run the scissors along the comb's top edge, opening and closing them in a smooth rhythm. Work from bottom to top, matching the length that pokes out of the comb to the guard length underneath. This is the classic barber move for softening a transition — practice it slowly, and it becomes second nature.
Second, clipper-over-comb. Same idea, faster on the second pass. Set the clipper to a #2 guard with the lever half-open. Comb the hair away from the head and pass the clipper over the comb, taking off just the tips that stick out. Two or three passes through the zone.
Check both sides in the mirror. If one side has a visible line and the other does not, run the scissors-over-comb once more only on the offending side. Do not touch the good side — you will chase the mismatch and take both sides shorter than you meant.
Step 5: Style the Slick Back
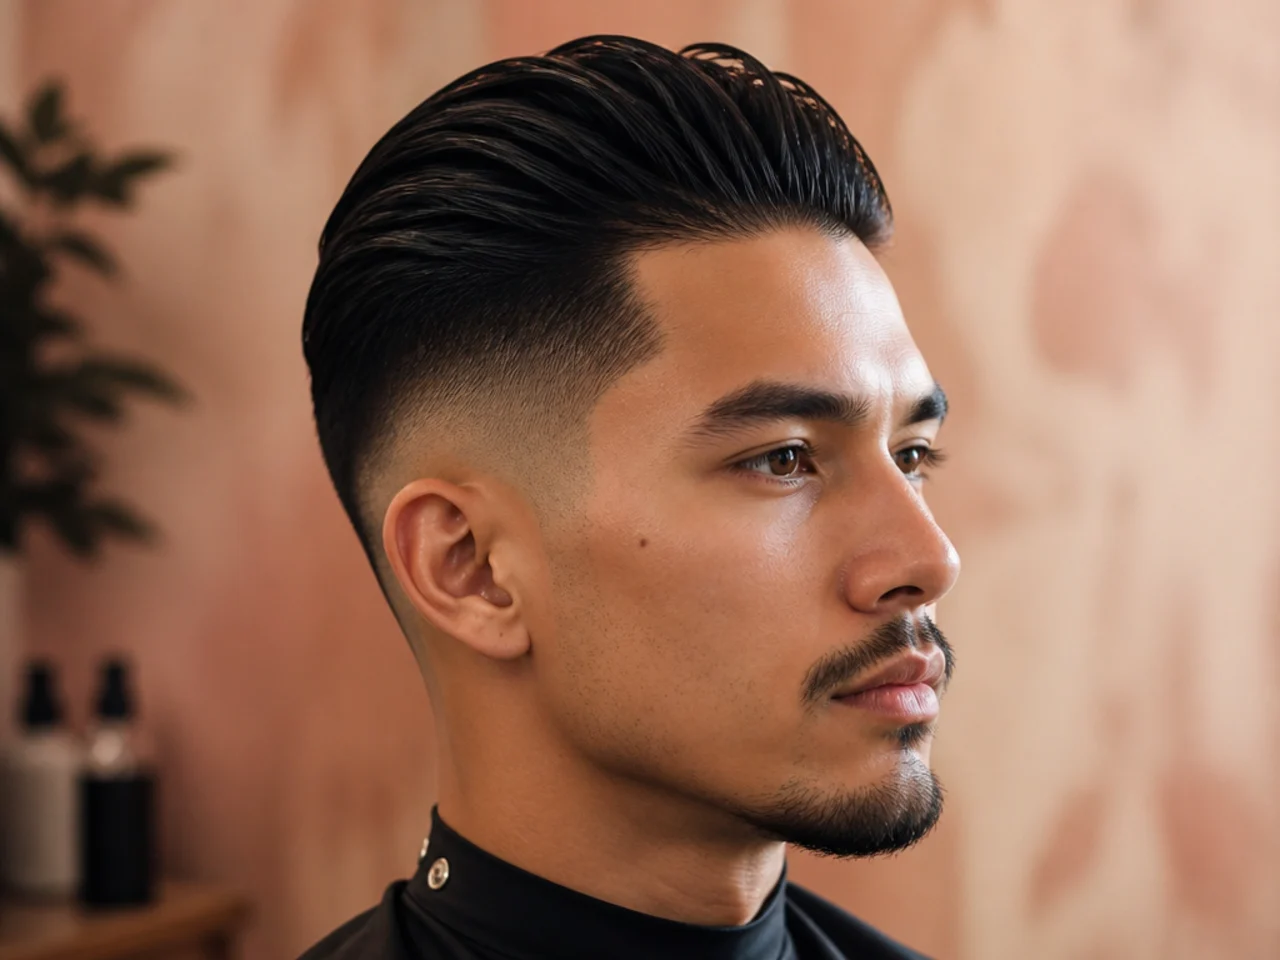
Damp hair holds a slick back better than dry. If the hair dried during the cut, mist it with the spray bottle before you style — you want it damp, not dripping.
Pick the product for the finish you want. Matte clay for the modern non-greasy look — perfect for office, casual, and daytime. Water-based pomade for shine you can restyle mid-day by wetting and combing again. Oil-based pomade for the classic wet-look Old Hollywood finish — the strongest hold, but locks in place until you wash it out. One product per cut; layering flattens the shape.
Scoop a nickel-sized amount, warm it between your palms until it disappears into the skin, then rake root to tip through the top with your fingers. Even distribution matters more than how much you use — a heavy front and dry back reads uneven from every angle.
Comb straight back with a fine-tooth comb, starting at the hairline and pulling through to the crown in one clean stroke. For extra volume at the front, blow-dry the front three inches back and up with a round brush for thirty seconds, then finish with a comb pass.
Finish with a light mist of hairspray if you are heading out — one arm's-length spray across the top, not a wet coat. The quiff-hairstyles guide covers the front-lift technique in more depth if you want more height at the fringe.
Step 6: Maintain the Cut Between Trims
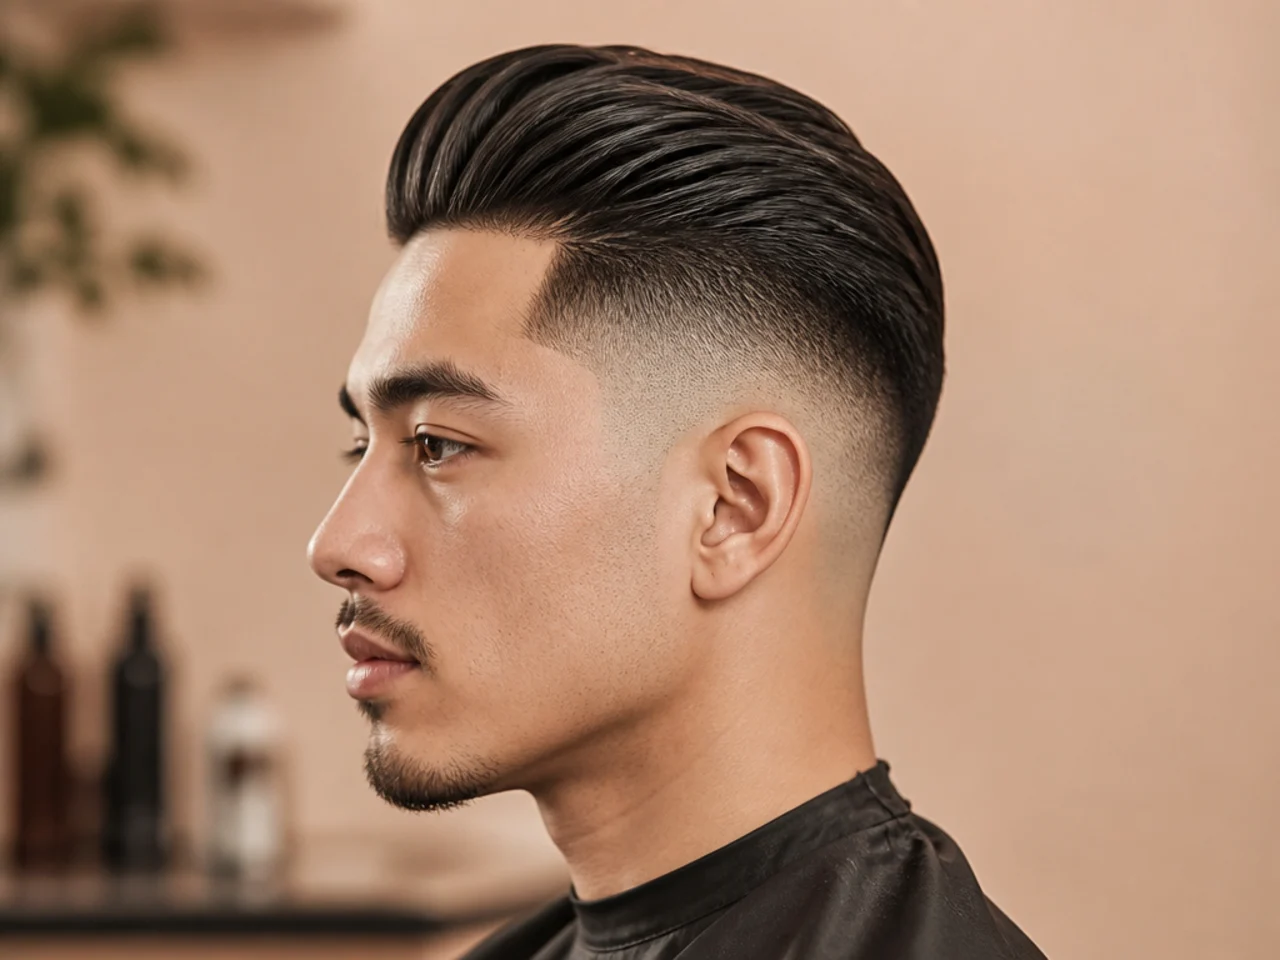
A high fade dates faster than any other fade because the bare panel starts growing in at day three. The maintenance routine below keeps a home cut looking week-one for three full weeks.
Every ten to fourteen days: refresh the bare panel and the #0.5 zone. Run the closed-lever clipper up through the neckline and the lowest inch of the sides, same upward strokes as Step 2. Then run the #0.5 across its band. Two guards, five minutes, and the fade reads fresh again.
Weekly: clean the neckline and around the ears with detail trimmers. The fuzz that grows in at the neckline is the first thing anyone standing behind you sees. A ten-second pass at the shower door mirror handles it.
Every three weeks: run the full guard progression again. Same order as Step 2 — bare, #0.5, #1, #1.5, #2. The whole cut takes about fifteen minutes on a maintenance pass.
Every four to six weeks: scissor-trim the top. The slick back mass grows out of shape faster than most guys notice. When the top starts flipping up at the temples after a comb-through, it needs a trim. The how often should men get a haircut guide covers cadence for every cut type.
Wash cadence. Sulfate-free shampoo three times a week, clarifying shampoo once a week if you use pomade daily. Pomade buildup at the scalp flattens the slick back faster than dirt does.
Sleep. A satin pillowcase or a durag preserves the shape overnight. Cotton pillowcases mat the top down flat, which means an extra minute of restyling every morning.
Troubleshooting Common Home Fade Mistakes
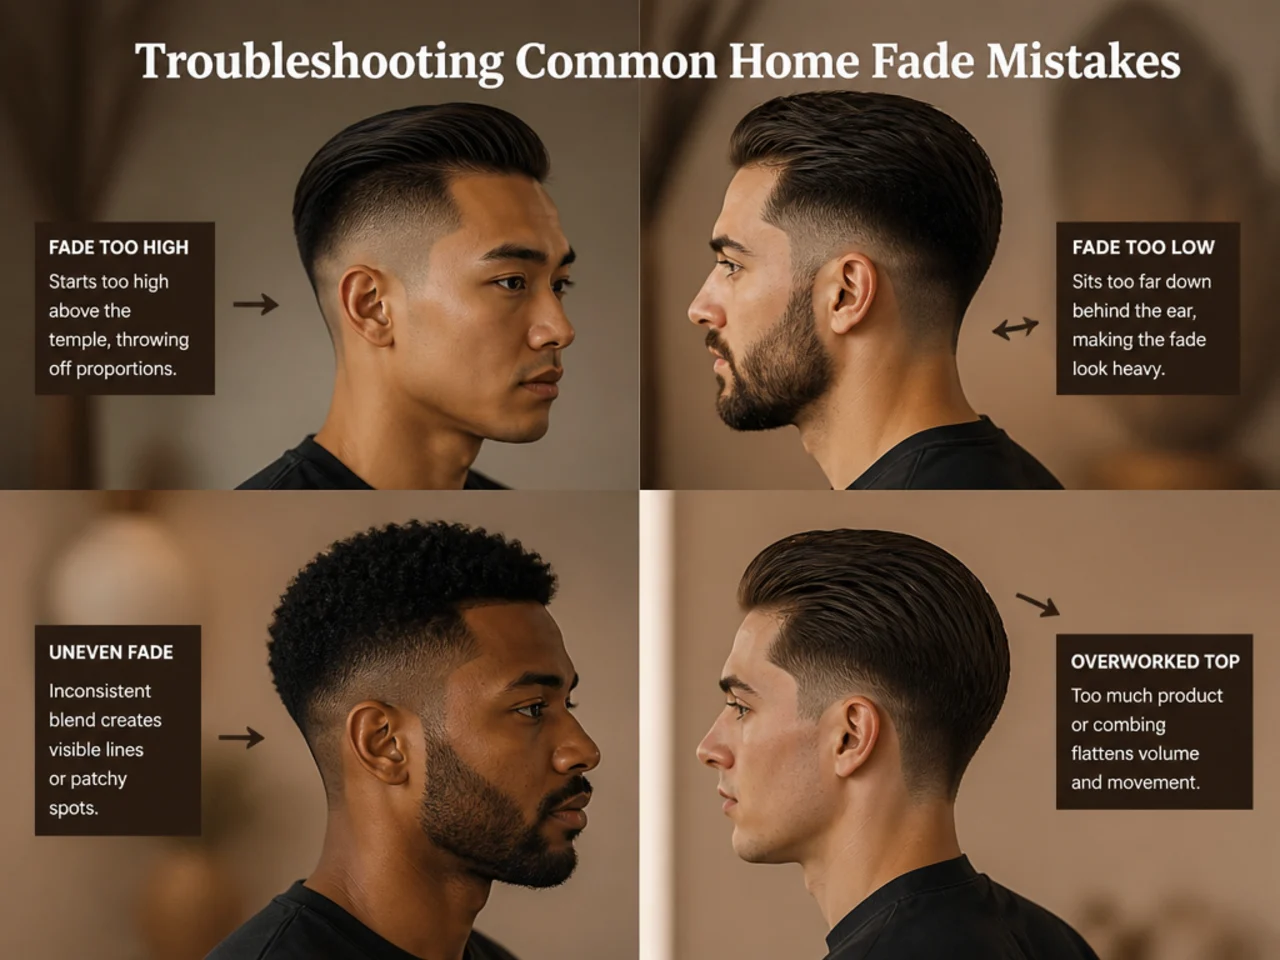
Every home cut has a failure mode. The fixes below cover what to do the moment you see the problem — most are recoverable if you catch them in the mirror before you keep going.
- Bald spot from a missed guard. Blend it out by running the next-higher guard over the surrounding hair — spread the length difference over a wider zone so the bald spot reads as intentional fade rather than an accident. If the spot is in the top length, you cannot fix it; wear it and grow it out.
- Fade line too low. Take the next-higher guard up an extra half inch on both sides. You are converting the intended high fade into a mid-high hybrid, which reads fine. Do not try to shave higher to save the original plan — you will end up above the crown.
- Choppy transition line at the top. Run the scissors-over-comb technique from Step 4 again, more slowly. Take one small pass at a time, checking after each. Stop the moment the line disappears — do not keep going for confidence's sake.
- One side longer than the other. Look at the sides through the hand-held mirror to identify the higher side, then only cut the higher side down to match. Do not touch the shorter side. Most home barbers chase the mismatch and end up shorter than they wanted on both sides.
- Top will not stay back. Either the top is too short (under four inches — no fix, grow it out) or you used the wrong product weight. Try a heavier pomade on damp hair before assuming it is a cut problem.
- Fade grew in patchy after a week. That is normal — the bare panel grows faster in front than behind on most heads. Run the maintenance refresh in Step 6 at day ten instead of day fourteen next time.
The low fade vs mid fade vs high fade comparison is worth reading if you decide the high fade is not the right height for you — a mid or low version is much easier to keep symmetrical on a home cut.
FAQ
Do I need scissors or can I do the whole cut with clippers?
You need scissors for the top length. The slick back needs four to six inches on top, and no clipper guard goes that long. A pair of six-inch barber scissors cuts the top and blends the transition; a clipper handles the sides and the fade progression only.
How long does a home high fade slick back take?
Budget forty-five minutes for your first cut and twenty for maintenance passes. The full guard progression takes ten to twelve minutes once you have the routine down; the top cut and blend takes another ten; styling is under three. Do not rush the first attempt — the muscle memory saves time on cut two and every one after.
Can I do this cut on curly or coily hair?
Yes, but you need to cut the sides on dry hair, not damp. Curly hair shrinks when it dries, so cutting damp gives you shorter results than you meant. Use a curl sponge or a wide-tooth comb on the top instead of a fine-tooth. The slick back mens haircut roundup covers curly and coily variations in detail.
What is the difference between a high fade slick back and a low taper slick back?
Height of the transition line and maintenance cadence. A low taper slick back keeps the sides longer and only tapers at the neckline and sideburns — it holds shape for six weeks and reads more conservative. A high fade slick back takes the sides to skin at the parietal ridge and needs a refresh every two weeks, but reads sharper and more modern.
What if my hair is thinning at the crown?
Skip the high fade and go with a mid or low fade instead — the high line pulls the eye up to the crown, which highlights the thinning rather than hiding it. Also keep the top length shorter (three to four inches) to avoid the "wet-look reveals scalp" problem when the pomade goes on.
Can I get away with cheap clippers for a home fade?
Not really. The cheap starter kits under fifty dollars have weak motors that stall on thick hair, dull blades that pull instead of cut, and cheap guards that click loose mid-pass. Spend once on a shop-standard clipper — Wahl, Andis, or BaBylissPRO — and the tool pays for itself in two barbershop visits.