25 Mid Length Haircut Ideas and How to Ask for Them
Mid length is the most requested length and the most vaguely described one. Twenty five versions sorted by perimeter, layering and hair type, each with the one sentence that gets it cut the way you pictured it.
In this article · 33
- What Mid Length Actually Means
- The Face Shape Guide
- By Hair Type
- How to Ask Your Stylist
- Daily Styling
- Growing It Out
- The 25 Mid Length Haircuts
- 1. Blunt Collarbone Cut
- 2. Classic Lob
- 3. Invisible Layers
- 4. Curtain Bangs
- 5. Face Framing at the Jaw
- 6. Butterfly Cut
- 7. Modern Shag
- 8. Wolf Cut
- 9. U Shape Perimeter
- 10. V Cut Perimeter
- 11. Choppy Ends
- 12. Fine Hair With Two Layers
- 13. Weight Removal on Thick Hair
- 14. Curly Hair Cut Dry
- 15. Wavy 2B Hair
- 16. Straight Hair With Hidden Layers
- 17. Deep Side Part
- 18. A Line Lob
- 19. Bottleneck Bangs
- 20. 4A Coils
- 21. Money Piece
- 22. Flicked Ends
- 23. Round Face With a Chin Start
- 24. Square Jaw Layers
- 25. Long Face Side Swept
- Final Thoughts
Mid length is the most requested length in any salon and the most loosely described, which is how two people asking for the same thing leave with different haircuts.
Length is one setting and layering is another. Where the perimeter falls, and how much shorter the interior is cut. Name them separately or the stylist has to guess which one you meant.
Describe the length against your body. Chin, jaw, collarbone, an inch below it. Inches land somewhere different on every neck and every height.
What Mid Length Actually Means
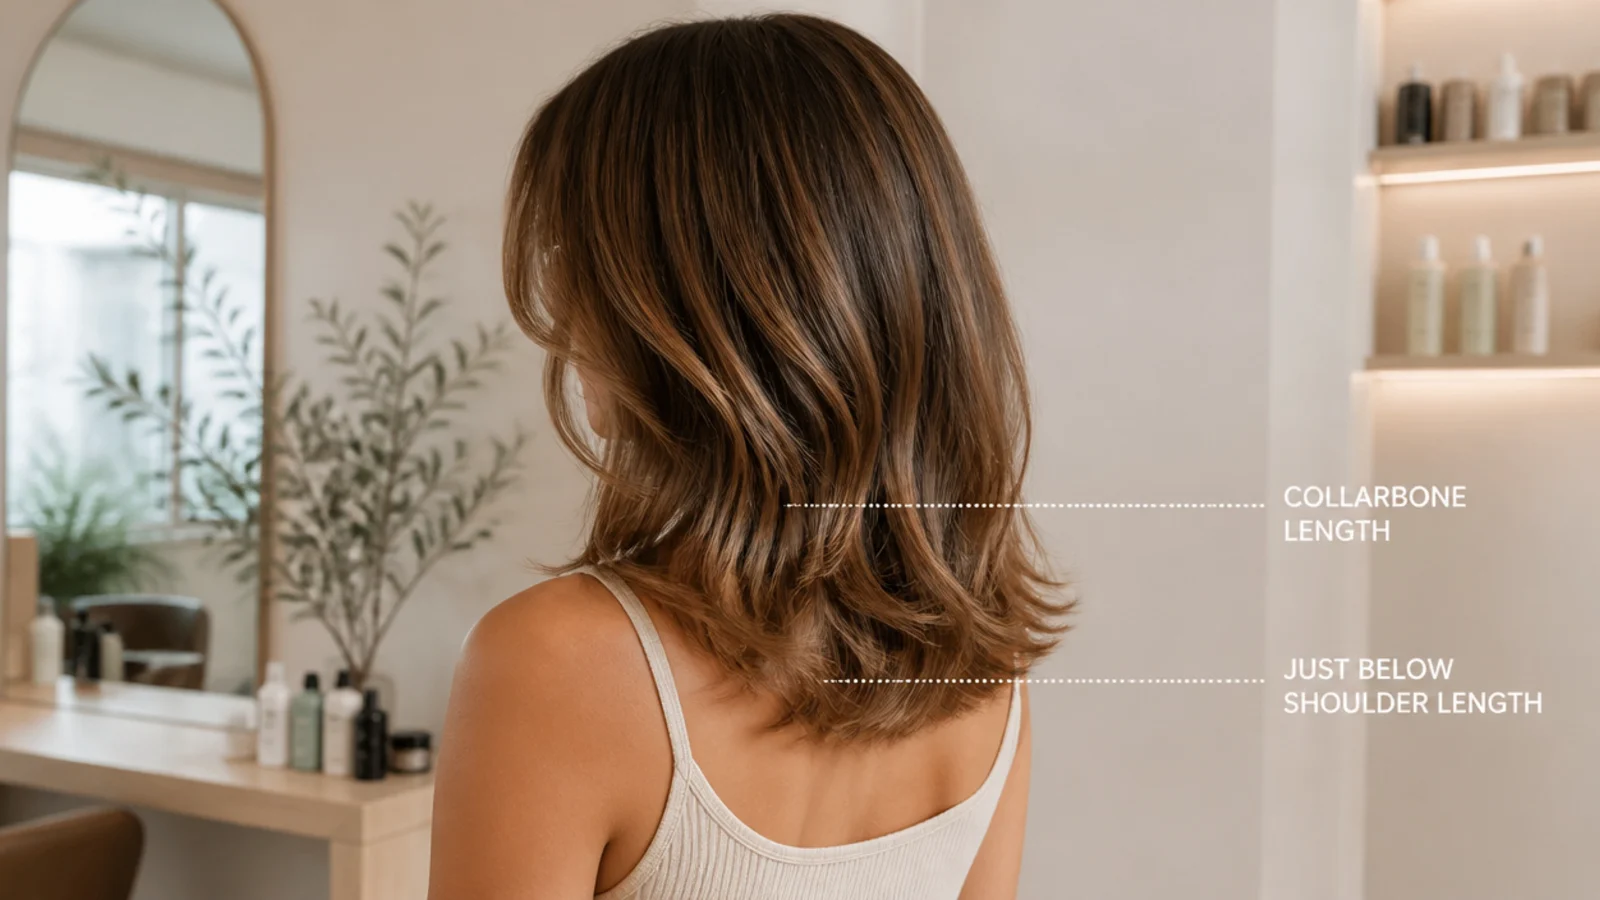
Chin to a few inches below the collarbone. That is the whole range, and the collarbone is the most reliable reference point inside it.
It is the shortest length that still ties back. Which is why so many people land here rather than at a bob, and why the bottom of the range matters more than the top.
It holds a shape without daily work. Enough weight to fall where it was cut, not enough to drag the crown flat.
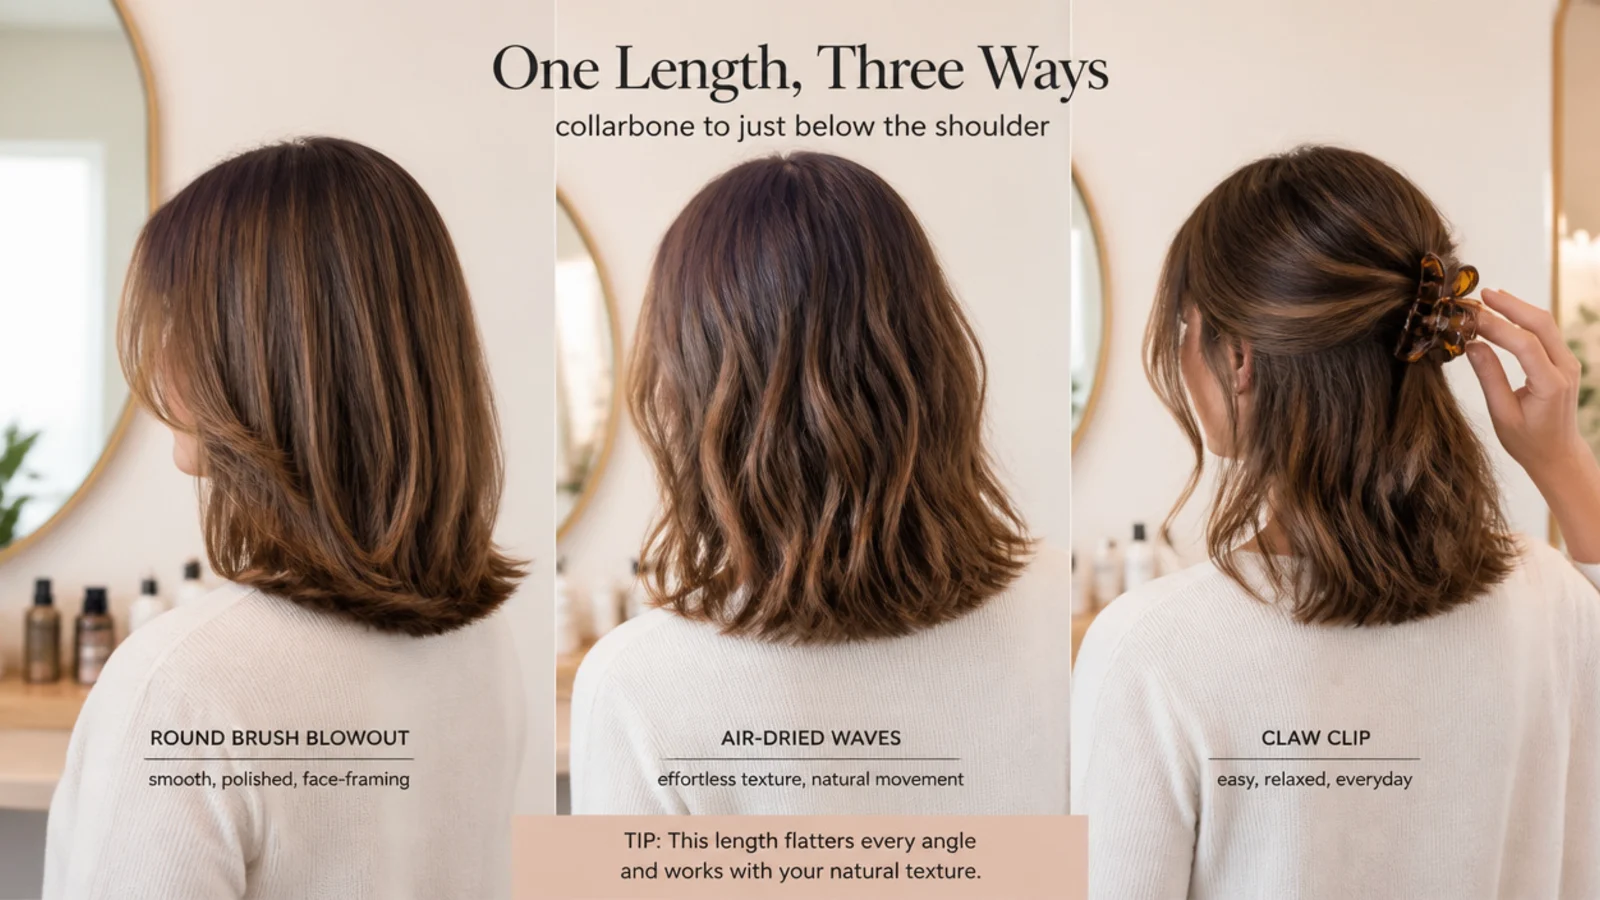
Just past the shoulder is the hardest point in the range. The shoulder physically blocks the ends, so they are pushed outward and dry into a flick. An inch shorter or two inches longer removes the contact entirely.
The Face Shape Guide
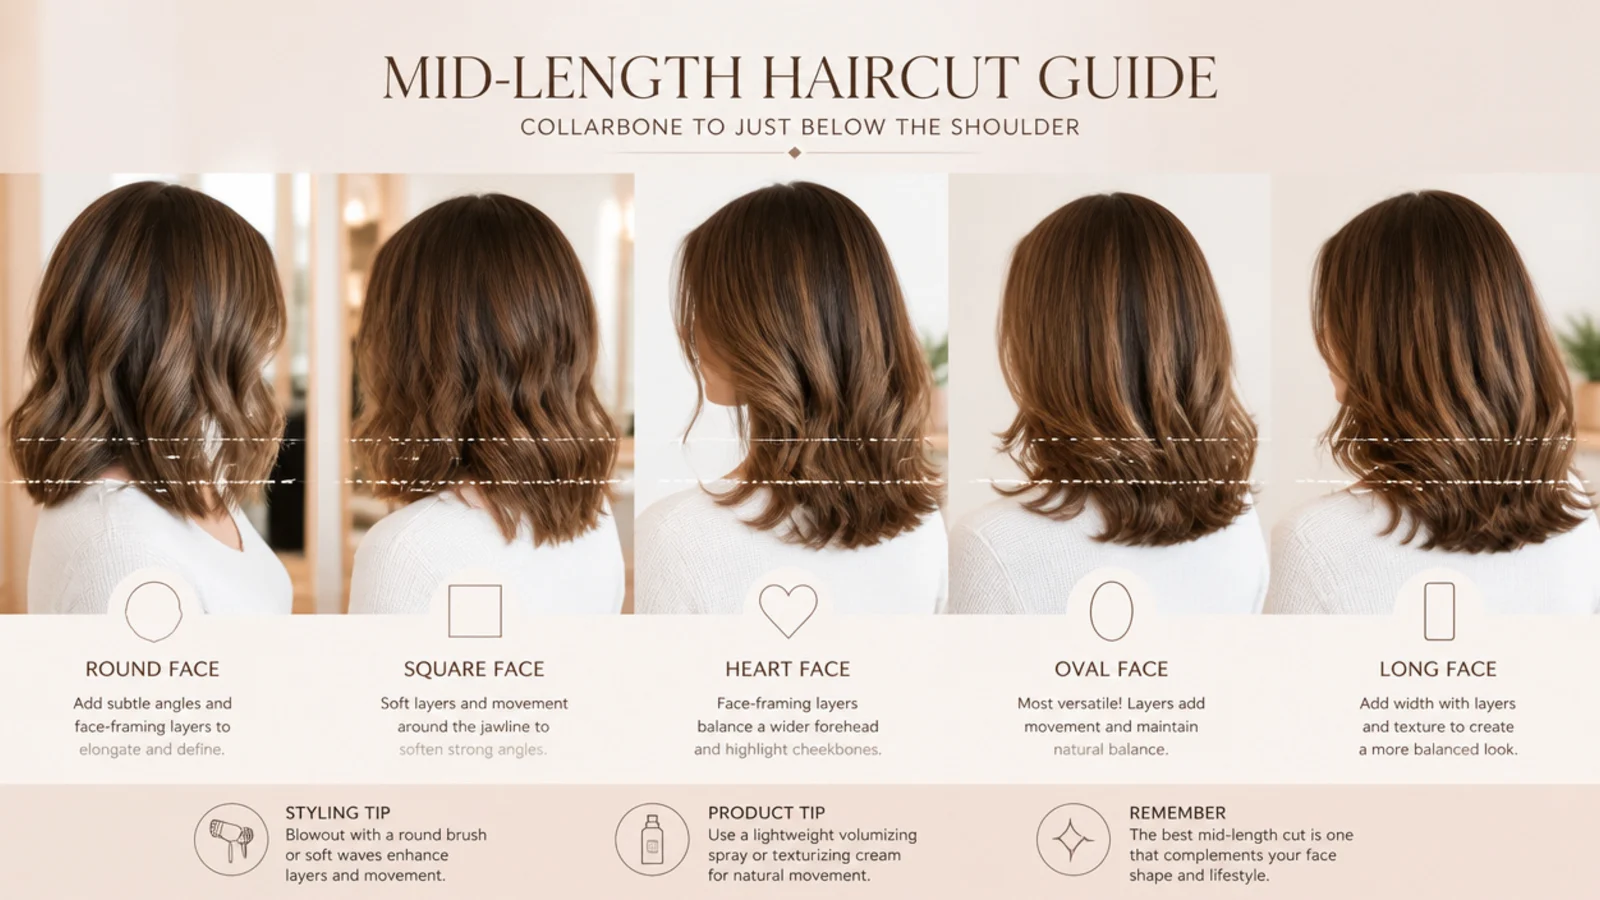
Round wants vertical lines and a low start. Nothing in the framing ending at cheek level, because that is where a round face is already widest.
Square wants the outline broken past the jaw. A line landing on the corner repeats the angle back; a line crossing it softens the same corner.
Long wants width at the cheekbone. Side swept framing, a fringe, or waves set at eye level — anything horizontal laid across a vertical face.
Heart wants weight low and the forehead left alone. Fullness around the jaw balances a wider top, and short pieces beside the forehead do the opposite.
By Hair Type
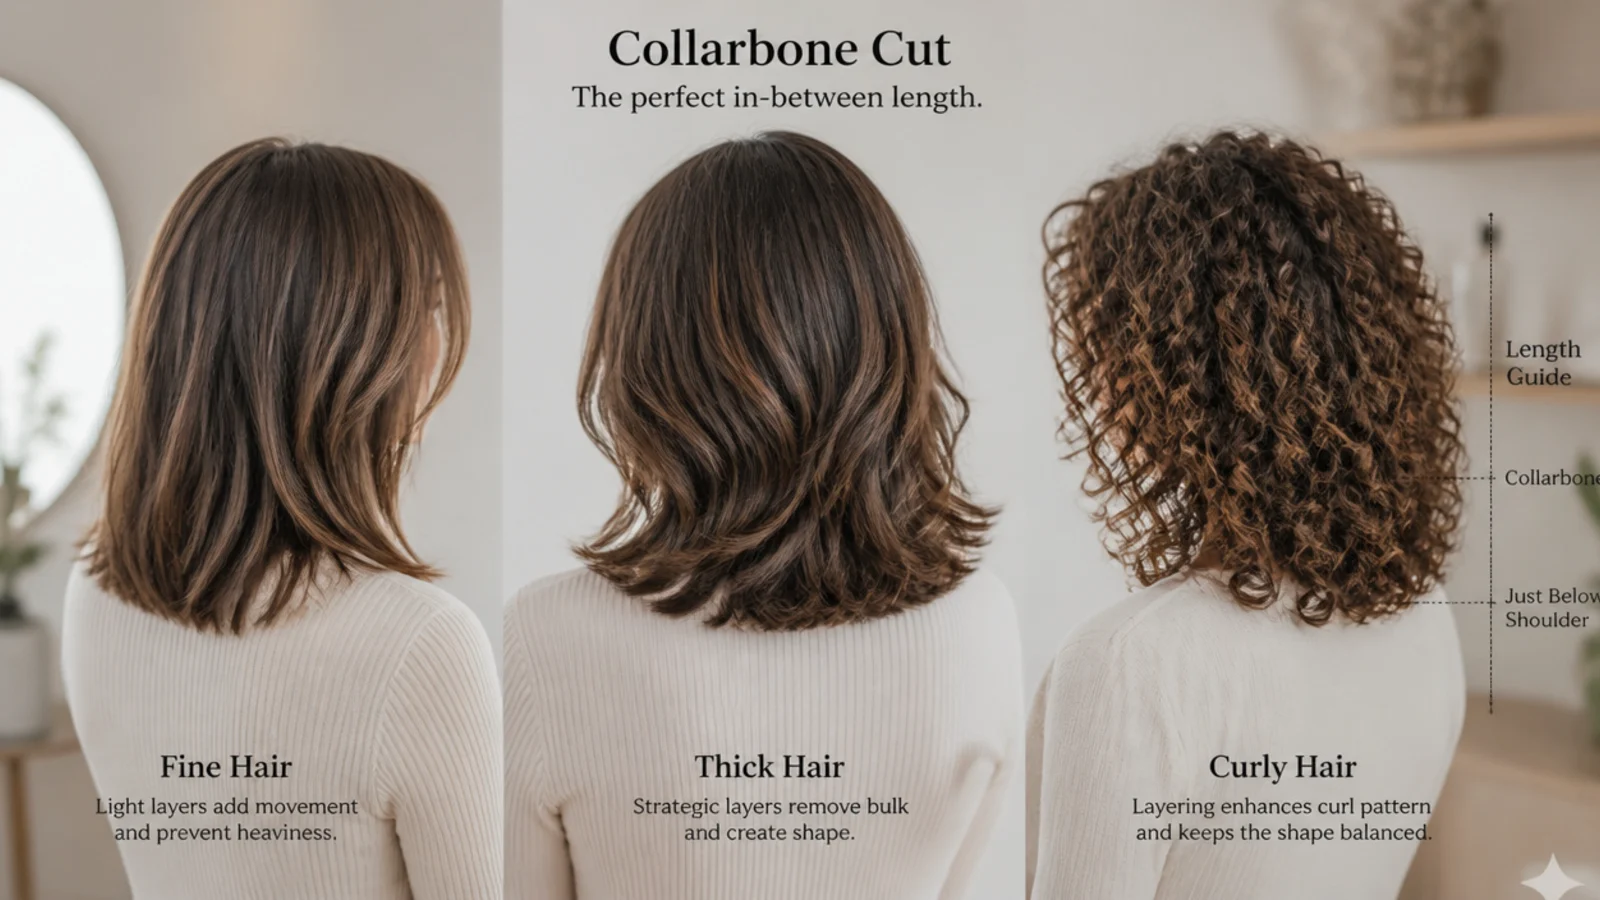
Fine hair wants a heavy perimeter and few layers. Density lives in the outline, and every extra layer takes some of it away.
Thick hair wants weight removed from inside. Thinning the outline leaves the bulk in the middle, and the ends then flick outward around it.
Straight hair shows every layer line. There is no bend to break one up, so layers go underneath or they announce themselves.
Curly and coily hair wants cutting dry. A curl finishes above where it was cut, by an amount that changes with the pattern and with the section.
How to Ask Your Stylist
Give the perimeter first, against your body. One sentence, one reference point, no inches.
Then give the layering as a separate instruction. How much shorter the interior should be, or whether you want any at all.
Say whether the layers may show at the surface. Visible and hidden layers remove the same weight and look nothing alike.
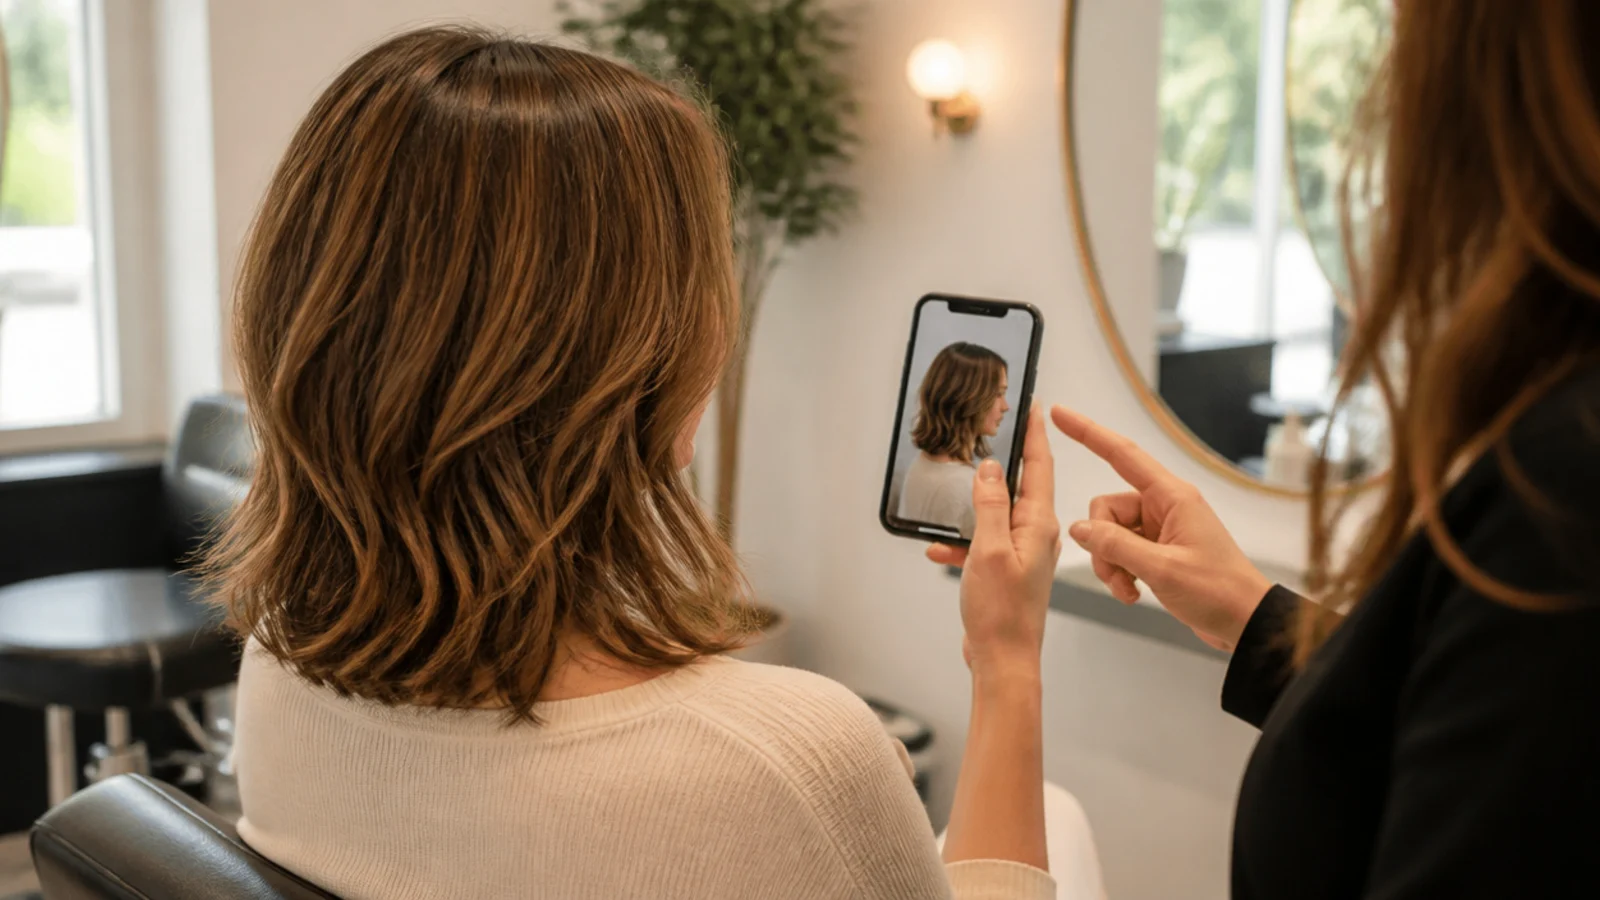
Say what your hair does wrong. Flat at the crown, wide at the ears, flicking at the shoulder. That sentence tells a stylist more than any photograph does.
Daily Styling
Dry the roots first and the ends last. Roots set the volume for the whole day, and they are the part that dries in whatever direction you leave them.
Point the nozzle down the strand. Air travelling with the cuticle lays it flat; air travelling against it lifts every scale and produces the frizz you then have to fix.
Use the round brush at the ends only. The turn at the bottom is what makes a mid length cut look finished, and it is a single pass.
Keep product off the roots and off the very ends. Mid lengths only, so the crown stays lifted and the outline stays open.
Growing It Out
Half an inch a month, and every layer moves together. The structure stays intact as it grows; what changes is the proportion between the interior and the perimeter.
The perimeter is what to protect. A dense outline is what makes long hair read as long rather than as stringy, so trim the interior and leave the bottom line alone.
Dust a quarter inch every couple of months. Enough to remove splits before they travel up the strand, not enough to lose the growth.
Expect a stall around the shoulder. It is not growing slower, it is sitting on your shoulder and flicking, which is the point most grow outs get abandoned.

The 25 Mid Length Haircuts
1. Blunt Collarbone Cut
Every strand finishes on one line, so the perimeter reflects light as a single edge and reads as the densest version of whatever hair you have. It flatters fine hair more than any other cut and exposes damage more than any other cut, because a fault anywhere on that line is visible along the whole of it.
2. Classic Lob
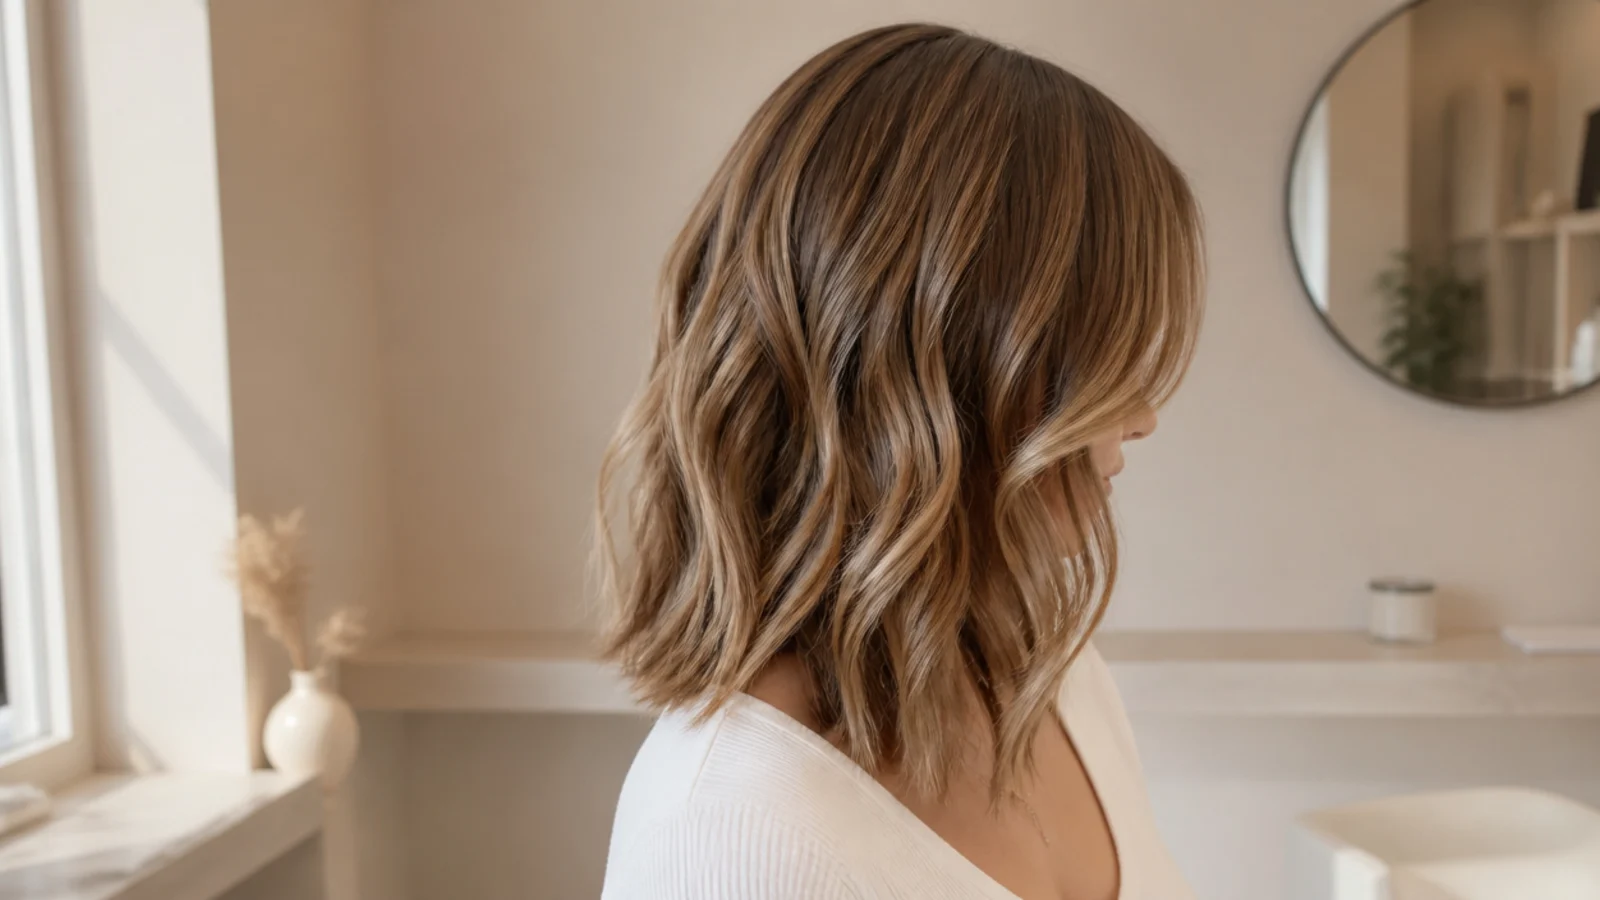
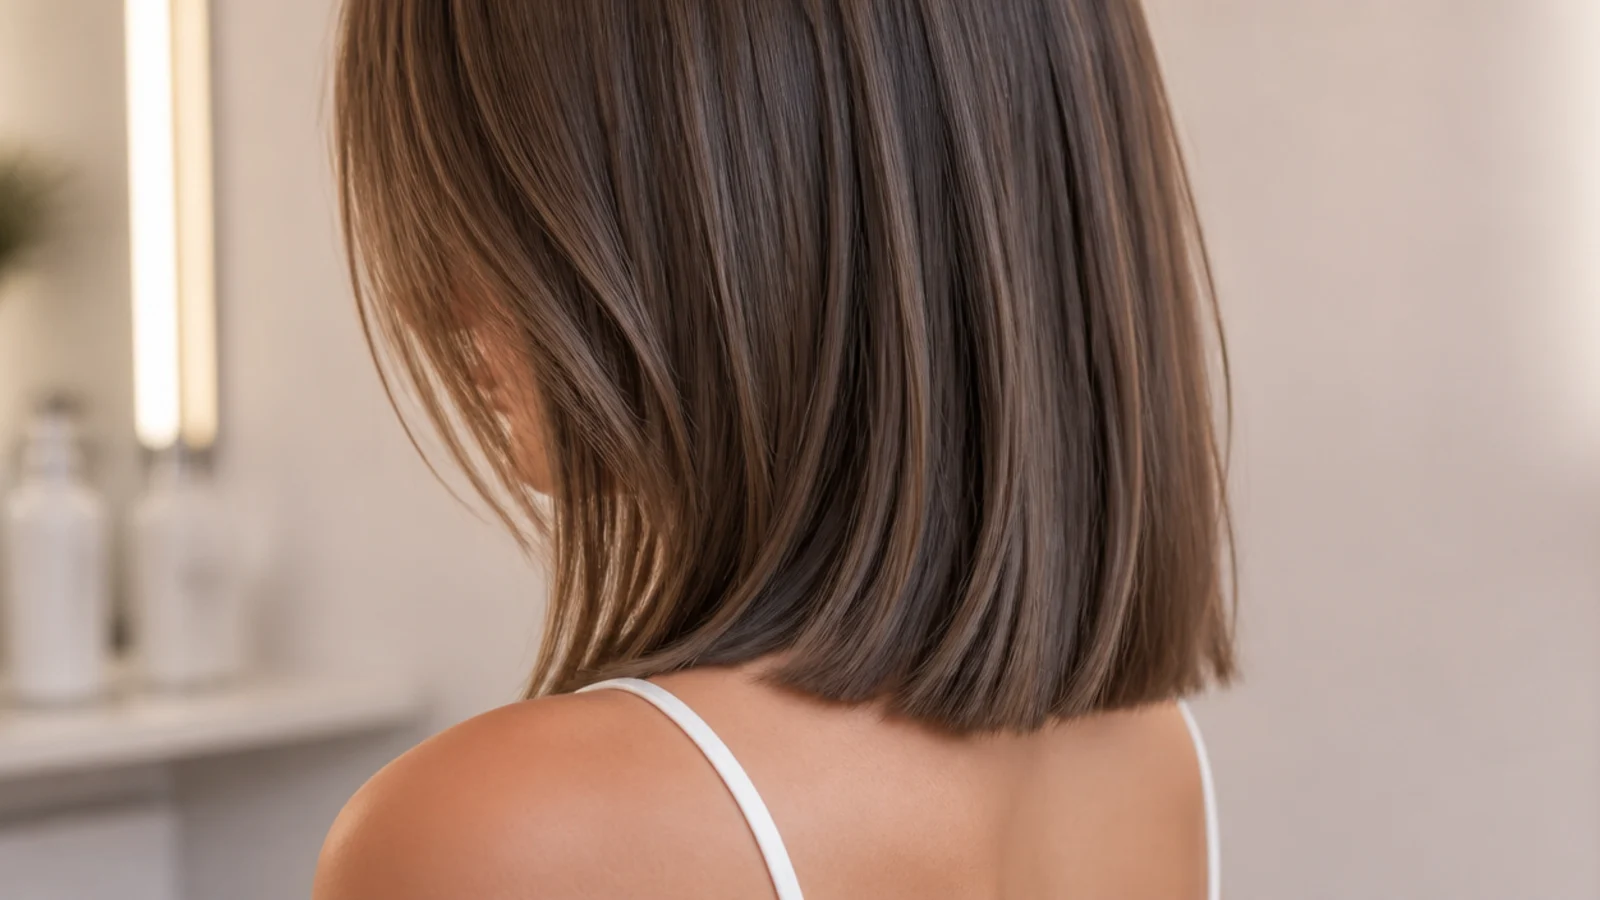
A long bob cut somewhere between the jaw and the collarbone, with a perimeter heavy enough to hold a curve under at the ends. The lower it is taken the less that curve happens on its own, and below the collarbone it stops behaving like a bob at all.
3. Invisible Layers
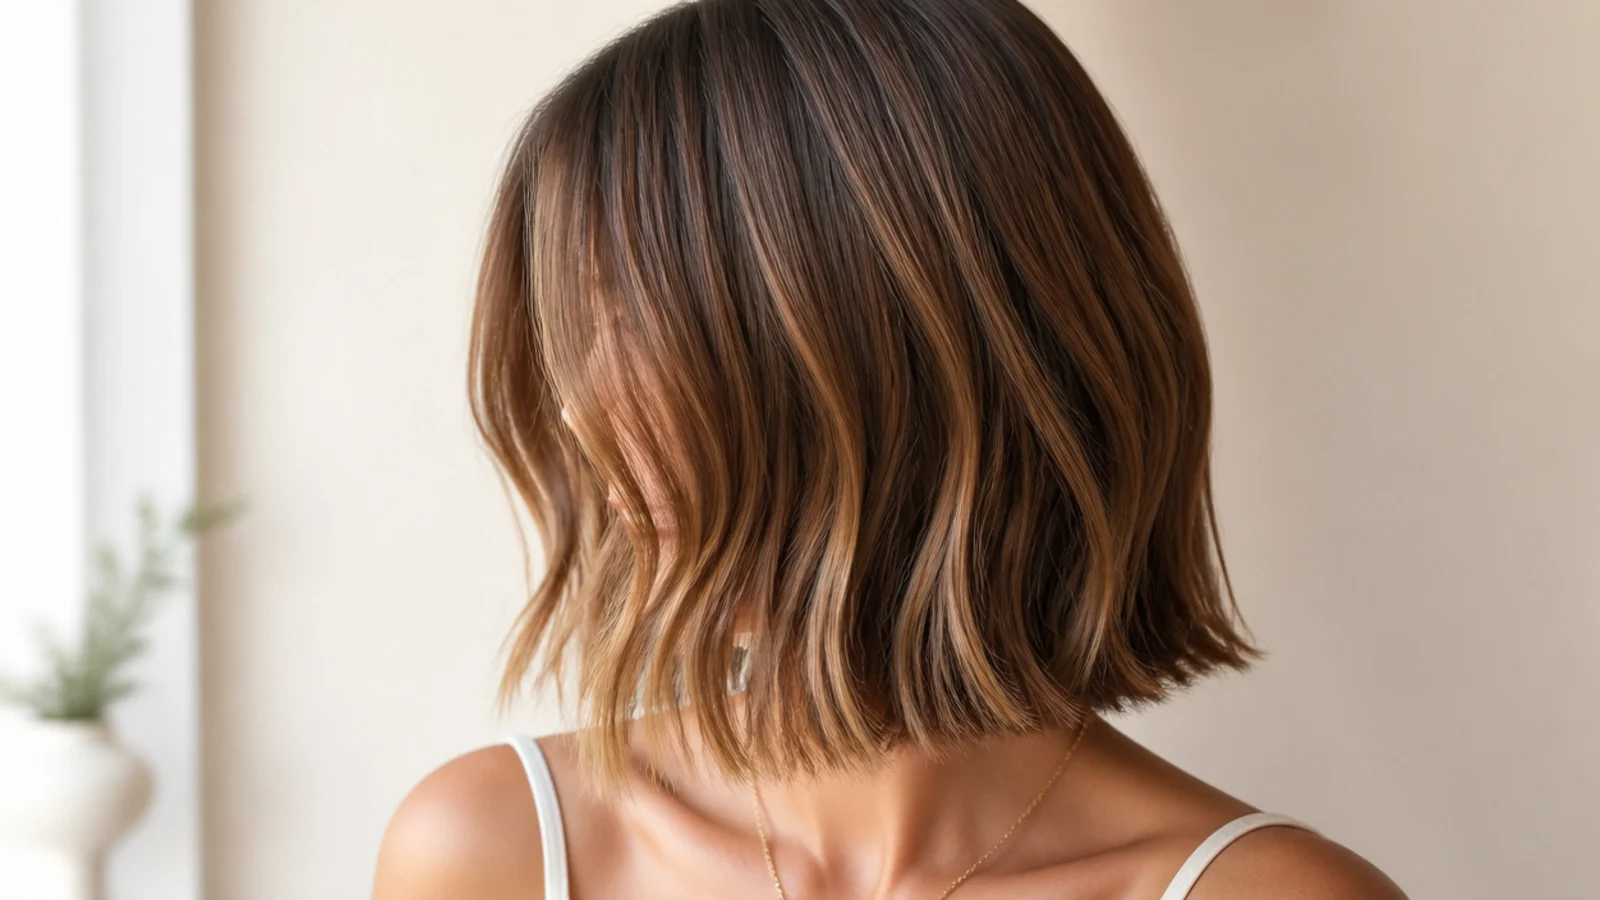
Layers cut inside the shape that never reach the surface, so weight leaves the interior while the outline stays exactly as heavy as it looks. Nobody can see them, which is the entire point for anyone who has been talked into visible layering once and regretted it.
4. Curtain Bangs
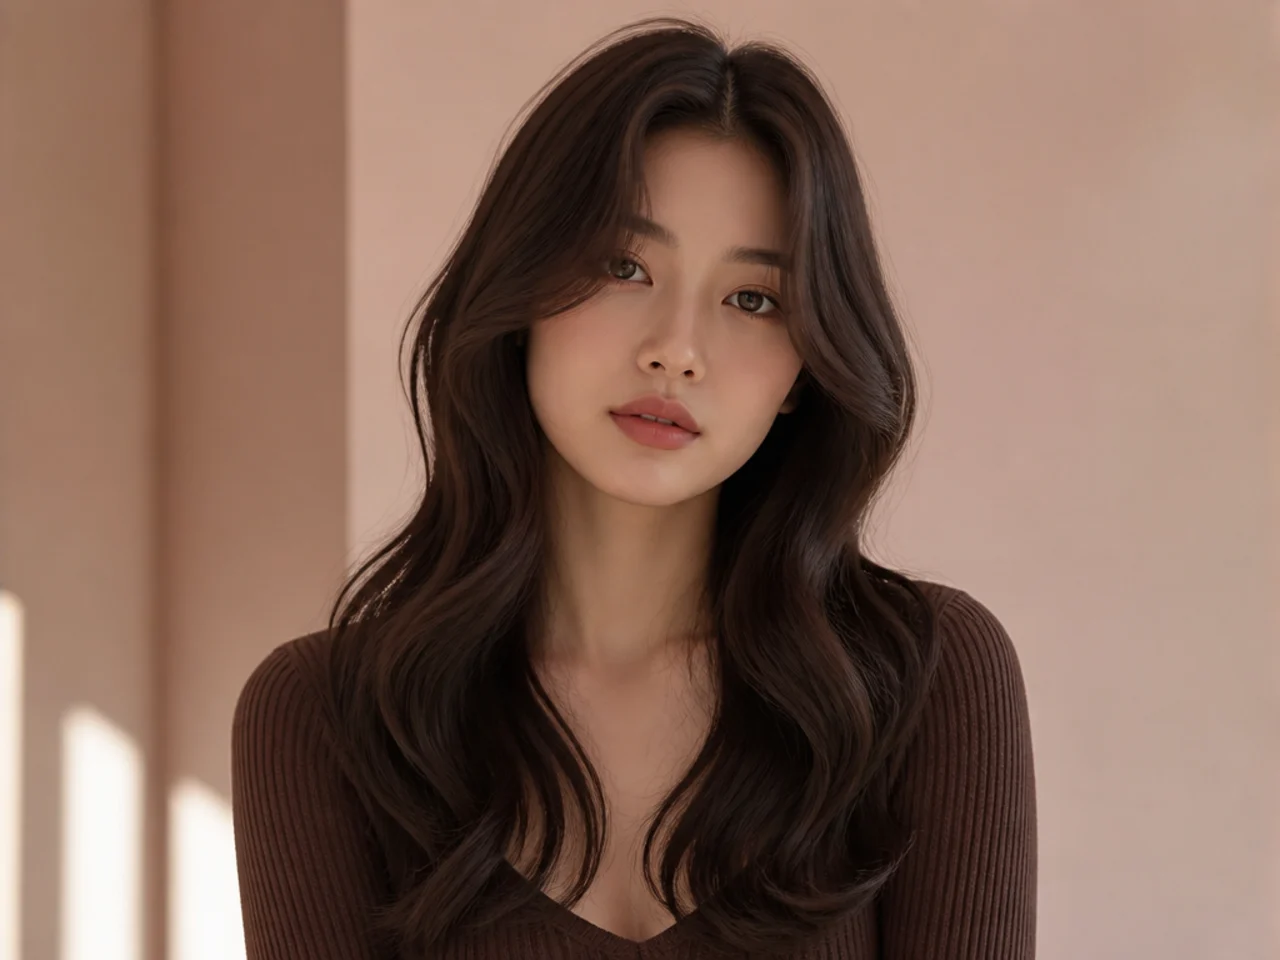
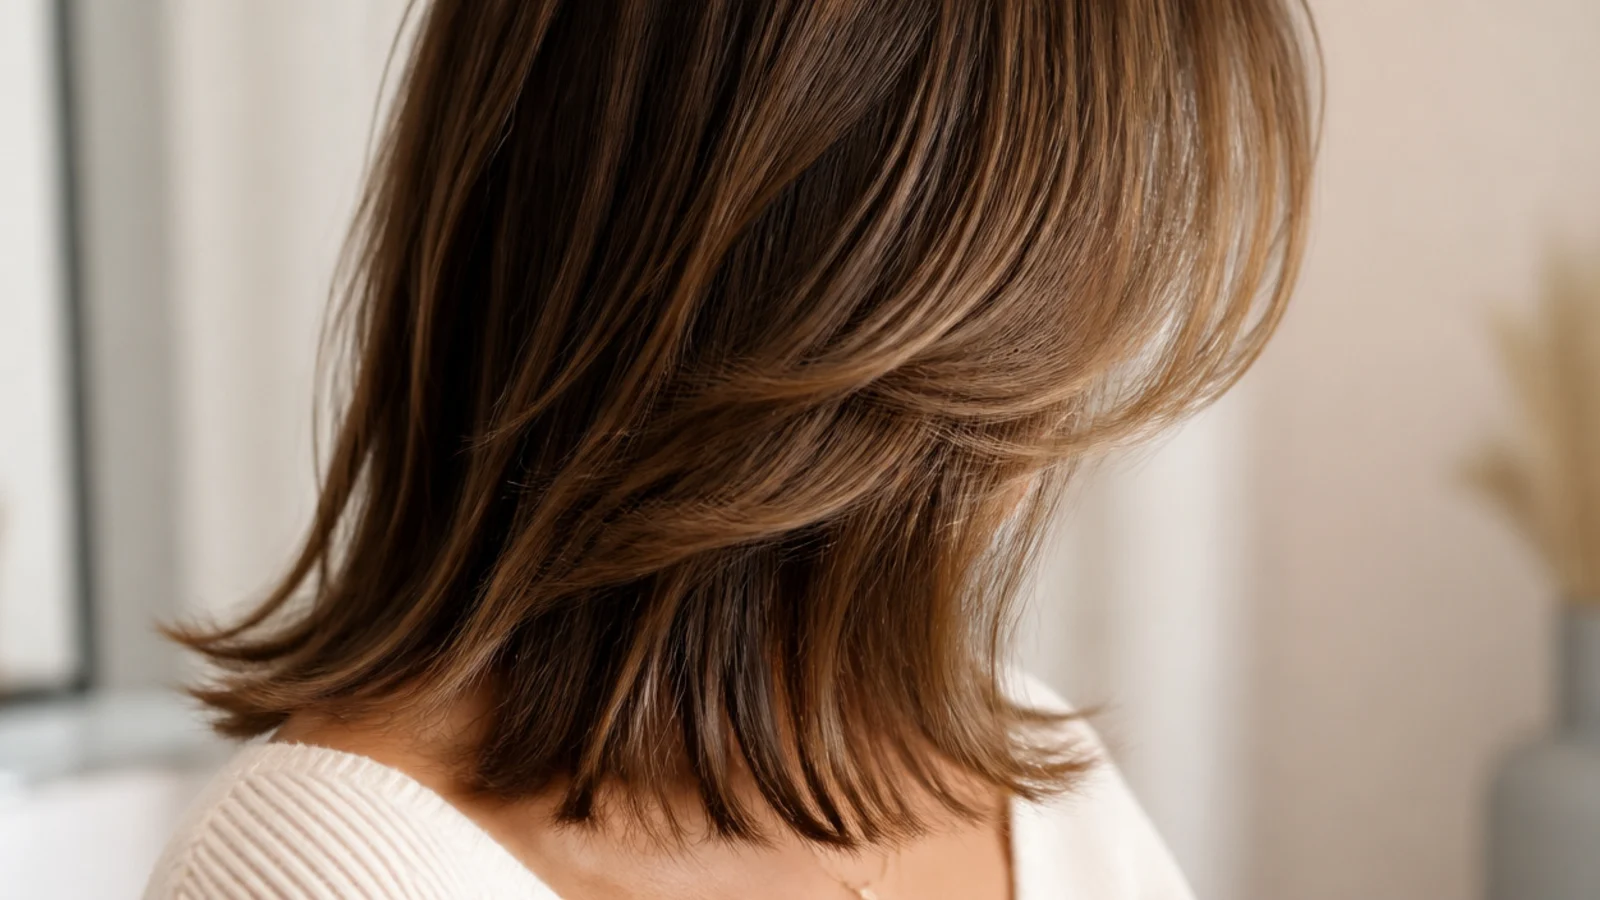
A fringe parted down the middle with each half sweeping back toward the temple. It is the easiest fringe to grow out of, because the shortest point sits at the centre and the sides are long already, so the whole thing merges into the framing rather than hanging over the eyes.
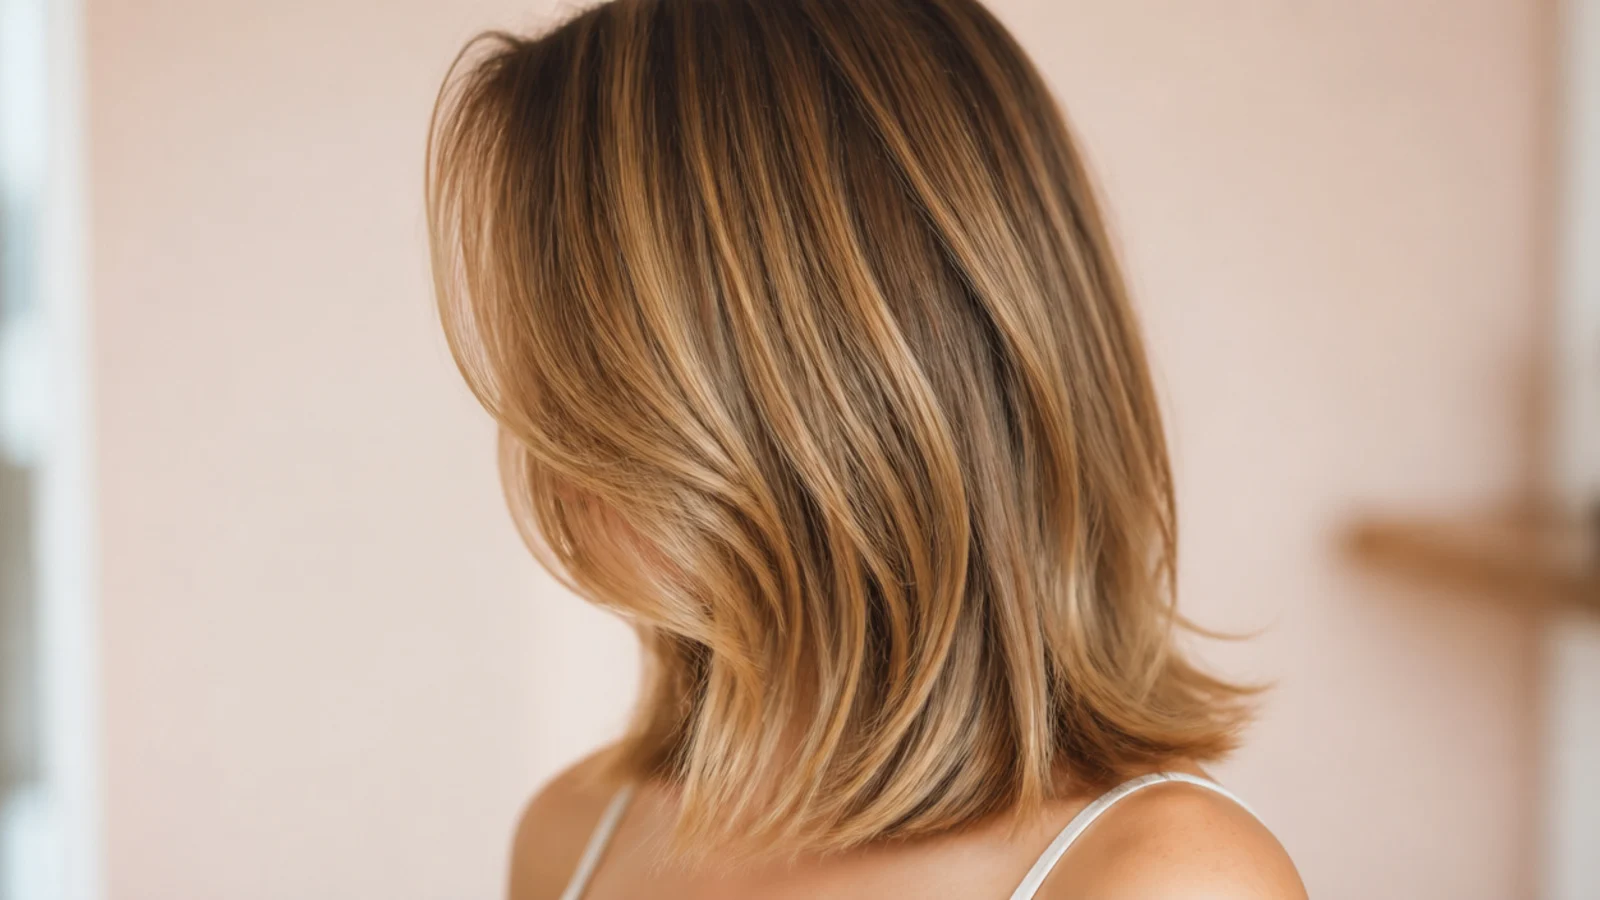
5. Face Framing at the Jaw
The shortest front pieces beginning level with the jaw, which puts them below the widest part of most faces. Above the jaw the framing adds width, below it the framing draws a vertical, and that one choice changes the face more than anything else in the cut.
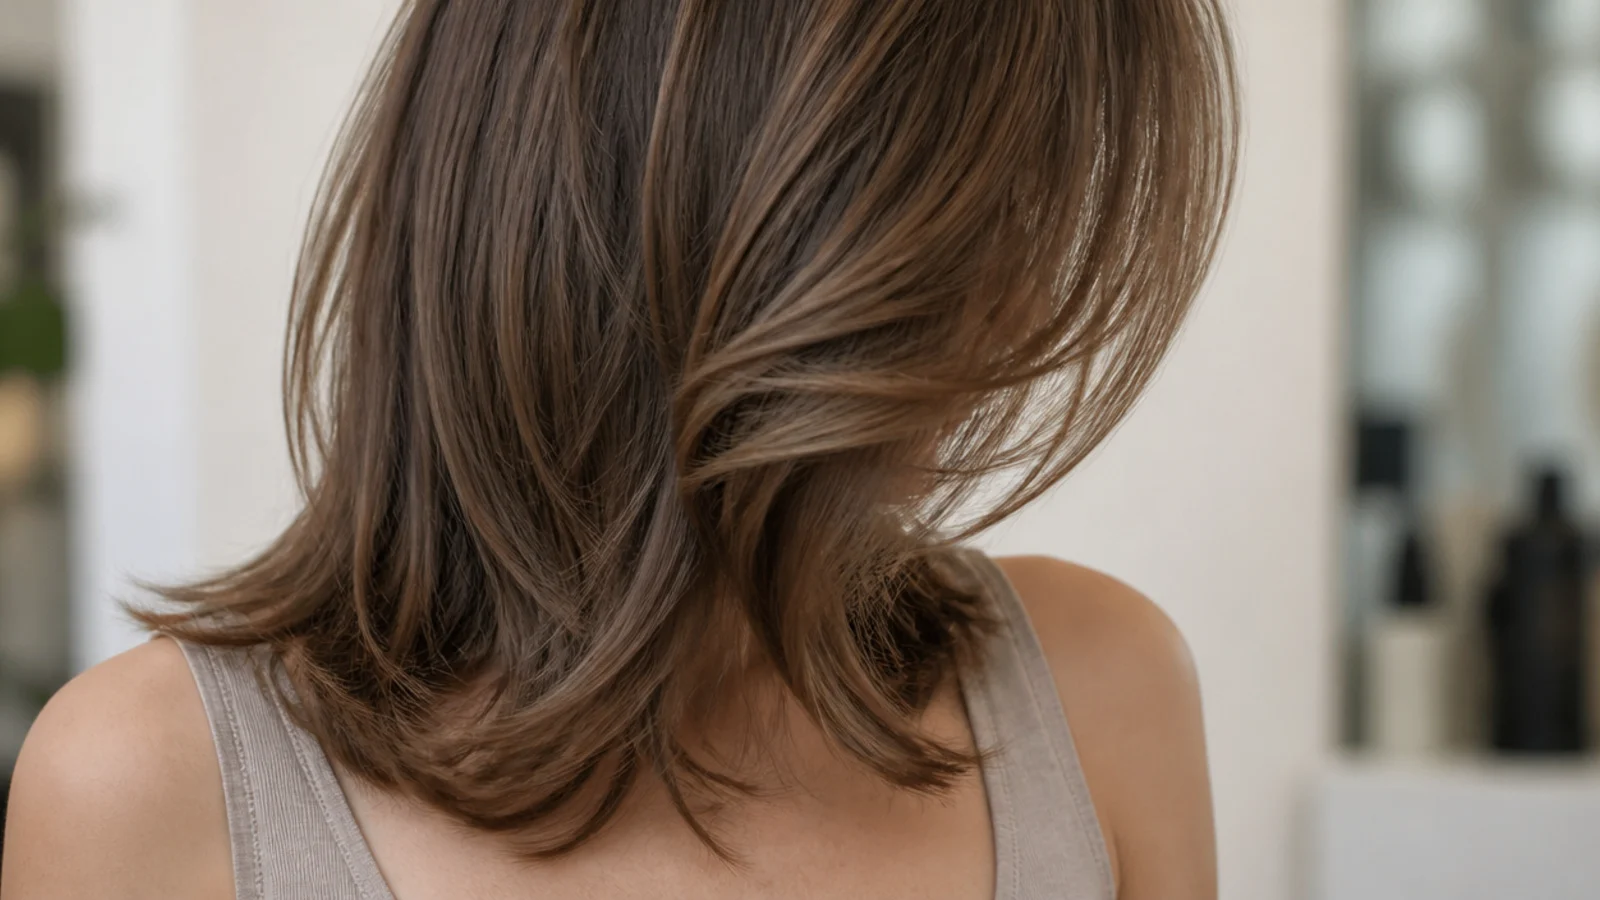
6. Butterfly Cut
Two lengths in one head, with chin length pieces falling forward and everything else left long behind. Because the short set is cut only into the front, it delivers the volume of a much shorter haircut without giving up any length at the back.
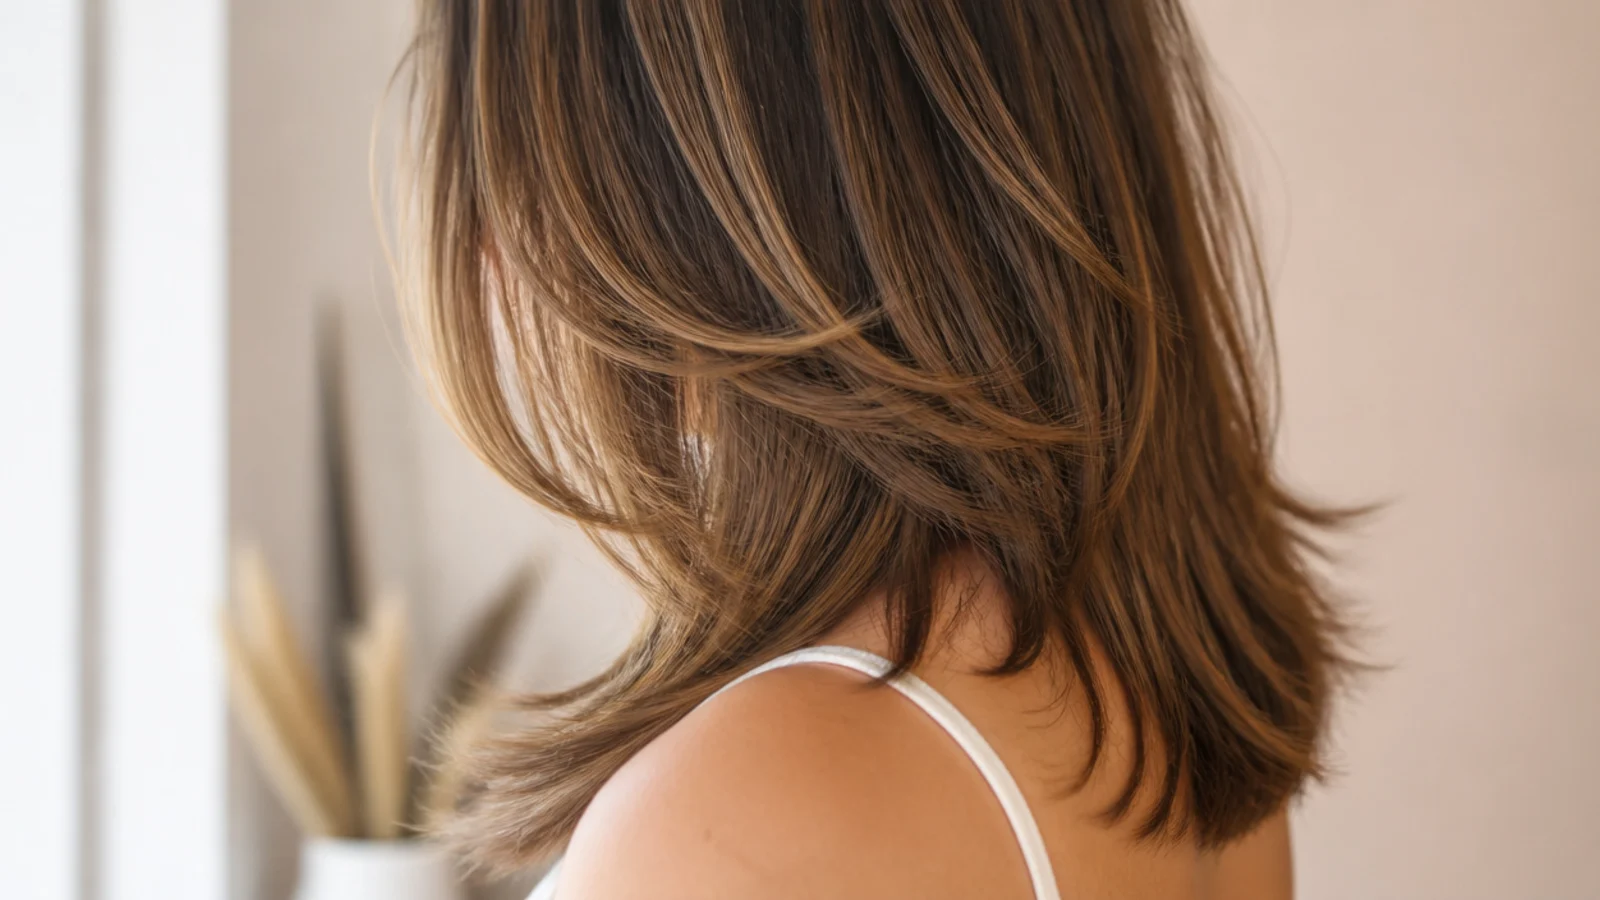
7. Modern Shag
Short crown layers stepping progressively longer down the head, with a fringe joining the shortest tier at the front. The whole shape depends on weight being removed from the top, which is why it disappoints anyone who asks for a shag but wants their crown left heavy.
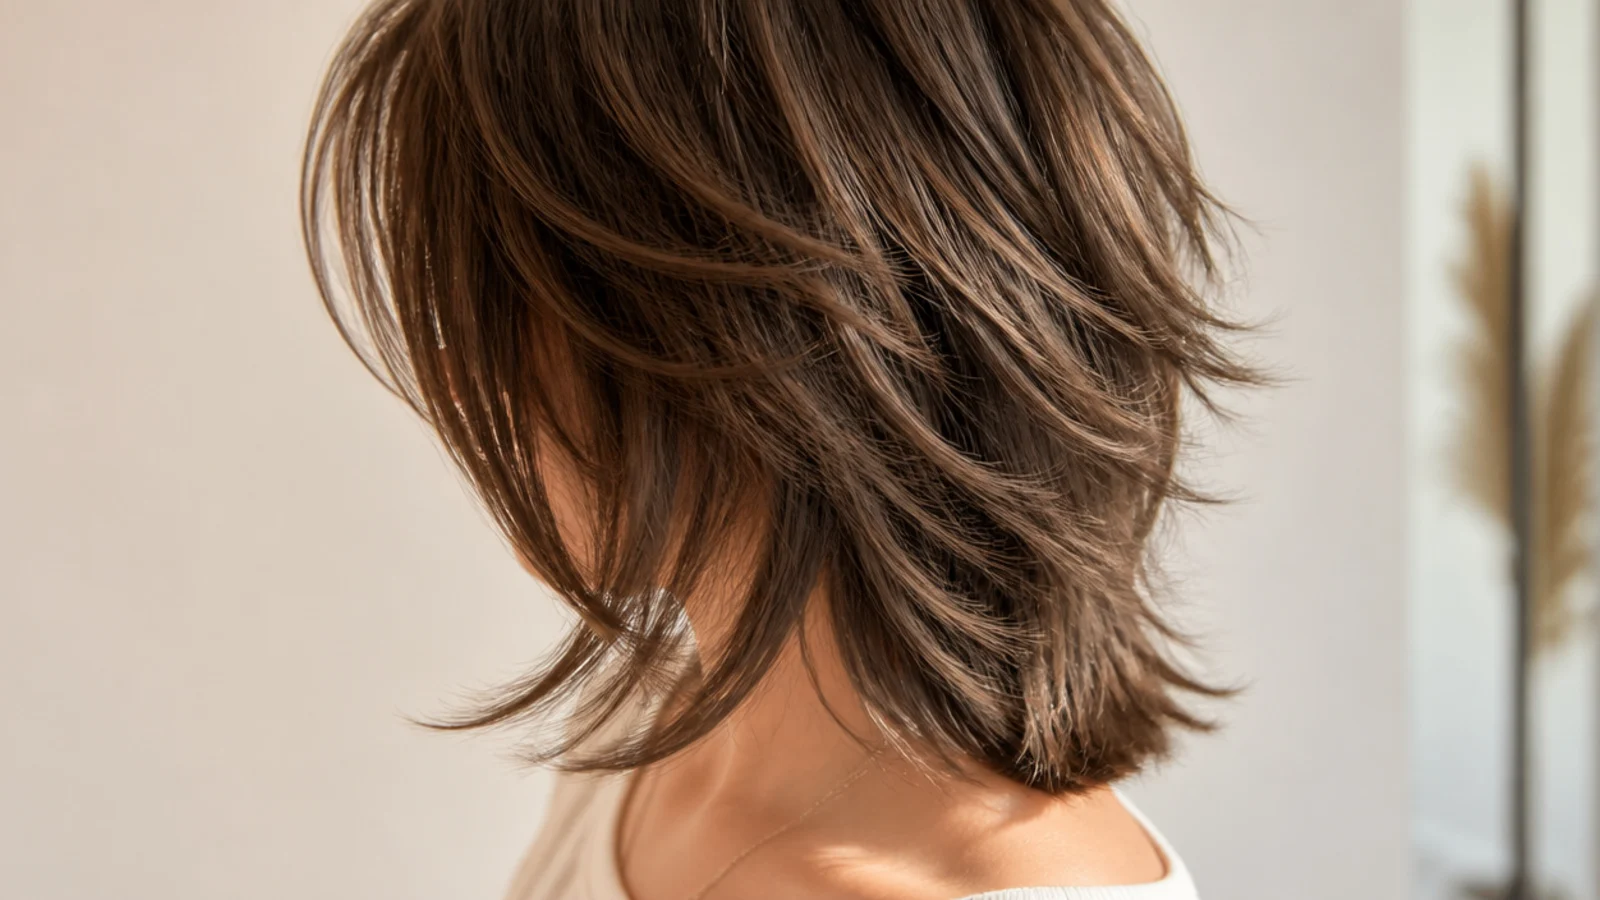
8. Wolf Cut
A shag with a wider gap between the crown and the ends, so the contrast between the two reads sharper. The shorter the crown is cut, the further it stands away from the length below it, and that is why this shape needs styling every day rather than most days.

9. U Shape Perimeter
The back cut into a soft curve, longest at the centre and rising gently toward the sides. Keeping corners out of the outline is what makes it look fuller from behind than a straight line cut at the identical length would.

10. V Cut Perimeter
The back taken to a point rather than a curve, which removes the corner where the sides meet the back. The deeper the V, the more weight leaves the outline and the more the sides start reading as layers instead of as length.

11. Choppy Ends
Scissors worked vertically into the last inch so strands finish at slightly different points instead of all on one line. It stops the perimeter hanging as a solid edge, which is the main reason mid length hair looks flat at the bottom by the end of the day.
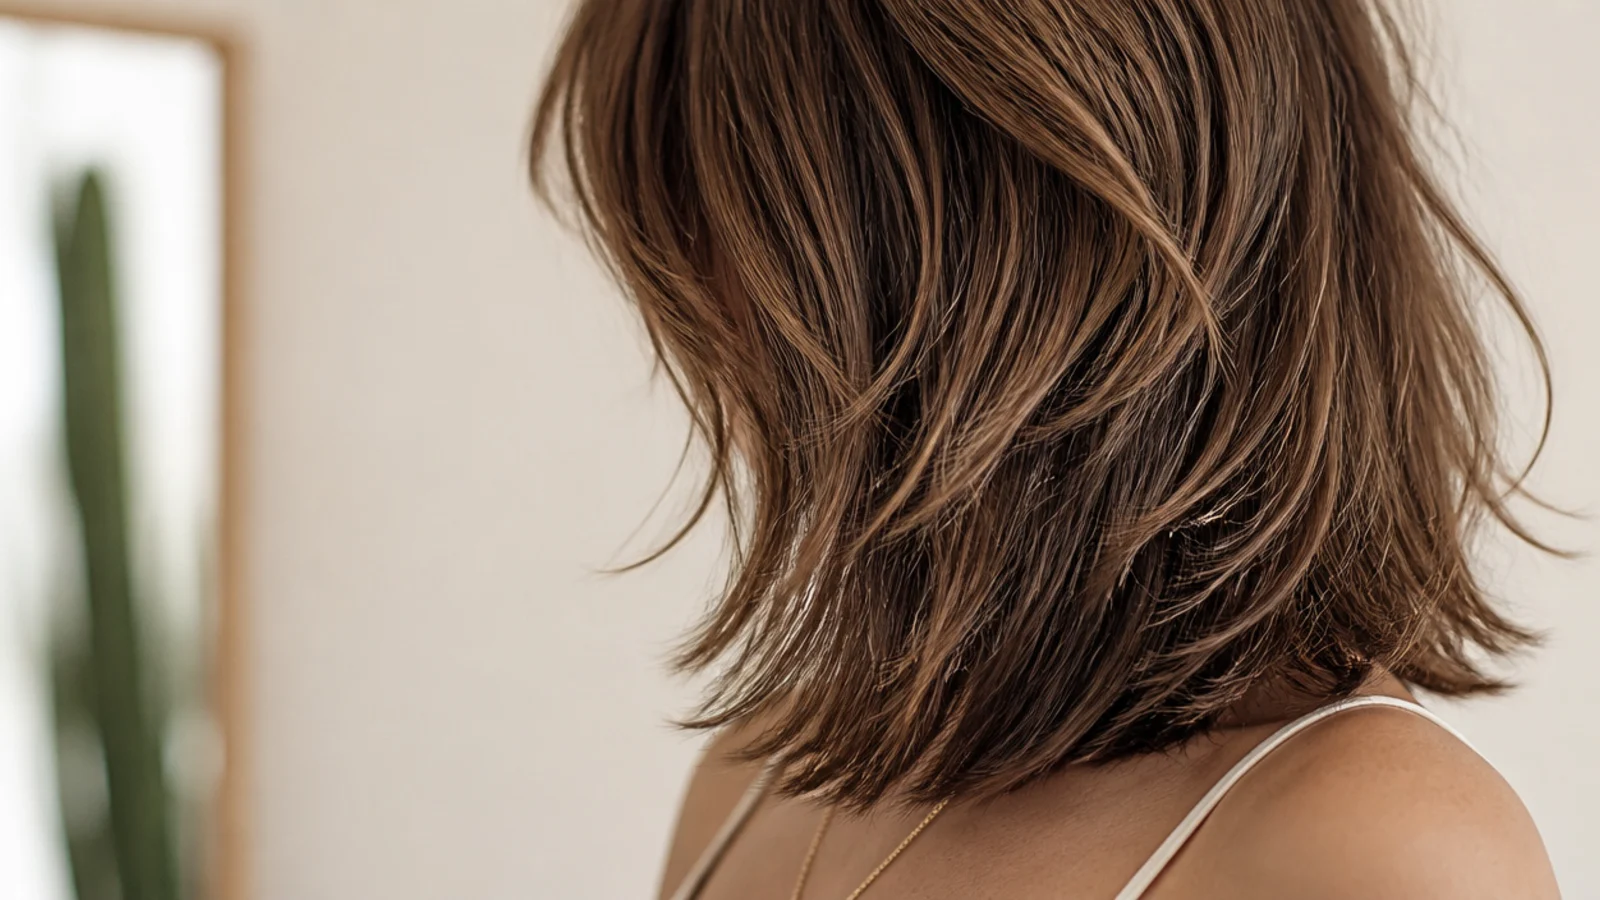
12. Fine Hair With Two Layers
One long layer and one shorter one, and nothing else. Every additional layer takes density out of an outline that has none to spare, so two well placed ones give movement while a third starts reading as thinning rather than as shape.

13. Weight Removal on Thick Hair
The bulk is taken out of the interior rather than off the perimeter, because thinning the outline on thick hair leaves the middle heavy and the ends flicking around it. Asking for weight removed from underneath keeps the shape and loses the volume, which is the order most people want them in.
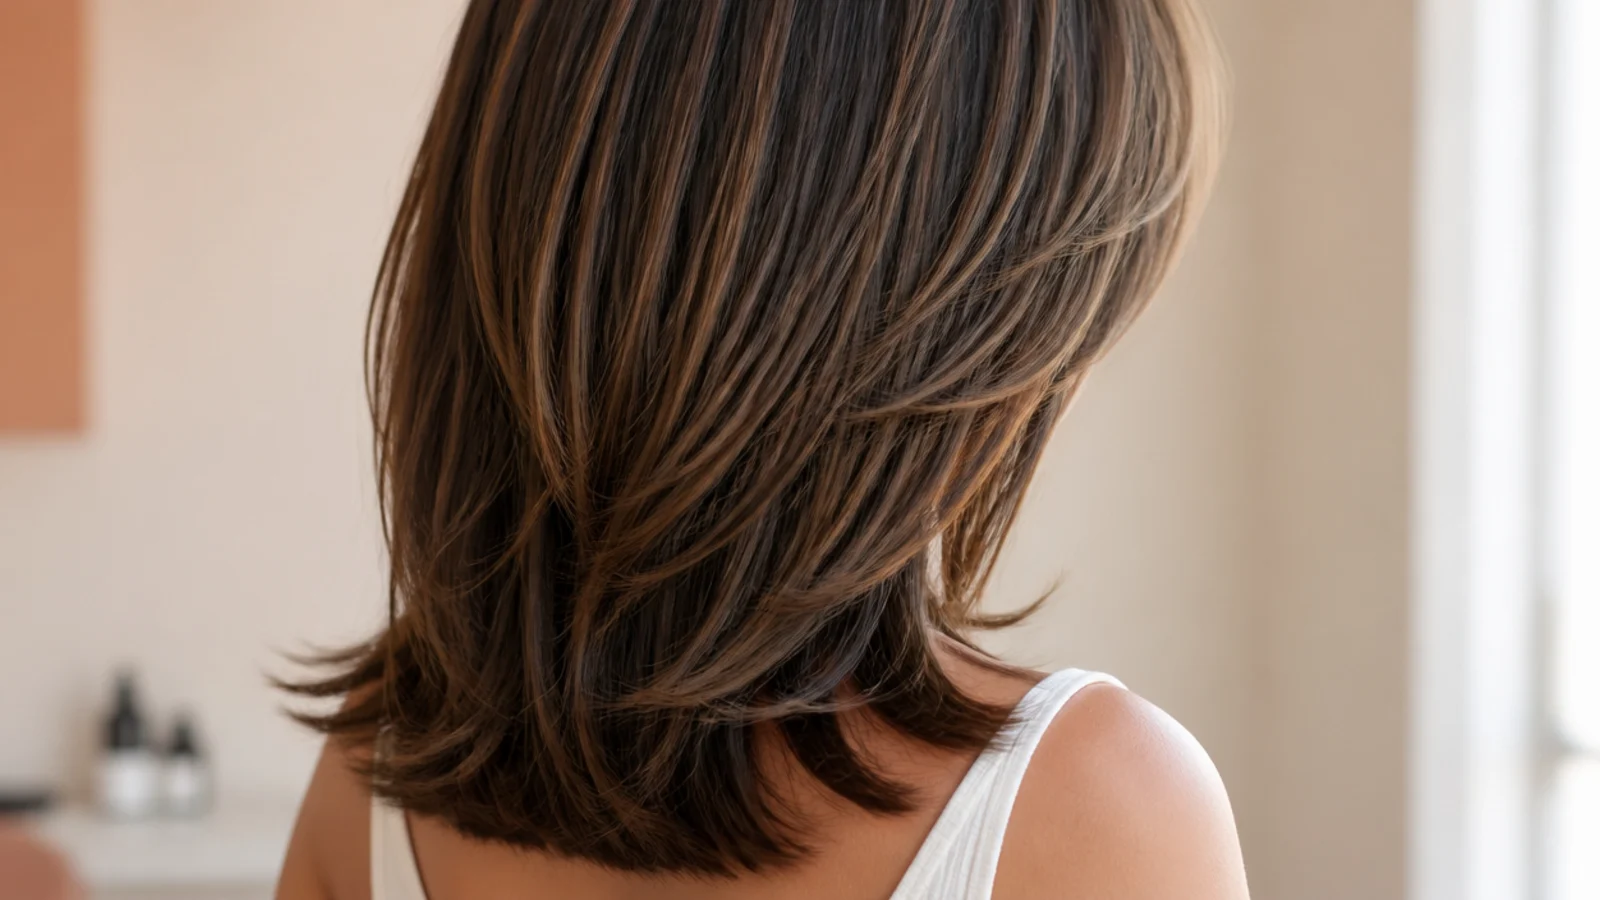
14. Curly Hair Cut Dry
A curl finishes above the point at which it was cut, by an amount that differs between patterns and even between sections of one head. Cutting dry, curl by curl in its natural position, is the only method that puts each end where you will actually see it.
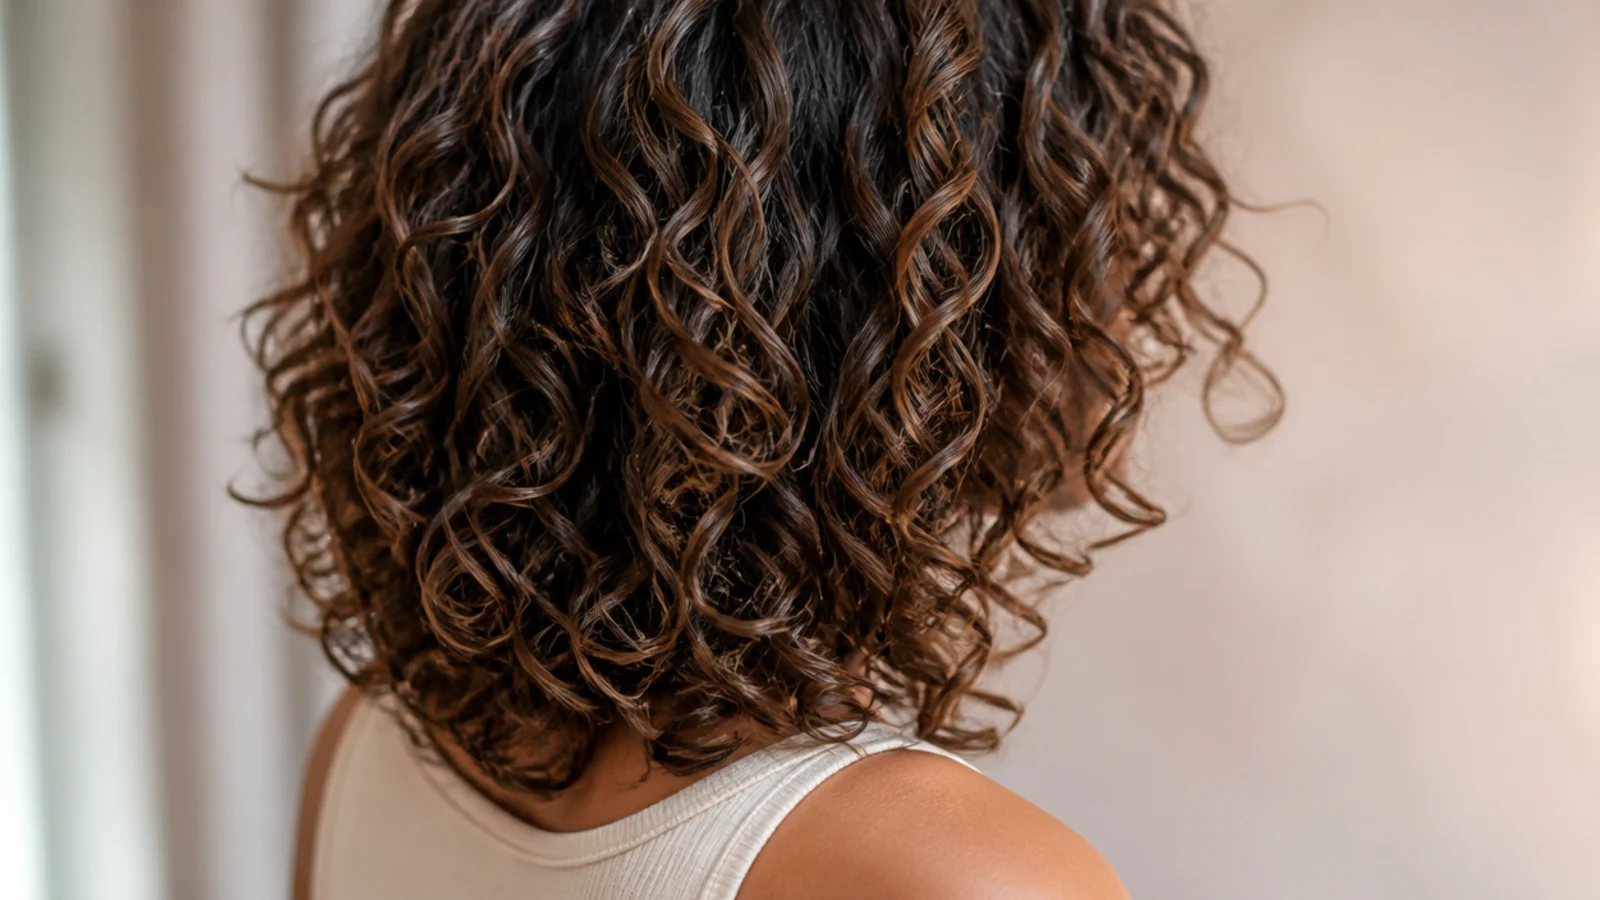
15. Wavy 2B Hair
The S bend on 2B hair begins somewhere around the mid length, so layers cut above it vanish into the wave and layers cut below it show clearly. Removing weight just above where the bend starts is what lets the wave begin higher up the head instead of halfway down.

16. Straight Hair With Hidden Layers
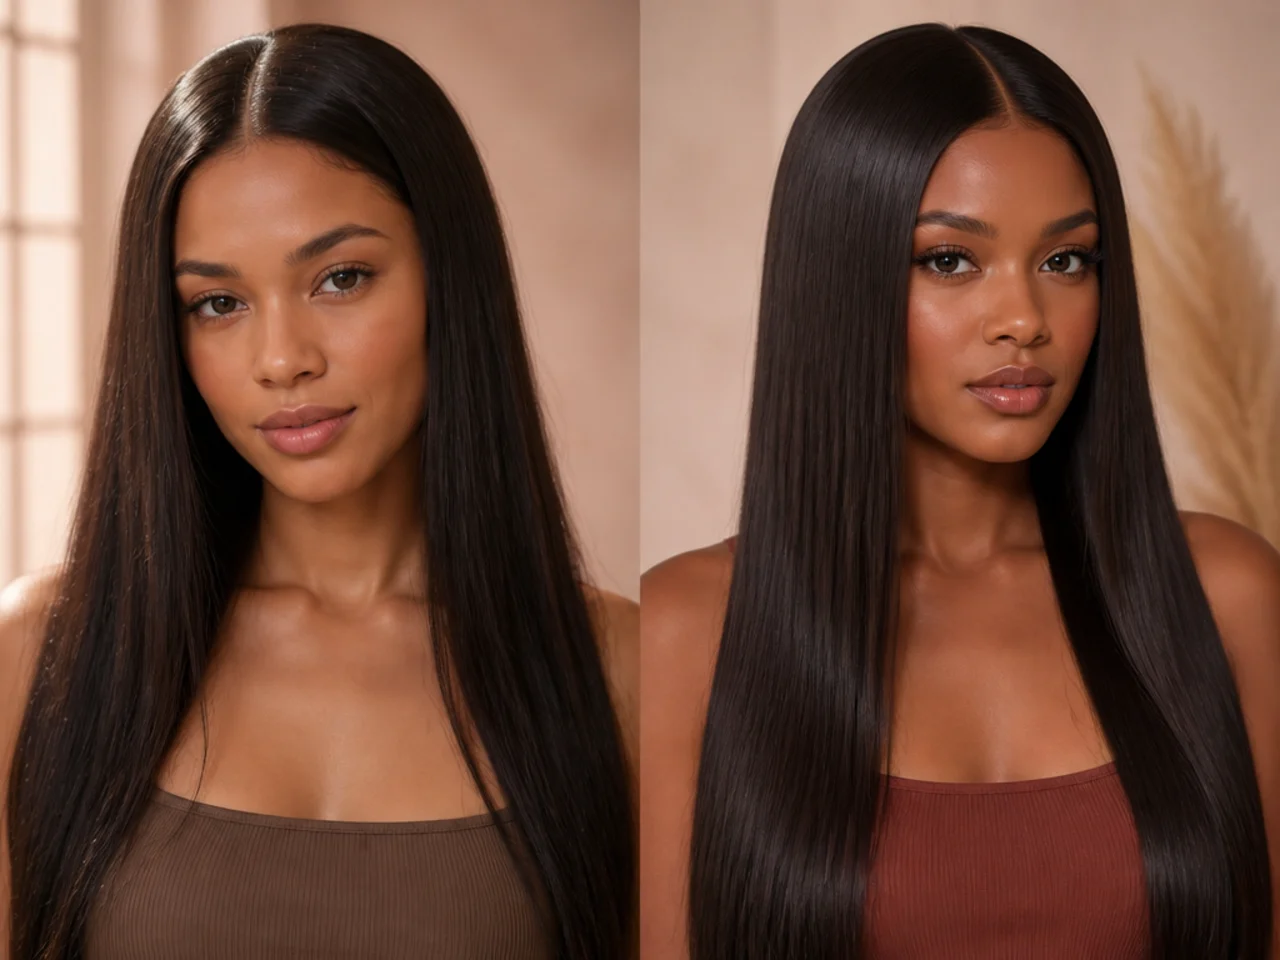
Straight hair shows every layer line because there is no bend anywhere along the strand to break one up. Hidden layers deal with that by keeping the shortest sections underneath, where the surface layer lies over them and covers the join completely.
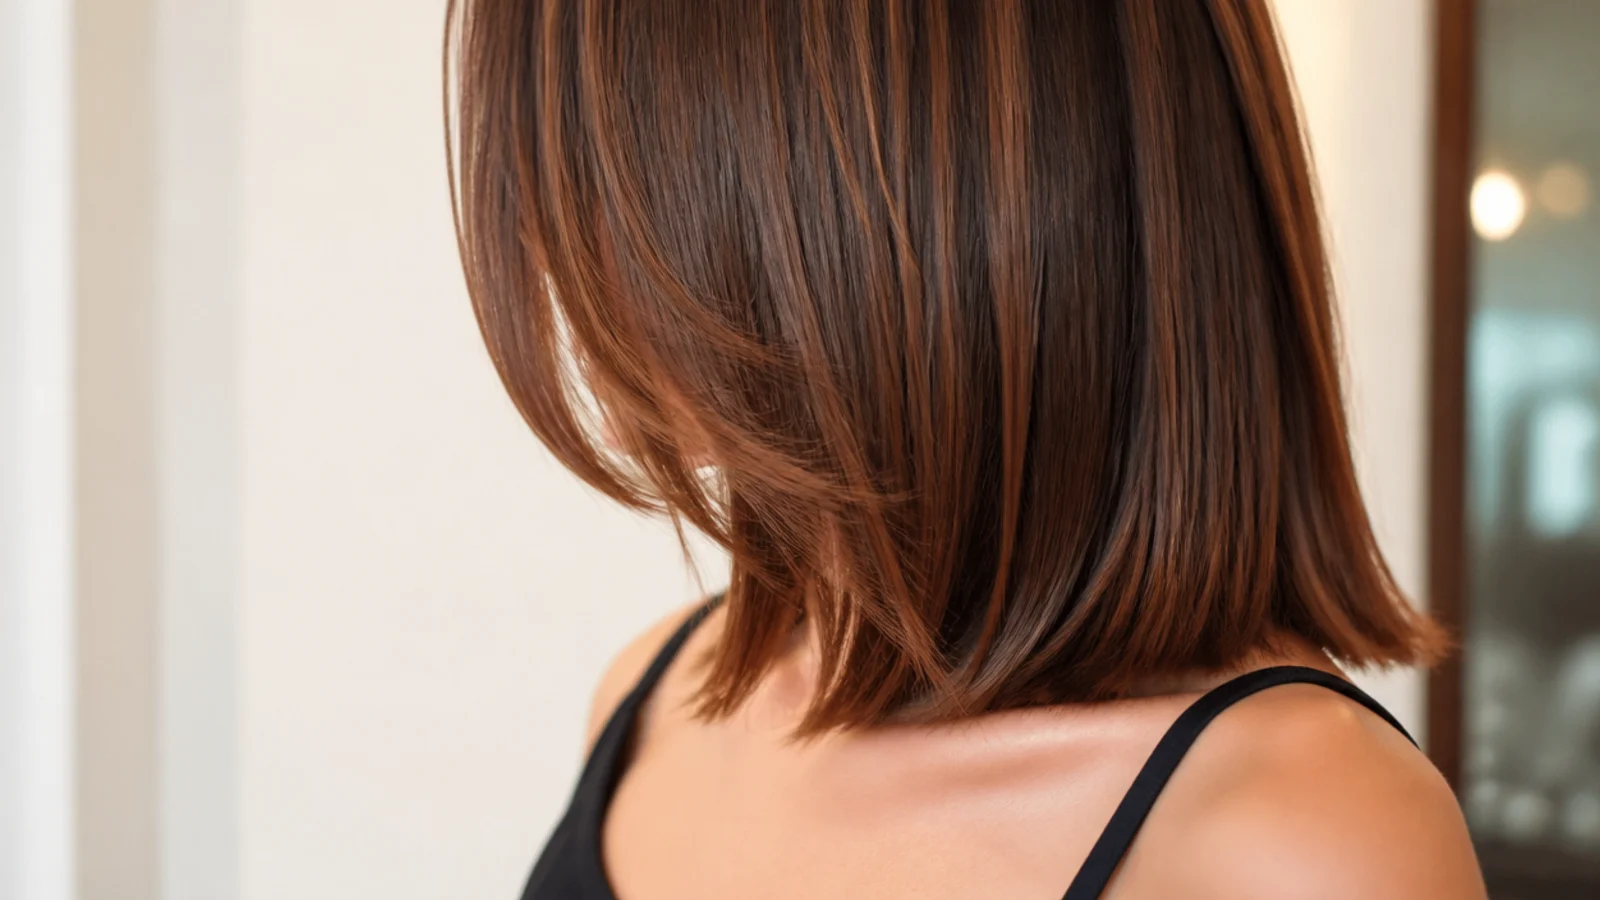
17. Deep Side Part
A part taken well off centre sends most of the hair across the head before it falls, which lifts the root along the heavy side. It is the only volume technique that works instantly, costs nothing and survives being caught in the rain.
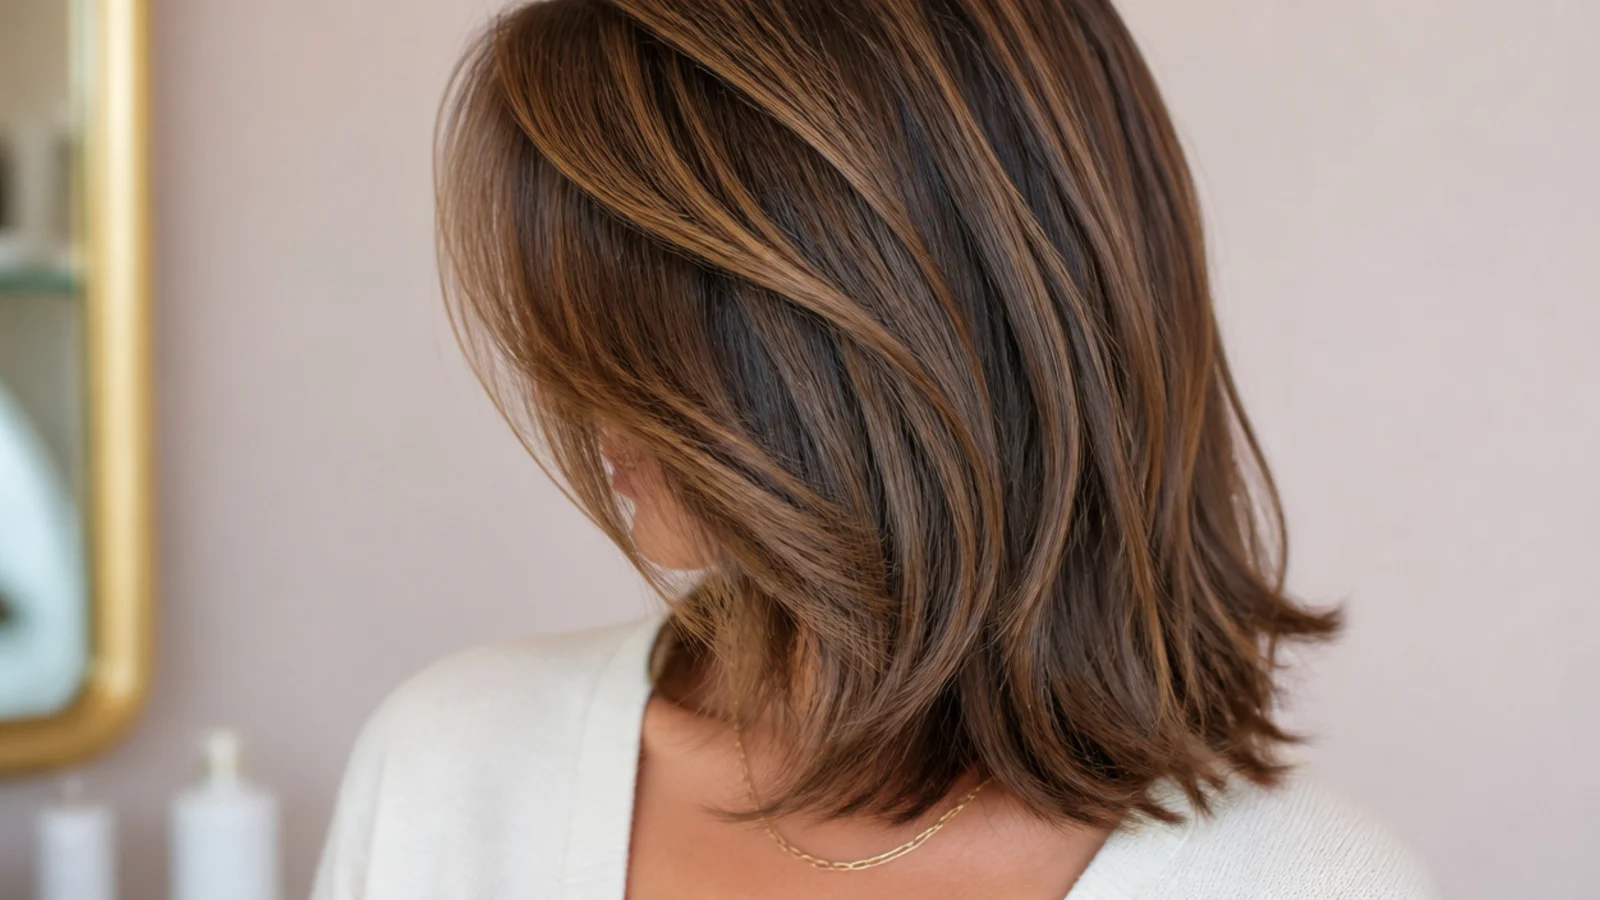
18. A Line Lob
The front cut longer than the back so the perimeter slopes forward toward the face. That forward slope pulls the eye down the front of the face rather than across it, which is why it reads as sharper than a level lob cut at the same length.
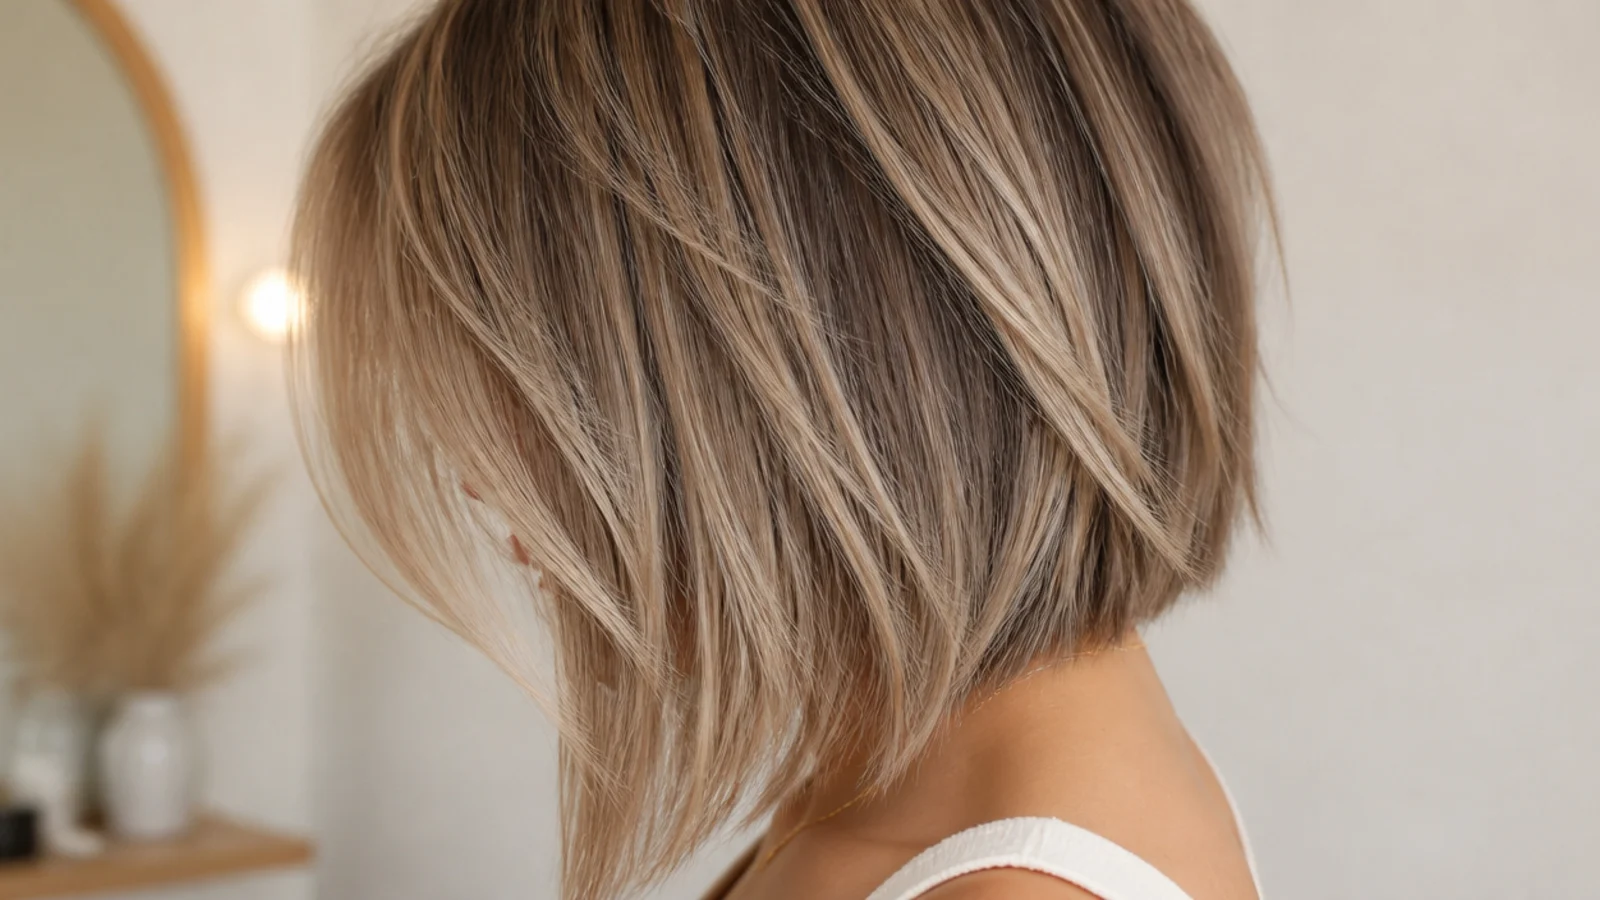
19. Bottleneck Bangs
Narrow where they leave the parting and flaring wider as they reach the cheek. The narrow top keeps the fringe off most of the forehead, and the flare is what connects it into the framing underneath rather than leaving it sitting on top.
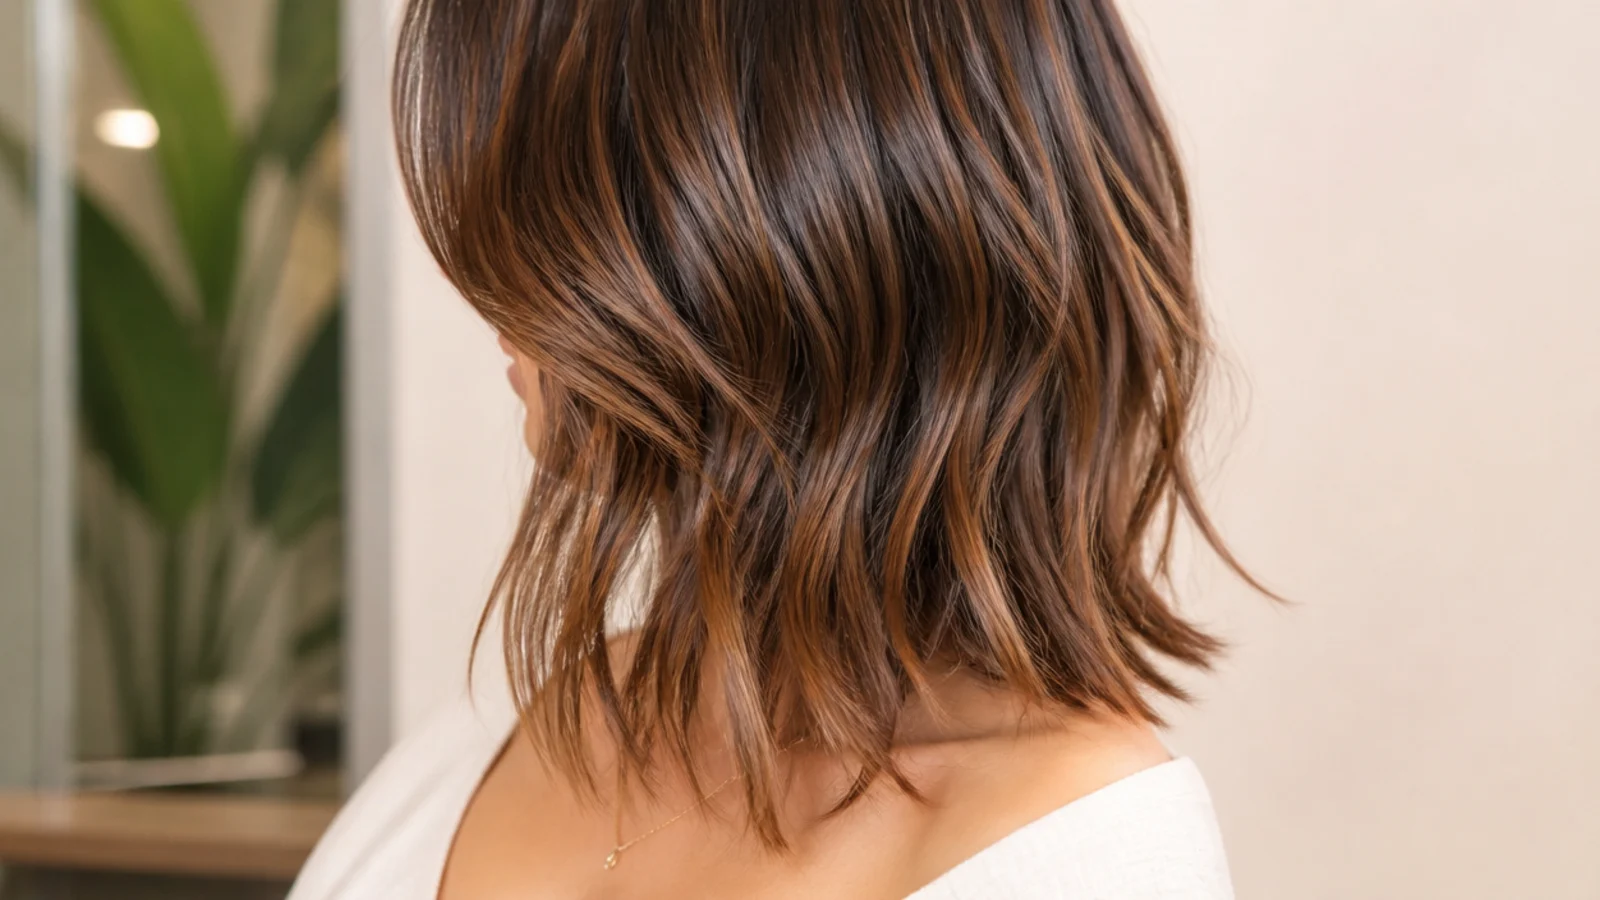
20. 4A Coils
A 4A spring often finishes near half its stretched length, so a mid length measurement taken wet is a considerably shorter cut once it is dry. Minimal layering and a rounded perimeter is what holds the shape, and it survives months of growth because shrinkage absorbs most of it.
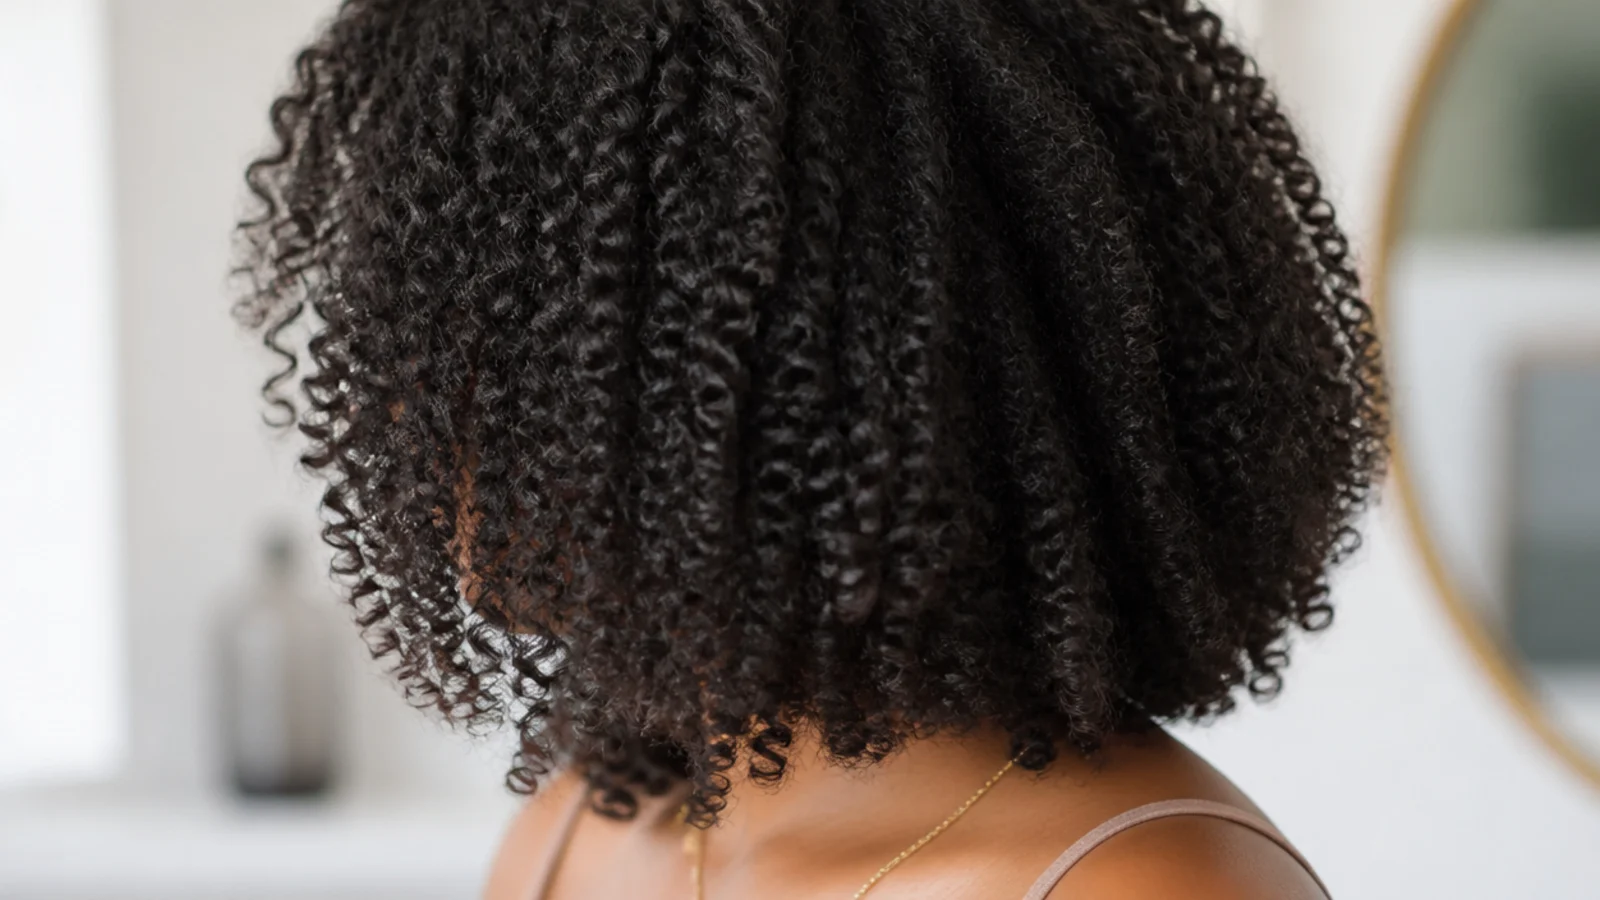
21. Money Piece
Brightened sections at the very front that reflect more light than the hair behind them, pulling the front of the cut forward. It changes the face without shortening anything, and it grows out along the part rather than as a horizontal line across the length.
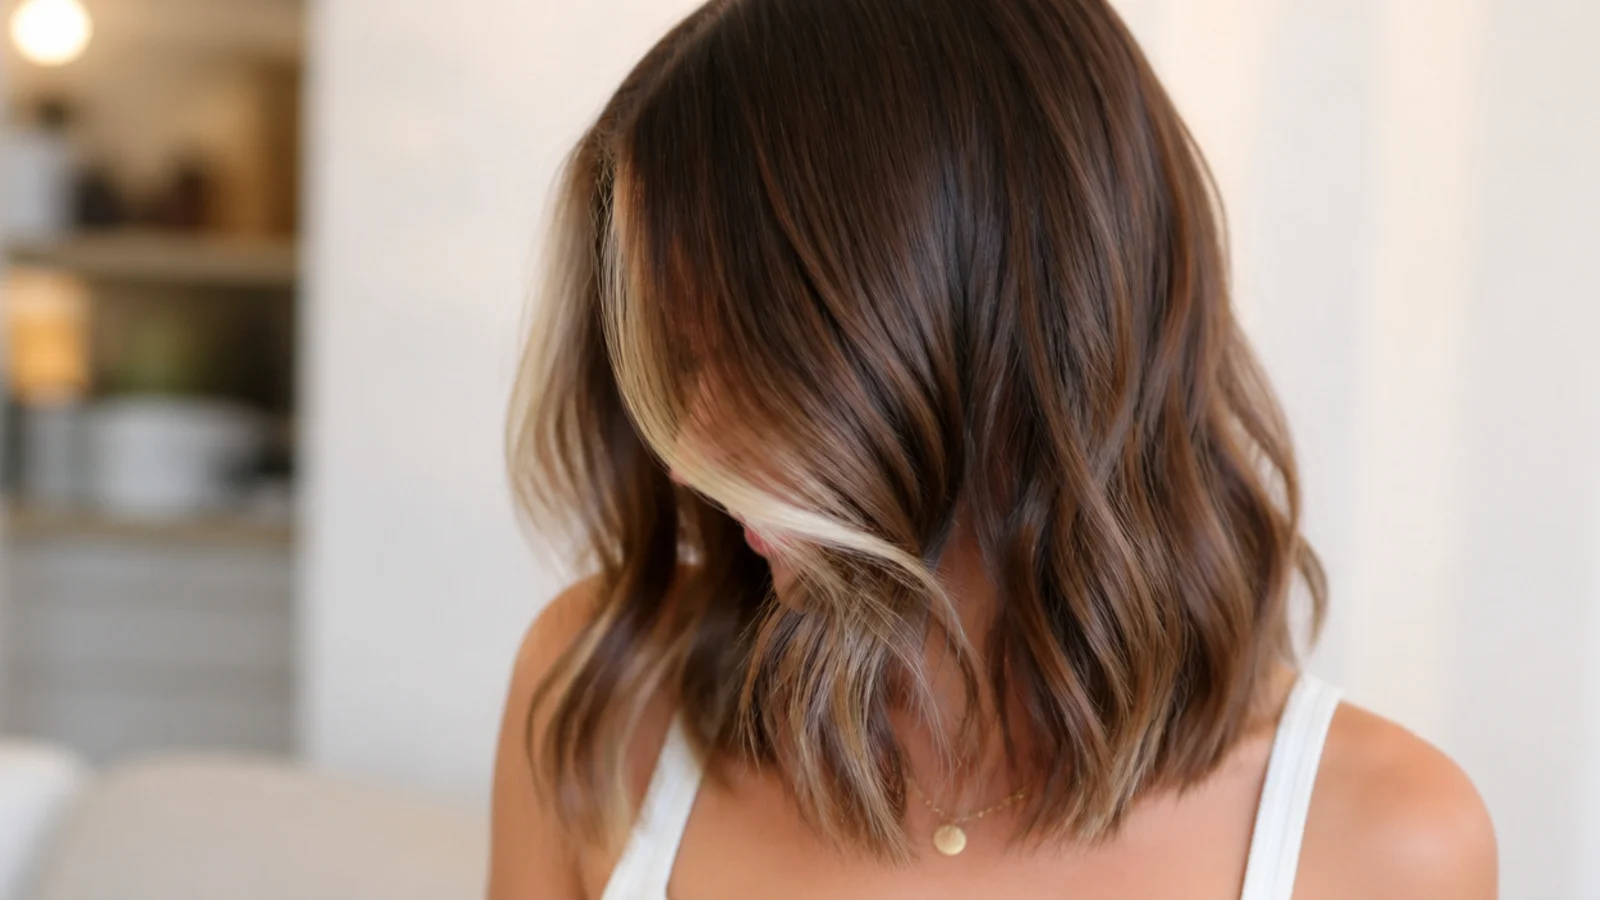
22. Flicked Ends
The last inch dried outward instead of under, which adds width at the bottom of the cut and lifts the whole outline. It needs a perimeter with weight left in it, because a thinned end has no body to hold a flick past the first hour of the day.
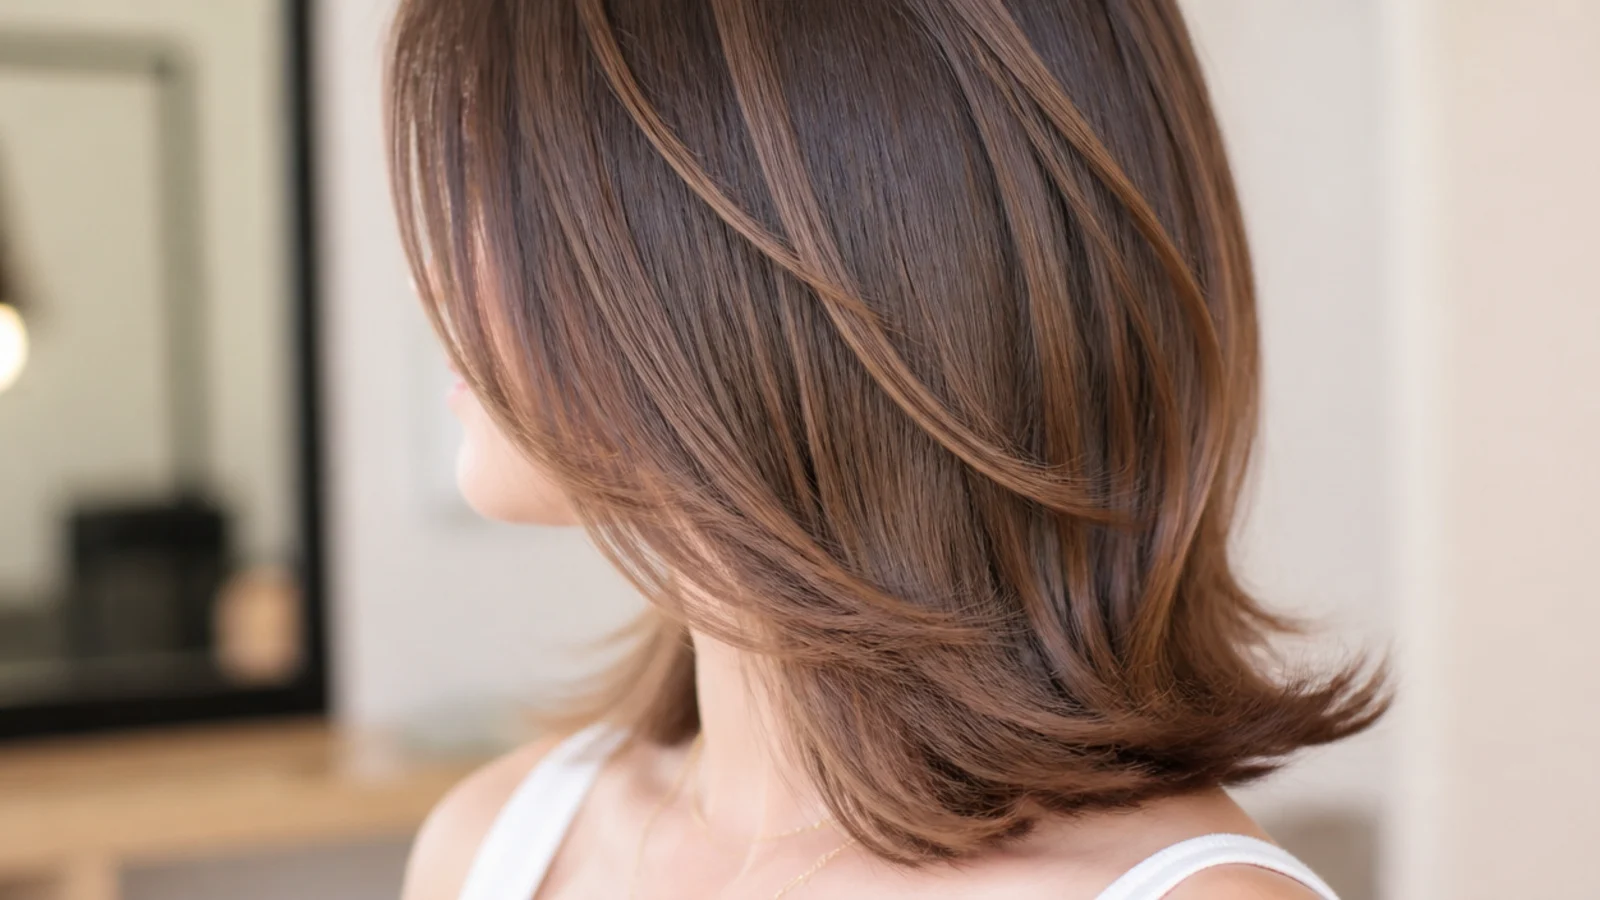
23. Round Face With a Chin Start
Nothing in the framing cut shorter than the chin, so no layer finishes at cheek level where a round face is at its widest. The gradient from chin down to the perimeter then runs vertically, and a vertical is exactly what a round outline is missing.

24. Square Jaw Layers
The layering set so the shortest pieces travel past the jaw rather than stopping on it. A line landing on the corner repeats the angle back at the face, while a line crossing it breaks the outline at the exact point the eye uses to read the shape.
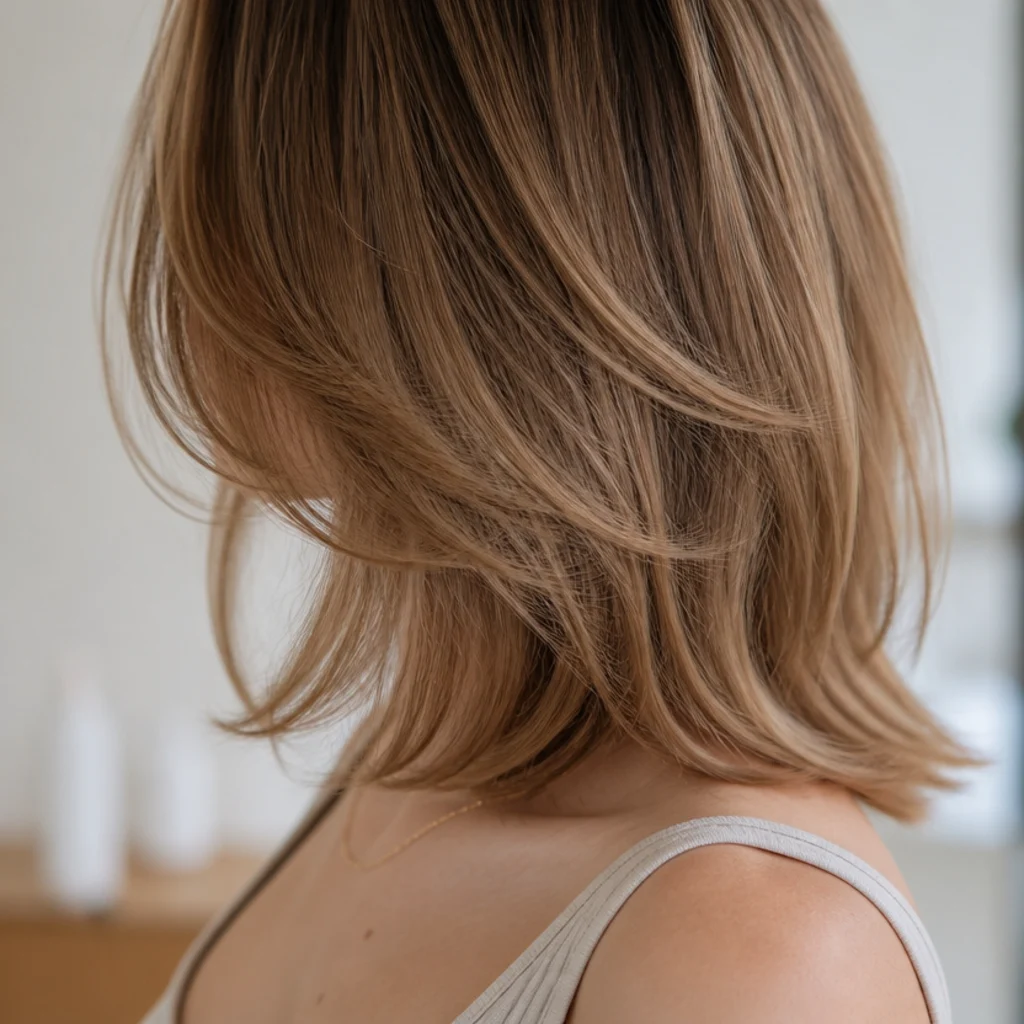
25. Long Face Side Swept
Hair swept across the face from a deep part, laying a horizontal line over a face that reads as vertical. The sweep has to start above the cheekbone to have any distance to travel, and the part has to be deep enough to keep it lying that way all day.

Final Thoughts
Two sentences get you the cut you pictured. Where the perimeter falls, said against your own body, and how much shorter the inside should be. Almost every mid length haircut that goes wrong goes wrong because one of those was left for the stylist to infer, and the safest inference is rarely the one you had in mind.
After that it is upkeep, and mid length rewards it unusually well. A dense perimeter, a dust every couple of months, and roots dried first — that is most of the difference between a cut that looks intentional at week ten and one that looked good only on the day. For the same length worn by men see how to style medium length hair for men. More in Women's Hairstyles. See also the choppy version.