

20 Shoulder Length Shag Cuts That Are Easy To Style
Twenty shoulder length shags, and the reason this length is the hardest one to wear. Hair that stops exactly at the shoulder gets pushed back up by it, so the ends flick out unless the layers are cut to fall past one another.
In this article · 27
- What Makes a Cut a Shag
- Choosing Your Version
- The 20 Shoulder Length Shag Cuts
- 1. The Classic Shoulder Length Shag
- 2. The Curly Shag Cut Dry
- 3. The Wavy Shag With Face Framing Layers
- 4. The Straight Shag With Point Cut Ends
- 5. The Shag With Curtain Bangs
- 6. The Shag With a Short Blunt Fringe
- 7. The Fine Hair Shag With Shallow Layers
- 8. The Thick Hair Shag With Internal Weight Removal
- 9. The Coily Shag Cut for Shrinkage
- 10. The Soft Modern Shag
- 11. The Seventies Feathered Shag
- 12. The Shag With a Deep Side Part
- 13. The Shag With a Middle Part
- 14. The Razored Shag
- 15. The Blunt Perimeter Shag
- 16. The Wolf Cut Shag
- 17. The Shag With a Money Piece
- 18. The Shag With a Root Shadow
- 19. The Shag With a Thinned Nape
- 20. The Grown Out Shag at Twelve Weeks
- Styling and Upkeep
- Mistakes to Avoid
- FAQ
- Final Thoughts
The shoulder is the reason this length has a reputation, and the problem is mechanical rather than a matter of styling.
The shoulder pushes the ends back up. Hair that lands exactly on it has nowhere left to travel, so a blunt perimeter folds outward into a flick every single day.
A shag solves that by staggering the ends. When no two strands finish on the same line they slide past each other, and the shelf that causes the flick never forms.
What Makes a Cut a Shag
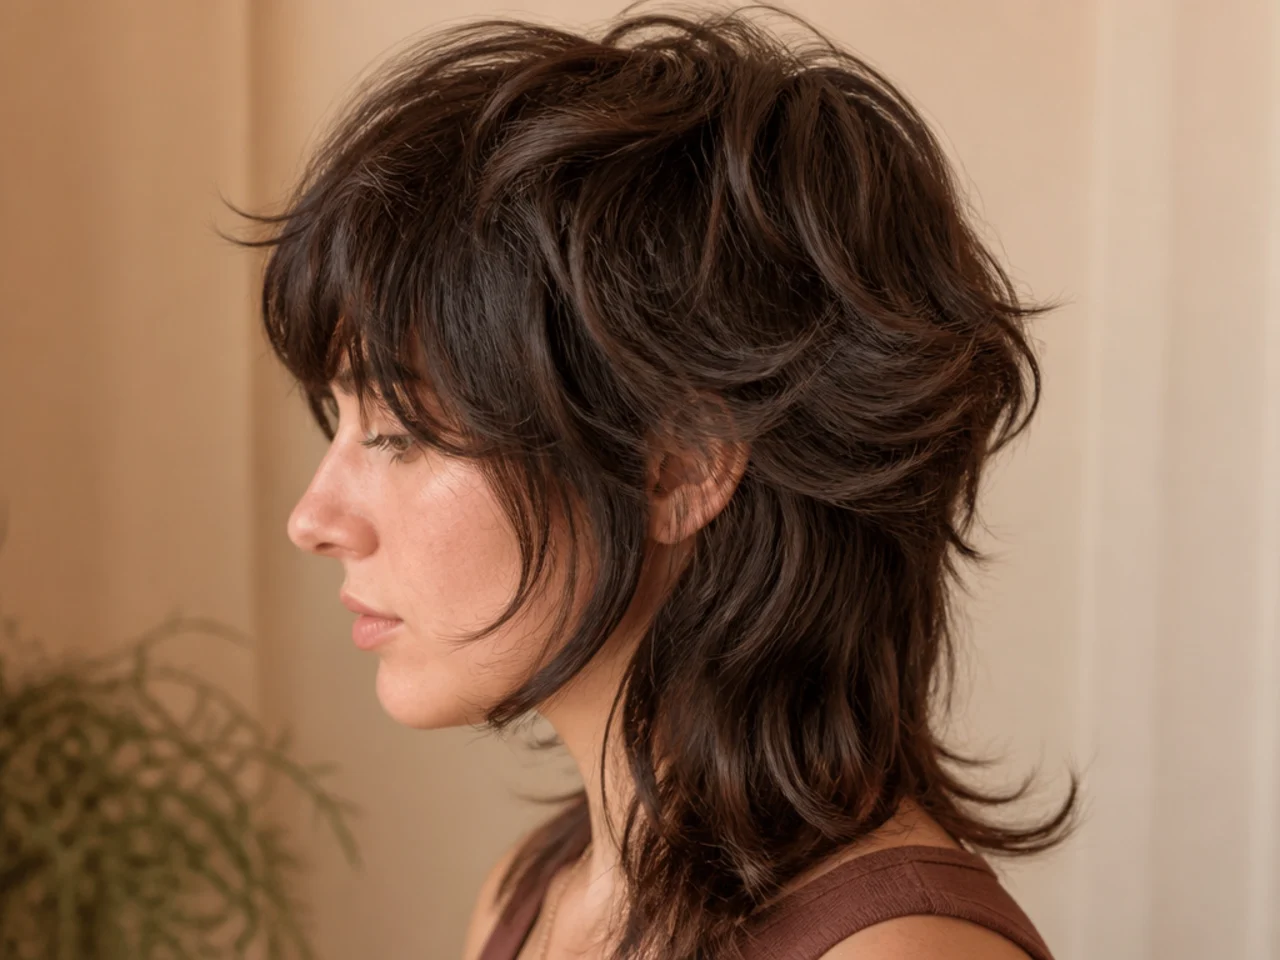
Short crown layers resting on longer ones. The upper layers are cut two to three inches shorter and sit on the layer beneath, propping it up. That is where the volume comes from, not from product.
Ends that finish at different lengths. Point cutting and slide cutting leave a ragged perimeter on purpose so the hair cannot form a single blunt line.
Face framing that starts high. The shortest front piece usually lands at the cheekbone, which is what stops a shag reading as a plain layered cut.
Weight removed from the interior, not the outline. A shag keeps its perimeter and thins from the inside, which is why it holds width at the ends while still moving.
Choosing Your Version
Decide by texture first, then by length. Straight hair needs the layers cut deeper to show at all; curly hair needs fewer of them or the shape hollows out.
Take the perimeter half an inch off the shoulder. Sitting just above it, rather than on it, is the single change that removes most of the flicking.
Match layer depth to density. Fine hair can only give up so much interior weight before the ends turn transparent, so shallow layers on a thin head.
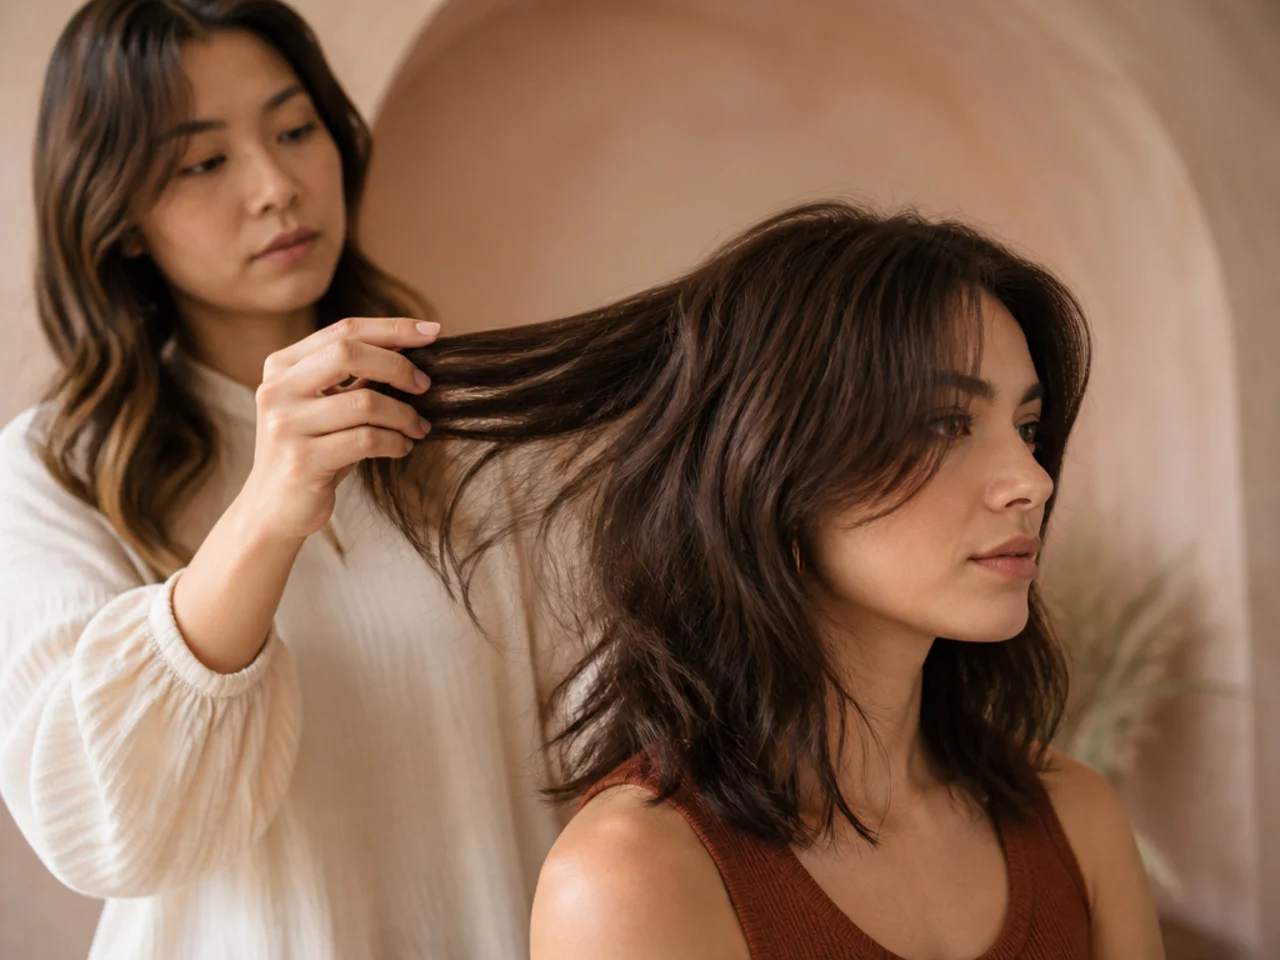
Pick by how you dry it. If you air dry, ask for a dry cut and heavier texture. If you brush it out, the layers can be softer because the brush supplies the bend.
The 20 Shoulder Length Shag Cuts
1. The Classic Shoulder Length Shag
The crown layers run two to three inches shorter than the perimeter, so each one lands on the layer below and holds it off the head. The perimeter finishes half an inch above the shoulder, which gives the ends somewhere to fall before the shoulder can push them back.
2. The Curly Shag Cut Dry
Every layer is cut on dry, fully sprung curl. Wet curl stretches by one to three inches depending on the pattern, so a layer placed wet lands at an unpredictable height once it dries. Cutting dry is why some curly shags look deliberate and others look like an accident.

3. The Wavy Shag With Face Framing Layers
The front sections start at the cheekbone and angle back toward the length. On wavy hair the natural bend catches on those shorter pieces and lifts them away from the face, which is why the framing reads as movement rather than as a step in the outline.

4. The Straight Shag With Point Cut Ends
Straight hair shows a blunt line more clearly than any other texture because there is no bend to break it up. Point cutting into the ends at a steep angle removes a little from alternating strands, so the perimeter reads as a soft edge instead of a ruler line.

5. The Shag With Curtain Bangs
The fringe splits at the centre and sweeps to both sides, joining the face framing without a visible step. It works on a shag because both are cut on the same angle, so the eye reads one continuous line from cheekbone to collarbone rather than two separate cuts.

6. The Shag With a Short Blunt Fringe
A heavy fringe cut straight across at the brow, sitting against layers that are anything but blunt. The contrast is the point, and it only works if the fringe section is taken shallow, because a deep section pulls too much hair forward and flattens the crown behind it.

7. The Fine Hair Shag With Shallow Layers
On fine hair the layers stay within about an inch and a half of each other. Fine strands are thinner in diameter, so removing interior weight quickly leaves the ends see through, and a deeply layered shag on a thin head loses its outline entirely.

8. The Thick Hair Shag With Internal Weight Removal
Thick hair builds a triangle if the perimeter is left alone, so the weight comes out of the interior with thinning shears an inch or two in from the ends. Taking it from the outline instead would only shorten the perimeter and leave the bulk sitting where it was.

9. The Coily Shag Cut for Shrinkage
Coils can shrink to a third of their stretched length, so a shoulder length coily shag is cut with the finished position in mind rather than the stretched one. Layers are placed by eye on dry hair, curl cluster by curl cluster, because a comb through a coil destroys the pattern it is being cut to.

10. The Soft Modern Shag
The layer ladder is gentler and the shortest crown piece only rises to about the jaw, so the silhouette stays rounded rather than spiky. It suits anyone who wants the movement of a shag without the disconnection, and it grows out with nothing obvious to correct.

11. The Seventies Feathered Shag
The layers are cut on a steeper angle at the sides so each one flicks back and away from the face, building the winged shape. Feathering only holds where there is some natural bend, which is why the look needs a round brush on straight hair and none at all on wavy.

12. The Shag With a Deep Side Part
Moving the parting across pushes a bank of hair over one side, and that extra hair lands on the shorter crown layers underneath. The result is more height on the heavy side, which is the cheapest volume available on a shag because it costs nothing but a comb.

13. The Shag With a Middle Part
A centre parting splits the face framing symmetrically, so both cheekbone pieces do the same job at once. It is the least forgiving parting on an uneven cut, because two mirrored sides make any difference in length obvious the moment they hang side by side.

14. The Razored Shag
A razor thins each strand along its final inch rather than cutting it square, so the ends taper to a point and fall closer together. It suits fine to medium hair and fights coarse hair, where a tapered end has enough body to stand away from its neighbours and frizz.

15. The Blunt Perimeter Shag
All the texture goes into the interior and the outline is left sharp. Fine hair benefits most, because a blunt edge is the only way to keep the ends looking dense while the layers above still supply movement at the crown.

16. The Wolf Cut Shag
The crown is cut much shorter and left disconnected from the length rather than blended into it. That gap is what separates a wolf cut from a shag, and it is also what makes it harder to grow out, because a disconnection does not soften as it lengthens.

17. The Shag With a Money Piece
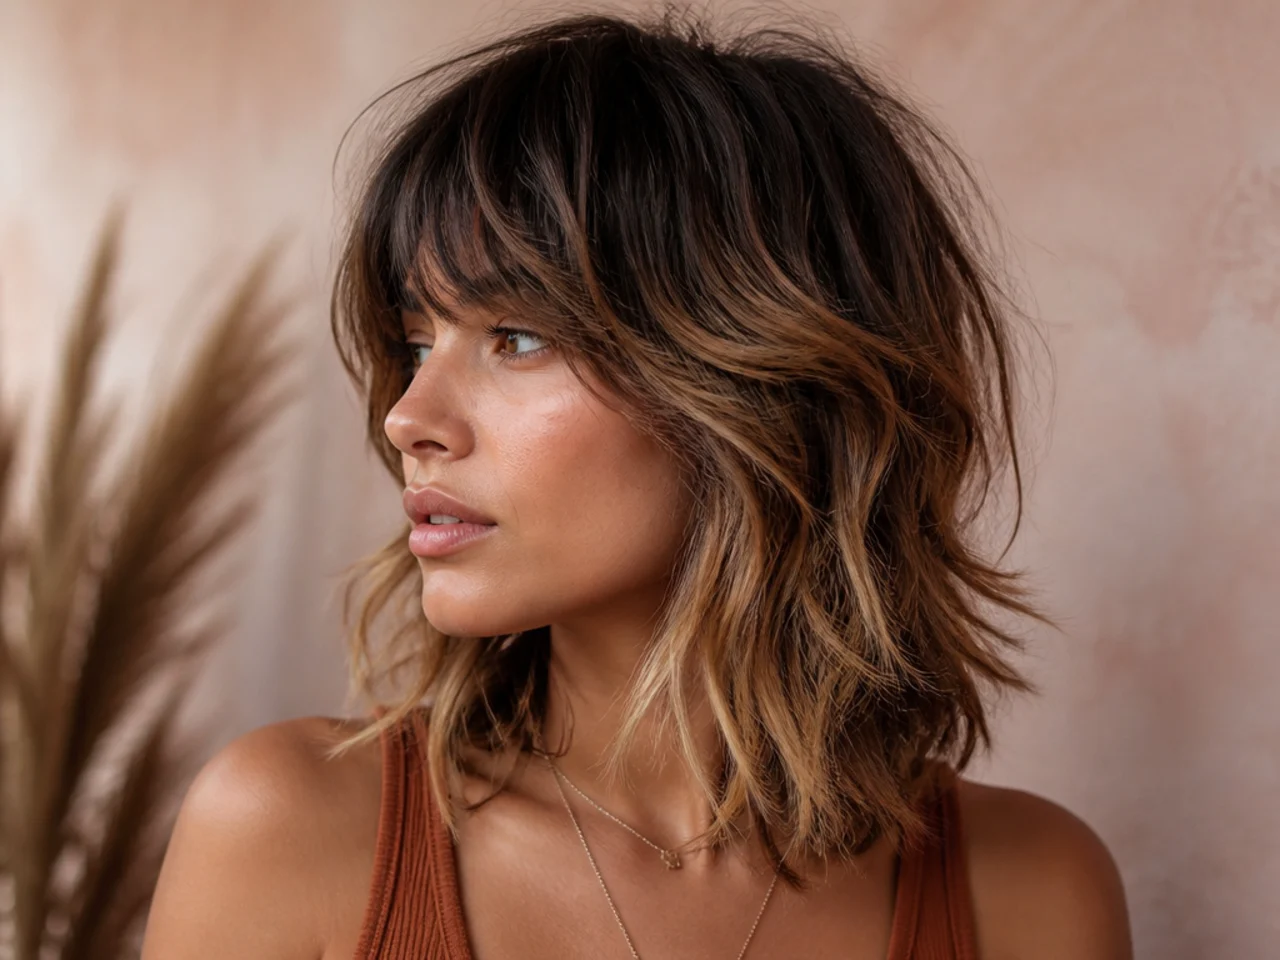
Two lightened panels sit either side of the parting, on the shortest face framing pieces. Because those pieces sit on top of everything else, the lighter colour catches the light first and reads as brightness around the face without touching the rest of the head.

18. The Shag With a Root Shadow
The colour is left deliberately darker for the first inch and blended down into the length. On a layered cut this reads as depth at the crown, and it also removes the hard regrowth line, so the cut can go twice as long between colour appointments.
19. The Shag With a Thinned Nape
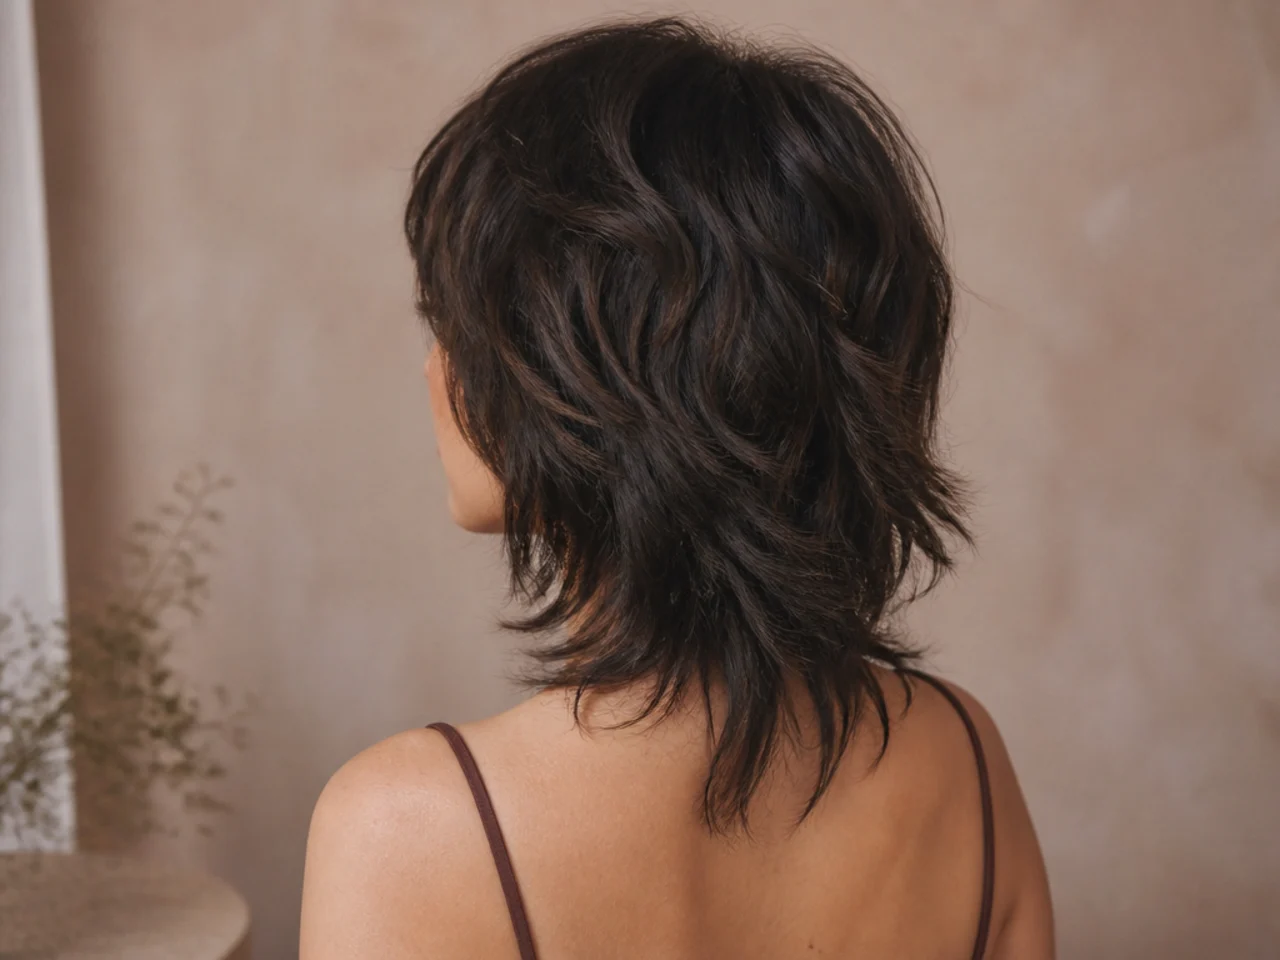
Bulk at the nape pushes the whole back perimeter outward at exactly the height the shoulder is already interfering with. Taking that weight out with shears or a razor lets the back hang flat, and it is the fix for a shag that looks correct at the front and boxy from behind.
20. The Grown Out Shag at Twelve Weeks
The layers have all moved down together, so the ladder is intact and only the face framing has lost its angle. This is the argument for the cut: at twelve weeks it still reads as a shag, and a trim on the front pieces alone brings it back.

Styling and Upkeep
Dry the roots before the ends. The crown layers are what hold the shape up, and once they are flat no amount of work on the ends will restore it.
Use a texture spray, not a mousse, on dry hair. Mousse is a wet product and does almost nothing applied to a finished style except weigh the crown down.
Scrunch upward, never downward. Downward pressure lengthens the wave pattern and drags the layers back into a single line.
Cut the face framing between full appointments. It is the first thing to go and the cheapest thing to fix.
Book every eight to twelve weeks. The layers keep working as they grow, so the shape survives far longer than a one length cut would.

Mistakes to Avoid
Cutting the perimeter exactly at the shoulder. That is the one length guaranteed to flick, and half an inch either way removes the problem.
Cutting curls wet. The layer you place lands somewhere else once the curl springs, and the higher the shrinkage the further off it lands.
Deep layers on fine hair. Interior weight is the only thing holding the ends together on a thin head, and a shag can take too much of it.
Thinning shears at the ends. Weight comes out an inch or two in from the perimeter. Taken at the tips it just leaves the outline chewed.
Brushing it out when dry. A brush pulls the staggered ends back into one line and undoes the whole reason for the cut.

FAQ
Why do the ends flick? The shoulder pushes them back up. Cut half an inch above it.
Wet or dry for curls? Dry, always. Wet curl stretches and lands elsewhere.
How often? Eight to twelve weeks, and trim the face framing in between.

Final Thoughts
Ask for the perimeter half an inch above the shoulder, the layers cut dry if you are curly, and the weight taken from the interior rather than the outline. Those three instructions cover nearly everything that separates a shag that air dries well from one that needs a brush every morning.
Shoulder length behaves the same way on any head, so the mechanics carry across — see medium length haircut men for the same problem solved on shorter layers, and medium length flow haircut men for how the perimeter is handled when the hair is worn back. More in Mullet and Wolf Cut.



