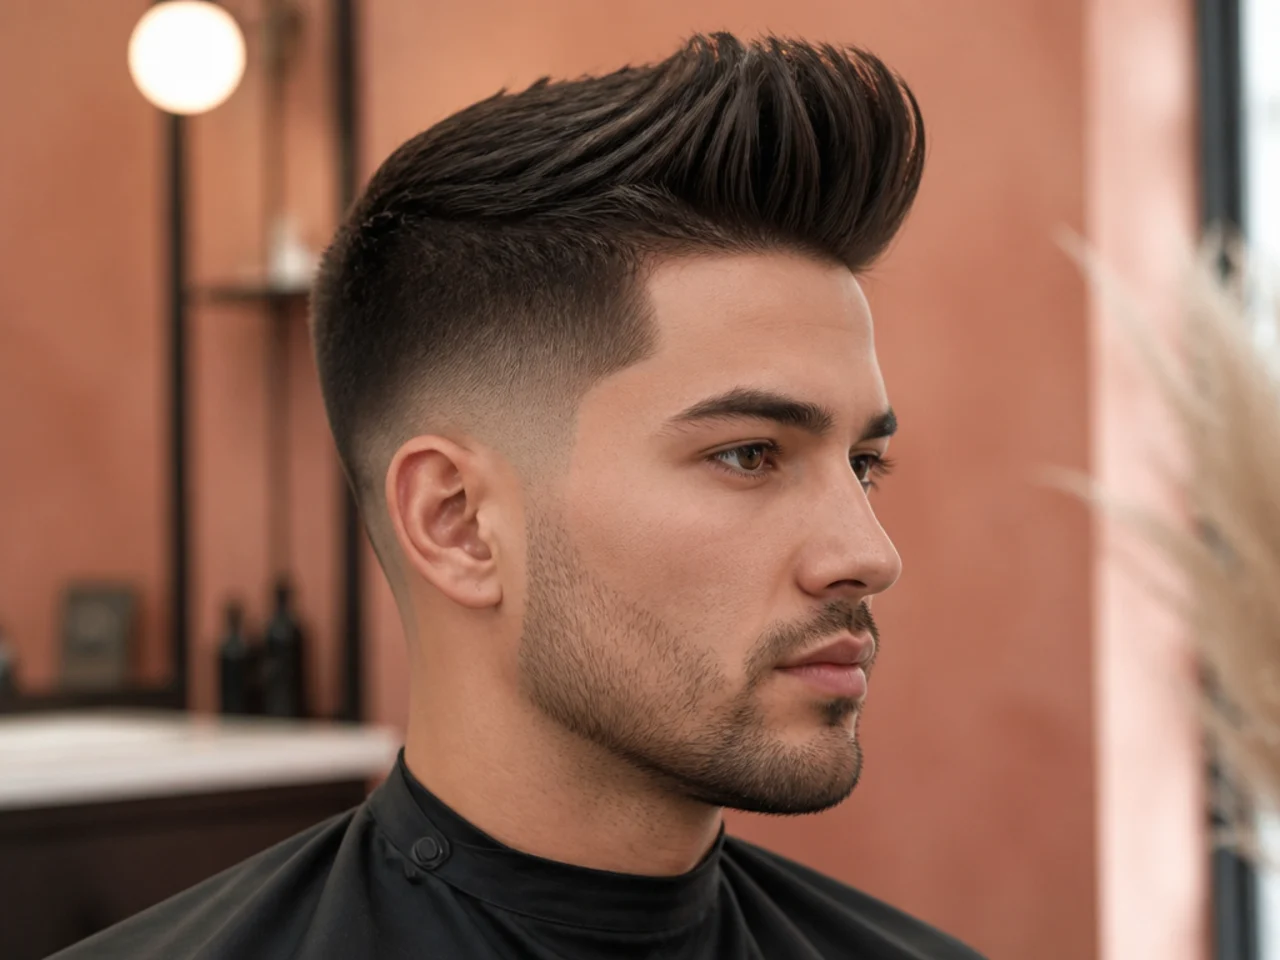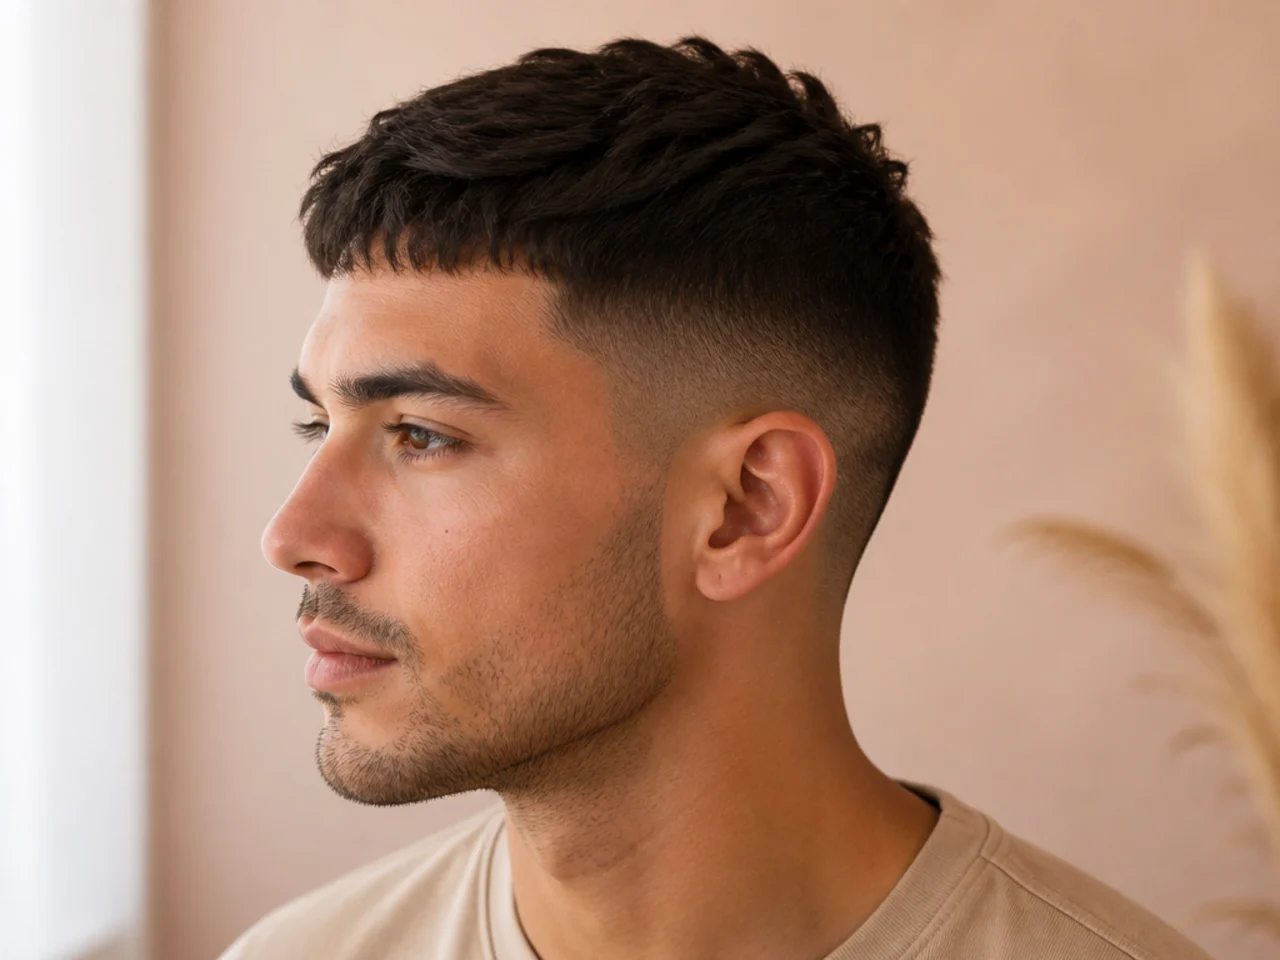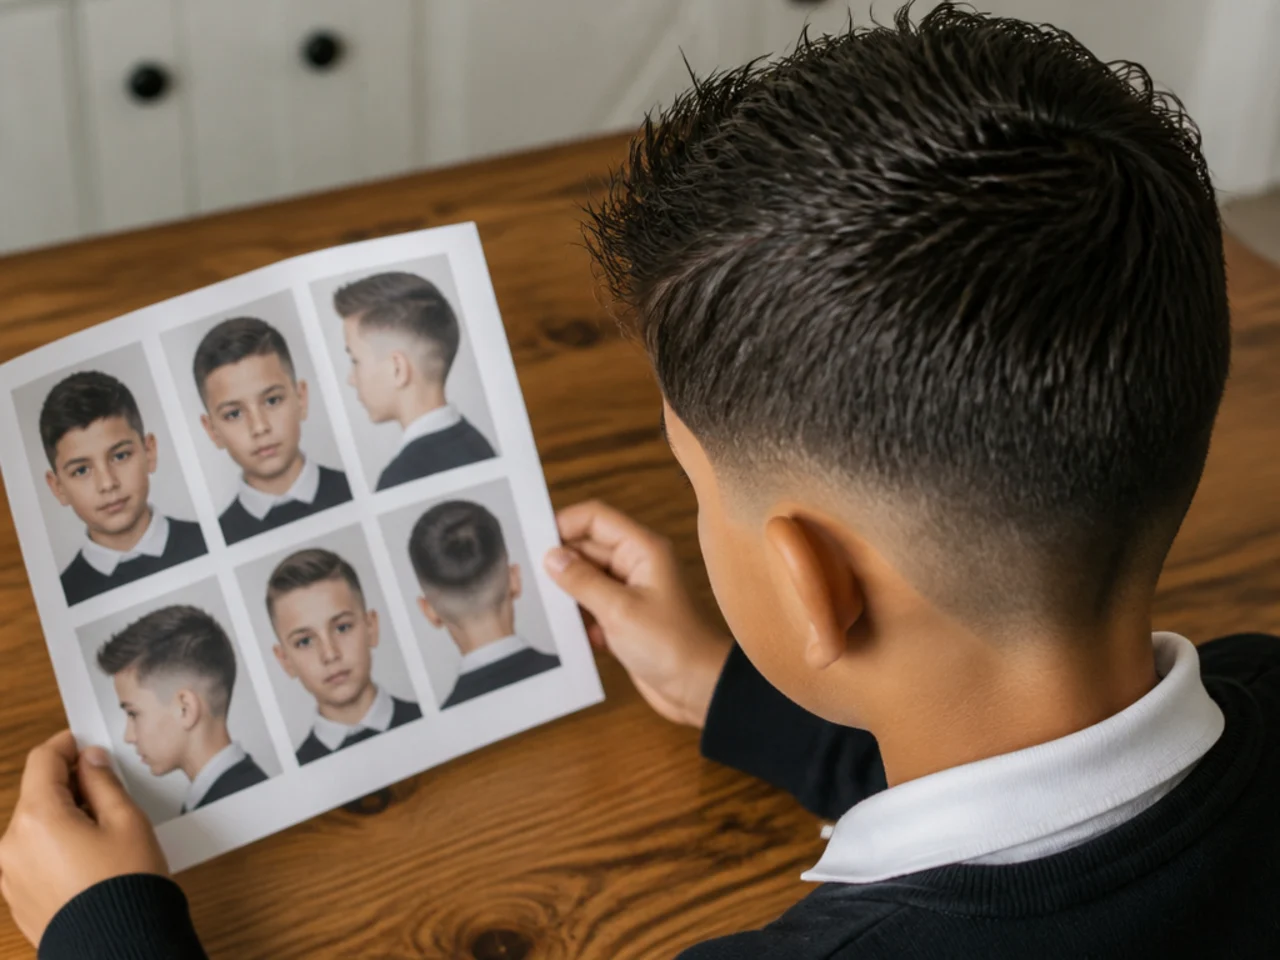
20 Steps to a Trendy Boys Haircut at Home
The two decisions that decide a home haircut are made before the clipper touches the head — where the line sits and what guard goes under it. Get those right and the cut still looks cut in week three, which is the only test that matters on a child.
In this article · 27
- The Two Decisions That Set the Whole Cut
- How to Choose Yours
- The 20 Steps
- 1. Read the School Rule and Find the Minimum Guard Number
- 2. Decide the Line Height Before Anything Else
- 3. Pick the Bottom Guard One Number Longer Than Looks Right
- 4. Decide How Far the Top Will Overhang the Sides
- 5. Write the Two Numbers Down Before You Start
- 6. Cut It Dry So You See the Real Length
- 7. Comb the Whole Head Down Flat
- 8. Start With the Longest Guard and Work Down
- 9. Take the Sides in Upward Scooping Passes
- 10. Drop to the Bottom Guard Below the Line
- 11. Set the Line With the Clipper Held Flat
- 12. Blend the Step With a Guard From In Between
- 13. Check the Blend Against a Side Light
- 14. Leave the Top Longer Than the Sides by More Than You Think
- 15. Scissor-Cut the Top Over a Comb
- 16. Check the Crown Whorl Before You Move On
- 17. Cut the Fringe Last and Cut It to Clear the Eyebrow
- 18. Take the Neckline Square, Not Tapered
- 19. Check Both Sides From Behind
- 20. Diary the Next Cut at Week Three
- Styling and Upkeep
- Mistakes to Avoid
- FAQ
- Final Thoughts
A school-age boy will sit still for a haircut, so nothing about this is about behaviour. It is about technique and about planning for hair that grows faster than yours does.
The decisions that matter are made before the clipper touches the head. Where the line goes and what guard sits under it are chosen in the first two minutes and cannot be undone afterwards.
Those two choices decide whether the cut still looks cut in three weeks. Everything from step six onwards is just executing them cleanly, which is why the planning steps here carry most of the reasoning.
The Two Decisions That Set the Whole Cut
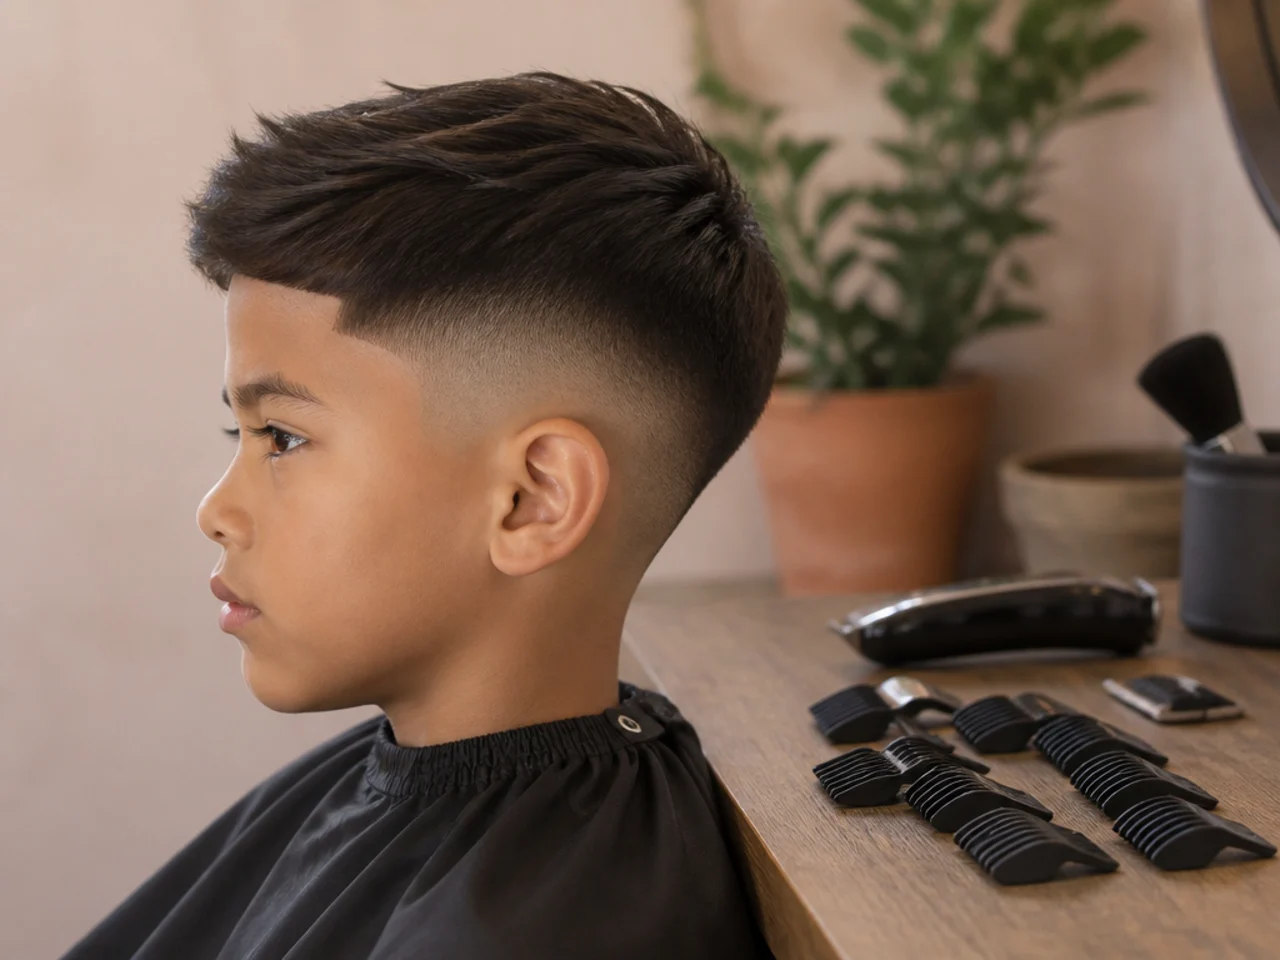
Line height and bottom guard are the whole cut. Line height is where the shortest section starts, bottom guard is how short it goes, and every other choice is decoration on top of those two.
Longest guard first, always. You can take more off a head you cut too long. You cannot put back a head you cut too short, and a child has to wear the mistake to school on Monday.
The top has to hang over the corner. Length on top drapes past the point where the sides begin, so a growing-out line disappears underneath it instead of sitting on display.
Cut for week two, not for the chair. A number one looks crisp on the day and is a blurred mess by day twelve, where a number three looks unremarkable on the day and still reads as a haircut three weeks later.
How to Choose Yours
Read the school rule first, then choose. Most policies name a number rather than a style, and a number two minimum removes the bottom half of the fade range before you have started.
Pick the line height from the calendar. A higher line takes longer to blur, so a high line suits a long gap between cuts and a low one suits a short gap.
Match the guard to hair density. Thick hair carries a shorter guard without showing scalp, where finer hair reads patchy under a number two and wants a three or a four.
Decide top length by how long you want the cut to last. More length on top is the cheapest week you can buy, because it hides the line rather than the line having to stay sharp.
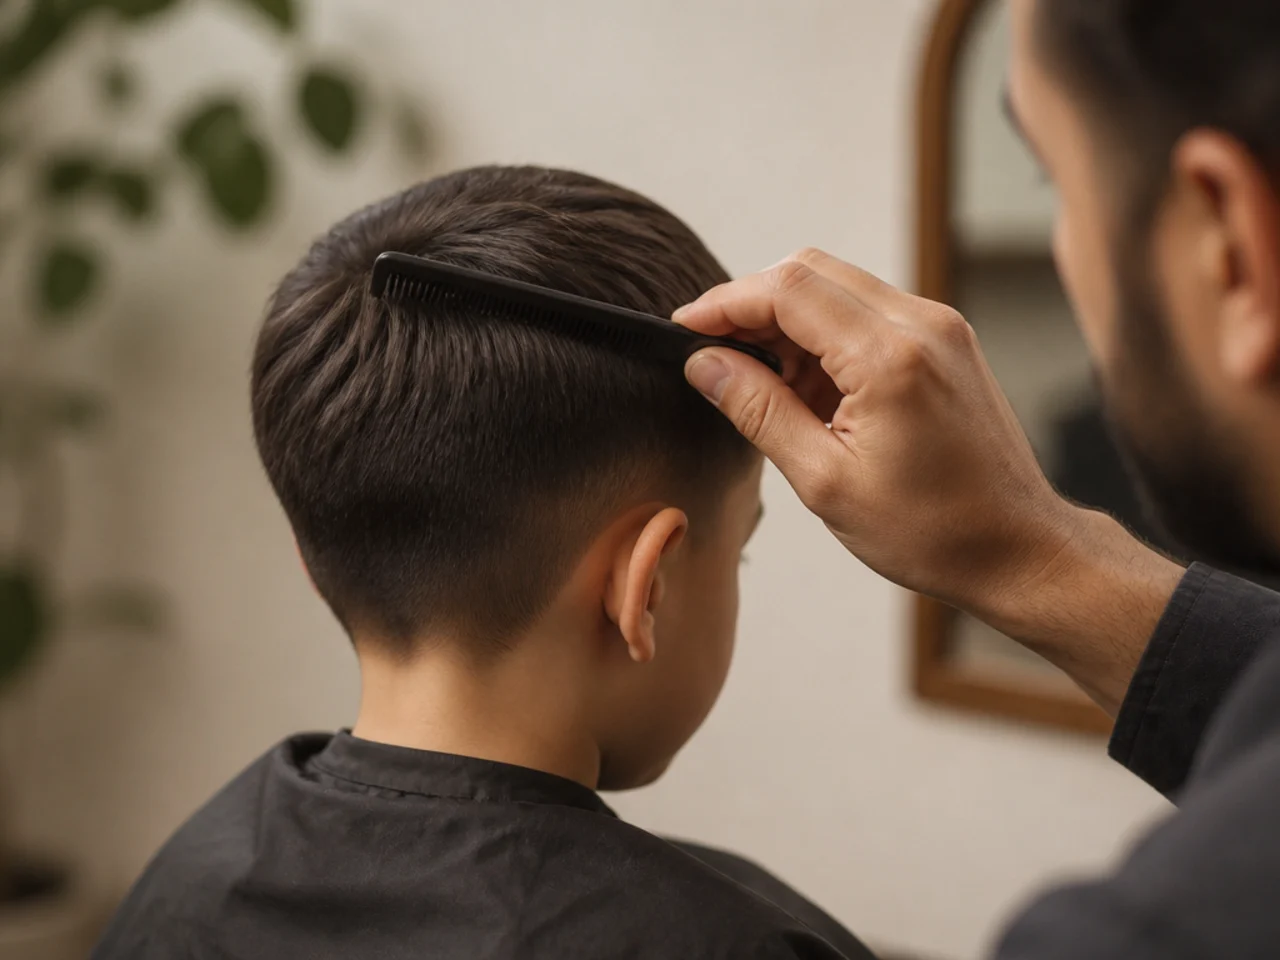
The 20 Steps
1. Read the School Rule and Find the Minimum Guard Number
Grooming policies almost always name a number rather than a style, most commonly nothing shorter than a number two. Find that number before you look at a single photograph, because it deletes whole categories of cut and there is no point choosing from them.
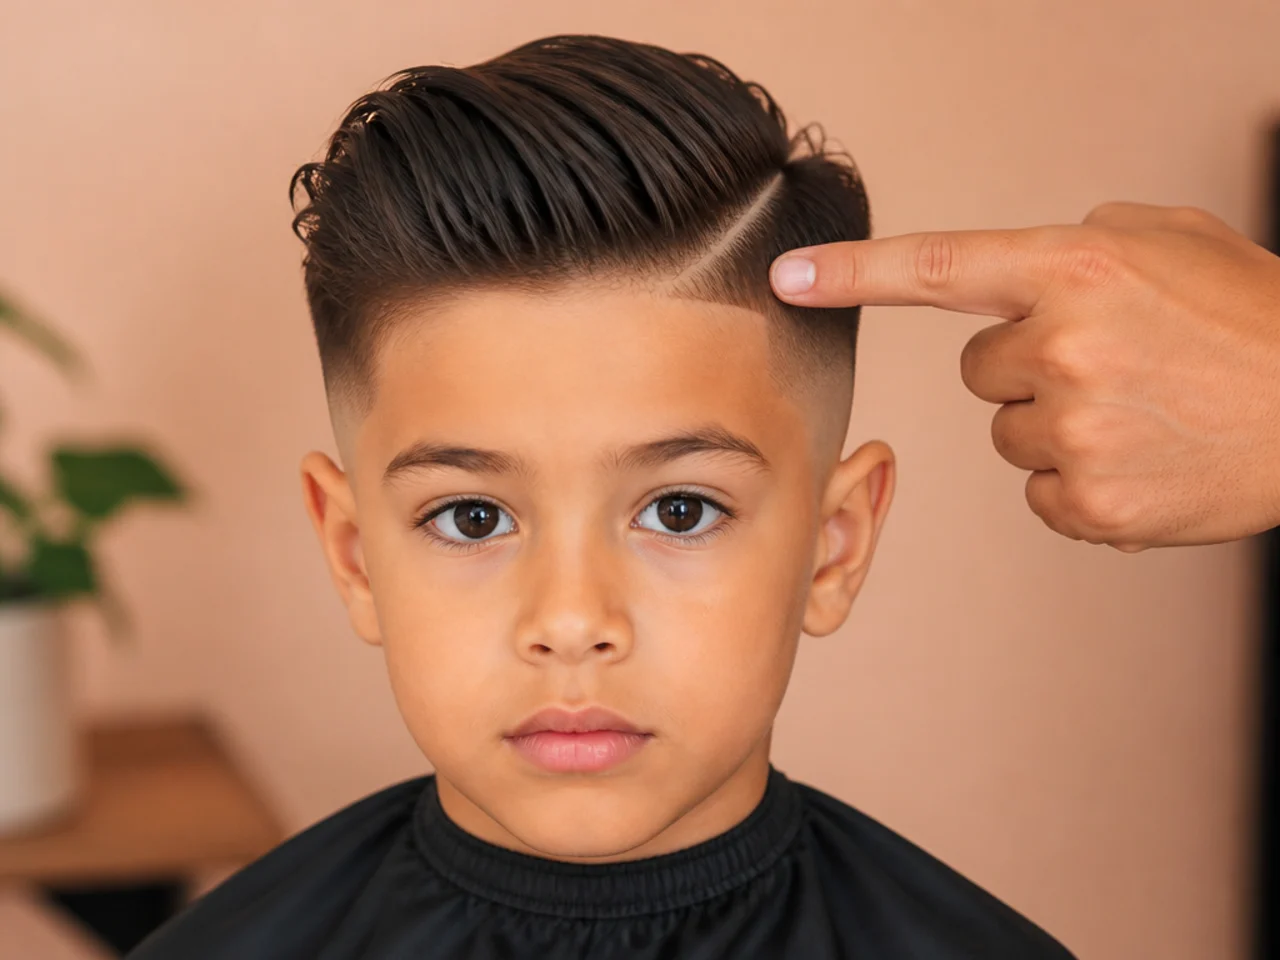
2. Decide the Line Height Before Anything Else
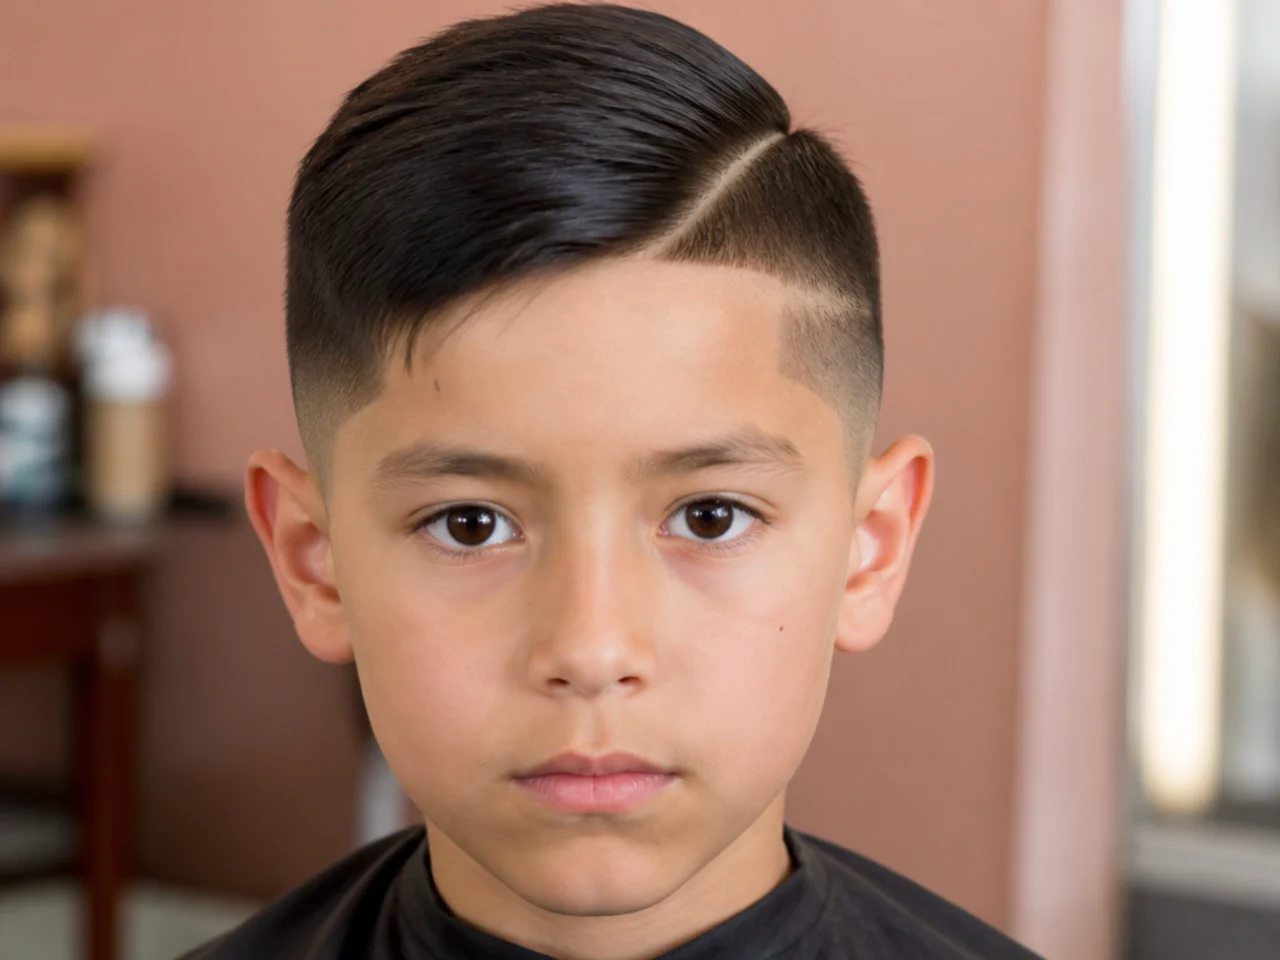
Low sits at or below the temple, mid between the temple and the parietal ridge, high at or above that ridge. A higher line has more hair above it to blur into, so it ages more slowly than a low one and buys roughly an extra week.
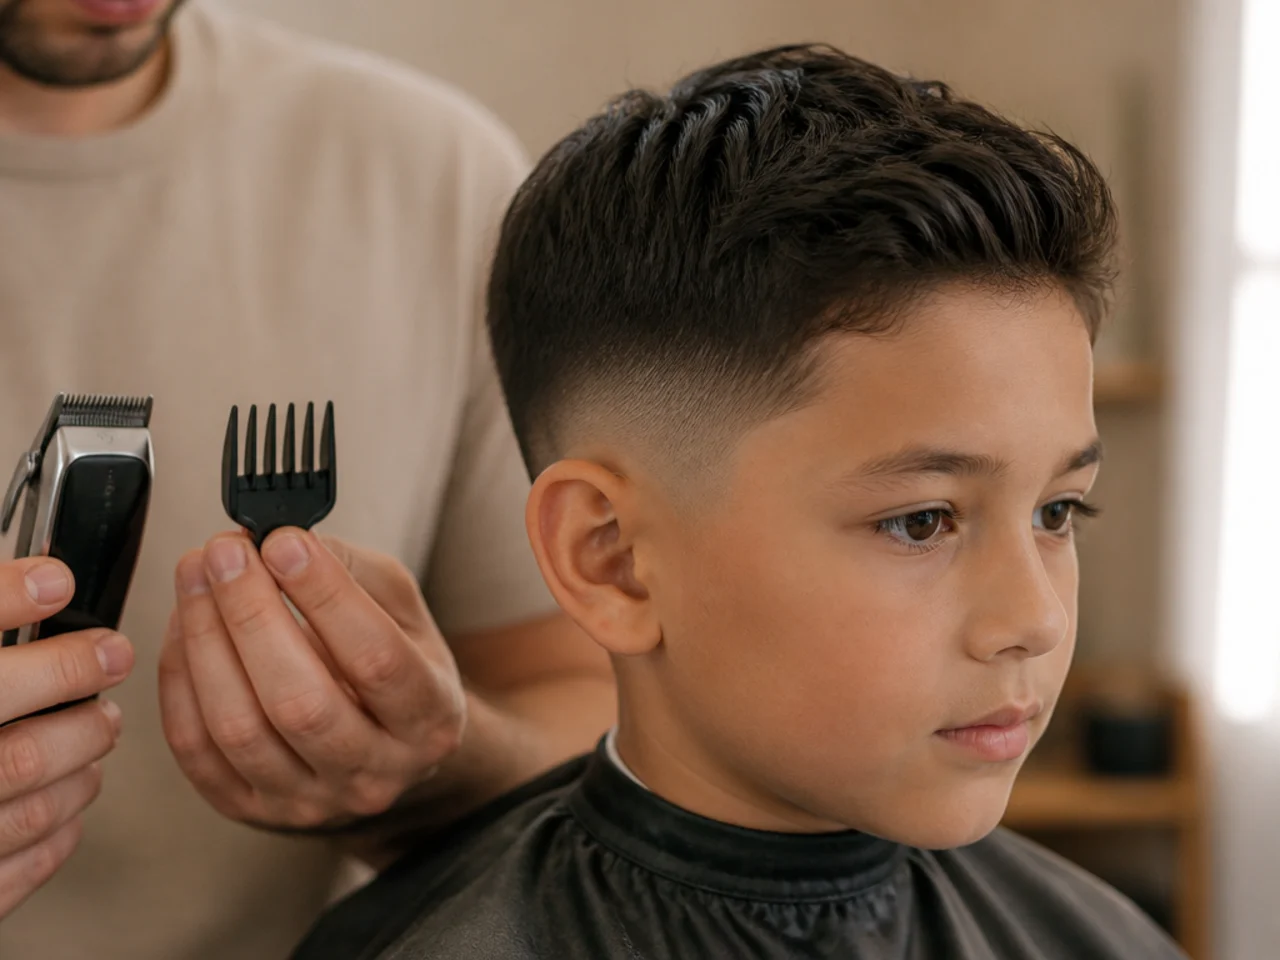
3. Pick the Bottom Guard One Number Longer Than Looks Right
Whatever guard looks correct in the chair will look too short by the weekend, because you are judging it against a head cut ten minutes ago. Go one number up, so a two instead of a one, and the gap the growing hair has to cross is halved. On a younger child at the same kitchen table that floor moves up again, because finer hair shows scalp under a number two.
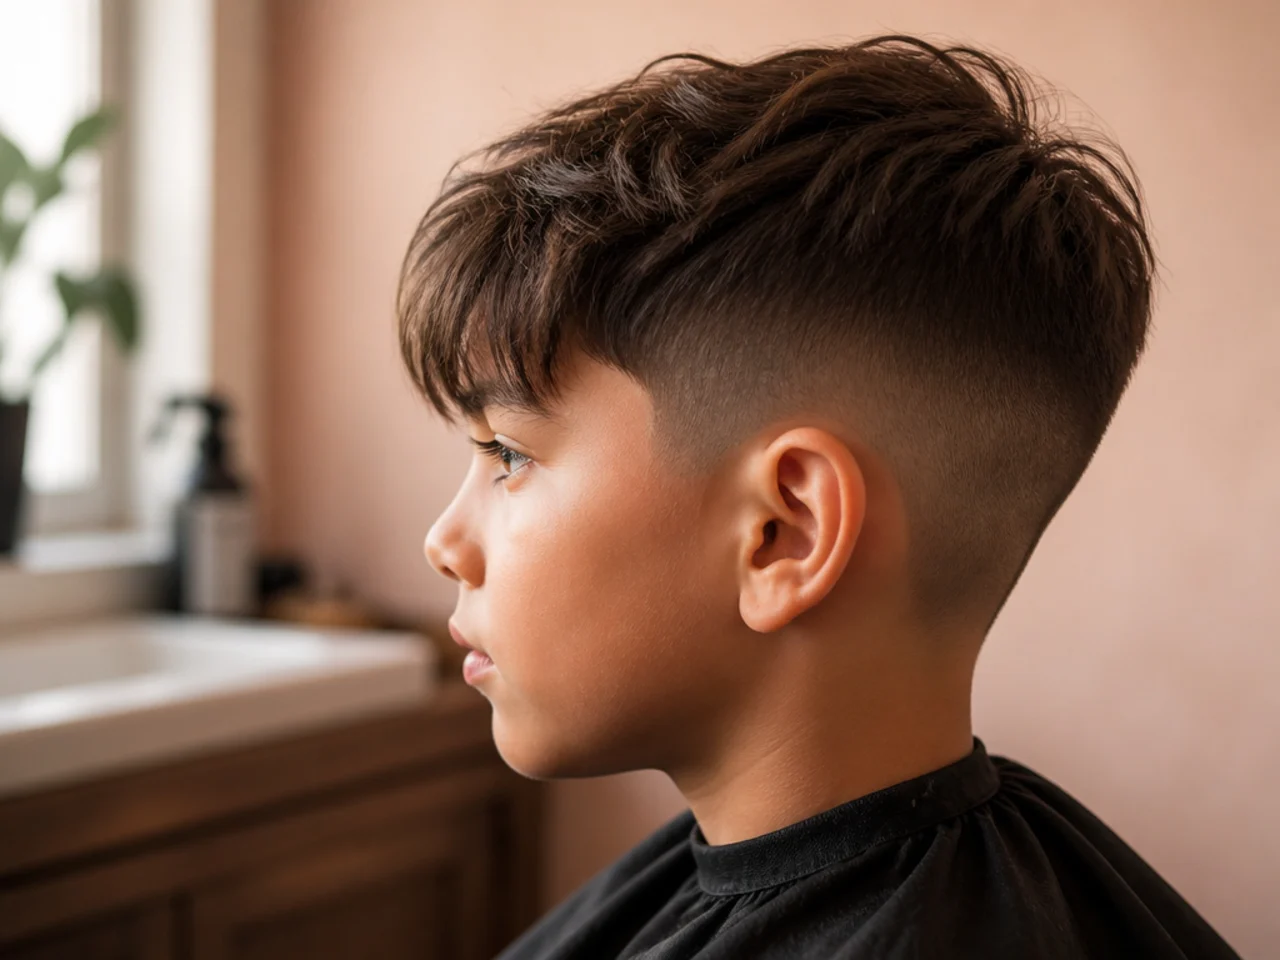
4. Decide How Far the Top Will Overhang the Sides
The top needs to be long enough to fall past the corner of the head and cover where the sides begin. Aim for more overhang than looks necessary, because that overhang is what keeps a three-week-old line invisible.
5. Write the Two Numbers Down Before You Start
Note the line height and the bottom guard on your phone. In three weeks you will not remember whether it was a two or a three, and repeating a cut you liked is far easier than reinventing one.
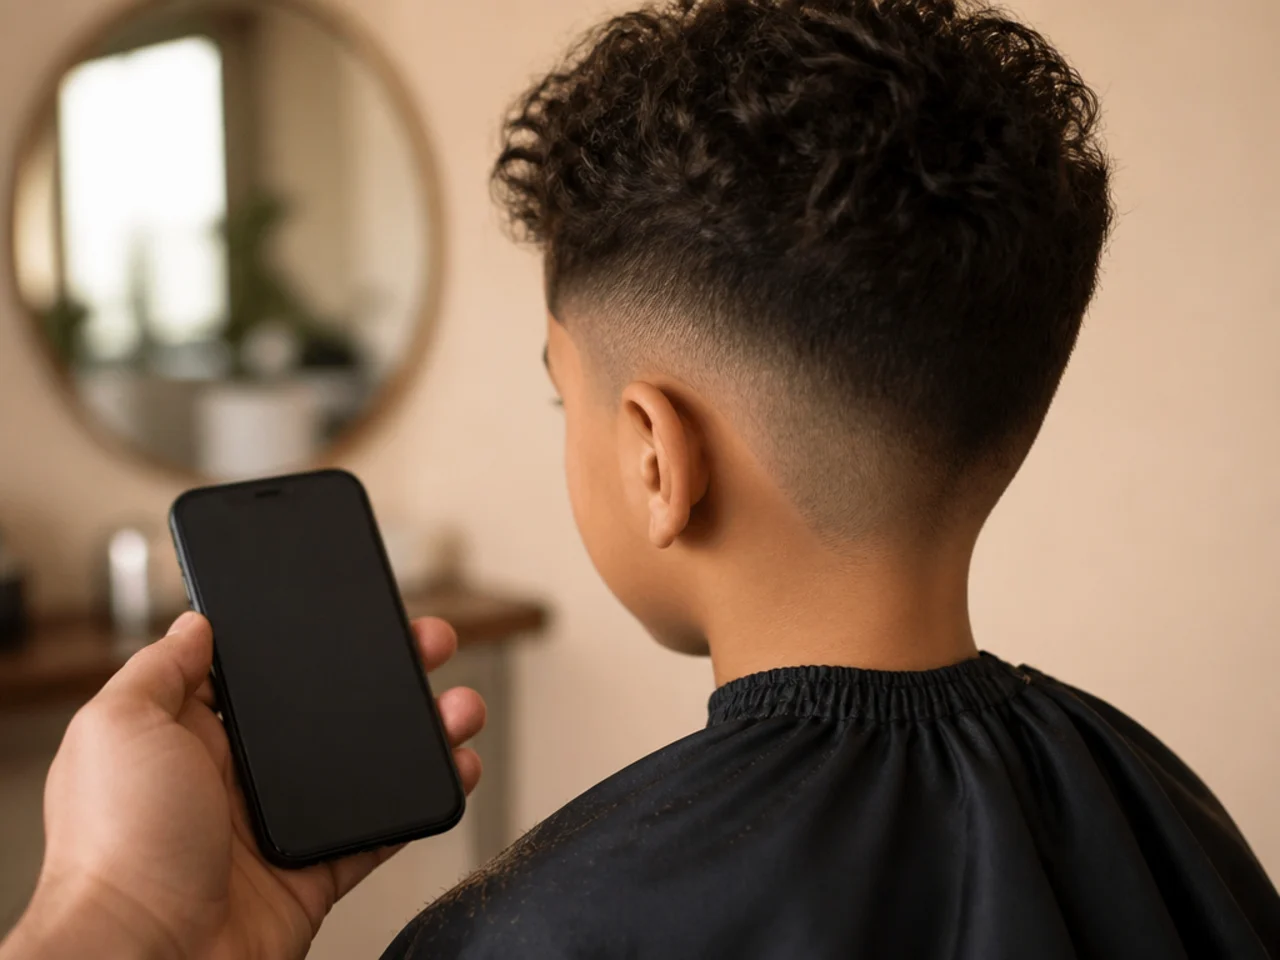
6. Cut It Dry So You See the Real Length
Wet hair sits longer and straighter than it will once dry, so cutting wet means cutting to a length that does not exist. On wavy or curly hair the difference can be a full guard, and the whole cut lands shorter than planned.
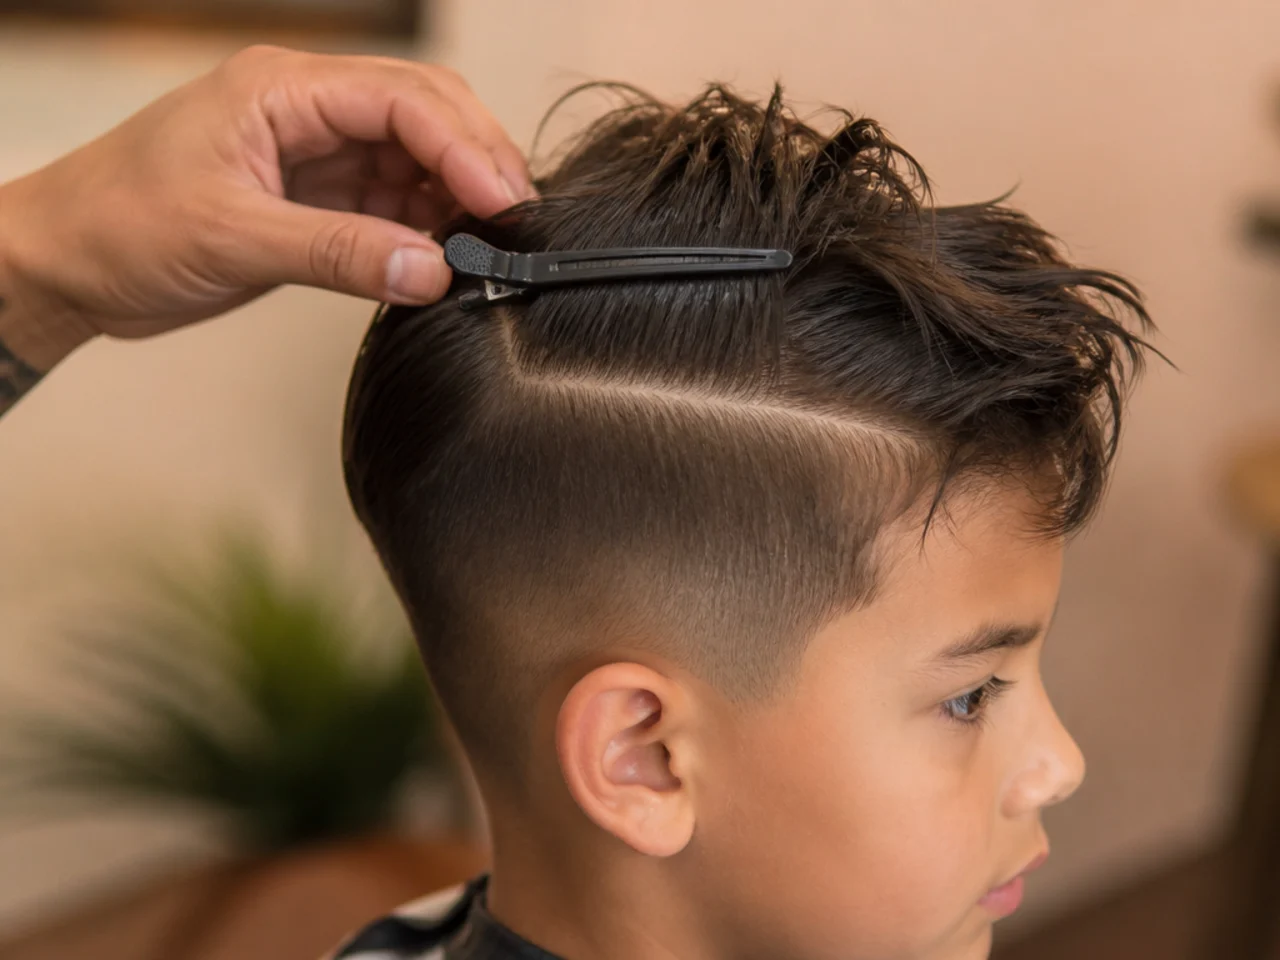
7. Comb the Whole Head Down Flat
One pass with a comb settles every hair into the direction it actually grows. Cutting into hair that is still standing where the pillow left it gives you a shape that changes the next time it is combed.
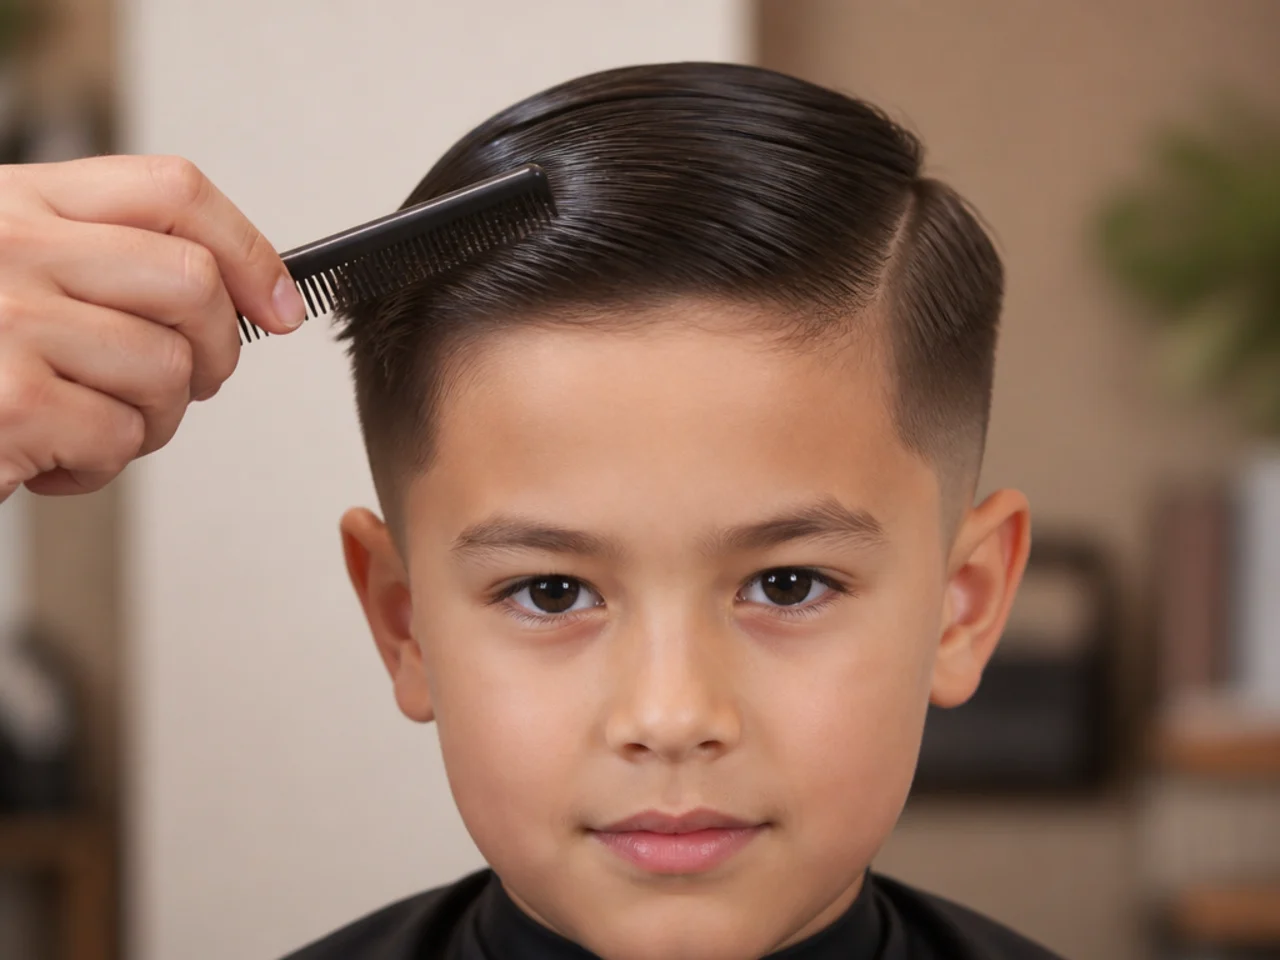
8. Start With the Longest Guard and Work Down
Take the whole side with a guard longer than your target, then step down one number at a time. Working downwards means every mistake is recoverable, where starting short means the only fix is going shorter still.
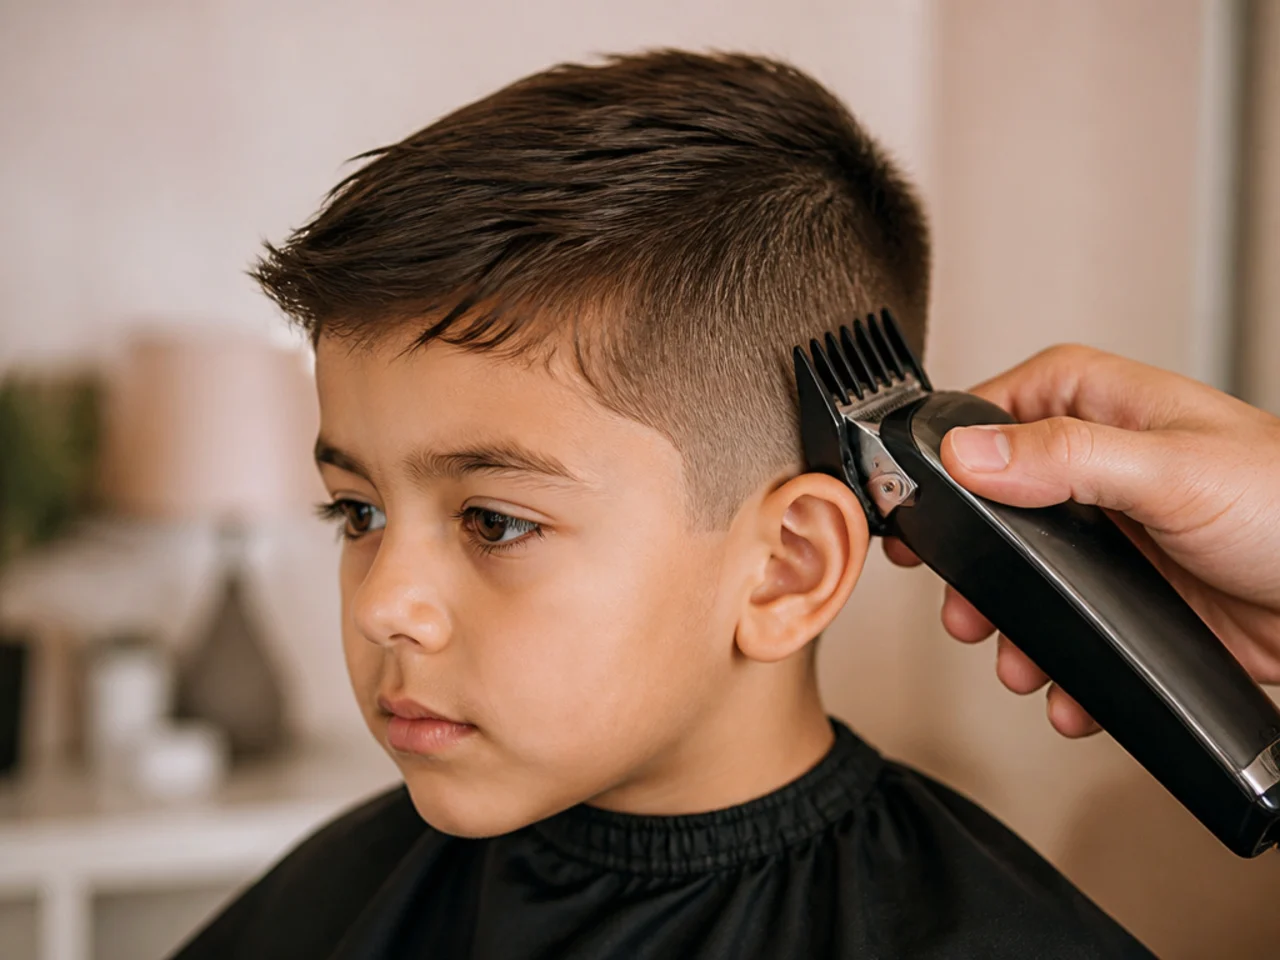
9. Take the Sides in Upward Scooping Passes
Run the clipper up the side and then arc it away from the head as it rises, rather than driving it straight up. The scoop feathers the top edge of each pass so there is no shelf where one pass ends and the next begins.
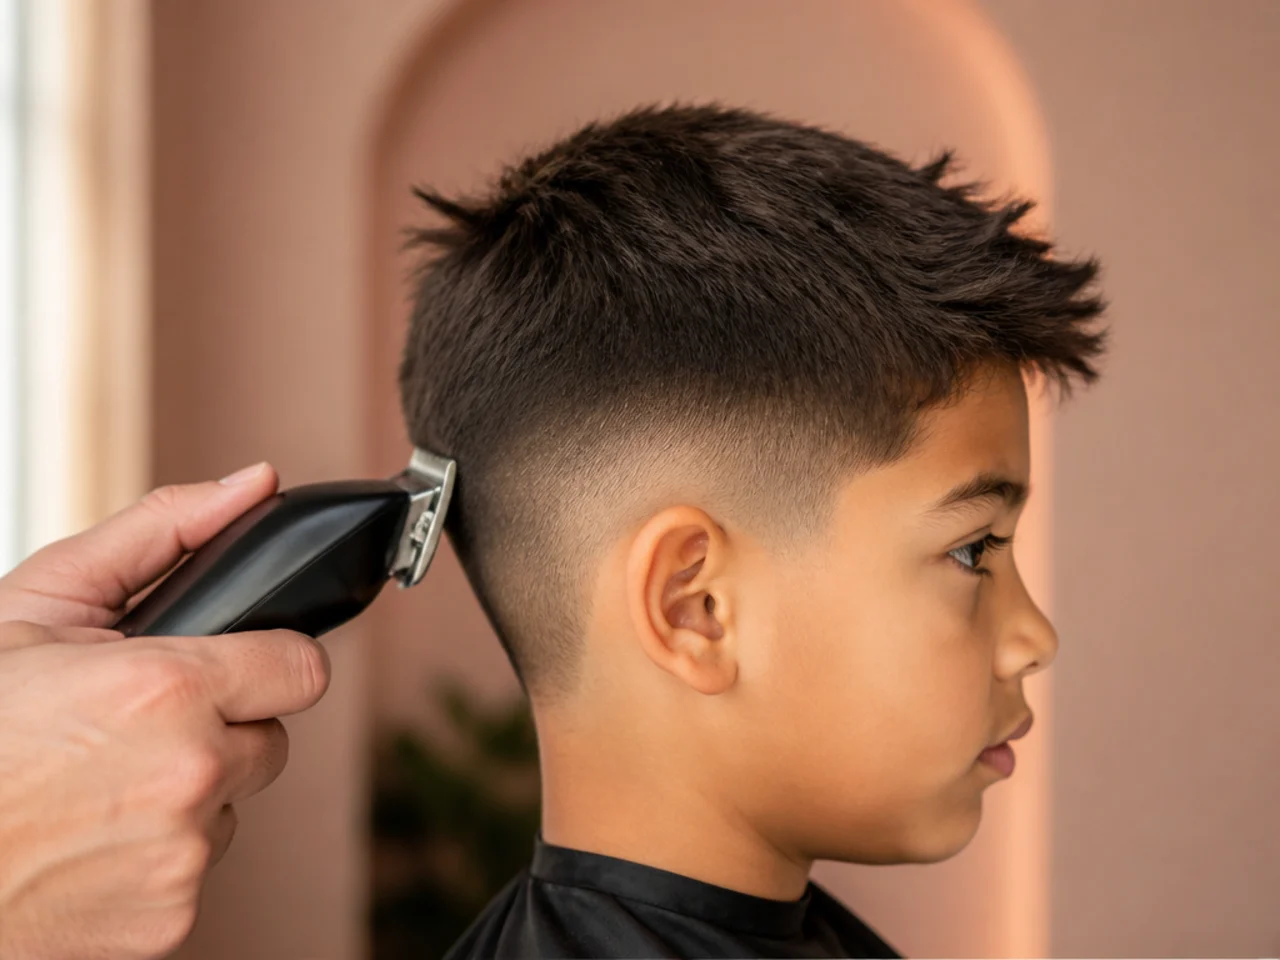
10. Drop to the Bottom Guard Below the Line
Change to your chosen bottom guard and take only the section beneath the line height you decided in step two. Keeping the shorter guard strictly below that mark is what makes the line a line rather than a smudge.
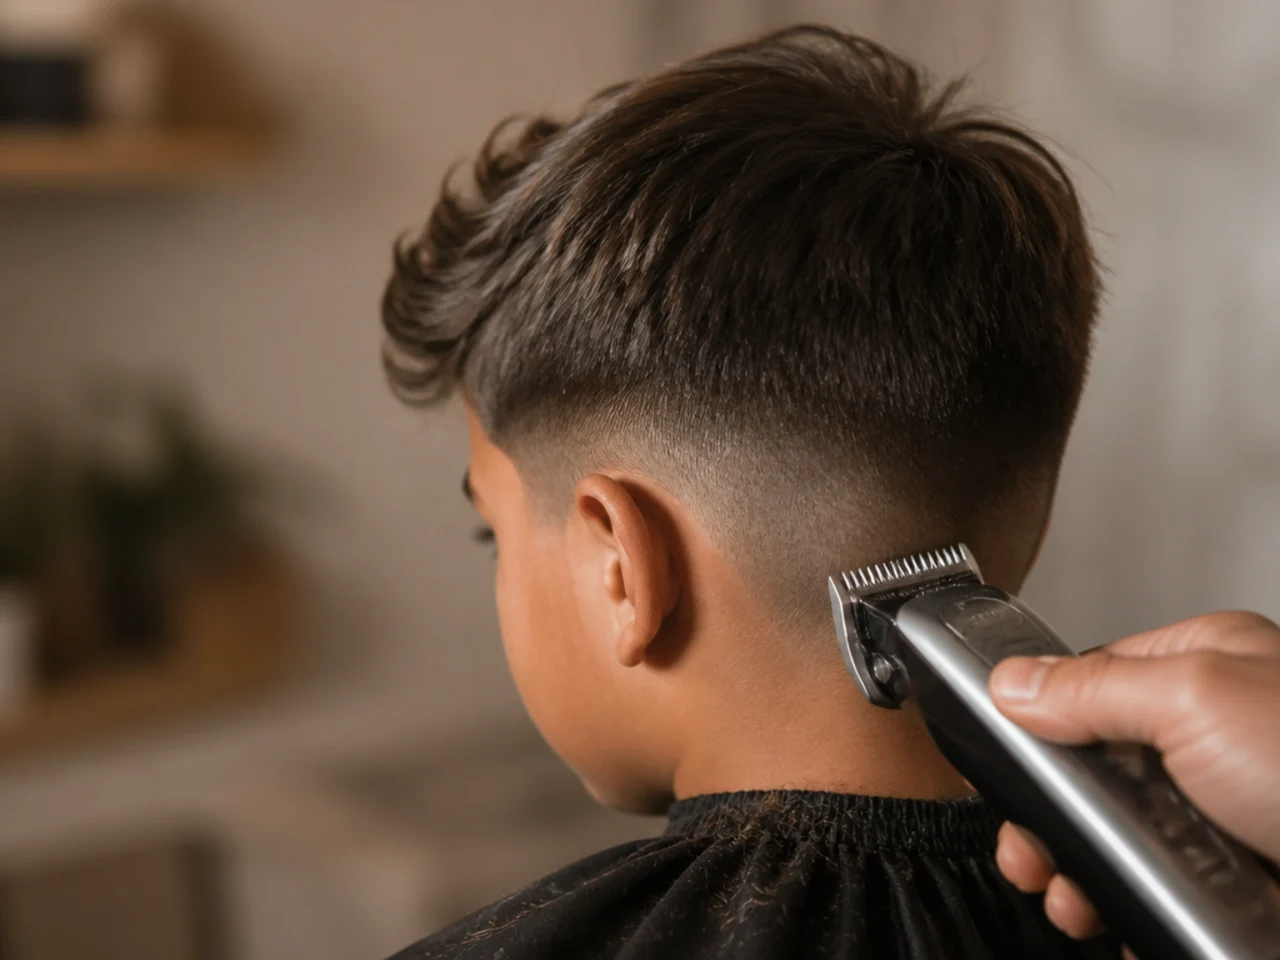
11. Set the Line With the Clipper Held Flat
Lay the clipper flat against the head and move along the line rather than into it. A flat clipper cuts a level edge, where a tilted one digs a scallop that is visible from three metres away.
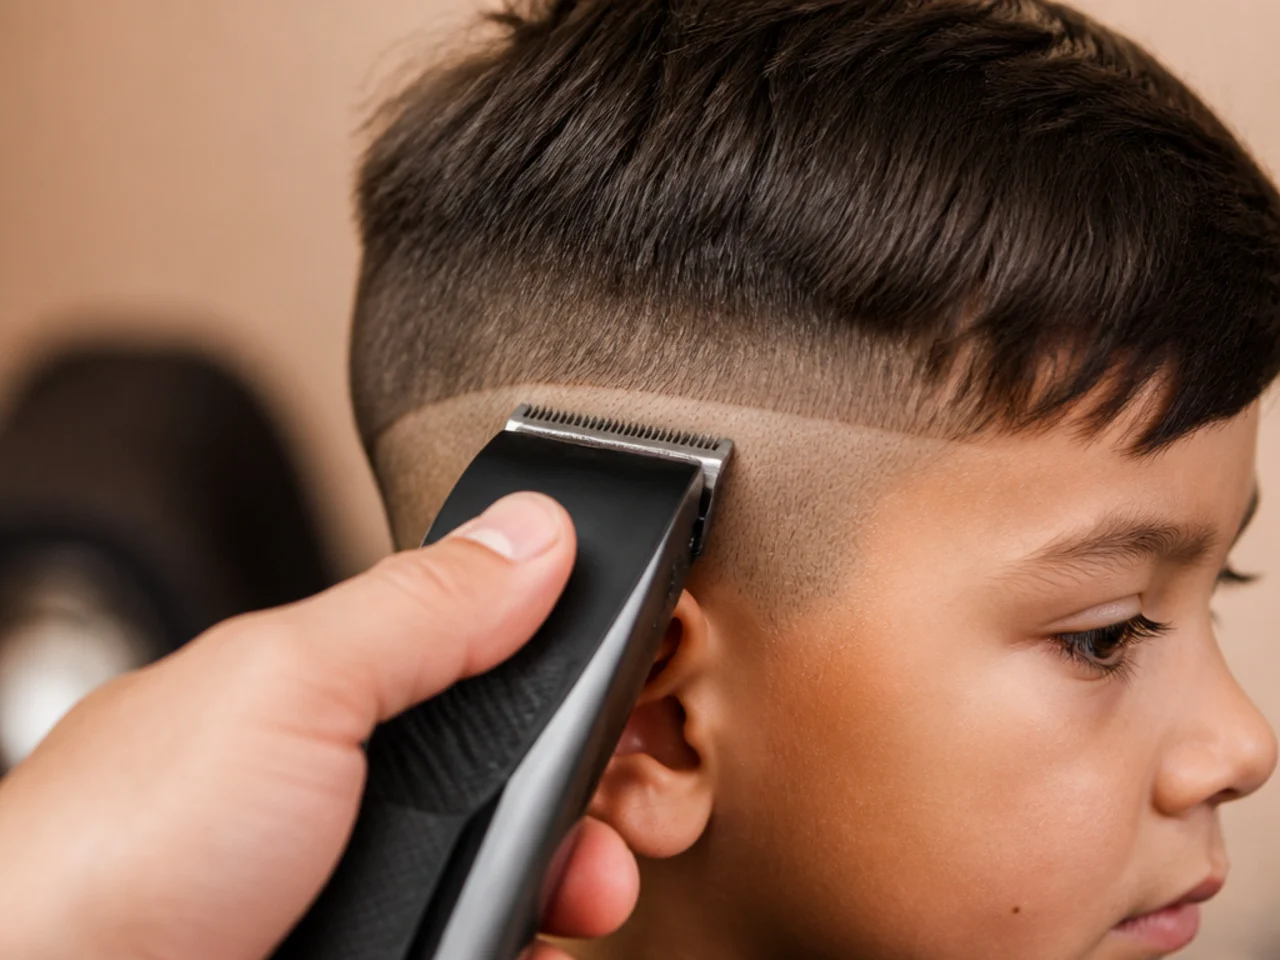
12. Blend the Step With a Guard From In Between
If you used a three above and a two below, run a pass with whatever sits between them along the join, or open the lever halfway. The step needs a middle length in it or the two sections will always read as two sections.

13. Check the Blend Against a Side Light
Turn the head so light rakes across the side, because a step invisible under a ceiling light shows up immediately in raking light. Fix anything that casts a shadow now, while the clippers are still in your hand.
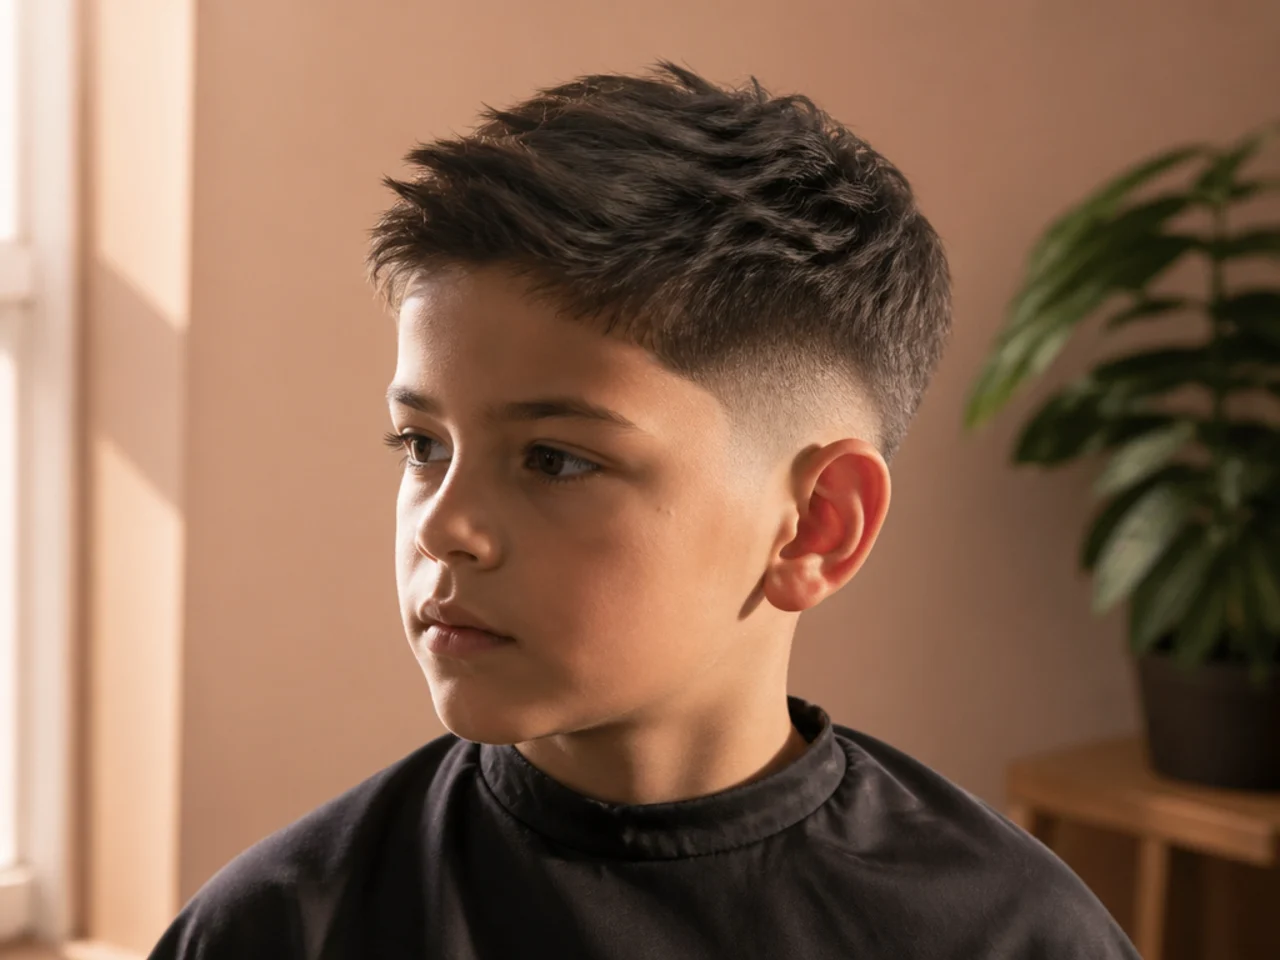
14. Leave the Top Longer Than the Sides by More Than You Think
Whatever contrast looks right on the day will look flat within a fortnight, because the sides grow up towards the top and close the gap. Leaving extra top length keeps the shape reading for the whole cycle rather than the first week.
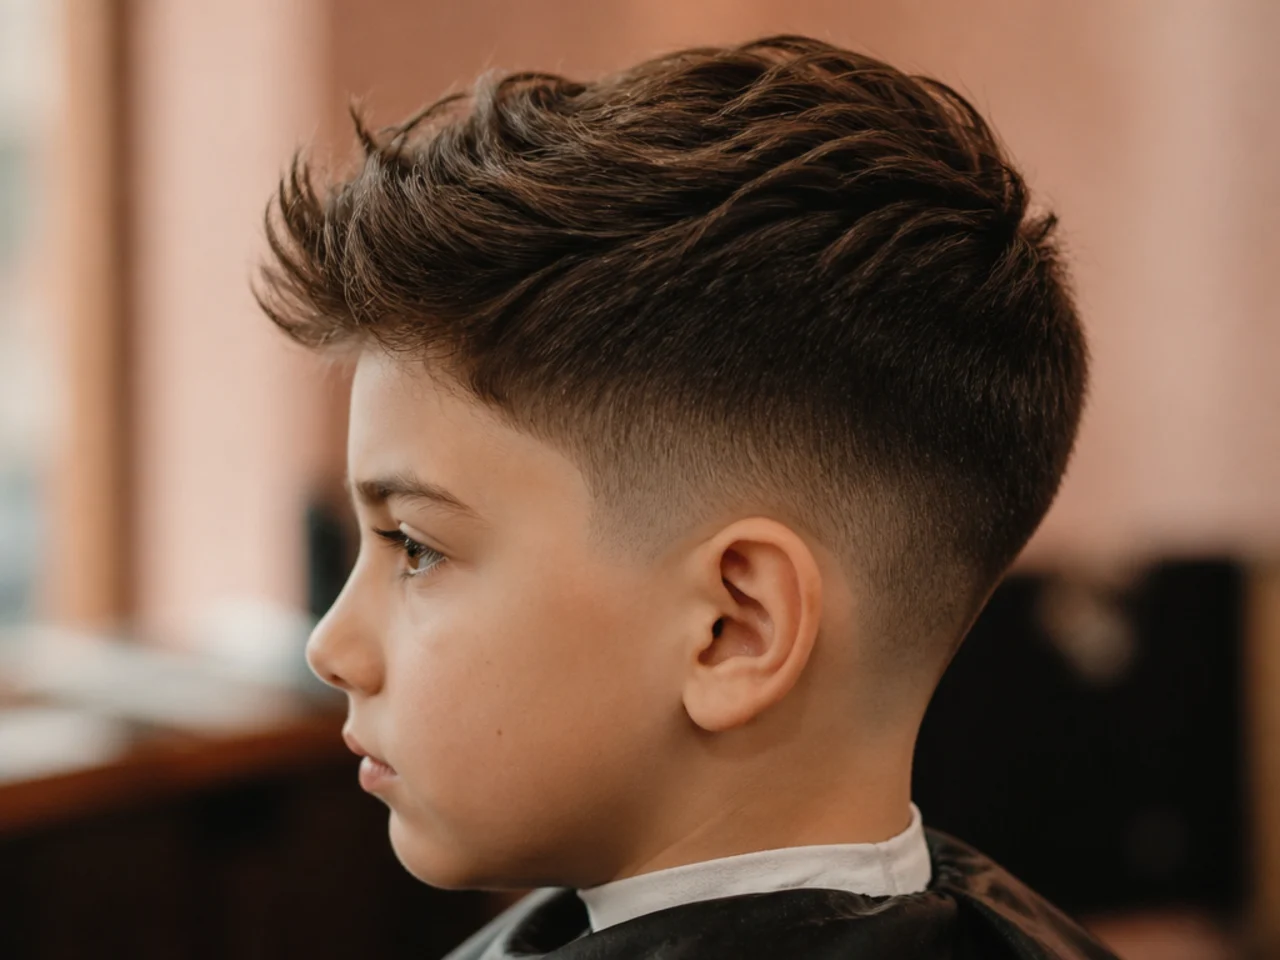
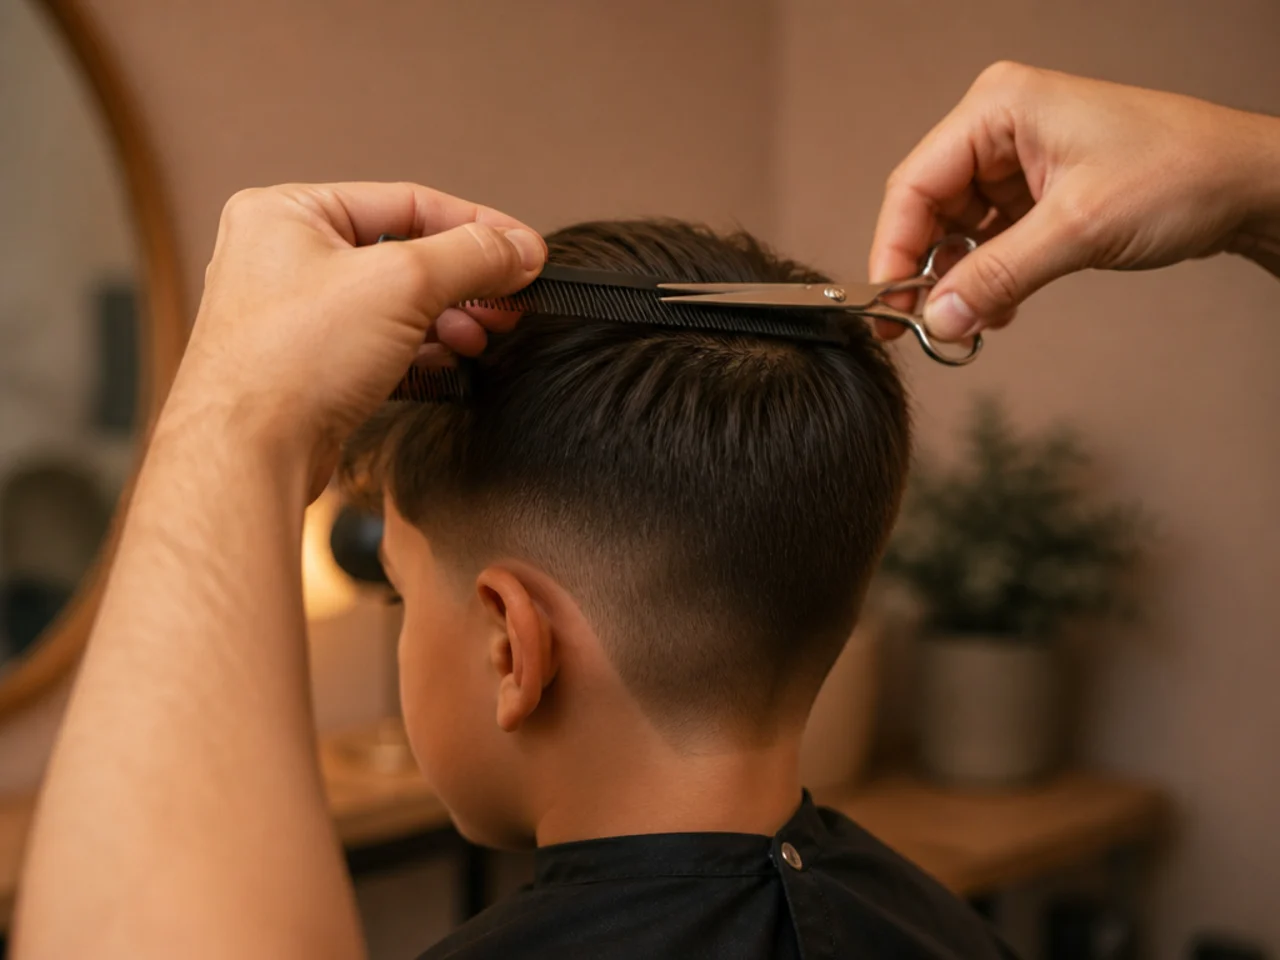
15. Scissor-Cut the Top Over a Comb
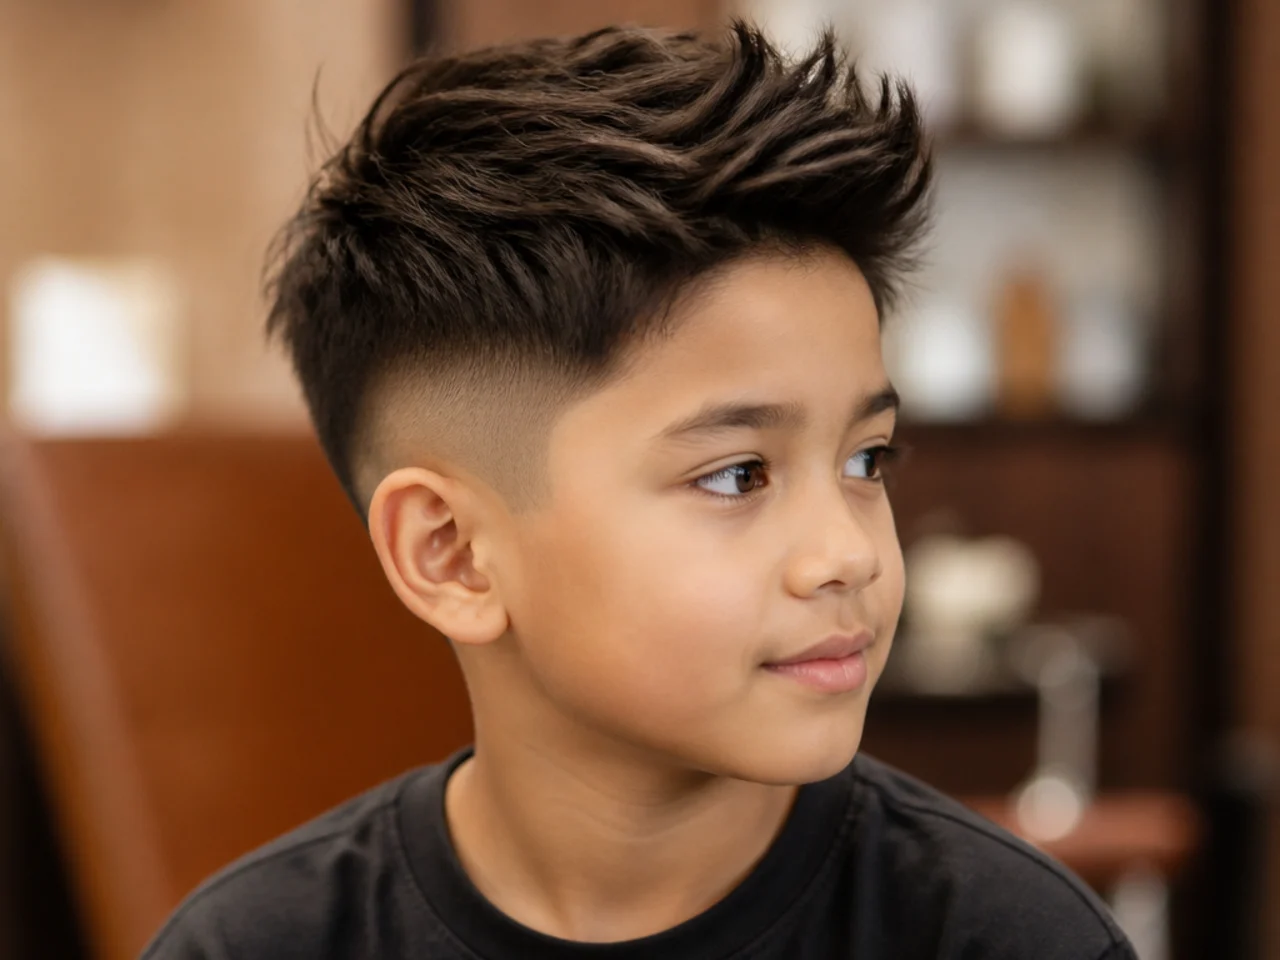
A clipper guard on top produces one flat plane that shows every unevenness in the skull. Scissors over a comb leave slightly varied ends, which is what gives a trendy crop its texture and hides the growing-out phase.
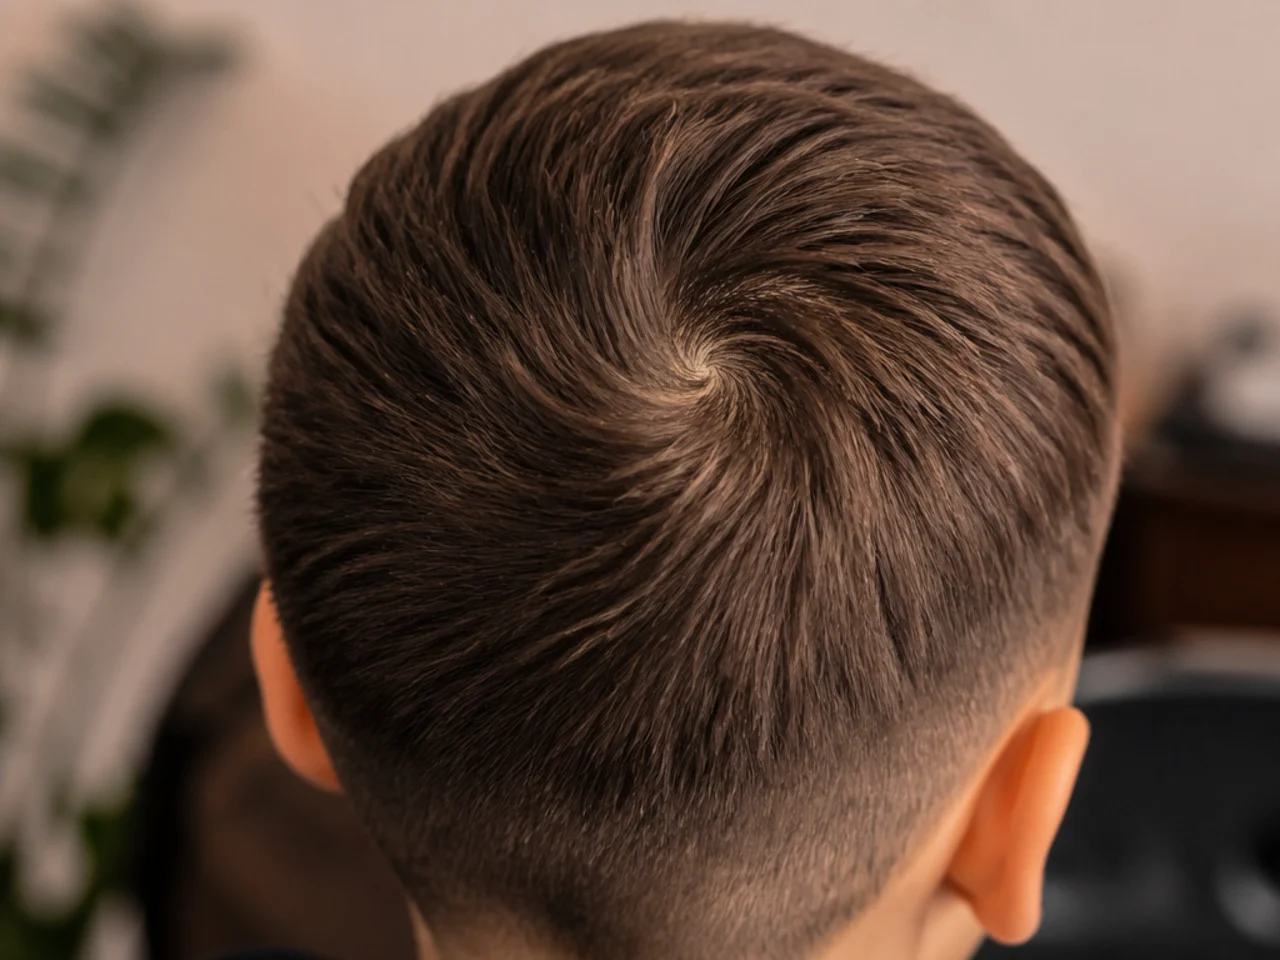
16. Check the Crown Whorl Before You Move On
The crown grows in a spiral, so hair there stands up regardless of length and will look sparse if you cut it to the same length as the rest. Leave the whorl a few millimetres longer than the surrounding top and it lies down instead of sticking out.
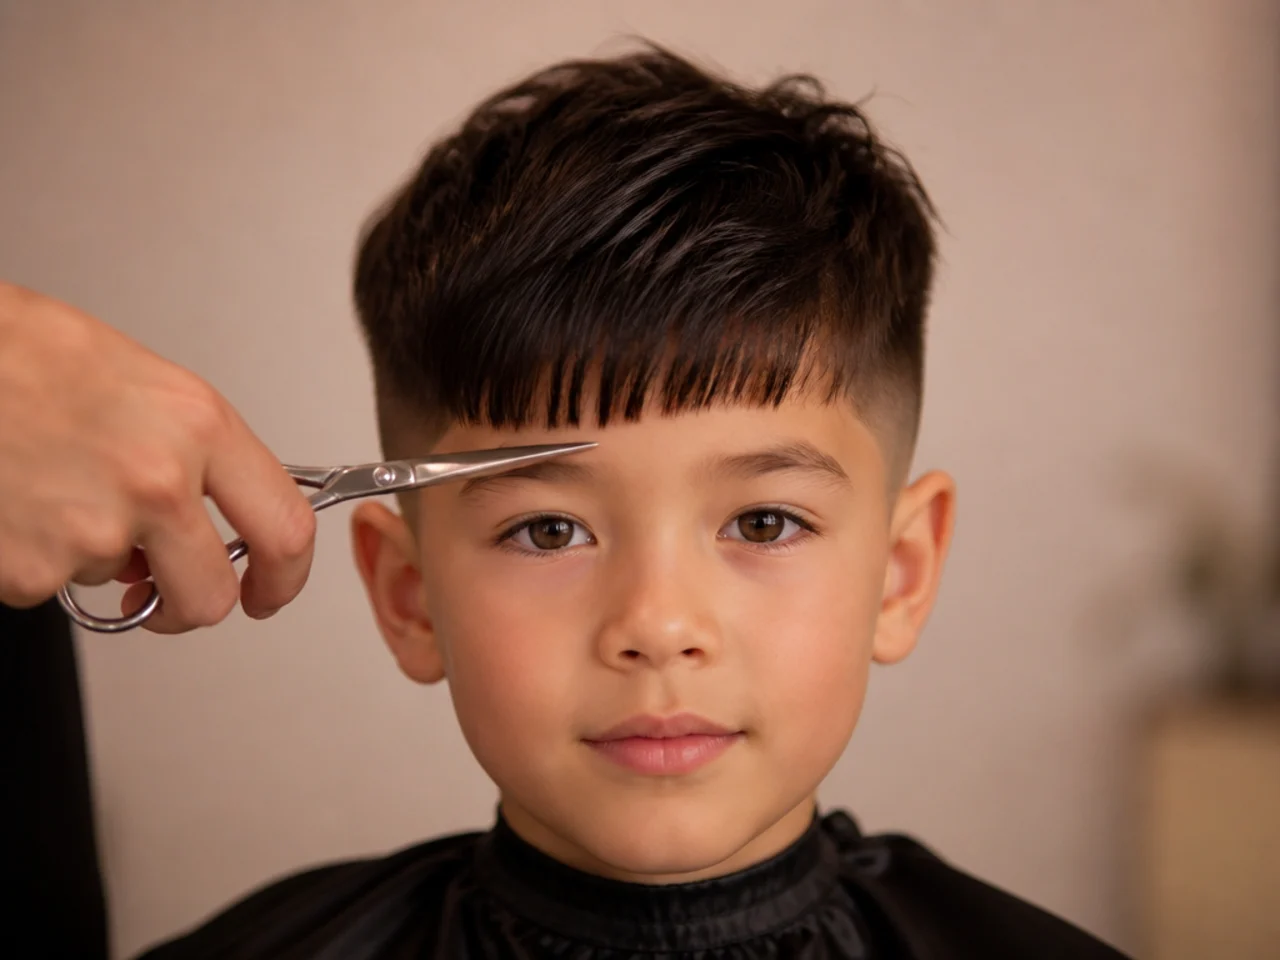
17. Cut the Fringe Last and Cut It to Clear the Eyebrow
Everything you did to the top changes how the fringe falls, so cutting it first means cutting it twice. Take it to sit clear of the eyebrow, because a fringe that starts on the brow is in his eyes within ten days.
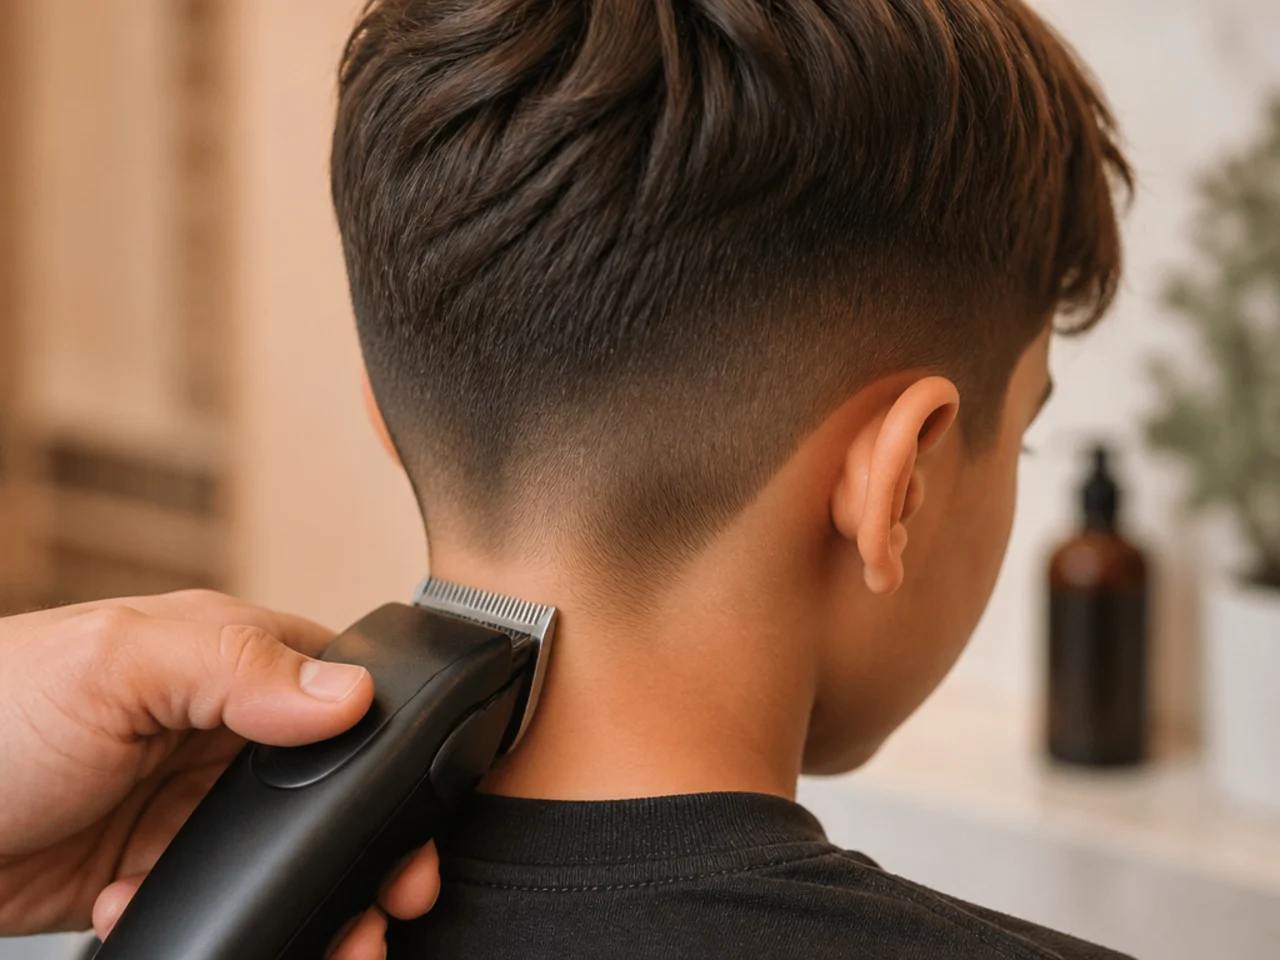
18. Take the Neckline Square, Not Tapered
A square neckline grows out as a slightly lower square, which still looks like a shape. A tapered or rounded one loses its outline within a fortnight and turns into a fuzzy edge nobody can tidy without cutting higher.
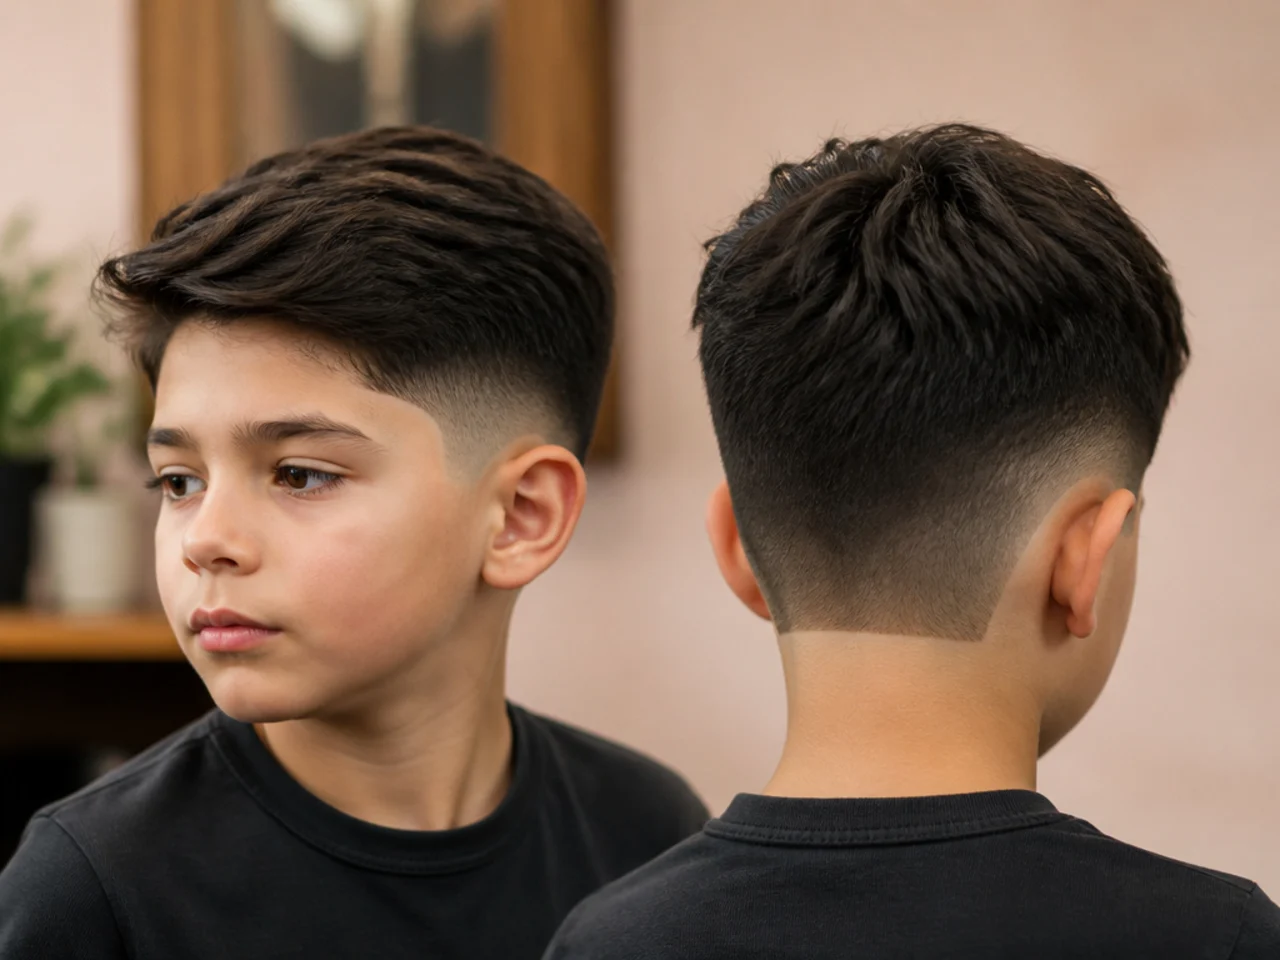
19. Check Both Sides From Behind
Stand behind the head and look down at both sides at once, because comparing them one at a time from the front never catches a difference. Anything more than a few millimetres out will be obvious in a school photograph.
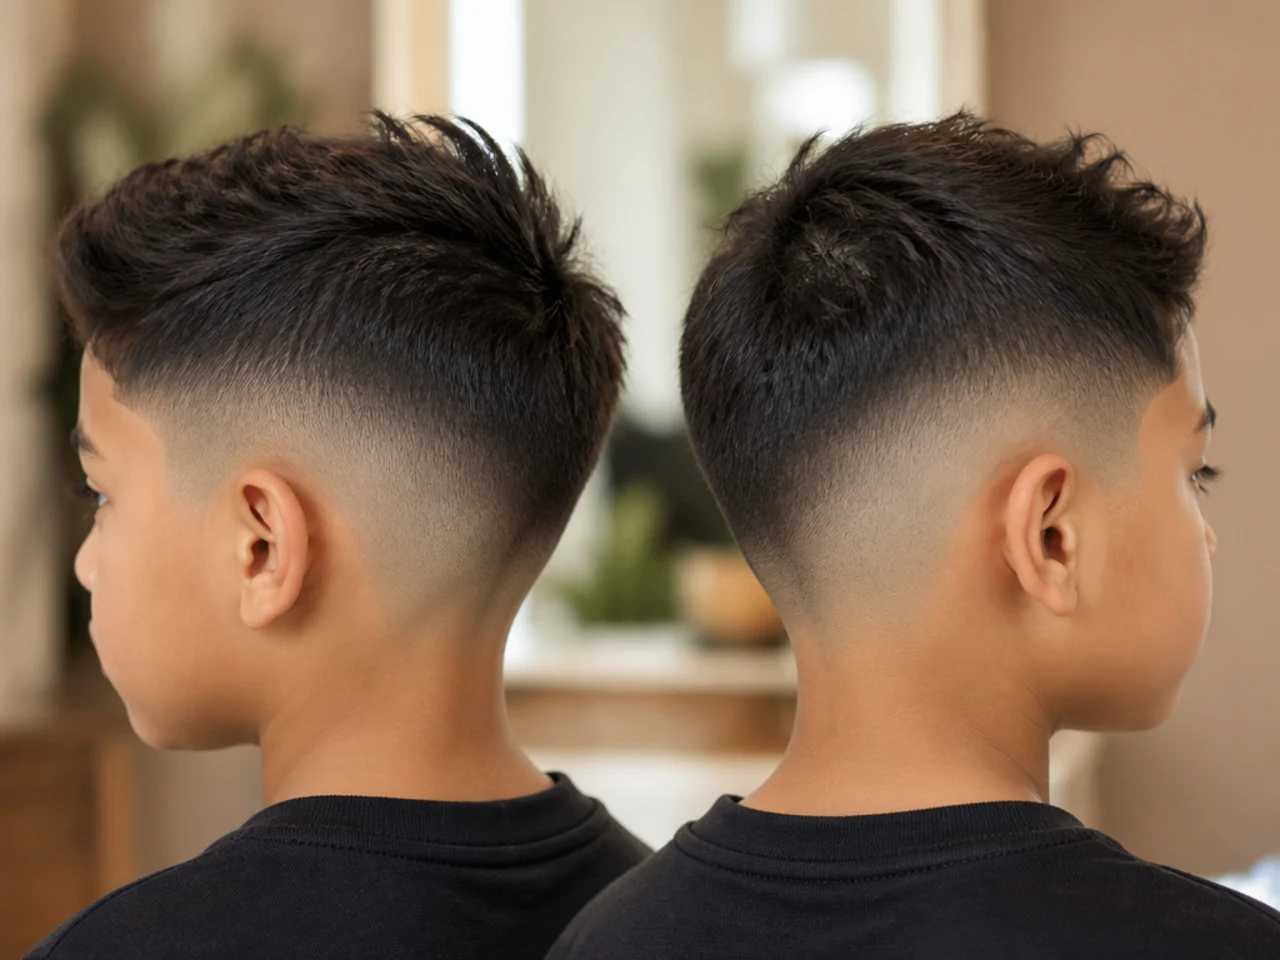
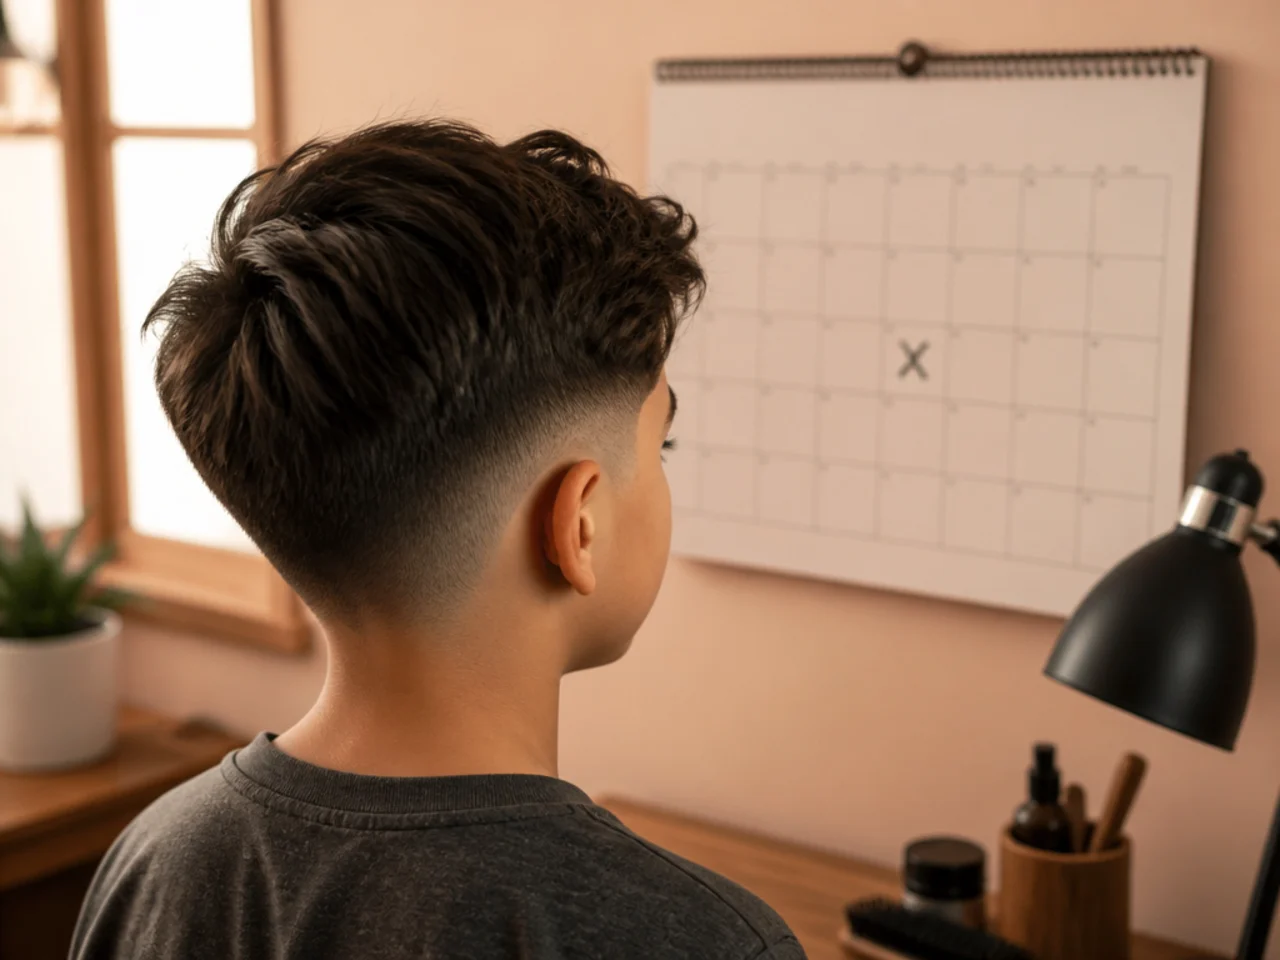
20. Diary the Next Cut at Week Three
Put it in the calendar before you sweep the floor. A child's hard line blurs in two to three weeks rather than four, so week three is when the cut stops being the cut you made and starts being whatever it grew into.
Styling and Upkeep
Redo the neckline at week two. It is one minute of work and it makes a two-week-old cut read as a fresh one from behind.
Trim the fringe without recutting the head. The fringe reaches the brow long before the sides need attention, so treat it as a separate job.
Do not chase the line between cuts. Cleaning it up means cutting higher every time, and by week six the line has climbed halfway up the head.
Keep the same two numbers next time. A repeatable cut gets better each round because you are correcting one variable rather than starting over.
Let water do the styling. A cut planned around falling correctly needs no product, which is fortunate, because it will not be given any.
Mistakes to Avoid
Starting with the short guard. There is no recovery, and he wears the result to school for a fortnight.
Cutting the hair wet. It lands shorter than planned, and on curly hair by a noticeable margin.
Choosing a fade without checking the school rule. The bottom of a fade is the exact thing a minimum guard number is written to stop.
Clippering the top. One flat plane shows every dip in the skull and gives you nothing to hide a growing line under.
Rounding the neckline. It looks neat on the day and shapeless within two weeks.
FAQ
What guard should the sides be? A number two or three unless the school rule says longer, and never shorter than the rule allows.
Wet or dry? Dry, because wet hair sits longer than it really is and you will cut past your target.
When is the next cut due? Week three if there is a line in it, week six if there is not.
Final Thoughts
Spend the first two minutes on the line height and the bottom guard and the remaining eighteen steps become straightforward, because everything after that is execution. The home cut that works is the one chosen for how it will look on a Wednesday in week three, not for how it looks in the ten minutes after you unplug the clippers.
For the clipper technique behind the blend see cutting a taper fade at home, and for choosing the machine itself see the clipper buying guide. More in Men's Haircuts.