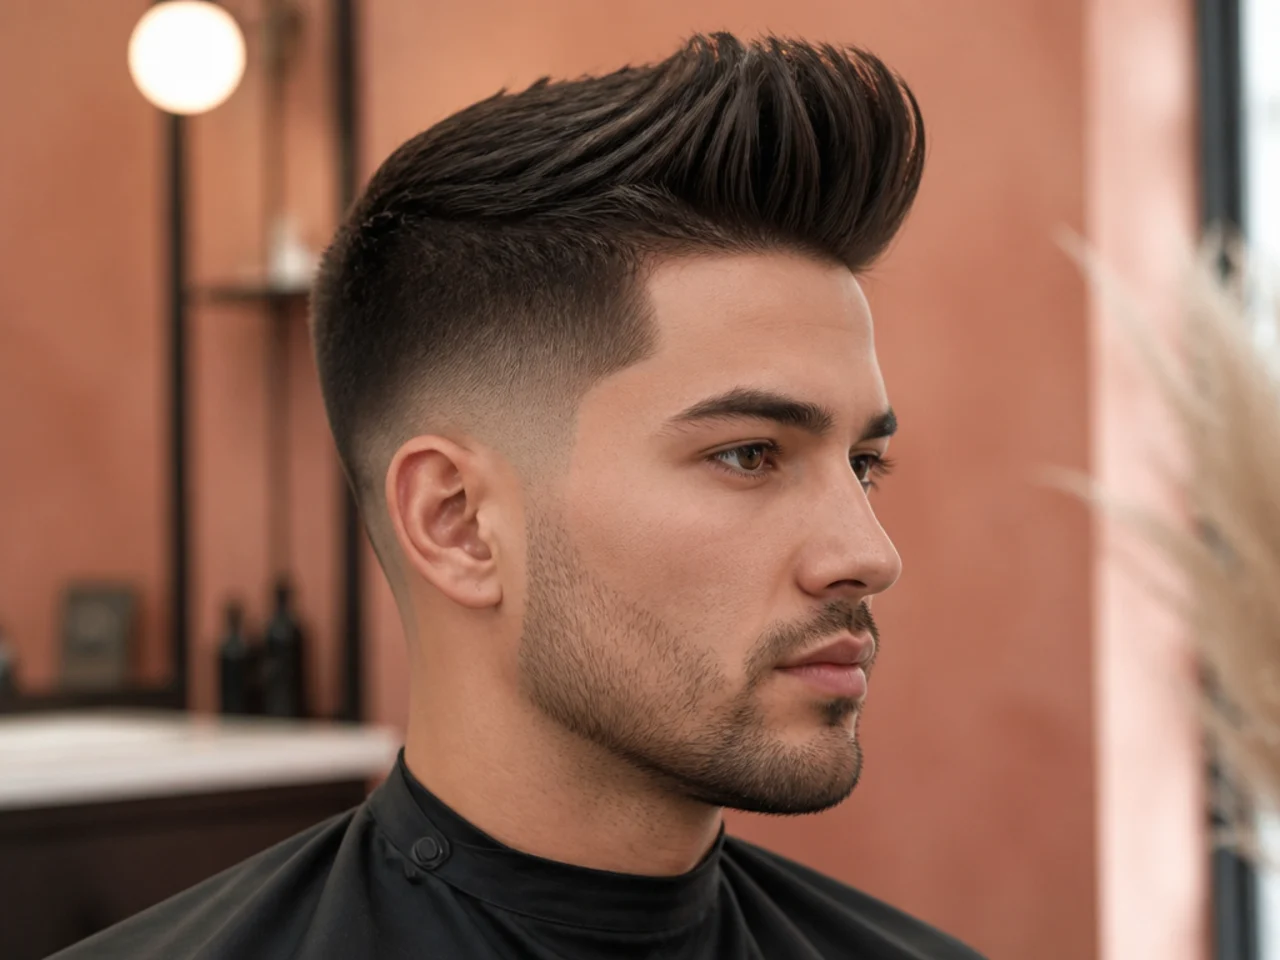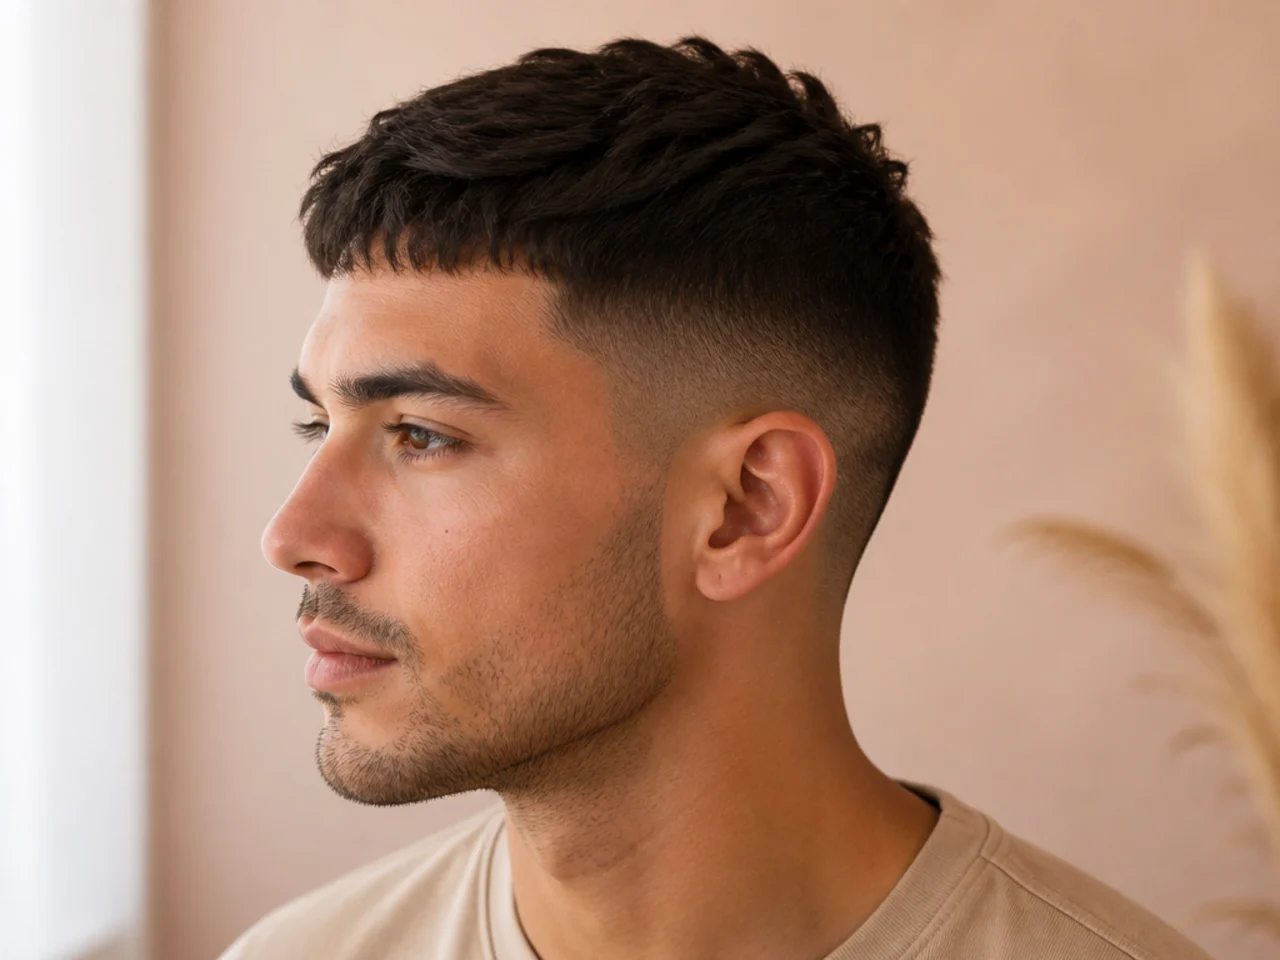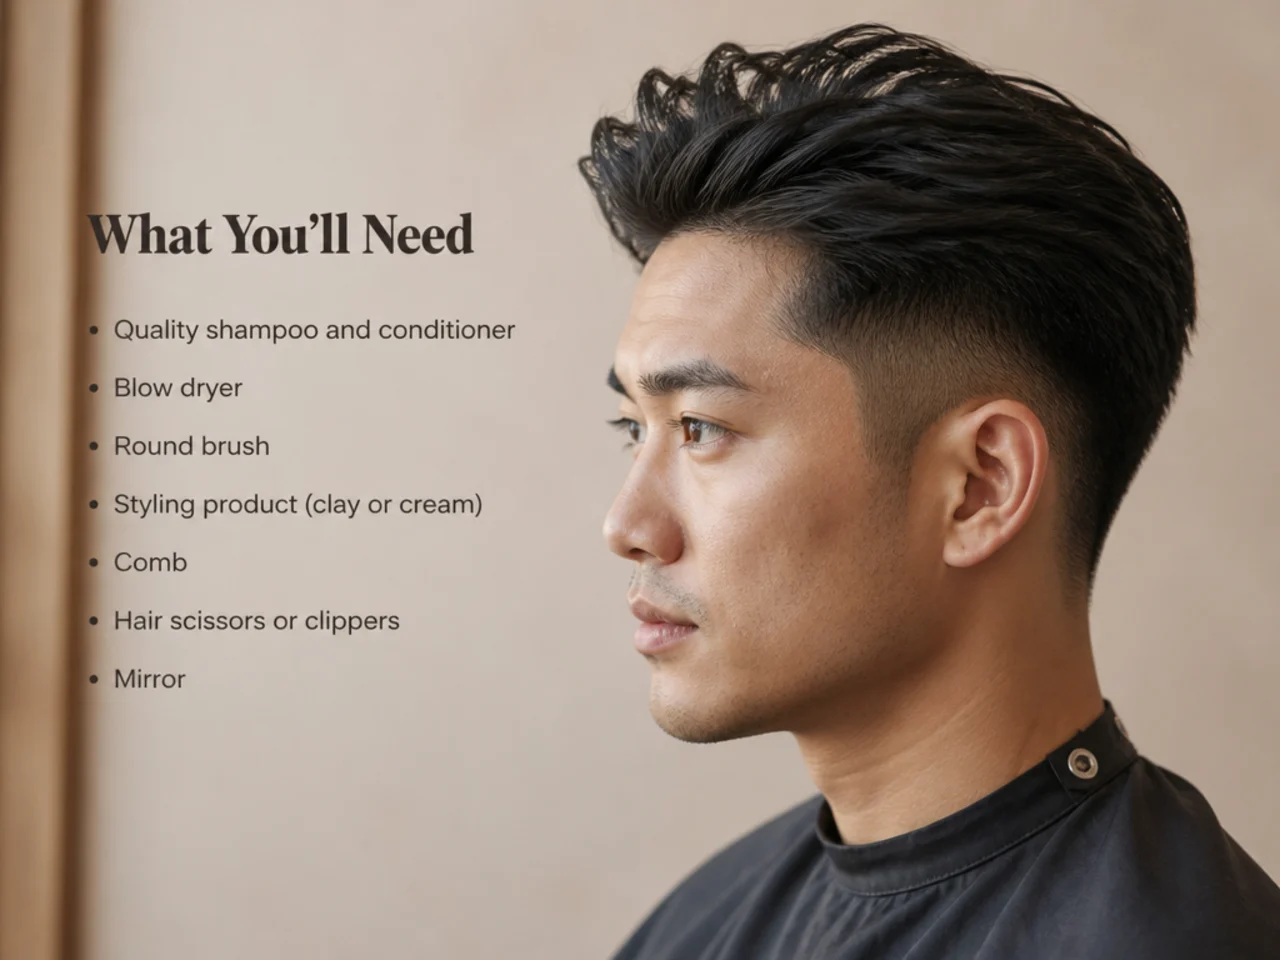
20 Steps to Pick the Right Haircut for Men
Picking a haircut is four measurements and one honest answer, and most men skip straight to the photograph. Work through them in order and the field narrows from hundreds of options to about three before you book anything.
In this article · 27
- Why the Order Matters
- How to Choose Yours
- The 20 Steps
- 1. Pull Your Hair Back and Look Straight On
- 2. Decide If You Need Height or Width
- 3. Find Your Parietal Ridge
- 4. Assess Your Density Under a Bright Light
- 5. Check Whether Density Is Even
- 6. Locate Your Hairline
- 7. Find Your Cowlicks
- 8. Identify Your Texture Honestly
- 9. Time Your Actual Morning Routine
- 10. Set Your Booking Interval
- 11. Decide the Top Length in Inches
- 12. Decide the Fade Height
- 13. Decide the Fade Depth
- 14. Decide the Finish
- 15. Now Find the Photograph
- 16. Check the Photo for Your Texture
- 17. Say the Four Specifications Out Loud
- 18. Ask What They Would Change
- 19. Photograph It From the Side at Week One
- 20. Judge It at Week Three
- Styling and Upkeep
- Mistakes to Avoid
- FAQ
- Final Thoughts
Most men pick a haircut by finding a photograph they like and hoping. The photograph is the last step, not the first.
Picking a haircut is four measurements and one honest answer. Face shape, density, hairline and styling time, plus whether you will really do the routine.
Work through them in order and the field narrows to about three options. At that point a reference photo becomes useful, because you already know what you are looking for in it.
Why the Order Matters
Face shape sets the silhouette. It decides whether you need height, width or neither.
Density sets the technique. Thick, fine and thinning hair need different handling at the same length.
The hairline sets the front. Where it sits decides whether hair comes forward or goes back.
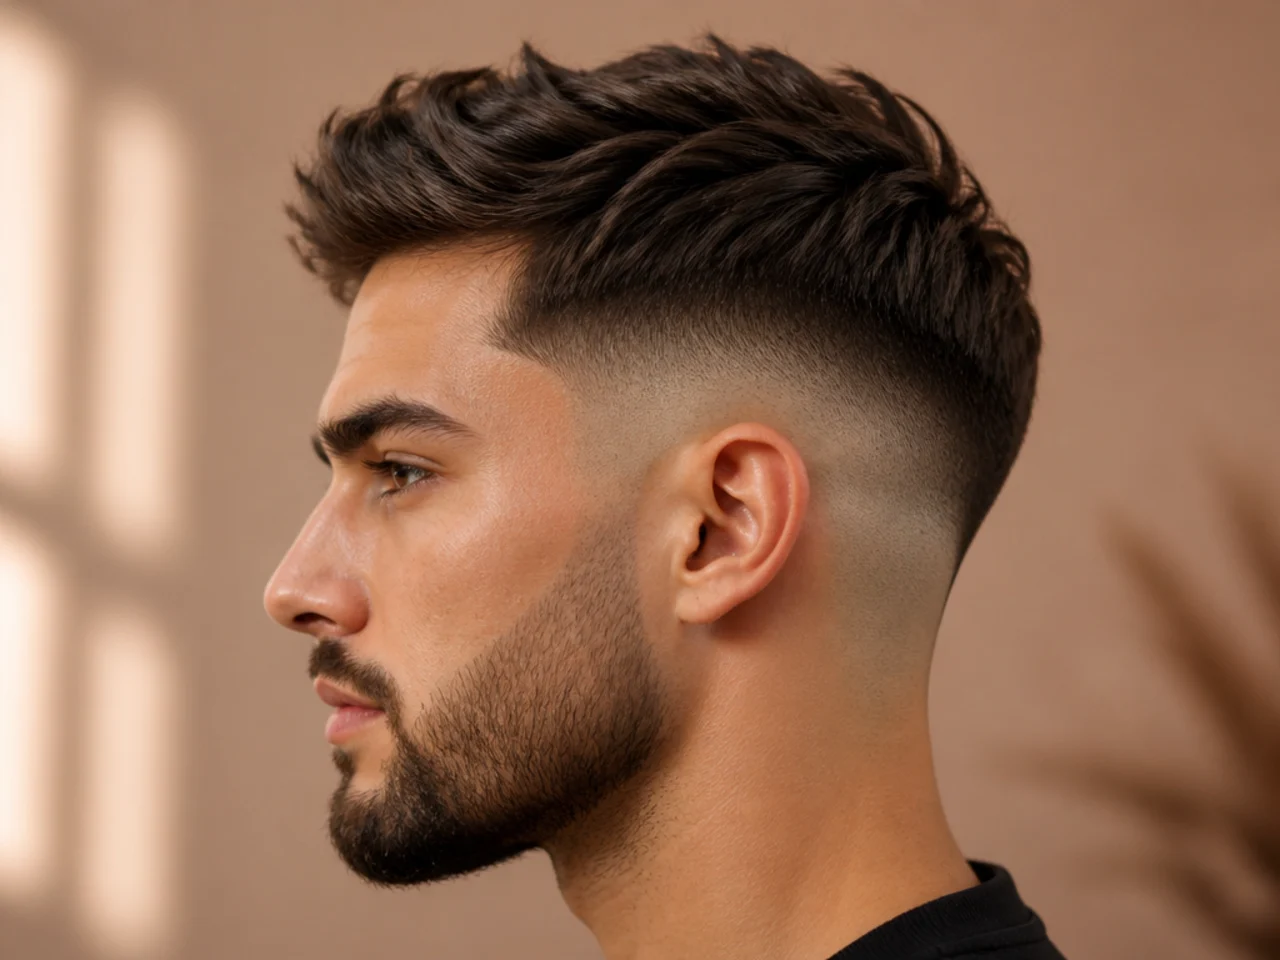
Upkeep sets the depth. Depth is the decision the calendar makes for you — bare skin has blurred by the second week, so only a taper is still intact when a monthly booking comes round at three or four.
How to Choose Yours
Measure before you browse. A photograph found first will bias every assessment after it.
Be pessimistic about your styling time. Whatever number you first thought of, halve it.
Write four specifications down. Length, fade height, fade depth, finish.
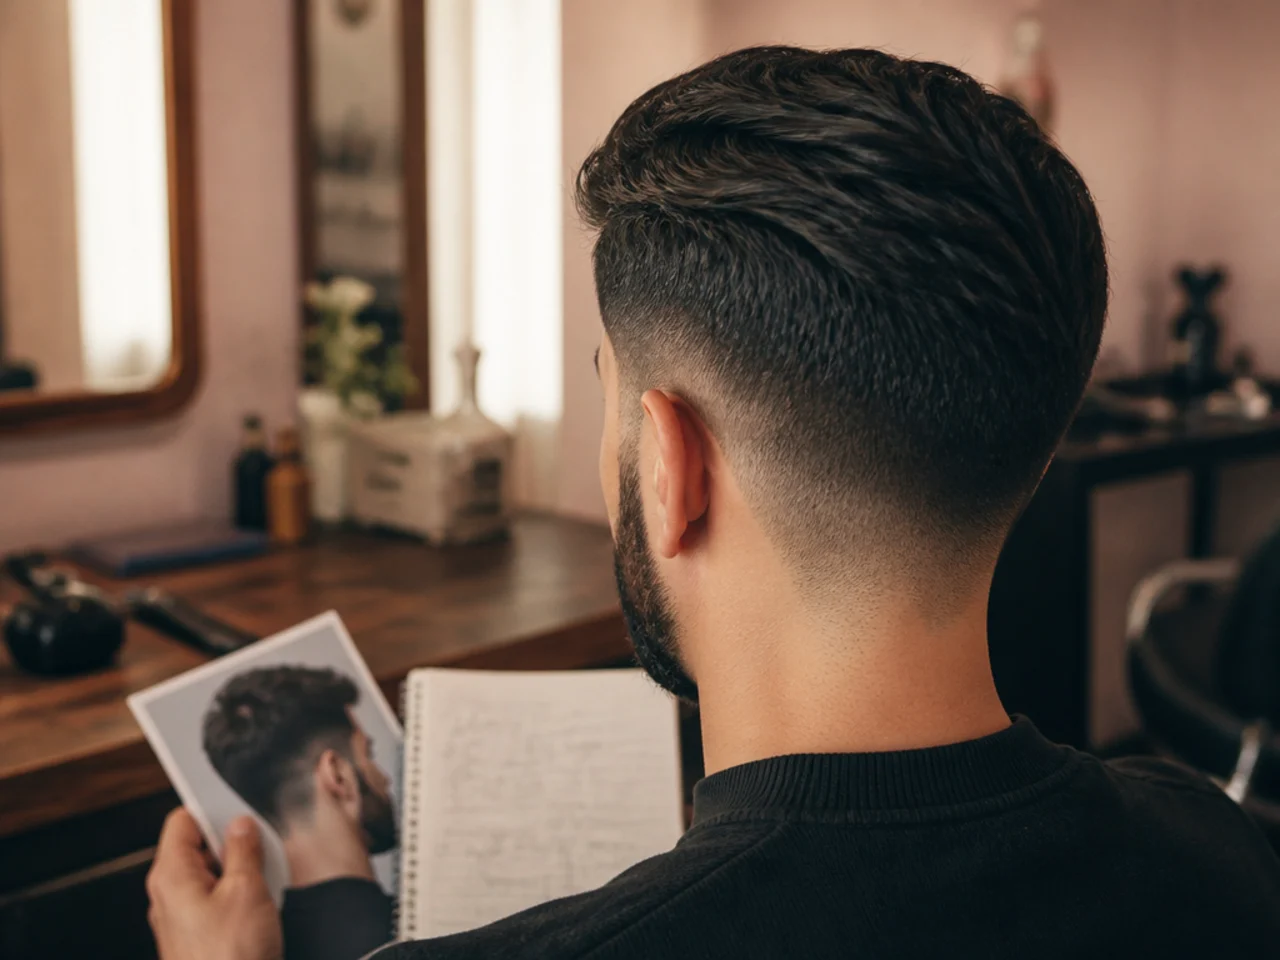
Bring a side profile, not a front shot. It shows the shape a front view cannot.
The 20 Steps
1. Pull Your Hair Back and Look Straight On
Compare the width at the cheekbones with the width at the jaw and forehead. That single comparison gives you your face shape faster than any measuring guide, and it is the only one of these steps that has to be done with the hair off your face.
2. Decide If You Need Height or Width
A round or square face wants height and narrow sides. A long face wants the opposite, because height on a long face lengthens it further.

3. Find Your Parietal Ridge
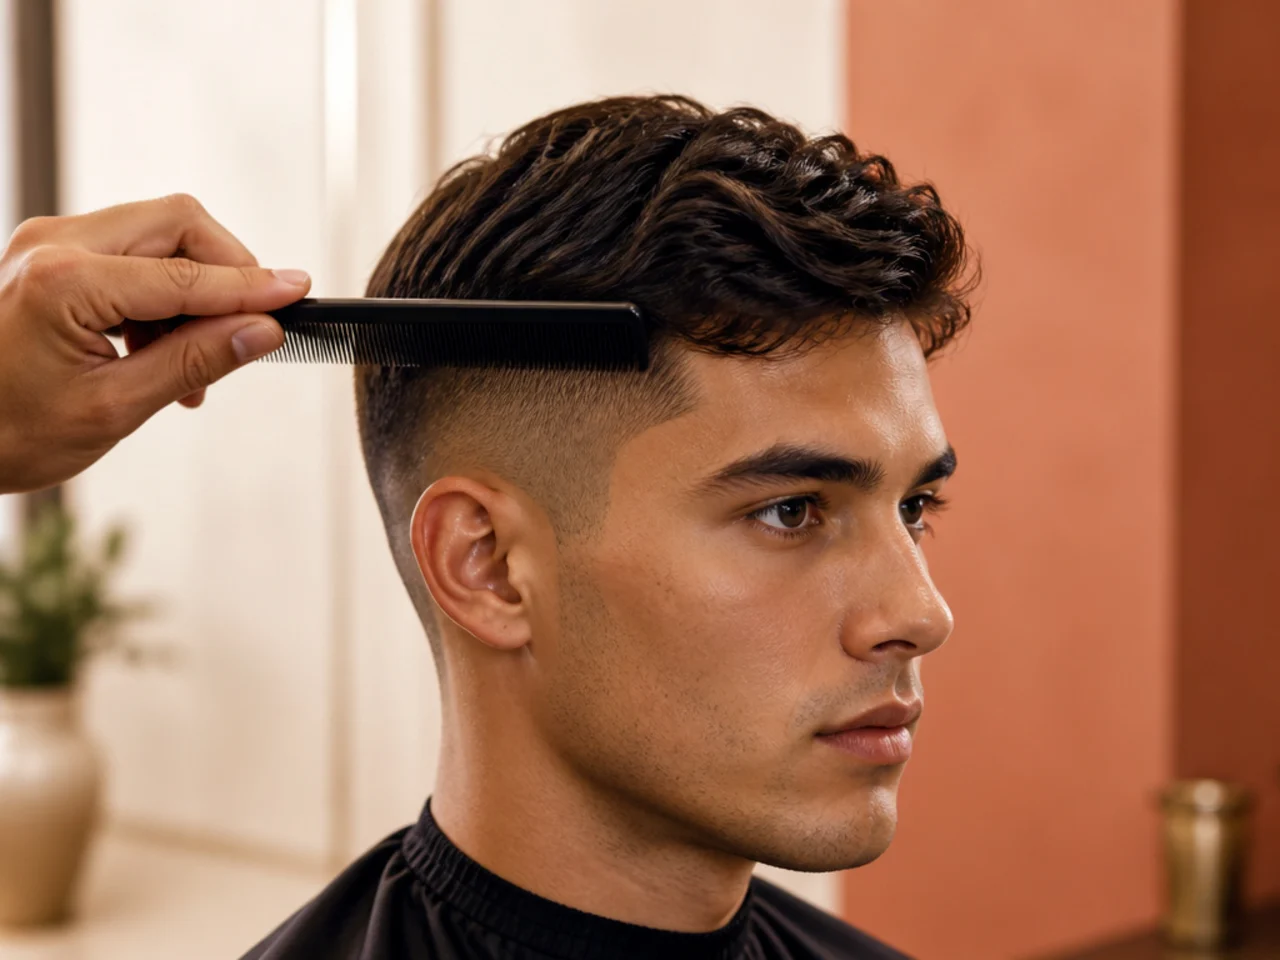
Run a comb flat up the side of your head until it stops sitting flush. Where it lifts off is the widest point of your skull, and it is the line where the side of the cut ends and the top begins.
4. Assess Your Density Under a Bright Light
Overhead light is the honest test. Look for where scalp shows through, because that is what the cut has to answer, and bathroom lighting from the front will hide the crown entirely.
5. Check Whether Density Is Even
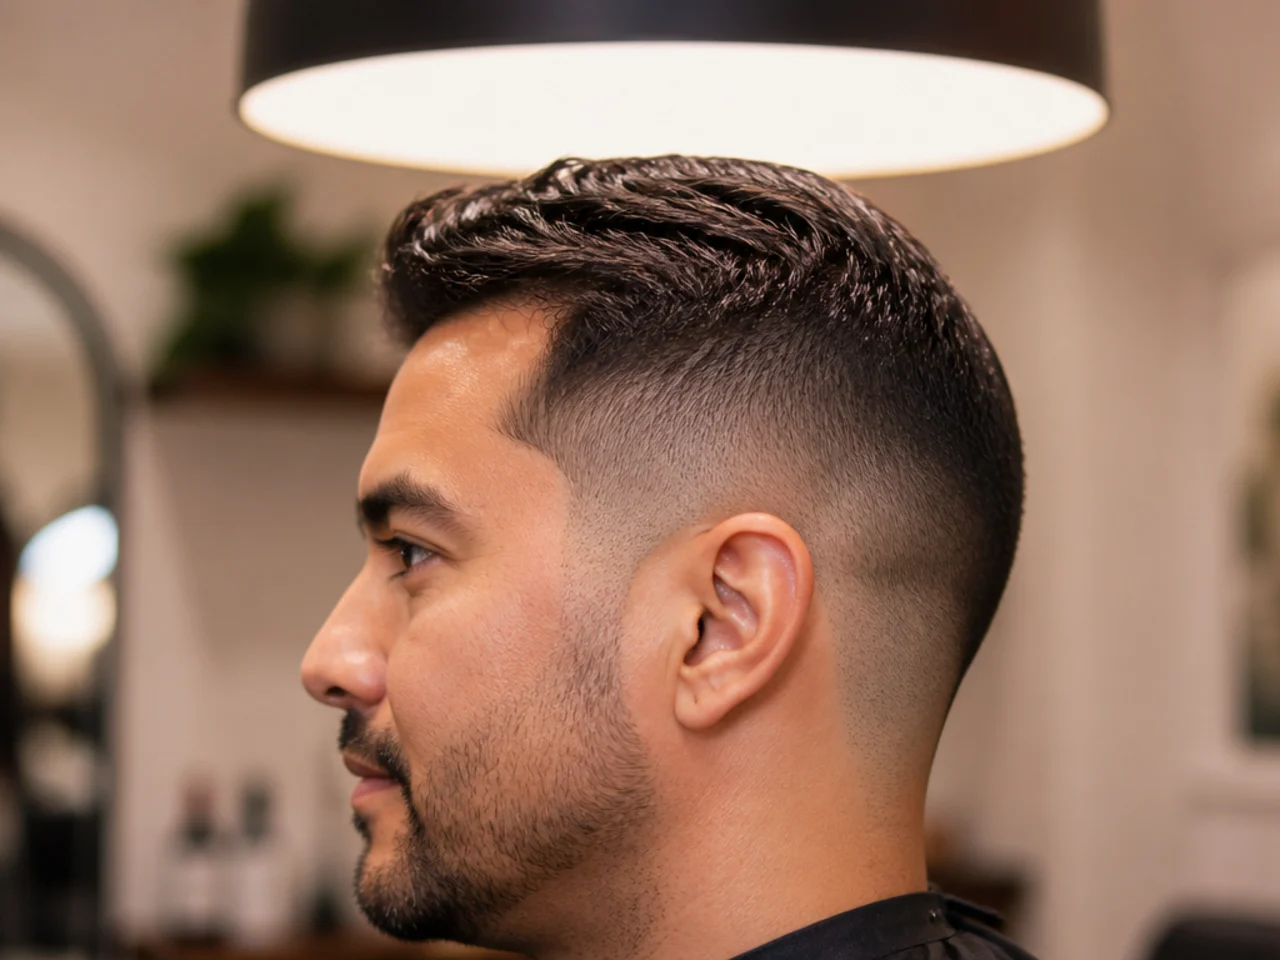
Full sides with a thin crown is a different problem from uniform thinning, and it has a different answer. Part the hair at the crown, then again above the ear, and compare the two. Matching partings mean the thinning is uniform.
6. Locate Your Hairline
Recession happens at the temples first. Where the corners sit decides whether the front section comes forward or is combed back. Raise your eyebrows and measure from the top crease to each corner. Past three finger-widths, forward is the only direction that covers it.

7. Find Your Cowlicks
Comb everything down from the crown and look for anything that refuses. A cowlick is a root direction, and cutting will not remove it, so it has to be designed around rather than fought every morning.

8. Identify Your Texture Honestly
Straight hair falls where the root points, wavy lifts and bends, and curly shrinks by around a third as it dries. Wet one strand, pull it straight and mark where it reaches, then let it dry and see where it lands.

9. Time Your Actual Morning Routine
Use a stopwatch for a week. The number will be lower than you expected, and it should decide the cut. Under two minutes and the shape has to come from the cut. Five minutes upward is what buys you length on top.

10. Set Your Booking Interval
Fortnightly makes a skin fade viable. Monthly does not, because it blurs after one to two weeks. Count your real appointments from last year rather than your intended ones, because the interval you actually keep sets the depth.

11. Decide the Top Length in Inches
Two inches sits close, three inches can be styled, four or more begins to fall under its own weight. Giving a number rather than a photograph is what makes this reproducible at the next appointment.
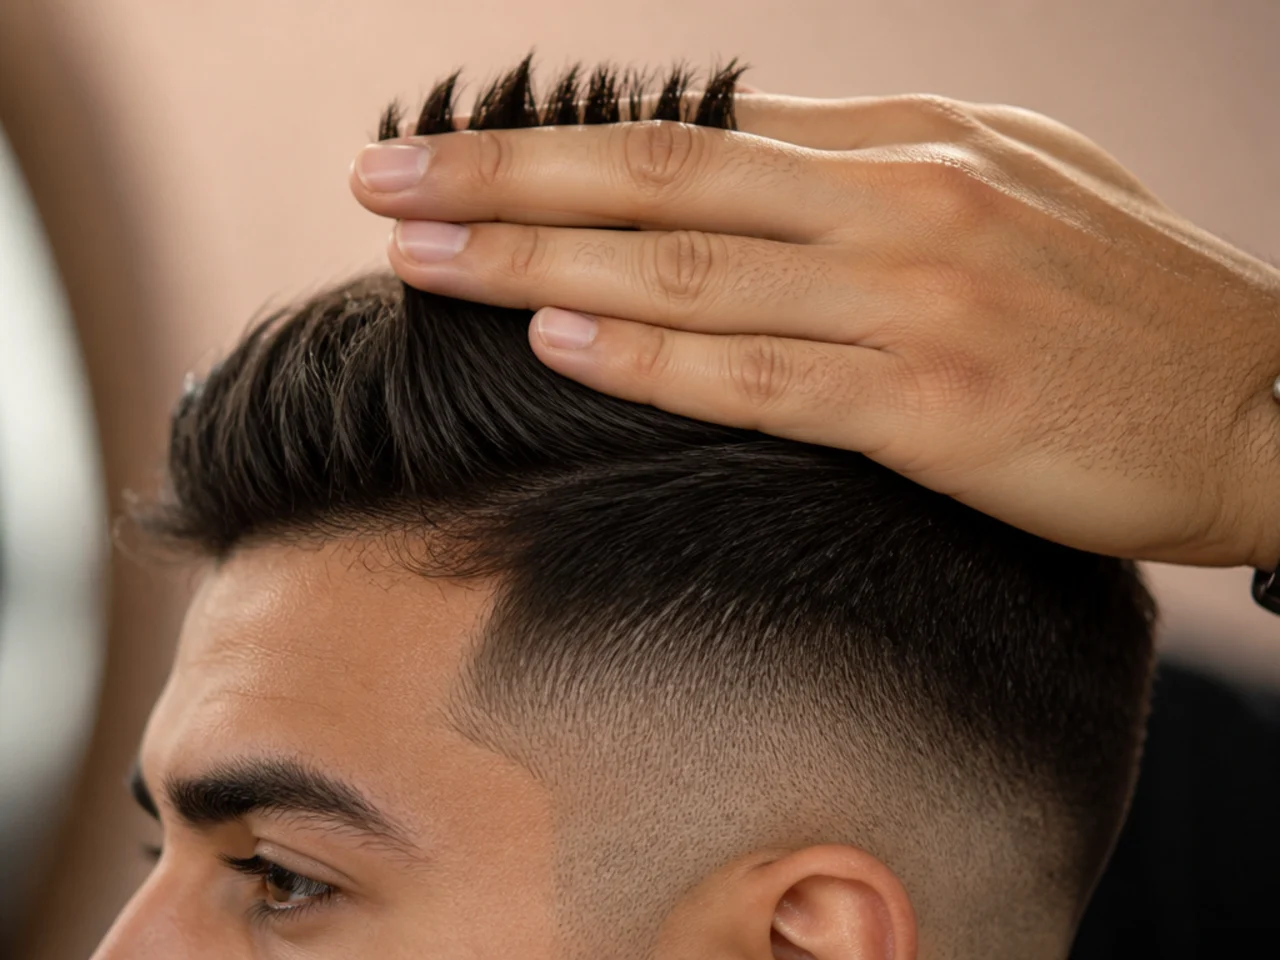
12. Decide the Fade Height
Low sits at or below the temple, mid between temple and ridge, high at or above the ridge. Measure it against the ridge you marked in step three, not against a photograph. The same named height lands differently on every skull.
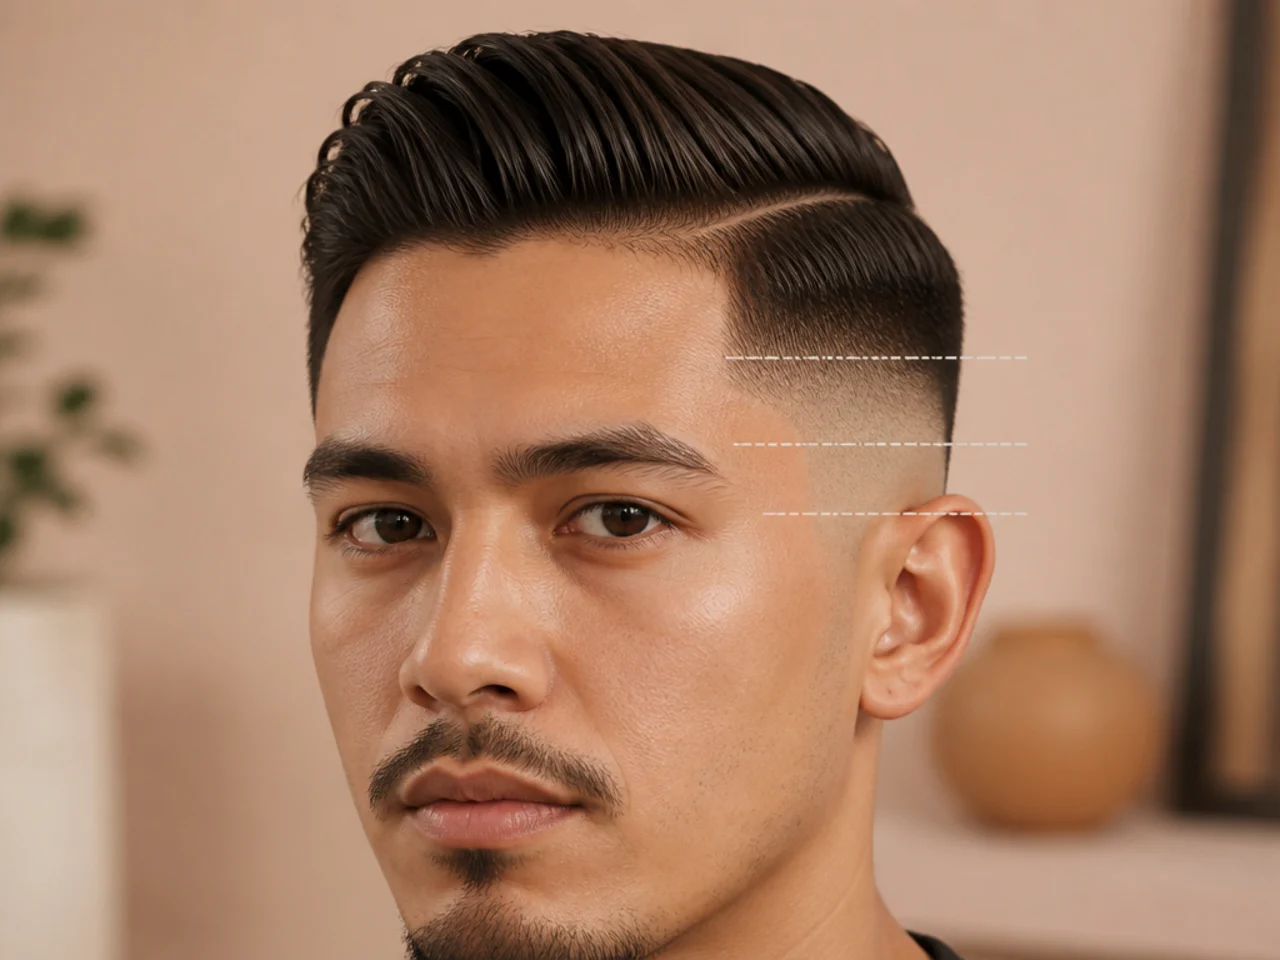
13. Decide the Fade Depth
A taper leaves a #1 at 3mm. A fade goes to skin. It is a separate decision from height. Depth reads as contrast against your scalp. Dark hair on pale skin makes a skin fade loud, and a closer match keeps it quiet.
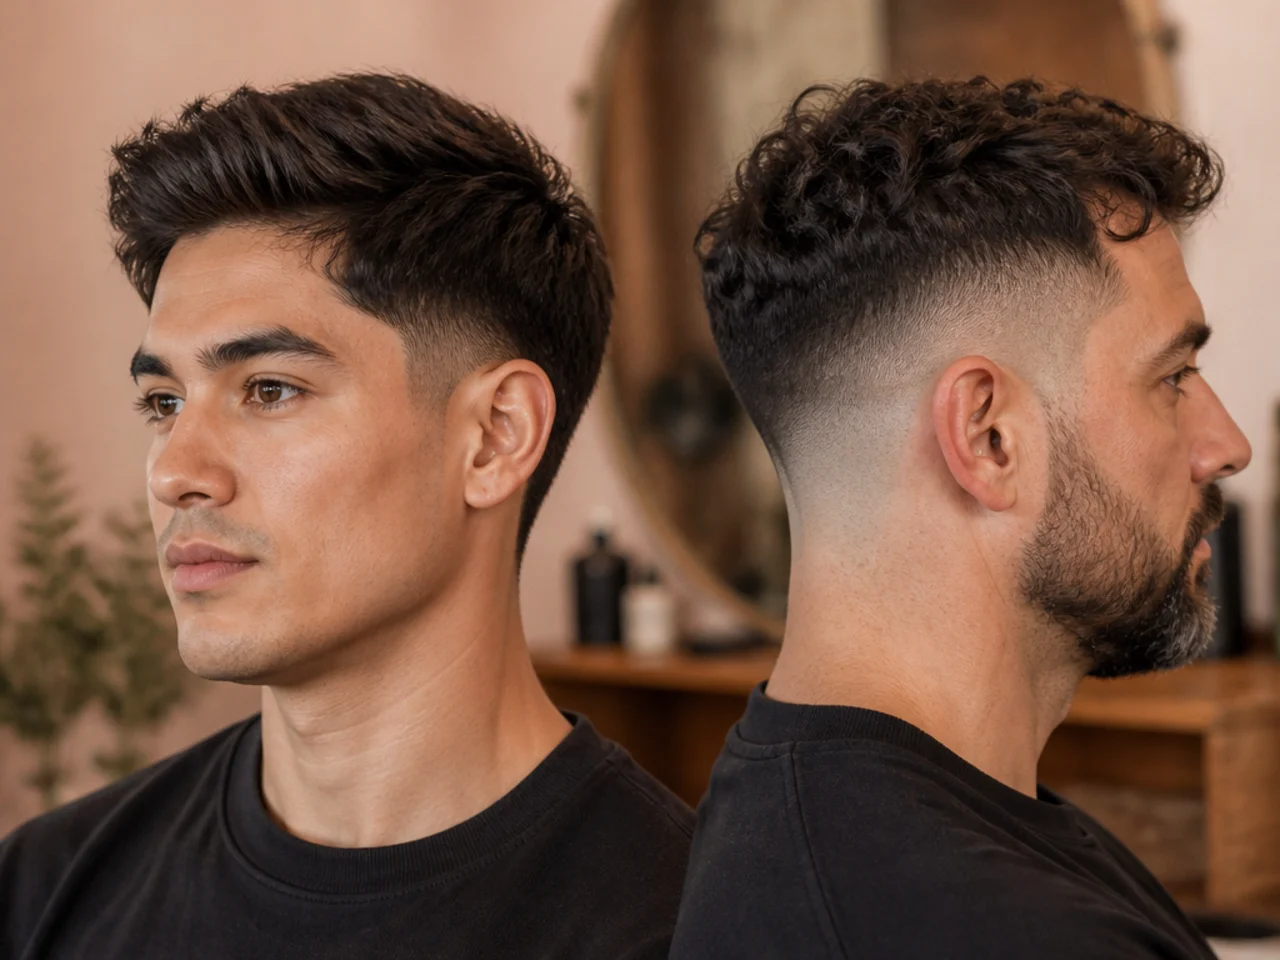
14. Decide the Finish
Matte or shine. It changes the read of the cut more than most people expect, and it costs one product. Shine gathers strands into clumps and opens gaps to the scalp, which is why a thin crown always wants matte.
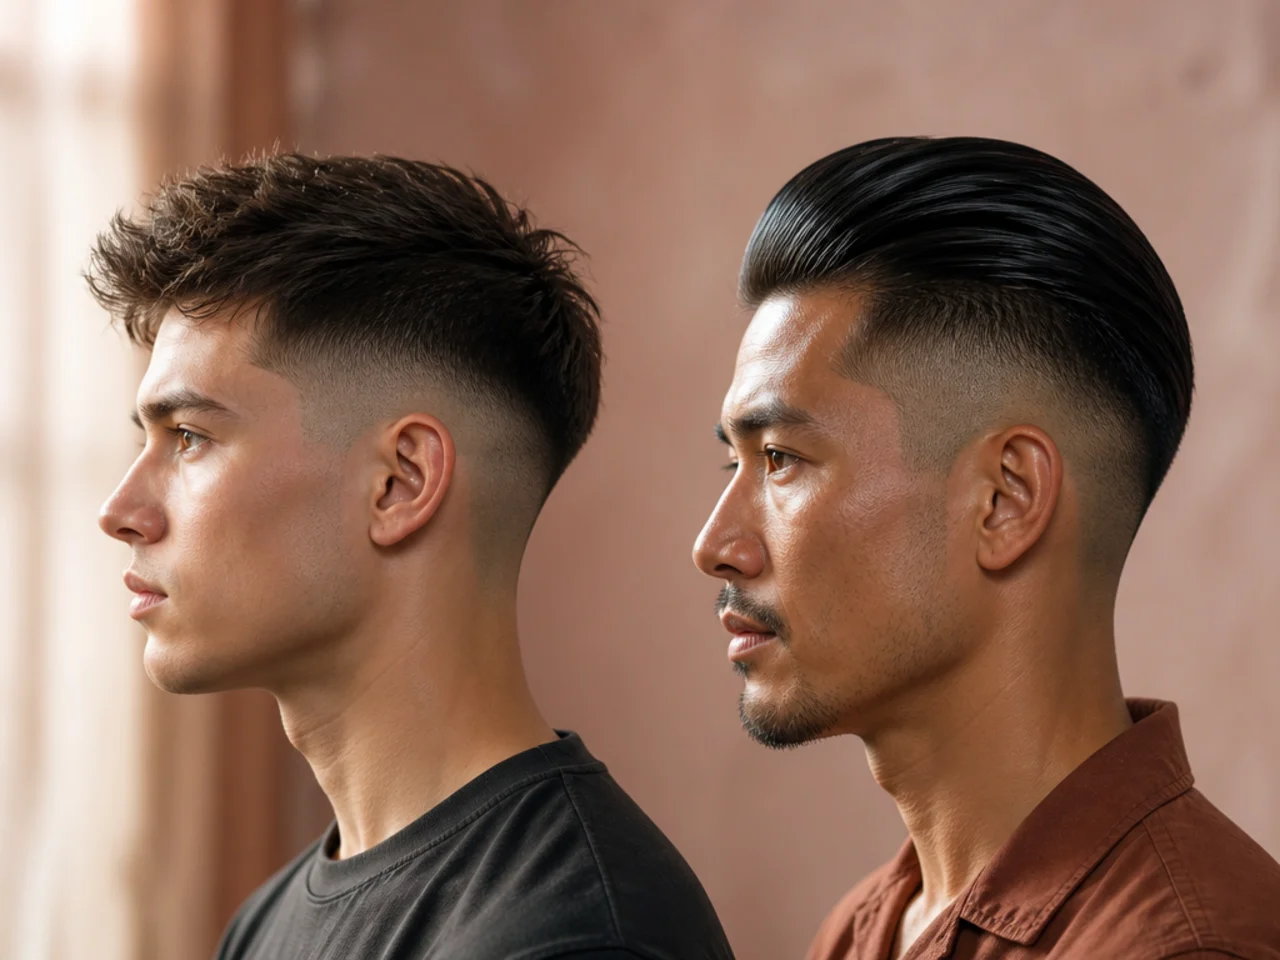
15. Now Find the Photograph
With the previous fourteen answers in hand, you are checking a photo against a specification rather than shopping. Reject any image that contradicts one of your four numbers. The test takes seconds and removes most of what you were browsing.
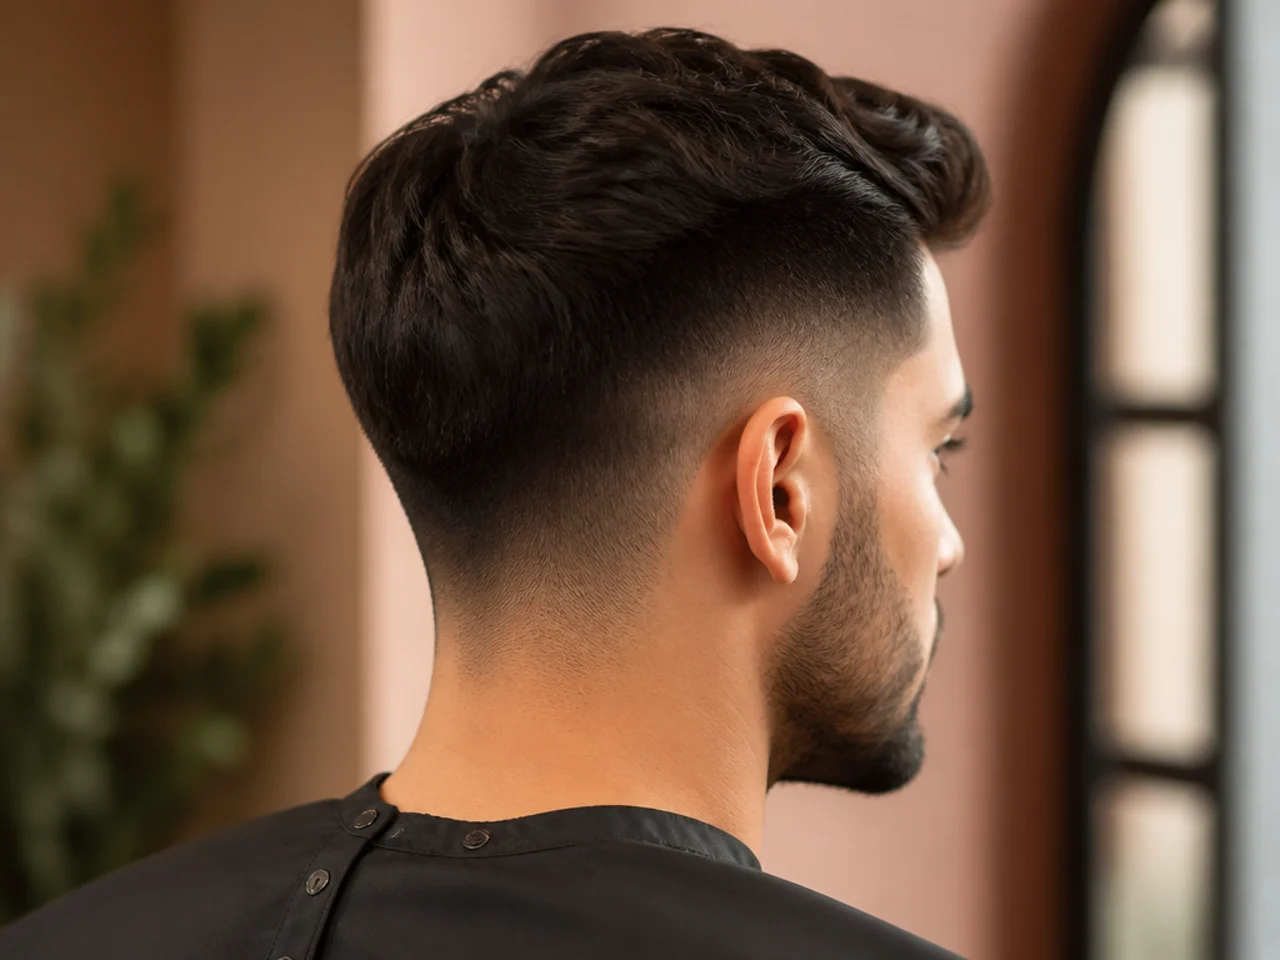
16. Check the Photo for Your Texture
A cut on straight hair will not read the same on curly. If the texture in the picture is not yours, the shape will not transfer.
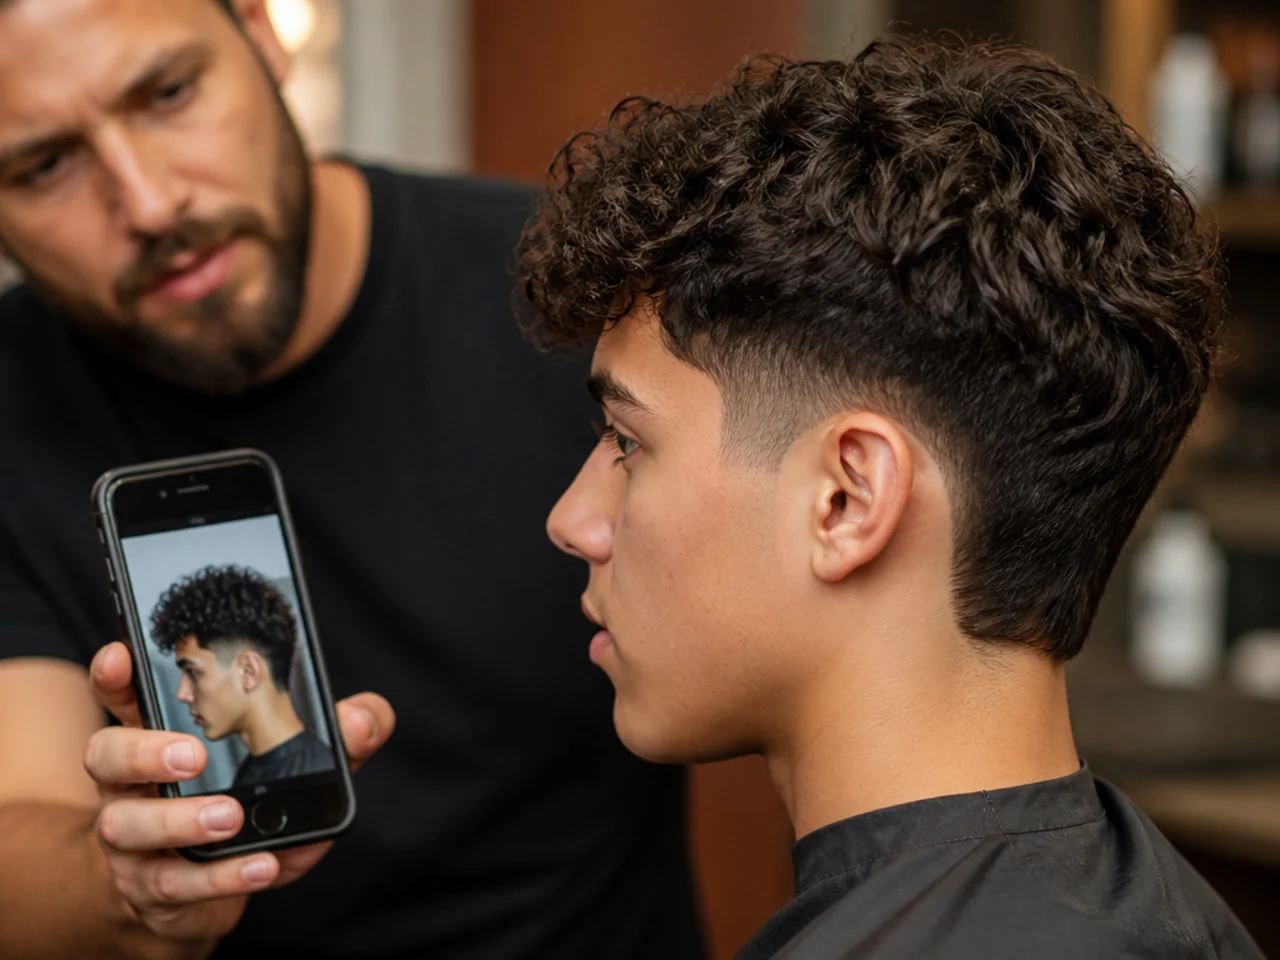
17. Say the Four Specifications Out Loud
Length, height, depth, finish, in one sentence. Four numbers spoken in ten seconds carry further than any photograph you could hand over. Ask for it back in their own words before anything starts. A mismatch caught at that moment costs nothing to correct.

18. Ask What They Would Change
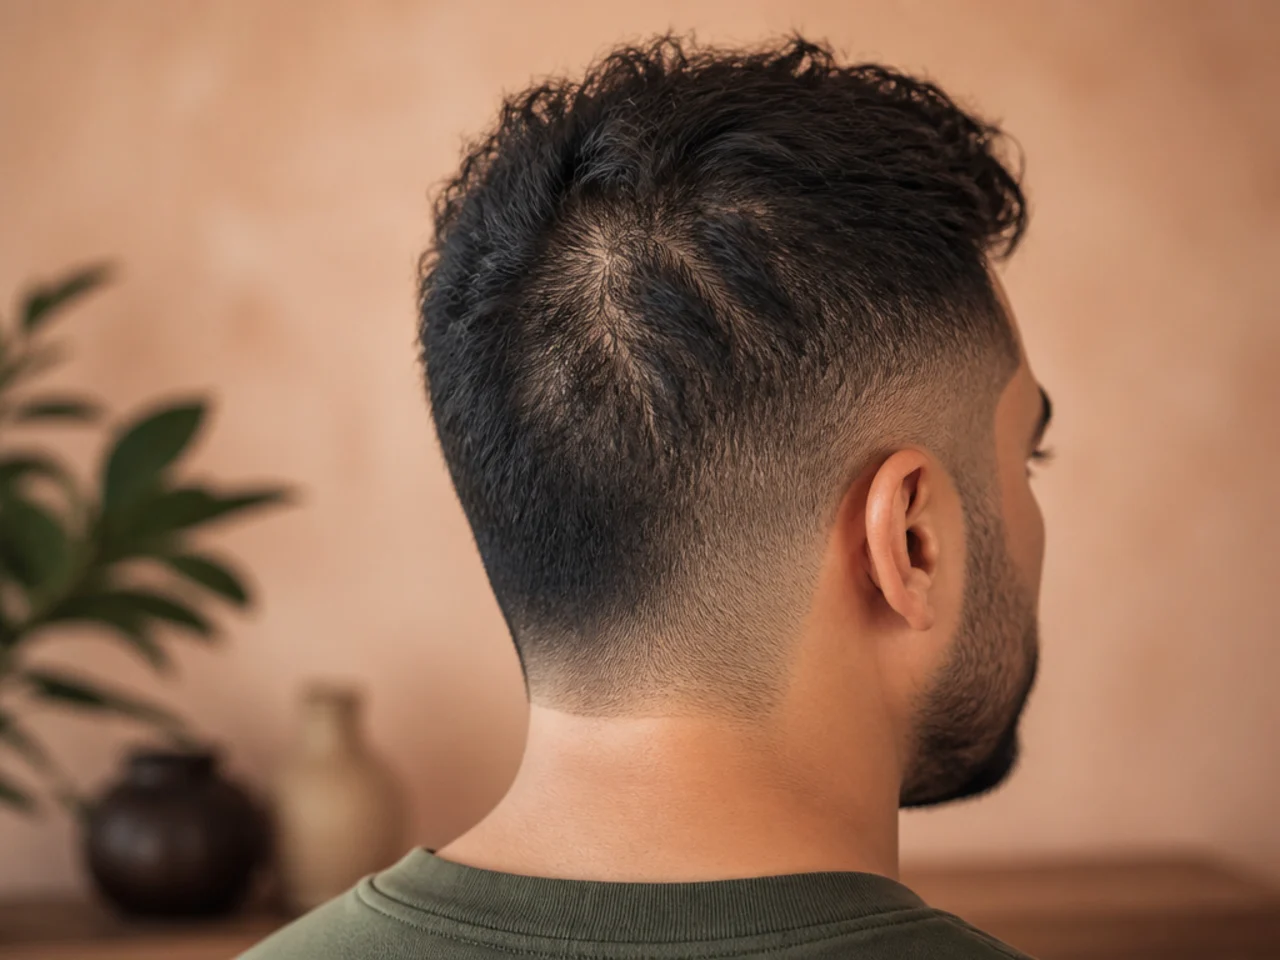
A barber can see your growth patterns from behind, which you cannot. It is free information and most men never ask for it, and a crown whorl or a low neckline will change what is possible on top.
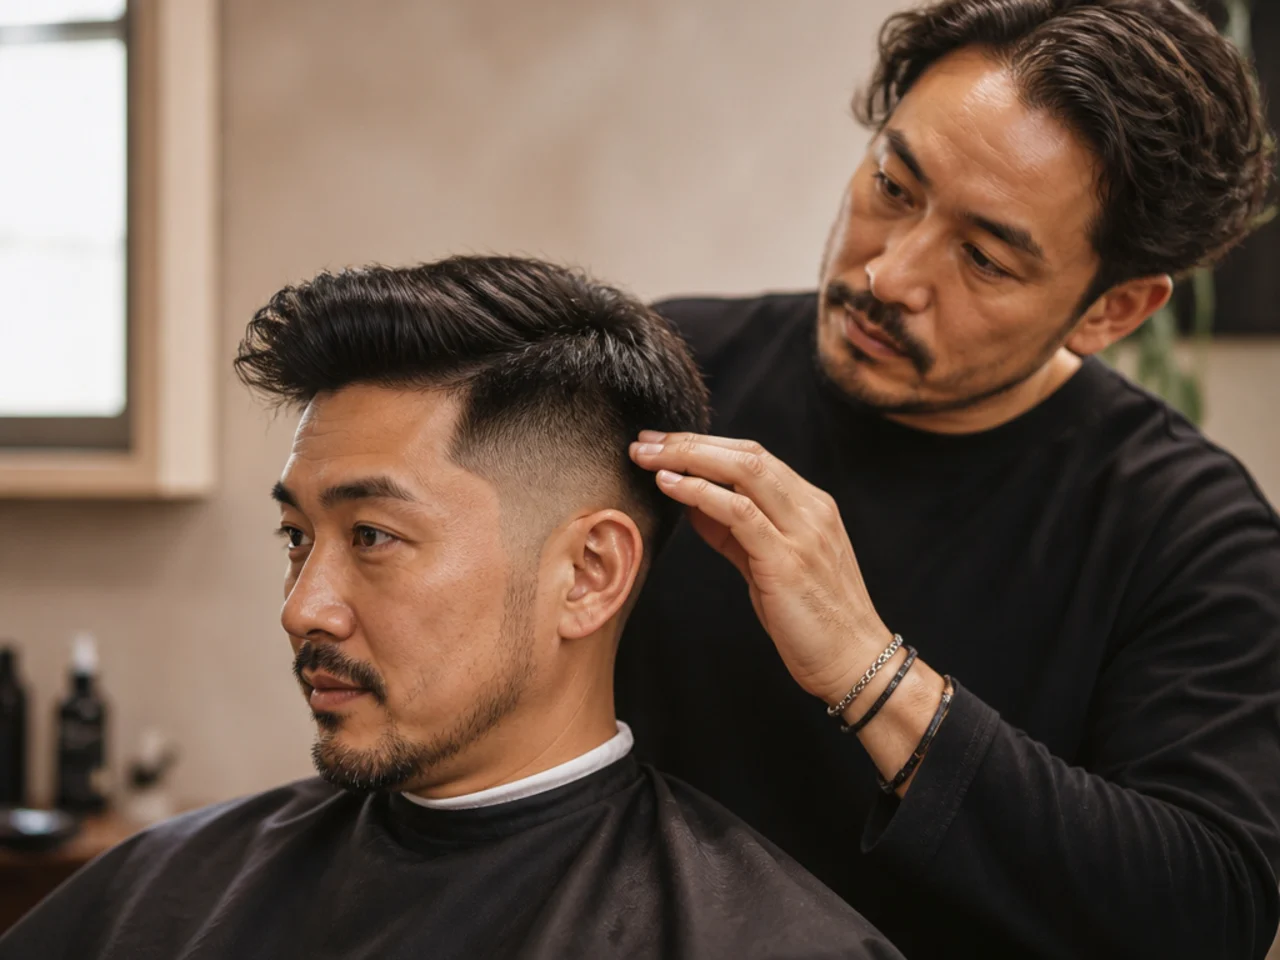
19. Photograph It From the Side at Week One
The side profile is the brief for every future appointment, including with a different barber. Take it in the same spot and the same light every time, or the comparison against week three tells you nothing.

20. Judge It at Week Three
Week one shows what the barber can do. Week three shows what you actually bought. A cut that only works on the day it was cut is a cut you cannot maintain, and week three is when the styling you will actually do has to carry it alone.

Styling and Upkeep
Keep the four specifications written down. They transfer to any barber anywhere.
Rebook before you leave. The interval you decided in step ten only works if it is in a calendar.
Reassess the density map once a year. Hair changes faster than most men update their haircut.
Keep the week-one and week-three photos together. They tell a barber what the cut becomes.
Change one specification at a time. Changing three at once tells you nothing about which one worked.
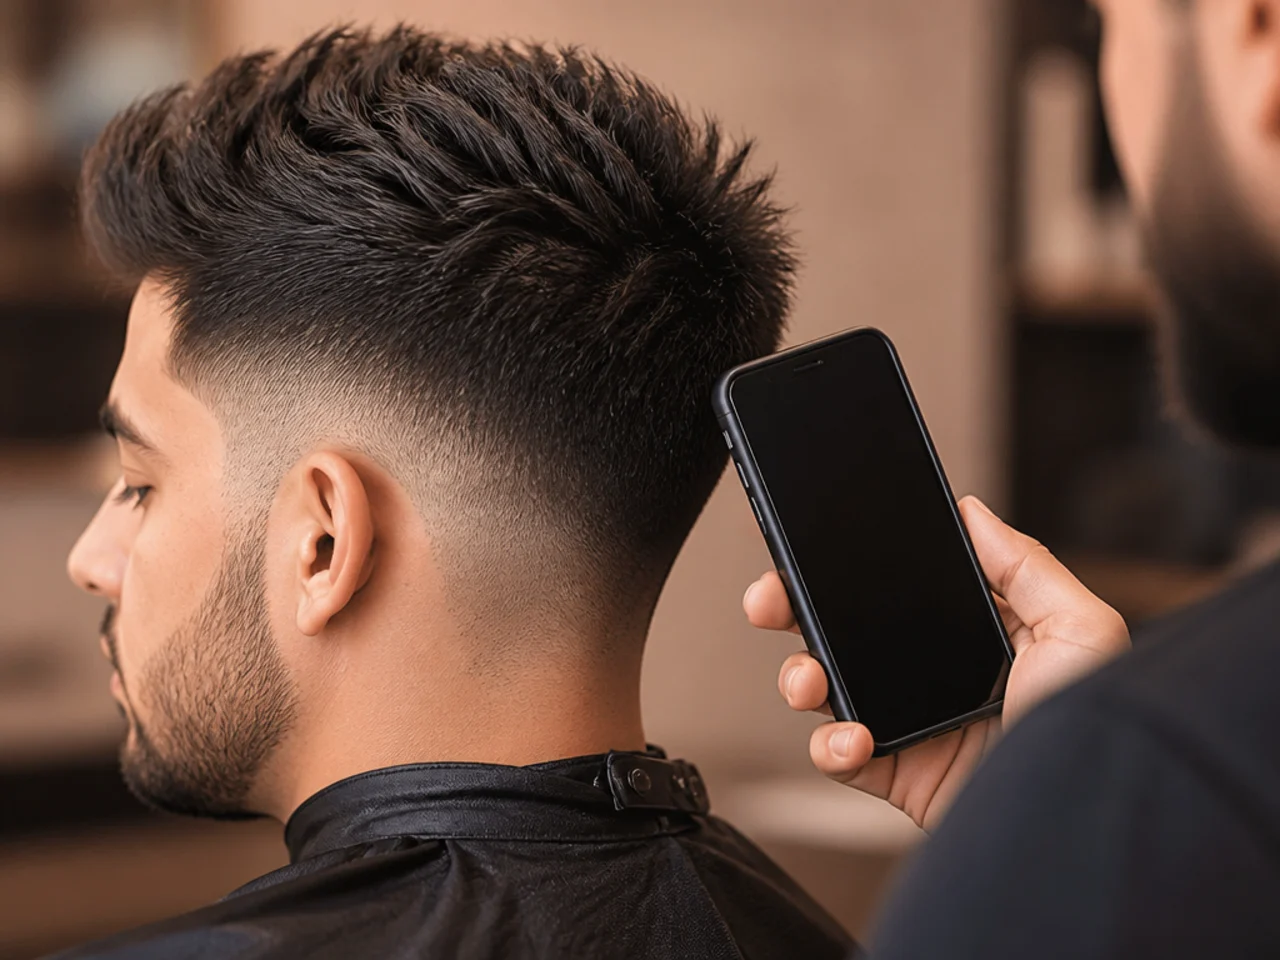
Mistakes to Avoid
Starting with the photograph. It biases every assessment you make afterwards.
Overestimating your styling time. The routine you will not do is worse than no routine.
Ignoring your cowlicks. They will win, every time, for the life of the cut.
Asking for a fade when you mean a taper. One goes to skin and one does not.
Judging the cut on the day. Week three is the honest test.

FAQ
What should I work out first? Face shape, density, hairline and honest styling time.
How do I find my face shape? Compare cheekbone width against jaw and forehead width.
What do I say to the barber? Length, fade height, fade depth and finish.
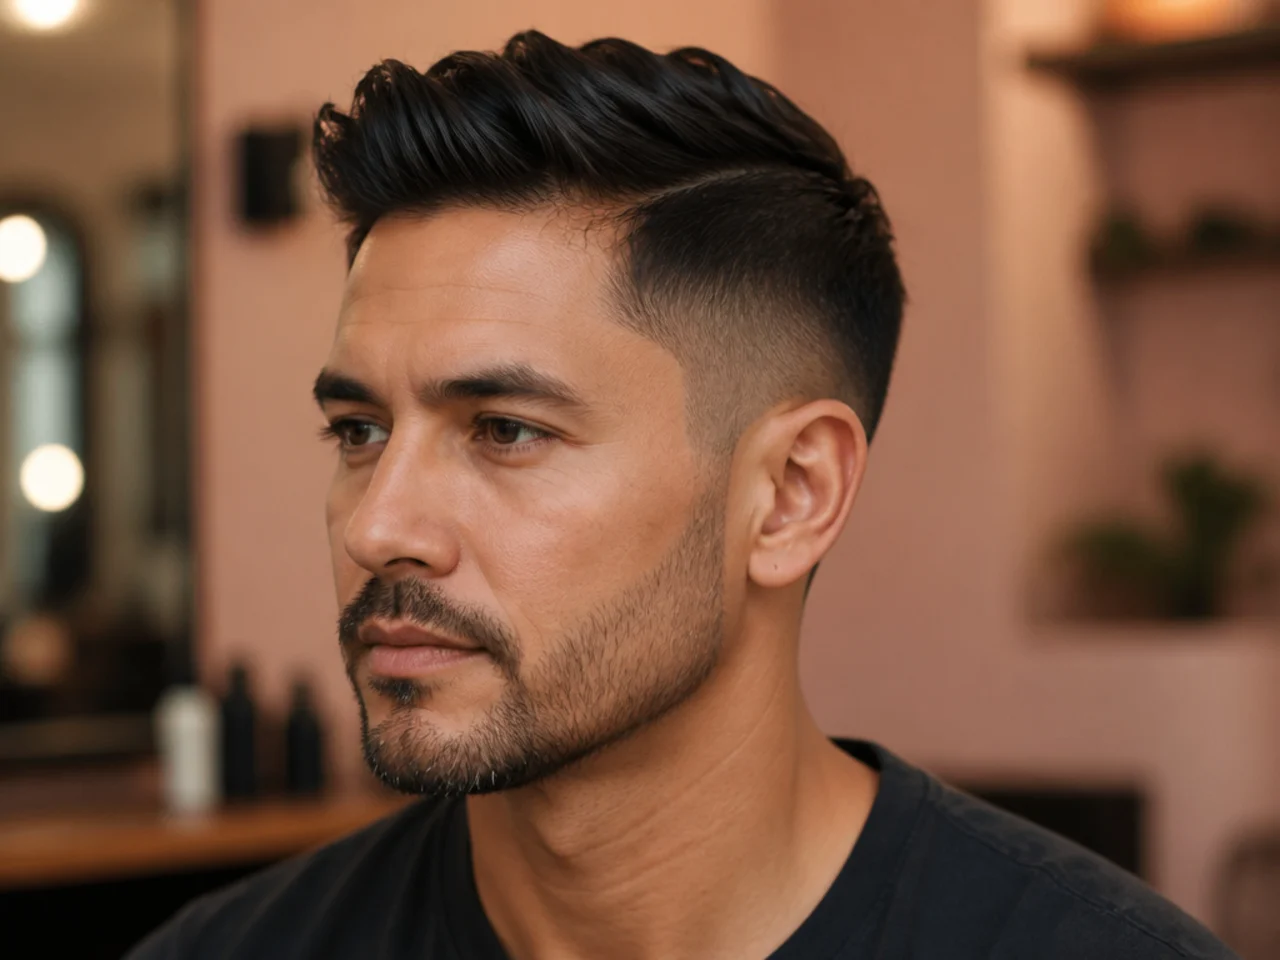
Final Thoughts
The four measurements take about ten minutes and they will save you several bad haircuts. Everything that goes wrong in a barber's chair goes wrong because a specification was missing, and a photograph is not a specification however good it looks.
For the full range you will be choosing from see haircut ideas and styles for men, and for the fade decision in detail see low fade vs mid fade vs high fade. More in Men's Haircuts.