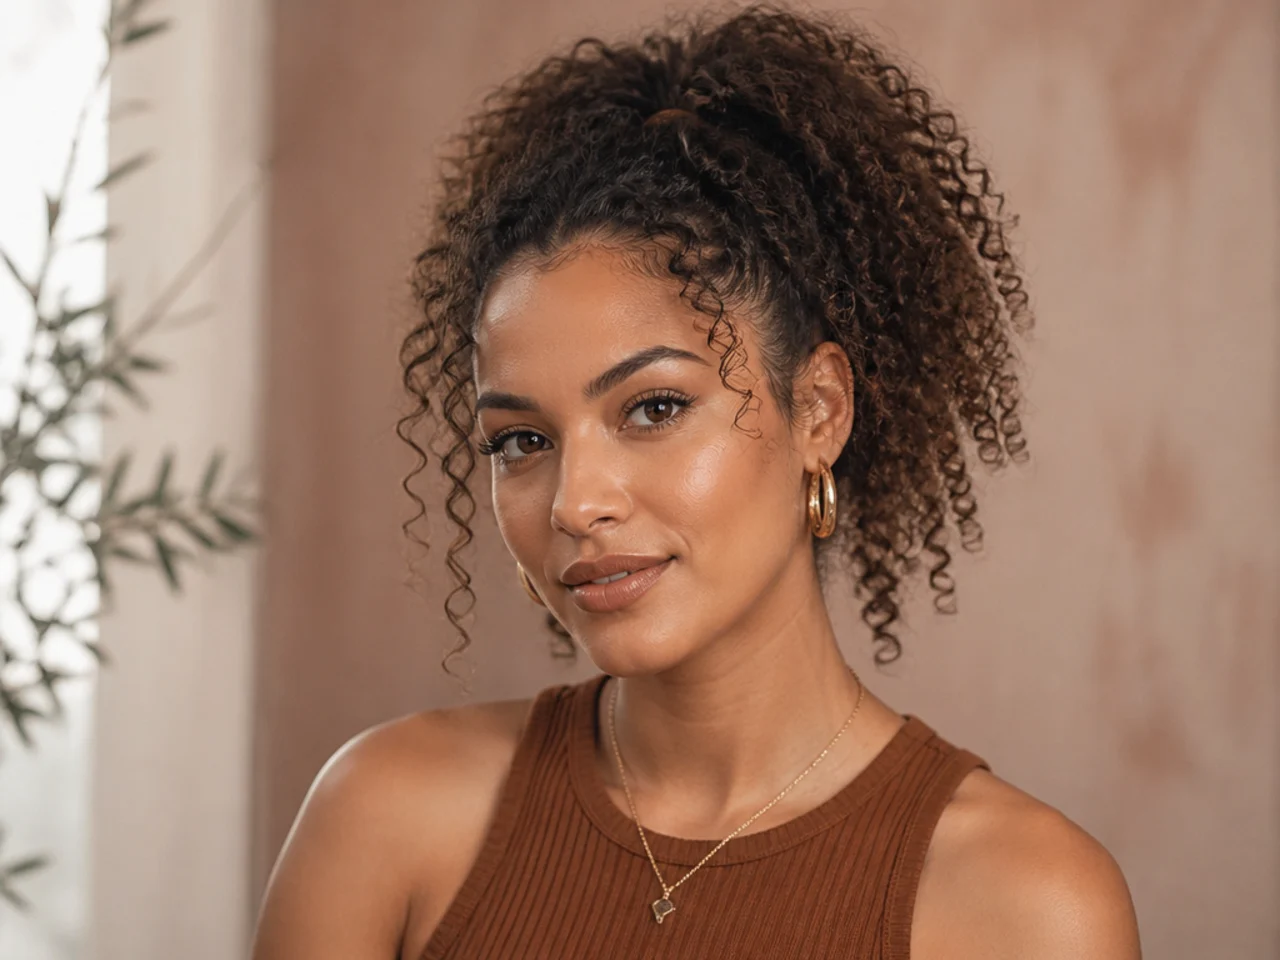
20 Curly High Ponytail Hairstyles for Women
Twenty curly high ponytail hairstyles for 3A through 4C — with the exact products, tension rules, and stylist-tested steps that keep coils defined and edges laid all day.
In this article · 25
- What Is a Curly High Ponytail?
- How to Choose Your Curly High Pony
- 1\. Defined 3A Wash-and-Go High Pony
- 2\. Bouncy 3B Springy Ringlet Pony
- 3\. Tight 3C Coily Crown Pony
- 4\. 4A Micro-Coil Crown Puff
- 5\. 4B Zig-Zag Kink Pony
- 6\. 4C Shrinkage-Embraced High Puff
- 7\. Stretched-Coil High Pony (Banded Method)
- 8\. Half-Up Curly High Pony
- 9\. Curly Feed-In Cornrow High Pony
- 10\. Curly Bubble High Pony
- 11\. Twist-Out High Pony
- 12\. Curly Clip-In / Drawstring Boost Pony
- 13\. Curly Rope Twist High Pony
- 14\. Curly French Braid Base Pony
- 15\. Pineapple Overnight-Preserved Pony
- 16\. Two-Textures Sleek-Front Curly-Tail Pony
- 17\. Wet-Look Gel Curly Crown Pony
- 18\. Curly Side-Swept Front + High Pony
- 19\. Bridal Curly High Pony with Face-Framing Tendrils
- 20\. Ribbon-Wrapped Curly Statement Pony
- How to Prep and Set a Curly High Pony
- Styling and Maintenance for Curly Ponies
- FAQ
Curly high ponytail hairstyles have their own rulebook. The base can't be raked into place, the elastic has to sit over a scrunchie, and the coil pattern needs moisture to survive being gathered without snapping. Get those three things right and the same crown placement reads bouncy 3A ringlets, sculpted 4A puff, or bridal-worthy stretched coils. Here are 20 high ponytail hairstyles built for curly and coily textures, each with the tools, the steps, and one stylist tip.
What Is a Curly High Ponytail?
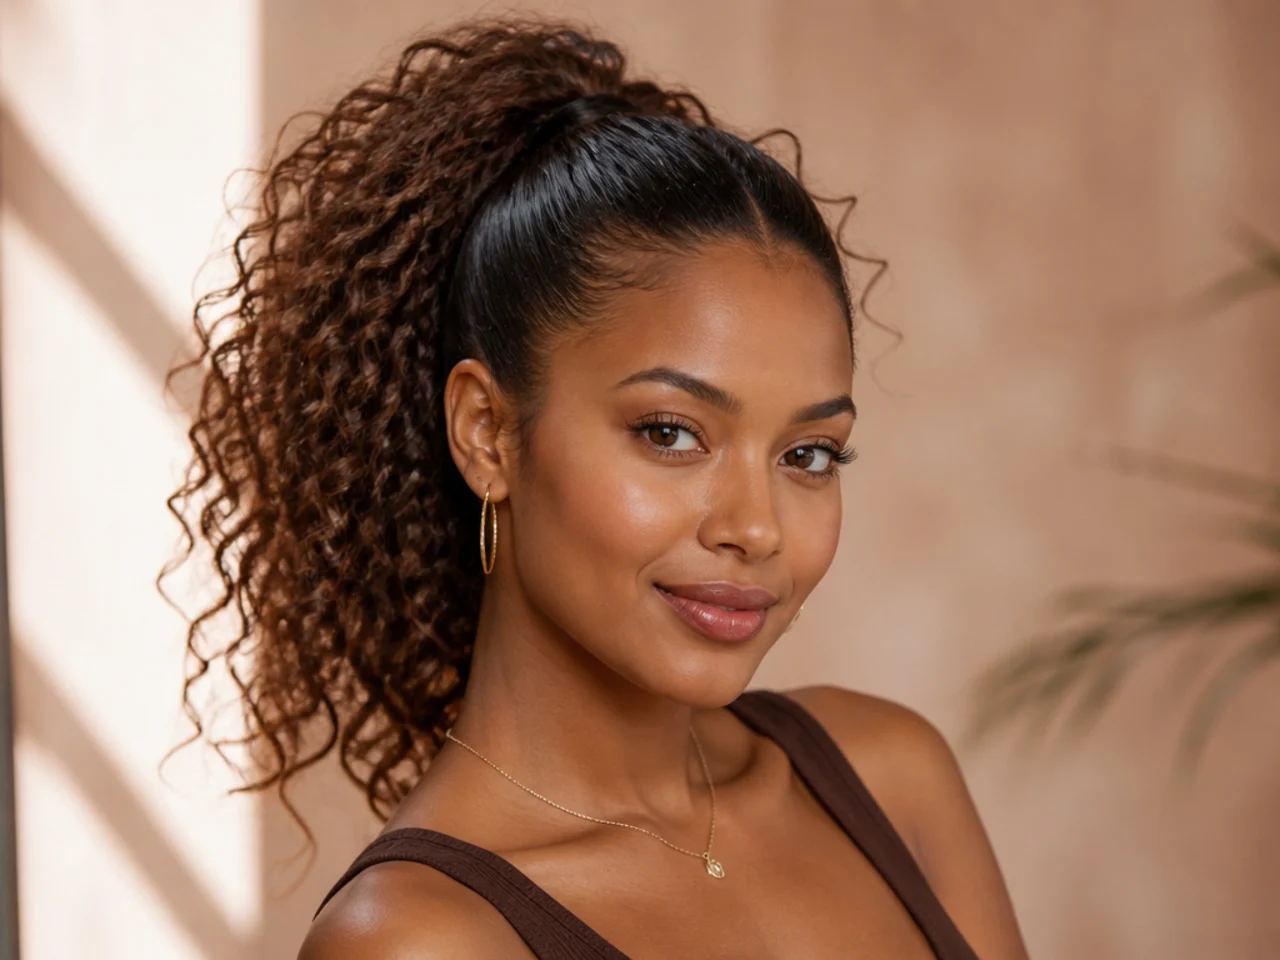
A curly high ponytail is any pony whose base sits at or above the crown on textured hair — 3A loose corkscrews through 4C tight zig-zag coils. The definition adds one thing the sleek version doesn't need: the coil pattern stays visible. You're gathering curls, not smoothing them out of existence.
That distinction changes every step of the process. The prep is wet or damp, never bone-dry. The brush is boar-bristle or a wide-tooth comb — never a fine paddle. The elastic sits over a satin scrunchie so the ridge of tension doesn't snap coils along a single line. And the front perimeter gets sculpted with a soft edge brush, not the same tool that gathered the back.
How to Choose Your Curly High Pony
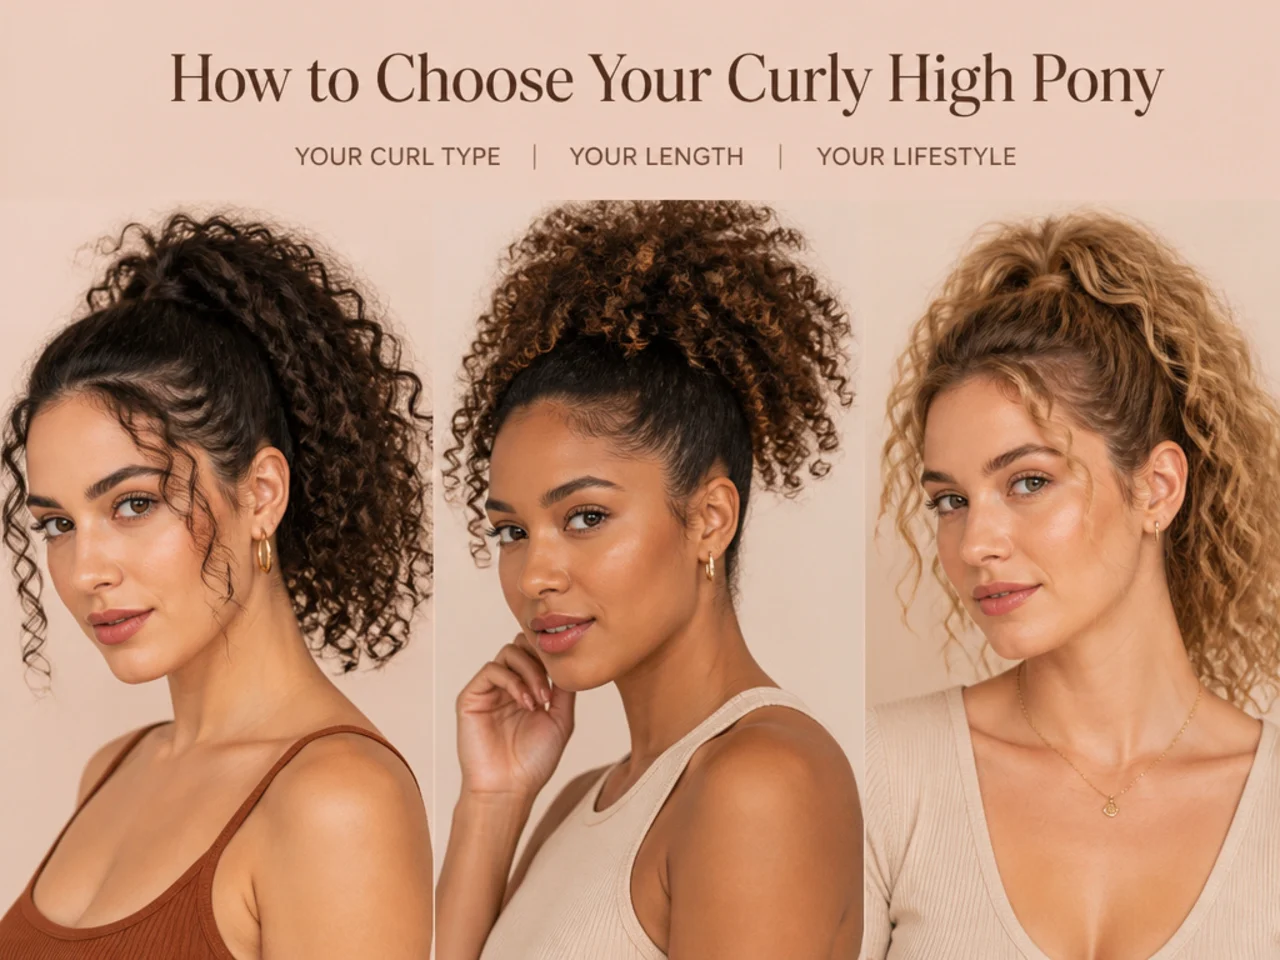
Three variables pick your version: your curl pattern, whether you're stretching the base or keeping natural shrinkage, and the day the style has to survive.
Curl pattern rules the finish. Loose 3A wash-and-goes gather into cascading corkscrews; 3B and 3C build tight, defined ringlets and coils; 4A through 4C ranges from micro-coils to zig-zag puff. Read the full curl types breakdown if you're not sure which family you fall into — the product weight and technique shift meaningfully between them.
Then decide on shrinkage. Worn-natural coils give you the puff pony and pineapple looks — the shape that celebrates your pattern at its actual density. Stretched coils — via banding, a low-heat diffuser, or a twist-out — give you a longer tail and a more polished silhouette without straightening the texture. Both are correct. Choose based on the day.
Finally, match the moment. A wash-and-go puff reads Saturday. A stretched banded pony reads office. A wet-look sculpted crown reads runway. A bridal version with pearl-laid edges reads wedding. Rotate placement day to day so the same tension line doesn't wear on the follicles.
1. Defined 3A Wash-and-Go High Pony
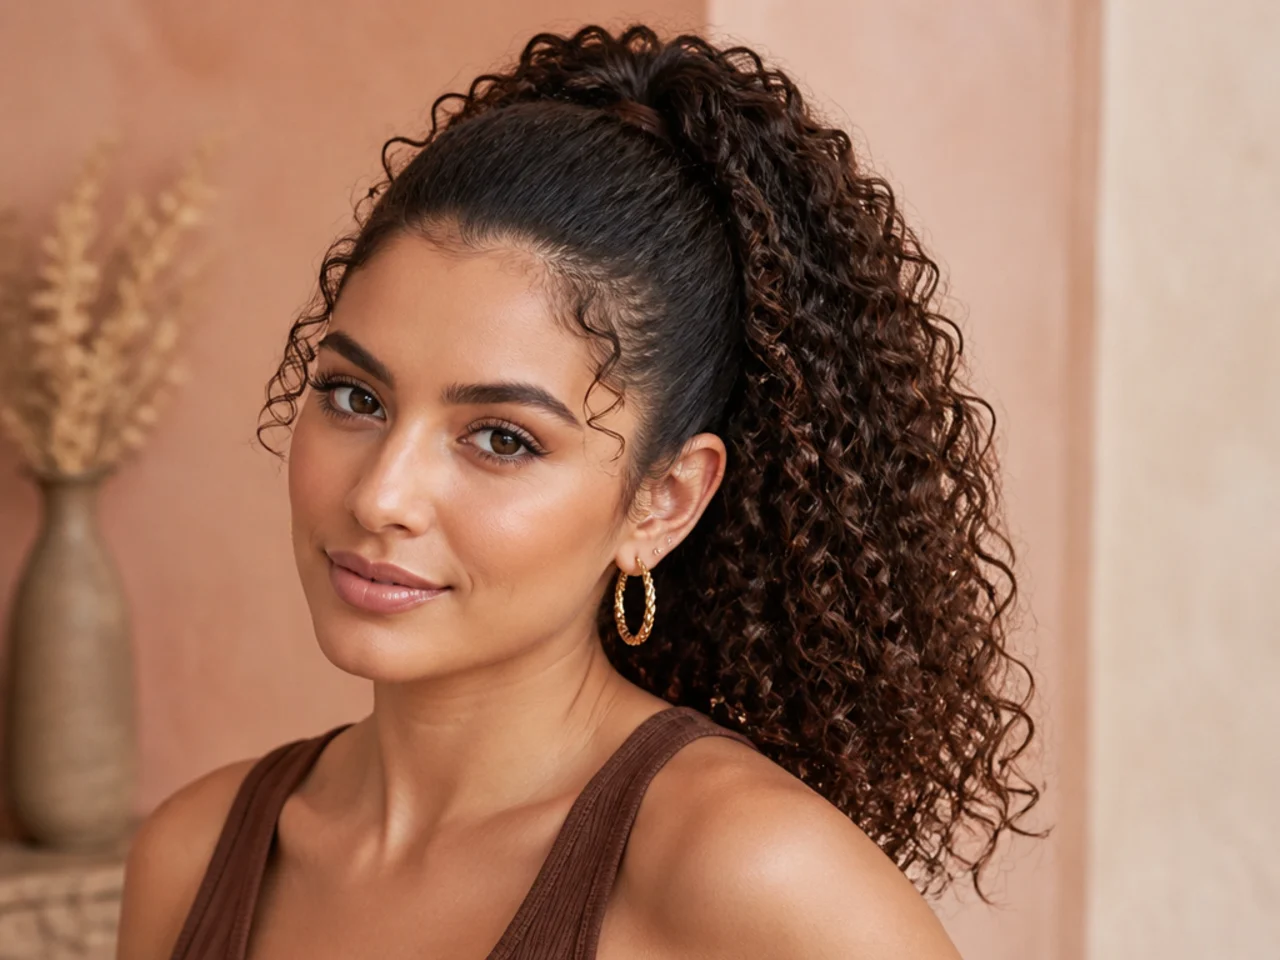
The everyday reference for loose curl patterns. Corkscrews the width of a marker gather high and cascade — no stretching, no braiding, no heat. It suits 3A hair on wash day and second-day refreshes.
Rake a leave-in through soaking-wet hair, then a nickel-sized amount of a curl-defining cream. Scrunch upward toward the scalp to encourage clumping. Air-dry or diffuse on cool until 80 percent dry. Flip your head forward, gather to the crown with your fingers — never a brush — and secure with a satin scrunchie stretched around a coated elastic.
Stylist tip: avoid the boar-bristle brush on wet 3A. Bristles separate the curl clumps and trigger frizz. Fingers preserve the pattern that took twenty minutes to define.
2. Bouncy 3B Springy Ringlet Pony
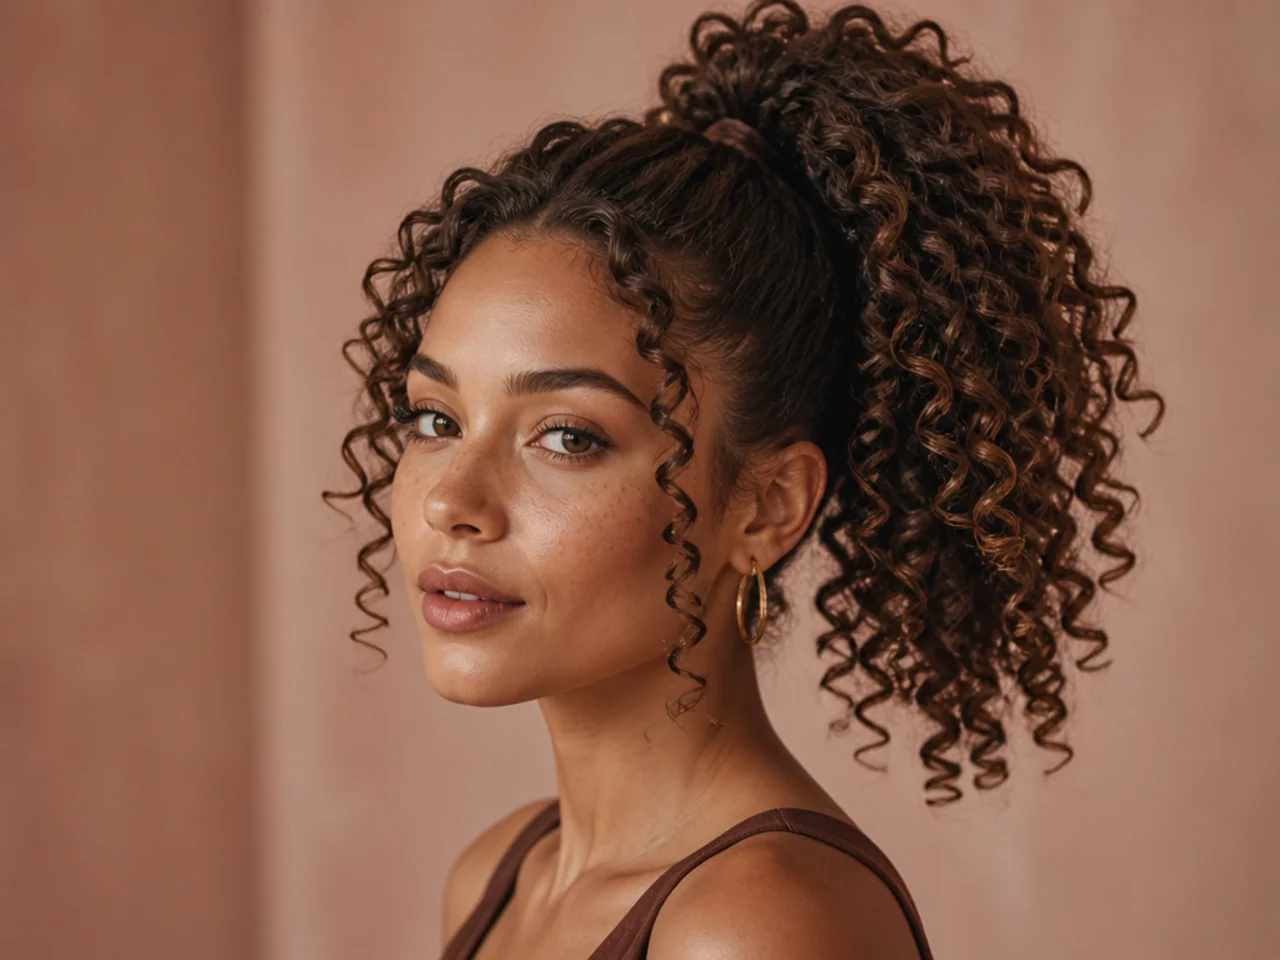
3B builds Sharpie-thick ringlets that spring back when pulled. Gathered high, the tail becomes a fountain of individual coils that catch light like separate strokes. It suits statement days and heat-free hair weeks.
Prep on damp hair with a gel-cream hybrid — heavier than pure cream, lighter than pure gel. Rake through in sections, then scrunch upward to activate the cast. Diffuse on low heat and low speed until 90 percent dry. Gather to the crown with a wide-tooth comb, working slowly to preserve each ringlet.
Stylist tip: break the gel cast between your palms once the pony is set. Rub a drop of light oil, then run your hands down the tail — the crunch releases into a soft, defined coil without frizz. This is where 3B goes from wet-look to editorial.
3. Tight 3C Coily Crown Pony
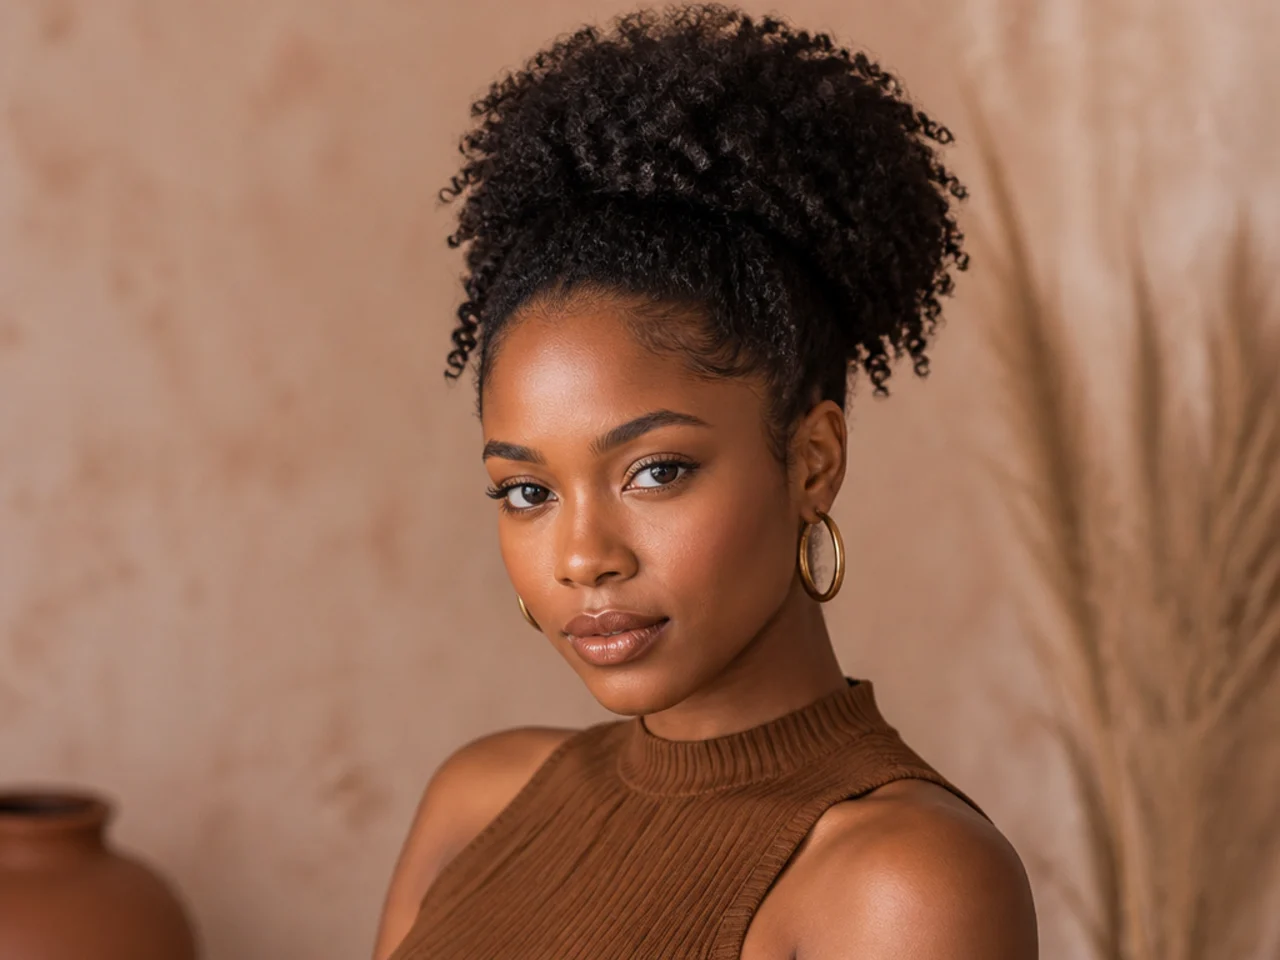
3C is the densest of the curl-type-three family — pen-sized coils packed tight against the scalp. Gathered high, the pony reads as one thick, textured column rather than separate ringlets. It suits everyday wear and travels through workouts without shape loss.
Refresh with a water-and-leave-in mist, then a curl-defining cream raked through in one-inch sections. Squeeze the pattern into shape with a soaking-wet cotton T-shirt. Once damp, gather to the crown with a boar-bristle brush and secure with a satin scrunchie inside a coated elastic. Lay the front with edge gel.
Stylist tip: never use a cotton bath towel on 3C. The loops of cotton grab the cuticle and roughen it. A microfiber towel or an old cotton T-shirt gives you the water absorption without the friction that starts frizz.
4. 4A Micro-Coil Crown Puff
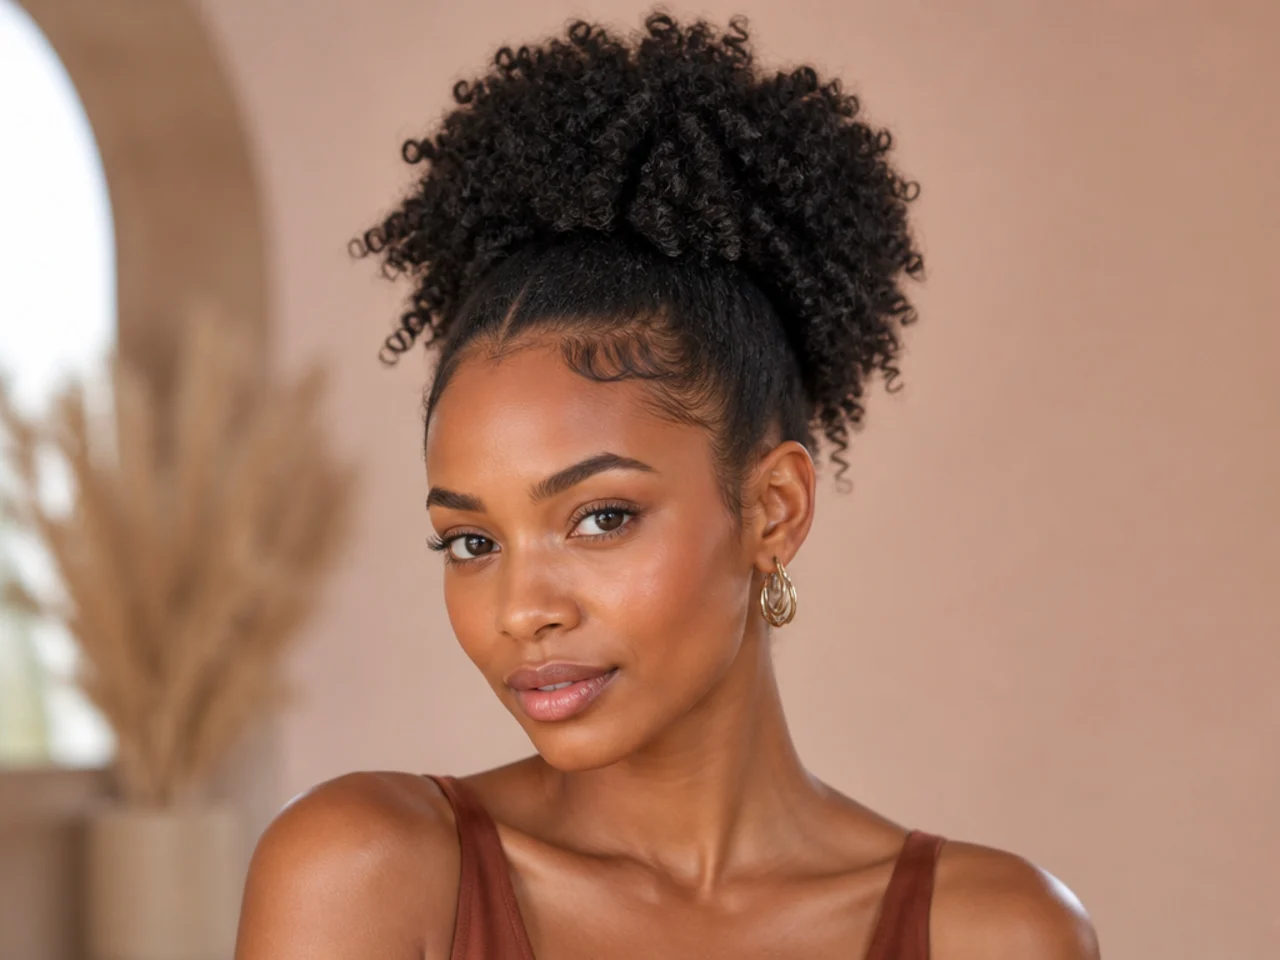
4A defines into micro-coils the width of a straw — tight, uniform, and photogenic when gathered high. The pony reads as a defined puff, not a stretched-out tail. It suits wash-and-go weeks and second-day refresh days.
Mist damp hair with a curl reviver spray. Apply a curl-defining cream in two-inch sections, raking with your fingers. Diffuse on cool with a hovering motion — never touch the dryer to the coils, or you break the pattern. Gather to the crown with a boar-bristle brush and secure over a satin scrunchie.
Stylist tip: finger-coil any pieces that lost definition during the gather. Twist a small coil between your thumb and forefinger for five seconds, release, and it re-sets to match the rest. The whole puff reads uniformly defined in photos.
5. 4B Zig-Zag Kink Pony
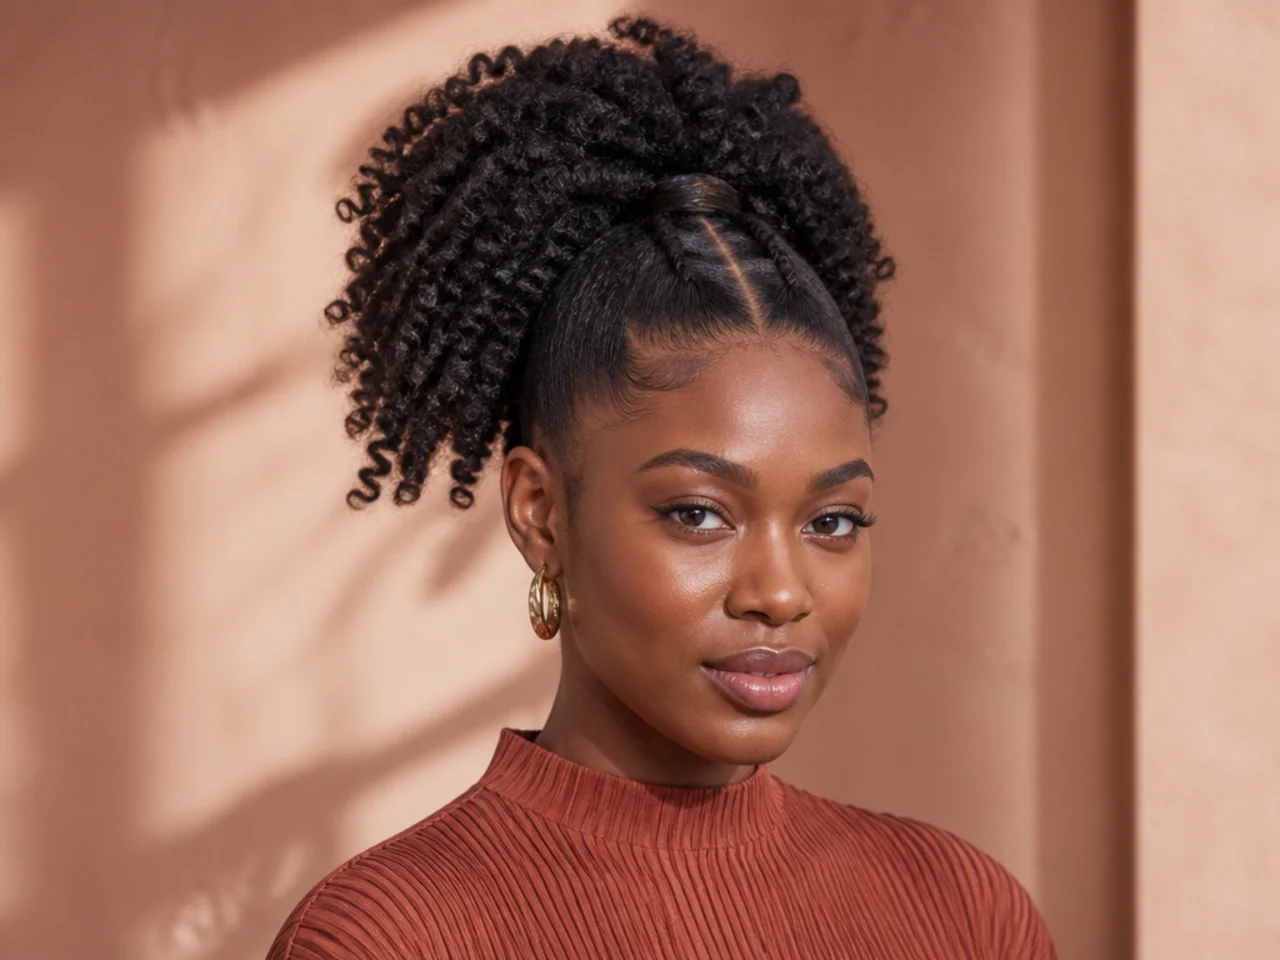
4B kinks in sharp Z-shapes rather than round coils — the texture reads voluminous and sculptural gathered high. It suits confident everyday wear and photographs completely differently from ringlet-based versions.
Rake a leave-in through freshly washed hair. Apply a stretching cream and gel-cream hybrid to soften the pattern without straightening it. Diffuse on low heat until 90 percent dry. Gather to the crown with a boar-bristle brush and a satin scrunchie. Sculpt the front edges with a soft-bristle edge brush and a non-flaking edge gel.
Stylist tip: use a leave-in with slip on 4B — one designed to detangle without adding stiffness. The Z-shape shatters when it's dry-brushed. A slippery leave-in lets the brush slide without snapping the kinks in half.
6. 4C Shrinkage-Embraced High Puff
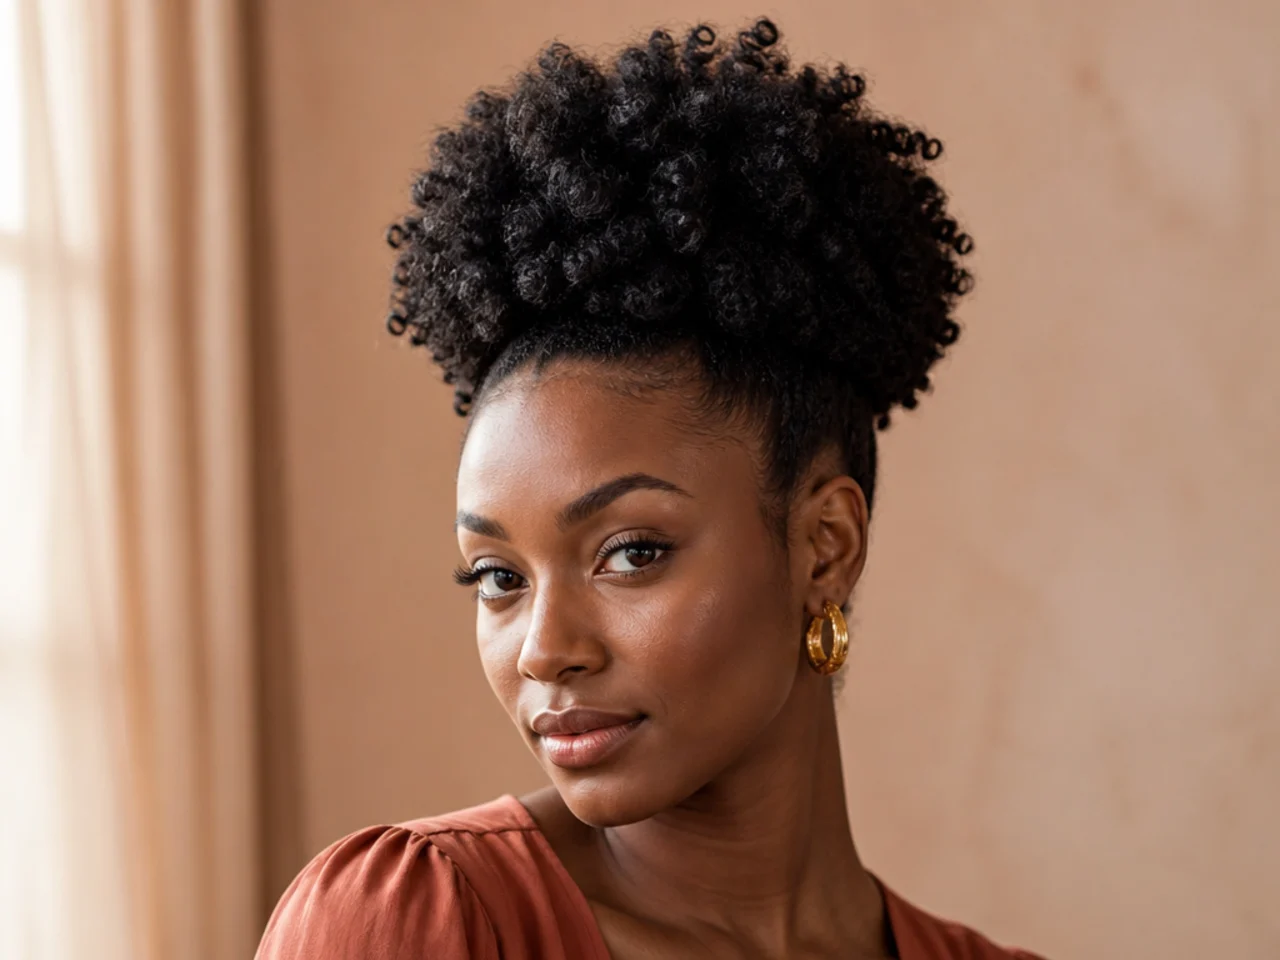
4C shrinks up to 75 percent from its stretched length — the puff pony celebrates that shrinkage rather than fighting it. It suits every occasion and needs the least length to work.
Mist with a water-and-leave-in blend until saturated. Rake a curl-defining cream through in two-inch sections. Squeeze with a cotton T-shirt until damp. Gather to the crown with a soft brush and a satin scrunchie. Lay the perimeter with a strong-hold non-flaking edge gel and a fine-tooth edge brush.
Stylist tip: never gather dry 4C coils cold. If the hair has been sleeping in a pineapple, mist first and add a pea of leave-in before you tie. The pattern softens in ninety seconds and re-forms as you gather — dry, it snaps at the roots instead of bending.
7. Stretched-Coil High Pony (Banded Method)
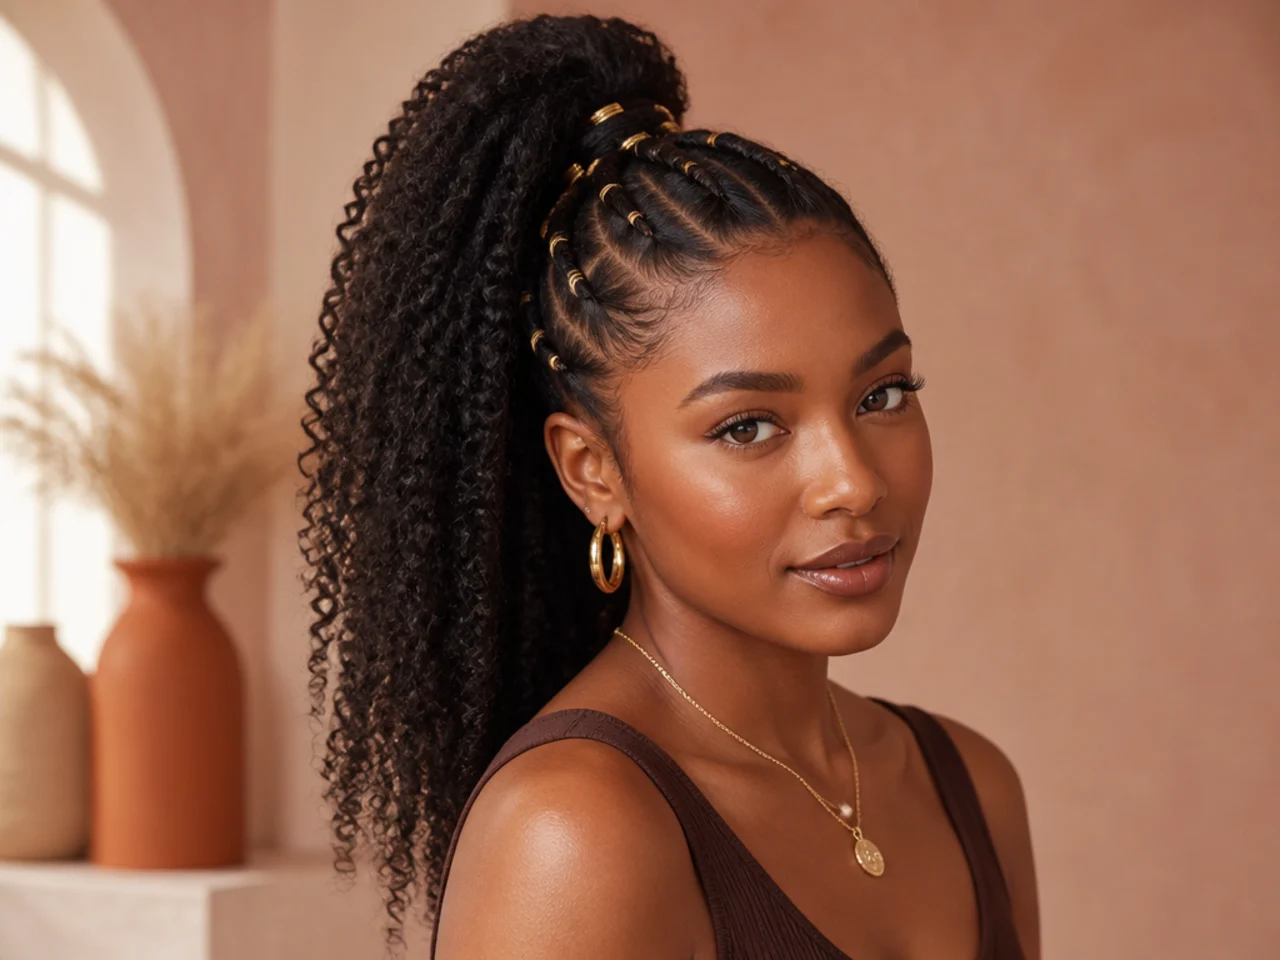
Banding stretches coils without heat — you get two to four extra inches of length while keeping the pattern intact. It suits days when you want a longer tail without straightening.
On soaking-wet hair, section into six to eight ponytail-thick pieces. Place a small satin-covered elastic every two inches down each section. Air-dry or diffuse until fully dry. Remove the bands, gather everything to the crown with a soft brush, and secure over a satin scrunchie. The coils sit longer, looser, and more defined.
Stylist tip: use satin-lined elastics, not rubber. Rubber bands leave dents in coily patterns that persist for days. Satin ones stretch smoothly and slide out without pulling. For scissor cuts that support the elongated silhouette, our curly hair haircuts guide covers shapes designed to stretch and gather cleanly.
8. Half-Up Curly High Pony
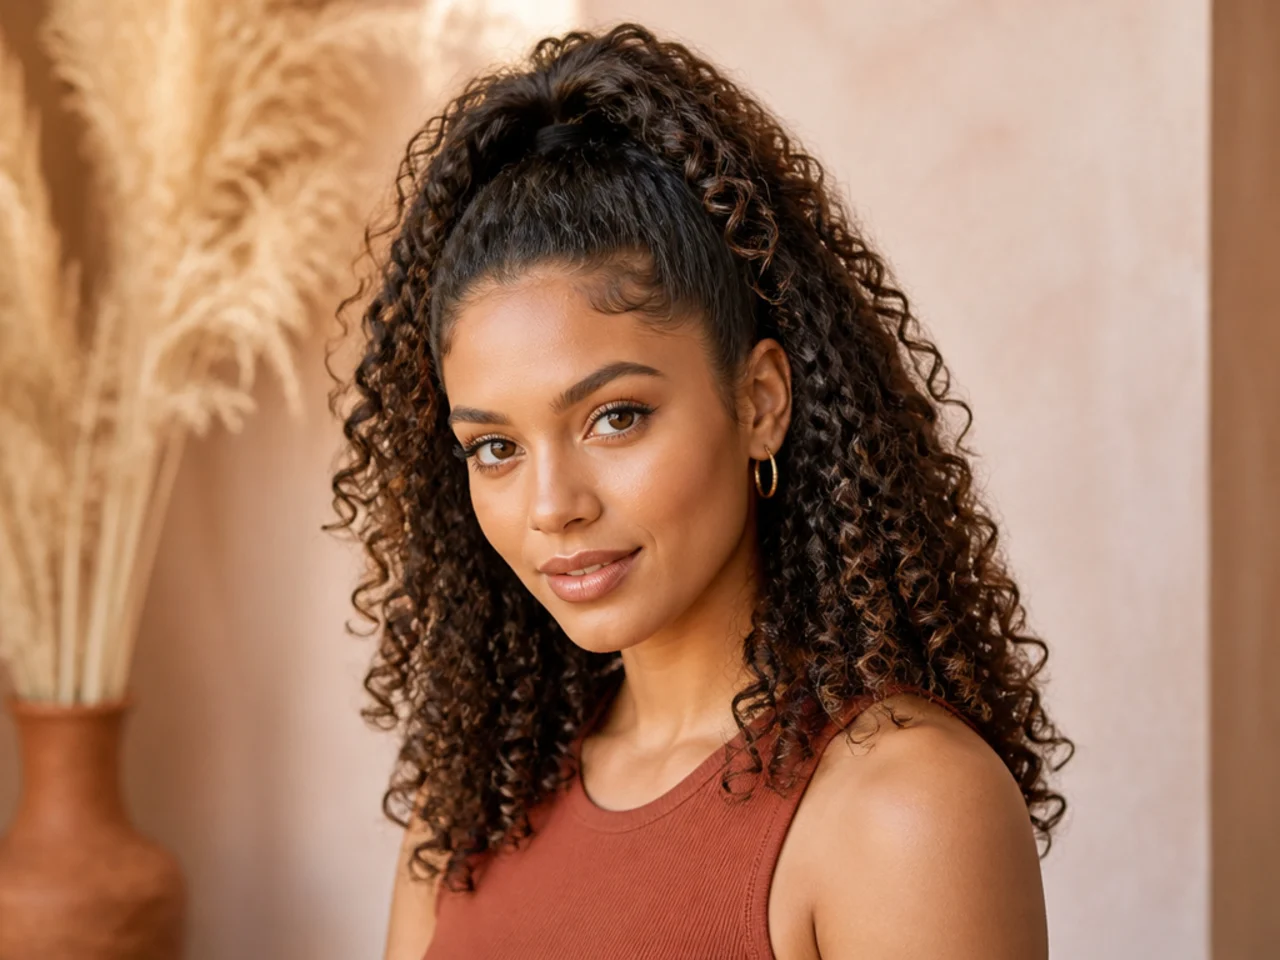
The half-up puts polish at the top and reveals your curl pattern below. It suits growing-out phases, cut-recovery weeks, and days when a full puff feels like too much commitment.
Take everything from above the ear line. Slick it up to the crown with a light-hold gel and a boar-bristle brush. Secure over a satin scrunchie. Let the lower half fall in its natural pattern — freshly wash-and-go, twist-outed, or a refreshed second-day set. The line between "up" and "down" should read horizontal across the temples.
Stylist tip: for jumbo volume in the top section, gently pull the coils upward from the elastic with your fingers after tying. It builds a puff silhouette without touching the loose curls below. For lower-set variations, our updos for medium hair roundup covers softer half-up structures.
9. Curly Feed-In Cornrow High Pony
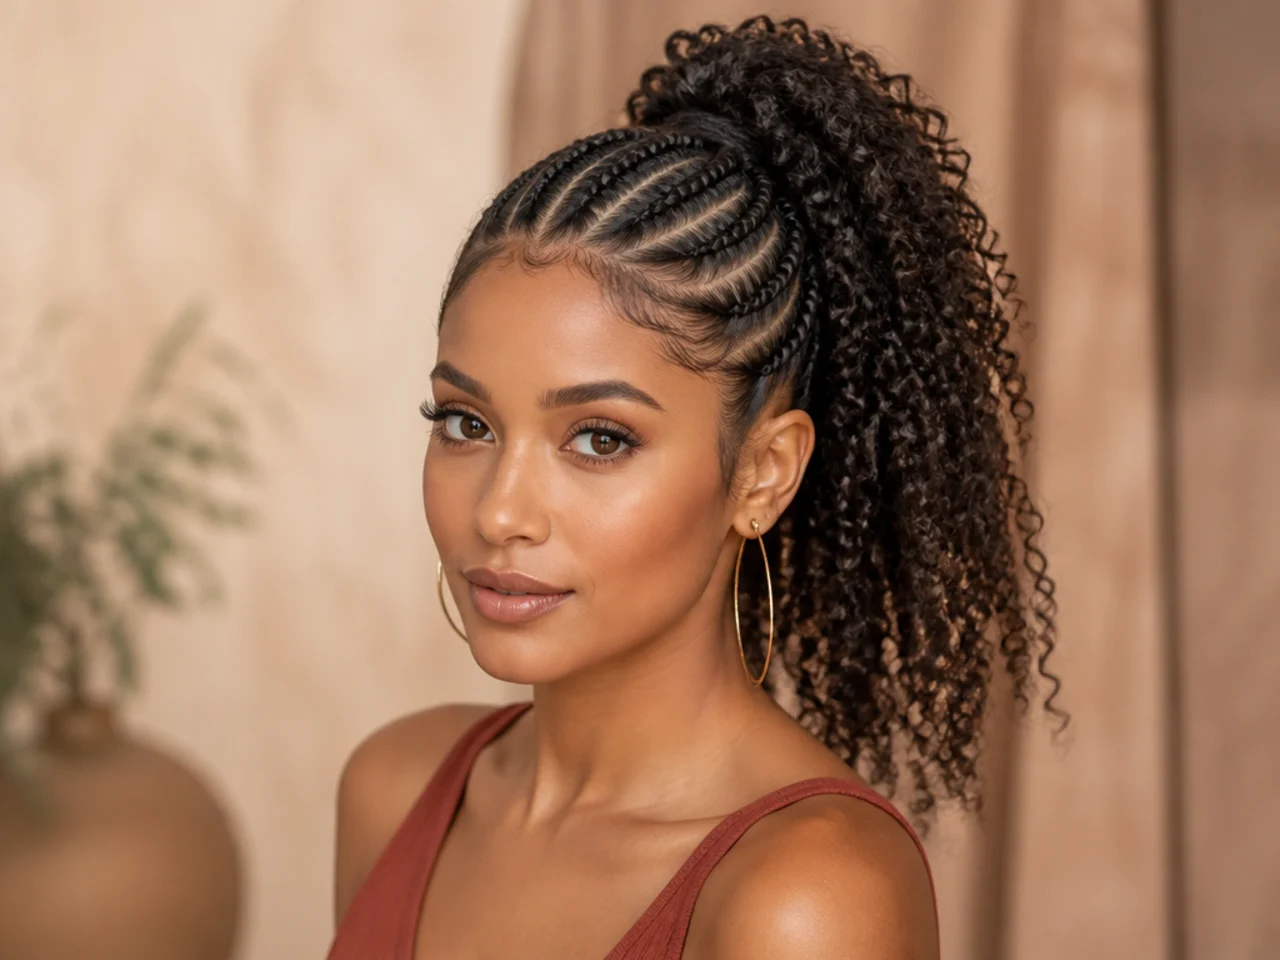
Feed-in cornrows all travel toward the crown, releasing into a curly tail. It suits gym cycles, festivals, and weeks when you need one protective style to hold two-plus weeks.
The install runs two to three hours with a braider. Extension hair feeds into the braids as they travel toward the crown, adding volume with each pass. At the crown, the ends release into a curly tail — your own natural coils, a curly drawstring, or a matched clip-in for length. Refresh the perimeter with edge control mid-week.
Stylist tip: book a mid-cycle refresh at week two. The braider re-lays the perimeter and tightens the base, buying another ten days of clean shape. For the wider braided-base family, our high ponytail hairstyles with braids guide covers all the install variations.
10. Curly Bubble High Pony
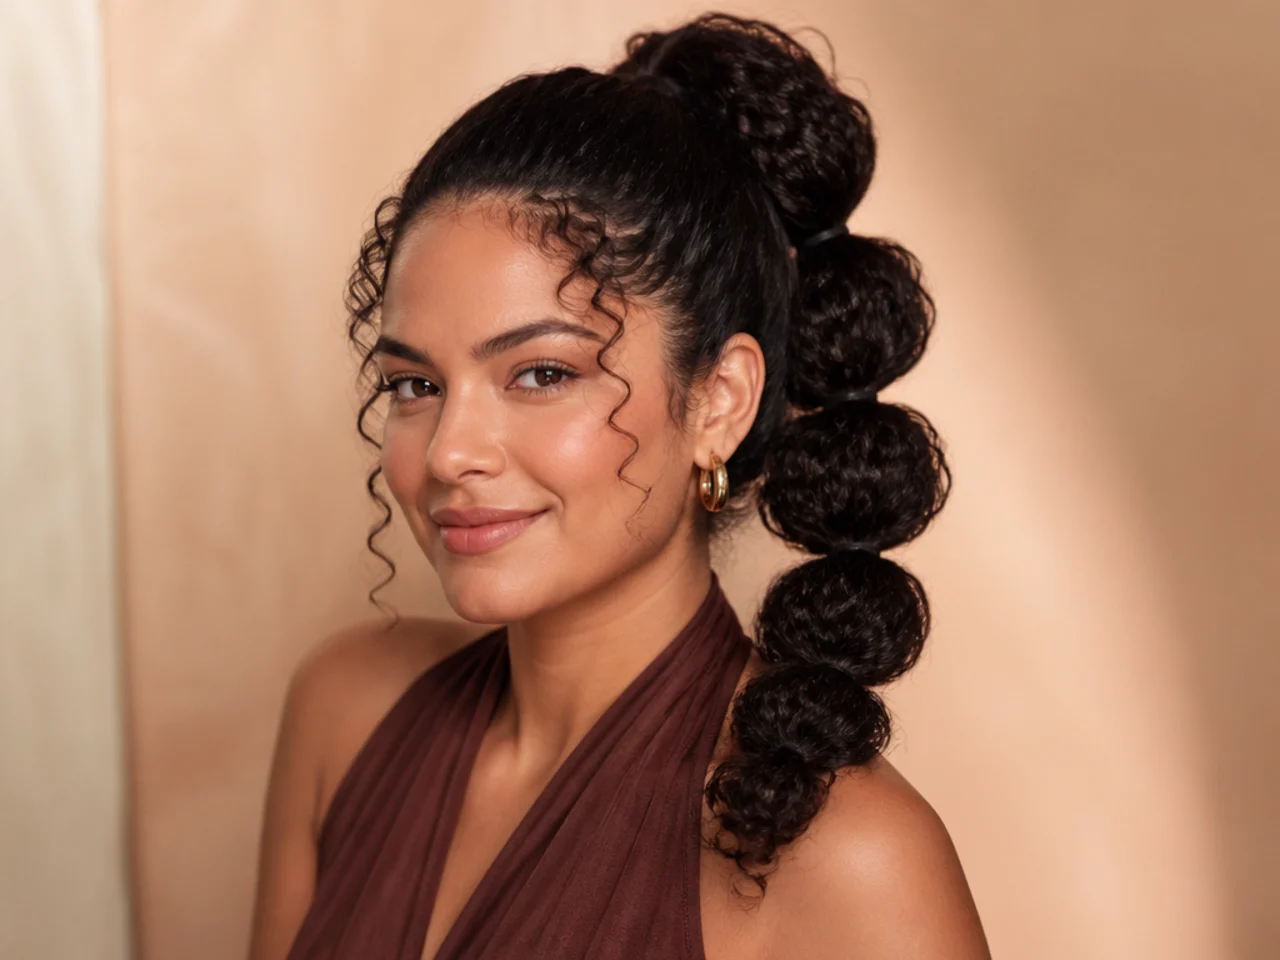
Bubbles add controlled volume down the length while the coils stay intact between each puff. It suits playful days, brunches, and anyone whose curl pattern would otherwise fall in one flat column.
Set a stretched curly pony first. Place small satin-covered elastics every three to four inches down the tail. Between each elastic, gently pull the coils outward with your fingertips to shape the "bubble" — puff the pattern without over-brushing. Work top-down so the tension stays even from base to tips.
Stylist tip: pinch each elastic between your thumb and forefinger while you tug. Otherwise the whole tail shifts and the first bubble goes lopsided. Use satin-covered elastics; clear rubber ones snap coils where they sit.
11. Twist-Out High Pony
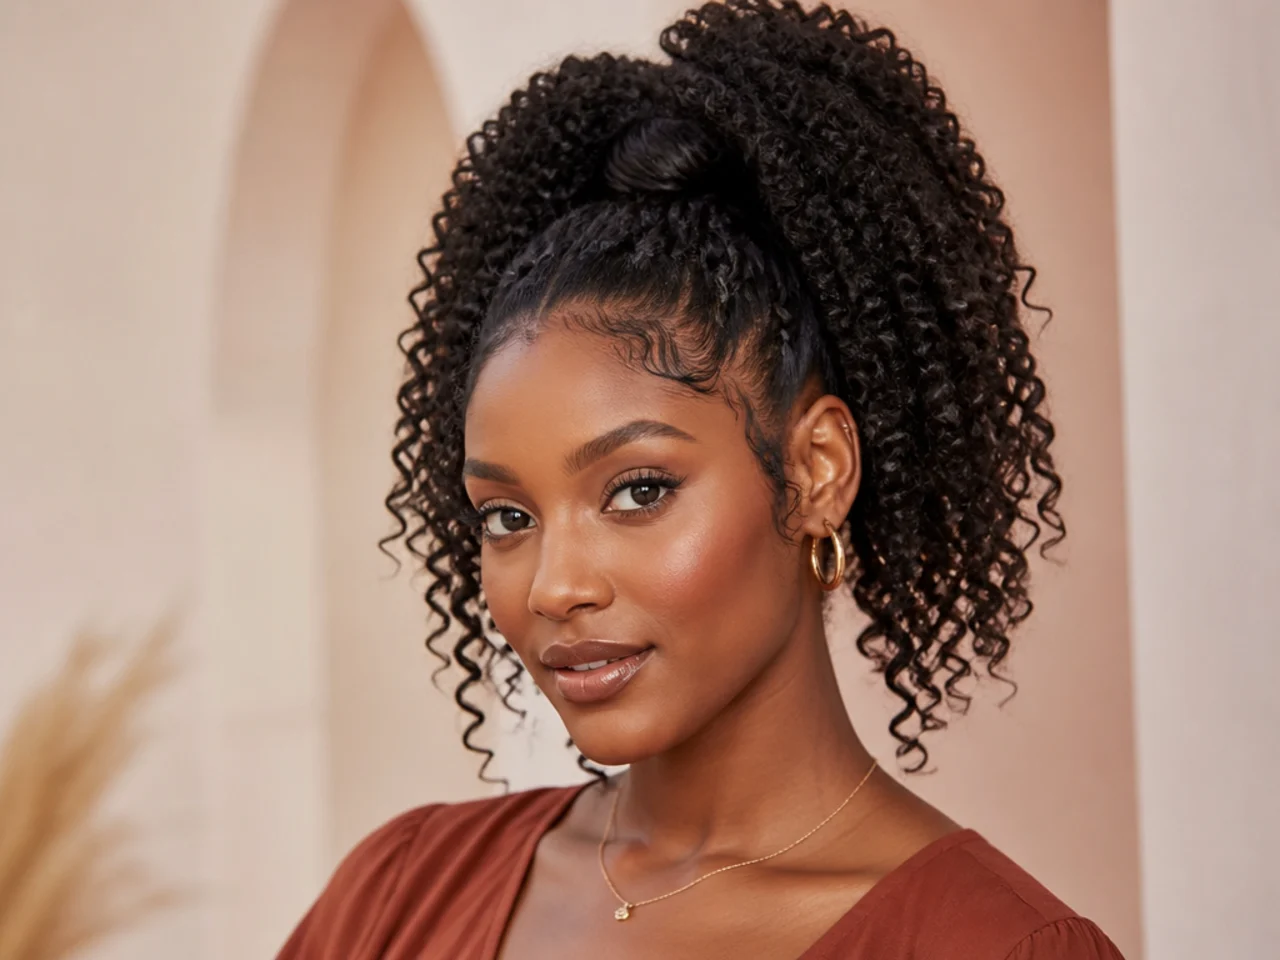
A twist-out gives you elongated, defined coils with pattern that reads visibly stretched. Gathered high the tail becomes a fountain of ropey curls. It suits weeks with a twist-out already installed and any second-day refresh.
Un-twist your set the morning of. Apply a light drop of curl oil between your palms and separate the twists into individual coils for volume. Gather everything to the crown with a wide-tooth comb, working carefully so you don't fray the coil edges. Secure over a satin scrunchie.
Stylist tip: re-twist the perimeter at night to preserve the shape for tomorrow. Two-strand twist the front two-inch band, pineapple the tail into a satin bonnet, and un-twist tomorrow morning. You get another day of defined pony without re-styling from scratch.
12. Curly Clip-In / Drawstring Boost Pony
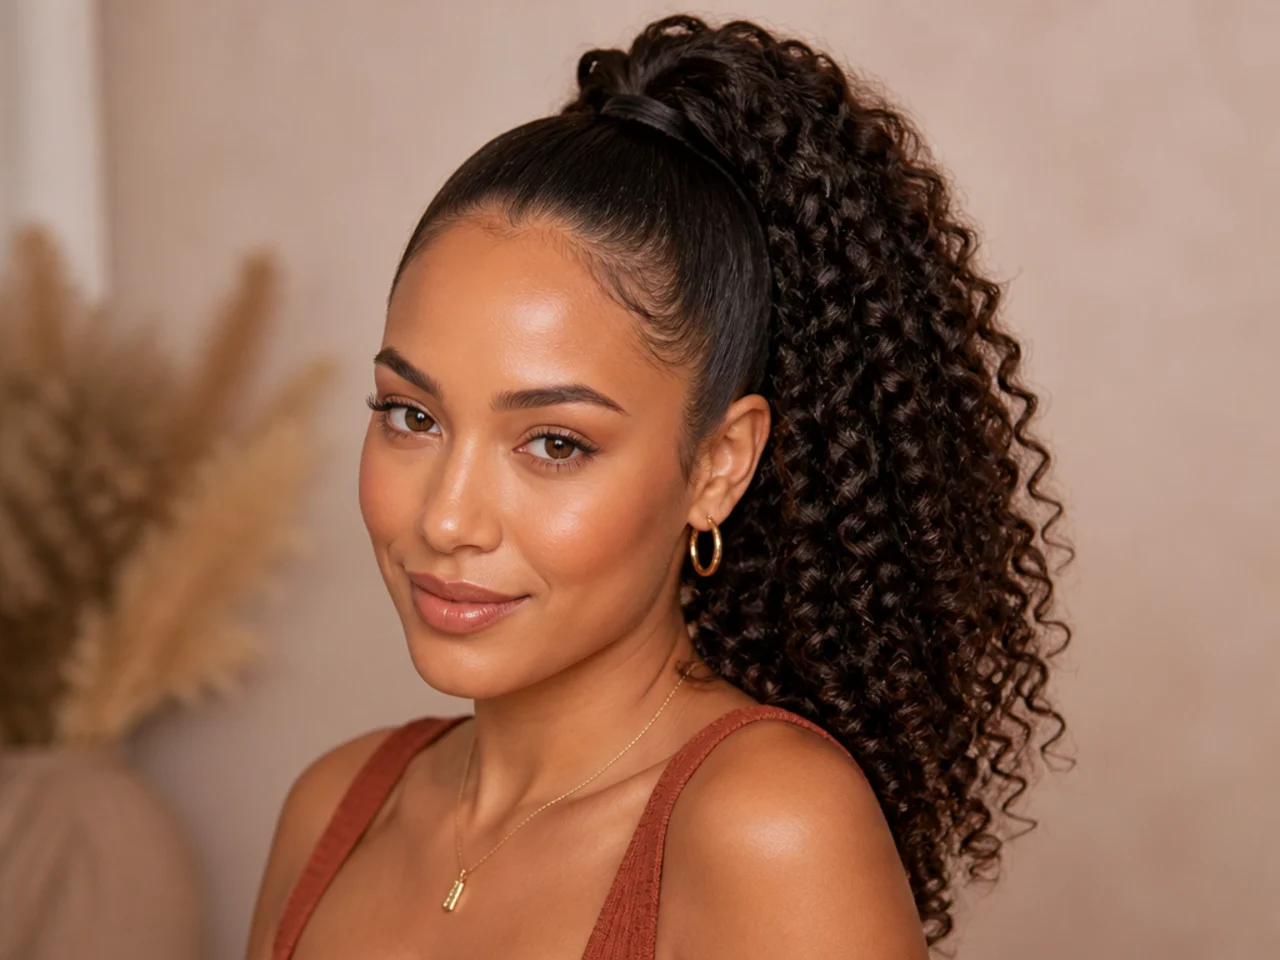
A drawstring or clip-in curly extension turns three inches of natural coil into a full-length pony in under ten minutes. It suits transitioning heads, wedding weeks, and cut-recovery months without a full install.
Slick your natural hair to the crown with edge control and a boar-bristle brush. Secure with a coated elastic over a satin scrunchie. Wrap the drawstring around the base and pull the strings to lock. For clip-ins, comb the anchor into the tie first, then wrap the built-in hair to hide the comb.
Stylist tip: match by curl pattern first, then by tone at the ends — kinky-curly 3C or 4A drawstrings blend cleanly into most 4B/4C bases without a visible seam. Refresh both textures with a curl reviver mist before you clip in so the extension bounces with your own coils.
13. Curly Rope Twist High Pony
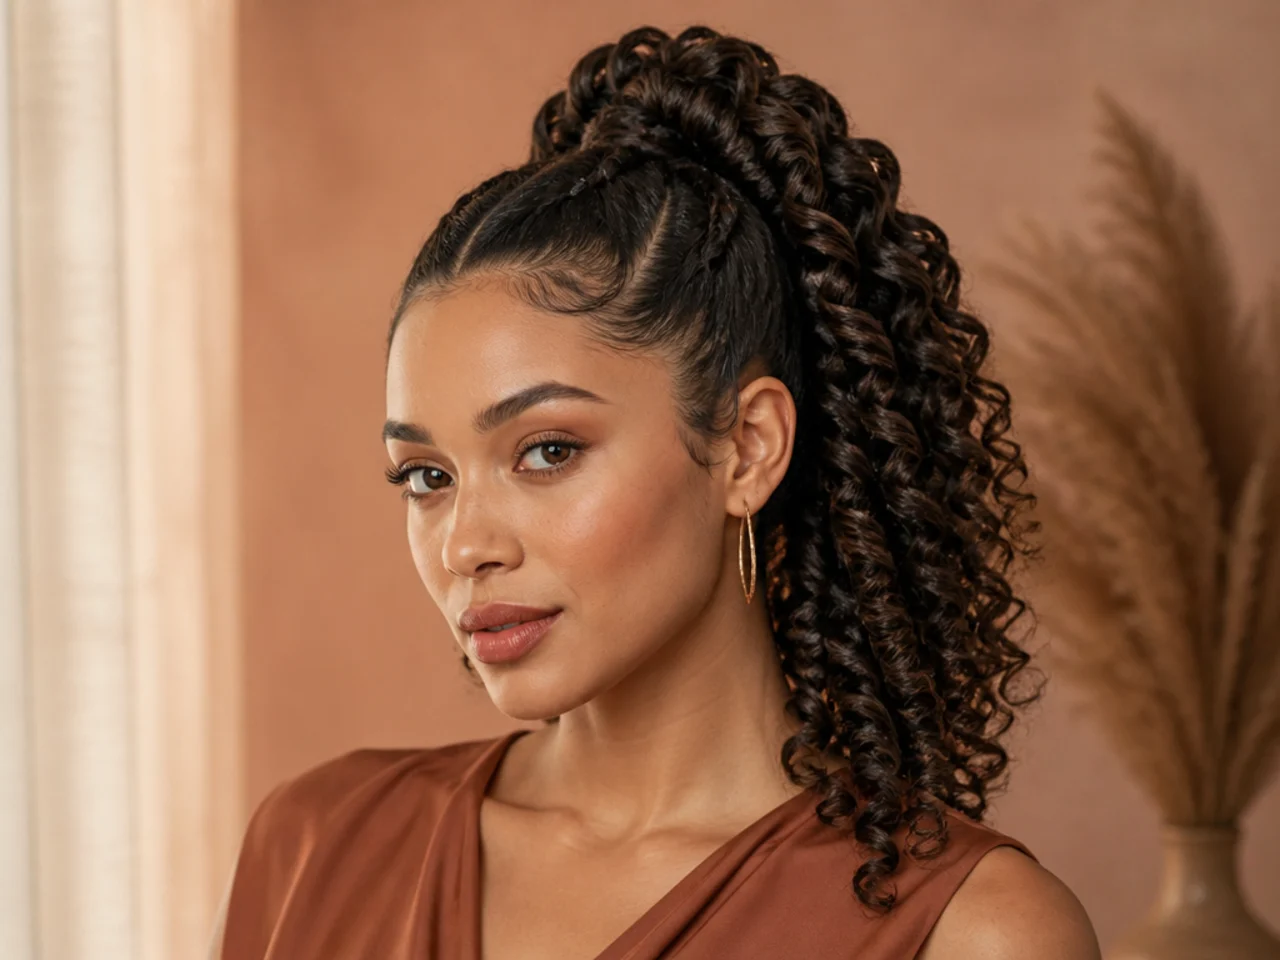
The rope adds sculptural texture down the tail while the base stays defined. It suits 3B, 3C, and 4A coils that hold a two-strand twist without unraveling.
Set a curly high pony first. Split the tail in two equal sections. Twist each half clockwise as tight as the pattern allows. Wrap the two twisted sections around each other in the opposite direction — the opposing tensions lock the shape in place. Secure the ends with a satin-covered elastic.
Stylist tip: work a smoothing cream, not gel, into each section before you twist. Gel makes the coils slippery and the rope unravels; cream gives you the grip you need for a rope that holds all day. For point-cut ends that finish the tail cleanly, our how to get choppy ponytail hair guide covers the scissor technique.
14. Curly French Braid Base Pony
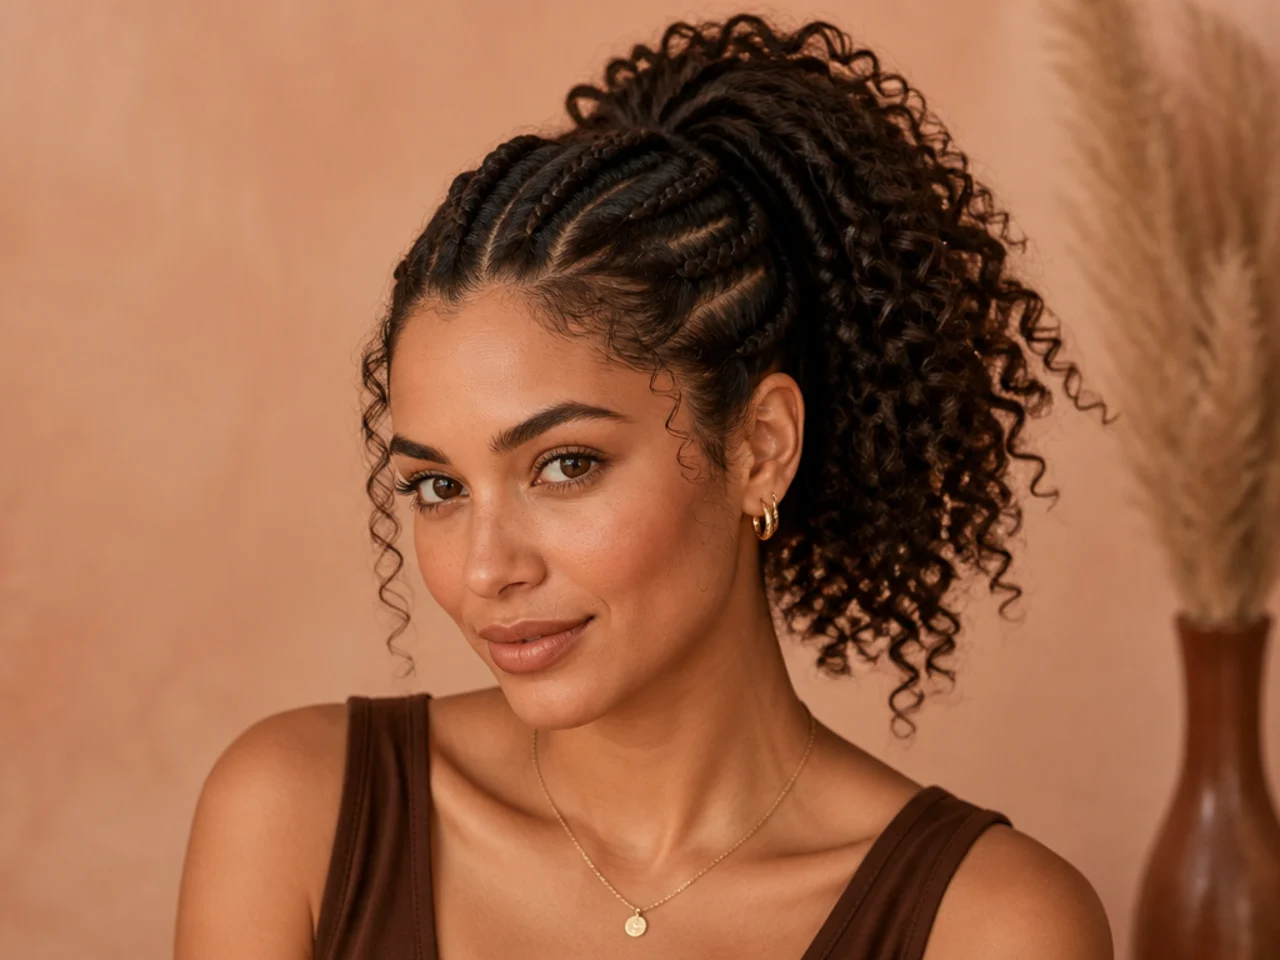
The upside-down braid at the nape keeps the underside flat while the top blooms into a full curly pony. It suits active days when a loose base would slide out by noon.
Flip your head forward. Start a French braid at the nape and work upward, adding curly hair with each pass until you reach the crown. Once you hit the crown, gather everything remaining into a high pony over a satin scrunchie. From the front you see a curly pony; from the back, a braid climbs your neck into the base.
Stylist tip: damp-braid, not dry. The pattern is easier to control when the hair has some moisture and product for grip. Mist first with a leave-in, apply a light stretching cream, then braid upward. The finish reads cleaner and holds twice as long.
15. Pineapple Overnight-Preserved Pony
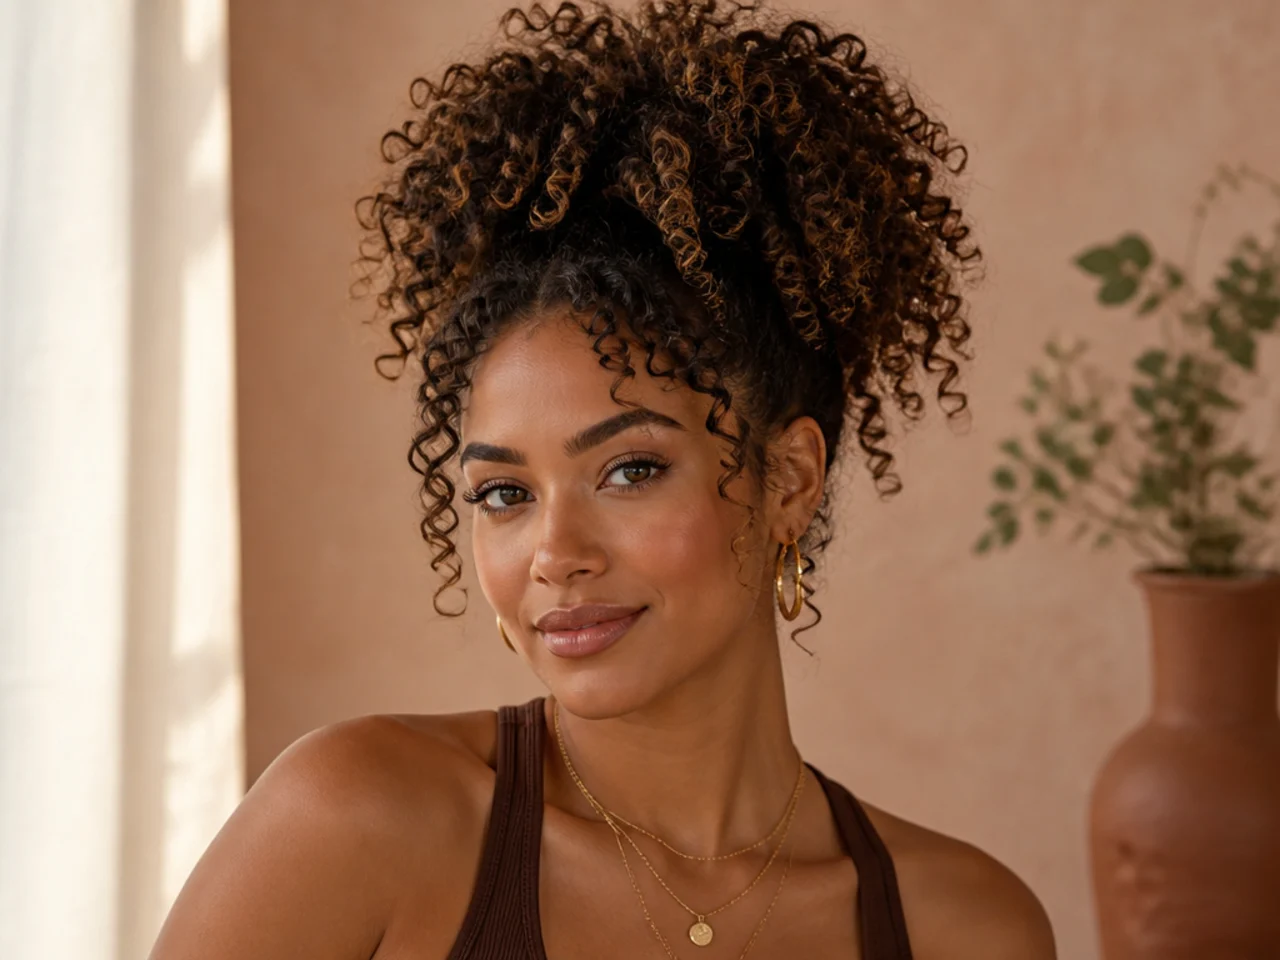
The pineapple is a loose gather at the very crown you sleep in — the coils spill forward to preserve the pattern overnight. In the morning you re-secure into a proper daytime pony. It suits second-day and third-day styling without re-wetting or re-defining.
Before bed, gather all your hair loosely to the top of your head with a large satin scrunchie — no tension, just a soft hold. Sleep in a satin bonnet over the pineapple. In the morning, mist the coils with a water-and-leave-in refresher, gently reshape any flat spots, and re-tie into a proper snatched high pony over a fresh scrunchie.
Stylist tip: the pineapple only works if the base sits at the true crown or higher. Anywhere lower and the coils crush against the pillow. If your hair is too short to gather that high, use two smaller pineapples — one on each side of the crown — as a compromise.
16. Two-Textures Sleek-Front Curly-Tail Pony
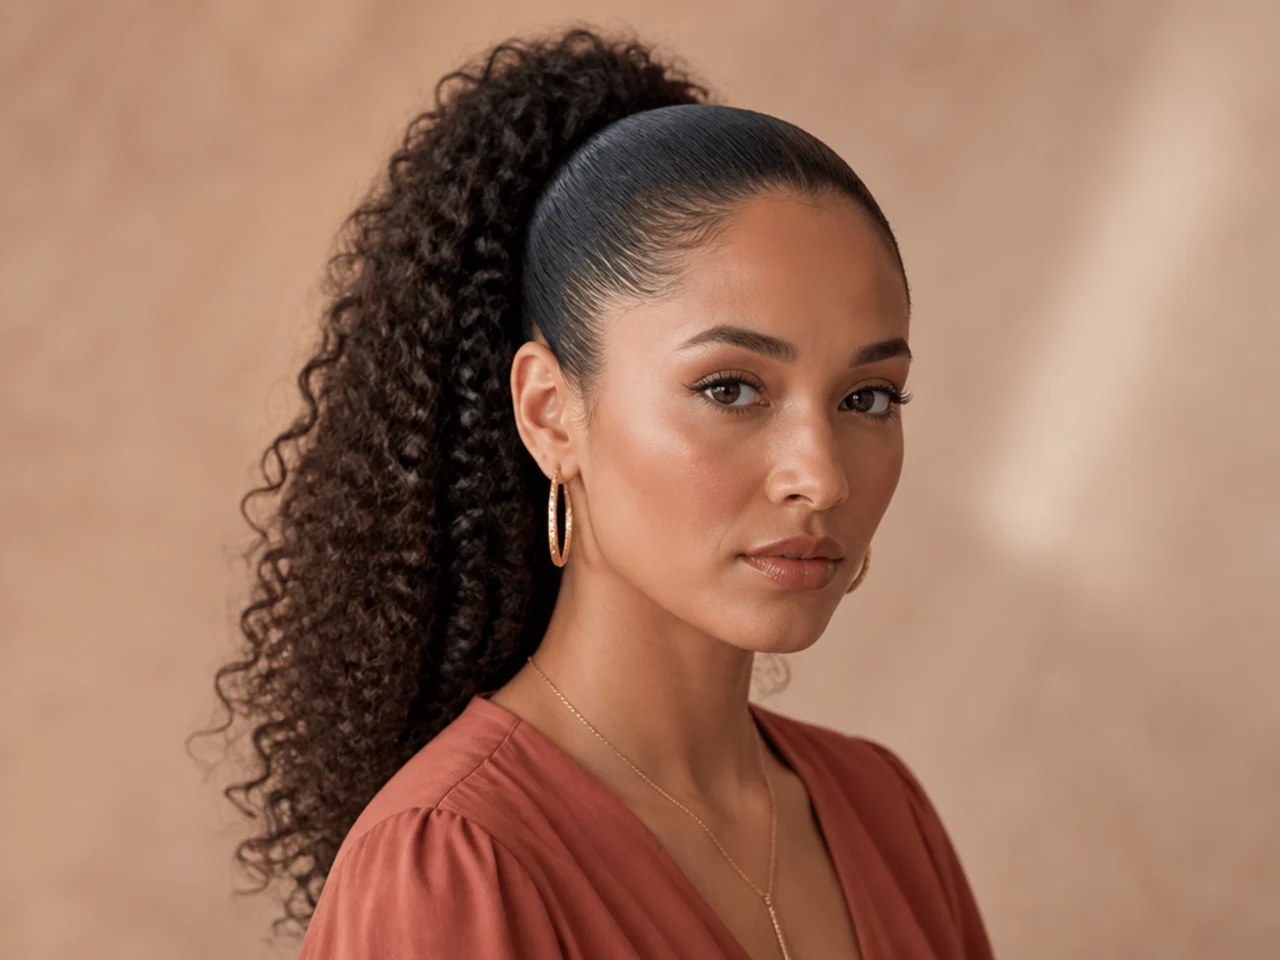
The contrast is the whole visual — the front third slicks smooth while the back and tail keep their coily pattern. It suits statement days, editorial shoots, and anyone growing out from a straightened phase back to natural.
Slick the perimeter and the front third to the crown with a strong-hold edge gel and a boar-bristle brush. Leave the back and tail in its natural pattern — freshly wash-and-go or twist-outed. Secure over a satin scrunchie. Refresh the tail with a curl reviver mist so the coils bounce against the smoothed roots.
Stylist tip: the seam where sleek meets natural matters most in photos. Wrap a small two-inch section of smoothed hair around the base to hide the join. Without the wrap, the transition line looks unfinished; with it, the pony reads intentional and sculpted.
17. Wet-Look Gel Curly Crown Pony
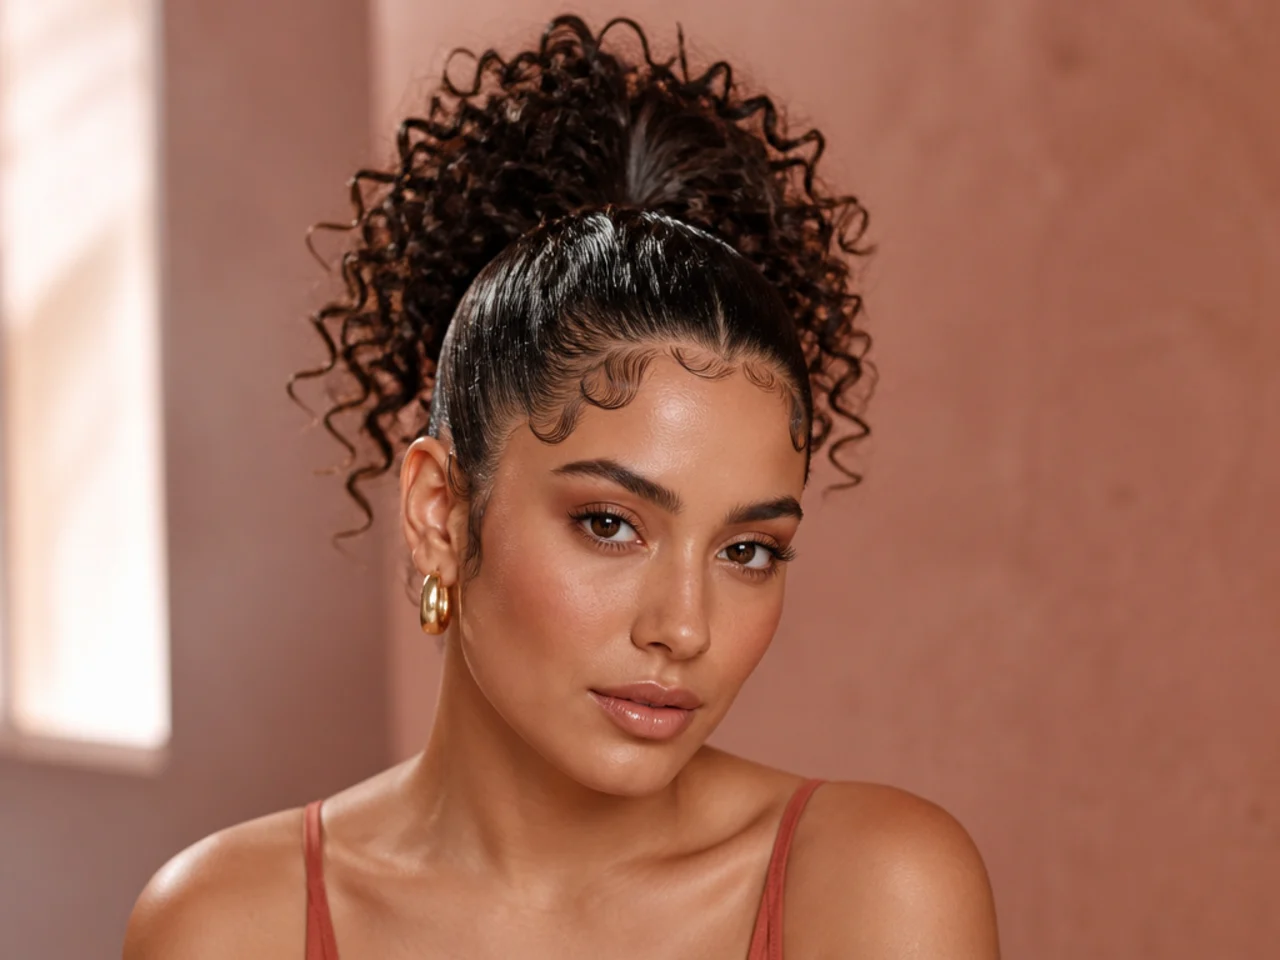
The wet-look stays visibly glossy all day instead of drying matte — it reads sharper and more sculpted than a standard curly pony. It suits humid climates, night events, and any moment when the finish is part of the outfit.
Rake a wet-look gel through soaking-wet hair root to tip. Comb everything up with a wide-tooth comb — bristles drag the gel off before it sets. Tie with a coated elastic over a satin scrunchie. Sculpt baby hairs at each temple in swirling S-shapes with a soft-bristle edge brush and a second layer of gel.
Stylist tip: test the gel on the back of your hand first. Some formulas dry white-flaky on deeper skin tones and darker hair — you want a clear-drying, non-flaking formula. For companion products tuned to specific curl patterns, our best wavy hair products guide covers gels and creams that hold on 3A through 4C without buildup.
18. Curly Side-Swept Front + High Pony
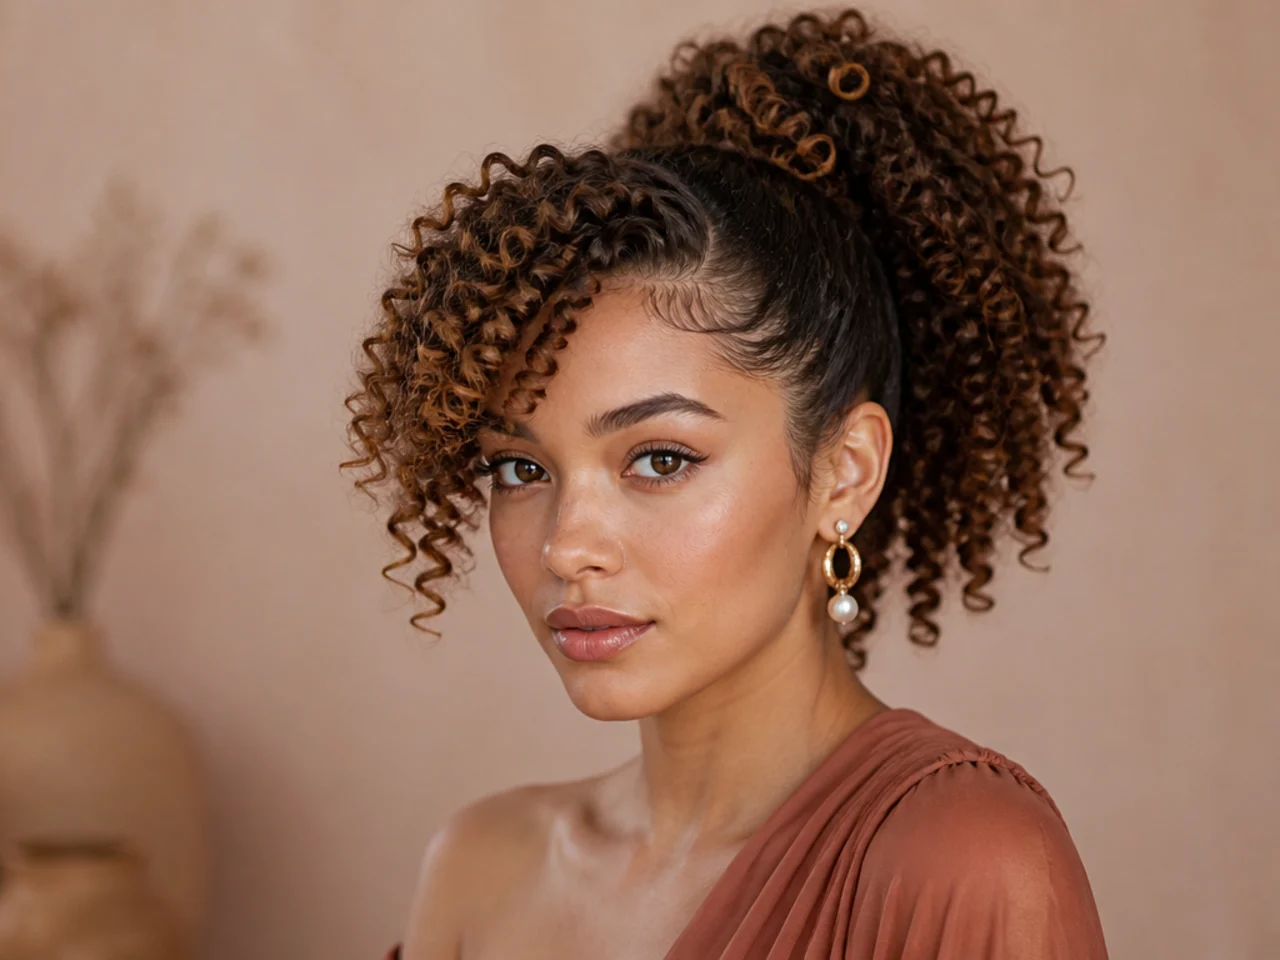
The swoop is the sculpted front bang that curves across the forehead — 2000s R&B energy translated forward. It suits round and square faces because the diagonal breaks the geometry.
Draw a deep side part with a rat-tail comb. Take the front section from the part to the ear on the heavier side, mist with a stretching cream, and blow-dry flat with a small round brush, curving toward the opposite temple. Anchor the swoop with two bobby pins hidden inside the pony wrap. Gather the rest into a curly high pony over a satin scrunchie.
Stylist tip: silk-press the swoop section only on lowest heat with a heat protectant. Rotate this shape with a straight-back curly pony week to week so the front section gets a break from repeated bending. Repeated heat on the same one-inch strip will straighten the pattern permanently.
19. Bridal Curly High Pony with Face-Framing Tendrils
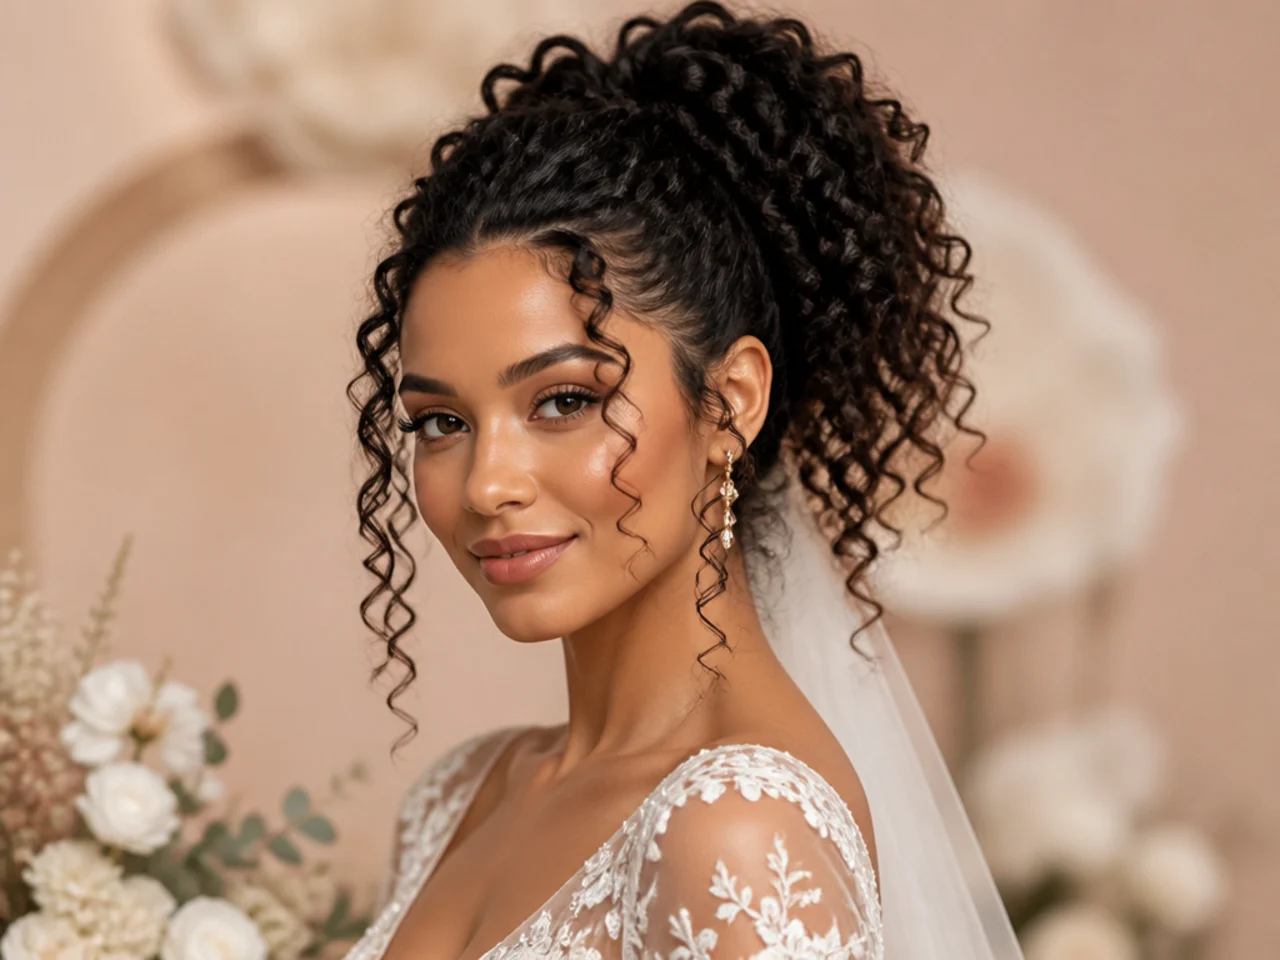
The bridal version pairs a snatched curly base with two soft face-framing tendrils at each temple — the shape reads long-hair reveal, natural texture celebrated, and photographs beautifully from every ceremony angle. It suits modern brides who want curls in every wedding photo without a stiff full updo.
Set a stretched curly high pony with a light-hold gel over a satin scrunchie. Curl any lost pieces on a 1-inch ceramic wand to match. Pull two pencil-thin sections free at each temple, spritz with a curl reviver, and shape into soft face-framing tendrils that curve toward the cheekbones. Anchor with a light-hold hairspray applied to your fingers, then finger-transferred to the tendrils.
Stylist tip: trial the style twelve weeks before the wedding wearing the same veil position and neckline. High necklines can crowd the pony; a bateau or off-shoulder gown lets the tail breathe. For a lower bridal alternative, browse our sleek high ponytail hairstyles roundup.
20. Ribbon-Wrapped Curly Statement Pony
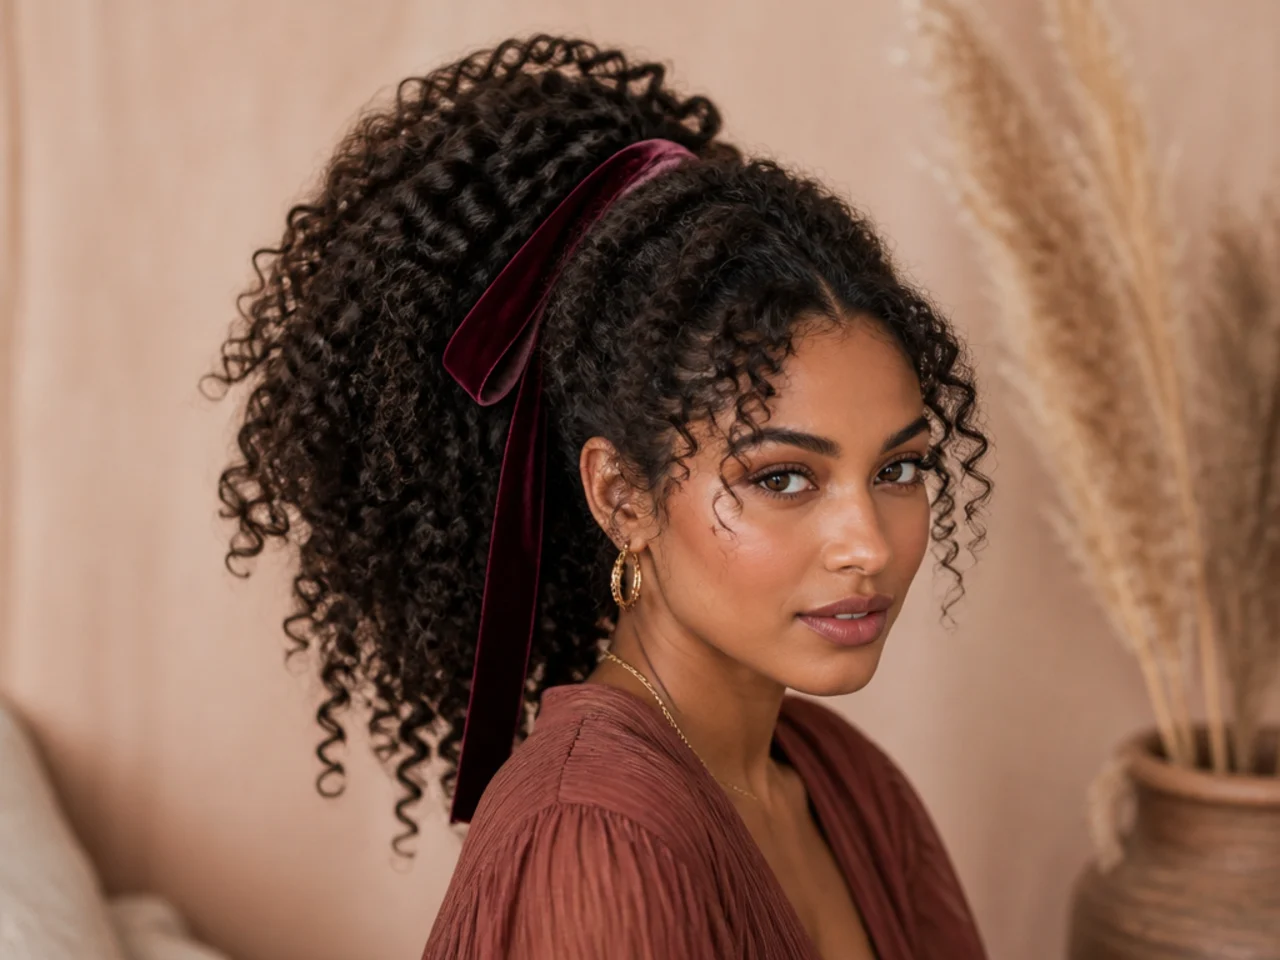
The ribbon adds color, softness, and a coquette-adjacent accent to an otherwise natural look. It suits date nights, brunches, birthday dinners, and any outfit that leans feminine.
Set a curly high pony first over a satin scrunchie. Loop a long piece of velvet or silk ribbon under the elastic. Knot it into a bow at the base. Let the ribbon tails hang loose — trailing along the coils, or trimmed to sit just at the wrap for a cleaner finish.
Stylist tip: matte velvet reads richer than shiny satin under warm indoor light. Mist the ribbon with a light touch of texture spray before you tie — even fabric grips better when there's a tackier product involved, and the bow holds shape all night without re-tying.
How to Prep and Set a Curly High Pony
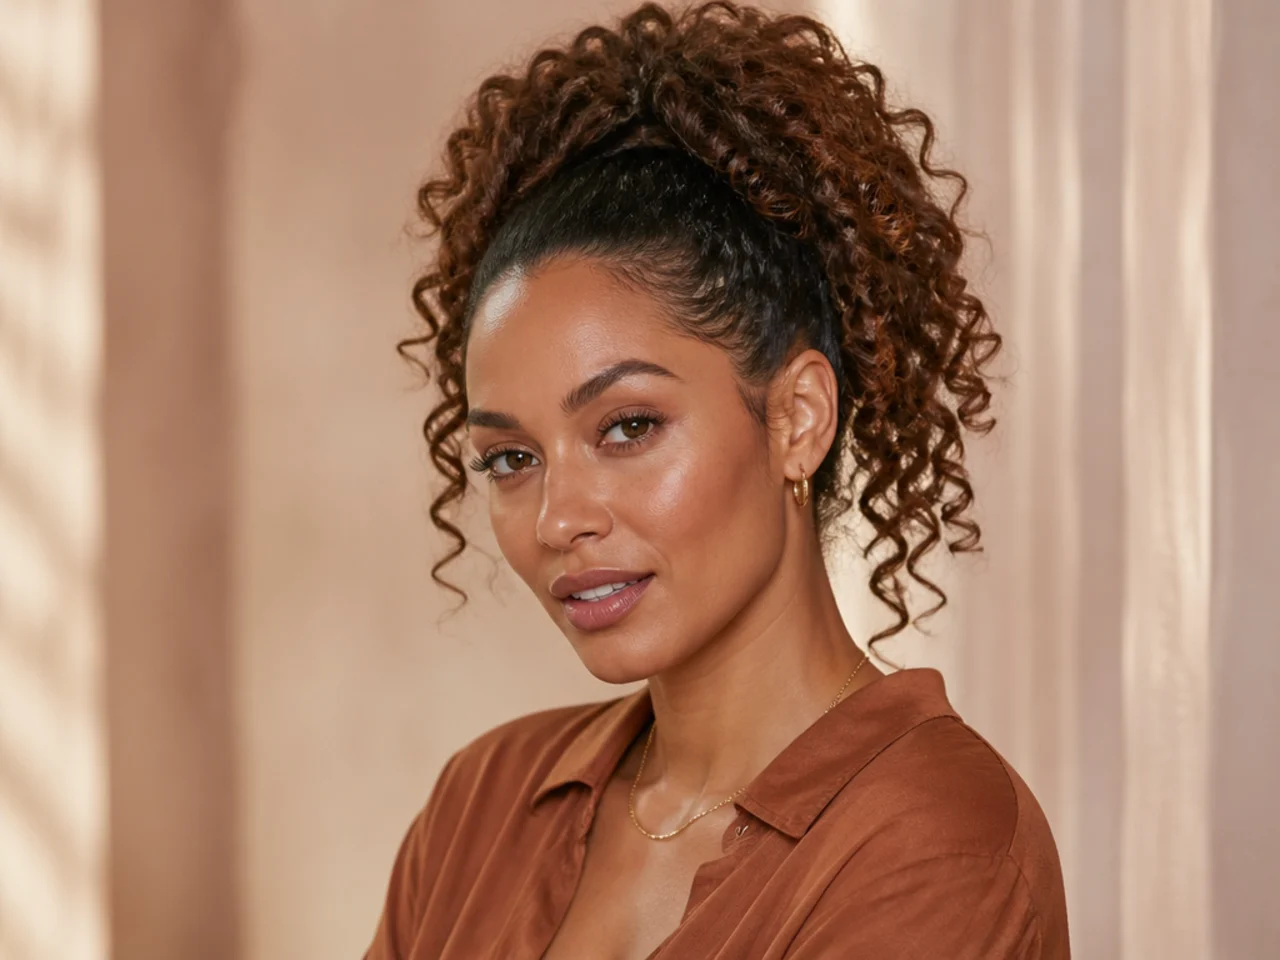
Every version above lands defined if you build the base right. Walk through these six steps before you tie.
- Start damp, not dry. Mist the hair with a water-and-leave-in blend until it re-activates the coils. Dry gathering shatters the pattern.
- Rake in a defining cream. Work a nickel-sized amount in two-inch sections, hand over hand. This is the product that sets the shape.
- Section off the perimeter. Lift a two-finger band around the front and nape with a rat-tail comb — this is the hair you'll lay separately with edge gel at the end.
- Gather with the right tool. Boar-bristle brush for stretched or twist-outed hair; wide-tooth comb or fingers for wash-and-go 3A and 3B. Never a fine paddle brush.
- Tie over a satin scrunchie. Loop the scrunchie inside your coated elastic before securing. It distributes tension across a wider surface and prevents the ridge of broken hair that develops at the tie line over time.
- Lay the front last. Apply a strong-hold non-flaking edge gel with a fine-tooth edge brush in soft S-shapes. Wrap the head in a silk scarf for ten minutes. Unwrap. The edges hold like they're glued.
If you wear the style more than three days a week, rebook a trim every eight to ten weeks. Ends fray fast in a pony from friction against clothing and pillowcases.
Styling and Maintenance for Curly Ponies
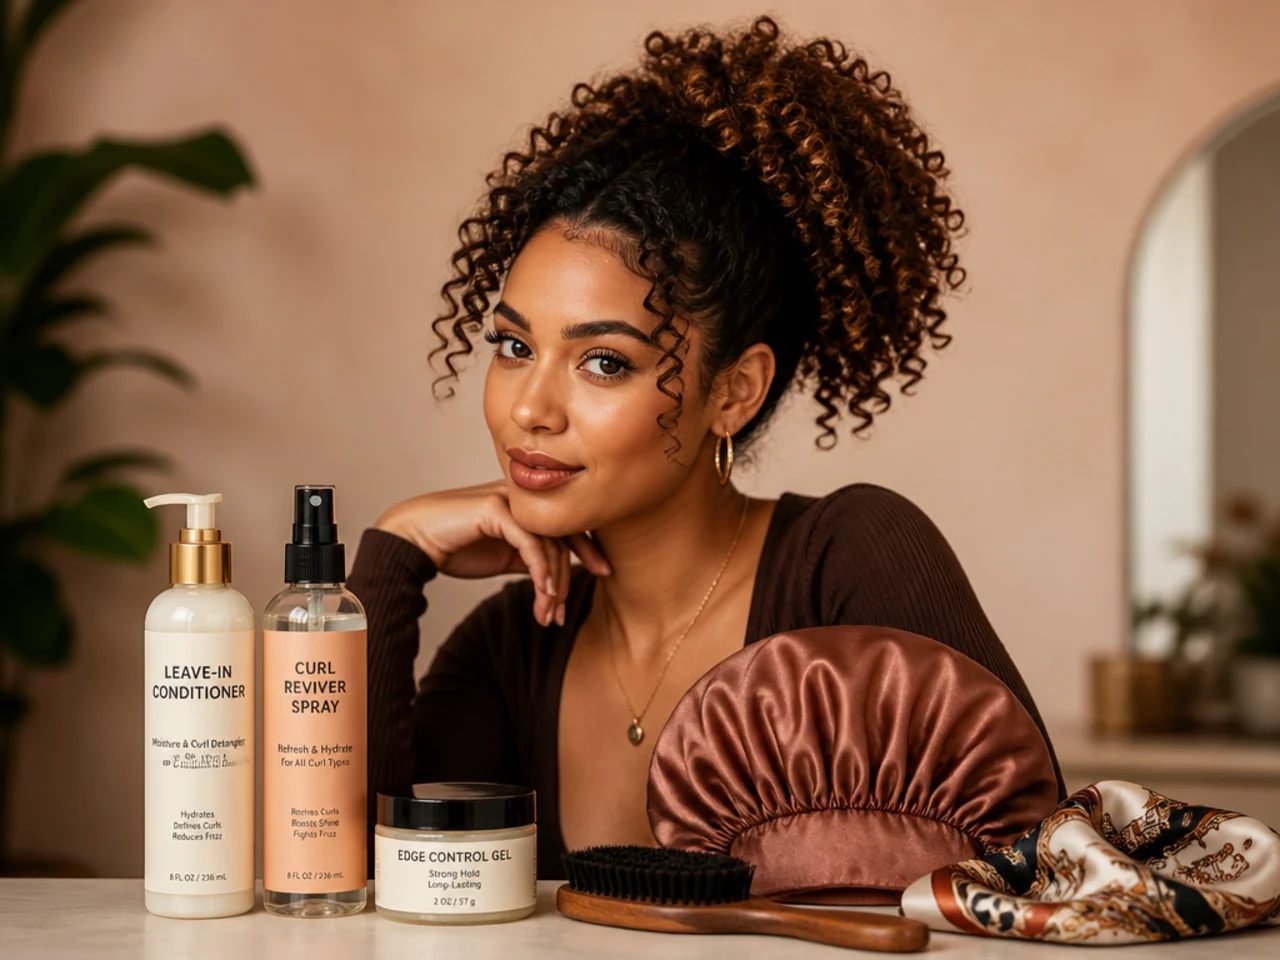
Six products cover every version here: a water-based leave-in spray, a curl-defining cream, a strong-hold non-flaking edge gel, satin scrunchies in three sizes, a boar-bristle brush, and a light-hold hairspray for edge touch-ups. Skip drying alcohol gels, cotton hair ties of any kind, and heavy pomades that weigh coils down and dull the shine.
Wrap your head in a silk or satin scarf every night, or sleep in a satin bonnet. Cotton pillowcases pull moisture from coils and rough the cuticle. Pineapple the tail into the bonnet before bed to preserve second-day shape without re-styling from scratch.
Moisturize the scalp with a light oil three nights weekly — apply directly to the roots, then massage in circles. Rotate placement — high one week, low the next, worn-loose in between — so no single spot carries repeated tension. Check your temples every two weeks for broken baby hairs; if you spot them, drop the height for a fortnight while the follicles recover.
For product weight tuned to your specific curl pattern, our best wavy hair products guide covers the leave-ins, creams, and gels that hold cleanly on 3A through 4C. And for scissor-cut shapes that support the high-pony silhouette between wash days, the short curly hairstyles roundup covers foundations designed to slick clean and drop bouncy. If your texture leans specifically 4B or 4C, our high ponytail hairstyles for black women guide walks through additional tension-safe variations built for those patterns.
FAQ
How do I get a curly high ponytail without frizz? Work on damp, not dry, hair. Mist with a water-and-leave-in blend, rake through a curl-defining cream, then gather to the crown with a soft boar-bristle brush. Dry coils shatter when you drag them; damp coils slide into place and re-clump as they set.
Can I do a high ponytail on 4C hair without breaking my edges? Yes. Loop a satin scrunchie inside a coated elastic before you tie, leave a two-finger band of hair loose around the perimeter to lay separately with edge control, and never gather cold dry coils. Rotate placement so no single spot carries repeated tension day after day.
How do I stop my curls from shrinking into a small puff? Stretch before you style. Banding — small satin-lined elastics down the length of damp hair — or a warm blow-dry on cool with a diffuser gets you two to four extra inches without straightening the pattern. A stretching cream helps hold the elongated shape.
What products do I actually need for a curly high pony? Five essentials. A water-based leave-in, a curl-defining cream, a strong-hold non-flaking edge gel, satin scrunchies in three sizes, and a boar-bristle brush. Skip drying alcohol gels, cotton hair ties, and heavy pomades that weigh coils down.
How long does a curly high ponytail last? Second-day and third-day if you pineapple the tail into a satin bonnet each night, mist the coils with a water-and-leave-in refresher in the morning, and re-lay the edges. A twist-out or braid-out base extends the shape to four or five days.
Do curly high ponytails work on short curly hair? If you can gather it, you can pony it. Three inches of stretched coil is enough for a small crown puff, and a texture-matched drawstring or clip-in adds length and volume in under ten minutes. Match the extension by curl pattern first, then by tone at the ends.