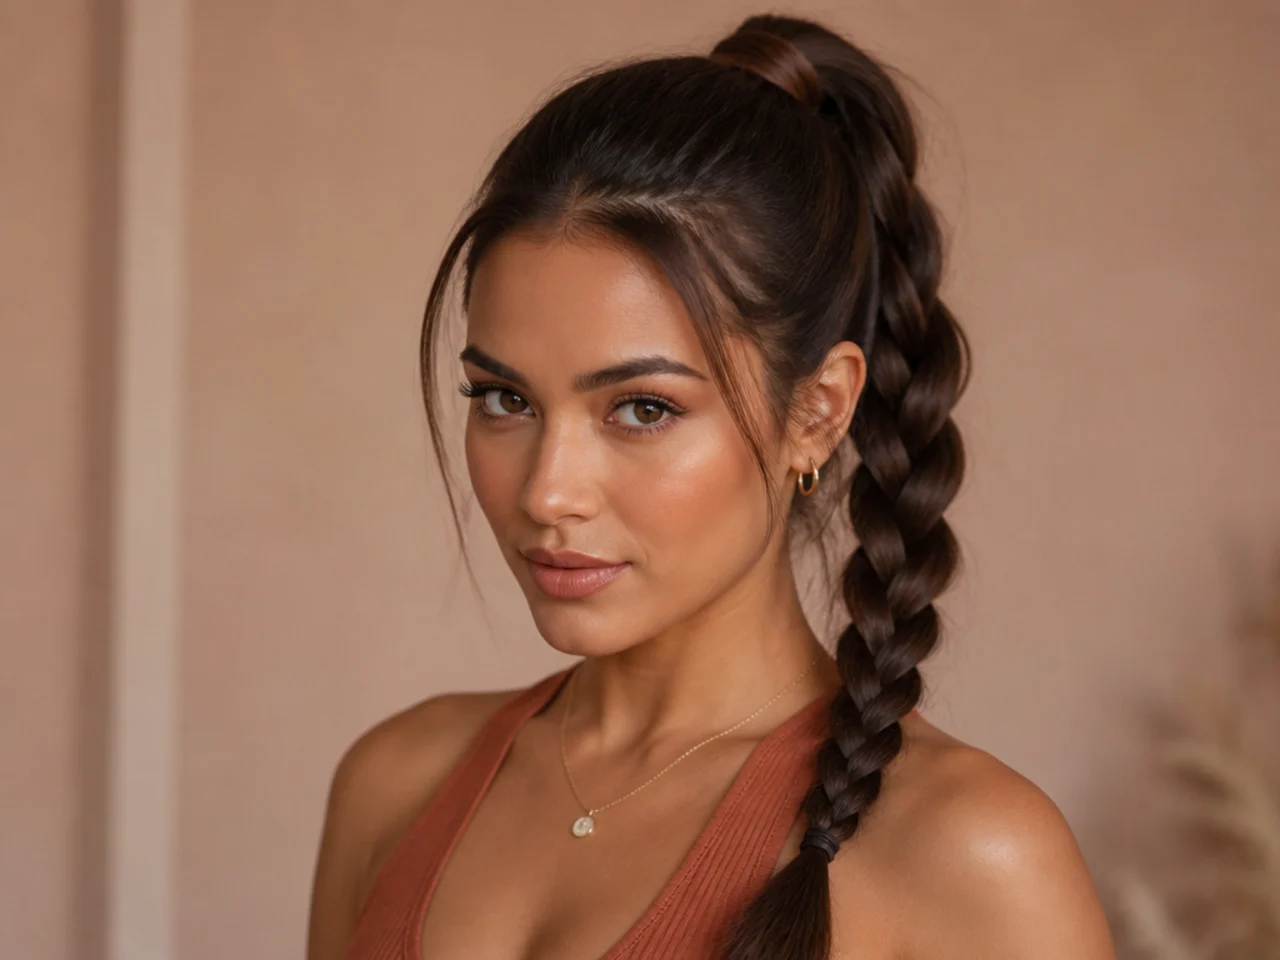
20 High Ponytail Braid Hairstyles Worth Trying
High ponytail braid hairstyles — twenty named braid patterns worked into a snatched pony, from rope and fishtail to lace, ladder, and coronet, with technique notes.
In this article · 31
- What Counts as a Braid Ponytail?
- How to Choose Your Braid Pattern
- 1. Three-Strand Classic Braid Ponytail
- 2. French Braid Feed-In Ponytail
- 3. Dutch Braid Ponytail
- 4. Fishtail Braid Ponytail
- 5. Herringbone Braid Ponytail
- 6. Rope Braid Ponytail
- 7. Four-Strand Braid Ponytail
- 8. Five-Strand Ribbon Braid Ponytail
- 9. Waterfall Braid Ponytail
- 10. Halo Wrap Braid Ponytail
- 11. Boxer Braid Ponytail
- 12. Lace Braid Ponytail
- 13. Ladder Braid Ponytail
- 14. Snake Braid Ponytail
- 15. Chain Link Braid Ponytail
- 16. Zigzag Braid Ponytail
- 17. Infinity Braid Ponytail
- 18. Bubble Braid Ponytail
- 19. Pull-Through Braid Ponytail
- 20. Coronet Braid Ponytail
- How to Ask Your Stylist for a Braided High Pony
- Styling and Maintenance
- FAQ
- Which braid pattern is the fastest to learn?
- What's the difference between a French and a Dutch braid?
- How do I keep a fishtail braid from unraveling?
- Do I need long hair for these braid patterns?
- Can I sleep in a braid pony?
- Which pattern reads best in photos?
A braid worked into a high pony turns a two-minute tie into a signature look — and the pattern you pick sets the entire vibe. A French braid reads polished. A rope reads architectural. A five-strand reads red-carpet. Below are 20 high ponytail braid hairstyles built around specific plait patterns, with the technique, tension notes, and one stylist trick for each. For placement, base, and prep guidance, our high ponytail hairstyles guide covers the crown foundations these braids sit on.
What Counts as a Braid Ponytail?
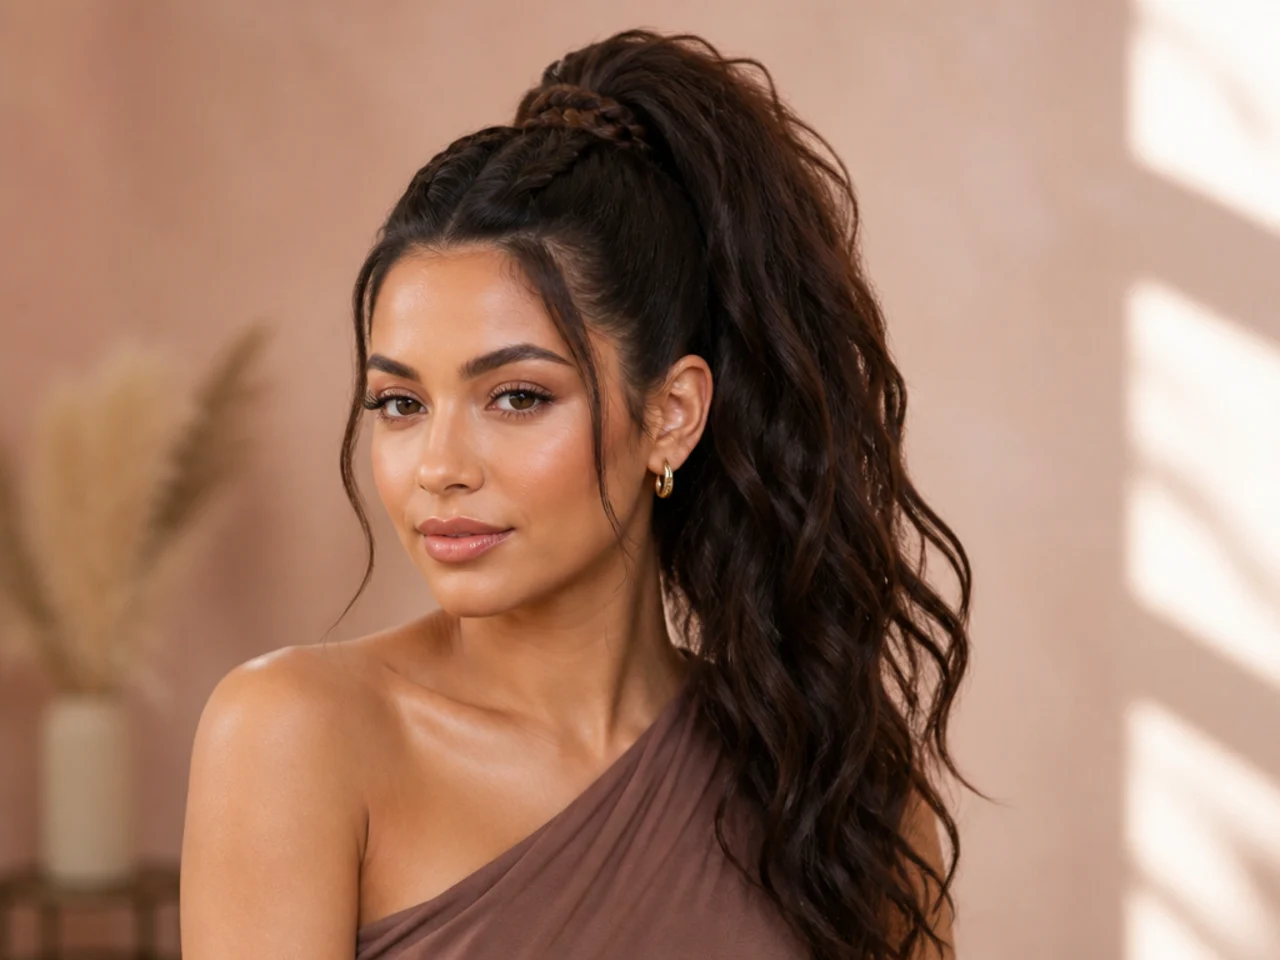
A braid ponytail is any high pony where a named braid pattern does the visual work — feeding into the base, running the length of the tail, or circling the elastic. The base sits at or above the crown. The braid is the styling feature; the loose tail is either eliminated or supporting it.
The pattern picks the personality. Three-strand reads clean. French sits smooth against the head. Dutch pops out. Fishtail turns the tail into a scaled rope. Four- and five-strand read couture. Rope, snake, and infinity are the sculptural extras that read second-look on Pinterest.
How to Choose Your Braid Pattern
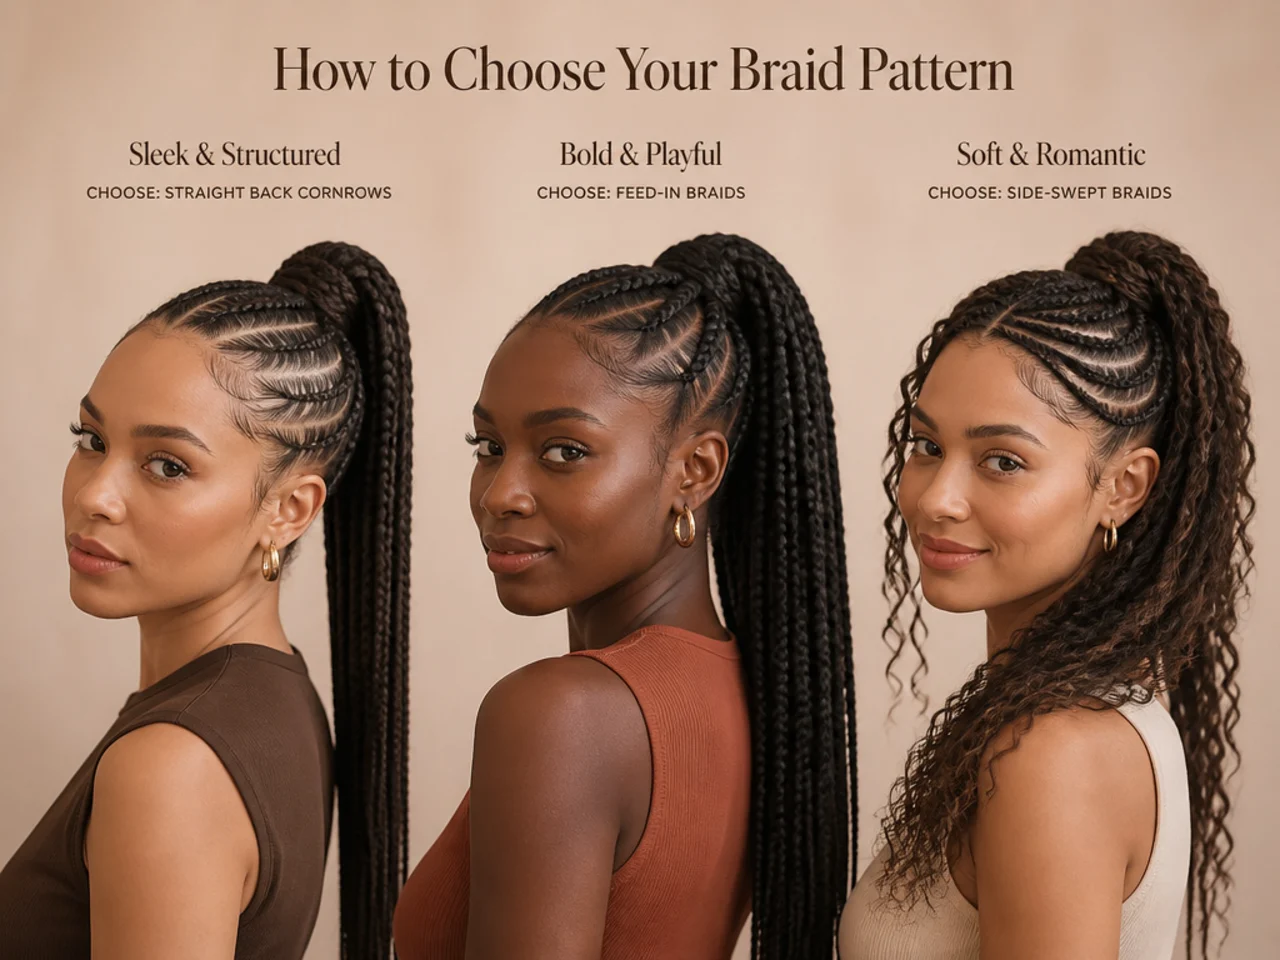
Four things guide the pick: your braid skill, your hair texture, the moment, and the shape you want the pony to read.
Beginners should start with pull-through, bubble, and wrap-around halo — none require actual plaiting. Confident braiders move on to French, Dutch, fishtail, and rope. Four-strand, five-strand, snake, and infinity take practice and a mirror — expect to redo the first attempt.
Straight and wavy hair holds every pattern on this list with a smoothing cream and a light hairspray. Curly and coily textures grip best in Dutch, jumbo three-strand, rope, and pull-through — patterns that don't demand each strand behave identically. Fine hair looks fullest in pancaked French, bubble, and five-strand. Thick hair reads sharpest in fishtail, herringbone, and four-strand where the strand count controls the bulk.
Match the moment. A three-strand or French pony reads office to gym. A fishtail, rope, or four-strand reads dinner. A five-strand, coronet, or infinity reads wedding, gala, or shoot.
1. Three-Strand Classic Braid Ponytail
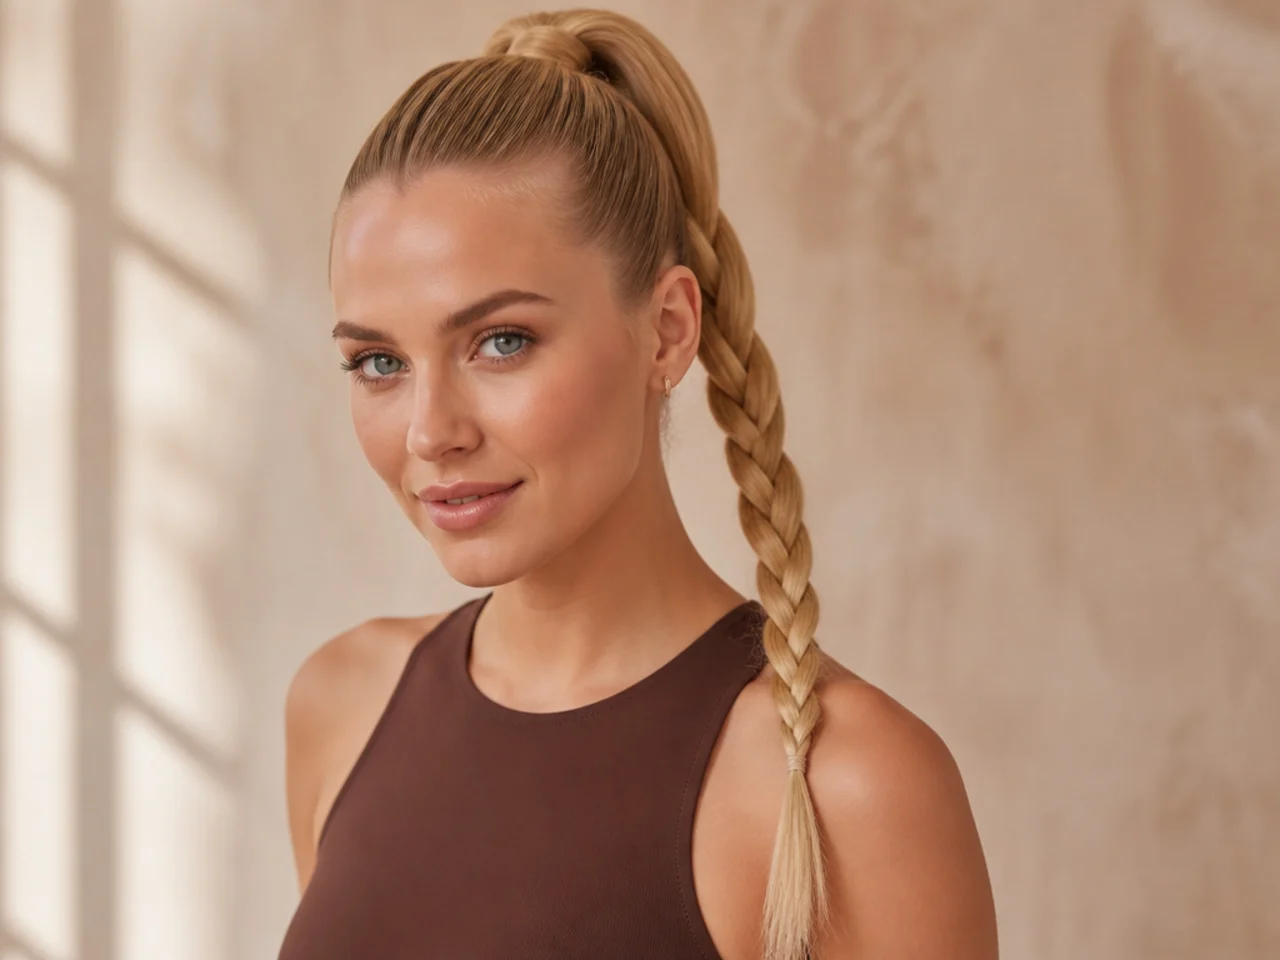
The reference version. A snatched high pony gets a clean three-strand plait down the length of the tail — the pattern every other braid on this list builds off. It suits every face shape, every texture, every setting from gym to office. If you only ever learn one, learn this.
Tie a snatched high pony over a satin scrunchie. Split the tail into three visibly equal sections. Cross the right section over the middle, then the left over the middle, and repeat to the ends. Secure with a clear elastic and pancake each loop outward for a fuller finish.
Stylist tip: braid tight for the first three inches, then loosen your tension for the length. It keeps the base looking sharp while letting the tail read softer in photos.
2. French Braid Feed-In Ponytail
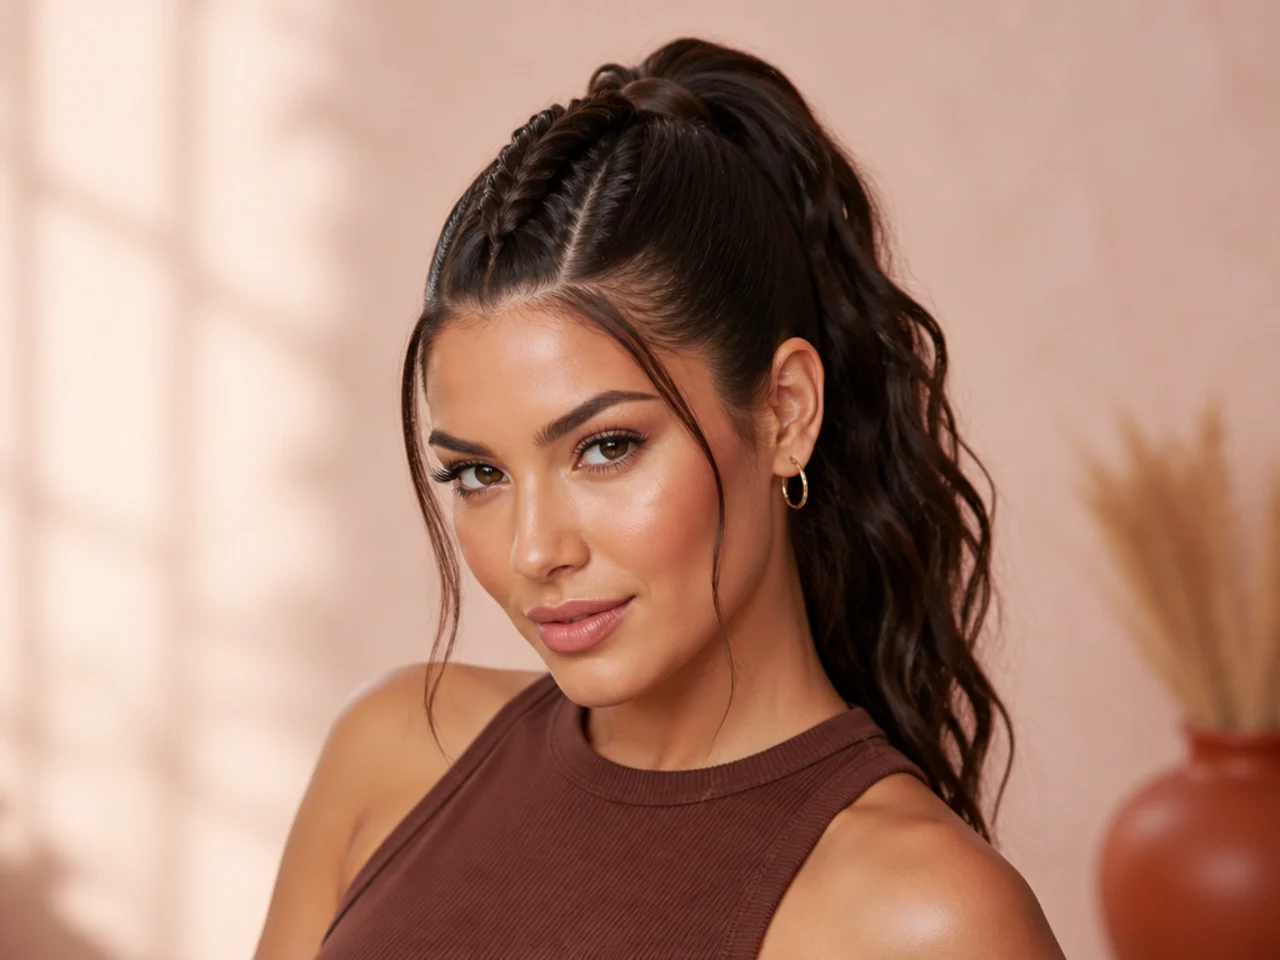
The French braid feeds hair into the plait from either side as you work from the front hairline to the crown — the braid sits inside the head. From the base, the pony falls loose or continues as a plait. It's polished, symmetrical, and reads dressed-up without looking overworked.
Section a triangle at the front hairline. Split into three. On every pass, cross the outer strands over the middle and add a small piece of hair from each side of the section. Continue to the crown and gather everything into a high pony over a satin scrunchie.
Stylist tip: angle the section slightly narrower as you work back so the braid tapers into the pony rather than fanning wide across the crown. It reads sculpted, not chunky.
3. Dutch Braid Ponytail

The inverted French — strands cross under the middle instead of over — so the braid pops out three-dimensionally instead of sinking in. It reads more sculptural on a high pony and photographs sharper than any French from the same distance.
Section a strip from the front hairline to the crown. Split into three. On each pass, cross the outer strands under the middle strand and add hair from each side of the section. Feed into a high pony at the peak. Pancake the loops outward for a chunky raised rope.
Stylist tip: dry-shampoo the section before you start. Slippery clean hair snaps back into a flat braid within an hour; grip-added hair holds the raised Dutch shape all day. Coily and 4A textures grip Dutch beautifully once stretched with a leave-in — our curl types guide covers the prep-by-pattern rules worth knowing before you braid.
4. Fishtail Braid Ponytail
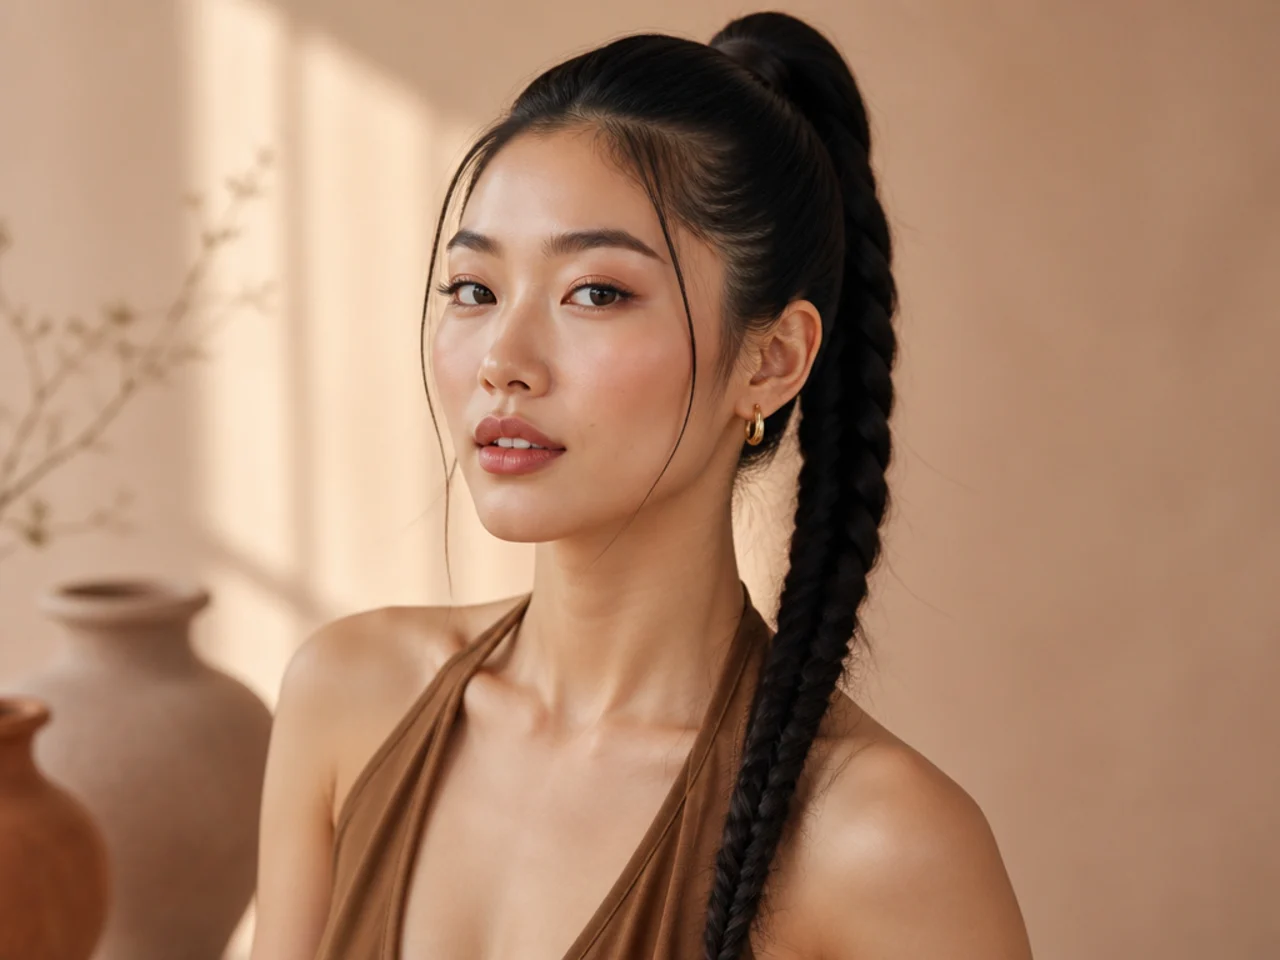
The two-strand scaled rope. The base stays clean, and the tail becomes a fishtail — small strands crossed from one side to the other create a fish-scale pattern that reads romantic without going full boho. Length matters — shoulder is the practical floor.
Tie a snatched high pony. Split the tail into two equal halves. Take a small strand from the outside of the right section and cross it over the top to join the left. Repeat from the left. Keep each strand pencil-thin for a tight scale pattern and continue to the ends.
Stylist tip: the smaller the strands, the crisper the pattern. Half-inch strands read chunky; quarter-inch strands read couture. Slow the pace and the finish reads twice as intentional.
5. Herringbone Braid Ponytail
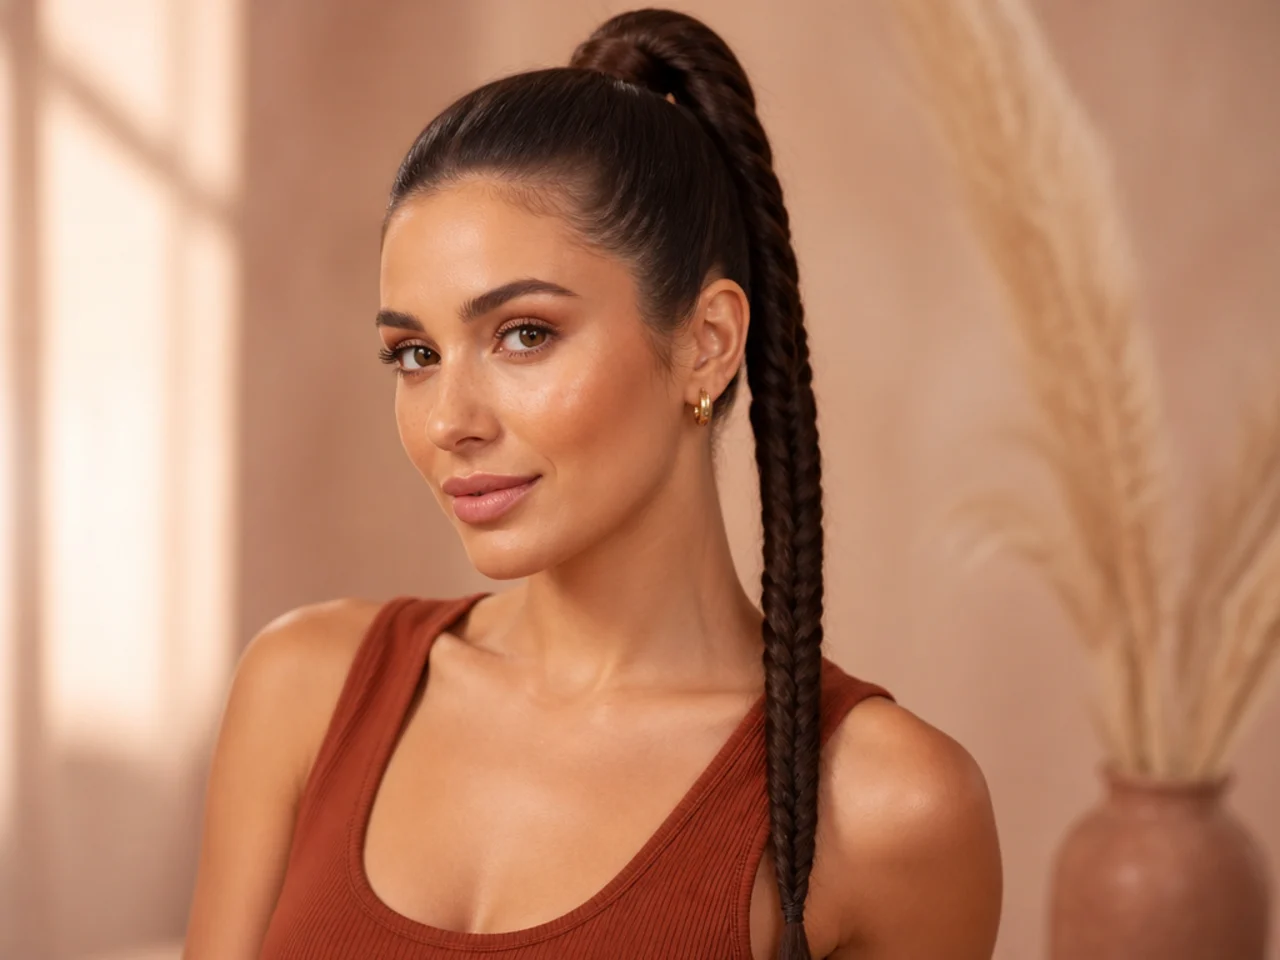
The herringbone is the fishtail's tighter cousin — same two-strand technique, but the crossovers happen every quarter-inch instead of every half. The finished plait reads like a fabric weave rather than a rope. It suits medium to thick straight and wavy hair.
Tie a snatched high pony. Split the tail into two halves. Pull very fine strands — think a few dozen hairs — from the outside of each section and cross them over to join the opposite side. The tighter and more frequent the crossings, the sharper the pattern reads.
Stylist tip: slow down. The herringbone rewards patience. Rushing gives you a lumpy fishtail; going slow gives you a woven-textile finish that photographs like fabric.
6. Rope Braid Ponytail
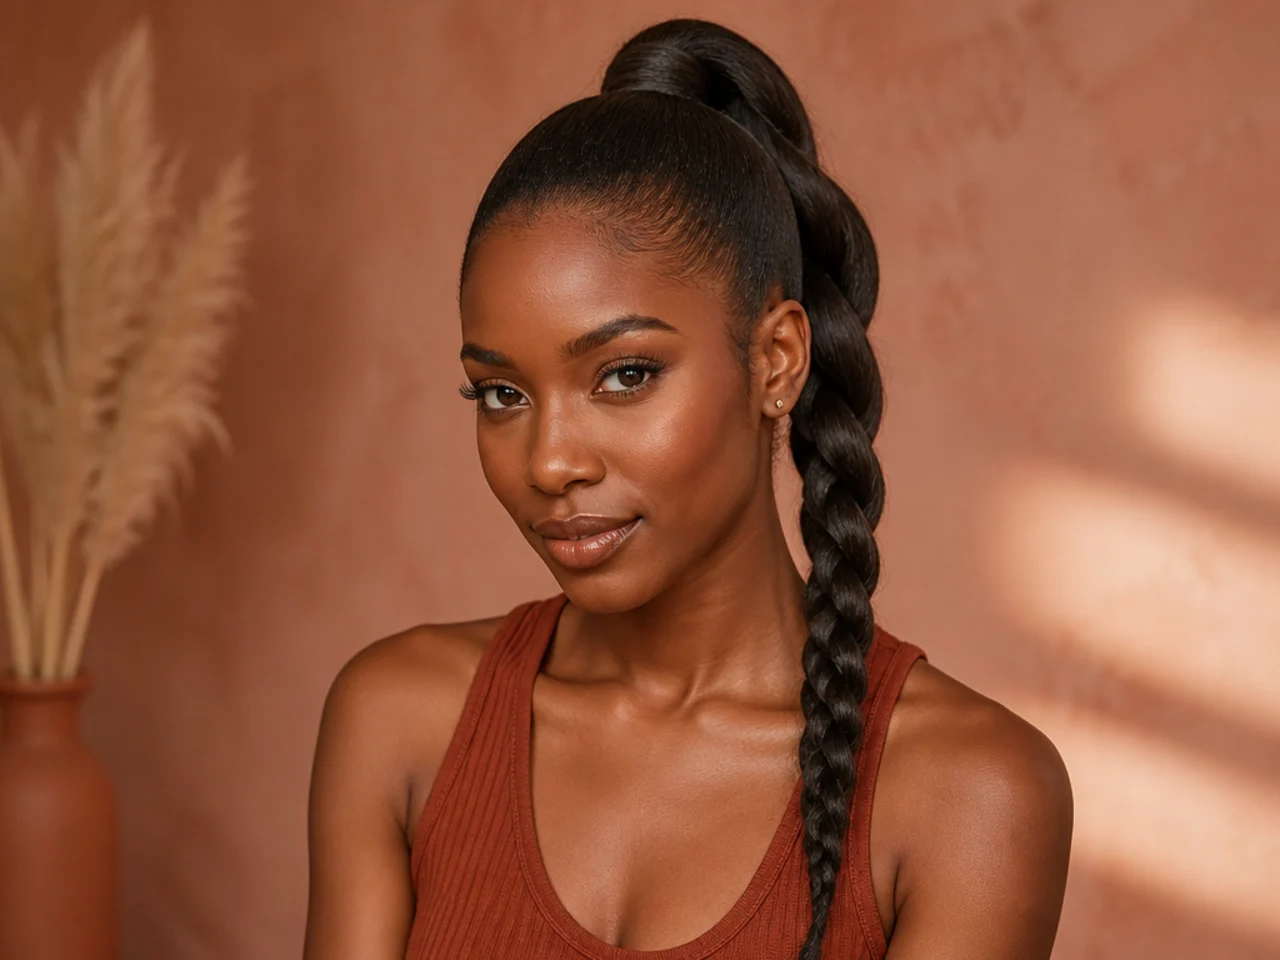
The rope is technically a twist, not a braid — two thick sections wound around each other with opposing tension. It reads architectural without the fuss of a proper plait, and it holds beautifully on straight, wavy, and stretched natural hair.
Tie a snatched high pony. Split the tail into two equal halves. Twist each half clockwise as tightly as you can hold. Then wrap the two twisted halves around each other counter-clockwise. The opposing tensions lock the rope shape in place. Secure with a clear elastic.
Stylist tip: if the rope loosens by afternoon, you didn't twist tight enough at the start. Both halves need real tension before they meet. A drop of styling cream through the length before you start gives the twist grip.
7. Four-Strand Braid Ponytail
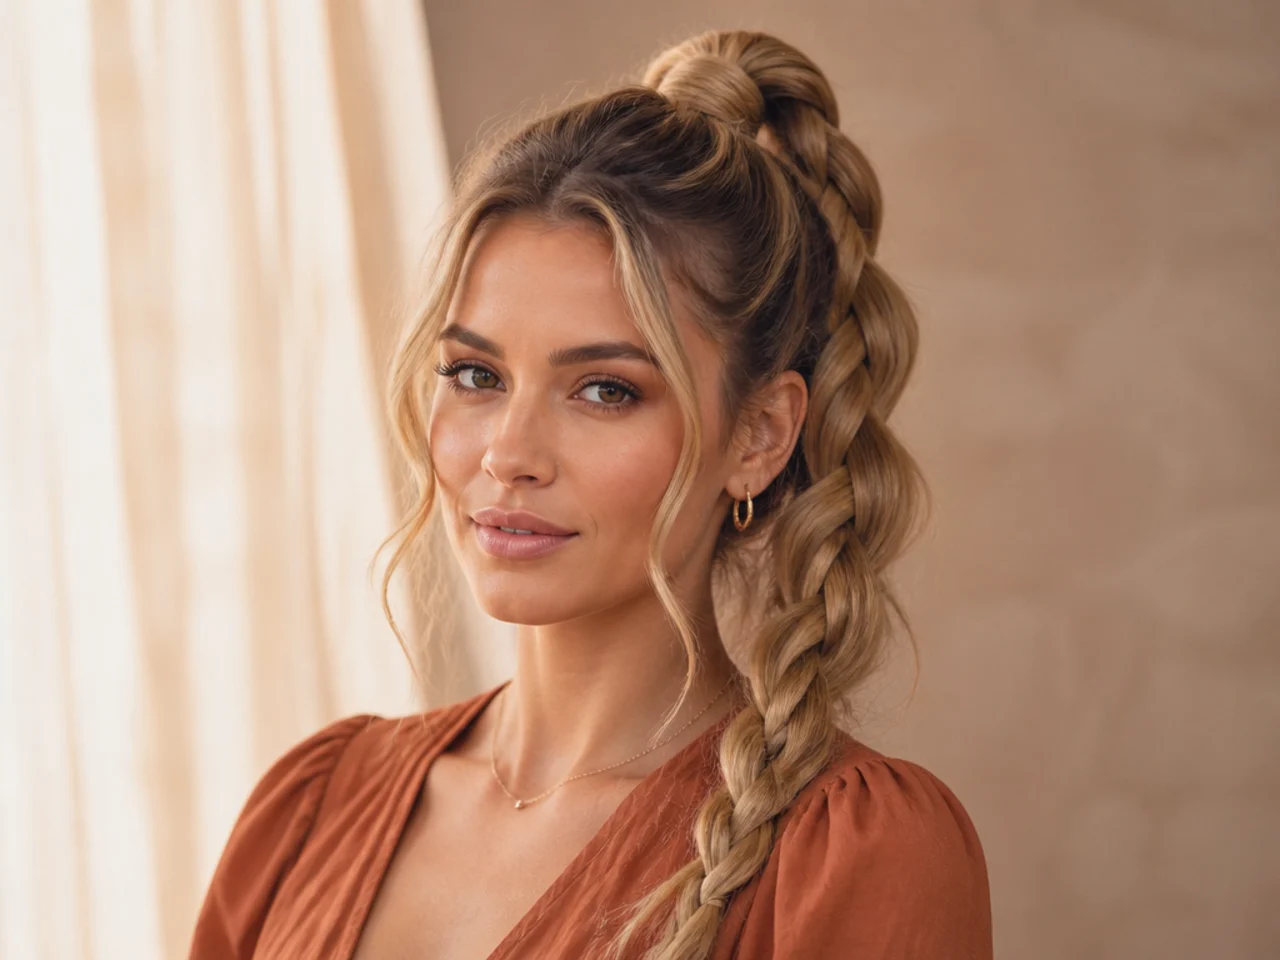
The four-strand adds one more section to the classic braid — and the payoff is a woven, ribbon-like pattern that reads sculpted from every angle. It's the intermediate step between a three-strand and a five-strand, and worth learning if you photograph your hair often.
Tie a high pony. Split the tail into four equal sections numbered 1-4 left to right. Cross 4 over 3, 2 over 3, 1 over 2. Repeat: 4 over 3, 2 over 3, 1 over 2 — the same three moves on loop. Secure and pancake the outer strands only for width.
Stylist tip: practice on a friend's hair or a wig head first. The rhythm feels unnatural for the first minute, then locks in. Once you have it, four-strand is barely slower than a three-strand.
8. Five-Strand Ribbon Braid Ponytail
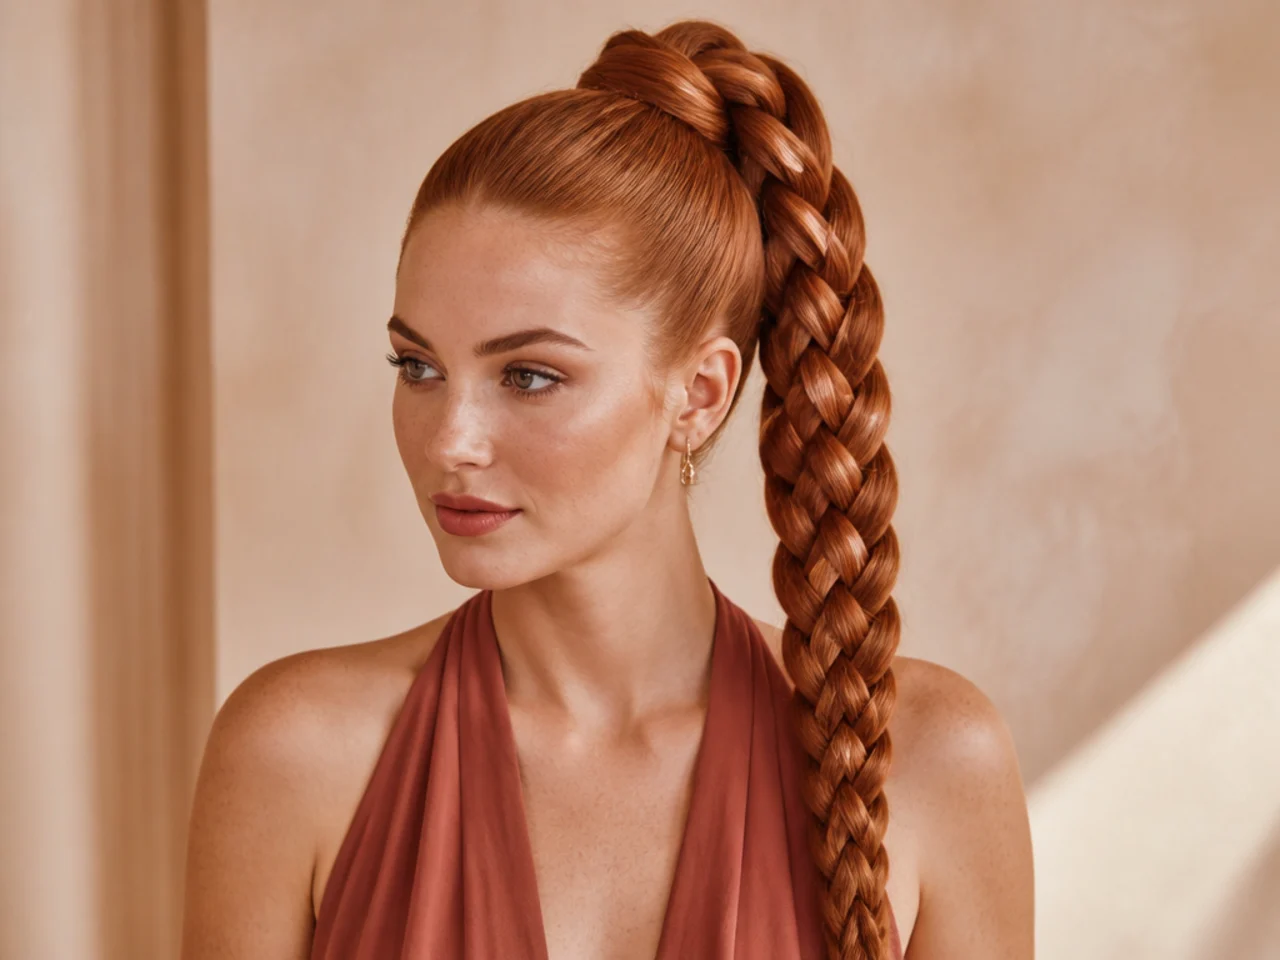
The five-strand looks like ribbon woven around itself — it's the couture end of the braid family and reads red-carpet on the right head of hair. Needs length and density; fine or shoulder-length hair loses the pattern.
Tie a high pony. Split the tail into five equal sections numbered 1-5 left to right. The pattern: 1 over 2 under 3, then 5 over 4 under 3. Repeat. Keep tension even and let the outer strands take the movement while the middle strand stays anchored.
Stylist tip: if your five-strand keeps collapsing into a lumpy mess, your tension is uneven. Loop each section around your fingers as you work so every pass has the same pull. Mist the finished braid with a fine hairspray to seal.
9. Waterfall Braid Ponytail
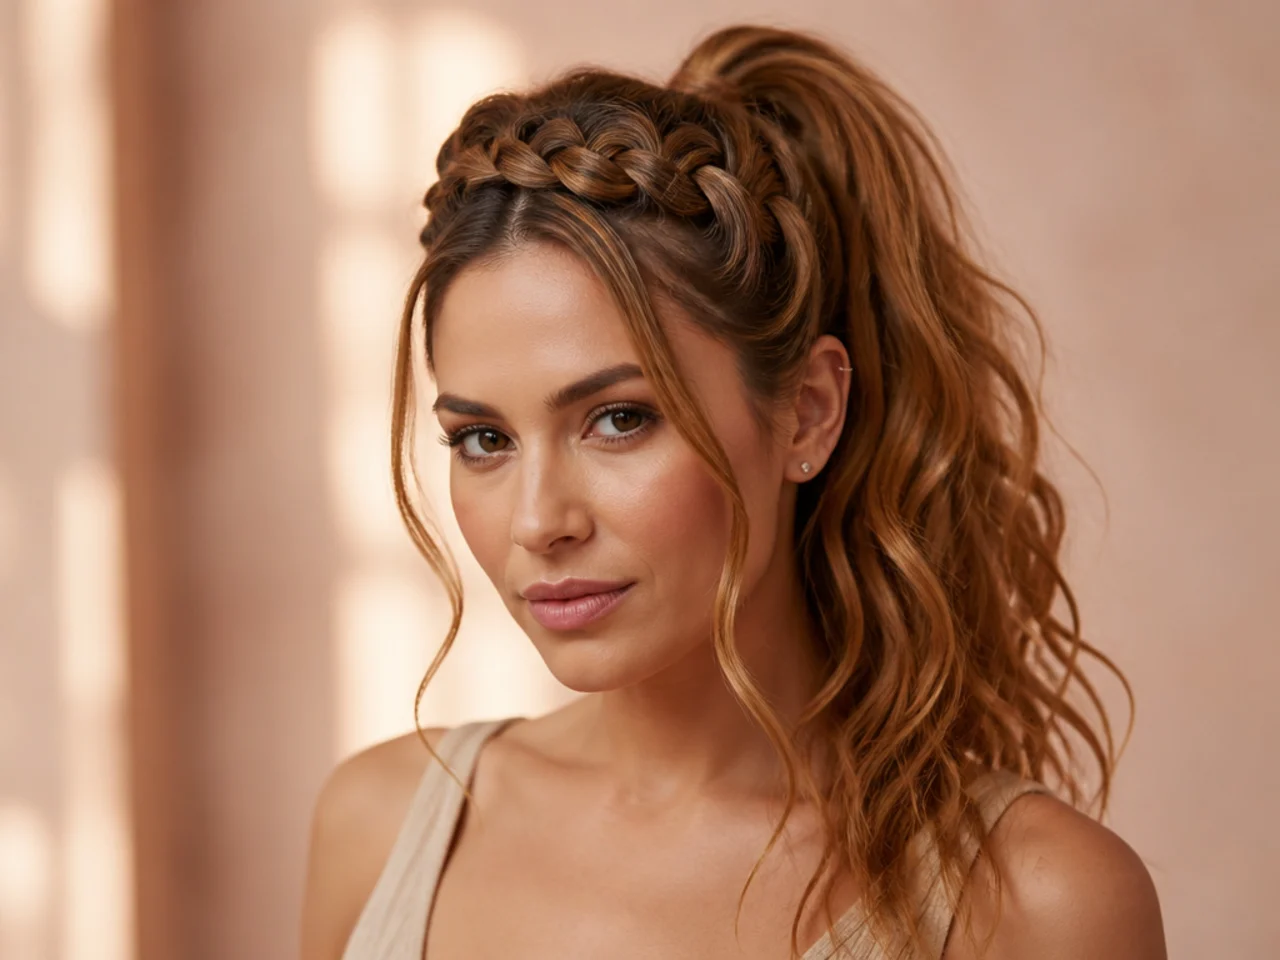
The waterfall drops the top strand out of the braid on every pass instead of carrying it through — so loose strands cascade below the plait like water over a ledge. Runs from one temple across the top of the head and feeds into a high pony on the opposite side.
Start a three-strand braid at one temple. On each pass, cross the top strand across as normal, then drop it and pick up a fresh strand of hair to replace it. Continue across the top of the head. Gather everything above the braid into a high pony. Curl the dropped strands after.
Stylist tip: use a 1-inch wand on the dropped strands after the braid is complete. Pre-curled hair tangles into the plait; post-braid curls read polished. Mist with light hairspray to lock the shape.
10. Halo Wrap Braid Ponytail
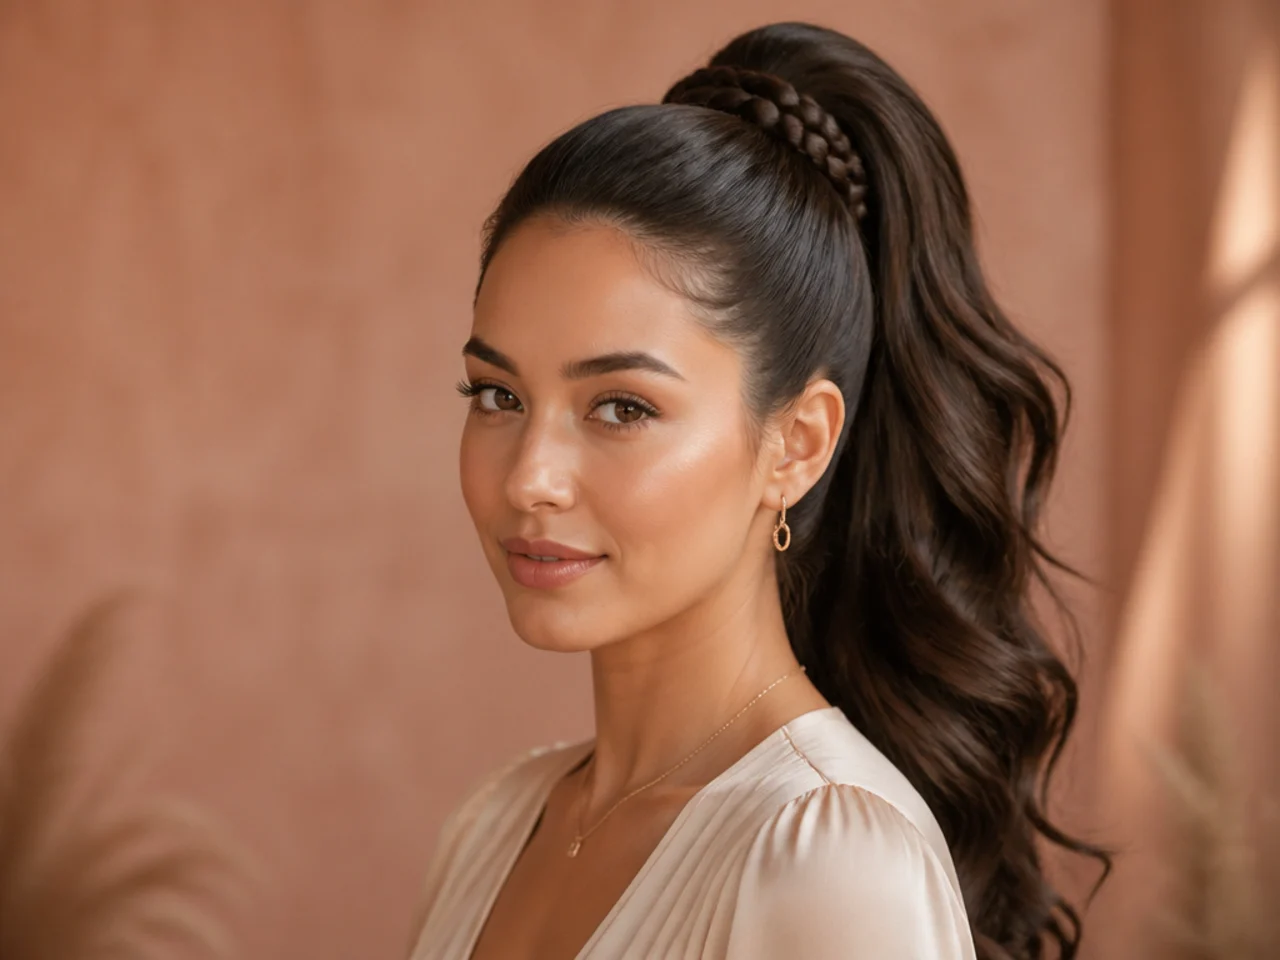
A single small braid encircles the base of the pony like a crown — hiding the elastic and adding a sculpted rim. It's the polish detail that separates a work pony from a wedding pony. Reads formal without asking for extra hardware.
Set a snatched high pony over a satin scrunchie. Take a half-inch section from underneath the tail. Braid it into a tight three-strand plait as long as your hair allows. Wrap the finished braid clockwise around the elastic, tuck the end under, and pin with a bobby pin driven up toward the scalp.
Stylist tip: mist the finished braid with a light hairspray before you wrap. It grips itself and sits flush against the elastic instead of gapping — a common mistake that shows the tie underneath.
11. Boxer Braid Ponytail
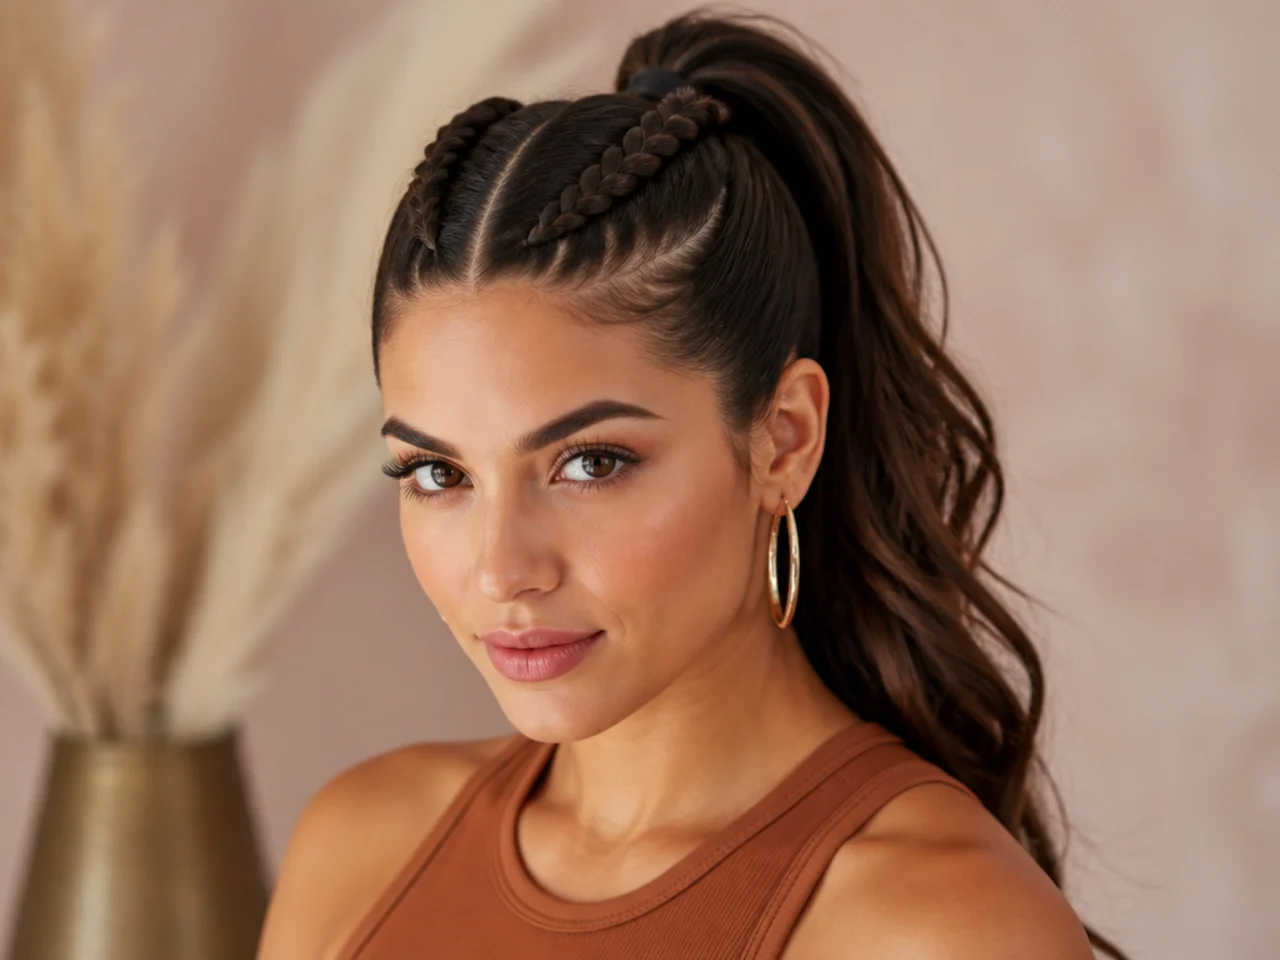
Twin Dutch braids running along either side of the head — the "boxer" style, so-called because MMA fighters wear it to keep hair off the face. Both braids meet at the crown and feed a single high pony. Reads athletic and pretty at the same time.
Part the hair down the middle. On each side, section a two-inch strip from the front hairline. Dutch braid — under-cross technique — following the curve of the head toward the crown. Feed both braids into a single high pony at the peak. Pancake both plaits outward for chunky mirror ropes.
Stylist tip: wet the center part with a rat-tail comb dipped in water before you divide. A crisp part sells the mirror. For more athletic-forward pony placements, our easy high ponytail hairstyles guide covers gym-ready variations.
12. Lace Braid Ponytail
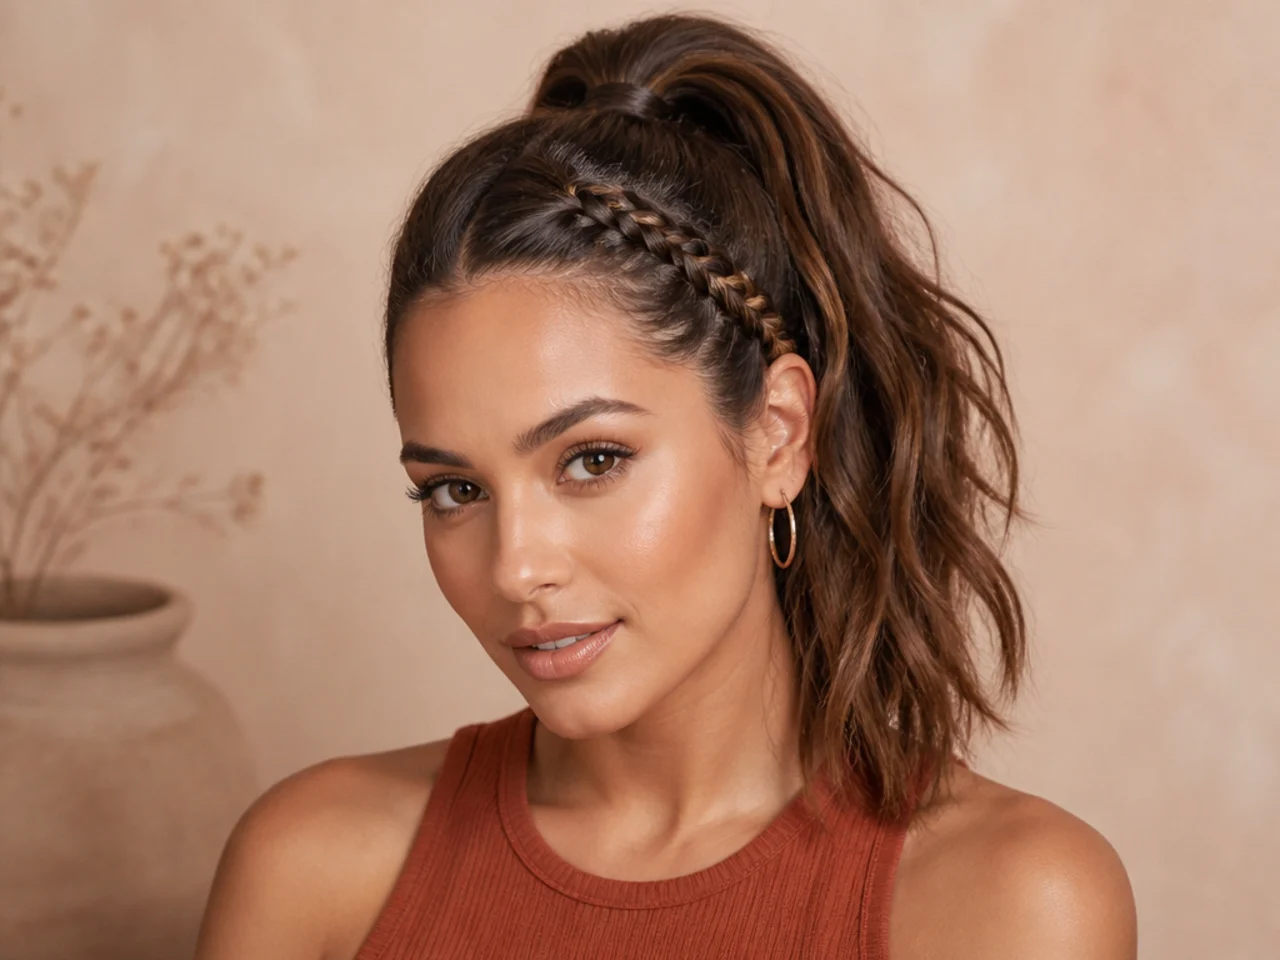
The lace braid is a one-sided French — you only add hair to the plait from one side of the section on every pass, leaving the other side smooth. Reads asymmetric and delicate. Ideal for framing one temple or accenting a side part.
Start a three-strand braid at one temple. Cross strands over the middle as you would for a French, but only add hair from the outside — the side toward the hairline — on each pass. The inner side of the braid takes no fresh hair. Continue across or diagonally to the crown, then feed everything into a high pony.
Stylist tip: lace braid catches out on cowlicks. If you have a stubborn one at the crown, wet-comb through the section with a leave-in before you start so the lace lies flush.
13. Ladder Braid Ponytail
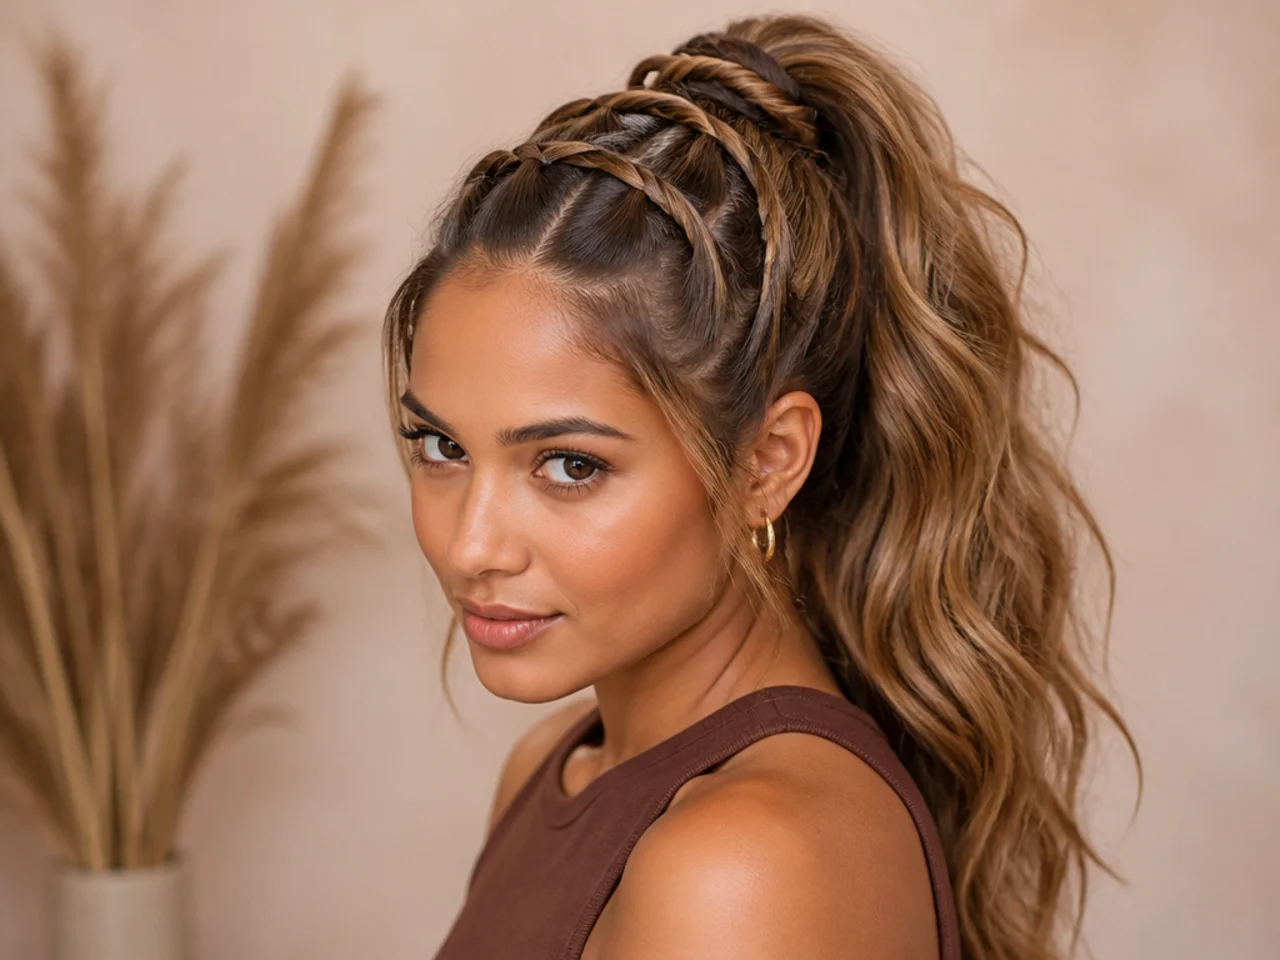
The ladder braid pairs a French braid with horizontal "rungs" — thin strands taken from above the braid and crossed under it as you work. The finished plait reads like a ladder laid over the hair, and it turns the humble French into a conversation piece.
Start a French braid at the front. On every second pass, pull a small horizontal strand from above the braid and cross it under the plait as you add a section from below. The tucked strand becomes a rung. Continue to the crown, then gather everything into a high pony.
Stylist tip: keep the rungs even. Space them roughly one inch apart and match the strand thickness of each rung. Uneven ladders read messy instead of intentional.
14. Snake Braid Ponytail
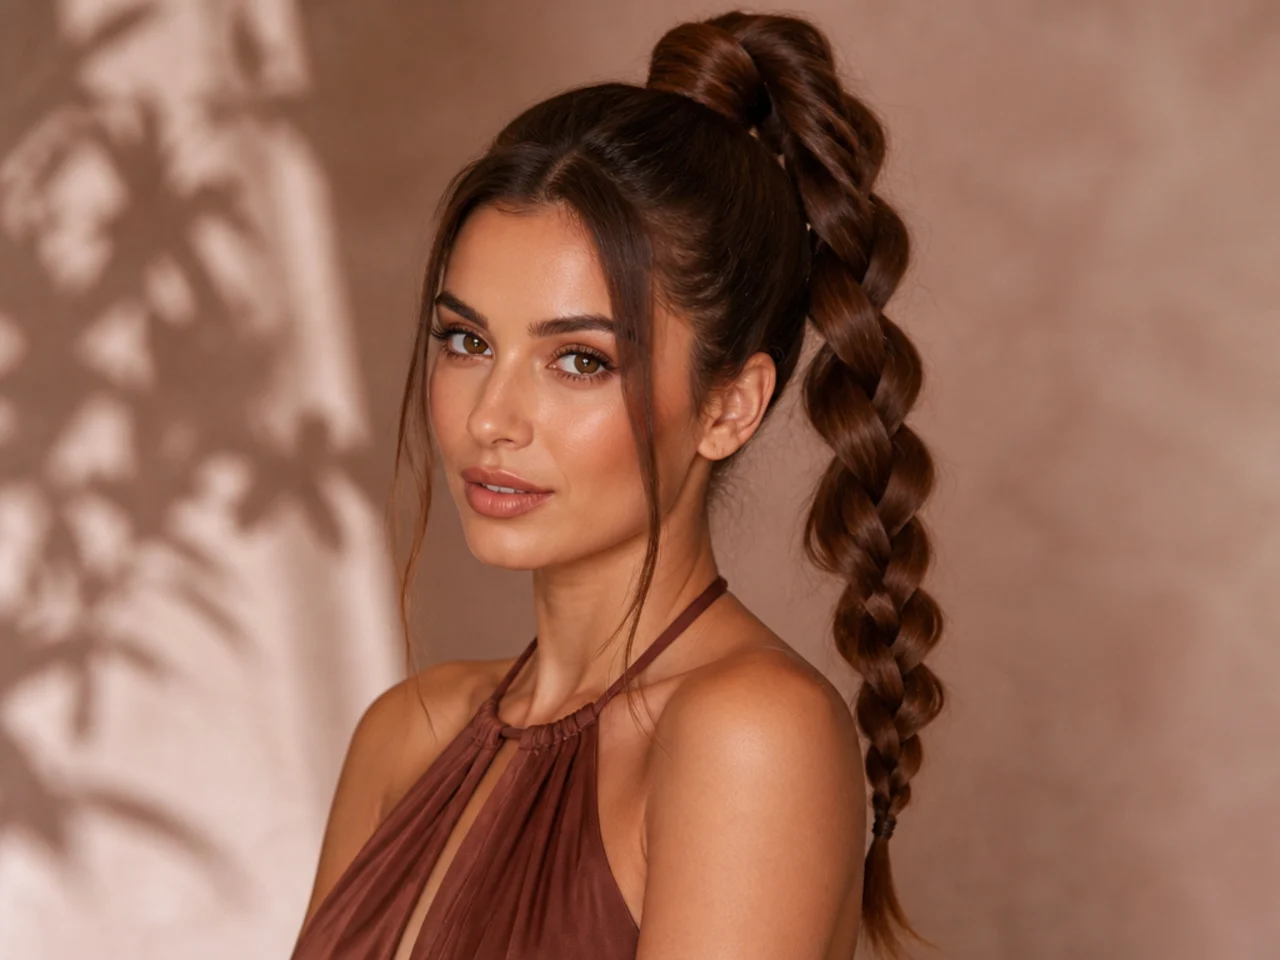
The snake braid is a three-strand plait that gets pushed together at the end — the two outer strands slide up into the middle and the whole braid crinkles into a serpentine shape. It's playful, quick, and reads unique in a sea of French and Dutch.
Braid a loose three-strand down the tail of a high pony. Once you reach the ends, hold the middle strand and gently push the two outer strands upward along the middle. The braid compresses into an S-shape. Secure the ends with a clear elastic to lock the compression.
Stylist tip: don't over-braid the tension going in — a loose three-strand pushes together cleanly; a tight one refuses to compress. Practice the push-together move on a small tail before you commit.
15. Chain Link Braid Ponytail
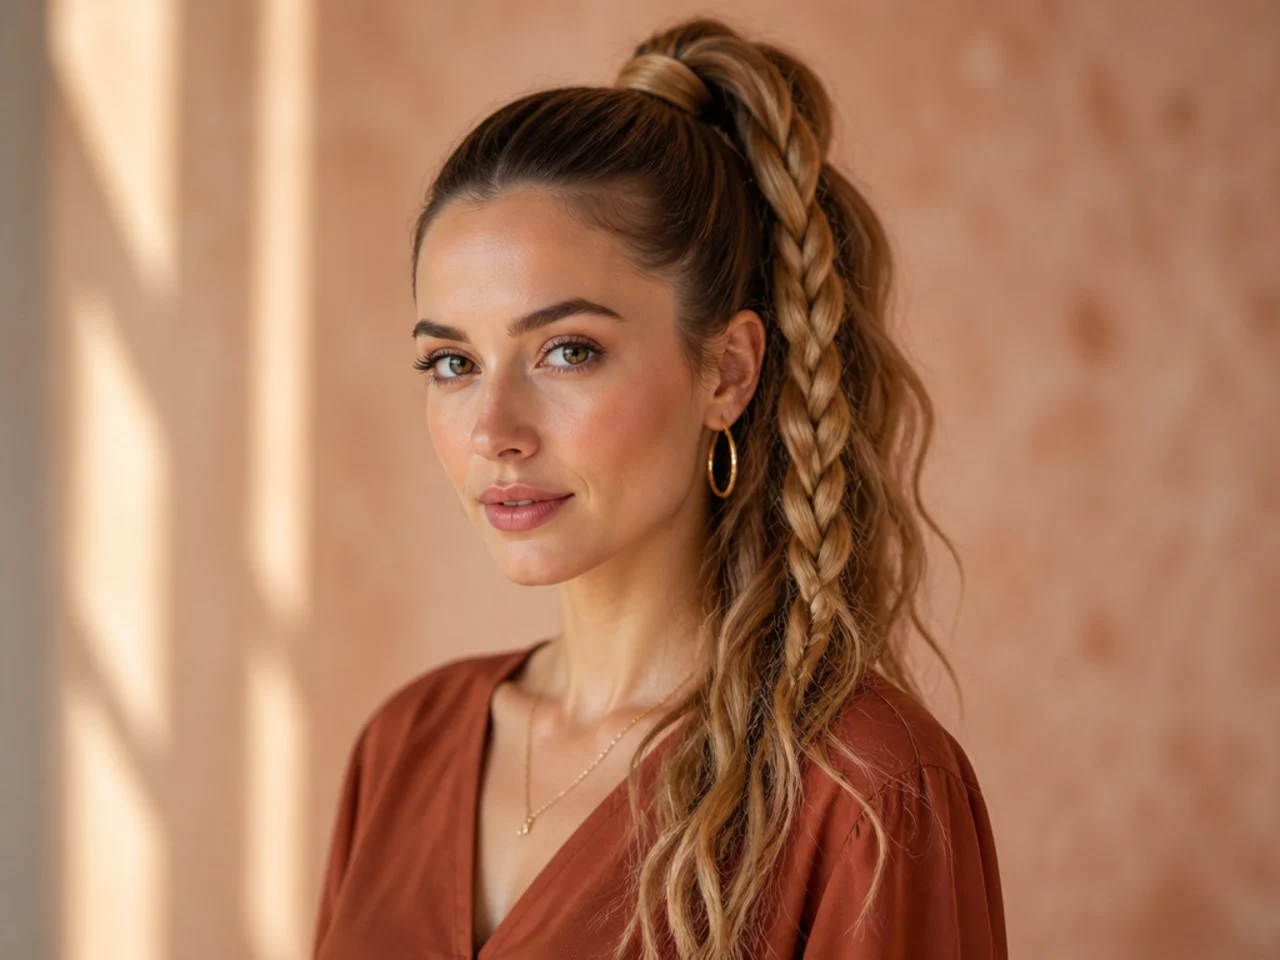
The chain link is a two-strand technique that makes each pass look like a linked chain. Simpler than fishtail but with more visual weight — the plait reads like woven metal.
Tie a high pony. Split the tail into two halves. Cross the right half over the left, and pull it through the loop it creates — like knotting a shoe. Repeat with the new right half over the left. Continue to the ends. Each cross forms a chain link. Secure with a clear elastic.
Stylist tip: keep the tension consistent — half of the chain-link's visual weight comes from the loops all being the same size. Loose loops flatten by afternoon.
16. Zigzag Braid Ponytail
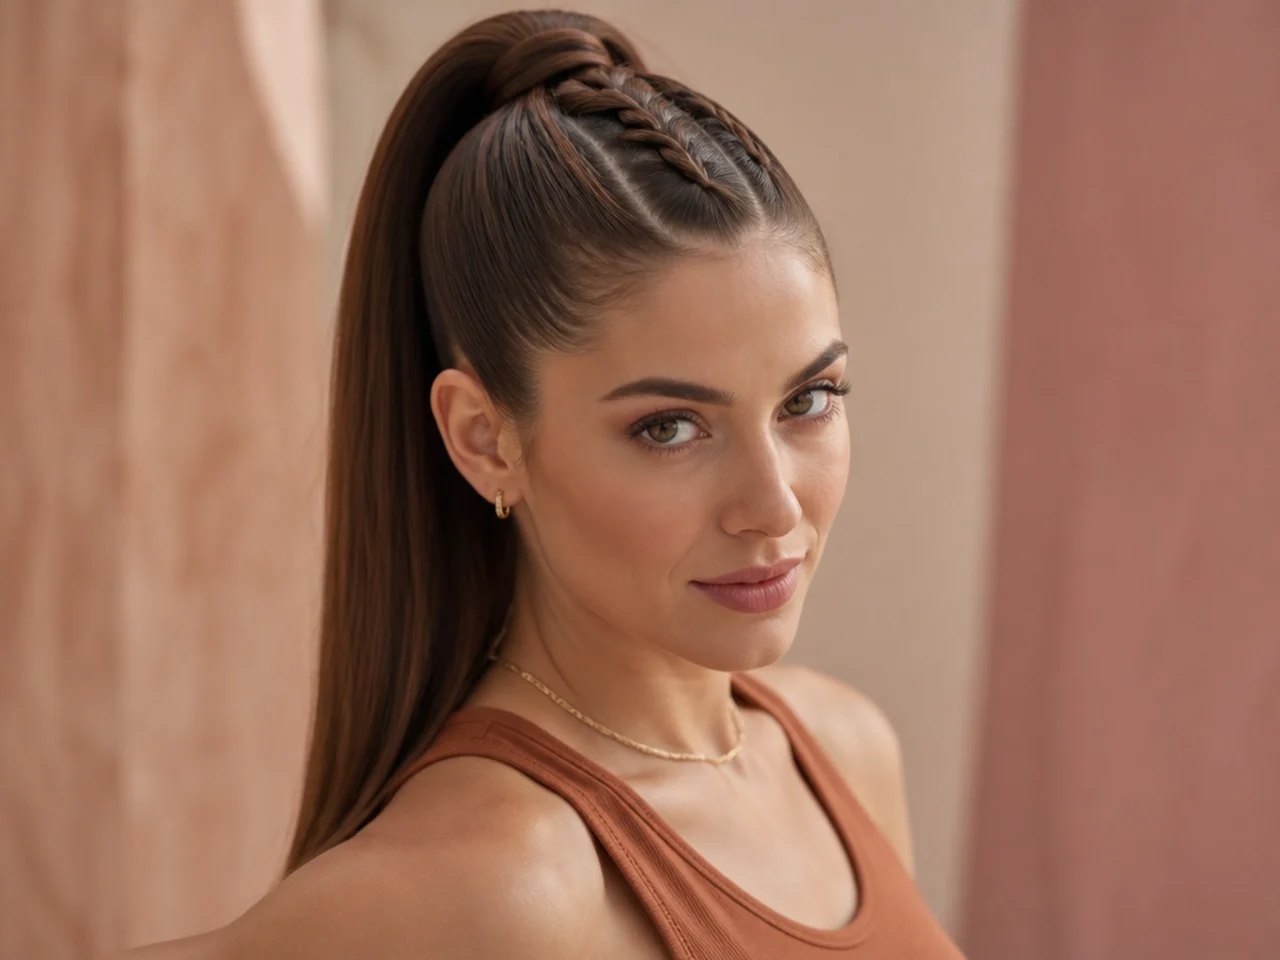
The zigzag French takes the classic French braid and runs it in an S-curve across the top of the head instead of a straight line. The plait reads playful and pulls the eye toward the pony at the back. Suits round and heart faces because the zigzag movement adds visual length.
Start a French braid at one temple. Braid straight for two inches, then angle the section toward the opposite side of the head. Braid for two inches in that direction. Angle back. Continue the S-curve across the top of the head. Gather everything into a high pony at the crown.
Stylist tip: part the zigzag in advance with a rat-tail comb — visible parting lines guide the braid and stop you from ending up with a lopsided S. Mist finished with light hairspray to hold the curve.
17. Infinity Braid Ponytail
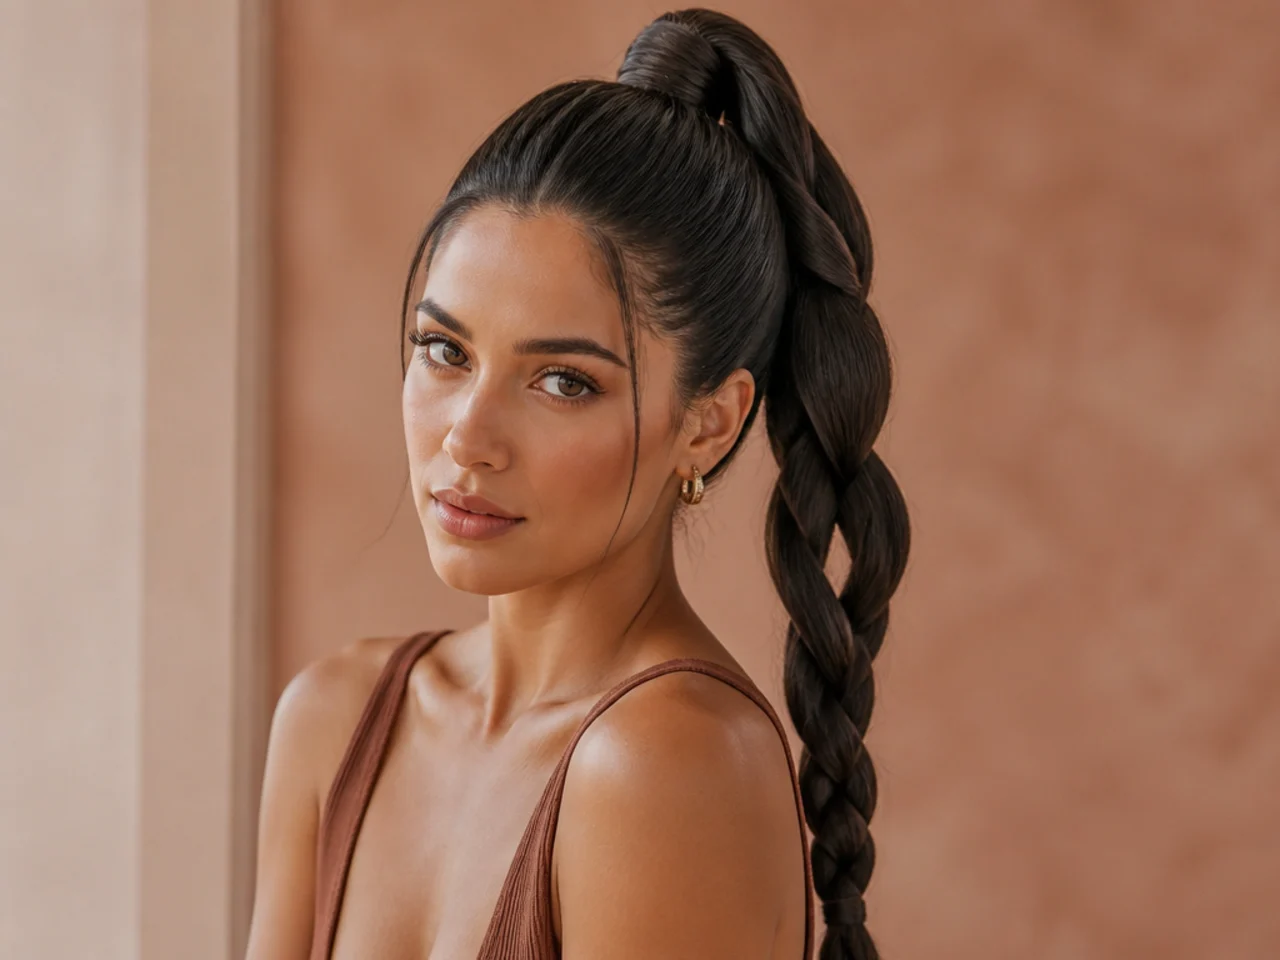
The infinity braid weaves two sections in a figure-eight pattern down the tail. Neither strand crosses the other — each traces an interlocking loop. Reads architectural and photographs like a woven-metal chain.
Tie a snatched high pony. Split the tail into three sections. Set the middle strand aside — you'll weave the two outer strands around it in a figure-eight. Take the left strand under and around to the right; take the right strand under and around to the left. Repeat the loop pattern to the ends and secure with a clear elastic.
Stylist tip: practice with two contrasting-color ribbons pinned to a wig head before you try on real hair. The figure-eight rhythm needs muscle memory to look clean.
18. Bubble Braid Ponytail
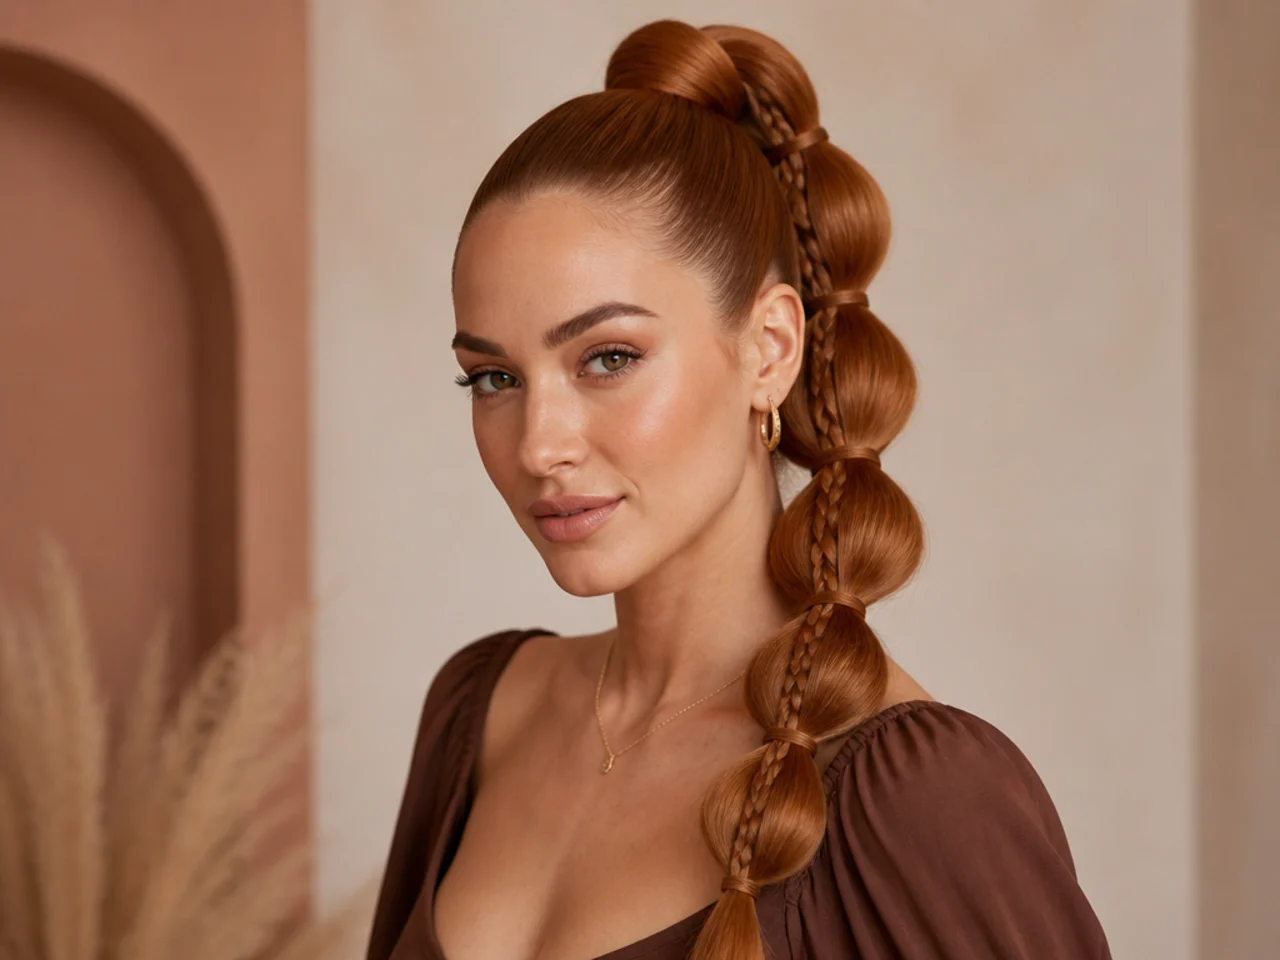
The bubble braid mixes a segmented pony with the visual weight of a plait — braid one section, bubble the next, alternating down the tail. It suits fine and medium hair because the puffed segments fake density.
Tie a snatched high pony. Braid the first three inches into a three-strand plait and secure with a clear elastic. Below the elastic, gently tug the hair outward with your fingertips to create a bubble. Braid the next three inches. Bubble again. Repeat to the ends.
Stylist tip: pinch each elastic between your thumb and forefinger as you tug the bubble outward. It stops the whole tail from shifting and keeps segments parallel. For pattern-free bubble ponies, our cute high ponytail hairstyles guide covers the puff-only version.
19. Pull-Through Braid Ponytail
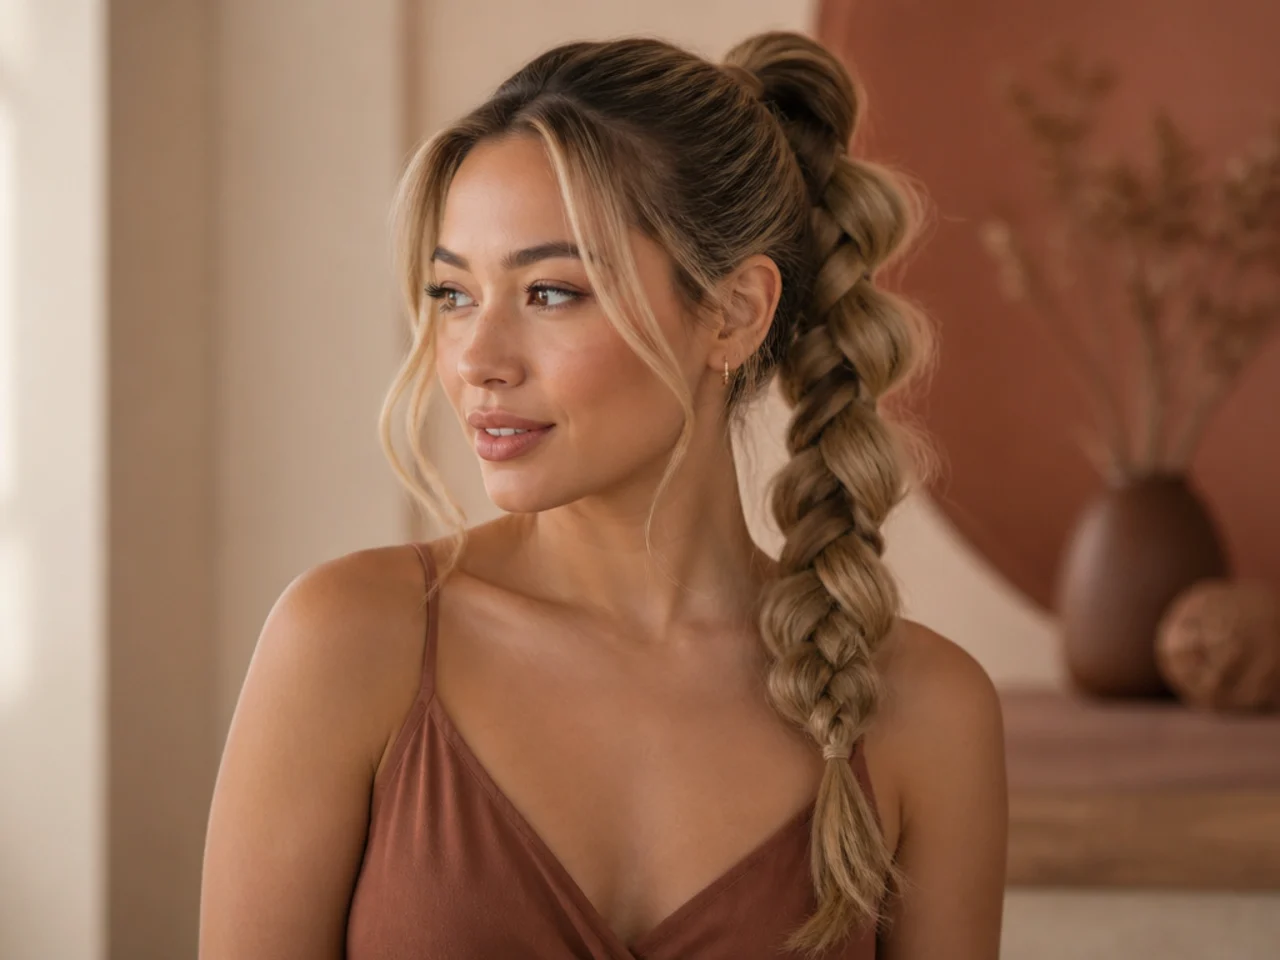
The pull-through fakes a braid with elastics and finger work — no actual plaiting involved. It suits beginners, thick hair that fights a real braid, and anyone who wants intricate texture with minimum skill.
Tie a high pony. Two inches down the tail, tie a second clear elastic. Split the section above it in half and flip the upper half over the lower. Tie a third elastic another two inches down. Repeat the split-and-flip. Continue to the ends. Pancake each loop outward for volume.
Stylist tip: point the elastics down as you tie each one, then flip the section up over the elastic. It hides the band behind the fake braid loop so the plait reads seamless. For product help keeping fine hair from slipping through the loops, our best wavy hair products roundup covers lightweight styling creams worth stocking.
20. Coronet Braid Ponytail
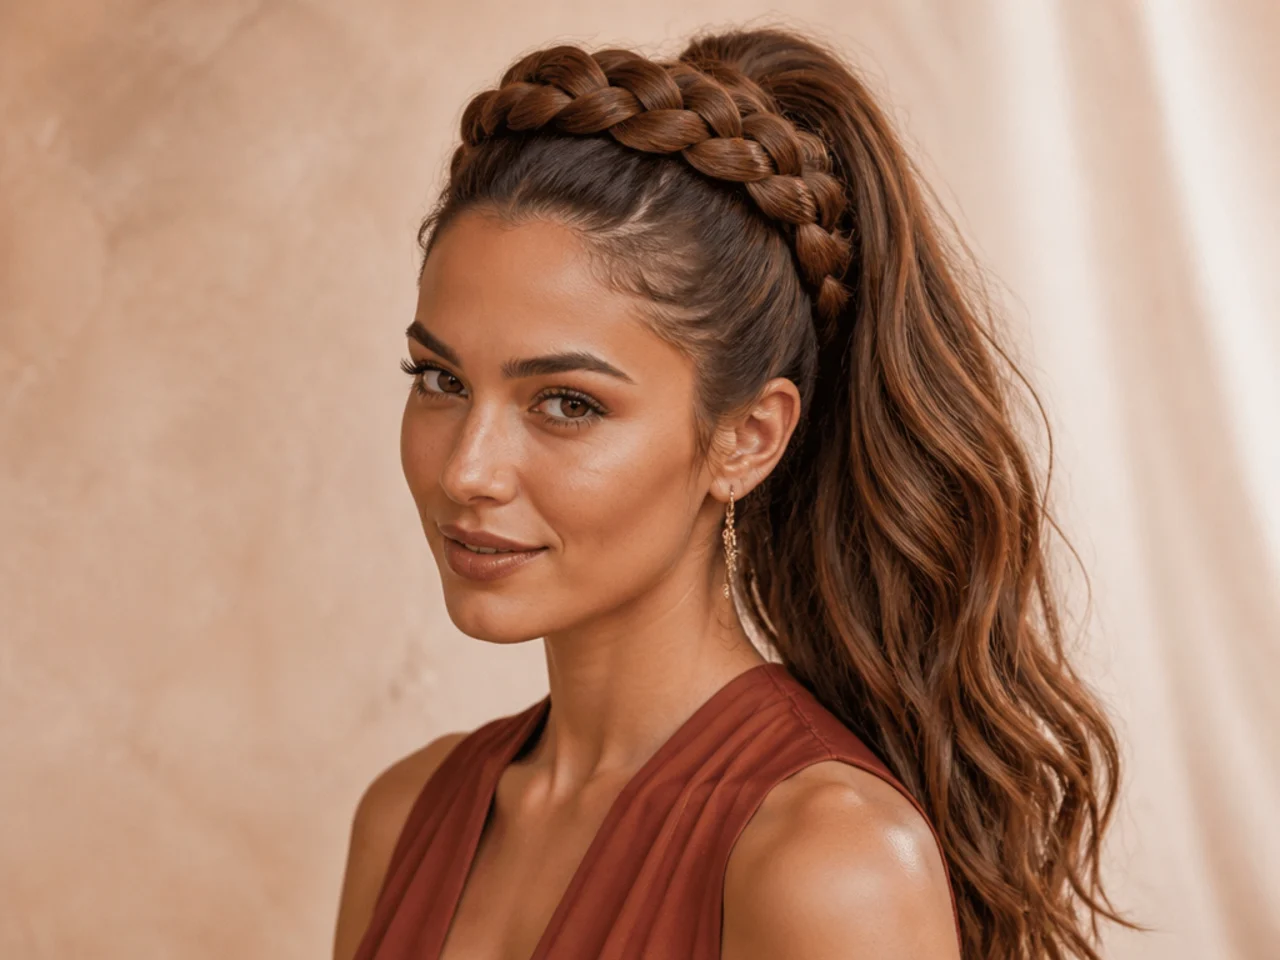
The coronet is a long braid worked around the crown like a tiara before feeding into a high pony behind it. It's the couture-adjacent version — reads garden wedding, opera, and formal shoot. Needs length; shoulder-length hair barely reaches around.
French or Dutch braid a section starting at one temple and continuing around the perimeter of the crown in a full circle. When you reach the starting point, tuck the finished braid tail under the beginning and pin. Gather any remaining hair behind the crown into a high pony. For half-up variations that skip the pony behind, our high half ponytail hairstyles guide covers similar coronet-adjacent halo styles.
Stylist tip: braid the coronet slightly damper than you'd braid a normal French — the extra moisture lets the plait bend around the curve of the head without lumping. Set with light hairspray at the finish.
How to Ask Your Stylist for a Braided High Pony
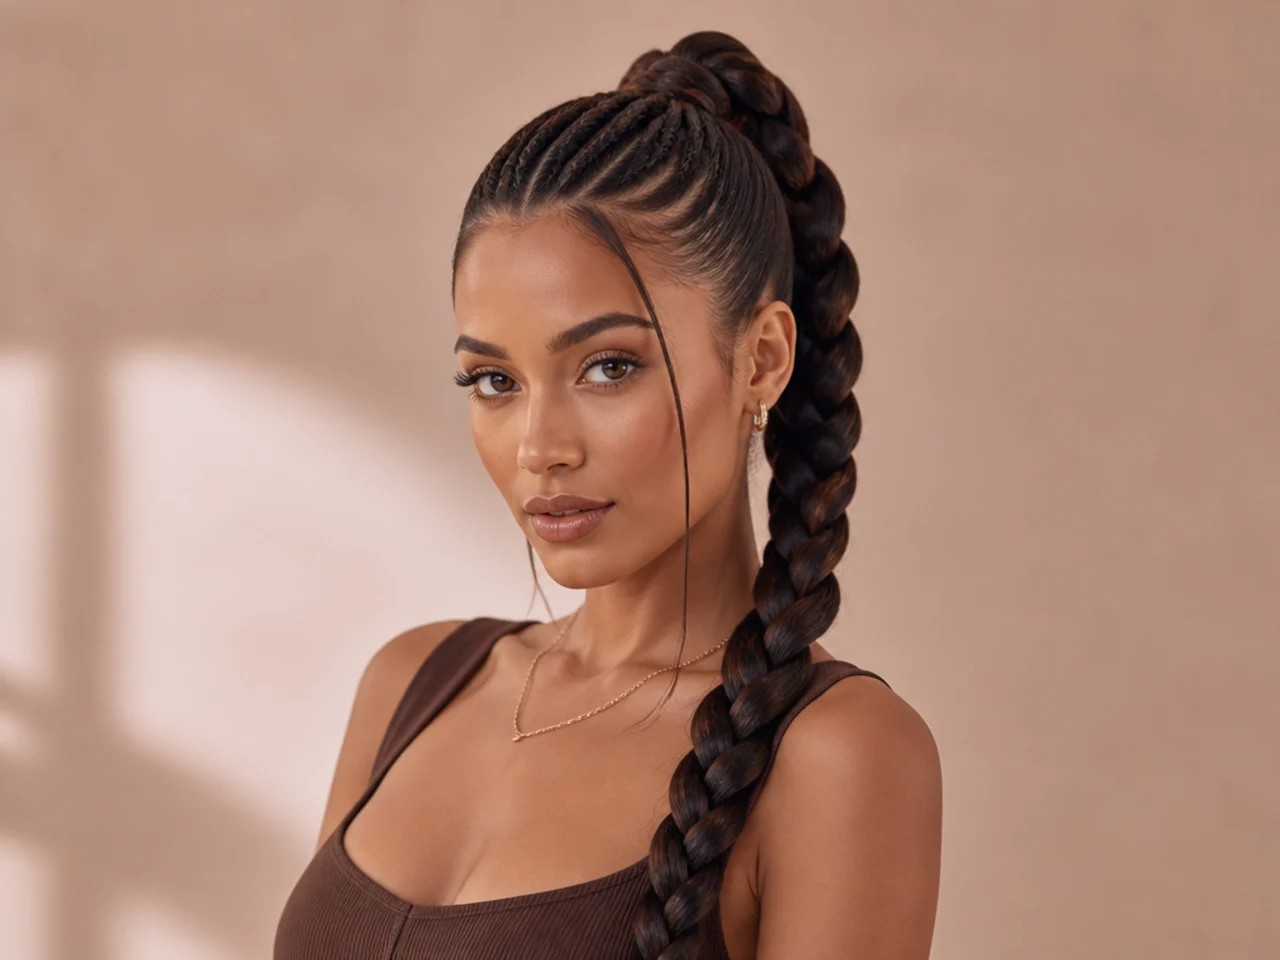
Bring pictures — the same braid has different names at different salons, and a photo cuts through the vocabulary drift.
- Show two or three references — front, back, and side if possible. Confirm the pattern name (French, Dutch, fishtail, four-strand) alongside the photo.
- Name the placement — braid feeding into the pony, braid down the tail, braid around the base, or all three.
- Confirm the base finish — sleek and glassy, wet-look, low-tension soft-brushed, or natural puff. Each pairs with different products.
- Discuss tension — snatched-tight, mid-hold, or low-tension. Flag any history of thinning at the temples or crown tension headaches.
- Match the accessory — bare, ribbon, cuff, or ornamental pin. Bring the accessory to the appointment.
- Talk about wear window — a single-day style washes out tonight; ask if you want a hold spray recommendation for a wedding or all-day event.
- Confirm the trim cadence — every eight to ten weeks under braid rotations, sooner if the tail ends fray from pillow friction.
Styling and Maintenance
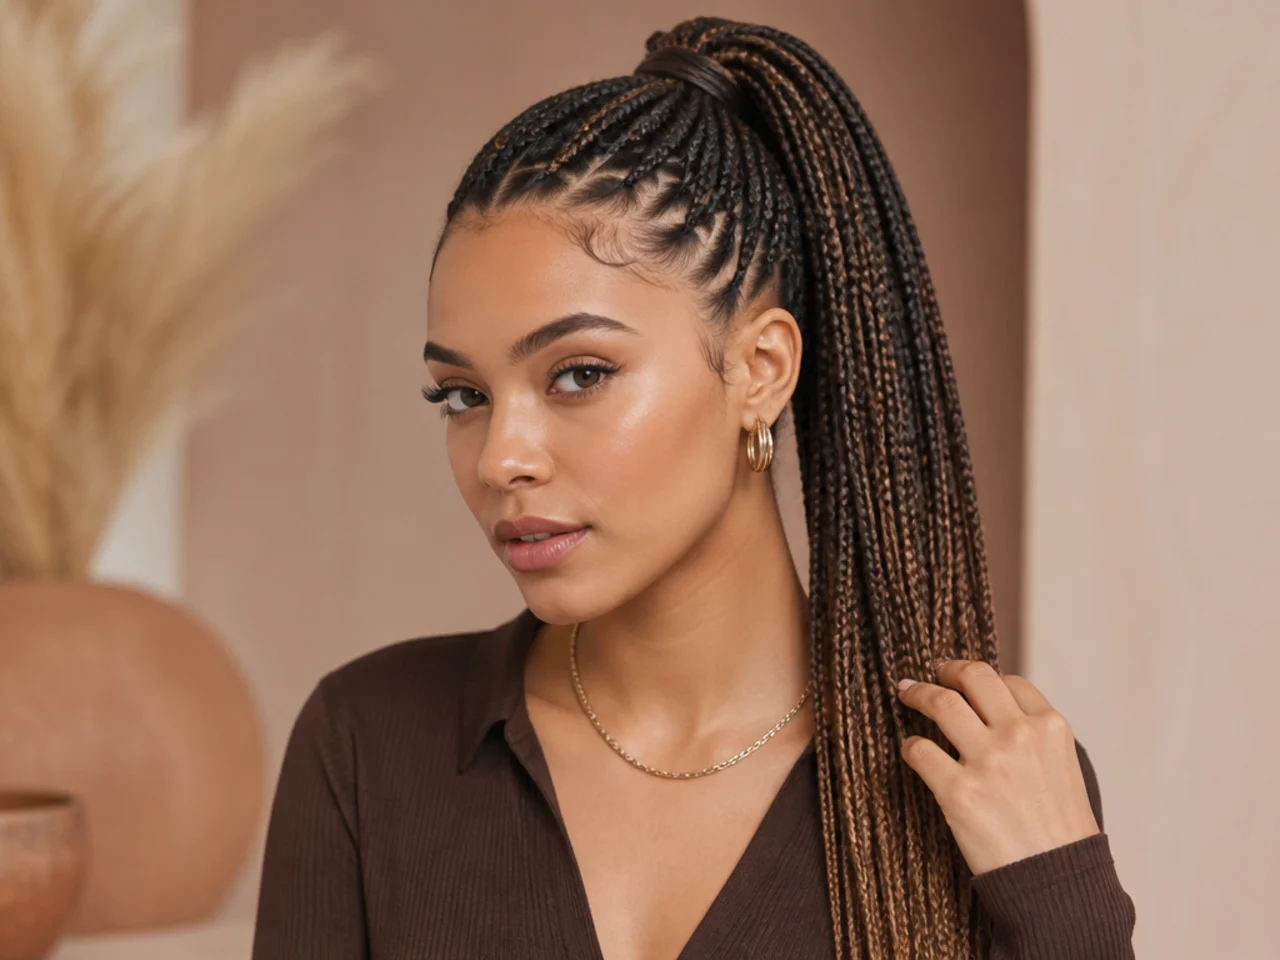
Every pattern above starts with the same base. Prep the perimeter with a smoothing cream and a boar-bristle brush. Tie over a satin scrunchie under any coated elastic to spread tension across a wider surface. Mist a light-hold hairspray twelve inches away for the sleek variations; refresh with a curl mist for texture-forward ones.
Work the tail with a styling cream before you braid — never gel, which makes the strands slippery. A cream gives you the grip a French, Dutch, fishtail, or four-strand needs to hold pattern all day. Mist a fine hairspray at the halfway point of the finished braid to lock the tension without stiffening the start.
At night, swap the elastic for a silk scrunchie and pineapple the braid on top of your head under a satin bonnet. Sleeping in the same tight elastic breaks hair at the tie point within weeks; sleeping without a bonnet fuzzes the braid pattern within one wear.
If you wear a braided pony more than three days a week, rebook a trim every eight to ten weeks. Ends fray fast in a pony from friction on pillowcases and clothing. Choppier tail shapes photograph better in braided ponies — our how to get choppy ponytail hair guide covers the point-cutting cheat worth asking for. For softer, occasion-forward finish notes, our formal high ponytail hairstyles guide walks through the sleek-and-glassy prep worth stealing for wedding braid ponies.
For thin-hair-specific pattern picks that fake density without pulling the perimeter, our haircuts for thin hair guide covers the underlying cuts that make bubble, pull-through, and pancaked French look full.
FAQ
Which braid pattern is the fastest to learn?
Pull-through and bubble braid — neither requires actual plaiting. Set a high pony, tie clear elastics down the tail, and either flip sections up over the elastics (pull-through) or pinch bubbles between each tie (bubble). Both give an intricate finish in under two minutes.
What's the difference between a French and a Dutch braid?
French braids cross the outer strands over the middle strand — so the plait sinks inside the head. Dutch braids cross the outer strands under the middle — so the plait pops out three-dimensionally. Dutch reads more sculptural in a photo; French reads sleeker in person.
How do I keep a fishtail braid from unraveling?
Braid slightly damper than you think — freshly washed dry hair is too slippery to hold small strands. Work a smoothing cream through before you split the tail, pinch each cross tightly, and finish with a clear elastic plus a mist of medium-hold hairspray.
Do I need long hair for these braid patterns?
Shoulder-length is the practical floor for tail-length braids like fishtail, rope, four-strand, and infinity. Feed-in braids like French, Dutch, boxer, and waterfall work on anything past a bob because the plait sits on the head, not in the tail. Wrap-around halo works on any length.
Can I sleep in a braid pony?
Only if the base is loose enough to slide a fingertip beneath the elastic and you're on a satin pillowcase or under a bonnet. Tight bases sleep-crushed at the crown snap hair overnight. For rotation days that skip crown tension, our low updo hairstyles guide covers softer nighttime-safe options.
Which pattern reads best in photos?
Four-strand, pancaked Dutch, and herringbone photograph the fullest because the crossings create visible dimension. Rope and infinity photograph the most sculptural. Fishtail photographs the most romantic. Skip a tight three-strand for a photo shoot — it reads flat next to the more layered patterns.