20 Waterfall Mermaid Braid Ideas That Hold
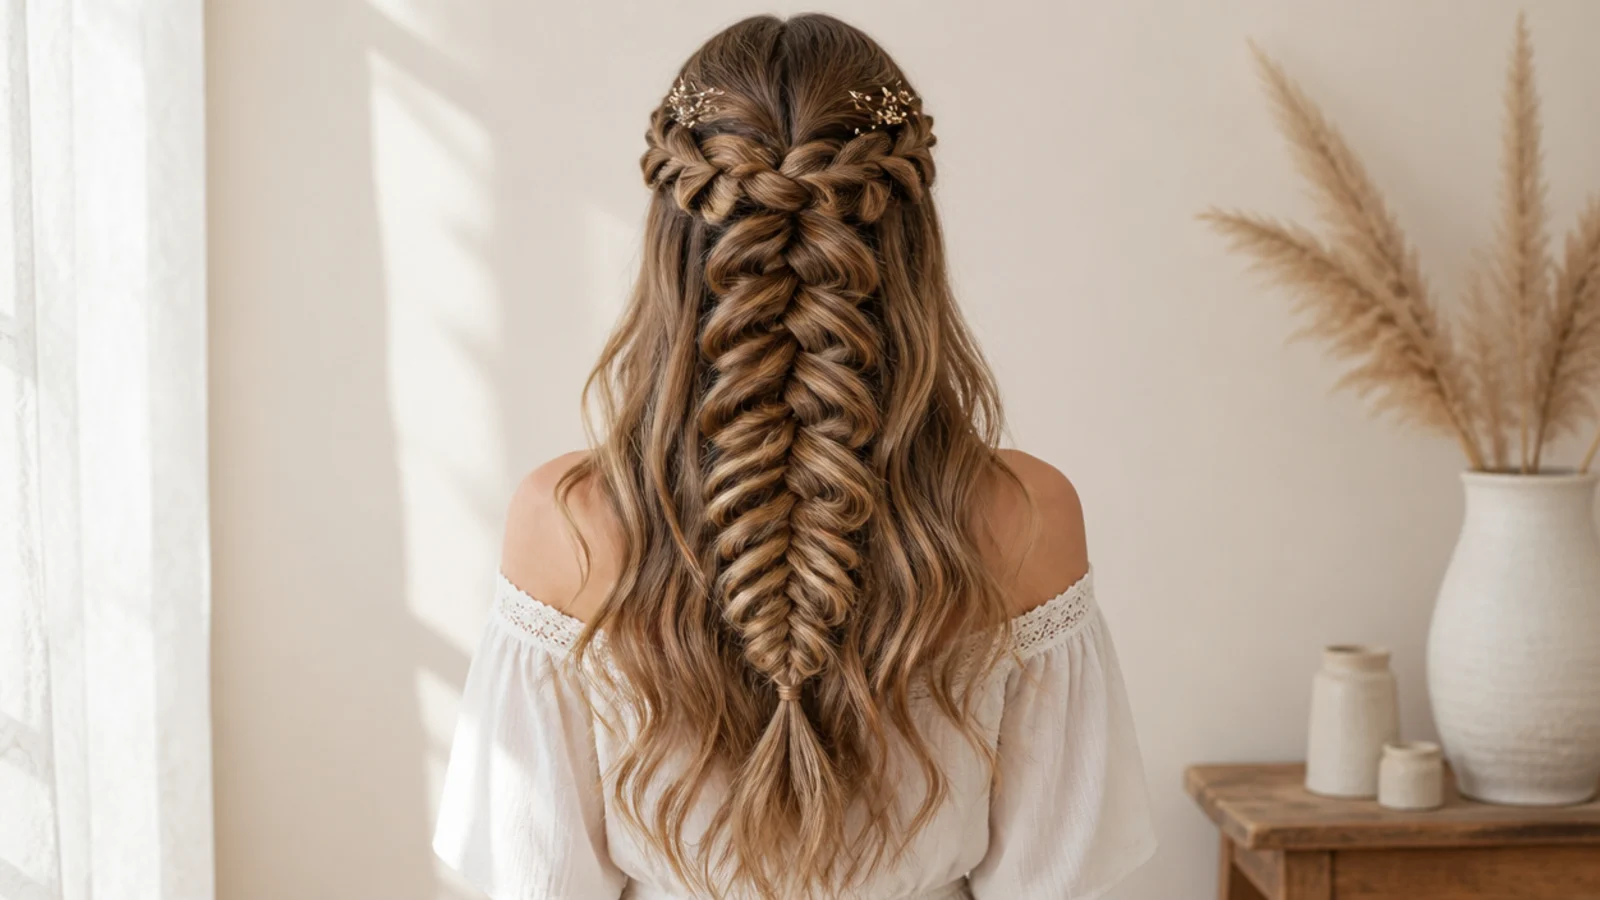
Twenty waterfall mermaid braids, and the mechanism behind all of them — at every pass one strand is dropped free and a fresh one picked up from above, so the braid is being rebuilt continuously as it travels.
In this article · 28
- What a Waterfall Mermaid Braid Is
- Waterfall Braid Versus Waterfall Twist
- Length and Thickness
- Fine and Slippery Hair
- How to Pancake a Mermaid Braid
- Making It Last
- The 20 Waterfall Mermaid Braids
- 1. Classic Waterfall Mermaid
- 2. Waterfall Twists
- 3. Criss Cross Waterfall
- 4. Double Waterfall
- 5. Half Up Waterfall
- 6. Side Swept Waterfall
- 7. Crown Halo Waterfall
- 8. On Fine Hair
- 9. On Curly Hair
- 10. Pancaked Wide on Thin Hair
- 11. Over Beach Waves
- 12. Boho Ribbon Woven In
- 13. Pearl Pins Along the Braid
- 14. On Shoulder Length Hair
- 15. With Extensions
- 16. Finished in a Low Bun
- 17. From a Deep Side Part
- 18. On Balayage
- 19. With Tendrils Left Out
- 20. Sleep In Waves First
- Final Thoughts
A waterfall braid looks like hair falling through a braid, and that is exactly what it is, one dropped strand at a time.
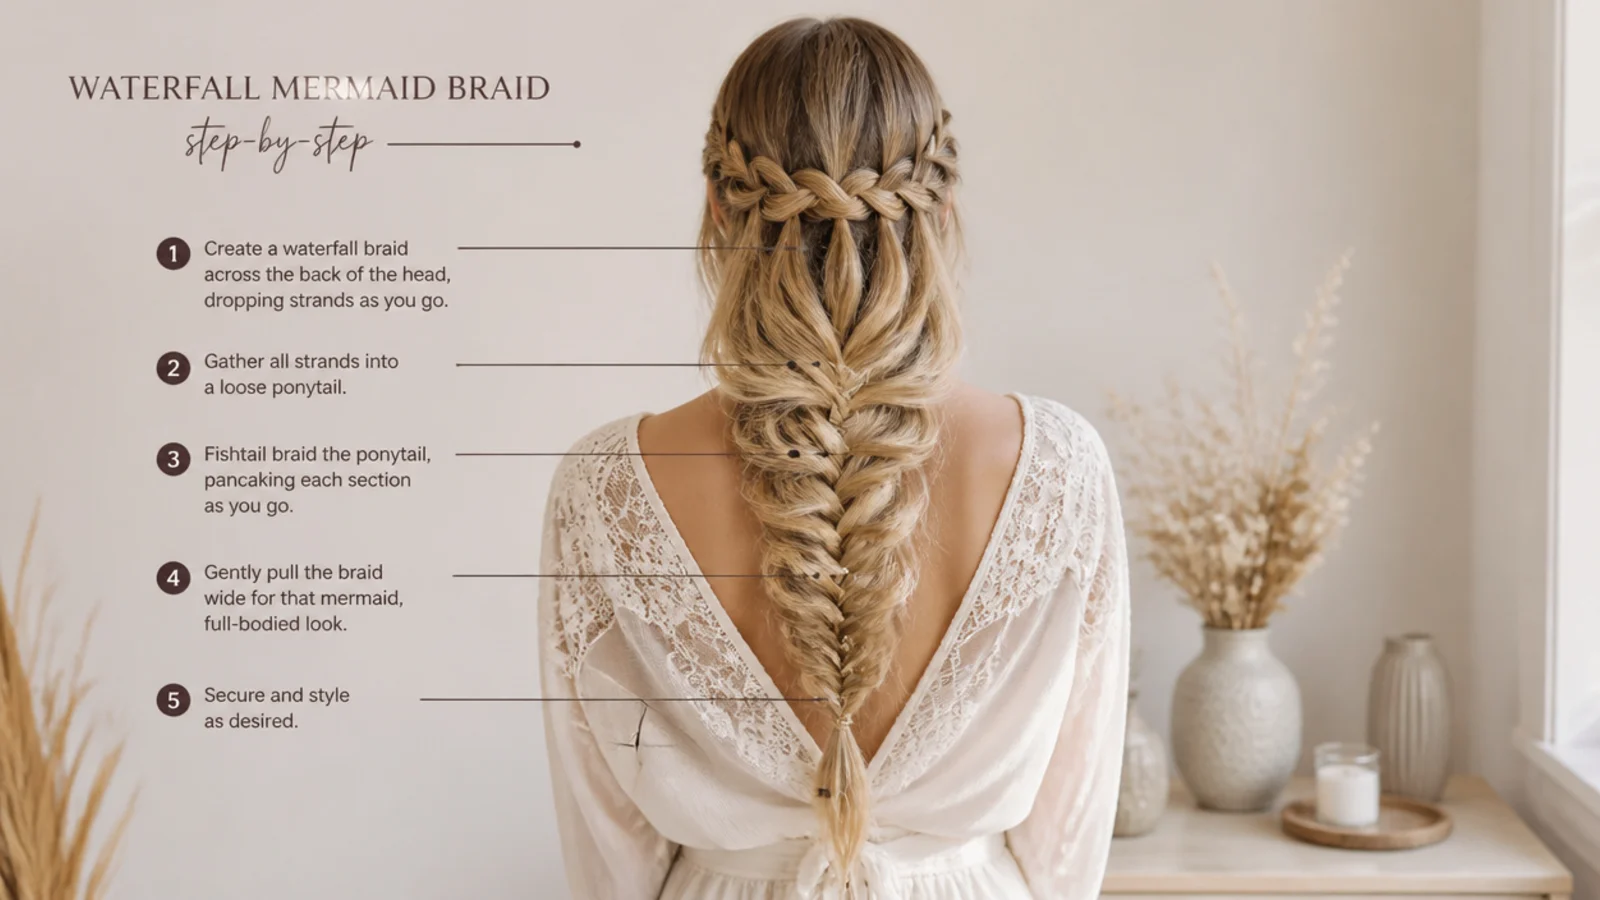
Every pass releases one strand and recruits another. The piece that would normally cross to the back is let go instead, and a fresh piece is picked up from above the braid to take its place. The braid keeps its width because it is fed from the top as fast as it loses hair out of the bottom.
Fewer crossings means less grip. Half the strands that would have been holding the braid together have been released, so a waterfall relies on texture in the hair far more than an ordinary braid does.
What a Waterfall Mermaid Braid Is
A braid that sheds hair as it travels. At each pass the lower strand is dropped and left hanging, which is the fall, and a new strand is taken in from above to keep the braid fed.
It runs across the head rather than down it. The braid follows a horizontal or a shallow diagonal, which is what puts the falls underneath it where they can be seen.
The mermaid element is the pattern in the braid itself. Worked as a fishtail with thin slivers it gives the chevron scale, and the falls hang below that rather than through it.
The falls carry the look, not the braid. A tidy braid over messy falls reads correctly. A perfect braid over four limp strands does not, which is why texture matters more than technique here.
Waterfall Braid Versus Waterfall Twist
A twist uses two sections instead of three. You cross one over the other, drop the lower, pick up a new upper, and repeat. It is quicker to learn because there is no third piece to keep track of.
A twist has half the holding power. Two sections crossing produce one contact point per pass where a braid produces two, so a twist loosens sooner and wants pinning at intervals.
A braid holds a straighter line. The extra section gives the braid a spine, so it travels across the head in a clean arc rather than wandering.
A twist looks softer at the falls. The releases sit further apart and the strands come away at a shallower angle, which reads as looser and less deliberate.
Choose by hair type, not by difficulty. Fine slippery hair needs the braid. Thick or curly hair grips well enough that a twist holds fine and takes half the time.
Length and Thickness
Shoulder length is enough for the braid itself. The braid runs across the head rather than down it, so the length only has to cover the falls hanging below it.
Falls need mid back length to read as falls. Short releases stop at the shoulder and look like escaped strands rather than a deliberate cascade.
Thin hair needs the falls spaced further apart. Every release takes hair out of the braid, and on a sparse head releasing at every pass leaves the braid too thin to see.
Thick hair can drop at every pass. Density is what lets the falls sit close together without the braid running out, which is the version that photographs best.
Fine and Slippery Hair
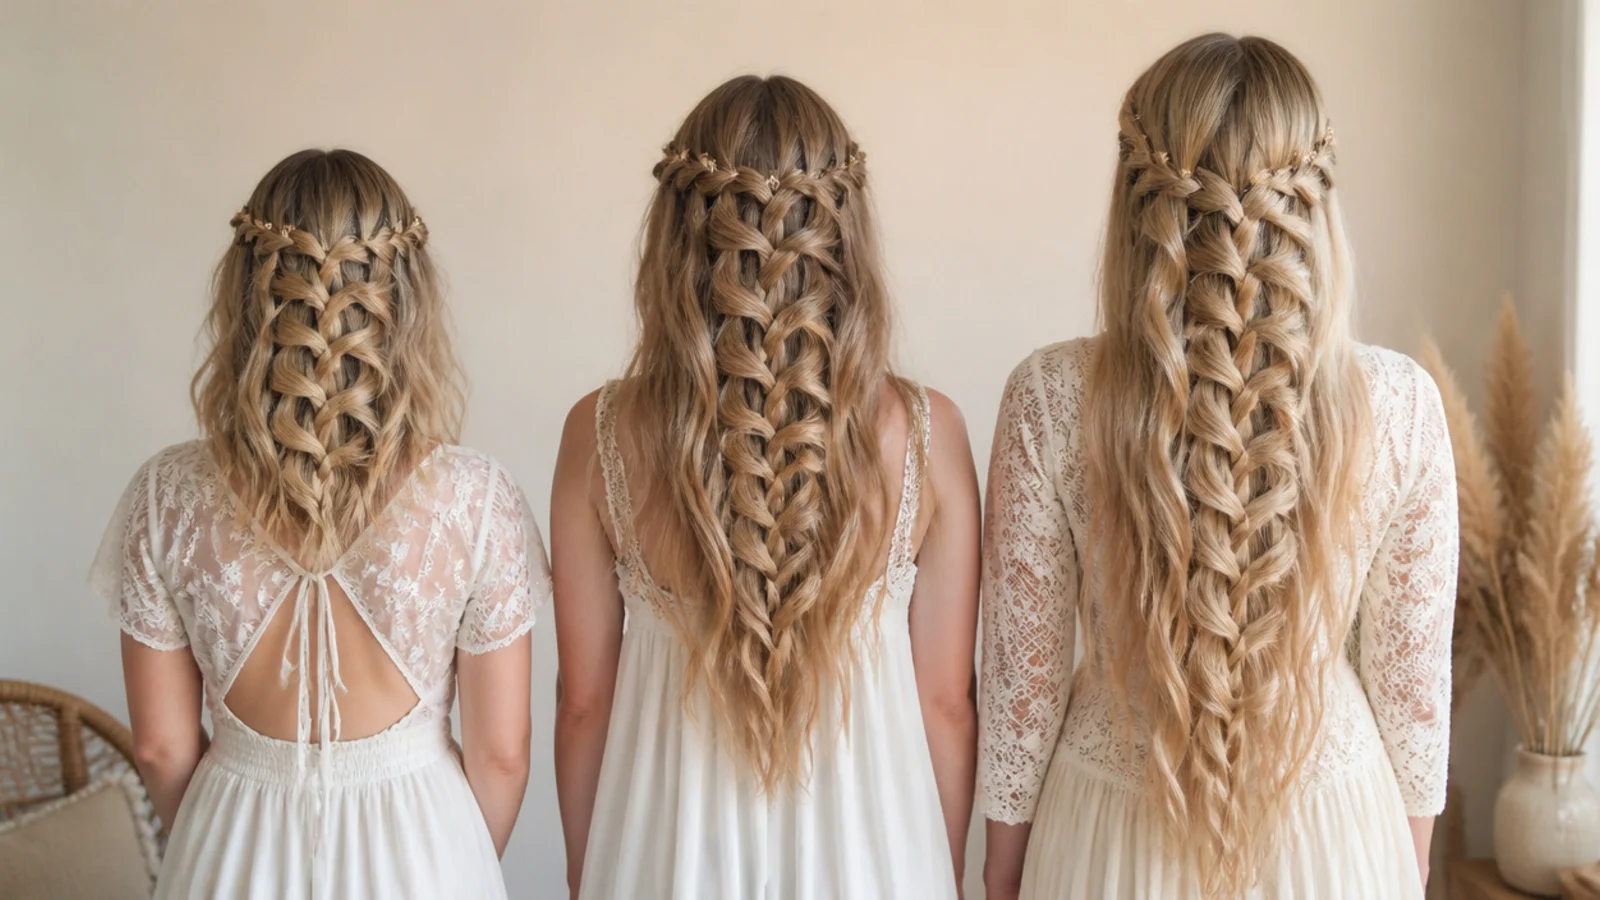
Clean hair is the worst possible starting point. A flat cuticle with no sebum on it means the few remaining crossings have nothing to grip, and a waterfall has fewer crossings than any other braid.
Second day hair is the right condition. The natural oil raises friction between strands, and friction is all that keeps this braid in place.
Wave it before you braid it. A bent strand touches its neighbours at several points instead of running parallel, which multiplies the grip at every crossing.
Pin discreetly at each end. A waterfall is the one braid where hidden pins are standard rather than a rescue, because the released strands take support away as you go.
Skip conditioner on the lengths that morning. Slip is precisely the property you are trying to remove.
How to Pancake a Mermaid Braid
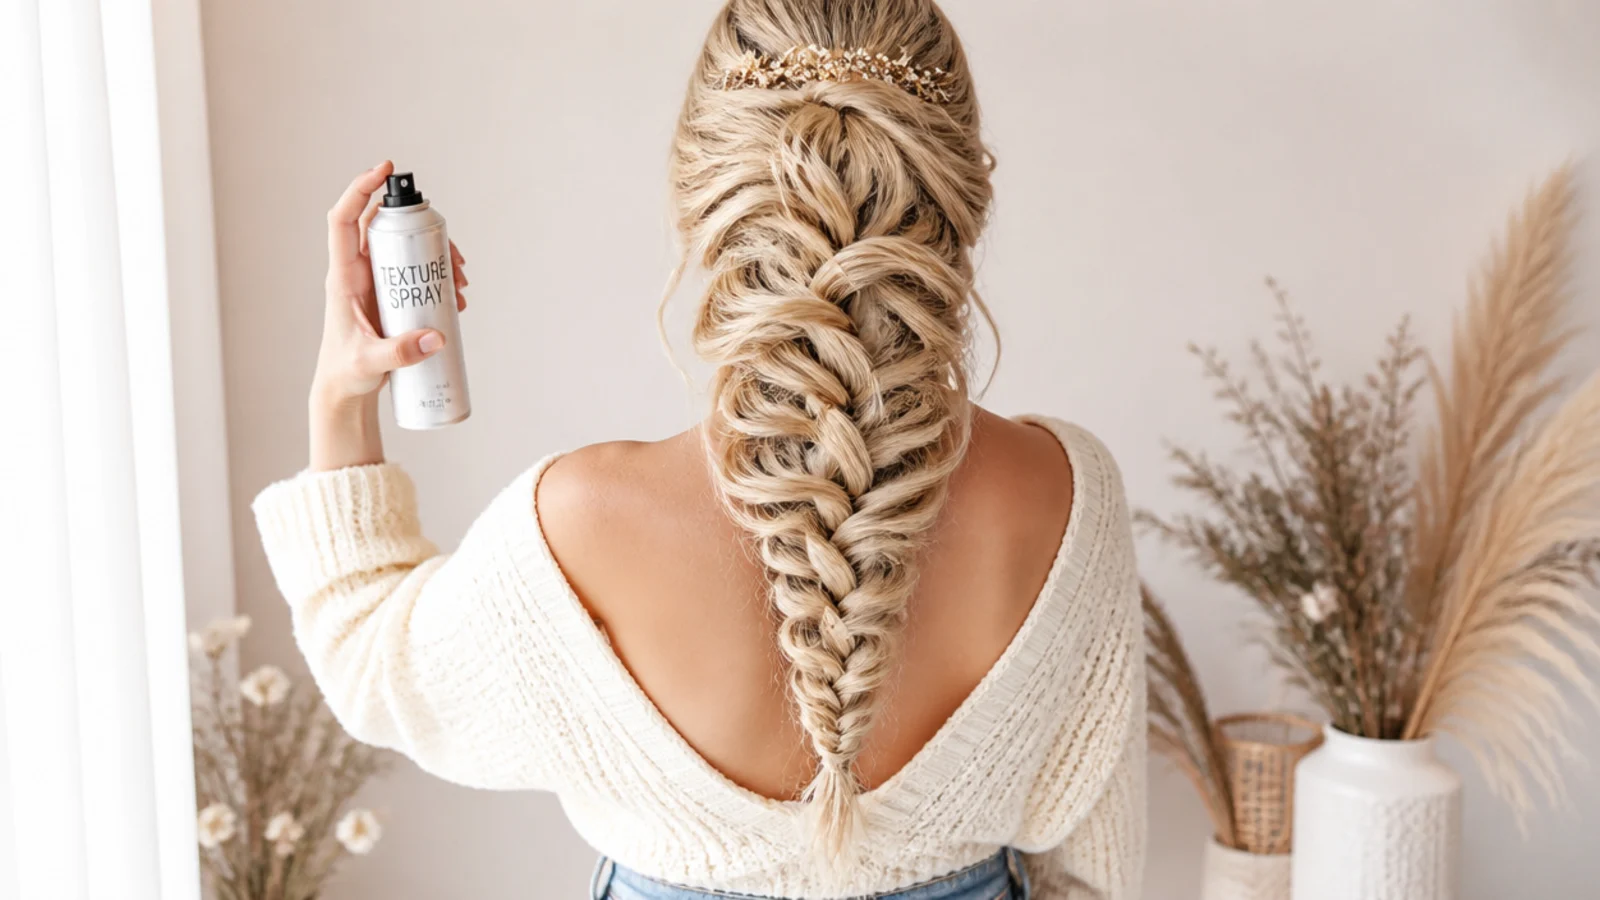
Secure both ends before you widen anything. Pancaking releases tension, and a waterfall braid has less holding it than most, so an unpinned end unravels immediately.
Work from the finish back to the start. Each crossed piece is anchored by its neighbours, and widening the last one leaves the tension behind it intact.
Pull sideways, not down. Sideways moves hair from the centre of the braid to its edge, which is the whole mechanism. Downward drags the crossing out of place and drops a fall with it.
Widen the top edge only. The lower edge is where the strands are released, and tugging there pulls the falls loose from the braid that was holding them.
Stop before gaps appear. A waterfall shows daylight sooner than a solid braid because it is thinner to start with.
Making It Last
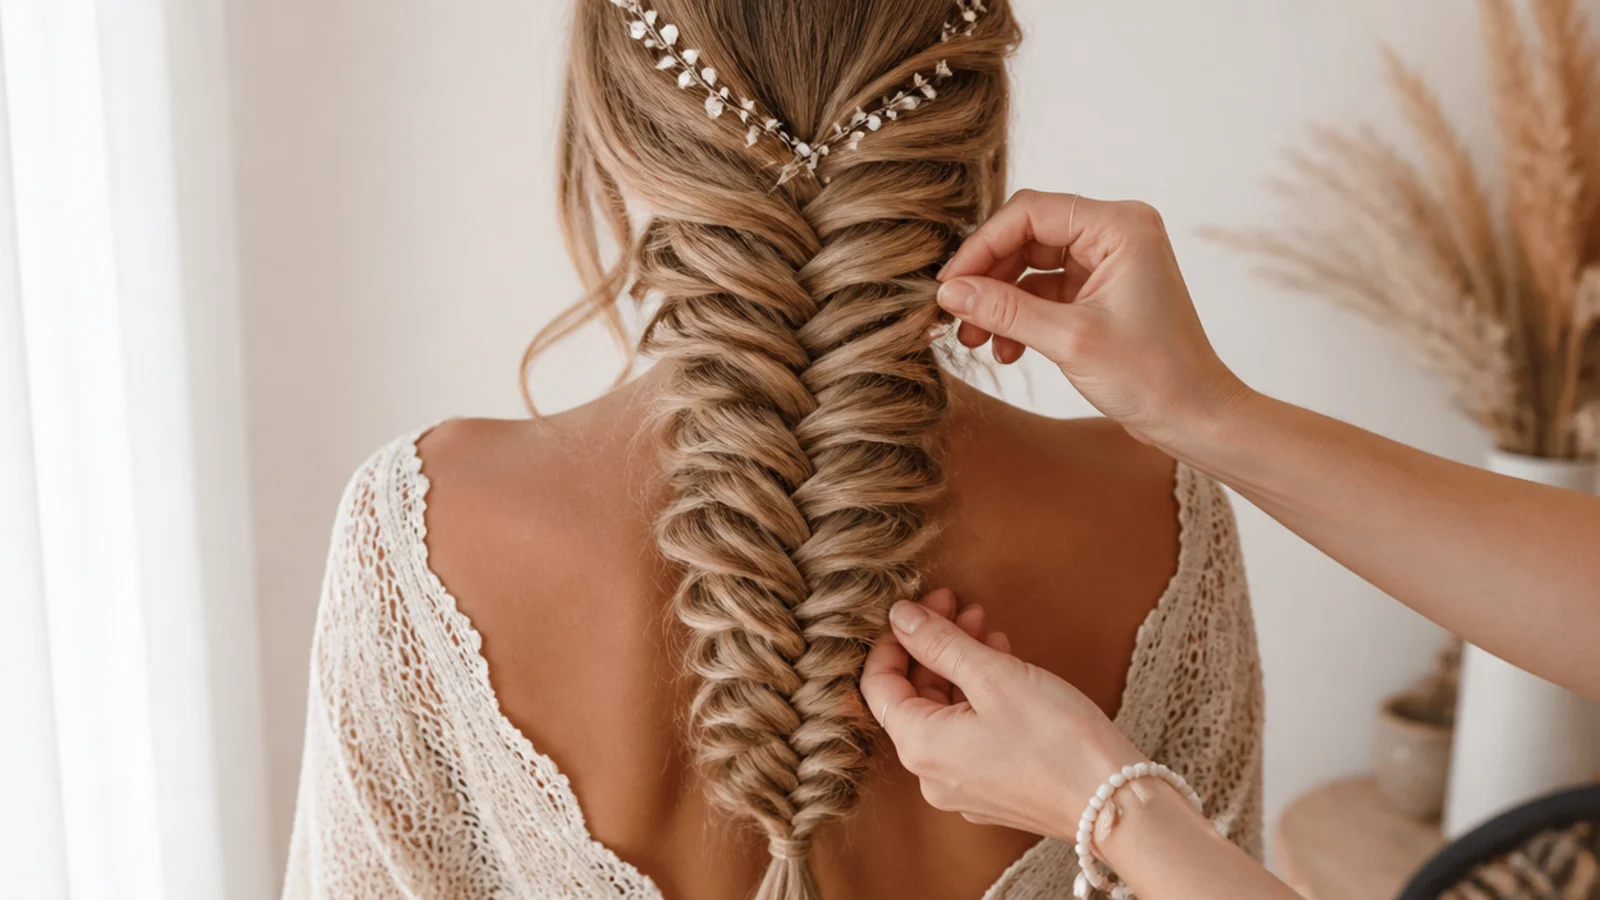
Pin under the braid where nobody looks. Two pins pushed up through crossings from below hold the whole line and stay invisible from the front.
Spray the braid, not the falls. Hairspray on the released strands stiffens them, and stiff falls stop moving, which removes the only reason to wear this style.
Refresh the falls with your fingers. They are the part that separates and tangles first, and running a hand through them beats any product.
Expect four to six hours from fine hair. That is honest rather than pessimistic, and it is why this is an evening style rather than a workday one.
The 20 Waterfall Mermaid Braids
1. Classic Waterfall Mermaid
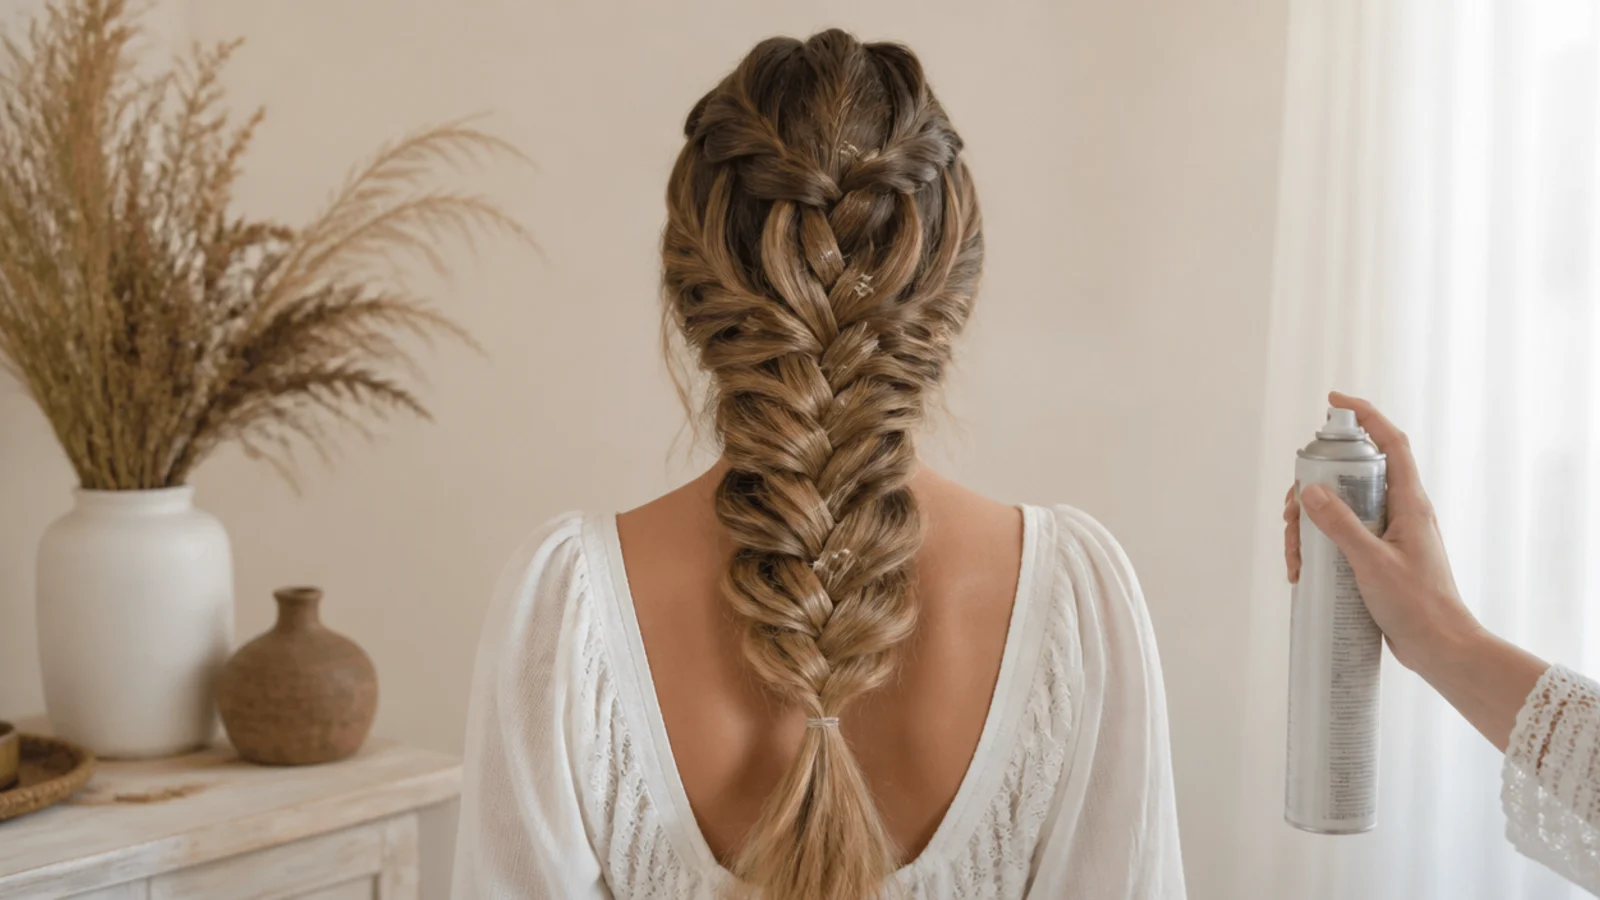
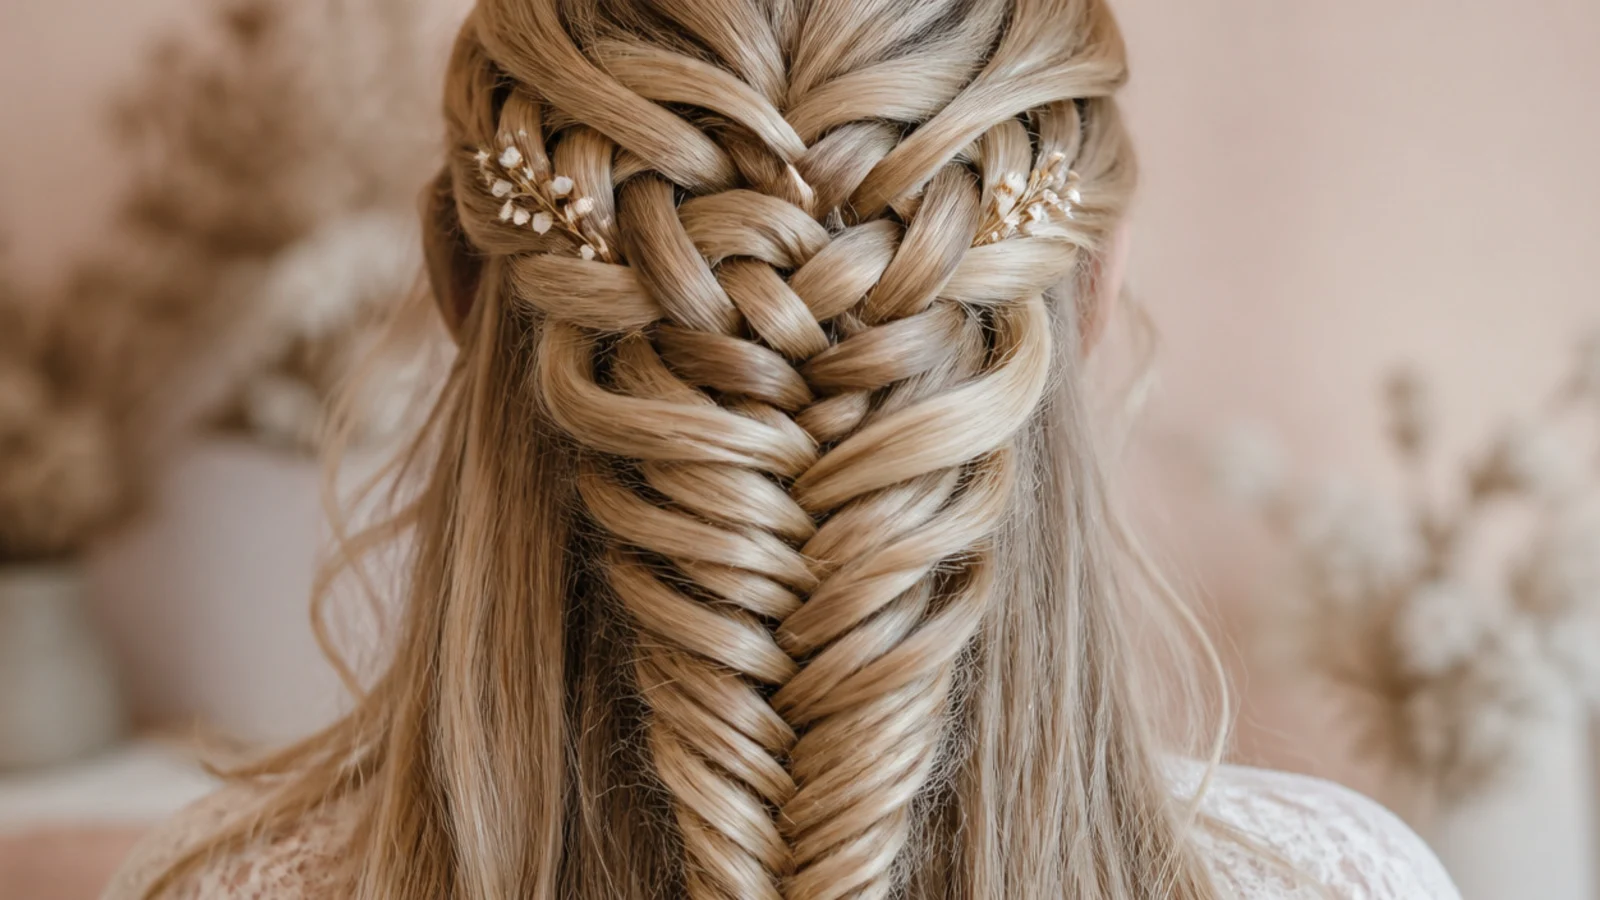
Worked as a fishtail across the back of the head with a strand dropped at every second crossing, this is the version everything else here is a variation on. The fishtail gives a finer chevron than a three strand base, so the braid itself reads as a band rather than a rope.
2. Waterfall Twists
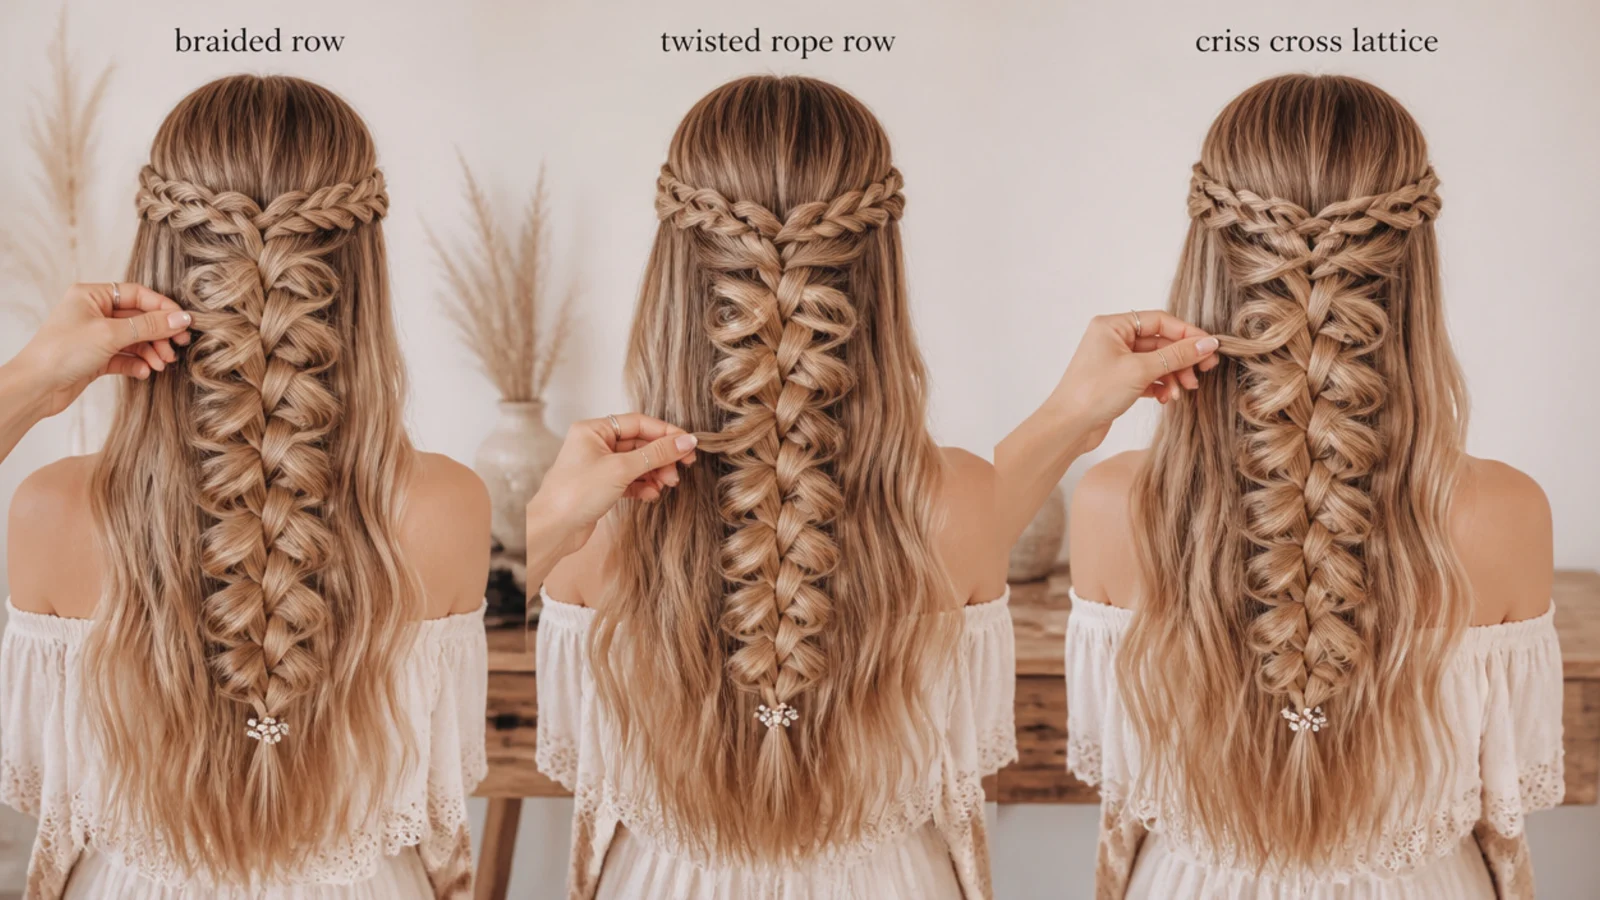
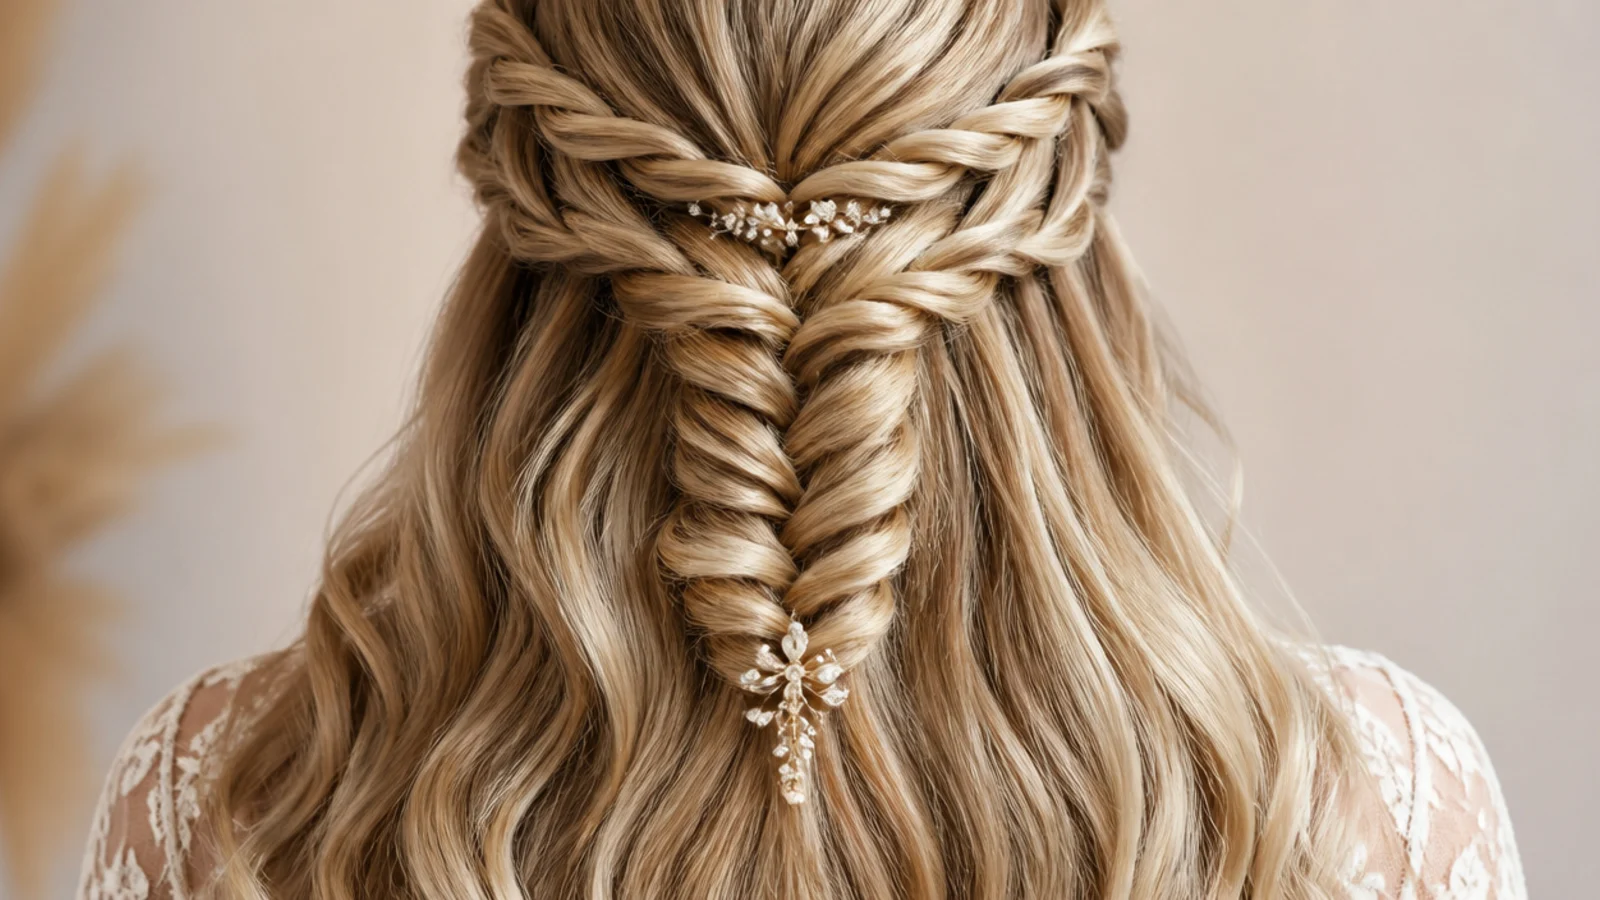
Crossing two sections instead of braiding three halves the time and halves the holding power at the same time. It suits thick or curly hair, which grips itself well enough that the missing contact points never matter, and it gives a softer release angle at each fall.
3. Criss Cross Waterfall
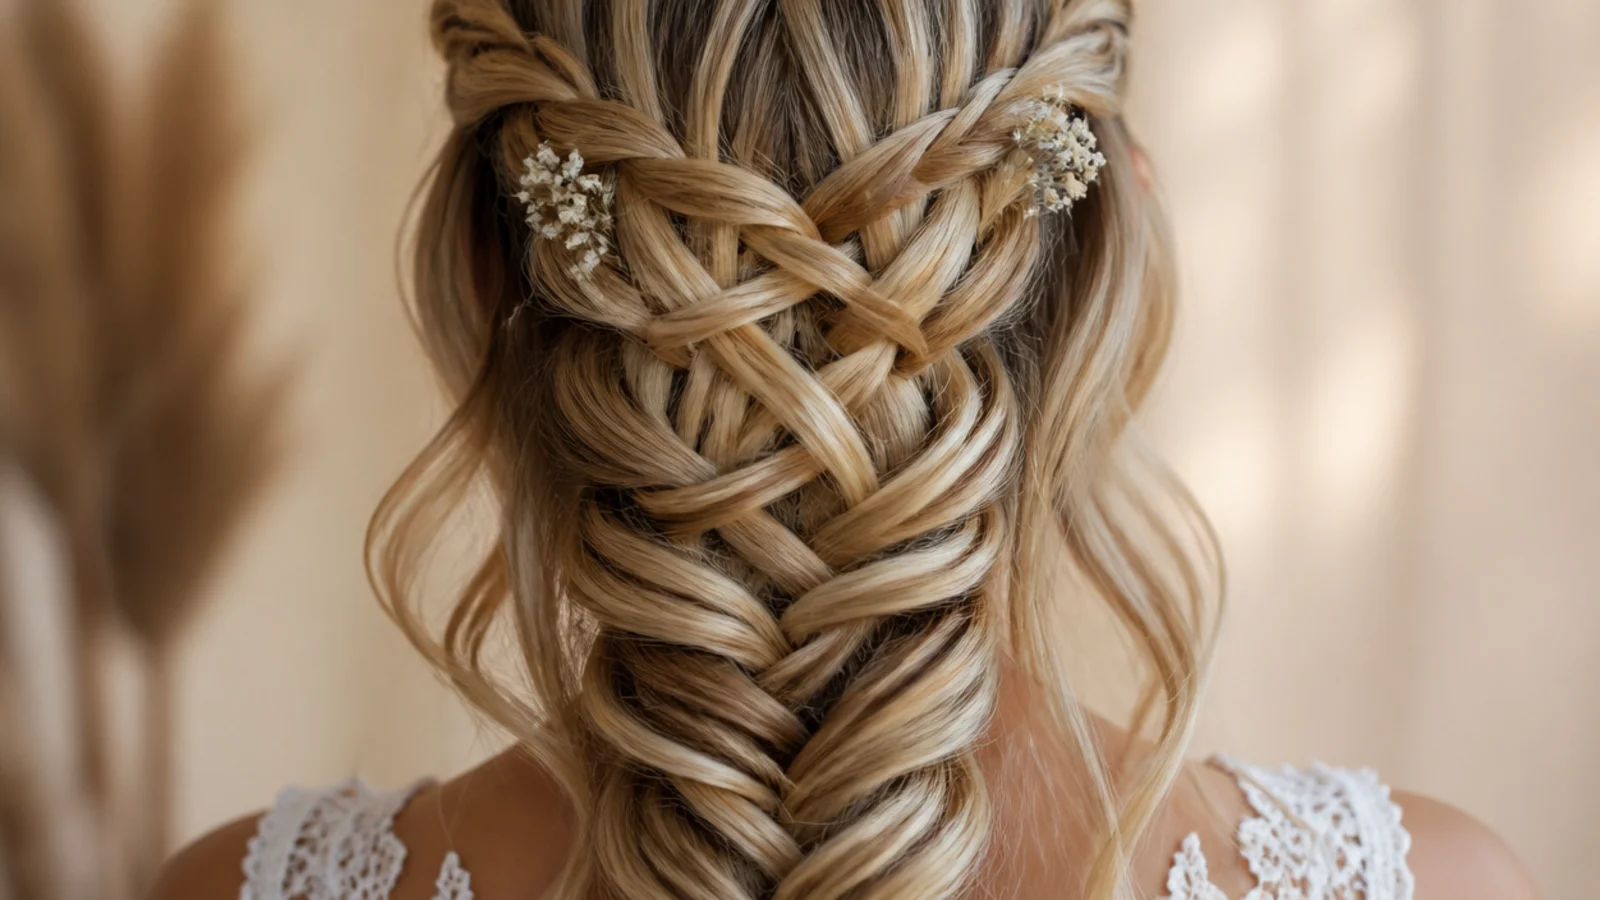
Two waterfall lines run in opposite directions and pass through each other, so the falls from one braid are caught in the crossings of the other. That interlock is what holds it, and it means each braid is supported by the other rather than needing pins along its length.
4. Double Waterfall
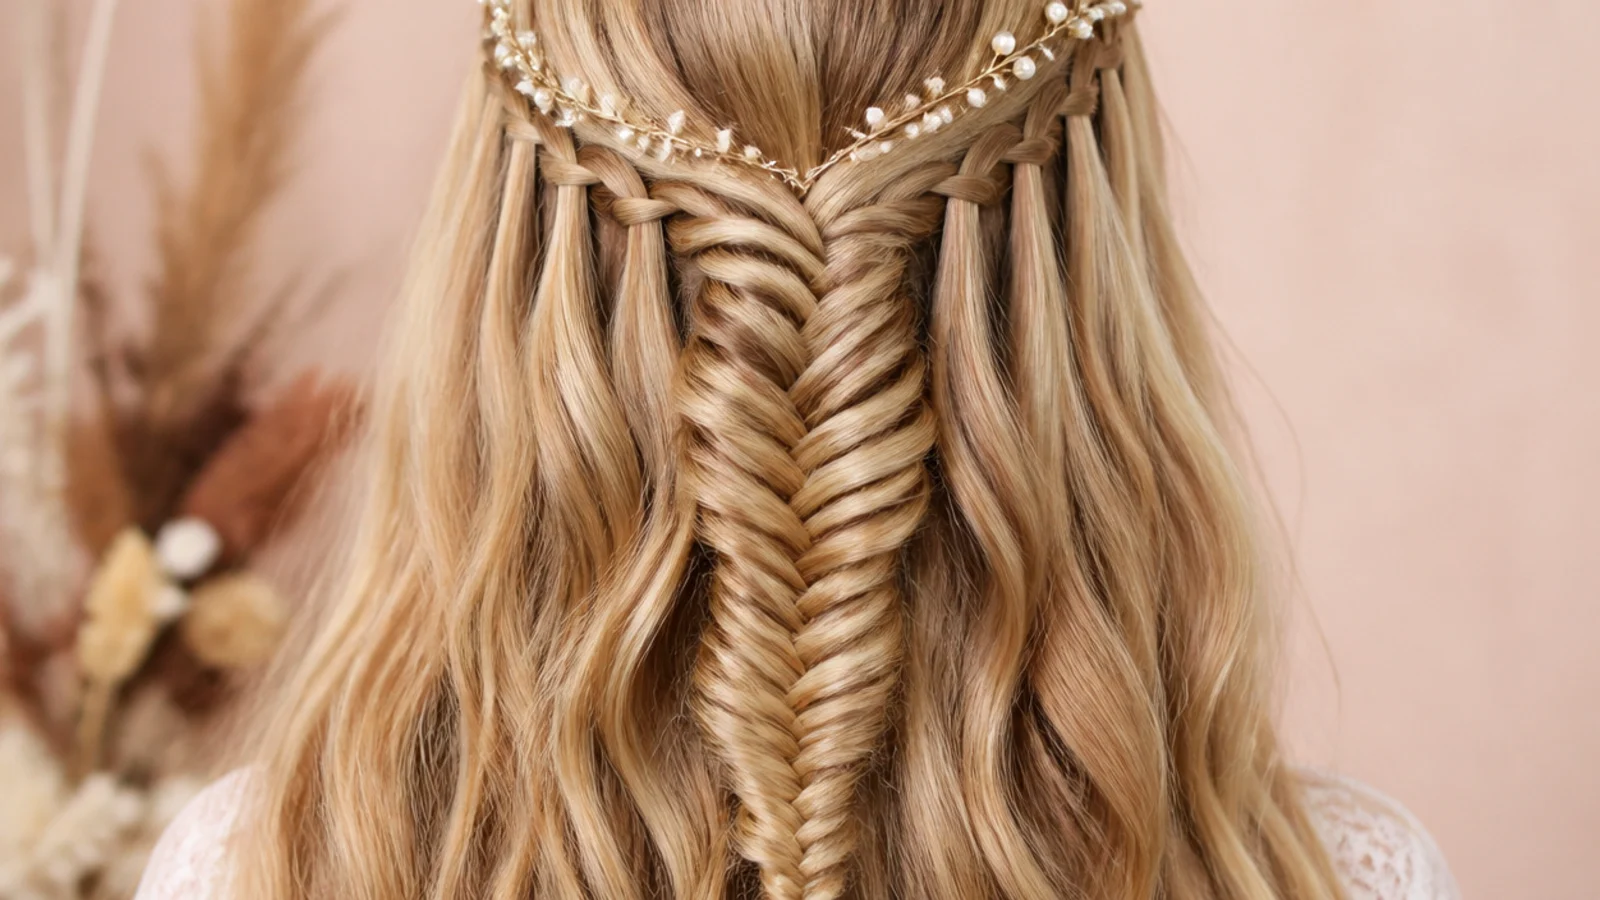
A second braid run an inch or two below the first catches the falls of the one above and releases them again. Stacking them this way doubles the visible structure while using hair that was already hanging loose, which costs no density at all.
5. Half Up Waterfall
Taking a waterfall across the top and securing both ends behind gives a half up shape with a braid instead of an elastic. The falls join the loose length below, so the join between the gathered section and the free hair disappears rather than sitting as a hard line.
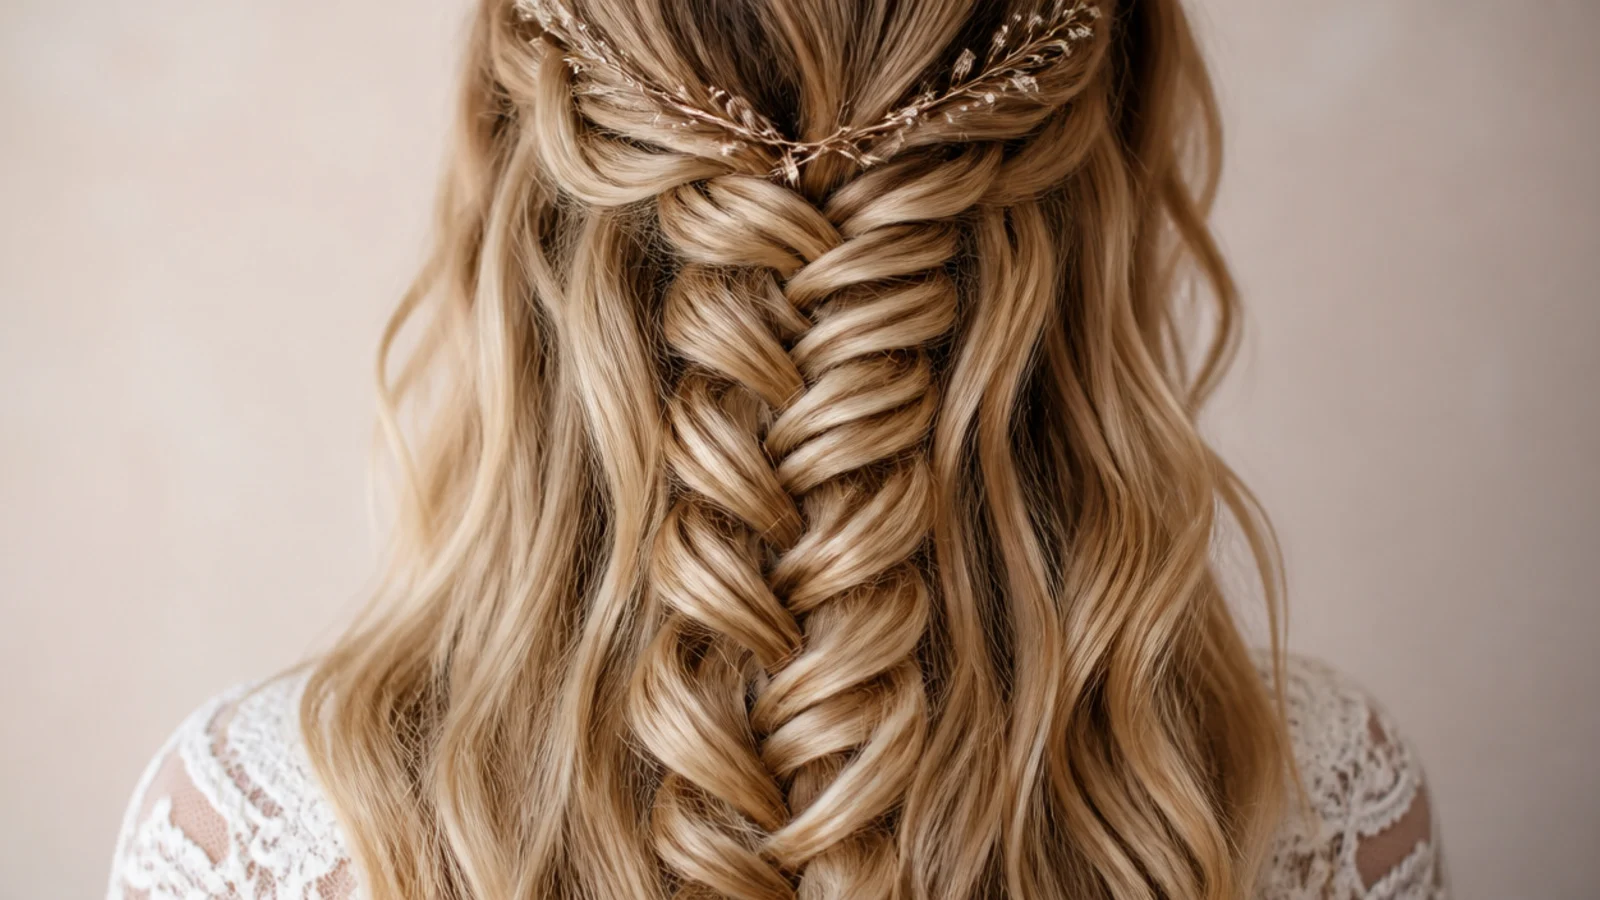
6. Side Swept Waterfall
Running the braid diagonally from a deep part down toward the opposite ear gives a longer line than a horizontal one and puts the falls where they can be seen from the front. The steeper the diagonal the more length is available, so start it high at the part.
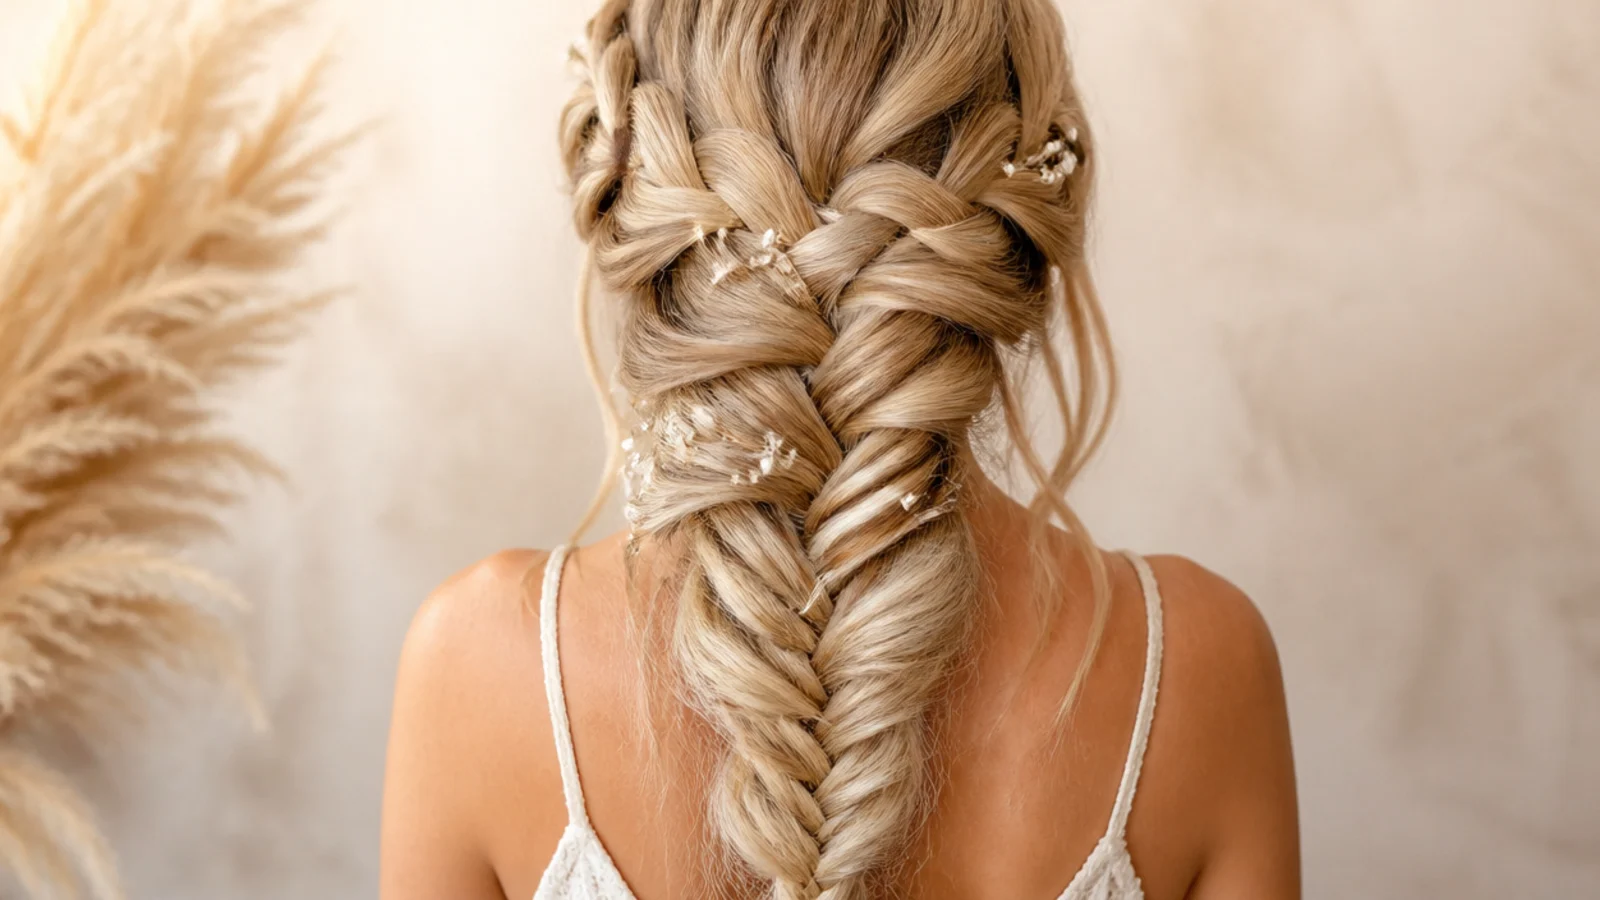
7. Crown Halo Waterfall
Carried all the way round the head, the braid ends where it began and the last crossings are worked into the first. That join is the whole difficulty, and it wants a pin through it, because the braid has no free end to be secured with.
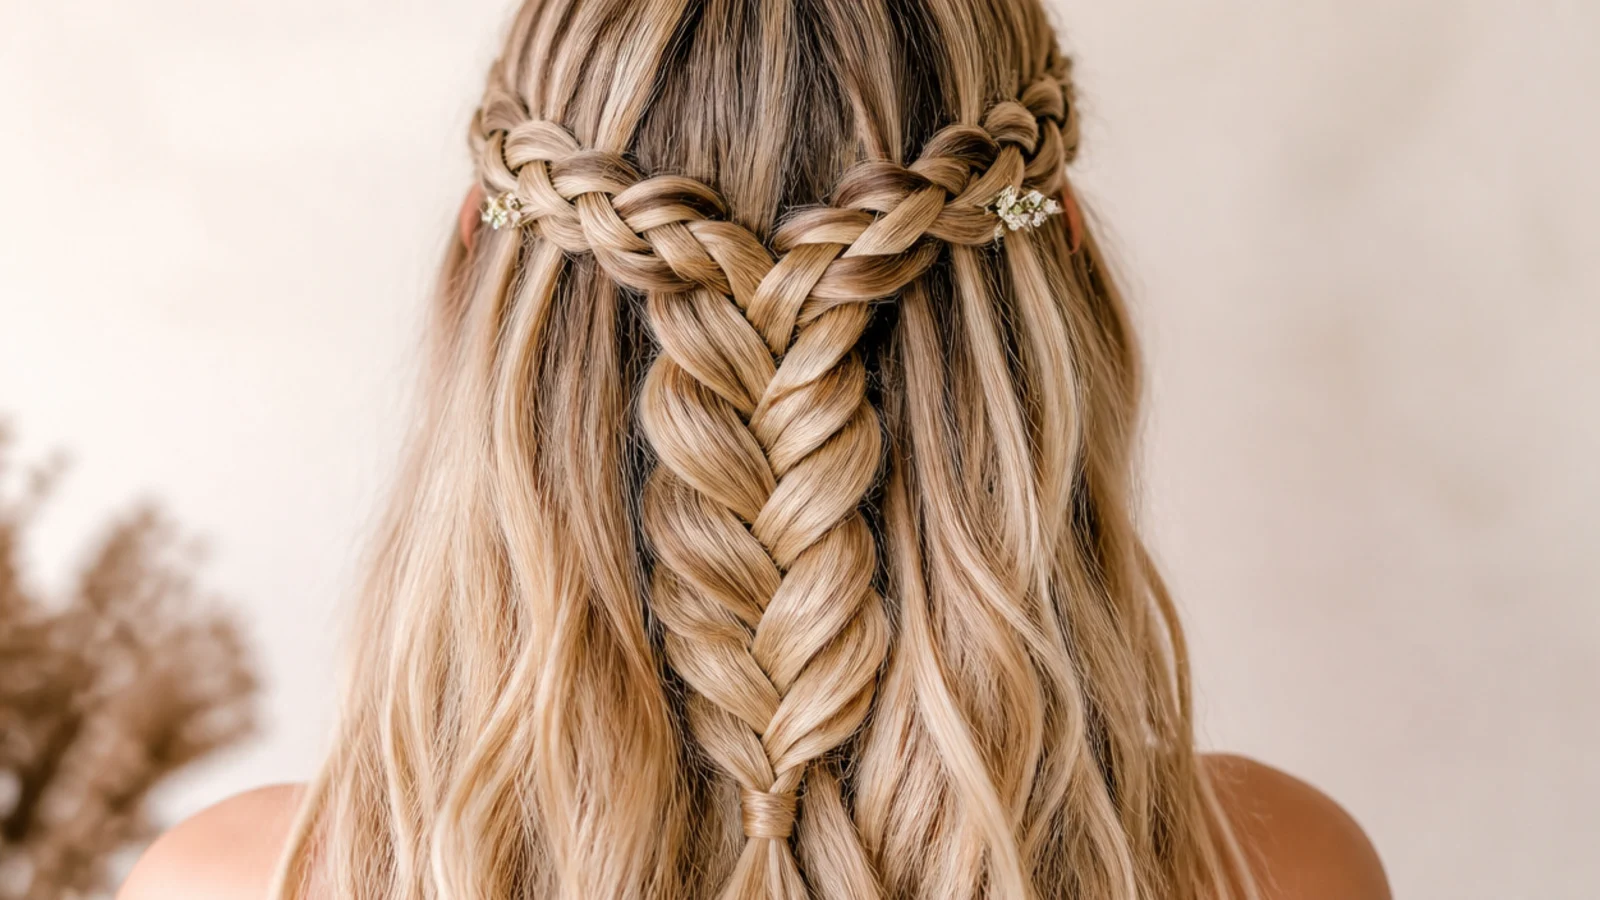
8. On Fine Hair
Release a strand at every second or third pass rather than every one, since fine hair cannot afford to give up half of a braid that is already thin. Fewer falls with more hair in each of them reads better than many falls you cannot see.
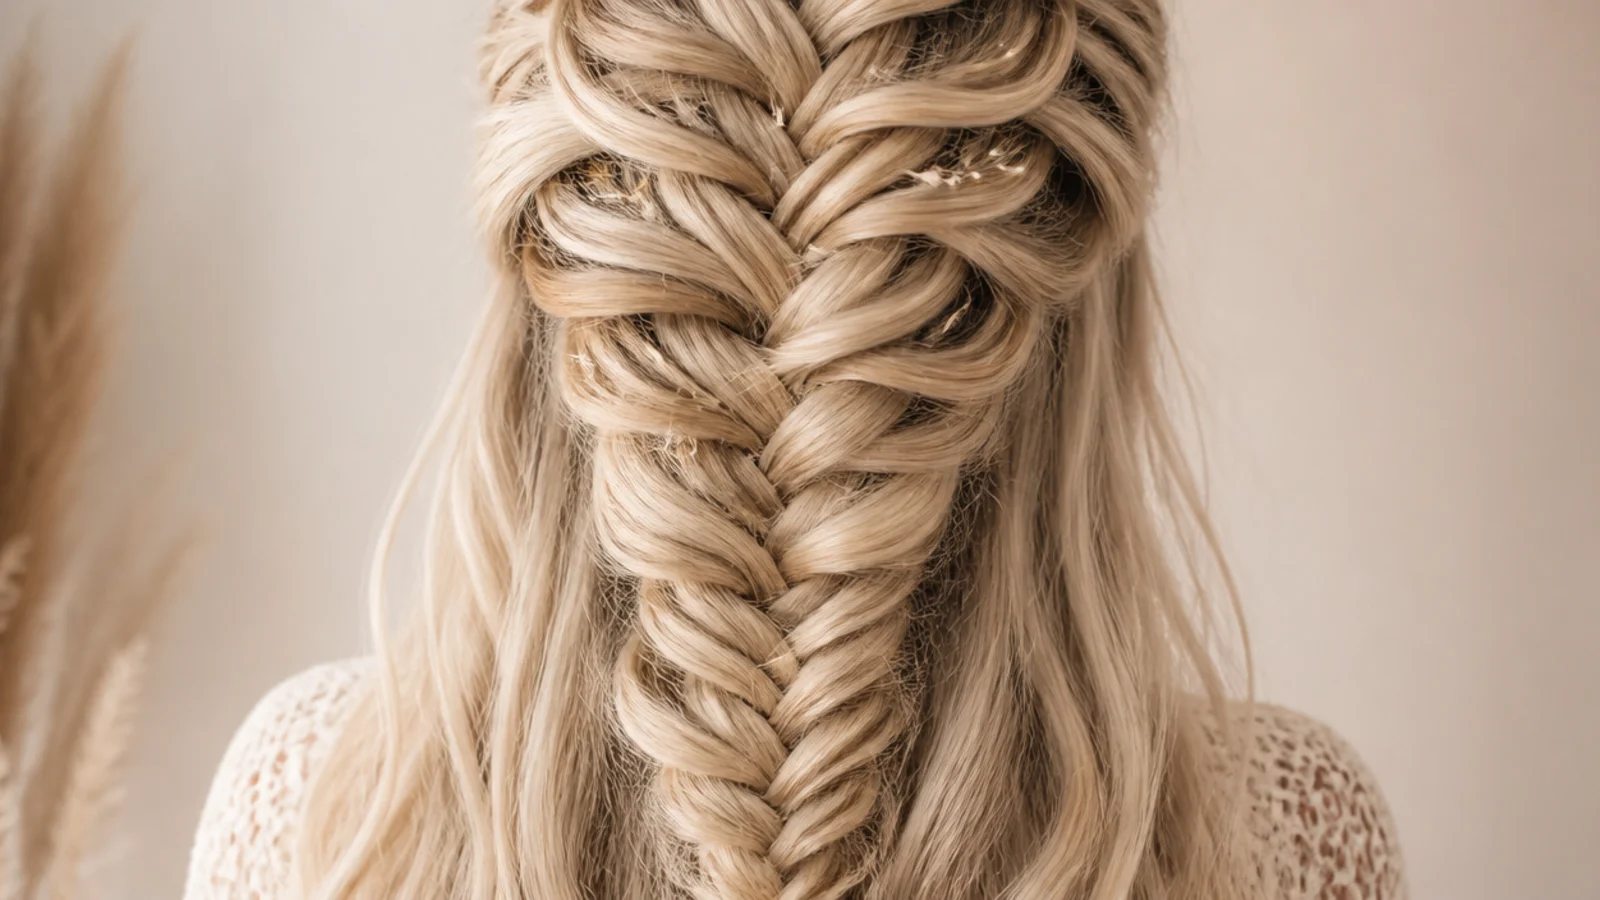
9. On Curly Hair
Curl grips itself at every bend, so a waterfall holds on curly hair with almost no product and no pins along the line. The falls also keep their own shape rather than hanging limp, which is the one thing a straight haired version has to be curled to achieve.
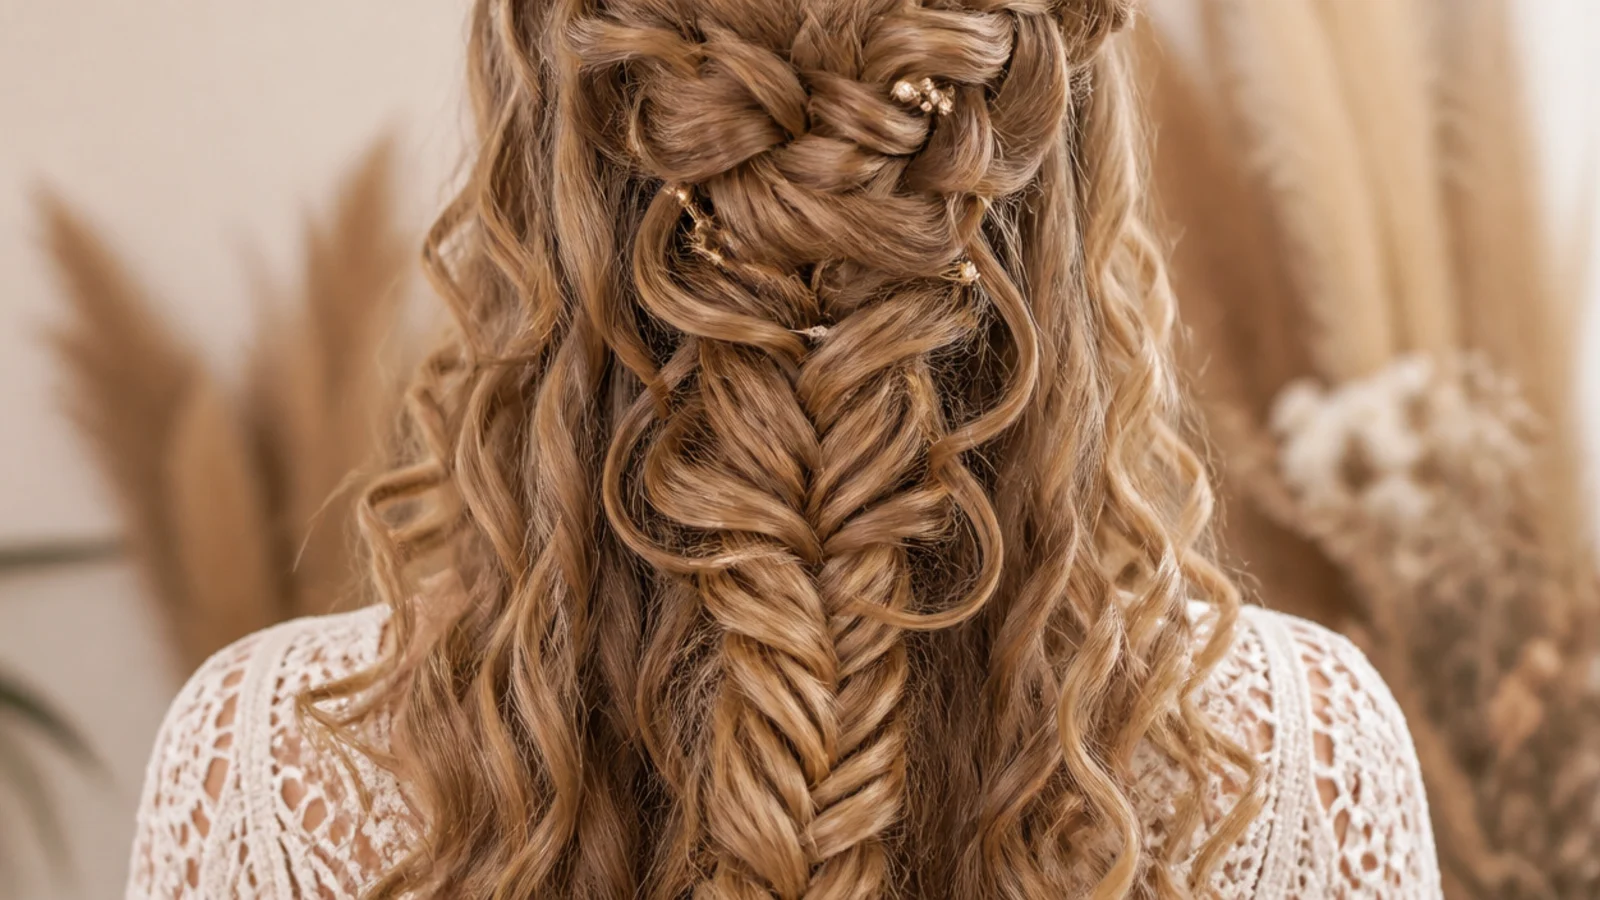
10. Pancaked Wide on Thin Hair
Widening only the upper edge of the braid makes it read as twice the density without touching the falls hanging below. Pull the lower edge and you drag the released strands out of the crossings that were holding them, which is how a thin waterfall collapses.
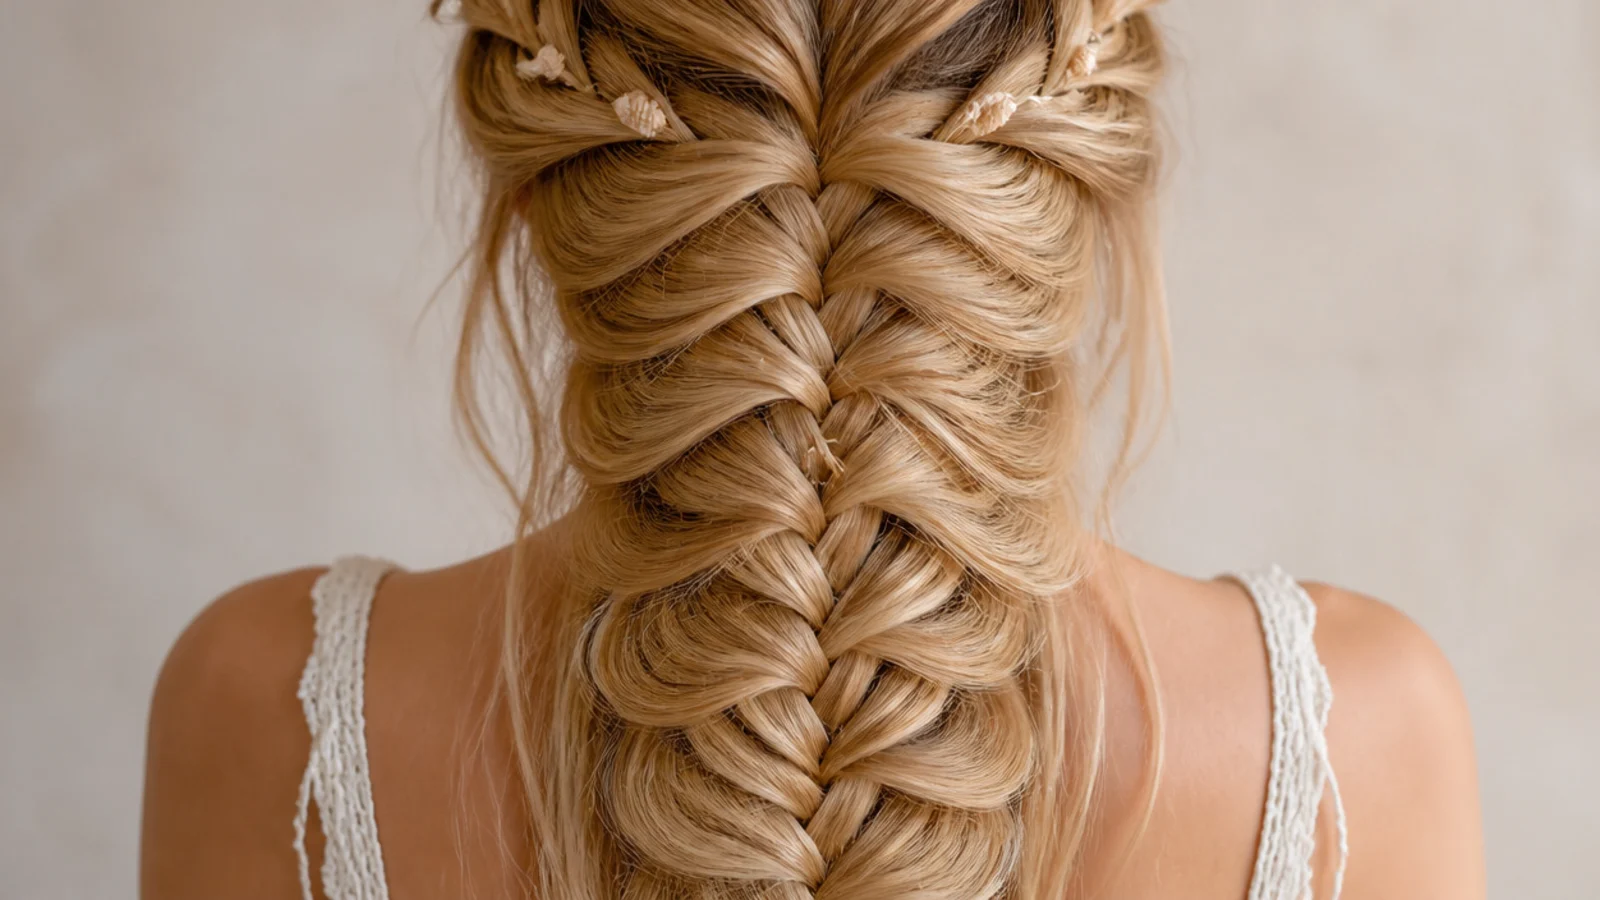
11. Over Beach Waves
Waves give every strand several contact points with its neighbours instead of one parallel line, which is exactly the grip a waterfall is short of. The falls also separate into defined pieces rather than merging into a sheet, so each release stays visible.
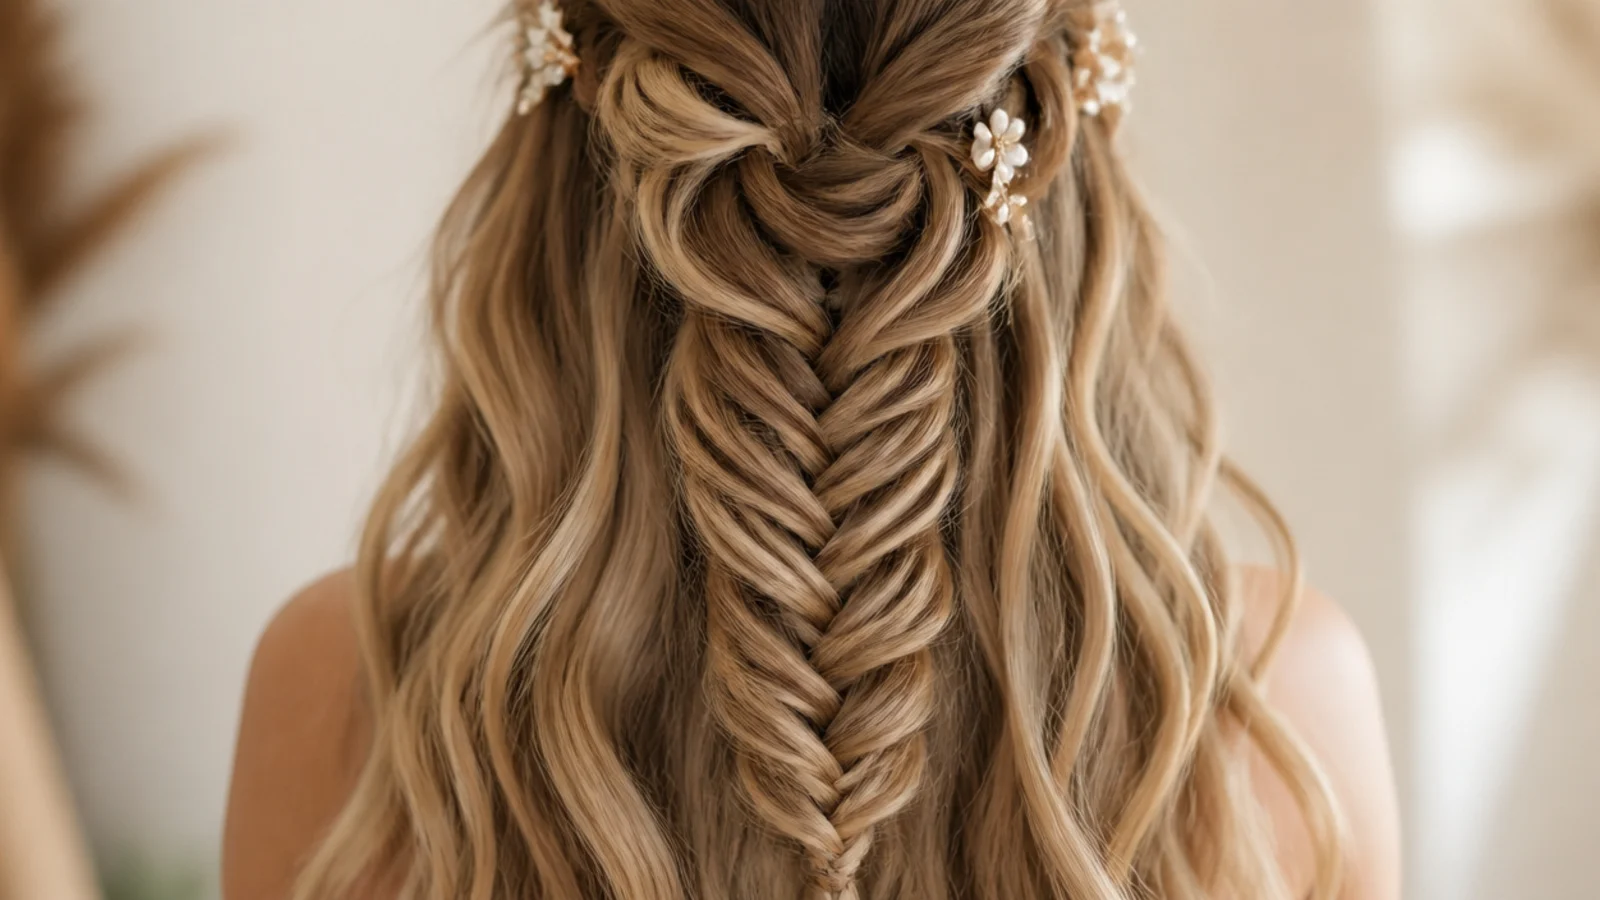
12. Boho Ribbon Woven In
A narrow ribbon carried through the braid grips the hair either side of it and adds holding power where a waterfall has the least. Run it along the top edge, since a ribbon threaded near the releases sits across the falls and stops them moving.
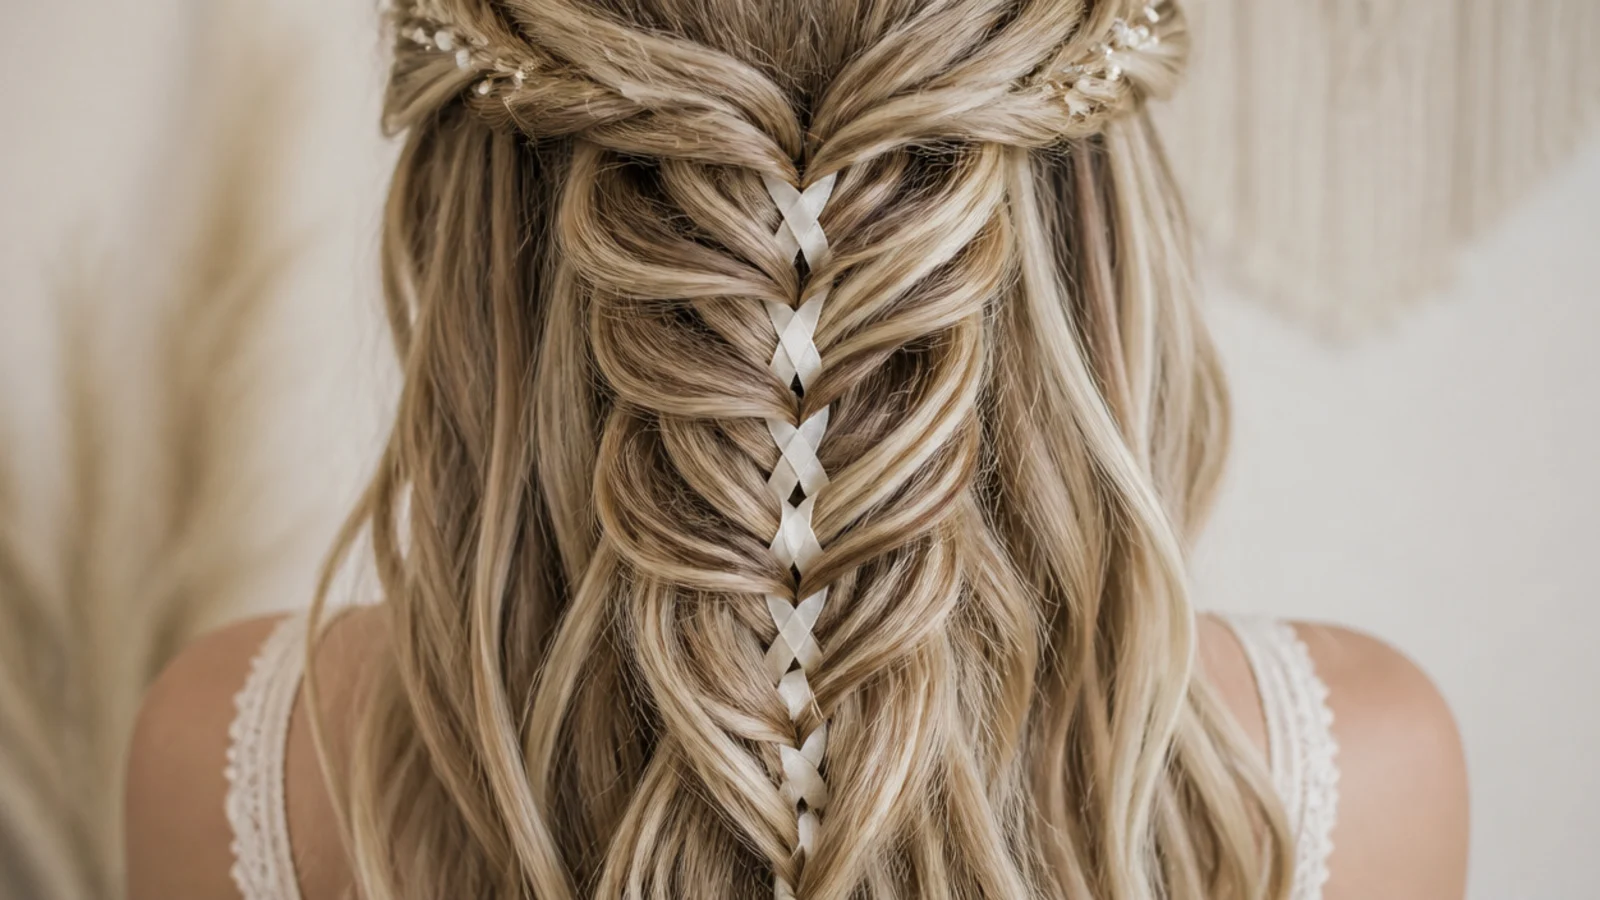
13. Pearl Pins Along the Braid
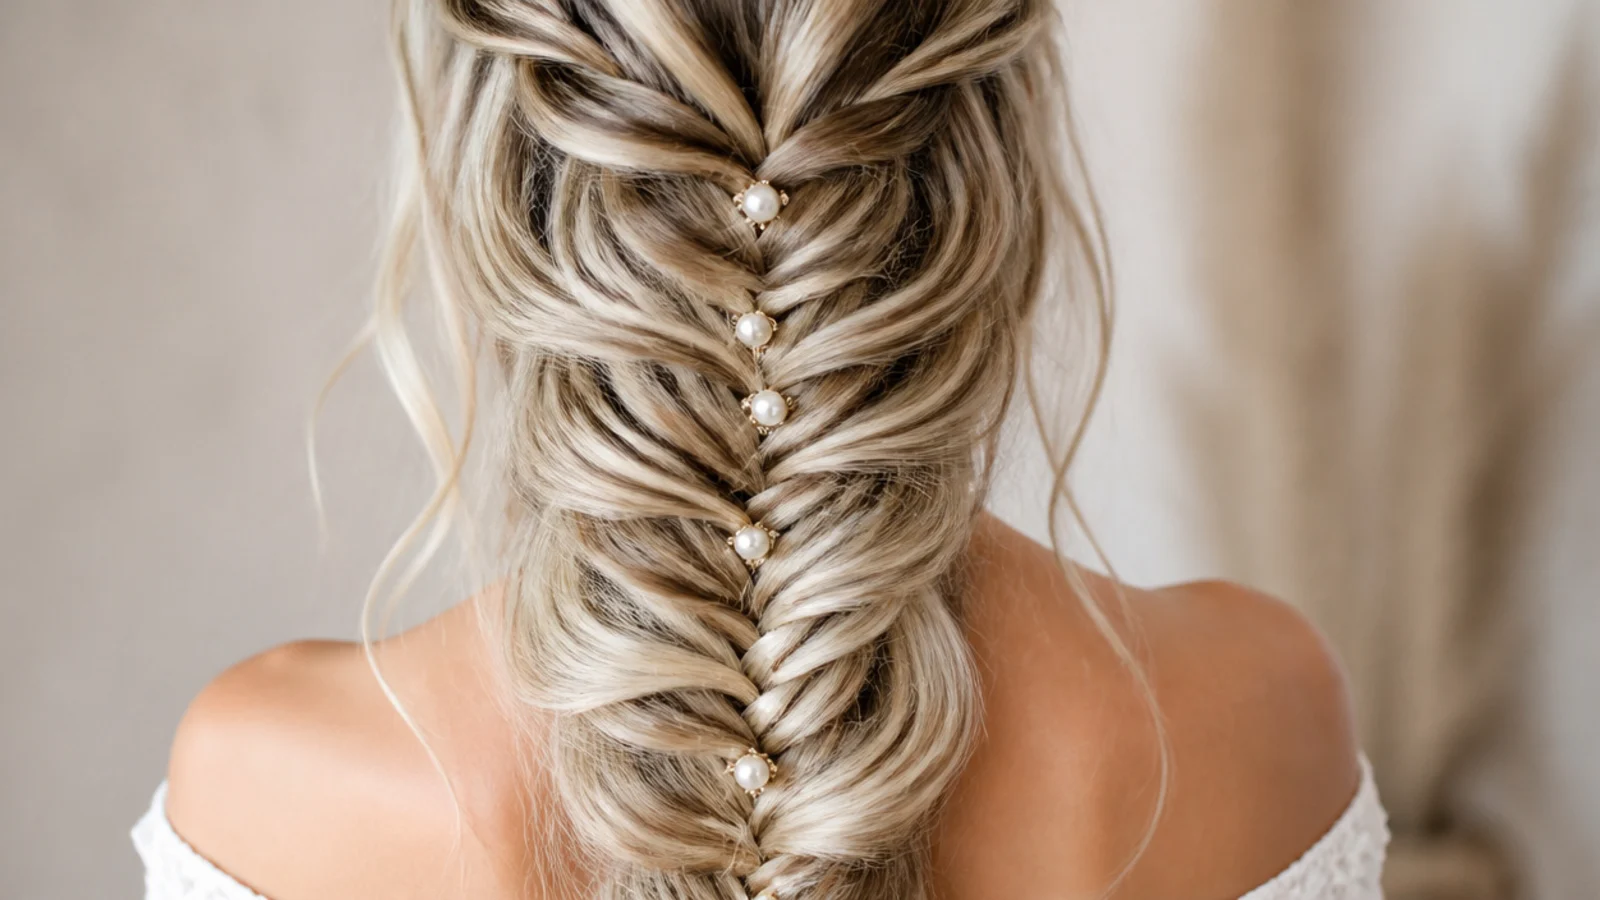
Pins pushed through the crossings have hair gripping them from both sides, so on this braid they are doing structural work as well as decorative. Space them where the braid changes direction, which is where a waterfall loosens first.
14. On Shoulder Length Hair
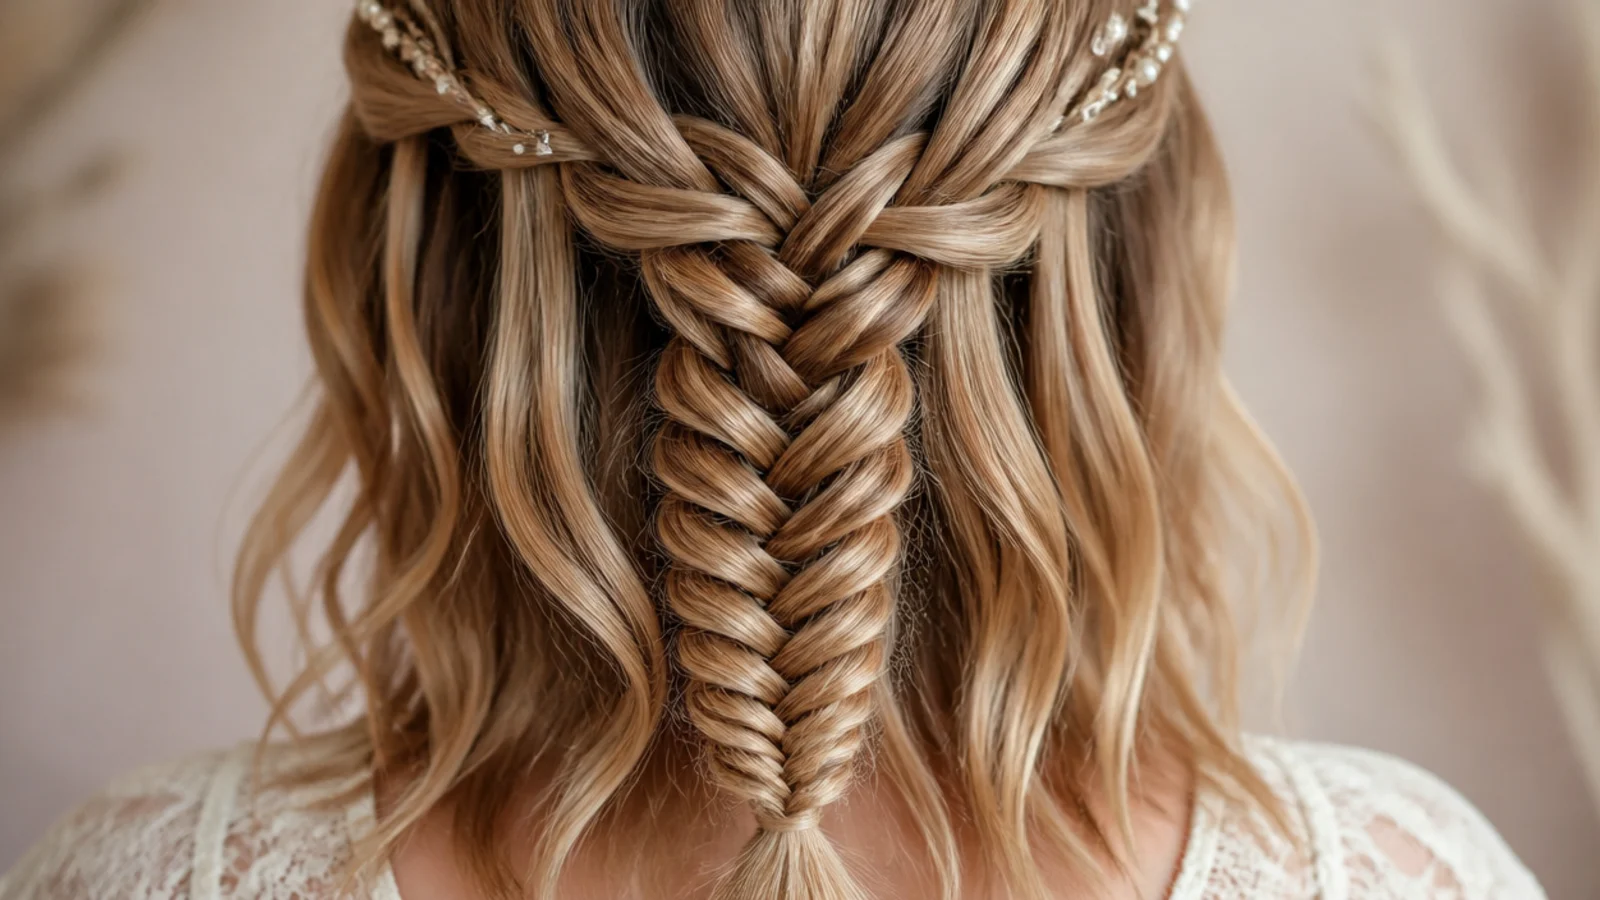
The braid itself needs no length because it travels across the head, so shoulder length carries it perfectly well. The falls are the compromise, ending near the collarbone, which reads as a soft fringe of strands rather than a cascade.
15. With Extensions
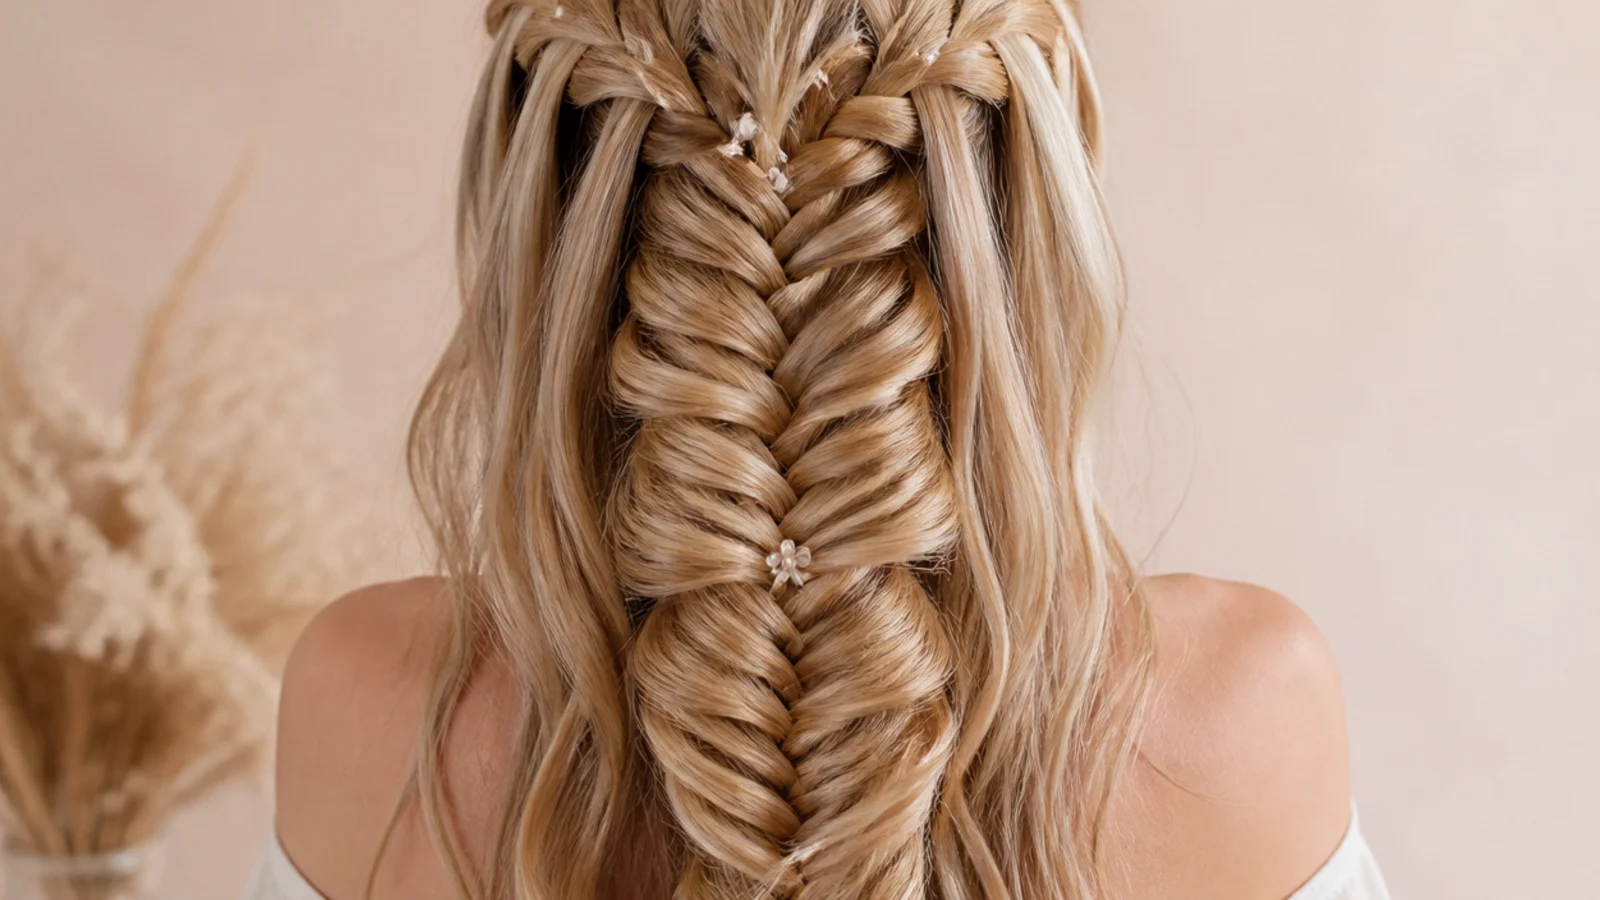
Clip ins set below the braid line add length to the falls without adding any to the braid, which is the right way round. A weft clipped above the line would be picked up into the crossings and the seam would show at the top edge.
16. Finished in a Low Bun
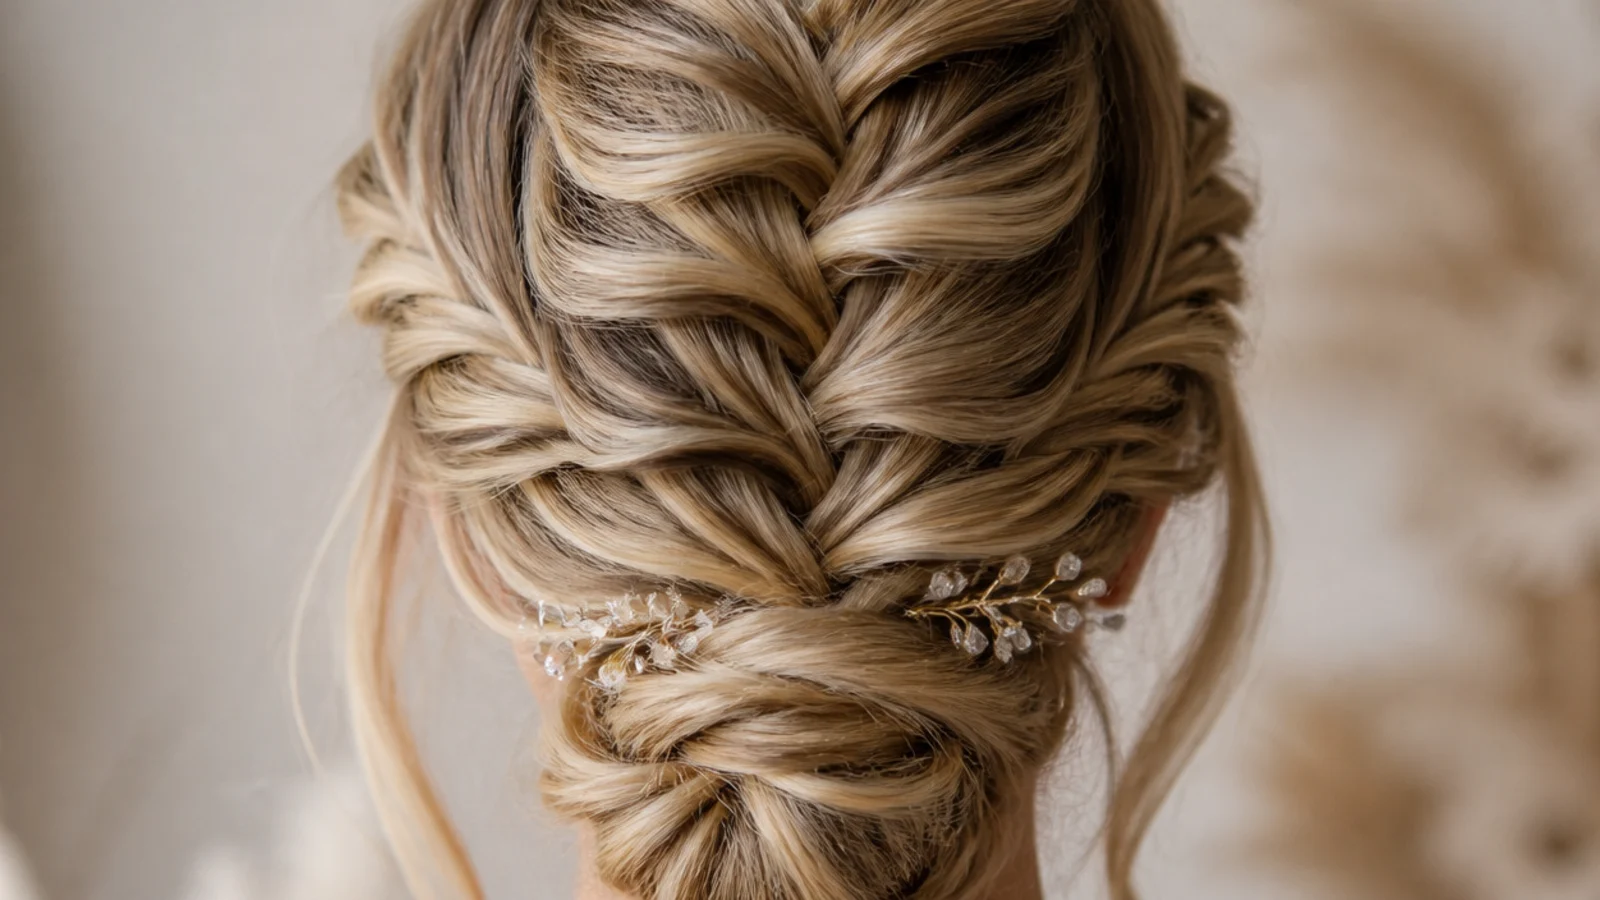
Gathering the falls and the remaining length into a low bun turns a decorative braid into a full updo, and the braid becomes the finished edge of it. Coil below the occipital bone so the bun sits under the braid rather than pushing against it.
17. From a Deep Side Part
A deep part gives the braid a thick front section to start from, and a waterfall is thinnest at its beginning because it has not yet picked anything up. Starting where the hair is densest is what stops the first few crossings looking scrappy.
18. On Balayage
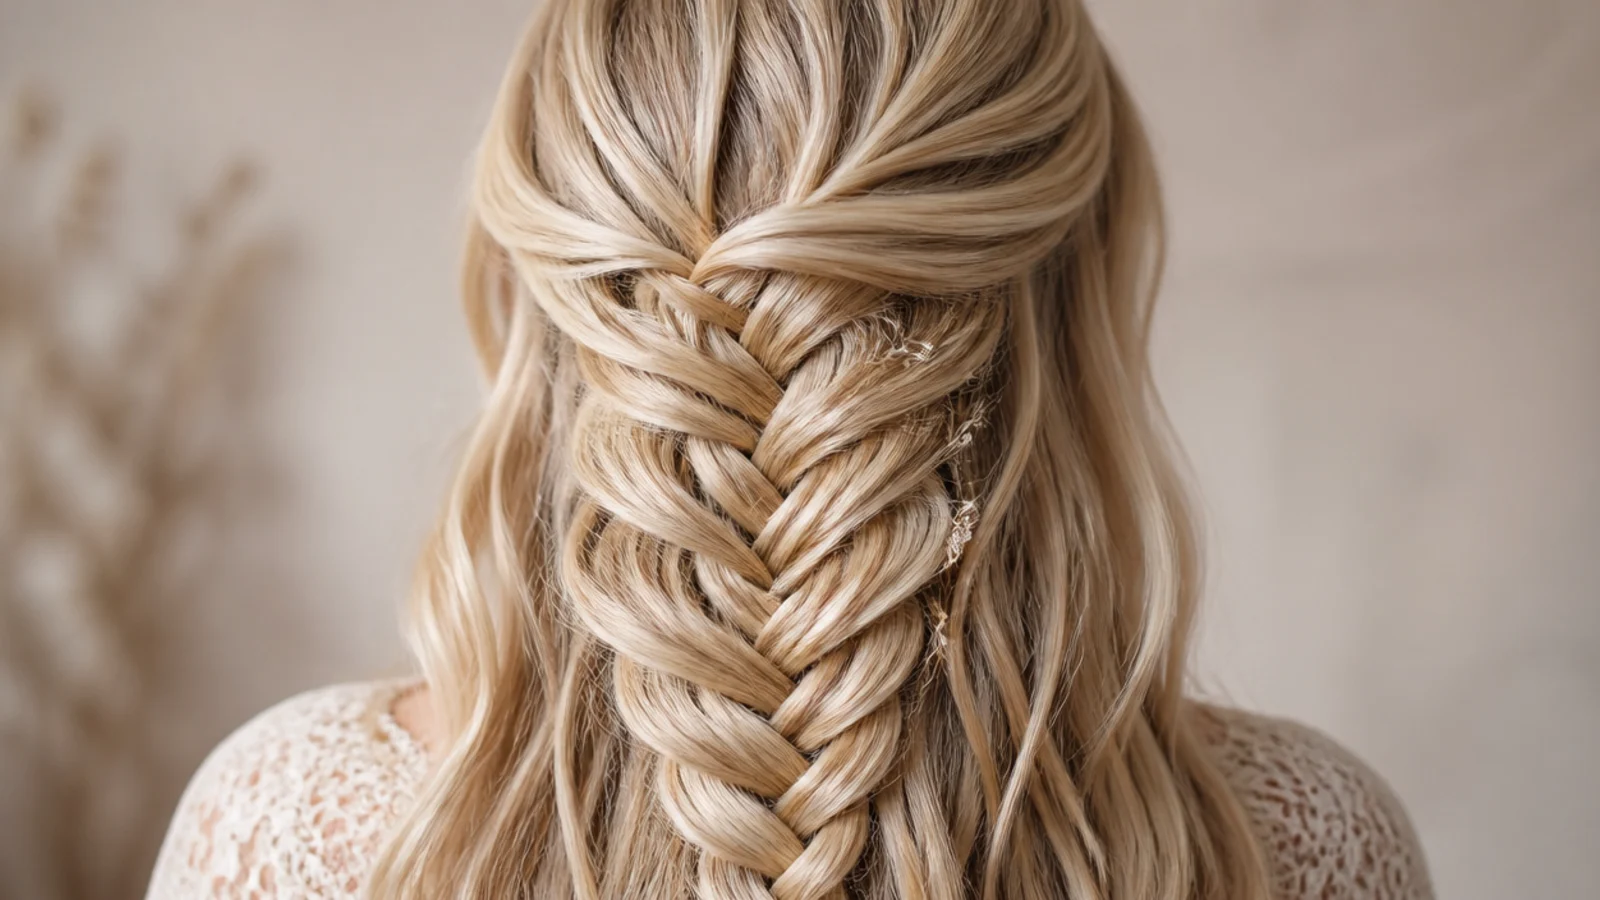
A single flat colour hides braid crossings in their own shadow, so lighter mid lengths crossing darker ones is what makes the pattern legible. Balayage puts that contrast down the length rather than at the root, which is where both the braid and the falls need it.
19. With Tendrils Left Out
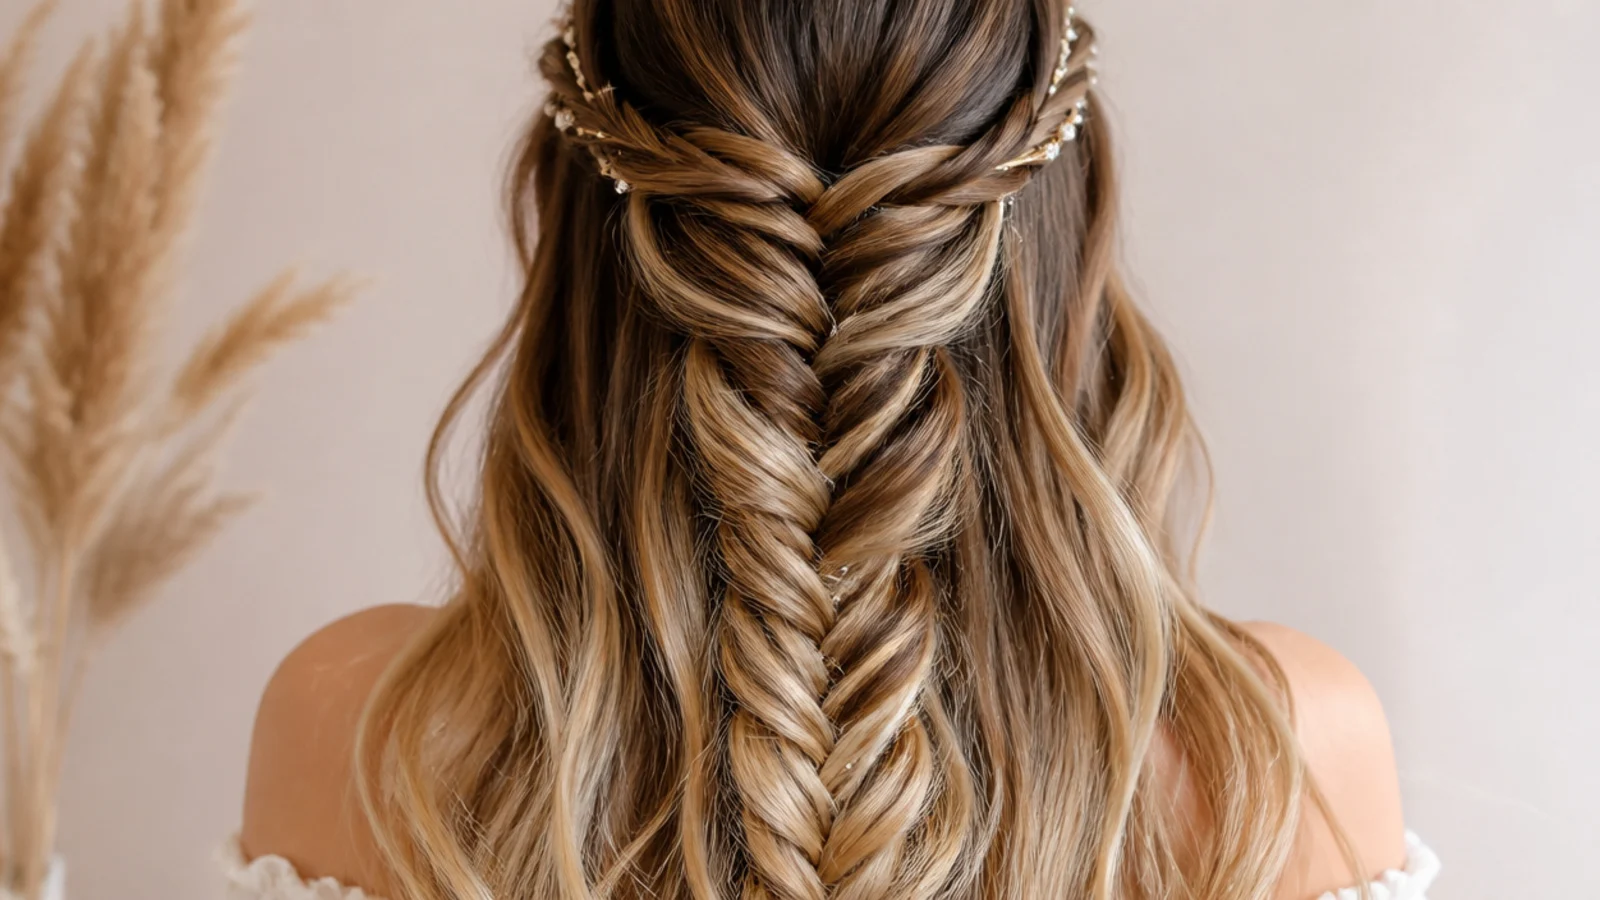
Two pieces pulled from the hairline after the braid is finished soften the front without taking hair the crossings needed. Release them last, because anything left out beforehand is density the beginning of the braid never gets back.
20. Sleep In Waves First
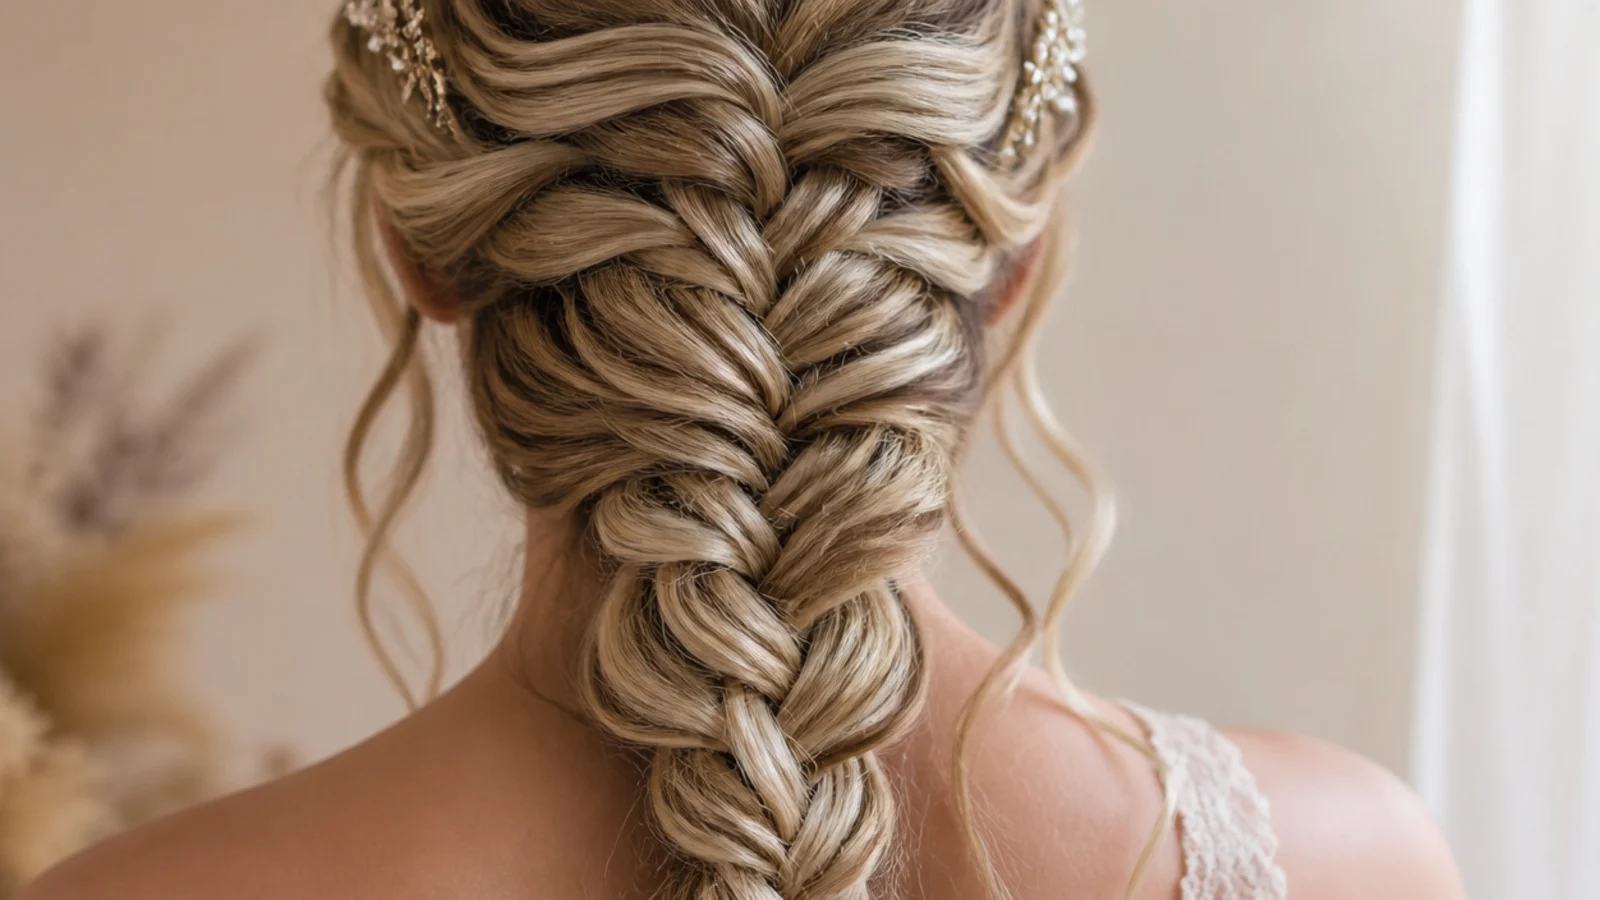
Braiding the length loosely overnight sets a bend at every crossing as the hydrogen bonds re-form in that position. Undone in the morning it gives exactly the textured, gripping hair a waterfall needs, with no heat and no product.
Final Thoughts
The braid is not the hard part. Dropping one strand and picking up another is a rhythm you have after a dozen passes, and the falls forgive a lot of unevenness because they are meant to look loose. What defeats most attempts is the hair being too clean and too straight to hold half a braid together.
So prepare the texture before you touch the braid. Wave it the night before, braid it on second day hair, pin under the line at both ends and spray the braid rather than the falls. Do that and a waterfall lasts an evening on hair that would drop a plain fishtail in twenty minutes.
More in Braids and Protective Styles. See also the blonde version and the boho version.
Frequently asked questions
Related posts
See all posts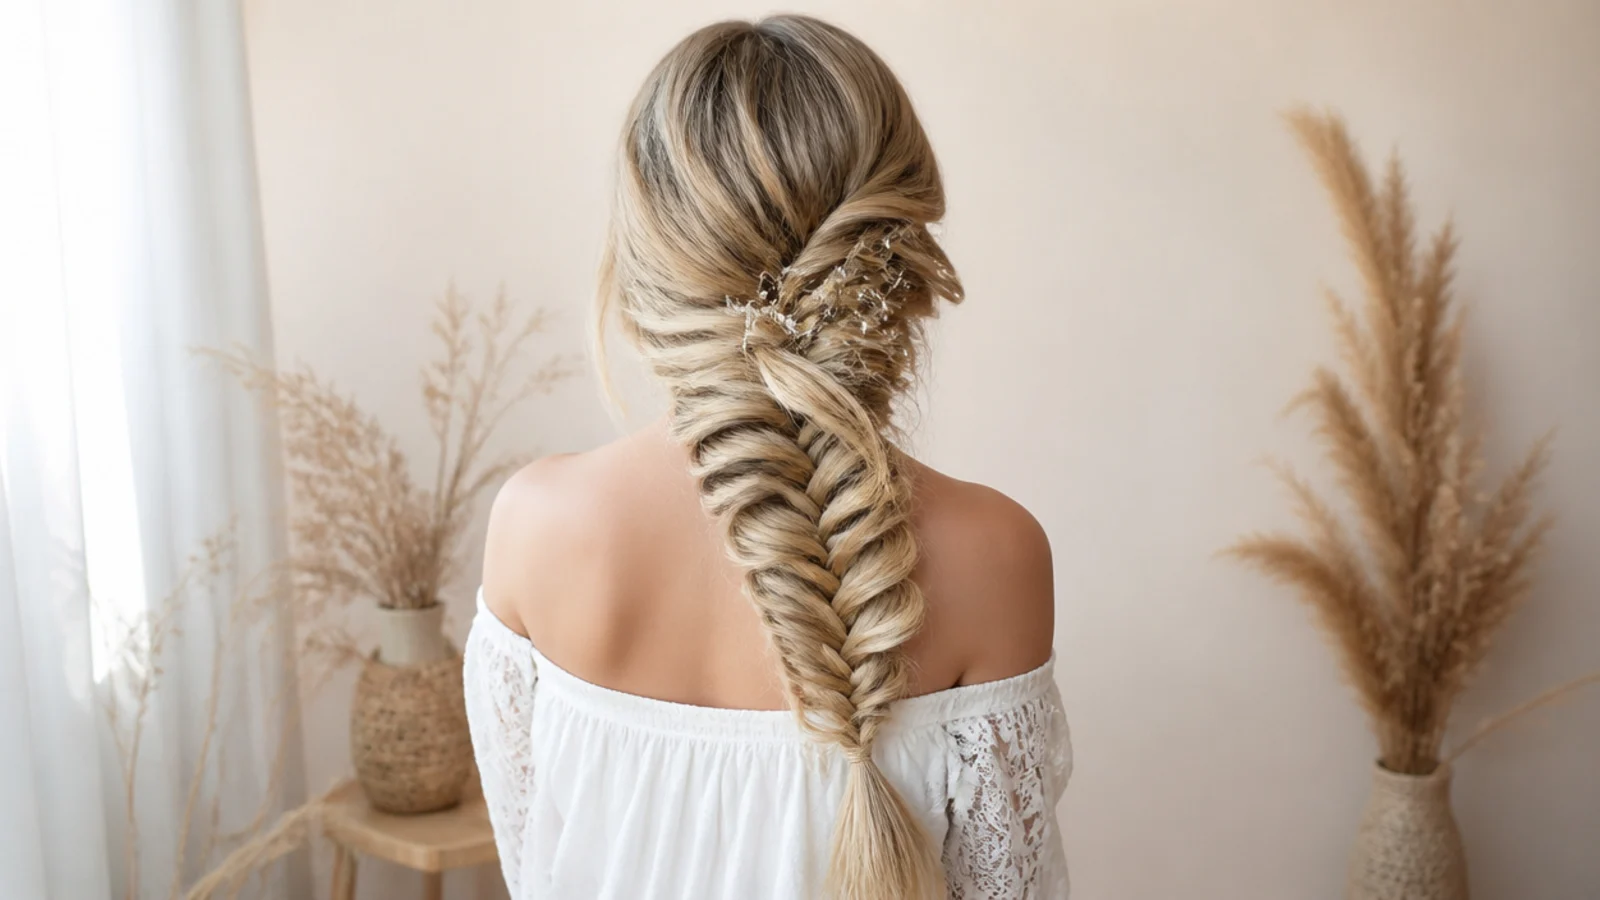
15 Side Mermaid Braid Ideas That Sit Right
Read more
20 Side Part Medium Knotless Braids I Saved
Read more
20 Shoulder Length Knotless Braids Ideas
Read more