15 Boho Mermaid Braids That Stay Undone on Purpose
Fifteen boho mermaid braids, and the one rule that separates a soft braid from a collapsing one. The braid underneath is tight, and the looseness is added after the elastic goes on — braid it loose from the start and it slides out of itself by lunchtime.
In this article · 23
- What Is a Boho Mermaid Braid
- By Length and Thickness
- Fine and Slippery Hair
- Pancaking for Width
- Waves Accessories and the Boho Finish
- Making It Last
- The 15 Boho Mermaid Braid Ideas
- 1. Loose Waist Length
- 2. Side Swept
- 3. Half Up With Face Framing
- 4. Ribbon Woven
- 5. Fine Shoulder Length Hair
- 6. Double Braids on a Middle Part
- 7. Crown Halo
- 8. Beach Wave Festival Braid
- 9. Gold Cuffs and Beads
- 10. Braid Into a Low Bun
- 11. Dried Flowers for a Wedding
- 12. Curly 3b Hair
- 13. Loose Wave Extensions
- 14. Messy Day Two
- 15. Curtain Bangs Left Out
- Final Thoughts
A boho braid that falls apart was not braided badly. It was braided loose, which is a different mistake and a much more common one.
The braid underneath is tight. Friction at every crossover is what holds the shape. Pancaking releases only the outer edge of each segment and leaves that locked core alone.
The looseness is added after the elastic goes on. Widen it, pull pieces from it, soften it — but only once there is something anchoring the parts you are loosening.
What Is a Boho Mermaid Braid
A fishtail with the length left loose beneath it. Only the crown section is braided, so the braid appears to lie on top of the hair rather than gather it.
Two sections, not three. A fishtail takes a thin piece from the outside of one section across to the inside of the other, and it is those thin pieces that make the fine herringbone a plait cannot.
Boho describes the finish, not the braiding. Wide segments, soft edges and a few loose pieces. All three are decisions made after the braid is secured.
Nothing is left half braided. Every section either goes into the fishtail properly or stays out of it from the start. There is no third option that survives the day.
By Length and Thickness
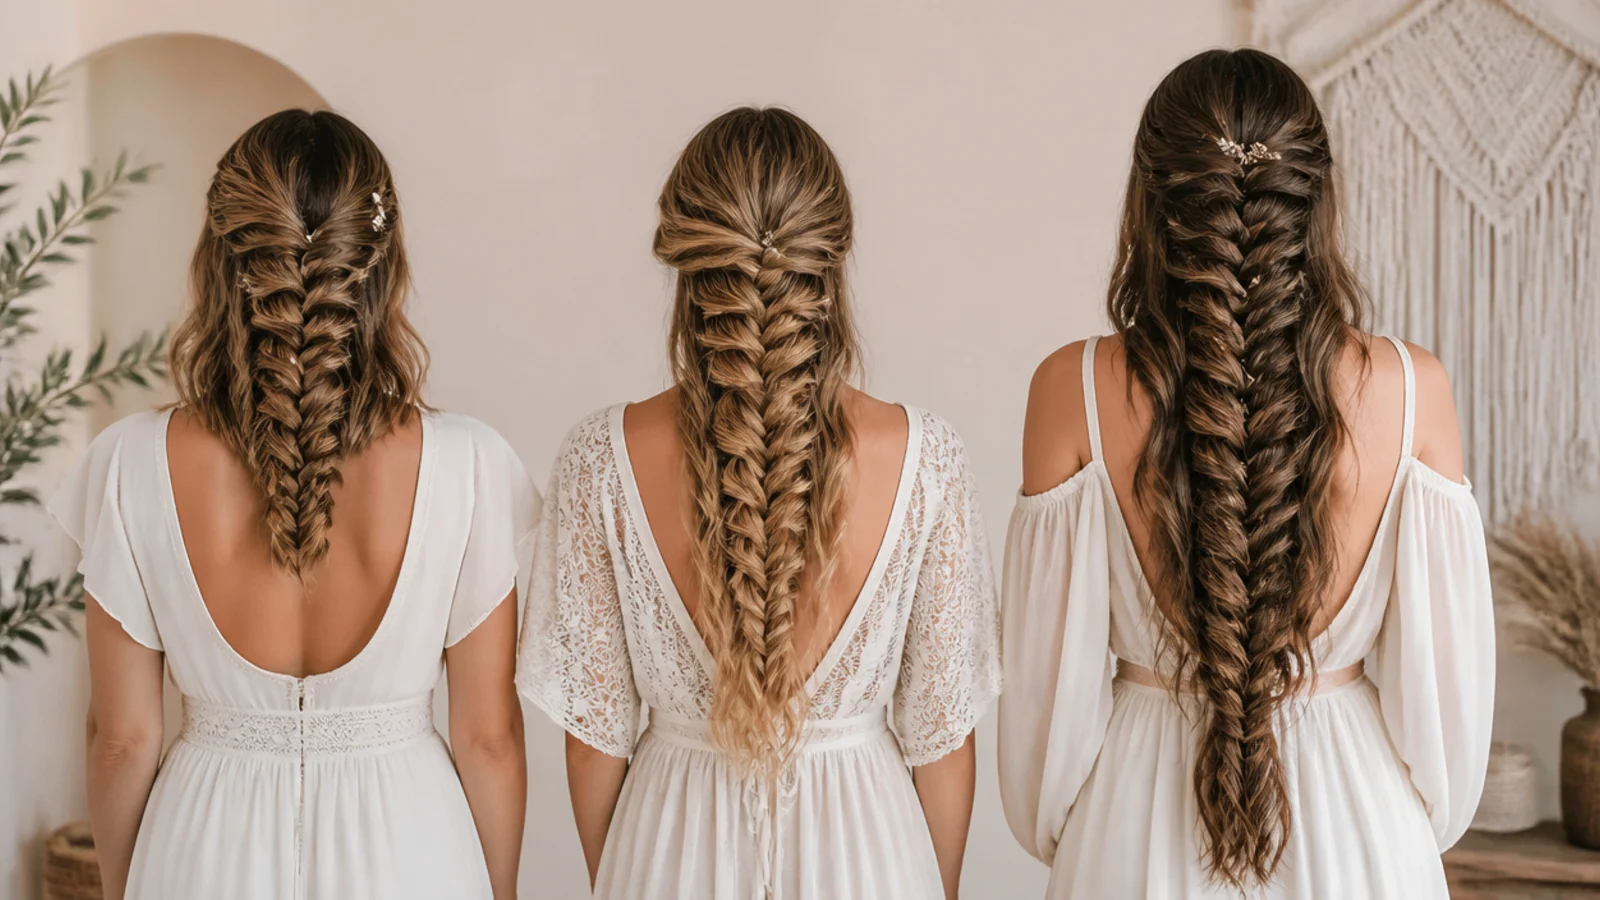
Waist length carries itself. A long tail hangs heavy enough to keep the crossovers above it pulled open all day with no maintenance.
Shoulder length uses the top half only. Braid past the shoulder and there is no tail left to weight the braid, so the segments close as soon as you let go.
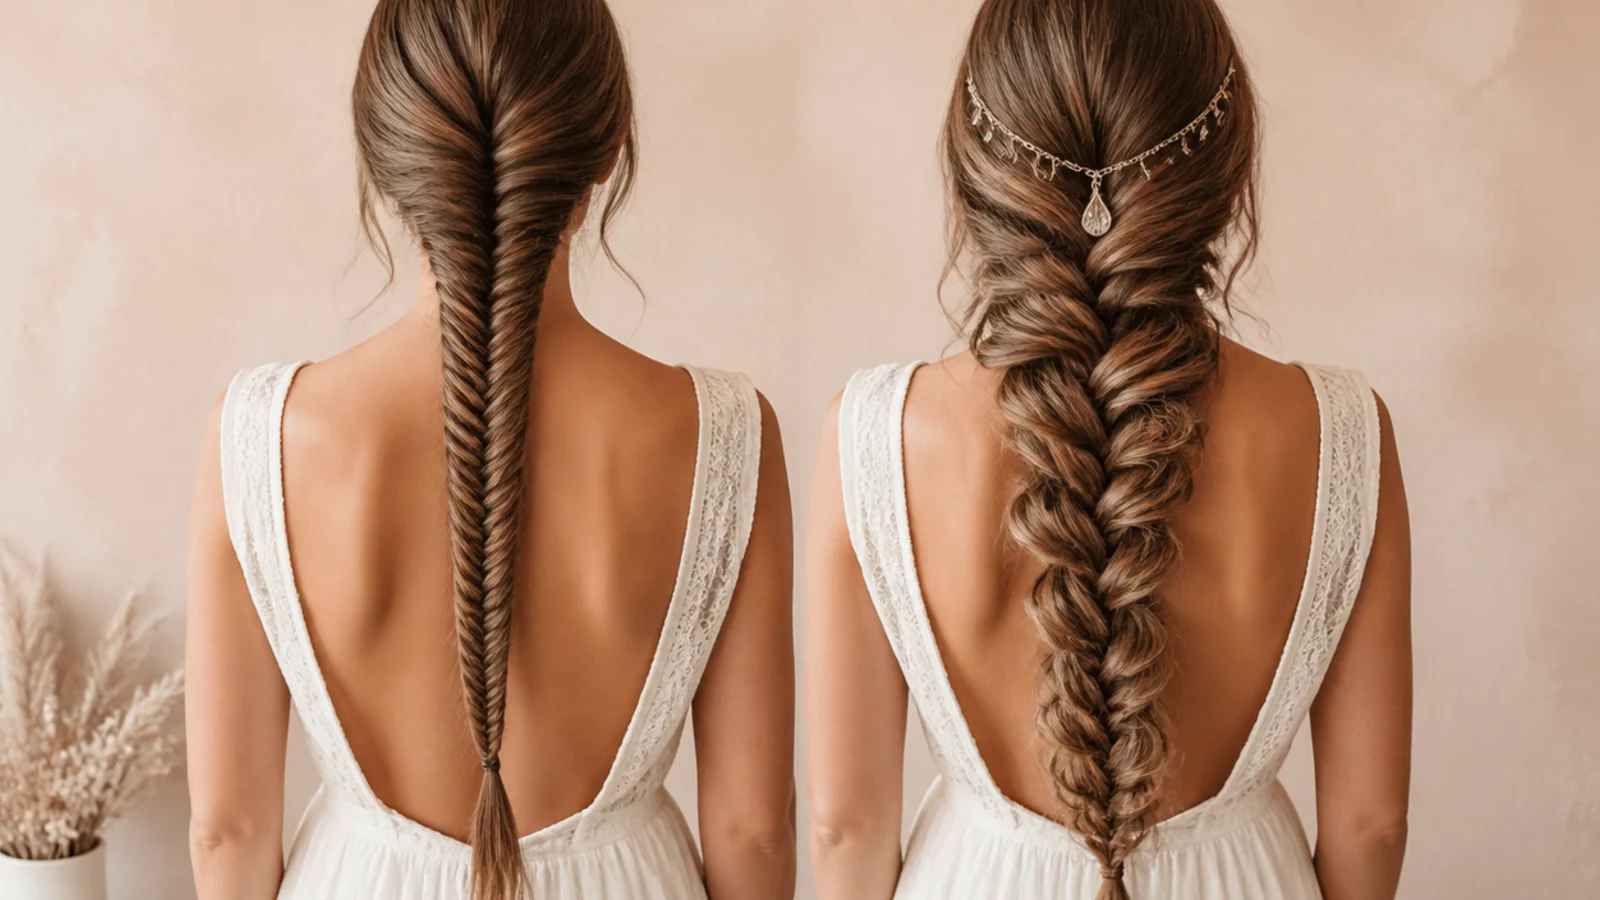
Thick hair wants two braids. A single fishtail on very thick hair becomes a bulky tube in which the herringbone disappears entirely.
Fine hair wants length added or a shorter braid. Both work for the same reason — a crossover needs enough hair in it to hold its own position.
Past the shoulder is where a fishtail starts paying off. The pattern repeats roughly every inch, so the braid needs a run of them before the eye reads it as a weave.
Fine and Slippery Hair
The failure is mass, not grip. Each crossover on fine hair carries too little to hold its position, so it sags back toward the centre and the braid closes.
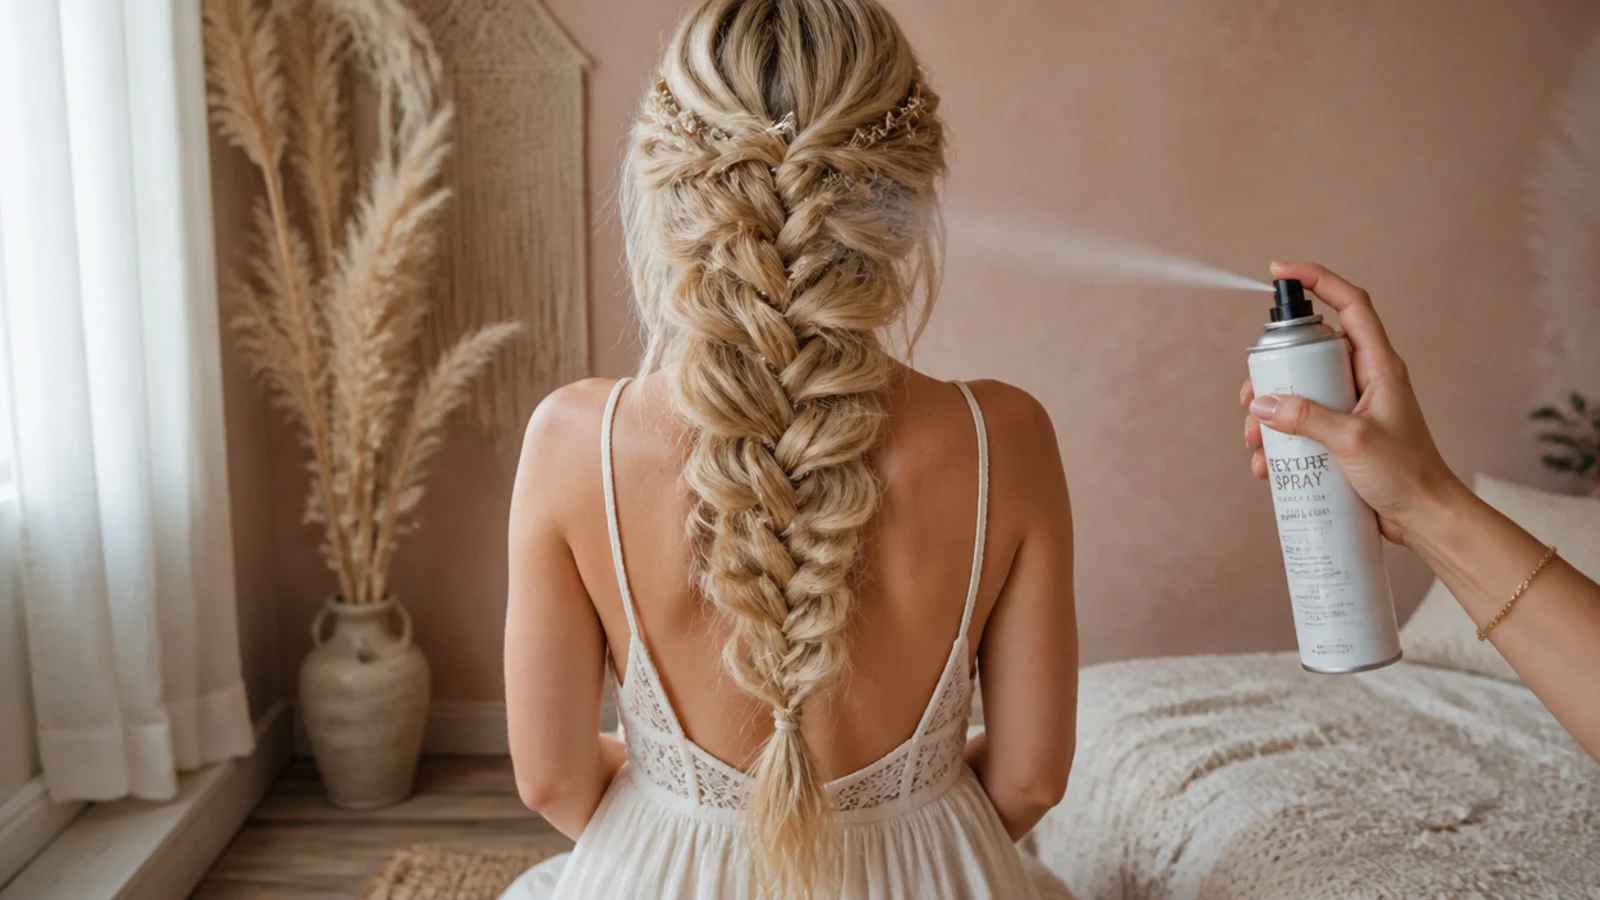
Texture spray goes on before you part. A light grit raises the friction between sections, which is the only thing keeping a widened braid open.
Second day hair braids better than clean hair. A day of natural oil and movement gives the surface something to catch on.
Use two clear elastics. One at the top of the braid stops tension travelling upward as you widen, and one at the bottom keeps the tail from unravelling.
Braid tighter than the finish you want. On fine hair the gap between how tight you braid and how loose it ends up is the whole technique.
Pancaking for Width
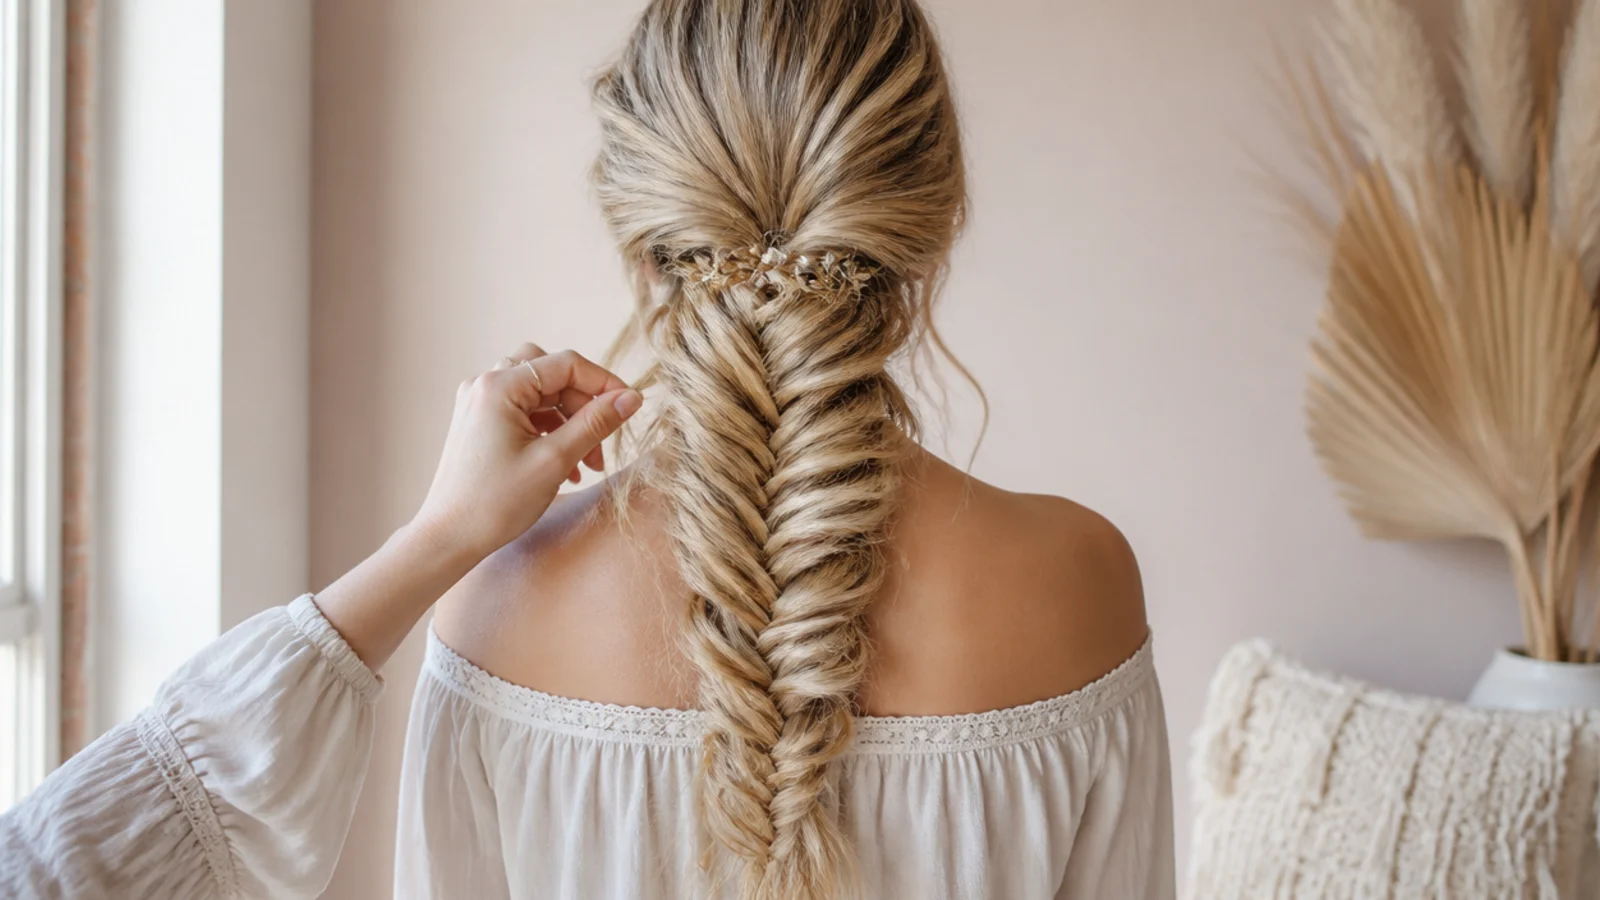
Pull the outer edge of each crossover, not the segment. The outer edge is the only part with slack in it, and that slack is where all the width comes from.
Work from the bottom upward. Widening the top first pushes tension down the braid and closes everything beneath it.
Secure before you widen. A braid pancaked before the elastic goes on has nothing anchoring the loosened pieces and simply comes apart in your hands.
Overshoot the width. A widened braid settles closed over the first hour, so the version that looks slightly too wide in the mirror is the one that looks right an hour later.
Waves Accessories and the Boho Finish
Wave before you braid, never after. An iron cannot reach into a finished braid, and heat on a braided section sets a crimp rather than a wave.
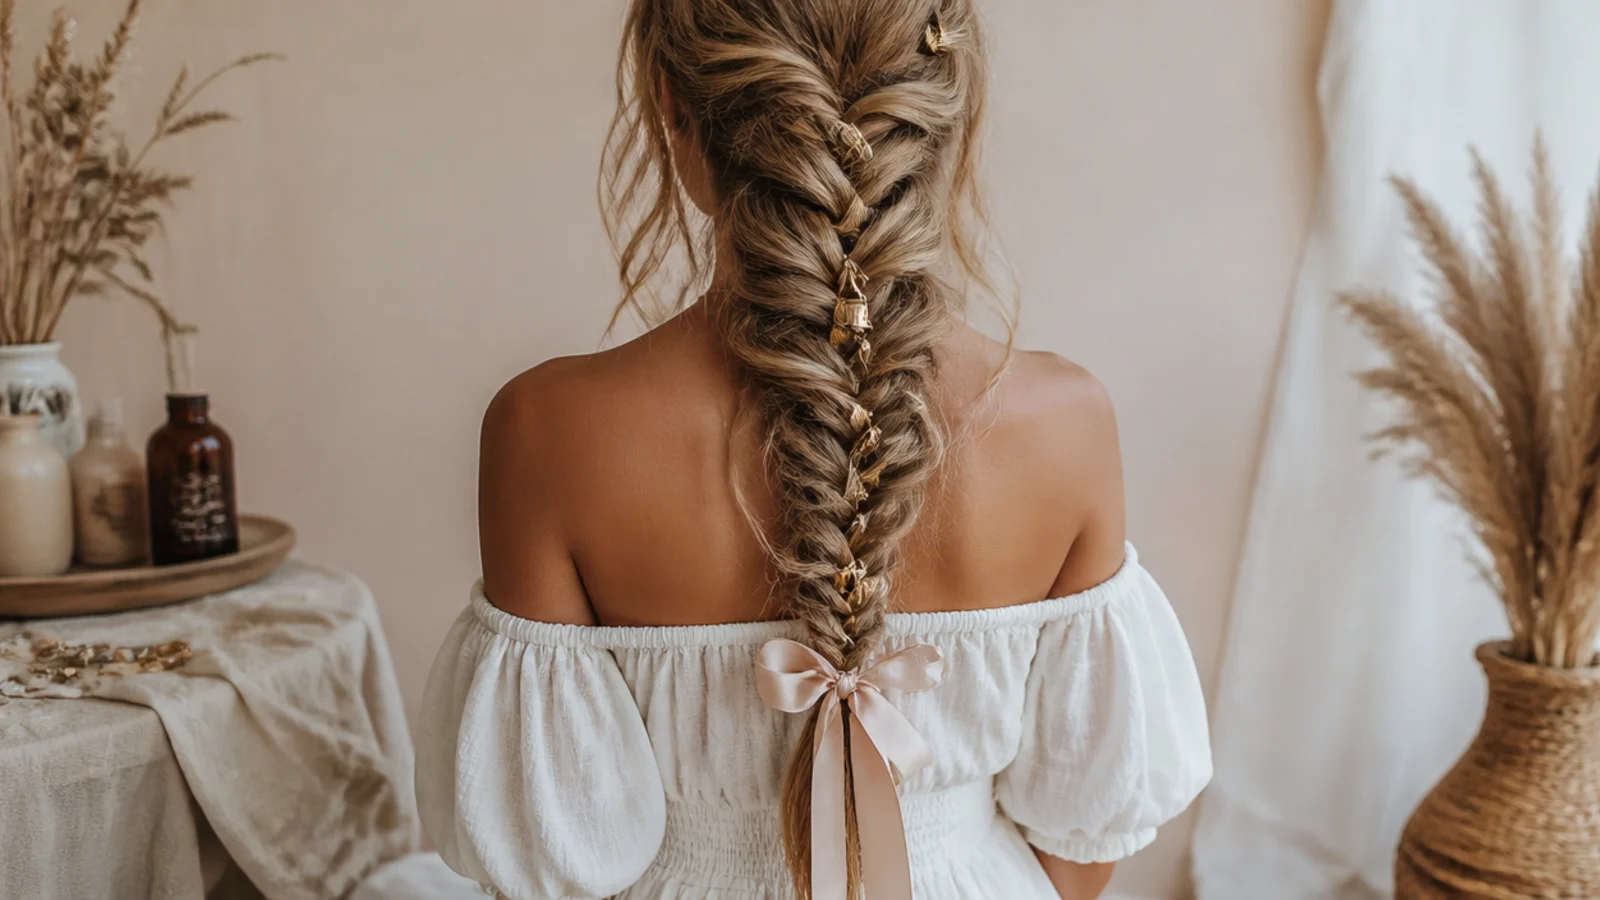
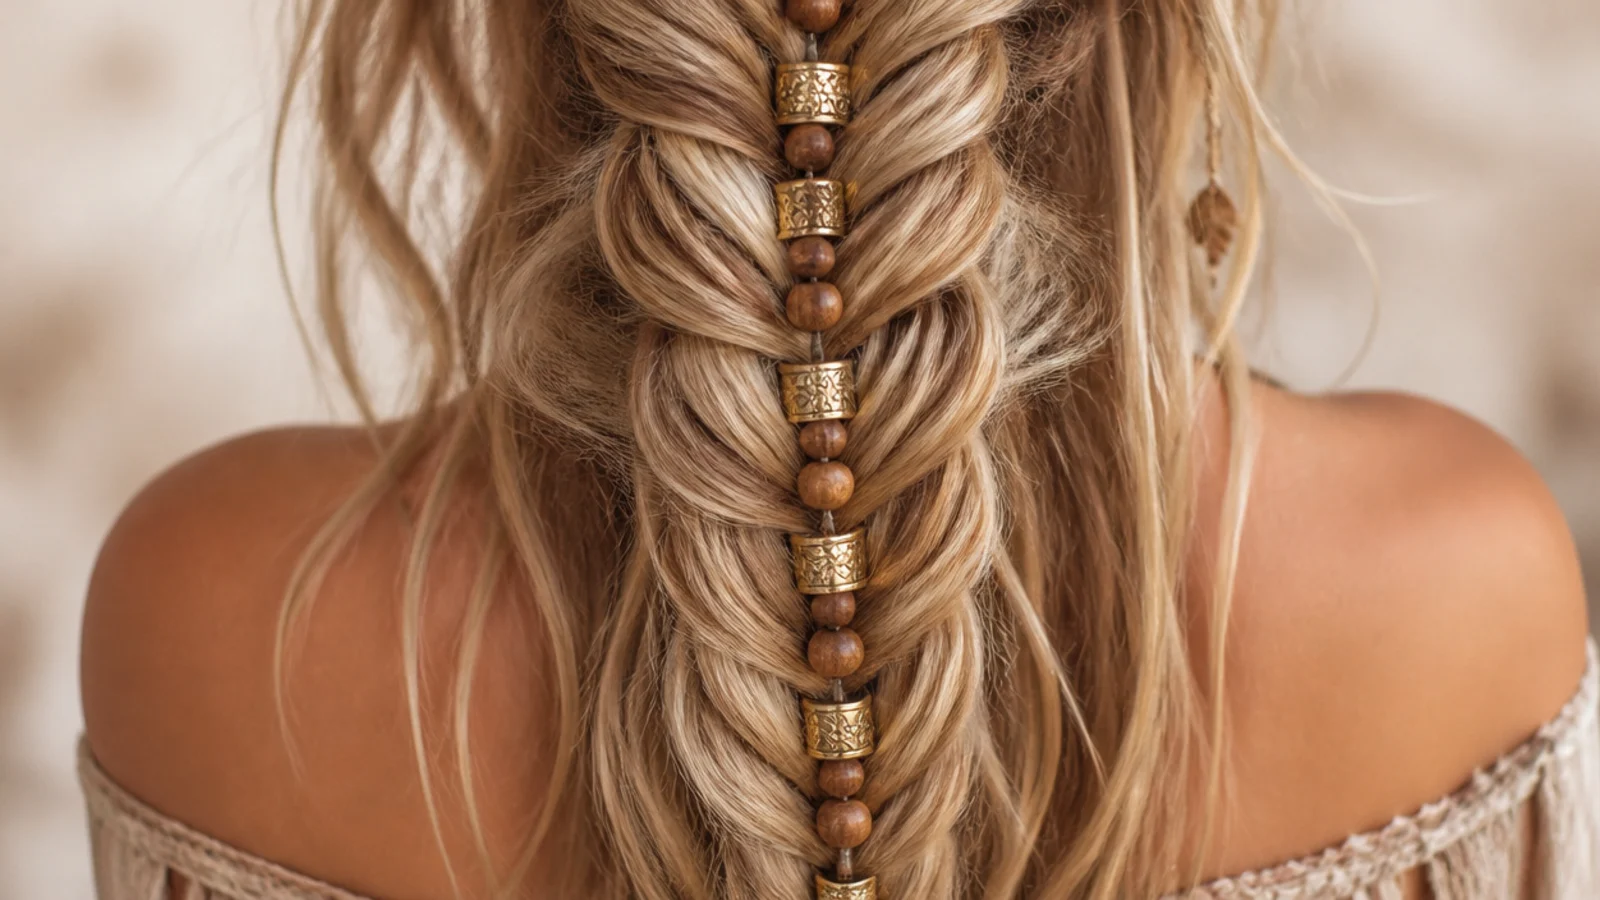
Weight holds width. Anything hung on the tail pulls downward on the crossovers above it, which is why beads and cuffs are structural rather than decorative here.
Each accessory does a different job. Metal cuffs set a fixed width, a ribbon carries tension so the braid can be widened further, and flowers add neither but sit still once pushed in.
Face framing pieces come out at the parting stage. Braided in and pulled out afterwards, they keep a bend from the crossover they sat in for the rest of the day.
One texture across the whole head. Waved braid over waved loose hair reads as deliberate. A smooth braid over waves reads as two hairstyles at once.
Making It Last
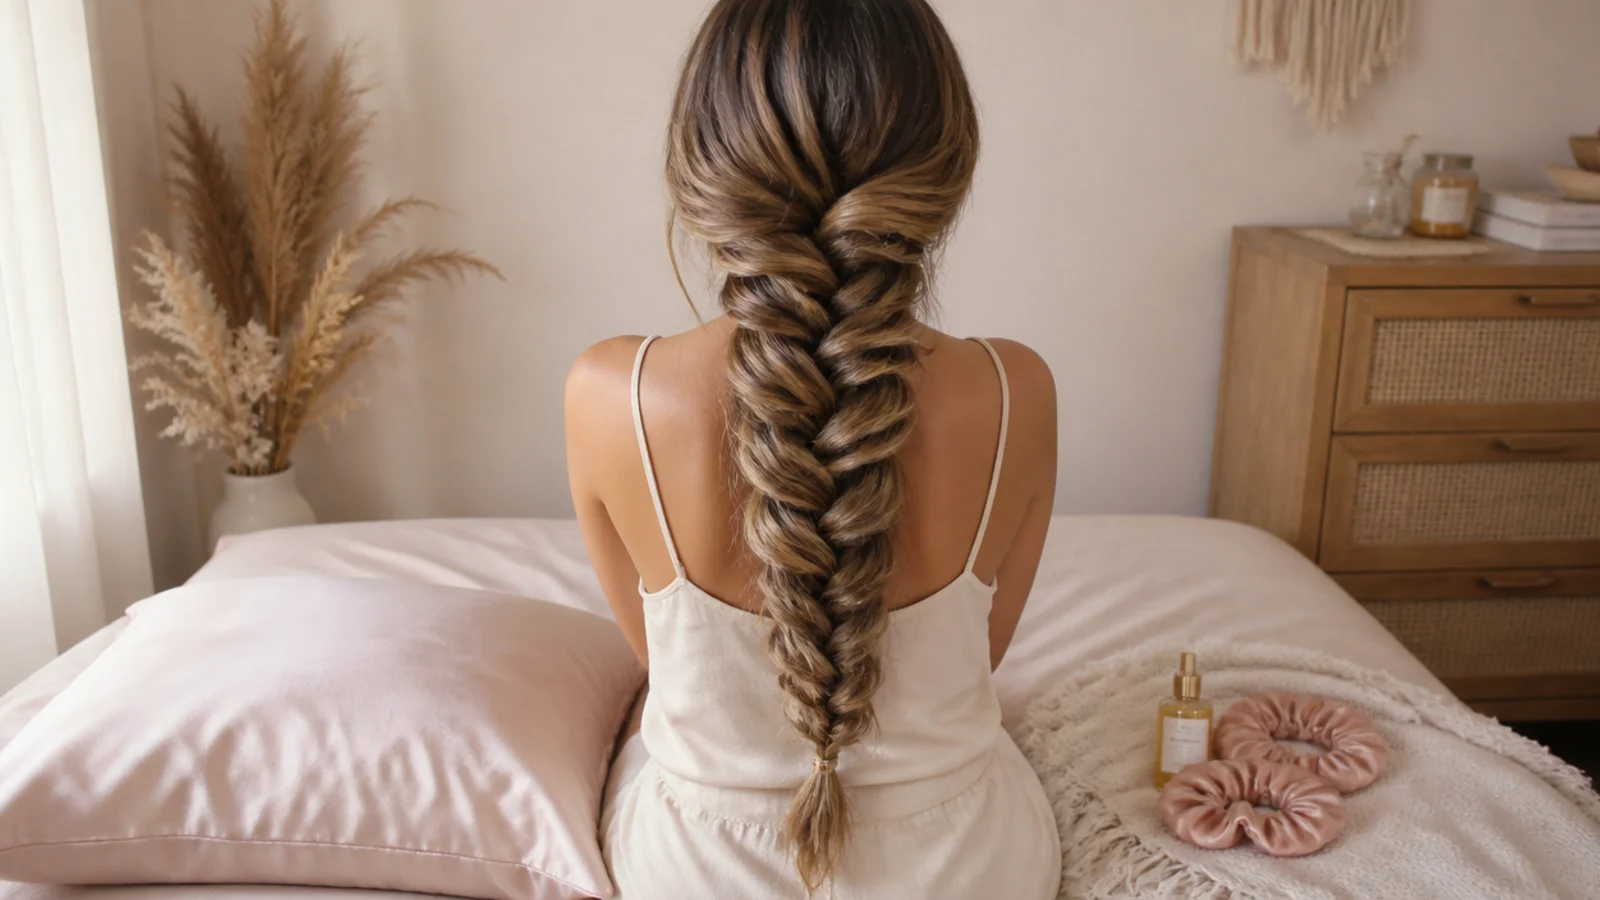
Sleep in a scarf rather than a plait. Friction against a pillow drags the widened edges back in, and a scarf removes the friction without restricting the braid.
Re pancake in the morning. A braid that has closed overnight has not come undone, and ten seconds of pulling on the edges restores it.
Dry shampoo at the root only. Powder sitting in the crossovers dulls the surface and makes a soft braid look dusty.
Two good days is the realistic span. Day one is sharpest and day two is usually softer and better, and by day three the crossovers have lost too much definition to widen back.
The 15 Boho Mermaid Braid Ideas
1. Loose Waist Length
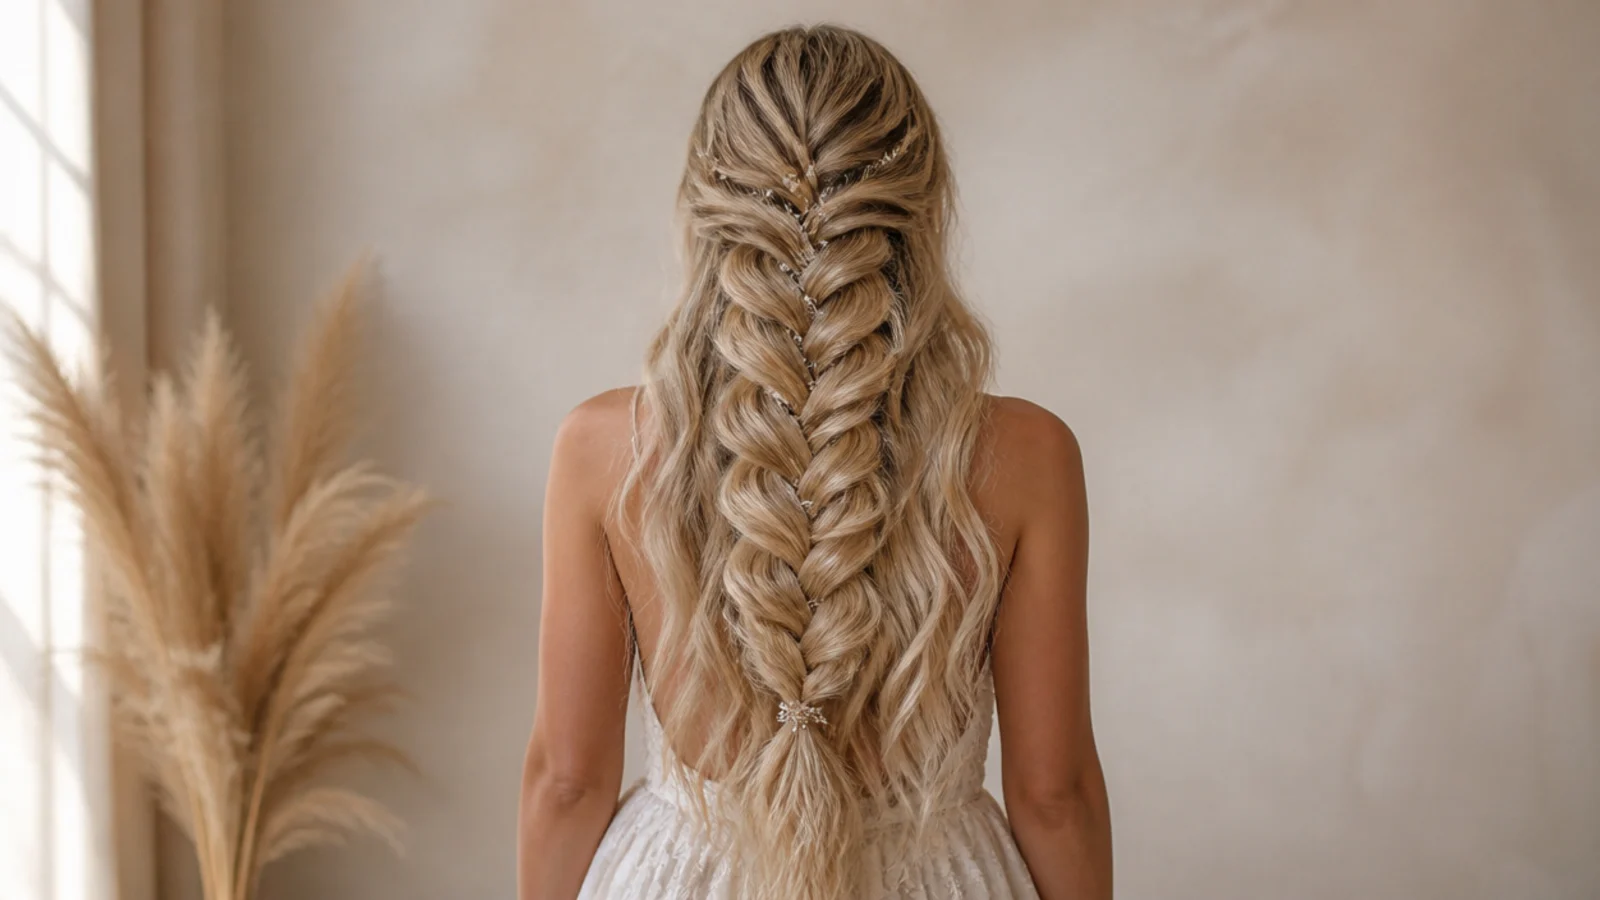
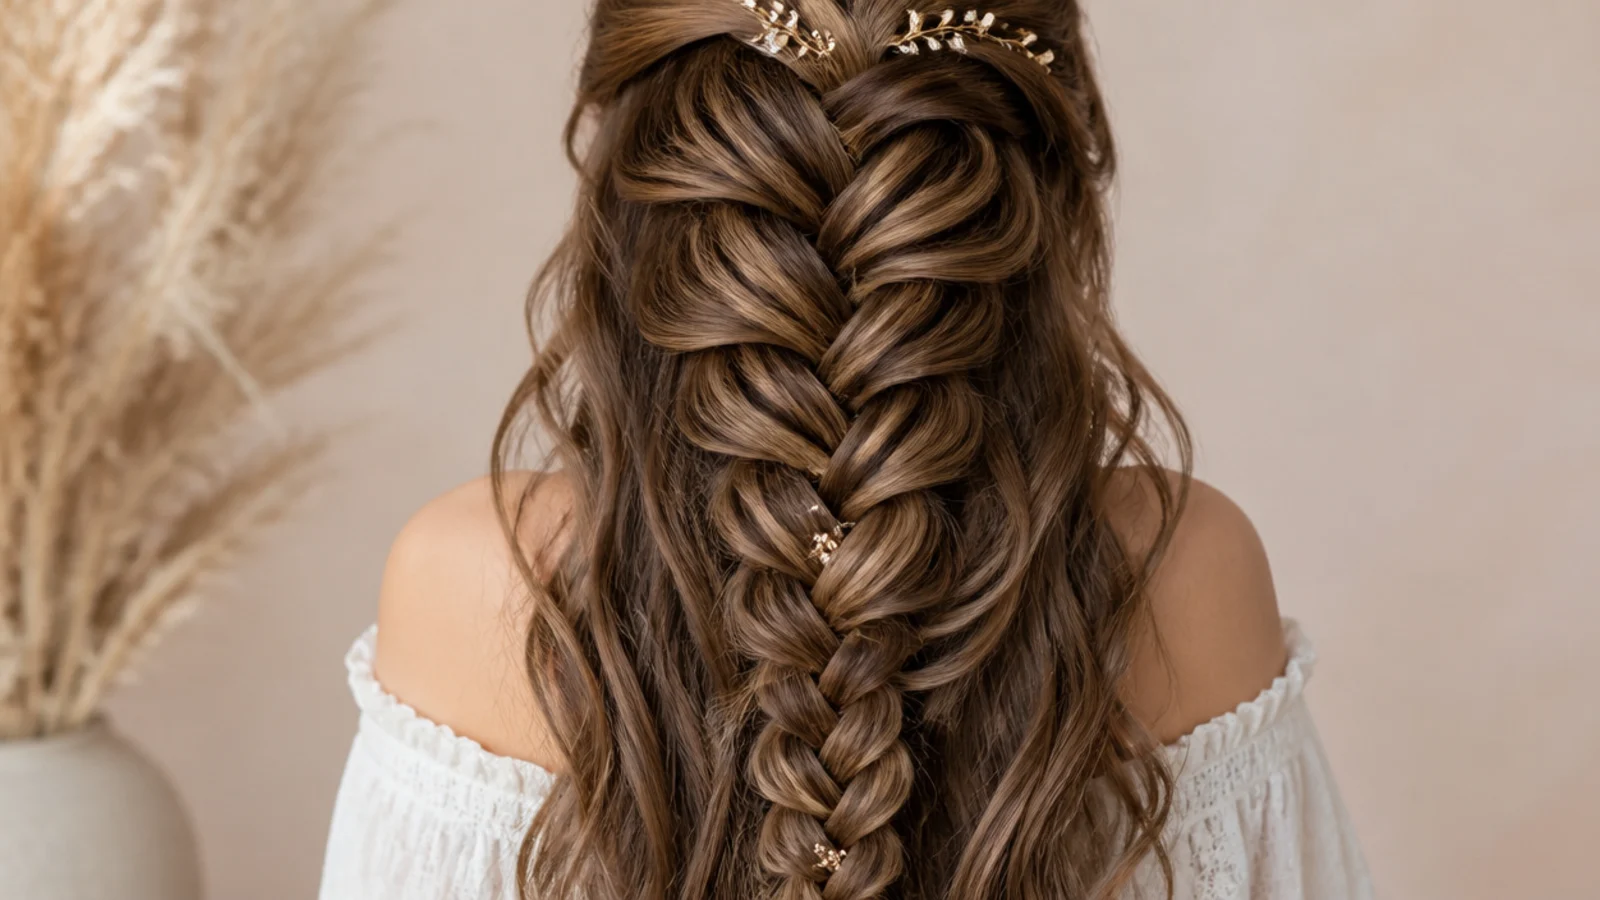
The longest version, and the one where gravity does the maintenance for you. A tail this long hangs heavy enough to keep every crossover above it pulled open, so the braid holds its width through the day without being touched.
2. Side Swept
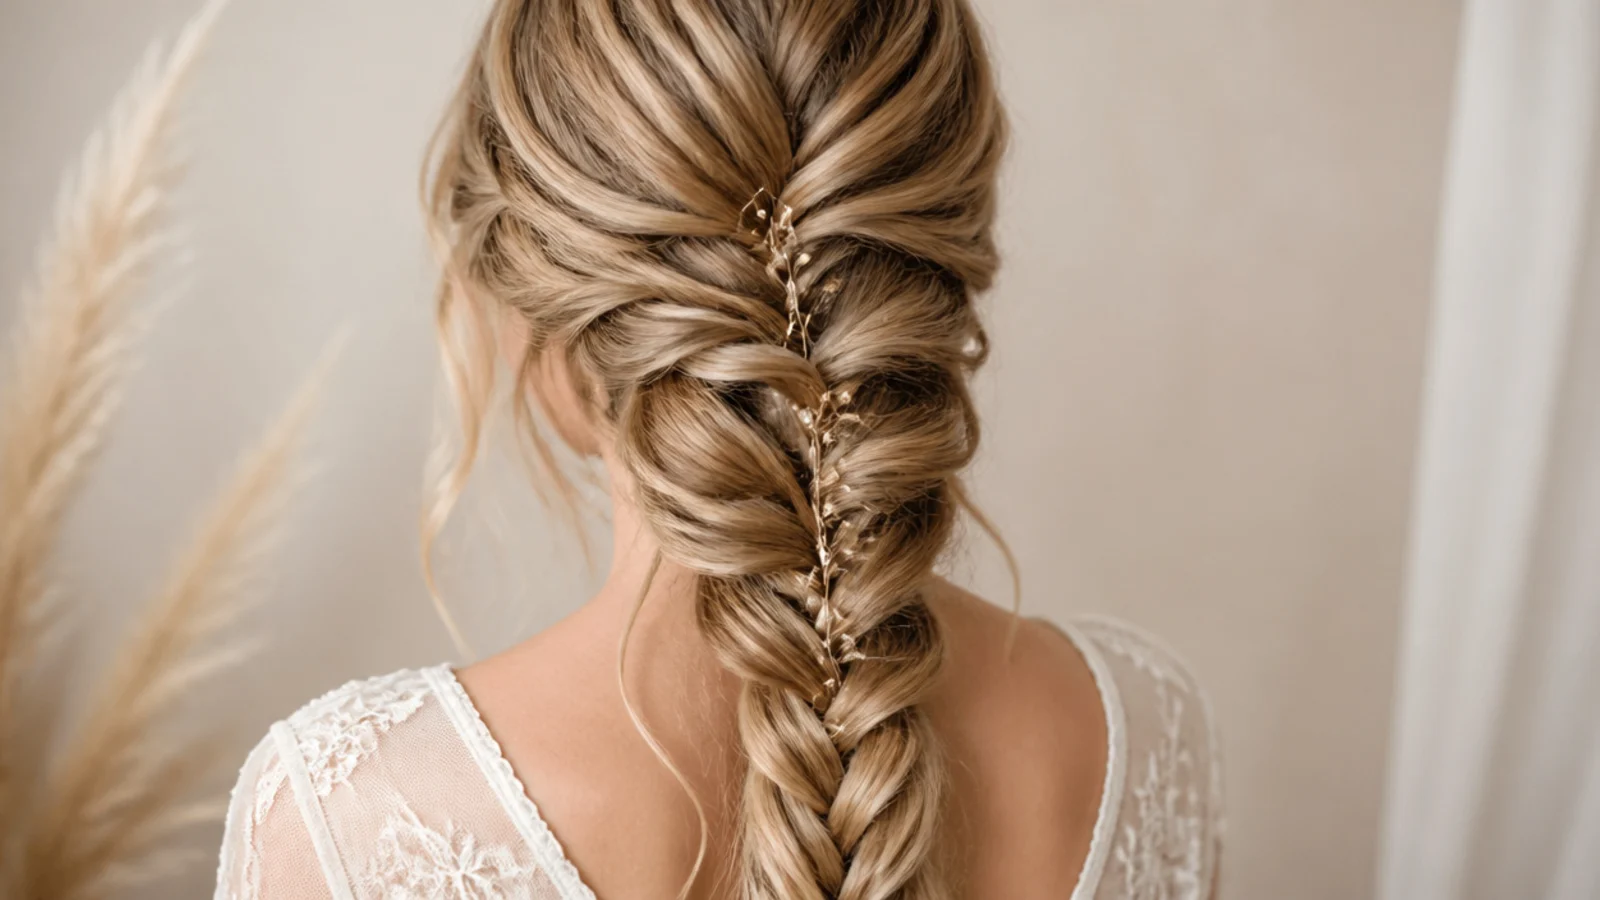
Braided from behind one ear and brought forward over the shoulder. Moving it off centre takes the braid off the spine, so it rests against the collarbone where it stays visible rather than disappearing behind you every time you turn.
3. Half Up With Face Framing
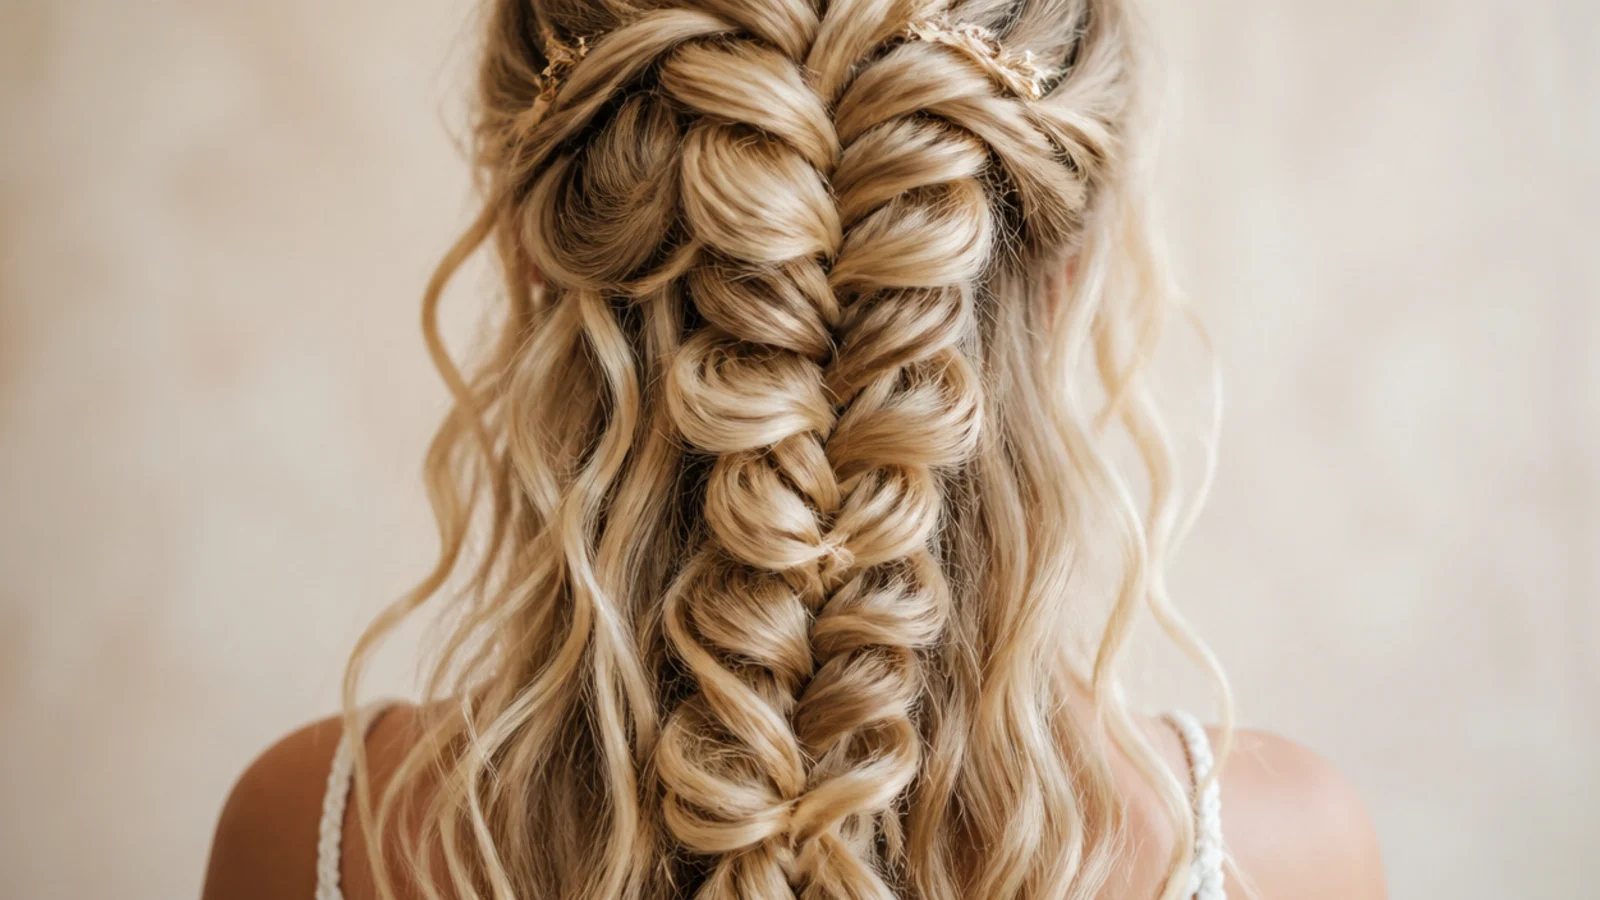
Only the top third goes into the braid, and the two pieces at the temples are separated before the first crossover rather than pulled out at the end. Pulled out afterwards they carry a bend from the segment they sat in that will not drop out.
4. Ribbon Woven
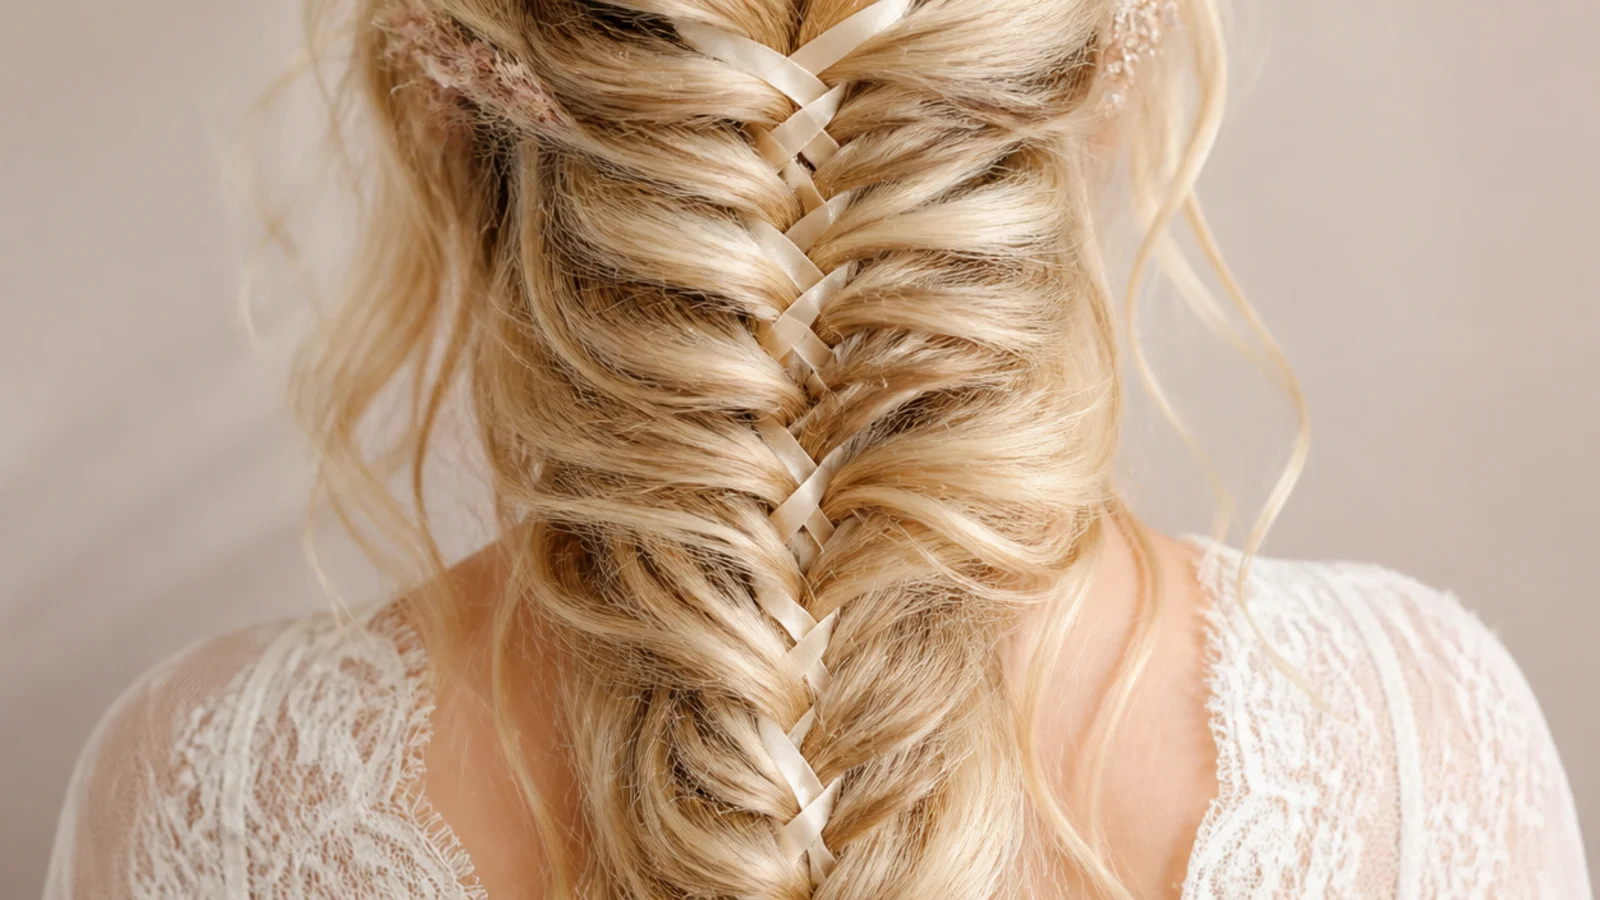
A ribbon threaded through the crossovers takes part of the load, which lets the braid be widened past what the hair alone would hold. It also traps the loose pieces you pull afterwards, so nothing slides back into place.
5. Fine Shoulder Length Hair
The hardest combination here, because a short braid runs out of tail before the weight can hold anything open. Braid all the way to the ends, secure with two clear elastics, then widen only the top half so what little length there is stays anchored.
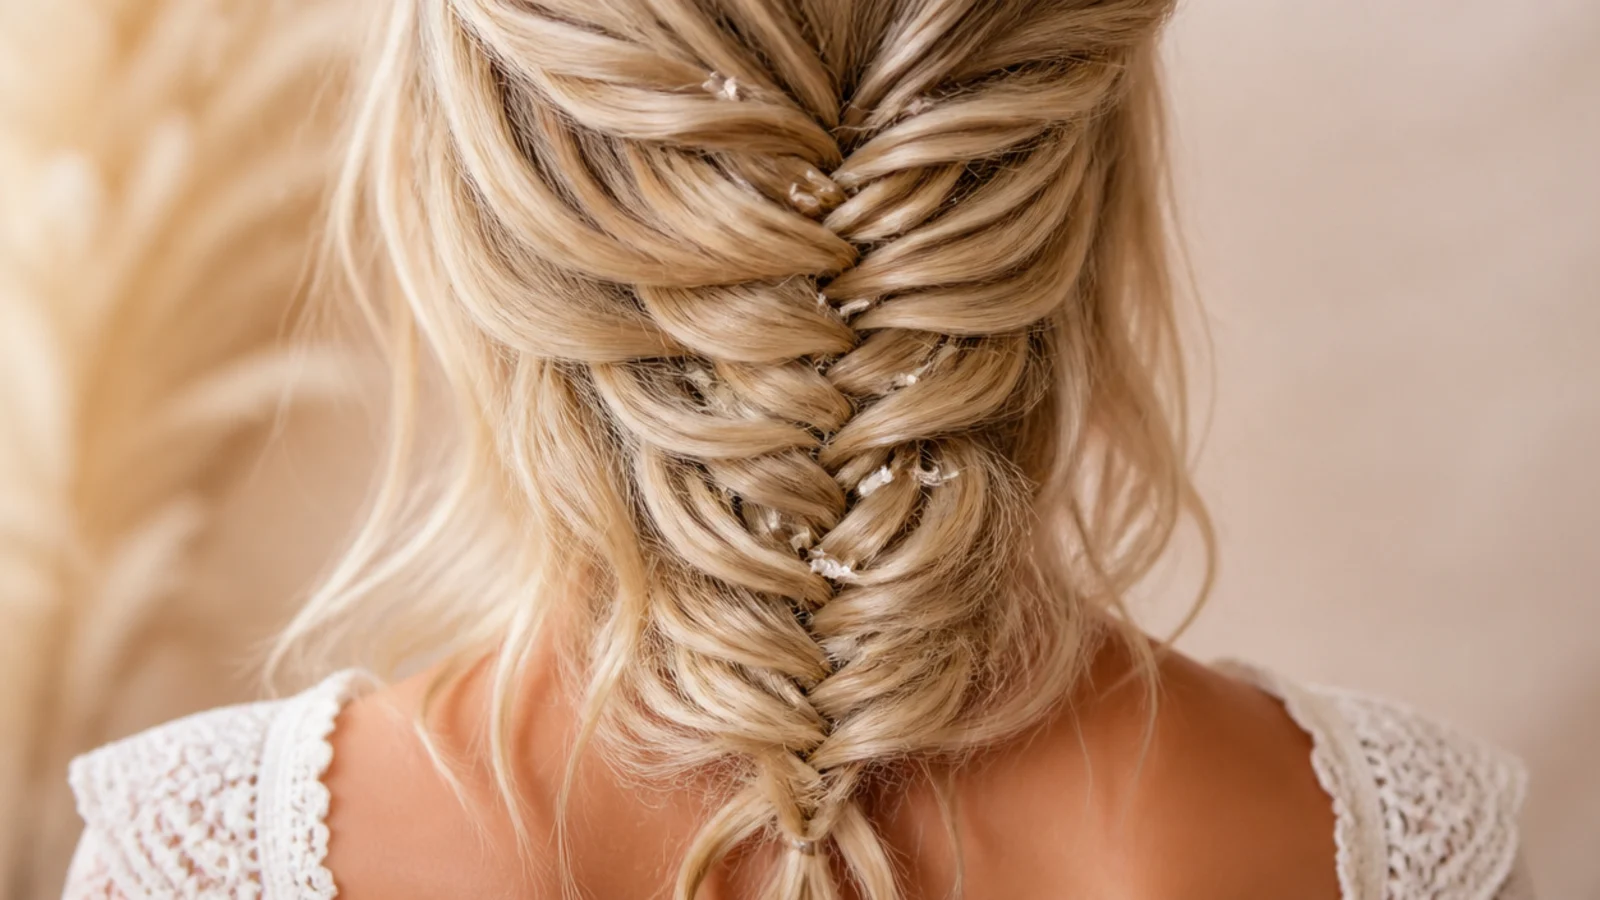
6. Double Braids on a Middle Part
Splitting the hair halves the mass in each braid, which makes every crossover thinner and the pattern finer. On thick hair that is the point — a single fishtail turns into a tube too bulky for the herringbone to show at all.
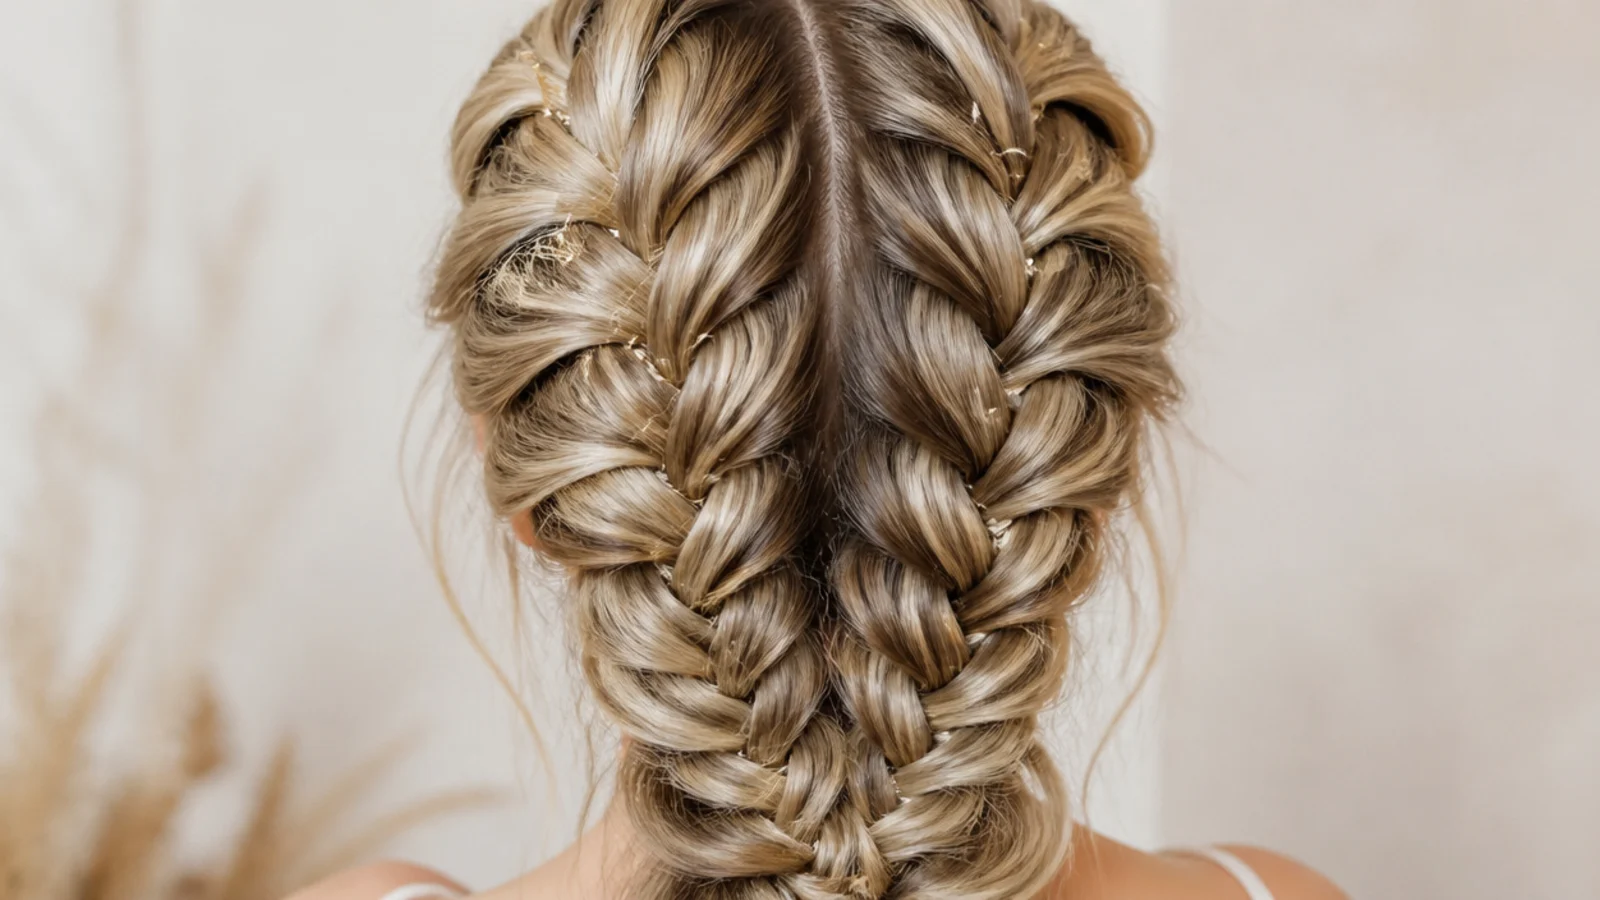
7. Crown Halo
Taken around the head above the ears and pinned at the back. Because the braid lies flat on the scalp, the loose pieces have nowhere to fall, so all the softness has to come from pancaking rather than from letting strands drop.
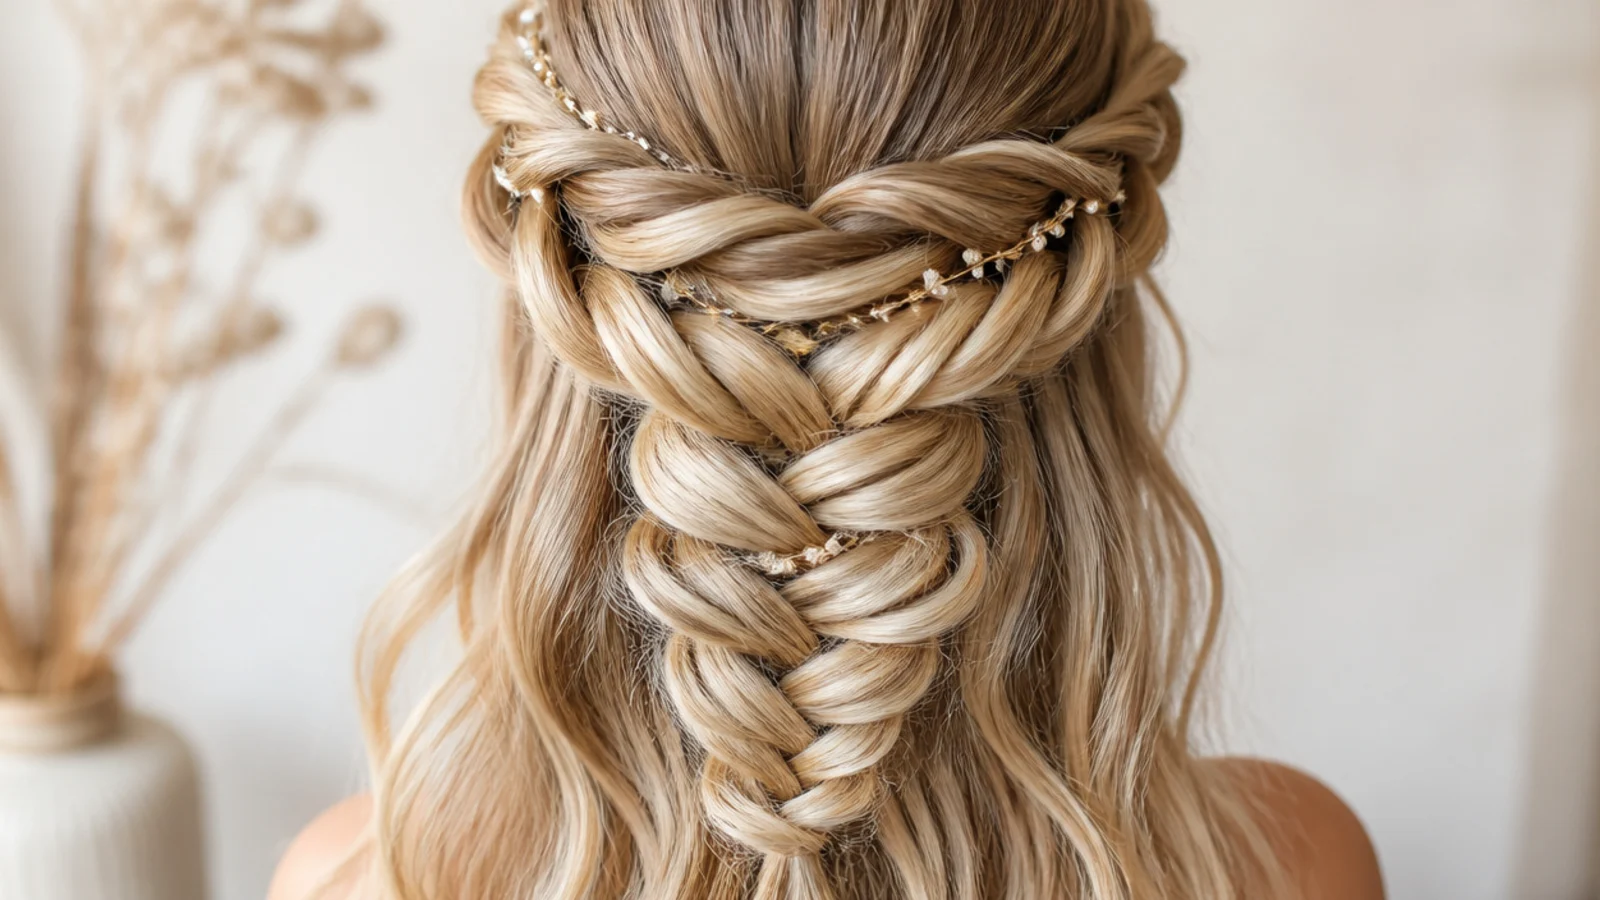
8. Beach Wave Festival Braid
Salt spray roughens the cuticle so sections grip each other rather than sliding, which is what allows a very loose braid to hold at all. The wave also bulks out each crossover, so the same quantity of hair produces a visibly wider braid.
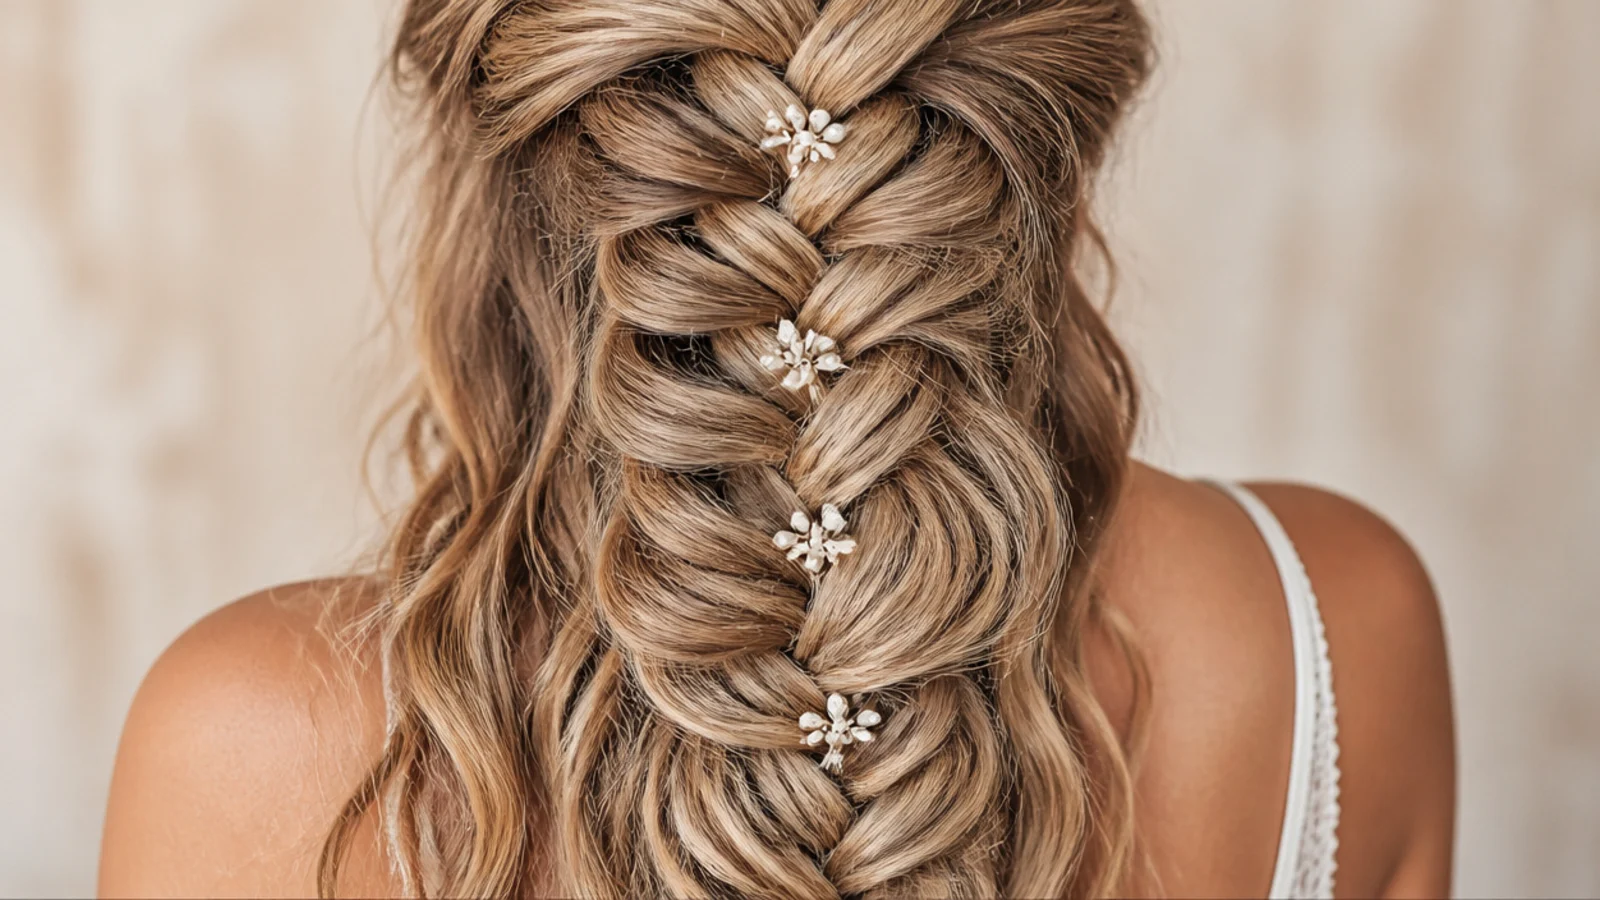
9. Gold Cuffs and Beads
Metal cuffs clamp a section at a fixed width and hold it there mechanically. Spaced down the tail they set the widest points of the braid for you, which is far more reliable than pancaking on hair that keeps creeping closed.
10. Braid Into a Low Bun
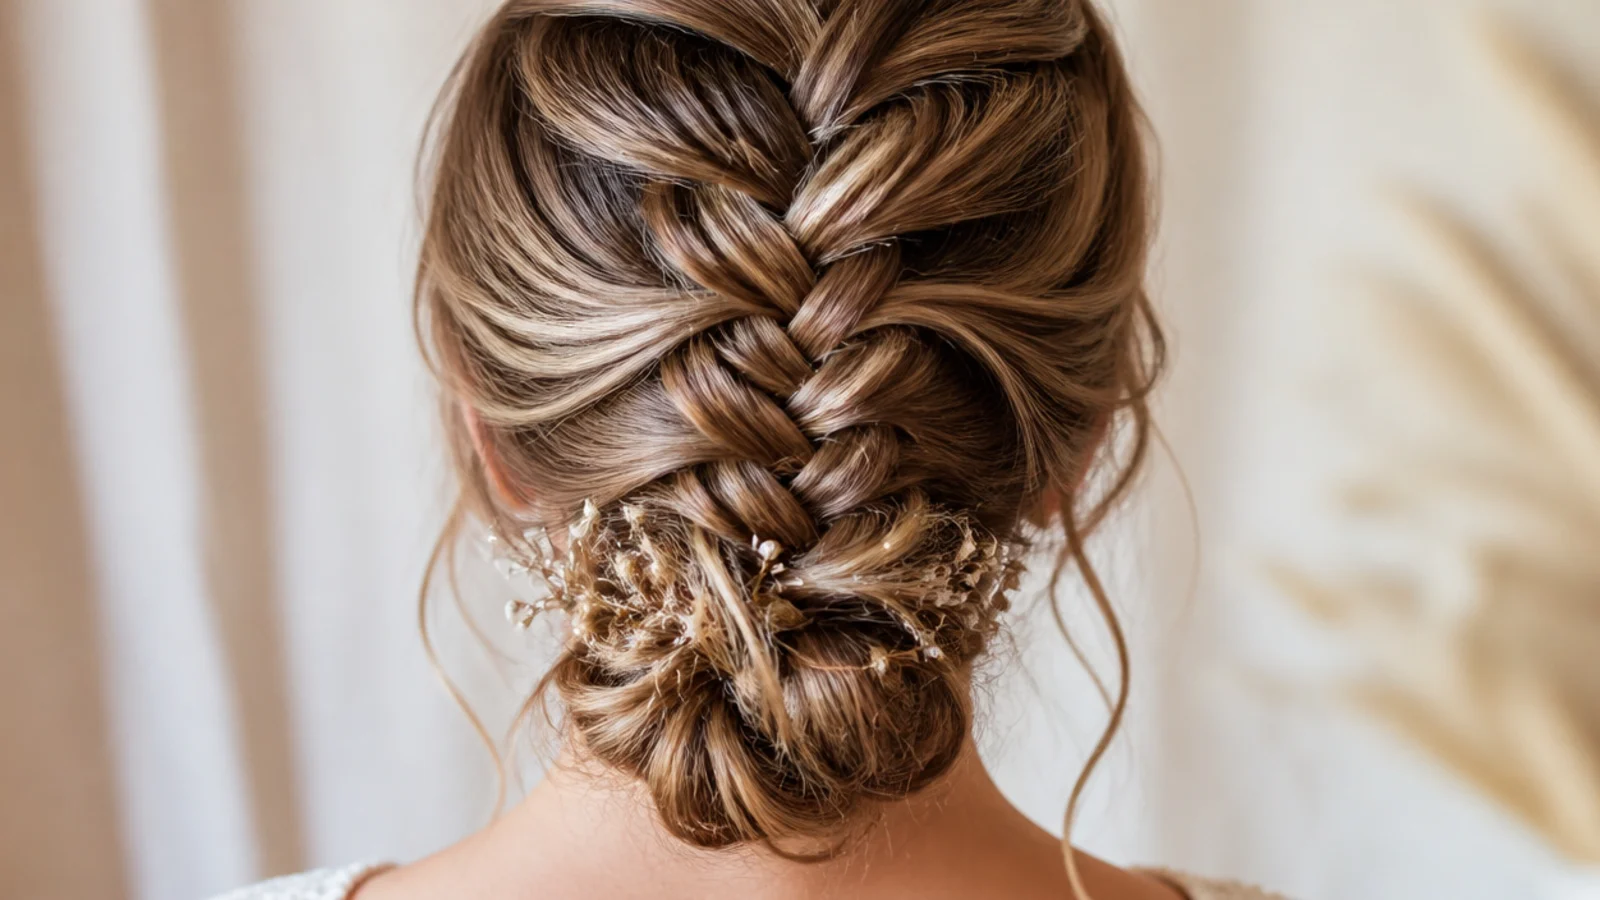
The tail is coiled and pinned at the nape while the braided section stays on show above it. Coiling removes the weight that was holding the crossovers open, so pancake the braid fully before the bun goes in rather than after.
11. Dried Flowers for a Wedding
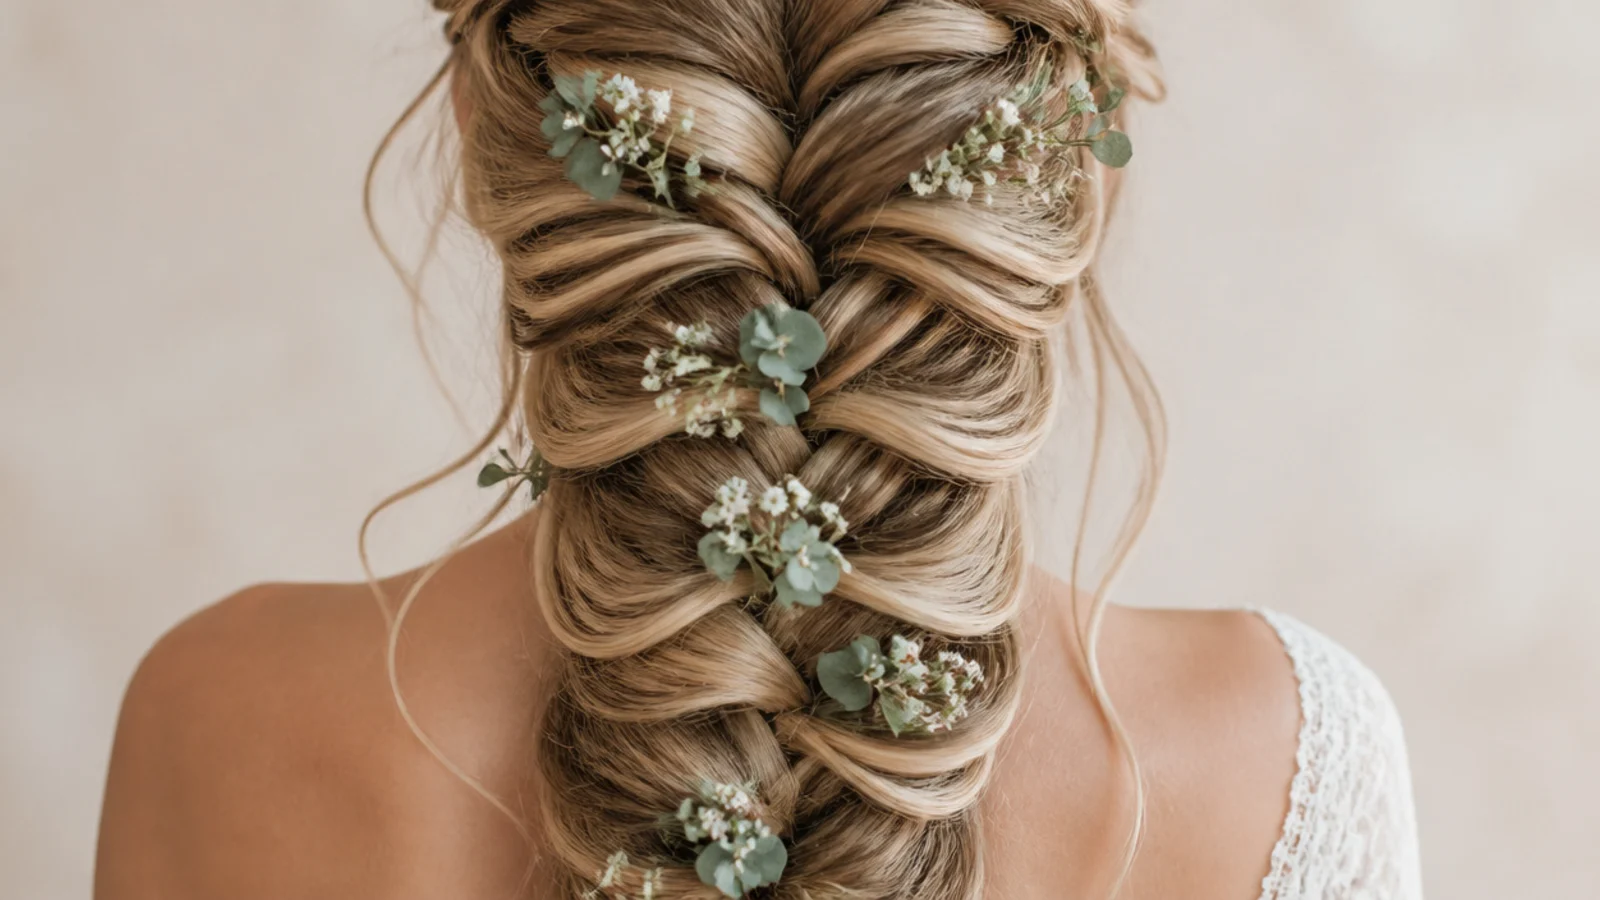
Dried stems are stiff enough to slide into a crossover and stay there without a pin, where fresh stems wilt within an hour and slip straight out. Push them in from the side so the stem hides under the segment above rather than sitting on top of it.
12. Curly 3b Hair
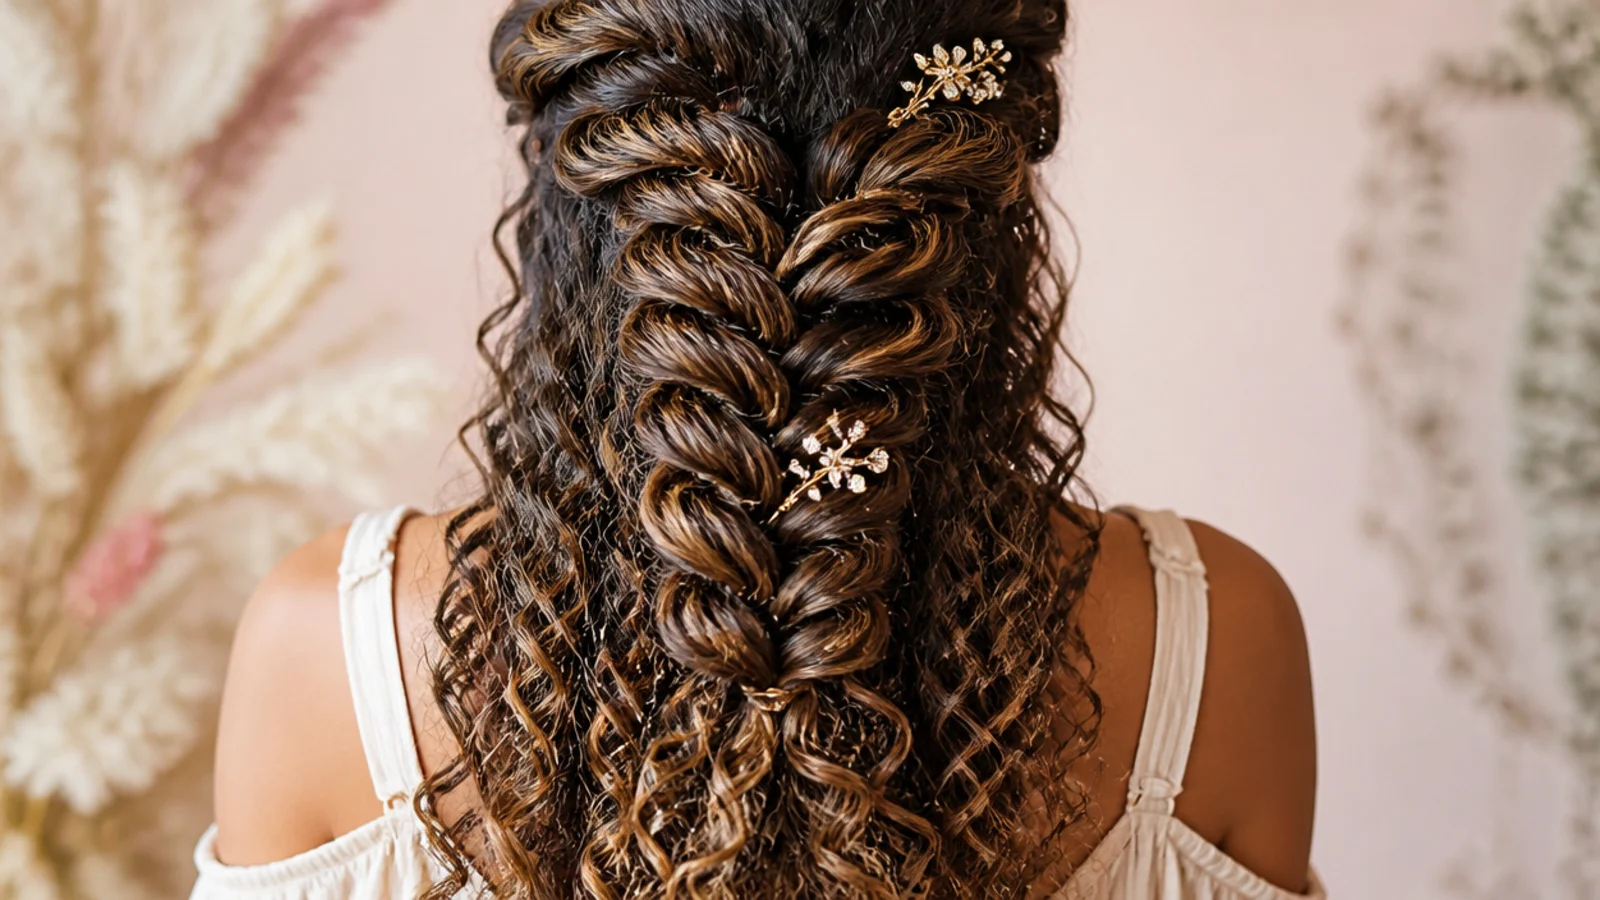
Curl gives each crossover natural bulk, so a 3b fishtail is wide before it is pancaked at all. Stretch the hair first with a low blow dry or overnight banding, because braiding unstretched curl loses so much length that the pattern never gets room to repeat.
13. Loose Wave Extensions
Clip in wefts add length and mass, and mass is what a boho braid is usually short of. Clip them a couple of inches below the crown so the join sits inside the braided section, where the crossovers cover it, rather than under the loose hair.
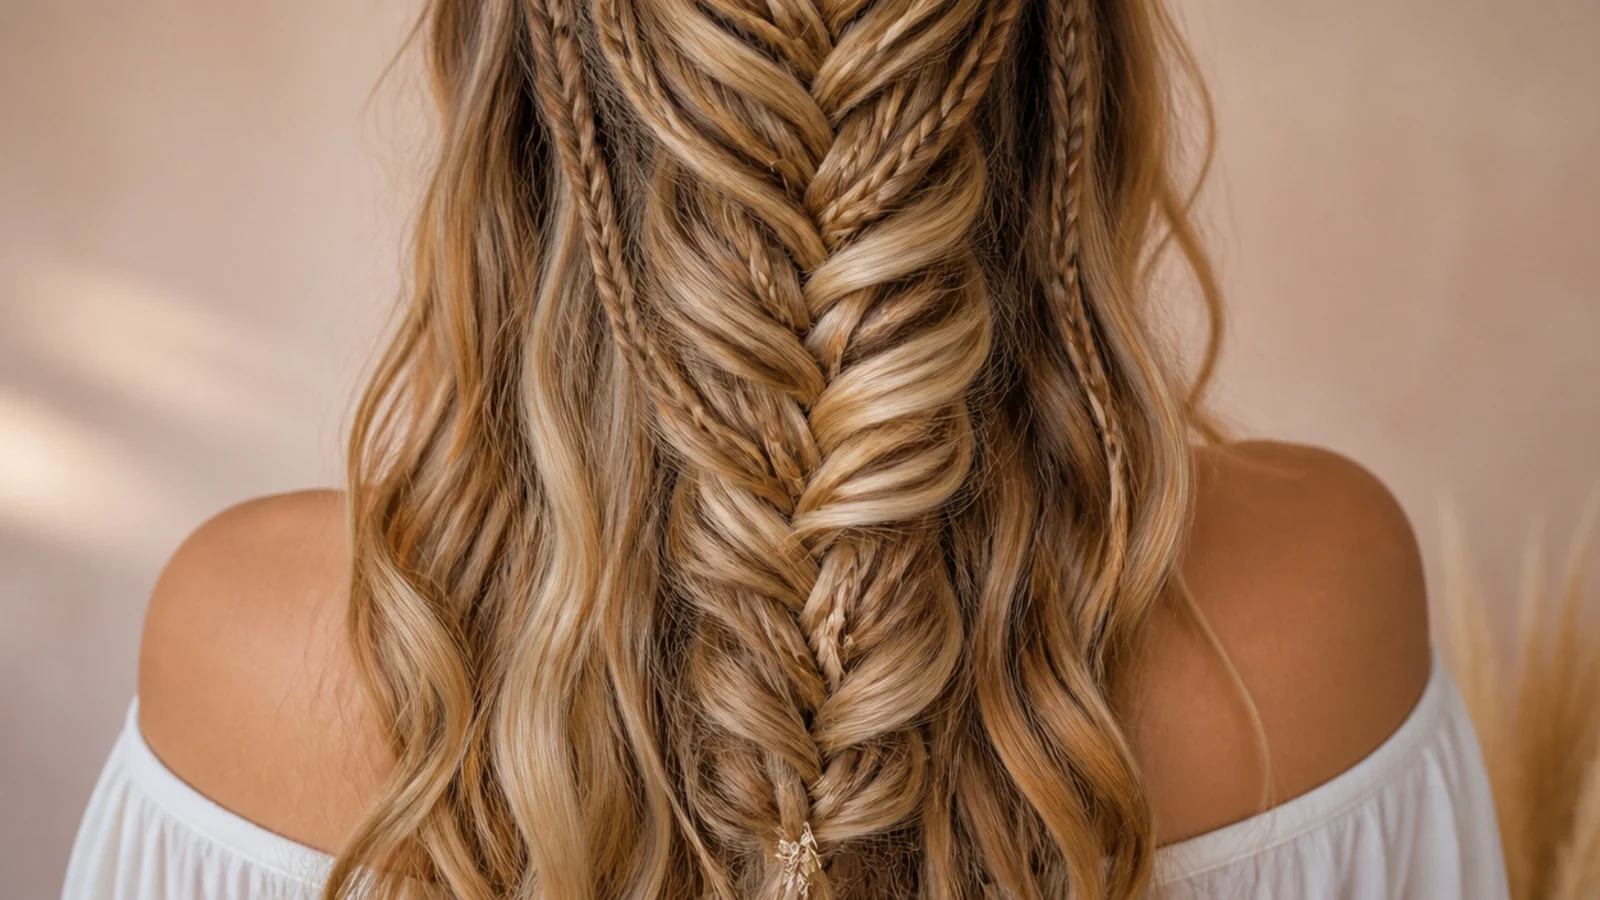
14. Messy Day Two
A braid slept in has closed rather than come undone, and widening the edges again takes seconds. The second day usually looks better than the first, because the hair has lost some of its spring and holds an open segment more willingly.
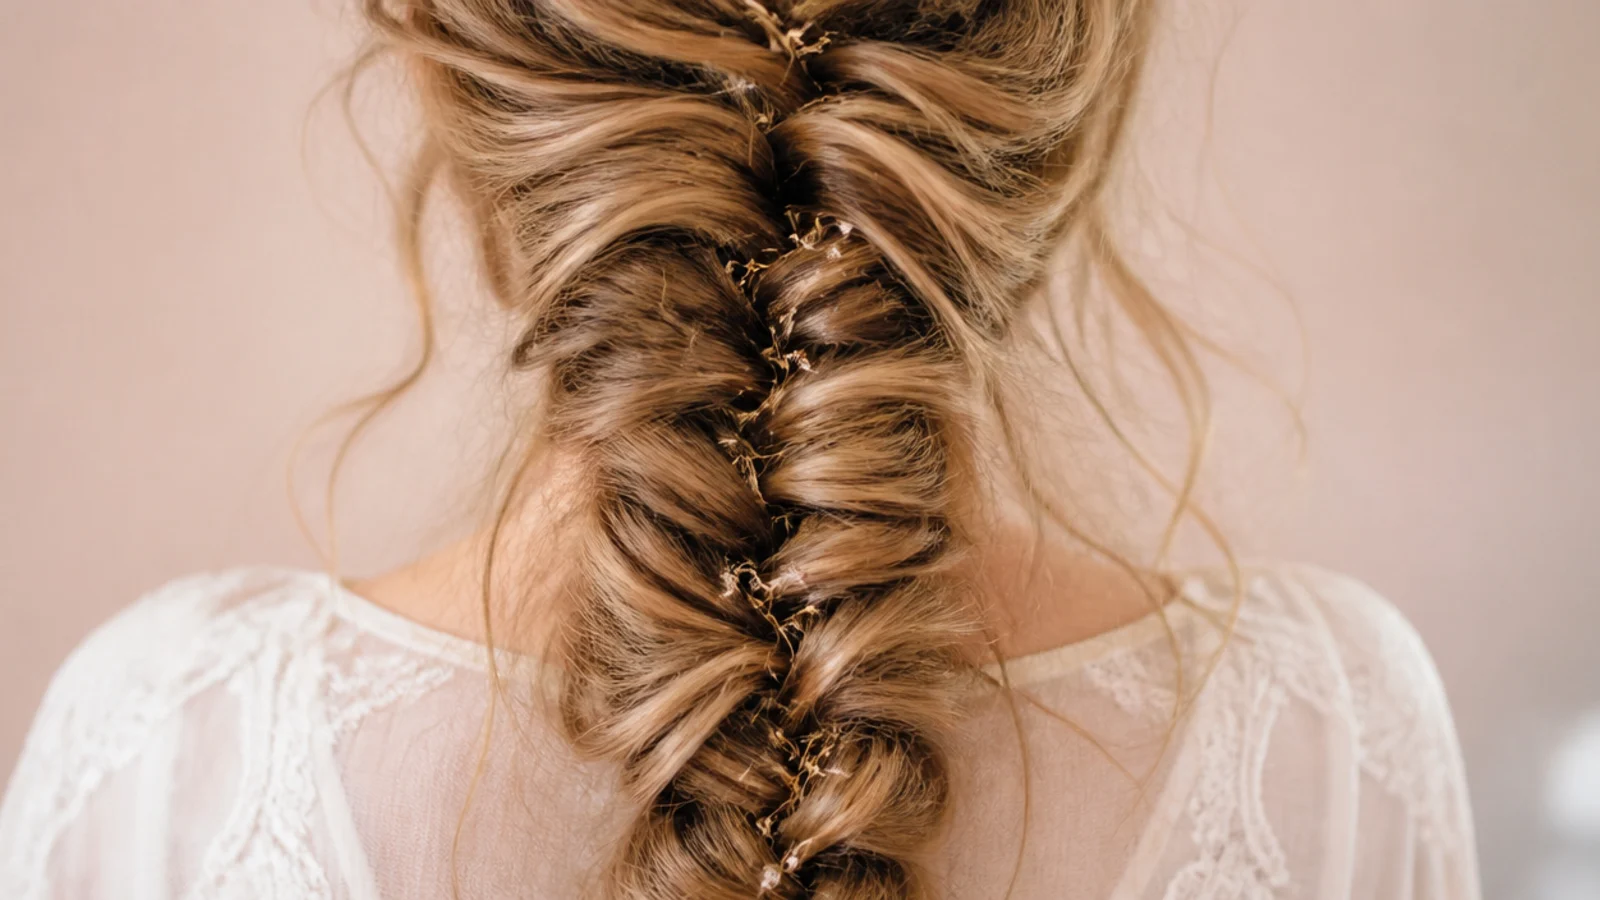
15. Curtain Bangs Left Out
The fringe is separated and clipped away before the first section is taken, so it never carries any braid tension. Braid it in and pull it out later and there is a bend halfway down the fringe that no amount of styling will drop that day.
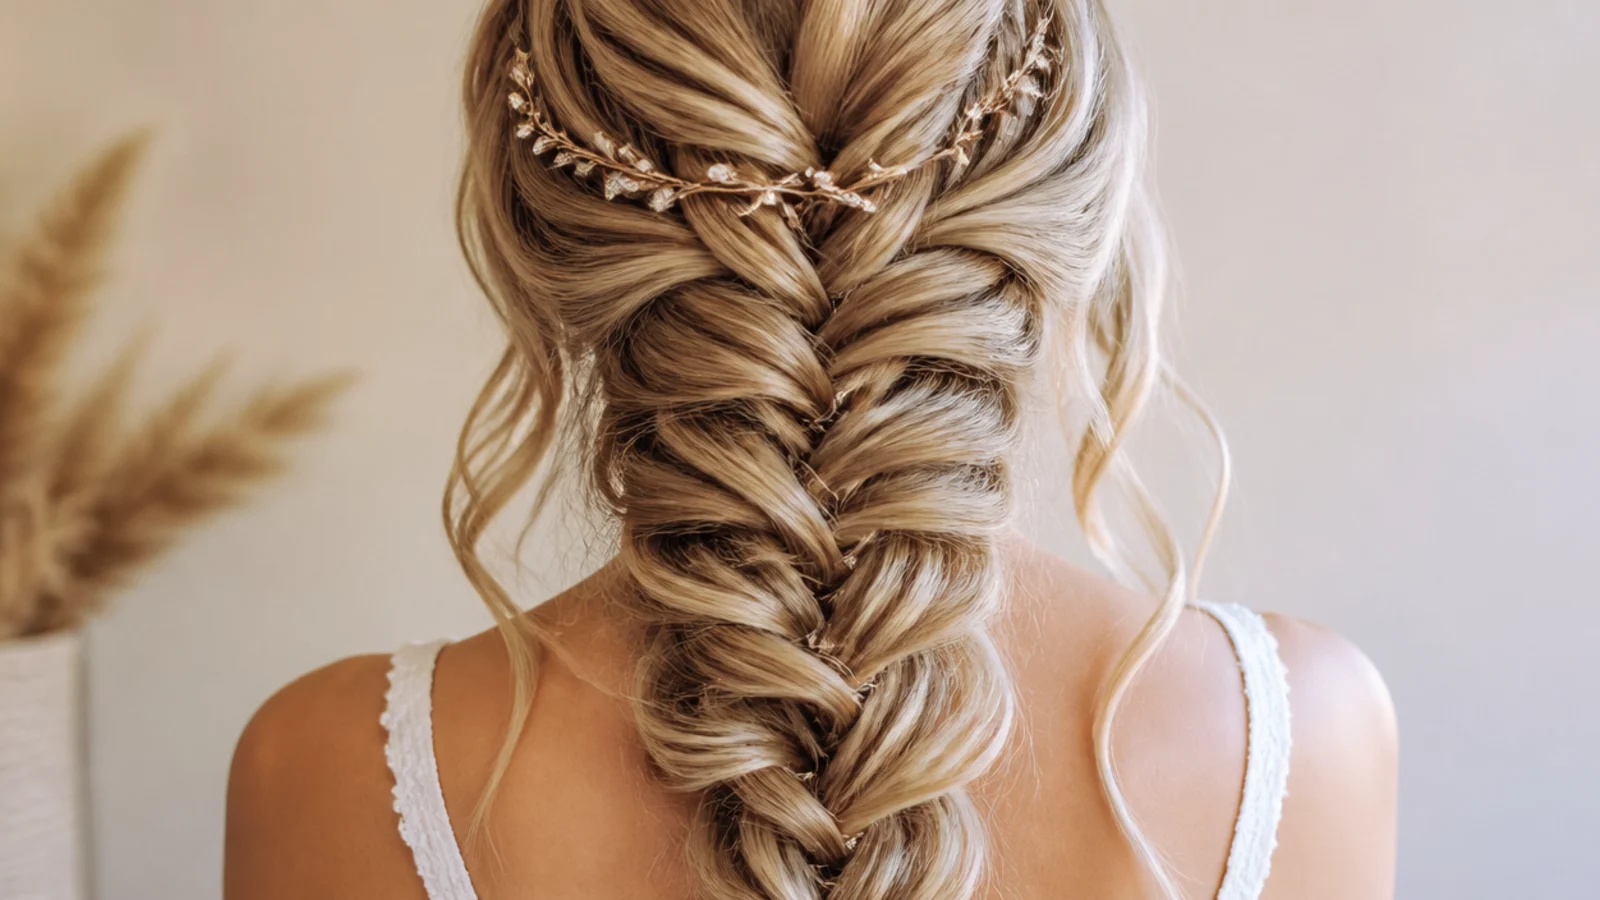
Final Thoughts
Braid it tighter than the picture, then take it apart on purpose. Every soft edge in a boho braid is a decision made after the elastic went on, and the ones that look most effortless are the ones held together most firmly underneath.
For the same look built to last weeks rather than days see the medium knotless version and the large knotless version. More in Braids and Protective Styles.
Frequently asked questions
Related posts
See all posts
20 Waterfall Mermaid Braid Ideas That Hold
Read more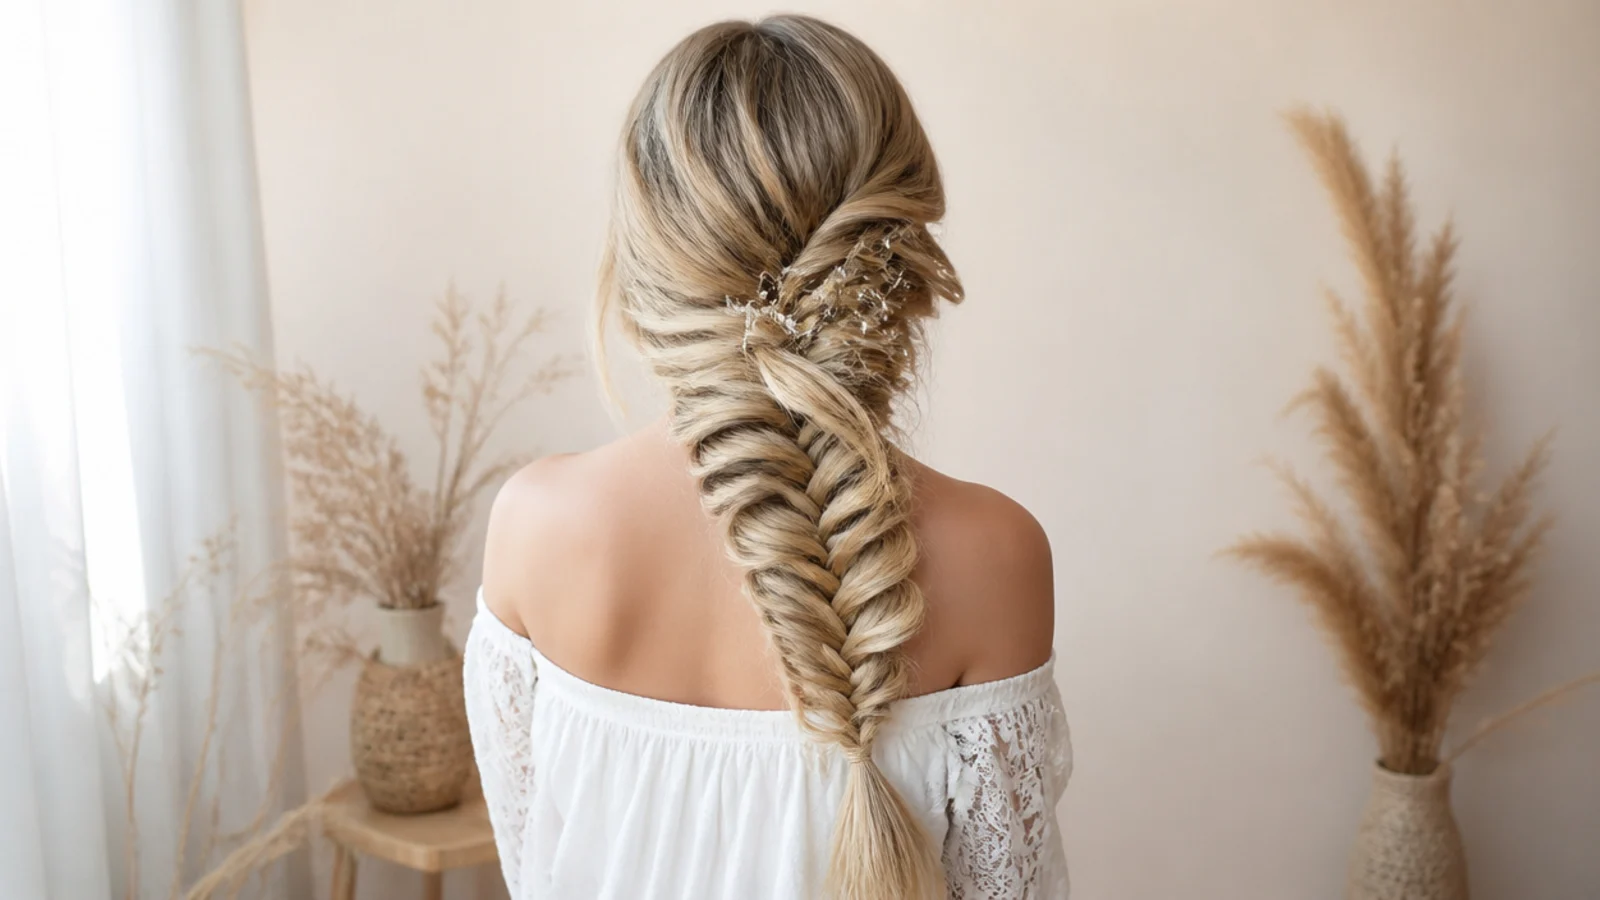
15 Side Mermaid Braid Ideas That Sit Right
Read more
20 Side Part Medium Knotless Braids I Saved
Read more