15 Side Mermaid Braid Ideas That Sit Right
Fifteen side mermaid braids, and the reason most of them twist onto their edge by lunchtime — bringing a braid over one shoulder makes the outer half travel further than the inner half, and the slivers have to be sized for it.
In this article · 23
- What a Side Mermaid Braid Is
- Which Side to Part On
- Length and Thickness
- Fine and Slippery Hair
- How to Pancake the Braid
- Making It Last
- The 15 Side Mermaid Braids
- 1. Deep Side Part
- 2. Dutch Side Braid
- 3. For a Round Face
- 4. Low at the Nape
- 5. Face Framing Pieces
- 6. Half Up Side Braid
- 7. On Fine Hair
- 8. Over Beach Waves
- 9. Boho Ribbon
- 10. Past the Waist
- 11. Bridal Pearl Pins
- 12. Messy on Day Two
- 13. With Curtain Bangs
- 14. Double Side Braids
- 15. With Clip In Extensions
- Final Thoughts
A side mermaid braid is the same fishtail as any other, worked around a curve, and the curve is what most of them get wrong.
The two halves of the braid do not travel the same distance. Coming over a shoulder, the outer half runs around the longer side of the arc. Feed both halves identical slivers and the outer edge runs short, so the braid rolls onto its side to make up the difference.
Which side you part on is not a free choice. Hair falls in the direction the crown whorl spins it, and parting against that puts the front section under tension before the first crossing is made.
What a Side Mermaid Braid Is
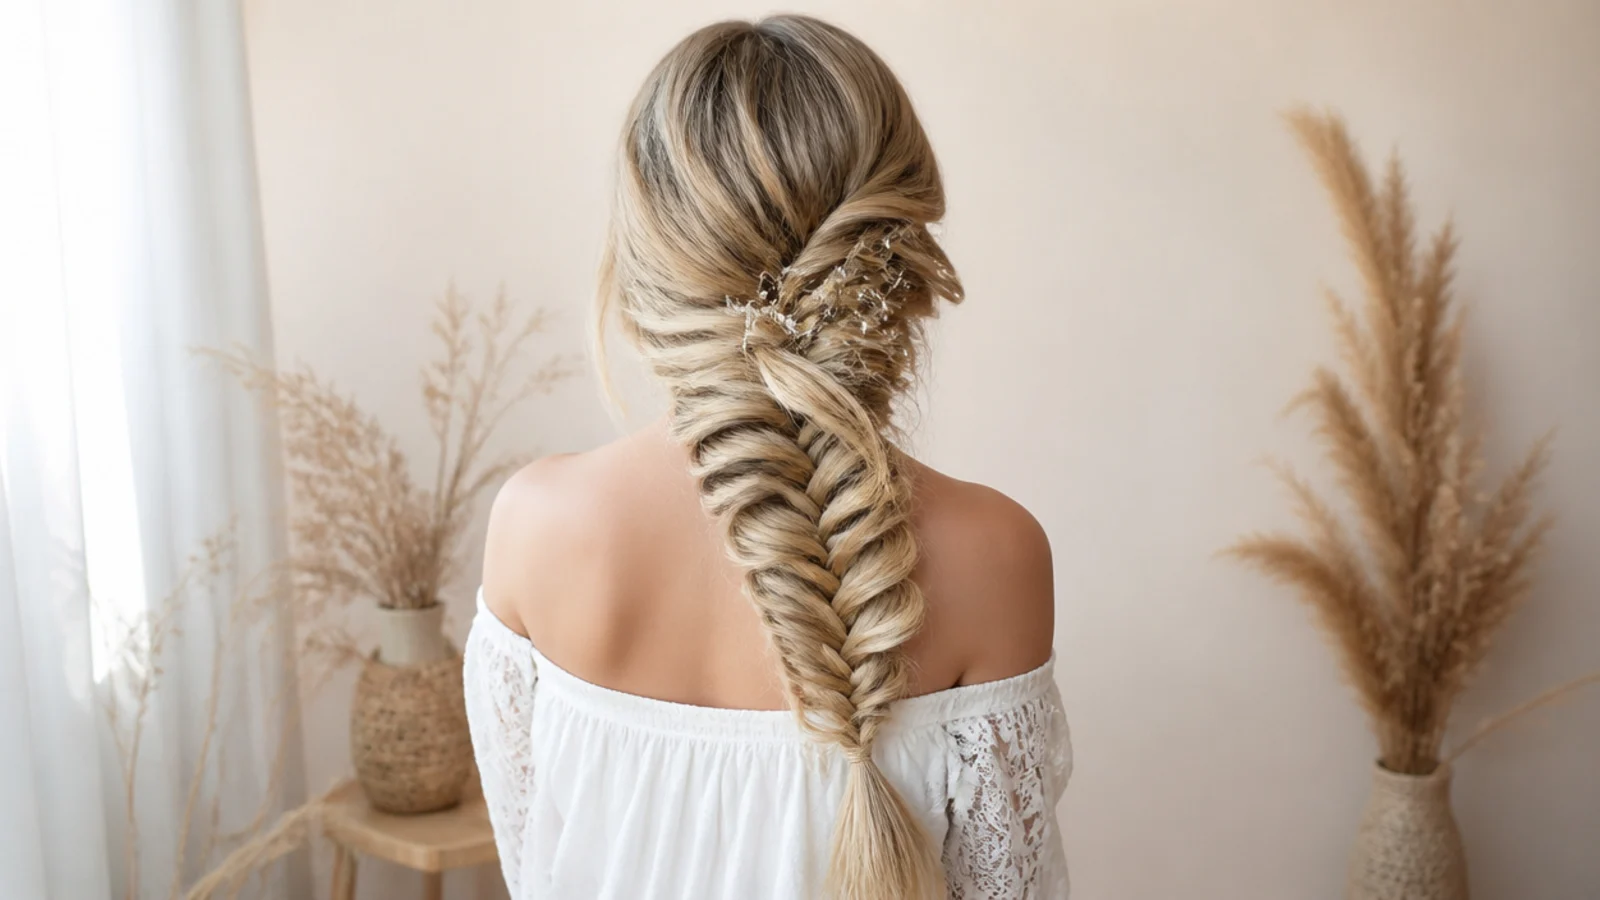
A fishtail worked in two sections. A thin sliver comes off the outer edge of one half and crosses to the inner edge of the other, alternating all the way down.
The scales are the crossings stacked up. Each sliver lands in the centre and is trapped by the next, and it is those overlaps that produce the chevron rather than any twisting.
Worn to the side it is visible from the front. A braid down the back only exists in photographs taken behind you, which is most of the argument for this version.
It is the same braid at half the difficulty. You can see what you are doing, so it is the version to learn on before attempting anything worked against the back of your own head.
Which Side to Part On
Find the whorl at the crown and follow it. The spiral at the crown sets the direction the hair around it wants to lie, and a part cut with it needs no persuasion to stay.
Parting against the fall lifts the braid. The front section is under tension from the first crossing, and that tension shows as a gap above the ear by the afternoon.
A deeper part gives more hair to the front half. More volume on the top side of the braid, which is what makes a side braid read full rather than flat.
Set the part with damp hair and let it dry there. Hydrogen bonds re-form as the hair dries, so a part made wet holds far better than one combed into dry hair.
Match the part to the braid side. Braiding to the left off a right hand part gives the front hair the longest possible travel and the cleanest sweep across the head.
Length and Thickness
Collarbone length is the practical floor. Below the point the braid starts you need six or seven crossings before the pattern registers, and shorter hair finishes as a stub.
A shoulder route eats length. The braid has to cross the head before it starts falling, so a side braid always looks shorter than the same hair braided straight down the back.
Thickness caps the pancake. Widening moves hair sideways rather than making more of it, so a fine head reaches a maximum width and then starts showing gaps between crossings.
Very thick hair wants thinner slivers. Large pieces on a dense head build a braid too wide to sit against the chest, and it rolls off the shoulder within an hour.
Fine and Slippery Hair
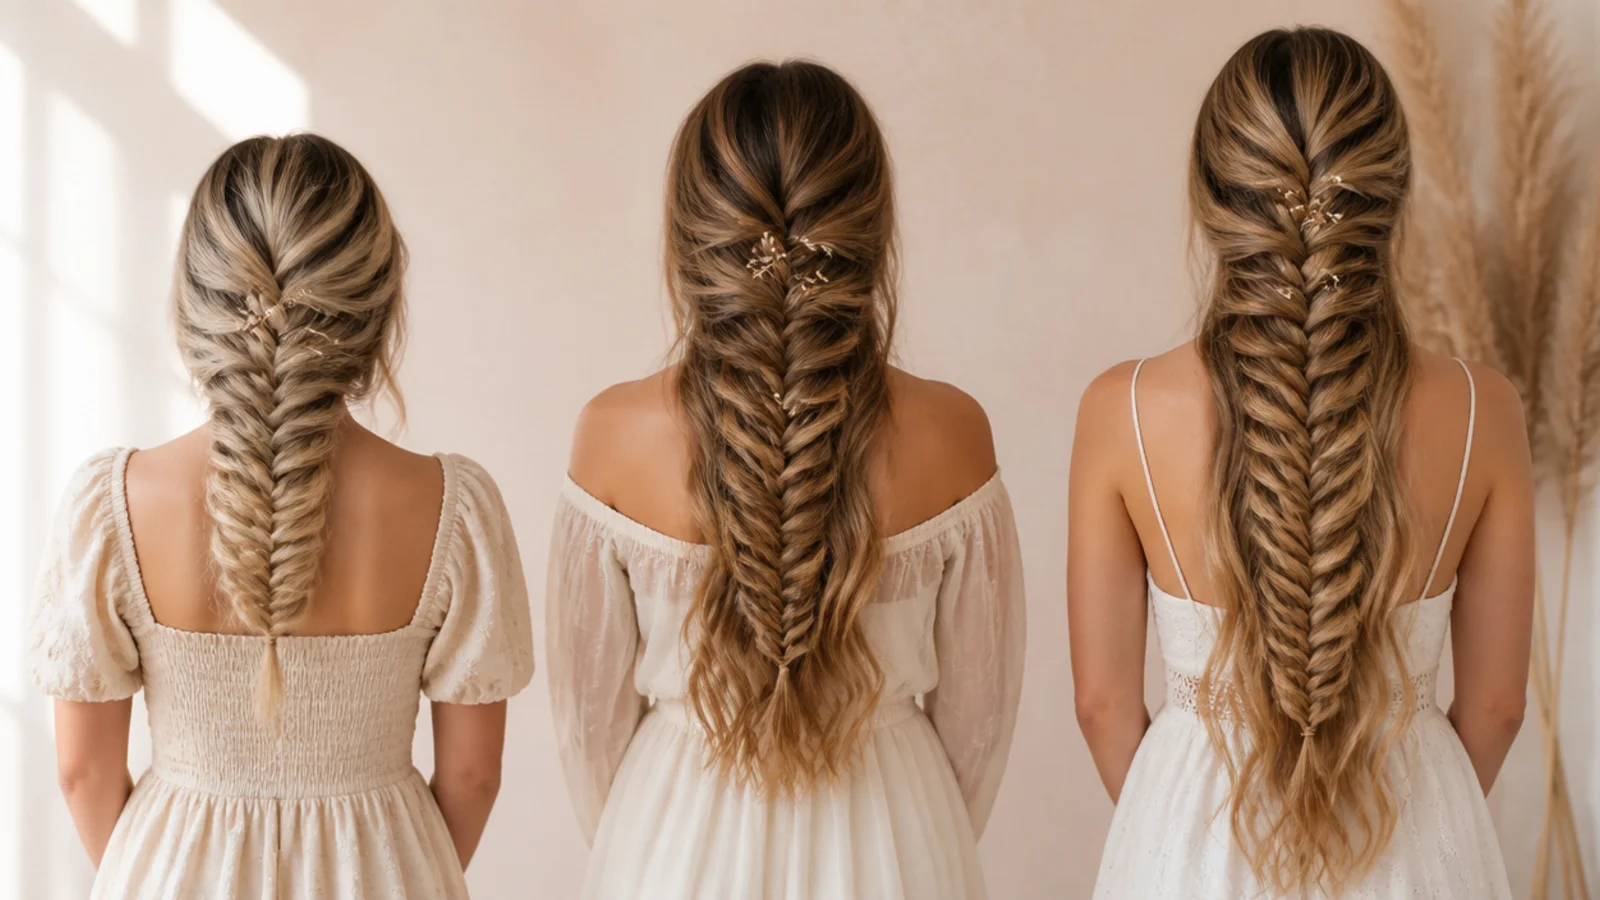
Never braid it clean. A freshly washed cuticle lies flat with no sebum on it, so the crossings have nothing to grip and the braid unwinds from the bottom.
Second day hair holds best. Natural oil raises friction between strands, and friction is the only thing keeping a loose fishtail together.
Texture spray substitutes in a minute. It leaves particles sitting between strands that stop one sliver sliding out from under the next.
Backcomb behind the ear before you start. A side braid loosens first where it changes direction across the head, and a small cushion there gives it something to sit on.
Leave the serum out that day. Every smoothing product is engineered to add slip, which is exactly the thing you are trying to remove.
How to Pancake the Braid
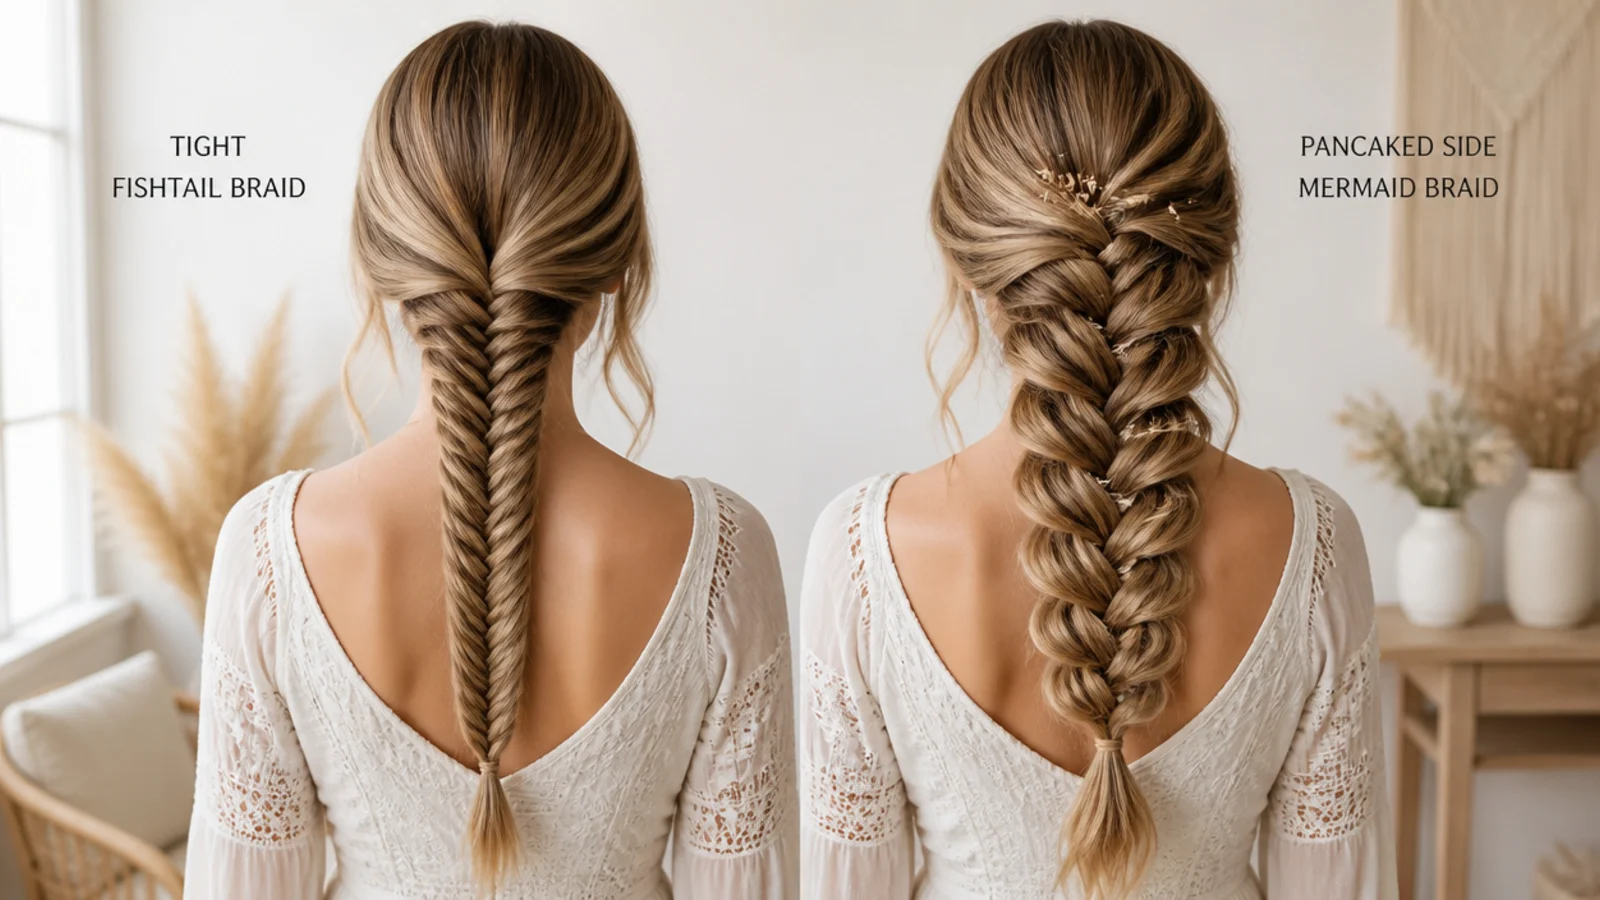
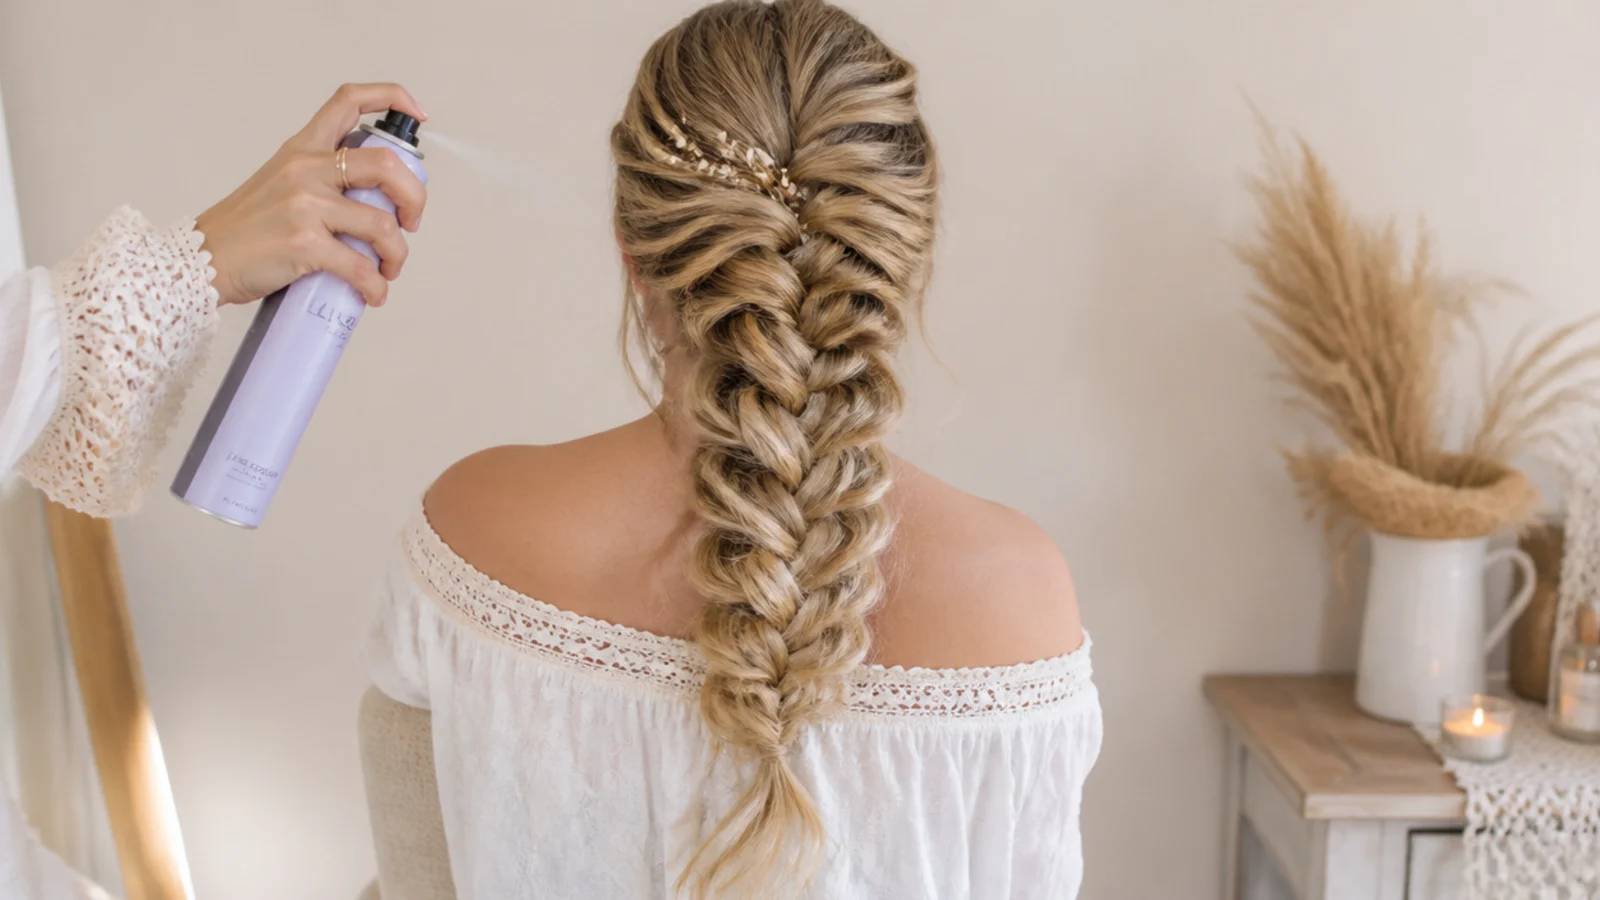
Elastic on first. Pancaking releases tension, so an unsecured braid slackens faster than you can widen it.
Work bottom to top. Each crossed piece is anchored by the ones above and below it, so widening the lowest first leaves the tension above intact. Starting at the top drops slack the whole way down.
Pull sideways, not down. Sideways moves hair from the centre of the braid to its edge. Downward drags the crossing out of position and nothing gets wider.
Widen the outer edge more than the inner. On a side braid the outer edge is already travelling further, and matching the two evenly is what tips the braid onto its side.
Stop before you can see through it. Gaps mean you took more slack than the braid held, and only rebraiding puts it back.
Making It Last
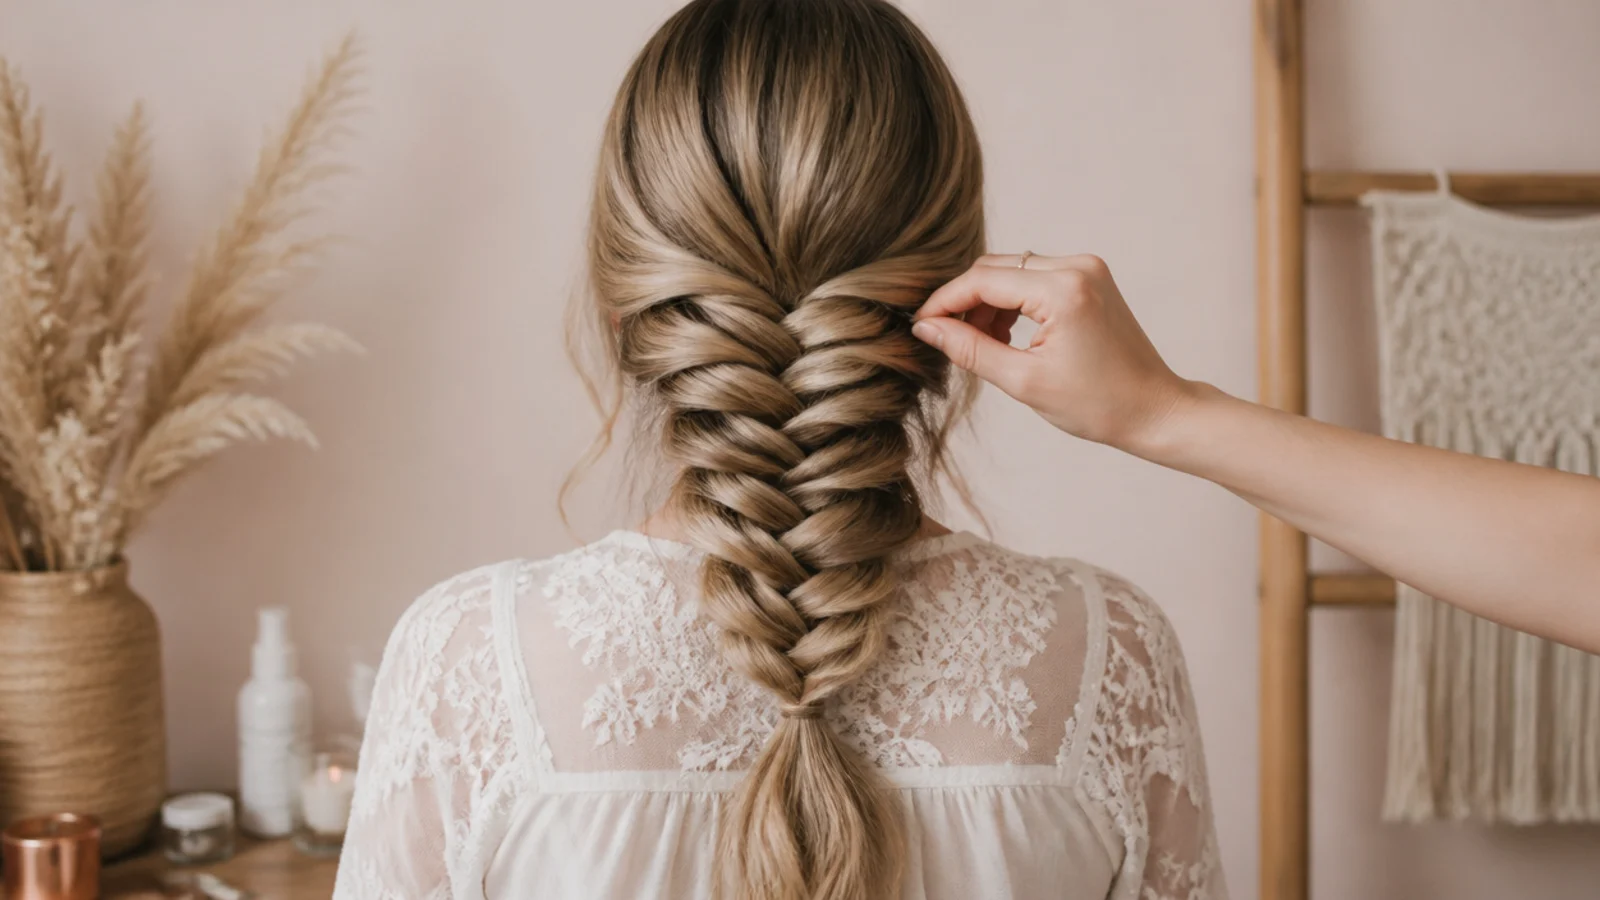
Pin where the braid crosses the head. The section behind the ear carries the whole braid, and two pins pushed through the crossings there stop the rest sliding forward.
Spray in passes from a distance. Held close it wets one spot and dries stiff, which is obvious on a braid you can see from the front all day.
Expect the shoulder to compress it. A side braid rests against a collarbone and a coat, and both flatten a pancaked edge faster than a braid hanging free.
Repancake rather than rebraid. Two minutes of tugging restores most of the width, and the crossings are usually still even underneath.
The 15 Side Mermaid Braids
1. Deep Side Part
A deep part hands most of the top hair to one side, which gives the upper half of the braid a volume advantage the whole way down. That imbalance is the point, because a side braid built from an even centre part looks like a back braid that has fallen over.
2. Dutch Side Braid
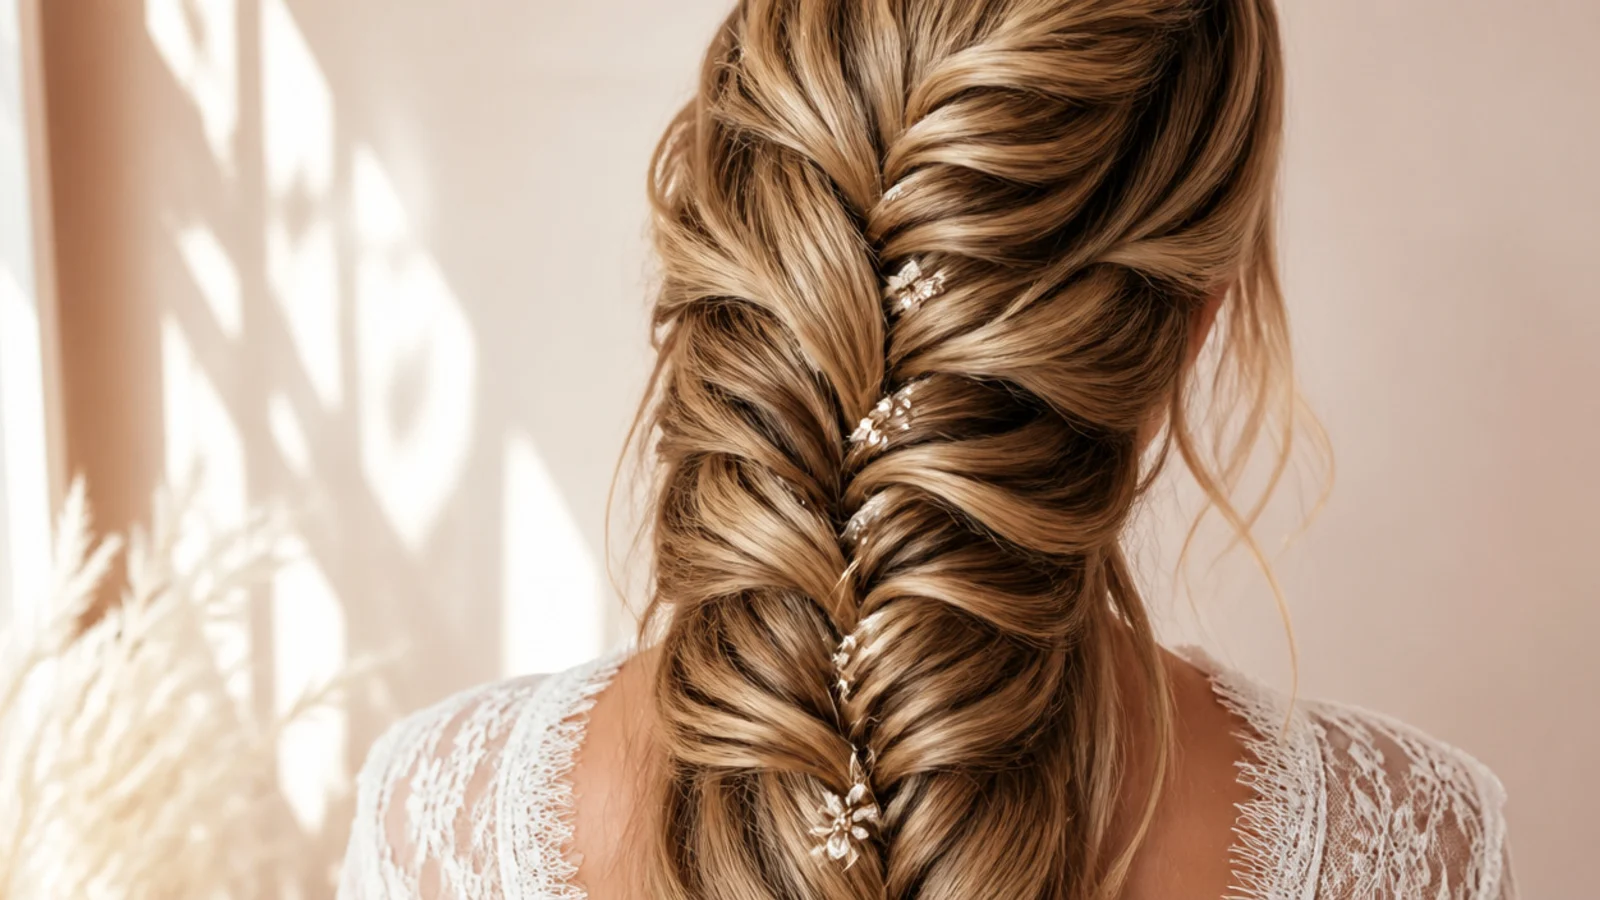
Crossing the slivers underneath instead of over lifts the braid clear of the scalp, so it casts a shadow along the side of the head. That shadow is what makes a Dutch version read as bolder than a French one from three feet away, on identical hair.
3. For a Round Face
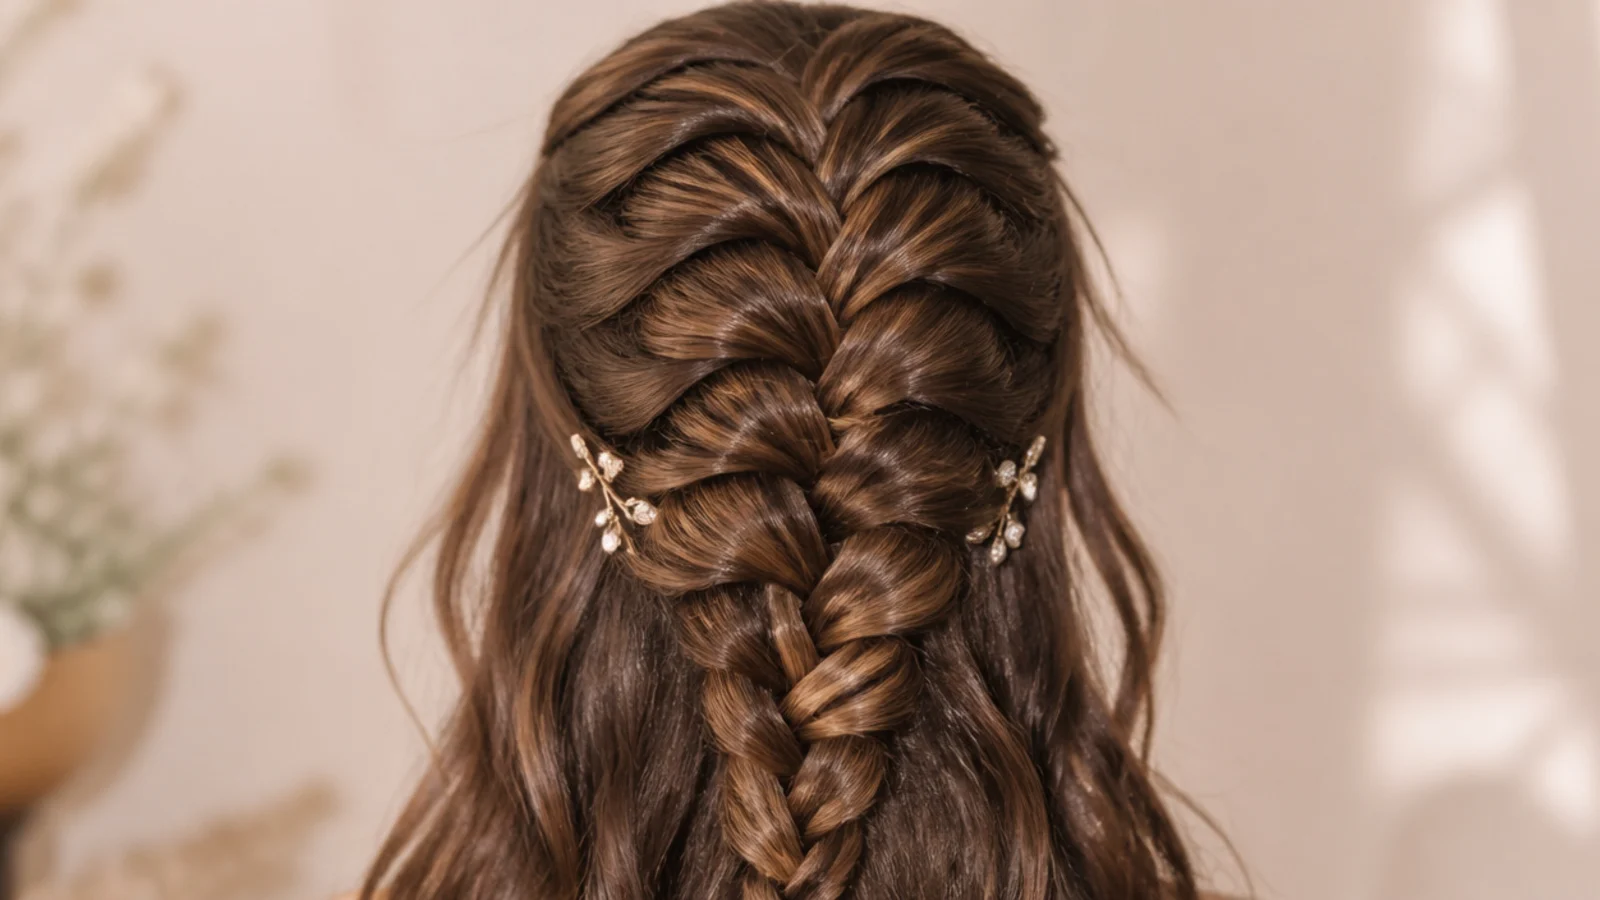
A braid crossing the head diagonally introduces a line that is neither horizontal nor vertical, and a diagonal reads as length rather than width. Keep it high at the part and low at the shoulder, since the steeper the angle the more it works.
4. Low at the Nape
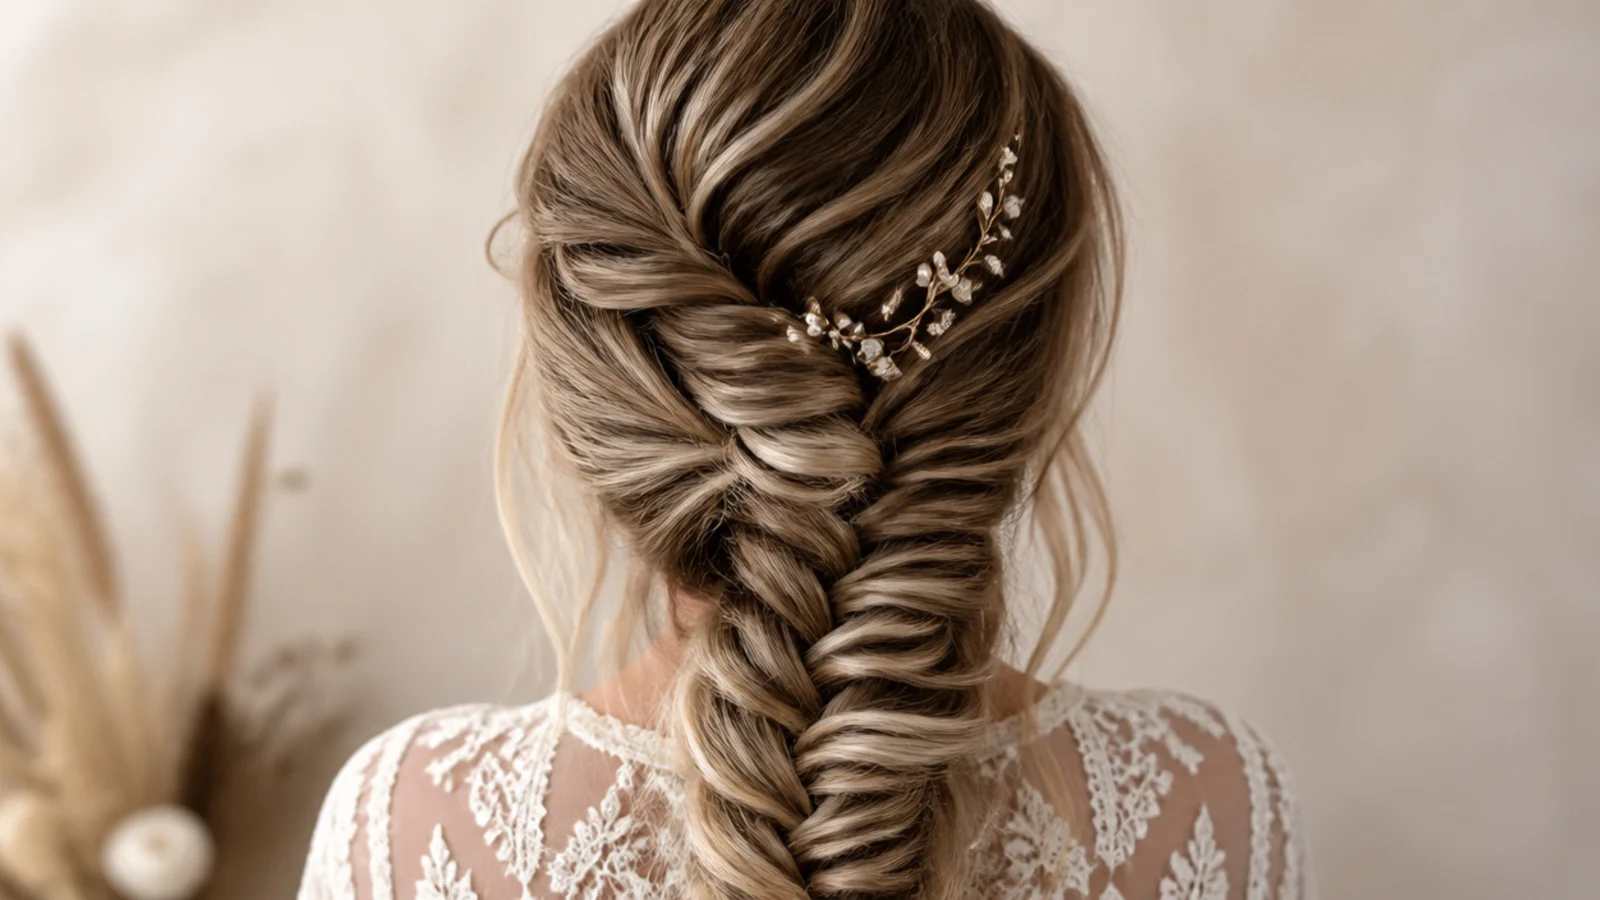
Starting the braid at the nape and simply bringing it forward skips the attached section entirely, which halves the difficulty and the time. It also lets the braid hang free rather than being held against the head, so it pancakes wider with far less effort.
5. Face Framing Pieces
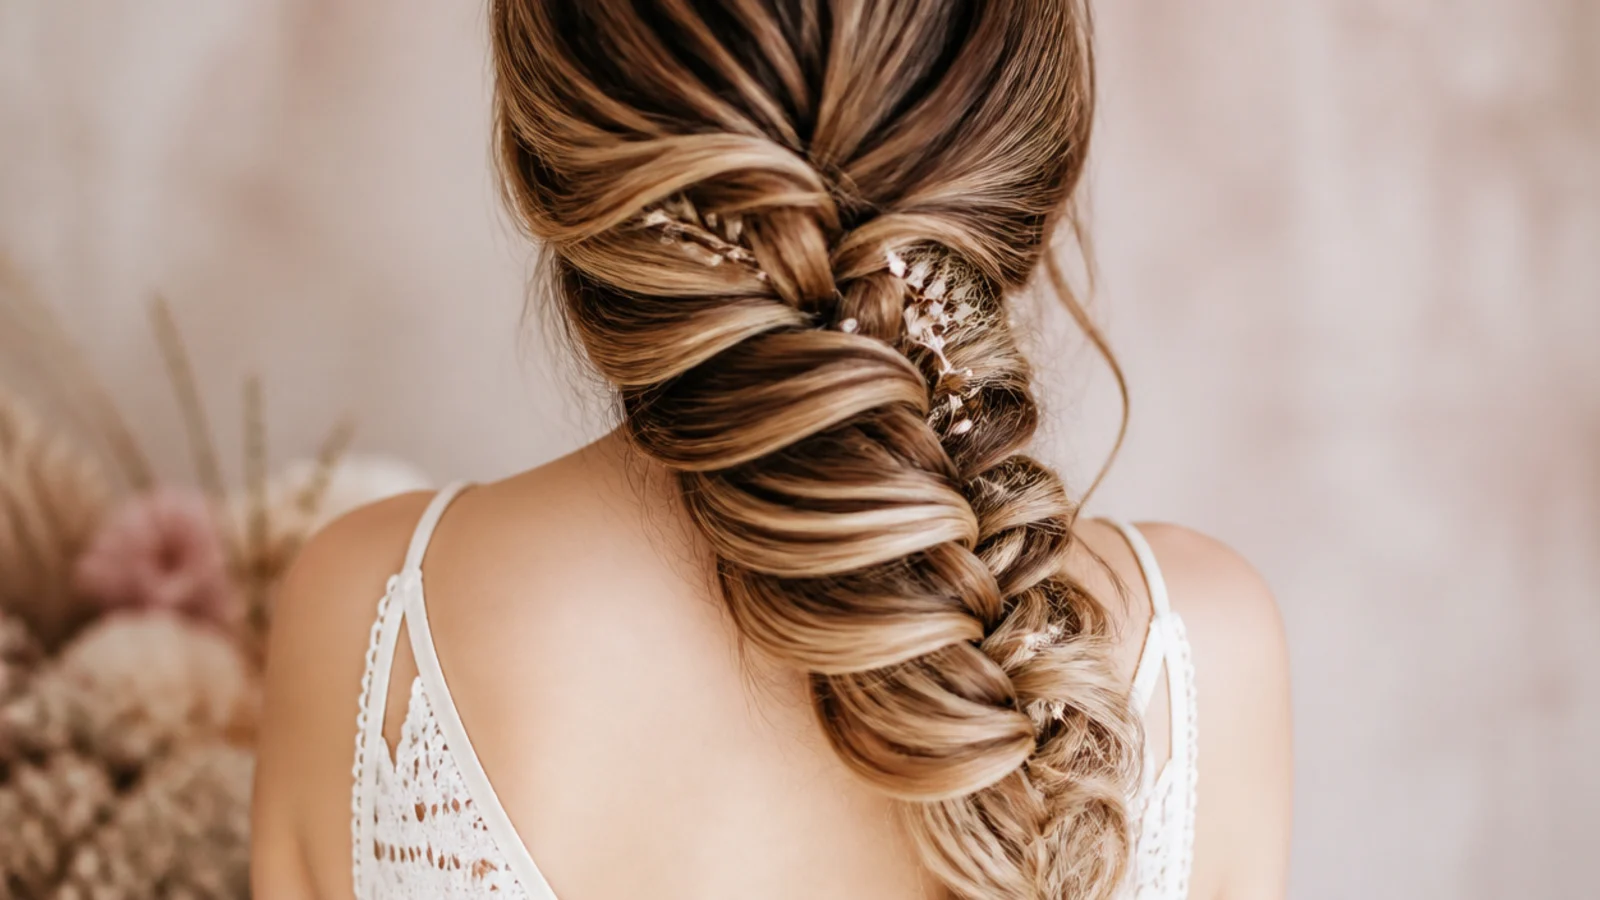
Two strands released at the front after the elastic is on soften the hairline without costing the braid any density. Pulling them before you braid removes hair the crossings needed, which is why the front of a braid so often looks thinner than the rest.
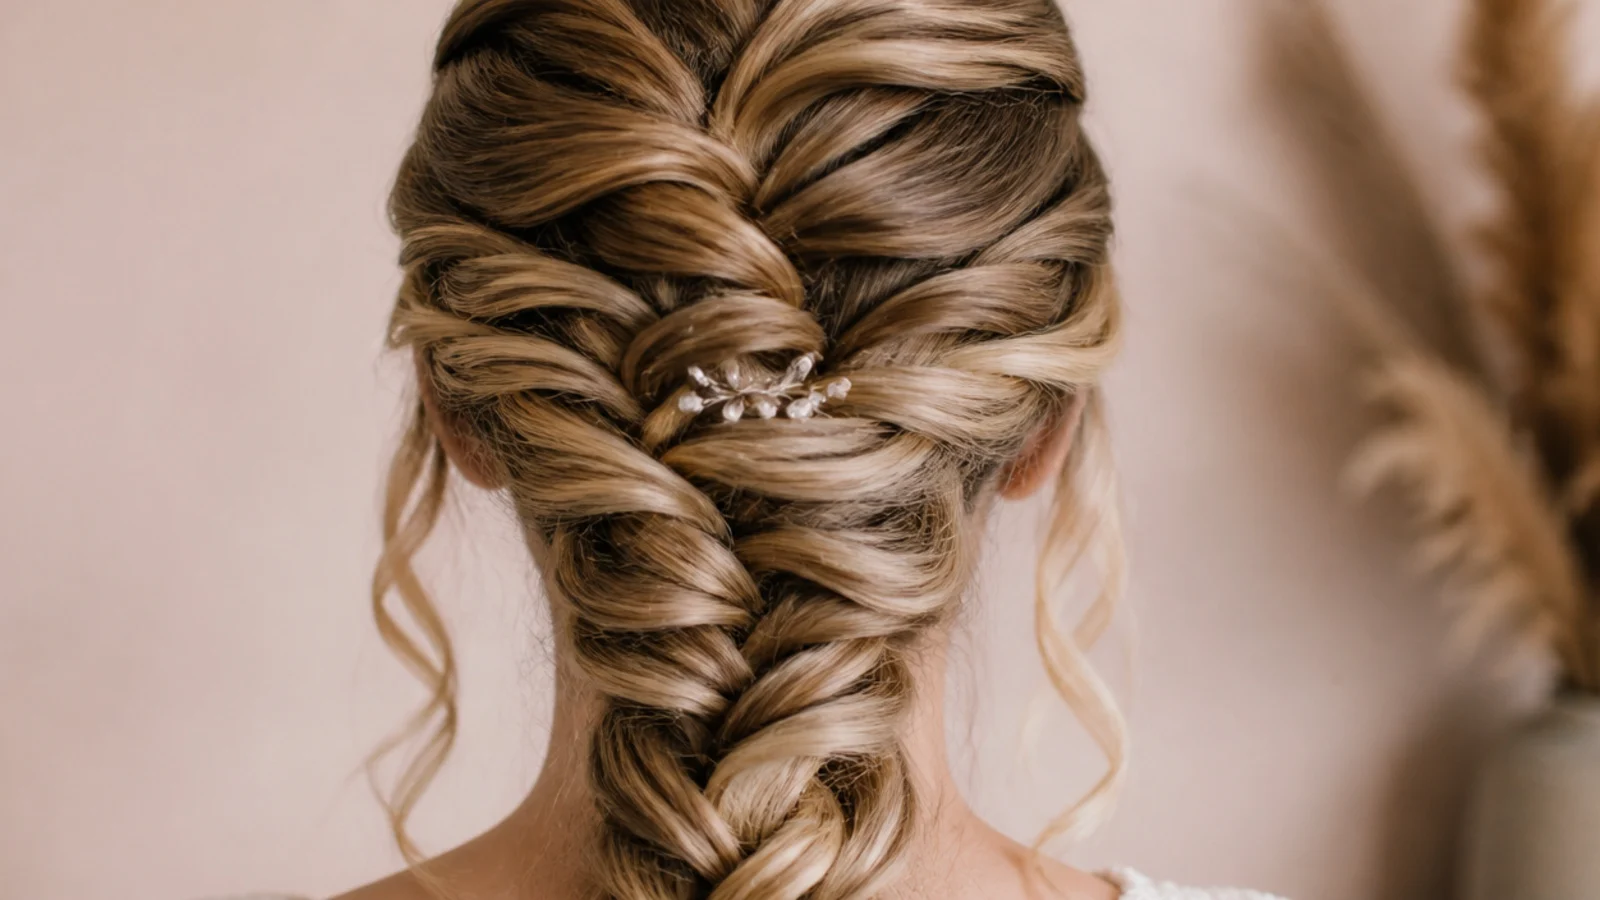
6. Half Up Side Braid
Braiding only the top section and letting everything below hang loose gives the chevron pattern without committing all the length to it. Start the braid at the temple so it has enough travel to show six crossings before it joins the rest.
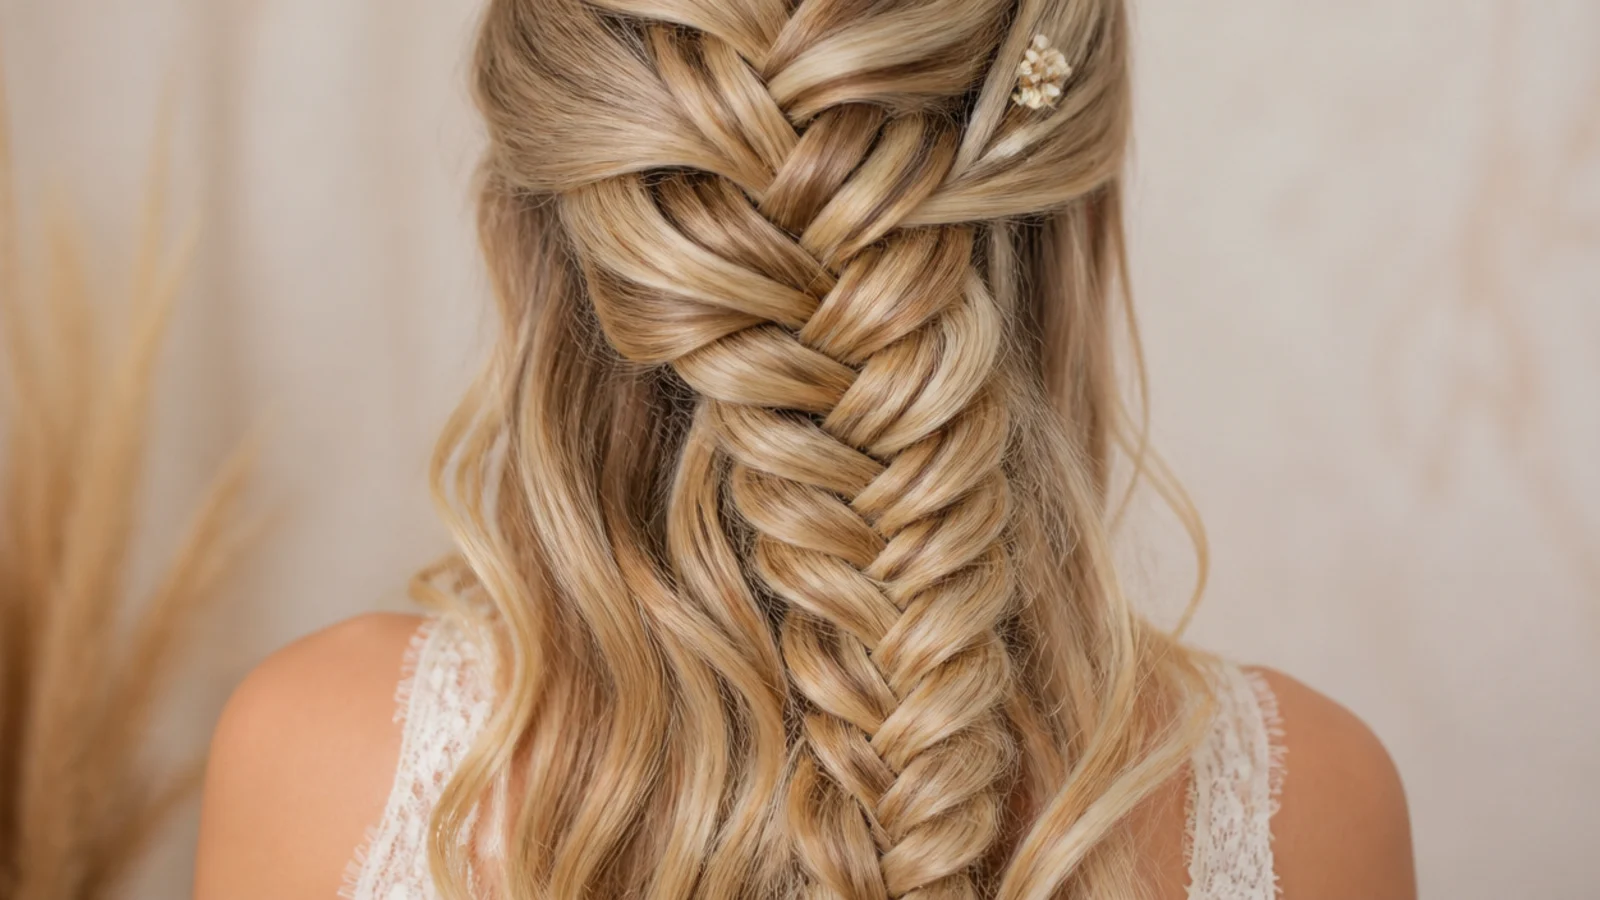
7. On Fine Hair
Fine hair pancakes to a narrow maximum before gaps open between the crossings, so build width with thin slivers and many of them rather than by pulling harder. More crossings per inch means more overlaps to widen, which is the only way fine hair gets a wide braid.
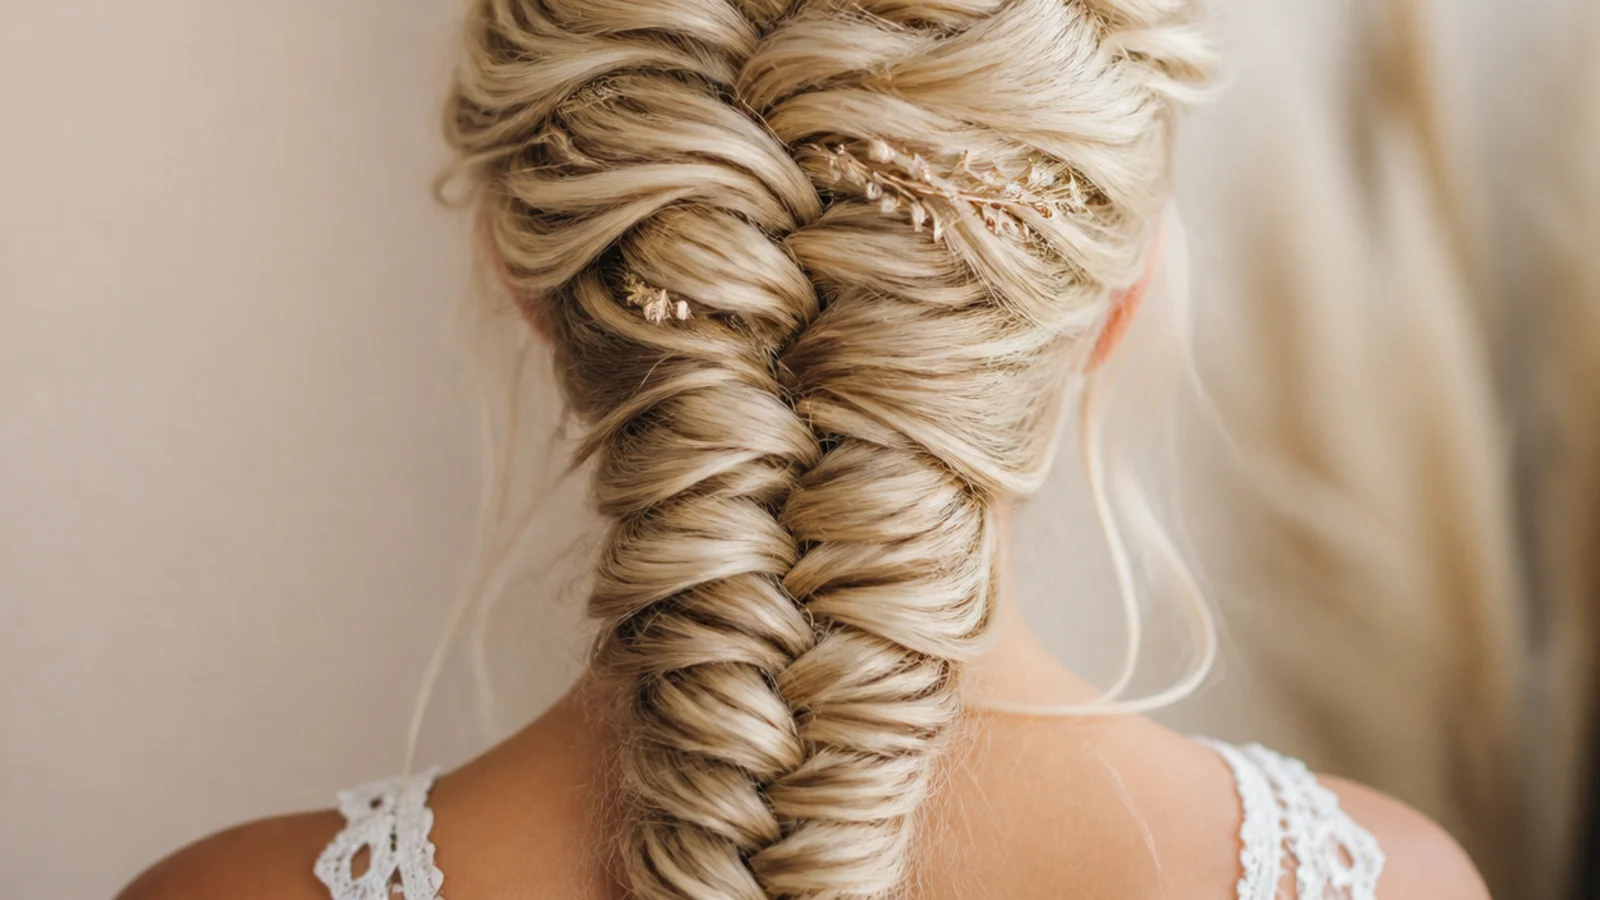
8. Over Beach Waves
Waving the hair first gives every strand several contact points with its neighbours instead of one long parallel line, which raises grip through the whole braid. A waved side braid holds its pancaked width for an evening with no hairspray at all.
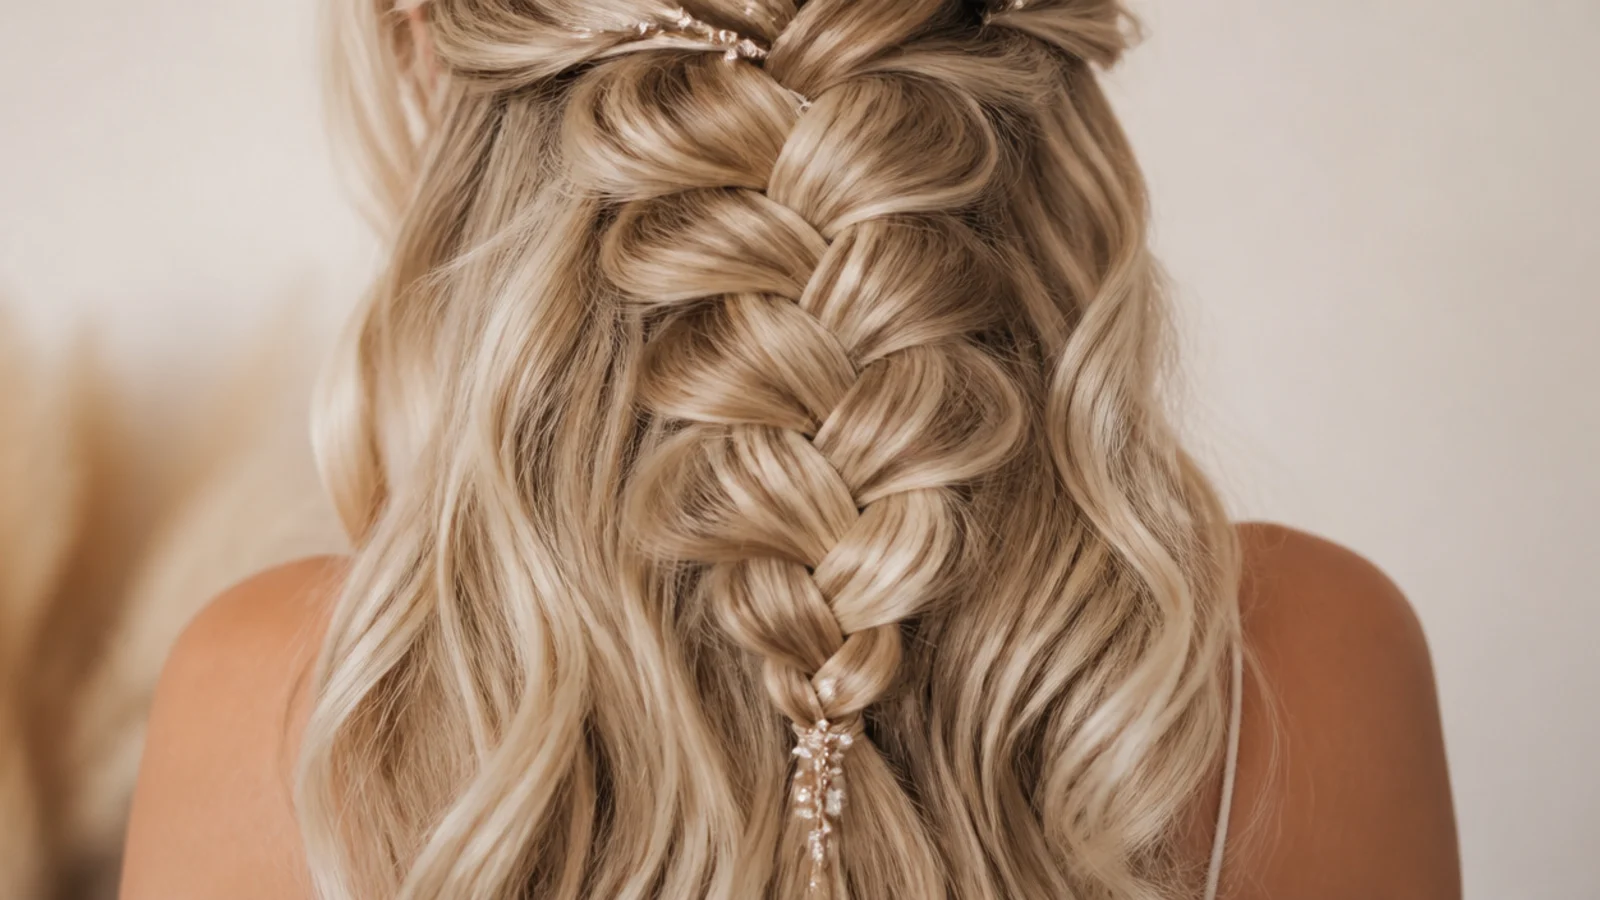
9. Boho Ribbon
A narrow ribbon carried through the crossings as a fourth element grips the hair on either side of it, so it holds the braid as well as decorating it. Keep it narrow, because a wide ribbon sits on top of the chevron and hides the pattern it was meant to trace.
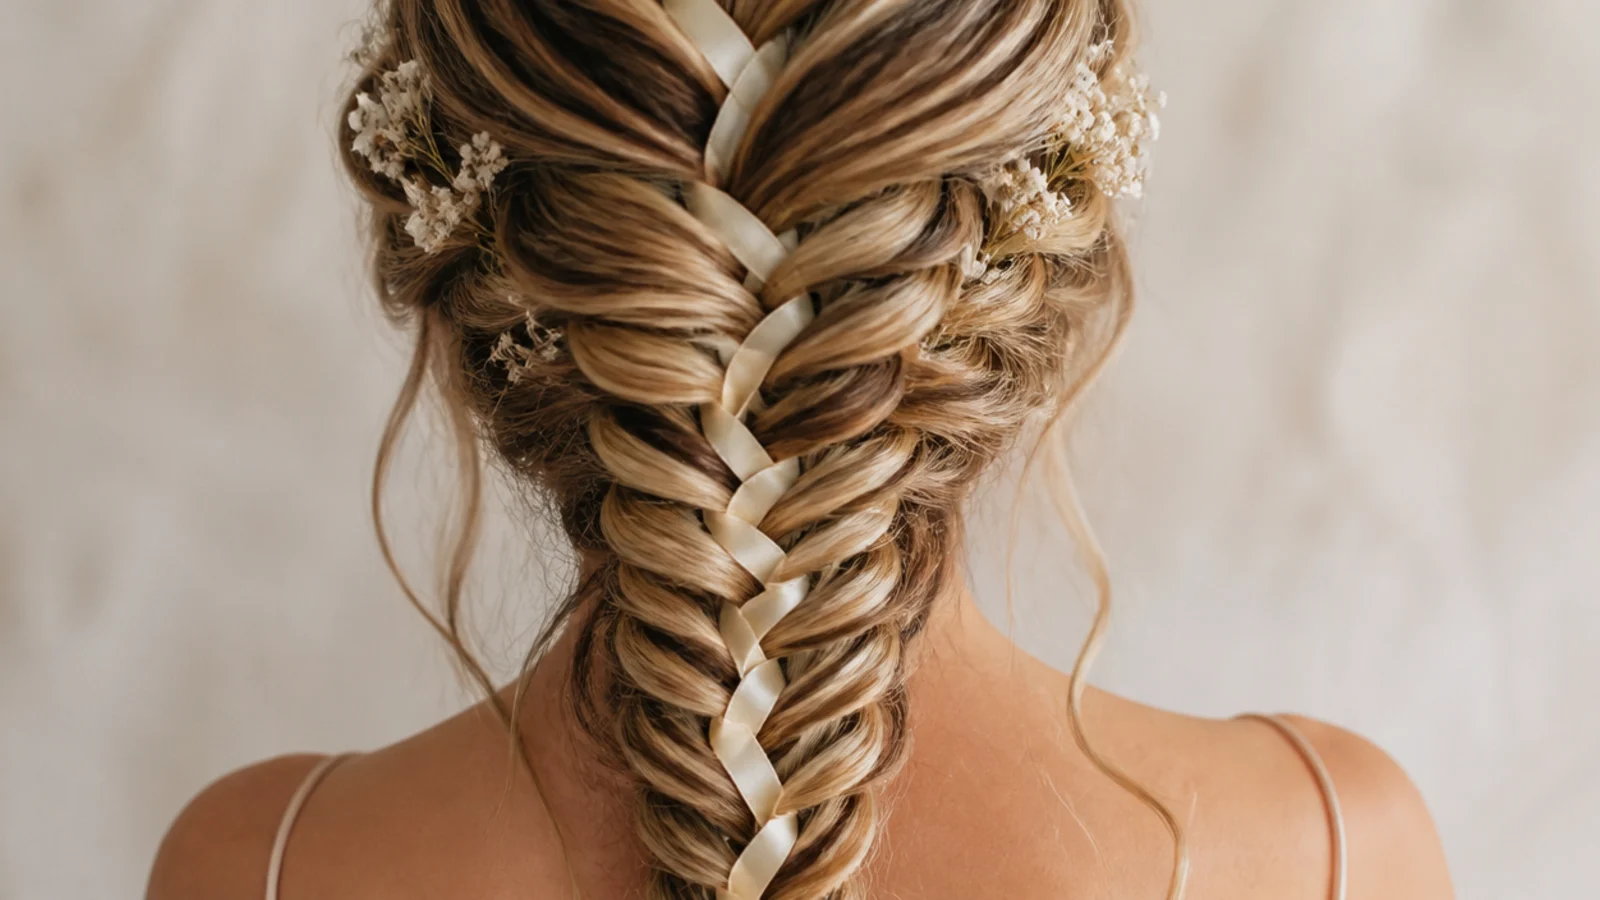
10. Past the Waist
Below the waist the braid carries enough weight to tighten its own upper crossings, which sharpens the definition without any extra work. The cost is that the last few inches thin out, so stop the braid early and leave a soft tail rather than braiding to the ends.
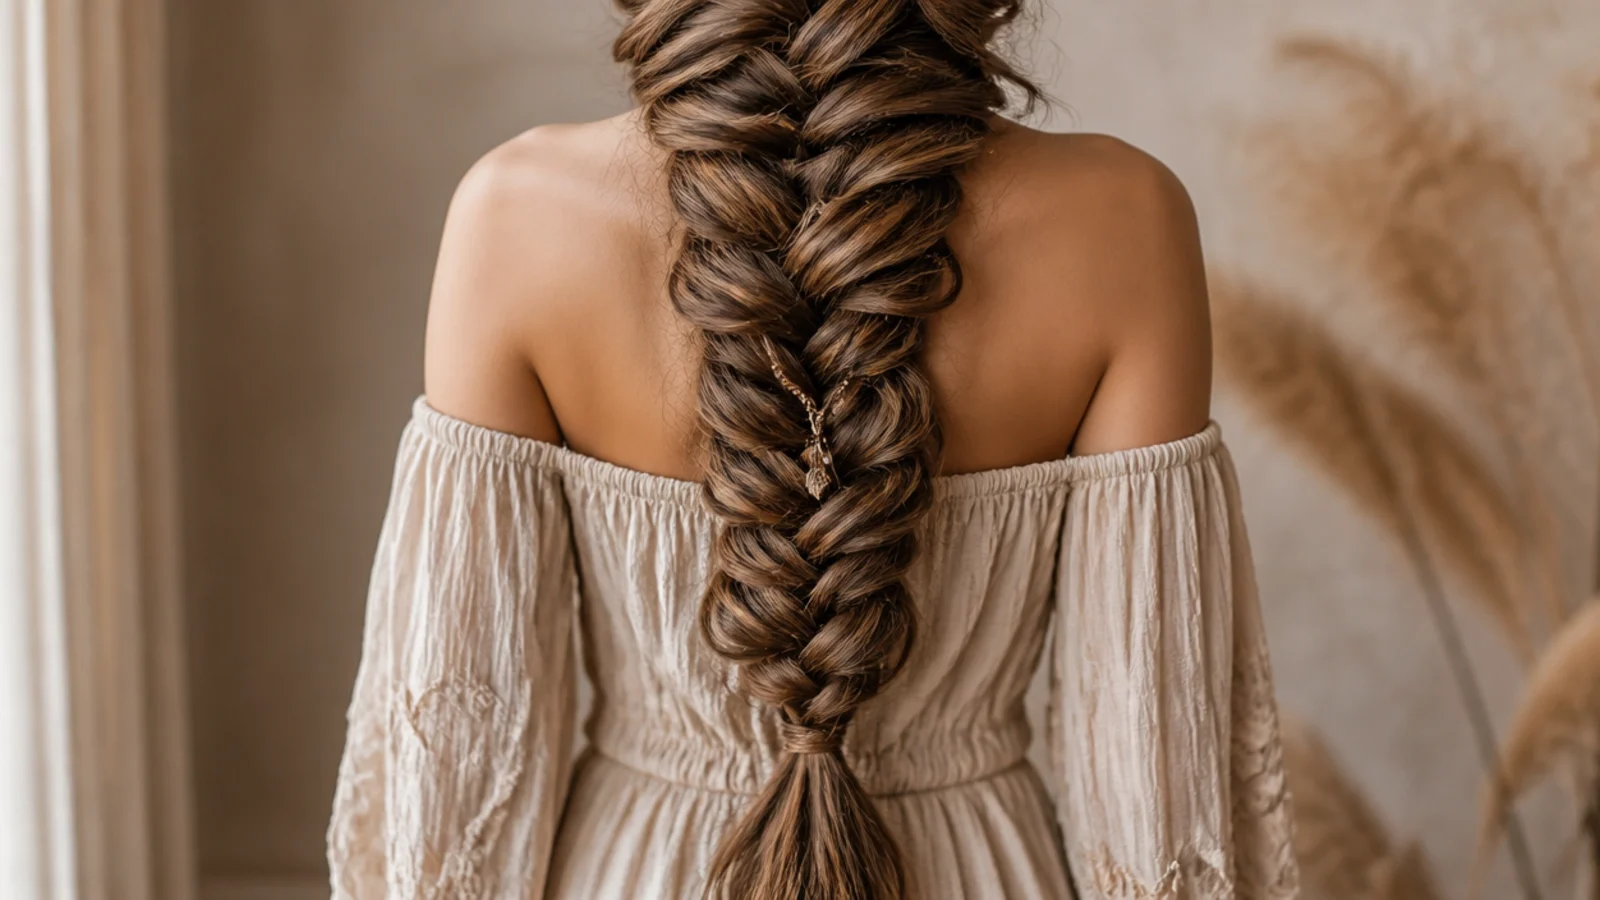
11. Bridal Pearl Pins
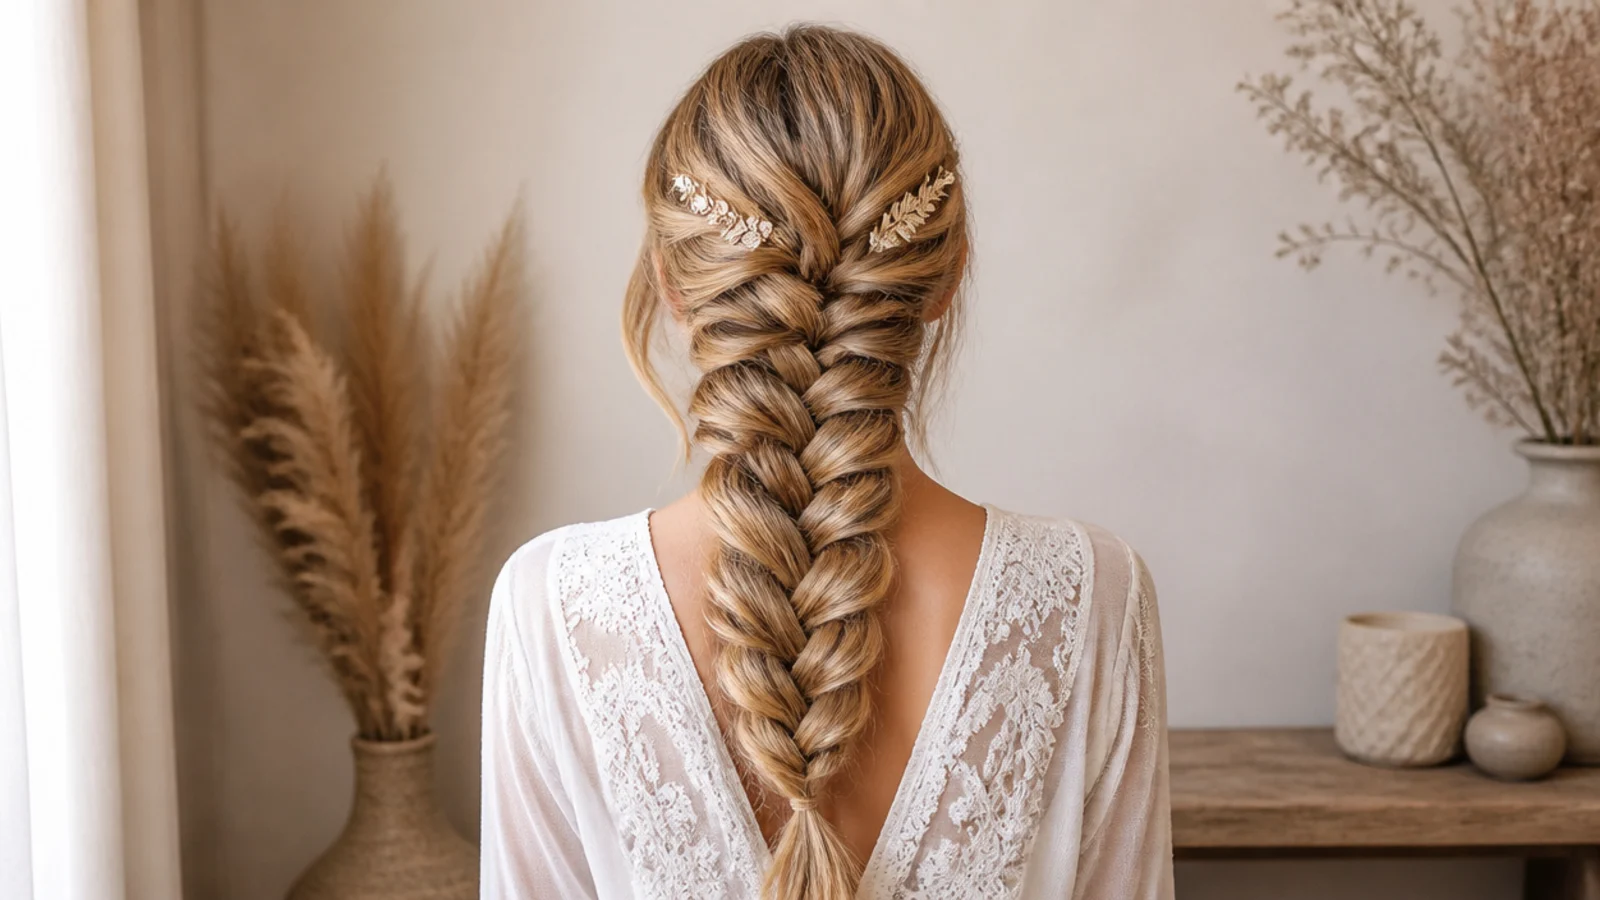
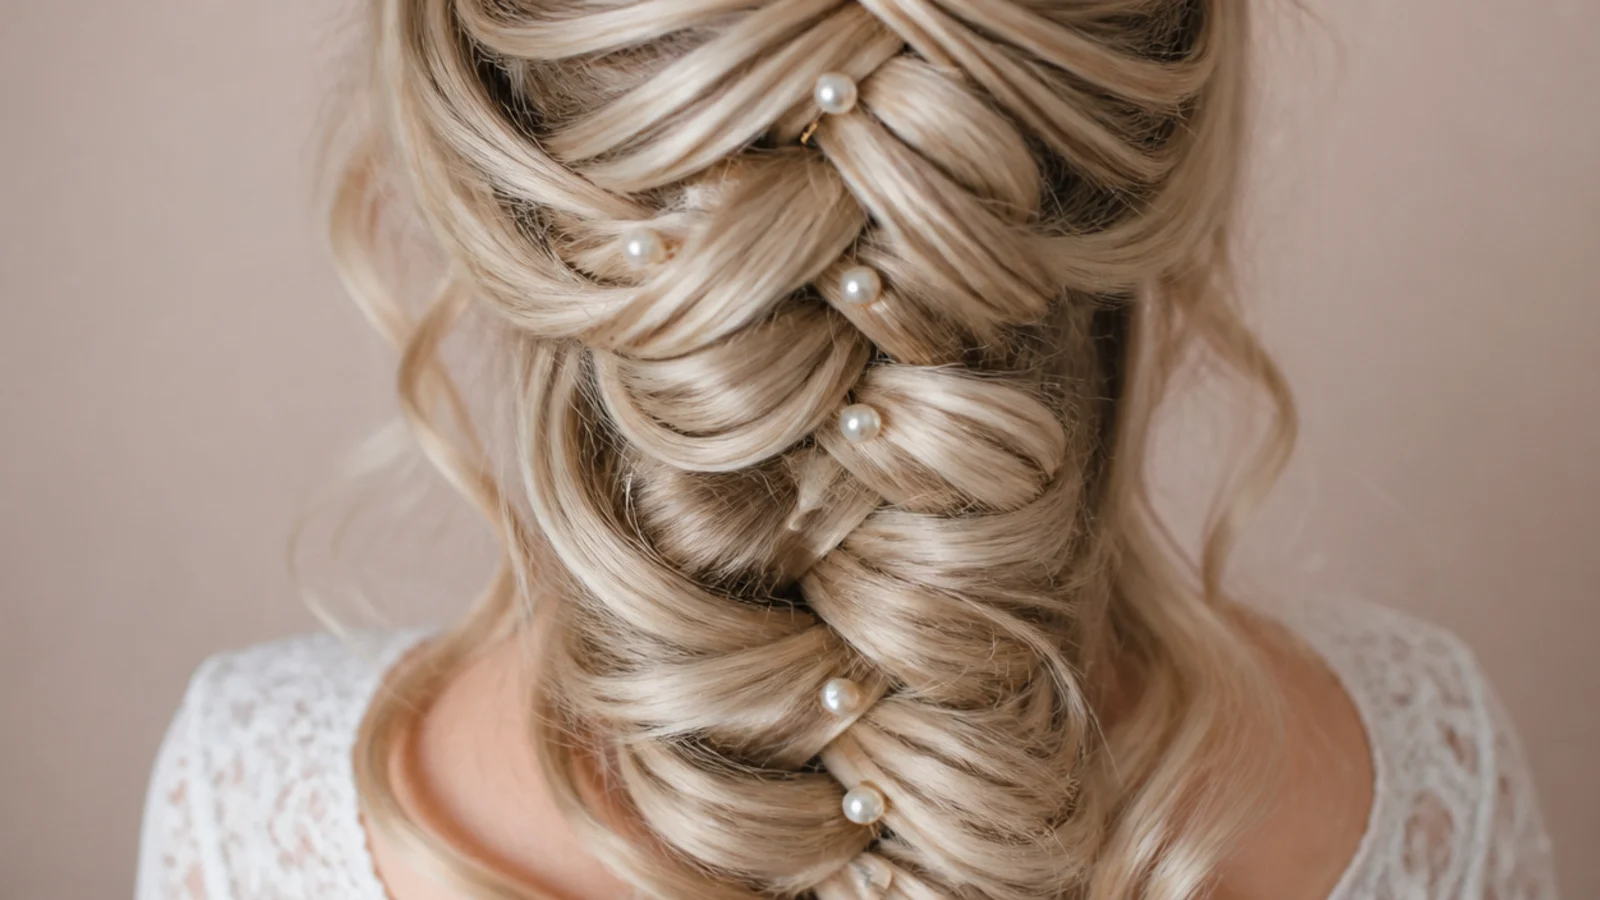
A pin pushed through a crossing point has hair gripping it from both sides, which is why pins set into the braid hold and pins laid on the surface work loose. Space them along the outer edge, since that is the side a side braid presents to the camera.
12. Messy on Day Two
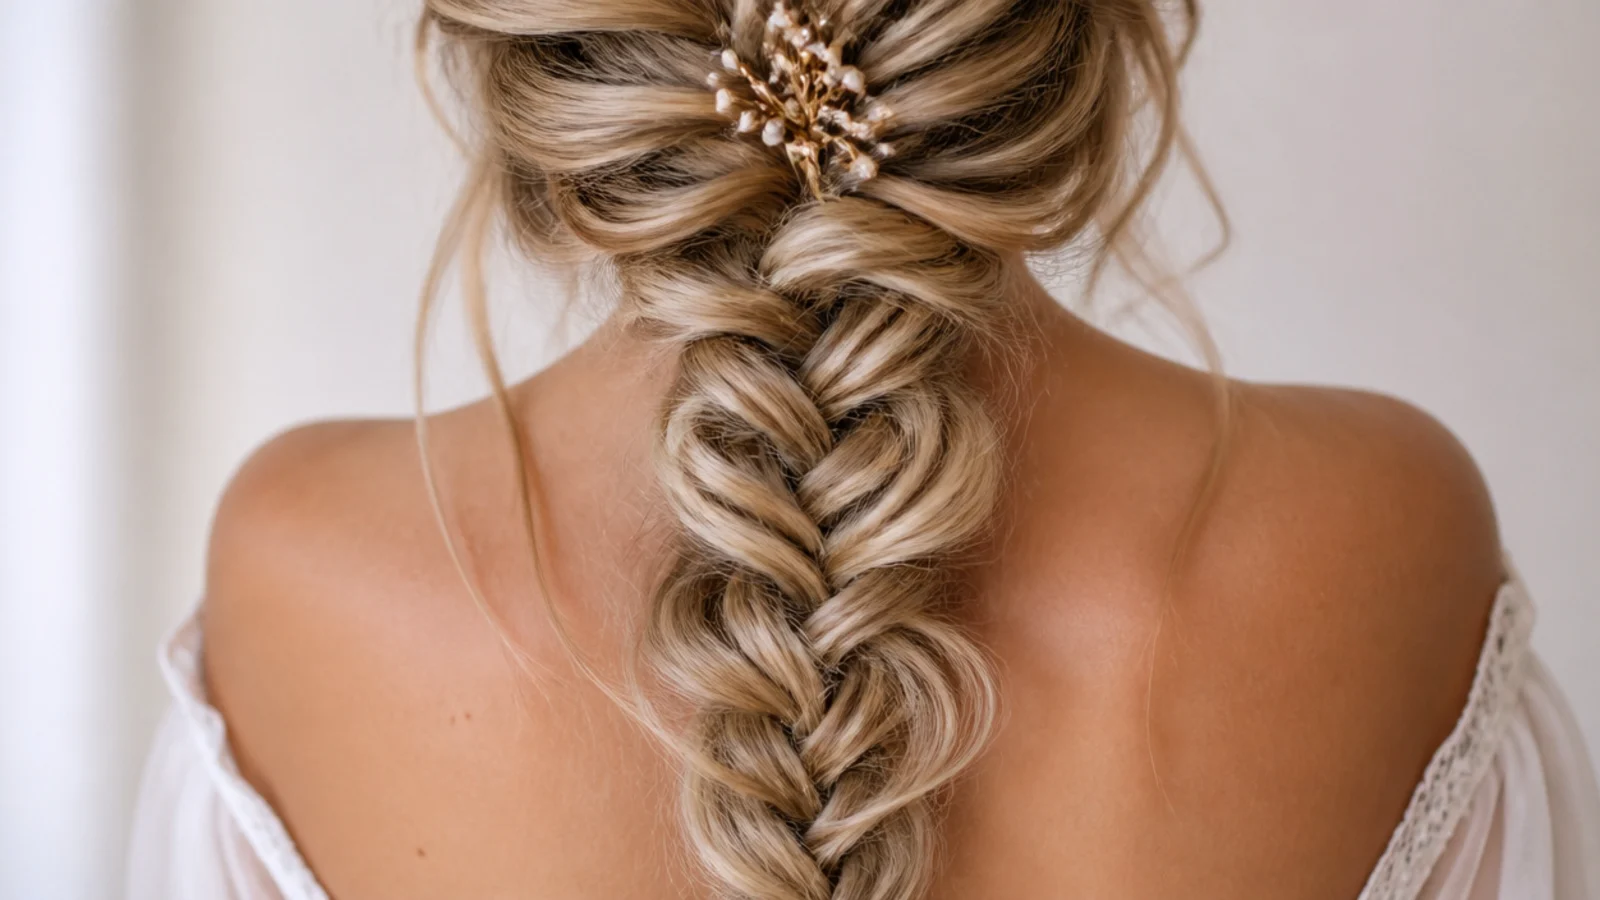
A slept in braid compresses back toward a rope, but the crossings underneath are usually still even. Two minutes of repancaking recovers most of the width, and the fuzz picked up overnight reads as deliberate texture rather than damage.
13. With Curtain Bangs
Curtain bangs are cut to fall from a centre point, so they need to be dropped out of the braid entirely rather than absorbed into the first crossings. Braiding them in pulls them sideways and they spend the rest of the day working their way out anyway.
14. Double Side Braids
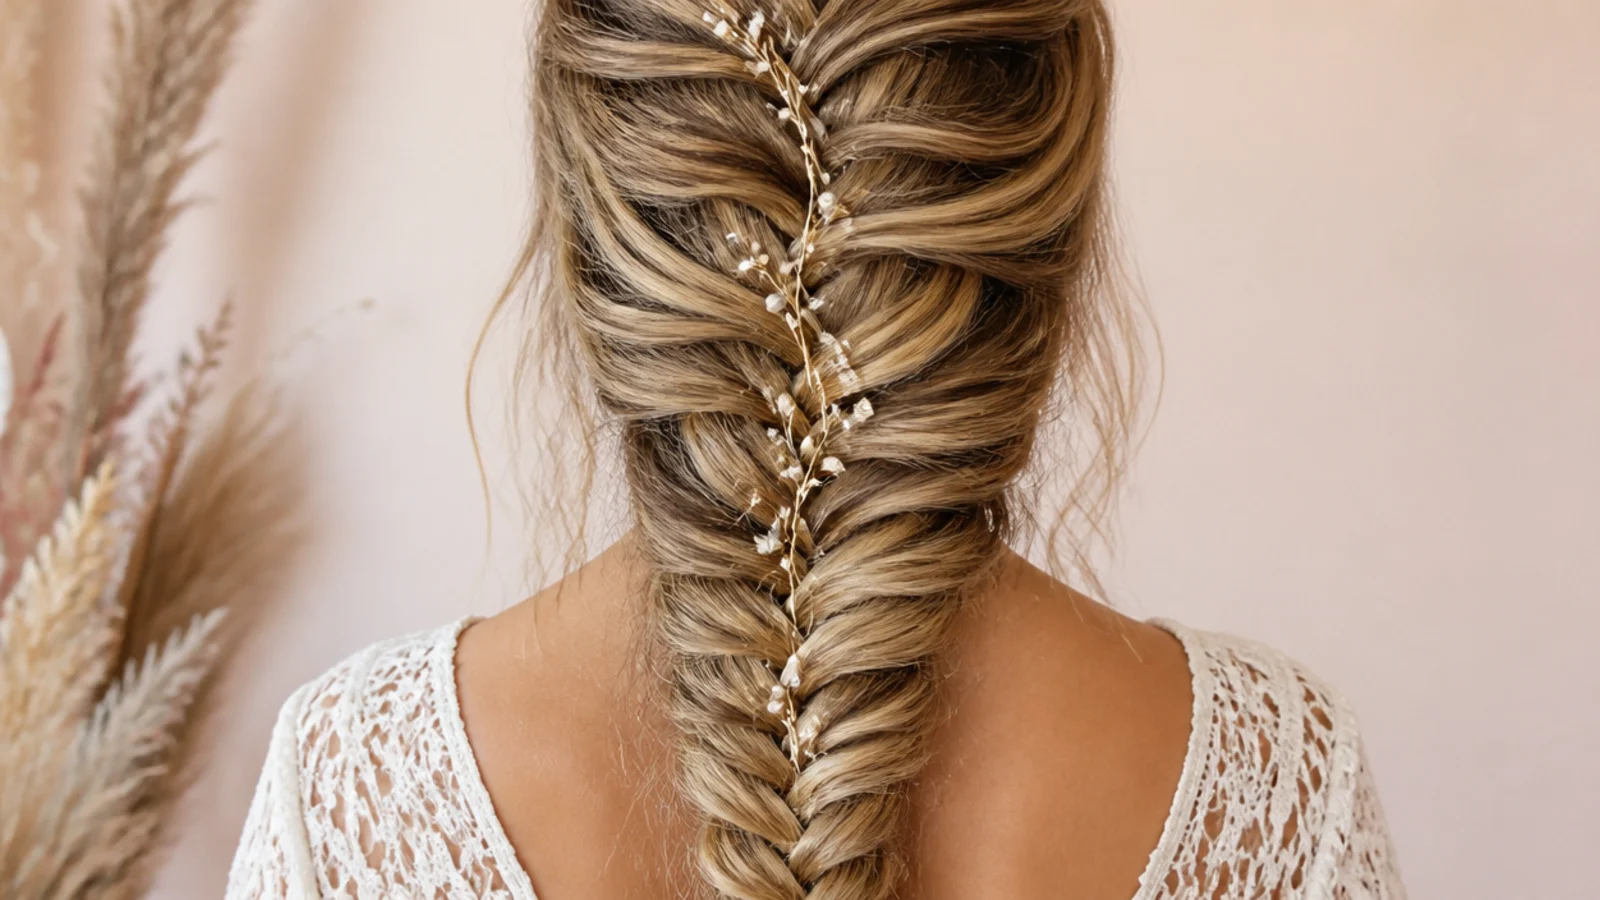
Two braids on the same side stack a second chevron beside the first, and the eye reads the pair as one much wider braid. Keep them different widths, because two identical braids side by side look like a mistake rather than a choice.
15. With Clip In Extensions
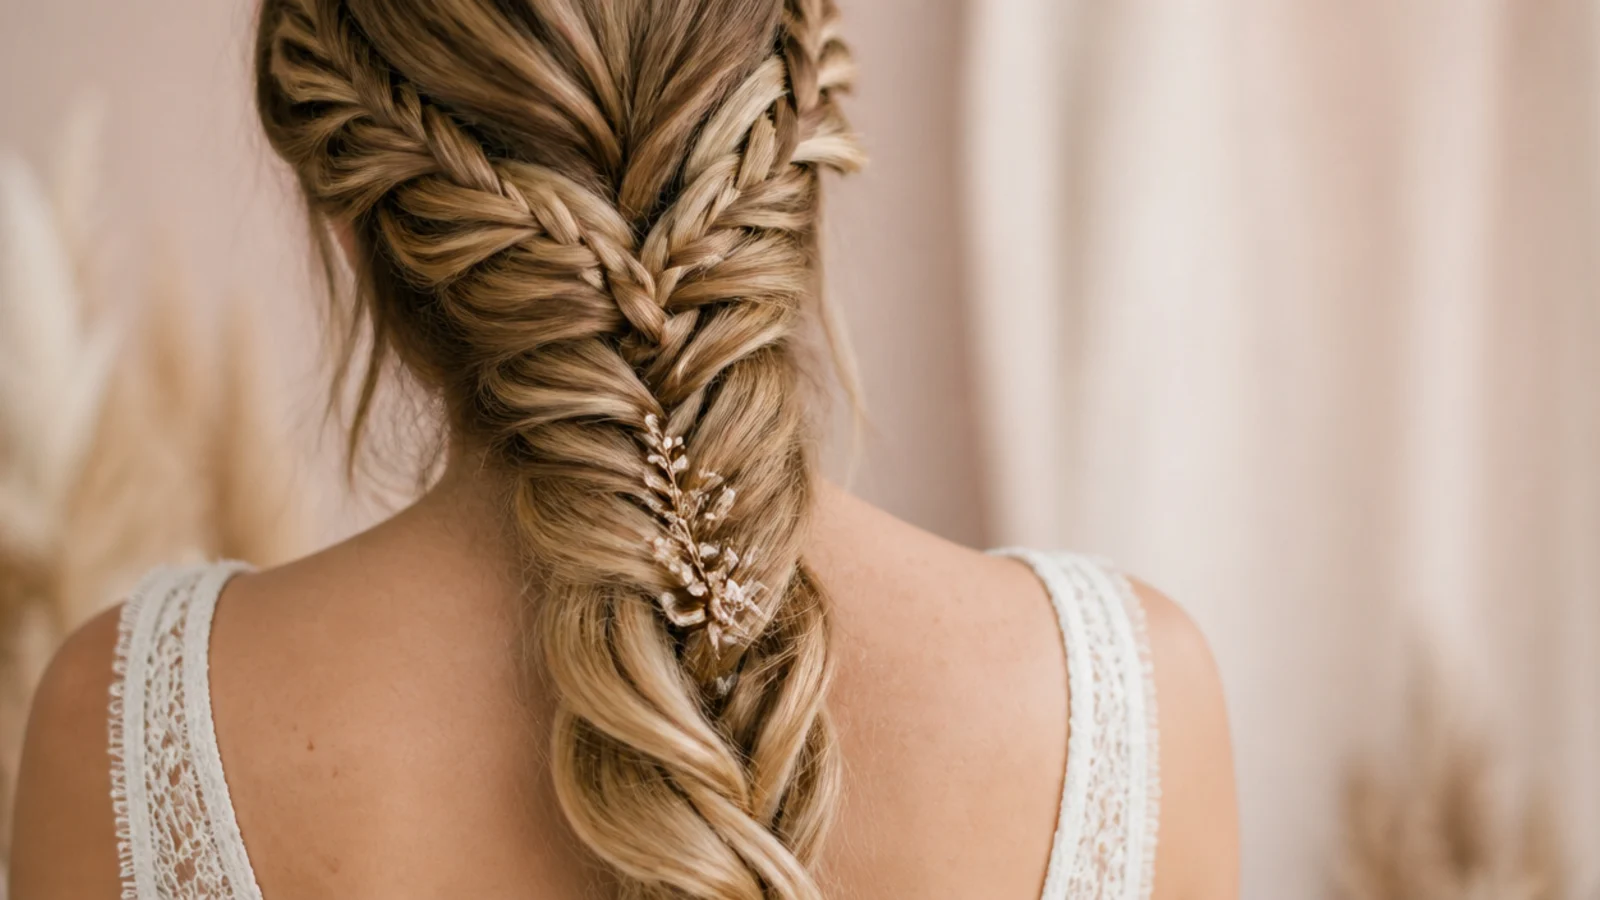
Clip ins set below the crown add the length a shorter head needs, and the braid then hides the wefts inside itself rather than needing them covered. Set them before you part, since a weft clipped in afterwards will sit across the part line and show.
Final Thoughts
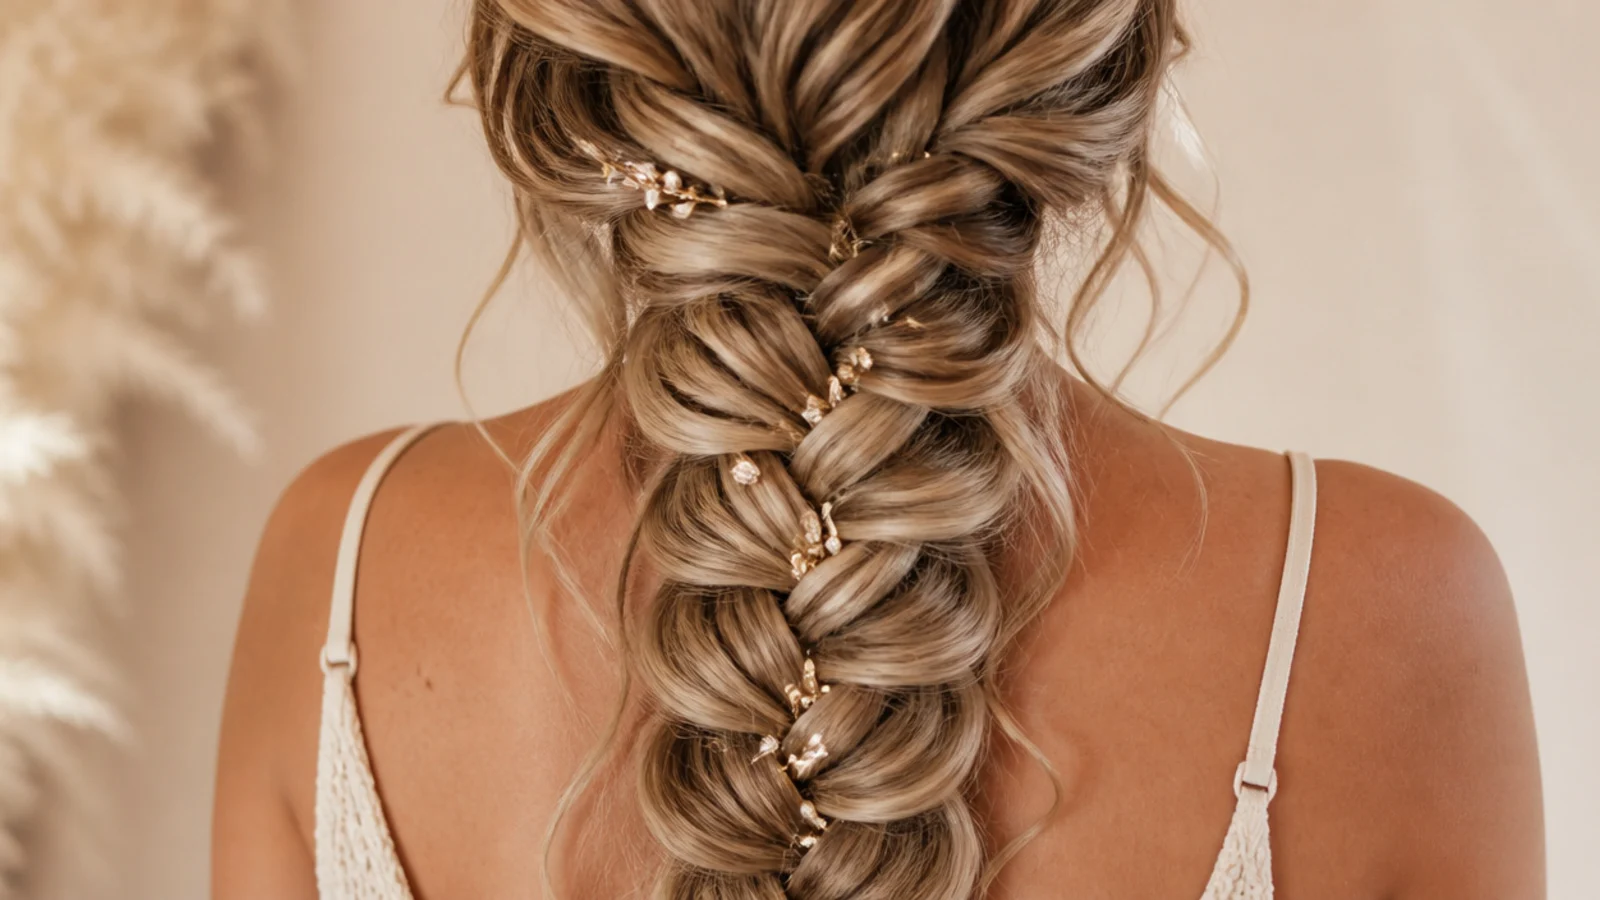
Two decisions do most of the work here. Part on the side your hair already falls to, and feed the outer half of the braid slightly larger slivers than the inner half. Get both right and the braid sits flat against the collarbone from the first crossing to the elastic.
Everything else is grip and order. Braid on second day hair, pin where the braid changes direction behind the ear, and widen from the bottom upward with the outer edge taken further than the inner. A side braid that has twisted onto its edge by lunchtime is almost never a braid that was pulled too loosely.
For a side parted style that lasts weeks instead of a day see 20 side part medium knotless braids I saved. More in Braids and Protective Styles. See also the blonde version.
Frequently asked questions
Related posts
See all posts
20 Waterfall Mermaid Braid Ideas That Hold
Read more
20 Side Part Medium Knotless Braids I Saved
Read more
20 Shoulder Length Knotless Braids Ideas
Read more