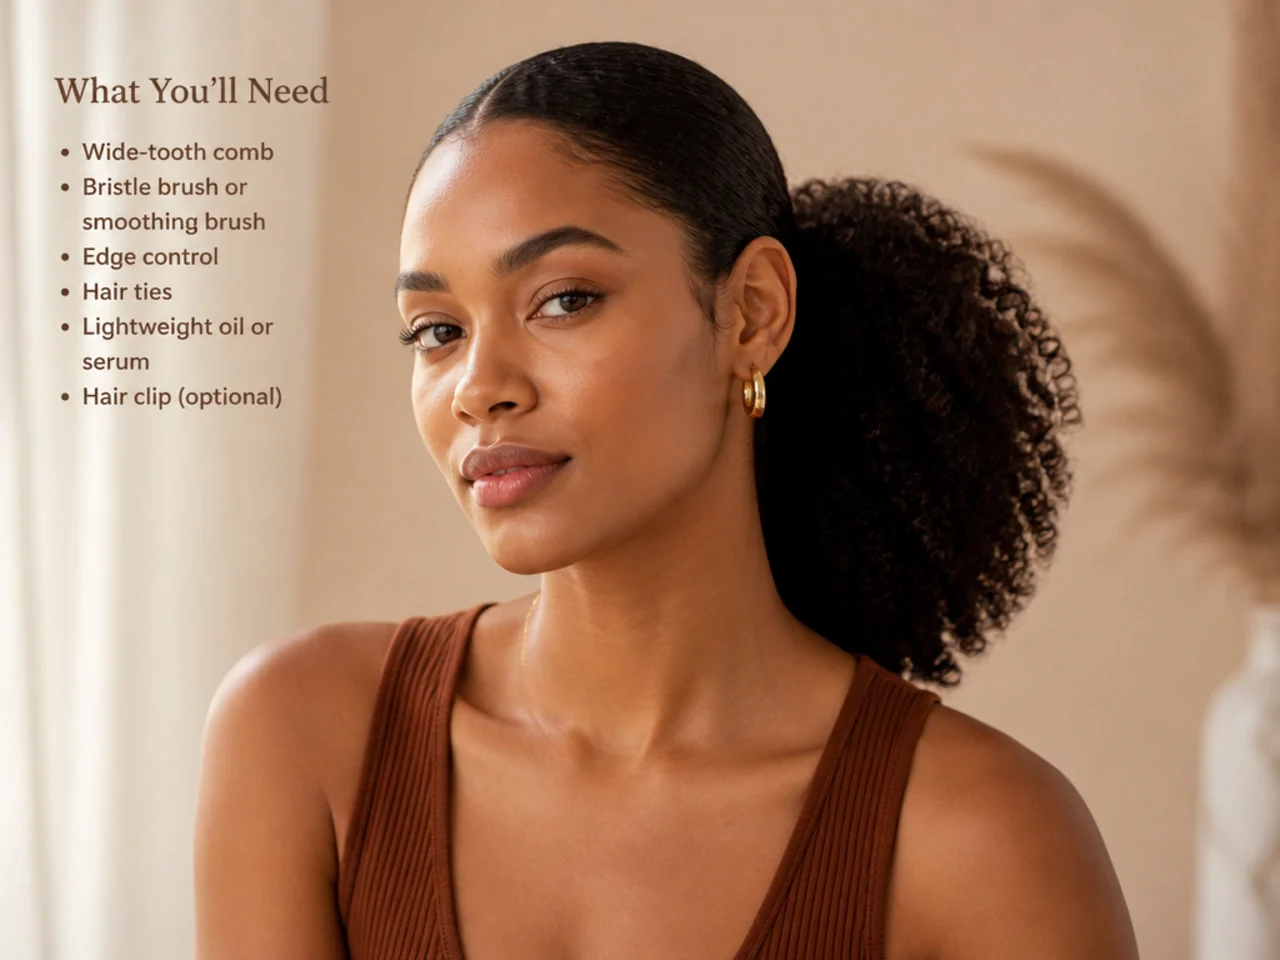
6 Steps to a Sleek Ponytail on Natural Hair
Sleek ponytail on natural hair — a 6-step stylist method for 4A, 4B, and 4C coils. Stretch, section, slick, secure, lay edges, and set — with tension-safe mechanics.
In this article · 9
- What You'll Need
- Step 1 — Prep the Night Before: Stretch and Moisturize
- Step 2 — Section the Perimeter from the Rest
- Step 3 — Slick the Middle and Back to Your Crown Point
- Step 4 — Secure Over a Satin Scrunchie
- Step 5 — Wrap the Base and Set the Tail
- Step 6 — Lay the Baby Hairs and Scarf-Tie Down
- Troubleshooting Common Sleek Ponytail Problems on Natural Hair
- FAQ
The sleek high ponytail reads snatched on 4A, 4B, and 4C hair — but only when the mechanics are right. Gel over dry coils flakes. A bare elastic snaps the tie line. Edges laid without compression puff up by noon. This guide walks the six-step stylist method for a high ponytail that holds all day on natural hair, with tension-safe steps and the exact order that separates polished from pulled-apart.
What You'll Need
Six products and three tools cover every step below. Skip the aerosol setting spray and the rubber elastic — both do more damage on natural hair than they help.
- A moisturizing leave-in — water-based, lightweight, no drying alcohols.
- A stretching cream or foaming mousse — for banding, braid-outs, or twist-outs the night before.
- A strong-hold, non-flaking edge gel — clear or opaque, tested on the back of your hand for white-cast.
- A boar-bristle brush — medium or soft, not stiff synthetic.
- A rat-tail comb — for the perimeter section and the part.
- A soft-bristle edge brush — the double-ended kind with a comb tail is ideal.
- A coated elastic + a satin scrunchie — never a bare rubber band.
- A bungee tie — one hook on each end, for tension you can control by wrap.
- A silk or satin scarf — long enough to tie around the head twice.
- Two to four matching bobby pins — matte, not shiny, and matched to your color.
- A lightweight hair oil — for the tail only, never the roots.
Optional: a spray bottle of water for refreshing, and a hooded dryer if you press or stretch with heat. You do not need a blow-dryer for the sleek finish — the scarf does that work.
Step 1 — Prep the Night Before: Stretch and Moisturize
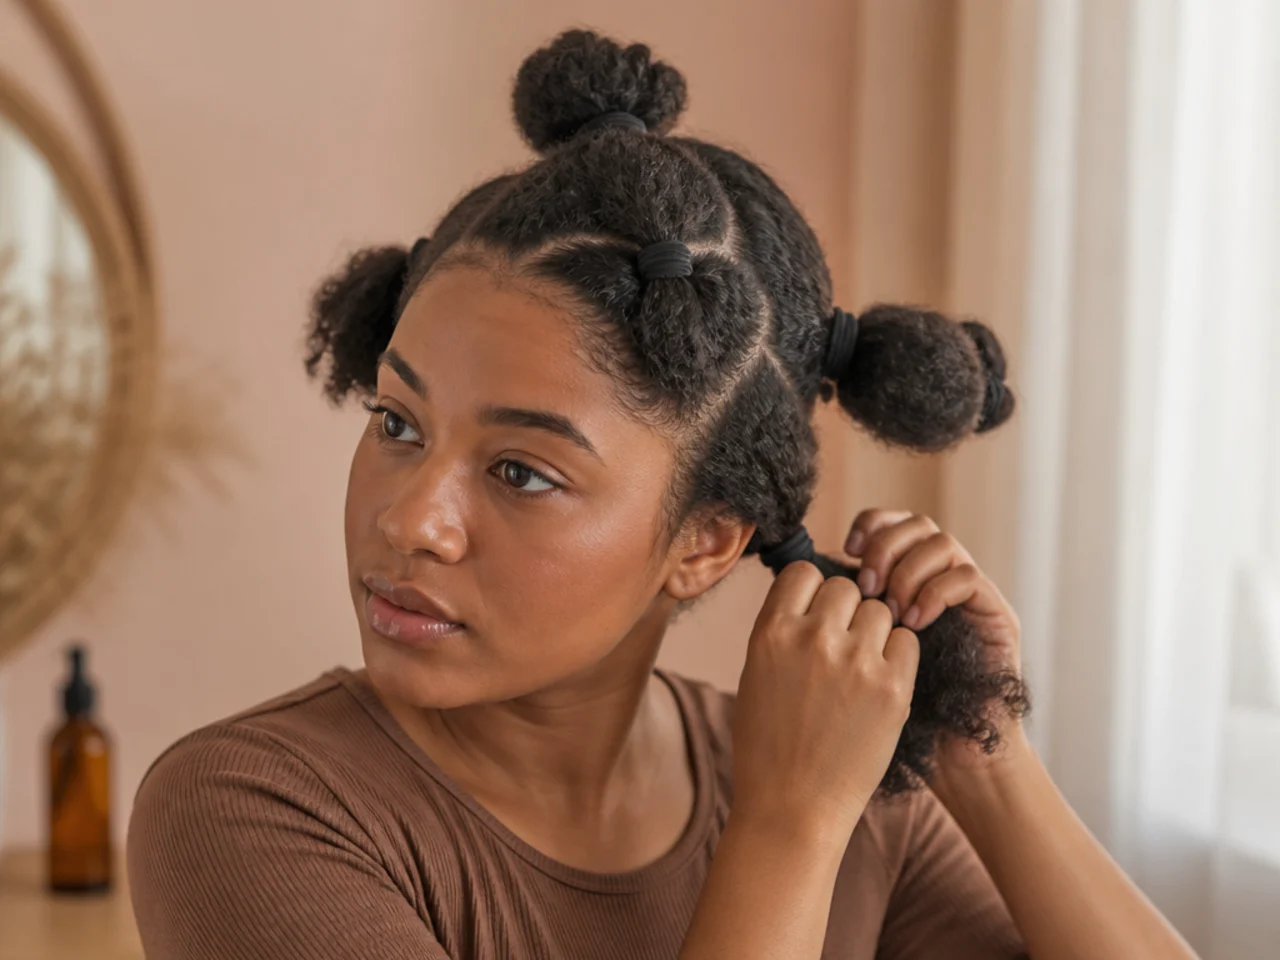
The whole style stands on this step. Dry, shrunken coils will not slick — the pattern fights the gel and the perimeter puffs by lunch. Stretch first, style second.
Wash and deep-condition the day before. Detangle in the shower with conditioner and a wide-tooth comb, working from ends to root in four sections. Rinse, then apply a moisturizing leave-in throughout, followed by a stretching cream. Section into six to eight parts and either two-strand twist each, band each section with soft fabric ties spaced an inch apart, or braid it into loose plaits. Sleep in a satin bonnet.
In the morning, unravel gently. Your coils should read long, soft, and pattern-legible — not fluffy, not fried. Mist any dry sections with a water-and-leave-in blend and smooth with a drop of the same cream. Never gather cold coils straight from a pineapple; the base cracks and the perimeter puffs immediately.
Common mistake: loading the stretching cream onto already-dry hair the morning of. The cuticle is closed by then and the product sits on top. Water goes in first; cream seals second. If you truly cannot prep the night before, spritz thoroughly with water, work in leave-in section by section, and blow-dry each section on cool with a comb attachment before you slick.
Step 2 — Section the Perimeter from the Rest
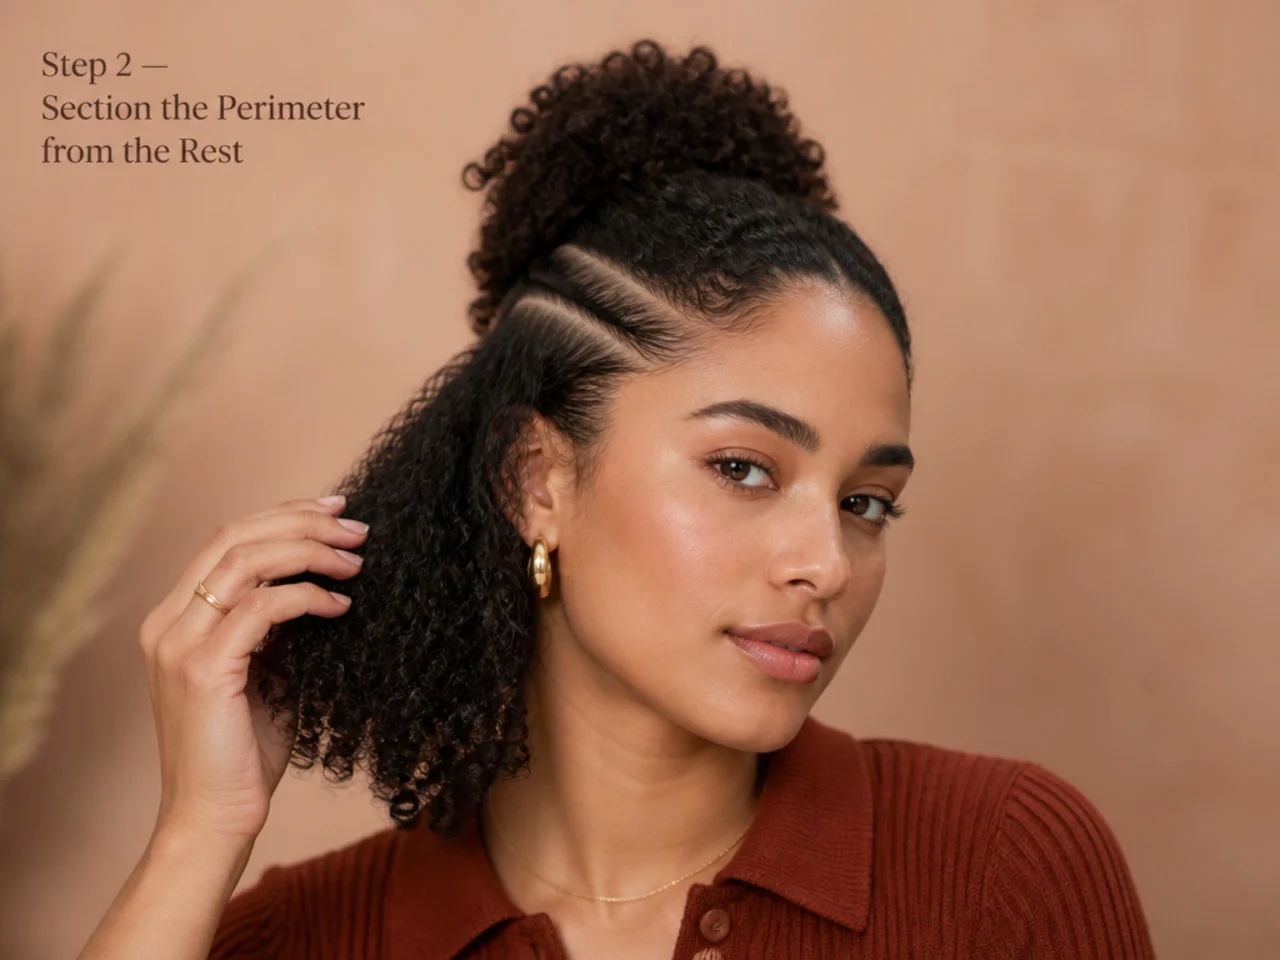
The perimeter is the front hairline, the temples, and the nape — the two-finger band that shows against your face. It gets its own product routine (edge control) later. If you gel it in with everything else in step three, the layer is too thick and the front dries stiff and cardboard-y.
Use a rat-tail comb. Draw a line about two fingers wide around the entire hairline. Clip the perimeter forward and out of the way with two flat clips at the temples. What's left is the "sculpt zone" — the crown, sides, and back that get slicked up into the pony.
Decide your part now if you're wearing one. A center part reads clean and modern. A deep side part reads Y2K R&B and elongates round faces. Draw the part into the sculpt zone with the tail of your rat-tail comb while everything's still damp with leave-in.
Common mistake: trying to gather the perimeter and the sculpt zone in the same fist during step three. The two textures need different tension and different product. Section them apart now and the front lays flat later — try to do both at once and you'll be redoing the whole style by 11 a.m.
Step 3 — Slick the Middle and Back to Your Crown Point
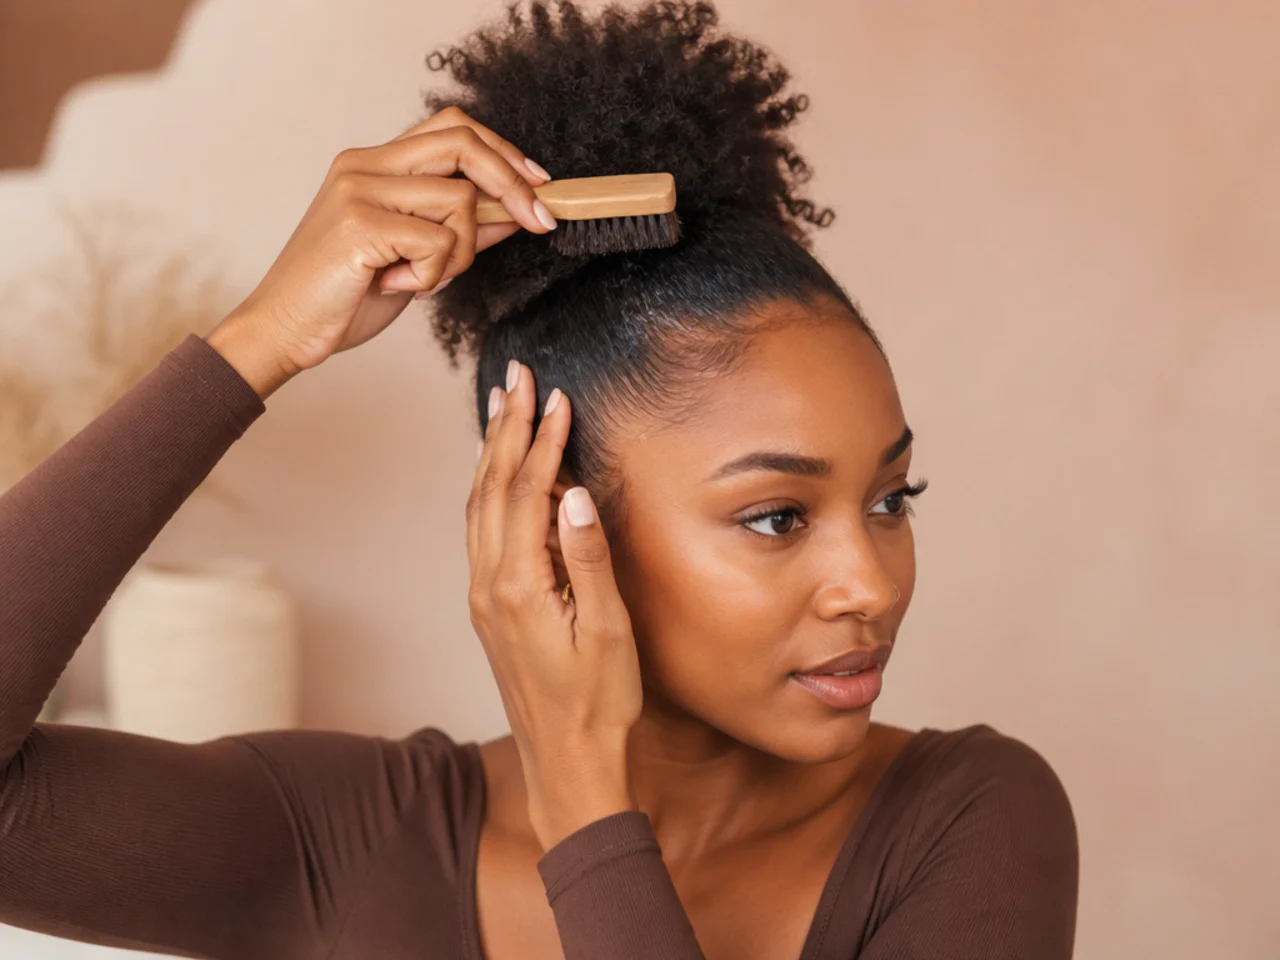
Now you build the sleek base. Where you set the crown decides the whole silhouette. For most face shapes, aim for the intersection of a horizontal line from your ear and a diagonal line from your outer brow. That point sits high enough to read snatched but low enough to hold weight without collapsing.
Work in three panels: left side, right side, back. For each panel, apply a strong-hold edge gel section by section. Warm the gel between your palms first — cold gel sits on the surface, warm gel spreads into the strand. Brush toward your crown point in short, firm strokes with a boar-bristle brush. Never one long sweep from nape to crown; the pressure isn't even and you'll see brush tracks under the finish.
Bend at the waist and flip your head forward for the back panel. Brush upward against gravity so the hair naturally travels to the target point. Then stand up and re-smooth the top and sides while holding the gathered hair firmly at the crown with one hand.
Common mistake: using an alcohol-based clear styling gel because it's what you have. Those formulas grip once, then crack. Look for edge gels or styling foams built for natural hair — the label will say "no drying alcohols" or "moisturizing hold." For product weight tuned to your specific curl pattern, our best wavy hair products guide covers the leave-ins and gels that hold on 3A through 4C without buildup.
Step 4 — Secure Over a Satin Scrunchie
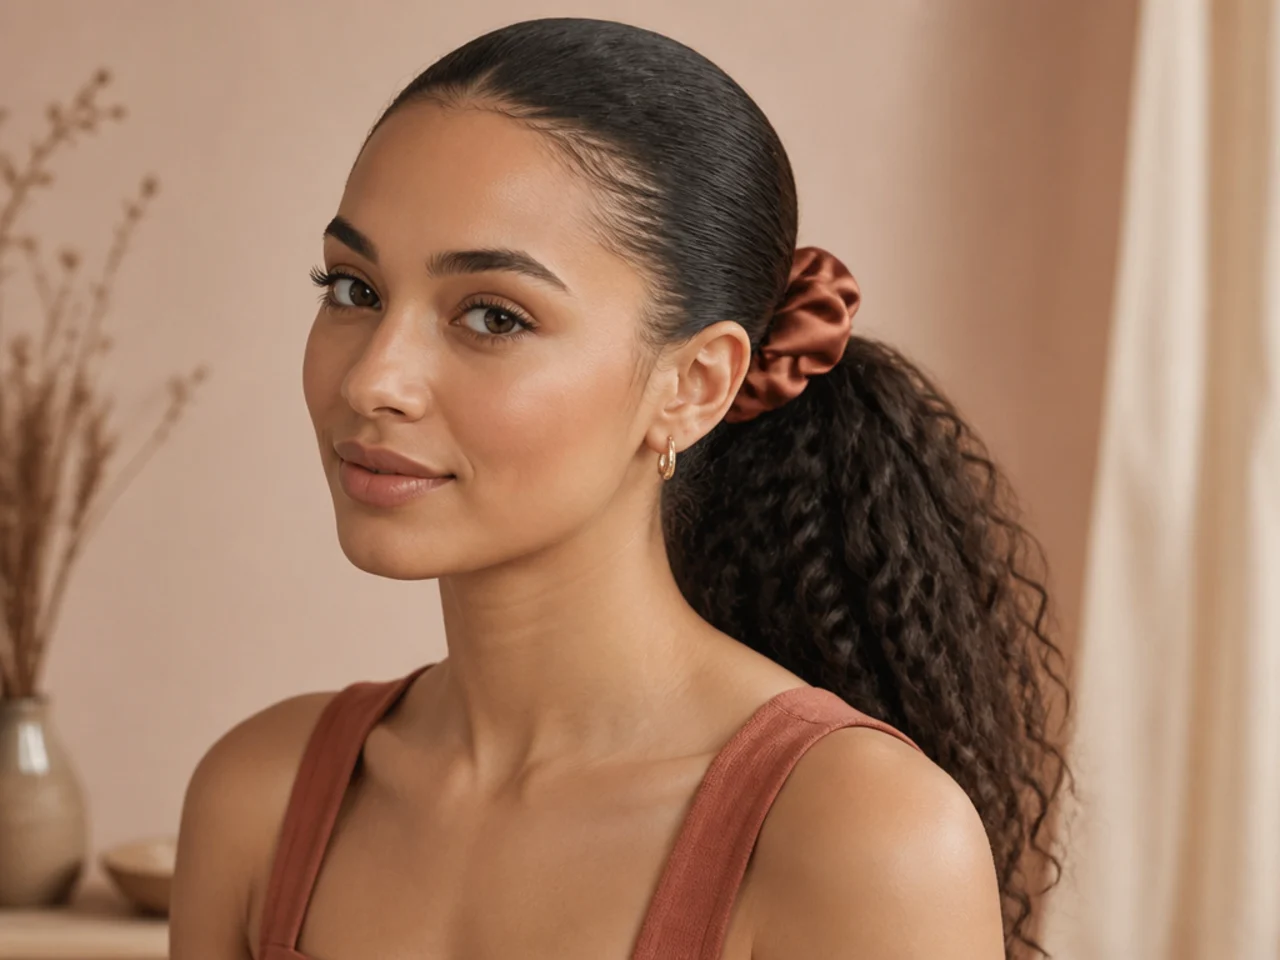
This step decides whether your edges survive the year. A bare elastic on natural coils shears the tie line every single wear — over months, the ridge of broken hair thickens into a permanent thin patch at your crown. The satin scrunchie is not optional.
Slide a satin scrunchie onto your wrist first. Loop a coated elastic through it and hold both together as one unit. Gather everything at your crown point with the hand you brushed with, then use your free hand to slip the elastic-scrunchie combo over the gathered hair. Wrap it twice, tight but not choking — you should feel a firm pull without your scalp burning.
If your hair is short or fine and the ponytail slides forward the second you let go, swap the coated elastic for a bungee tie. Hook one end into a slicked section near your crown, wrap the length tight around the gather, and hook the second end into the opposite side. A bungee lets you control the tension by wrap count instead of by pull.
Common mistake: securing over dry sculpt product before the gel has set. The elastic peels the gel off in a stripe and you lose the finish. Wait a full minute after brushing before you tie, then apply the elastic while the gel is still slightly tacky — not fully hardened.
Step 5 — Wrap the Base and Set the Tail
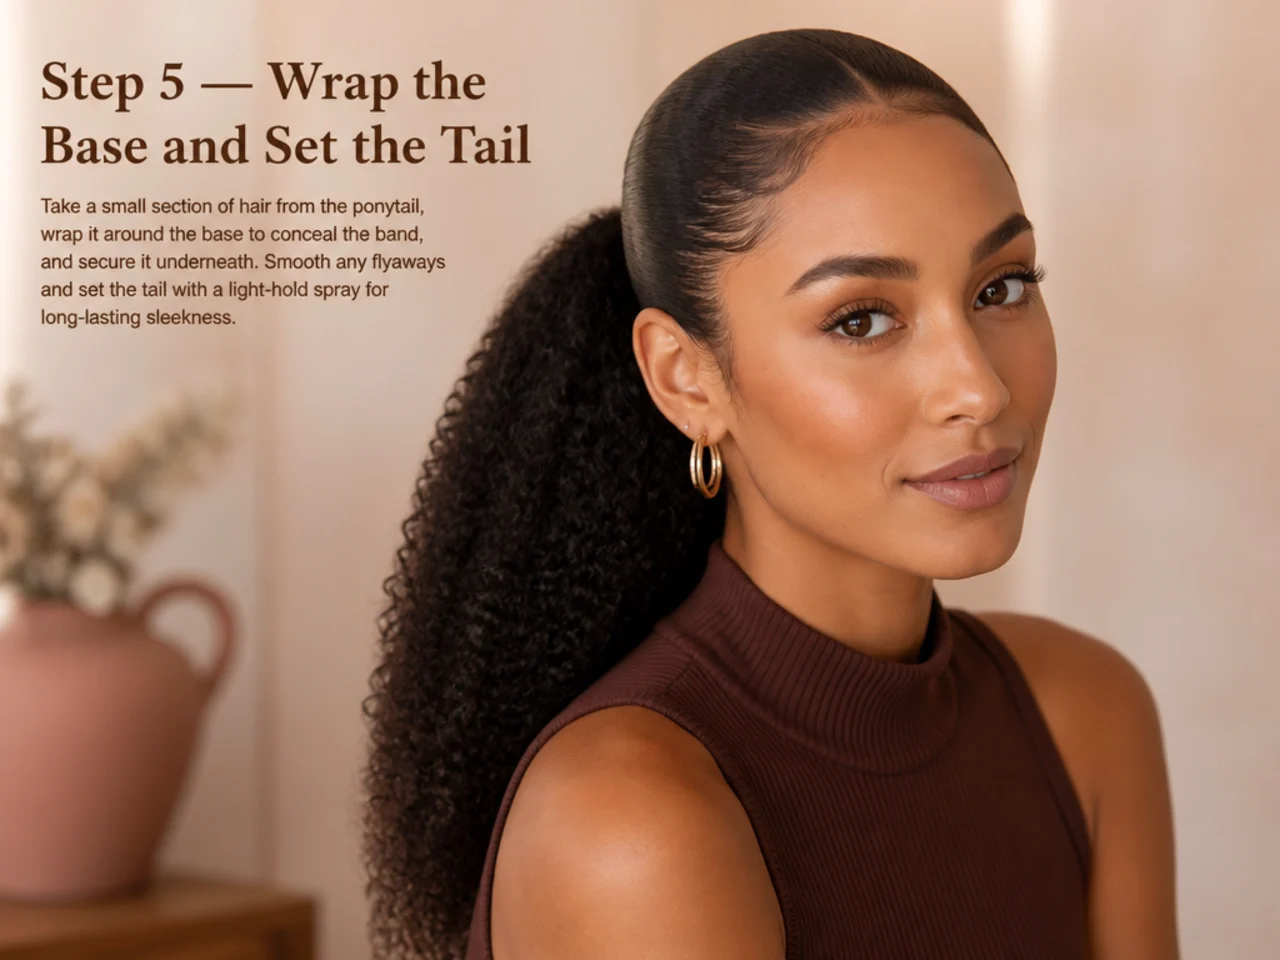
The wrap is what turns a pony into a runway pony. It hides the elastic and creates a clean column of hair around the base. This is the step every stylist you follow on Instagram is doing that you cannot always see.
Take a half-inch section from underneath the tail — the smoothest, straightest piece you can find. Mist it lightly with water if it's fluffy, then smooth a small drop of edge gel down the section between your fingers. Wrap it clockwise around the base, tight to the elastic, until you reach the end. Tuck the tail of the wrap under the last pass and secure with a bobby pin pushed up toward the scalp so the point disappears into the wrap.
Now the tail itself. Your options: leave it in your natural pattern for a two-textures finish, refresh coils with a curl reviver spray, stretch and clip in a texture-matched drawstring for length, or silk-press the tail alone (never the perimeter — that's what set the base). For a two-textures look — sleek at the base, coily in the tail — mist the length with a water-and-leave-in blend and finger-fluff to reset the pattern.
Common mistake: wrapping with a section that has product buildup or dry ends. The wrap will not sit flat and you'll see a bulge. Pick a smooth section, groom it in your hand first, then wrap. If you're wearing a curly drawstring or clip-in, our high ponytail hairstyles for curly hair guide covers texture-matching by curl pattern rather than tone alone.
Step 6 — Lay the Baby Hairs and Scarf-Tie Down
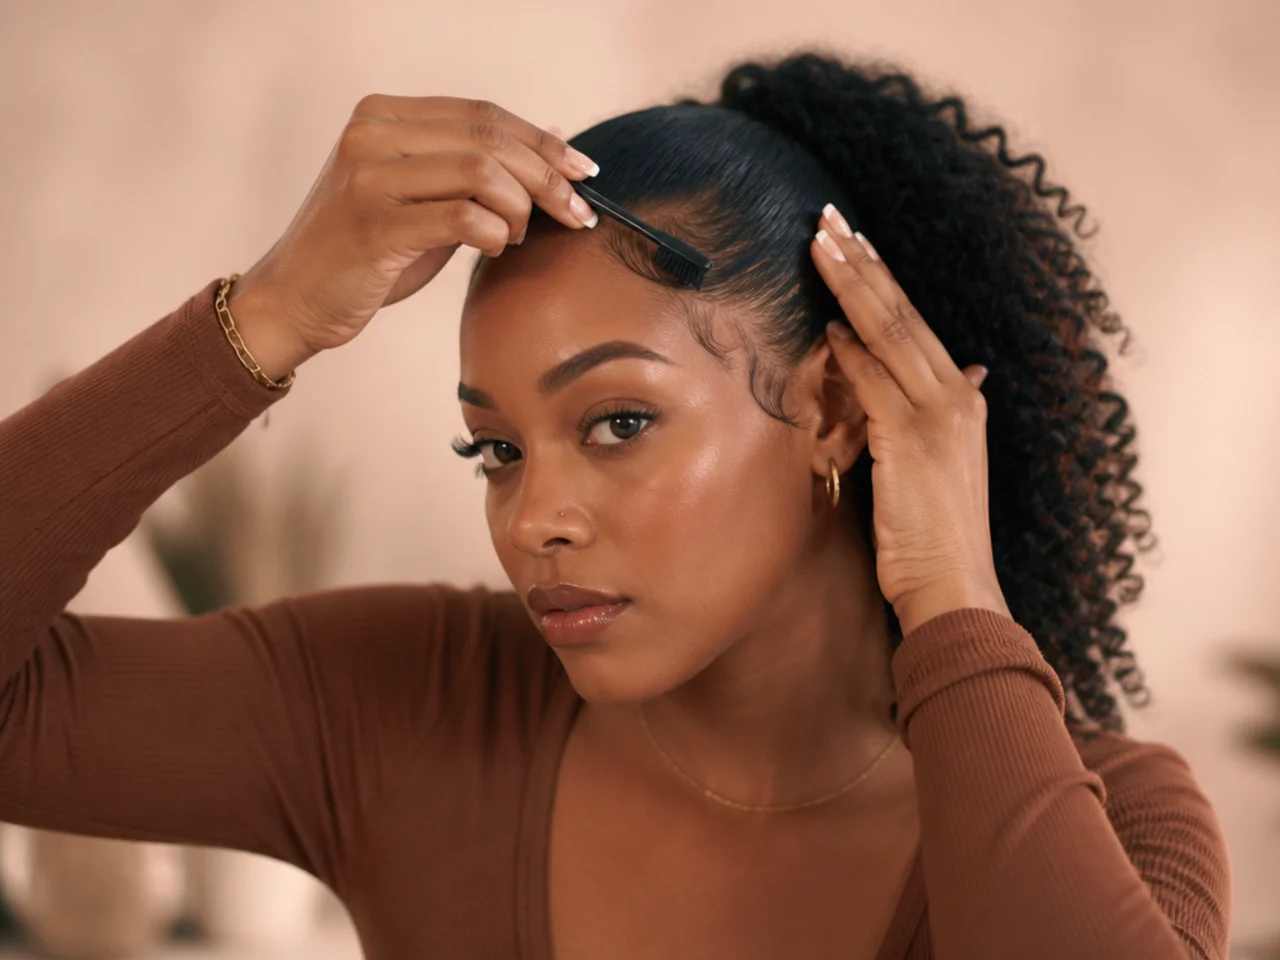
The perimeter you clipped away in step two comes back now. Layered last, it stays soft and glossy — not gel-drenched, not cardboard.
Unclip the perimeter and mist lightly with water if any section has dried out. Apply a moderate layer of edge control across the whole hairline with your fingertips first — this is the base smoothing pass. Then switch to a soft-bristle edge brush and sculpt the baby hairs. Soft S-shapes at each temple are the classic silhouette. Swoops that curl down toward the cheekbone read Y2K. A single arc that runs from temple to temple reads editorial and modern.
The compression step is the one most tutorials skip. Wrap a silk or satin scarf tight around the whole hairline, covering the sculpted edges completely. Tie it at the nape. Leave it on for ten minutes minimum — twenty is better. The pressure and the gentle warmth set the edge gel harder than any spray can.
Unwrap. The edges will look almost too flat for the first minute; give them ninety seconds to soften slightly. Then finish the tail. Warm a pea of lightweight hair oil between your palms and smooth it only over the outside of the tail — never at the roots, which collapses your lift. One drop is plenty on natural coils; two on silk-pressed or drawstring lengths.
Common mistake: spraying an aerosol hairspray directly onto the laid edges. On deeper skin tones, hairspray white-flakes and cracks. The scarf does the same job — hold — without the residue. For fuller sleek variations and moment-to-moment styling notes, our high ponytail hairstyles for Black women roundup catalogs twenty finishes built on the same six-step foundation.
Troubleshooting Common Sleek Ponytail Problems on Natural Hair
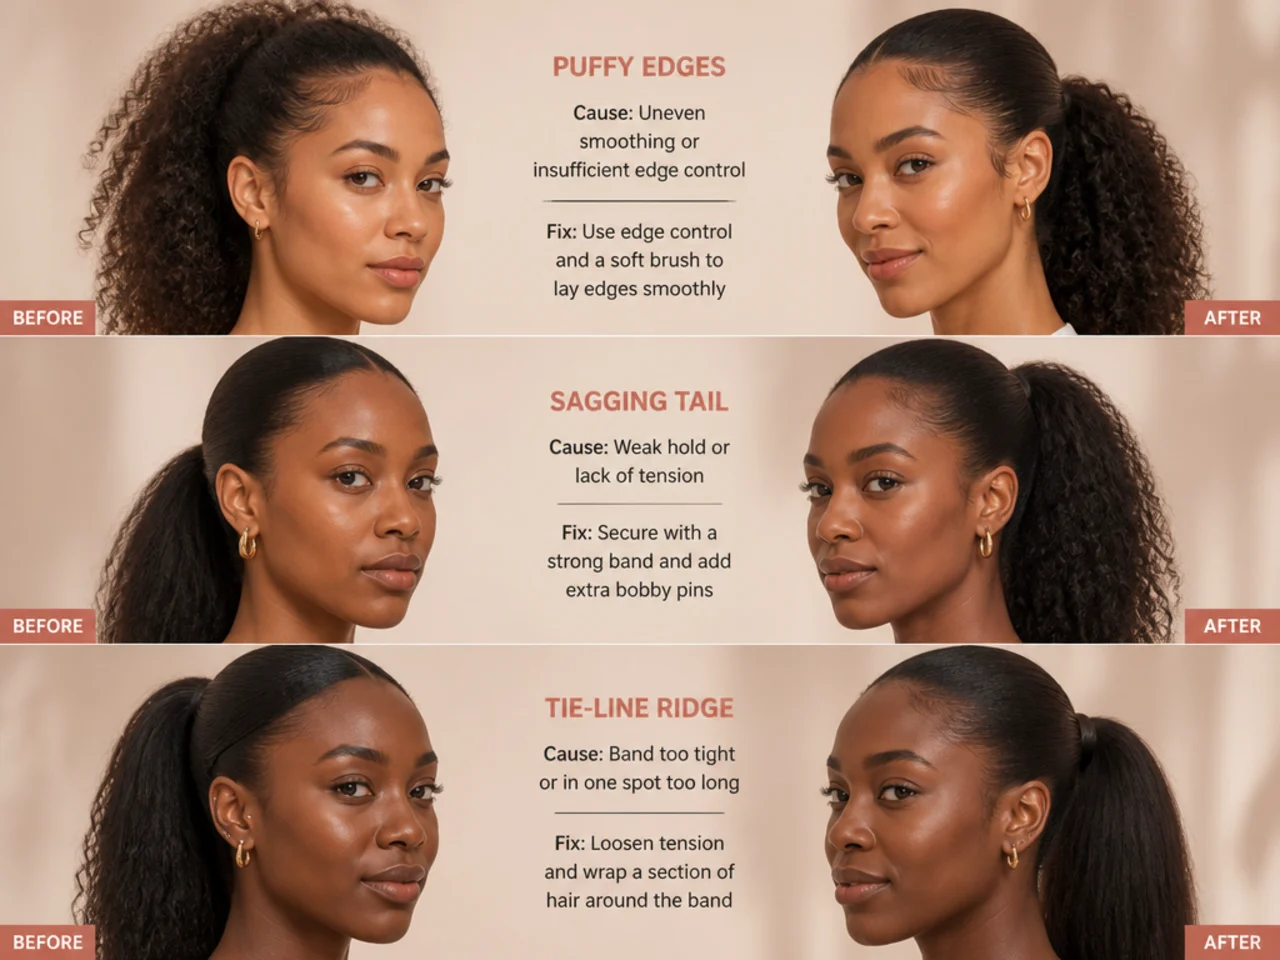
Every ponytail has a failure mode. Read this section before your first attempt so you can adjust mid-styling instead of starting over from wet hair.
- Perimeter puffs up an hour later: the coils were dry when you laid them. Fix by re-misting with water, adding one more thin layer of edge control with your fingertips, and scarf-tying for another ten minutes. Long-term fix: moisturize the perimeter with a leave-in fifteen minutes before you gel it, so the strand is already saturated.
- Ponytail sags by afternoon: natural-hair tails carry real weight, especially with a drawstring or wrap. Slide two matte bobby pins vertically through the underside of the elastic, points aimed down toward the scalp. They act as a kickstand and lift the base back up. For thicker installs, use four pins in an X.
- White flakes on the front hairline: the edge gel is either too old or contains an ingredient that cast-flakes on your skin tone. Wipe clean with a damp cotton pad, swatch a different formula on the back of your hand, and let it dry — if it dries clear, use that one.
- Tie-line ridge of broken hair developing at the crown: you're wearing high pony too often, without the satin scrunchie, or sleeping in the elastic. Drop the height for two weeks, add a satin scrunchie under every elastic going forward, and never sleep in the tie.
- Bumpy or wavy sleek surface: the boar-bristle brush passed over sections that were still shrunken. Mist those sections, add a drop of stretching cream, and re-brush in short strokes. Stubborn spots may need a cool blow-dry with a comb attachment.
- Baby hairs look wet-crunchy instead of soft: you used too much product or a formula that dries stiff. Lift with a soft edge brush dipped in a drop of water — the flex returns in seconds. Next time, use half as much product and rely on the scarf to hold.
Keep a mini edge control, three bobby pins, and a folded silk scarf in your bag. Every mid-day touch-up is one of those three things.
FAQ
Can I do a sleek pony on 4C hair without heat? Yes. Banding or braid-out the night before stretches coils enough to lay flat under edge gel the next morning. A silk scarf tie-down for ten minutes replaces the blow-dryer for the final polish, and repeated silk presses under tension will break your coils at the base over time. Save heat for milestone occasions.
Which edge control actually holds on natural hair without flaking? A thick, non-flaking strong-hold gel with a clear or opaque finish and no drying alcohols. Layer in stages — light smoothing pass, sculpted second pass with a fine-tooth edge brush, silk scarf for ten minutes. Aerosol setting sprays crack and white-flake on deeper skin tones and are best avoided on the perimeter.
How do I keep the perimeter from puffing up? Moisturize before you gel — dry coils absorb product into the strand and lose their hold. The scarf-tie compression step also matters more than most tutorials admit; ten minutes minimum, twenty is better.
Do I really need a satin scrunchie under the elastic? Yes. A bare coated elastic on natural coils snaps the tie line and builds a ridge of broken hair at the crown over months. The satin scrunchie loops inside the elastic and spreads tension across a wider surface — you keep the grip without the shear.
How long can I safely wear a sleek high ponytail? One to three days per install, then two to four days off in a low bun, puff, or worn-out style. Take it down each night, moisturize the perimeter with a light oil, and re-set fresh in the morning if you want to wear it again. Never sleep in the elastic — swap for a silk scrunchie or pineapple under a bonnet.
What if my hair is under six inches long? Slick your natural hair up with edge control and a boar-bristle brush, then clip in a texture-matched drawstring pony. Kinky-straight and 4A drawstrings blend cleanly with 4B and 4C bases. The base still runs the same six steps; the drawstring just adds length above the elastic. For companion cuts that support the pony silhouette between wears, our curly hair haircuts guide lays out shapes designed to slick clean and drop bouncy, and our curl types guide breaks down the 3A-through-4C spectrum so you can match products to pattern. For softer alternatives that avoid crown tension entirely, browse our low updo hairstyles, sleek high ponytail hairstyles, and high ponytail hairstyles with braids roundups.