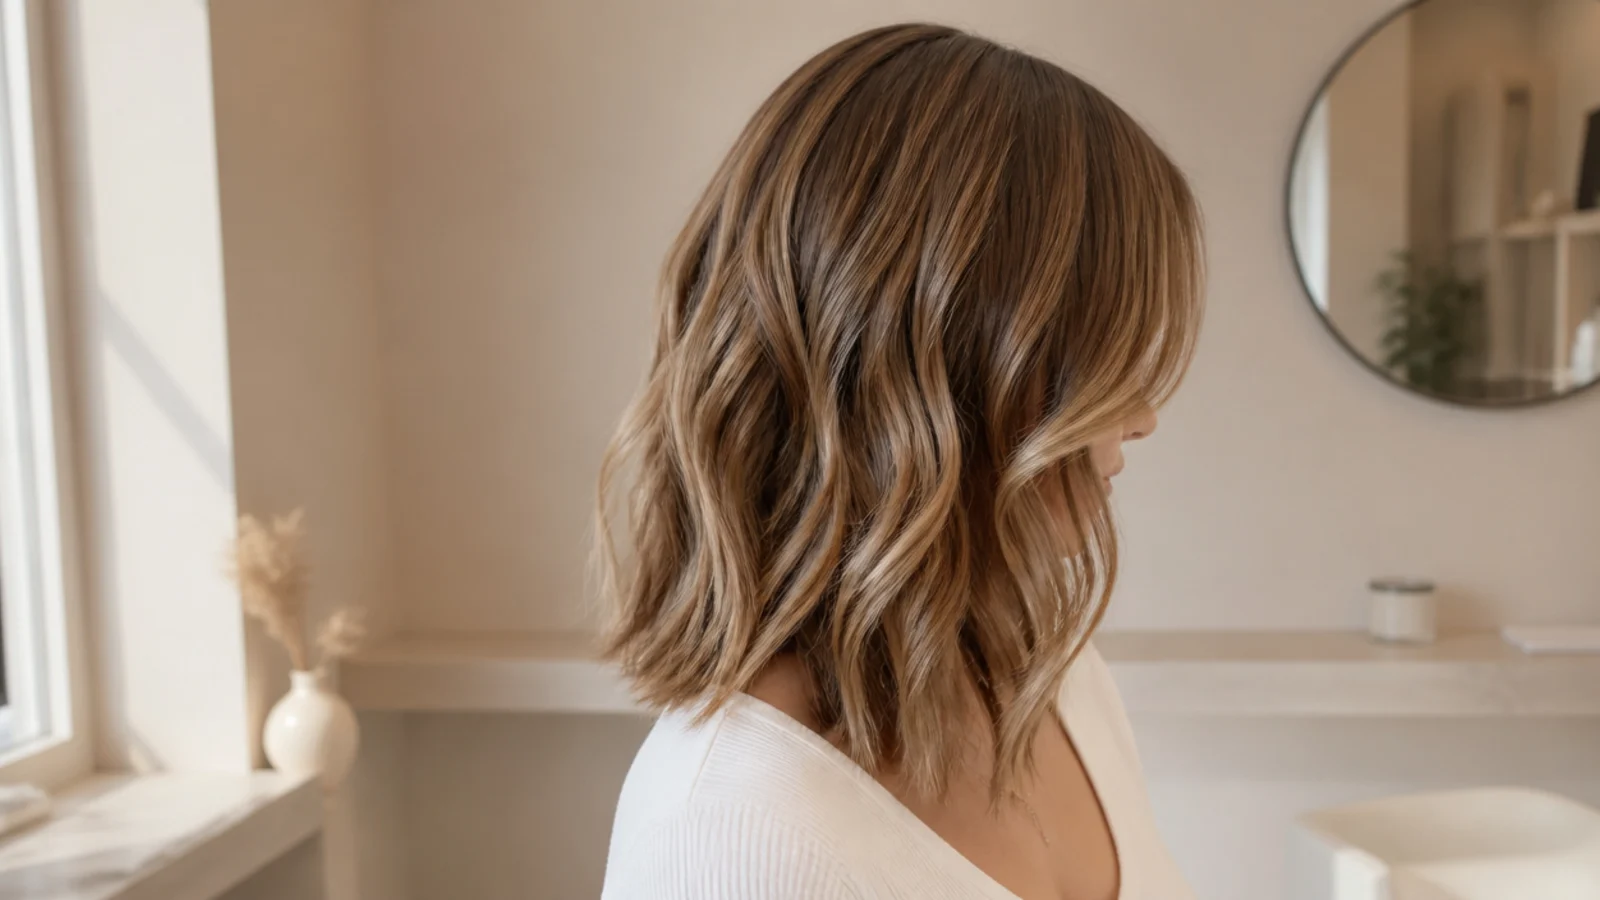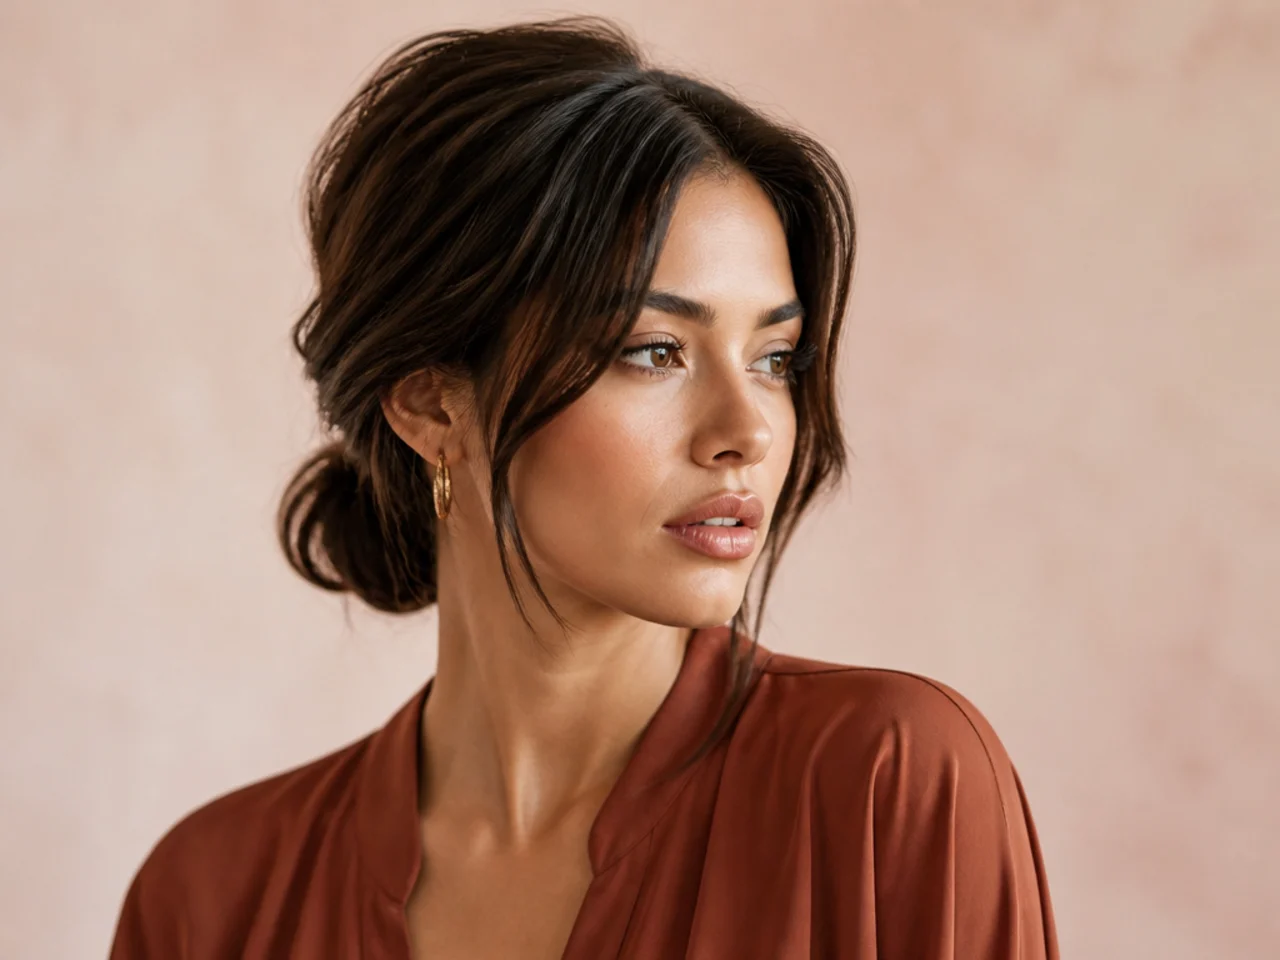
5 Reasons a High Ponytail Works on Short Hair
A high ponytail short hair combo reads polished with the right grip, gel, and a wrap at the nape. Five reasons it works — plus the exact technique.
In this article · 10
- What Counts as "Short Hair" for a High Ponytail?
- The One-Line Answer
- Reason 1: You Have More Length Than You Think
- Reason 2: You Get Instant Crown Volume
- Reason 3: Extensions Blend Cleanly Above the Crown
- Reason 4: Nape Hair Hides Under a Braid or Wrap
- Reason 5: Every Face Shape Wears It
- Which High Ponytail Should You Try First?
- How to Style a Short-Hair High Ponytail
- FAQ
Short hair and high ponytails aren't supposed to work together. They do. Most women who write off a high ponytail short hair combo are missing technique, not length. If you can pinch a half-inch section at your crown between two fingers, you can build a high pony that reads intentional — not compromised. Here are the five reasons the pairing works, with the exact grip, product, and cheat for each.
Want the full family first? Start with our 25 high ponytail hairstyles guide, or browse the womens hairstyles hub for the wider silo.
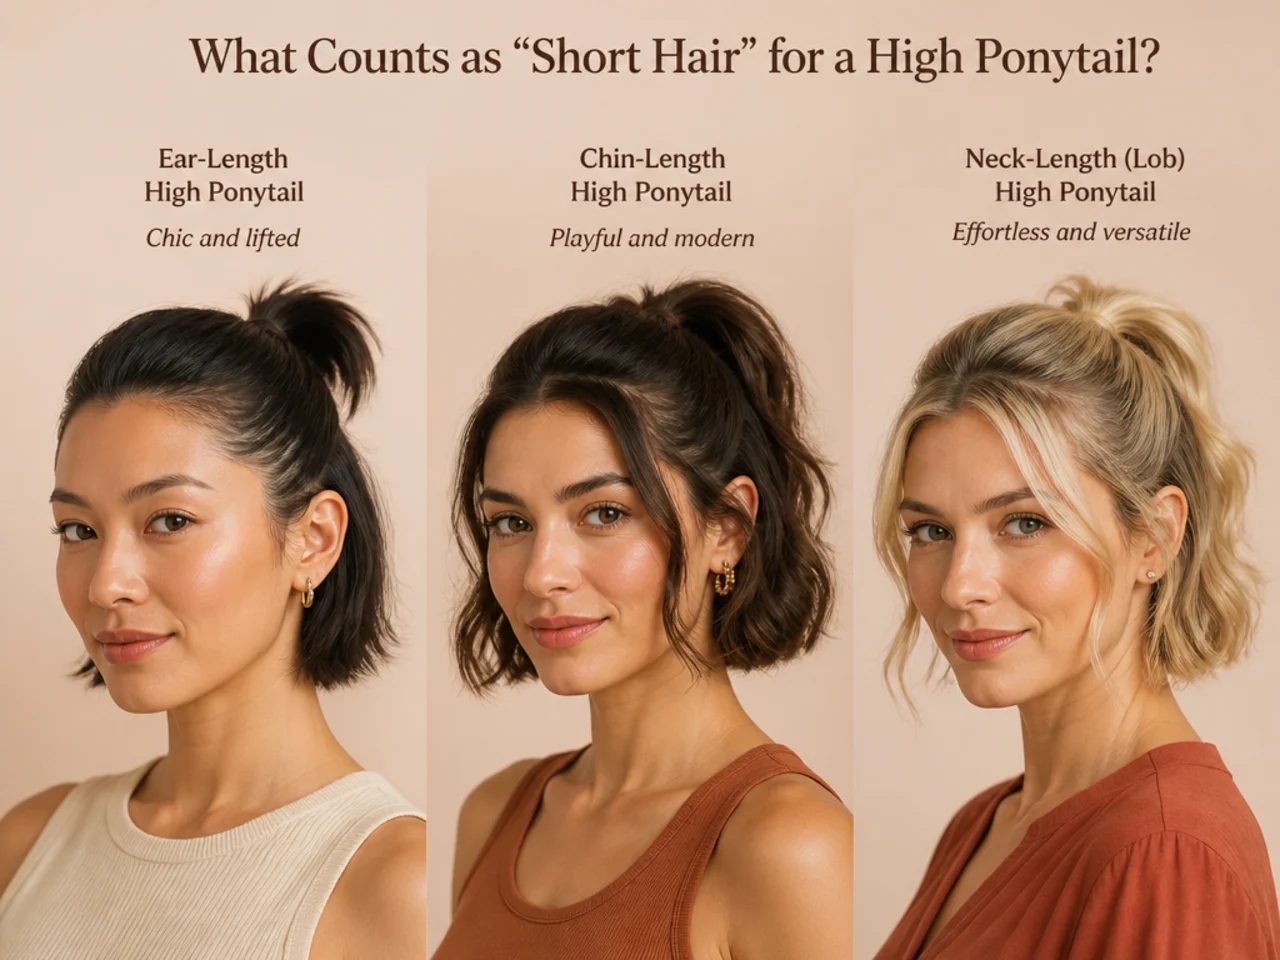
What Counts as "Short Hair" for a High Ponytail?
Short hair for a high ponytail means one thing: the top and crown sections can reach the elastic without breaking loose. That threshold sits around three inches through the crown. A chin-length bob, a lob, a grown-out pixie cut, and any layered short cut all qualify. Anything shorter than three inches on top and you're pinning, not tying.
The nape is a separate calculation. Most short haircuts leave the back shorter than the crown — that's the whole shape of a bob or an inverted lob. The nape rarely reaches the elastic. That's fine. Every high pony variation below has a plan for the loose nape section: braid it up, pin it flat, or wrap it into a French roll before you tie the top.
The last variable is layer depth. A short bob for fine hair with minimal layers holds a pony easily because every strand is the same length and reaches the base together. Heavy internal layers make the tail thin and stringy — you'll want a texture spray to fake density before you tie, and often a clip-in tail to bulk it out. If your cut is layered short, our thick short hair guide covers the layer patterns that pony best.
The One-Line Answer
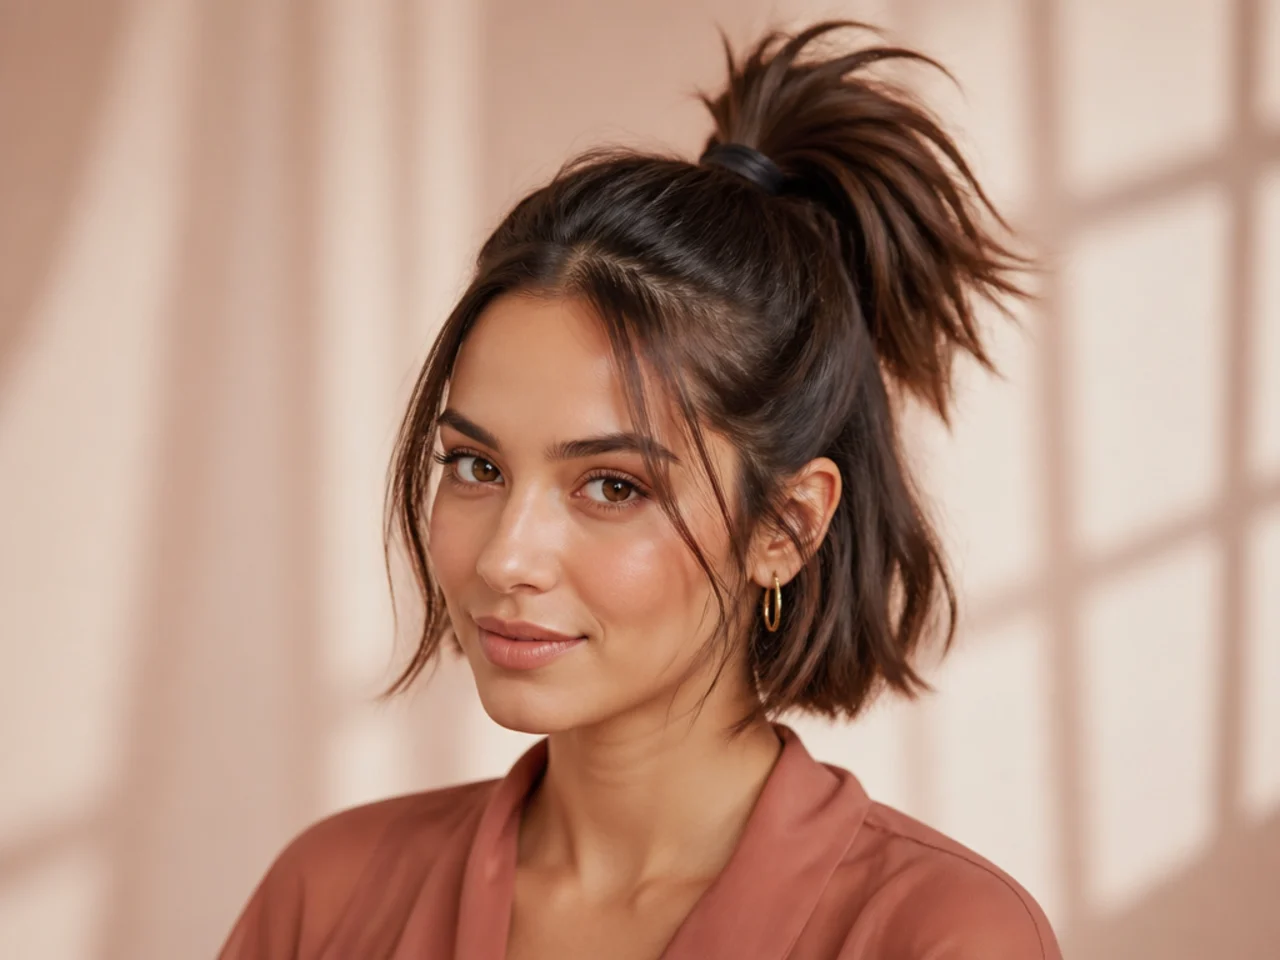
Yes, a high ponytail works on short hair. The formula never changes: strong-hold gel at the front, a bungee or silk-scrunchie elastic at the crown, two crossed bobby pins under the base for structure, and a plan for the loose nape hair — either a low French braid worked upward, a wrap-around clip-in for length, or bobby pins hiding the shorter strands flat against the scalp.
If you take one thing from this guide, take that sequence. Every reason below builds on it. What changes across the five reasons is the placement, the extension choice, the face-shape tuning, and the finish that makes the short-hair version photograph as sharp as a long-hair one.
Reason 1: You Have More Length Than You Think
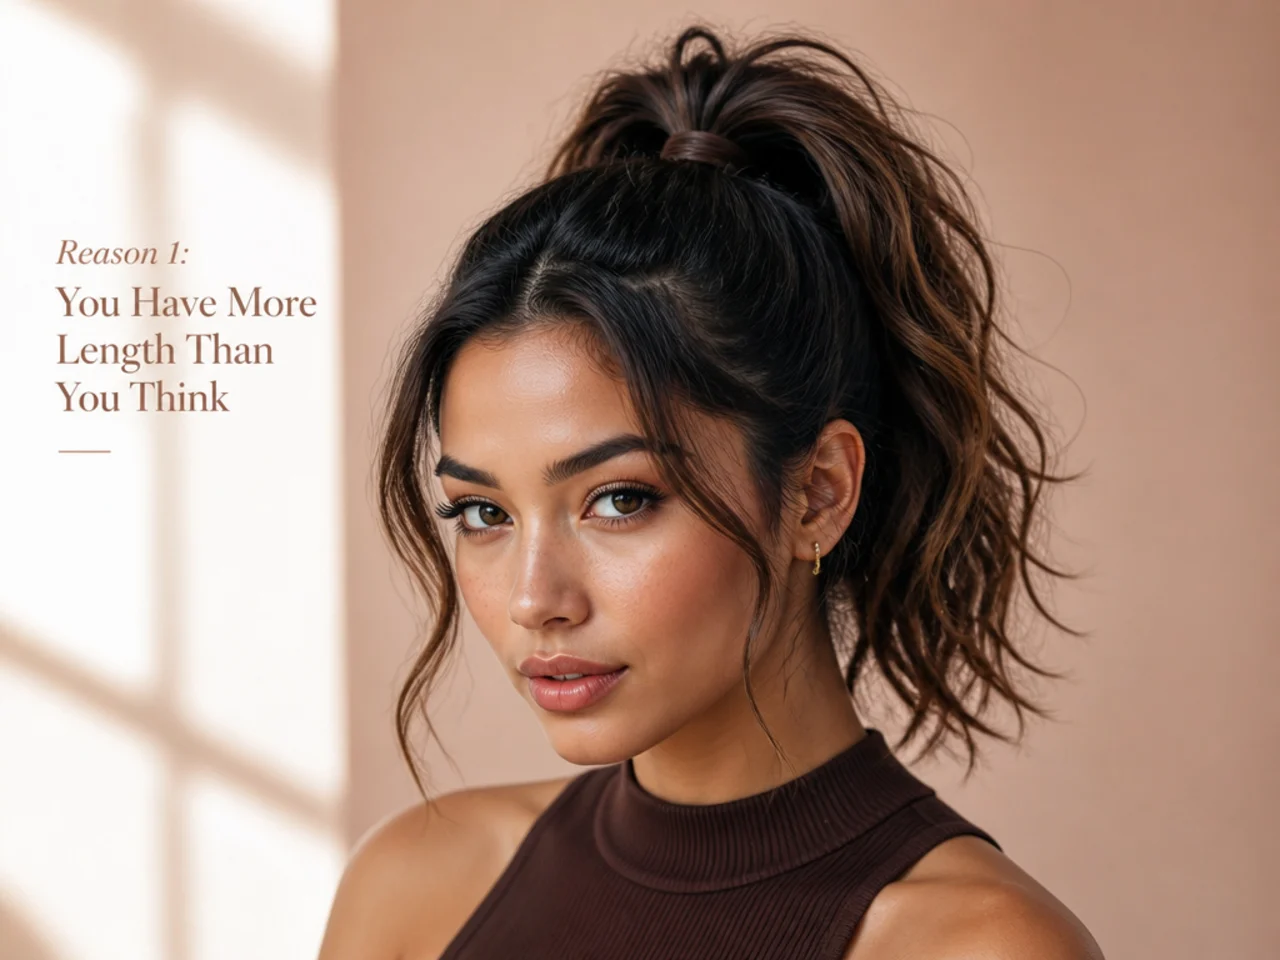
The mistake most women make is trying to tie the pony from behind, sitting upright. That angle pulls the shortest sections — nape, sides above the ear, front pieces — and none of them are long enough. The elastic slips, the tail sags, and the whole thing reads defeated within ten minutes.
Flip forward instead. Bend at the waist so your hair falls toward the floor. Brush everything up to the highest point of the crown with a wide-tooth comb. Every strand you can reach now goes into the elastic together. A bob that measures three inches at the nape can measure five to six inches when gathered from the crown down — and those extra inches are what pull the pony into position.
The elastic placement is the second half. Set it at the very top of the crown, not at the back of the head. That "cheerleader placement" pulls the shorter sides in the same direction as the longer top, so nothing dangles loose. Once secured, flip your head upright and check the mirror. If a few pieces at the nape or temples fell out, that's expected — the fix comes in Reason 4.
For daily short-hair pony ideas that use this exact grip, our easy high ponytail hairstyles roundup walks through five-minute versions that don't need a curling iron or a stylist.
Reason 2: You Get Instant Crown Volume
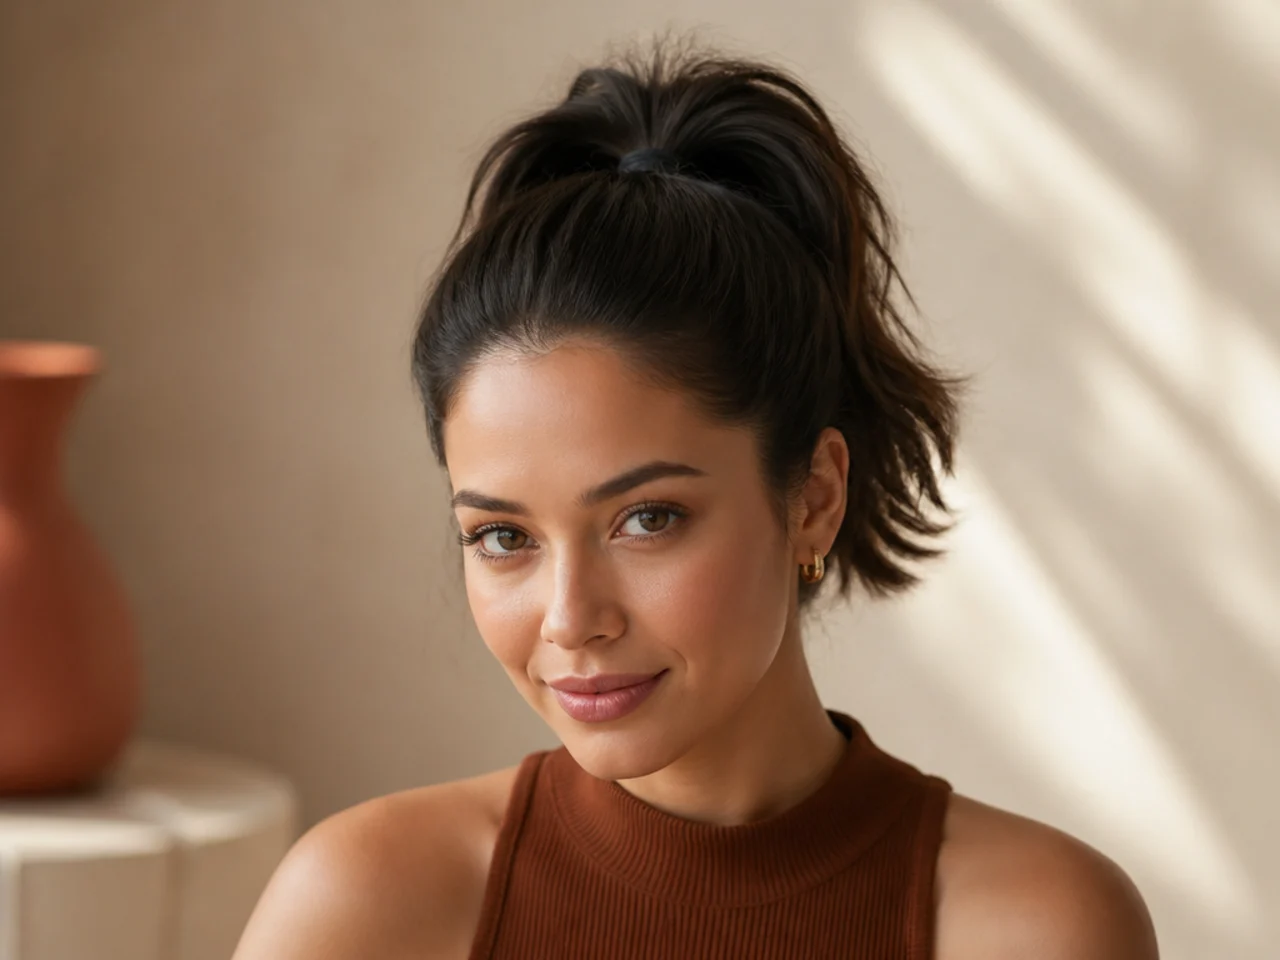
Short hair tends to fall flat at the crown by mid-afternoon. There's less weight above to hold the roots up, and any wave pattern that gave you lift in the morning collapses under gravity and product residue. A high ponytail solves that problem in ten seconds.
The elastic itself is the lift. When you tie the pony at the very top of the crown, you pull every strand upward and away from the scalp. The result reads as two inches of instant height — the same lift you'd get from a full backcomb without any of the damage or the twenty-minute build. It's the reason why a chin-length bob in a high pony looks taller and more sculpted than the same bob worn down.
Face proportion is the second benefit. Round and square faces gain visible length from the vertical lift. Heart-shaped faces get their forehead broken up by the lifted crown line. Even long faces — usually the ones warned off high placements — can wear this version on short hair because the tail is short enough not to stretch the face further downward.
To exaggerate the effect, add one pass of dry shampoo at the crown before you tie the pony. Massage it in with your fingertips. The product coats the roots so they hold the lift for hours instead of settling back under gravity. Then pin the base with two crossed bobby pins pointing down toward the scalp — they act as a splint and keep the height locked through a full workday.
If your short cut sits flat because it's fine-textured, the best wavy hair products guide covers the volumizing sprays and mousses that build root-level fullness before you even start the pony.
Reason 3: Extensions Blend Cleanly Above the Crown
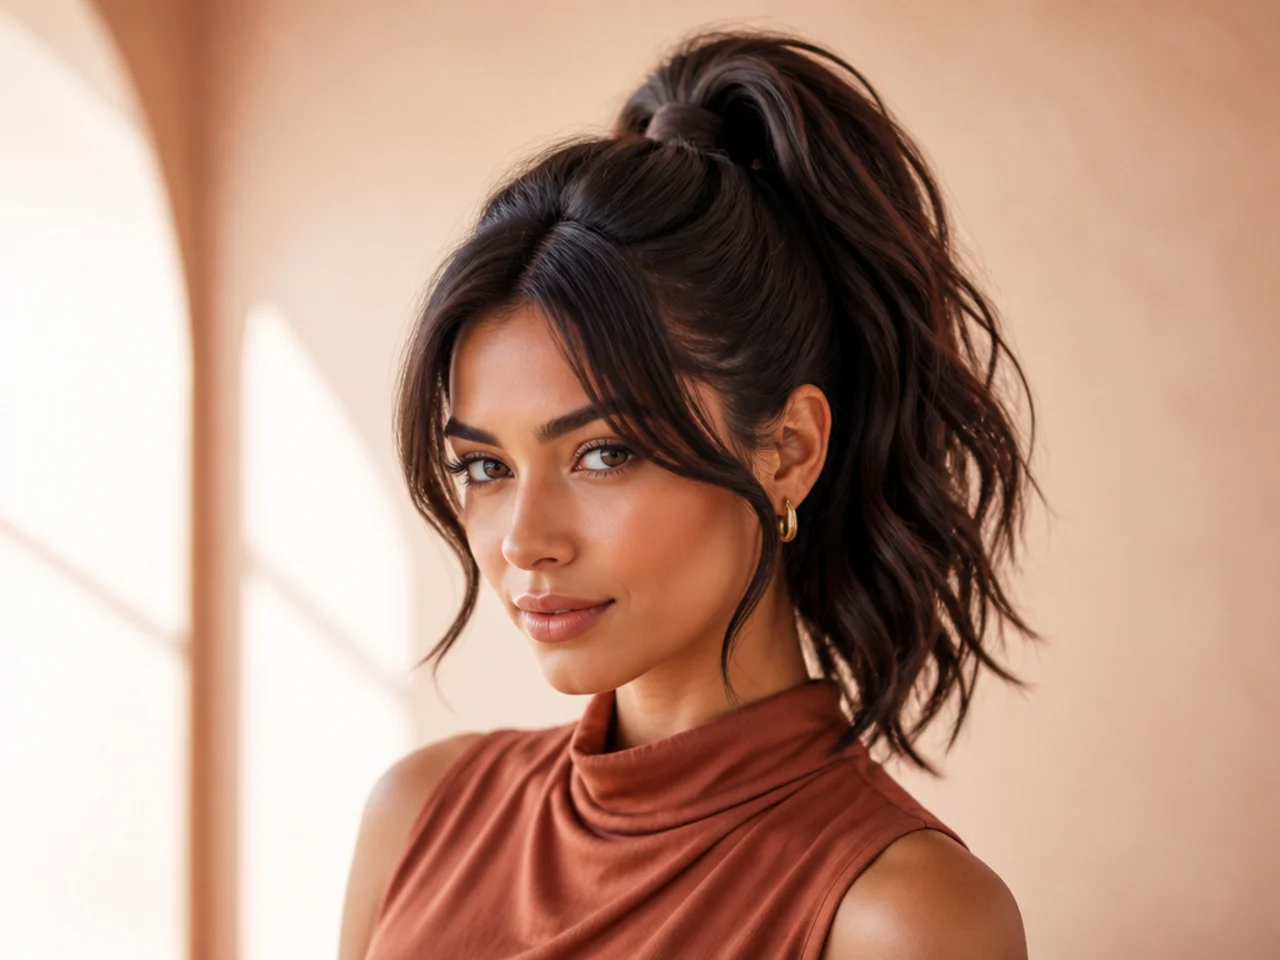
The cleanest cheat in short-hair styling is a clip-in ponytail extension. High placement is why it works. When the seam sits above the crown, it's above the natural sight line for anyone standing in front of you — you'd have to look down from above to see the clip. On a low or mid pony, the seam sits at eye level and gets caught in every photograph. On a high pony, it disappears.
Pick a wrap-around style over a claw-clip style. Wrap-arounds hook onto your natural ponytail base and wind around the elastic, hiding the join under a strip of hair. Claw-clip extensions clamp onto the tail and slip out within an hour on short, layered hair — there's nothing for the clip to grip. Length matters too. A 14- to 18-inch extension gives you the most flattering silhouette on a chin-length base; longer than 20 inches starts to read costume rather than styling.
Color match is where most women get it wrong. Pick the extension one shade darker than your ends, not the same shade. The extension will read as your natural hair when placed against your scalp because the crown of your head is always slightly darker than the ends of your bob. Blend the join with a light mist of hairspray and a comb, then pull two thin sections of your own hair over the seam if any of the clip shows.
For the sleek, wrap-around version specifically, our sleek high ponytail hairstyles guide covers the glass-hair finish that makes the extension read as your own from every angle.
Reason 4: Nape Hair Hides Under a Braid or Wrap
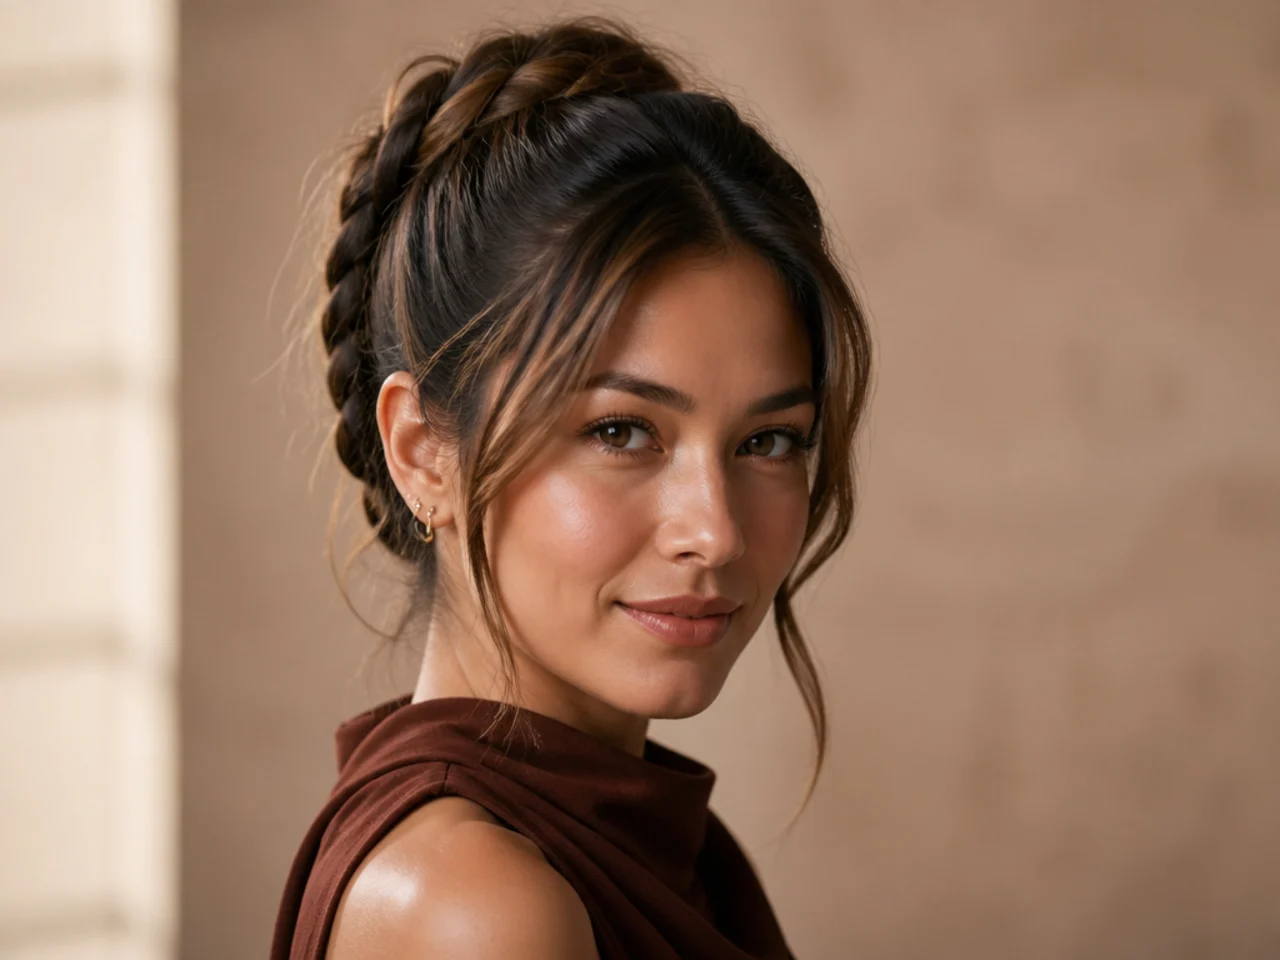
The single biggest complaint about a short-hair high pony is that the nape falls out. That's true, and it's fixable. Every stylist trick for hiding a loose nape falls into three families: braid it, wrap it, or pin it. Pick one, use it every time.
Braid it first. Flip your head forward and start a French braid at the base of your neck. Work the braid upward toward the crown, adding a small section of hair each pass. When you reach the crown, the braid ends and you tie everything into the high pony from that point. The braid holds every short nape strand against the scalp — nothing falls loose because everything is locked into the plait. This is the version to use for active days: gym, dance, chasing a toddler around the house. Our choppy ponytail hair guide covers the reverse-braid technique that pairs well with this exact base on short hair.
Wrap it second. Instead of braiding, twist the nape hair into a tight roll and pin it flat against the back of the head with three or four bobby pins in an X pattern. The roll sits under the pony base and never shows in front. Wrap works better than braid on very short nape hair — under two inches — because there's not enough length to braid meaningfully.
Pin it third. For the shortest nape hair, skip both braid and roll. Take two pieces at a time, cross them over each other flat against the scalp, and pin with a bobby pin at each end. Work from ear to ear. Then mist the whole nape zone with hairspray and press it flat with your palm for ten seconds. The heat from your hand melts the spray into a hold that lasts through a workday. This is the version for pixies and very short bobs.
Whatever version you use, add a mist of dry shampoo to the nape before you start. Dry shampoo gives the strands a bit of grip so the braid, roll, or pin holds — smooth nape hair slips out of everything.
Reason 5: Every Face Shape Wears It
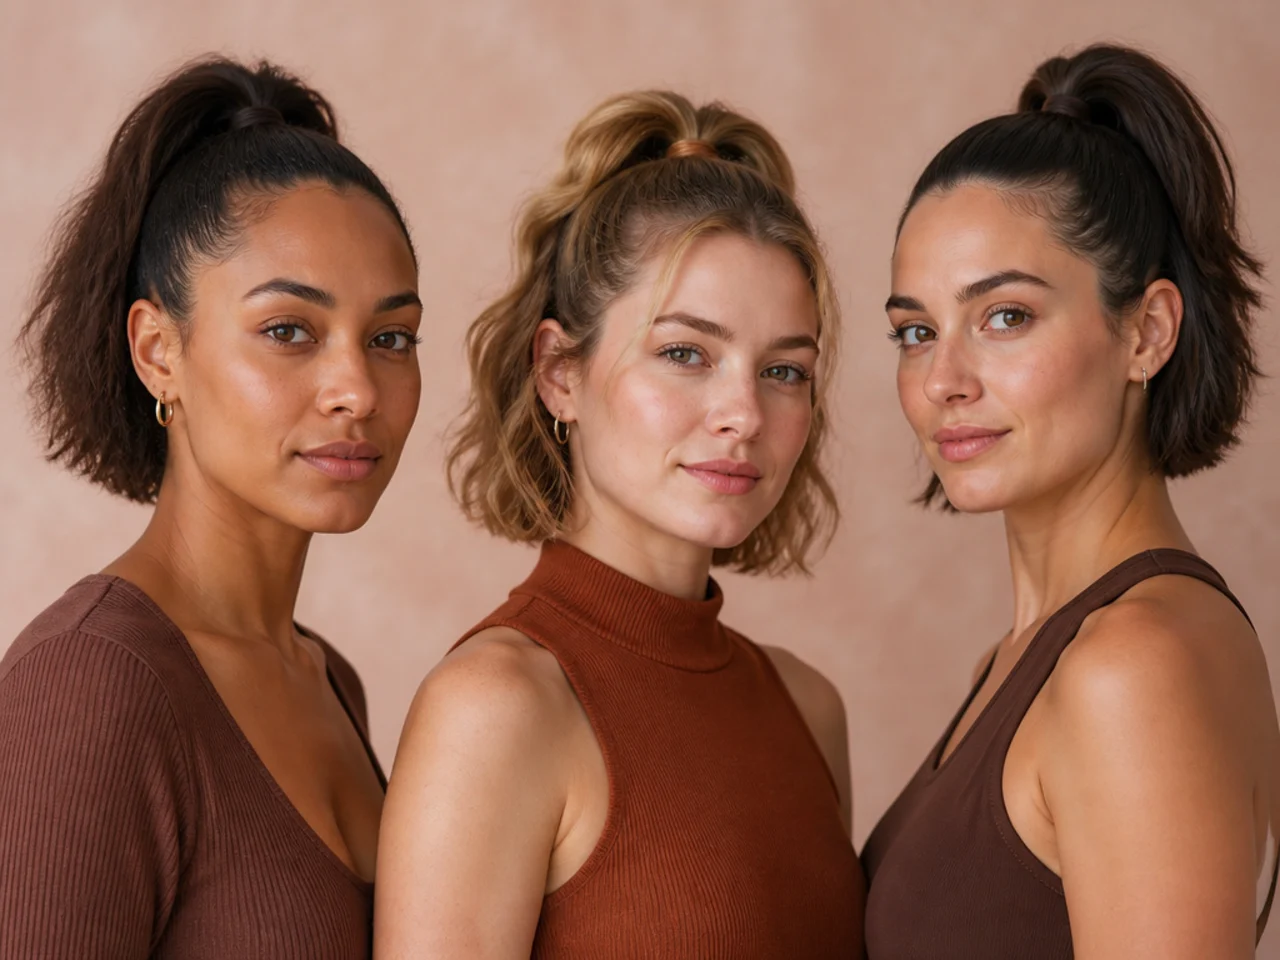
The high ponytail is one of the most face-shape-adaptable styles a stylist offers, and short hair makes the tuning easier, not harder. Because the tail is naturally short, it never overwhelms the face — you're always working with proportions that stay in balance.
Oval faces wear every placement. The neutral shape is the reference frame, and any high pony sits correctly. Pick your version by outfit and occasion rather than bone structure.
Round faces gain vertical from a very-high placement (crown, not top of the head) paired with two thin face-framing pieces pulled loose at the temples. The vertical lift lengthens the face; the loose pieces break up the width. Avoid the "slicked flat" version — it accentuates the roundness by mirroring the shape.
Square faces suit a slightly softer version — high pony with soft waves in the tail rather than dead-straight, and one or two curved face-framing pieces at the cheekbones to soften the jaw corners. A wispy fringe or curtain bang works especially well here because it breaks up the strong forehead line.
Heart-shaped faces do best with a mid-crown placement — not the very top — and face-framing pieces released long. The technique adds vertical without pulling the wider forehead into more focus. Skip the fully-slicked front; you want a small amount of softness above the eyebrows.
Long or oblong faces need the shortest possible tail (the natural benefit of short hair) and horizontal weight through side-swept fringe or thick face-framing pieces. This is the one face shape where the short-hair version genuinely photographs better than the long-hair version because the tail can't extend the face further downward.
Which High Ponytail Should You Try First?
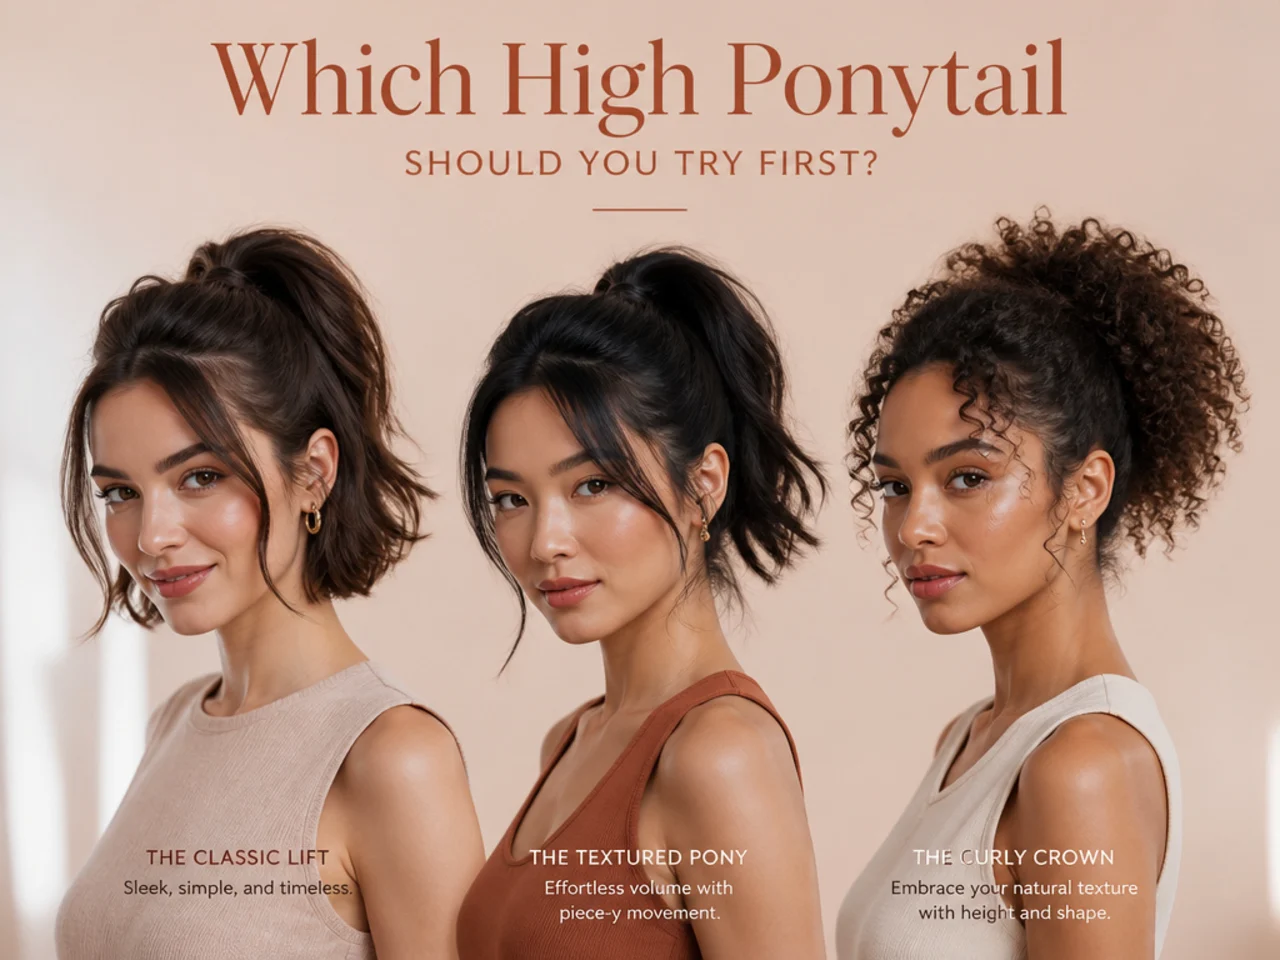
Start with the classic wrapped-base version. It teaches the grip, the pinning, and the wrap technique that every other variation on this list uses as a foundation. Once you can build the classic sleek pony on your short hair without slipping, everything else is a modification.
Flip forward. Brush all your hair to the crown with a wide-tooth comb loaded with strong-hold gel. Secure with a bungee tie or silk scrunchie. Slide two crossed bobby pins into the underside of the elastic, points down. Take a half-inch section from underneath the tail, wrap it clockwise around the elastic, and pin the end underneath with another bobby pin. Mist with strong-hold hairspray. That's the base version — five minutes once you have the rhythm.
From there, pick the modification that fits the day. Adding a clip-in extension takes another 60 seconds and shifts the look from casual to editorial. Adding a French braid at the nape takes three extra minutes and locks it for a workout. Adding two loose face-framing pieces takes ten seconds and softens the read for date-night versus board-meeting energy.
The best test-run version if you're brand new is a low-stakes weekend errands day. Practice the grip, get the pinning muscle memory, and see how your specific short-hair layers behave. By the second attempt, you'll know which of the five reasons your hair naturally leans into — and which version to reach for first.
How to Style a Short-Hair High Ponytail
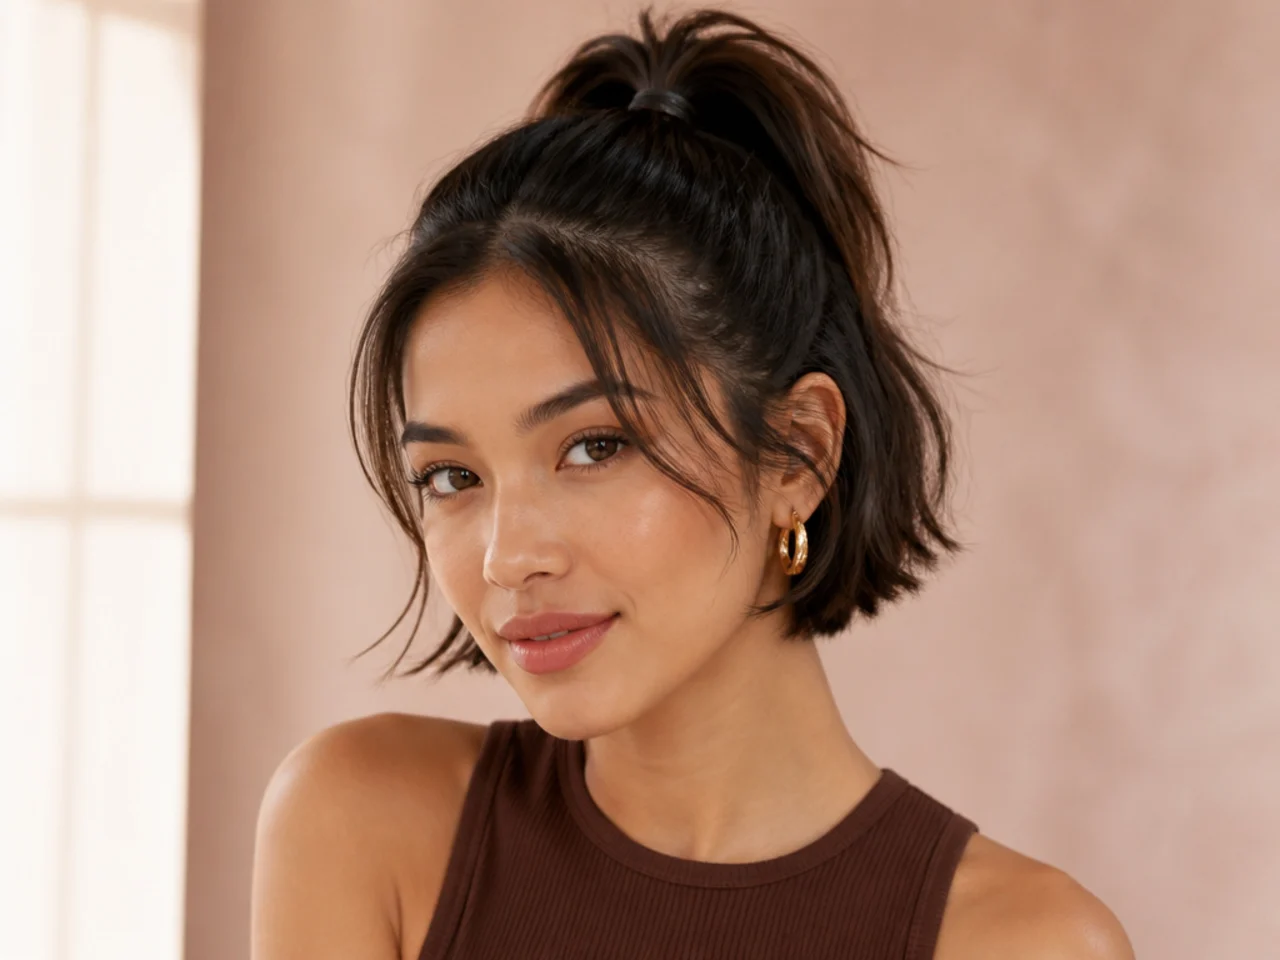
Product order matters more on short hair than on long hair because you have less length to hide product buildup. Dry shampoo first at the roots for grip and lift. Then strong-hold gel from mid-length to the crown — not the ends, or the tail reads greasy. Then flip forward and comb everything up.
Once tied, work a texture spray or a mist of light hairspray through the tail. Short tails need visible movement to read as ponytails rather than stubs — a matte texture spray gives you piecey separation instead of a limp taper. If you want the sleek finish instead, skip the texture spray and run a drop of finishing oil over the outer surface of the tail only. Never on the roots — oil at the base collapses your lift within twenty minutes.
Face-framing pieces come out last. Use the tail of a rat-tail comb to pull two thin sections free at each temple. Flat-iron them straight or curl them softly with a small wand — whichever matches the finish on the tail. Keep them pencil-thick, not thumb-thick, or they read as strands escaping rather than a designed softness.
For an all-day event, carry a wax stick and a travel-size hairspray in your bag. Every two hours, check the front hairline for flyaways, press a stripe of wax stick over any that have escaped, and mist the base with hairspray. That's the maintenance routine that turns a four-hour pony into an eight-hour one without a full restyle.
FAQ
Can I do a high ponytail on wet short hair? Yes, and it holds better than dry. Wet hair takes gel more evenly, wraps tighter around the elastic, and dries into its shape overnight. Set the pony wet, let it air-dry for two hours before you leave the house, and it will hold for a full day.
What's the difference between a "faux" high pony and a real one? A real high pony ties your natural hair into the elastic and lets the tail hang free. A faux high pony pins your shorter natural hair against the scalp at the crown and attaches a clip-in extension as the visible tail. On very short hair — pixies and short pixie-bobs — faux is the only version that works.
Will a high pony break my short hair over time? Only if you wear it daily and pull it very tight. Rotate with low buns, half-ups, and hair worn down. Use a silk scrunchie or bungee tie rather than a rubber snap elastic. Loosen the pony half an inch at the front once tied, then re-smooth with hairspray — same look, less tension.
Which is better on short hair — a slicked pony or a textured one? Slicked reads sharper and photographs better; textured reads softer and hides fine-hair thinness. Slick suits blunt bobs, wet-look days, and evening wear. Textured suits layered short cuts, weekend wear, and anything paired with a fringe. Both work — the finish is a mood decision, not a rule.
How do I add volume to a high pony on fine short hair? Backcomb the underside of the tail with a fine-tooth comb before you secure the elastic. Then smooth the surface layer over the backcombed section. The result reads as a naturally fuller tail. A dry texture spray or a volumizing powder shaken into the roots pre-styling helps too.
Do I need a stylist to get the first high pony right, or can I DIY? DIY. The technique is muscle memory, not skill. Watch two YouTube walk-throughs of the wrap-around technique, try it three times on a weekend, and the fourth attempt will hold. What a stylist adds is speed for events — 30 minutes in a chair before a wedding versus 15 at home — not a fundamentally better finish.