7 Steps to Style a Middle Part at Home
Style a middle part at home in 7 stylist-approved steps — the exact routine, products, and blow-dry angle for a medium-length layered curtain that holds.
In this article · 18
- Why Your Middle Part Falls Apart by Noon
- What You'll Need
- How to Style a Middle Part at Home
- 1. Wash With a Sulfate-Free Shampoo and Rinse Cold
- 2. Rough-Dry to 80 Percent With a Microfiber Towel
- 3. Prep Damp Hair With a Wave or Salt Product
- 4. Comb the Center Split
- 5. Blow-Dry Nozzle-Down, Front-Forward
- 6. Work Matte Clay Through the Ends Only
- 7. Finish With Light Texture Spray
- Troubleshooting Common Middle Part Fails
- FAQ
- How long does it take to style a middle part at home?
- What products do I need to style a middle part at home?
- Why does my middle part fall flat by lunch?
- Can I style a middle part at home without a blow-dryer?
- How do I style a curly or wavy middle part at home?
- How often should I wash my hair with this routine?
The layered middle part looks easy on TikTok and terrible in a bathroom mirror. Wet hair falls flat, the split drifts off-center, and by lunchtime the layers have collapsed into a helmet. That's a styling problem, not a haircut problem — and it takes about eight minutes to fix. Below is the exact seven-step routine stylists use to style a middle part at home on medium-length layered hair, product by product, angle by angle.
Why Your Middle Part Falls Apart by Noon

A middle part on medium-length layered hair sits on a knife edge. The layers you paid for are what give the curtain movement, but layered hair also loses shape faster than blunt-cut hair. Skip a step in the morning and by noon the curtains merge, the split drifts, and the whole silhouette flattens to your scalp.
Three failure points cover almost every complaint. Root direction gets trained wrong — you blast the dryer up from below and the roots stand straight up until they collapse under their own weight two hours later. Product goes in the wrong zone — a fingertip of clay at the scalp gums the roots down and slicks the shape into a helmet. Or the split never actually sets — you drag a comb once through wet hair, hope for the best, and the natural cowlick drags the part right back off-center within an hour.
The seven steps below solve all three. They work for any medium-length haircut with layers for men that splits center — the classic curtain, the two-block layered top, or the middle part with layers variations you see all over Pinterest right now.
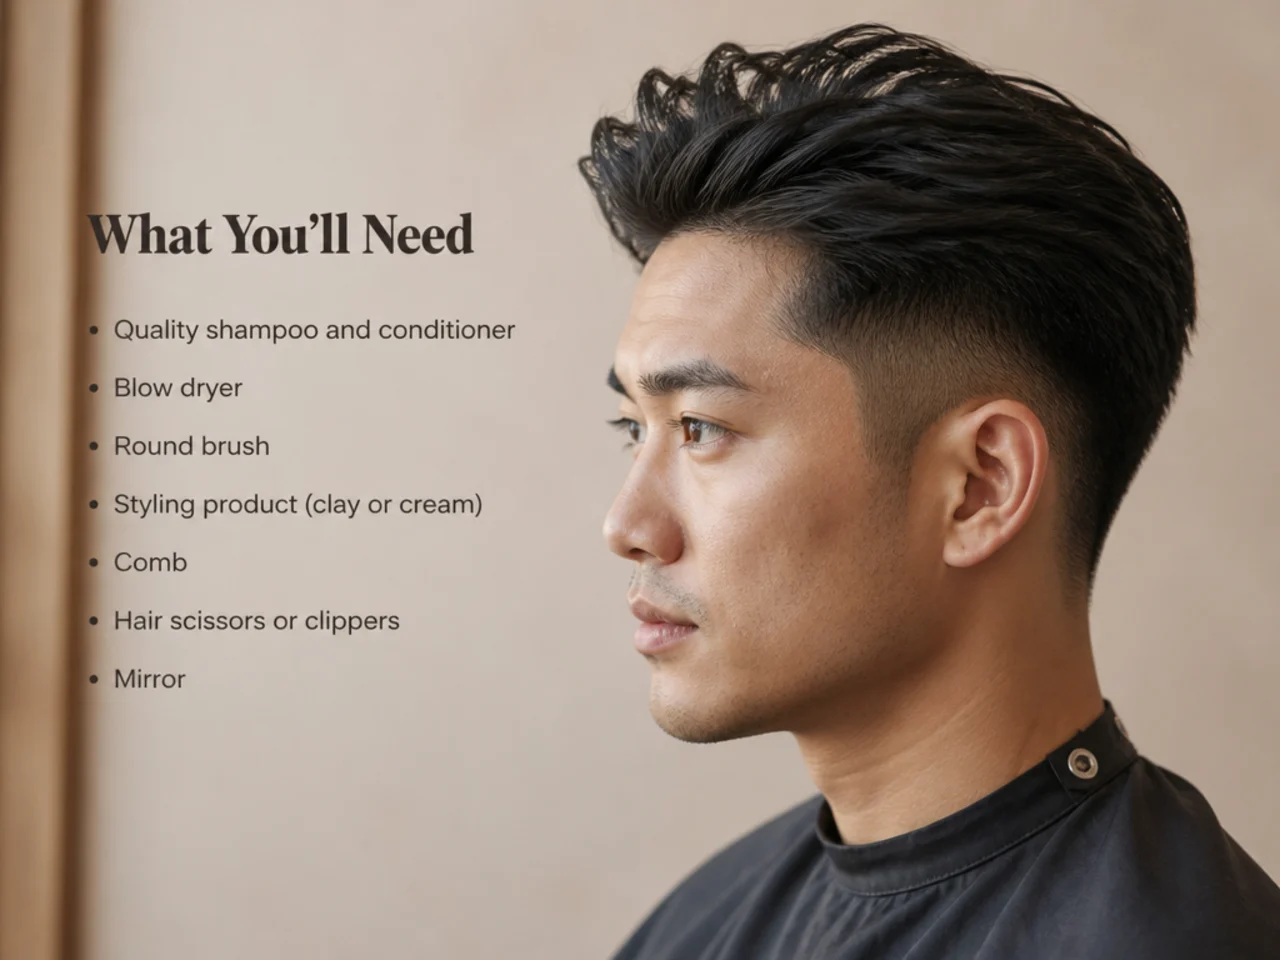
What You'll Need

Five products and three tools cover the whole routine. Buy once, replace individually, and the total kit lasts most guys six to twelve months.
- Sulfate-free shampoo and conditioner. Standard sulfate formulas strip the ends fast, and stripped ends make layered hair look thin. Sulfate-free formulas keep the density.
- Microfiber towel or clean cotton t-shirt. Terrycloth roughs up the cuticle and adds frizz. A microfiber towel or a t-shirt pulls water without wrecking the shape.
- Wide-tooth comb. Fine-tooth combs snap layered hair and drag the split off-center. Wide-tooth glides through damp hair without breaking anything.
- Sea-salt spray or a wave cream. Salt for straight-to-slightly-wavy hair, wave cream for wavy and curly. Read our best wavy hair products guide if you're unsure which cream fits your pattern.
- Blow-dryer with a nozzle attachment. The nozzle is what directs the fall. A dryer without it blasts air in every direction and trains the roots to lift instead of drape.
- Matte clay or paste. Soft-to-medium hold, matte finish. Glossy pomades and gels collapse the layers into a smooth helmet — the exact look you're cutting layers to avoid.
- Light-hold hairspray or a dry texture spray. One or the other, not both. Spray sets the shape; texture spray adds grit and hold. Pick based on the finish you want.
- Dry shampoo. For day-two refresh only. Buys you another 24 hours between washes.
Skip the round brush unless your hair is straight and needs volume. A round brush on wavy hair fights the natural pattern and adds an extra five minutes to the routine.
How to Style a Middle Part at Home

The whole routine runs eight to ten minutes end-to-end. Follow the order — every step sets up the next one, and skipping ahead is why most home styling attempts read patchy.
1. Wash With a Sulfate-Free Shampoo and Rinse Cold
Wash with a sulfate-free shampoo two to three times a week — not daily. Layered hair loses weight faster than blunt-cut hair, and daily washing strips the ends until the layers look thin instead of textured. Condition every wash, mid-lengths to ends only. Never at the roots — conditioner at the scalp weighs down the exact zone you need lifted.
Rinse the conditioner out with lukewarm water, then finish the last thirty seconds with a cold blast. Cold rinsing flattens the cuticle, which does two things you can feel by the afternoon: it adds shine so the layers catch light, and it locks the shape so the split holds instead of drifting.
If you missed the cold rinse and the shape is already off by 2 p.m., you'll be back at the sink by dinner. Set a timer on your phone the first week if you have to.
2. Rough-Dry to 80 Percent With a Microfiber Towel

Skip the terrycloth. Terrycloth towels rough the cuticle up, add frizz, and break the layer ends before you get to style. A microfiber towel or an old cotton t-shirt pulls water without any of that damage.
Wrap the towel around your head, press — don't rub — for thirty seconds, then release. You want the hair damp but not dripping. Roughly 80 percent dry is the sweet spot: any wetter and blow-drying takes twice as long, any drier and the shape sets flat before you can direct it.
Test with a squeeze at the ends. If water runs down your hand, wrap again. If the strands feel just cool and slightly heavy, you're in the zone. The next four steps depend on the hair being at this exact moisture level, so don't rush this one.
3. Prep Damp Hair With a Wave or Salt Product

Match the product to your texture. Straight to slightly wavy hair takes a light sea-salt spray — three to five spritzes across the mid-lengths and ends. Wavy and curly hair takes a wave-defining or curl cream — a nickel-sized amount worked through with the fingers.
Two rules on placement. First, keep every prep product below the crown line. Salt or cream at the roots gets sticky, flattens lift, and collects grime through the day. Second, work it in with your fingers, not a comb. Combing through cream drags product to the ends and leaves the mid-lengths bare.
If your hair is fine, cut the salt spray in half and add a pea of volumizing mousse at the roots instead. Fine hair dries out fast under salt, and volumizing mousse gives lift without weight. Thick hair can take double the salt or a full palm of wave cream without any issue.
4. Comb the Center Split
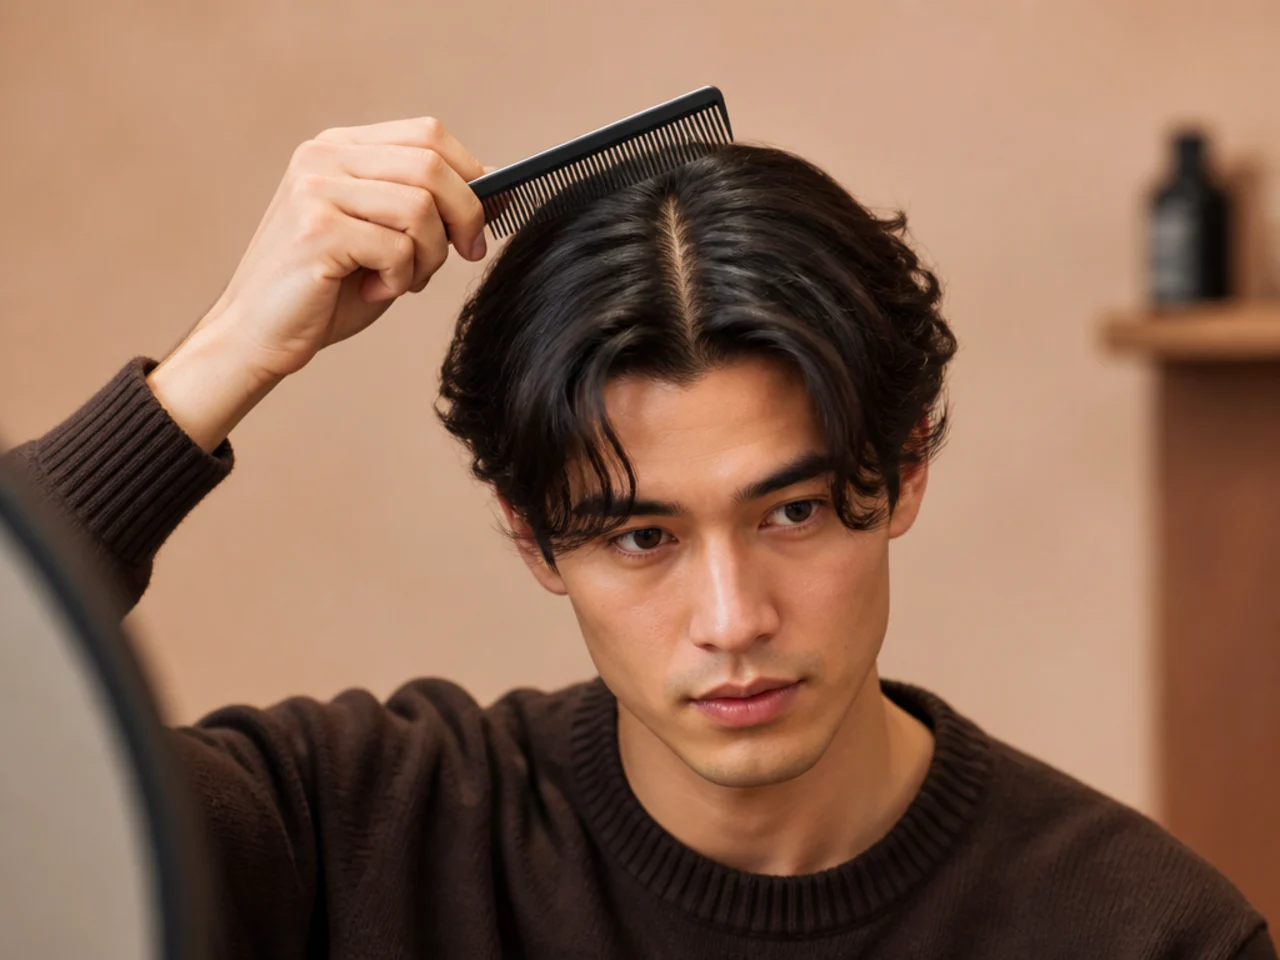
Face the mirror head-on. Take a wide-tooth comb, place it flush against the front hairline, and drag it straight back to the crown in one smooth pass. Look at the reflection. The part should line up with the middle of your nose. If it doesn't, redo the pass — don't fudge the position, or the shape will fight you for the rest of the day.
Natural cowlicks pull the part off-center on almost every man. If yours does, drag the comb a little harder, then rub a pea-sized amount of matte cream along the split line only. That locks the position before the blow-dry starts.
Curly hair skips the comb entirely. Use your fingers to divide the hair down the center — a comb rakes through curl clusters and destroys the pattern. See the middle part haircut men pillar guide for curl-specific splitting technique.
5. Blow-Dry Nozzle-Down, Front-Forward
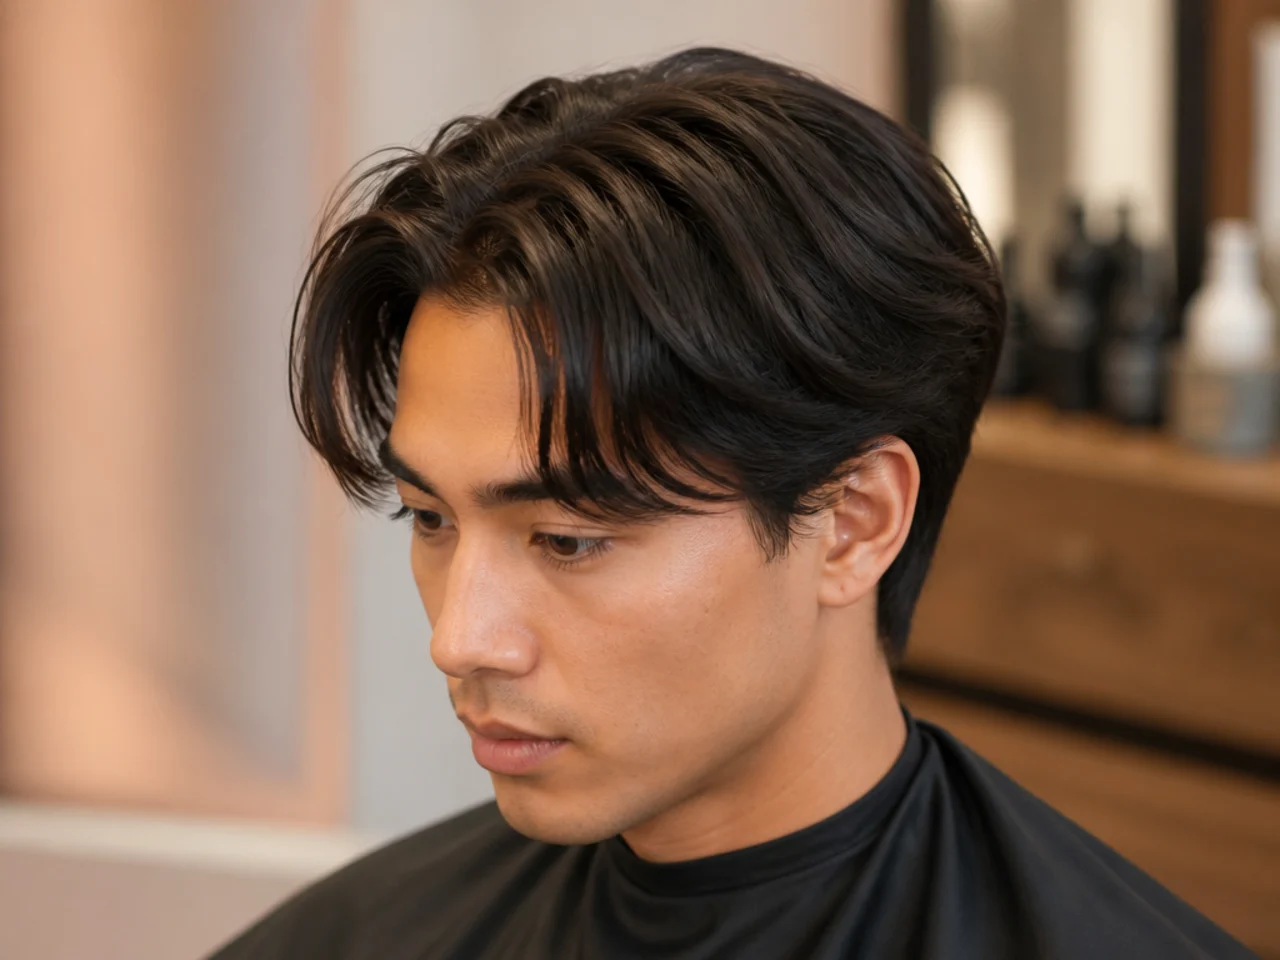
This is the step that makes or breaks the whole routine. Attach the nozzle. Set the dryer to medium heat, medium airflow. Tip your head slightly forward — not fully upside-down, just a few degrees off vertical. Point the nozzle root-to-tip, angled front-forward, and work in sections.
Start at the back, then move to each side, then the top, and finish with the front curtains. Never blast hot air up from below. That's the single most common mistake and the reason middle parts collapse by lunch — heat from below trains the roots to stand up, and standing roots always cave under their own weight within two hours.
Each section takes about thirty seconds. Move the nozzle slowly enough that you feel warmth on the scalp but not so slow that any strand overheats. Fingers on your other hand can shape the drape as you go — pull the front pieces straight forward and slightly out, split them center, and hold for two seconds while the shape sets.
6. Work Matte Clay Through the Ends Only

Scoop a pea-sized amount of matte clay or paste onto your fingertip. Warm it between your palms — rub for ten seconds until the product goes clear and disappears into your skin. Warmed clay distributes evenly. Cold clay sits in clumps and shows.
Work the product through the mid-lengths and ends only. Never at the roots. Roots need to breathe or the whole shape flattens back to your scalp. Push each curtain out and slightly away from the face as you press the product in — direction matters as much as coverage.
Recheck the split in the mirror. If the clay pulled the part off-center by even half an inch, drag your fingers back down the split line and reset. Don't add more product to fix a placement problem. More product weighs the whole shape down.
7. Finish With Light Texture Spray

Hold a light-hold hairspray or dry texture spray about twelve inches from your head. Mist once across the top and once down each side. Twelve inches matters — closer and the product concentrates in patches, further and it evaporates before it lands.
Choose texture spray if you want grit and separation between the layers. Choose light-hold hairspray if you want a slightly polished finish that holds through wind and humidity. Don't use both — layering them stiffens the shape and reads shellac.
For day-two, skip the shower. Spritz dry shampoo at the roots only, three quick blasts across the crown. Rake through with your fingers. Comb the split back in with the wide-tooth. Then hit the mid-lengths with a second mist of texture spray to reset the movement. Total refresh time: under two minutes.
Troubleshooting Common Middle Part Fails
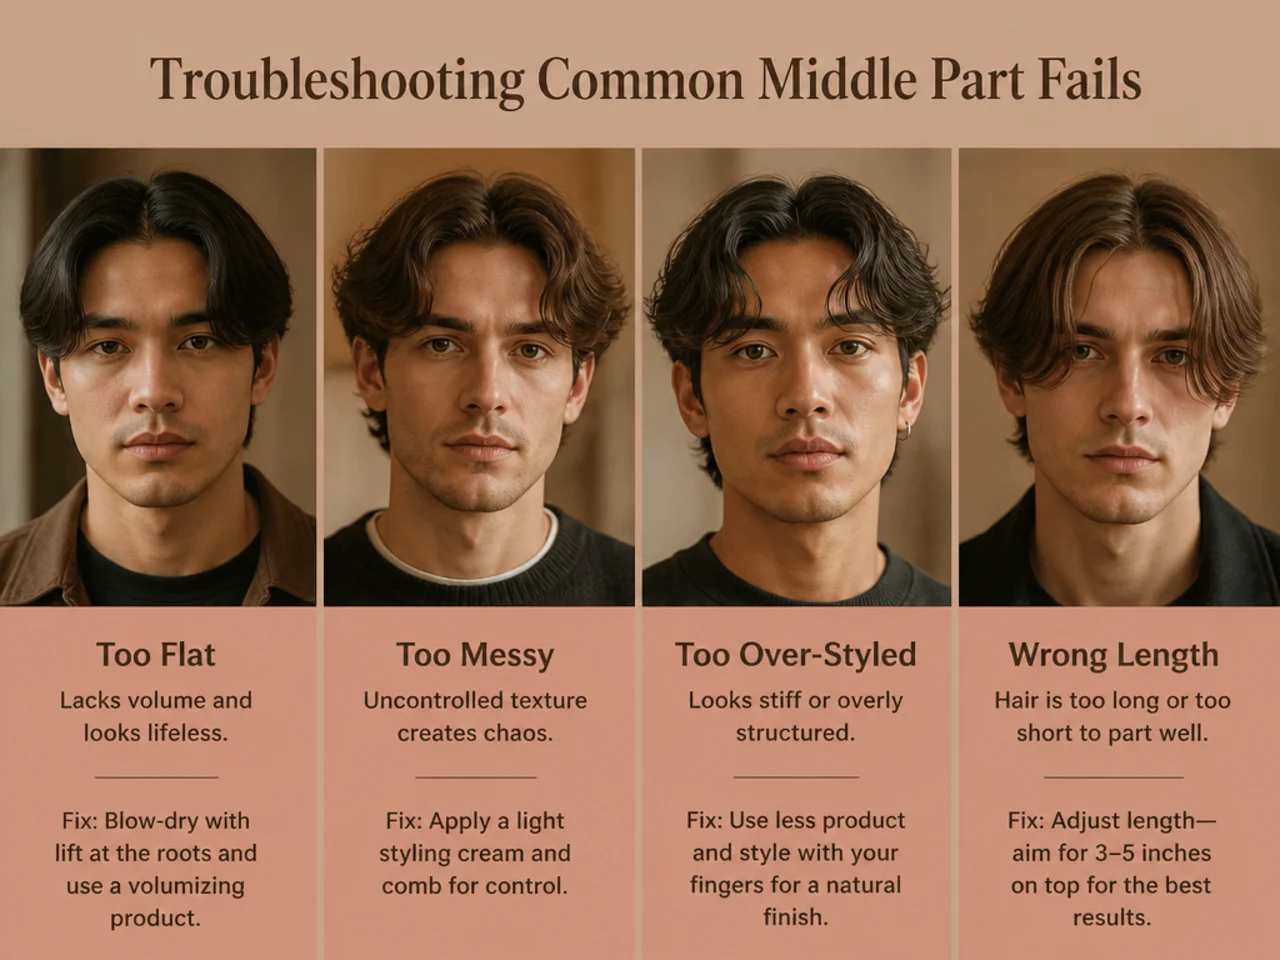
Every home routine has a failure mode. The fixes below cover 90 percent of the "I did everything and it still looks bad" complaints. Read this before your first attempt — knowing the fix mid-styling beats starting over from wet hair.
- Split drifts off-center within the hour. Your comb passes were too gentle or you skipped the cold rinse. Redo both. Add a bobby pin at the crown for the first ten minutes after styling — it locks the part while the shape sets.
- Roots collapse flat by lunch. You blasted heat from below, or the head tilt was wrong. On the next round, tip your head slightly forward the whole time you dry the top section, and keep the nozzle pointing down the shaft. Roots trained to fall forward hold better than roots trained to stand up.
- Layers merge into a helmet by mid-day. Too much product, or the wrong product. Cut the clay to half a pea and skip glossy pomades entirely. If it's still happening, the finish spray might be too heavy — switch to a dry texture spray.
- Front pieces stick together in clumps. You applied product before the hair dried, or you didn't warm it between your palms. Product goes in on dry, warm hair. Wet hair grabs product in patches and cold product clumps.
- Ends look frizzy instead of piecey. Frizz is dryness. Rub one drop of hair oil between your palms and press only the very tips. Nothing higher than the last half inch. It turns fuzz into shine without weight.
- The whole shape looks flat from the front. You need more root lift on the top section. Next round, backcomb the crown for five seconds before you split — three quick passes with a fine-tooth comb — then smooth the top layer with your palm before you comb the split. It adds height without changing the shape.
Keep a small tin of clay and a travel-sized texture spray in your bag or desk. Most mid-day fixes are one product and thirty seconds away.
FAQ
How long does it take to style a middle part at home?
Eight to ten minutes end-to-end once you know the routine, and under three minutes on a day-two refresh. The blow-dry step is the longest because it sets the fall direction for the whole day — budget five minutes for that, and about one minute per step for the rest. Under two weeks of daily practice the whole routine drops to six minutes.
What products do I need to style a middle part at home?
Five essentials — a sulfate-free shampoo and conditioner, a light sea-salt spray or wave cream, a matte clay or paste with soft-to-medium hold, and a light-hold hairspray or a dry texture spray. Skip glossy pomades and gels. They collapse the layers into a smooth helmet within an hour, which is the exact opposite of what a layered middle part is cut to do.
Why does my middle part fall flat by lunch?
Three fixes cover almost every complaint. You skipped the cold rinse at the end of the shower, you blasted the dryer up from below instead of down the shaft, or you loaded product at the roots. Cold rinse, nozzle root-to-tip, product on the ends only. Fix all three and the shape holds until dinner.
Can I style a middle part at home without a blow-dryer?
Only if your hair is naturally wavy or curly. Diffuse or air-dry with a wave cream, then split the part with your fingers while it's still damp. Straight hair without heat sits flat, refuses to hold the curtain drop past the first hour, and needs directed airflow to train the fall. If you can only skip one tool, skip the round brush — not the dryer.
How do I style a curly or wavy middle part at home?
Skip the comb and the blow-dryer nozzle. Apply a curl or wave cream on soaking hair, split the part with your fingers, and diffuse on low upside down until the hair is 90 percent dry. Never brush the hair dry — a brush wrecks the curl pattern in one pass. A wide-tooth pick can reset the split if it drifts through the day, but stay away from combs and paddle brushes. For a fuller drape, see the flow haircut men guide.
How often should I wash my hair with this routine?
Two to three washes a week is the sweet spot for medium-length layered hair. Daily washing strips the ends and the layers start looking thin instead of textured. On non-wash days, refresh with three quick blasts of dry shampoo at the roots and a mist of texture spray through the mid-lengths. If you pair the cut with a low taper fade, book the fade every two to three weeks — see the low taper fade middle part breakdown for cadence and clipper numbers, or the middle part flow haircut guide if you want a longer, softer variation. For more layered mid-length variations, the layered haircuts for men roundup covers the full family.