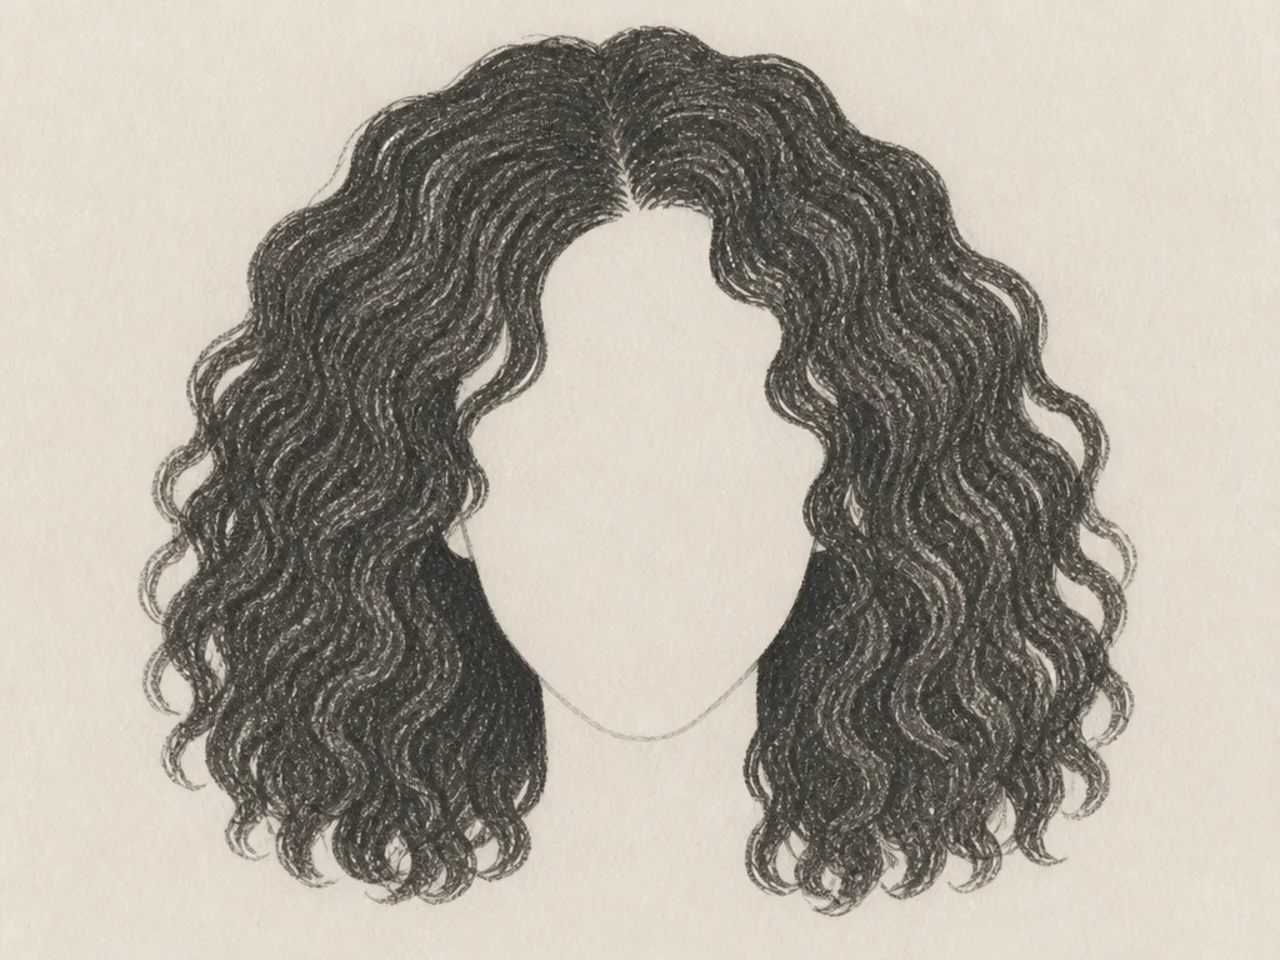
20 Curly Hair Drawing Ideas for Beginners
Twenty exercises for absolute beginners, built around the one habit that causes most early failures — drawing outlines around curls. Start with a filled shape instead and most of the problem disappears.
In this article · 26
- Fill First, Then Take Away
- The 20 Exercises, In Order
- 1. Fill a Shape, No Lines
- 2. Lift Three Highlights
- 3. Carve Three Shadows
- 4. One Clump, Drawn Large
- 5. Ribbon Twist Practice
- 6. Ribbon Into Curl
- 7. Five Curls, Different Widths
- 8. Scalloped Edge Practice
- 9. Silhouette Only
- 10. Two-Value Head
- 11. Three-Value Head
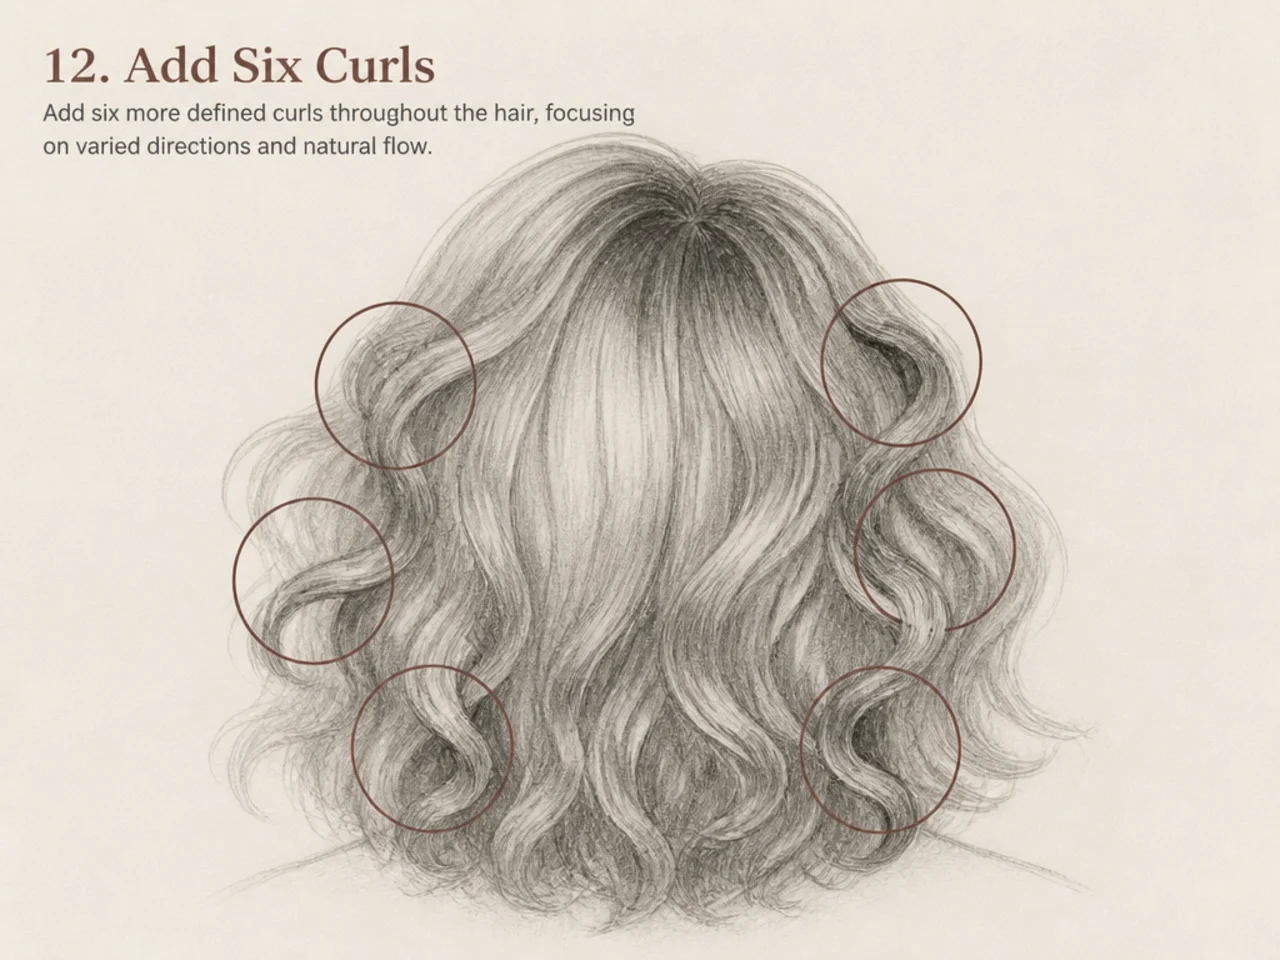
- 12. Add Six Curls
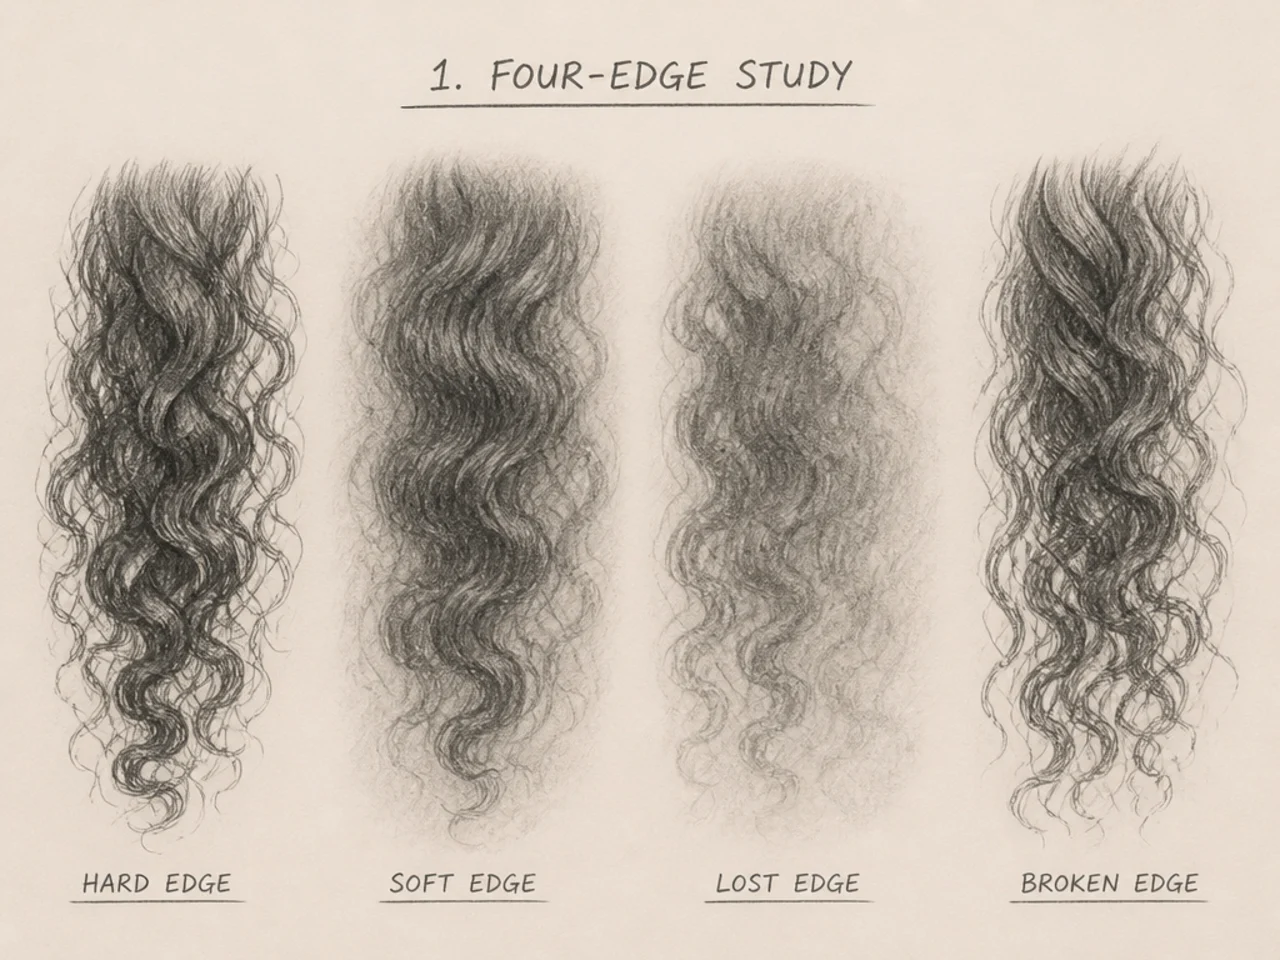
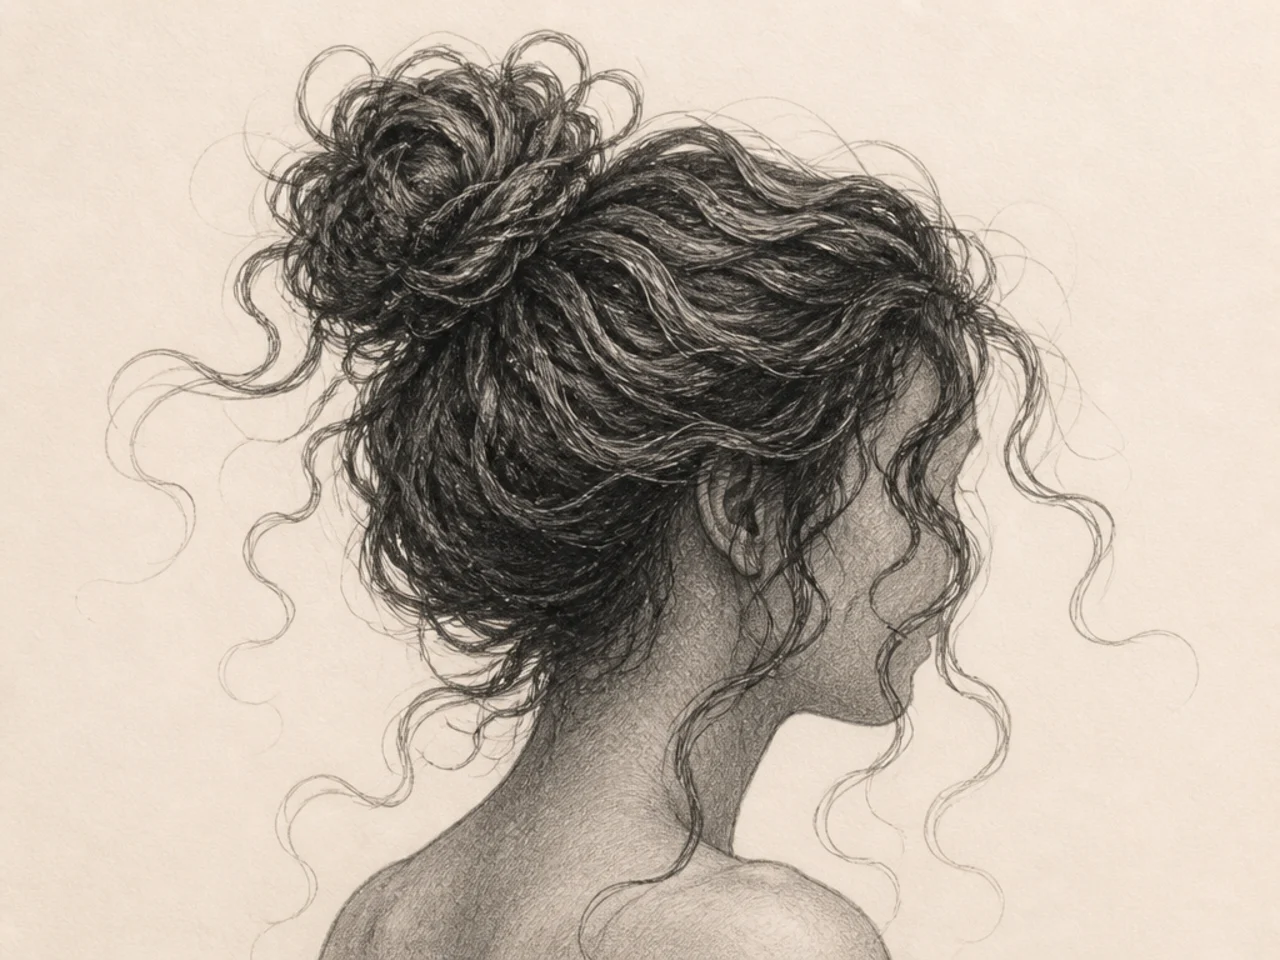
- 13. Break the Outline
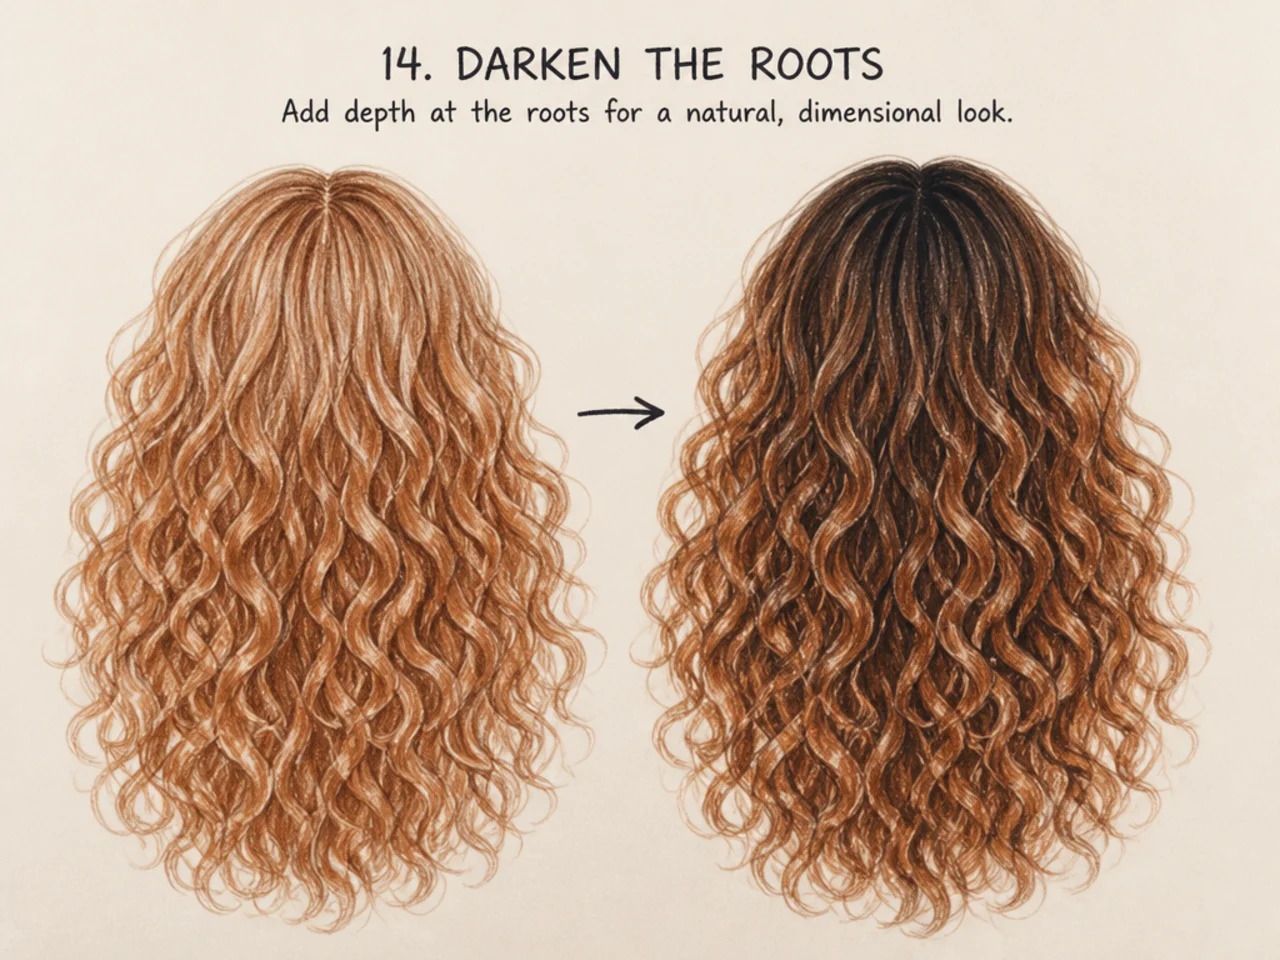
- 14. Darken the Roots
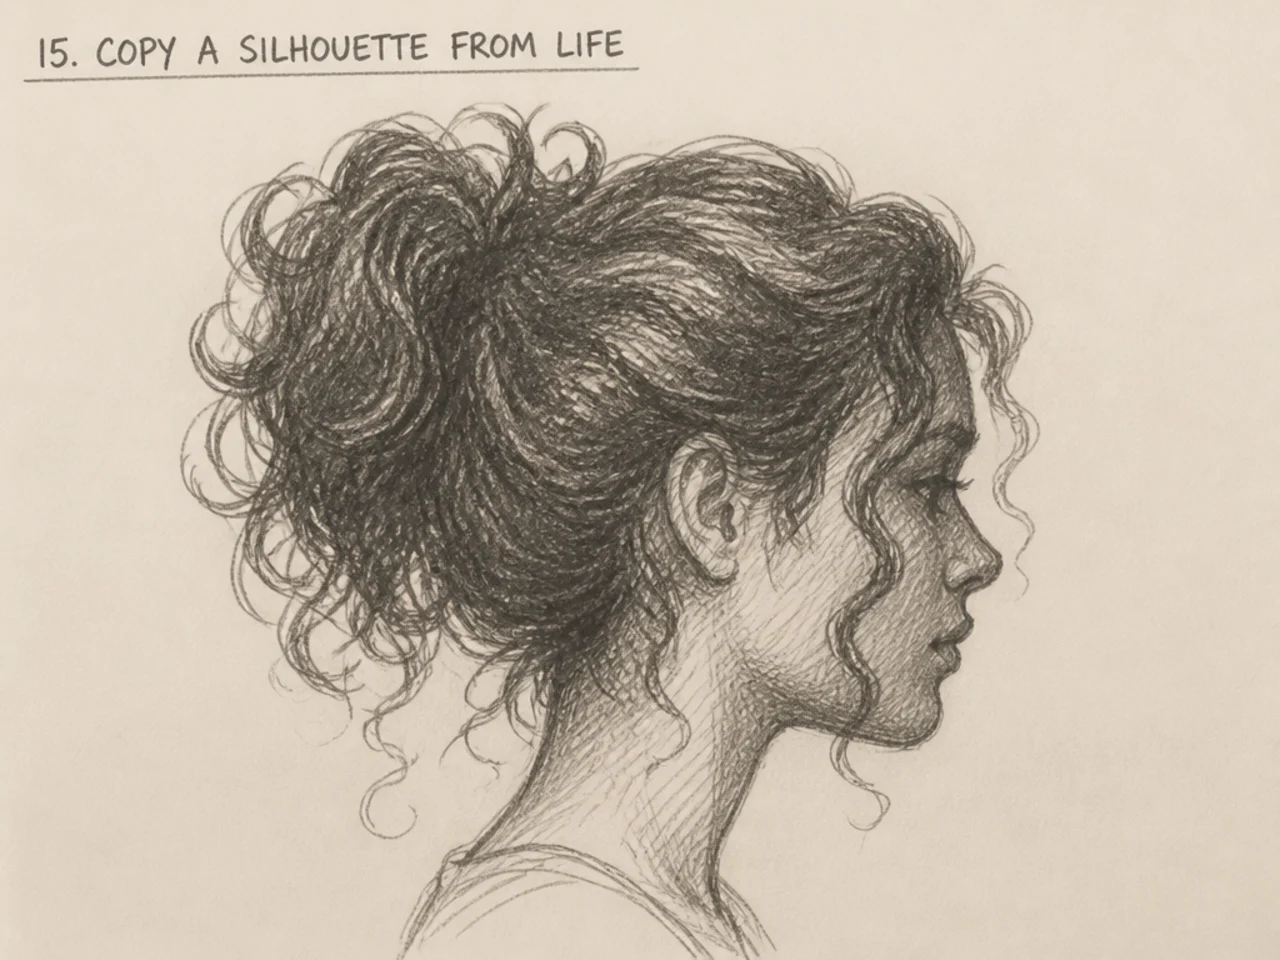
- 15. Copy a Silhouette From Life
- 16. Draw the Gaps, Not the Hair
- 17. Same Head, Three Light Directions
- 18. Loose Wave Versus Tight Coil
- 19. Twenty Thumbnails
- 20. Full Head, No Reference
- Why Small Studies Beat Full Drawings
- Mistakes to Avoid
- FAQ
- Final Thoughts
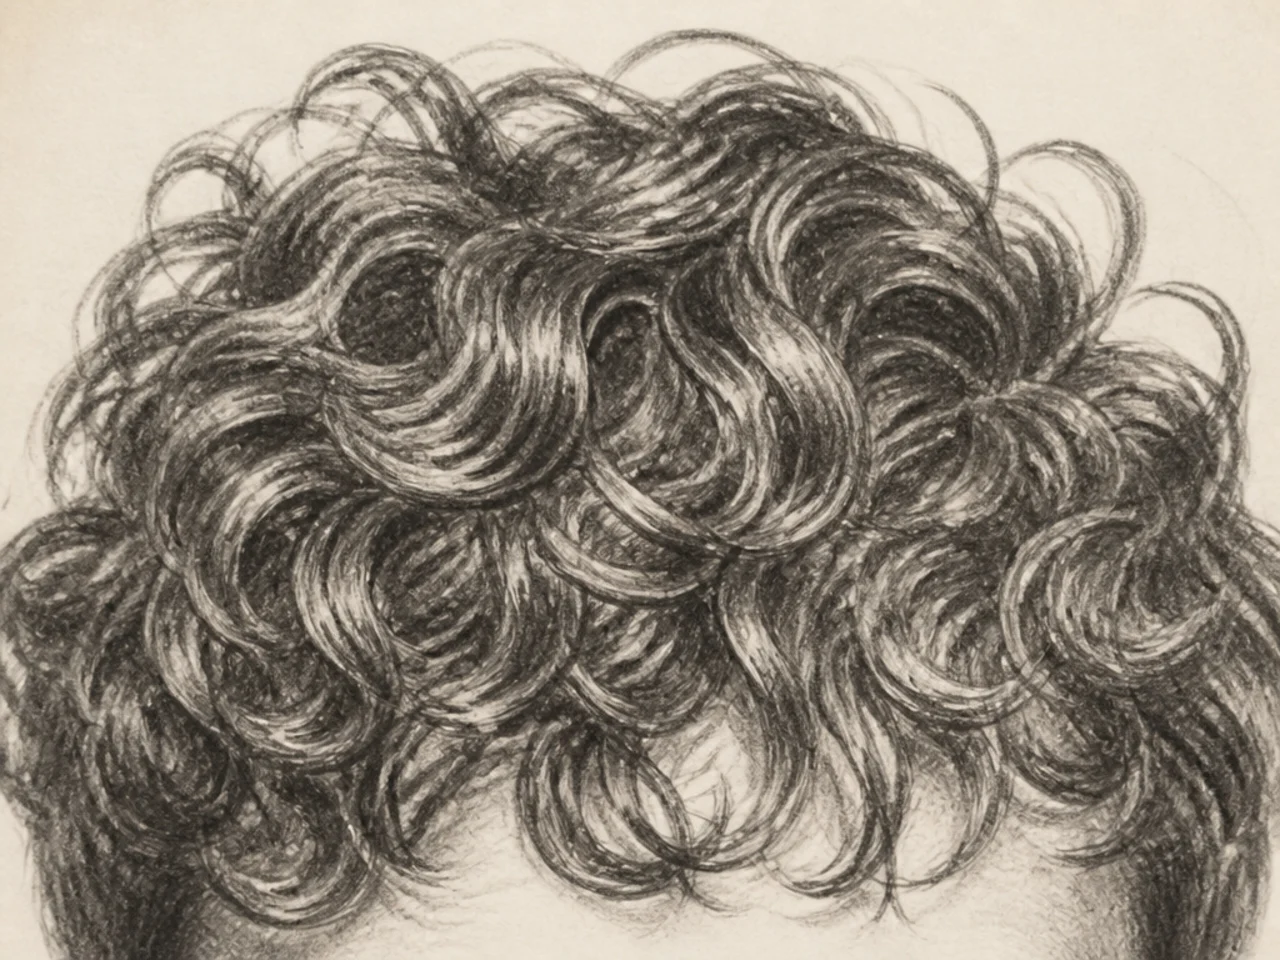
Almost every beginner draws curly hair the same way: a line around each curl, then another, then another. The result is flat and wiry, and adding more curls makes it worse.
The habit behind it is drawing outlines rather than shapes. Everything below is designed to break that, starting from a filled mass and taking away.
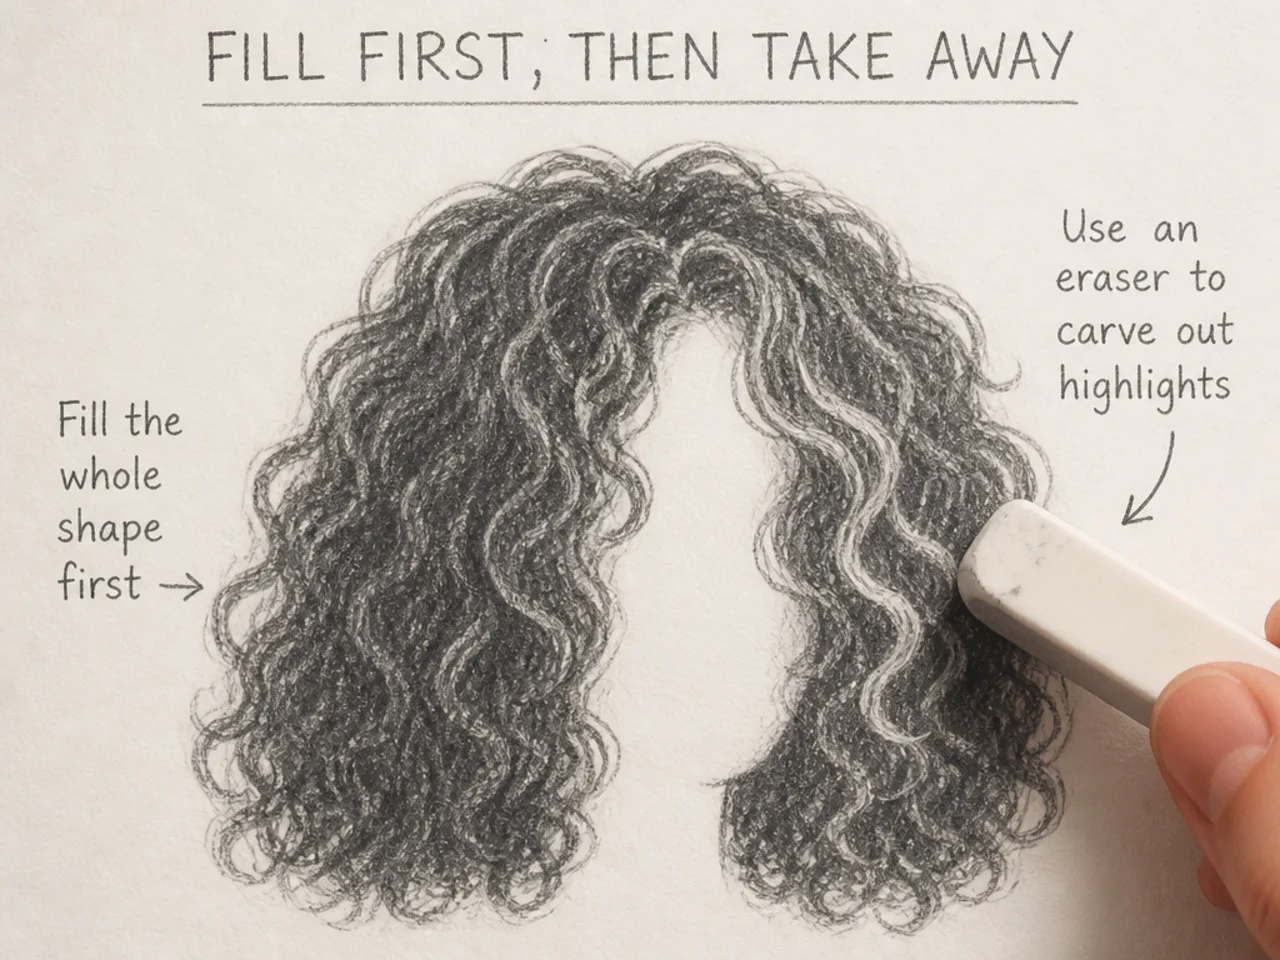
Fill First, Then Take Away
Block the whole hair shape solid. Fill it in with the side of your pencil. No lines, no curls.
Then lift or leave light where the light hits. An eraser is the drawing tool here.
Then carve dark between the clumps. Push shadow into the gaps rather than drawing boundaries.
This feels wrong at first because it does not look like hair for the first few minutes. It also produces convincing hair far faster than the outline habit does, because it starts from form rather than from edges.
Start small. One clump, drawn large, is more instructive than a whole head. Whole heads require decisions about grouping and priority that are hard before the basics are automatic.
The 20 Exercises, In Order
1. Fill a Shape, No Lines
Just a solid hair-shaped mass. Two minutes.
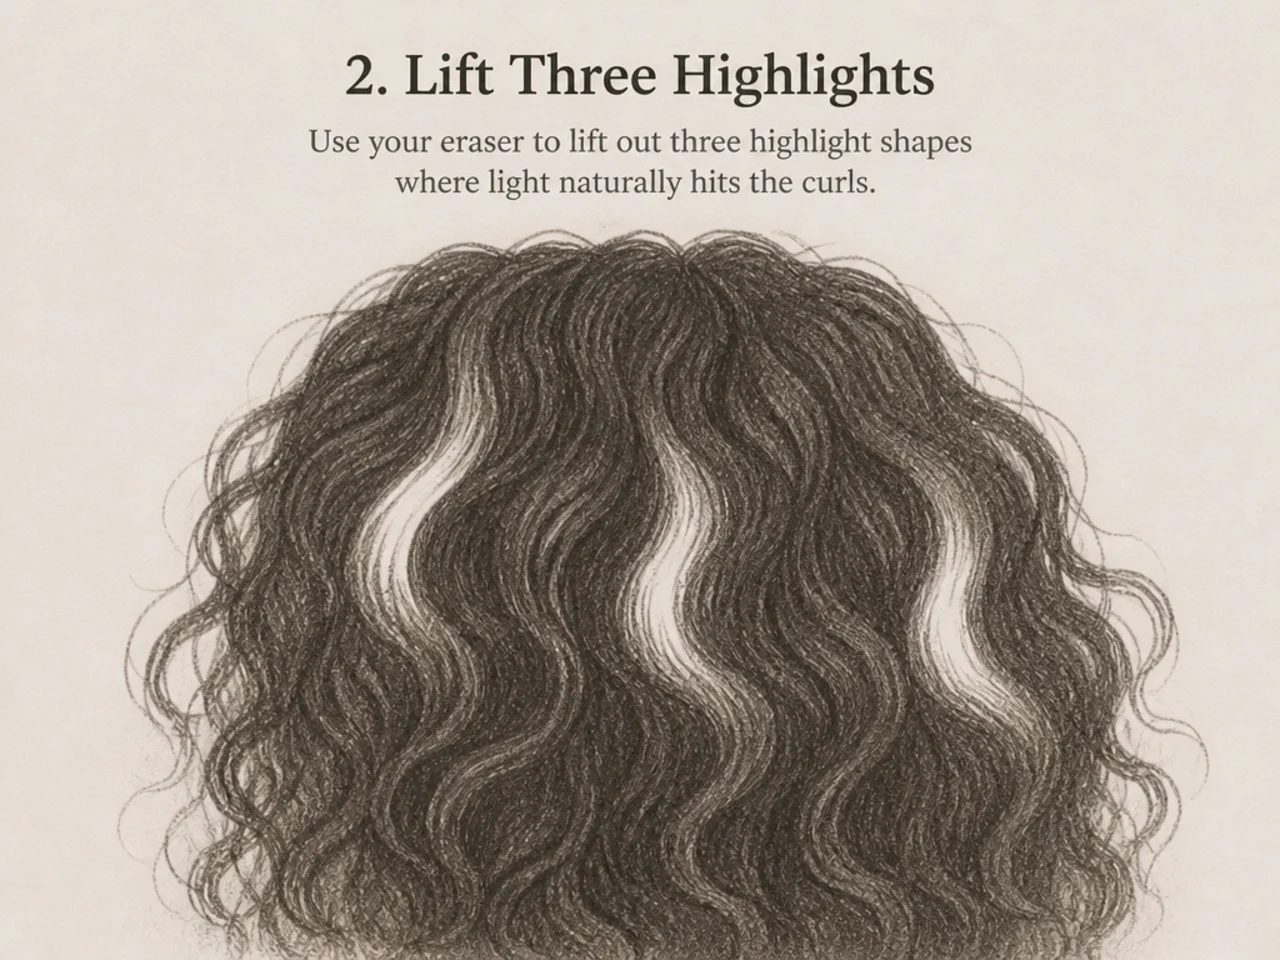
2. Lift Three Highlights
Same shape, three light areas pulled out with an eraser.
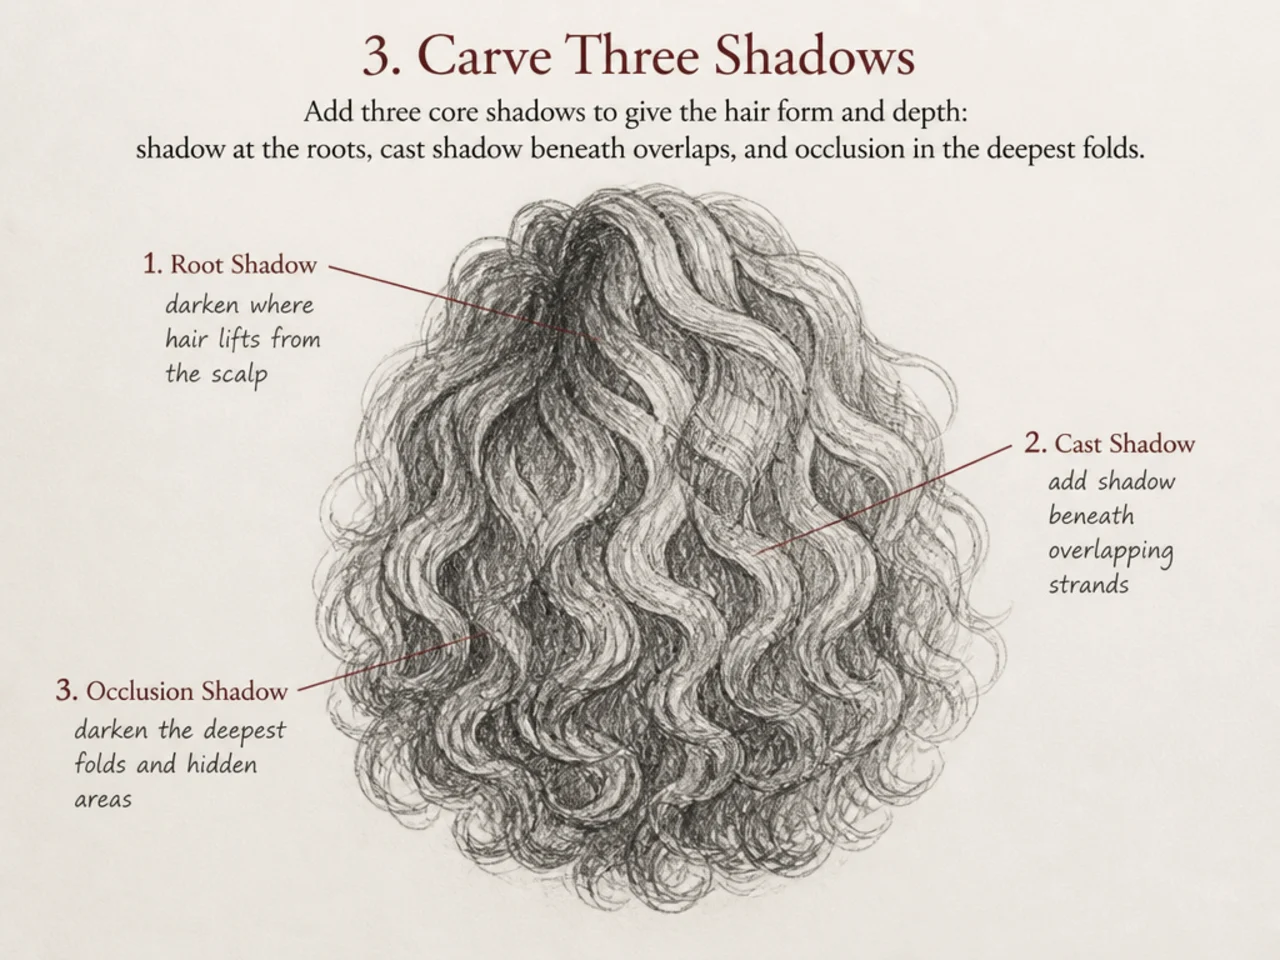
3. Carve Three Shadows
Push dark into three gaps. The shape starts to read as clumps.
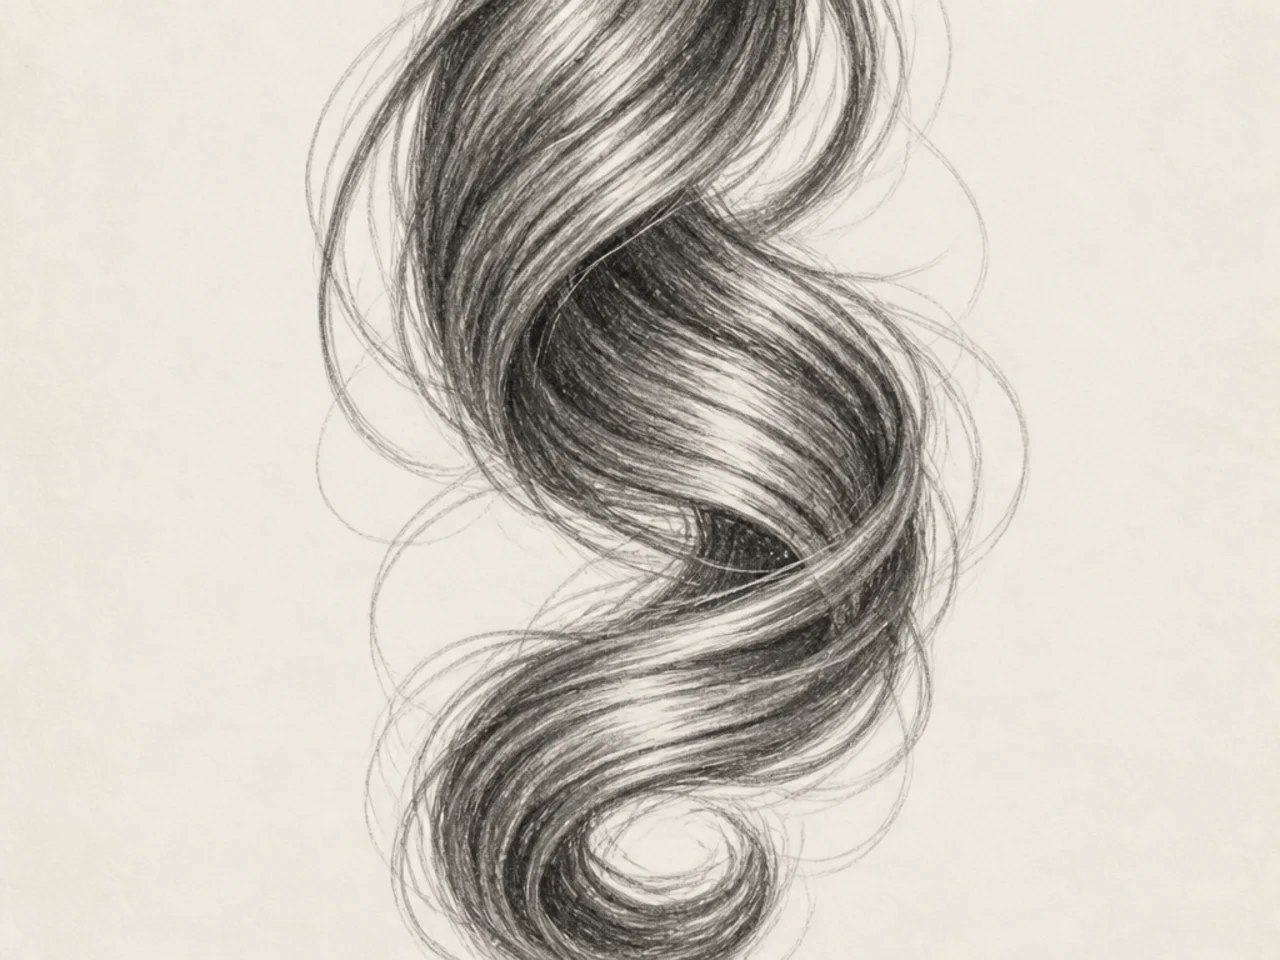
4. One Clump, Drawn Large
A single clump filling the page. The most useful exercise here.
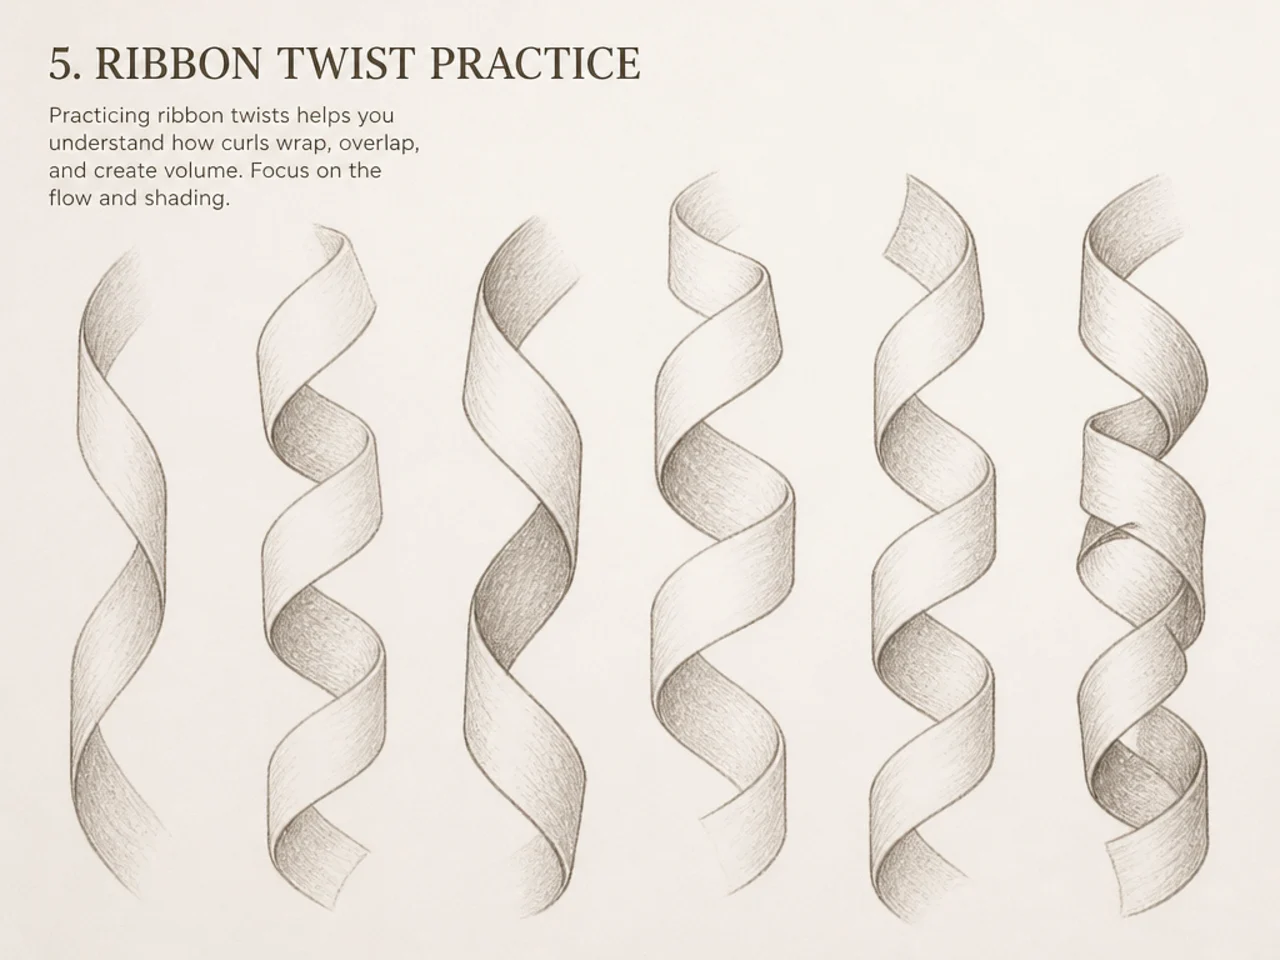
5. Ribbon Twist Practice
A flat ribbon twisting, drawn on its own. Not hair yet.
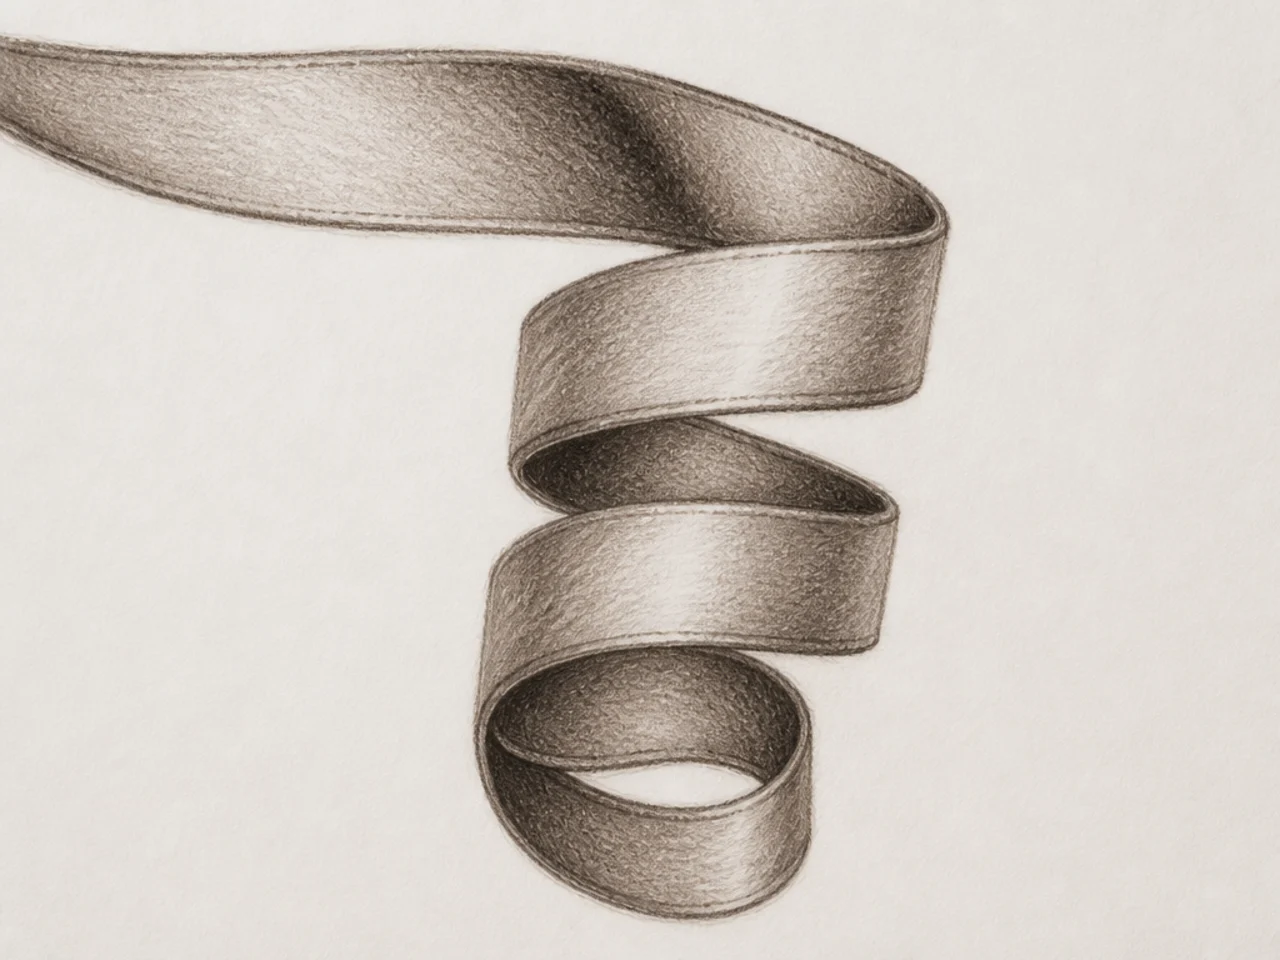
6. Ribbon Into Curl
The same ribbon, coiled. Now it is a curl.
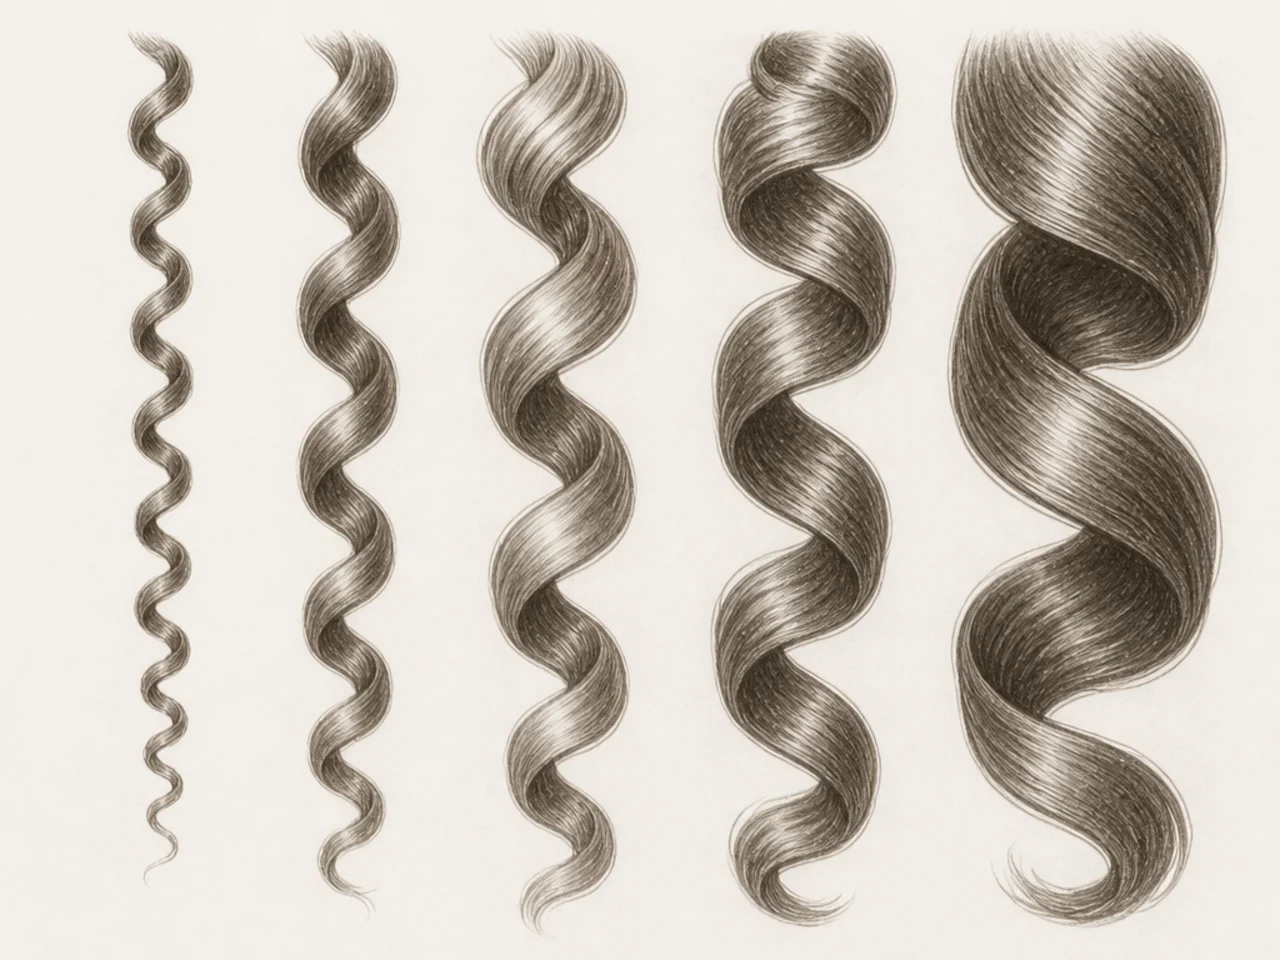
7. Five Curls, Different Widths
Practise varying the ribbon width as it turns.
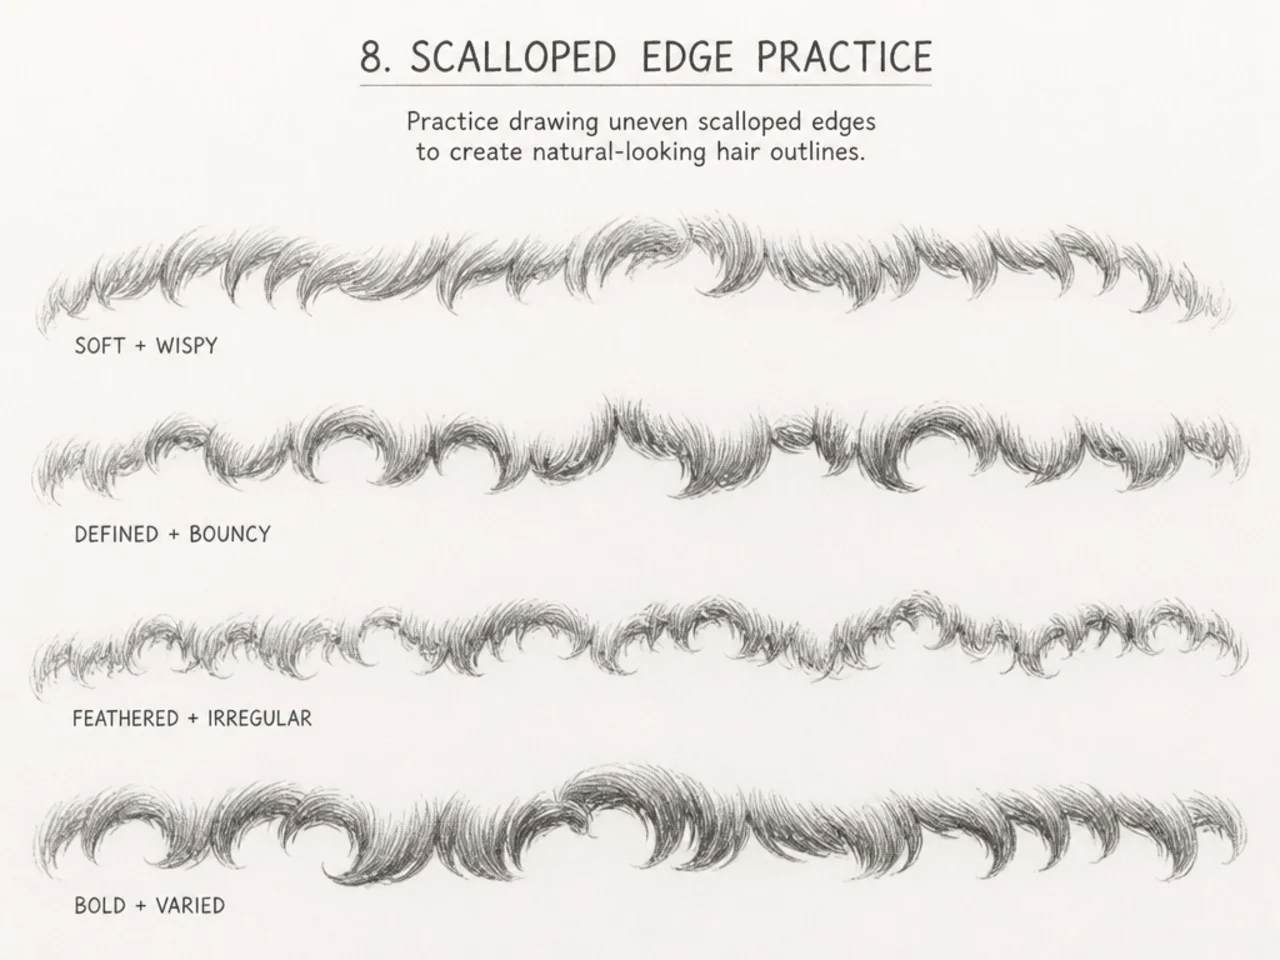
8. Scalloped Edge Practice
A page of uneven arcs. Silhouette training.
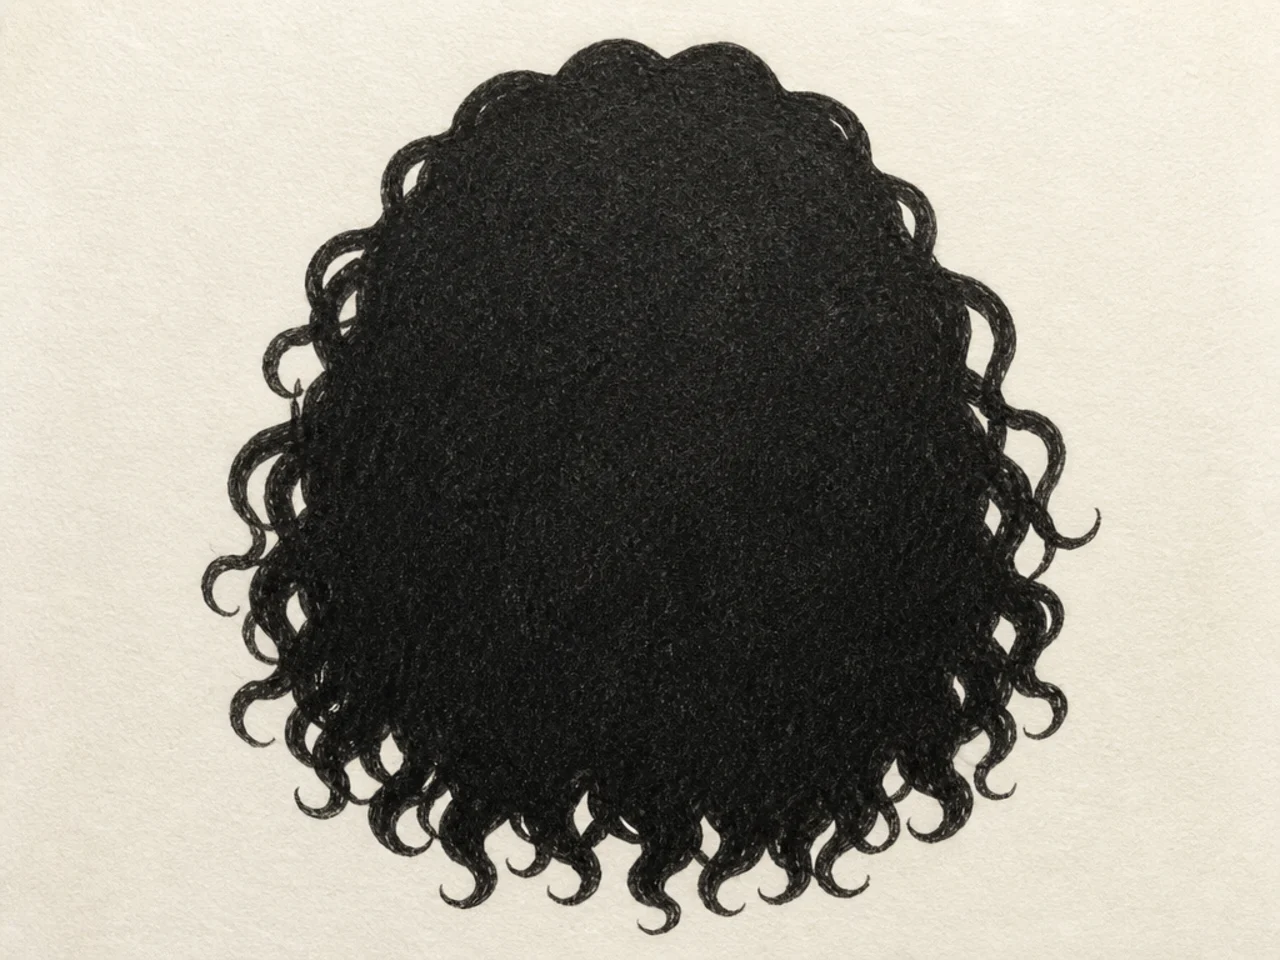
9. Silhouette Only
A whole head as one filled outline. No interior.
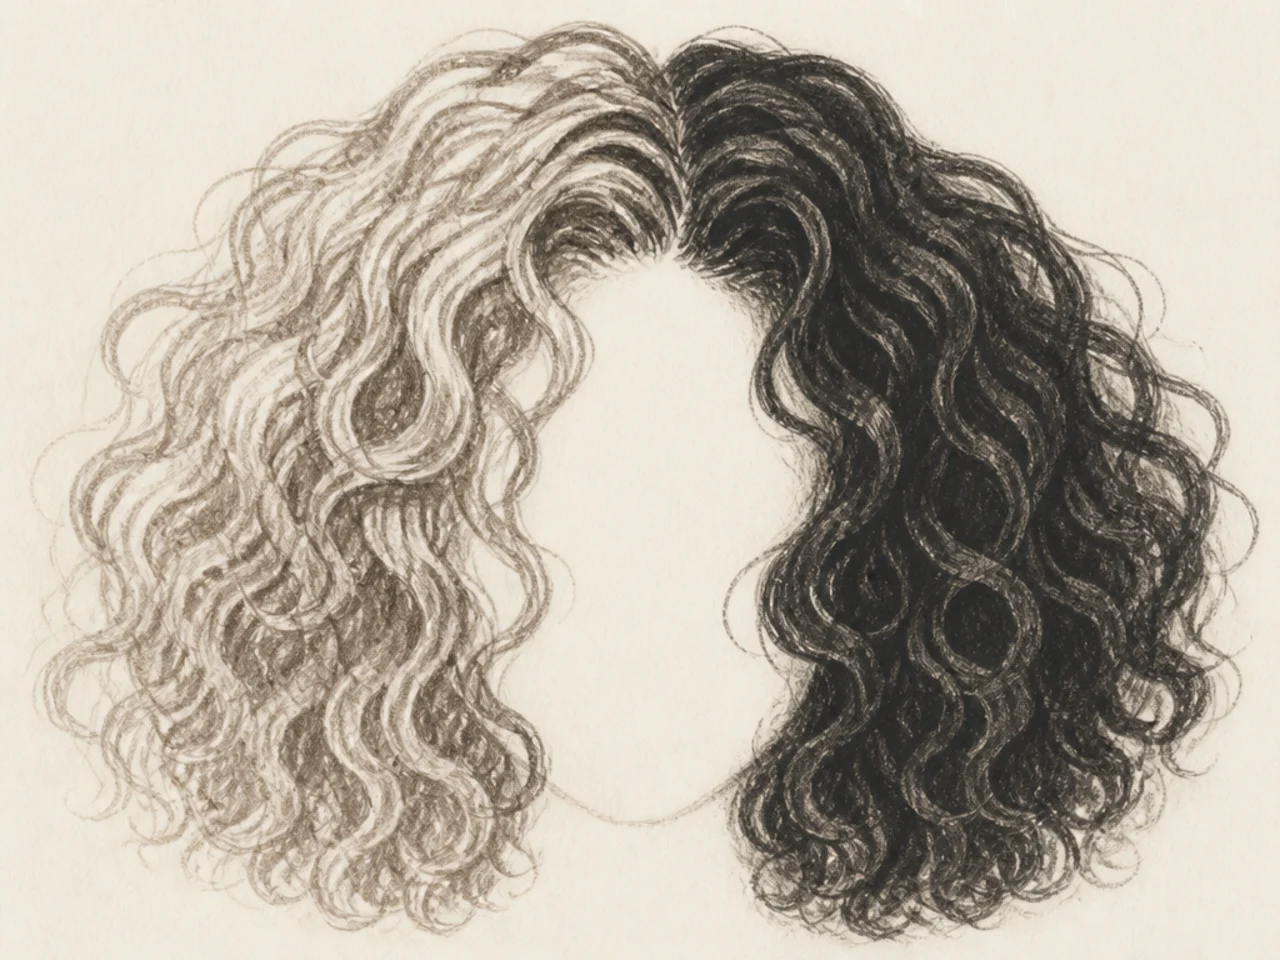
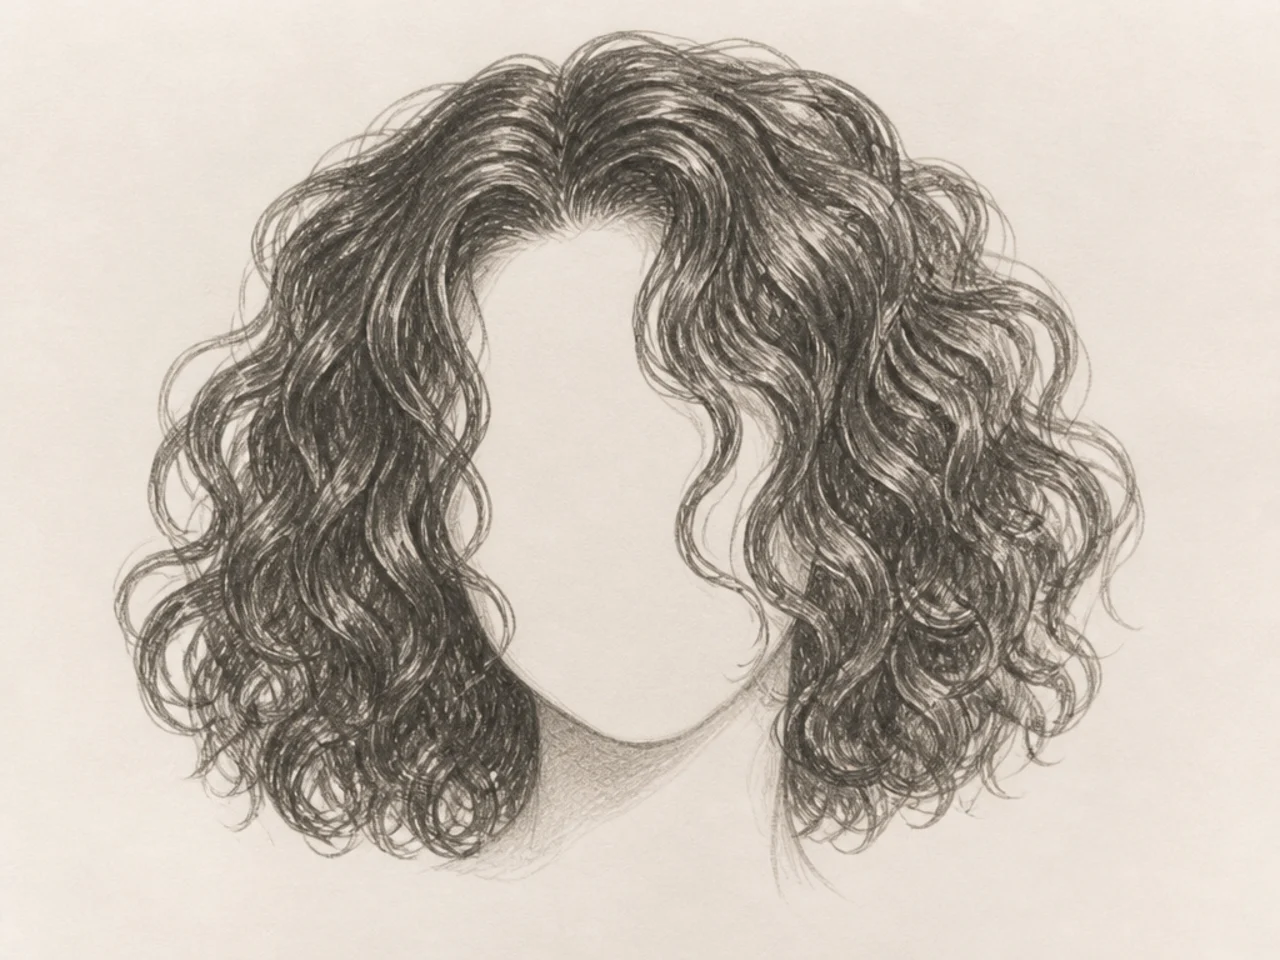
10. Two-Value Head
Light side, dark side. Nothing else.
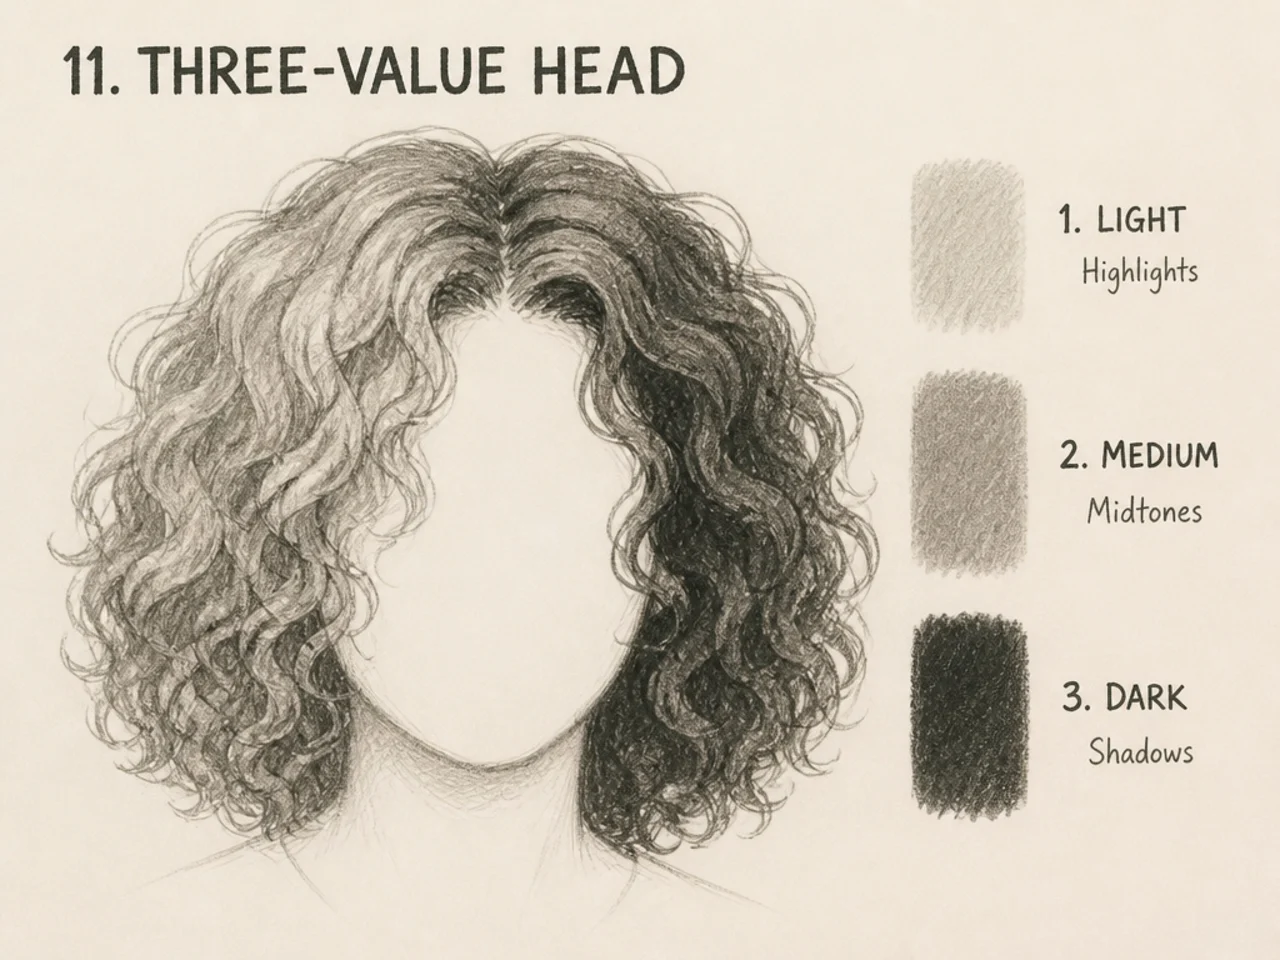
11. Three-Value Head
Adding a mid-tone. Still no curls drawn.
12. Add Six Curls
The first time you draw actual curls. Six only, at the lit edge.
13. Break the Outline
Add two escaping strands to a finished silhouette.
14. Darken the Roots
One change, immediate depth.
15. Copy a Silhouette From Life
Someone across a room. Outline only, one minute.
16. Draw the Gaps, Not the Hair
Negative space exercise. Difficult and worth it.
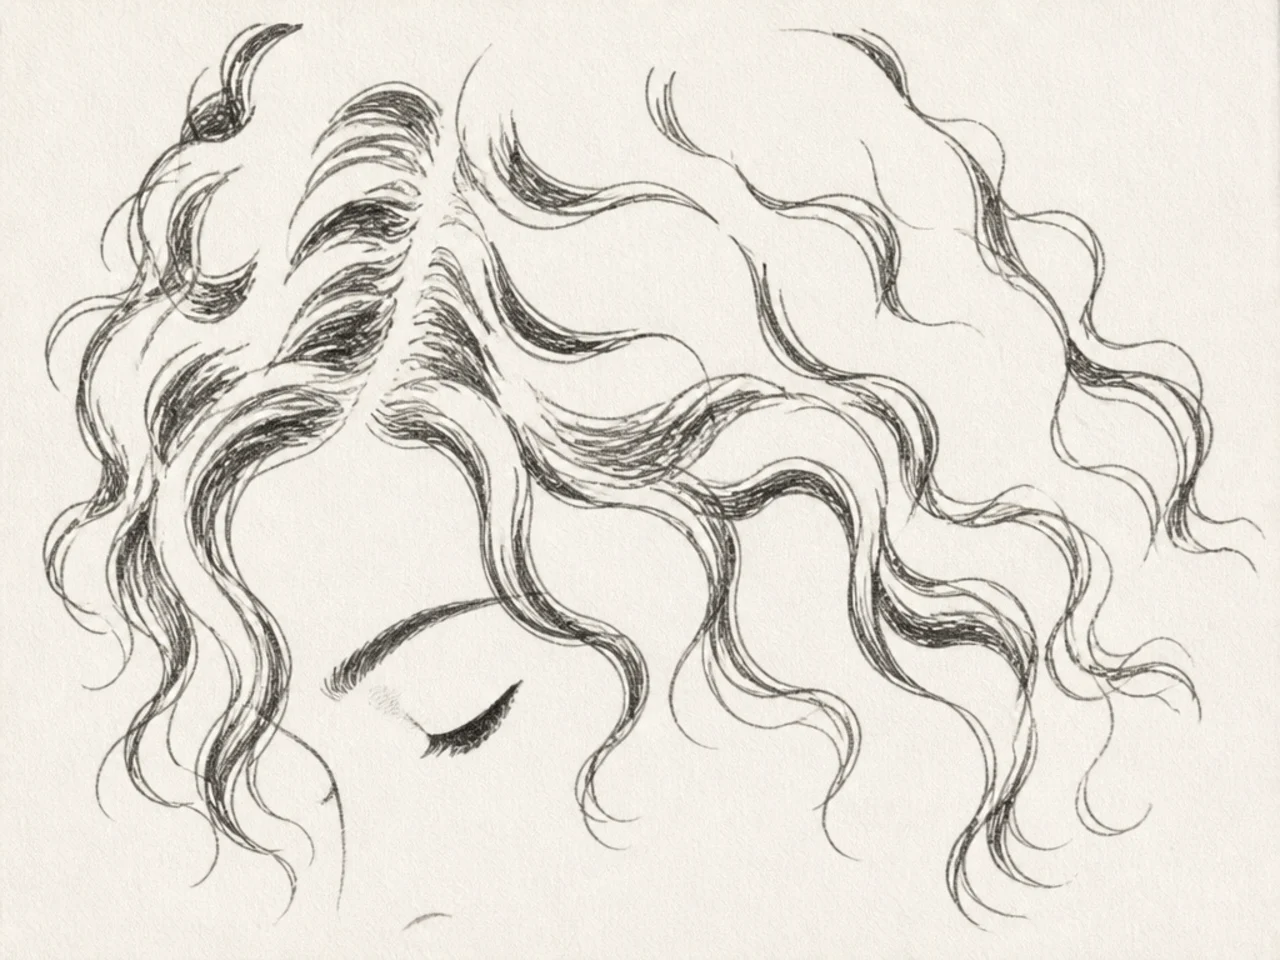
17. Same Head, Three Light Directions
One shape, lit three ways. Teaches form fast.
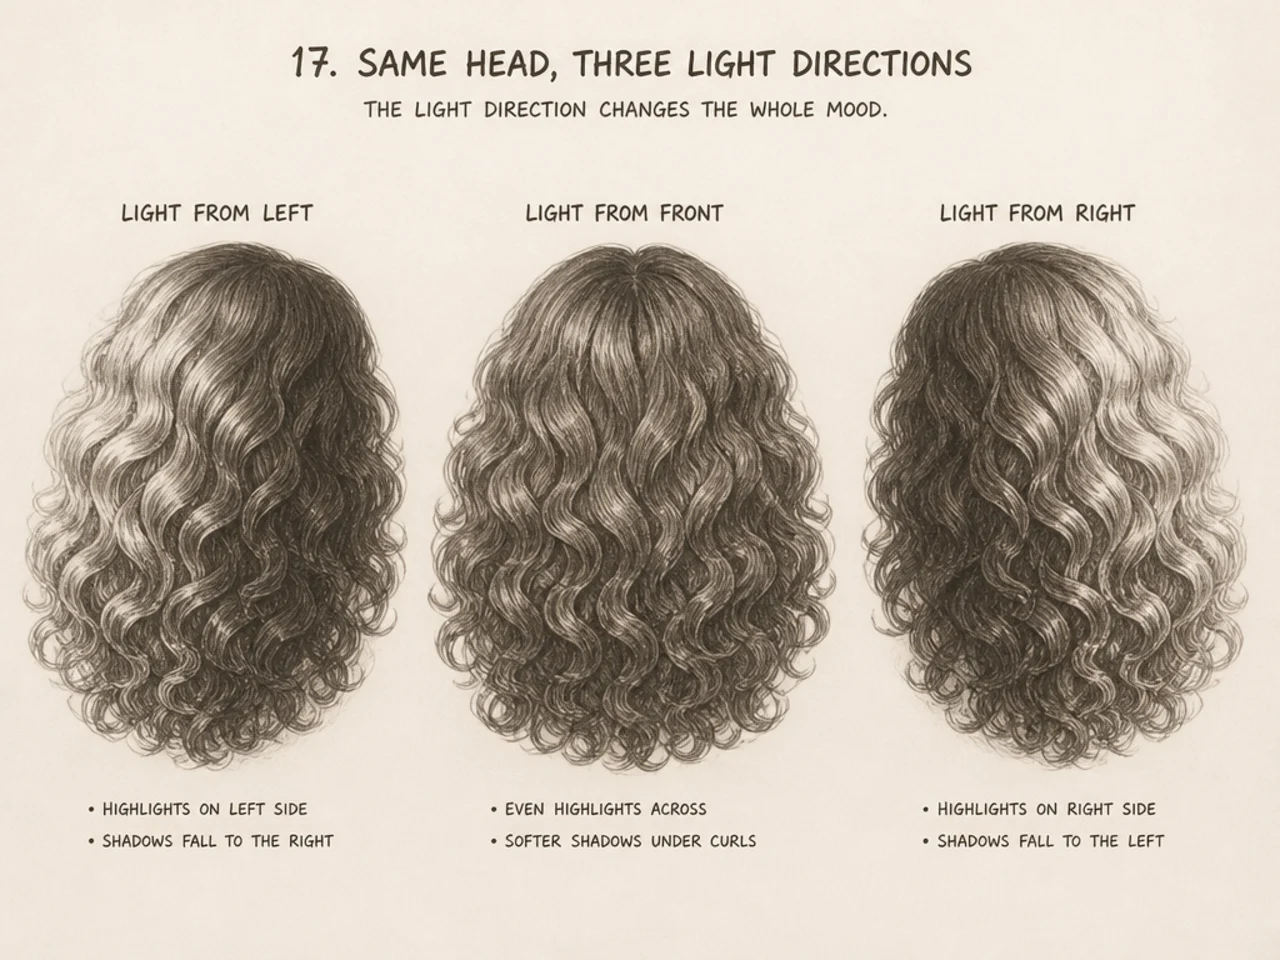
18. Loose Wave Versus Tight Coil
The same head drawn with two different curl types.
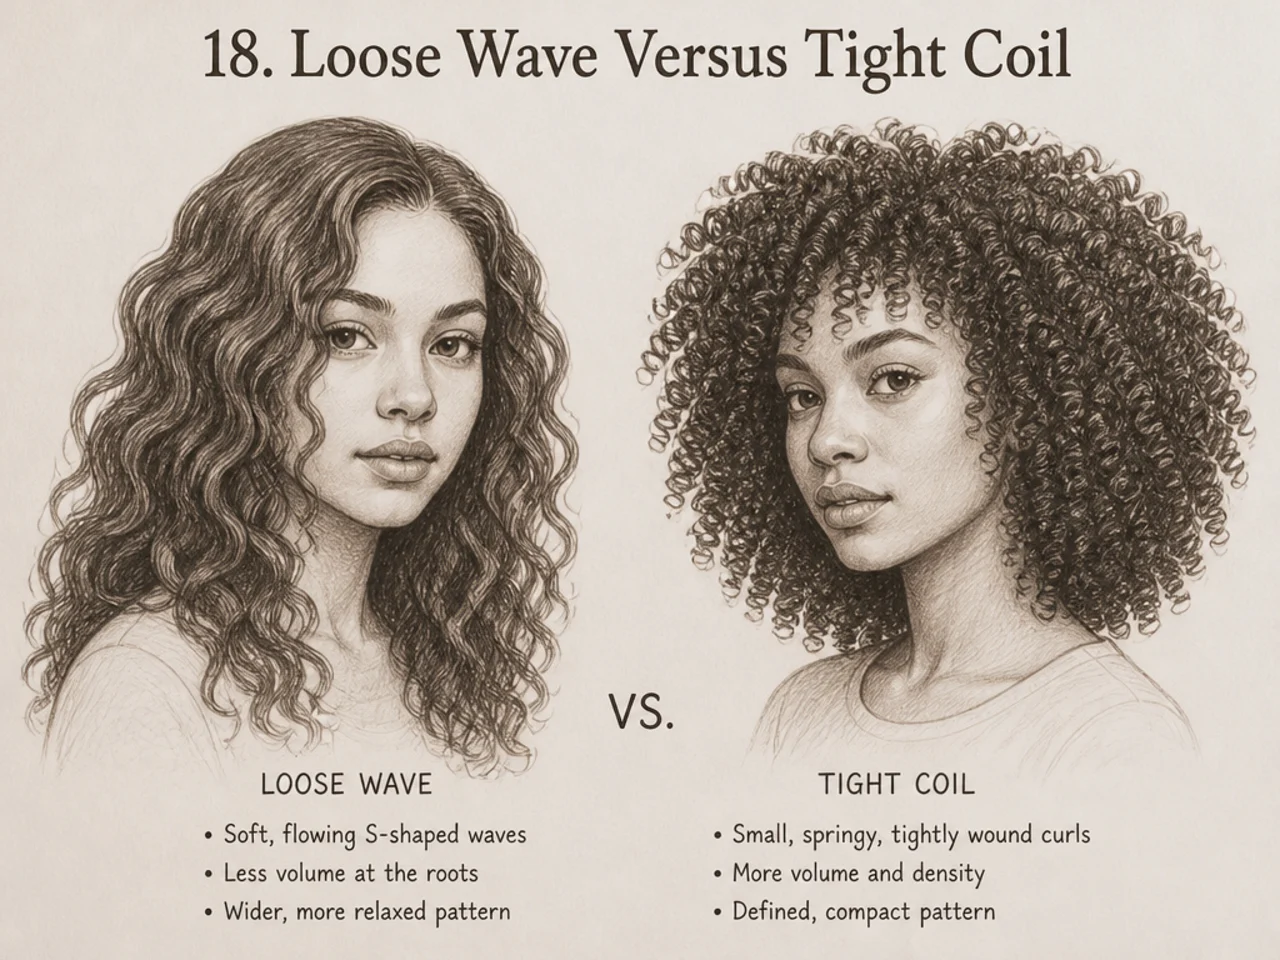
19. Twenty Thumbnails
Twenty tiny studies on one page, one minute each.
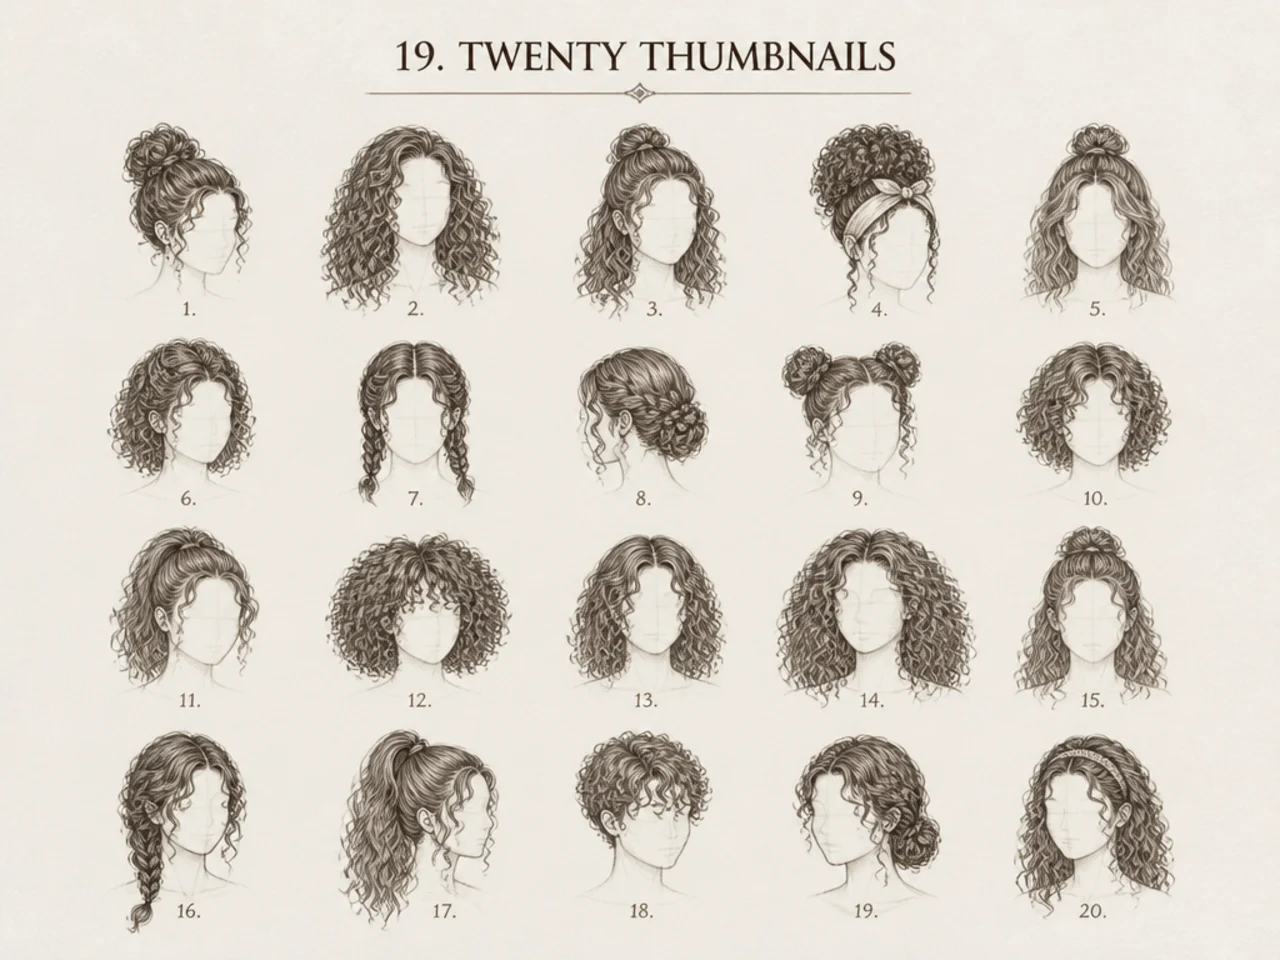
20. Full Head, No Reference
The test. Everything you have learned, from memory.
Why Small Studies Beat Full Drawings
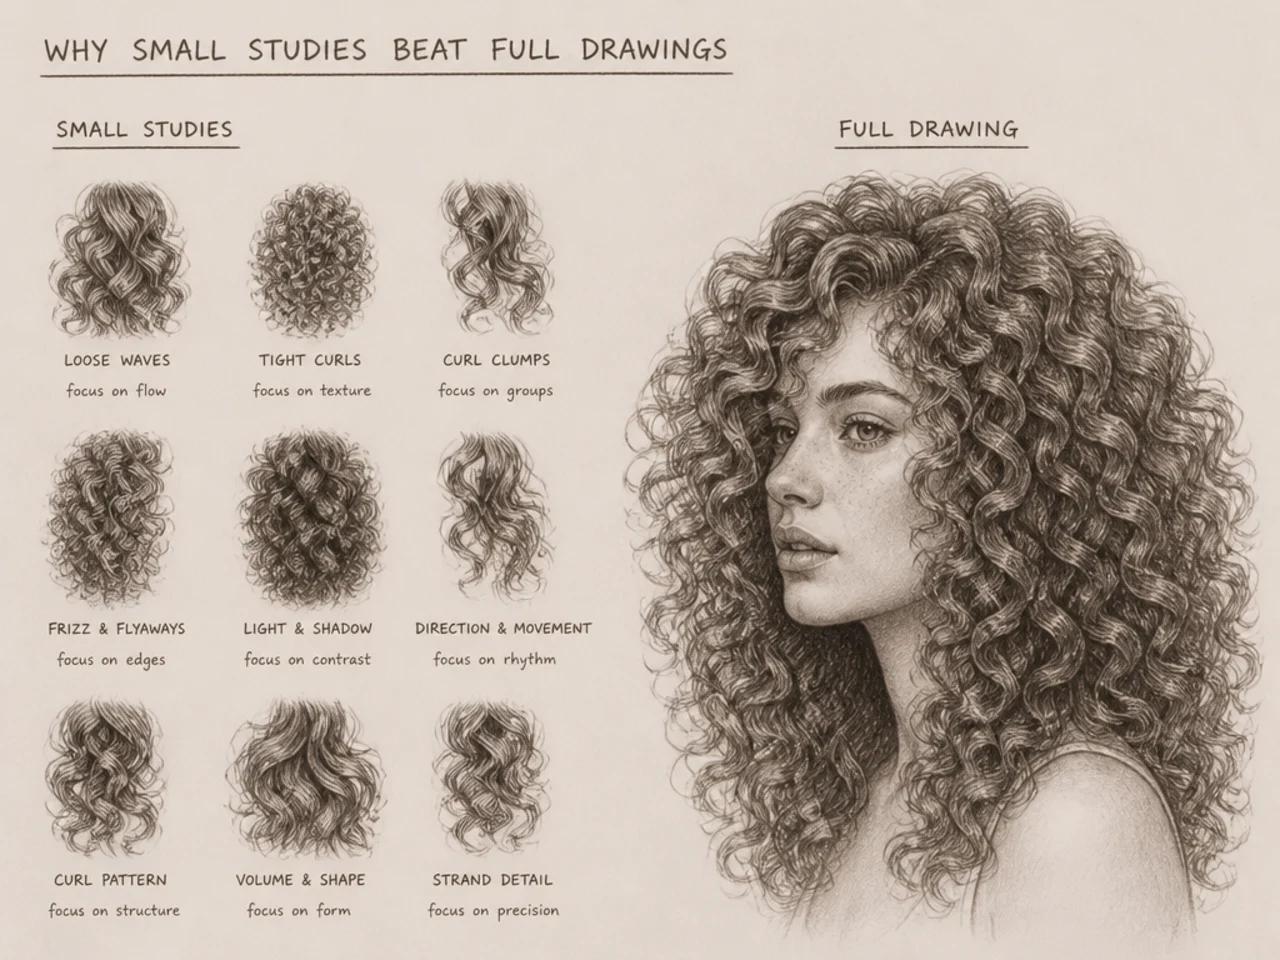
Twenty complete portraits teach less than twenty single-clump exercises, and the reason is feedback speed.
A full drawing takes an hour and contains dozens of decisions, so when it does not work you cannot tell which decision caused it. A two-minute study contains one decision, and you know immediately whether it worked.
Do exercises 1 to 8 several times each before moving on. They are the ones that build the instinct everything else depends on.
Expect the change at about twenty studies. Not twenty drawings — twenty focused, small, specific ones.
Mistakes to Avoid
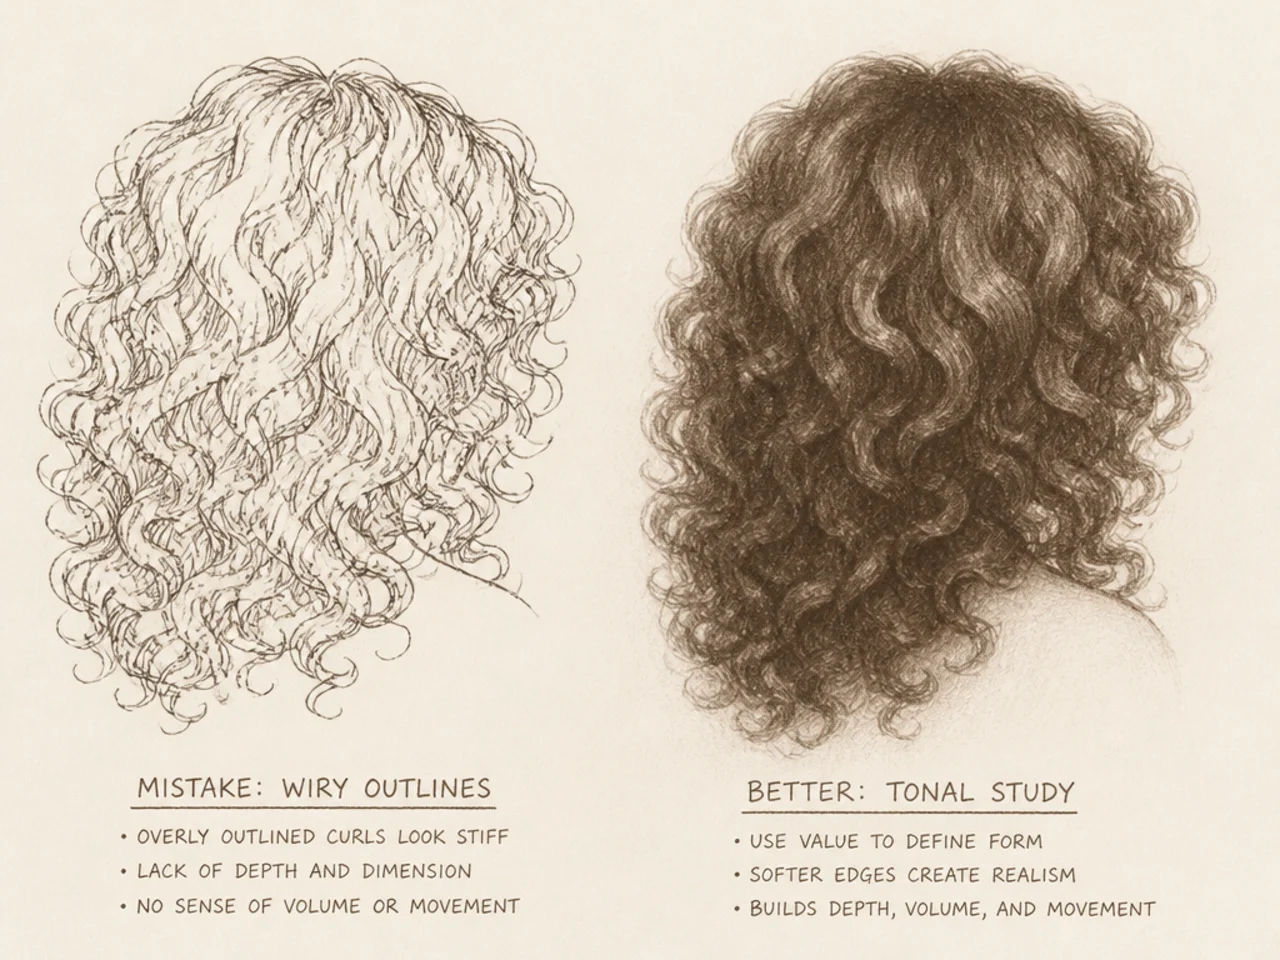
Outlining each curl. The habit this whole page exists to break.
Starting with a full portrait. Too many decisions at once.
Drawing curls before values. Values first, always.
Using a hard pencil. It encourages thin, wiry lines. Use something soft.
Judging progress by finished pieces. Progress shows in the studies first.
FAQ
How do you start? With one filled shape, not outlines around curls.
What is easiest to draw? A single large clump.
How long does it take? About twenty focused small studies for most people.
Final Thoughts
Do exercise 4 — one clump, drawn large — ten times before attempting a head. It is dull and it is the fastest route through, because everything harder is just that exercise repeated with grouping decisions on top.
For the full method see 20 steps to draw curly hair like a pro, and for ideas see 25 easy curly hair drawing ideas. More in Hair Drawing & Art.