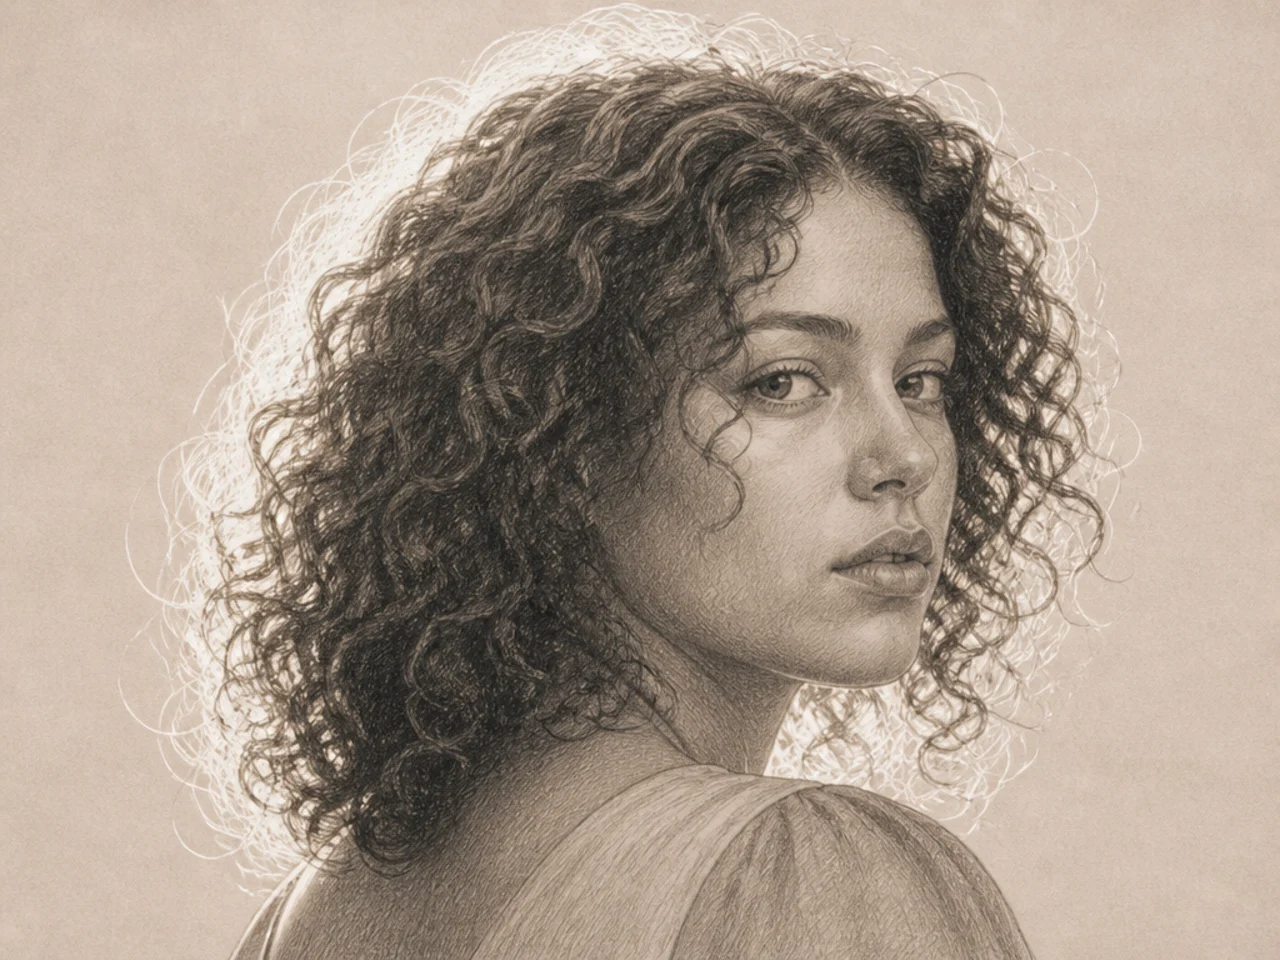
15 Curly Hair Drawing References I Use
Fifteen kinds of reference worth collecting, and the folder system that made them usable — because the problem was never finding references. It was finding the right one at the moment I needed it.
In this article · 22
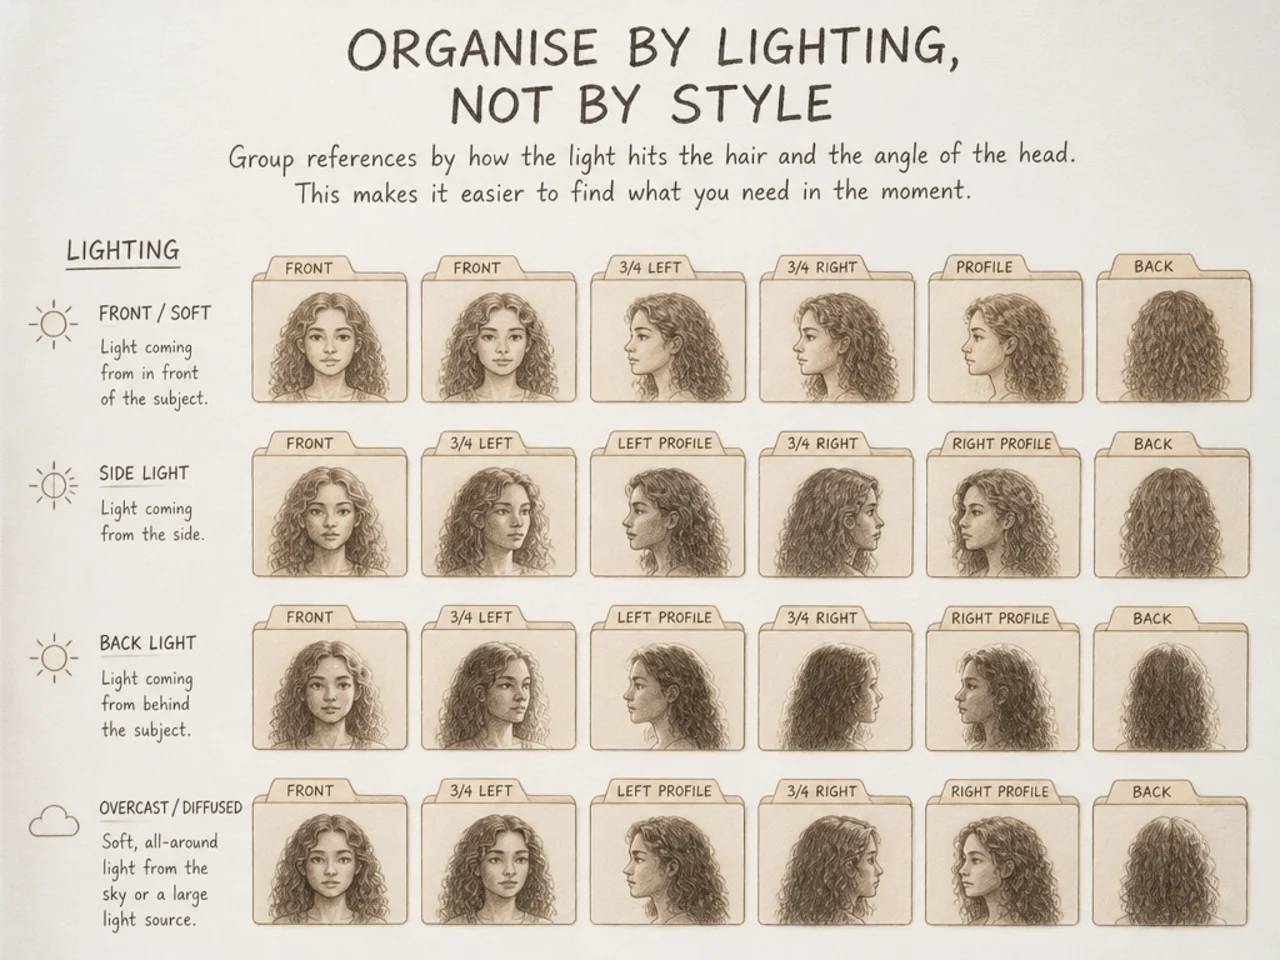
- Organise by Lighting, Not by Style
- The 15 Worth Having
- 1. Backlit, Three-Quarter View
- 2. Strong Side Light, Front View
- 3. Top Light, Front View
- 4. Profile Against Plain Background
- 5. Back of the Head
- 6. Single Clump Close-Up
- 7. Loose Wave Pattern
- 8. Defined Spiral Curl
- 9. Tight Coil Texture
- 10. Hair in Motion
- 11. Wet Curls
- 12. Gathered Up
- 13. Hair Meeting Shoulders
- 14. Flat, Even Light
- 15. Your Own Photograph
- Where to Get Them Properly
- Fifteen Beats Five Hundred
- Mistakes to Avoid
- FAQ
- Final Thoughts
I spent two years saving curly hair references and almost never used them. The problem was never finding images — it was finding the right image at the moment I needed it, which turned out to be a filing problem rather than a collecting one.
The fix was reorganising by lighting and angle instead of by hairstyle, and cutting the library down to about fifteen images.
Organise by Lighting, Not by Style
This was the change that made the whole thing work.
Folders named "curly bob", "long curls", "afro" sound sensible and are almost never what you search for. Mid-drawing, what you need is "backlit, three-quarter view" — because your problem at that moment is a lighting one, not a hairstyle one.
The categories that actually get used:
By light: front-lit, side-lit, backlit, top-lit, flat. By angle: front, three-quarter, profile, back, from above. By curl type: loose wave, spiral, tight coil.
Three shallow categories, and any image sits in all three. It takes an afternoon to redo and it is the difference between a library and a folder of unopened pictures.
The 15 Worth Having
1. Backlit, Three-Quarter View
The most useful single reference. Rim light defines the whole silhouette.
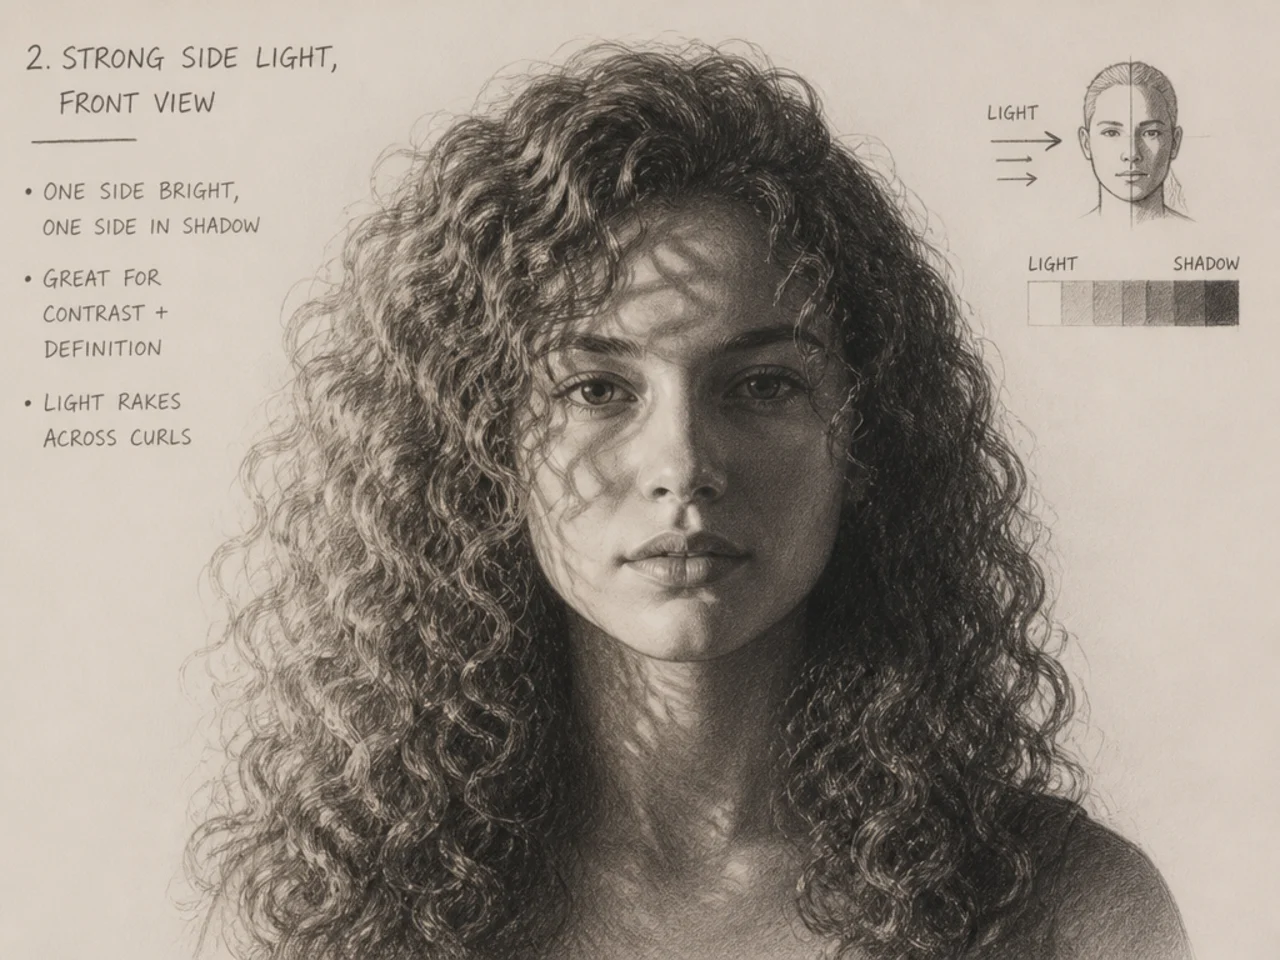
2. Strong Side Light, Front View
Maximum contrast between lit and shadow masses.
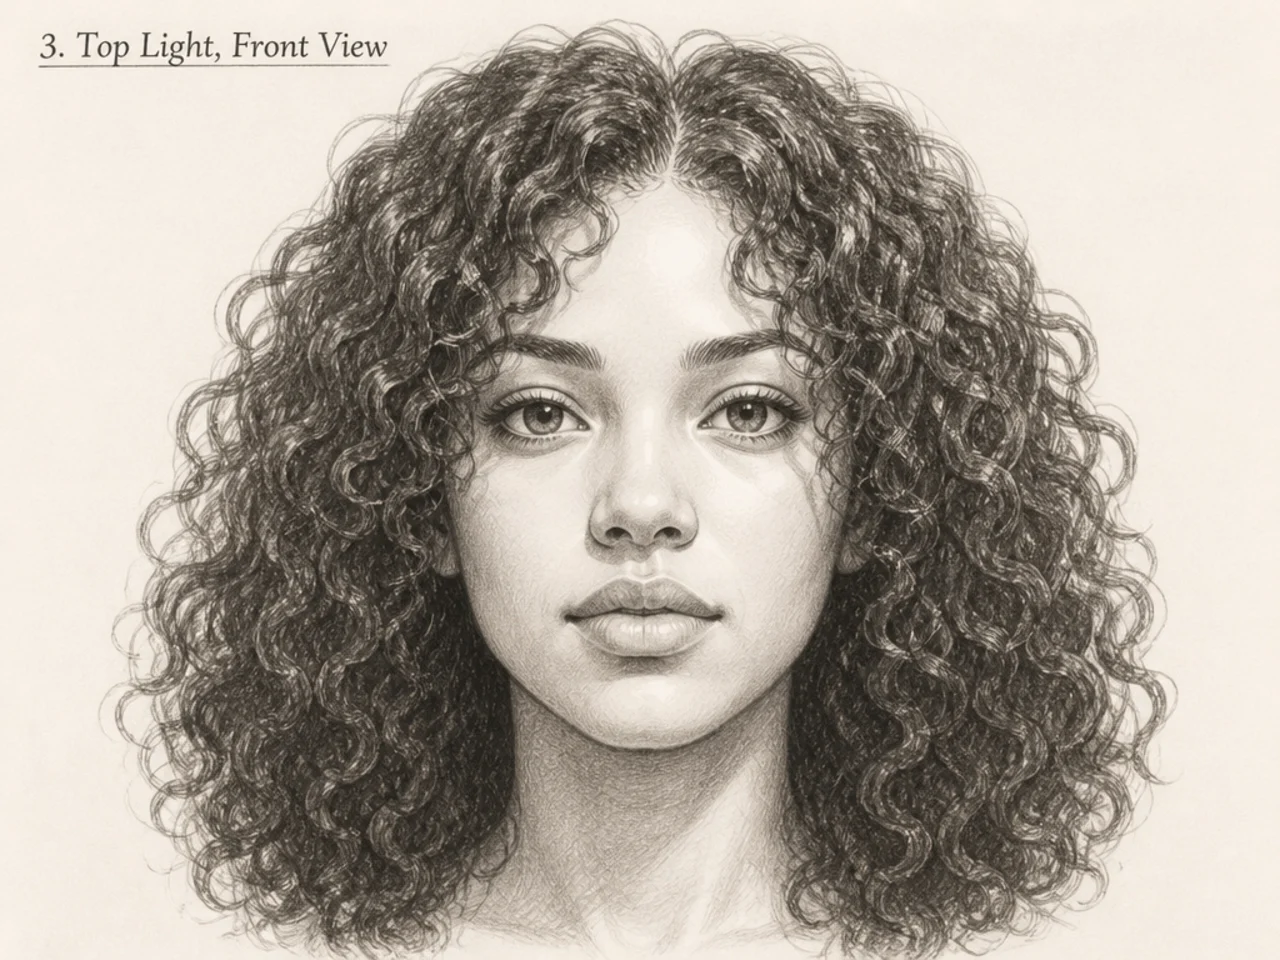
3. Top Light, Front View
Shows how the crown catches light and the rest falls away.
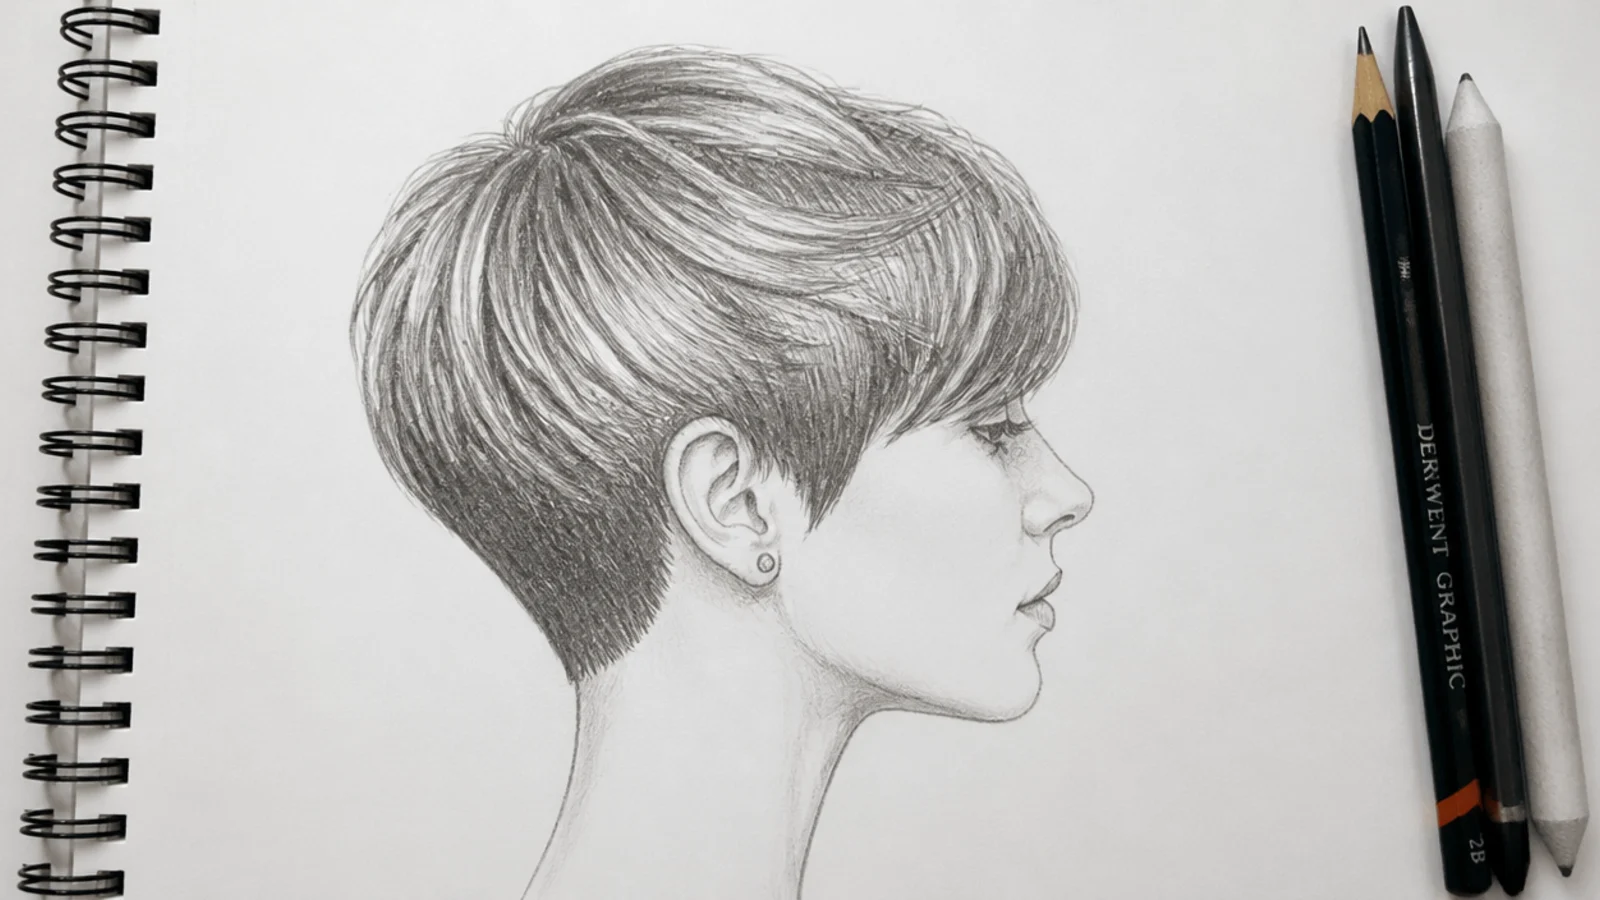
4. Profile Against Plain Background
The clearest silhouette study available.
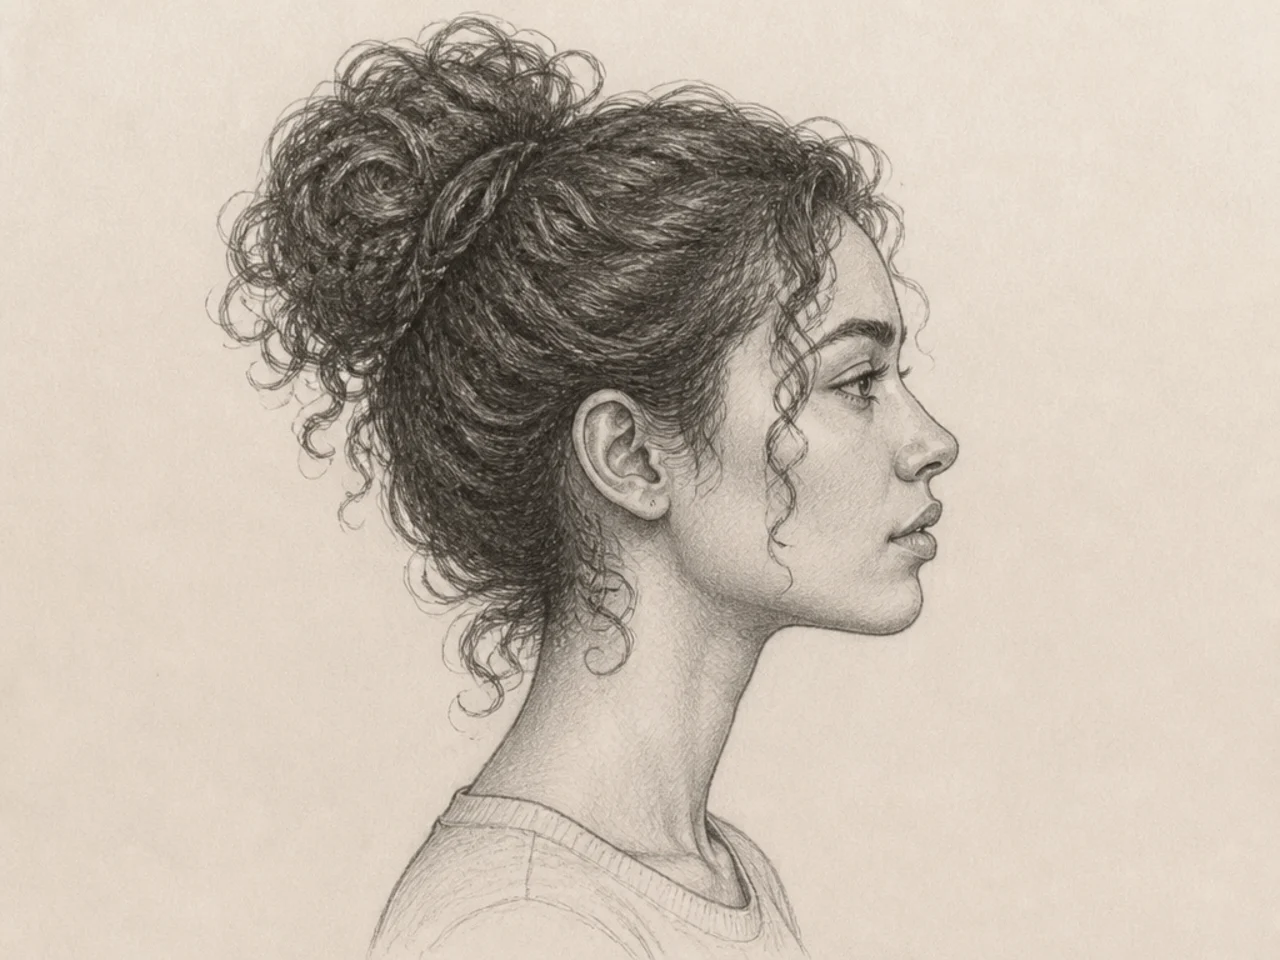
5. Back of the Head
The angle least often referenced and most often drawn badly.
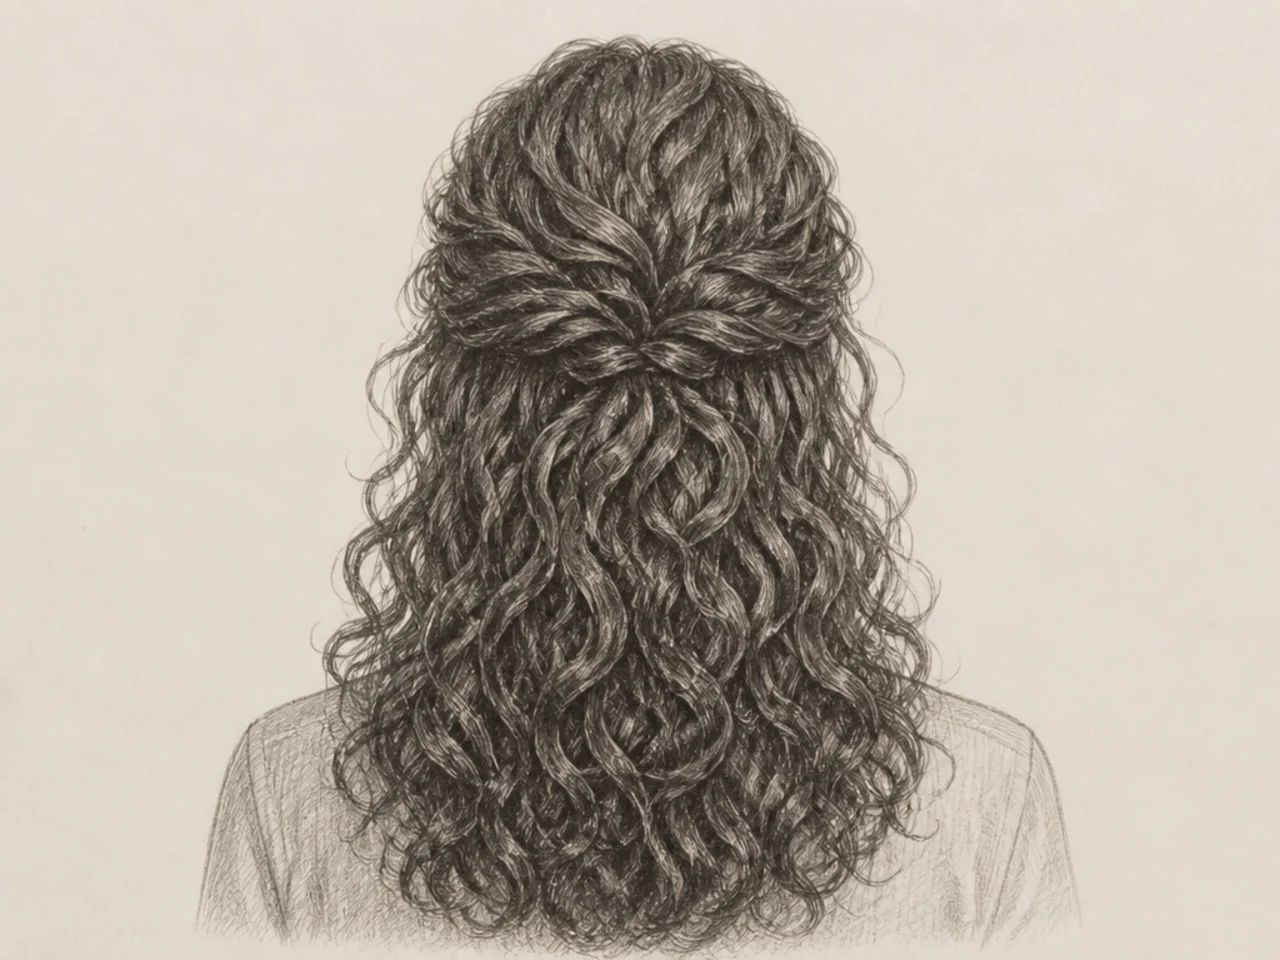
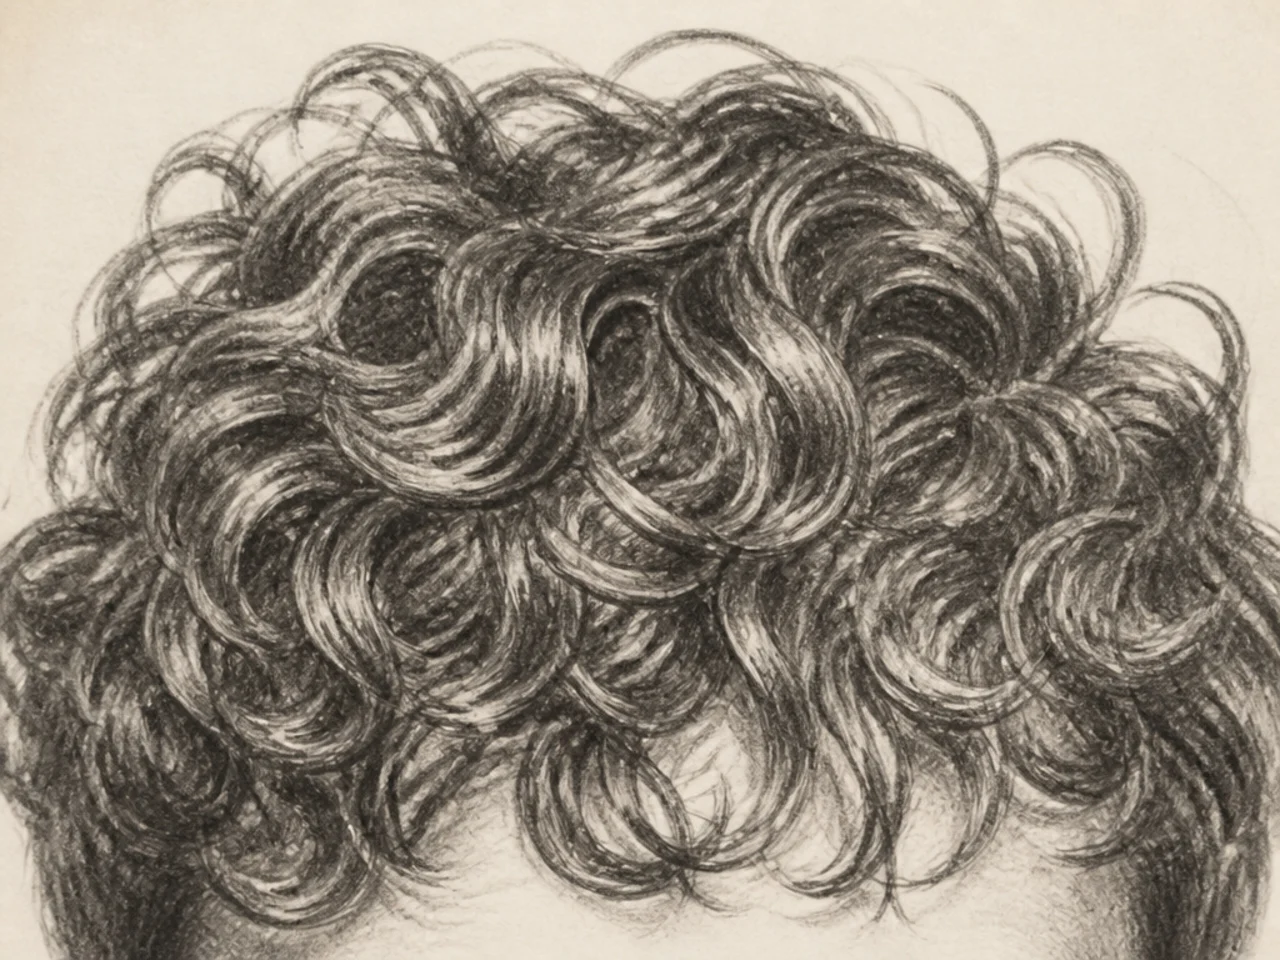
6. Single Clump Close-Up
For studying how curls group and how the ribbon turns.
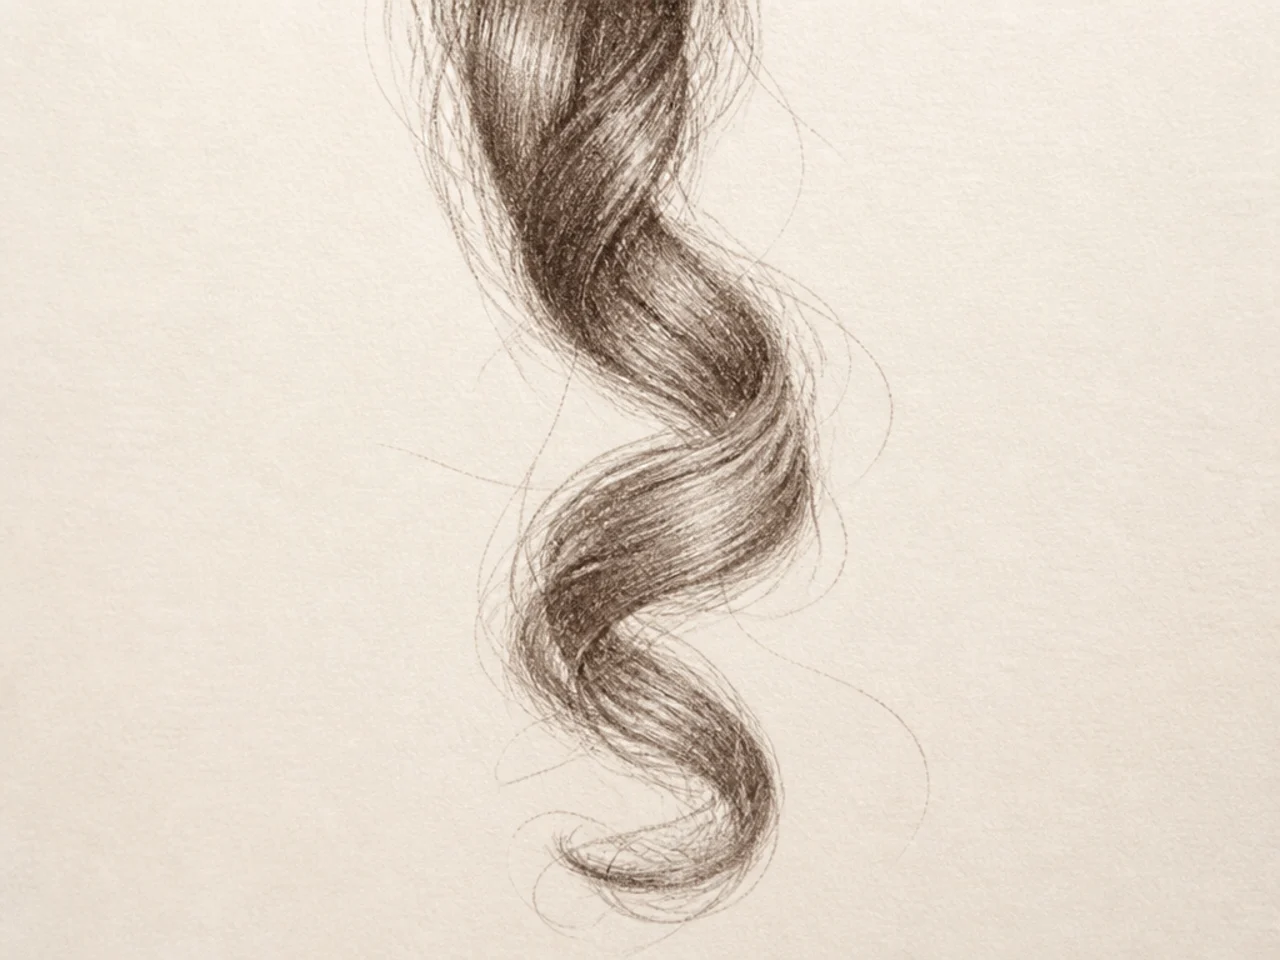
7. Loose Wave Pattern
The 2A to 2C end of the range.
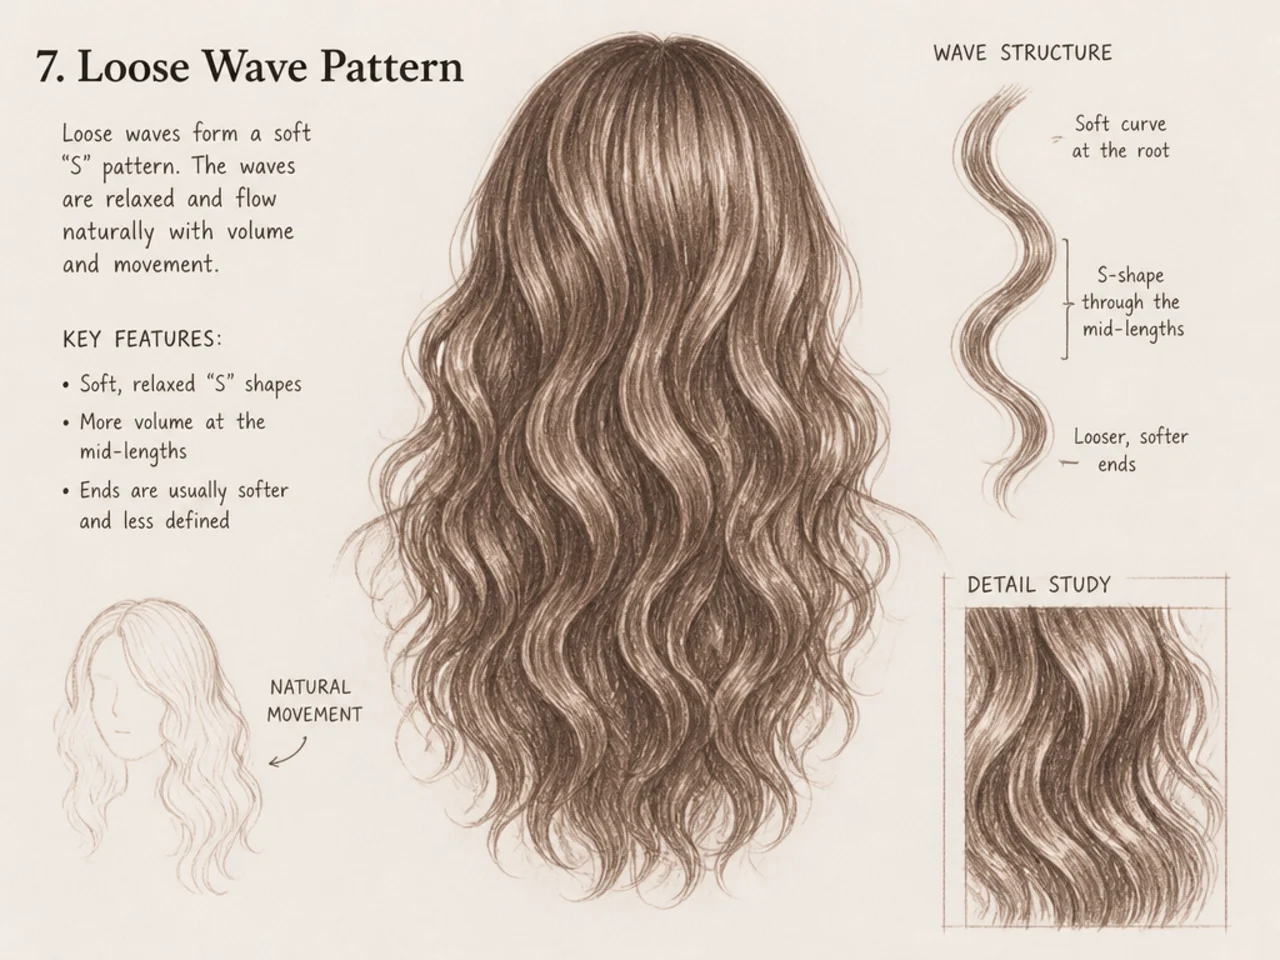
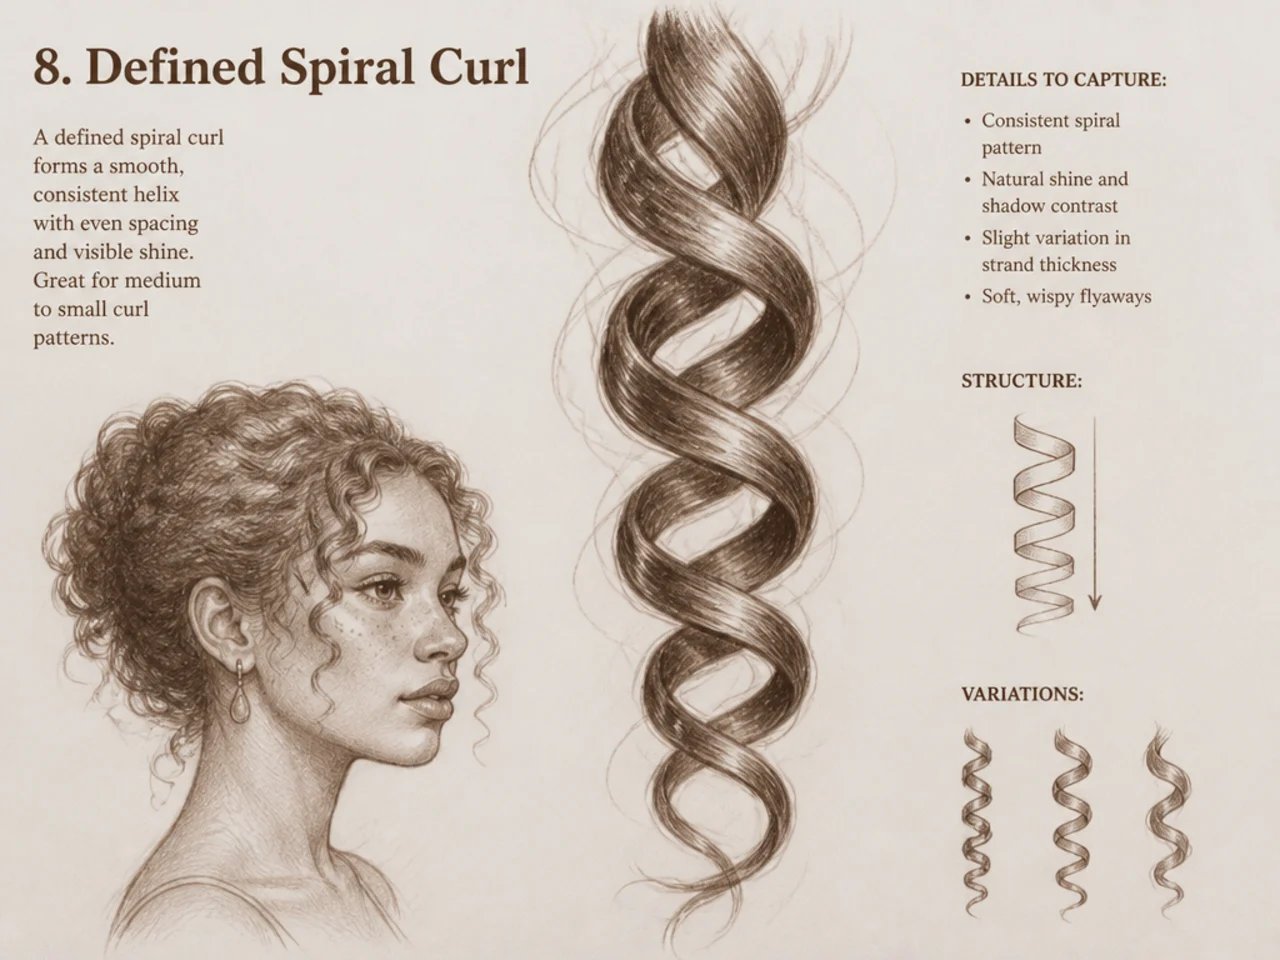
8. Defined Spiral Curl
The 3A to 3C middle, and the most commonly drawn.
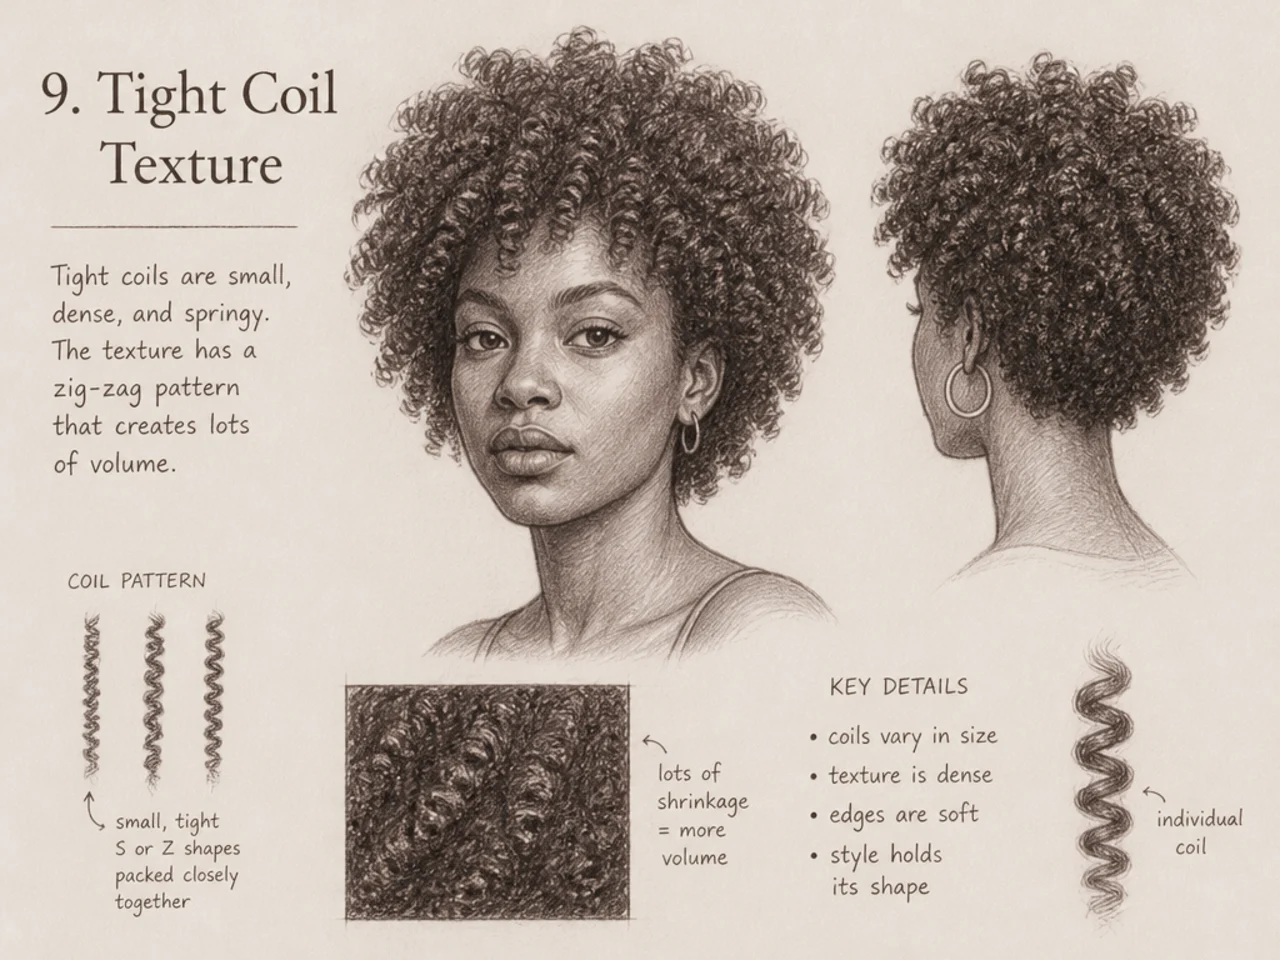
9. Tight Coil Texture
The 4A to 4C end, where curl reads as texture rather than shapes.
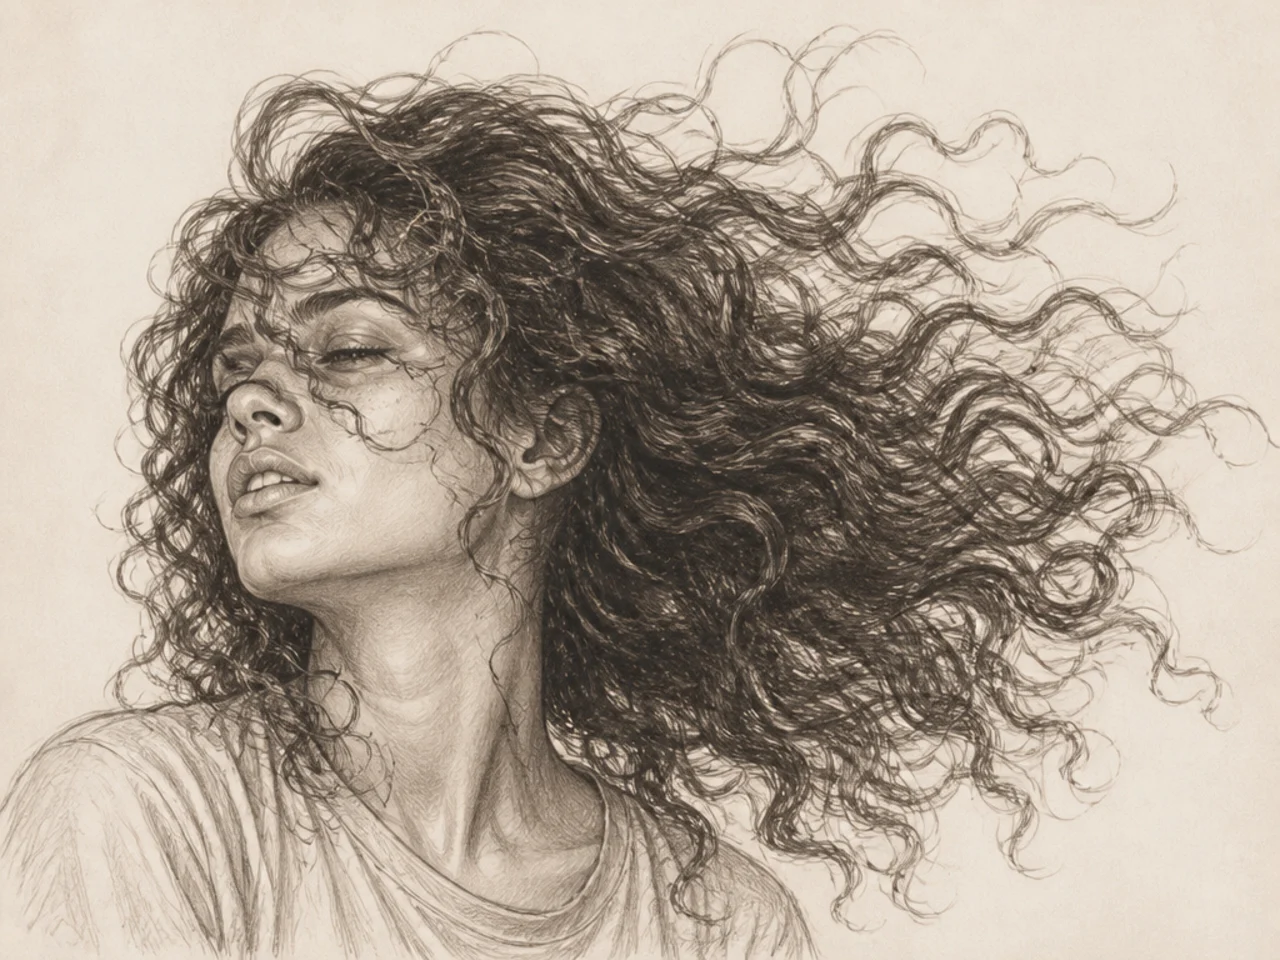
10. Hair in Motion
Blurred or mid-movement, for silhouette distortion.
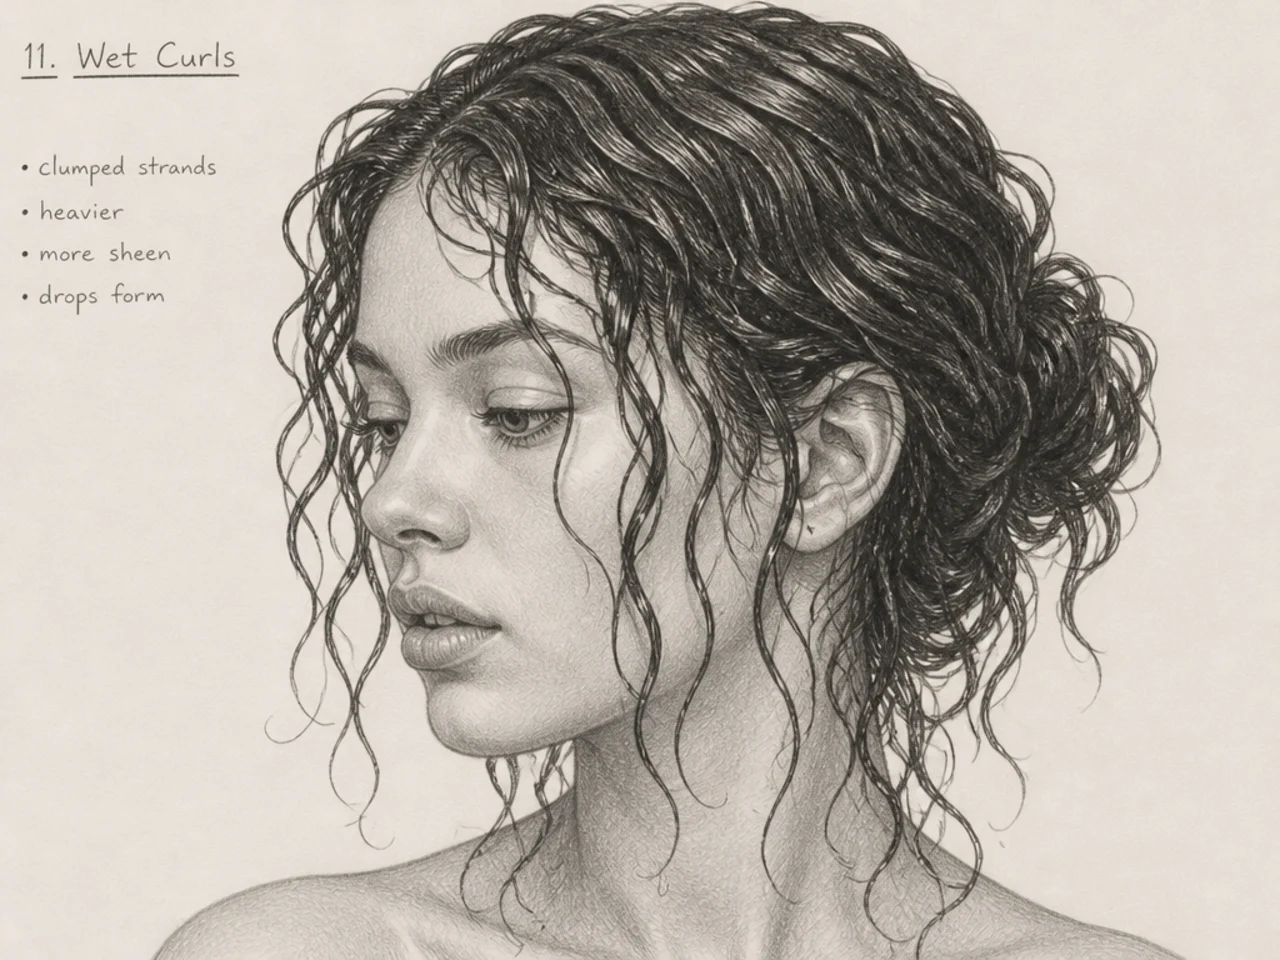
11. Wet Curls
Fewer, larger clumps and higher contrast. A different structure entirely.
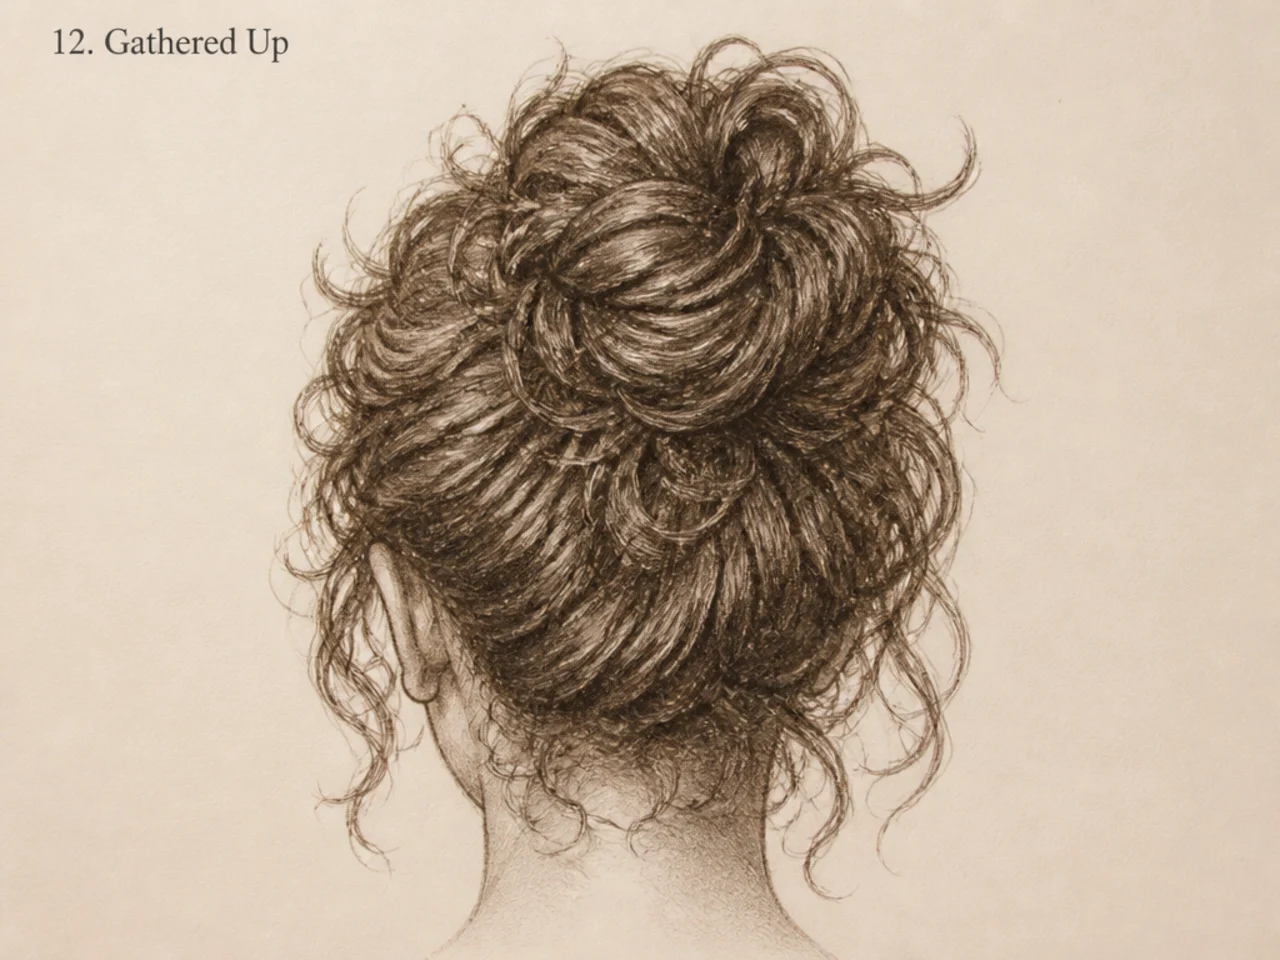
12. Gathered Up
Ponytail or bun, showing compressed curl.
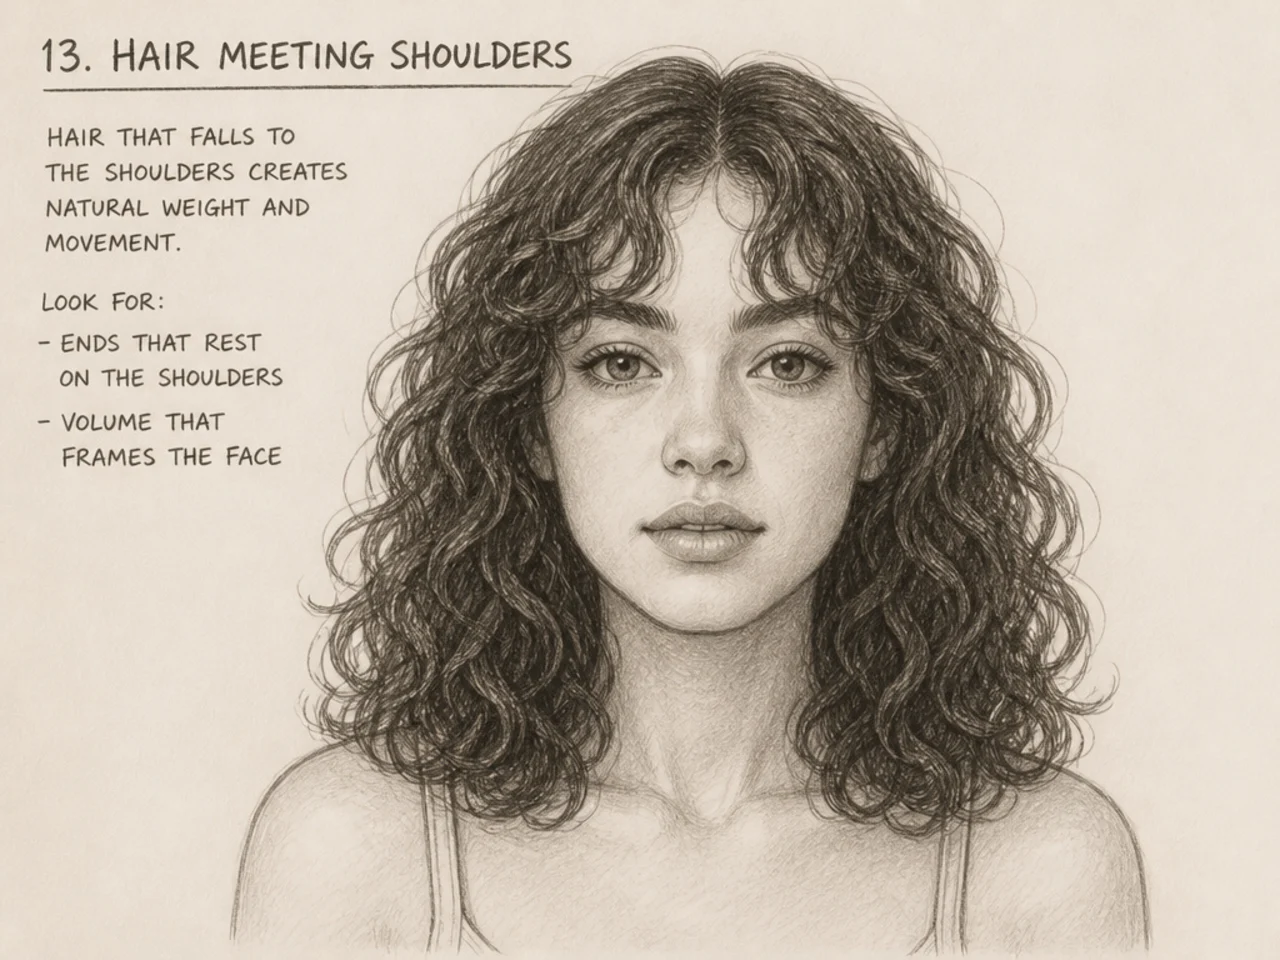
13. Hair Meeting Shoulders
The transition most drawings get wrong.
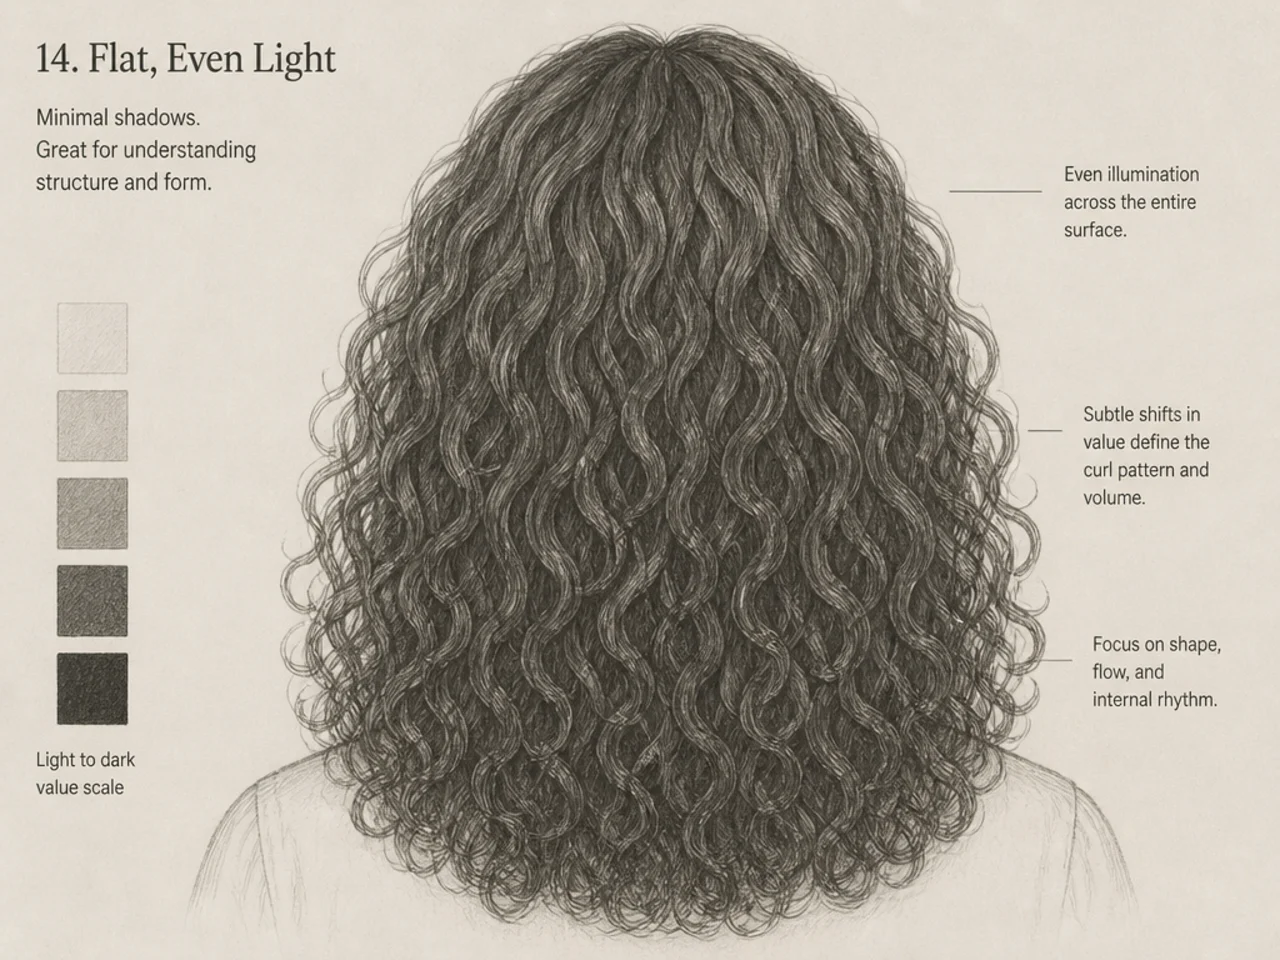
14. Flat, Even Light
Not for drawing from — for seeing structure without shadow confusing it.
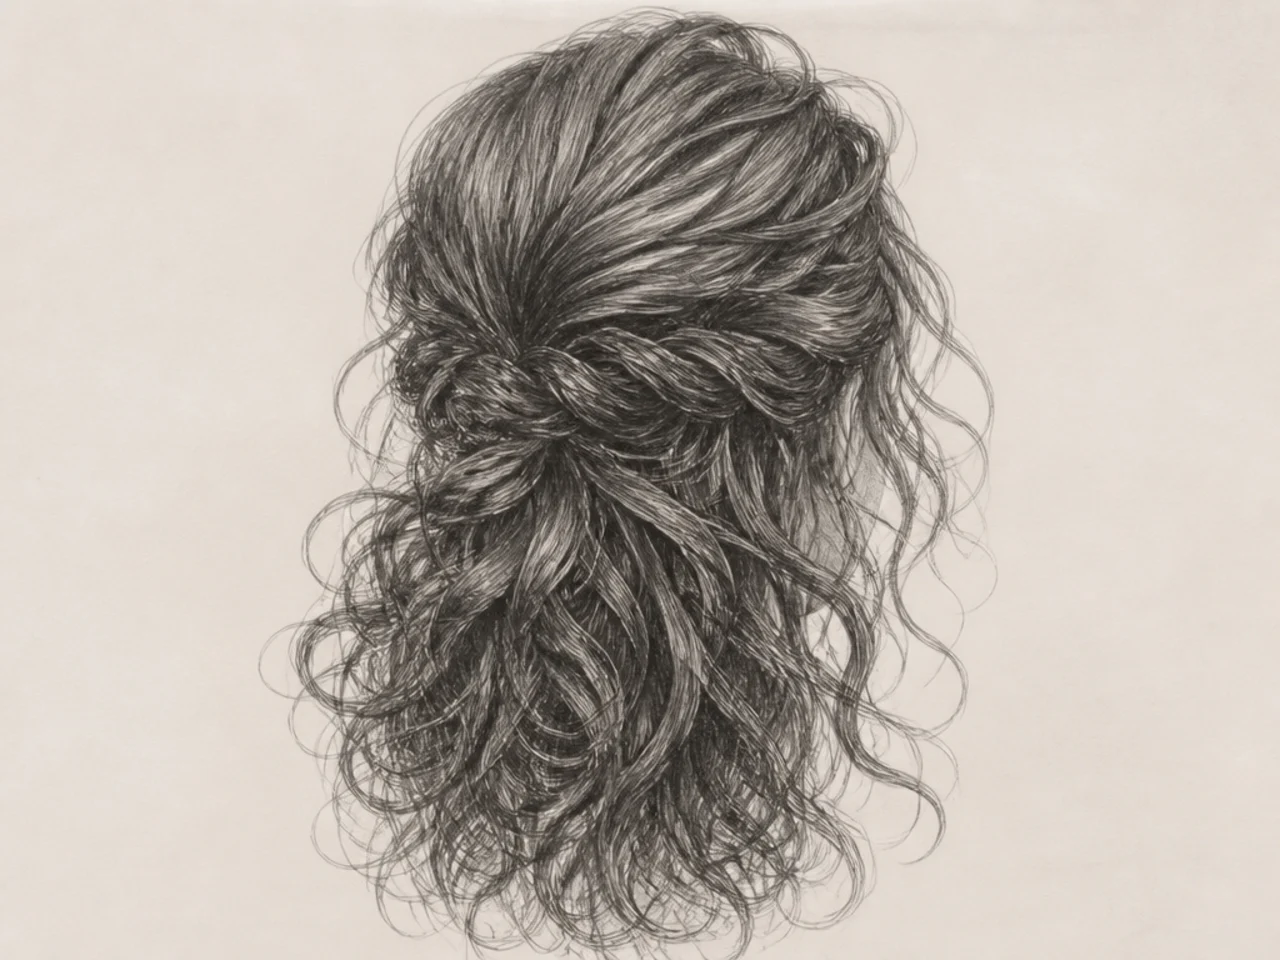
15. Your Own Photograph
Controlled lighting, plain background, exactly the angle you need.
Where to Get Them Properly
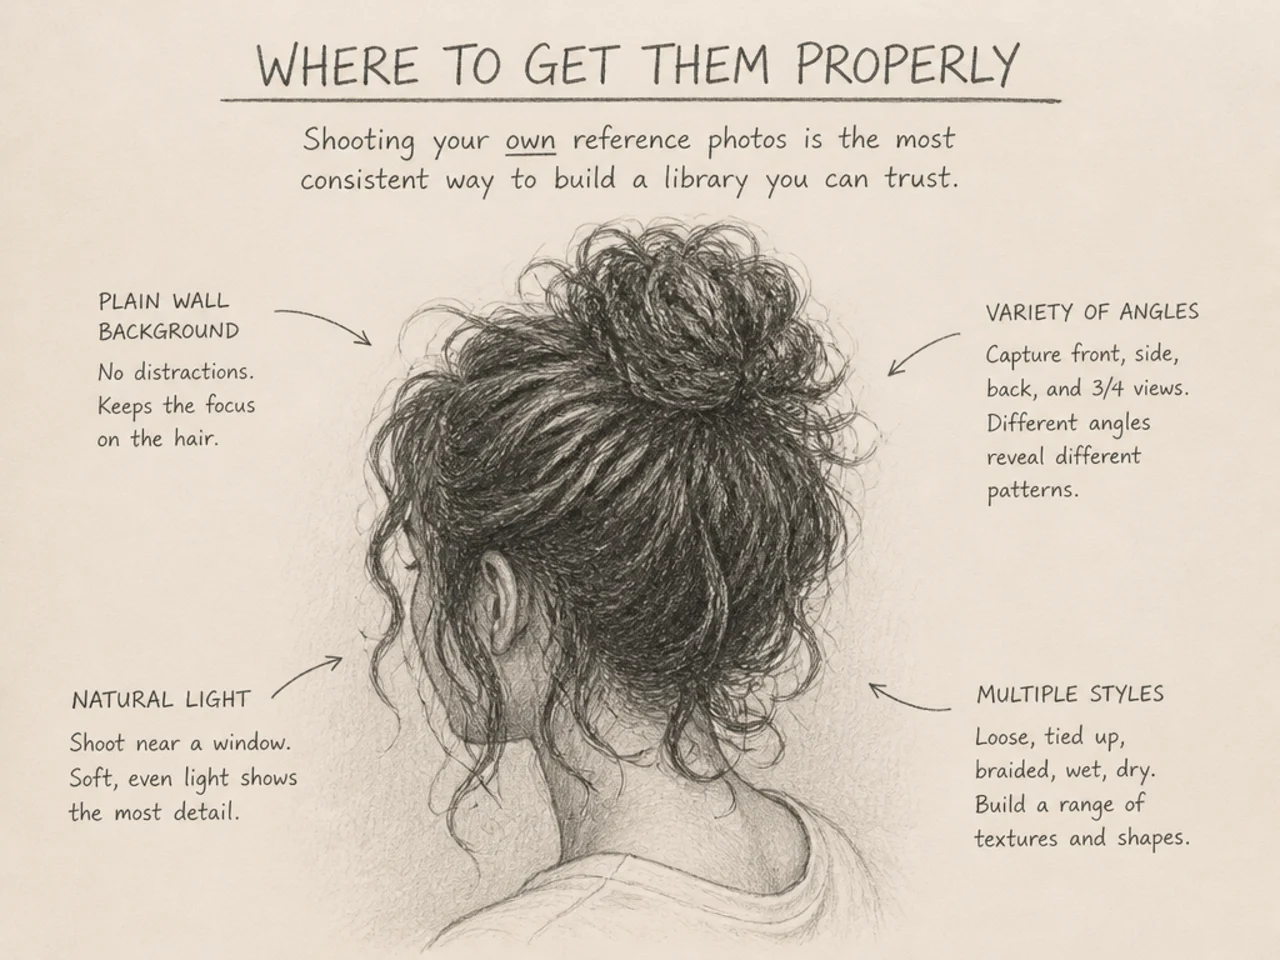
Your own photos are best, and easiest — a phone, a window and a plain wall covers most of the list above. You control the lighting, and there are no usage questions at all.
Free stock libraries carry large numbers of portrait images under permissive licences. Check the terms, since they vary on commercial use.
Artist reference sites sell or share model packs shot specifically for drawing, often with the same pose lit several ways — which is exactly the comparison this list is built around.
Life drawing sessions, where you can look at real hair moving under real light. Nothing photographic teaches silhouette as fast.
What to avoid is building a library out of images saved from social media. The licensing is unclear, the resolution is usually poor, and if you later publish work derived from them you may have a problem you did not know about.
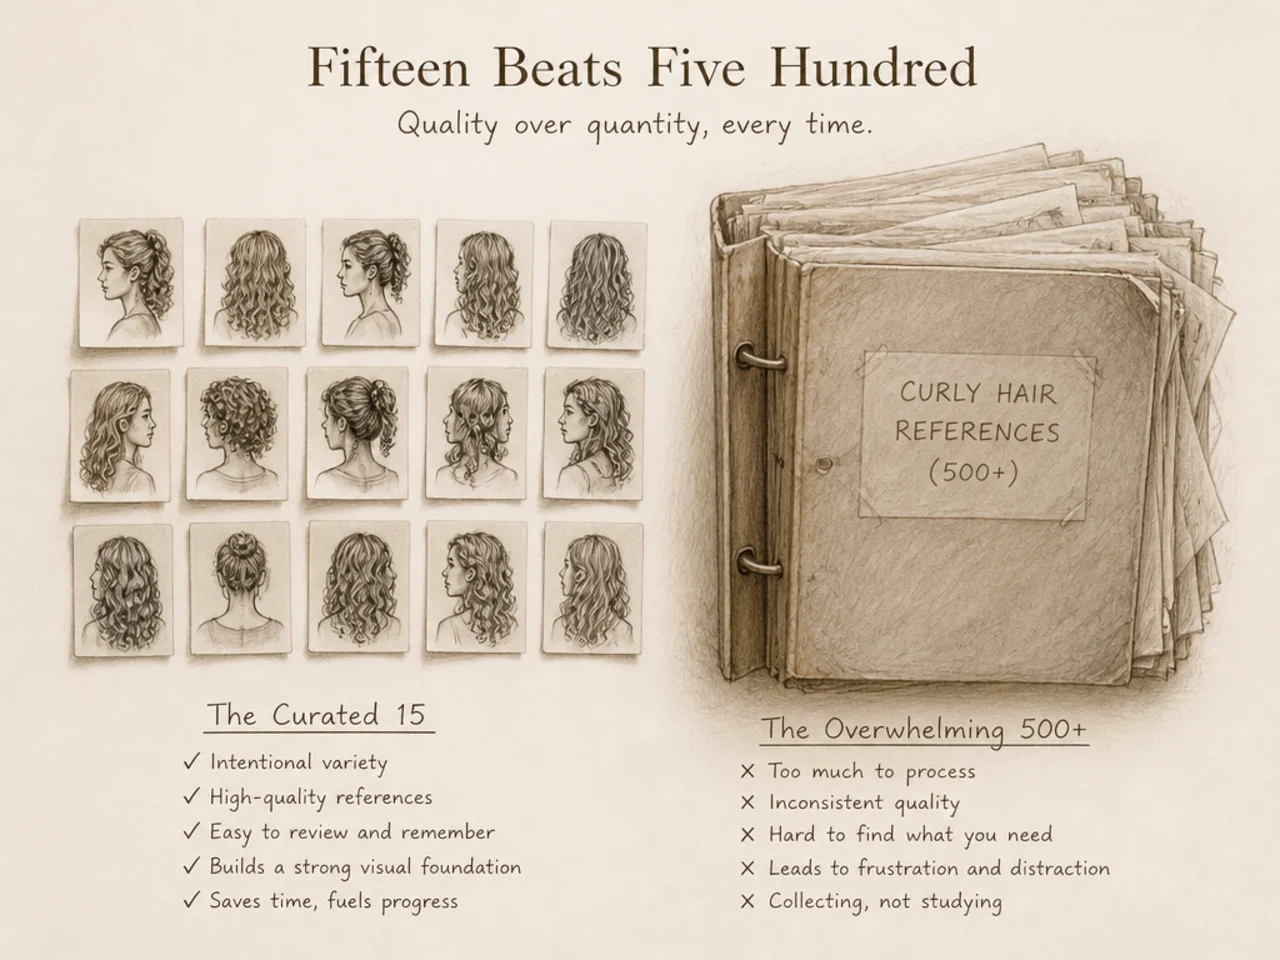
Fifteen Beats Five Hundred
The counter-intuitive part of this, and the thing that changed my practice.
A library of several hundred saved images is unusable, because searching it costs more attention than drawing does. You scroll, you get distracted, you end up drawing whichever image was most attractive rather than the one that answers your question.
Fifteen images you know well covers the lighting and angle situations you actually meet. You stop searching and start recognising: this is the backlit problem, I know that one.
Add to it deliberately when you meet something the fifteen do not cover. Not otherwise.
Mistakes to Avoid
Filing by hairstyle. You will search by lighting.
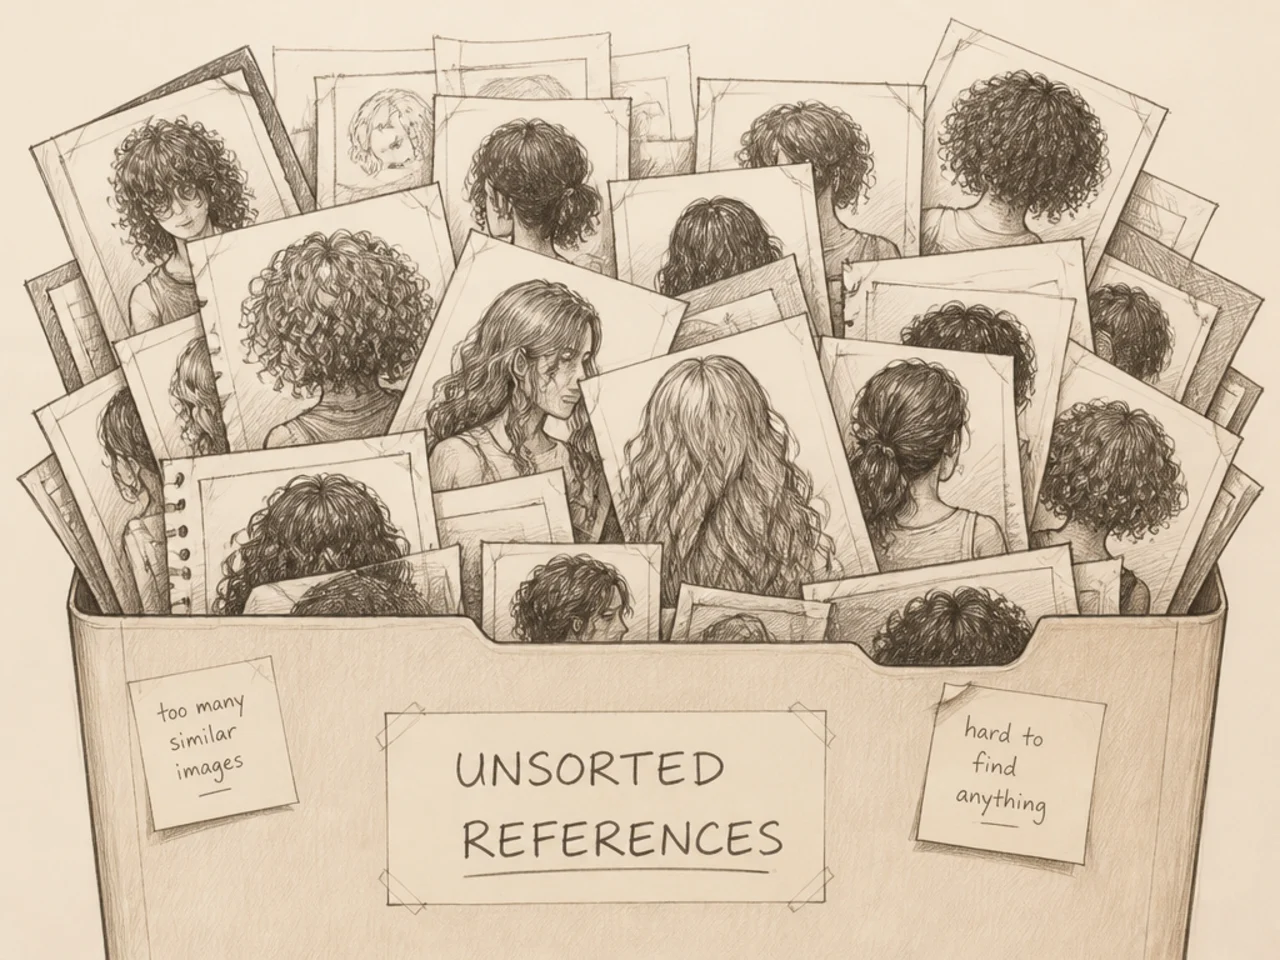
Collecting without curating. Hundreds of images is a scrolling habit, not a library.
Saving low-resolution images. You cannot study clumping you cannot see.
Building it from social media saves. Unclear licensing and poor quality.
Never shooting your own. It is the fastest route to exactly the reference you need.
FAQ
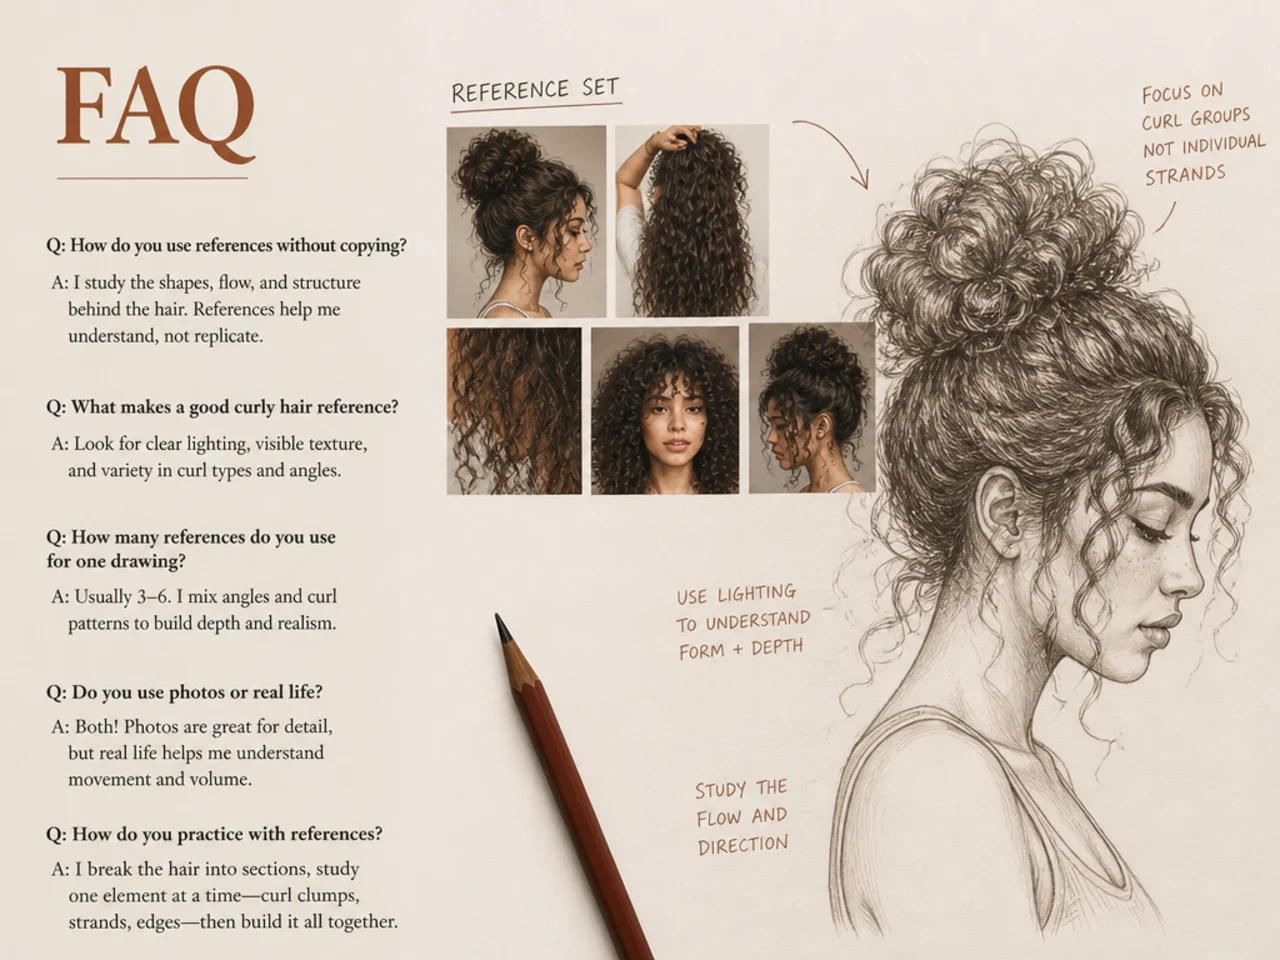
Where do you find references? Your own photos first, then free stock and artist reference packs.
How should you organise them? By lighting and angle, not by hairstyle.
How many do you need? About fifteen well-chosen ones, not hundreds.
Final Thoughts
Spend an afternoon shooting your own set against a plain wall in four lighting setups. It will be more useful than every image you have saved so far, and you will actually know what is in it.
For using them well see 15 curly hair drawing reference ideas, and for the method see 20 steps to draw curly hair like a pro. More in Hair Drawing & Art.