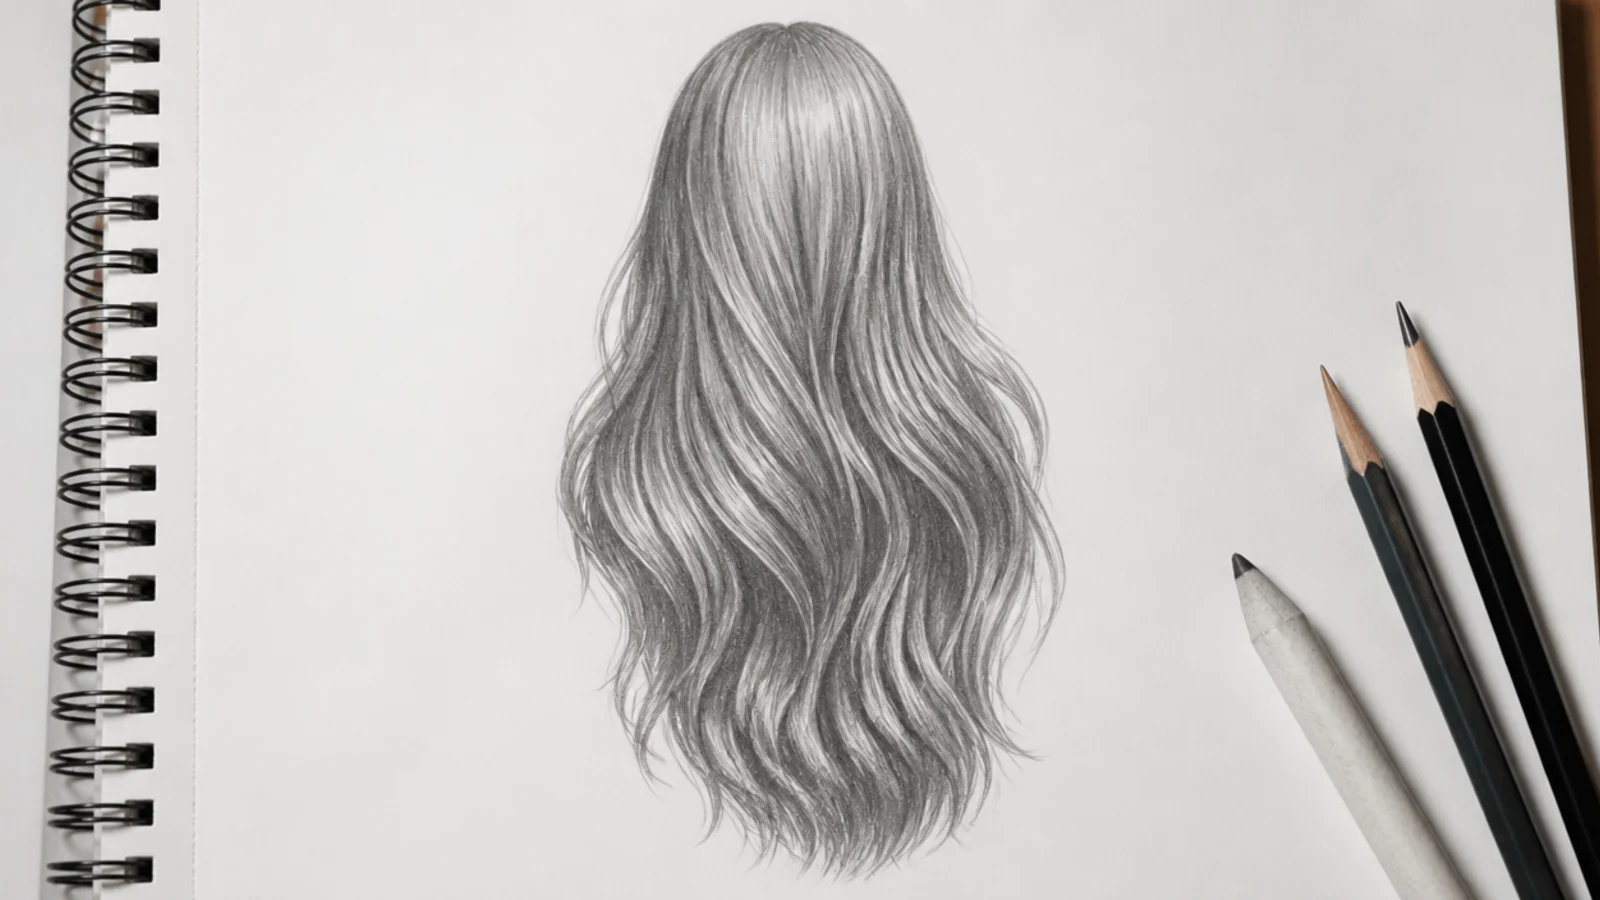
20 Long Hair Sketch Ideas That Handle the Length
Twenty long hair studies in graphite, and the thing that separates them from short hair drawings. Length changes plane on the way down, tapers as fewer strands reach the ends, and turns a two degree drift at the crown into an inch.
In this article · 28
- Pencils Paper and References
- Starting a Long Hair Sketch
- Flow Lines From the Crown
- Shading Long Hair for Volume
- Long Hair Texture Comparison
- Common Long Hair Mistakes
- The 20 Long Hair Sketches
- 1. Straight With a Centre Part
- 2. Wavy Falling Over One Shoulder
- 3. Wind Blown From the Side
- 4. Back View to the Waist
- 5. Curly 3B Spirals
- 6. Coily 4C Stretched
- 7. Wet and Clinging
- 8. High Ponytail on the Turn
- 9. Three Strand Braid
- 10. Half Up Half Down
- 11. Blunt Bangs From the Front
- 12. Curtain Bangs in Three Quarter View
- 13. Tucked Behind the Ear
- 14. Backlit Against a Dark Background
- 15. Blonde in Light Values
- 16. Gray and Silver Hair
- 17. Long Layers
- 18. Overhead With Hair on a Pillow
- 19. Underwater and Floating
- 20. Male Long Hair Half Tied
- Final Thoughts
Long hair is not short hair with more of it drawn, and treating it that way is why so many of these sketches finish as a cape.
Length turns small errors into obvious ones. A flow line that drifts two degrees at the crown is off by an inch by the time it reaches the waist, and nothing further down the drawing can correct it.
Long hair changes plane on the way down. It leaves the skull, crosses a shoulder, then hangs free. Three surfaces, three directions of light, and only the first of them has anything to do with the head.
Pencils Paper and References
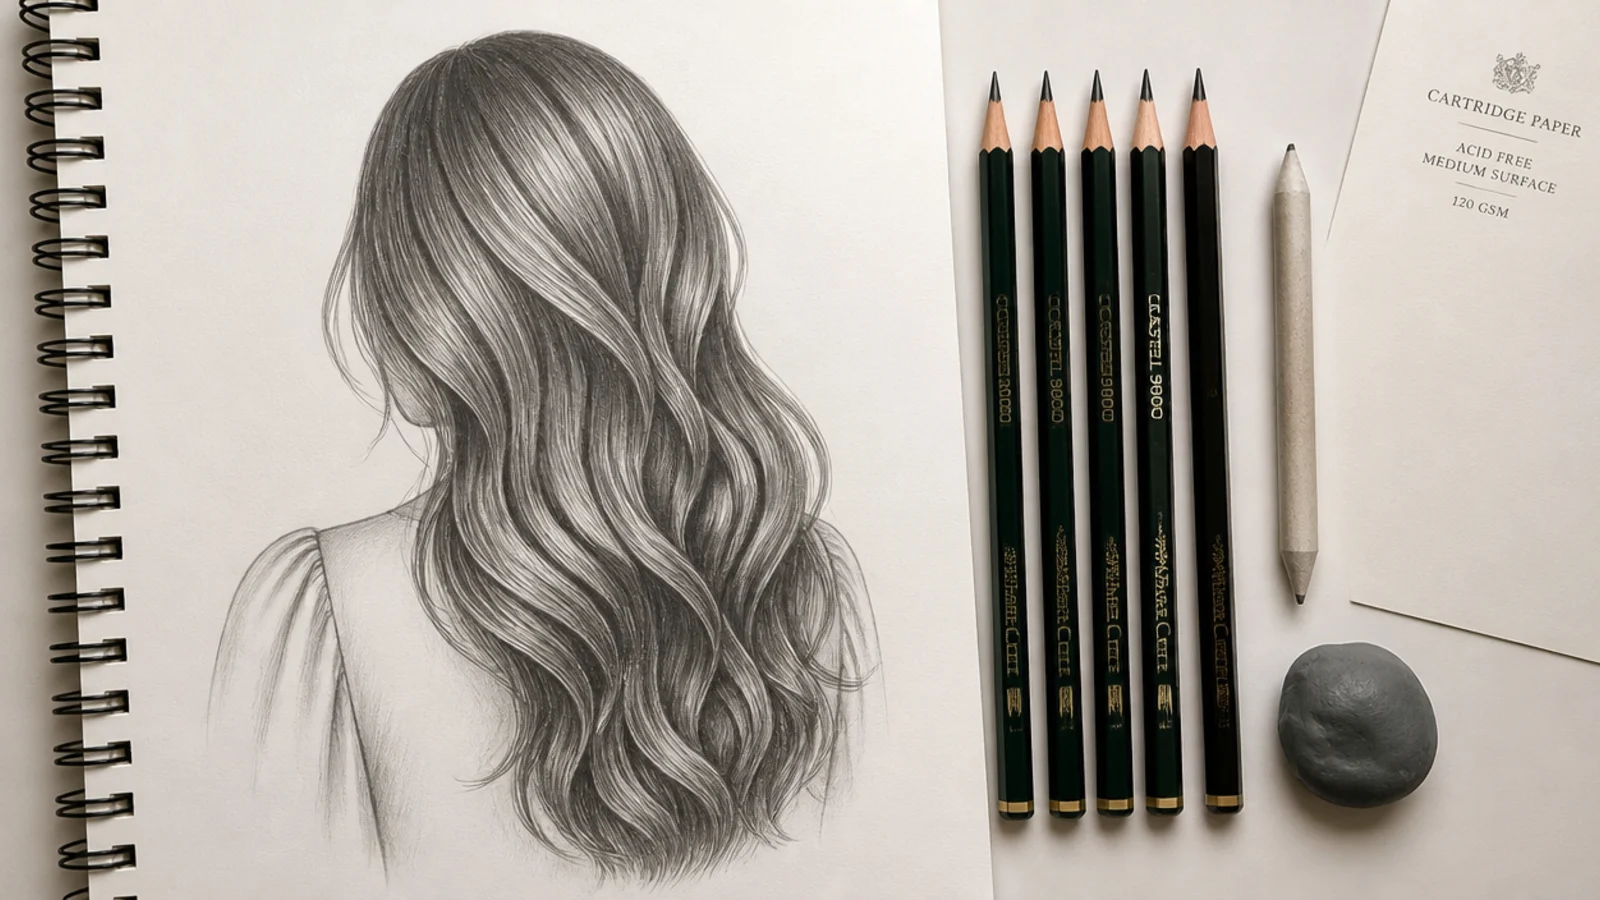
Long hair needs a bigger sheet. The length has to fit without cramping, and cramped ends are why so many long hair drawings finish in a blunt block at the bottom of the page.
A 2B and a 6B cover the range. Mid tone and cores. The 2H stays for construction, and on a drawing this size those guide lines travel far enough that they must lift cleanly afterwards.
Sharpen more often than feels reasonable. A blunt point widens as you work, so the strands at the bottom of a long section end up twice the thickness of the ones at the top without you noticing it happen.
Reference the full length, not a crop. Most hair photographs stop at the shoulder, which teaches you nothing about how the mass tapers between there and the waist.
Starting a Long Hair Sketch
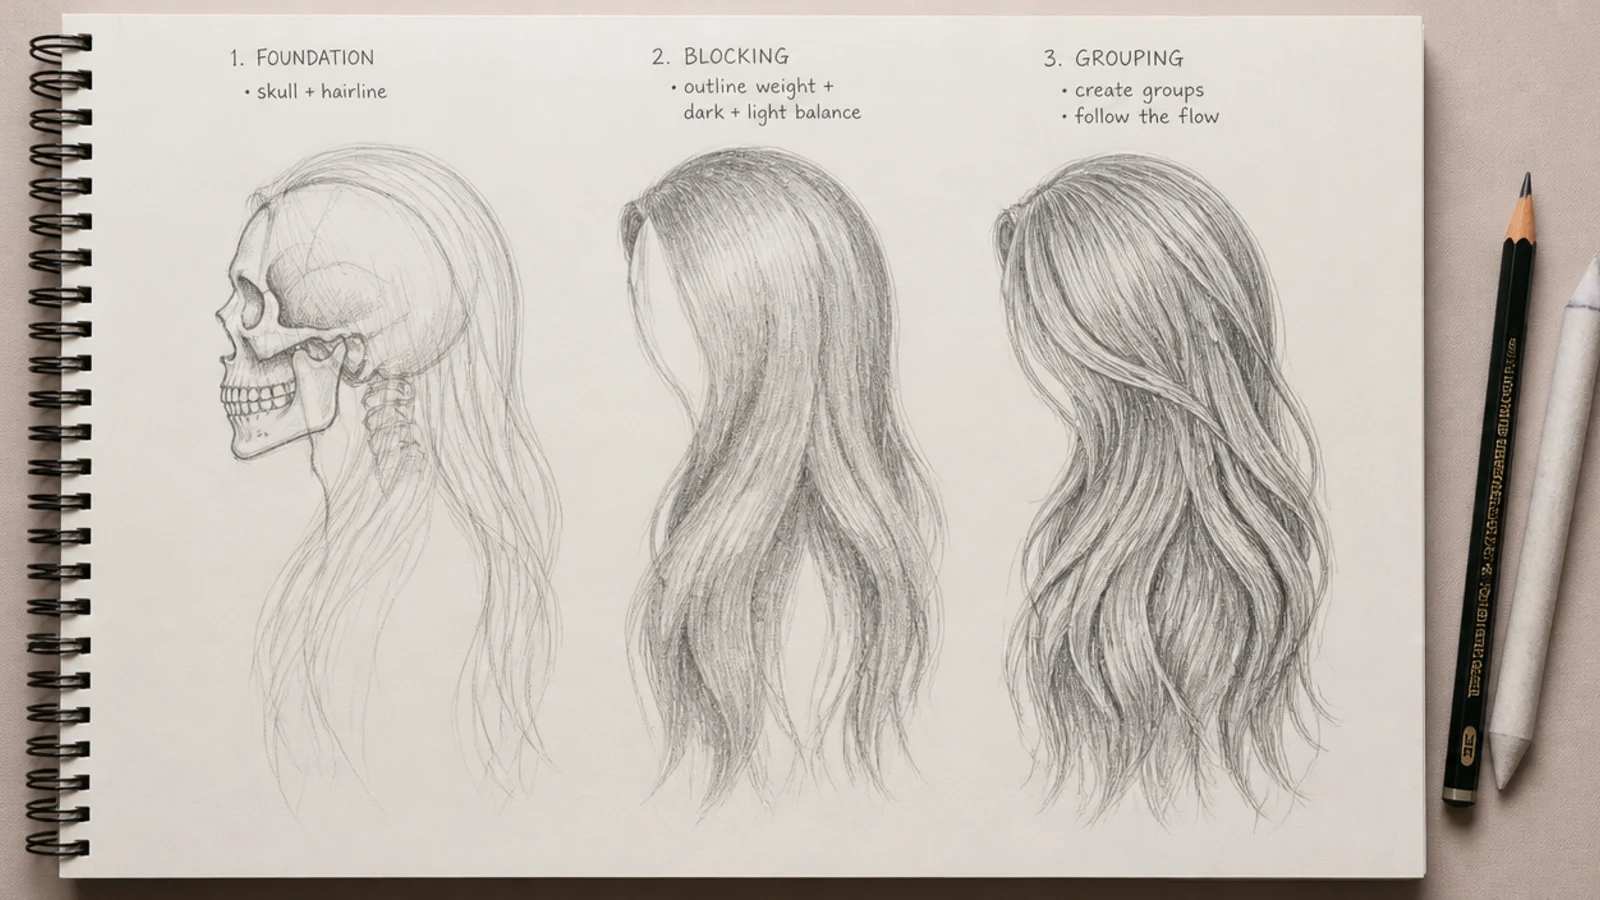
Place the ends before the middle. Mark the crown, mark where the hair finishes, then fill between them. Starting at the top and working down is how drawings run off the bottom of the page.
Block the whole mass as one shape. Long hair is a single silhouette with a face cut out of it, not two separate curtains drawn either side of a head.
Decide which shoulder it crosses. Hair changes plane where it meets the body, and that decision has to be made before a single flow line goes down.
Keep the construction even across the length. A guide line that reads clearly at the crown and fades out at the waist leaves you drawing a different shape at each end.
Flow Lines From the Crown
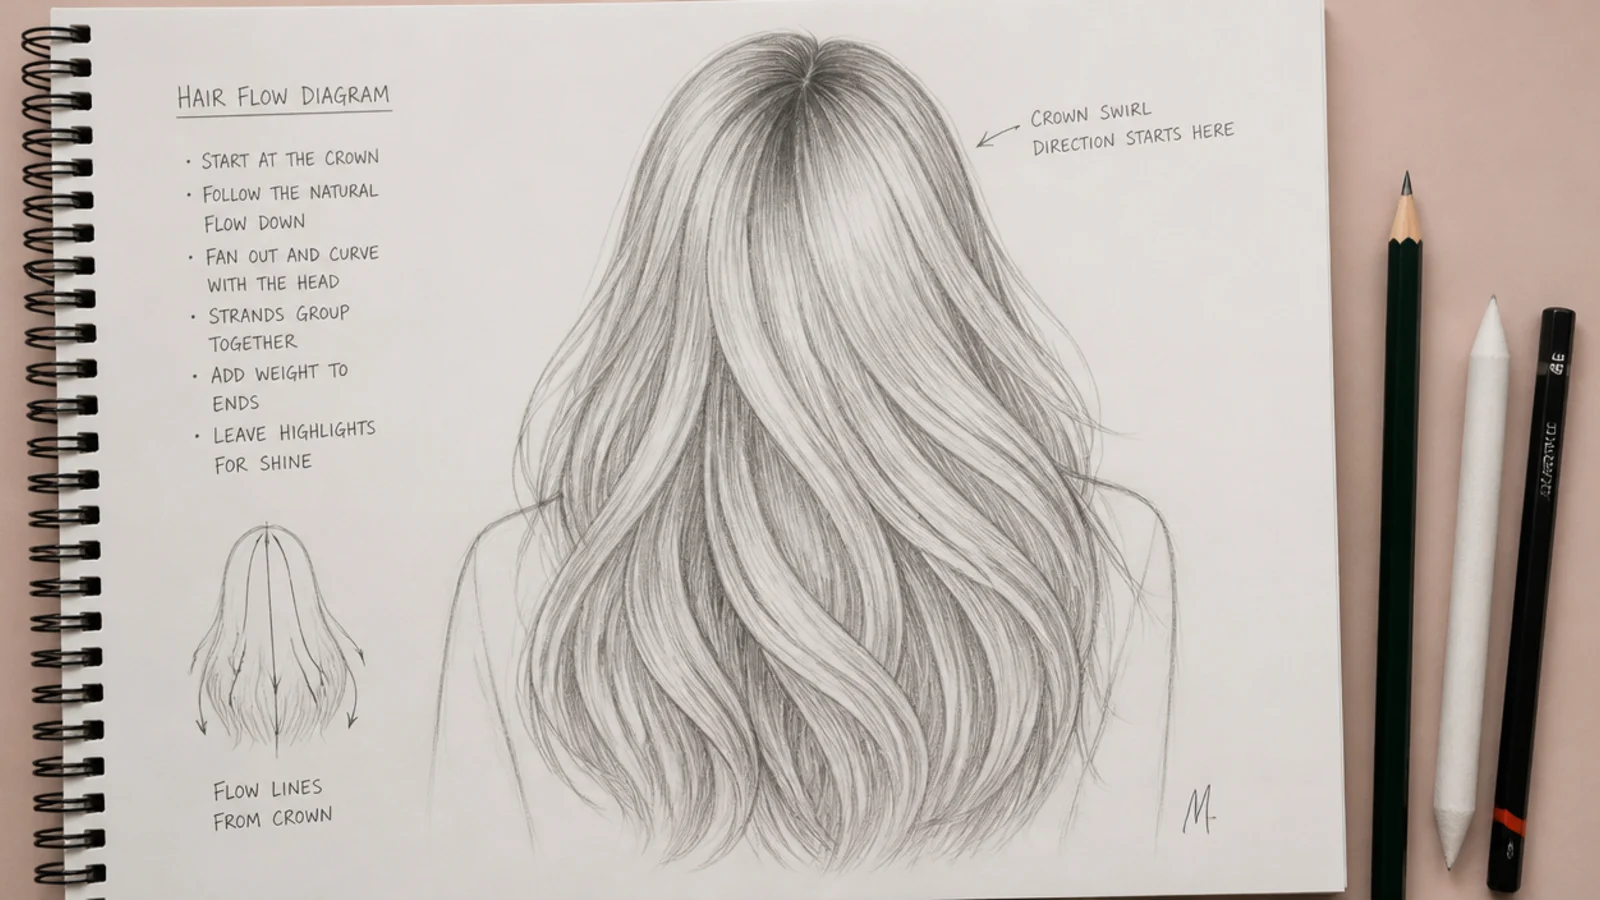
Everything starts at one whorl. Even hair reaching the waist originates from a single point on the top of the skull, and the drawing has to make that visible.
Long lines drift, so draw from the shoulder. A wrist stroke pivots on a short radius and curves; a shoulder stroke holds its direction over the distance long hair needs.
Let flow lines cross. Hair falling forward passes hair falling back, and a crossing is the cheapest possible way to say there are layers of it.
The angle changes at the shoulder. Where the mass meets the body it deflects, and drawing straight through that point is what makes long hair look printed onto the figure.
Shading Long Hair for Volume
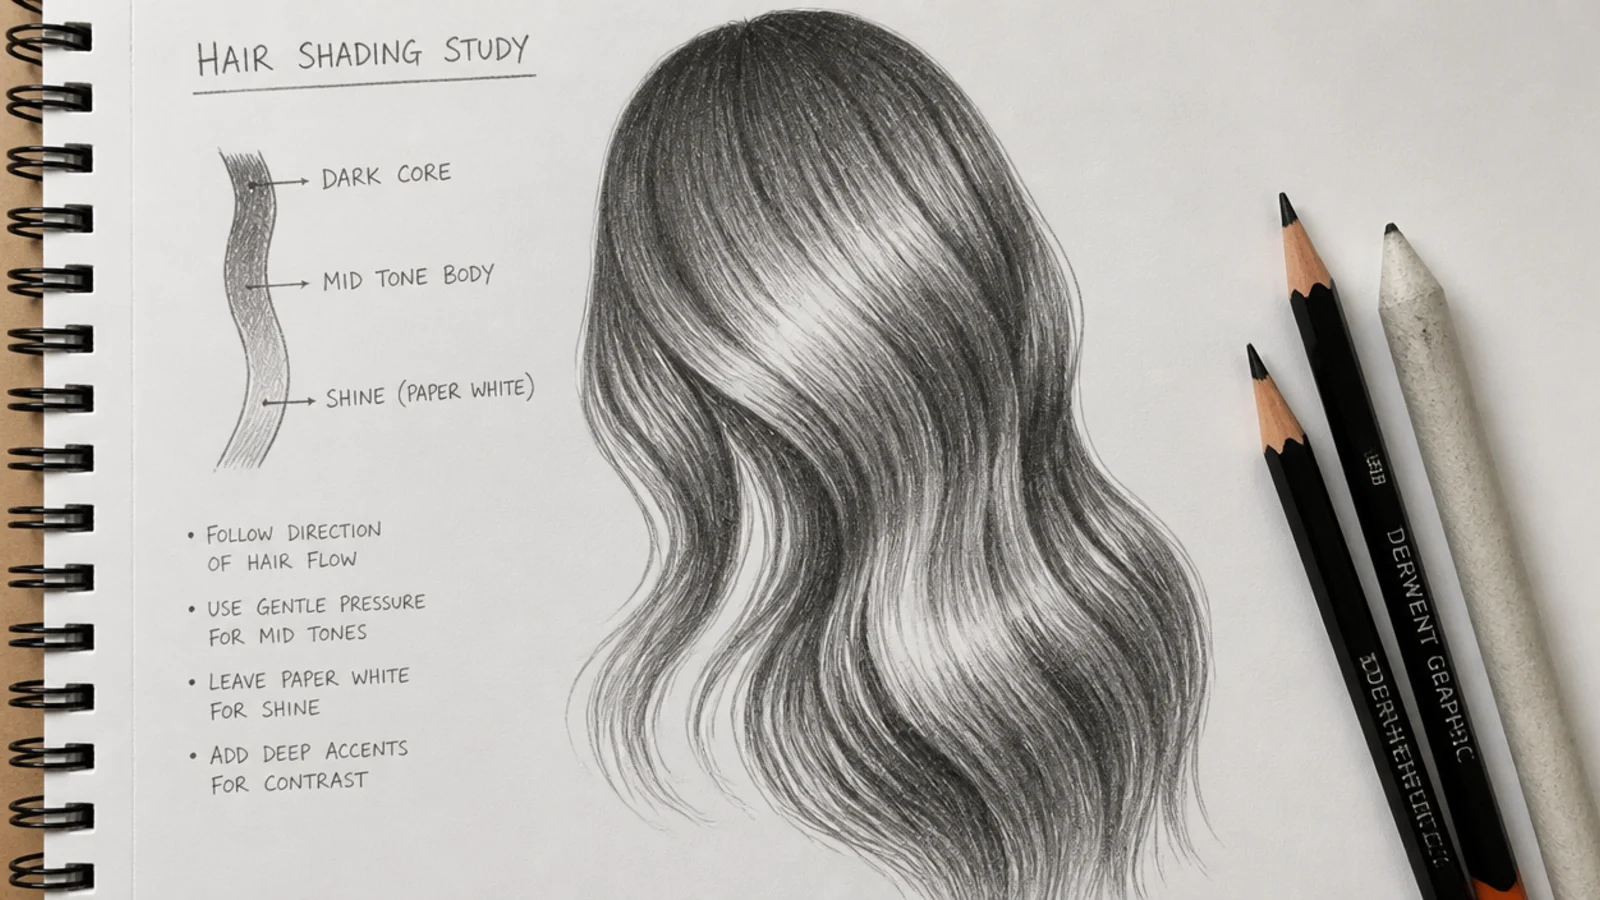
One highlight band near the crown, another lower down. Long hair curves twice, once over the skull and again where it swings away from the body, and each curve catches its own band.
Darkest values at the roots and in the channels. The scalp side of the mass sits under everything above it, which is why roots read darker even on pale hair.
Value should thin toward the ends. Fewer strands reach full length, so the mass really does get less dense, and holding a heavy tone all the way down reads as fabric.
Do not render the entire length. Finish the top third and the ends, block the middle, and the eye will fill it in without noticing the gap.
Long Hair Texture Comparison
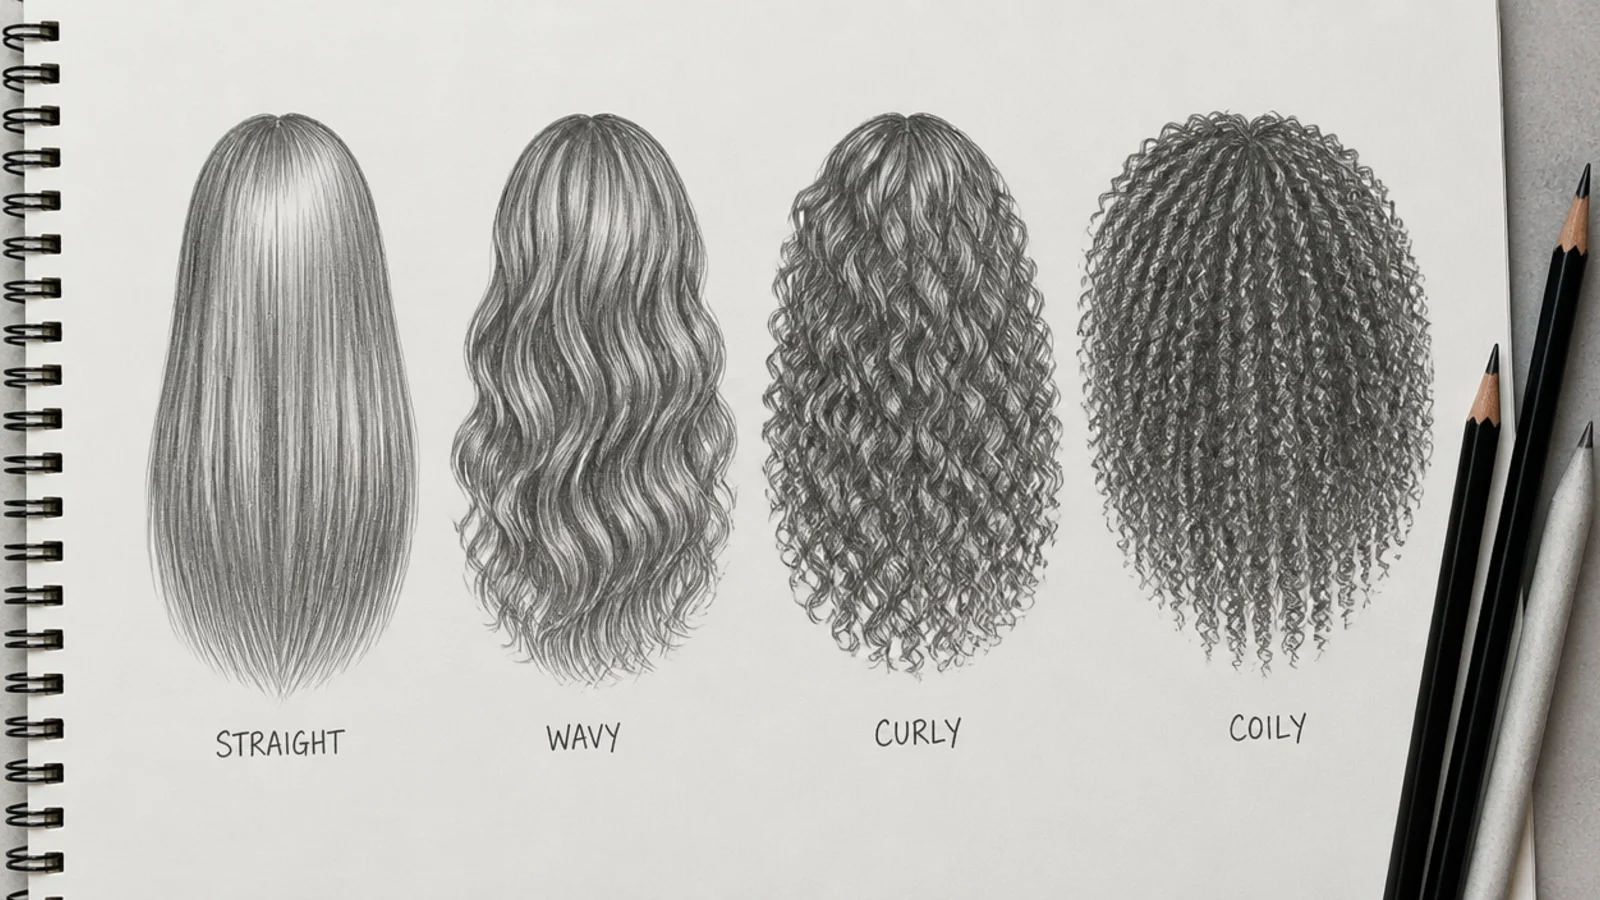
Straight travels furthest without interruption. One direction over a long distance, which makes it the hardest stroke on the page to keep steady.
Wavy loses its wave under weight. The bends open out toward the ends because length pulls them straighter than they sit at the scalp.
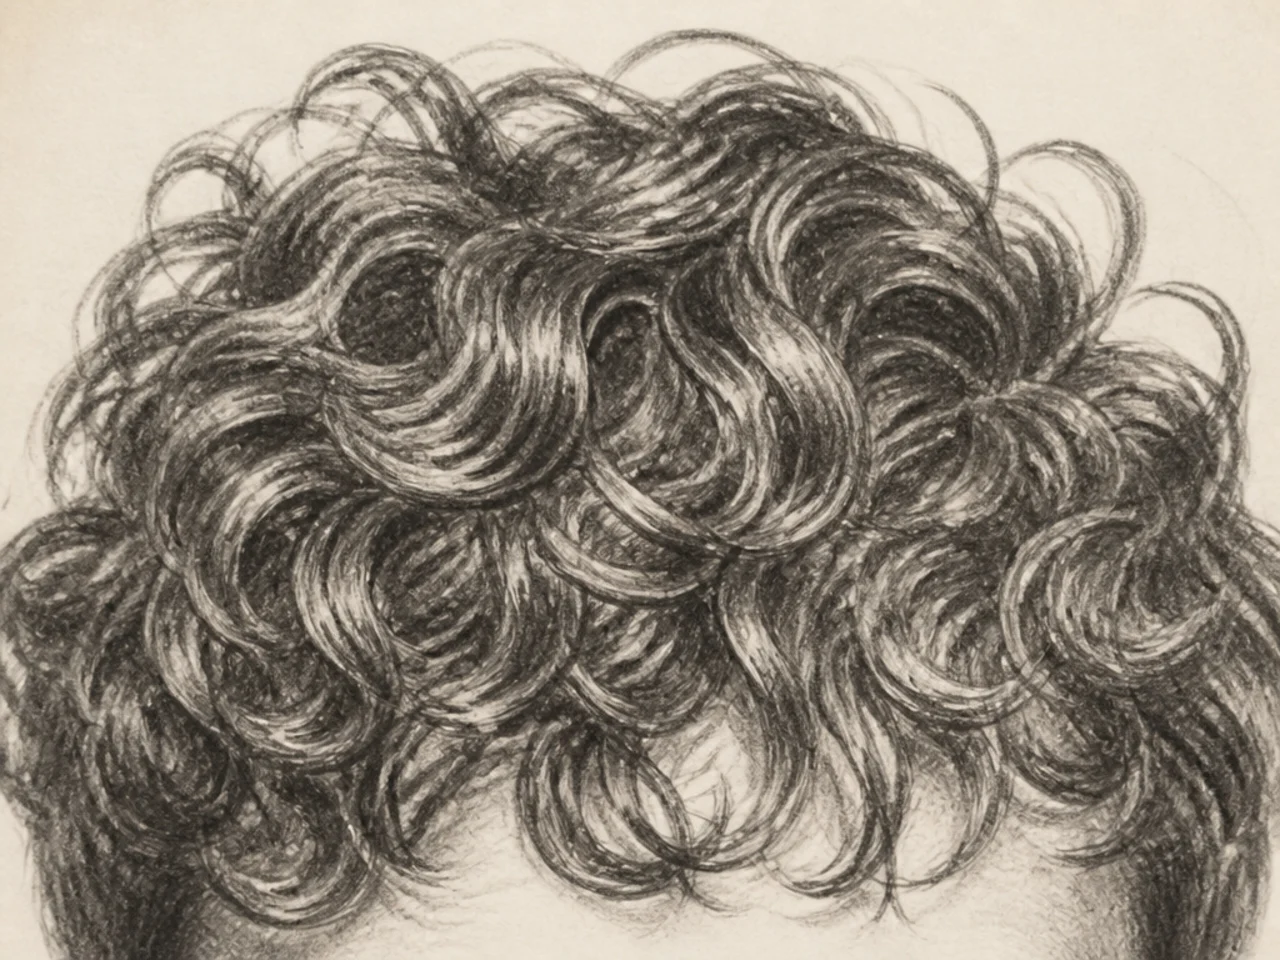
Curly stretches too. A spiral near the scalp is tighter than the same spiral at the waist, and drawing both at one diameter flattens the whole head.
Coily reads by silhouette at any length. Stretched or not, the texture lives at the edge while the interior stays shaded as a mass.
Common Long Hair Mistakes
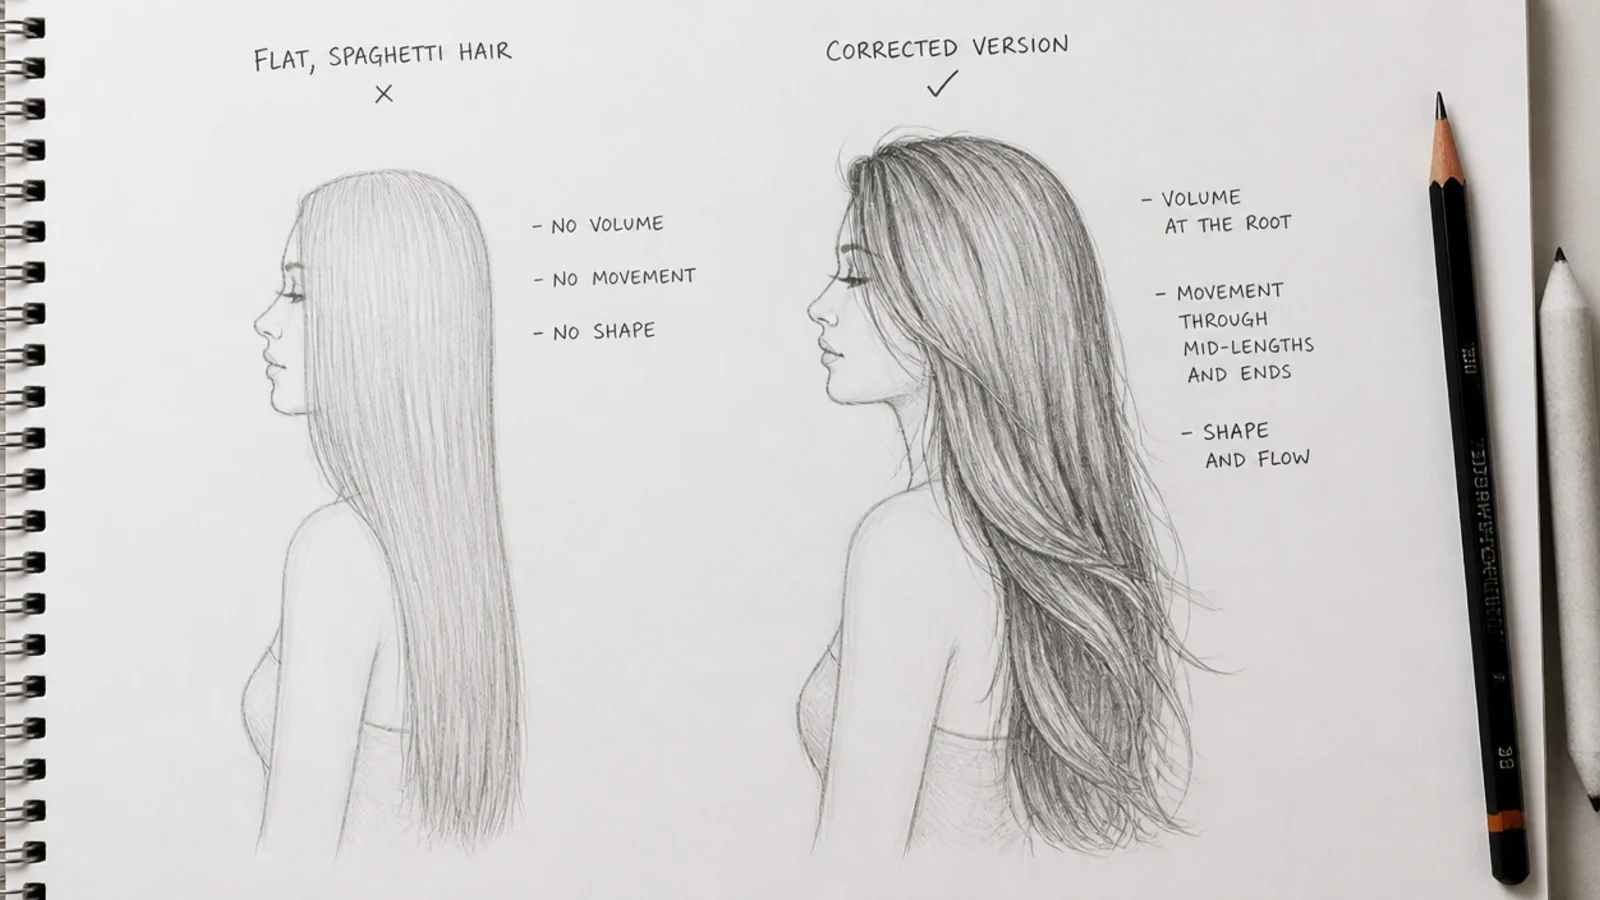
Two identical curtains either side of the face. Vary the widths and let one side cross a shoulder.
Even width from crown to ends. Long hair tapers, because fewer strands reach the bottom than reach the middle.
Flow lines that ignore the shoulders. The mass deflects where it hits the body, and drawing straight through looks flat every time.
The whole length rendered equally. Detail the top third, block the rest, then stop before you flatten it.
Ends cut off by the edge of the page. Mark the finishing point before you start rather than when you arrive at it.
The 20 Long Hair Sketches
1. Straight With a Centre Part
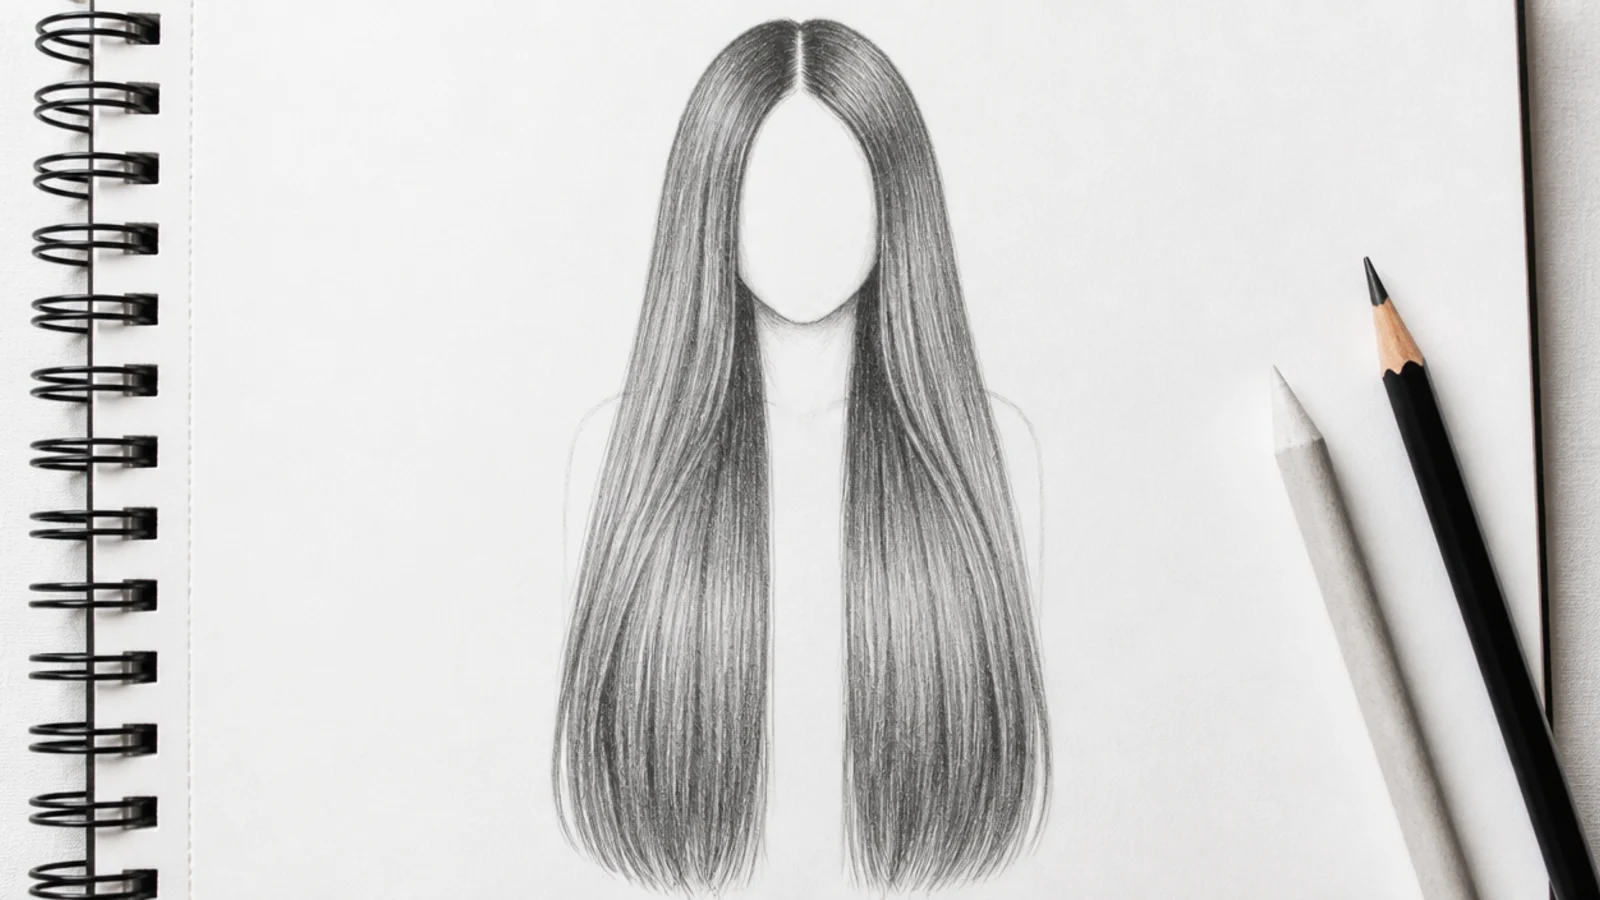
A centre part sends two masses down either side of the face, and the drawing depends on those two differing. Give one side more width and let it fall in front of the shoulder while the other sits behind, because two matching curtains read as a symmetrical object rather than a head.
2. Wavy Falling Over One Shoulder
Where hair drapes over a shoulder it stops hanging and starts resting, which flattens the waves against a new plane. Compress the wavelength as it crosses the shoulder and let it open out again below, and the hair reads as lying on something instead of passing in front of it.
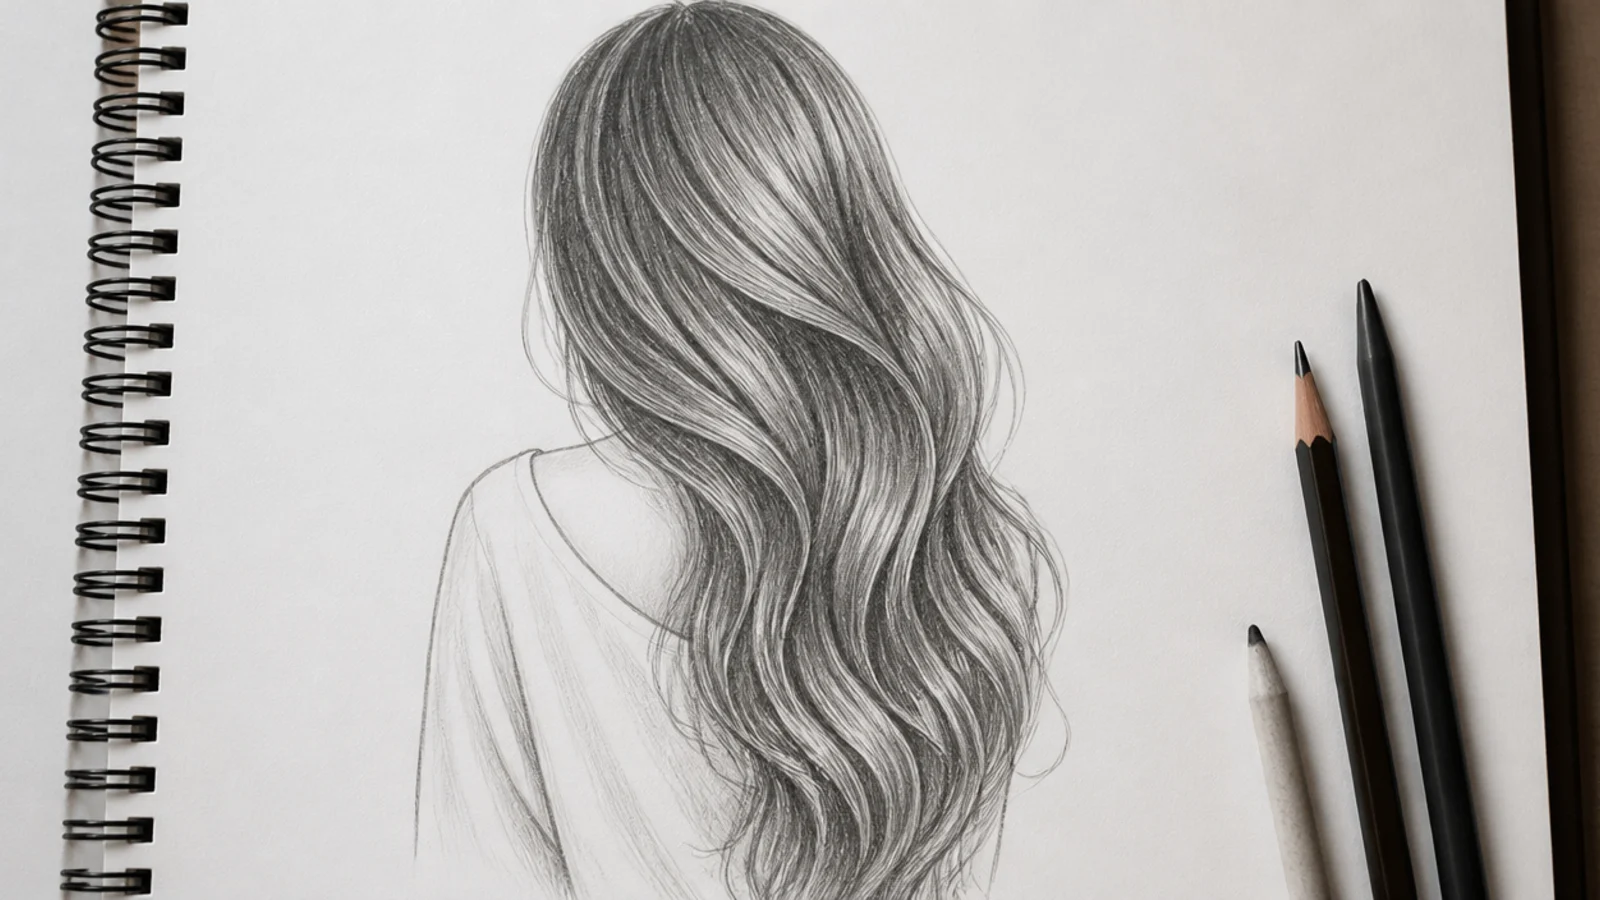
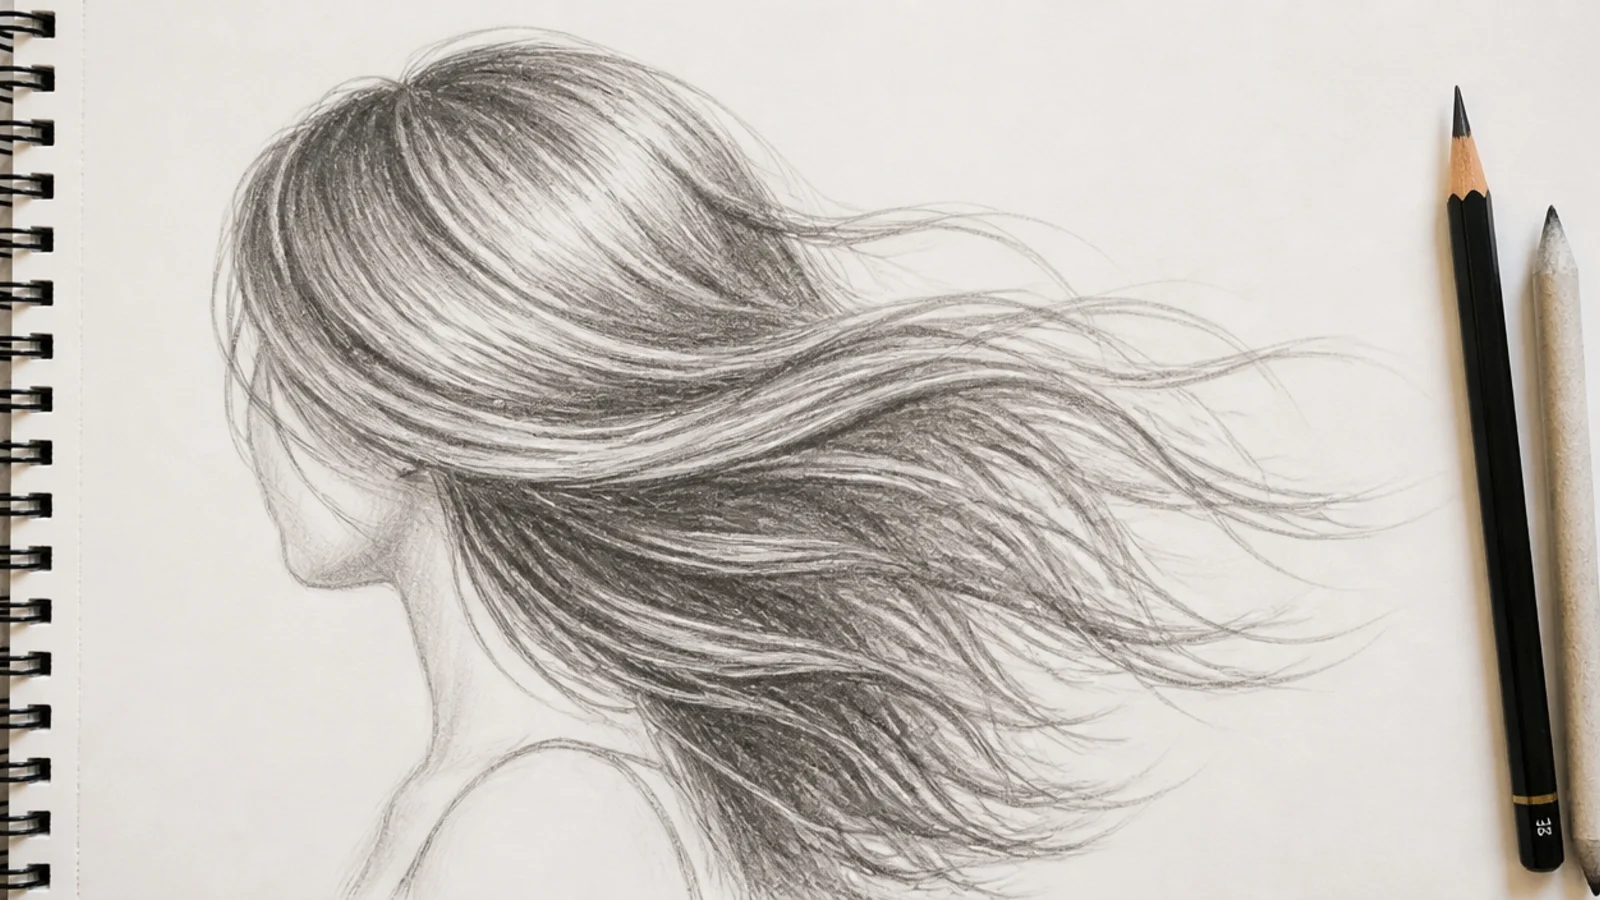
3. Wind Blown From the Side
Wind splits hair into a heavy trailing mass and a handful of light escapees, and the escapees carry the read. Keep the bulk sweeping one way with a soft leading edge, then let three or four strands loop back against the flow so the air has something to act on.
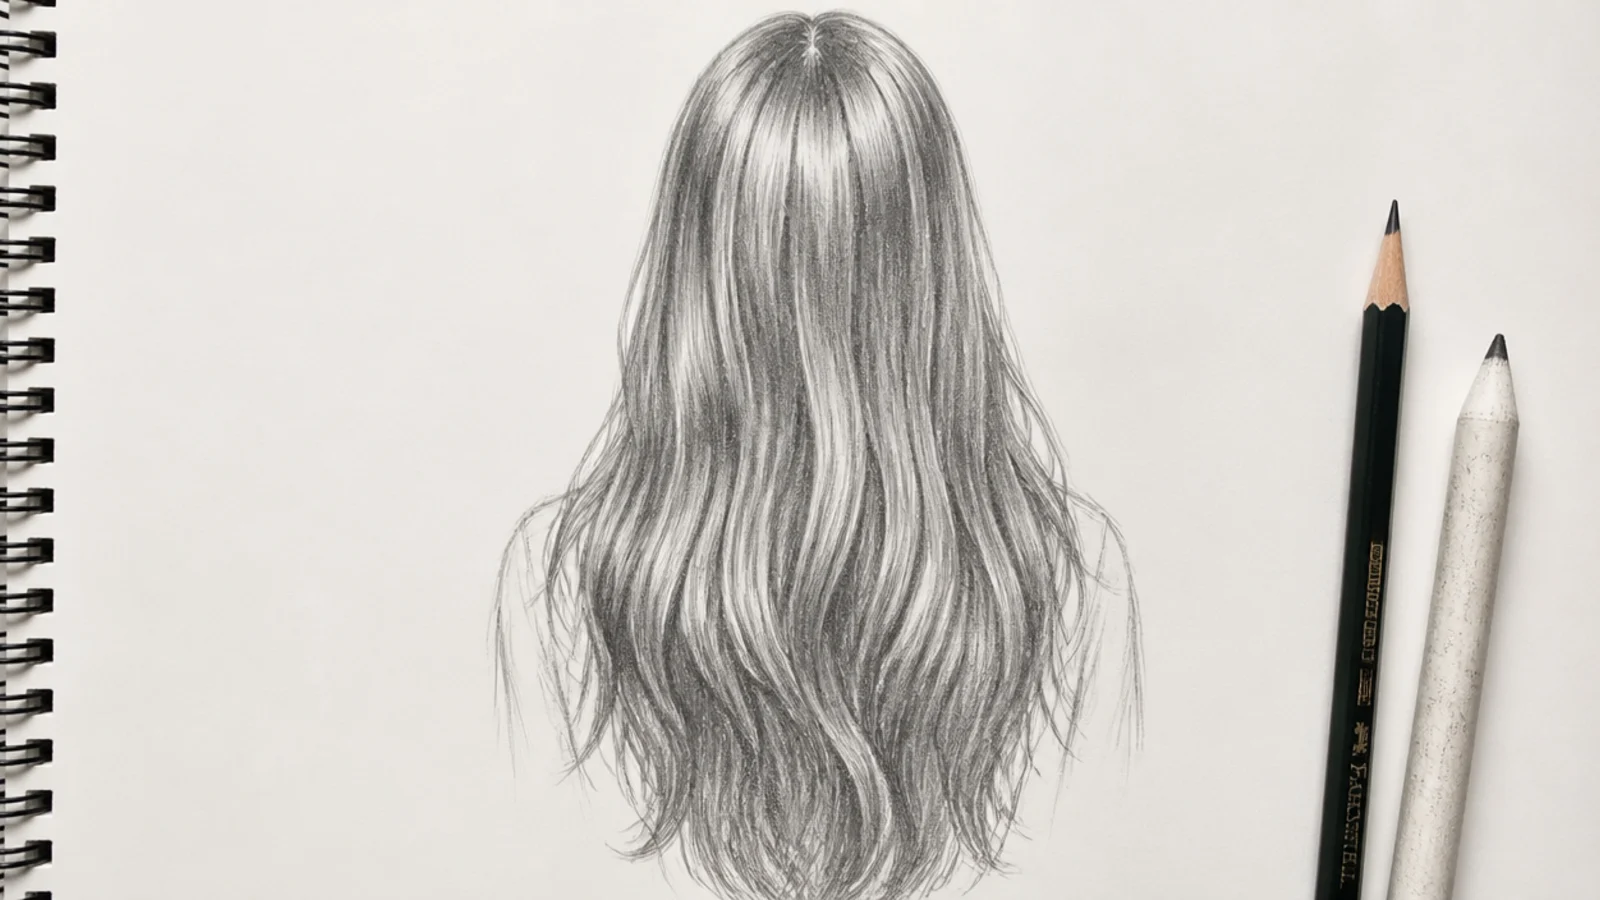
4. Back View to the Waist
With no face in the drawing, everything rests on the crown, the shoulders and the taper of the ends. Narrow the mass slightly on the way to the waist, because hair thins where fewer strands reach full length, and a column of even width reads as a cape rather than as hair.
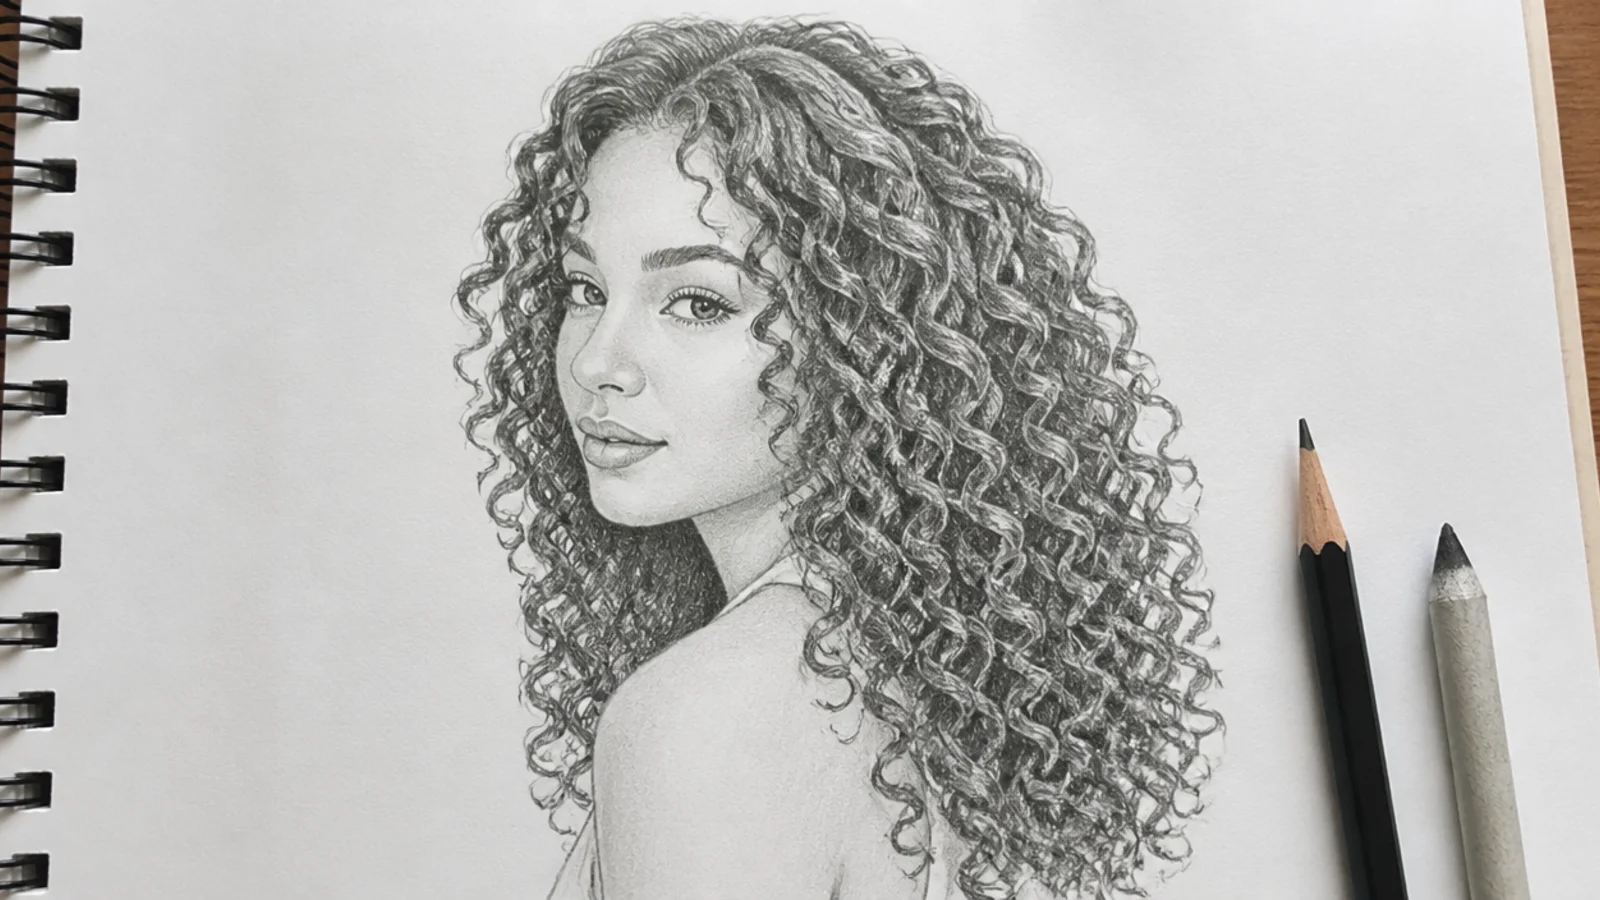
5. Curly 3B Spirals
At waist length a 3B pattern stretches under its own weight, so the spirals near the scalp are tighter than those near the ends. Draw a smaller curl diameter at the top and let it grow by roughly half again by the tips, and the length immediately starts looking heavy.
6. Coily 4C Stretched
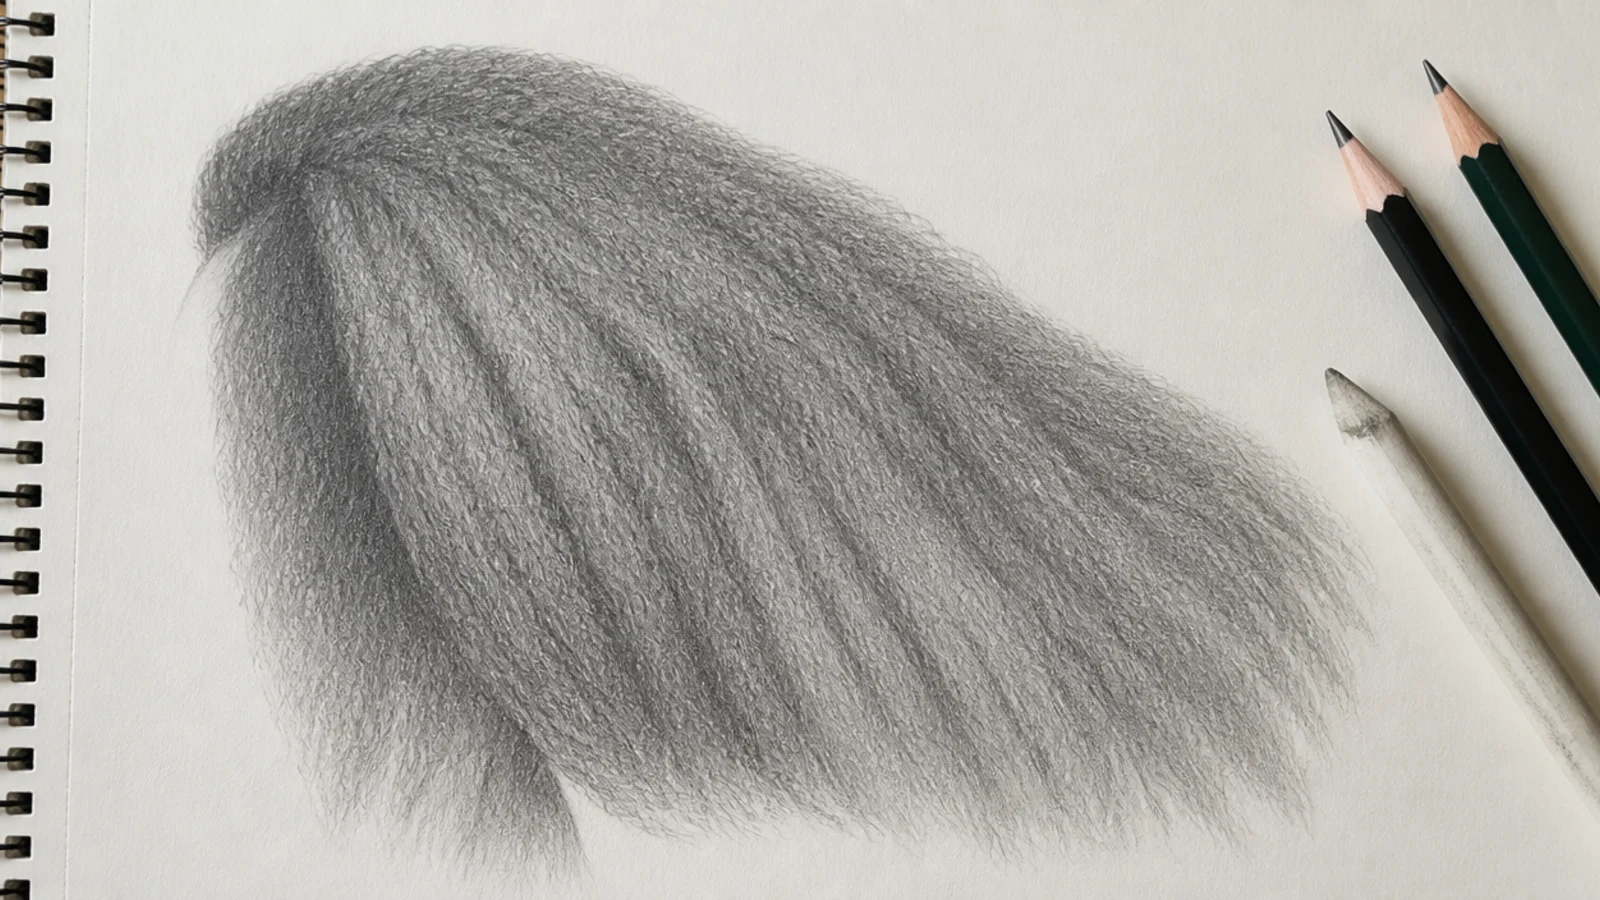
Stretched coils keep the zigzag but lose the spring, so the silhouette narrows and the texture becomes a fine crimp rather than a cloud. Shade the mass in long soft bands and save the tight zigzag for the outline, since drawn coils at this length turn the whole shape into static.
7. Wet and Clinging
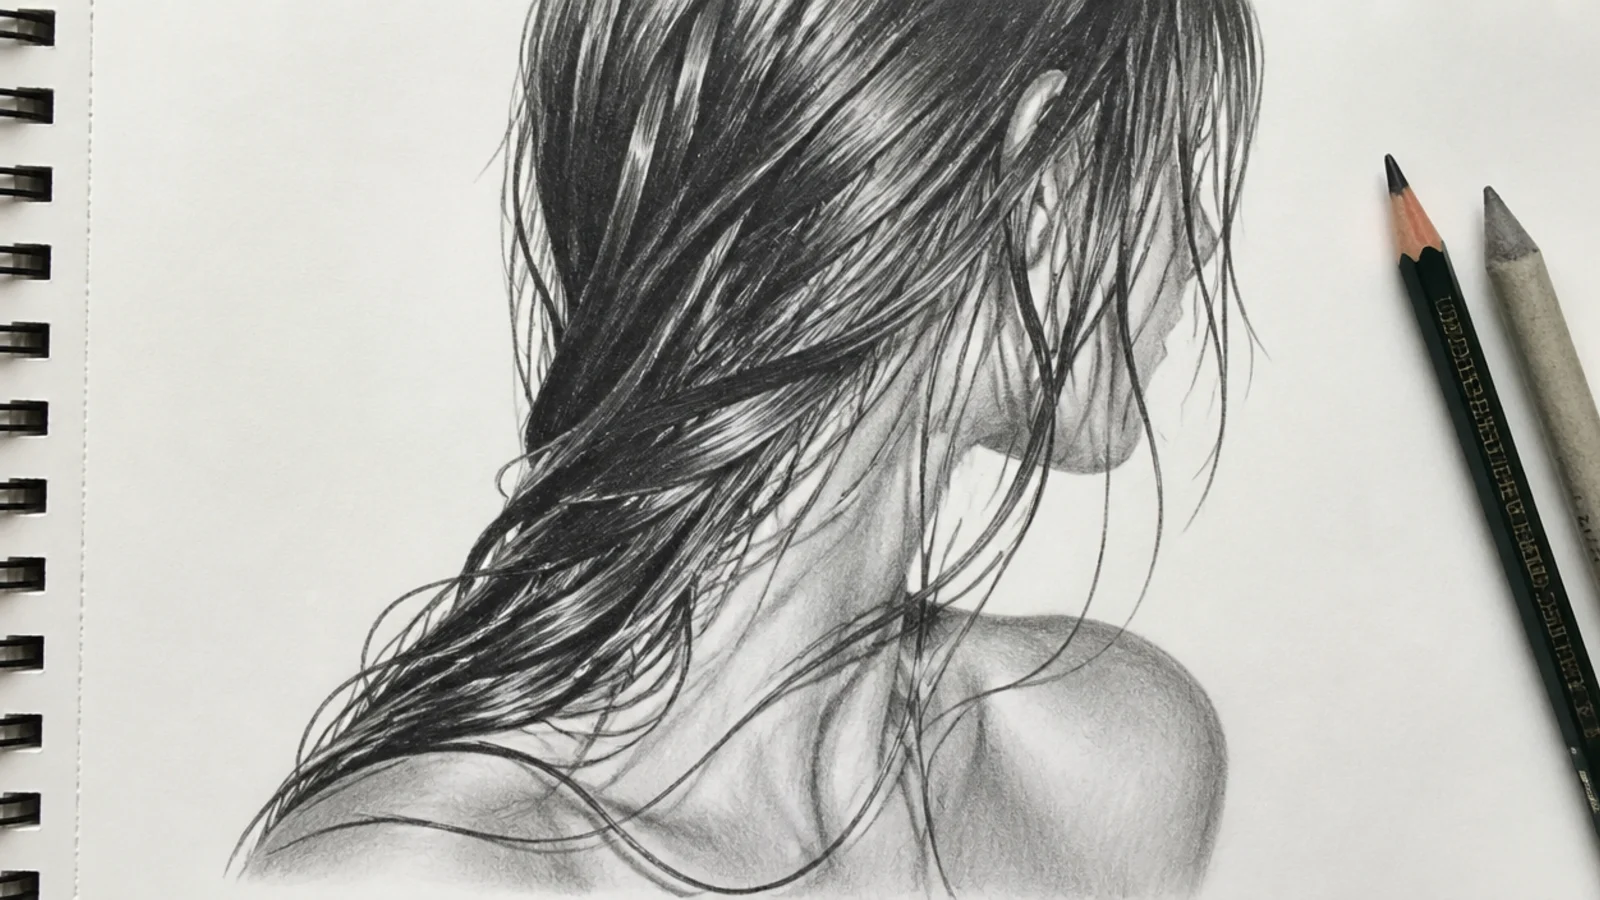
Water adds weight and removes volume, so wet hair follows the neck and shoulders closely and the silhouette shrinks noticeably. Widen the value range at both ends, because a flattened cuticle throws a hard specular strip where dry hair diffuses the same light into a soft band.
8. High Ponytail on the Turn
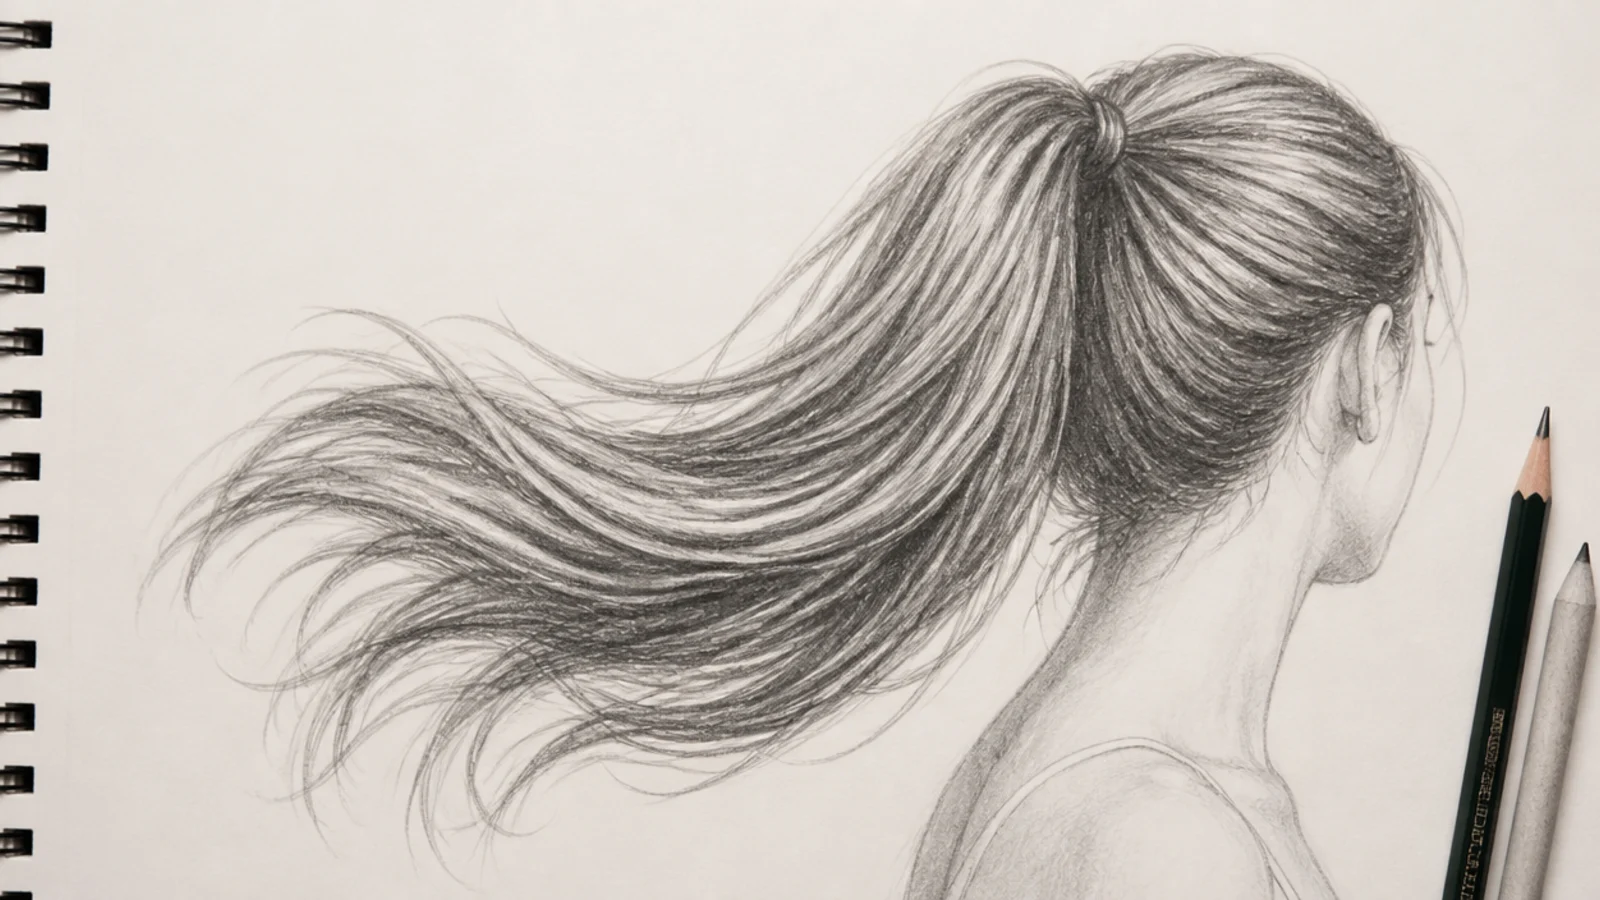
A ponytail on a turning head swings out and lags behind, so the tail does not line up with the skull. Offset the tail in the direction of travel and keep every gathering stroke converging on the elastic, because the tension at the tie is what makes the lift believable.
9. Three Strand Braid
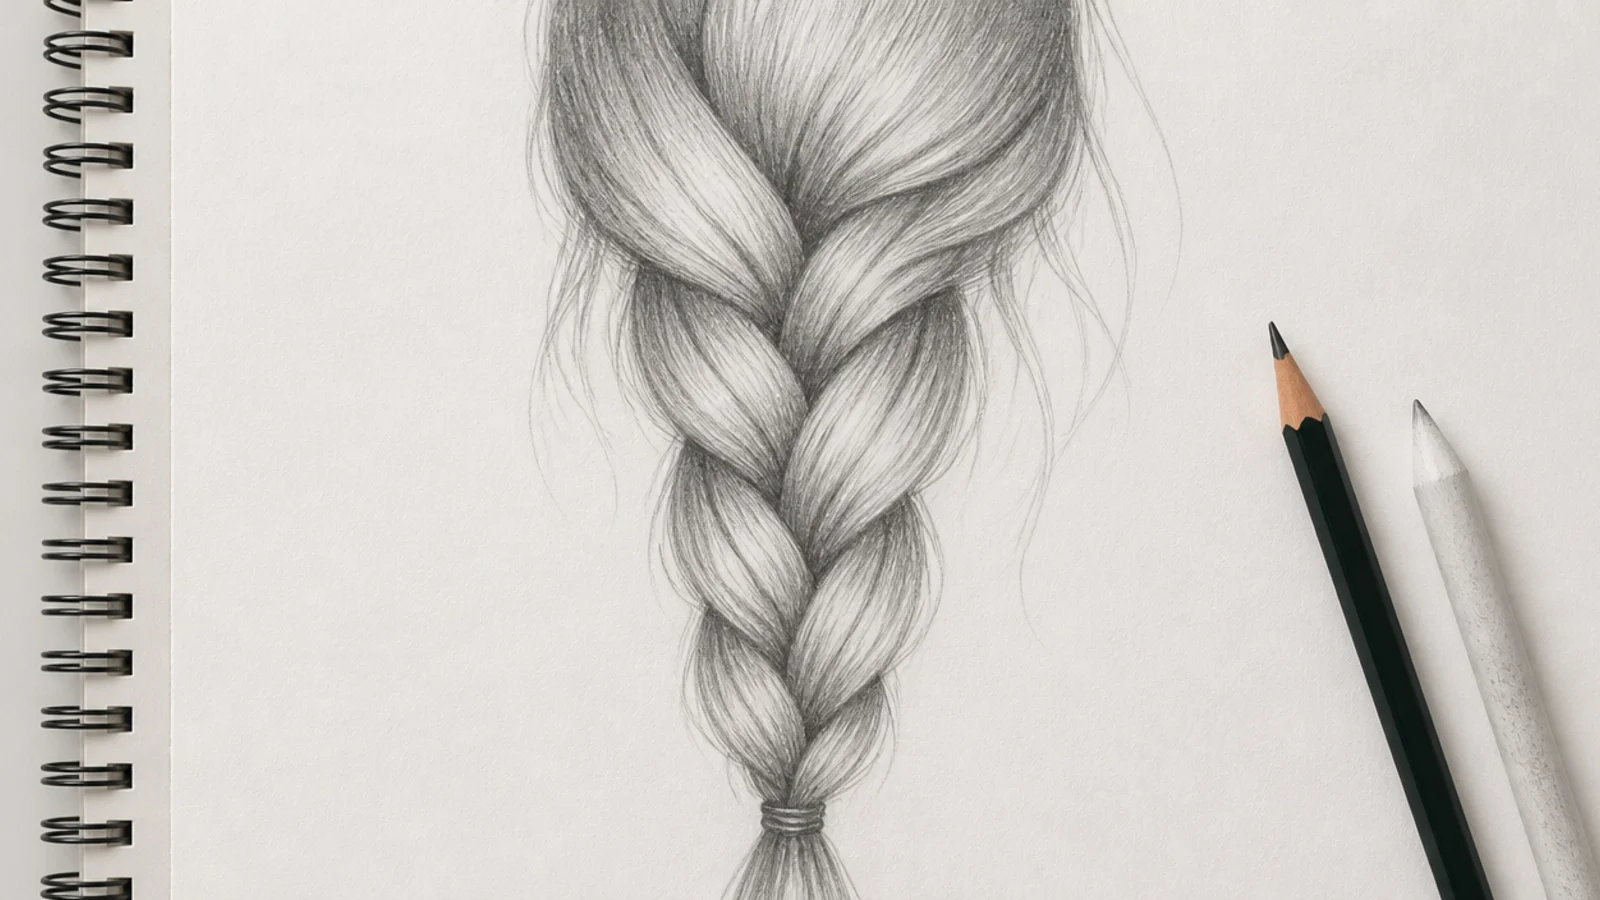
At long lengths a braid tapers noticeably, since fewer strands reach the tail than reach the middle. Shrink each successive wedge by a small consistent amount and darken every seam where a section tucks beneath the next, or the plait runs down the page as an even ladder.
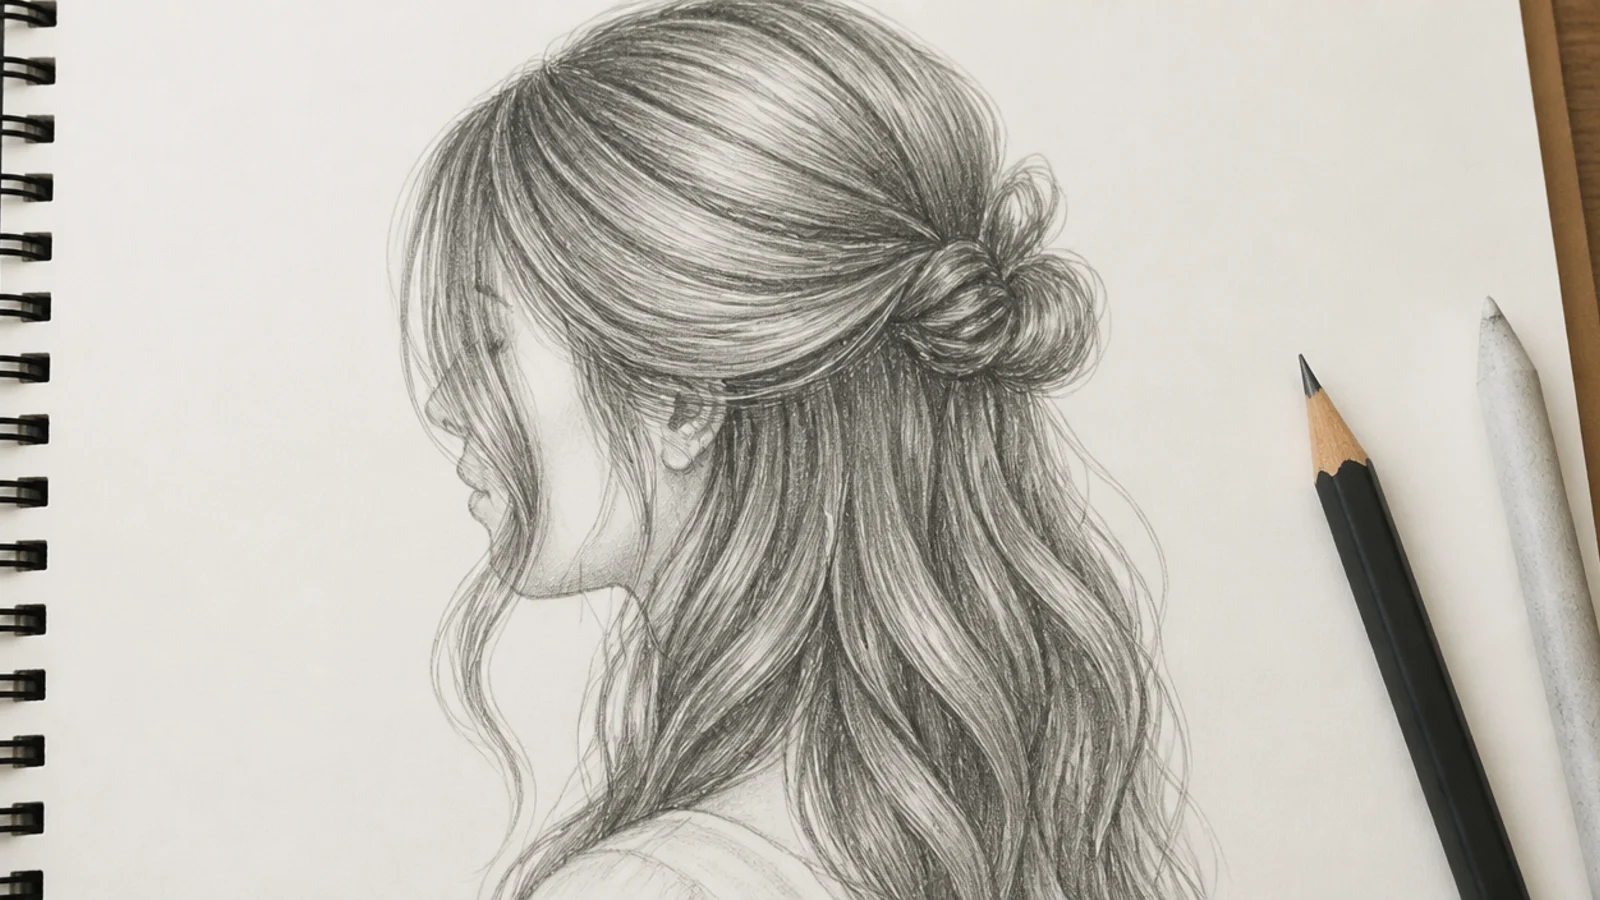
10. Half Up Half Down
Two masses behaving differently — the gathered top is under tension and shows the direction of growth, while the loose bottom hangs free. Keep the upper strokes straight and converging and the lower ones soft and spreading, because the contrast between the two is the whole point of the style.
11. Blunt Bangs From the Front
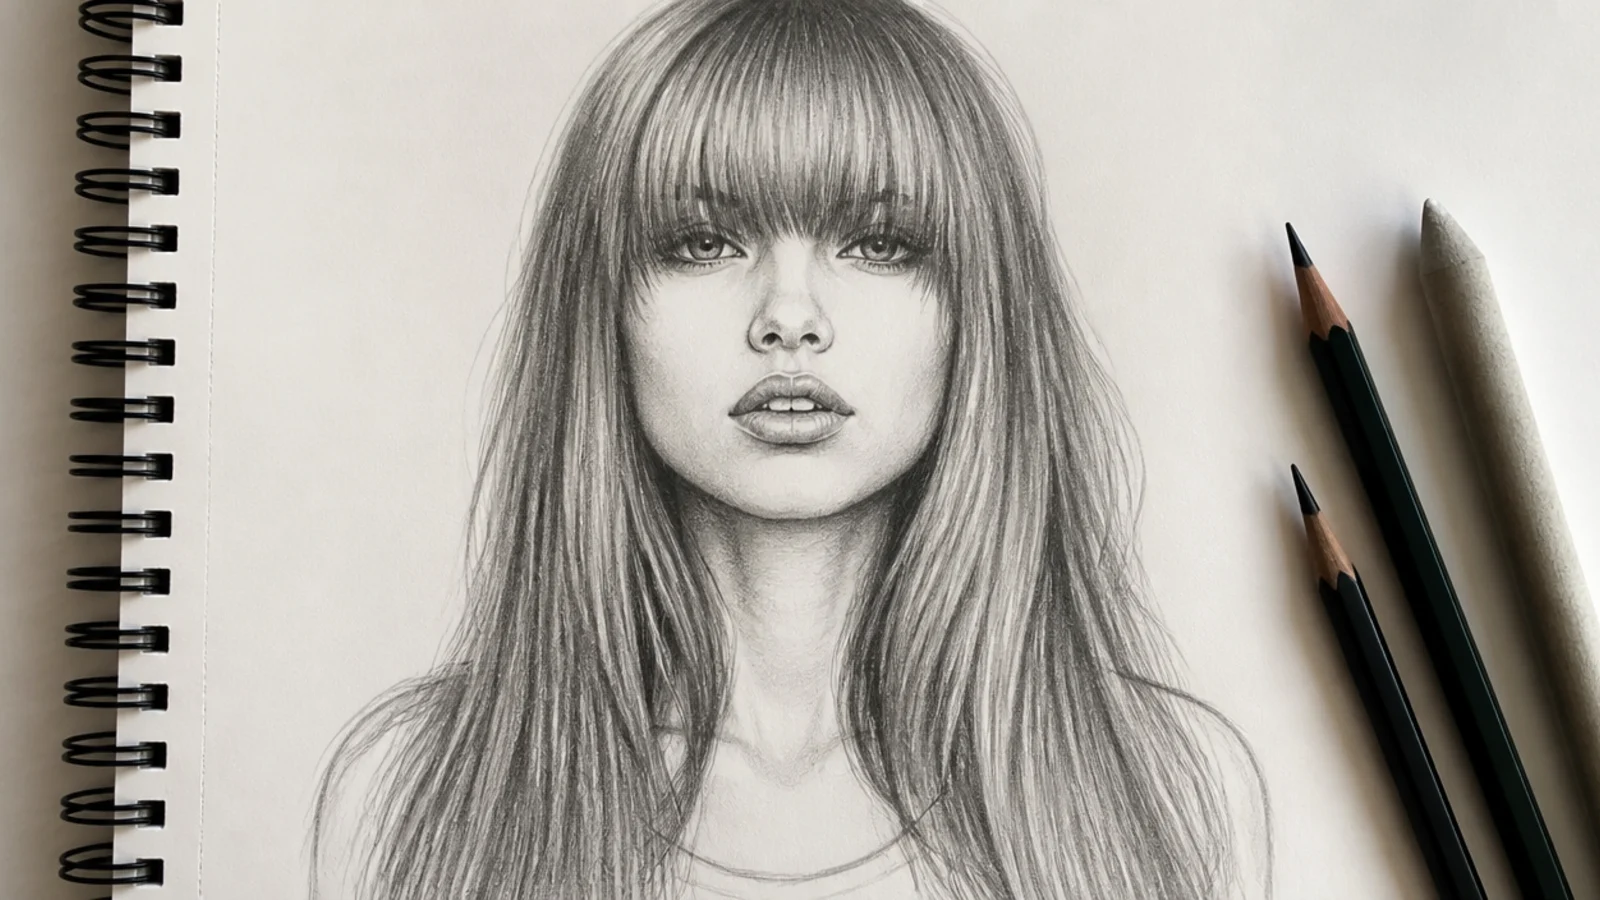
A blunt fringe is a hard horizontal across the brow, and it makes the surrounding length read as longer by comparison. Keep the edge level and slightly heavier at the centre, then darken the strip just beneath it where the fringe casts a shadow onto the forehead.
12. Curtain Bangs in Three Quarter View
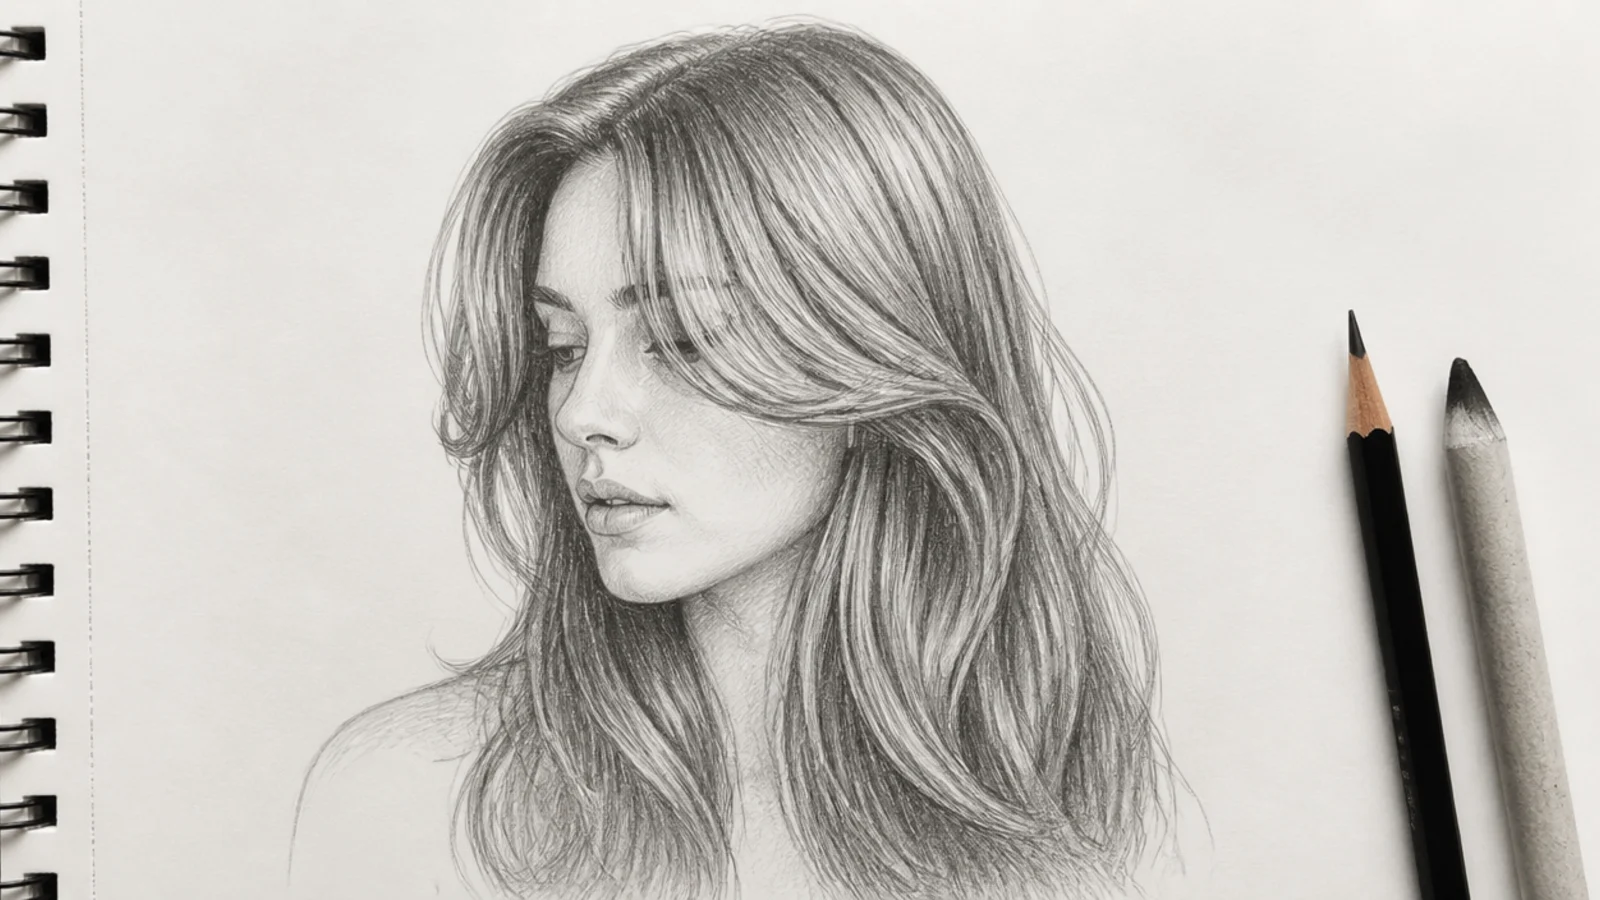
Turning the head compresses the far curtain and opens the near one, so equal widths destroy the angle. Draw the far side at roughly half the width of the near side and let it vanish behind the cheek, which is what tells the viewer the head is turned rather than square on.
13. Tucked Behind the Ear
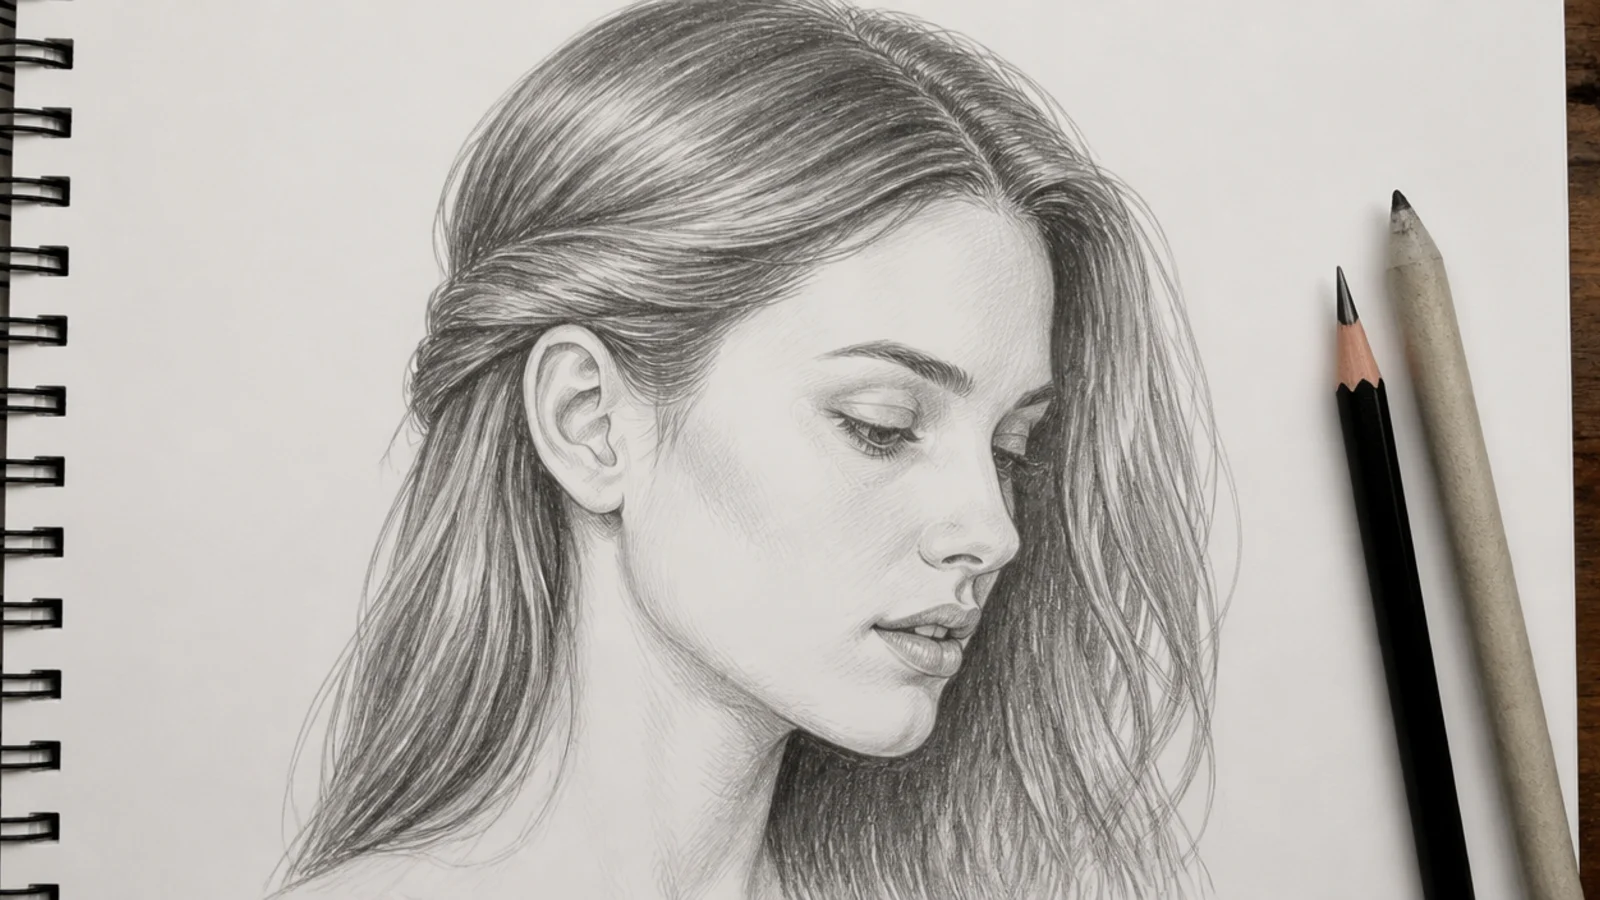
The tuck creates a sharp change of direction and a small hard shadow behind the ear, and both are worth more than any amount of strand detail. Keep the hair travelling backward above the tuck and forward below it, so the ear reads as holding the mass rather than sitting in front of it.
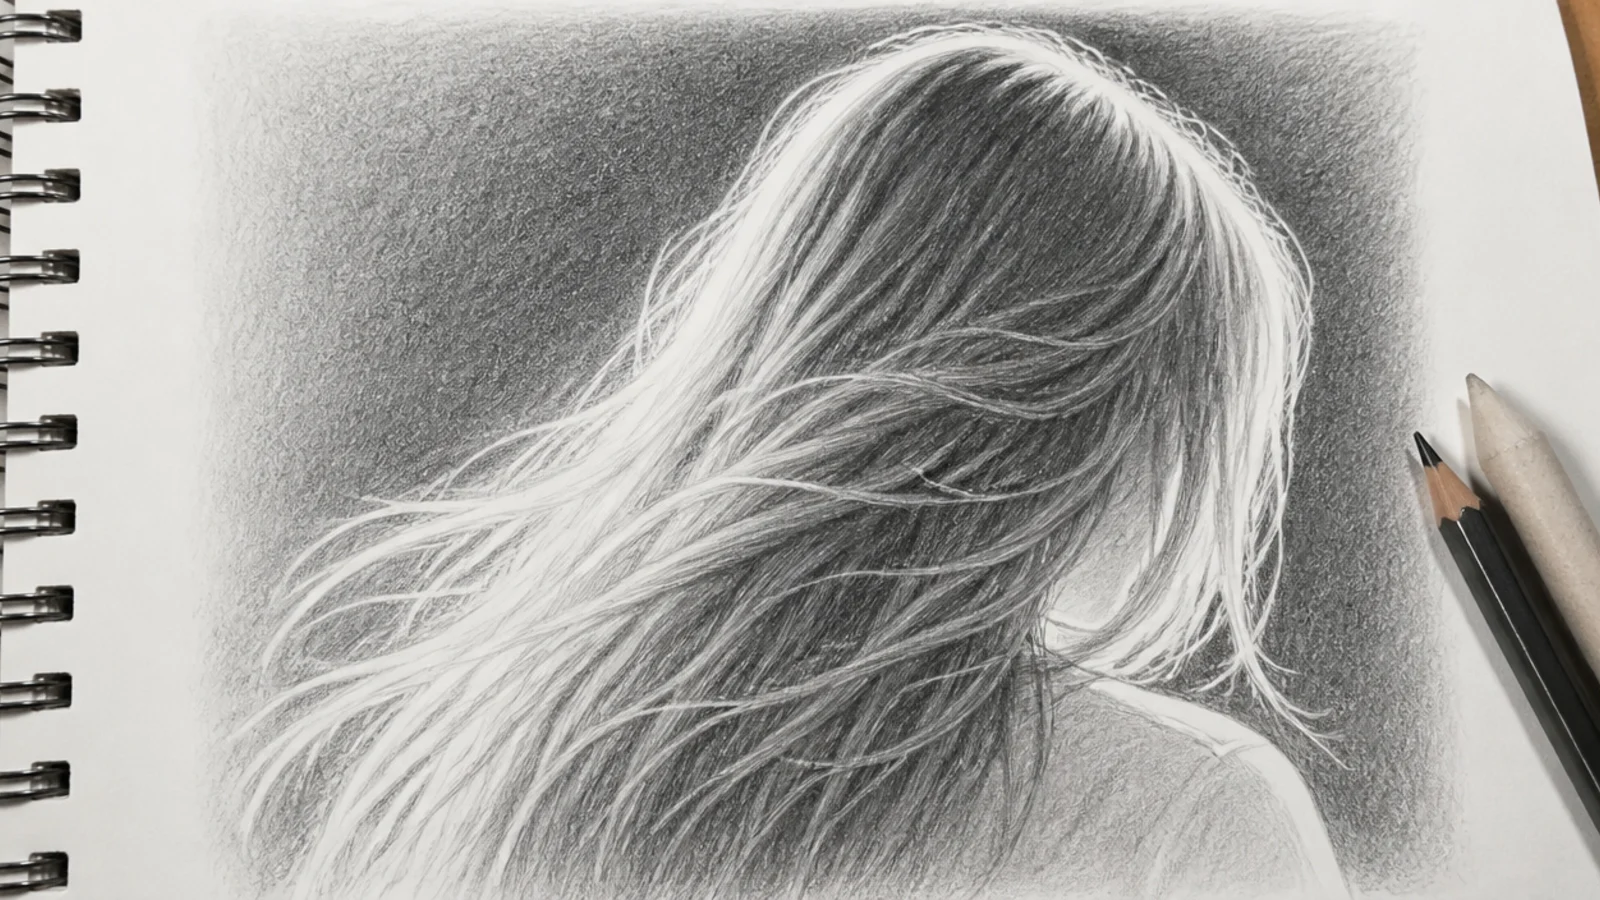
14. Backlit Against a Dark Background
Backlighting reverses the usual structure, because the edge becomes the brightest value and the interior falls into shadow. Lay a dark background right up to the silhouette, then lift a fine bright rim along the outline, since the halo only exists as a contrast against something darker.
15. Blonde in Light Values
Long blonde hair covers a lot of paper, so leaving most of it untouched is what keeps it pale. Hold the darkest core around a 2B, place darks only in the deepest channels, and let broad areas stay white, because shading the whole mass evenly turns blonde into mid brown.
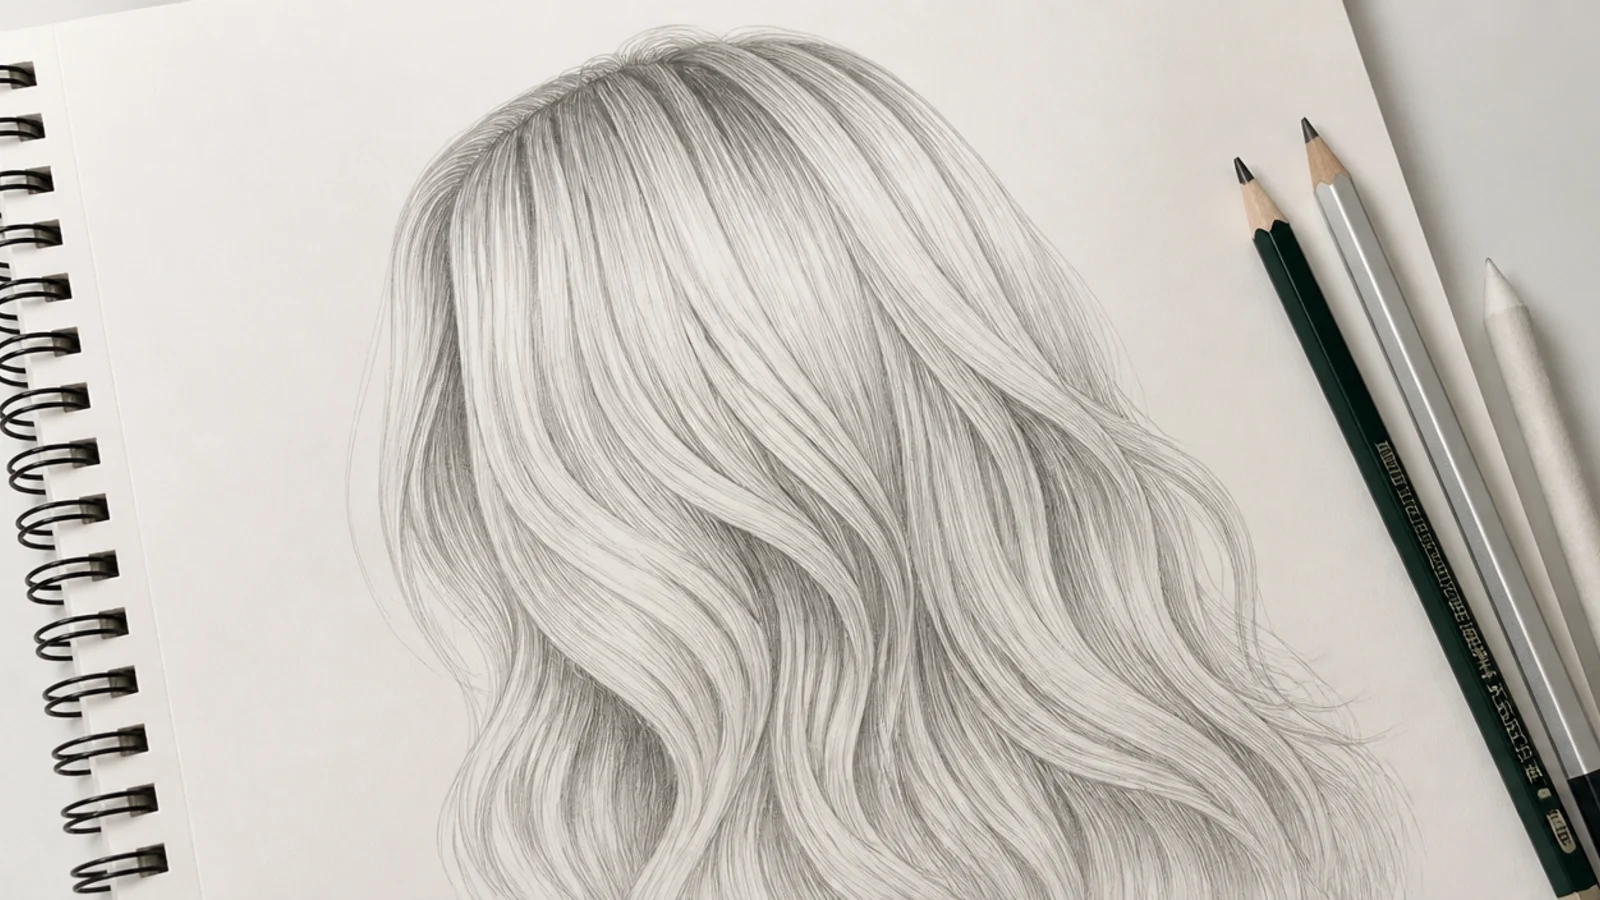
16. Gray and Silver Hair
Silver reads through contrast rather than colour, so it wants crisp bright highlights against clean mid greys and almost no true black. Keep the strand separation sharper than on dark hair and avoid the blending stump, since grey only looks metallic while its edges stay defined.
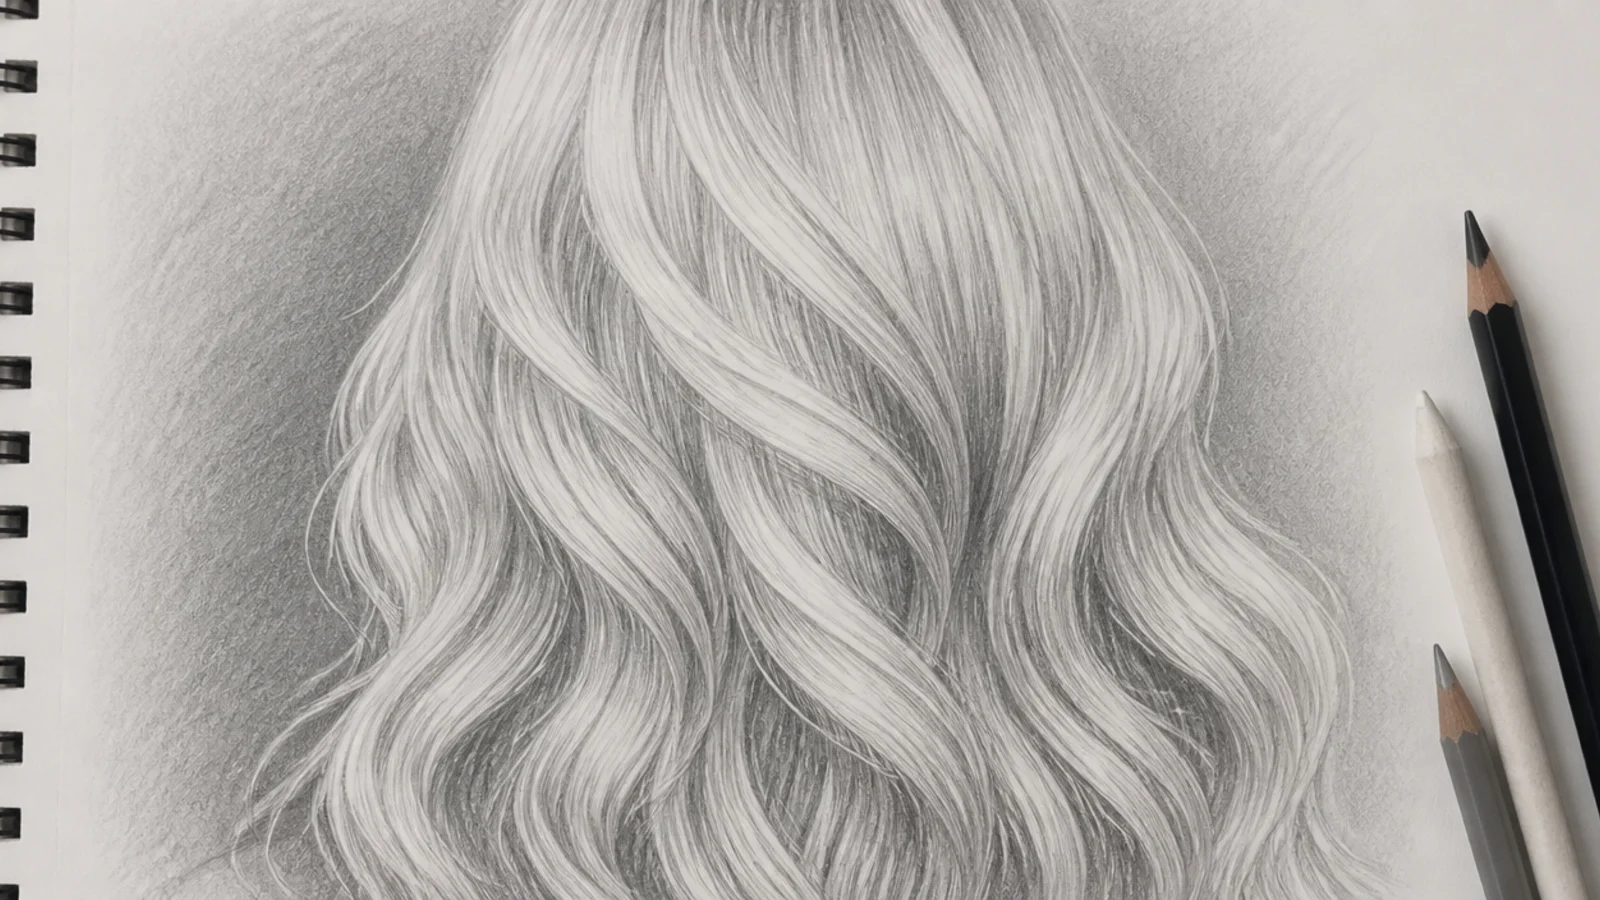
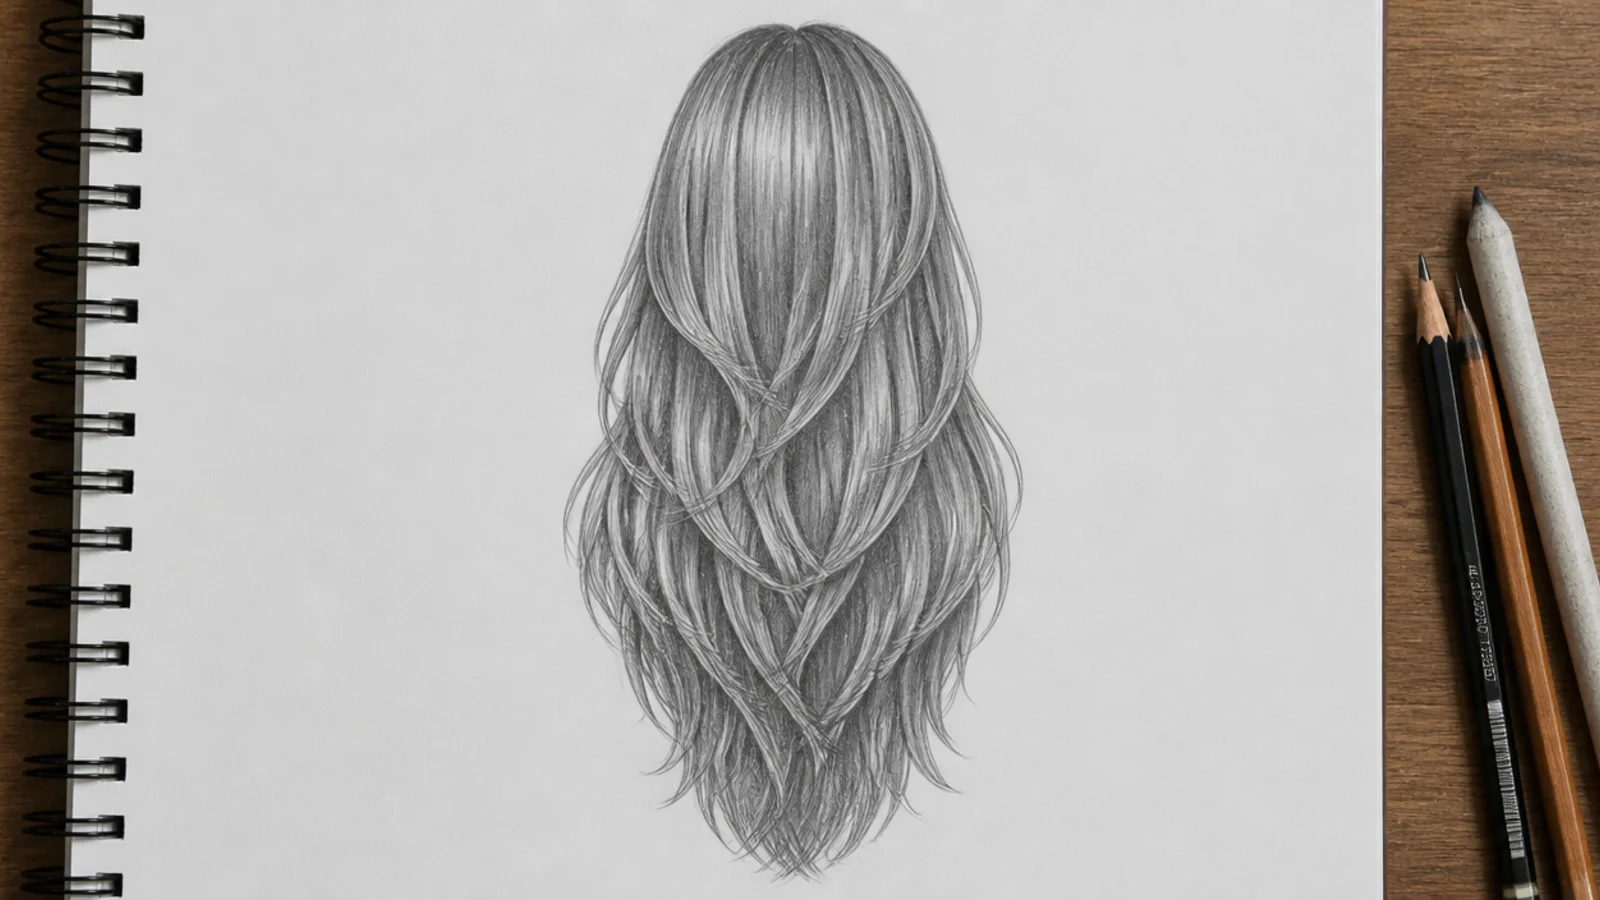
17. Long Layers
Layers break a single curtain into stepped ends at several depths, which is what gives long hair movement in a drawing. Show the shortest layer finishing near the collarbone and let each deeper one pass it, keeping the ends of every layer at a different height down the mass.
18. Overhead With Hair on a Pillow
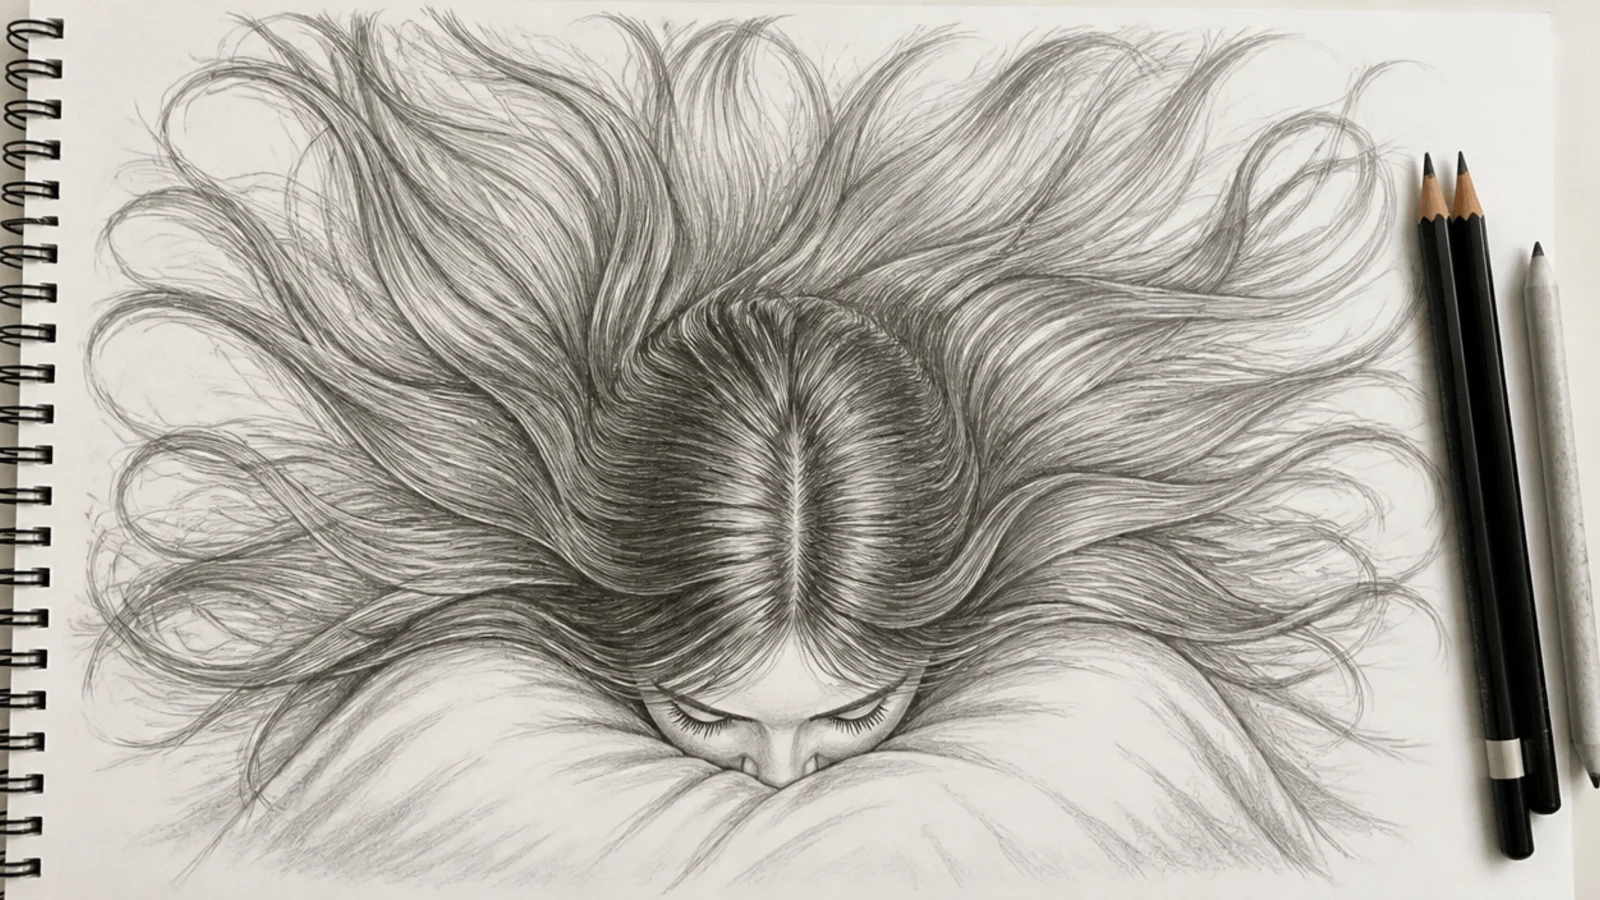
Hair spread on a surface radiates from the head in every direction and lies flat, so gravity is no longer organising anything. Fan the flow lines outward from the crown across the whole plane and keep the values light overall, since nothing is hanging in shadow behind anything else.
19. Underwater and Floating
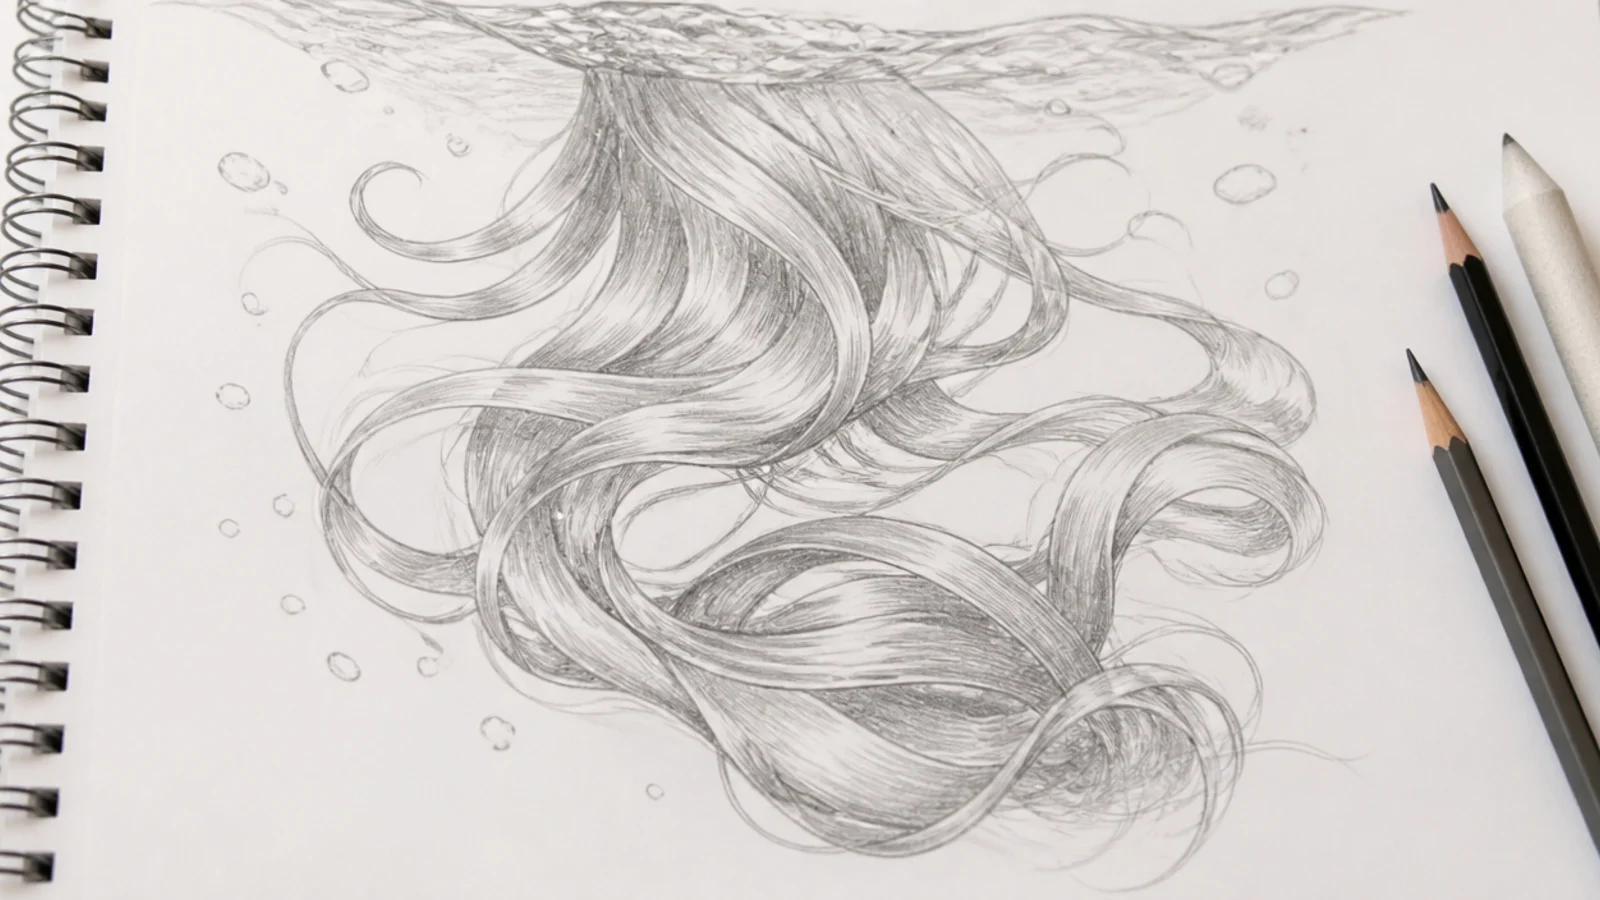
Water cancels the downward pull, so strands curve upward and outward in slow arcs and the mass spreads apart. Draw longer, lazier curves than gravity would ever allow, separate more strands than usual, and soften every edge, because suspended hair carries no compressed weight at the roots.
20. Male Long Hair Half Tied
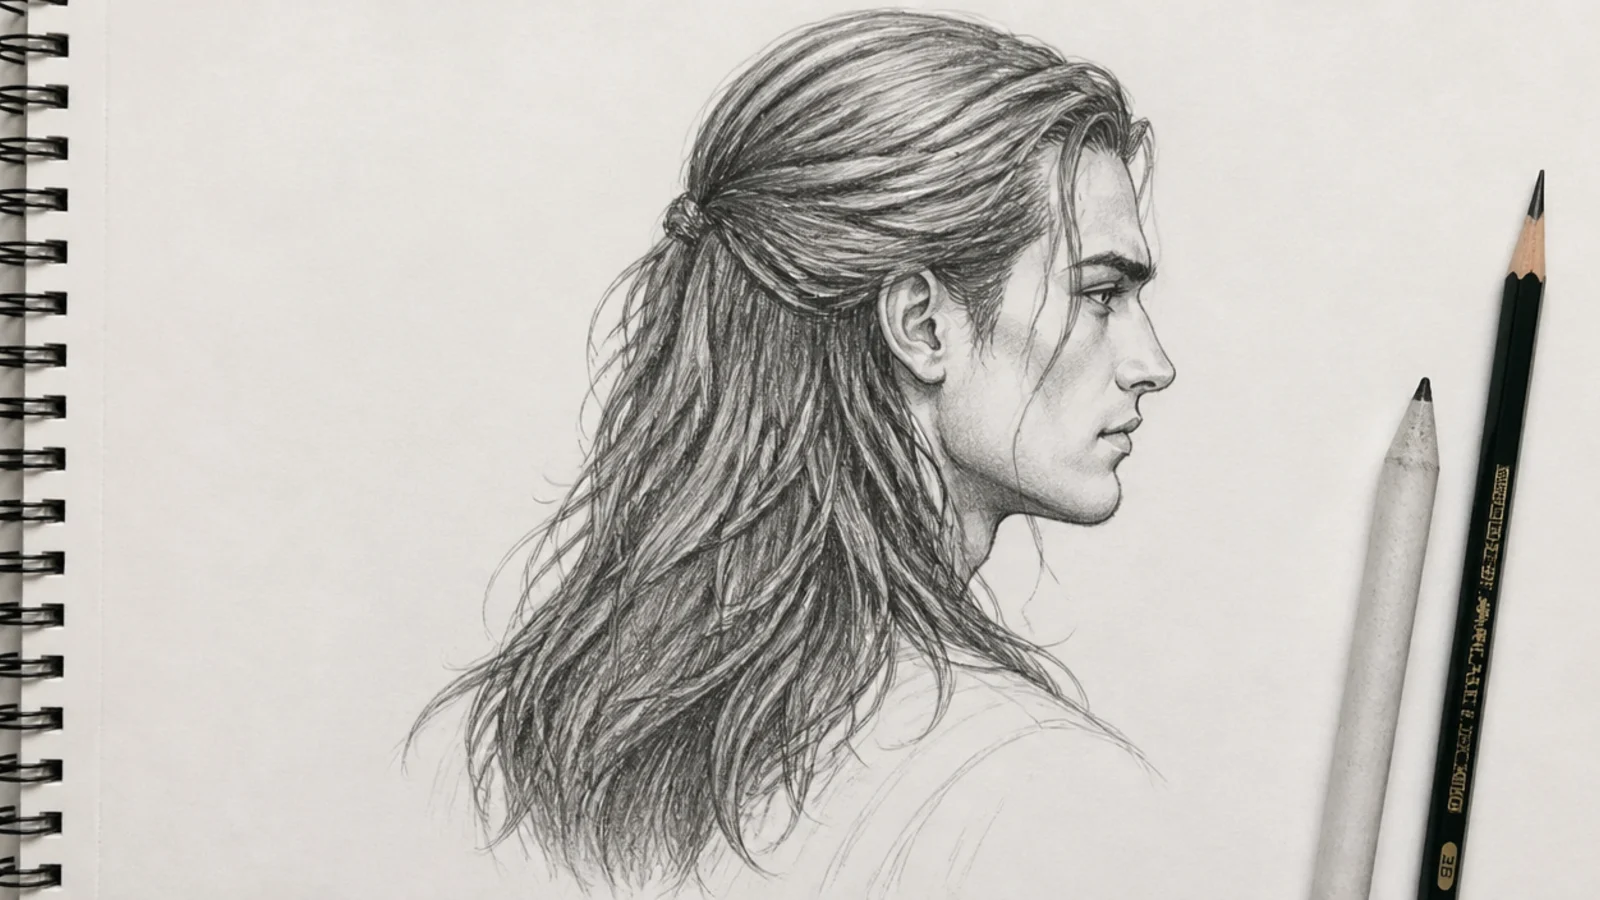
Half tying pulls the sides back to a point at the occipital bone while the top and the length still fall naturally. Show the change of direction clearly at the tie and keep the front hairline visible, since a higher squarer hairline at the temples is what distinguishes this drawing from the ones above.
Final Thoughts
The three things that fix a long hair drawing are all structural. Taper the mass toward the ends, deflect it where it crosses a shoulder, and give it a second highlight band lower down where it swings away from the body. None of the three involves drawing another strand, and any one of them does more for the sketch than an hour of rendering the middle third that nobody looks at.
Work large and mark the finishing point first. Long hair drawings fail at the bottom of the page far more often than they fail at the crown, and the fix is a pencil dot placed before the first stroke rather than a compromise made when you run out of paper. For reference photographs of layered long shapes see shag haircut on long hair, and for long hair on a male head see long curly hair for men. More in Hair Drawing.