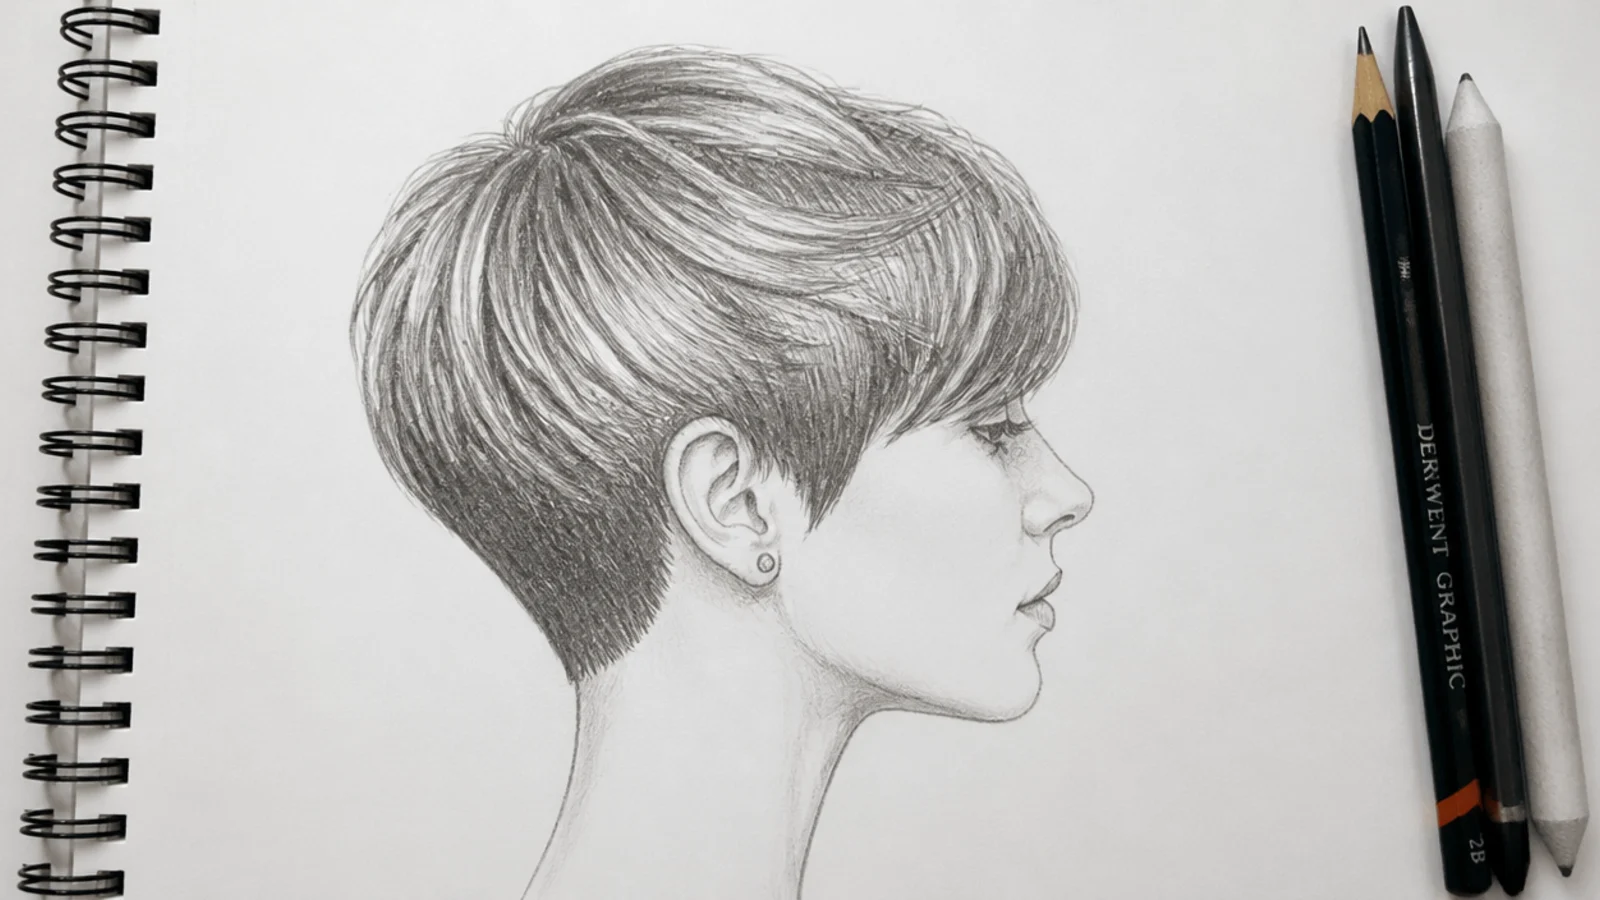
15 Short Hair Sketch Studies That Start With the Skull
Fifteen short hair studies in graphite, and the reason they fail more often than long ones. Under an inch of hair there is nothing to hide a badly shaped cranium behind, and all the remaining information sits on the outline.
In this article · 23
- Pencils Paper and Tools
- Starting the Silhouette
- Dark Spaces and Shading
- Four Textures Compared
- Using References
- Common Mistakes and Fixes
- The 15 Short Hair Studies
- 1. Pixie in Three Quarter View
- 2. Blunt Bob From the Front
- 3. Nape Taper From the Side
- 4. Buzz Cut Stubble
- 5. Curly Bob Ribbons
- 6. Tapered 4C Natural
- 7. Undercut Contrast
- 8. French Crop Fringe
- 9. Short Shag Layers
- 10. Short Wolf Cut
- 11. Asymmetric Bob
- 12. Bowl Cut Shine
- 13. Short Mullet
- 14. Finger Wave Crop
- 15. Back View Crop
- Final Thoughts
Short hair drawings fail on the skull rather than on the hair, because there is no length available to cover a head drawn the wrong shape.
Short hair is a skull study with an edge on it. The temple flattens, the parietal ridge turns the corner, the occipital bone bulges at the back, and every one of those planes shows through a crop.
The rest of the information sits on the outline. With no interior length for texture to happen in, the contour carries the read on its own, and a smooth contour produces a helmet every single time.
Pencils Paper and Tools
A sharp point matters more than the grade. Short hair reads through fine flicks at the edge, and a blunt lead turns every one of them into a blob.
A 2B and a 6B, plus a 2H for construction. Mid tone, cores, and guide lines that have to lift away completely once the shading goes on top.
Keep a vinyl eraser for the outline. Short silhouettes creep outward as you work, and a hard eraser cuts them back to a clean edge where a kneaded one only softens them.
Work at least head size. Small drawings of short hair leave no room for the edge detail that carries them, and the edge is very nearly all there is.
Starting the Silhouette
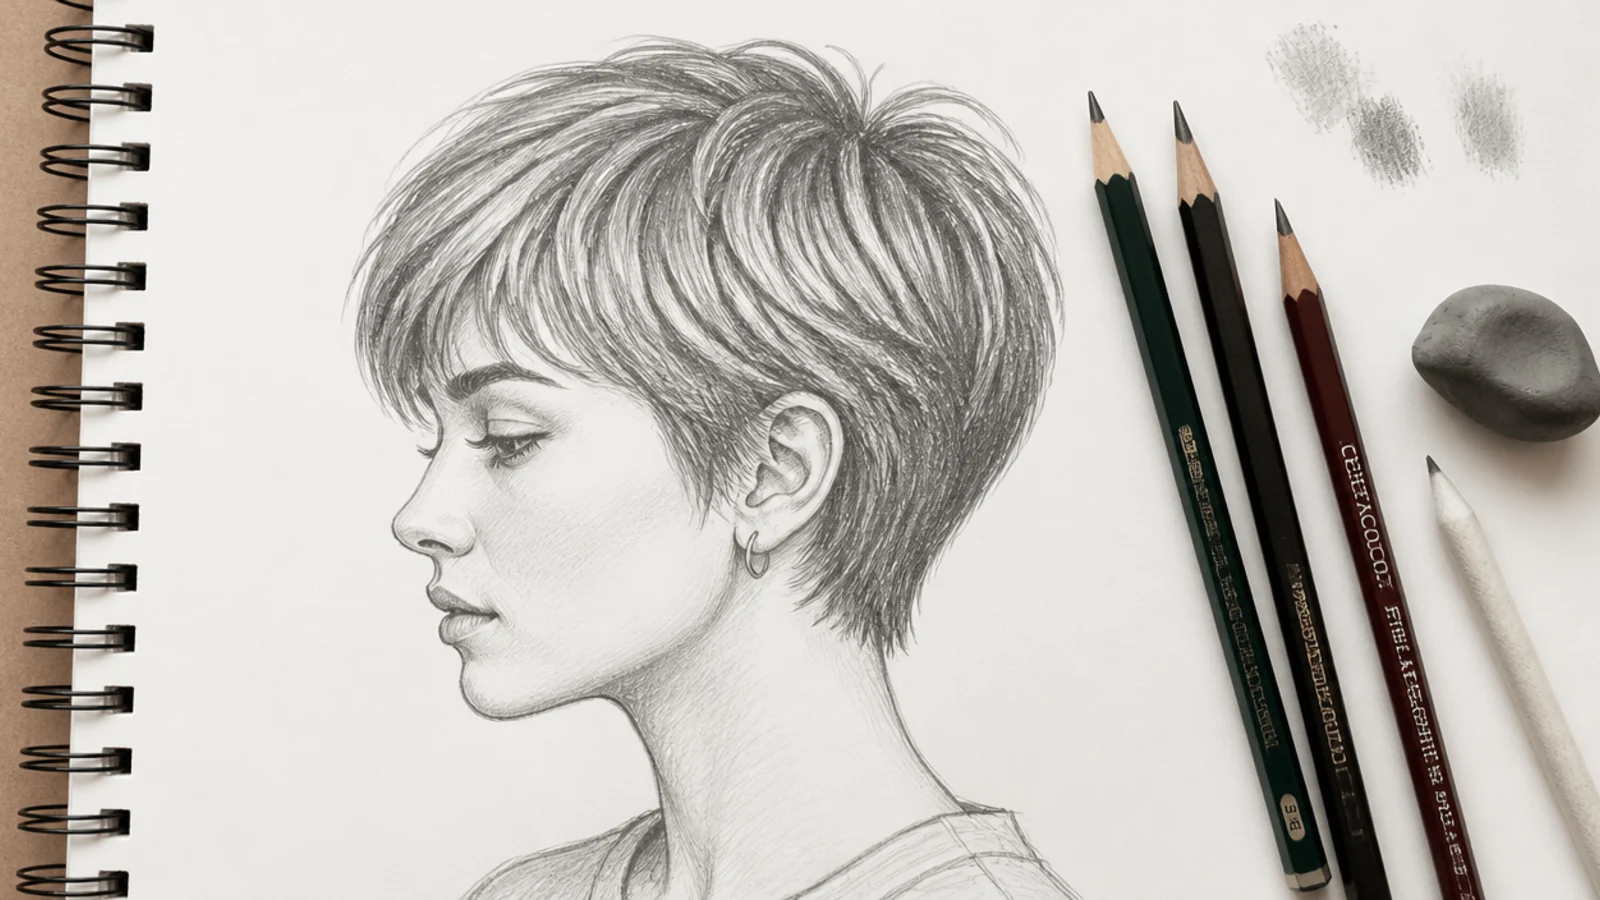
Draw the skull properly first. Under an inch of hair there is nothing to hide a bad cranium behind, so this is a head study before it is a hair study.
Three planes decide the shape. The flat temple, the parietal ridge where the top turns down toward the ear, and the occipital bulge at the back.
Leave a small gap all the way round. Even a crop stands a few millimetres proud of the bone, and a silhouette drawn on the skull line reads as paint.
Use the ear as your ruler. Taper and fade heights are judged against the top of the ear, which makes it the most useful landmark on the whole head.
Dark Spaces and Shading
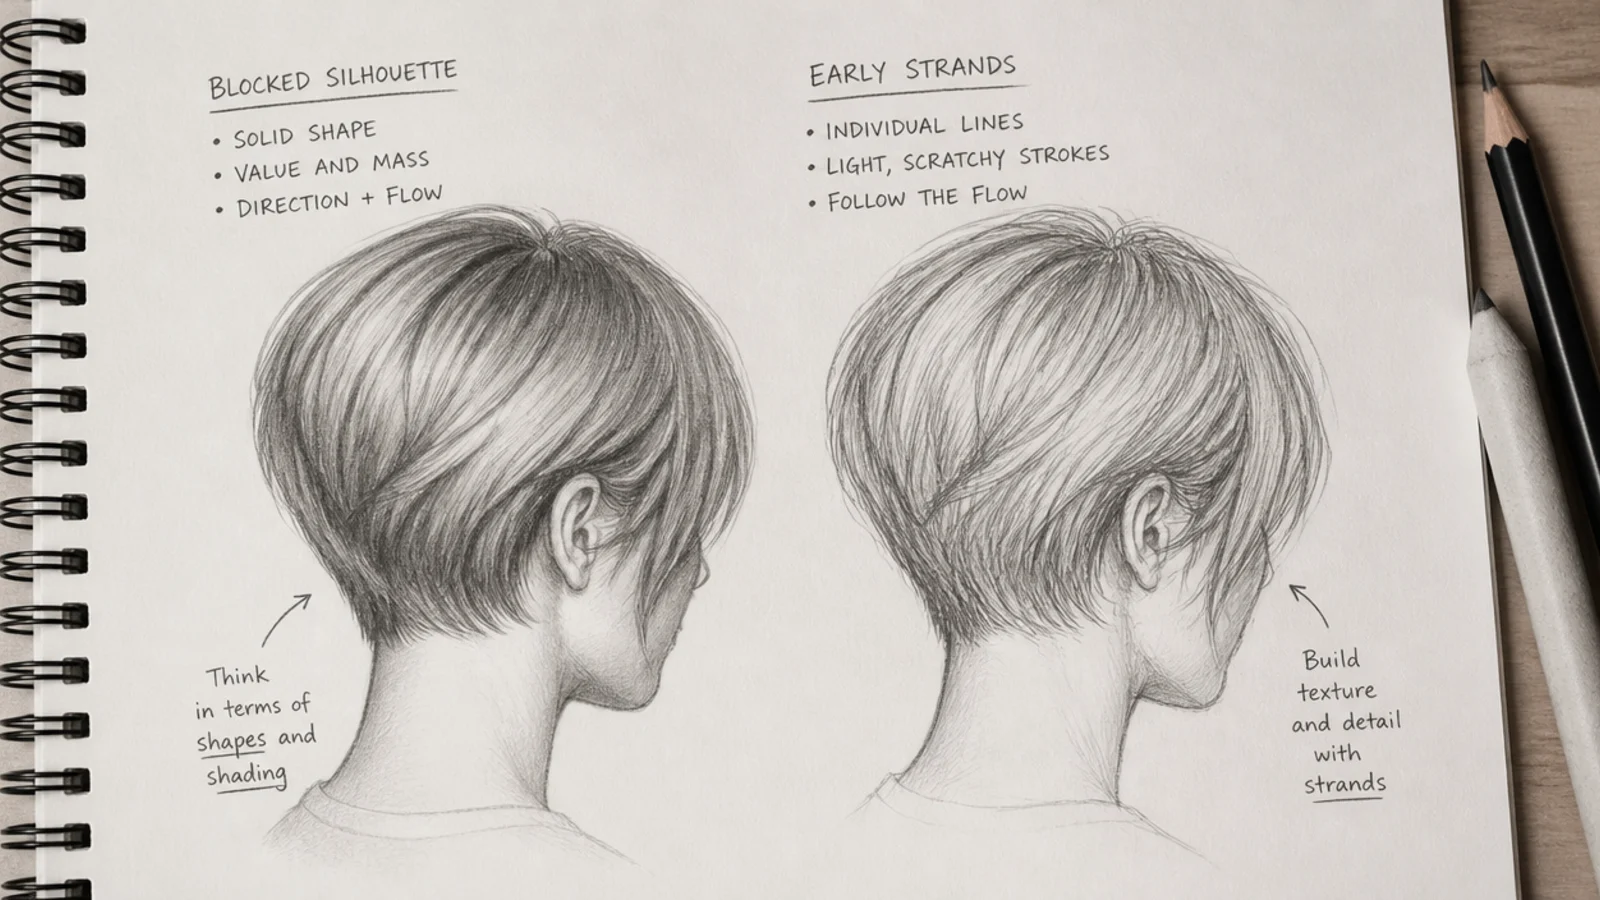
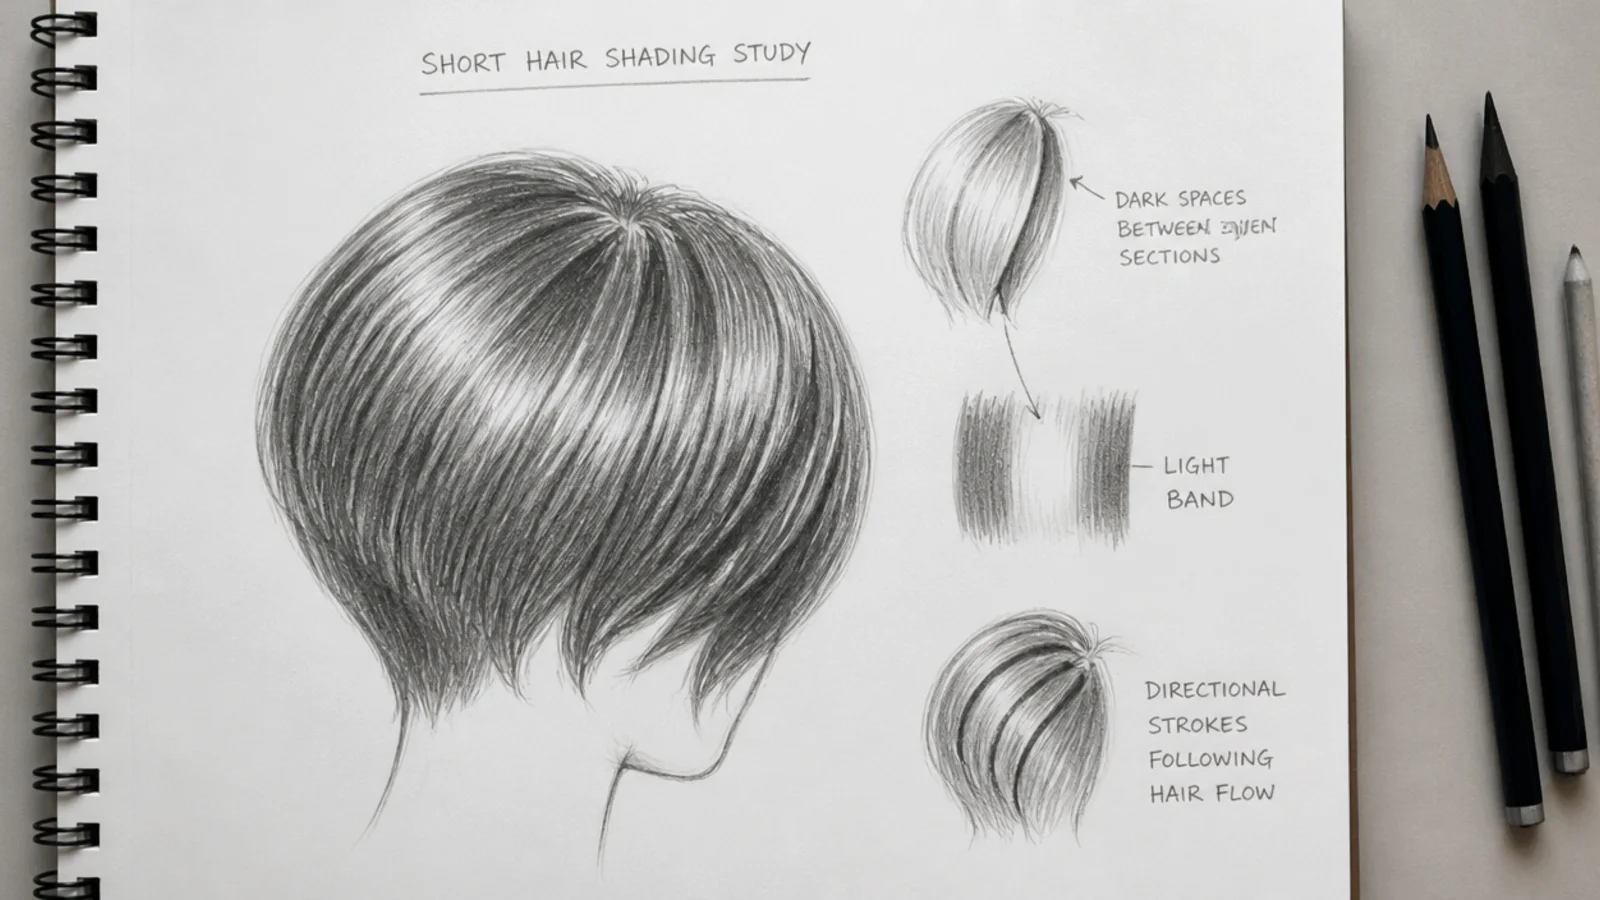
The dark spaces on short hair are small and specific. Behind the ear, in the temple hollow, under an overhanging fringe, and along any disconnect line.
Highlight where the skull turns. The parietal ridge and the crown catch the band, because those are the planes actually facing the light.
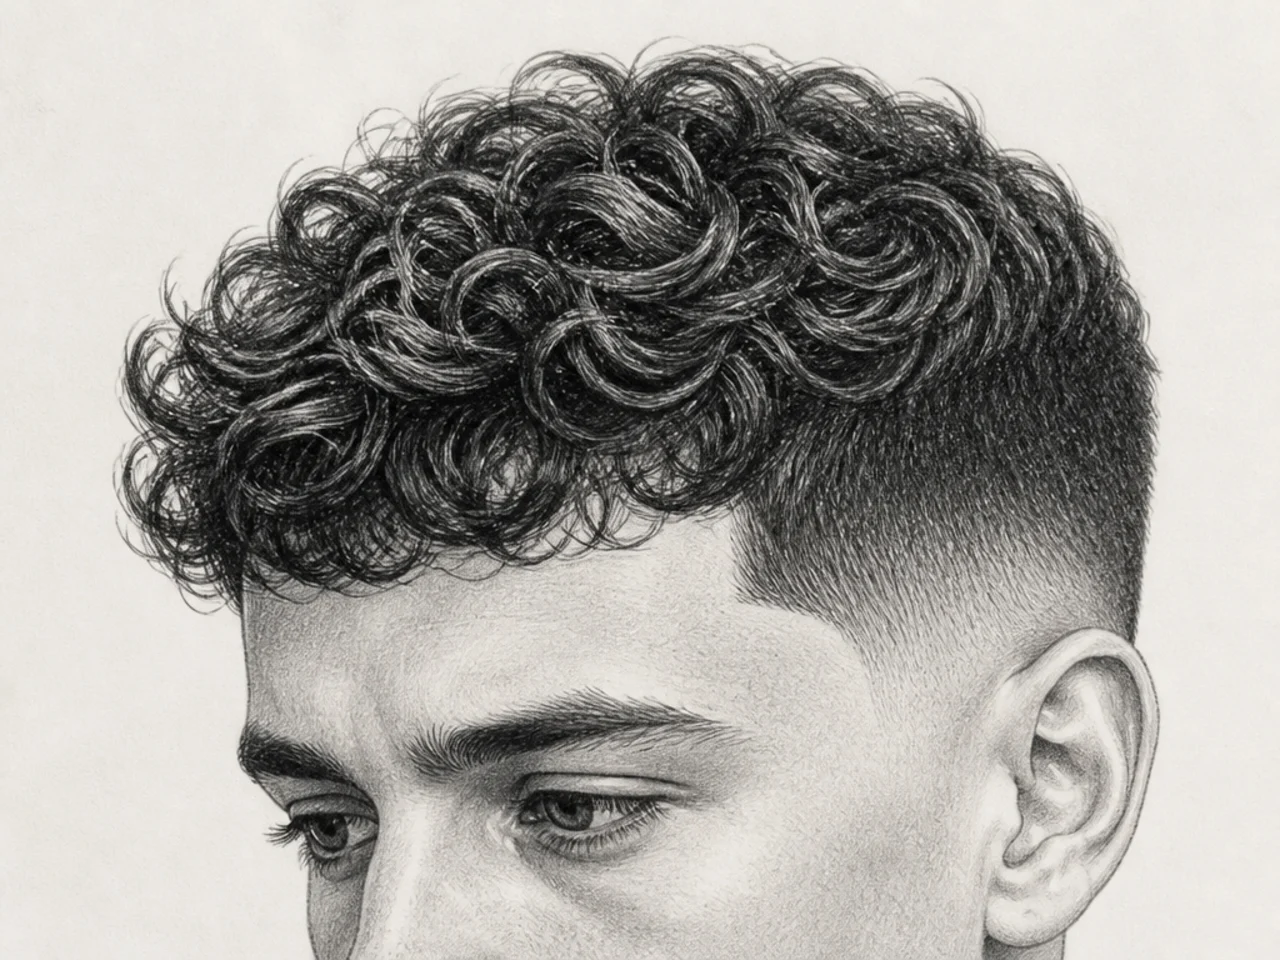
Fades are gradients and tapers are not. A fade reaches bare paper, a taper thins but never quite gets there, and that difference should be visible in the drawing.
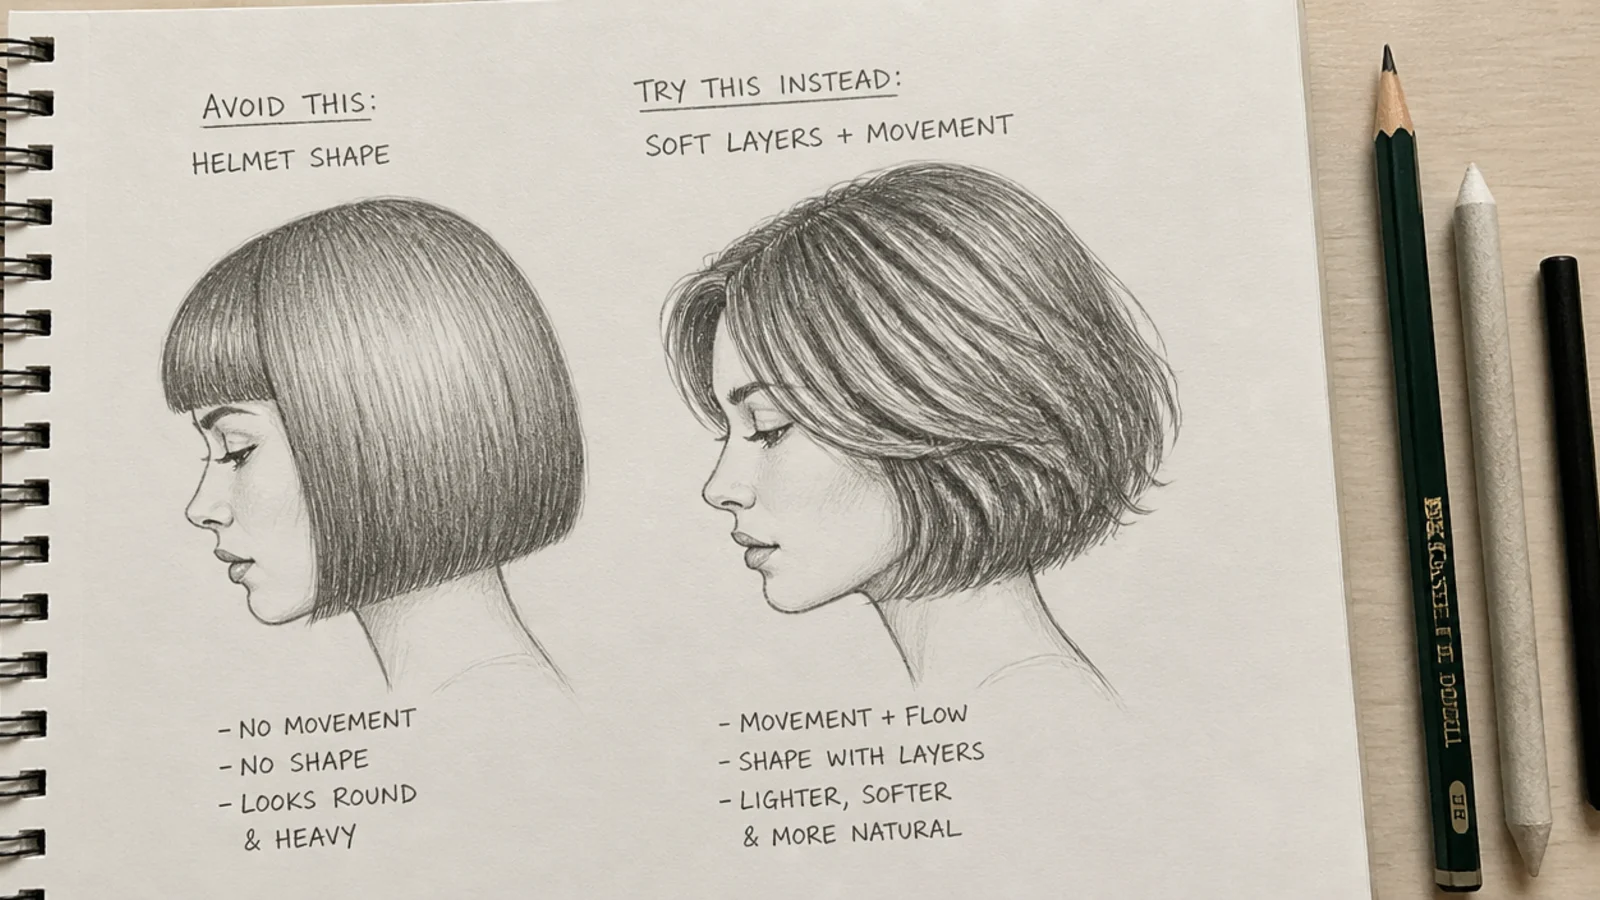
Do not outline the mass. An unbroken contour reads as a helmet whatever you shade inside it, so break the line with flicks instead.
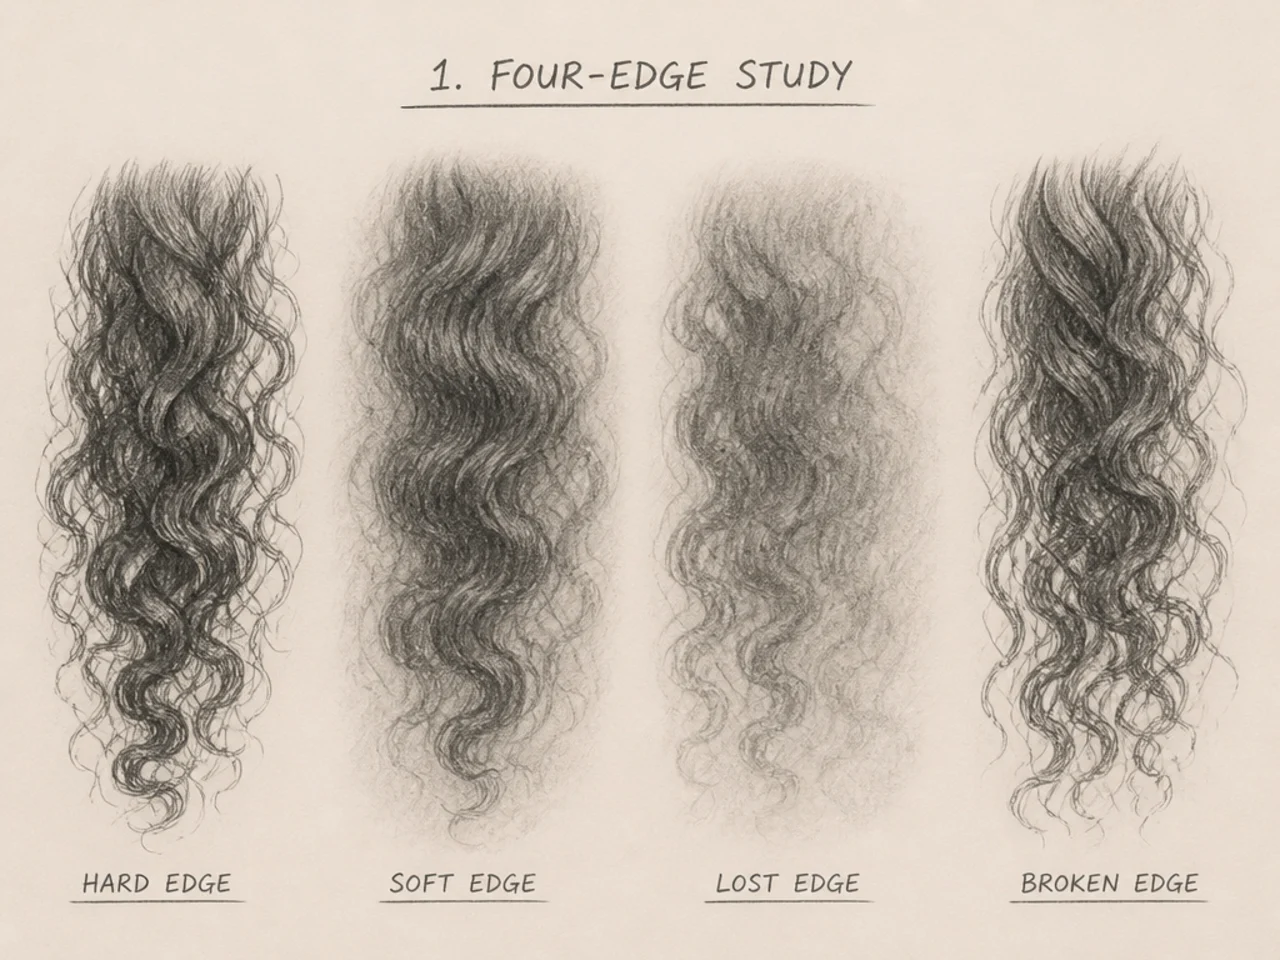
Four Textures Compared
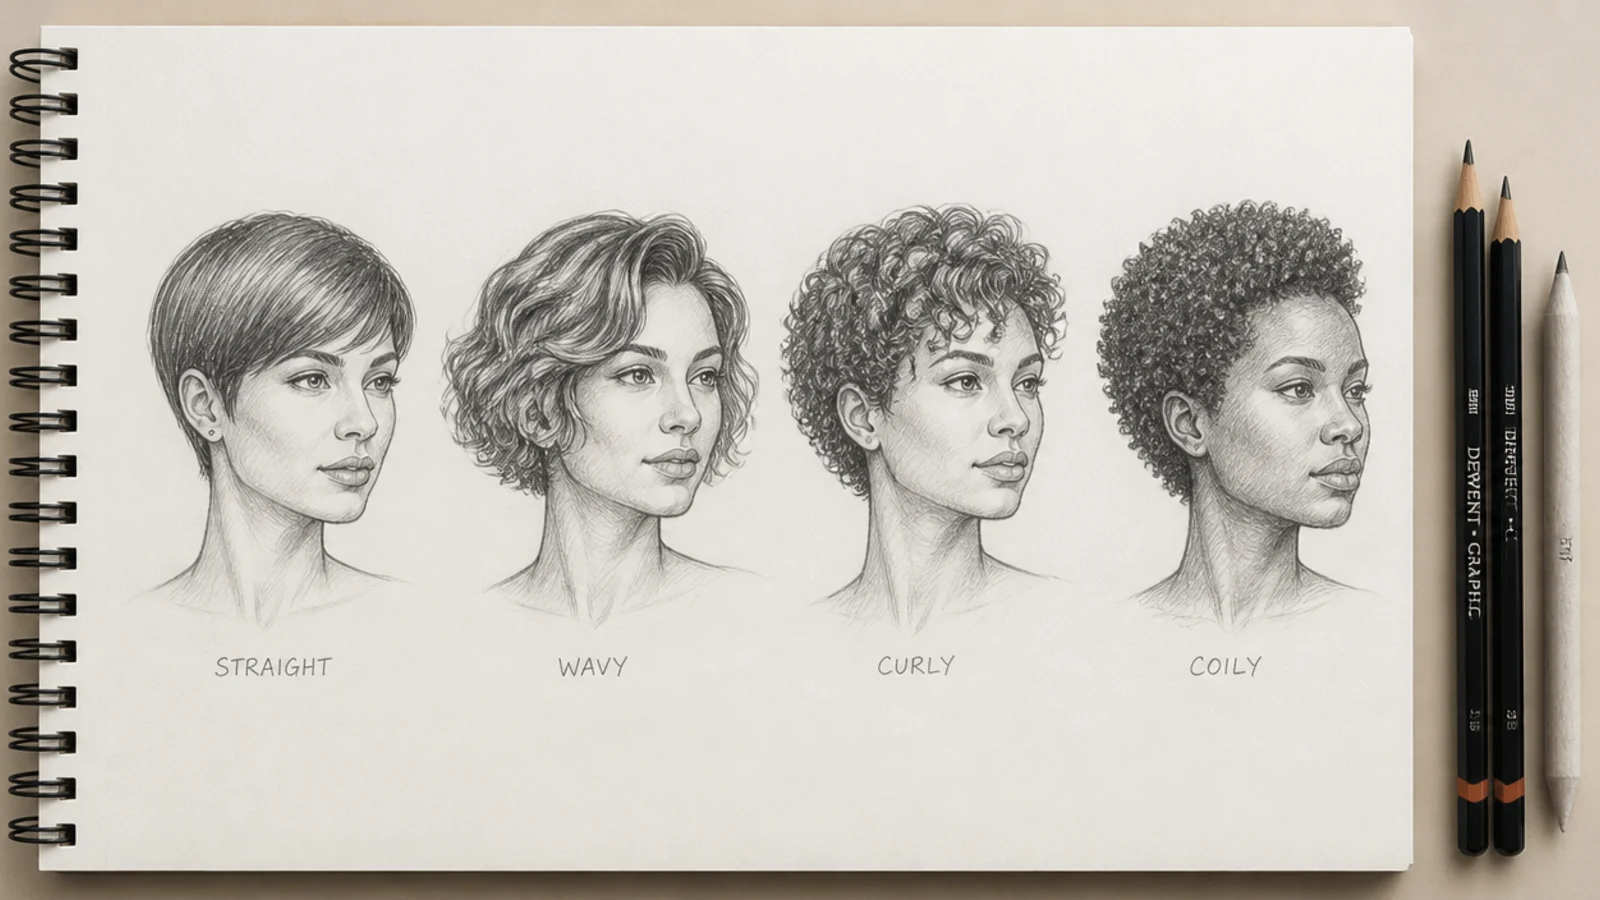
Straight shows the cut line. Every perimeter decision is on display, which is why bobs and crops are drawn straight so often.
Wavy softens the perimeter. The bend scatters the edge and quietly hides small inconsistencies in the cut line.
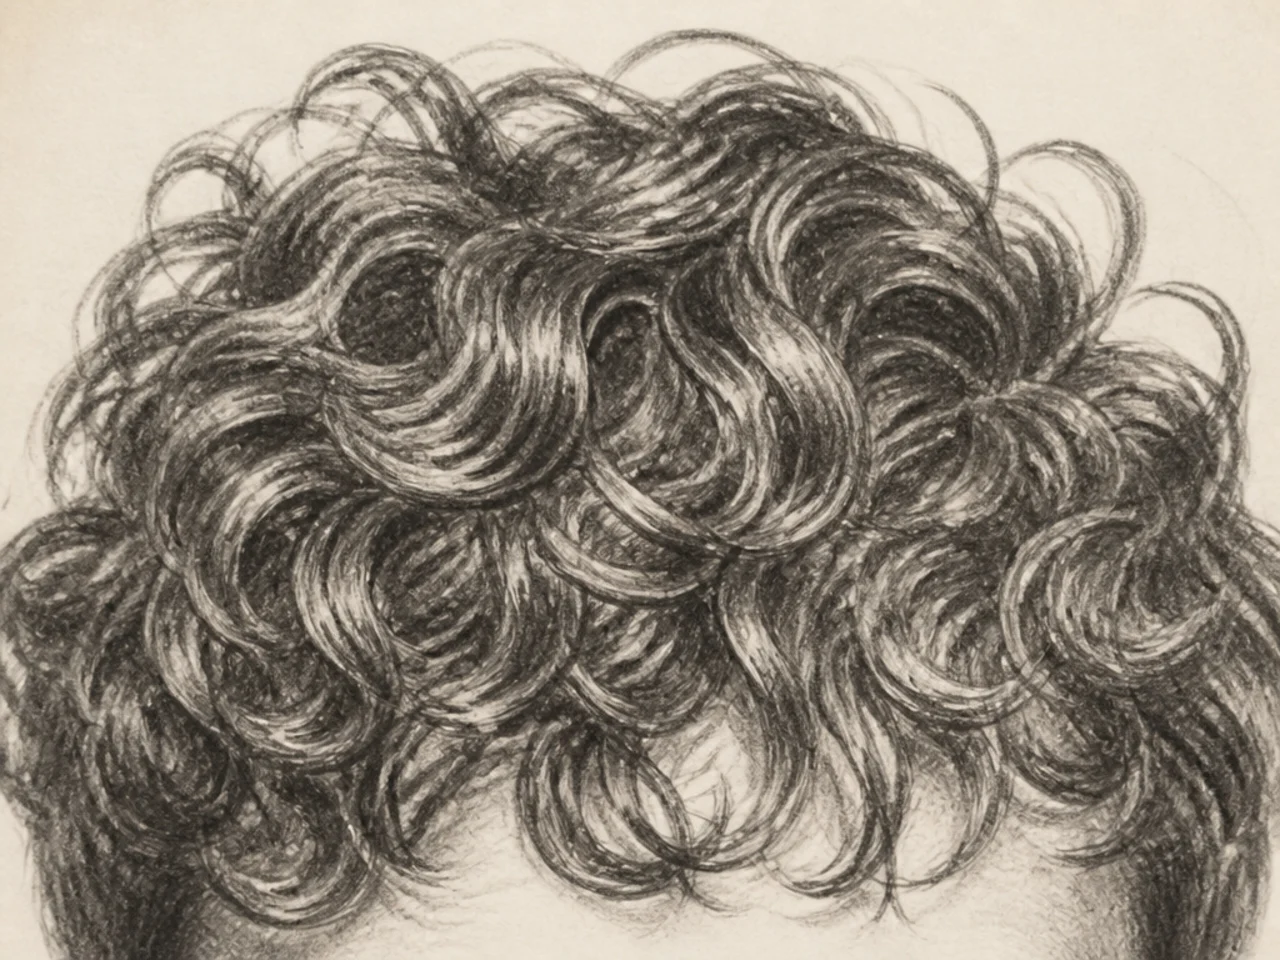
Curly removes the hemline entirely. Ends point in every direction, so the outline becomes a row of curl ends rather than a line.
Coily is shaped rather than cut. The silhouette is a defined form and all the texture stays out at the free edge.
Using References
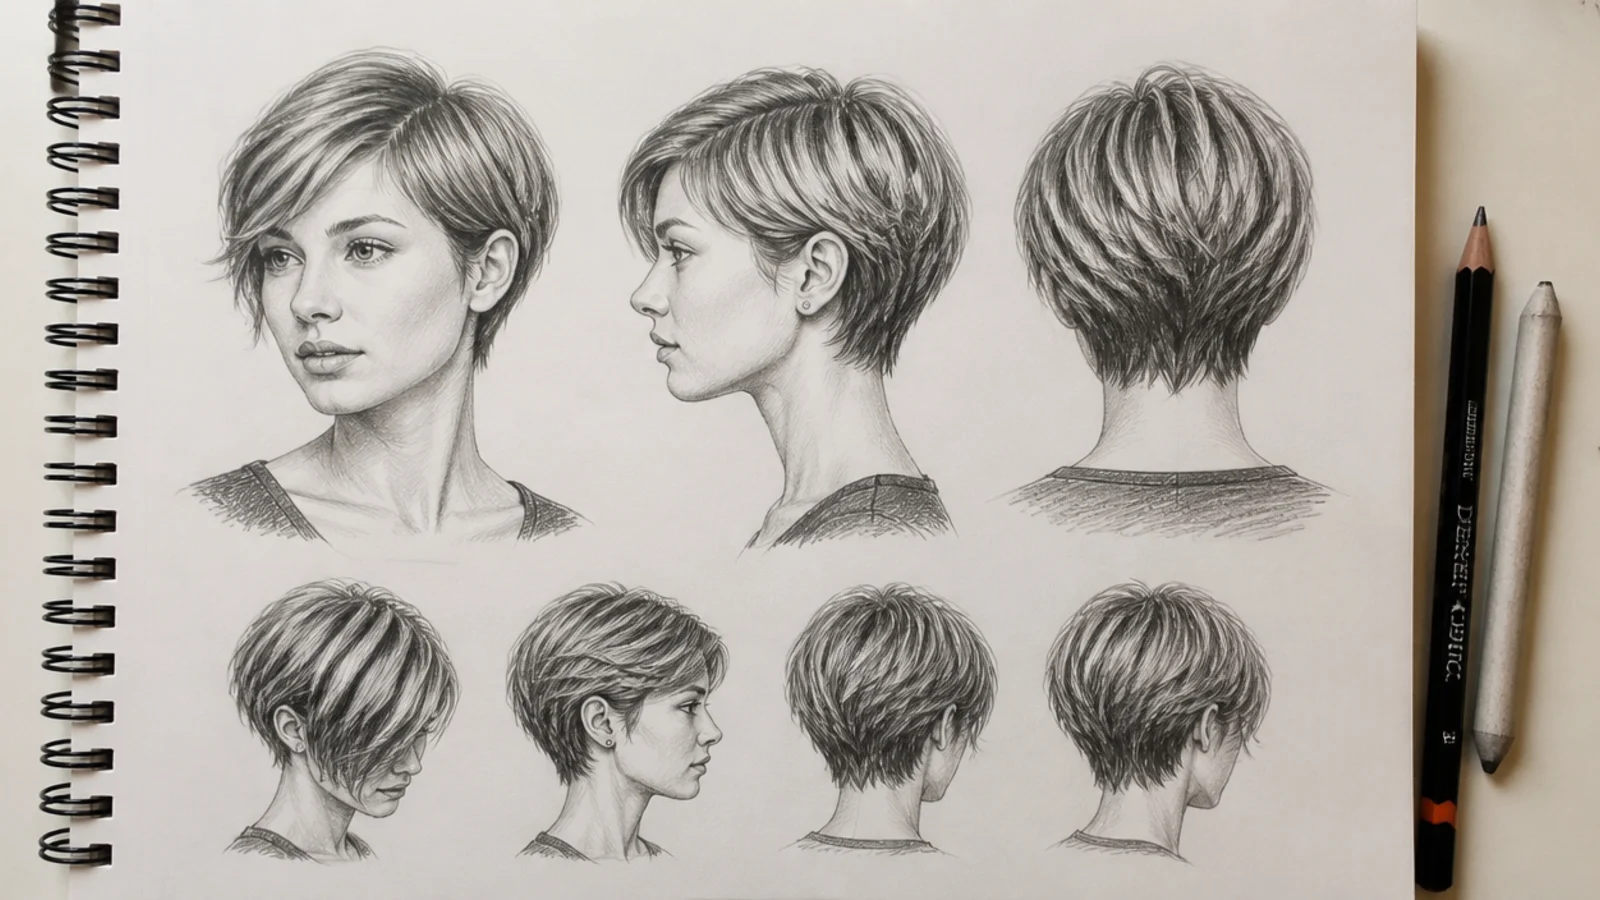
Find the same cut from three angles. Short hair changes shape drastically between front, side and back, and one photograph only ever teaches one view.
Choose side lighting. The three planes of the skull separate cleanly under a single side light and disappear entirely under flat frontal light.
Watch the hairline in every reference. On short cuts it is fully exposed, and it is the first thing a viewer reads as wrong.
Shoot the back of your own head. Back view references are scarce online and take seconds with a phone and a bathroom mirror.
Common Mistakes and Fixes
A smooth outline. Break it with flicks following the growth direction or the cut reads as a moulded shell.
A skull drawn too round. Flatten the temples and add the occipital bulge, and short cuts start sitting on the head correctly.
Fades drawn as steps. They are continuous gradients, and any visible band looks exactly like a cutting error.
Interior detail on a crop. Keep the inside flat and let the edge do the work it is already doing.
The same three quarter view every time. Draw the back, because it exposes the errors the front view hides.
The 15 Short Hair Studies
1. Pixie in Three Quarter View
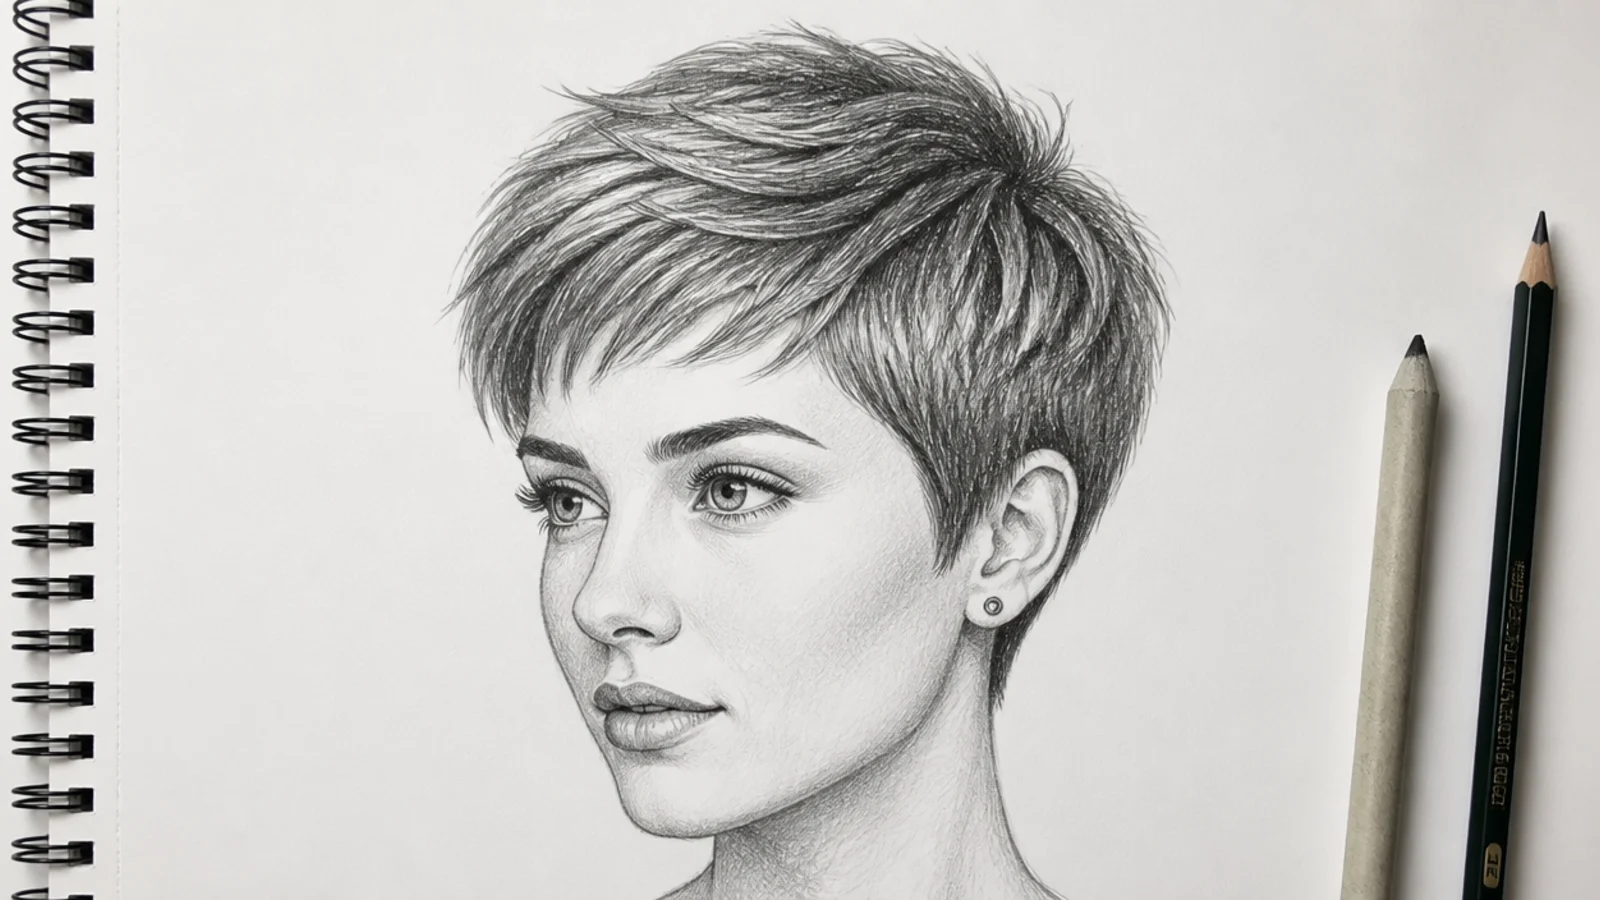
A three quarter view compresses the far side of the head and opens out the near side, so the hair on each side needs a different width. Keep the far temple narrow and let the near side show its full depth, because equal widths flatten the turn back into a front view.
2. Blunt Bob From the Front
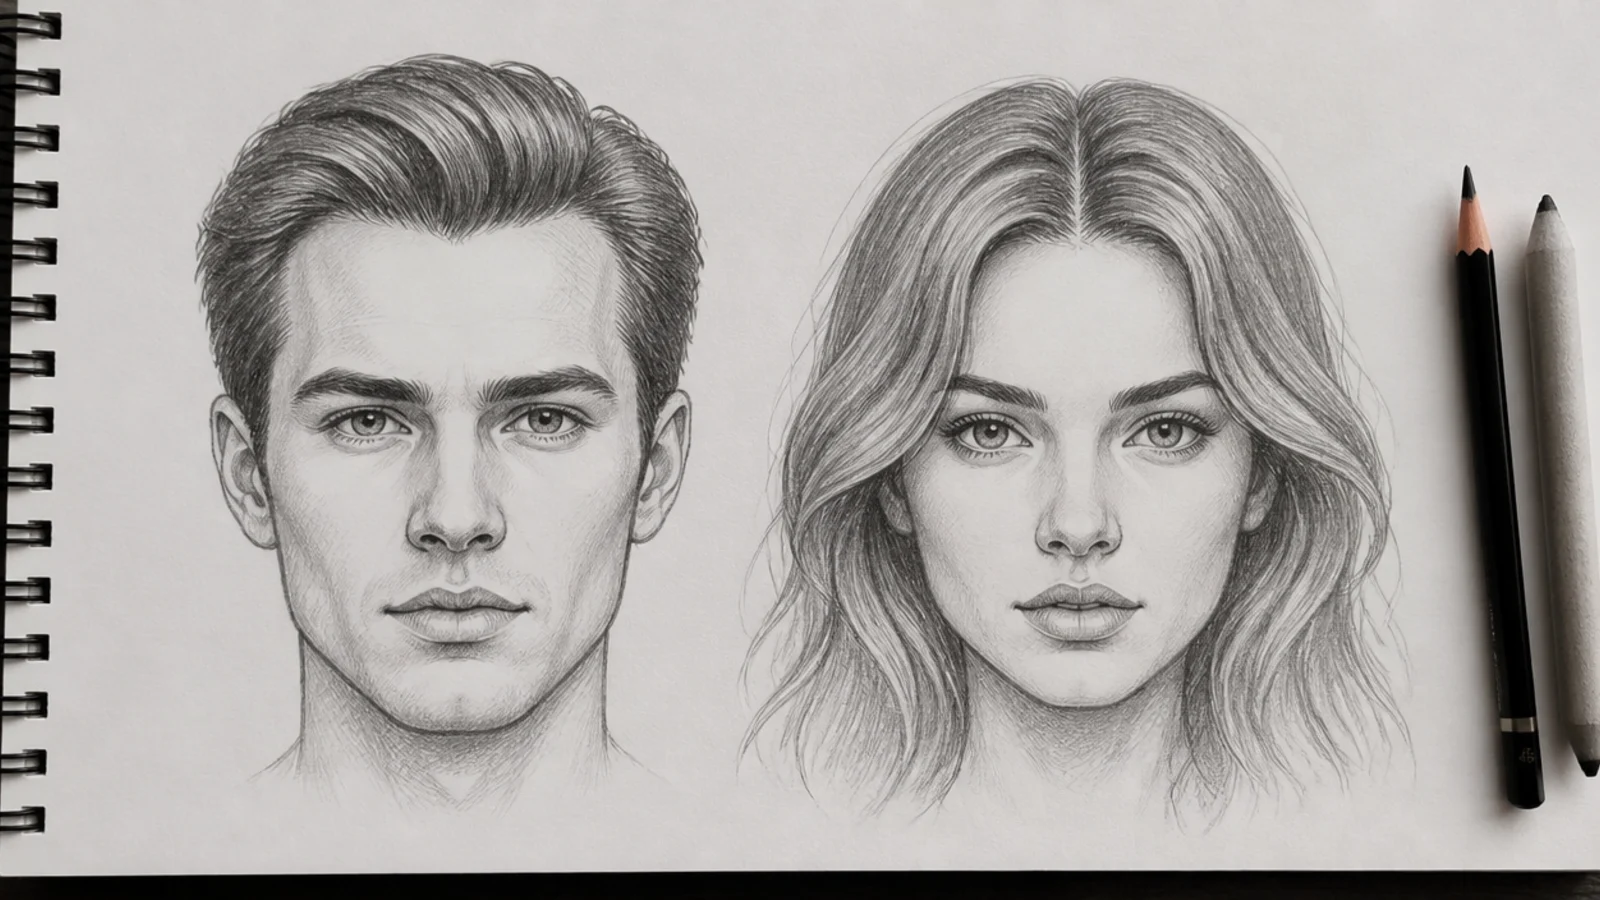
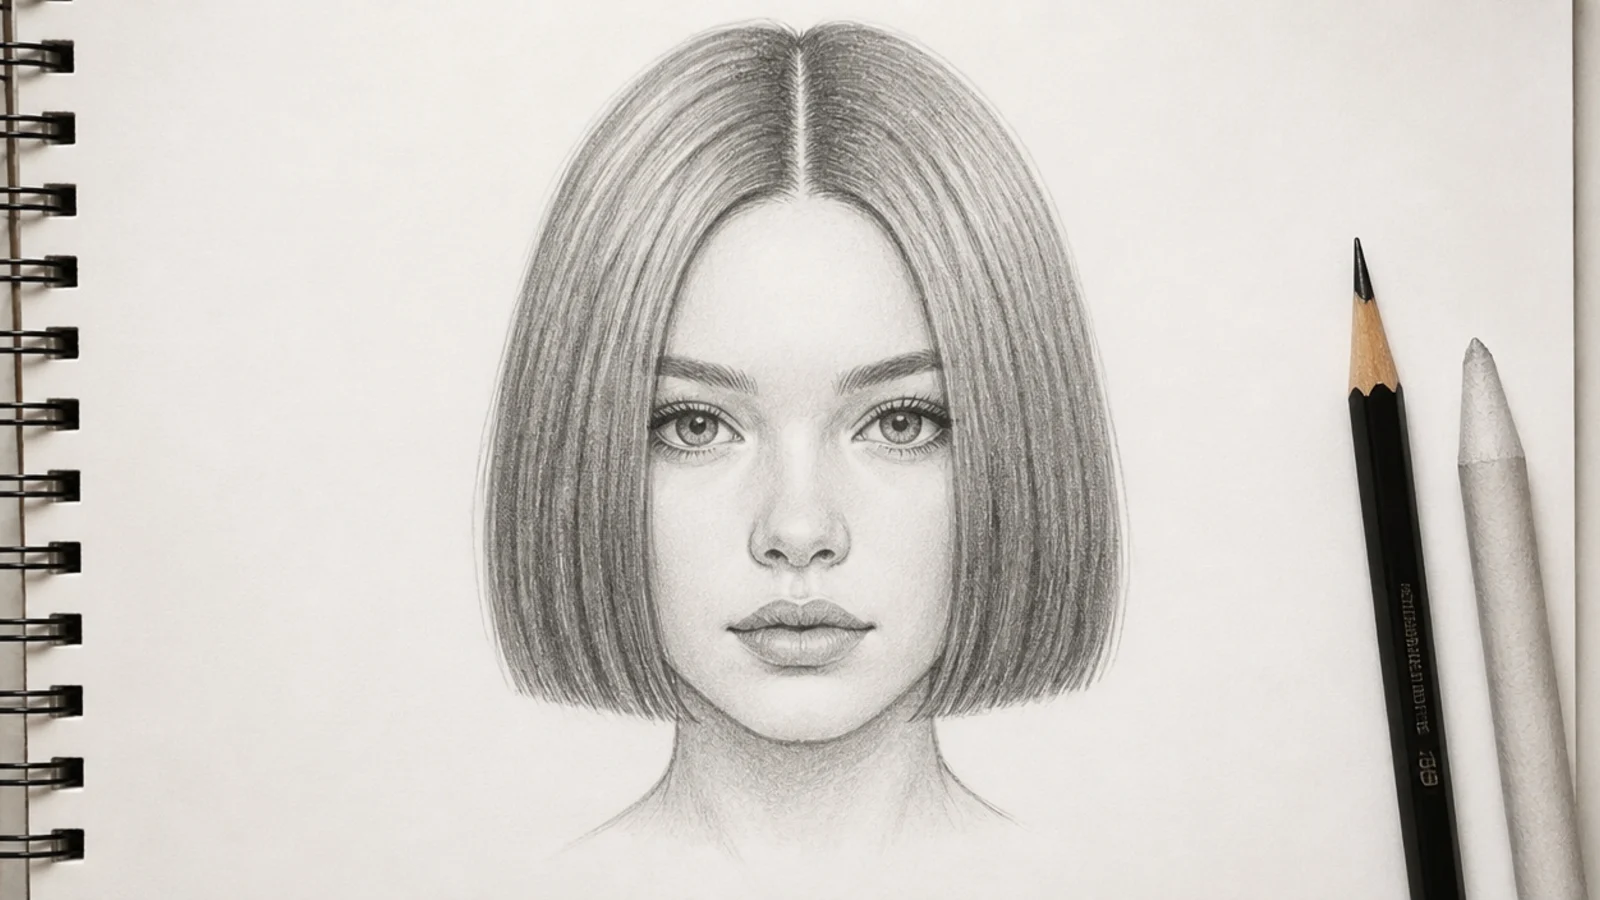
A blunt bob is a level line across the ends with two vertical masses framing the face, so the bottom edge decides everything. Rule a light horizontal guide and cut every strand to it, then weight the centre of that line slightly darker where the hair overlaps itself.
3. Nape Taper From the Side
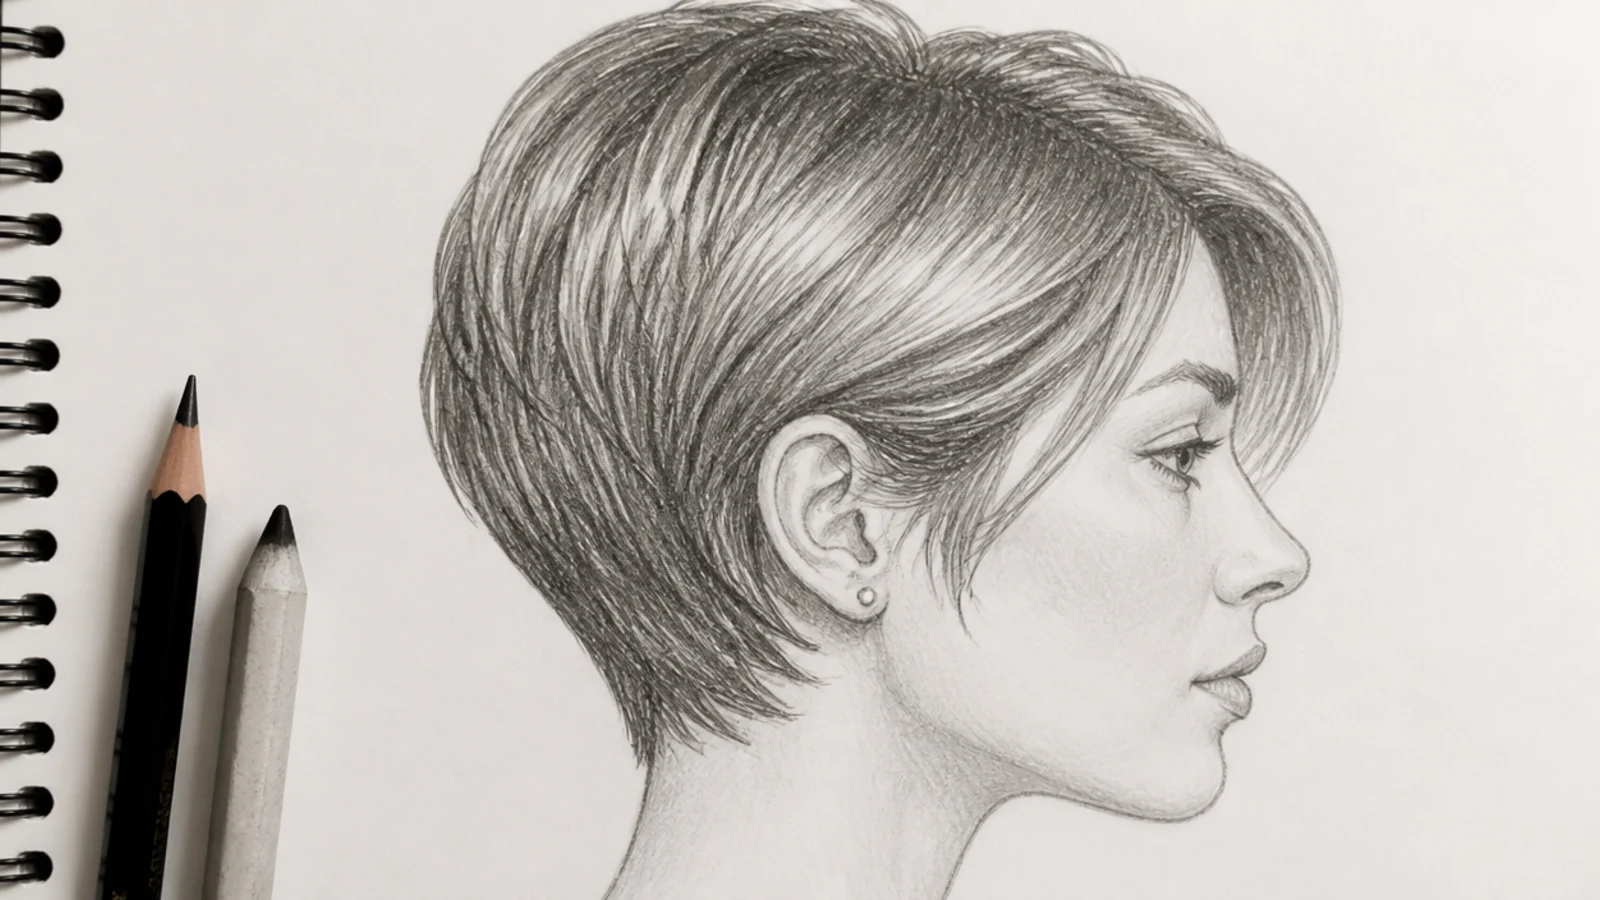
A taper leaves length behind as it shortens while a fade goes to skin, and in graphite that difference is simply where the tone stops. Let the value thin gradually toward the neck without ever reaching bare paper, and keep the bottom edge soft rather than ruled.
4. Buzz Cut Stubble
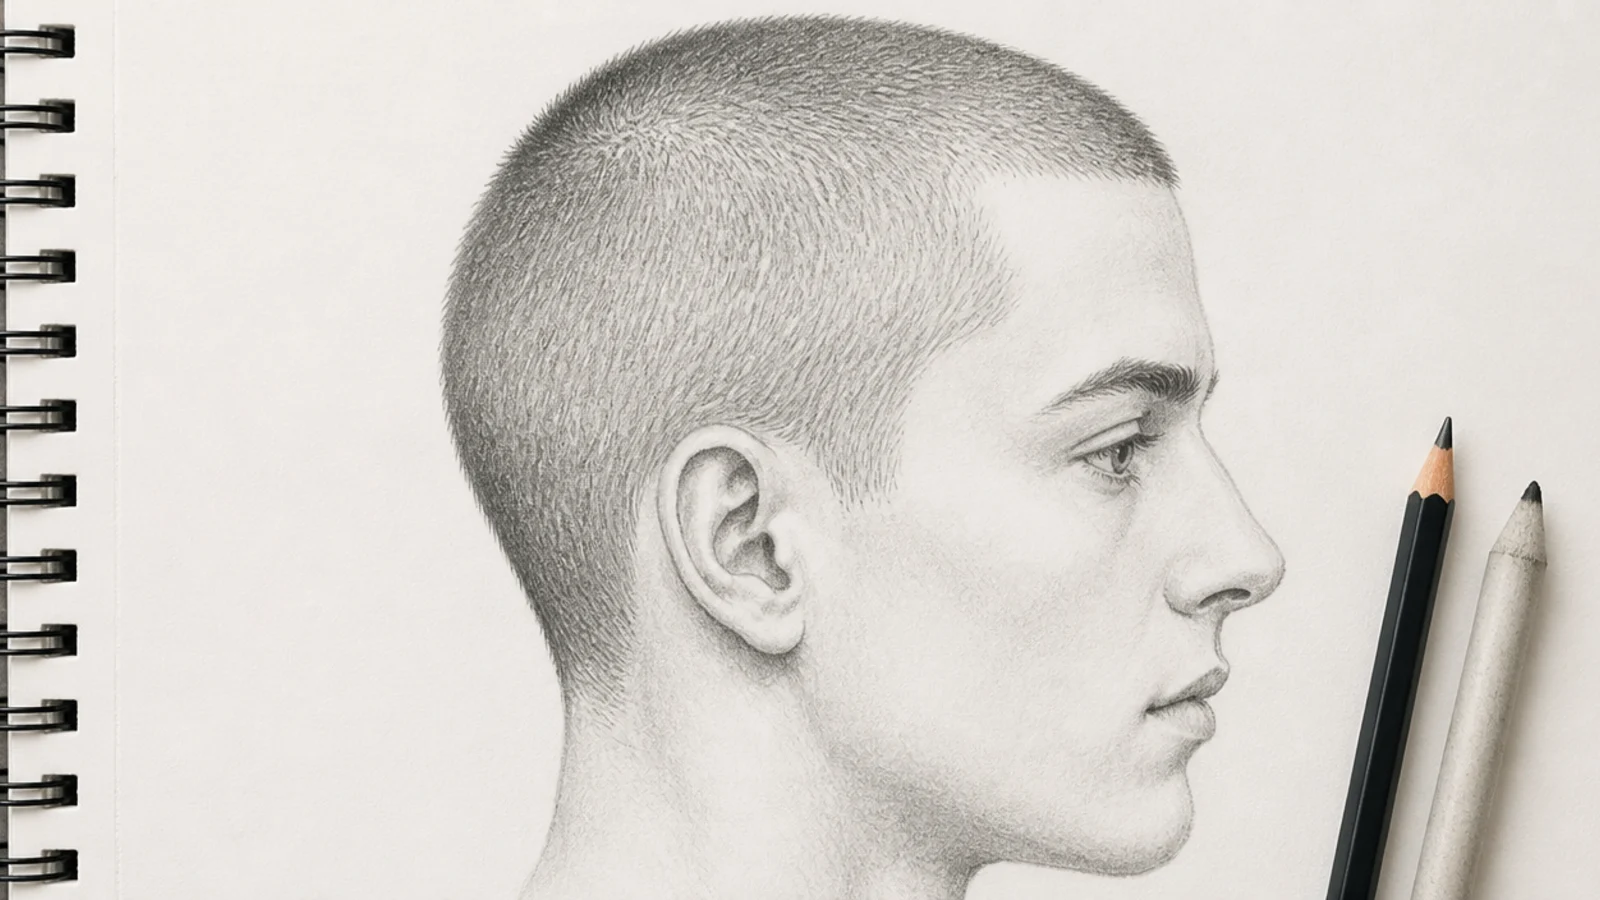
Stubble is texture without direction, so it reads as an even grain rather than as strokes. Lay a flat mid tone across the skull, tap a sharp point into it at random, and keep the temple a little darker where hair sits densest on most heads.
5. Curly Bob Ribbons
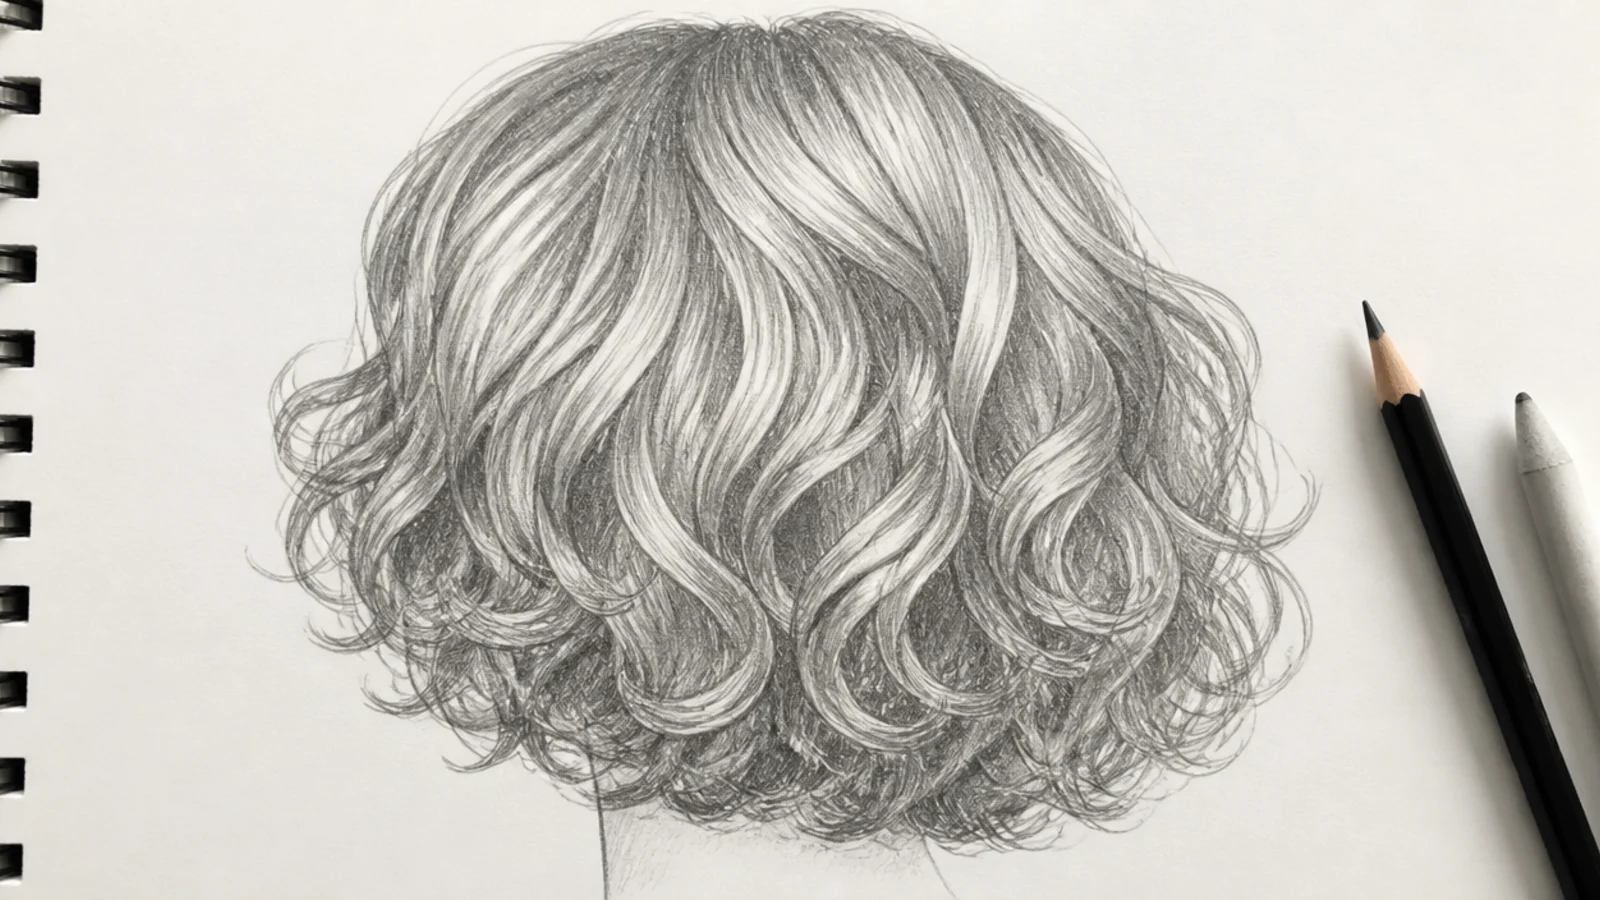
Curls at bob length have room for roughly two turns each before the cut ends them, which makes the perimeter a row of curl ends rather than a line. Draw each curl as a short ribbon and let the ends break outward, since a curly bob has no straight hemline anywhere on it.
6. Tapered 4C Natural
A tapered natural is a shaped mass, so the silhouette is crisp along the lined up front and soft everywhere the hair is free. Shade the interior as a rounded form with one broad highlight, and let the taper at the sides show as a change in tone rather than as a drawn edge.
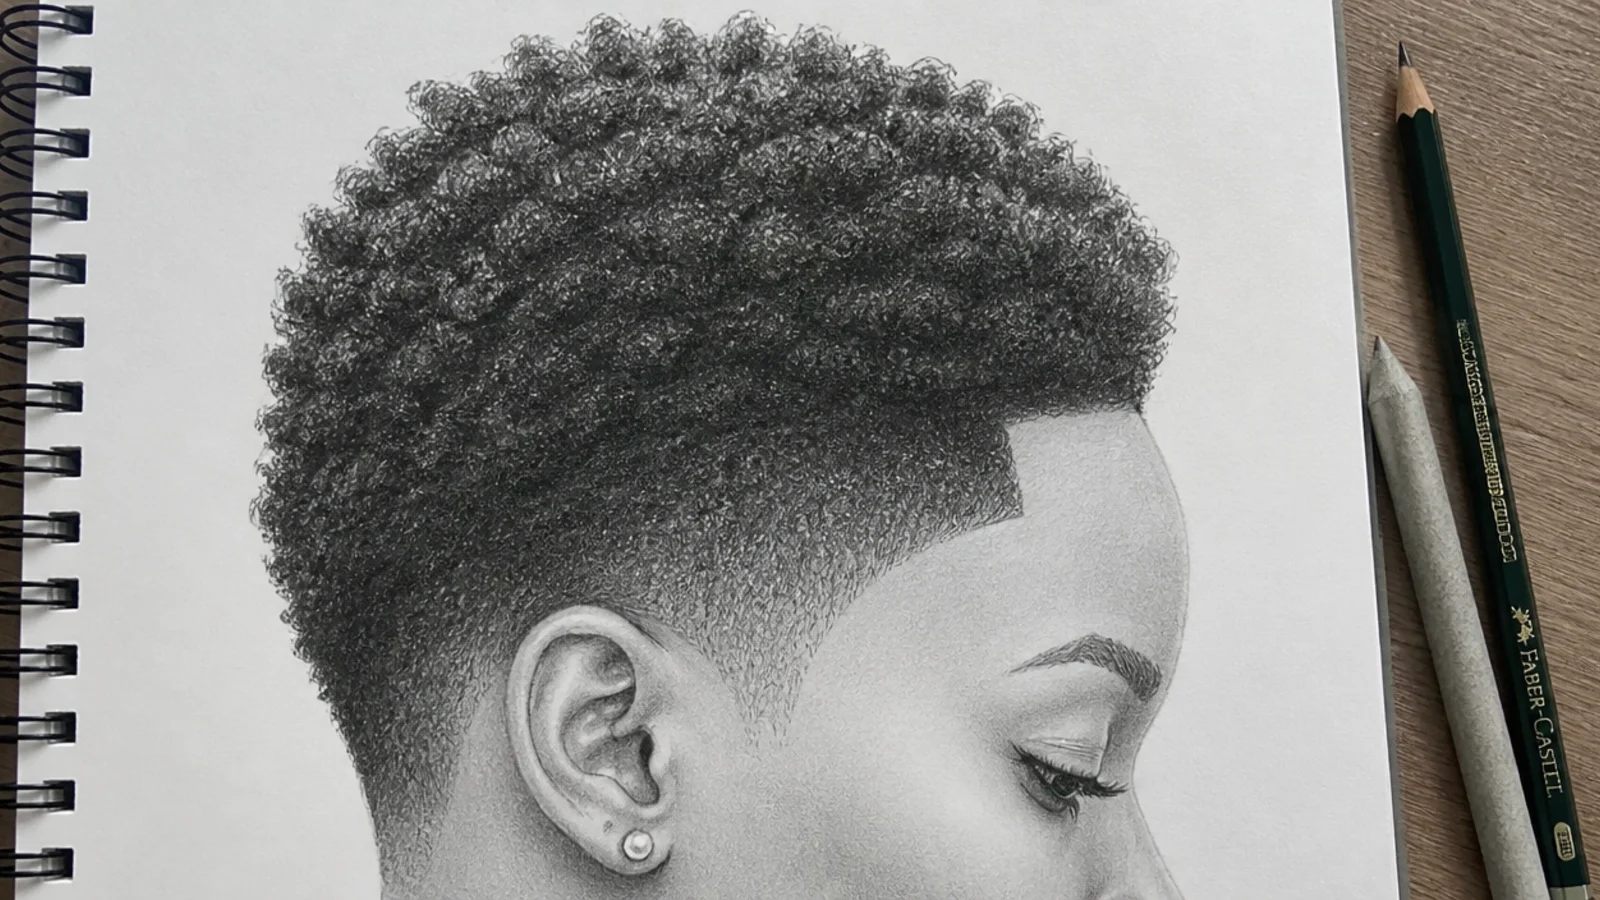
7. Undercut Contrast
The whole style is a contrast between two densities, which makes the boundary the drawing. Keep the shaved section as flat unvaried tone with no strand marks at all, then let the longer hair break over it unevenly so the disconnect reads as an overhang rather than a ruled line.
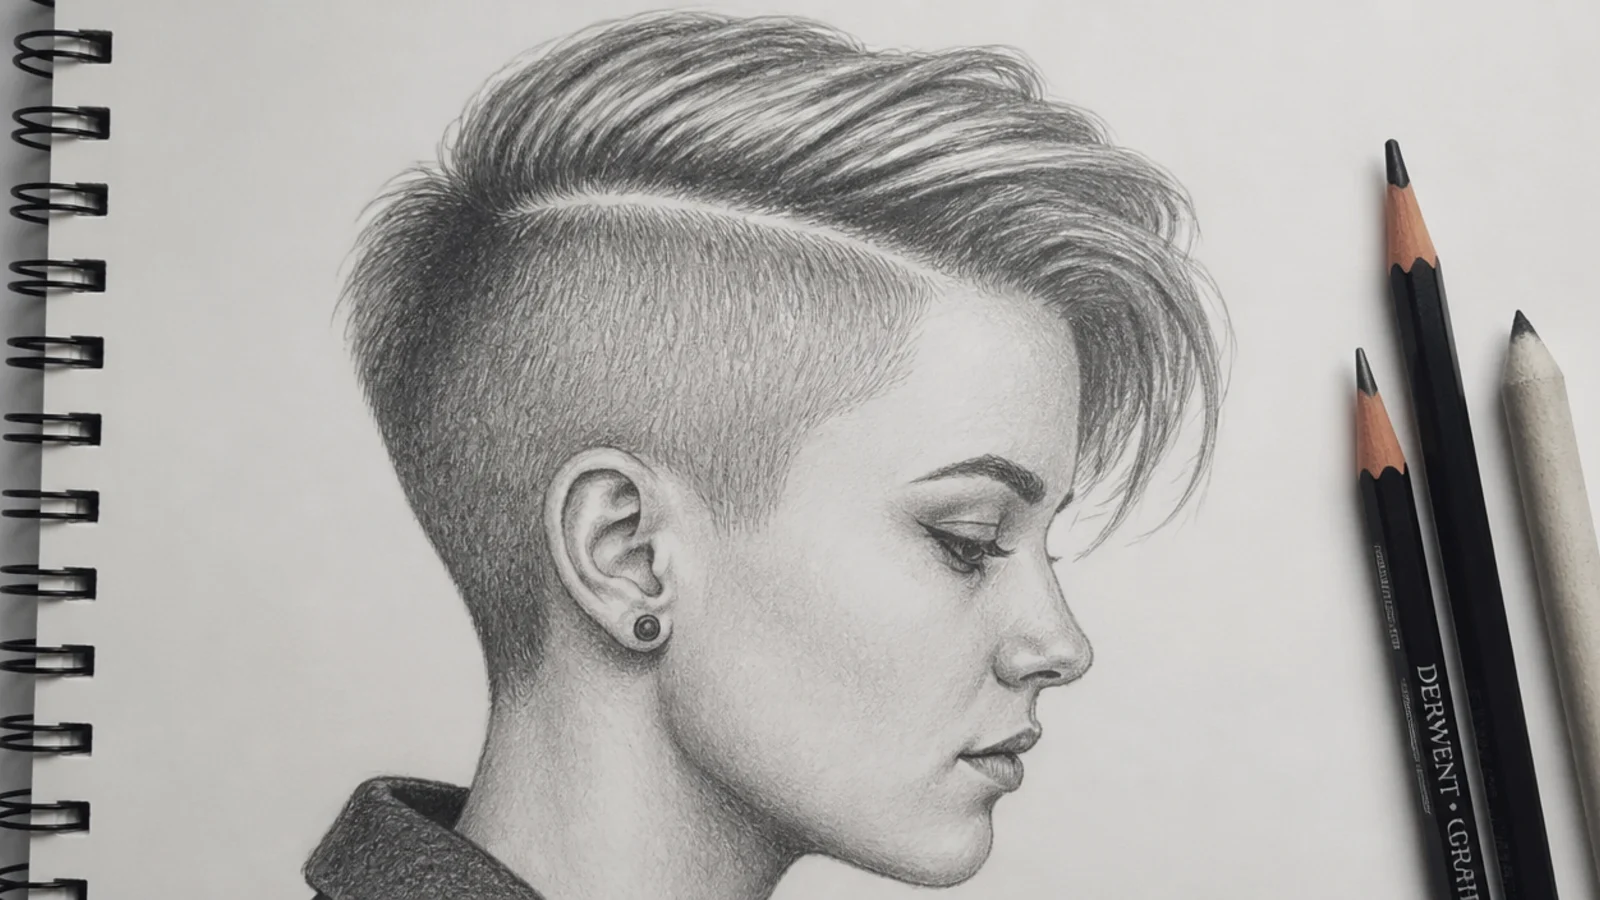
8. French Crop Fringe
A French crop is a blunt fringe pushed forward over short sides, which puts a hard horizontal across the forehead. Keep that edge level but slightly irregular at the tips, and darken the strip of forehead directly beneath it where the fringe throws its shadow.
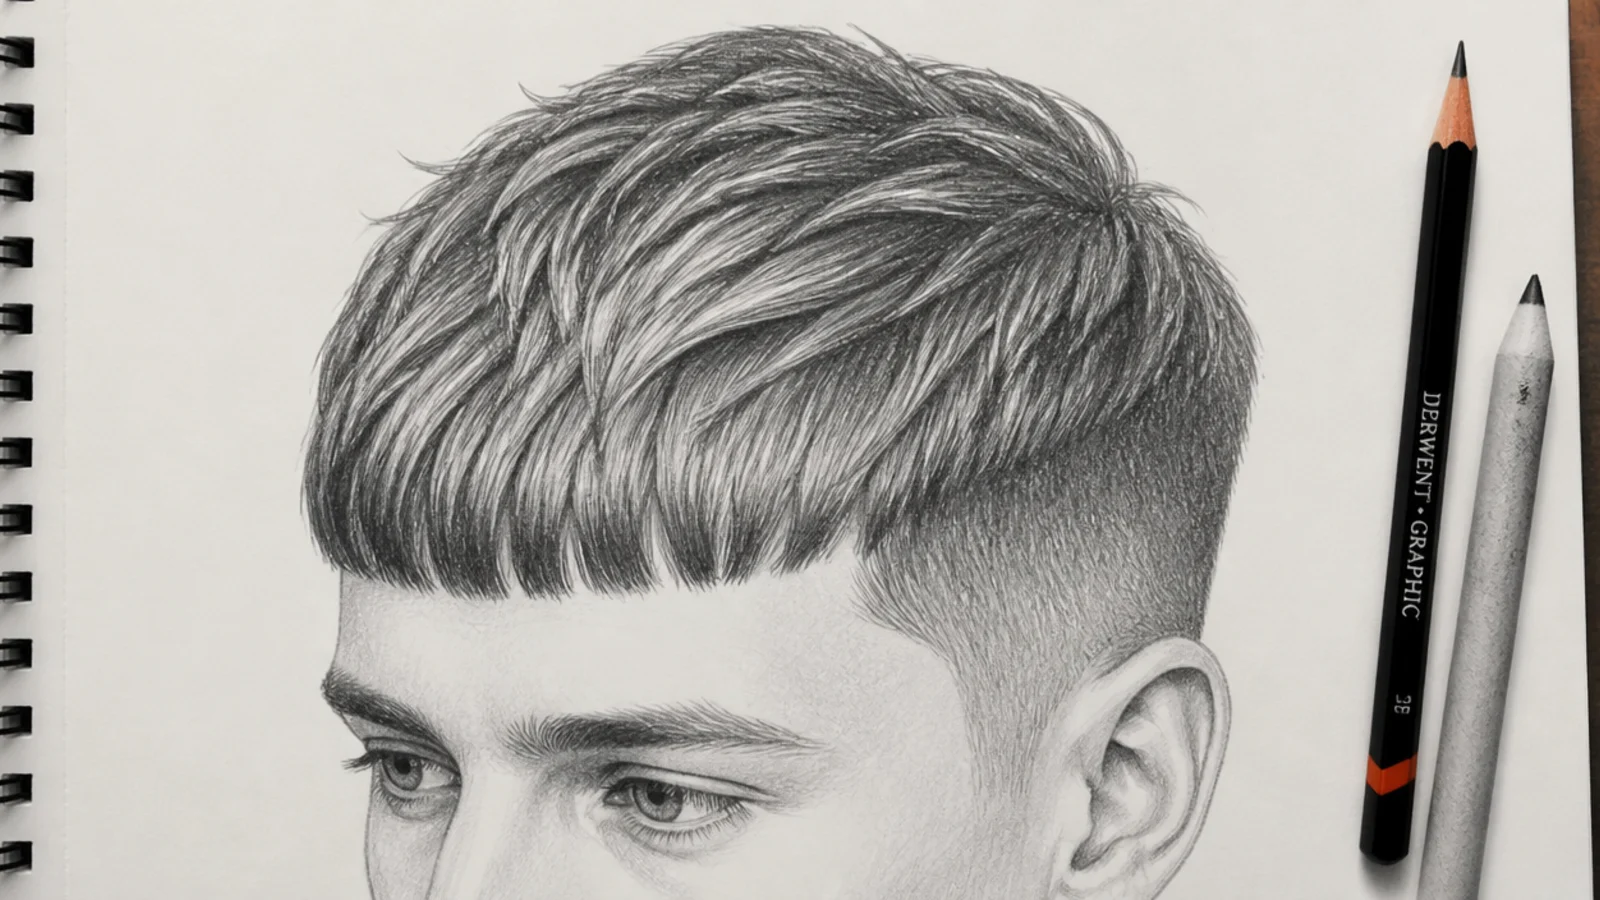
9. Short Shag Layers
A shag stacks short crown layers over longer ones, so the ends land at several heights and the silhouette turns spiky rather than solid. Draw each layer finishing at a different depth and let the ends separate, since a single hemline turns the whole thing back into a bob.
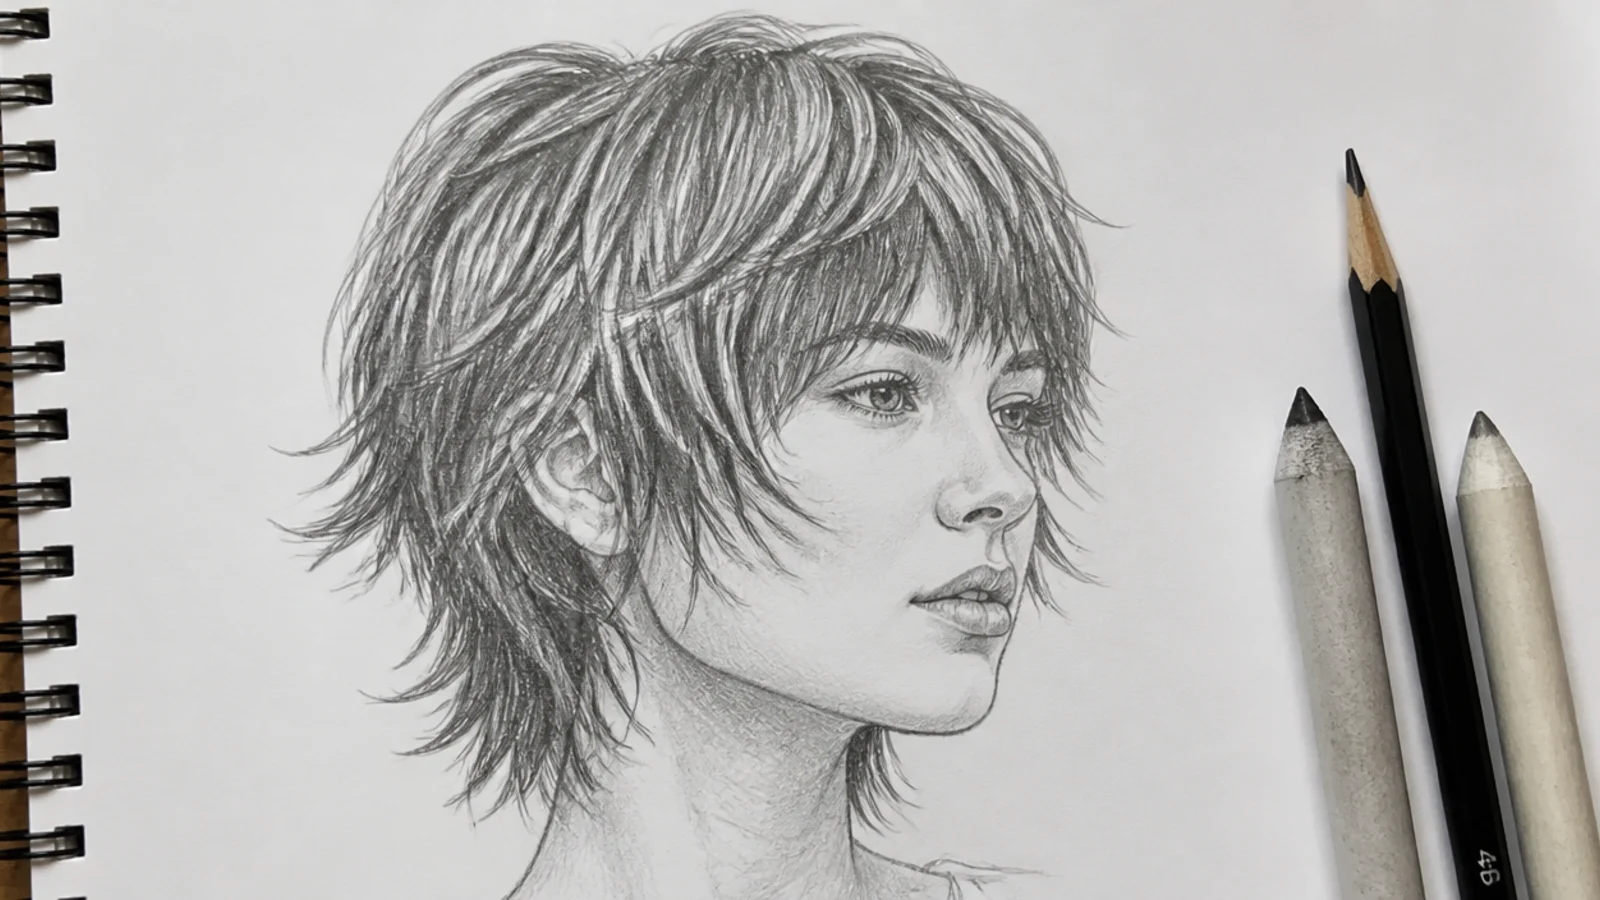
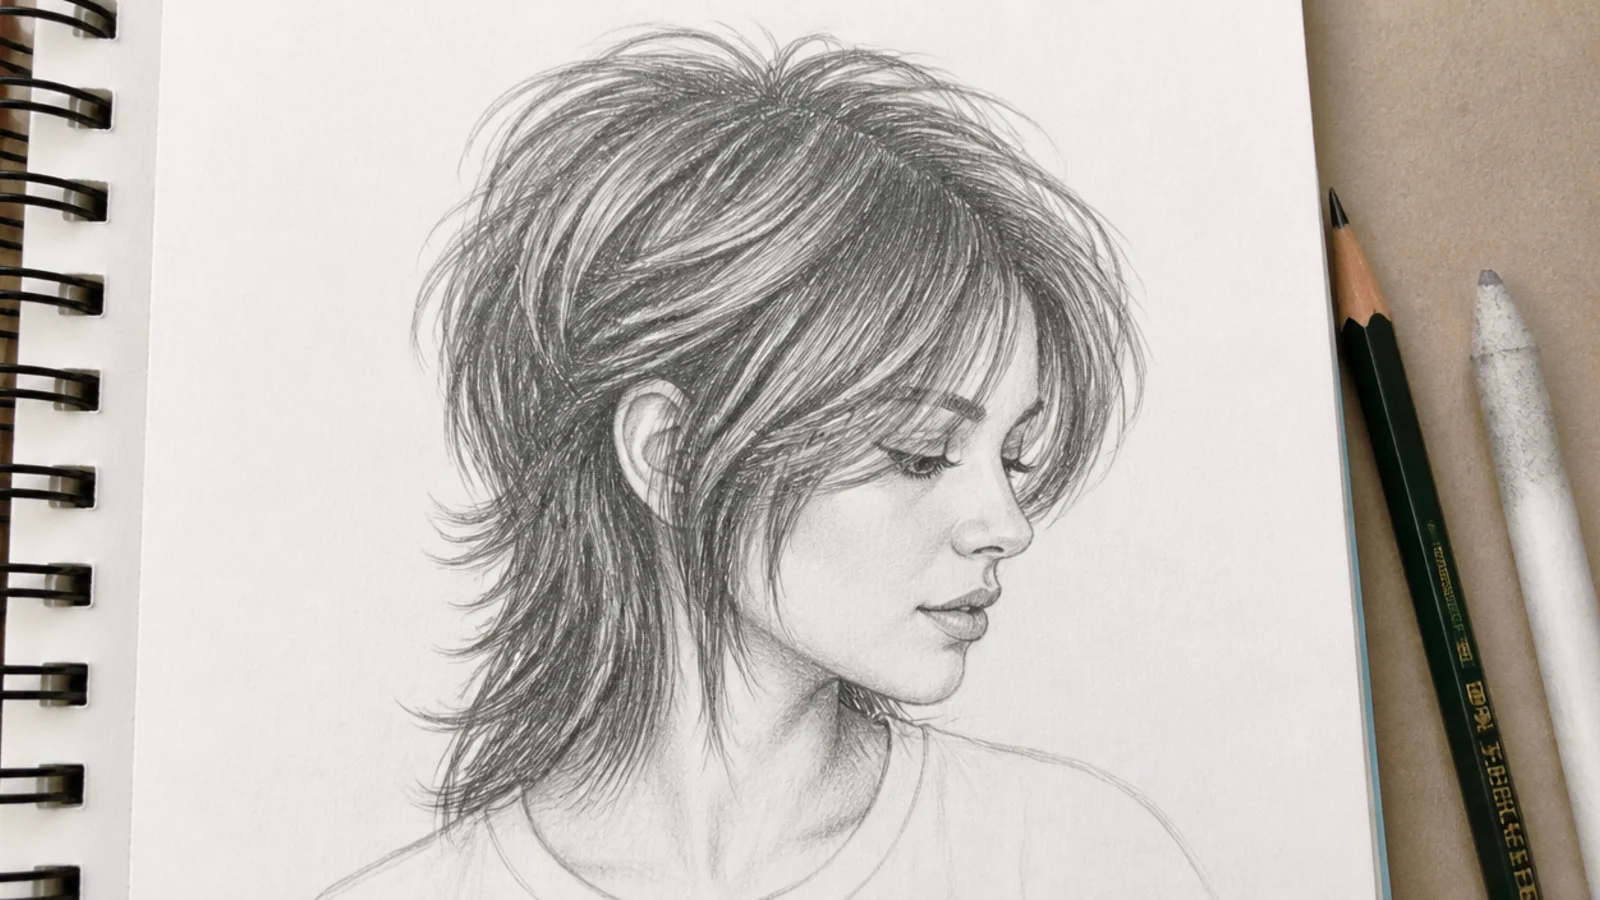
10. Short Wolf Cut
A wolf cut carries heavy volume at the crown falling into a narrower wispier perimeter, so the silhouette is wide at the top and broken at the bottom. Keep the transition abrupt rather than gradual, because a smooth taper produces a shag and the disconnect is what names this cut.
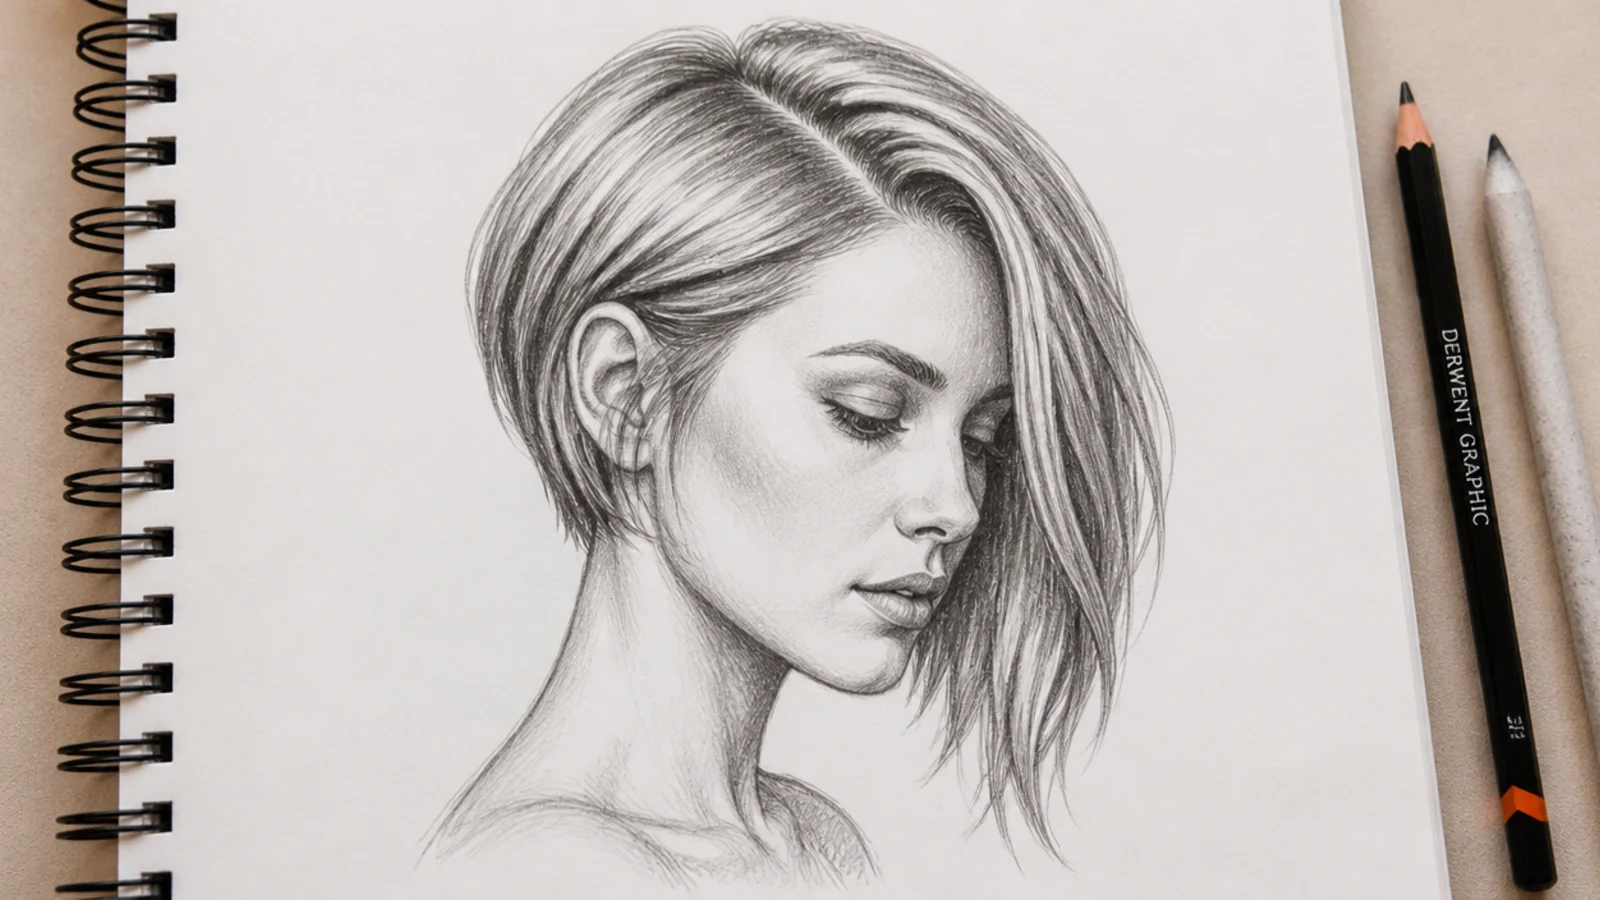
11. Asymmetric Bob
Asymmetry only reads when one line is clearly diagonal and everything else stays level. Take one side well below the jaw and the other well above it, since a small difference between the two looks like a mistake while an obvious one looks deliberate.
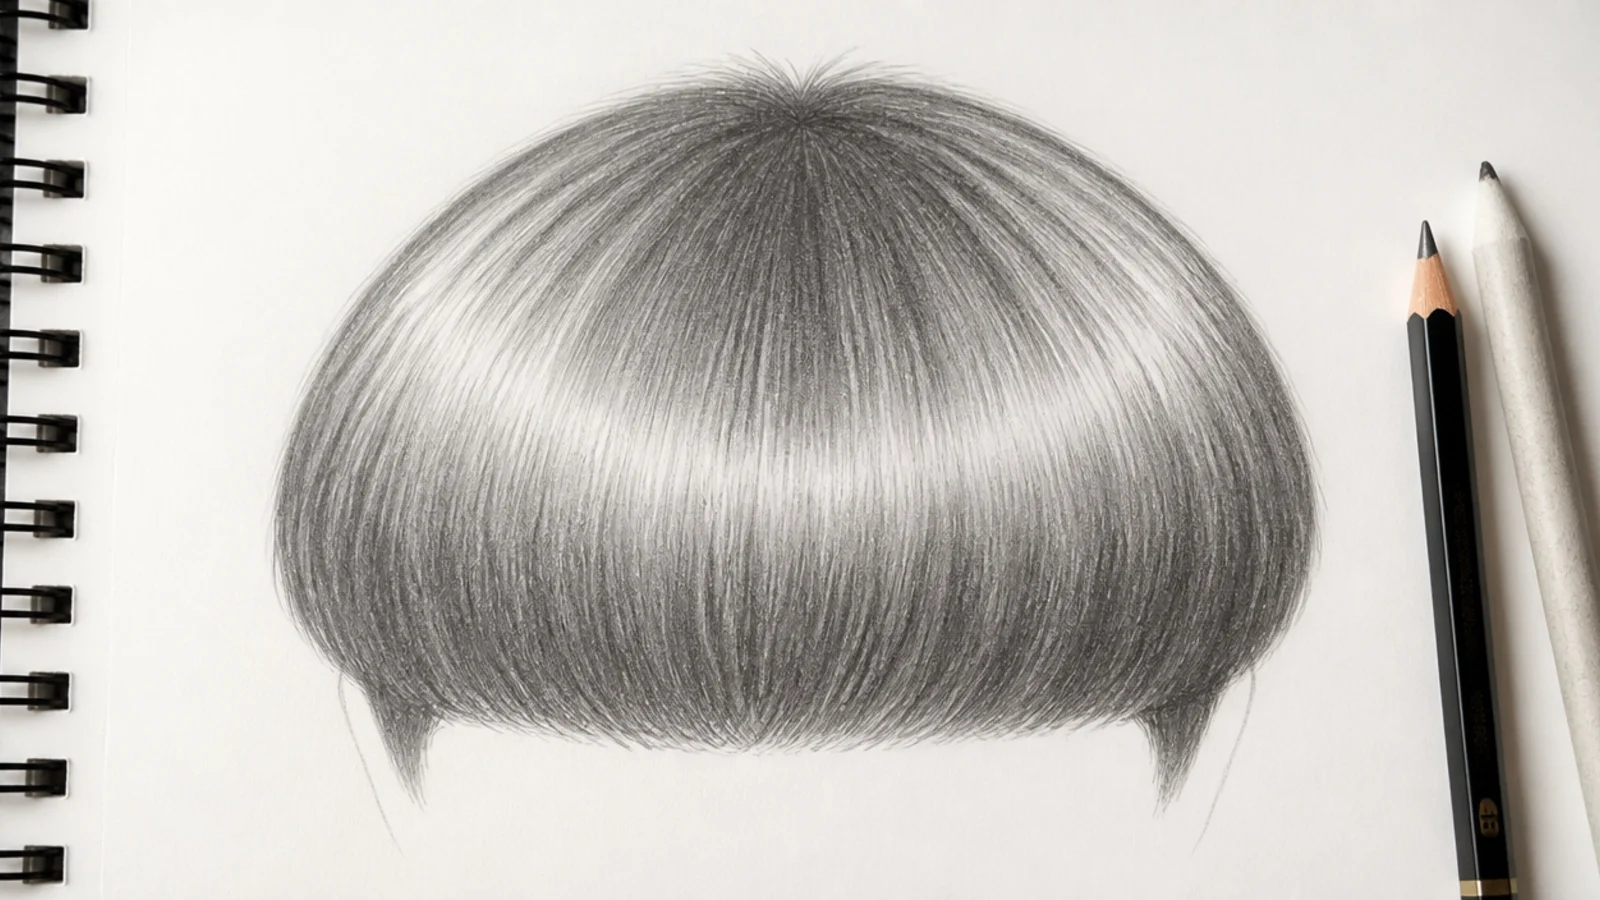
12. Bowl Cut Shine
A bowl cut is one unbroken curve around the head, which means the highlight can run as a single clean band with nothing interrupting it. Keep the perimeter perfectly even and put the brightest value where the skull turns at the top, because the shine is the only thing the shape offers.
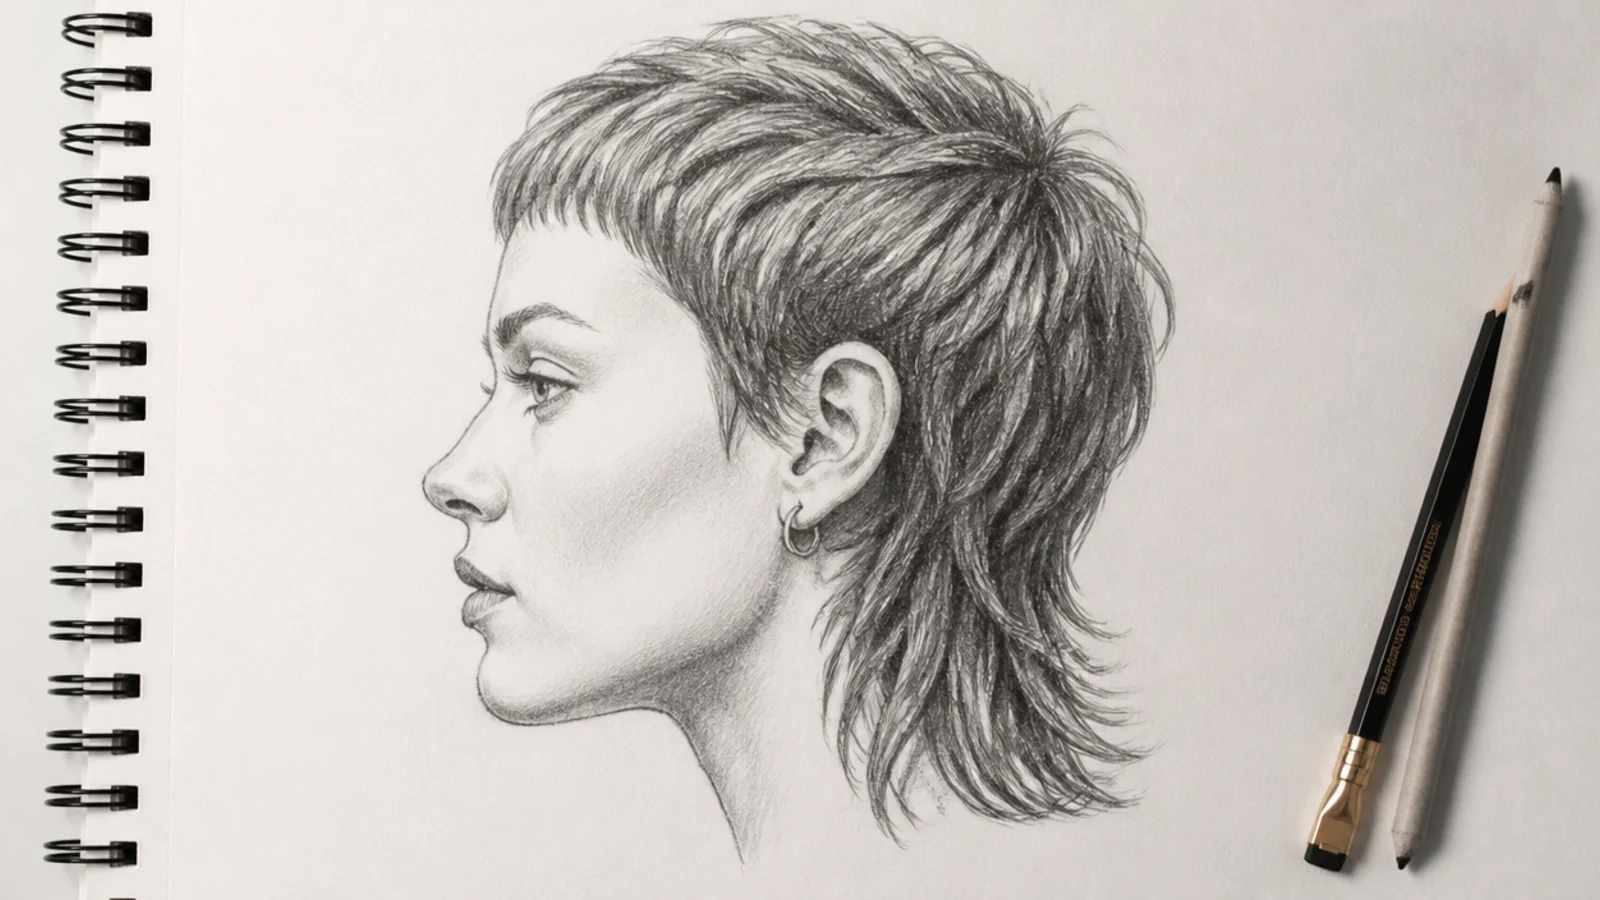
13. Short Mullet
Short at the front and sides with weight kept at the back, and the profile is the only view that proves it. Let the back length break the line of the neck and keep the transition gradual through the sides, since a stepped change reads as two haircuts rather than one.
14. Finger Wave Crop
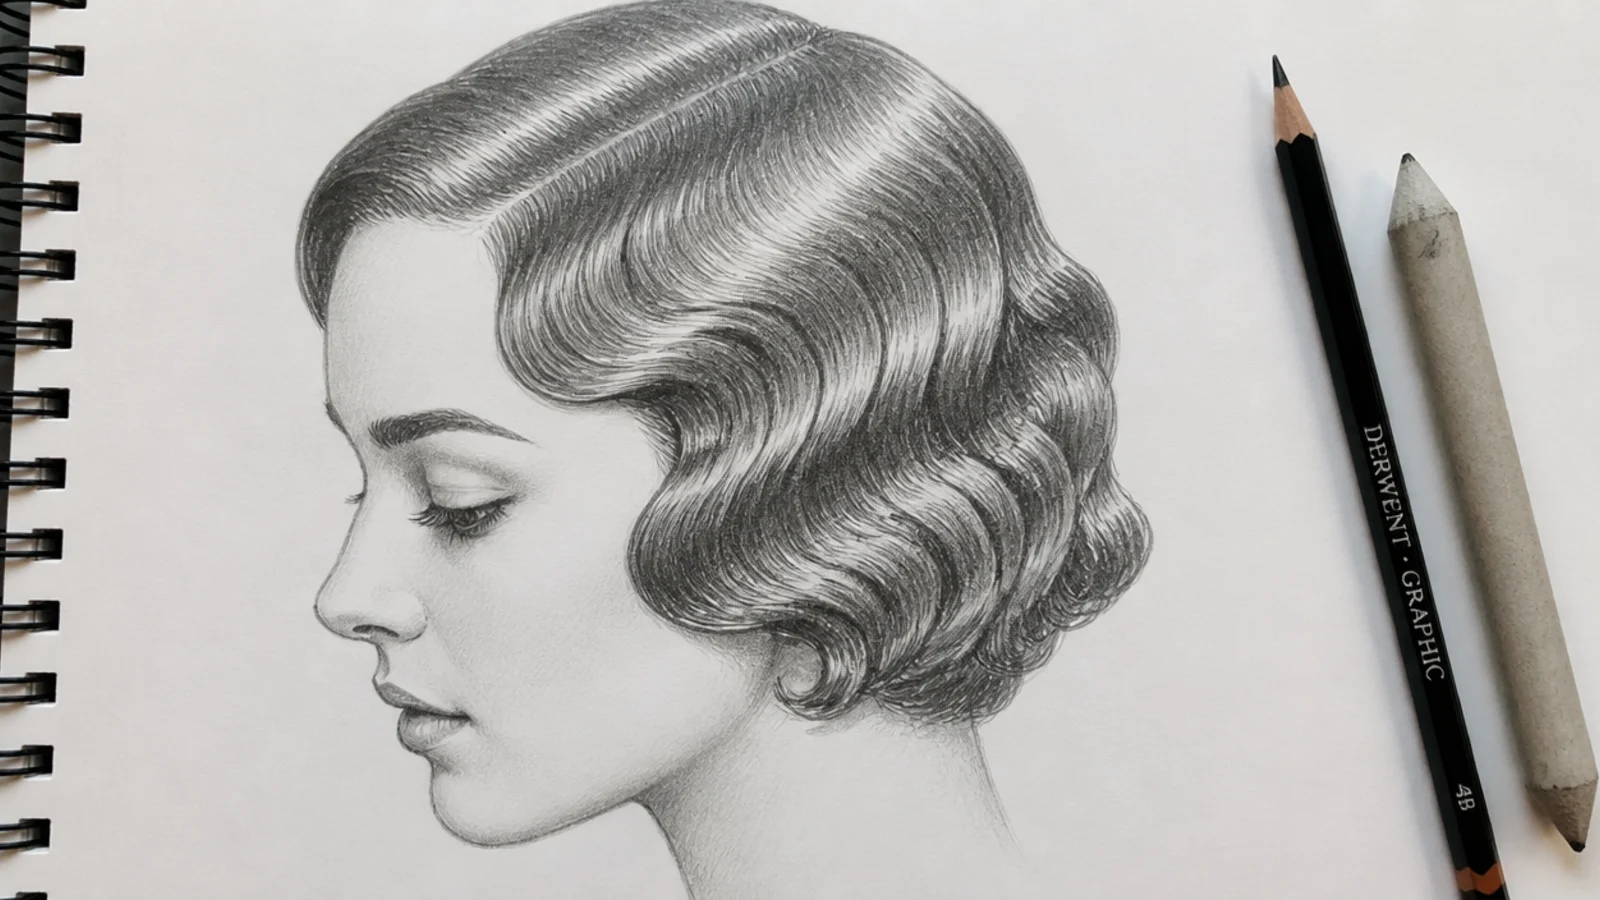
Finger waves are S bends pressed flat against the skull, so they are shaded as ridges and troughs rather than as strands. Put a bright highlight along the crest of each ridge and the darkest value in each trough, keeping the wavelength identical right across the head.
15. Back View Crop
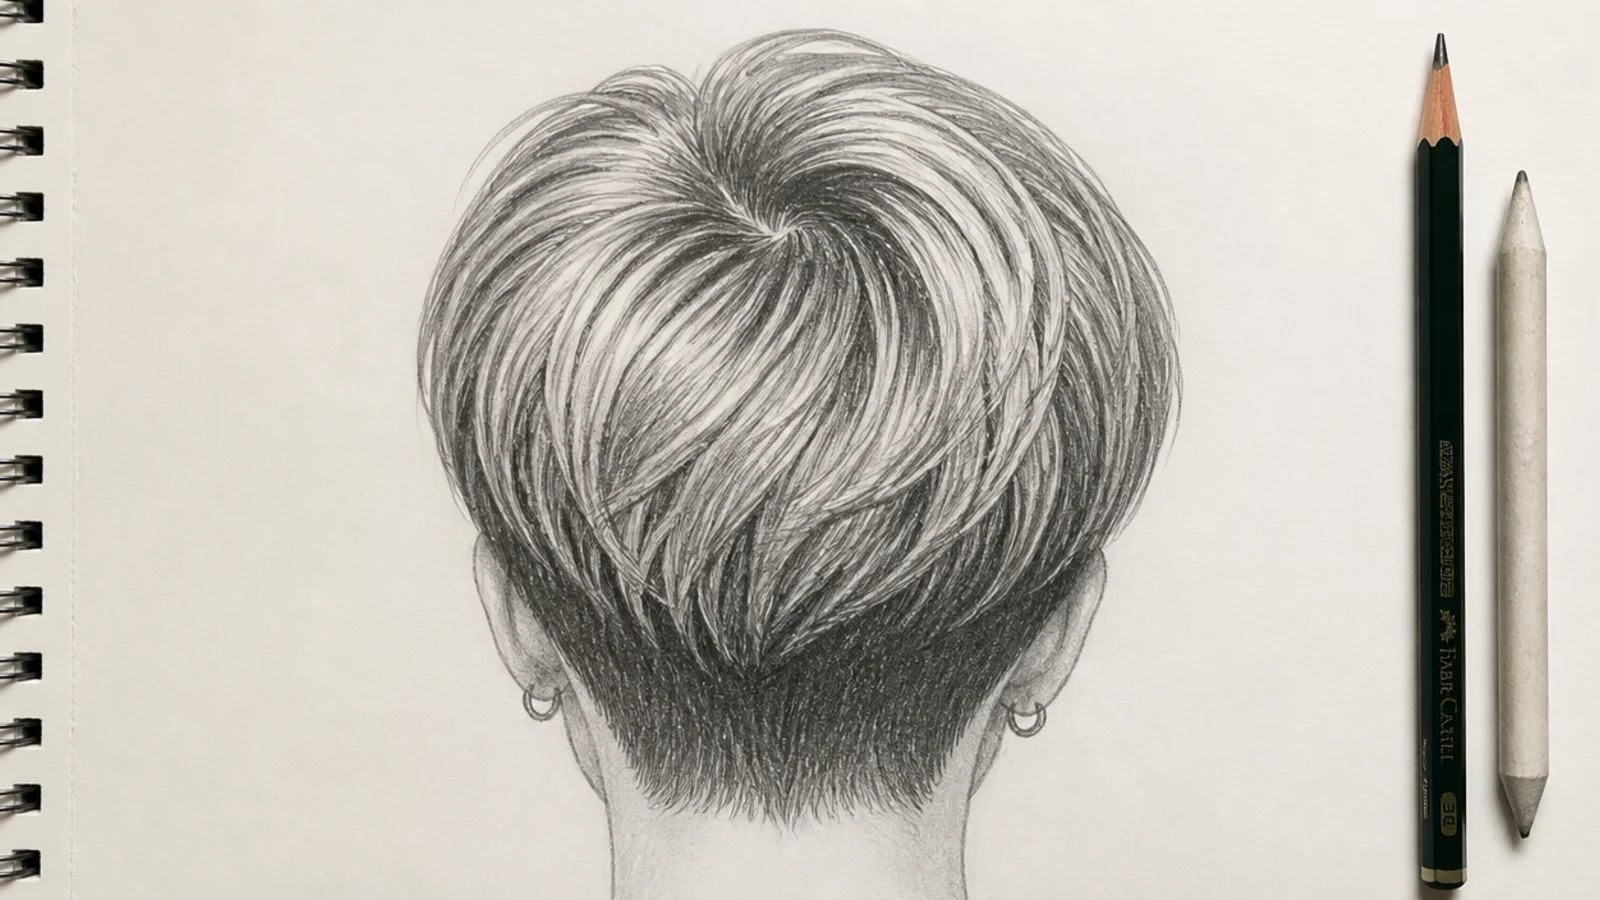
From behind there is no face to hold the proportions, so the drawing rests on the neckline, the occipital curve and the taper at the nape. Show the skull bulging where the occipital bone sits and narrowing sharply beneath it, because that curve is the only landmark you have left.
Final Thoughts
Spend the first ten minutes on the skull and the drawing will finish itself. Flat temples, a parietal ridge that turns rather than curves, and an occipital bulge at the back are the three shapes that carry every cut on this page, and none of them can be added later once the hair is shaded over the top. Long hair forgives a poorly built head because the mass hides it. Short hair simply reports it.
After the skull, work only on the edge. Interior detail on a crop is almost always wasted effort, while ten minutes spent breaking the contour into flicks that follow the growth direction changes the drawing completely. For reference photographs of short curls see short curly hair for men, and for the fade shapes behind several of these studies see burst fade on short hair. More in Hair Drawing.