20 Realistic Curly Hair Drawing Ideas
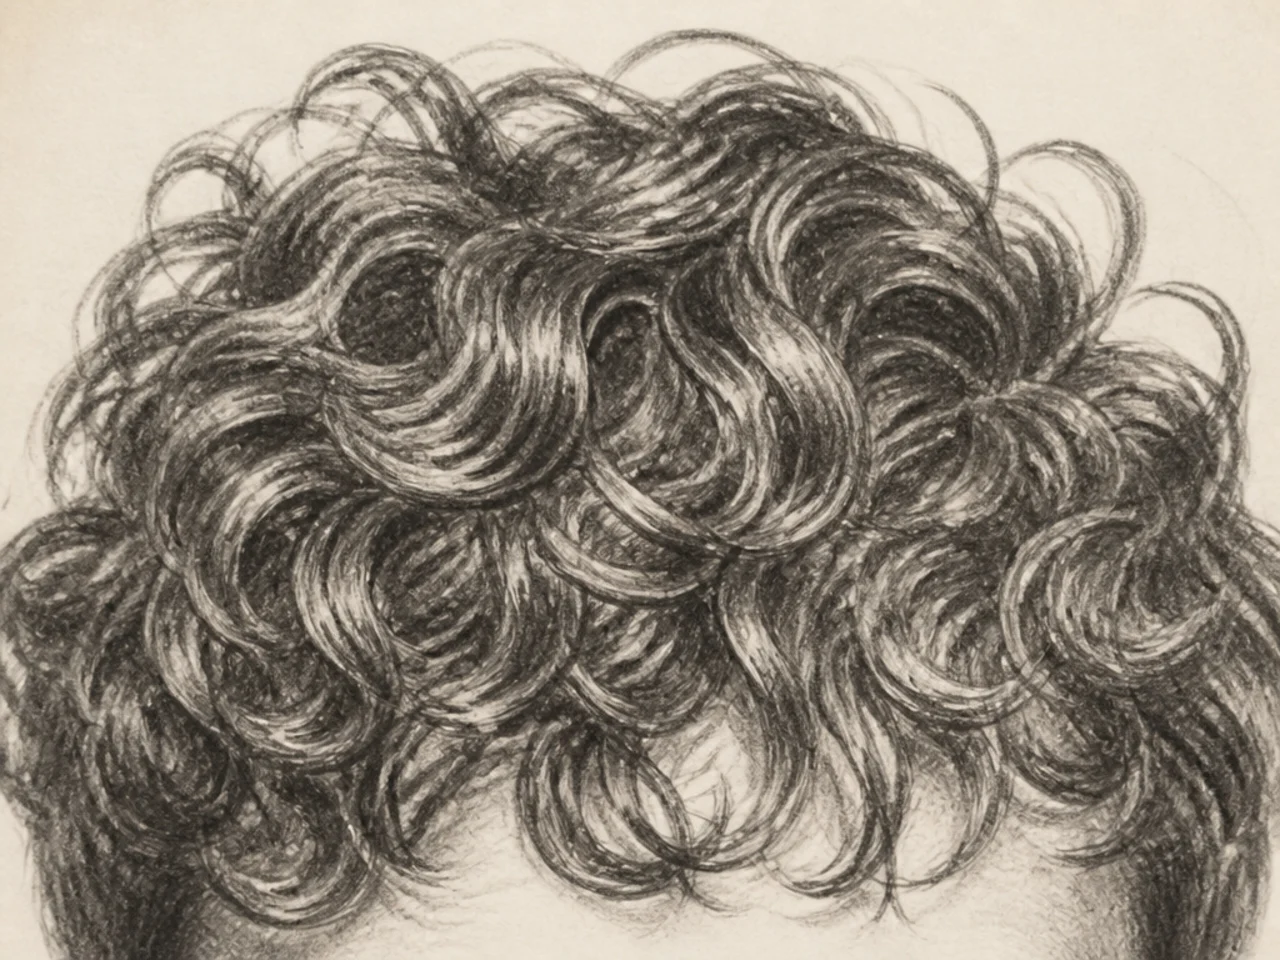
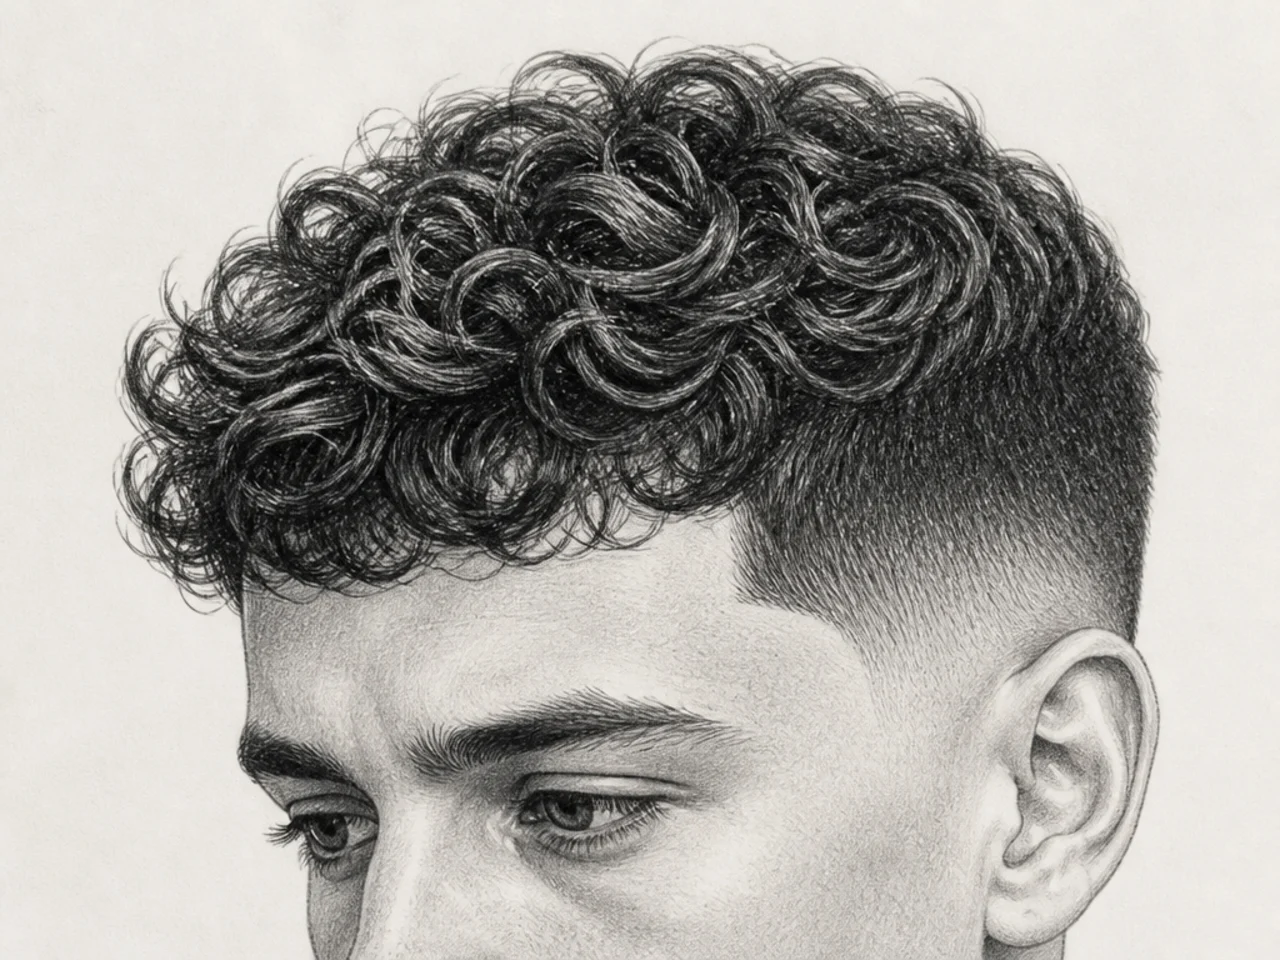
Twenty realistic curly hair studies, and the thing realism actually depends on — edge variety, not curl count. Photorealistic hair has soft edges in shadow and hard edges in light, and almost nobody draws both.
In this article · 27
- Edge Variety
- Detail Distribution
- The 20 Studies
- 1. Four-Edge Study
- 2. Lost Edge Practice
- 3. Shadow Mass, No Detail
- 4. Ten Per Cent Detail
- 5. Single Curl, Photoreal
- 6. Rim-Lit Curls
- 7. Value Scale Match
- 8. Flyaway Strands
- 9. Wet Curl Rendering
- 10. Backlit Realism
- 11. Root Darkness Study
- 12. Hair Against Skin
- 13. Overlapping Depth
- 14. Highlight Break-Up
- 15. Coily Texture Realism
- 16. Two-Hour Render
- 17. Graphite Versus Charcoal
- 18. Eraser as Drawing Tool
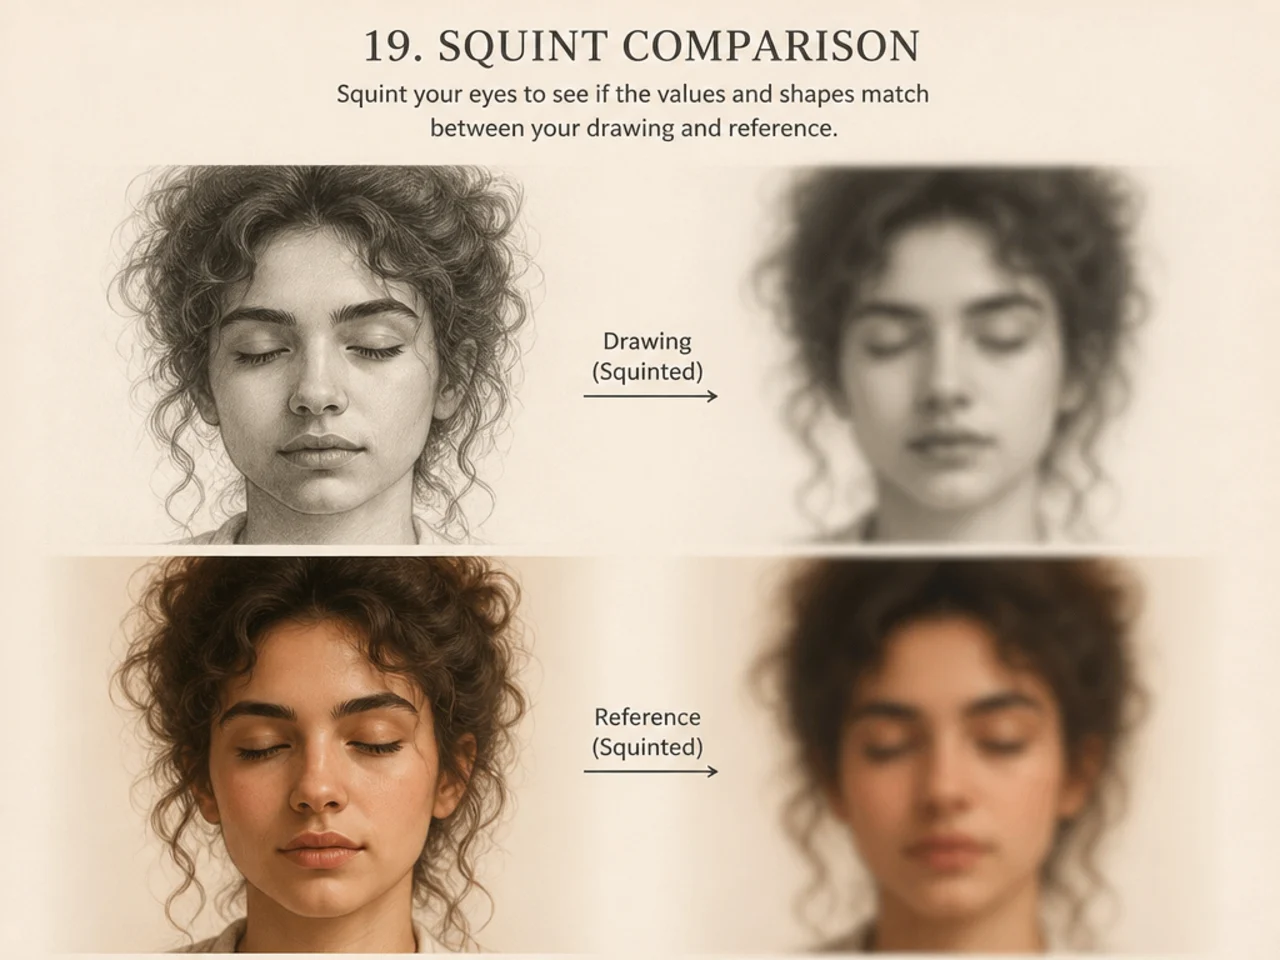
- 19. Squint Comparison
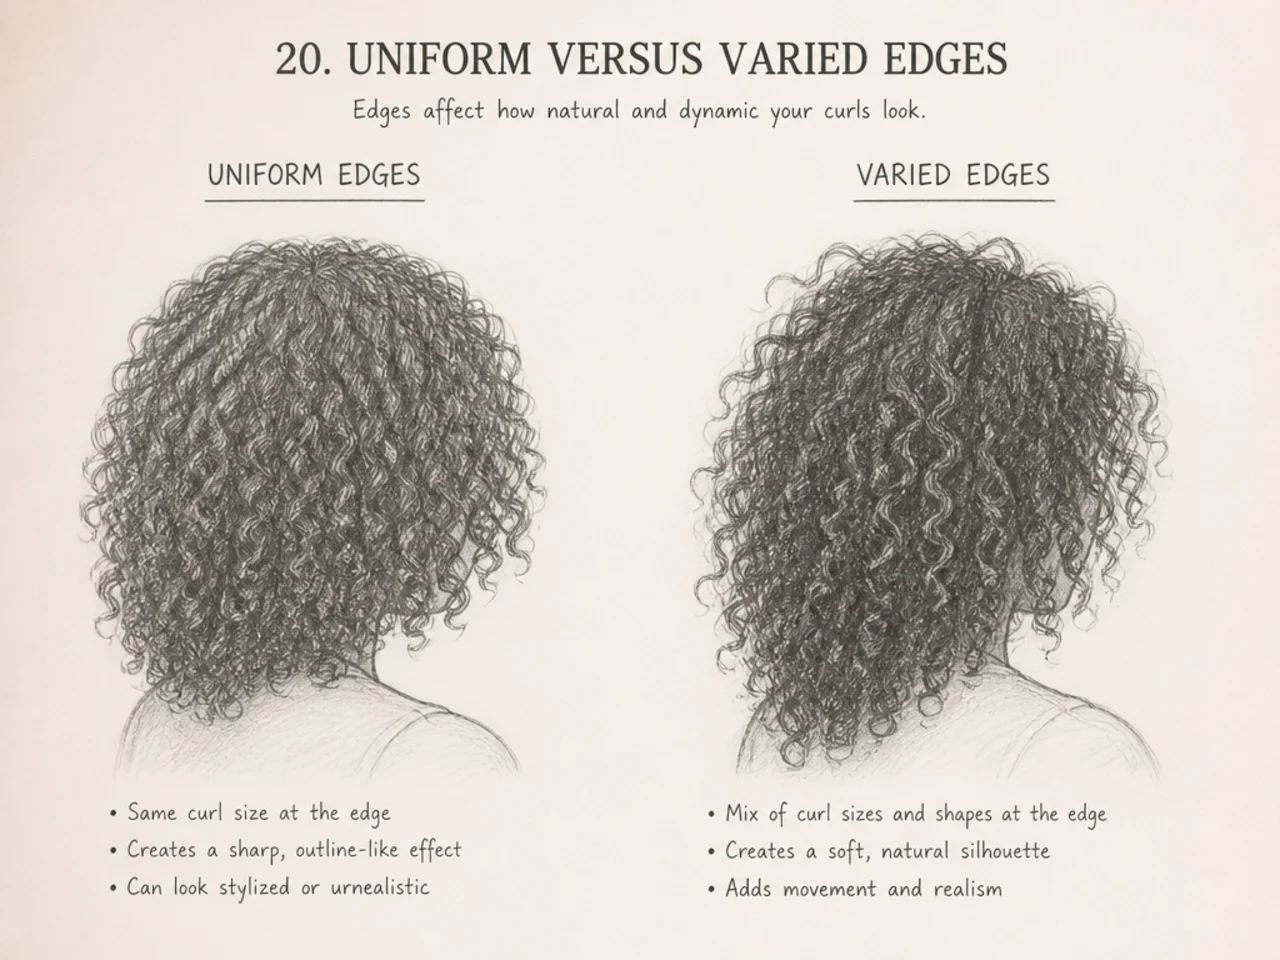
- 20. Uniform Versus Varied Edges
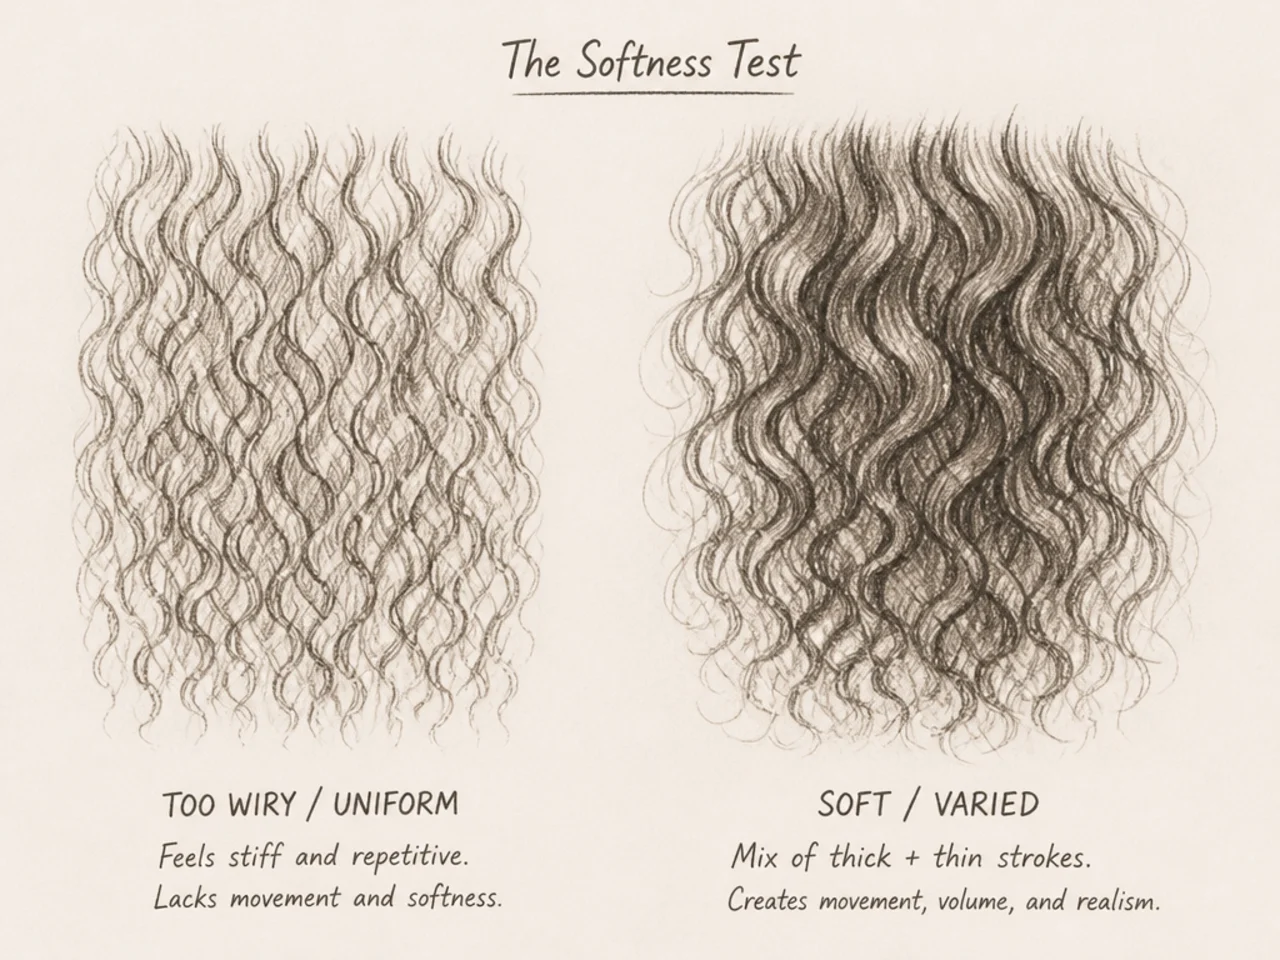
- The Softness Test
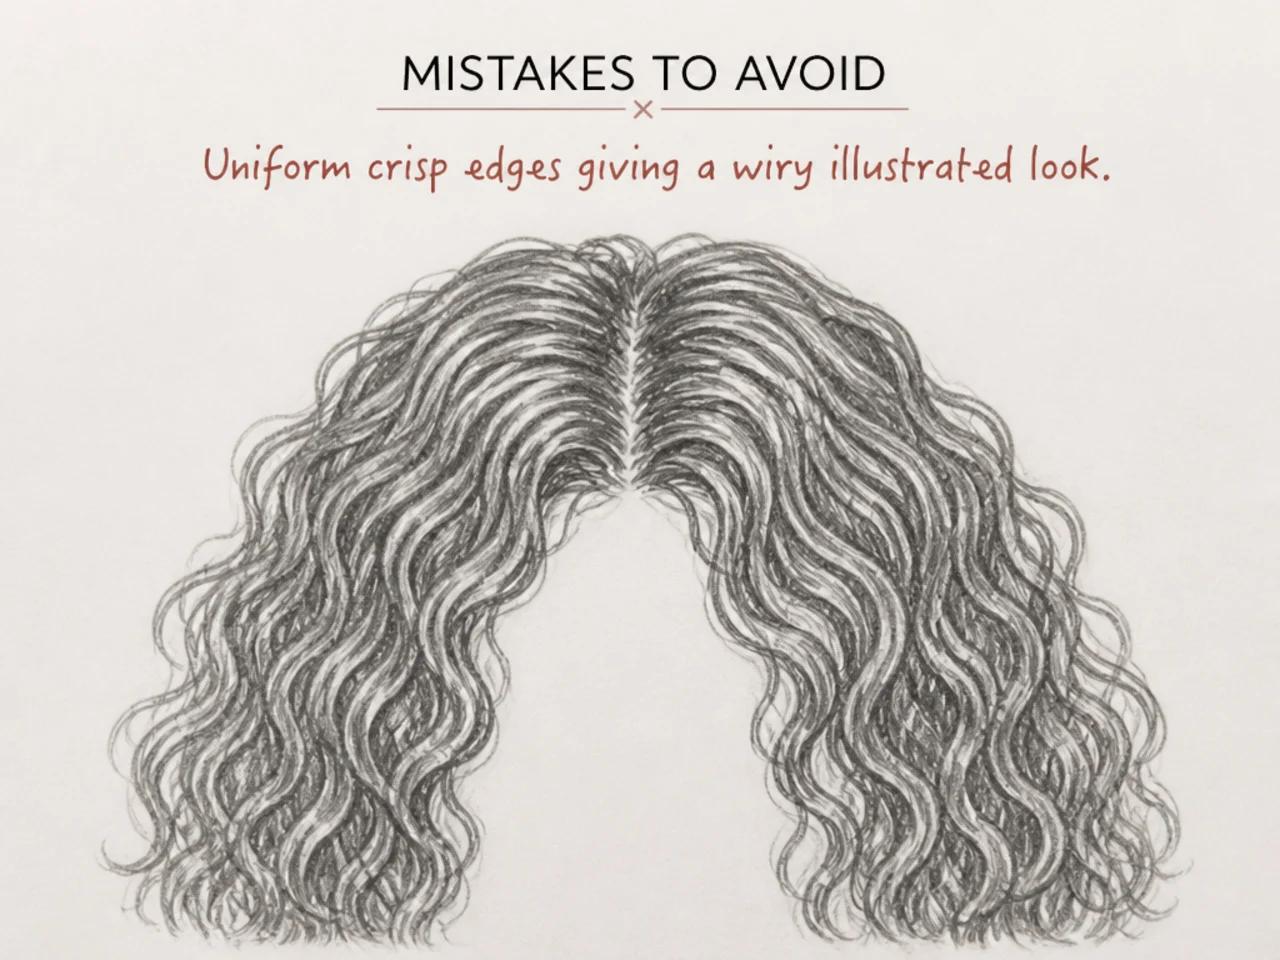
- Mistakes to Avoid
- FAQ
- Final Thoughts
Realism in hair drawing is usually pursued by adding curls, and that is the wrong variable. Photorealistic hair does not have more detail than an unconvincing drawing — it has detail in fewer places and more kinds of edge.
That is the whole difference, and it is the thing almost nobody practises.
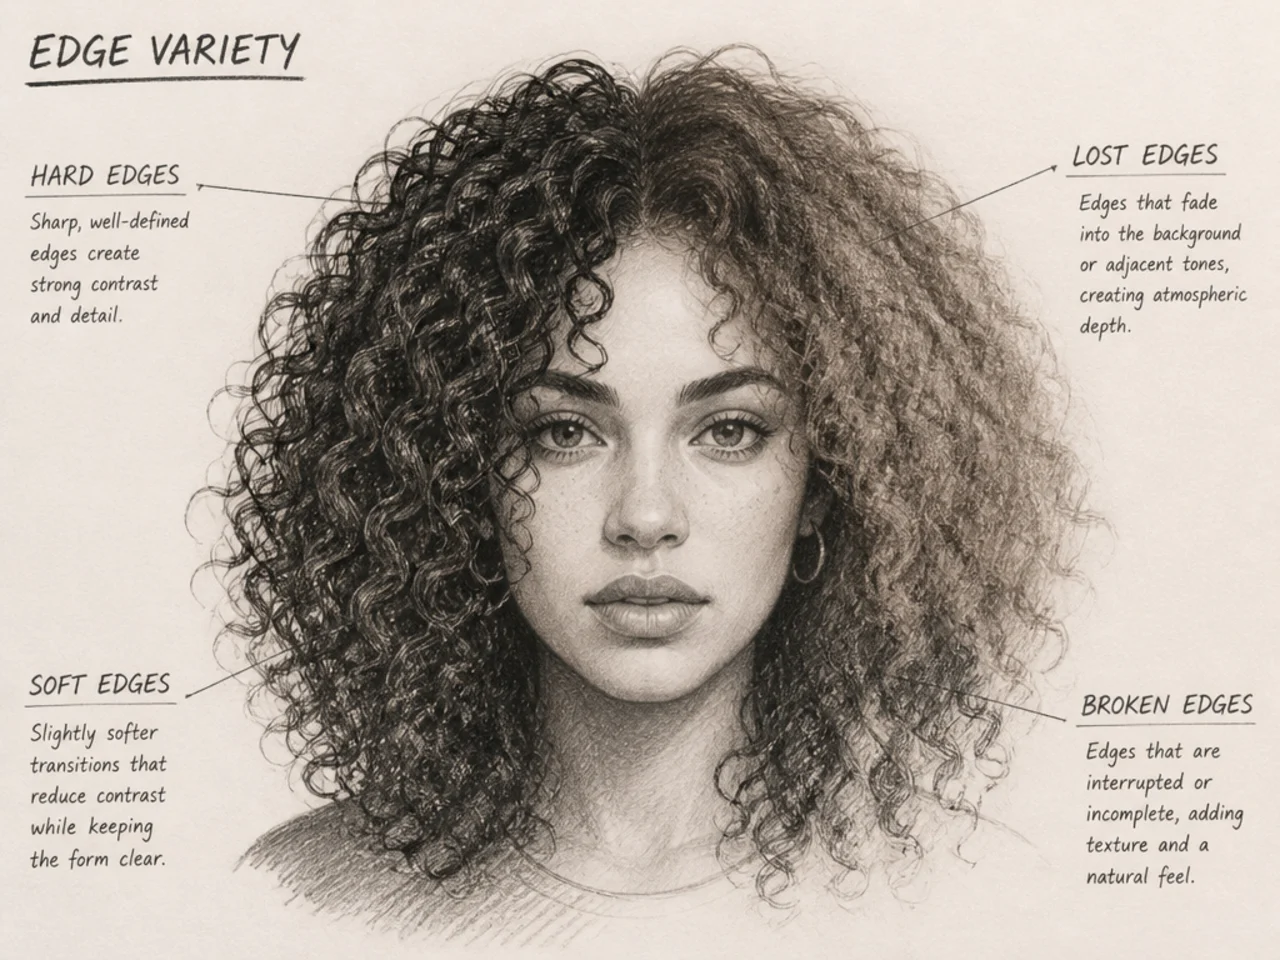
Edge Variety
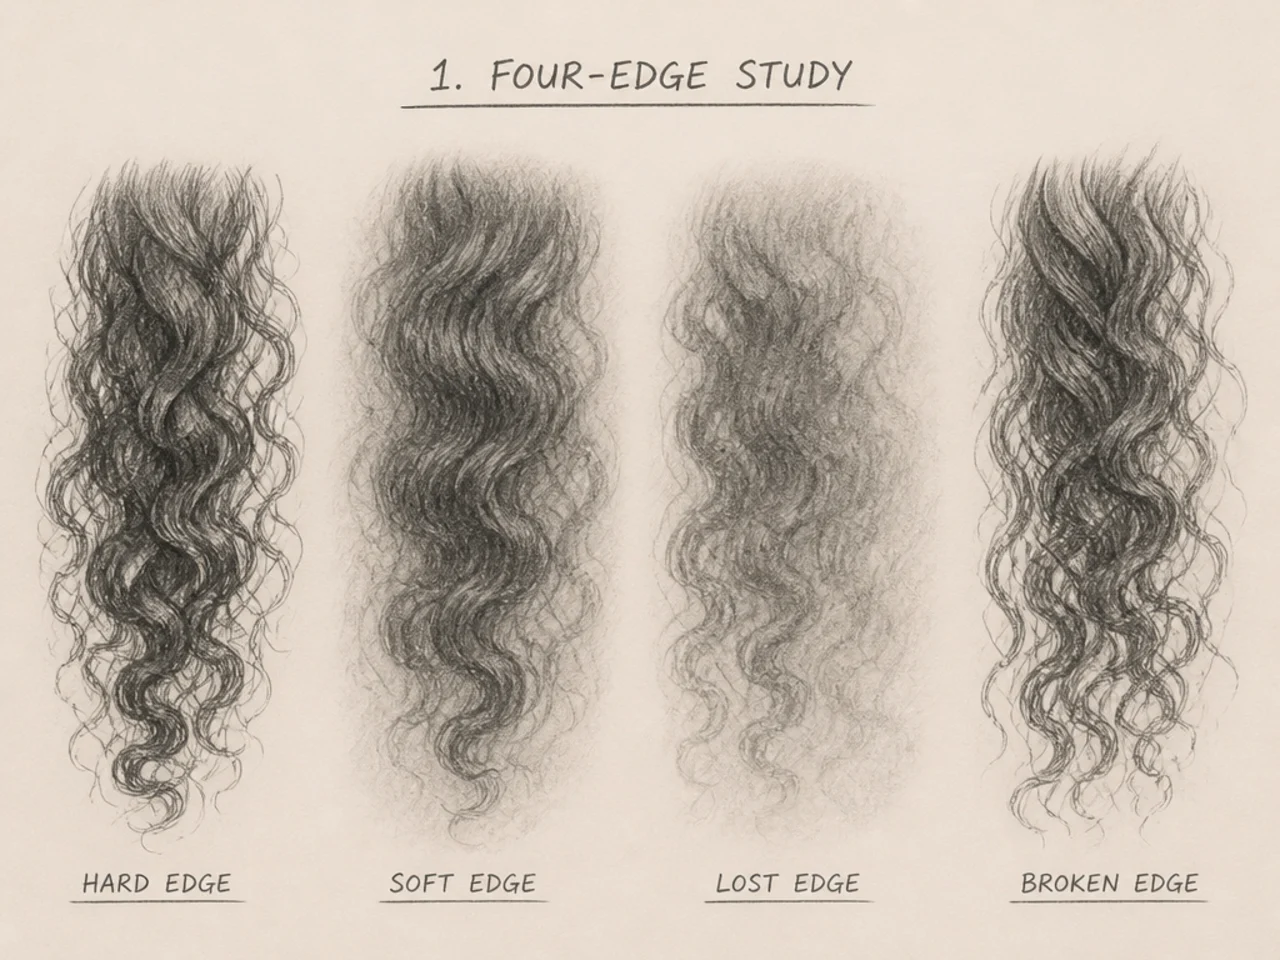
Real hair presents at least four different edge qualities in the same head, and using one throughout is what makes a drawing read as illustration.
Hard edges where light strikes. A lit curl against a dark background has a crisp, sharp boundary. This is where sharpness belongs.
Soft edges in shadow. Hair in shadow dissolves into the shadow mass. There is often no visible boundary at all, and drawing one flattens the whole area.
Lost edges. Places where the hair and background are the same value and the edge simply disappears. Deliberately losing an edge is one of the strongest realism tools available.
Broken edges. Fine strands escaping, breaking the outline into fragments.
A drawing with all four reads as photographic. A drawing with one reads as a diagram.
Detail Distribution
The second half of realism, and it is counter-intuitive.
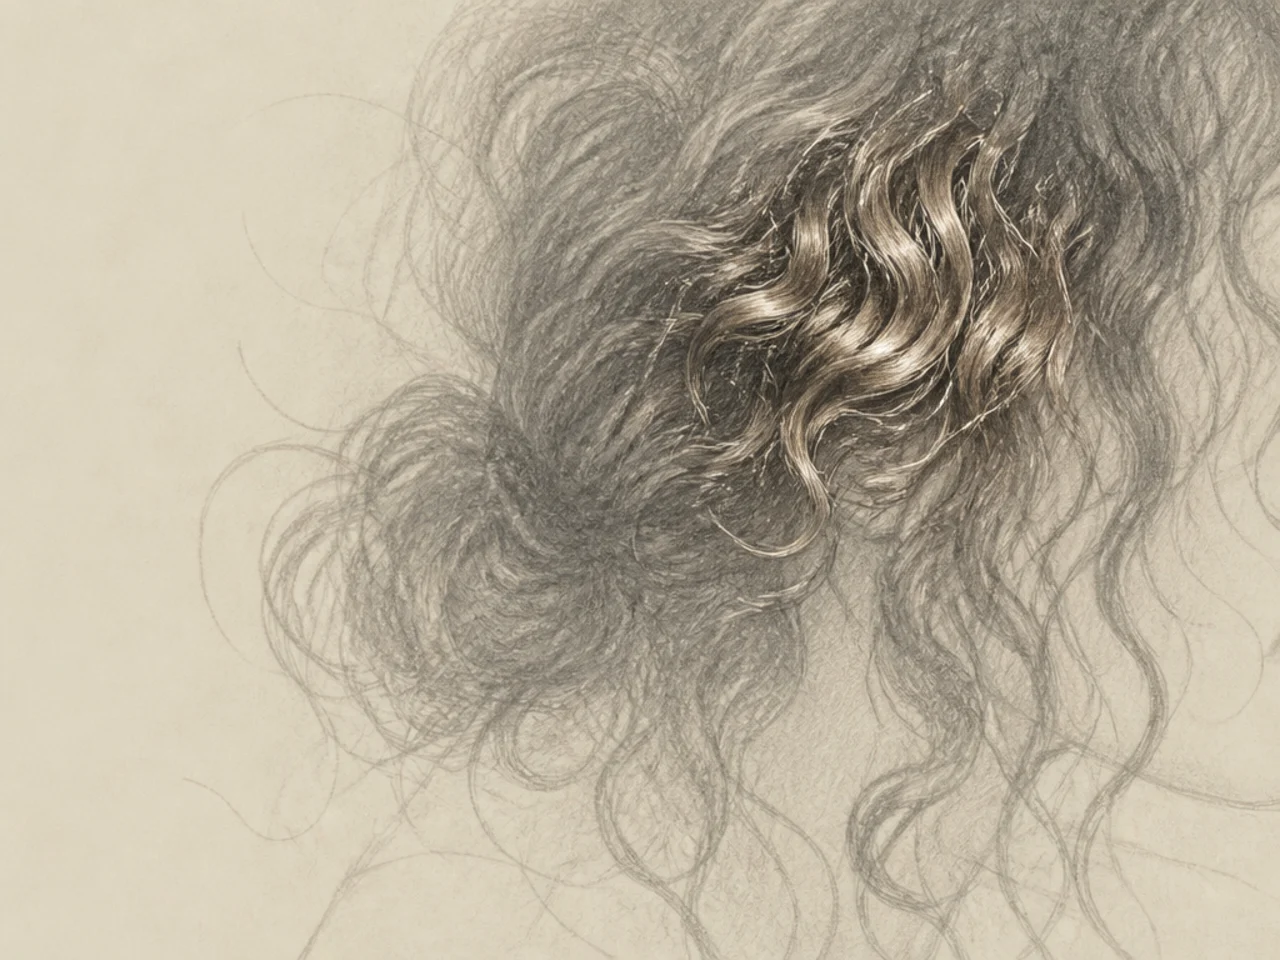
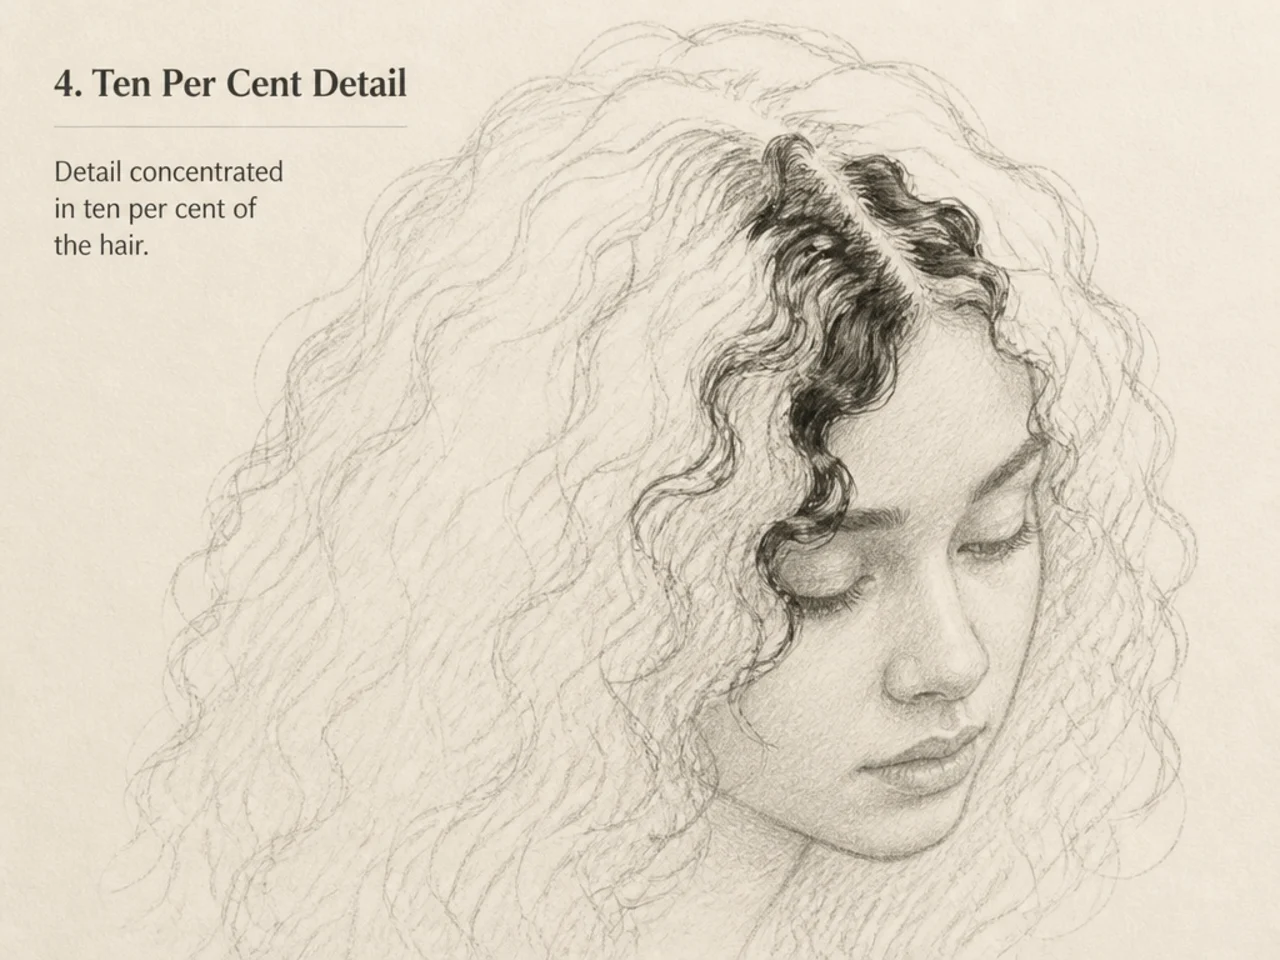
One small area of very high detail. Usually where the light is strongest, often near the face. Perhaps ten per cent of the hair.
Large areas of almost none. The shadow mass should be nearly empty — soft tone and nothing else.
Nothing in between spread everywhere. Medium detail applied uniformly is what makes hair look busy and flat at once, and it is the default failure.
Photographs work this way because eyes and lenses do — sharpness falls off, shadow hides information. Drawings that ignore it look drawn.
The 20 Studies
1. Four-Edge Study
One clump drawn with all four edge types.
2. Lost Edge Practice
Deliberately merging hair into the background at one point.
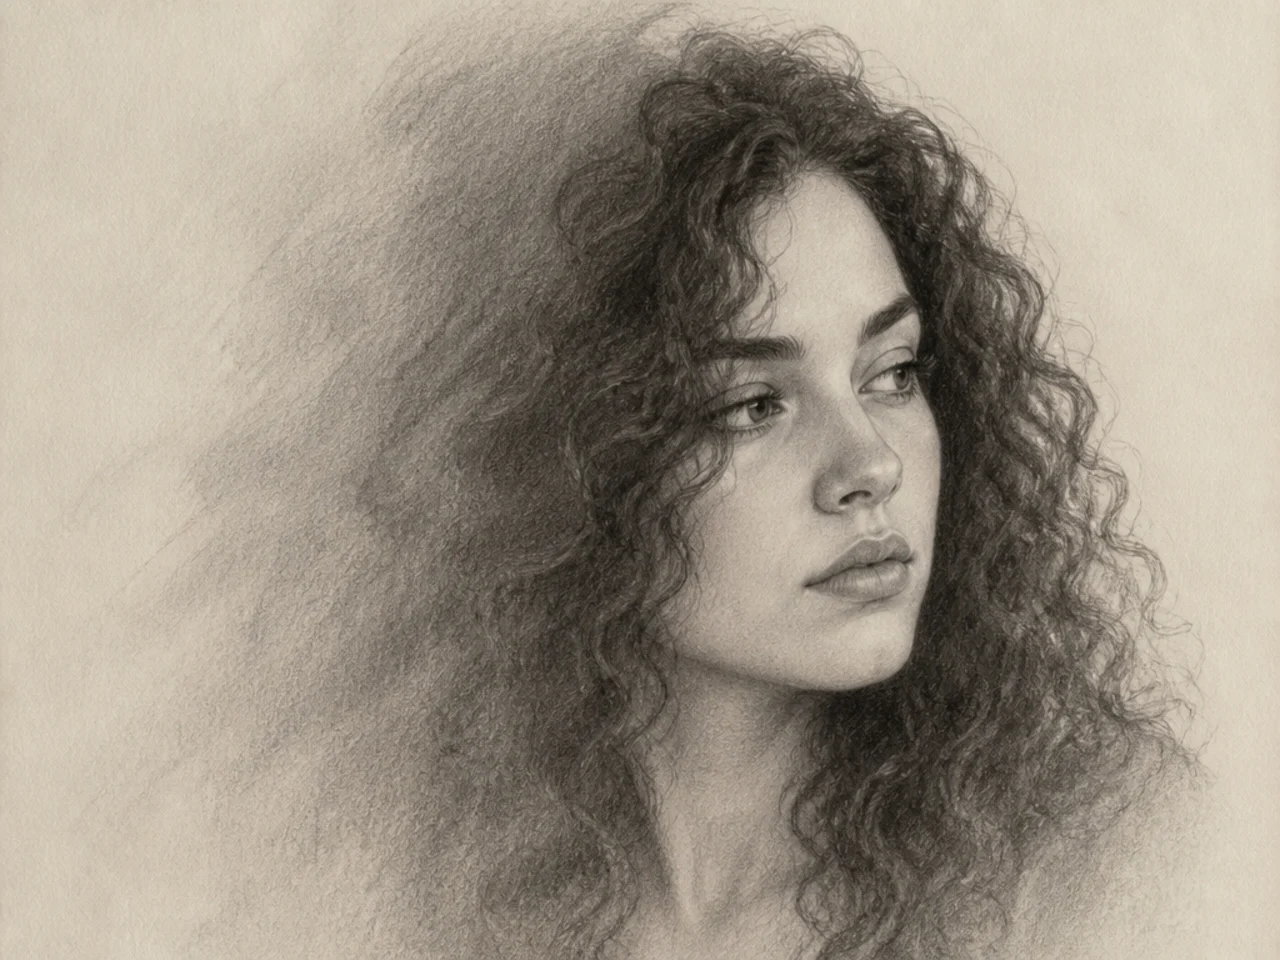
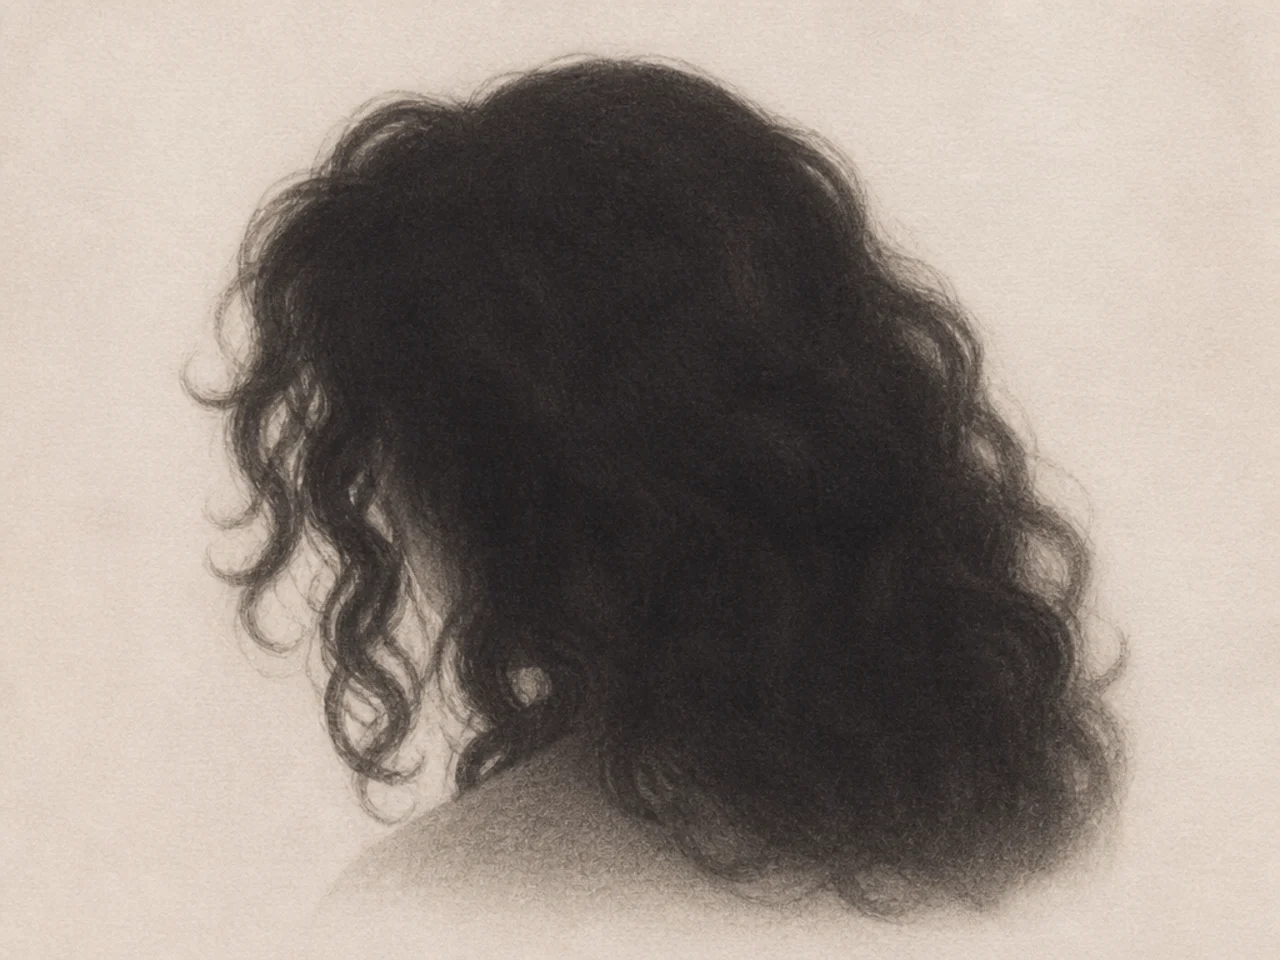
3. Shadow Mass, No Detail
The shadow side rendered entirely without curls.
4. Ten Per Cent Detail
One small area rendered fully, everything else soft.
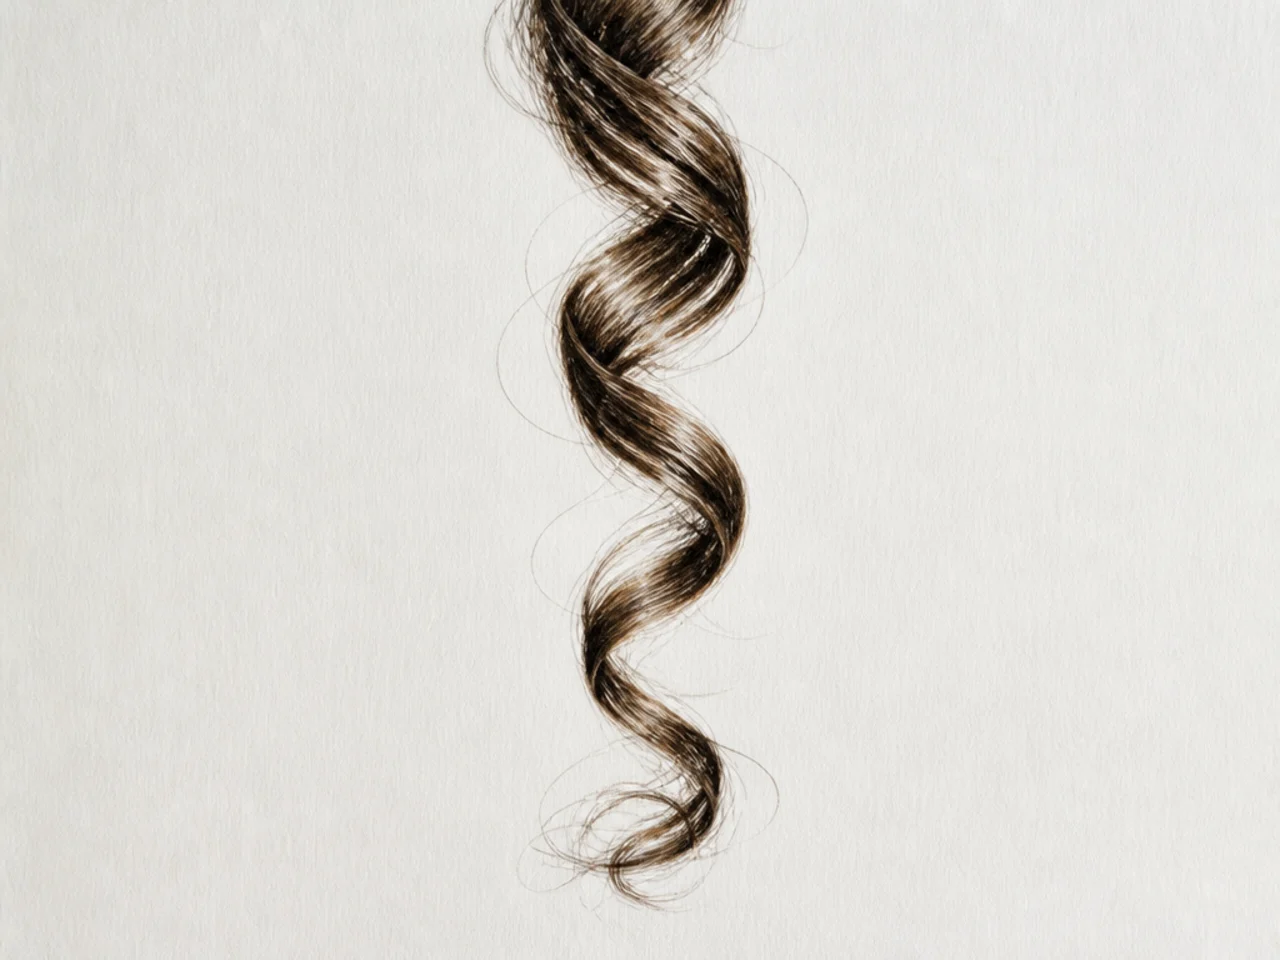
5. Single Curl, Photoreal
One curl rendered to full finish. Scale exercise.
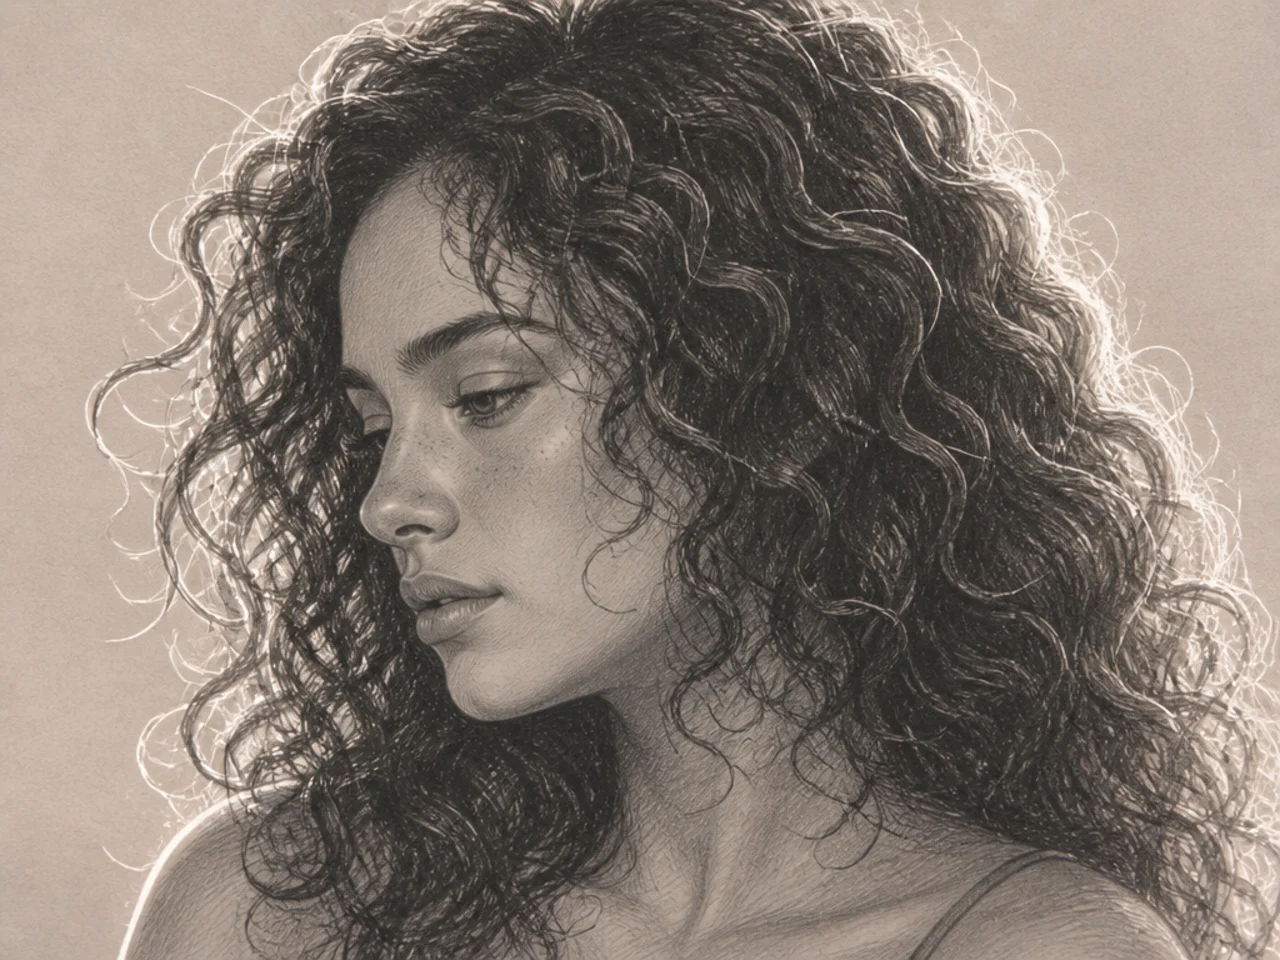
6. Rim-Lit Curls
Hard bright edge against a dark mass.
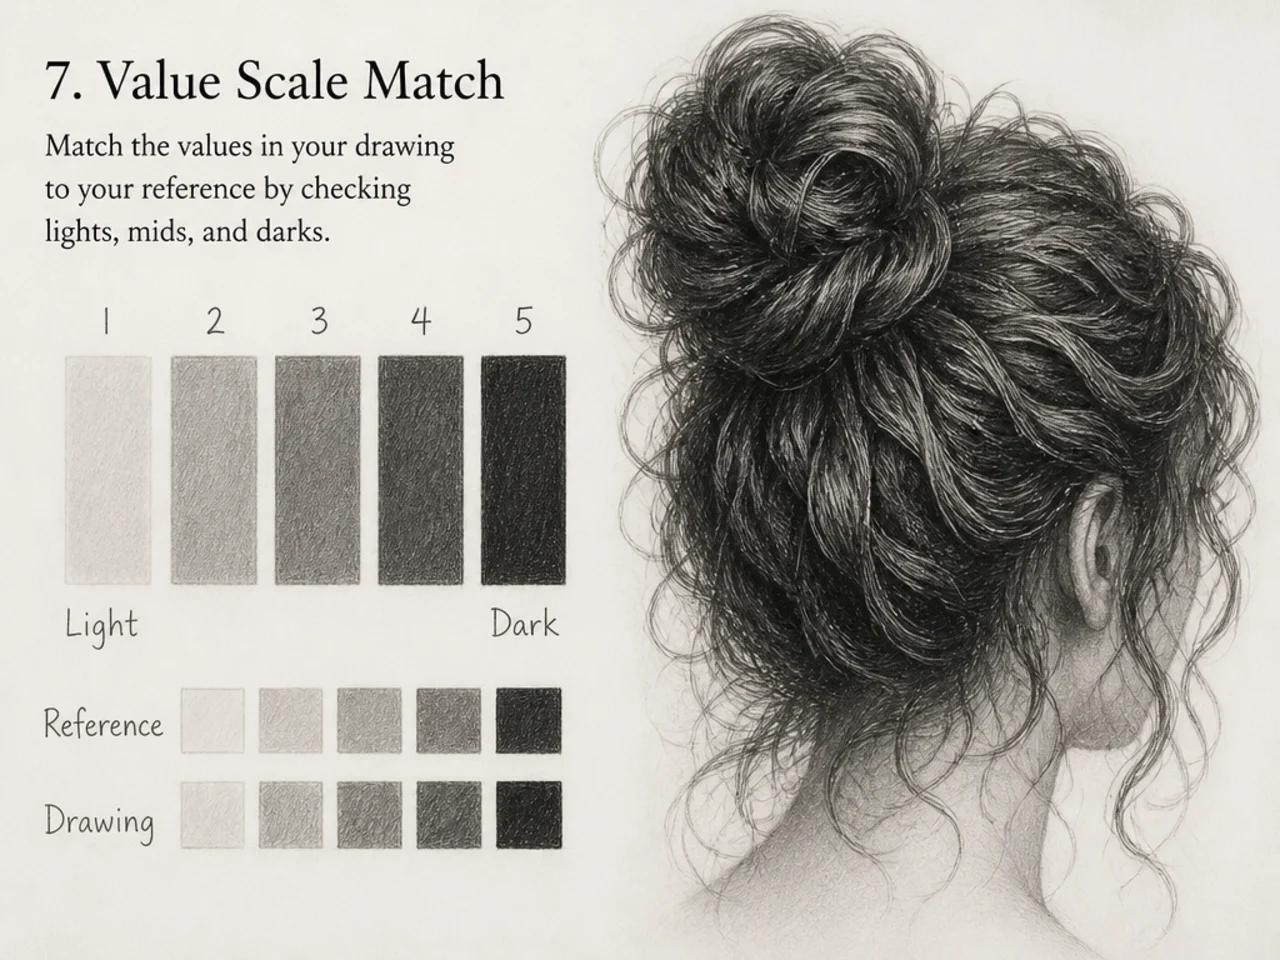
7. Value Scale Match
Matching your darkest and lightest to the reference exactly.
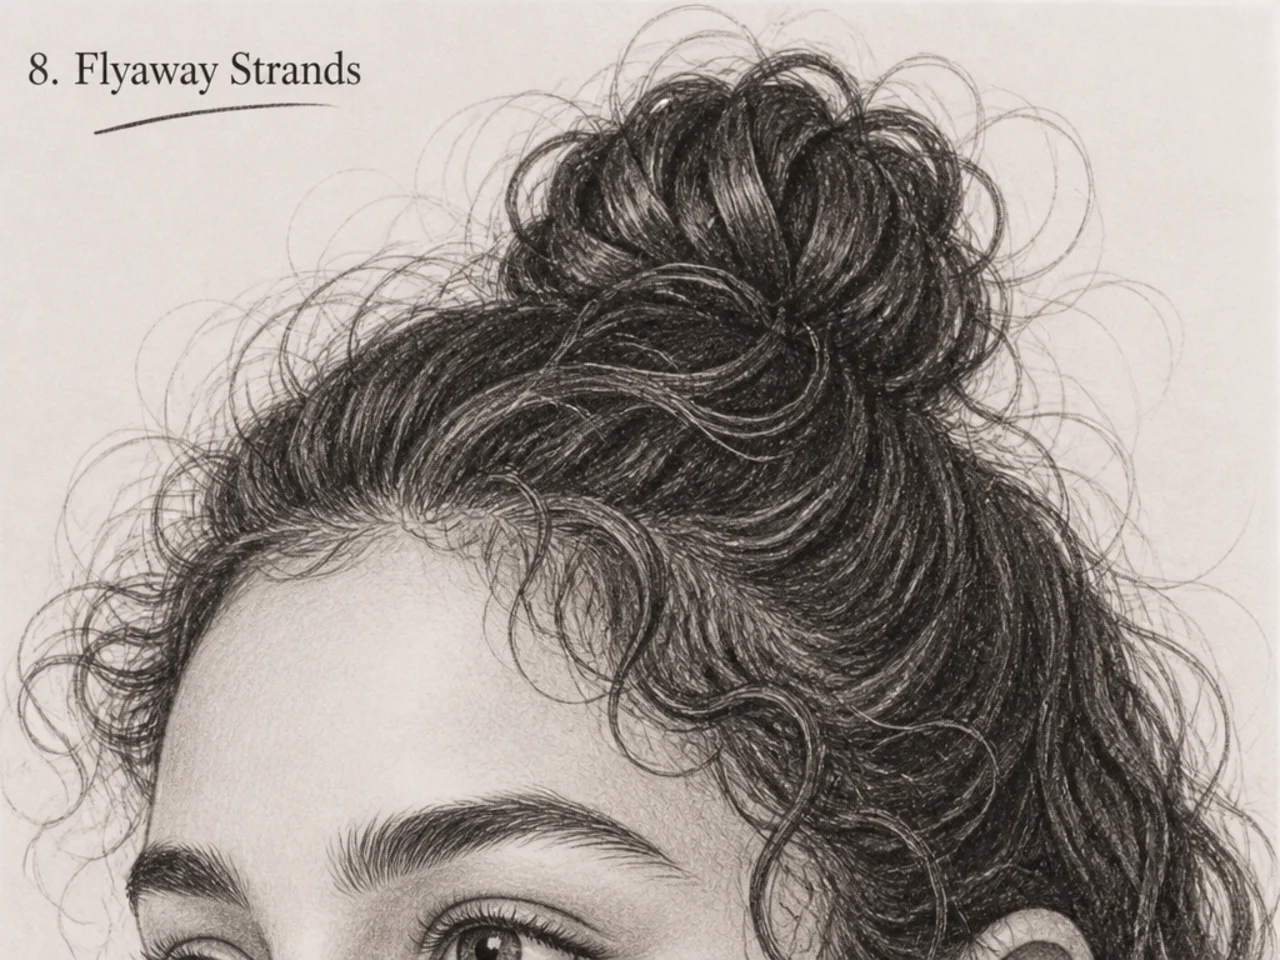
8. Flyaway Strands
Fine individual strands escaping, drawn with varied weight.
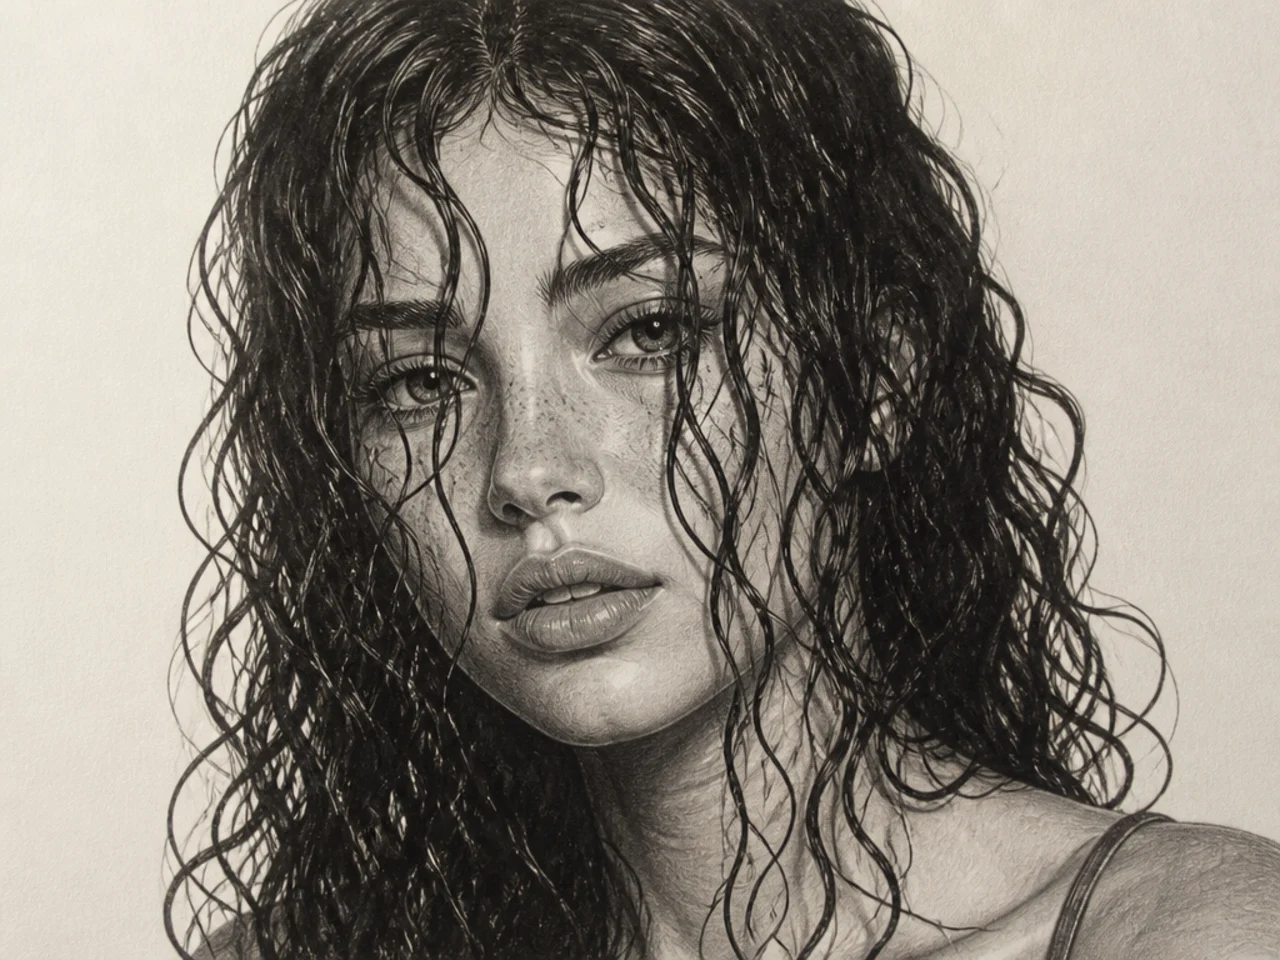
9. Wet Curl Rendering
Higher contrast, harder edges, fewer clumps.
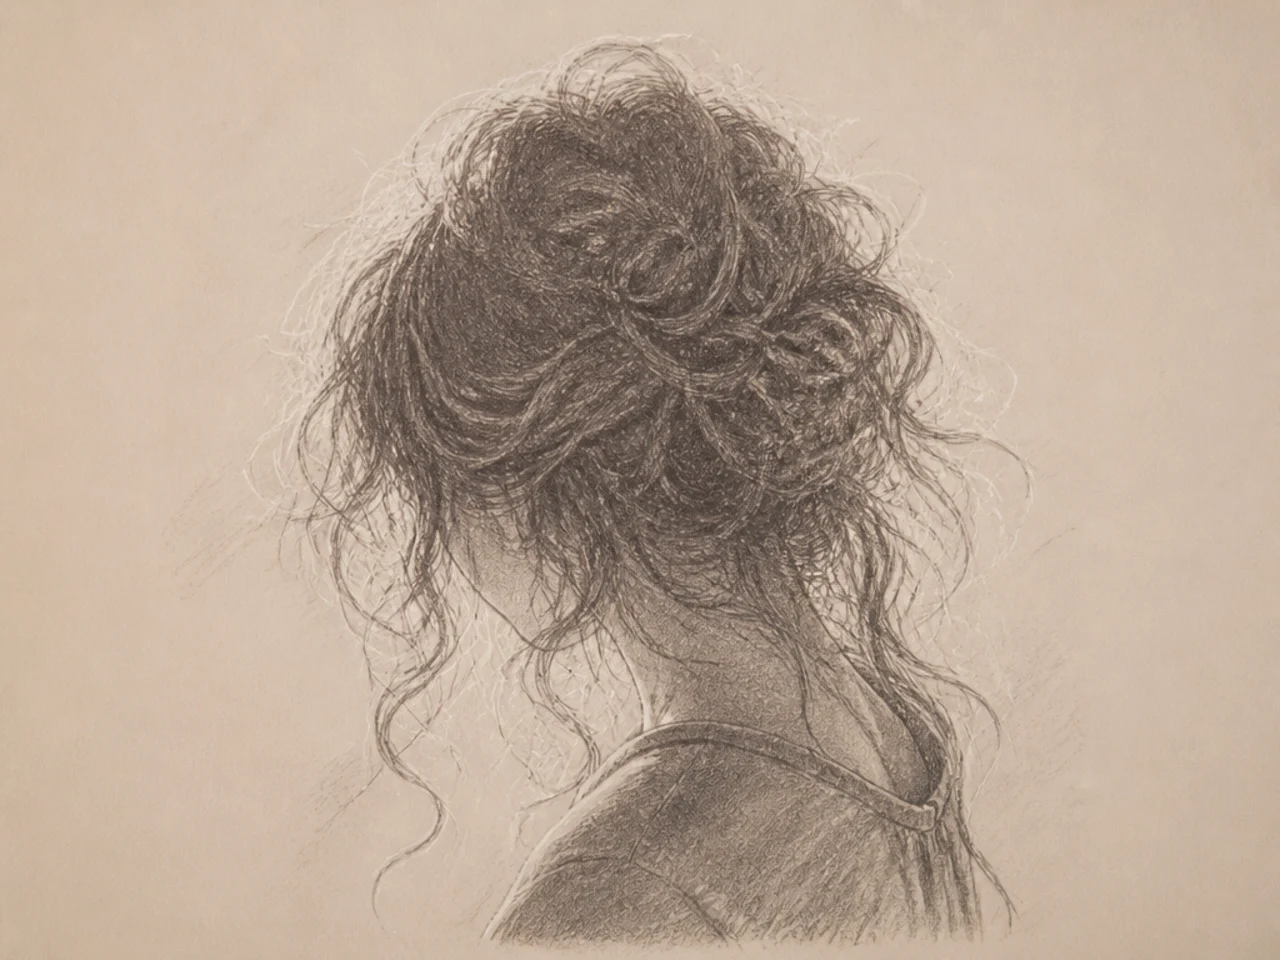
10. Backlit Realism
Almost everything lost, edge doing all the work.
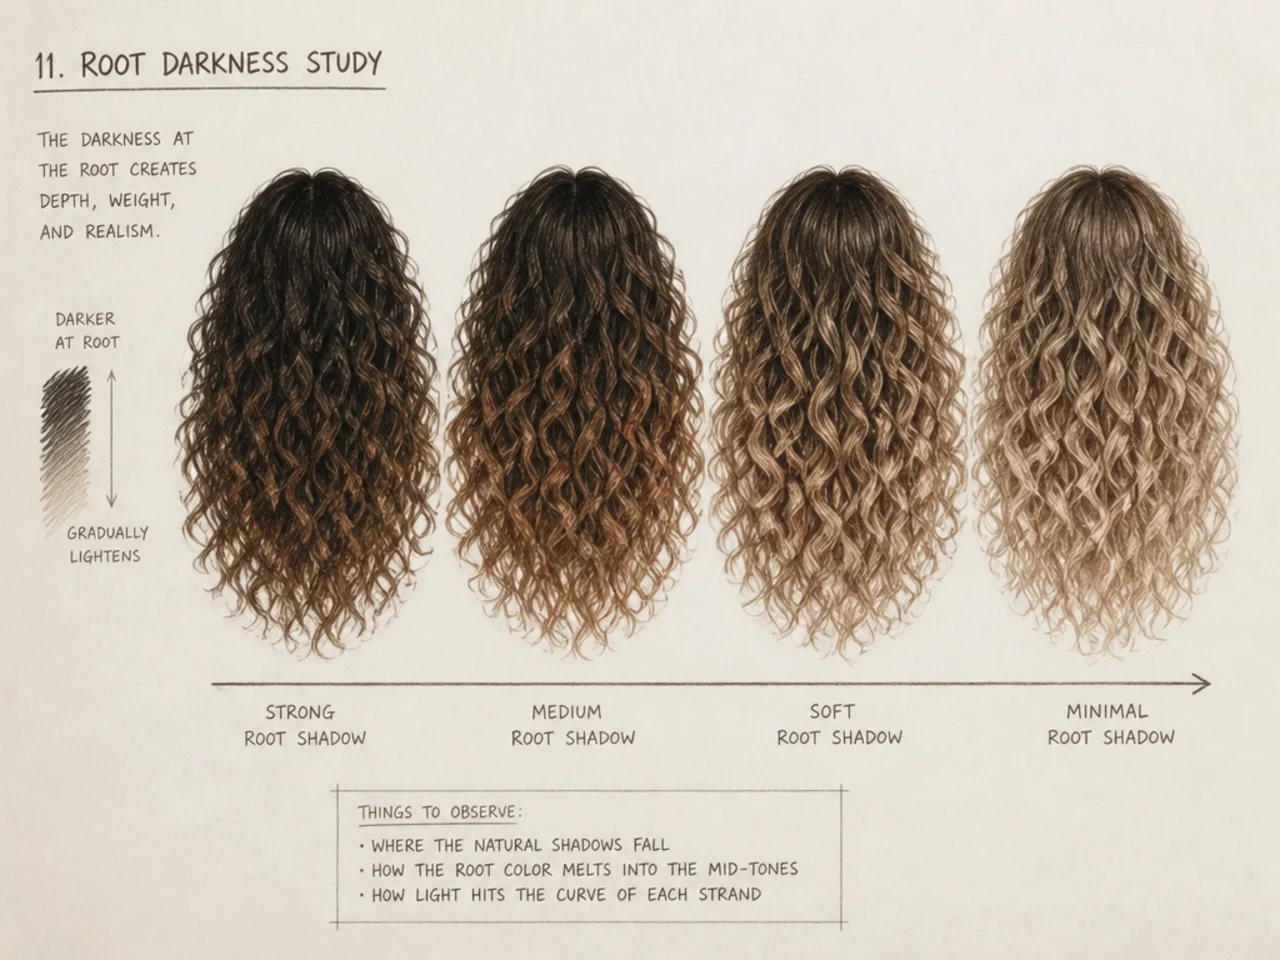
11. Root Darkness Study
The gradient from dark scalp to lit length.
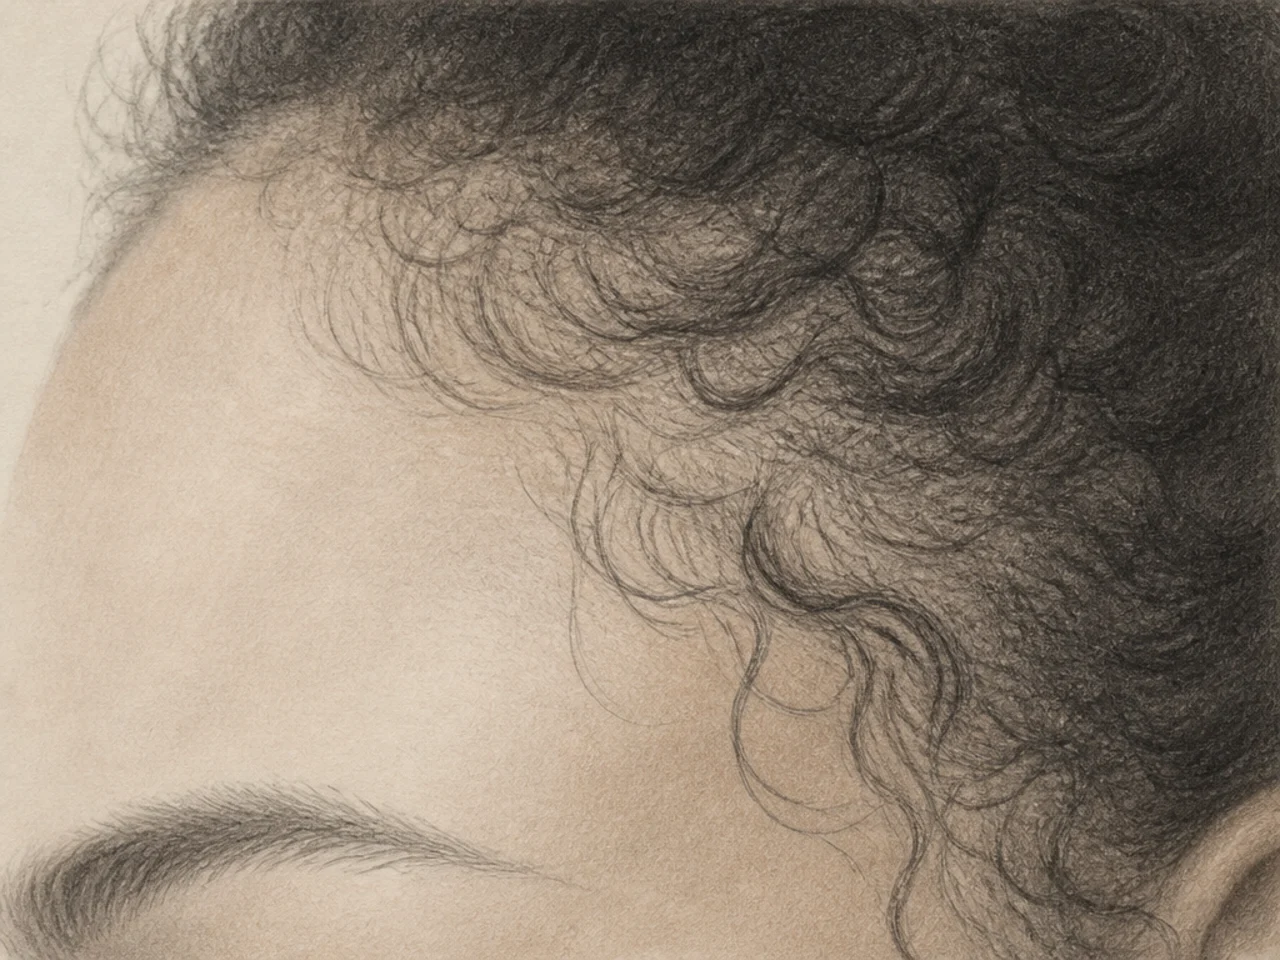
12. Hair Against Skin
The hairline transition, softest edge in the drawing.
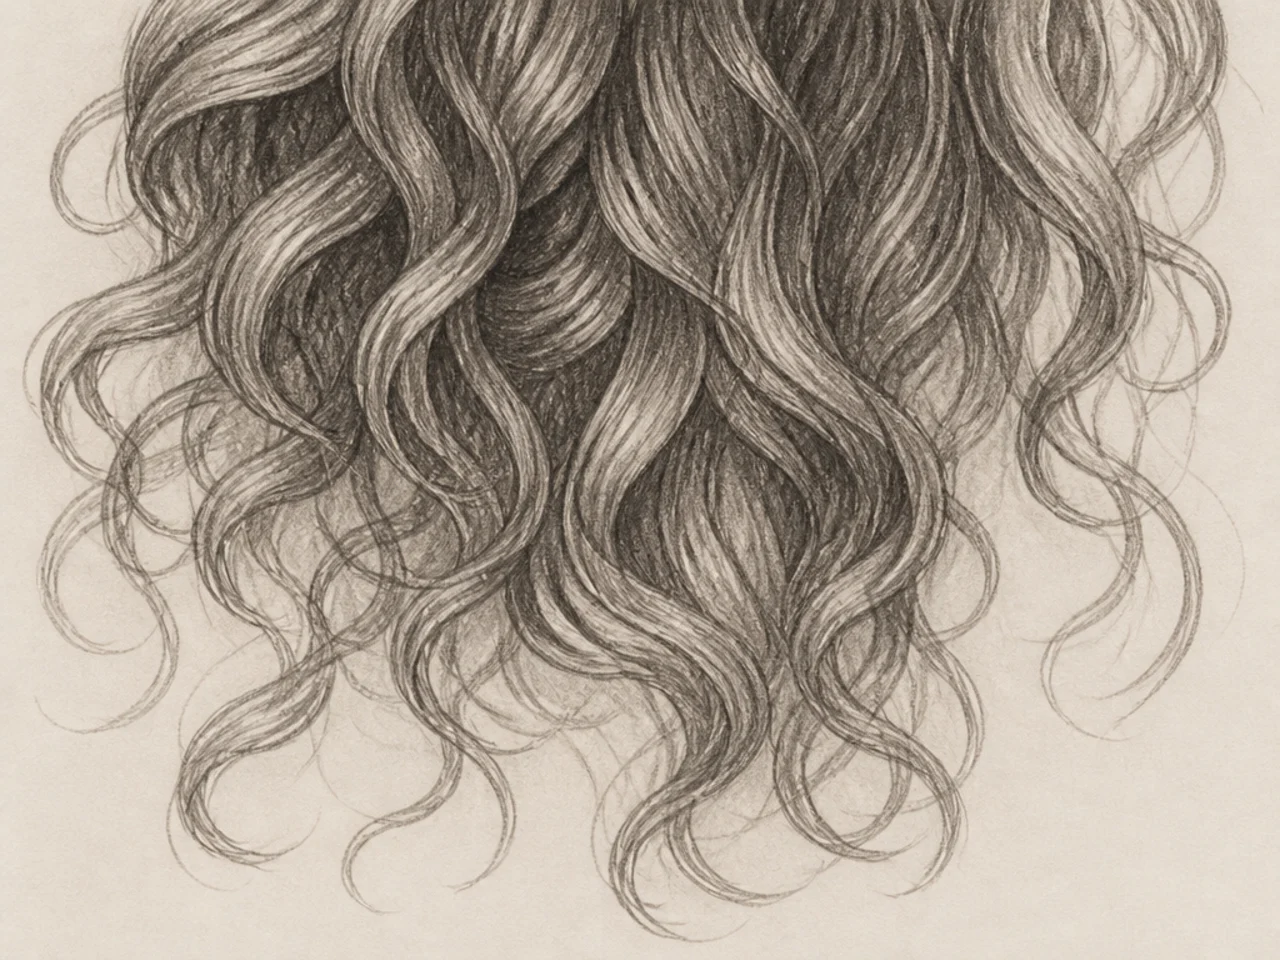
13. Overlapping Depth
Clumps in front and behind, with edge sharpness changing by distance.
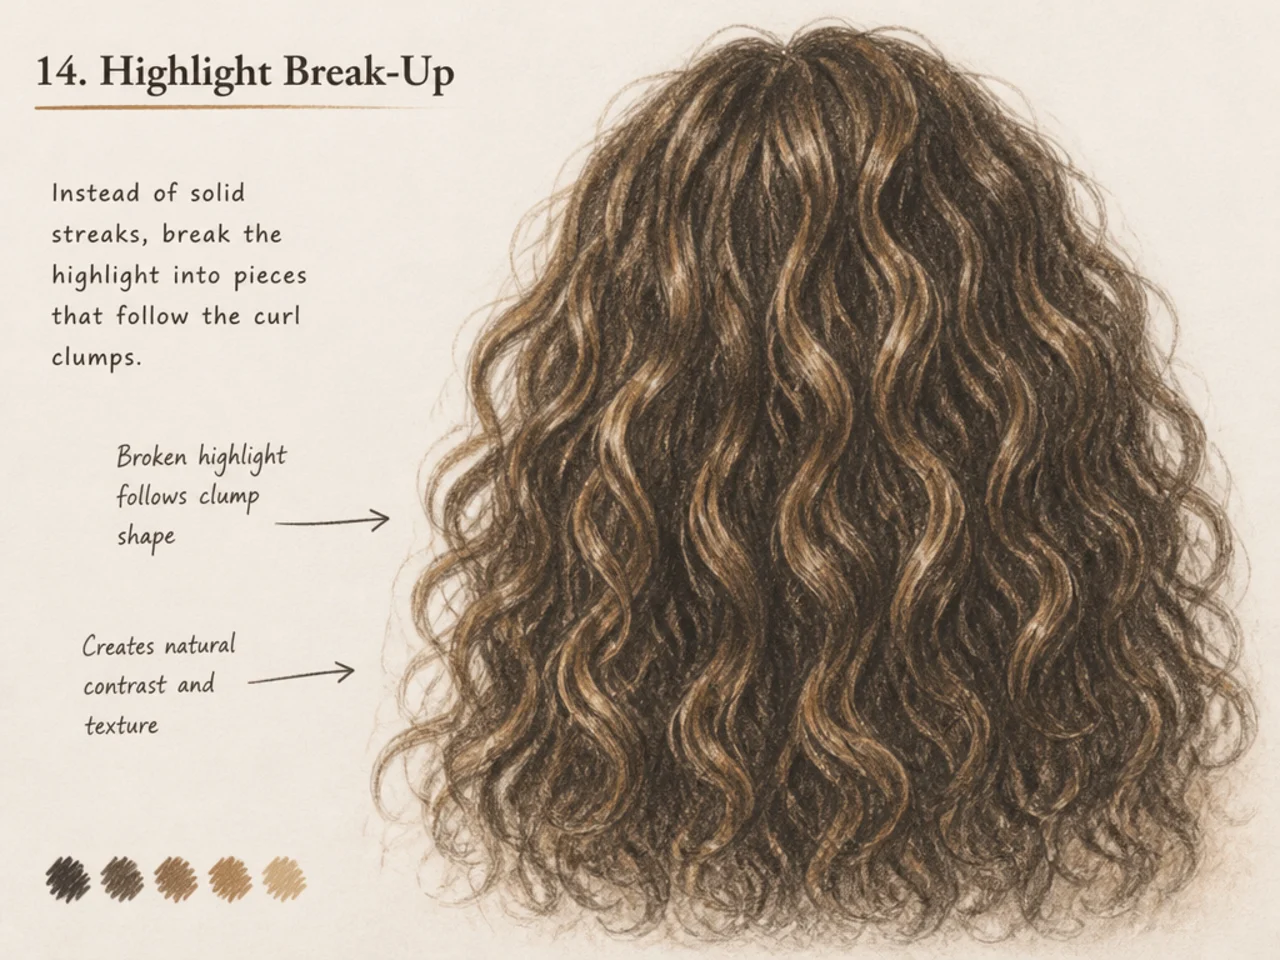
14. Highlight Break-Up
A broken, non-continuous highlight following the clumps.
15. Coily Texture Realism
Fine granular texture with an edge-only detail approach.
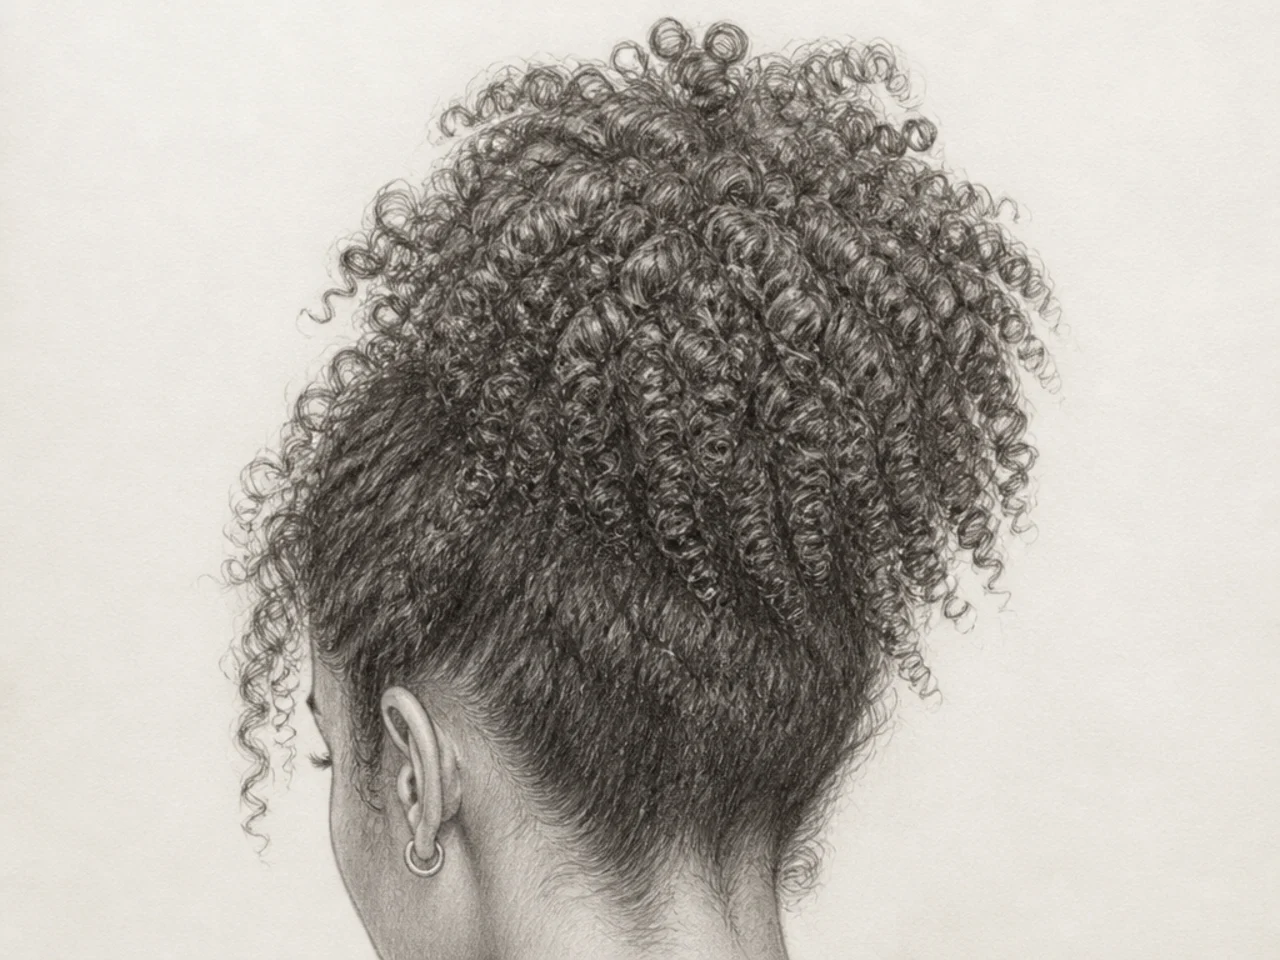
16. Two-Hour Render
One clump, two hours. Teaches patience and observation.
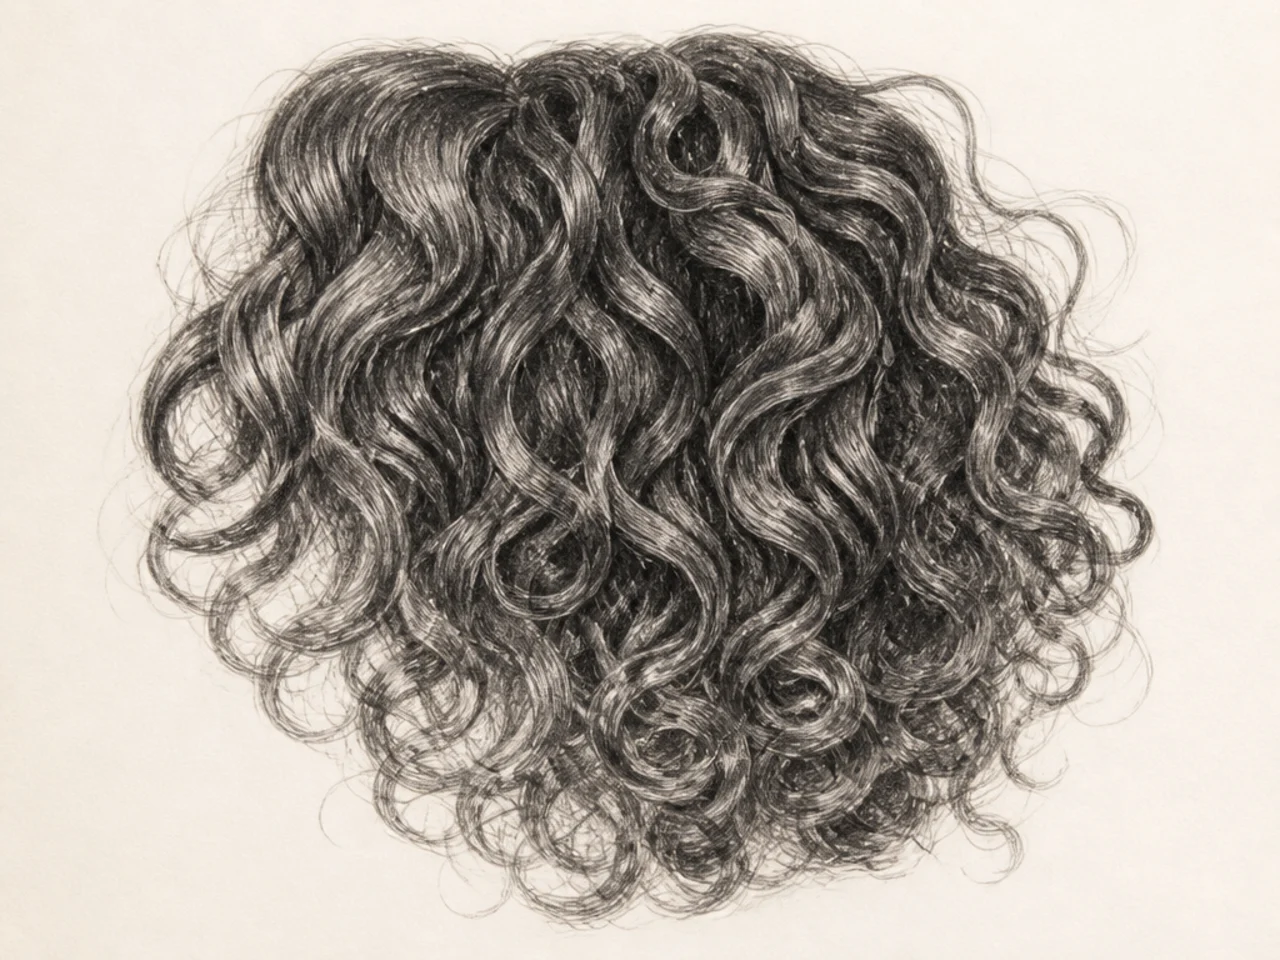
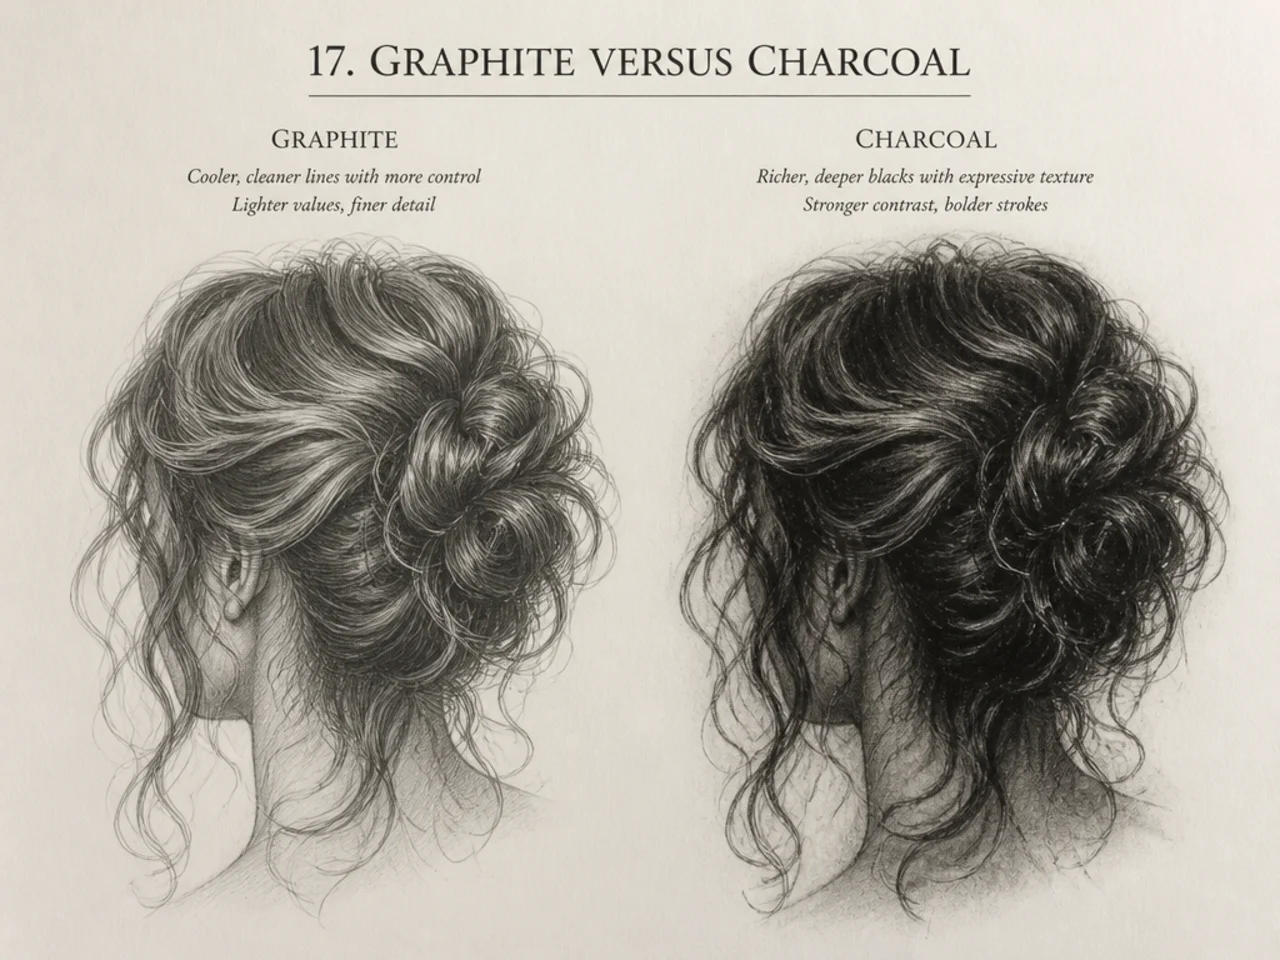
17. Graphite Versus Charcoal
The same study in both. Charcoal softens edges naturally.
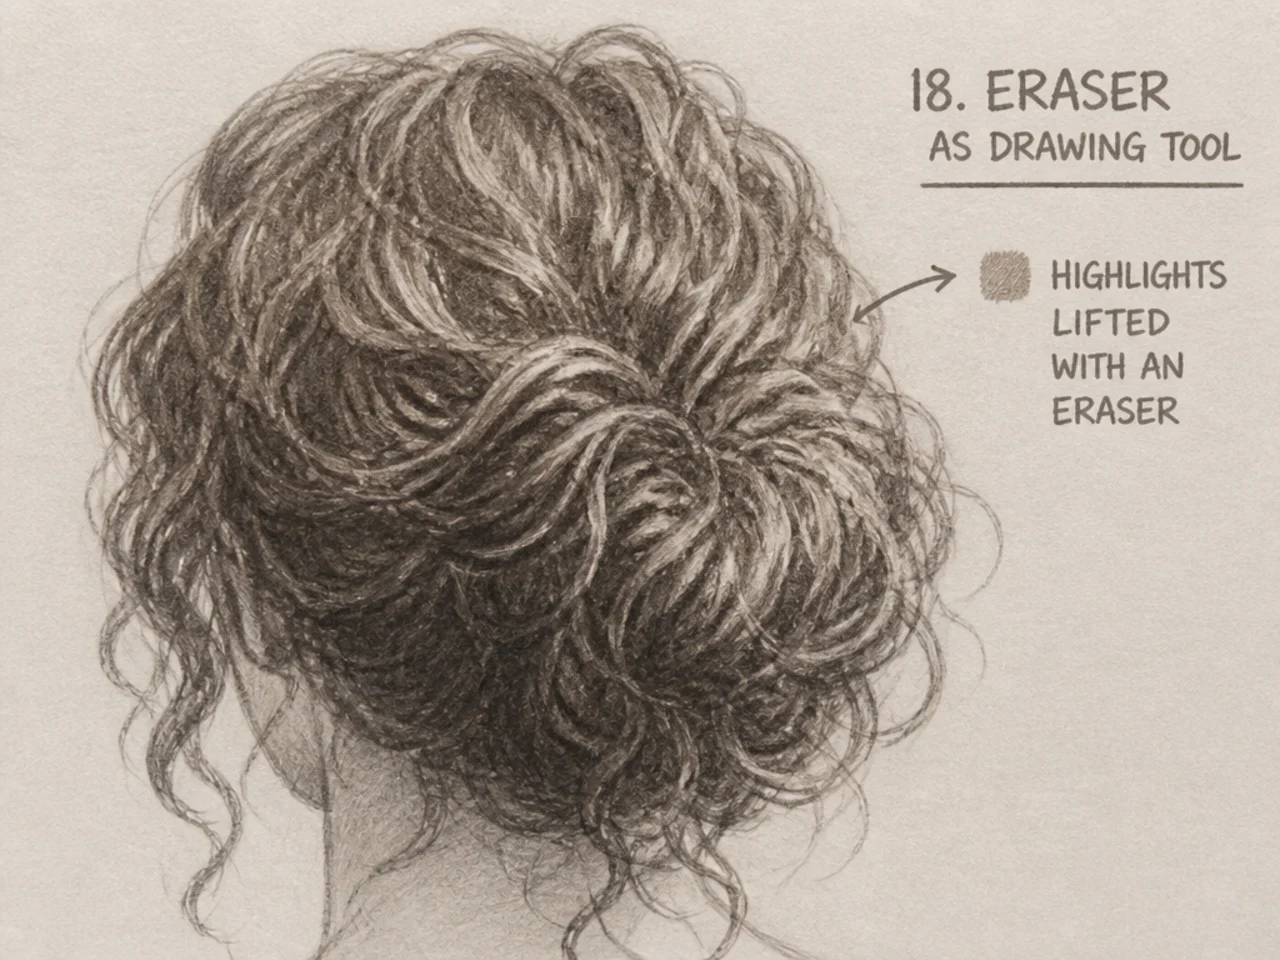
18. Eraser as Drawing Tool
Highlights lifted rather than left blank.
19. Squint Comparison
Your drawing and reference squinted side by side.
20. Uniform Versus Varied Edges
The same drawing done both ways.
The Softness Test
If your realistic hair looks wiry, the cause is almost always uniform edges and uniform line weight.
Every stroke the same crispness is the giveaway. Real strands vary — some sharp, some dissolving, some invisible.
Every stroke the same weight is the other half. Vary pressure within a single stroke, not just between strokes.
The test: cover the lit area with your hand and look only at the shadow side. If you can still see individual curls in there, it is too detailed. Shadow should be nearly empty.
Mistakes to Avoid
Uniform edge quality. The main thing separating realism from illustration.
Detail in the shadow mass. Invisible in life, noisy on paper.
Medium detail spread everywhere. Busy and flat at the same time.
A continuous highlight. It reads as plastic.
Adding curls to increase realism. Realism comes from edges and value, not count.
FAQ
What makes it look realistic? Edge variety — hard in light, soft in shadow, some lost entirely.
Does it need more detail? Less, placed more precisely.
How do you make hair look soft? Soften shadow edges and vary line weight within strokes.
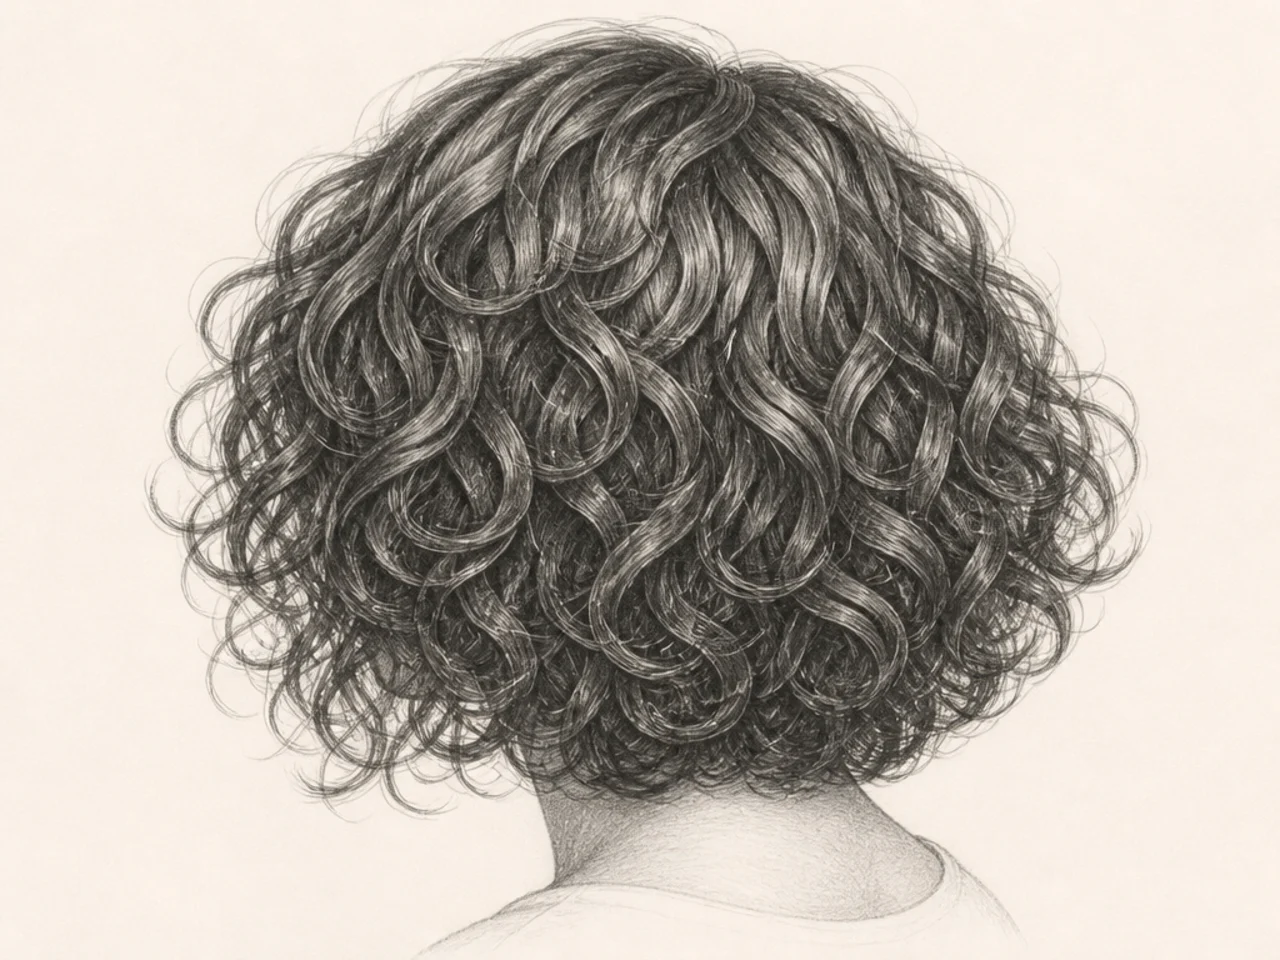
Final Thoughts
Cover the lit side of your drawing and look at the shadow alone. If curls are visible in there, that is what is stopping it looking real — and removing them is faster than adding anything.
For the full method see 20 steps to draw curly hair like a pro, and for reference technique see 15 curly hair drawing reference ideas. More in Hair Drawing & Art.