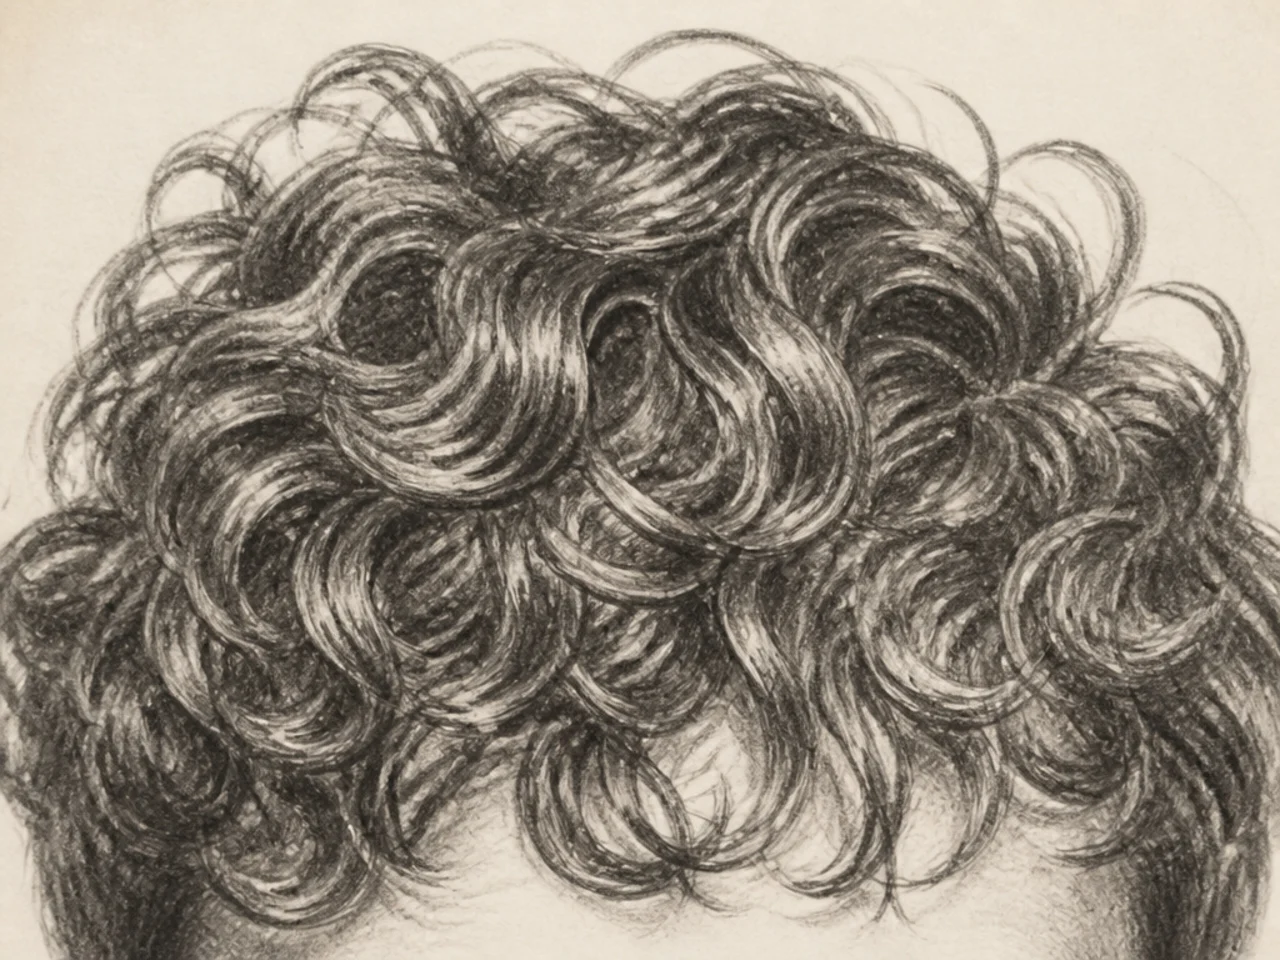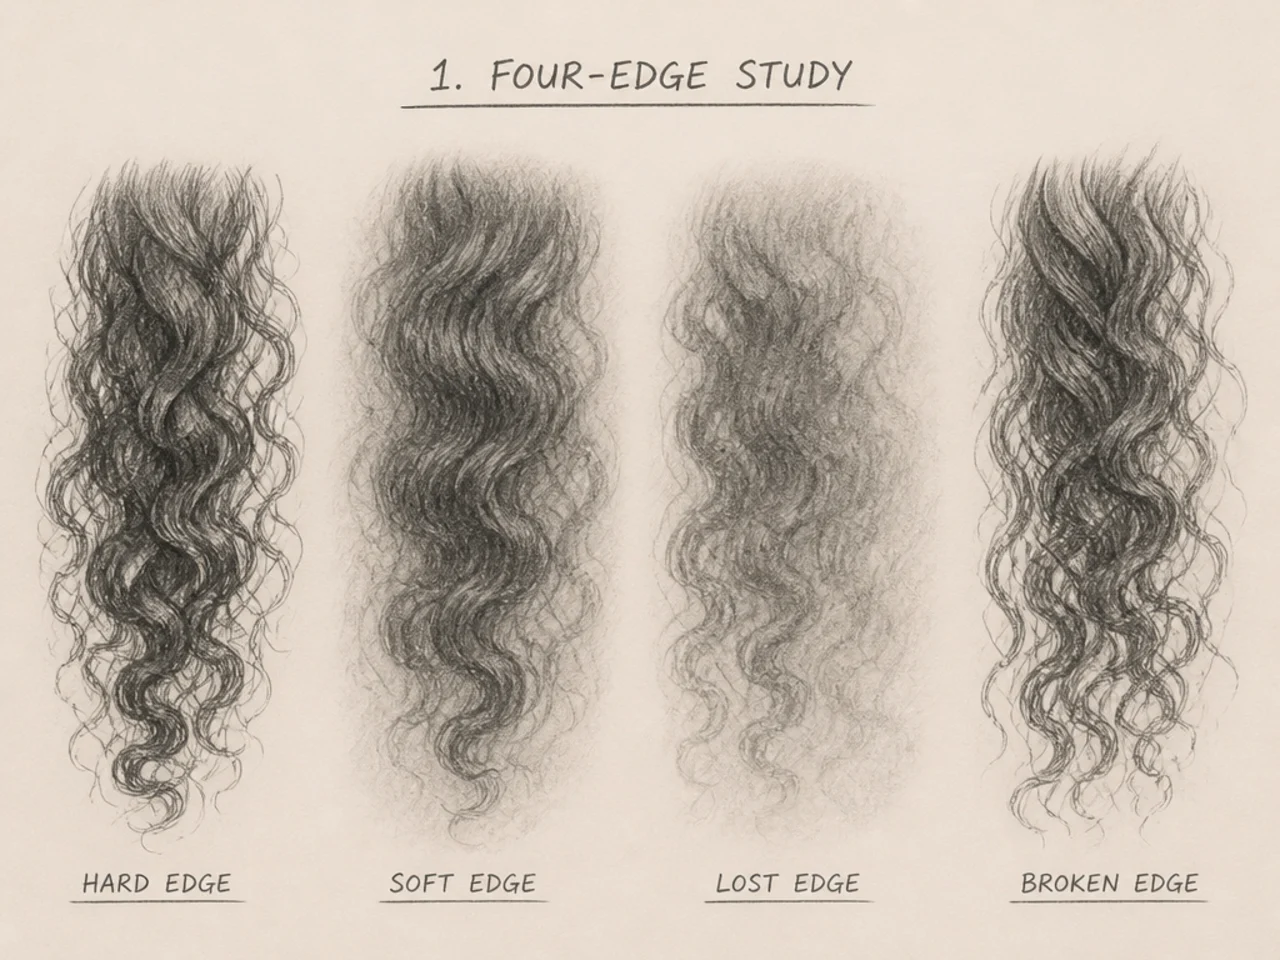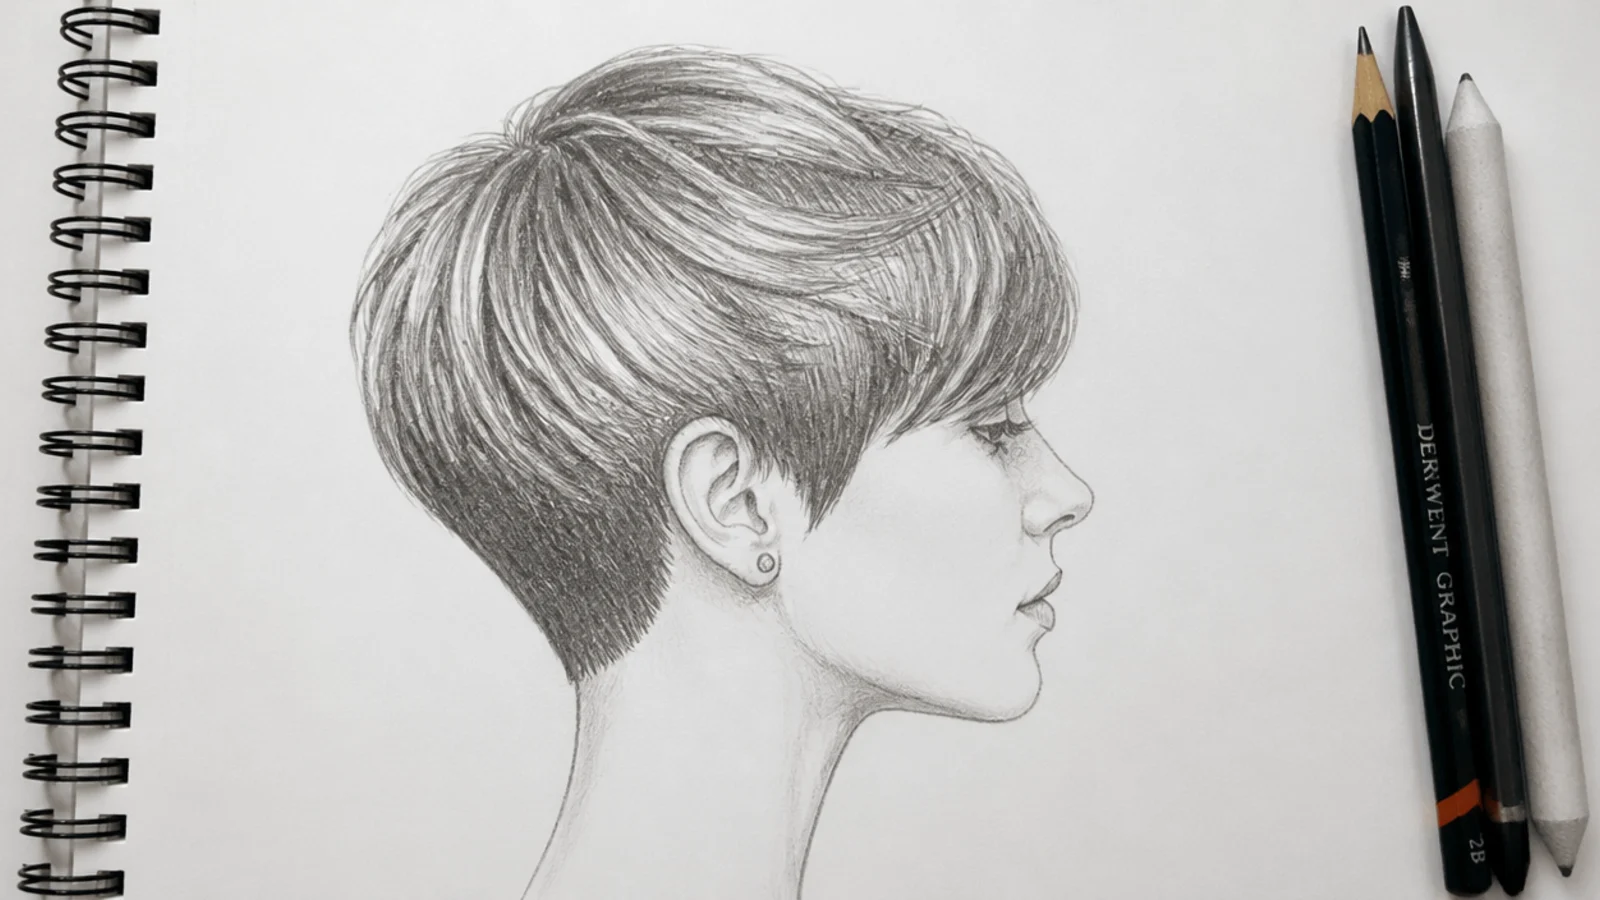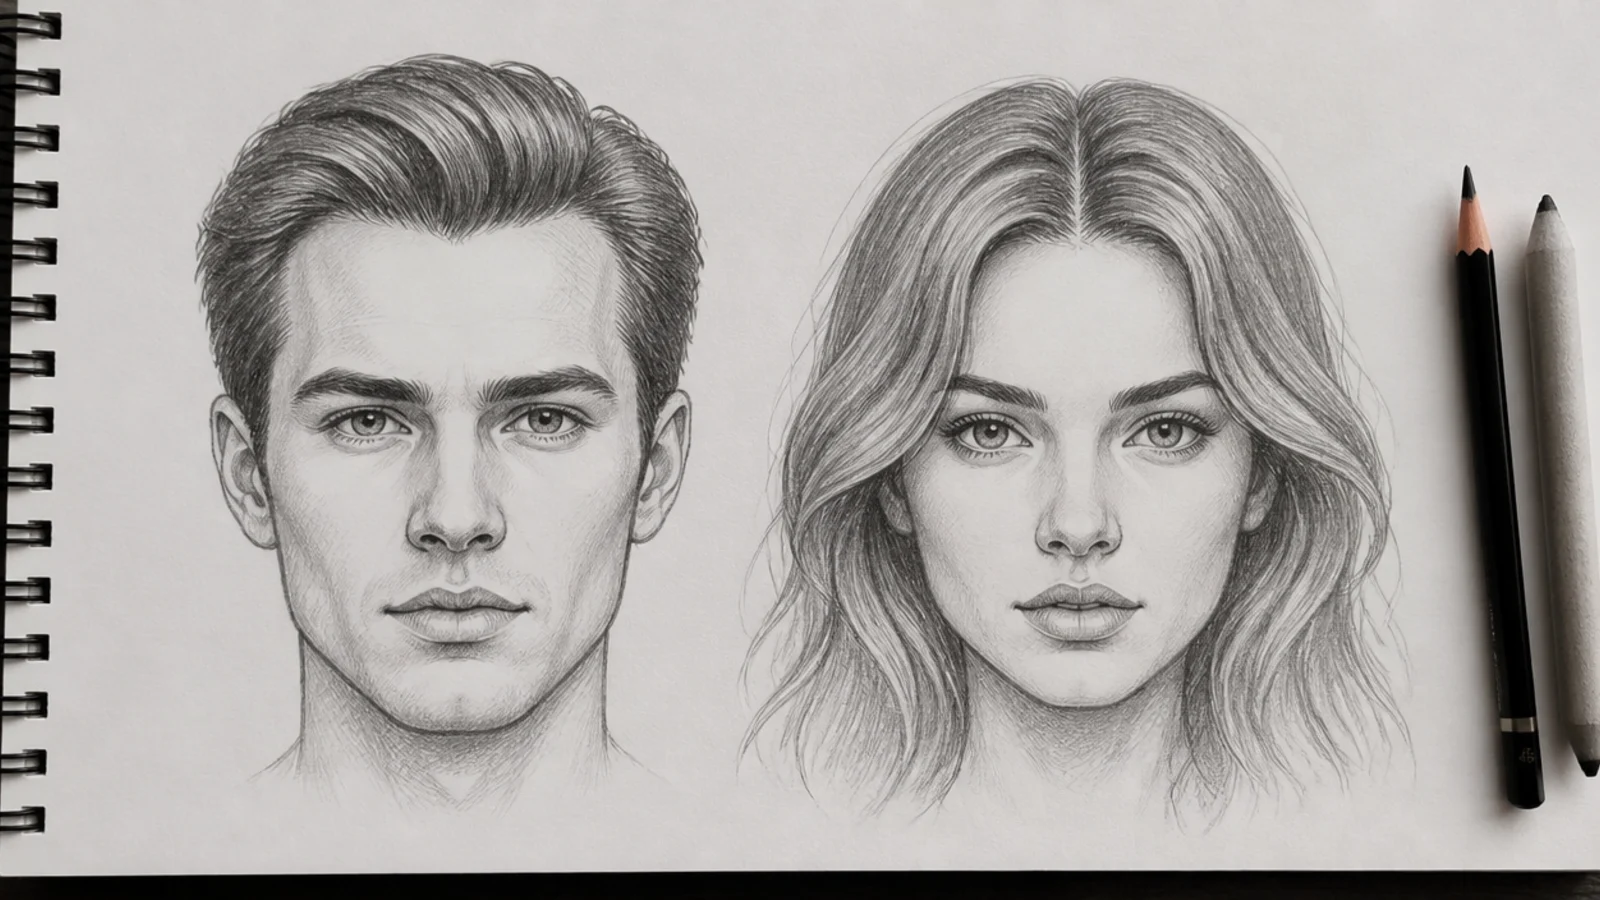
15 Curly Hair Drawing Reference Ideas
Fifteen ways to actually use a reference photo — because looking at one is not the same as reading it. Most people copy what they see instead of finding the information that would make the drawing work.
In this article · 22
- Read It Before You Draw It
- The 15 Techniques
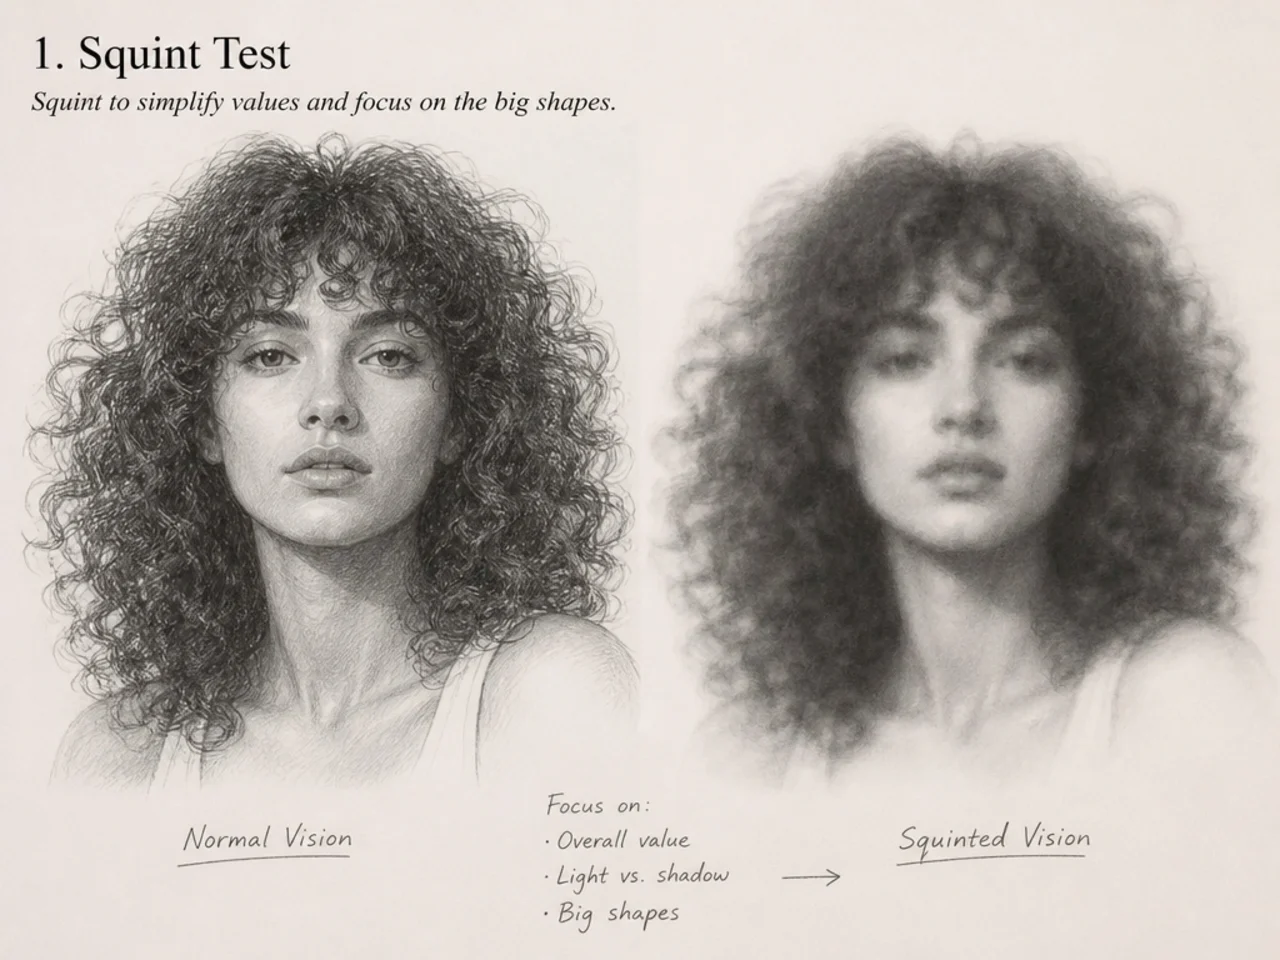
- 1. Squint Test
- 2. Greyscale the Photo
- 3. Blur It Deliberately
- 4. Posterise to Three Values
- 5. Crop to the Silhouette
- 6. Flip It Horizontally
- 7. Thumbnail the Reference First
- 8. Trace the Silhouette Only
- 9. Study One Clump at Full Size
- 10. Use Two References at Once
- 11. Draw From It, Then Draw Without It
- 12. Mark the Light Direction On It
- 13. Circle the Six Curls
- 14. Compare Yours Side by Side, Squinted
- 15. Photograph Your Own Reference
- What Makes a Reference Worth Using
- A Note on Using Other People's Photos
- Mistakes to Avoid
- FAQ
- Final Thoughts
Having a reference open and using it are different activities. Most people copy what is in the photograph, which is why the drawing ends up with the same problem the photograph has — every curl visible, none of them prioritised.
A reference is a source of information, and the information you want is not the curls. It is the light direction, the tonal masses, and the clump structure.
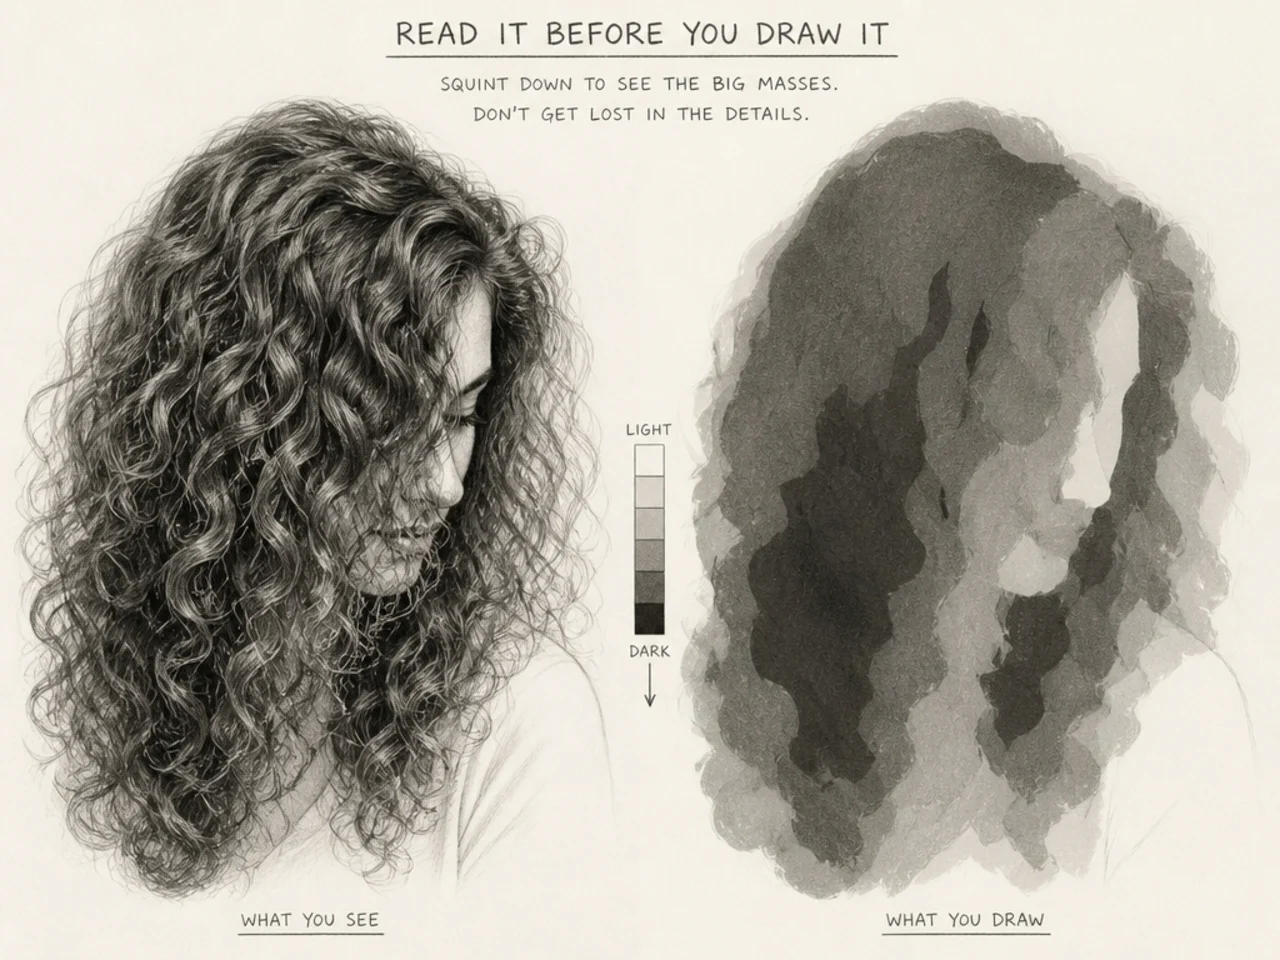
Read It Before You Draw It
Three minutes of looking saves an hour of correcting.
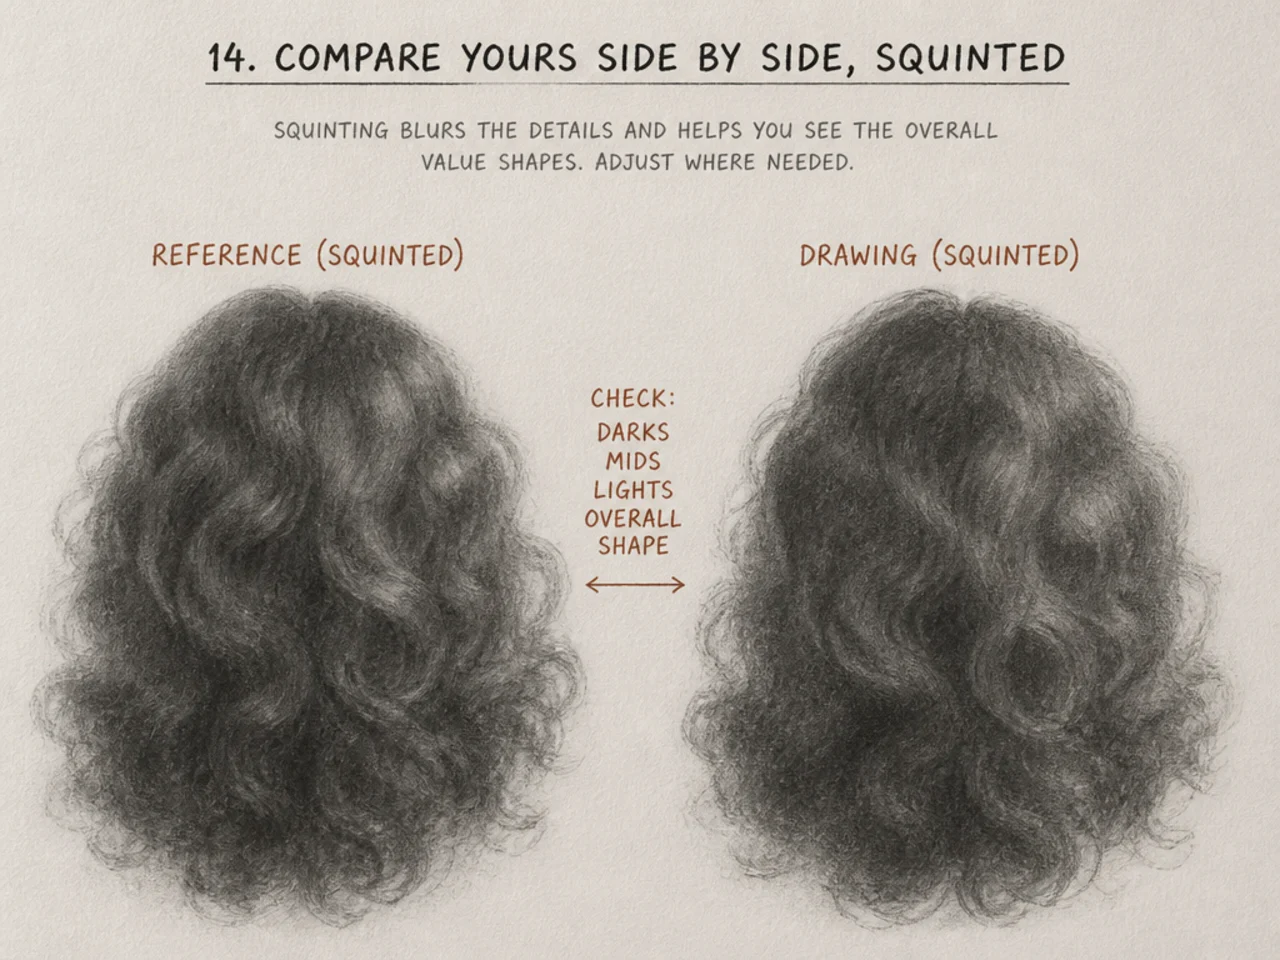
Squint until the curls disappear. What remains is the shape and the two or three tonal masses. That is what you draw first, and if you cannot see them, squint harder.
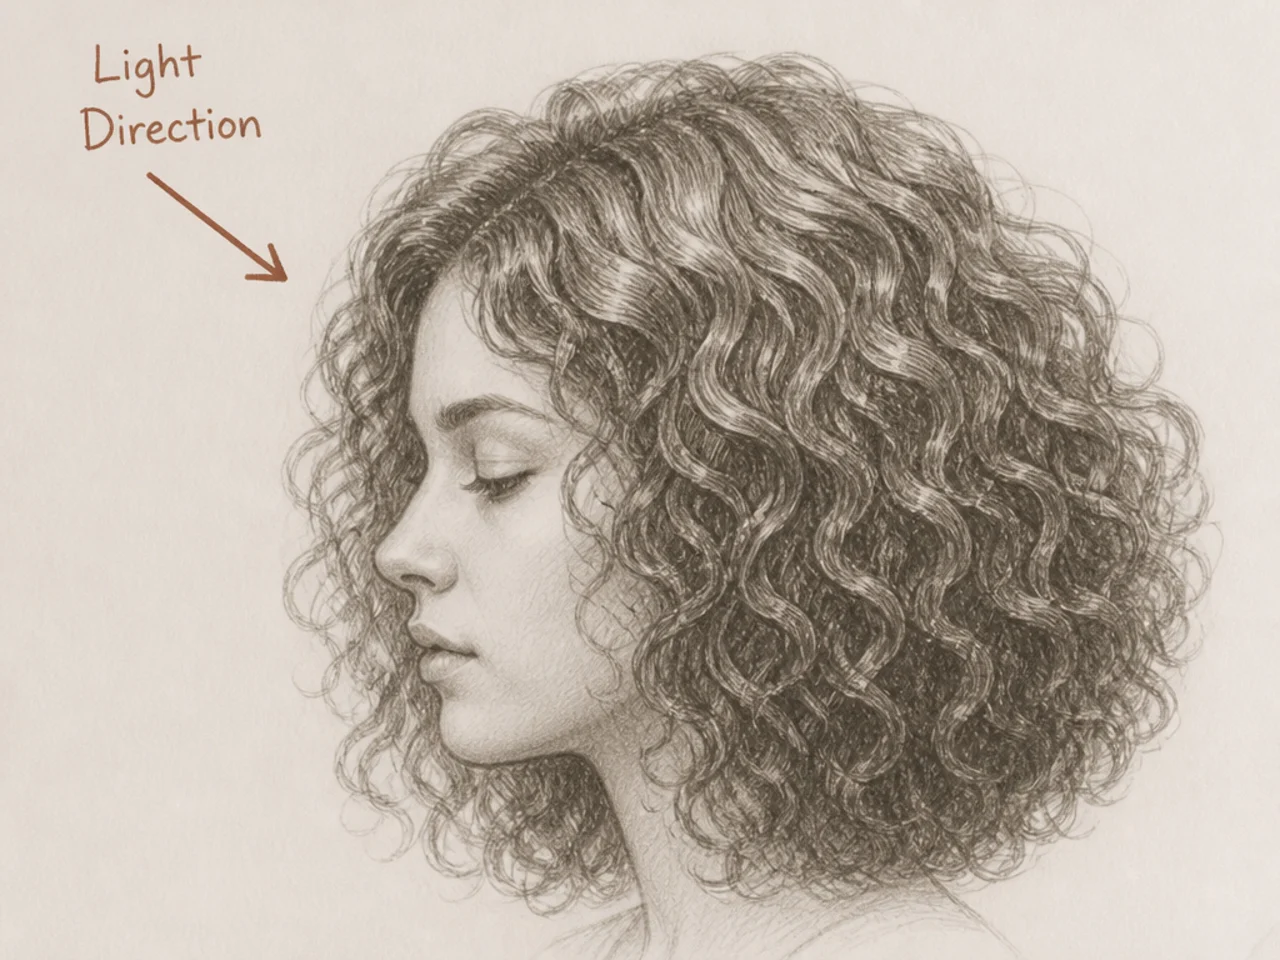
Find the light direction and say it out loud. "Light from upper left." Half of unconvincing hair drawings have no consistent light source, and this is where that gets fixed.
Identify the clumps. Curly hair groups into perhaps five to eight visible masses. Mark them mentally before drawing anything.
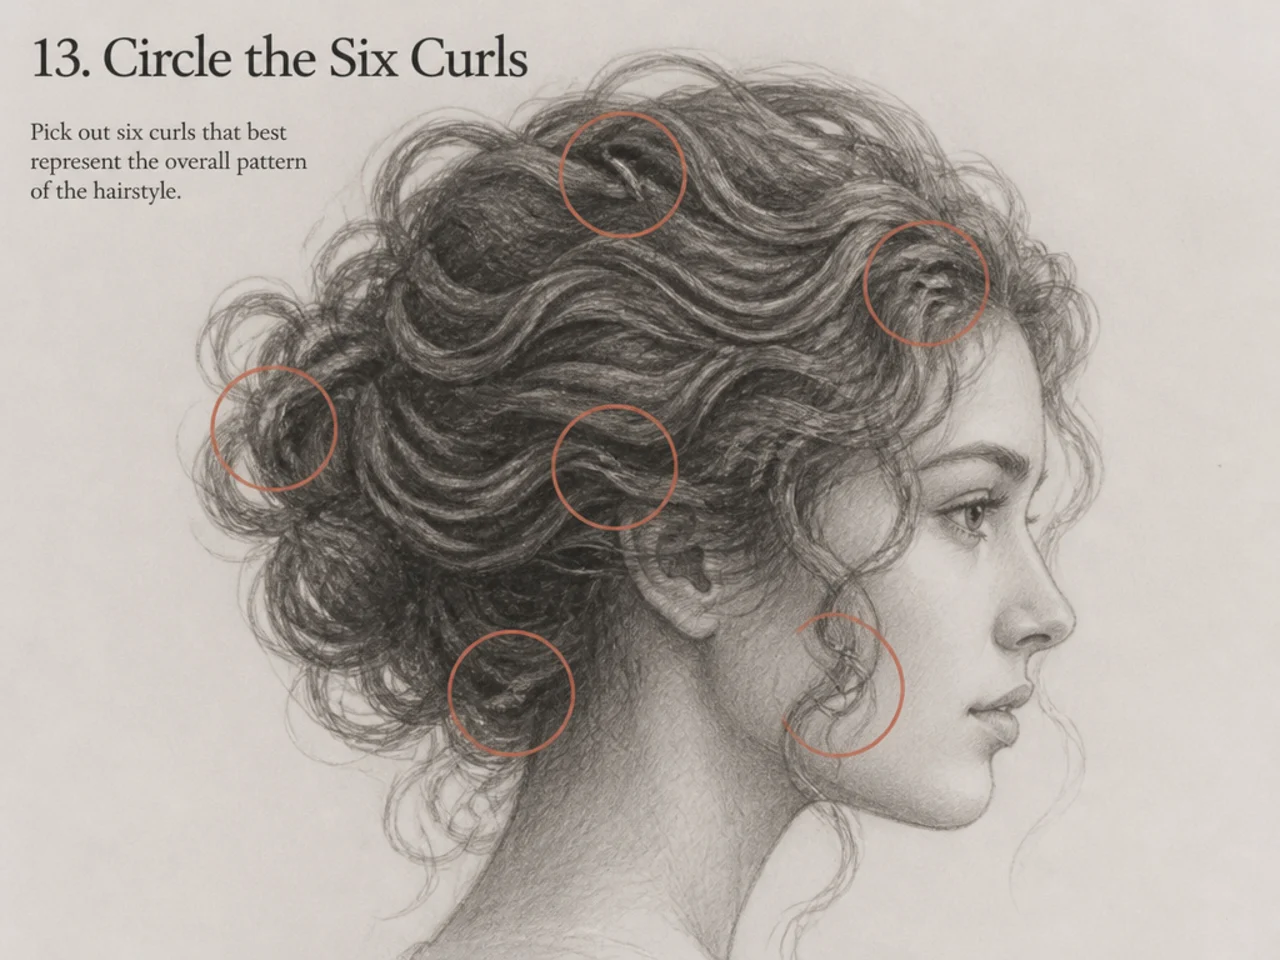
Choose your six curls. Decide in advance which ones get fully rendered. Making that decision at the reference stage stops you rendering everything.
The 15 Techniques
1. Squint Test
The single most useful habit. Do it before every drawing.
2. Greyscale the Photo
Colour hides value problems. Convert it and the masses become obvious.
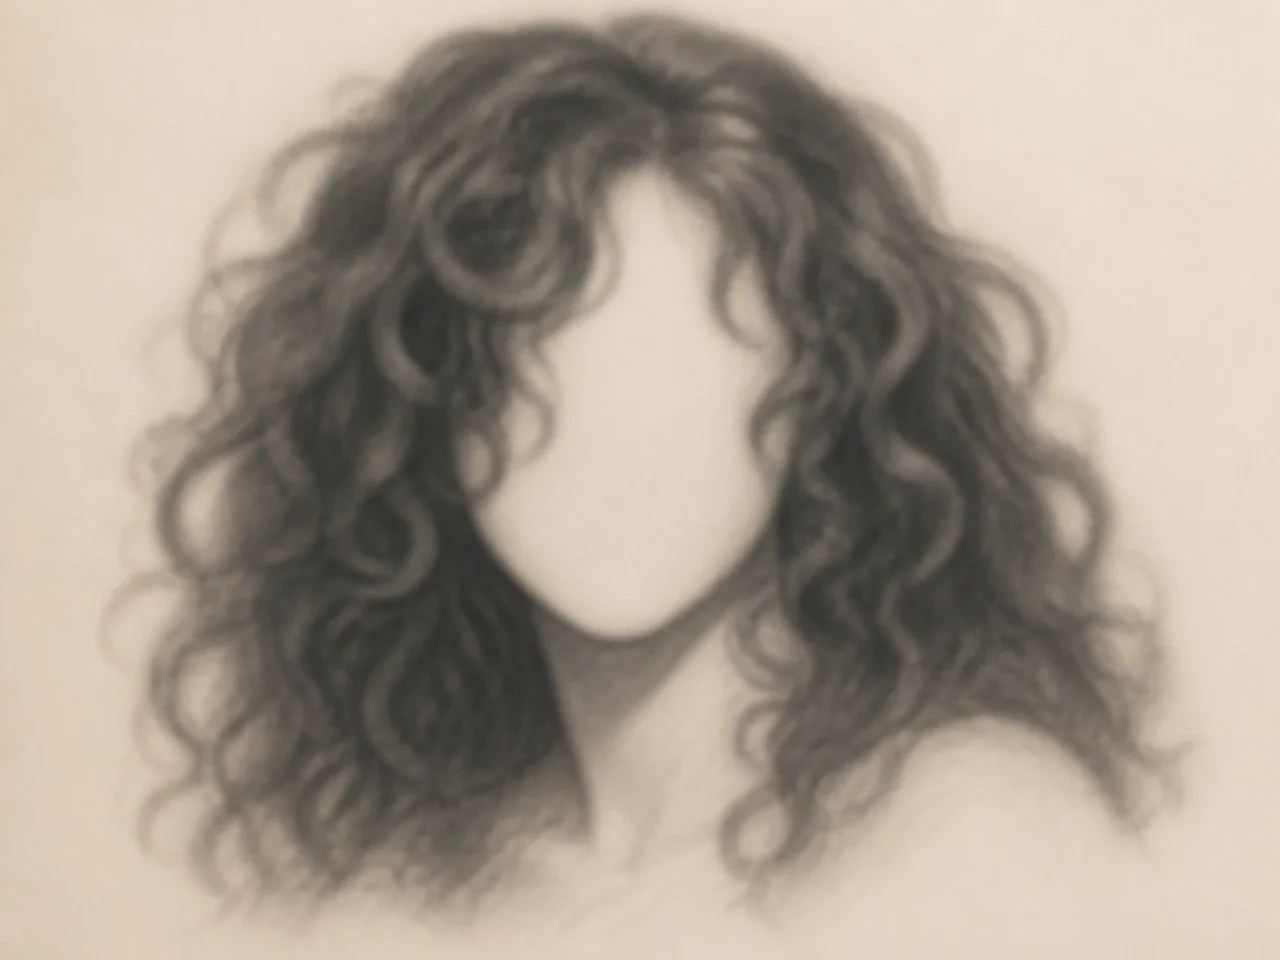
3. Blur It Deliberately
Blurring does what squinting does, and it stays blurred while you work.
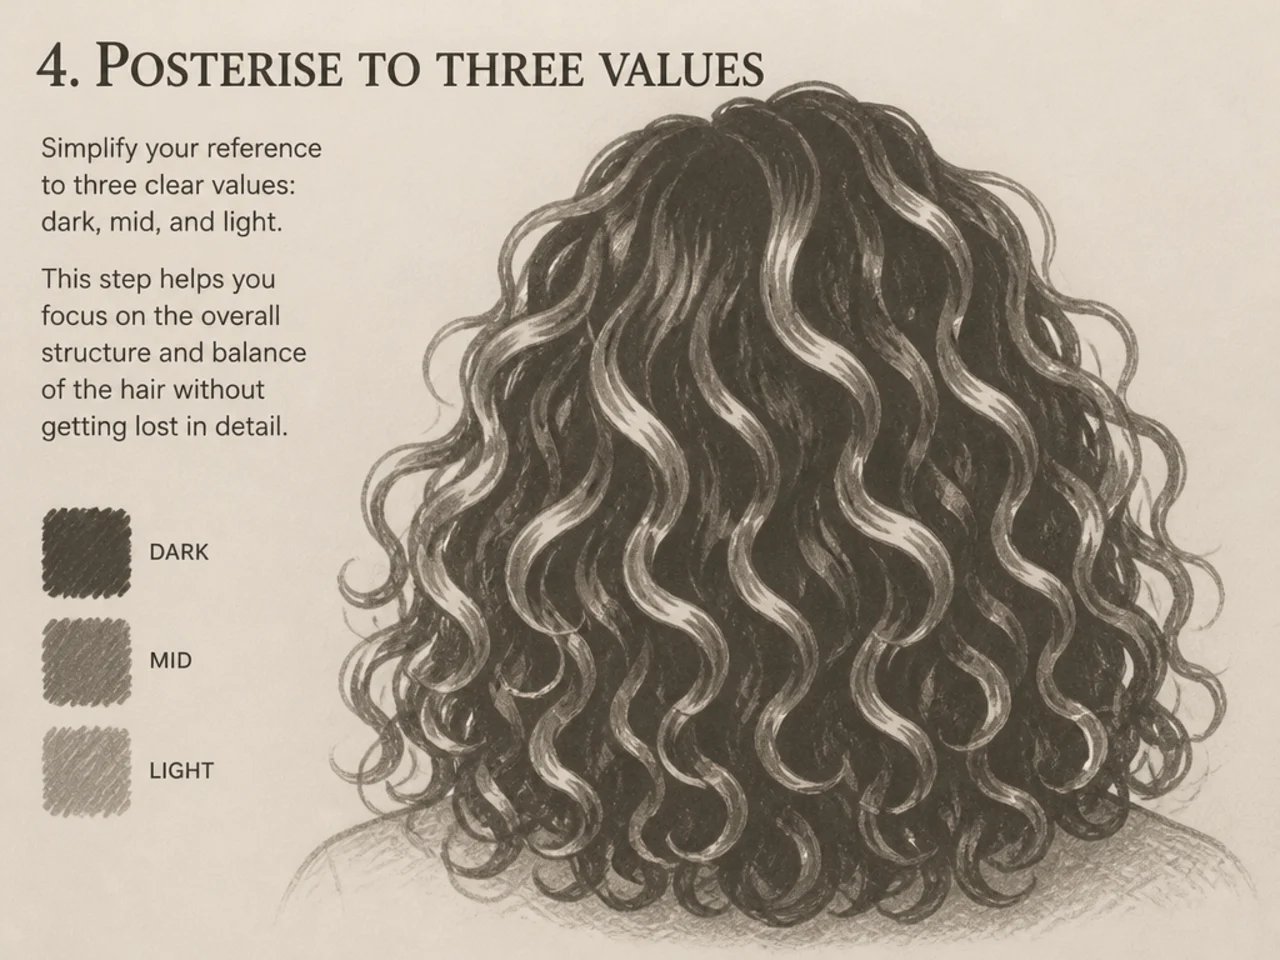
4. Posterise to Three Values
Reduce the photo to three tones. It shows exactly what to block in.
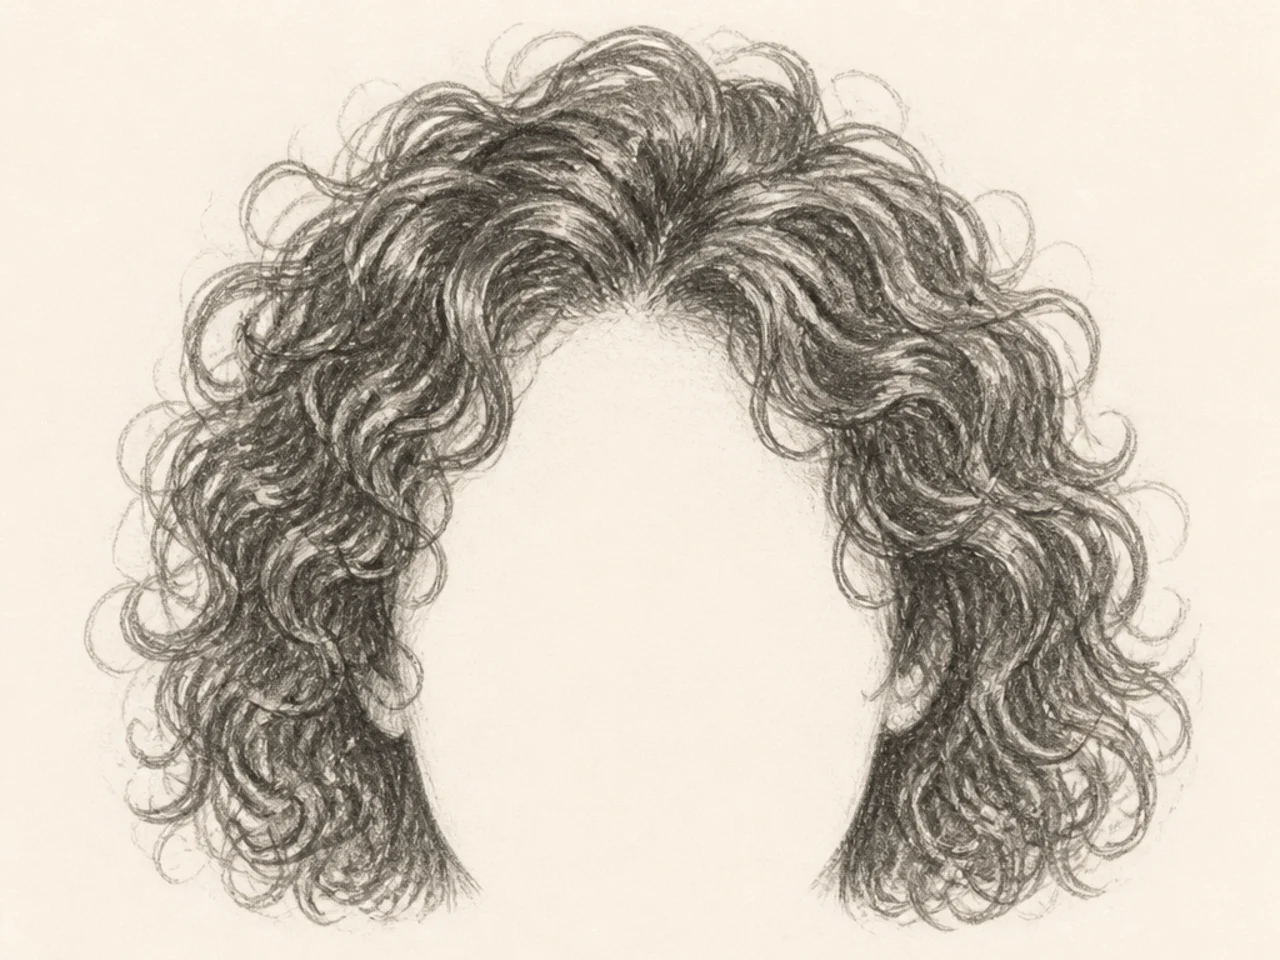
5. Crop to the Silhouette
Crop tight so you see the outline against the background, nothing else.
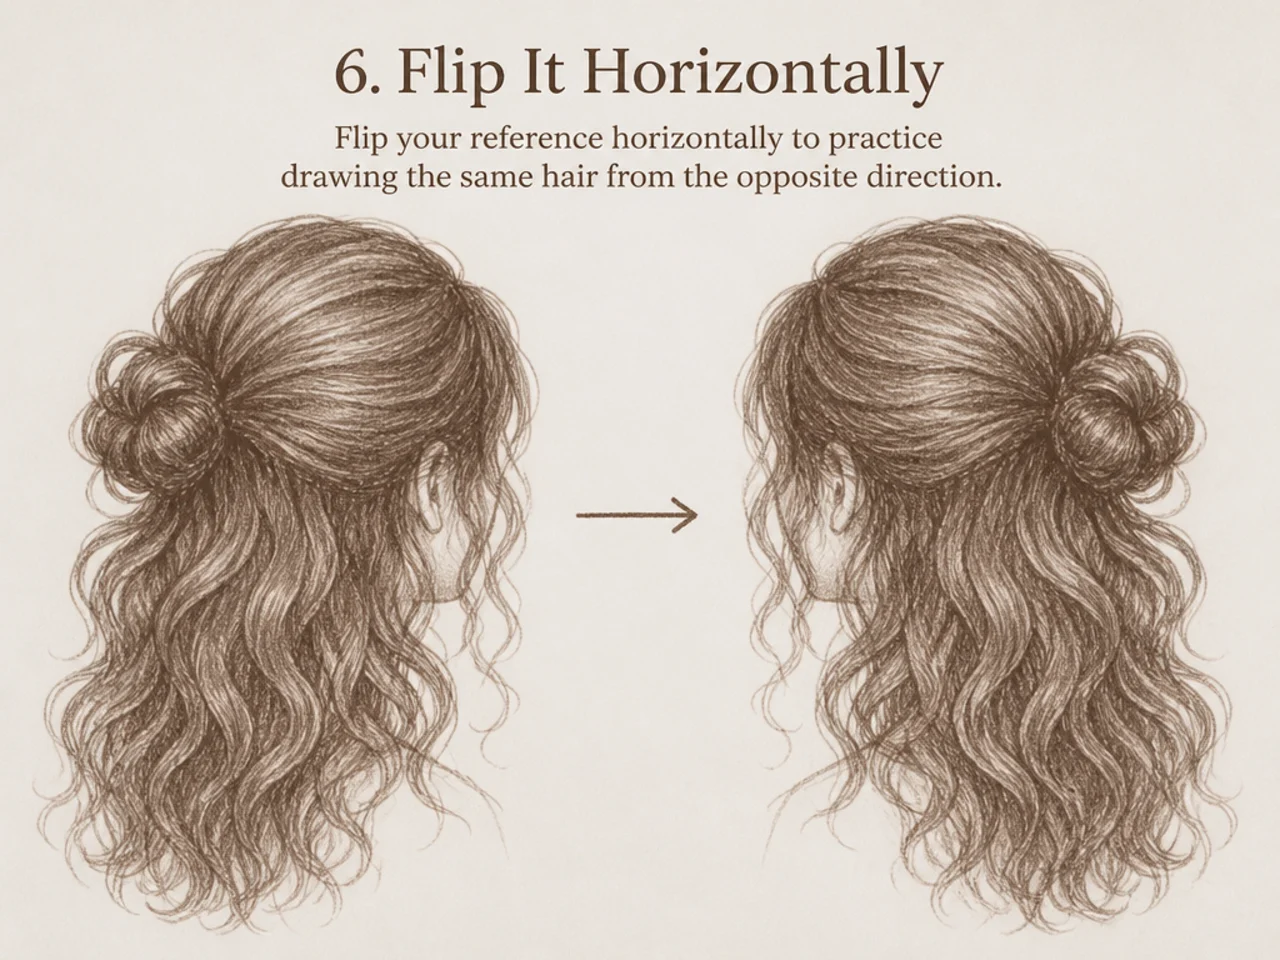
6. Flip It Horizontally
Flipping breaks familiarity and shows you what you have been assuming.
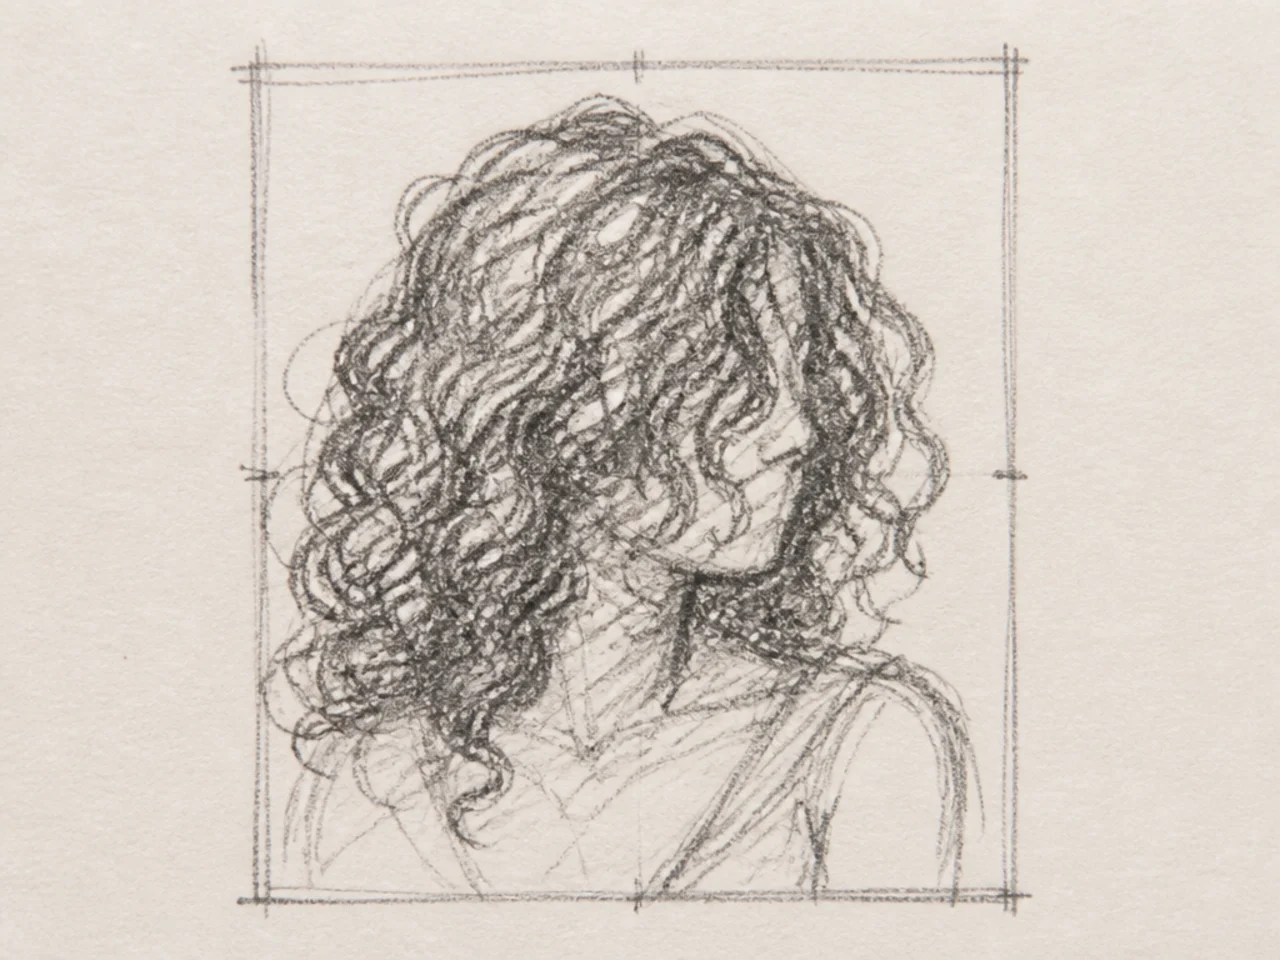
7. Thumbnail the Reference First
A tiny sketch of the reference before the full drawing. Two minutes.
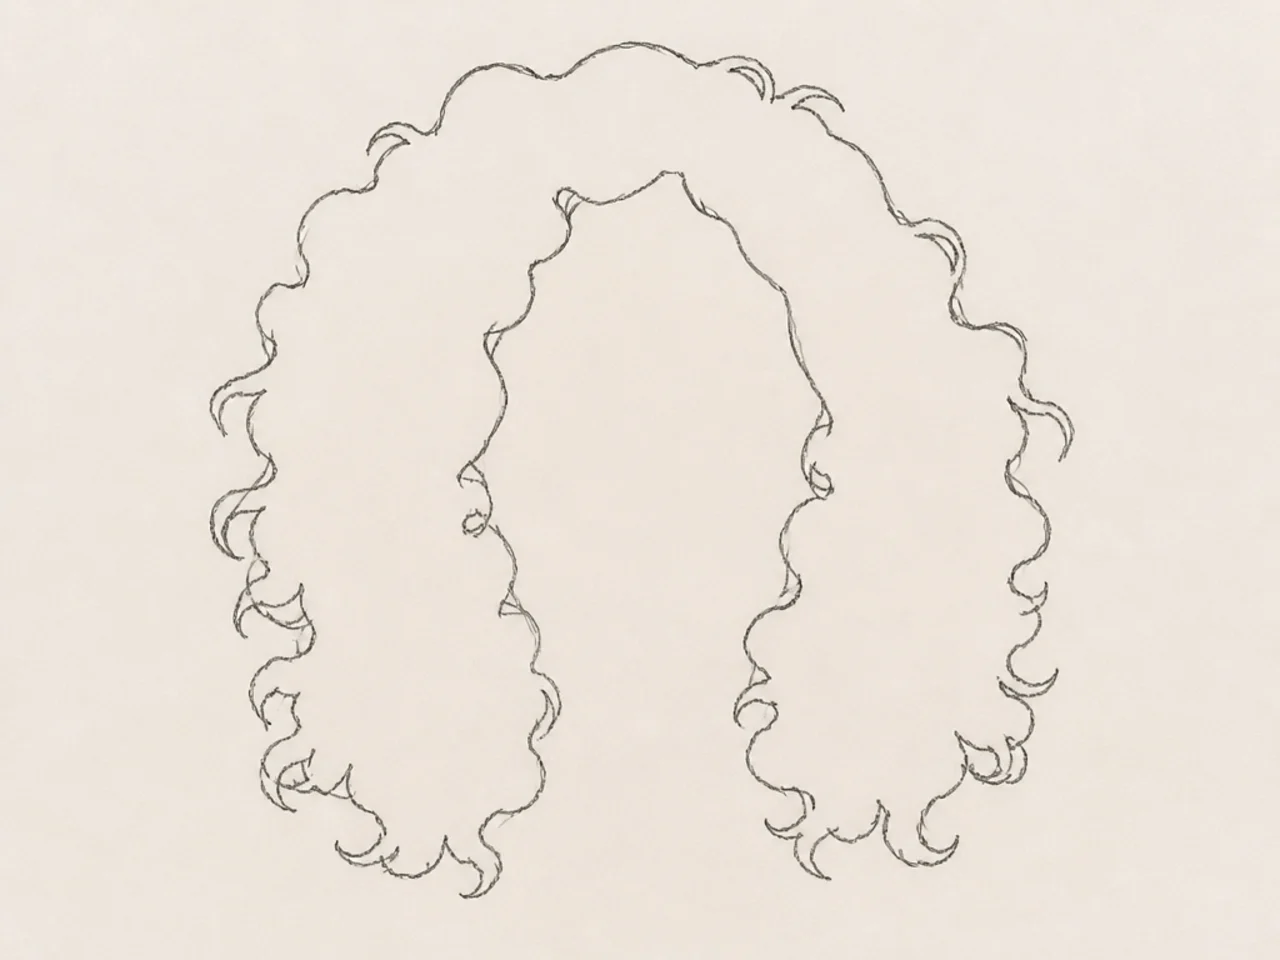
8. Trace the Silhouette Only
Trace the outline for practice, then draw the interior from observation.
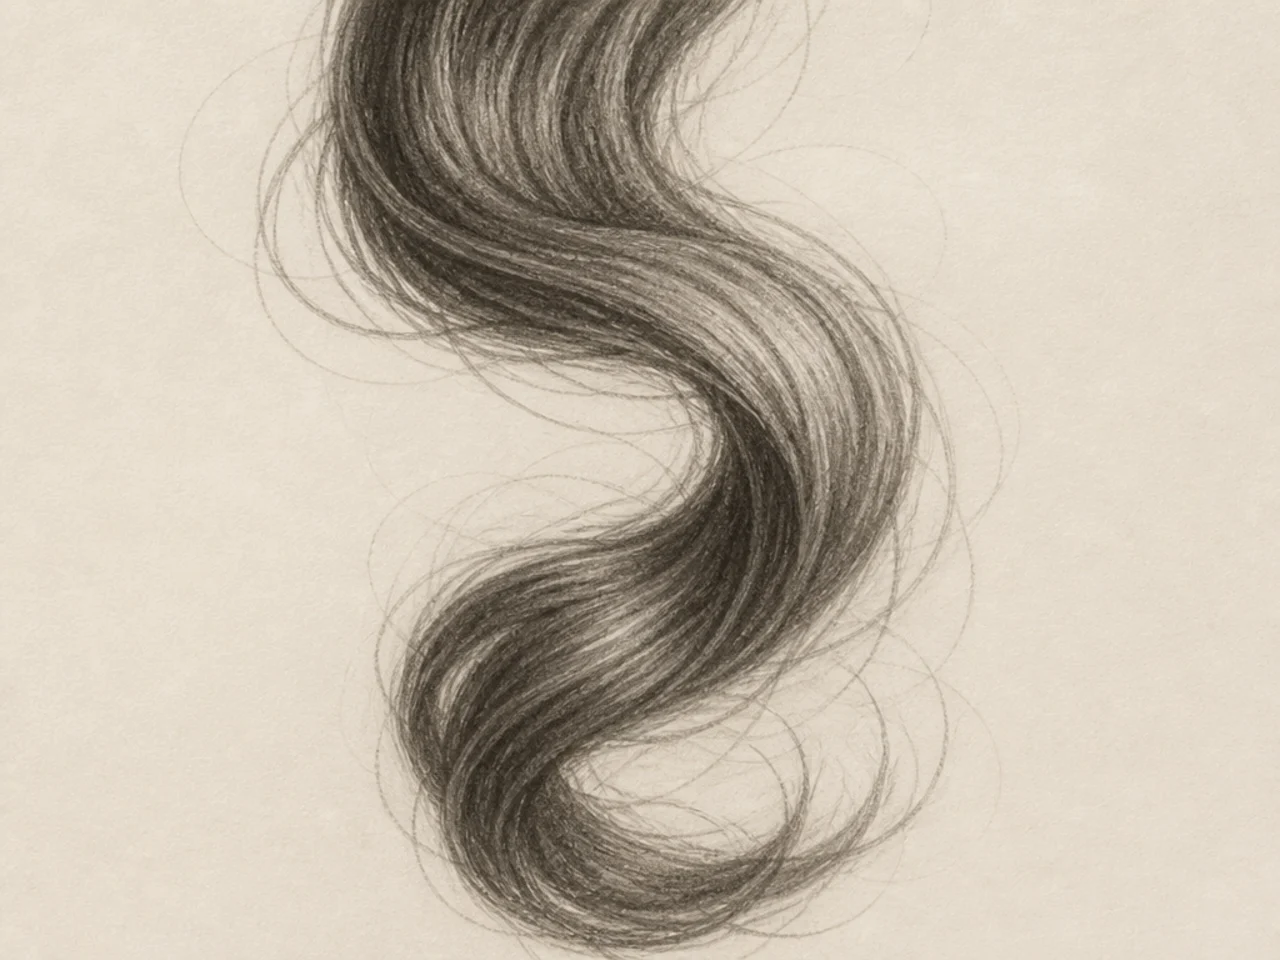
9. Study One Clump at Full Size
Draw a single clump large. It teaches structure faster than a whole head.
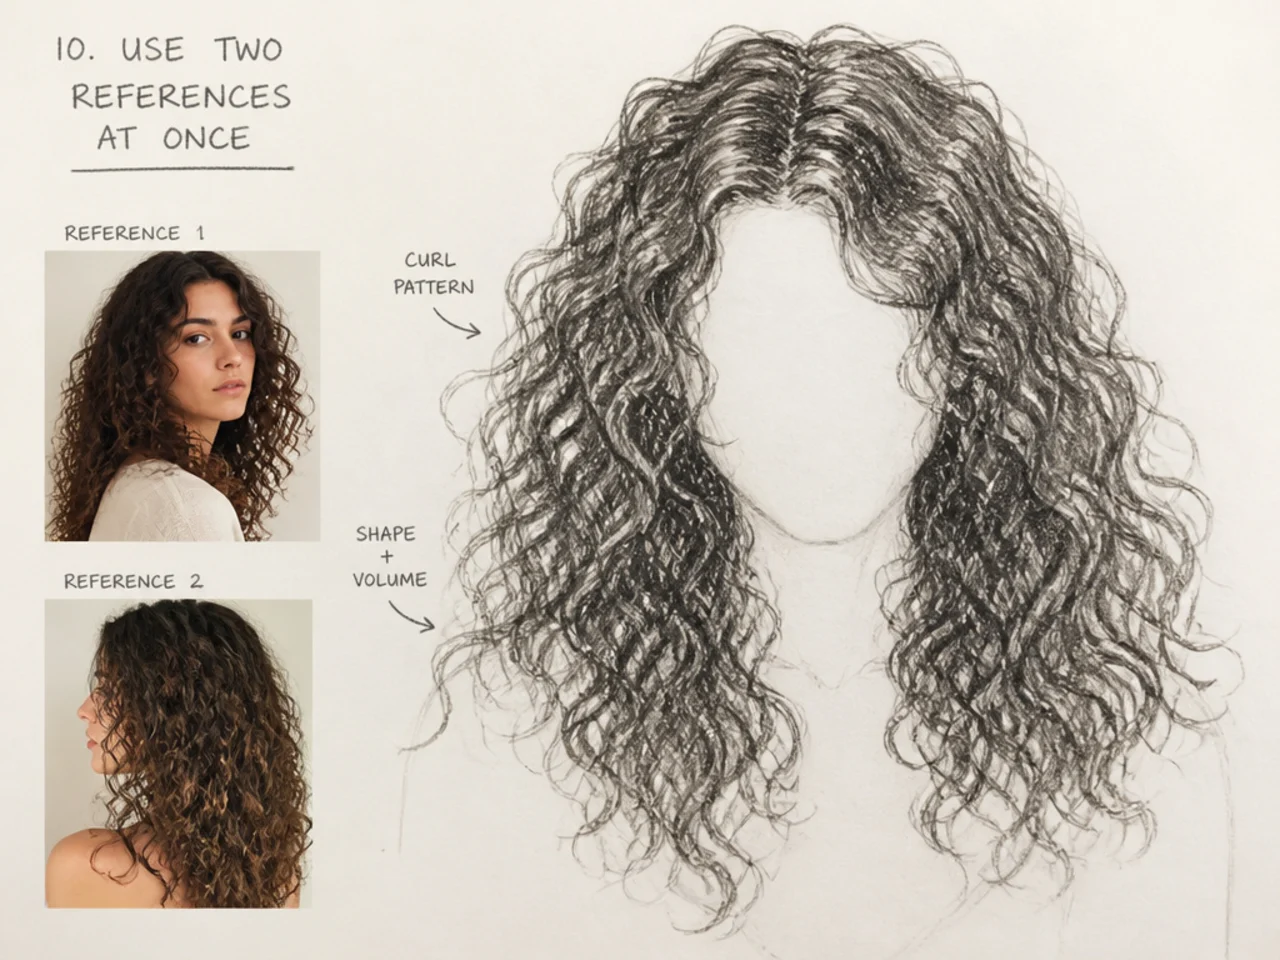
10. Use Two References at Once
One for the silhouette, one for the lighting. They rarely both come from the same photo.
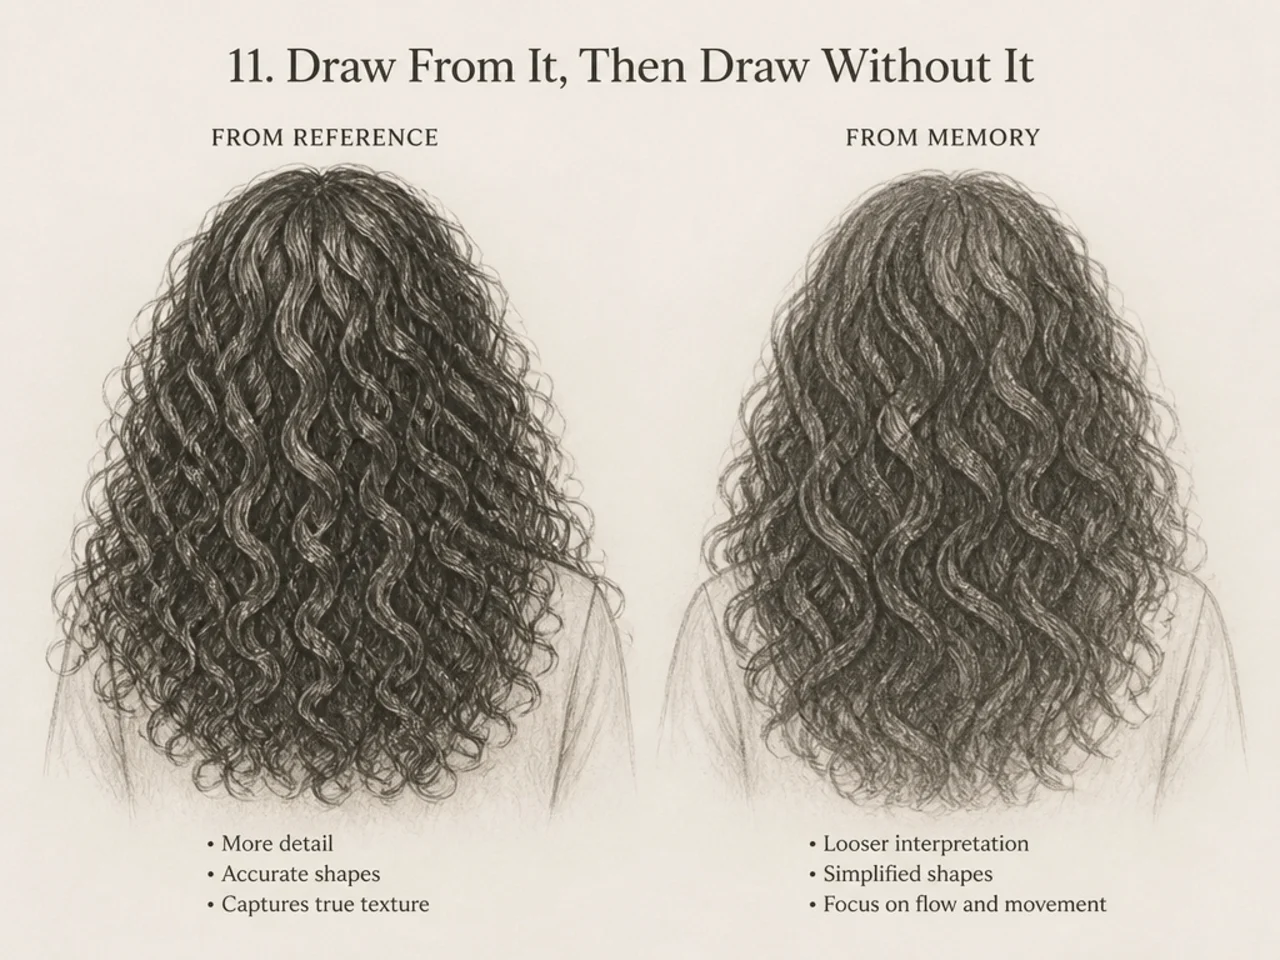
11. Draw From It, Then Draw Without It
The second drawing is where you find out what you actually learned.
12. Mark the Light Direction On It
An arrow on the photo. It keeps you consistent through the whole drawing.
13. Circle the Six Curls
Literally mark which curls you will render before you begin.
14. Compare Yours Side by Side, Squinted
Squint at both together. Differences in value show immediately.
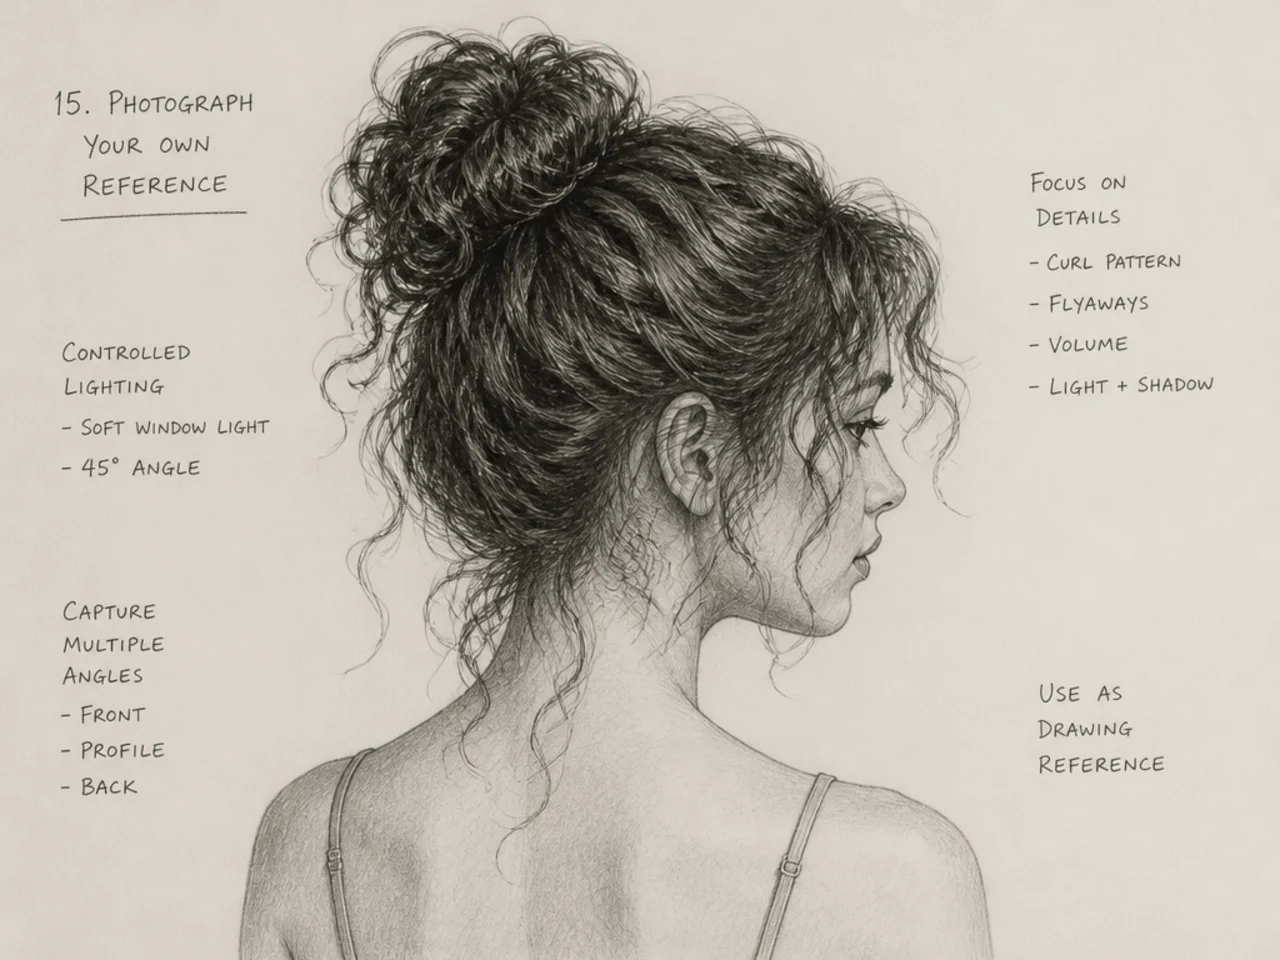
15. Photograph Your Own Reference
Your own photos let you control lighting and background completely.
What Makes a Reference Worth Using
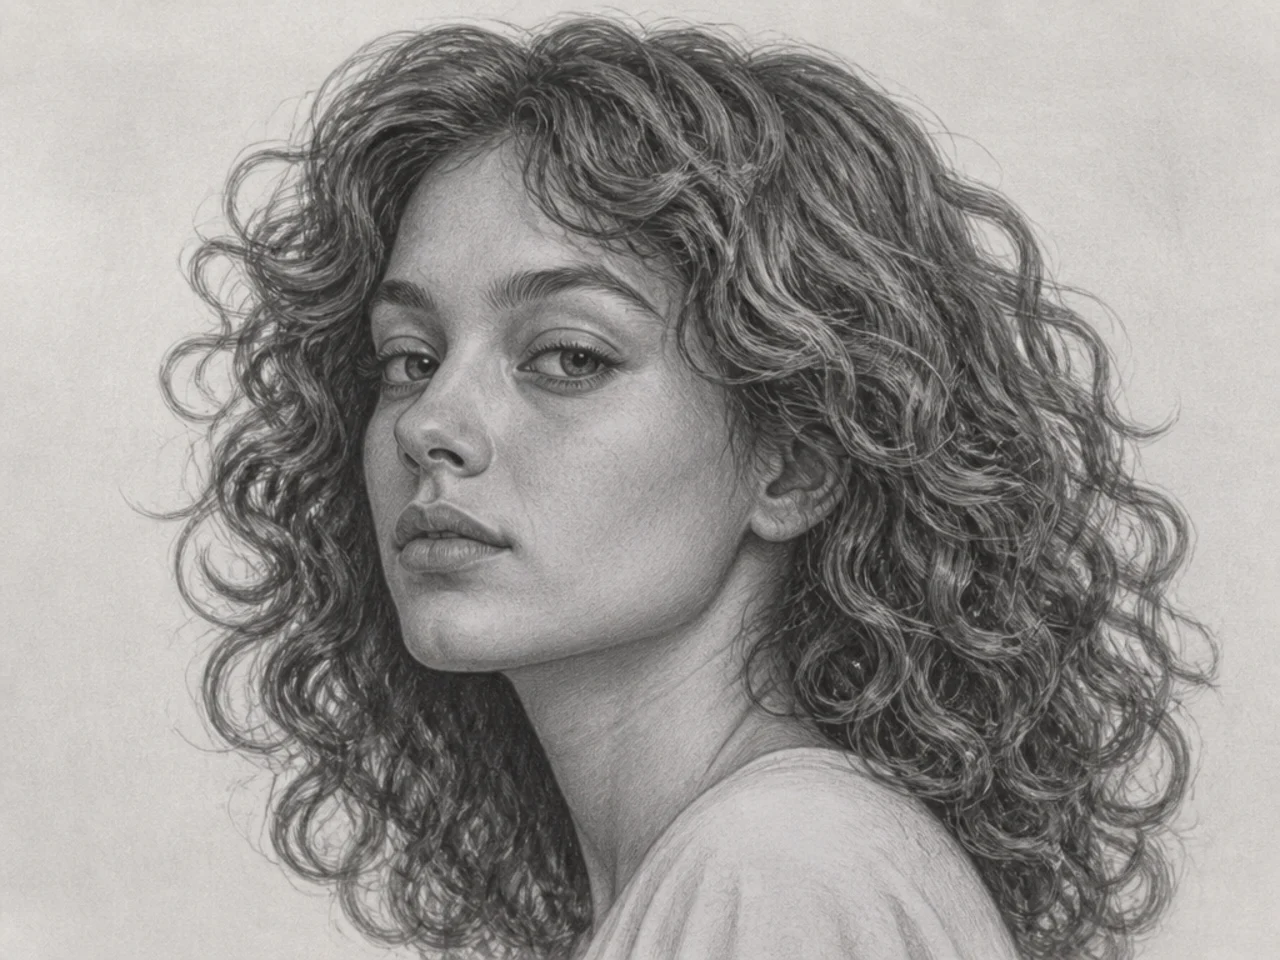
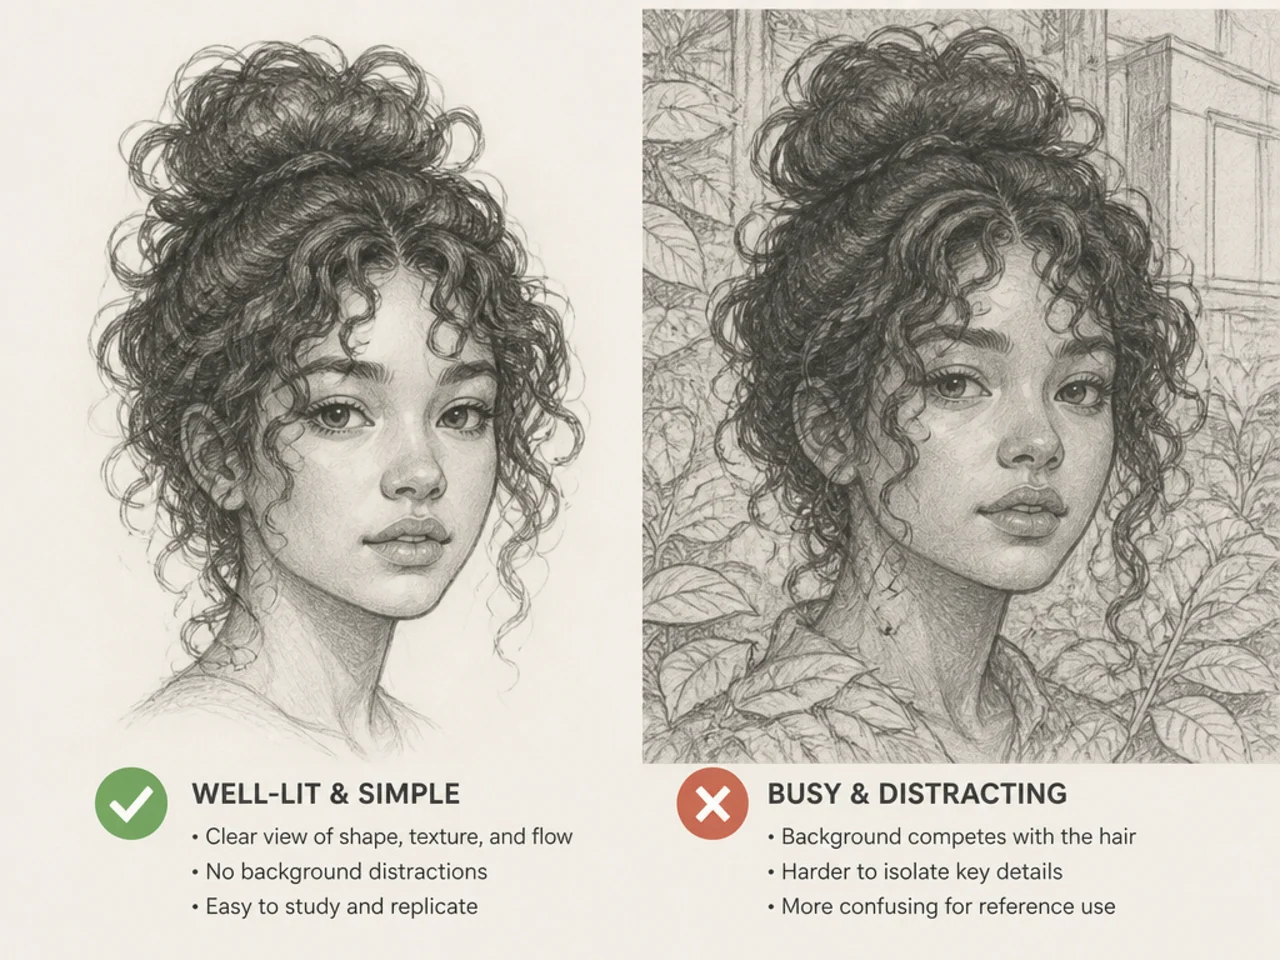
Clear, directional light. A flat-lit photo has no shadow mass, so it teaches nothing about form no matter how attractive the hair is.
A plain background. The silhouette is the most important information, and a busy background hides it entirely.
Enough resolution to see clumping. If you cannot tell where one clump ends and the next begins, you cannot study the structure.
A recognisable curl type. Vague, half-brushed-out curl is harder to learn from than a defined pattern, whether that is a loose wave or a tight coil.
Most photos fail at least two of these. Being selective at this stage is worth more than any technique above.
A Note on Using Other People's Photos
Worth being straight about, because it comes up constantly.
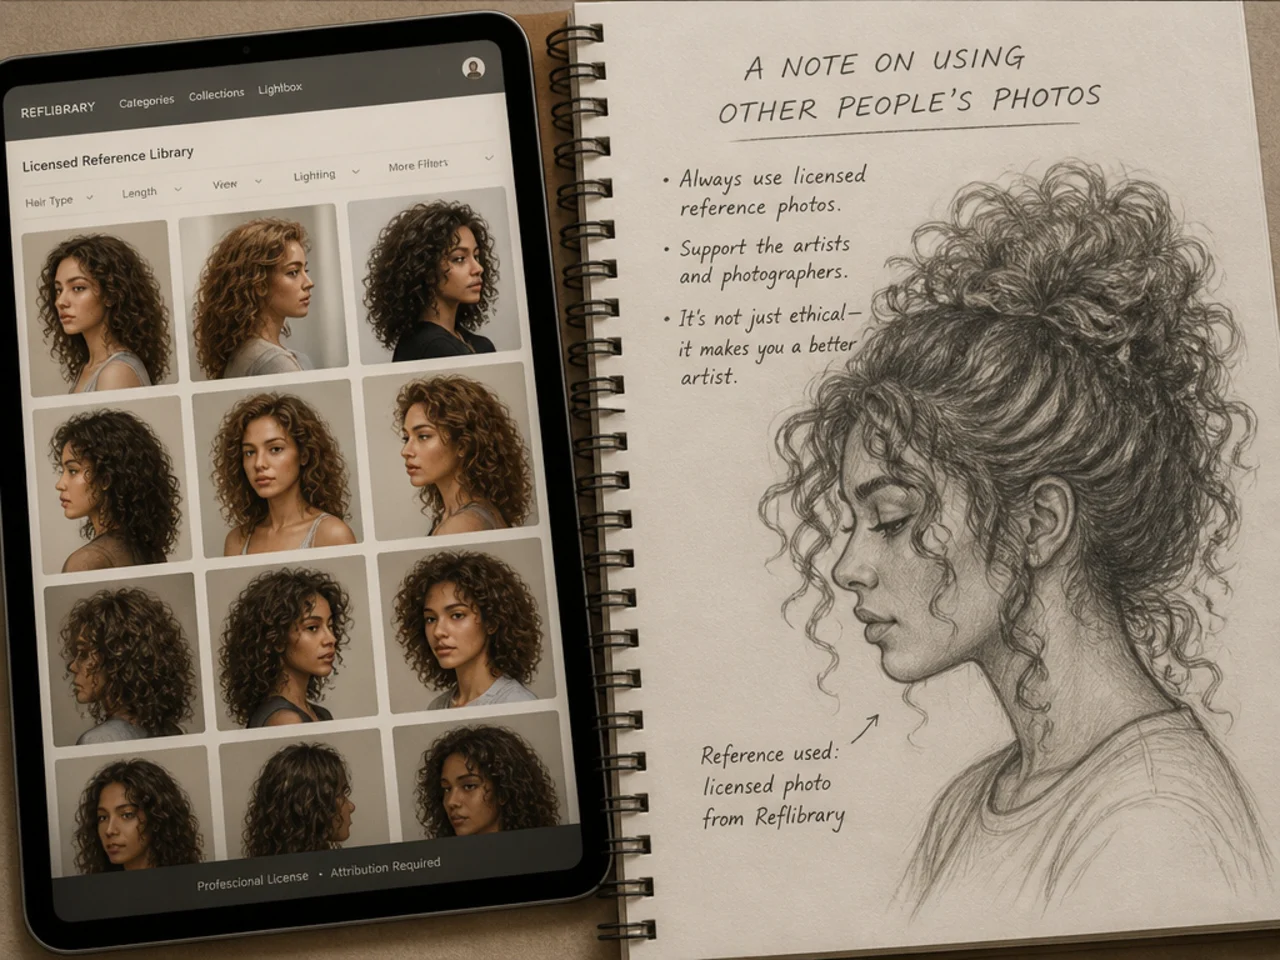
Studying from a photo is normal practice. Learning form, light and structure from images is how drawing has always been taught.
Tracing and publishing is not. A traced photograph, presented as original work, is derived from someone else's image — and if that image is a stranger's portrait it also uses their likeness.
For anything you intend to publish or sell, use your own photos, licensed stock, or free reference libraries where the terms permit it. Many are set up specifically for artists.
For private practice, study freely. Just do not put the result online as your own composition.
Mistakes to Avoid
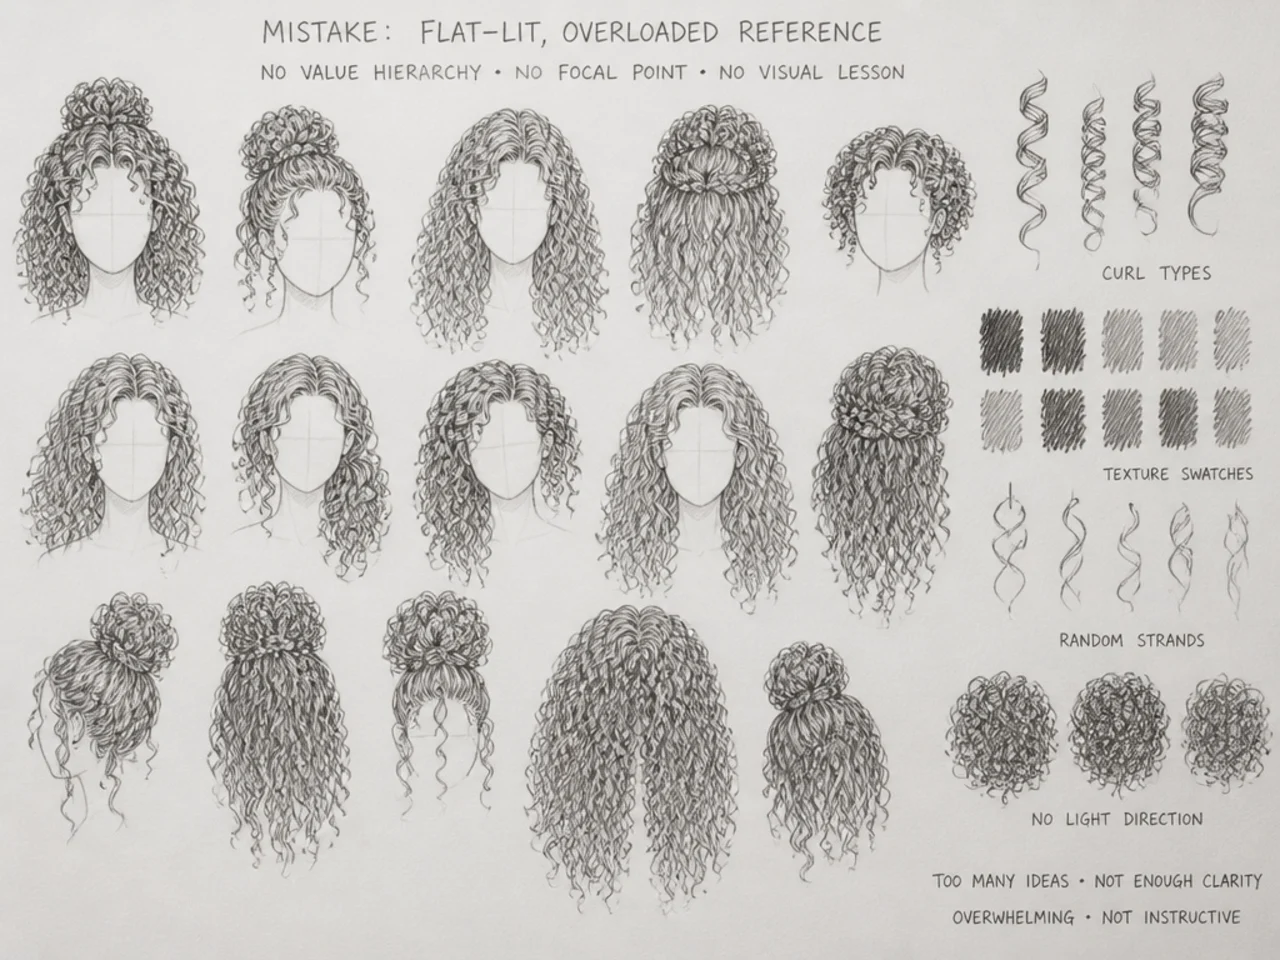
Copying instead of reading. The photo has every curl; your drawing should not.
Working from a flat-lit photo. No shadow mass, nothing to learn.
A busy background. It hides the silhouette, which is the main information.
Choosing the reference for the hairstyle rather than the lighting. Lighting is what teaches you.
Publishing traced work. Study from it, do not reproduce it.
FAQ
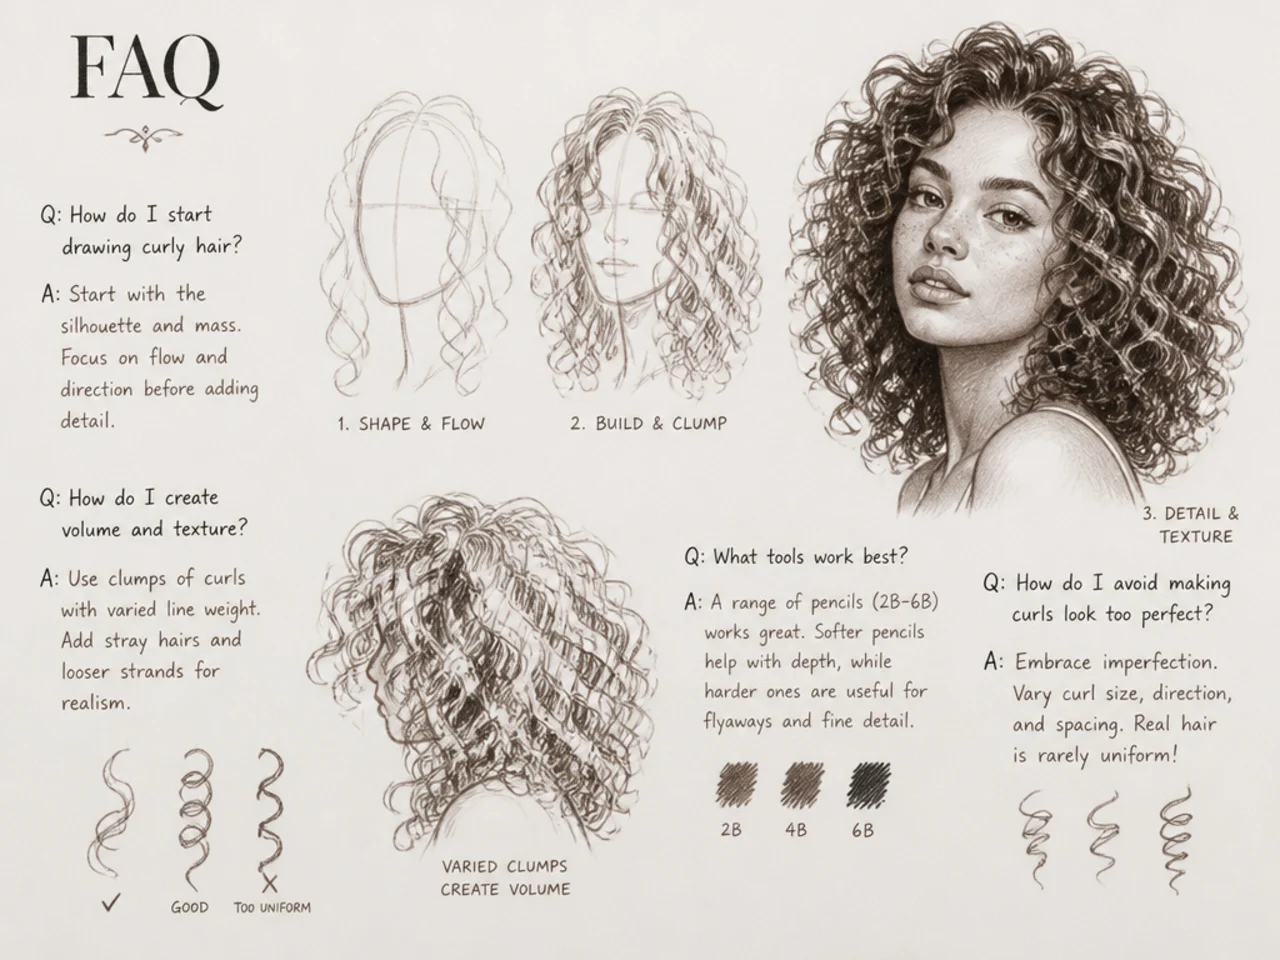
How do you use a reference? Read it first — squint, find the light, mark the clumps, choose your six curls.
Should you trace? For private practice it teaches proportion; never publish traced work as original.
What makes a good reference? Directional light, plain background, enough resolution to see clumping.
Final Thoughts
Spend three minutes reading the photo before you make a mark. Squint, find the light, circle six curls — those decisions are the drawing, and everything after them is execution.
For building a library see 15 curly hair drawing references I use, and for the method see 20 steps to draw curly hair like a pro. More in Hair Drawing & Art.