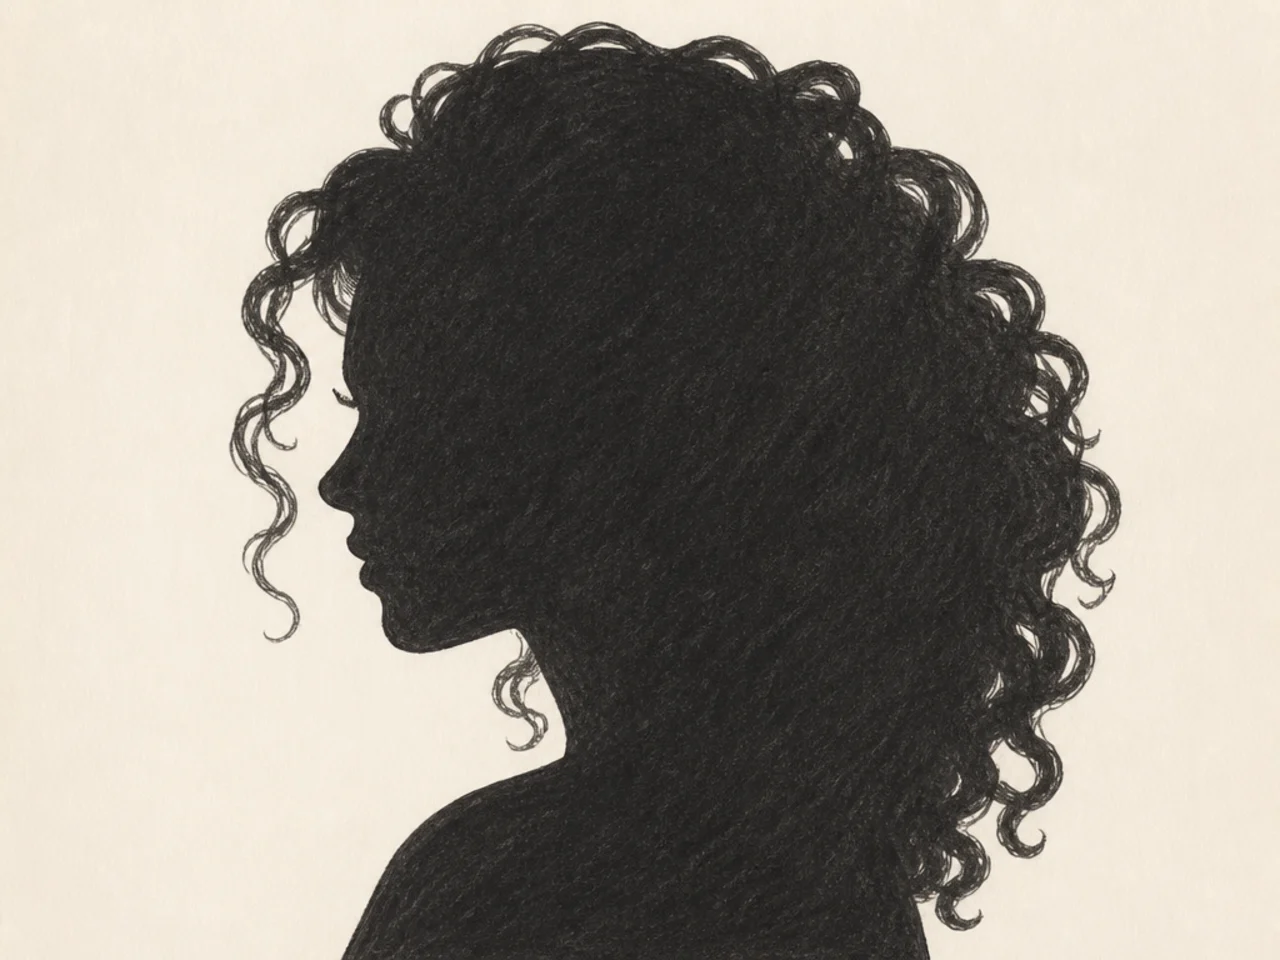
25 Easy Curly Hair Drawing Ideas to Try
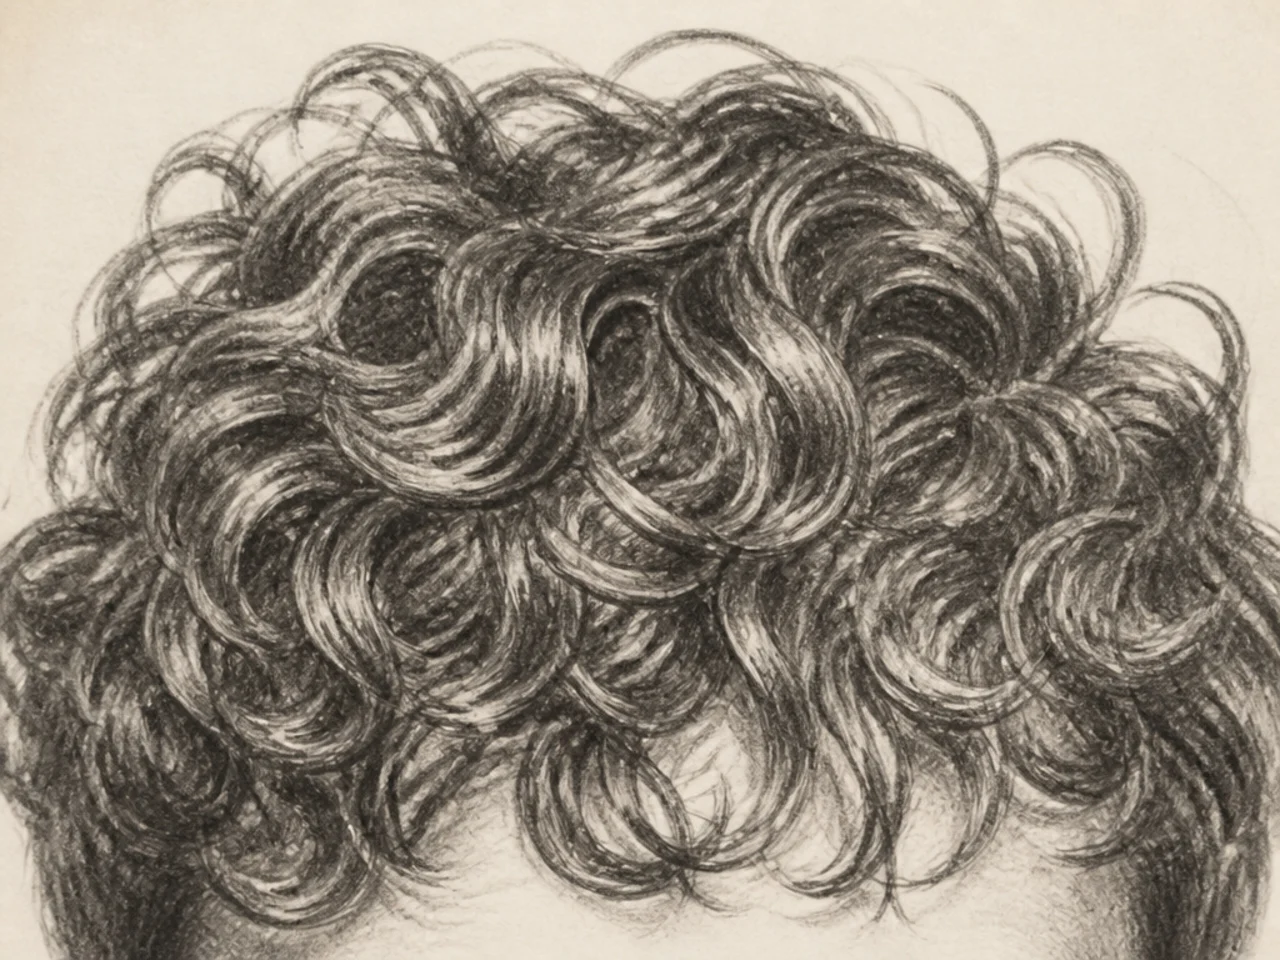
Twenty-five curly hair drawing ideas, and the principle behind all of them — draw the mass, not the strands. Drawing individual curls is what turns hair into a plate of noodles.
In this article · 32
- The Four-Stage Method
- Curls Are Ribbons, Not Tubes
- The 25 Ideas
- 1. Silhouette-Only Study
- 2. Three-Value Mass Study
- 3. Loose Spiral Curls
- 4. Tight Coils
- 5. Afro Silhouette
- 6. Wavy S-Curves
- 7. Curly Bob
- 8. Half-Up Curls
- 9. Curls in Motion
- 10. Backlit Curls
- 11. Curly Ponytail
- 12. Wet Curls
- 13. Curly Hair From Behind
- 14. Windblown Curls
- 15. Curls with a Headband
- 16. Ringlet Study
- 17. Curly Bun
- 18. Line-Only Curls
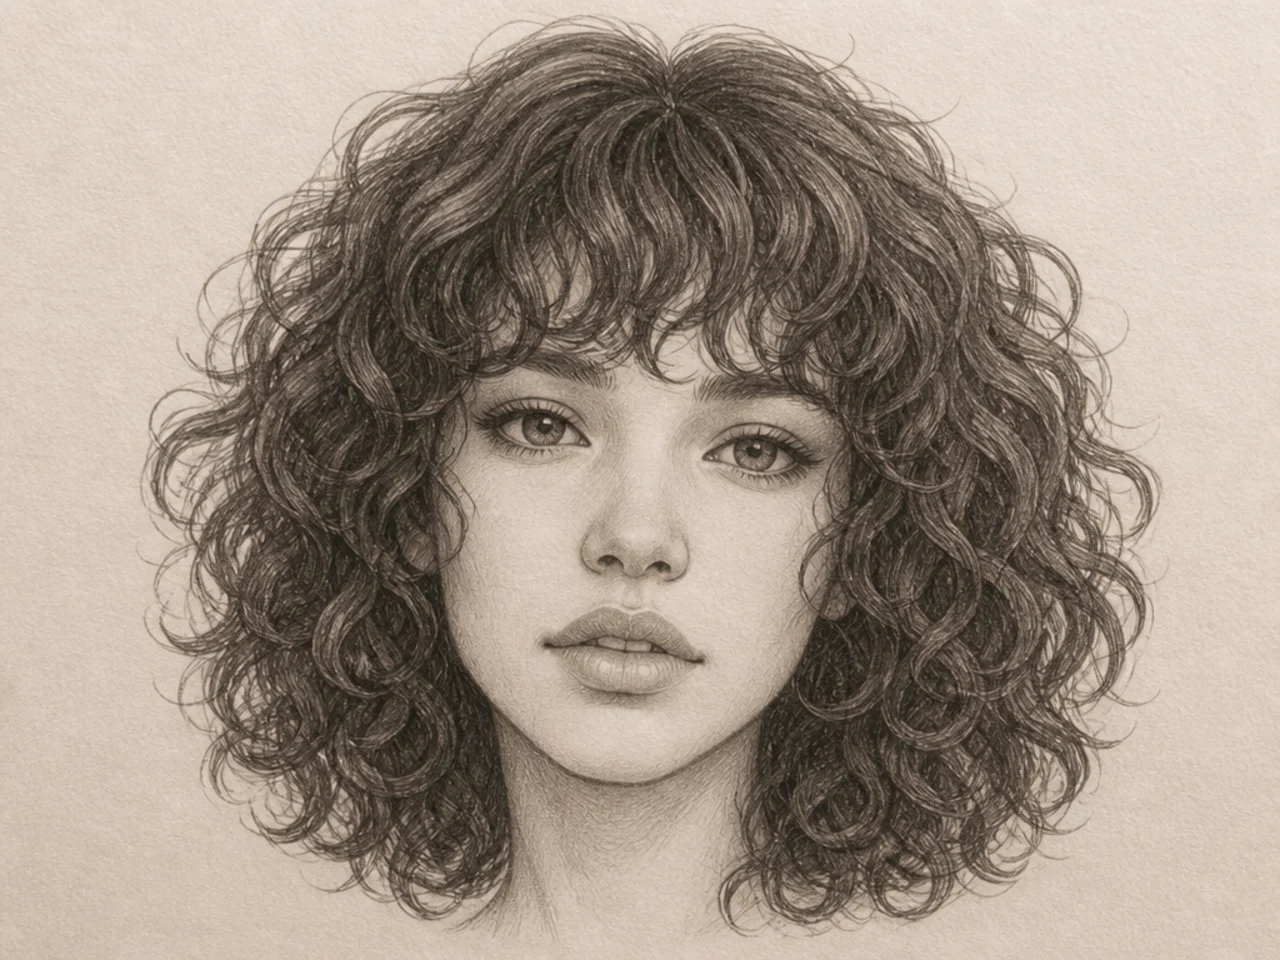
- 19. Curls with a Fringe
- 20. High Contrast Curls
- 21. Curls in Profile
- 22. Braided Curly Hair
- 23. Curls with Colour Blocking
- 24. Six-Curl Rule Study
- 25. Curls Over the Shoulder
- Where Detail Belongs
- Mistakes to Avoid
- FAQ
- Final Thoughts
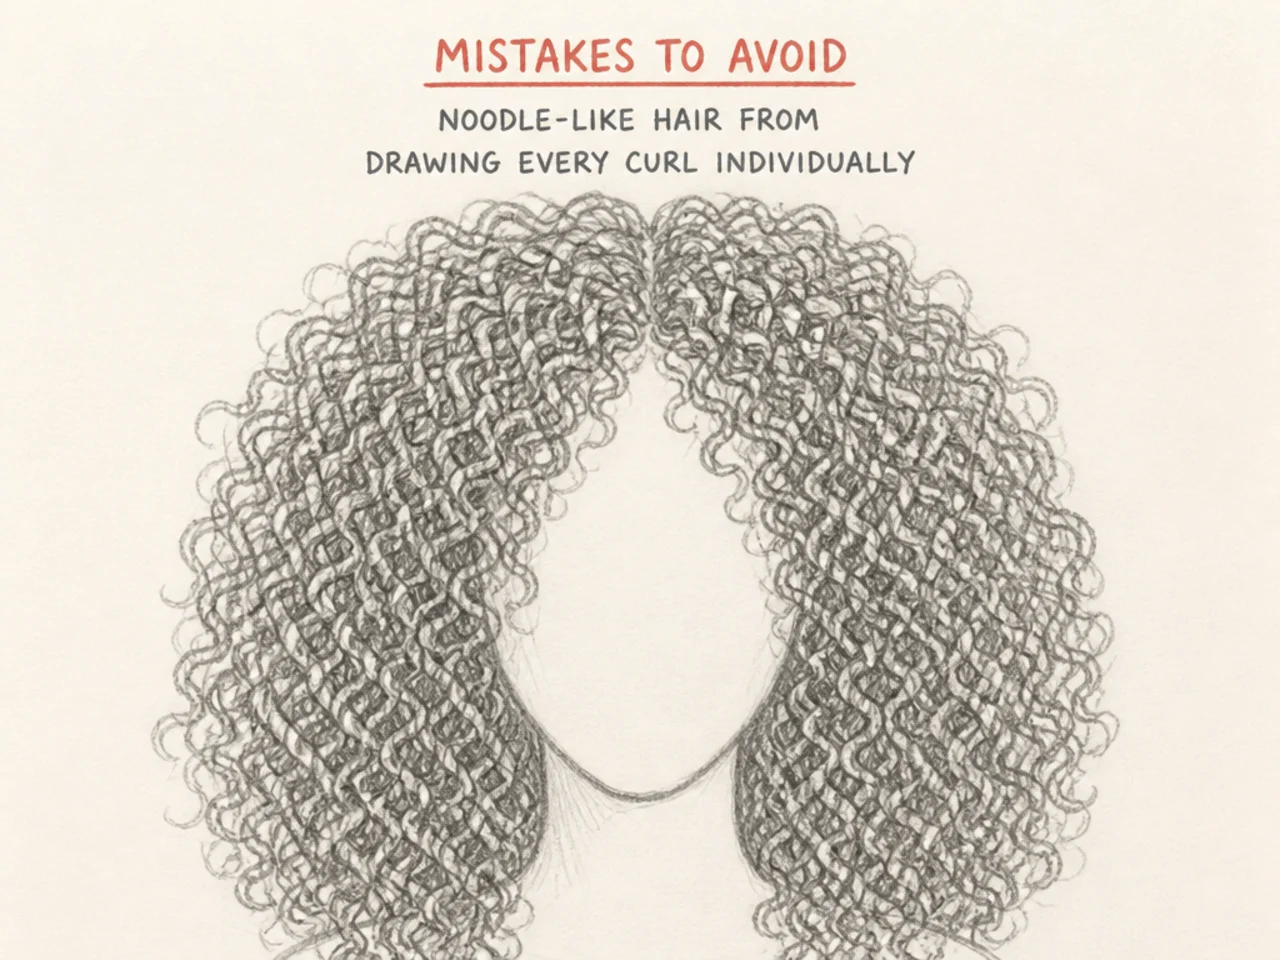
Almost every unconvincing drawing of curly hair fails the same way: every curl is drawn, individually, at the same level of detail. The result reads as a plate of noodles rather than as hair.
The fix is a single principle that governs everything on this page. Draw the mass, not the strands.
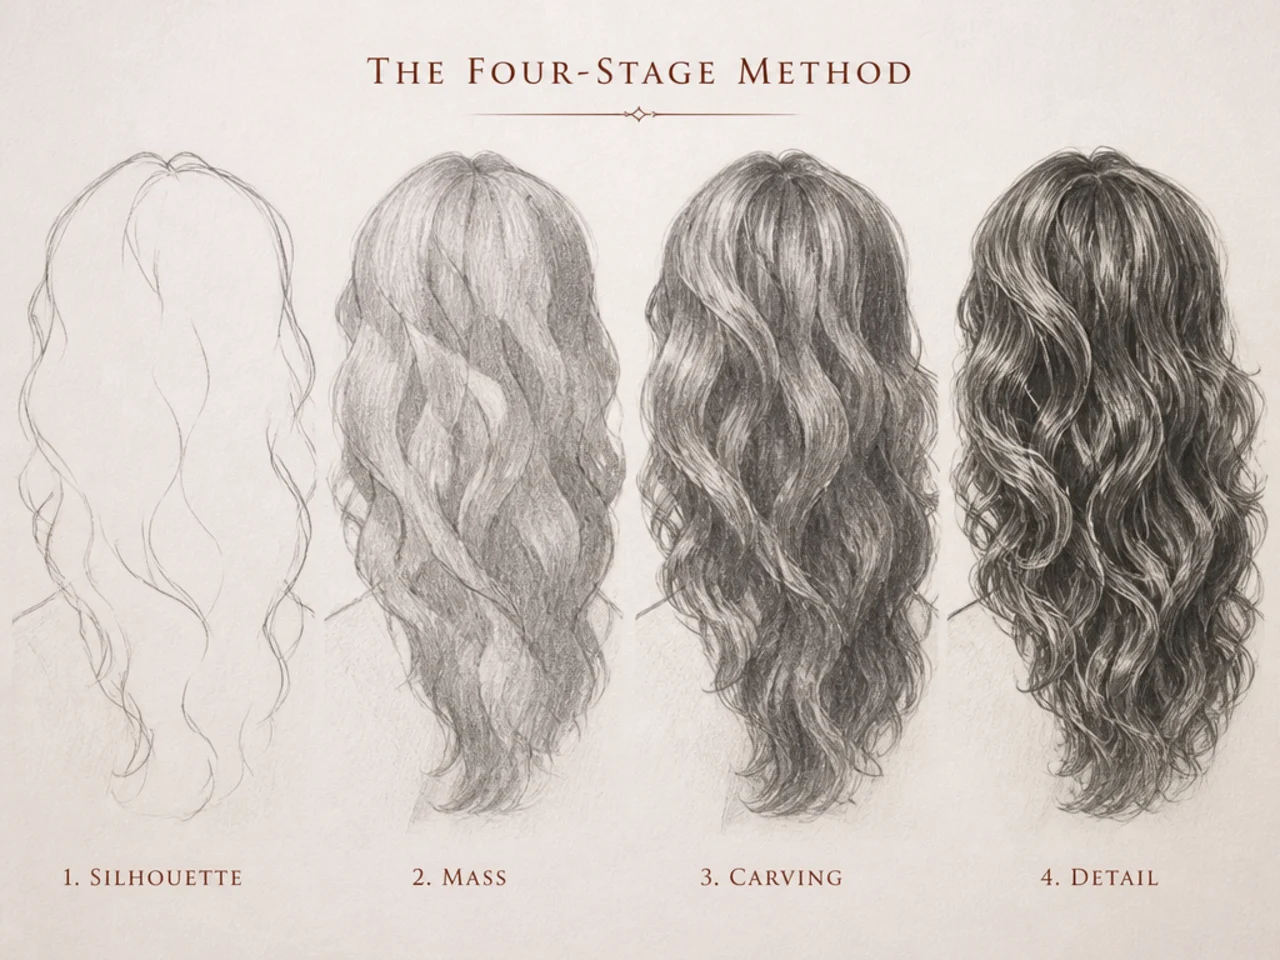
The Four-Stage Method
1. Silhouette first. Curly hair is recognised by its outline. Draw the outer shape as one irregular, bumpy mass — no interior lines at all. If the silhouette is right, the drawing already reads as curly.
2. Break it into two or three big masses. Not curls. Large regions of light and shadow, the way you would block a piece of cloth.
3. Carve, do not add. Work shadow into the masses to suggest separation between clumps. Subtracting from a solid form looks more like hair than building it up from lines does.
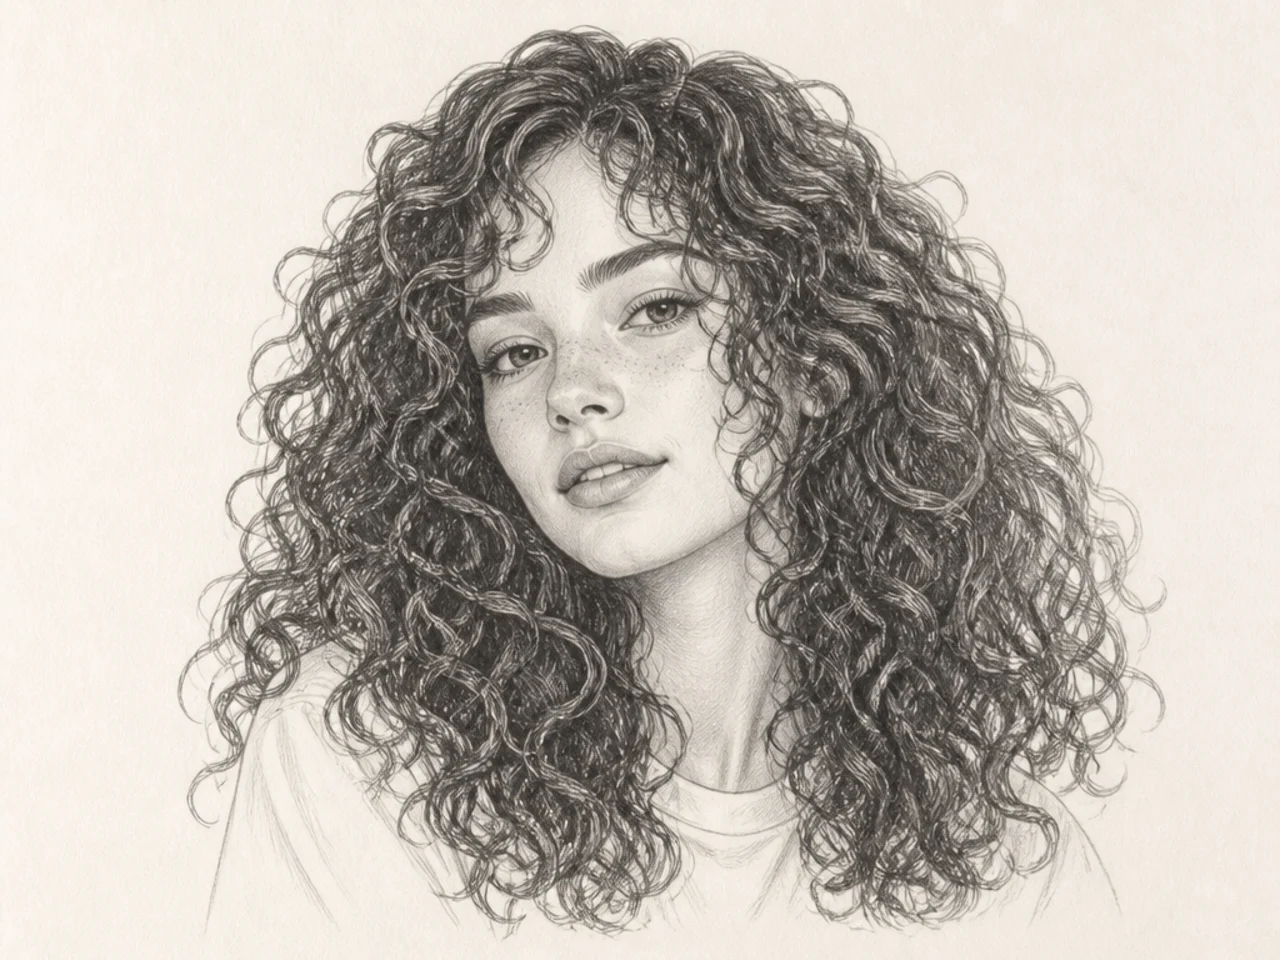
4. Render six curls, maximum. Fully draw only the ones catching the light, usually along the top edge and around the face. Everything else stays as tone.
That last stage is the one people skip past. Detail belongs at the edges, where light defines individual curls, and nowhere else. The interior of the hair mass should stay soft.
Curls Are Ribbons, Not Tubes
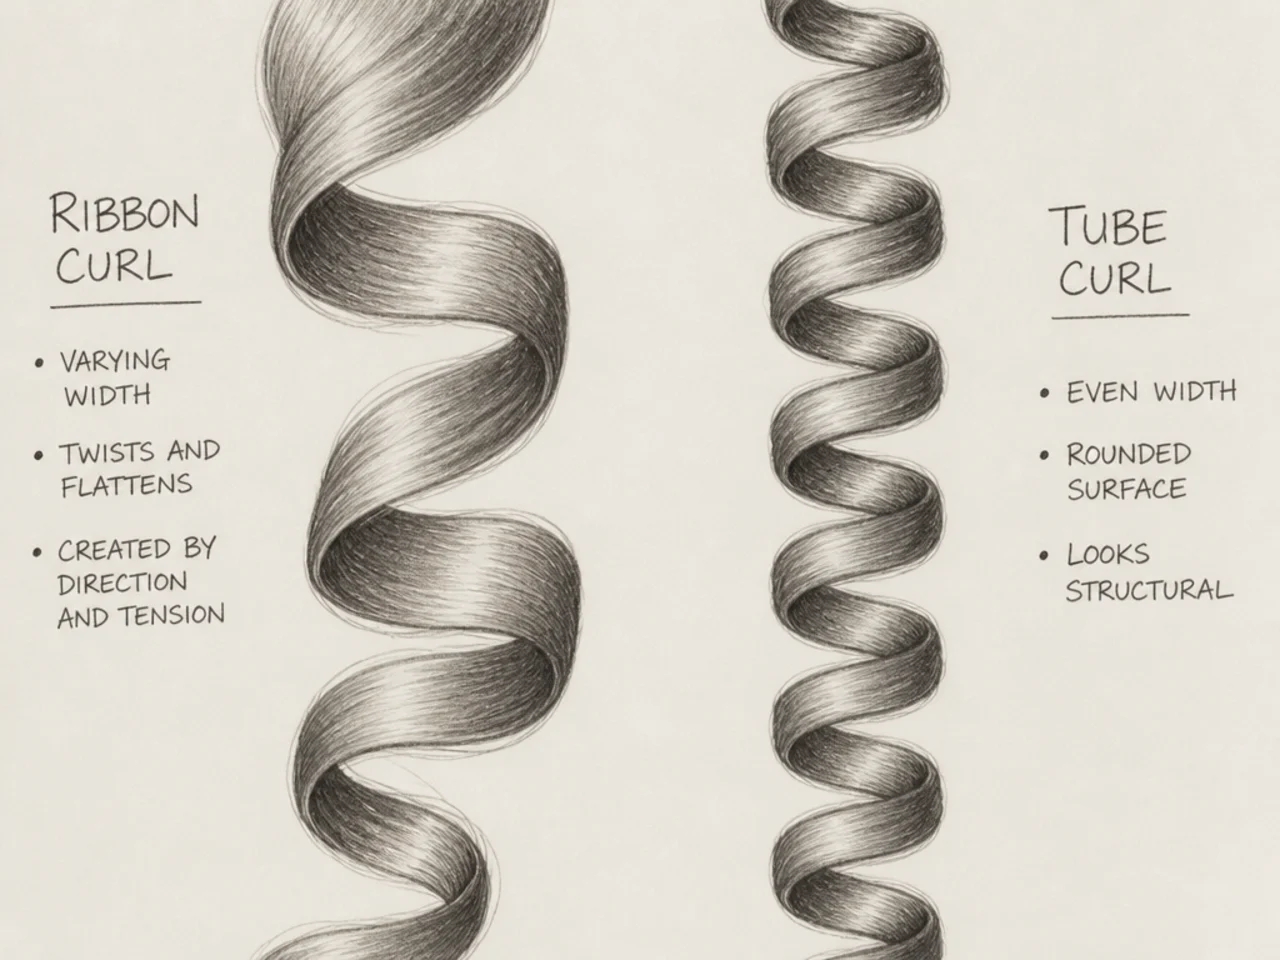
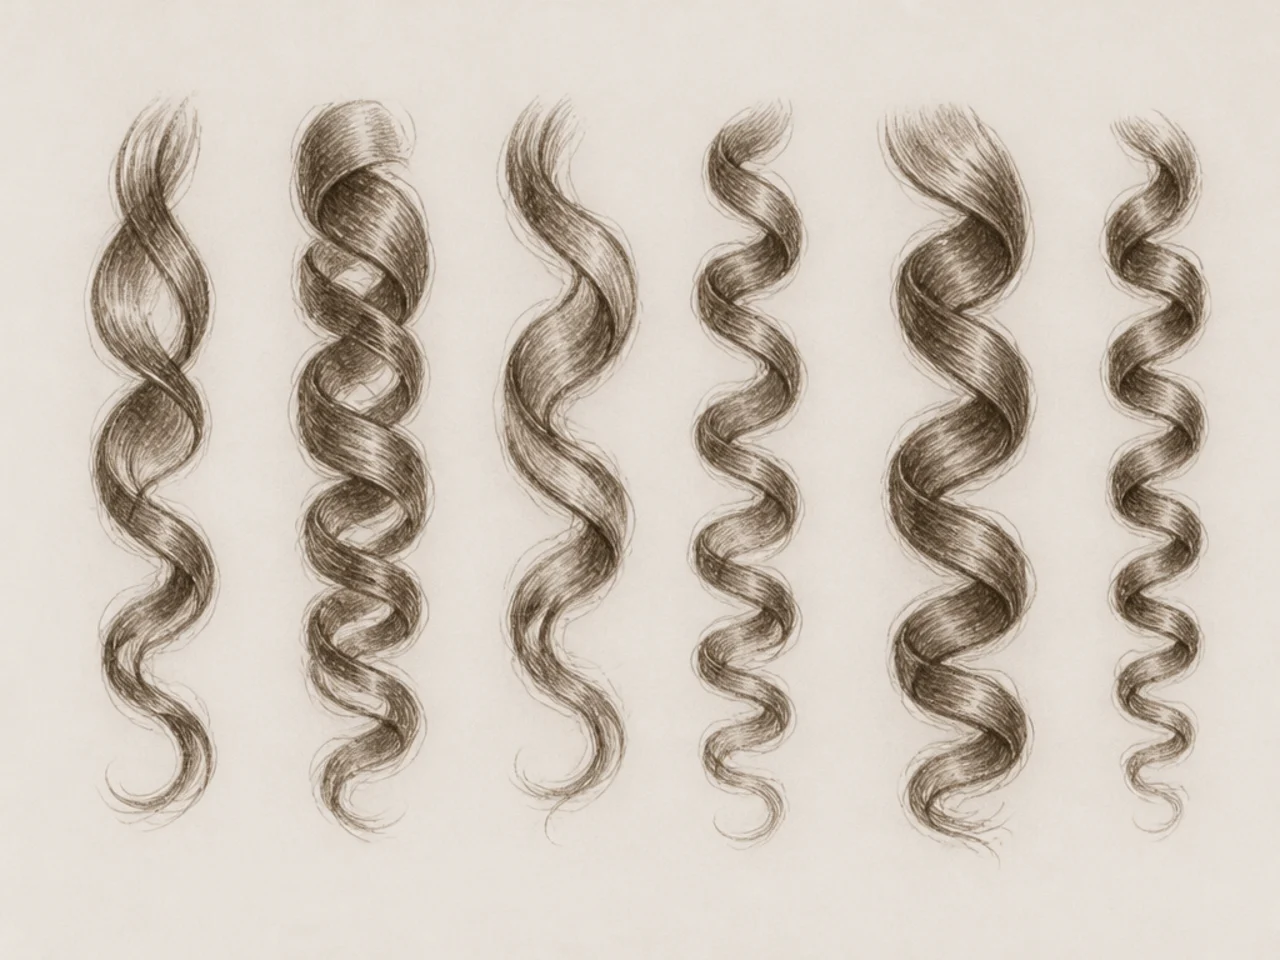
The second principle, and the one that makes individual curls convincing when you do draw them.
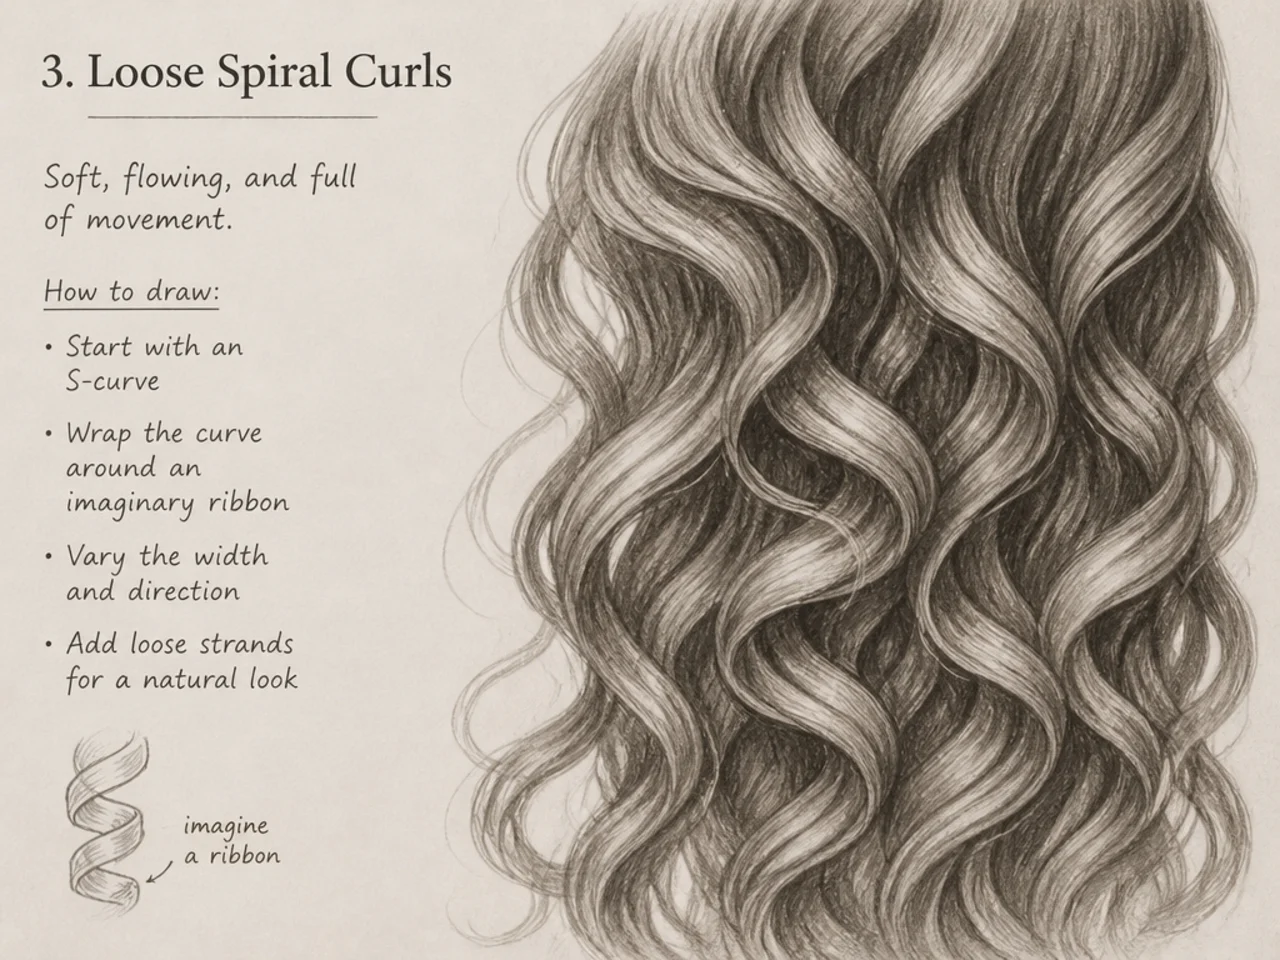
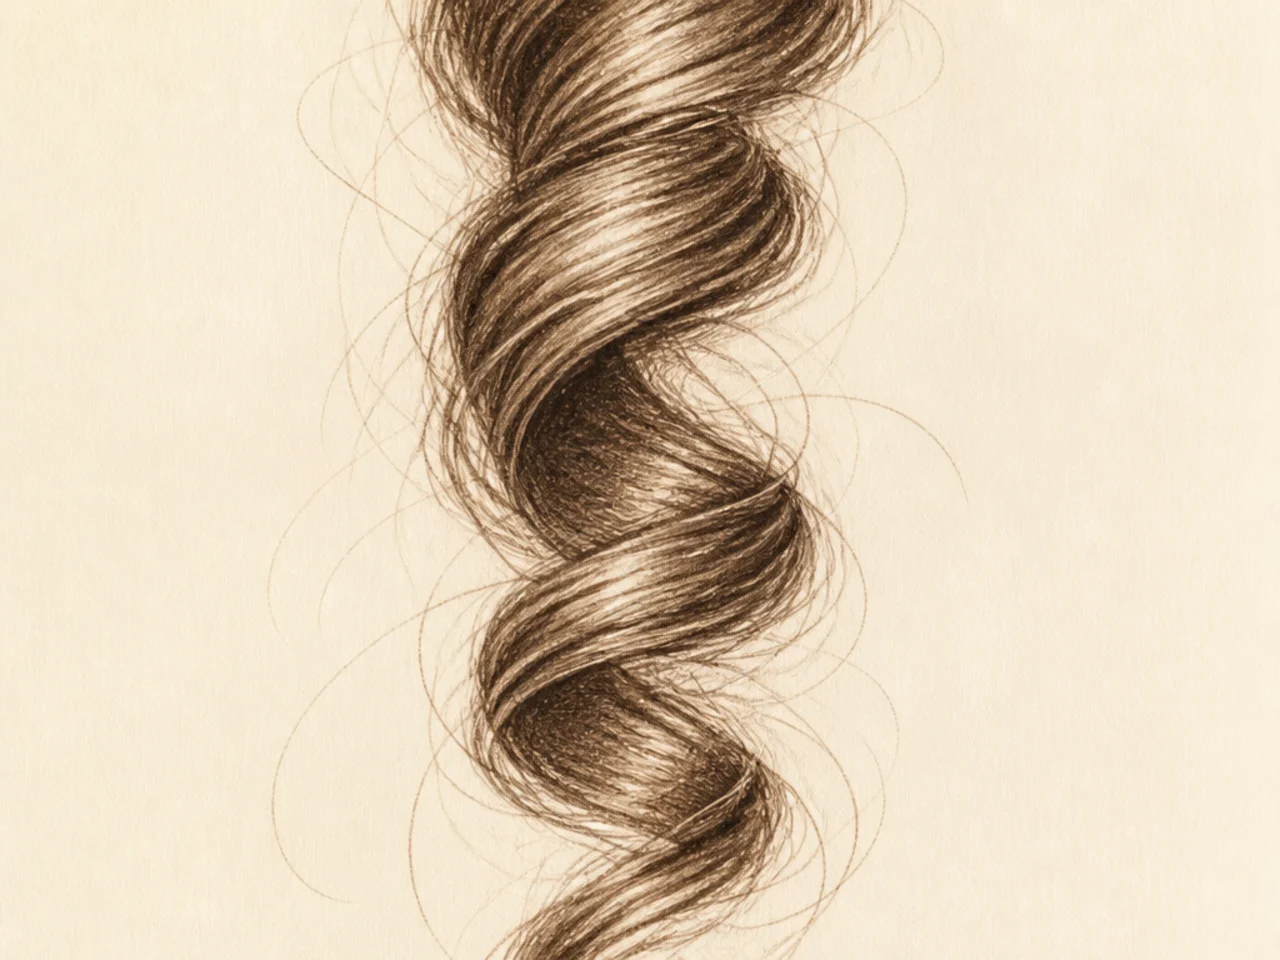
A curl is a ribbon twisting through space, not a cylinder. As it turns you see the flat of the ribbon, then its edge, then the flat again — which is why a well-drawn curl has alternating wide and narrow sections rather than a constant width.
Drawing a curl as a coiled tube of even thickness is the other half of the noodle problem. Vary the width as it turns and the same spiral suddenly reads as hair.
The 25 Ideas
1. Silhouette-Only Study
Just the outline, filled solid. The best first exercise there is.
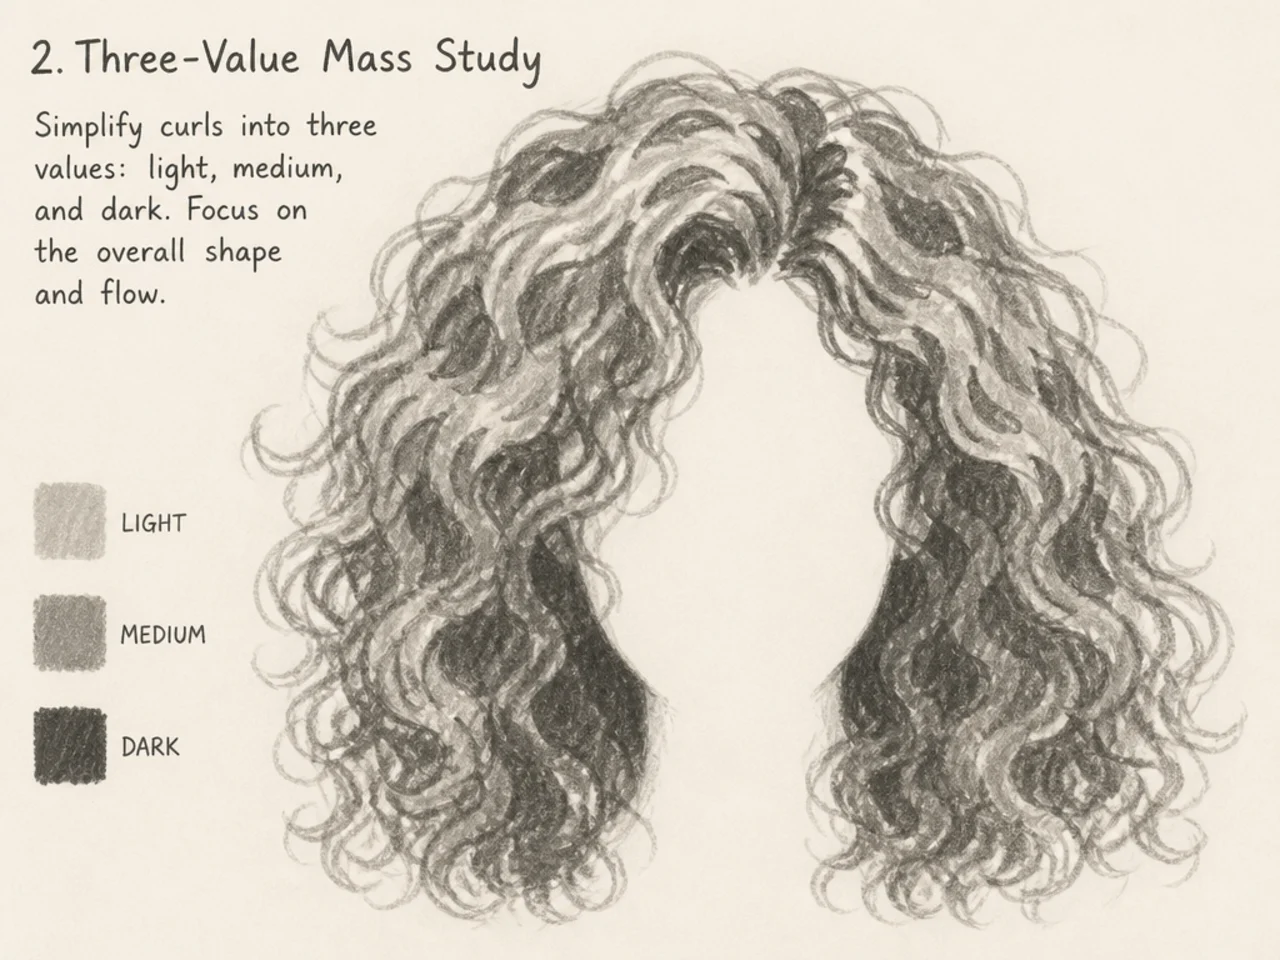
2. Three-Value Mass Study
Light, mid and shadow only. No curls drawn at all.
3. Loose Spiral Curls
Wide, open spirals with varying ribbon width.
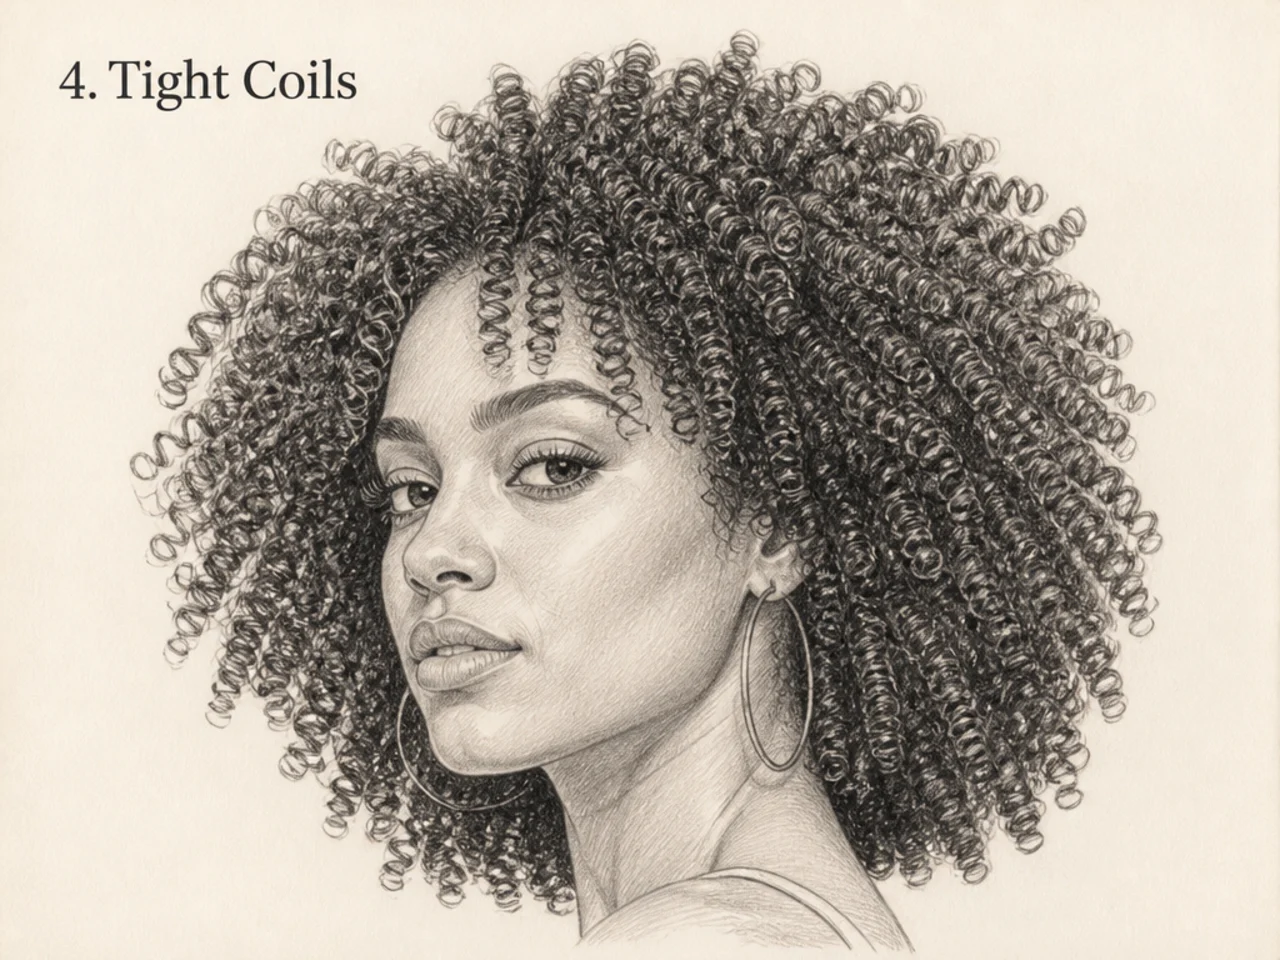
4. Tight Coils
Small, dense coils rendered as texture rather than as individual shapes.
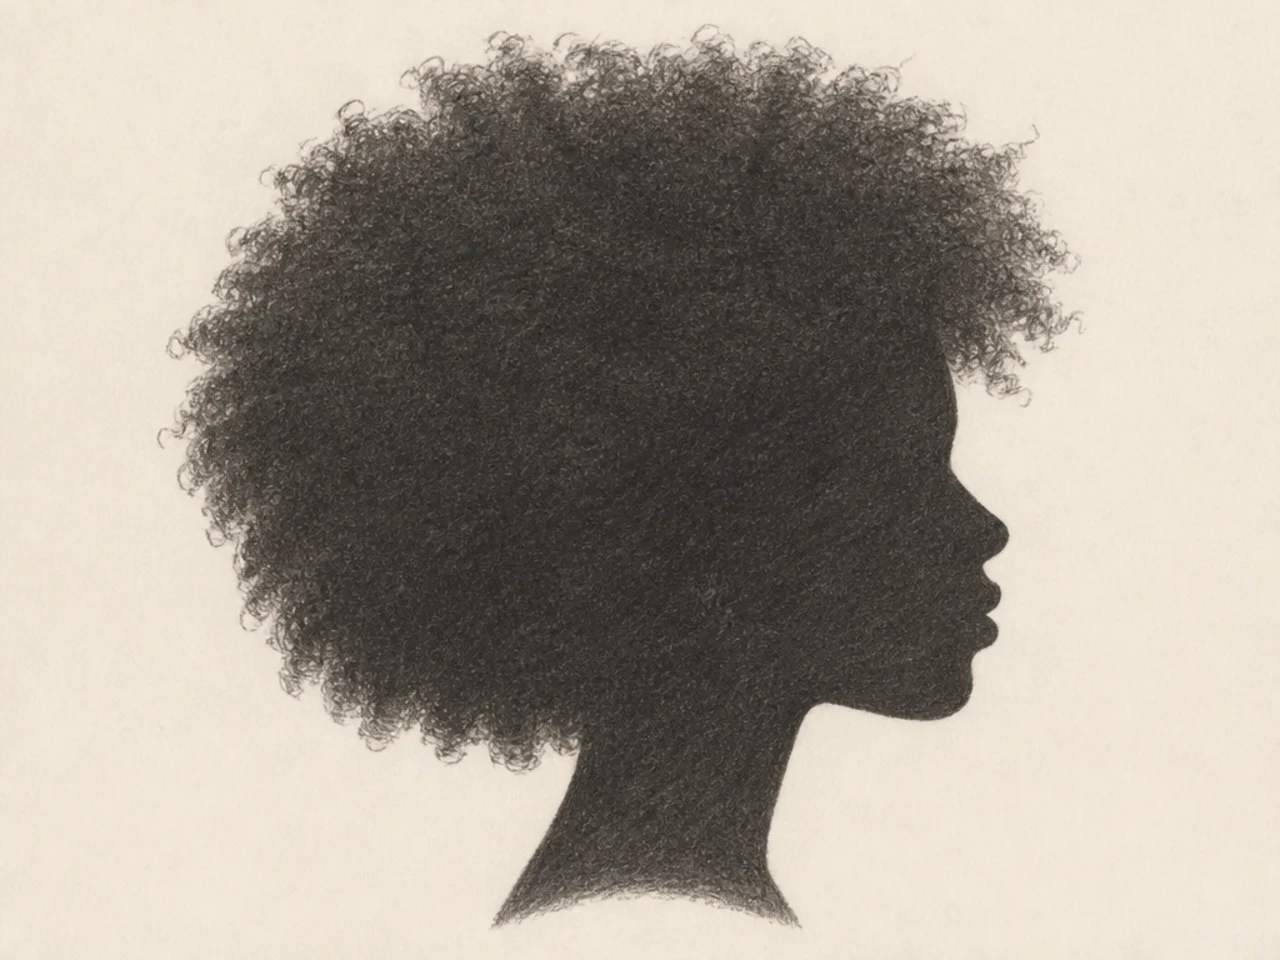
5. Afro Silhouette
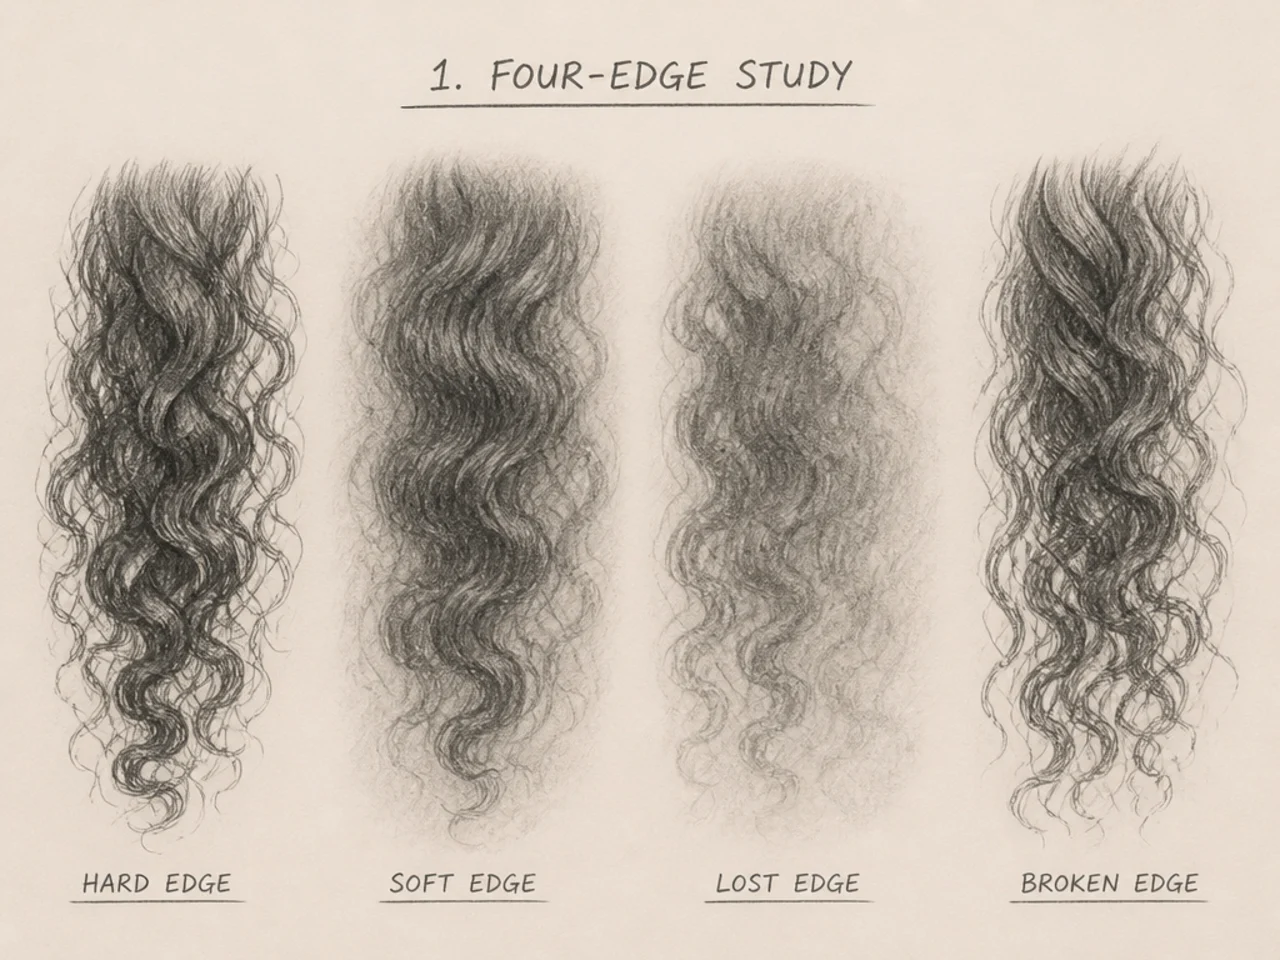
A near-circular outline with a soft, broken edge.
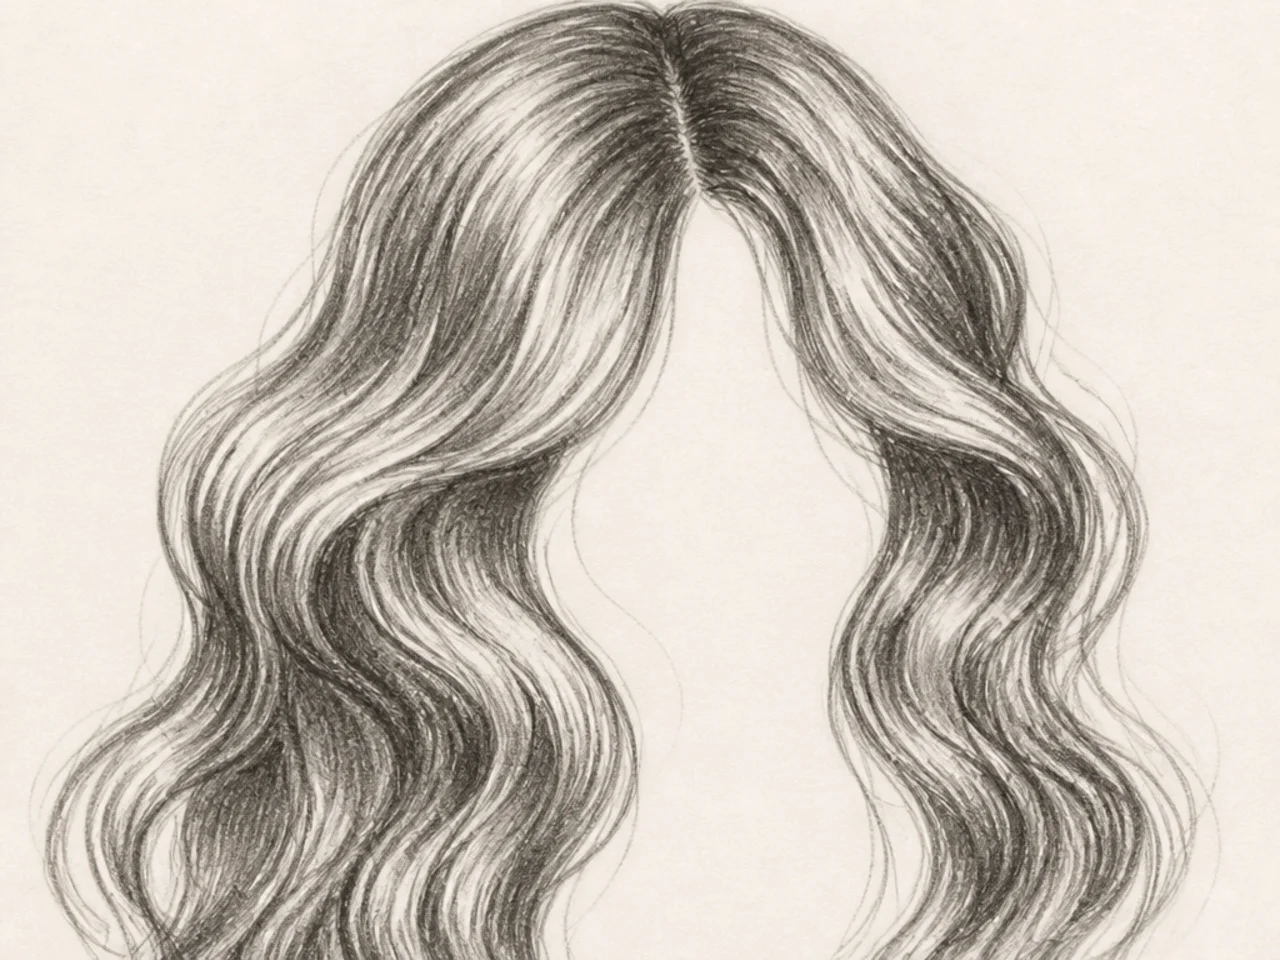
6. Wavy S-Curves
Long S-bends rather than closed spirals.
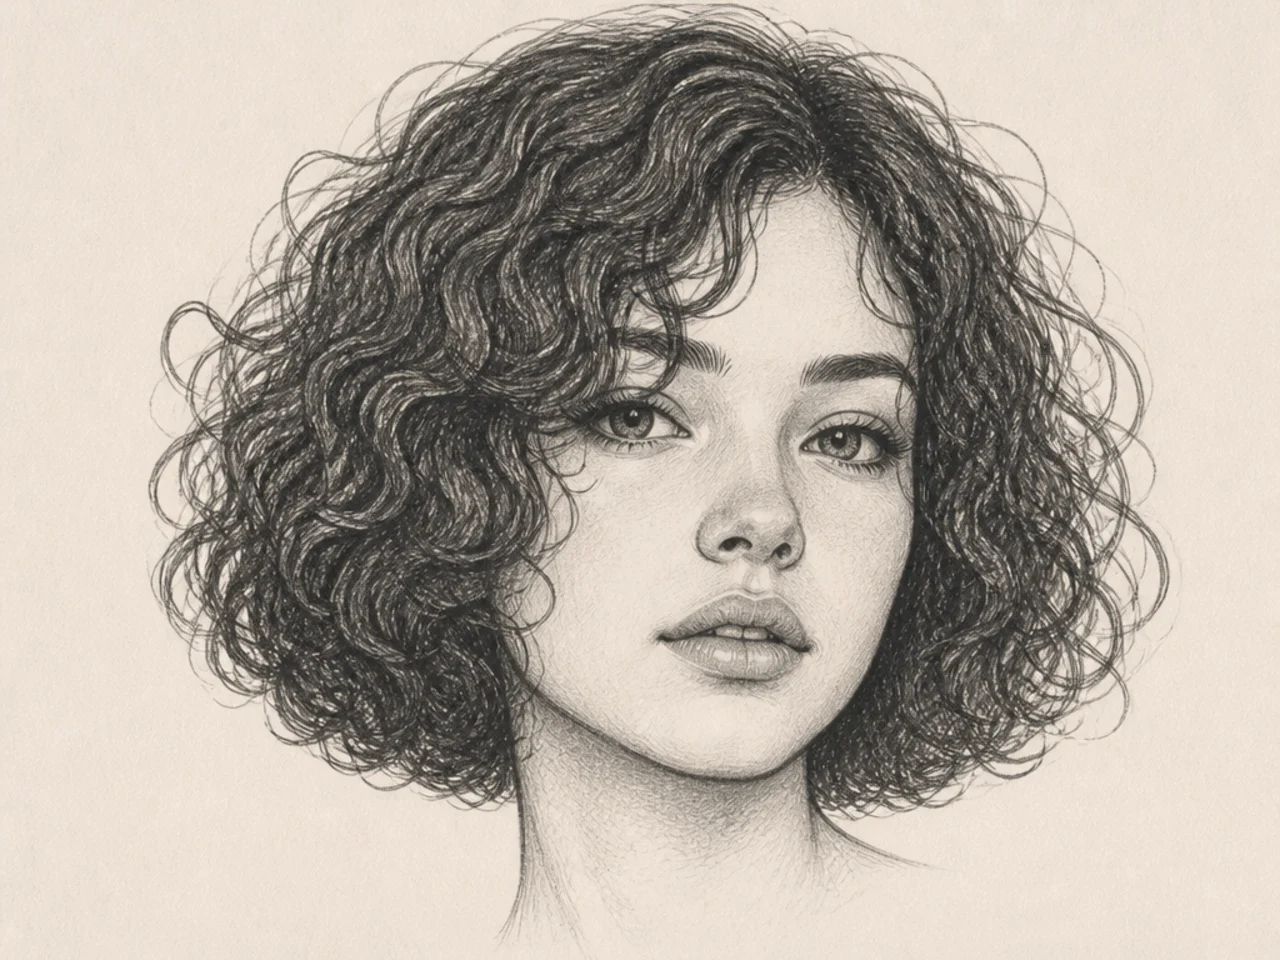
7. Curly Bob
Short, with the silhouette doing almost all the work.
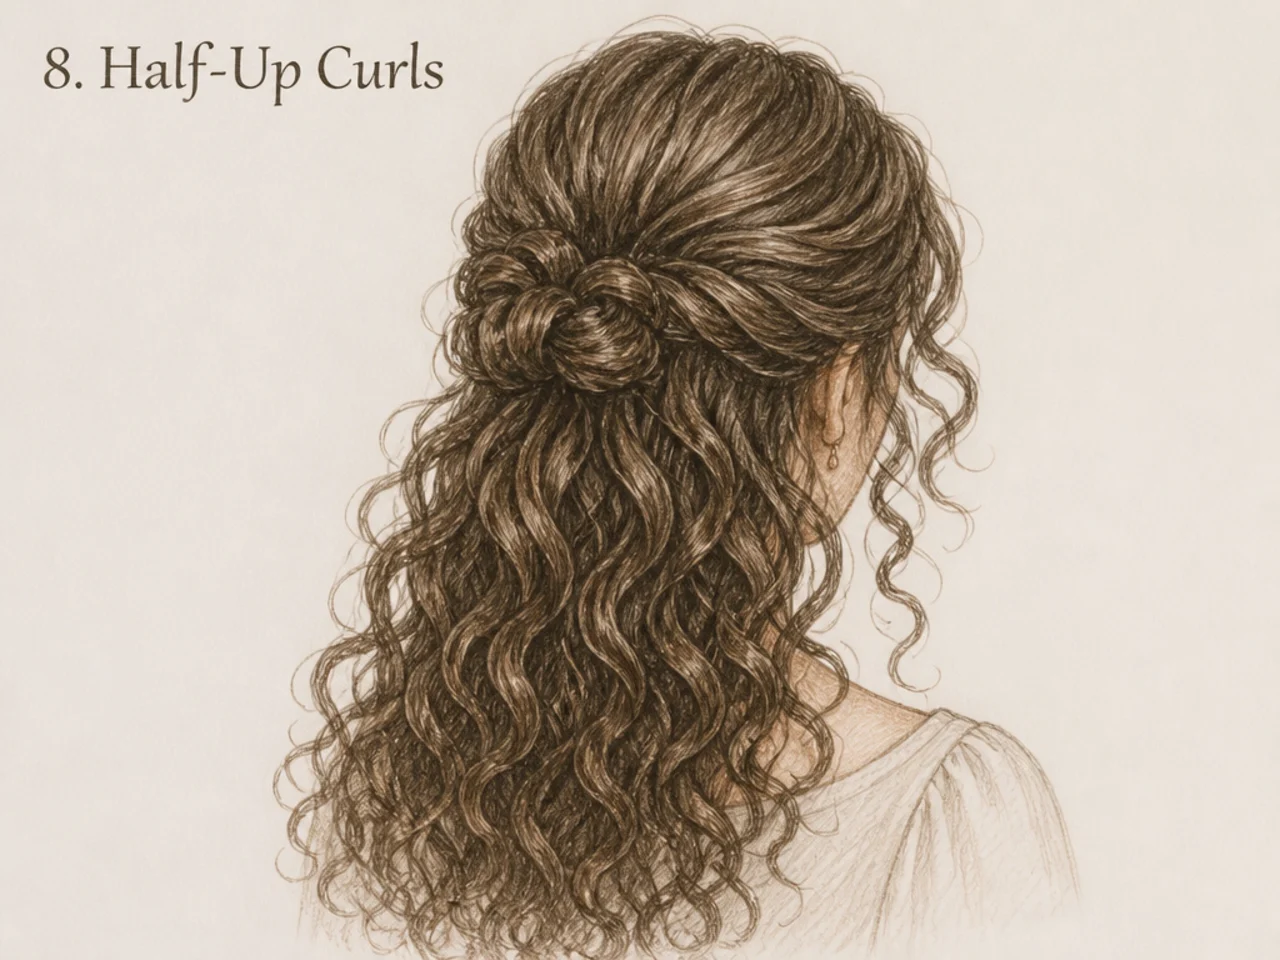
8. Half-Up Curls
Gathered above, loose below. Two different textures in one drawing.
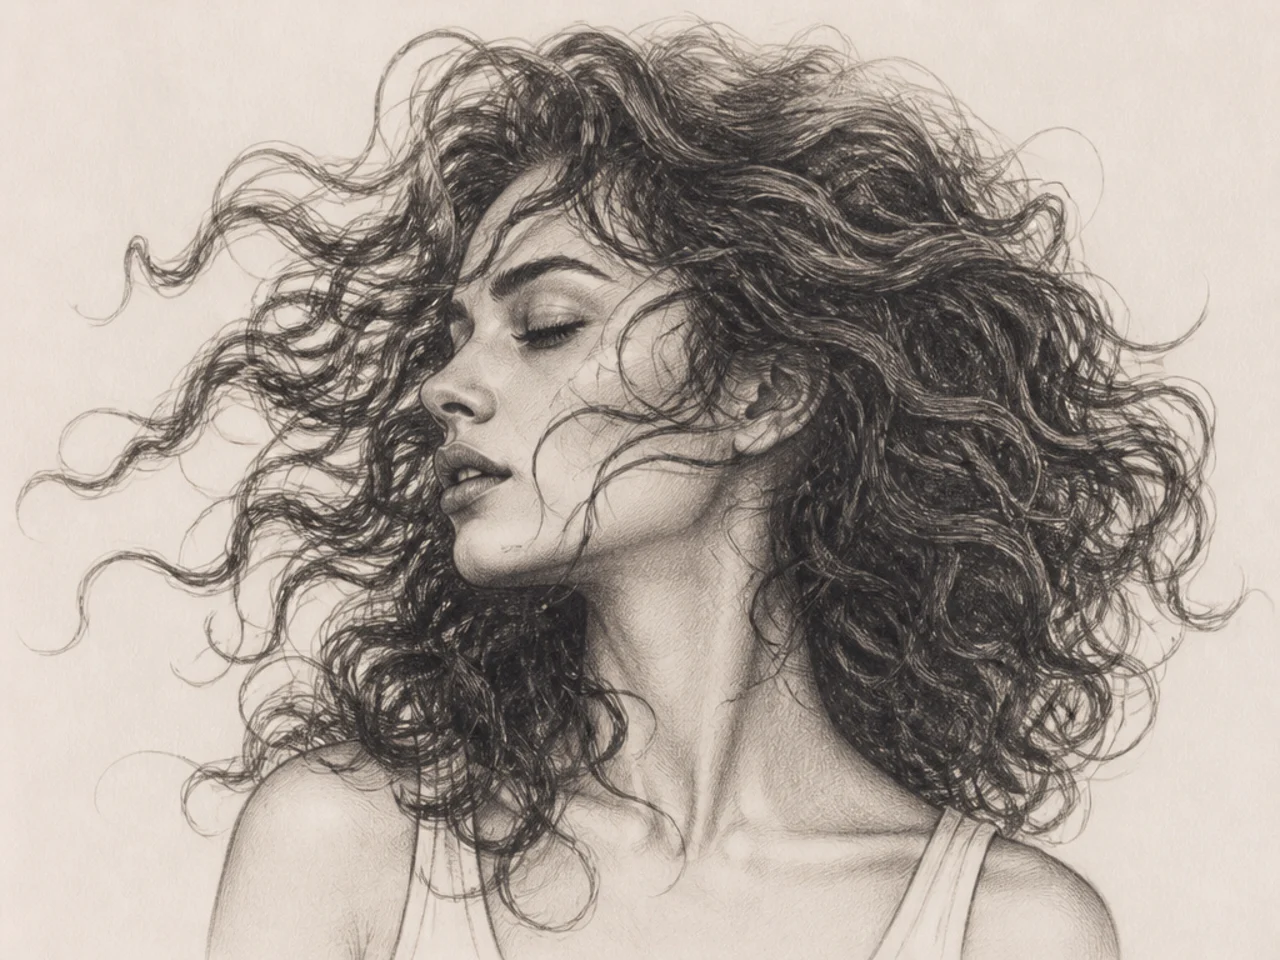
9. Curls in Motion
The silhouette stretched sideways to suggest movement.
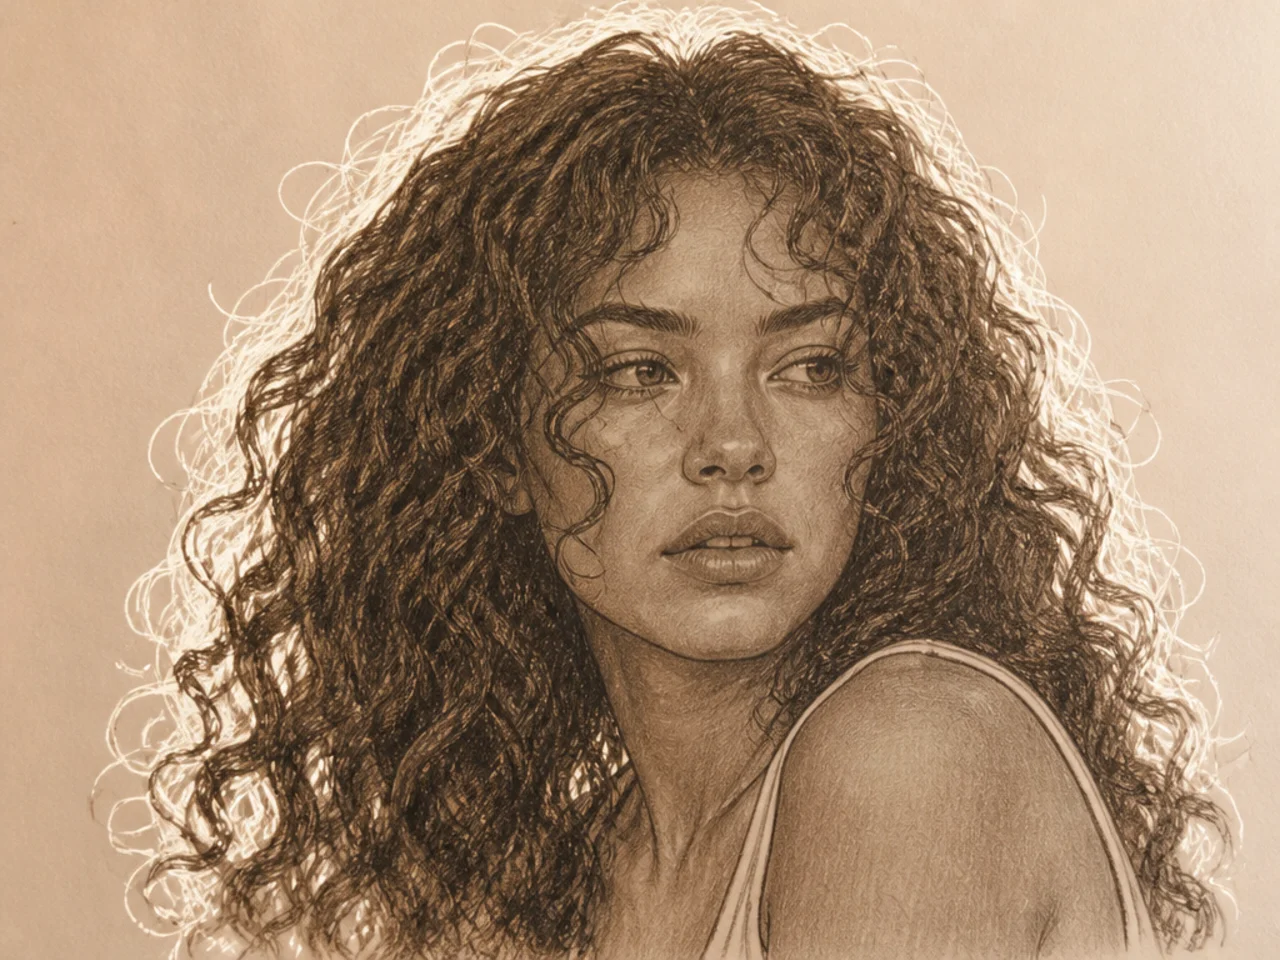
10. Backlit Curls
Rim light around the silhouette, interior left dark.
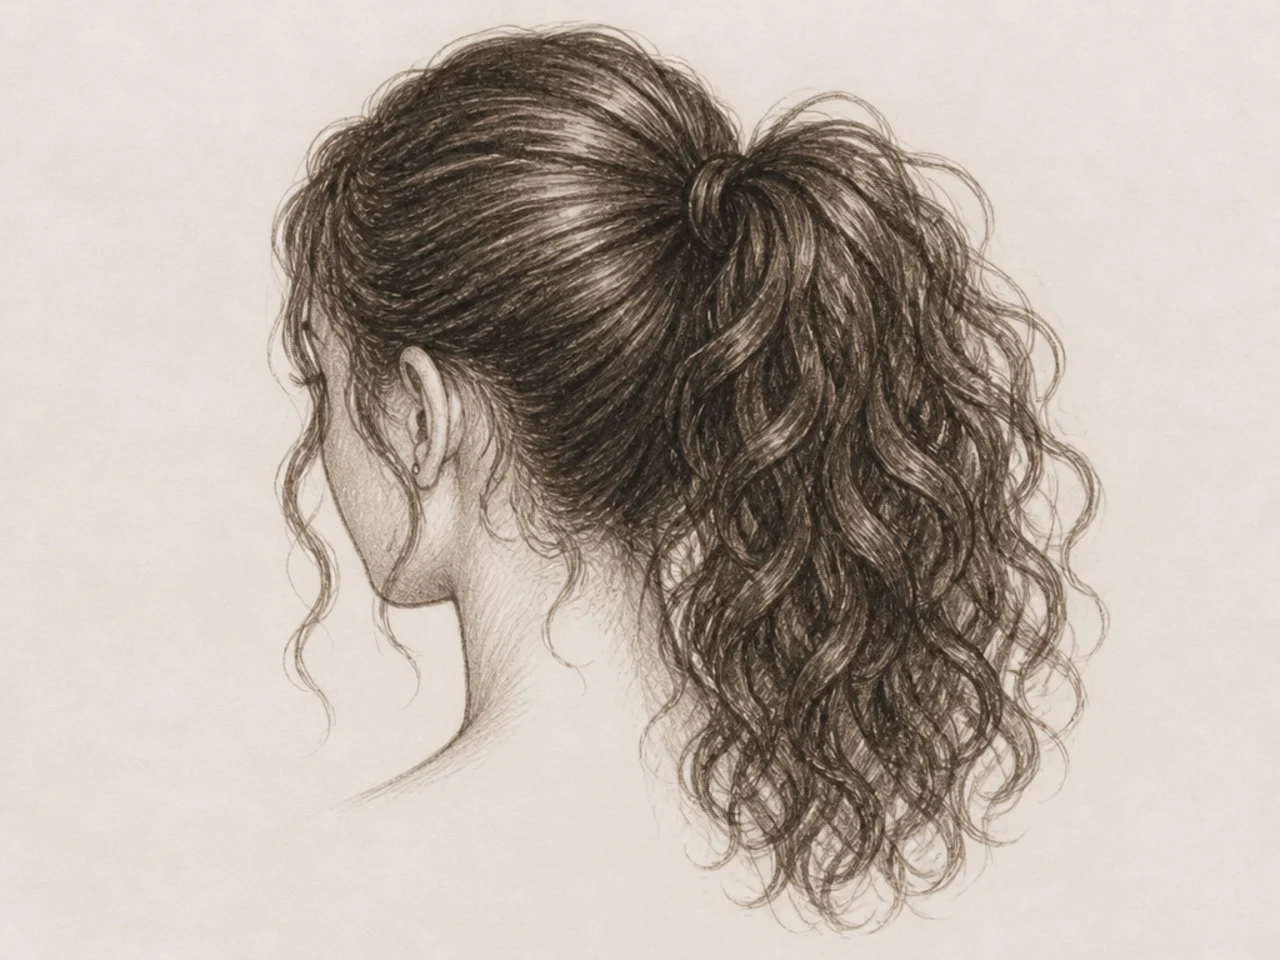
11. Curly Ponytail
The gather point is where the drawing needs the most care.
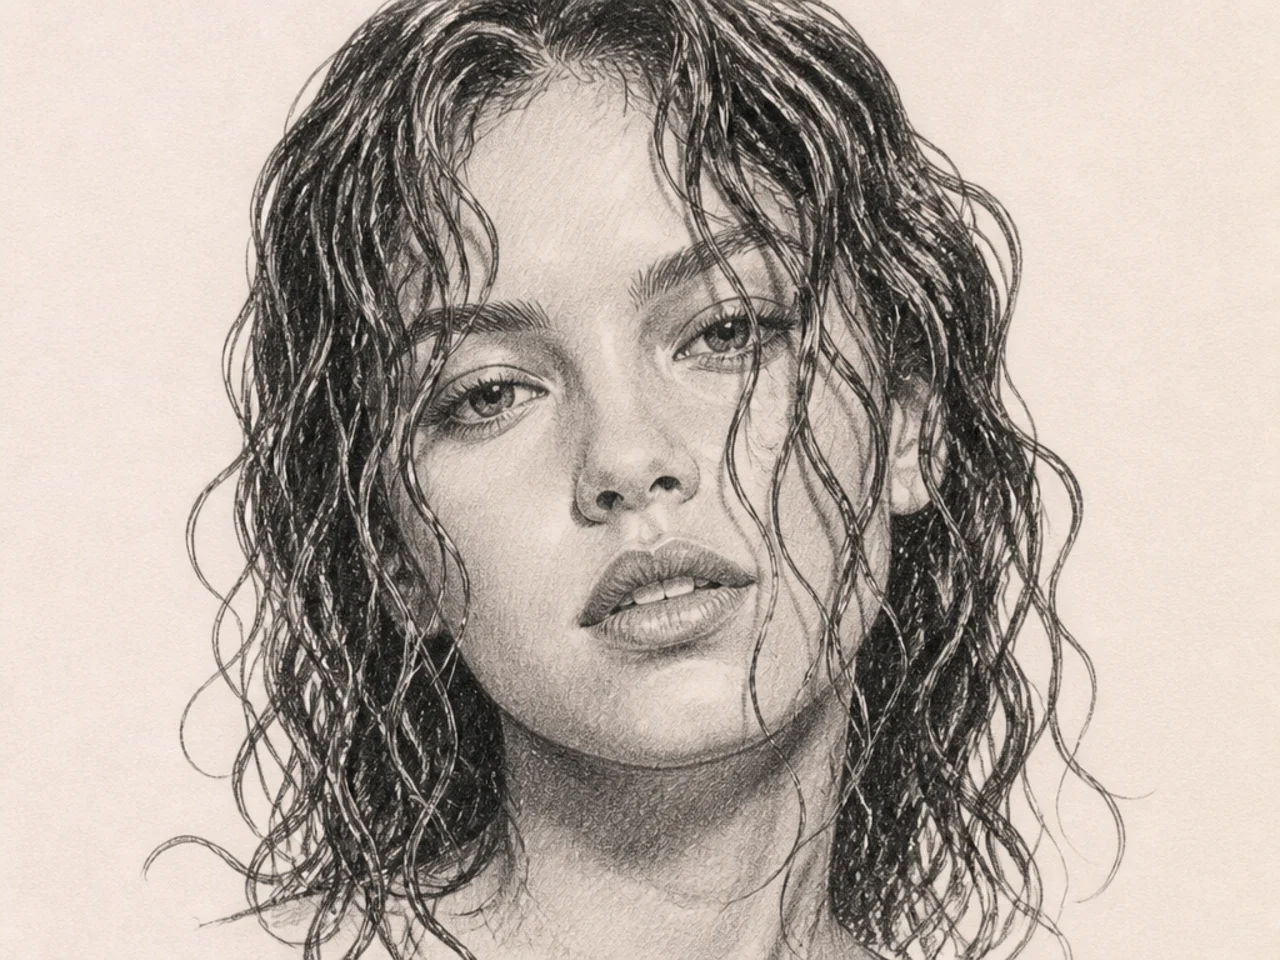
12. Wet Curls
Fewer, larger clumps and higher contrast.
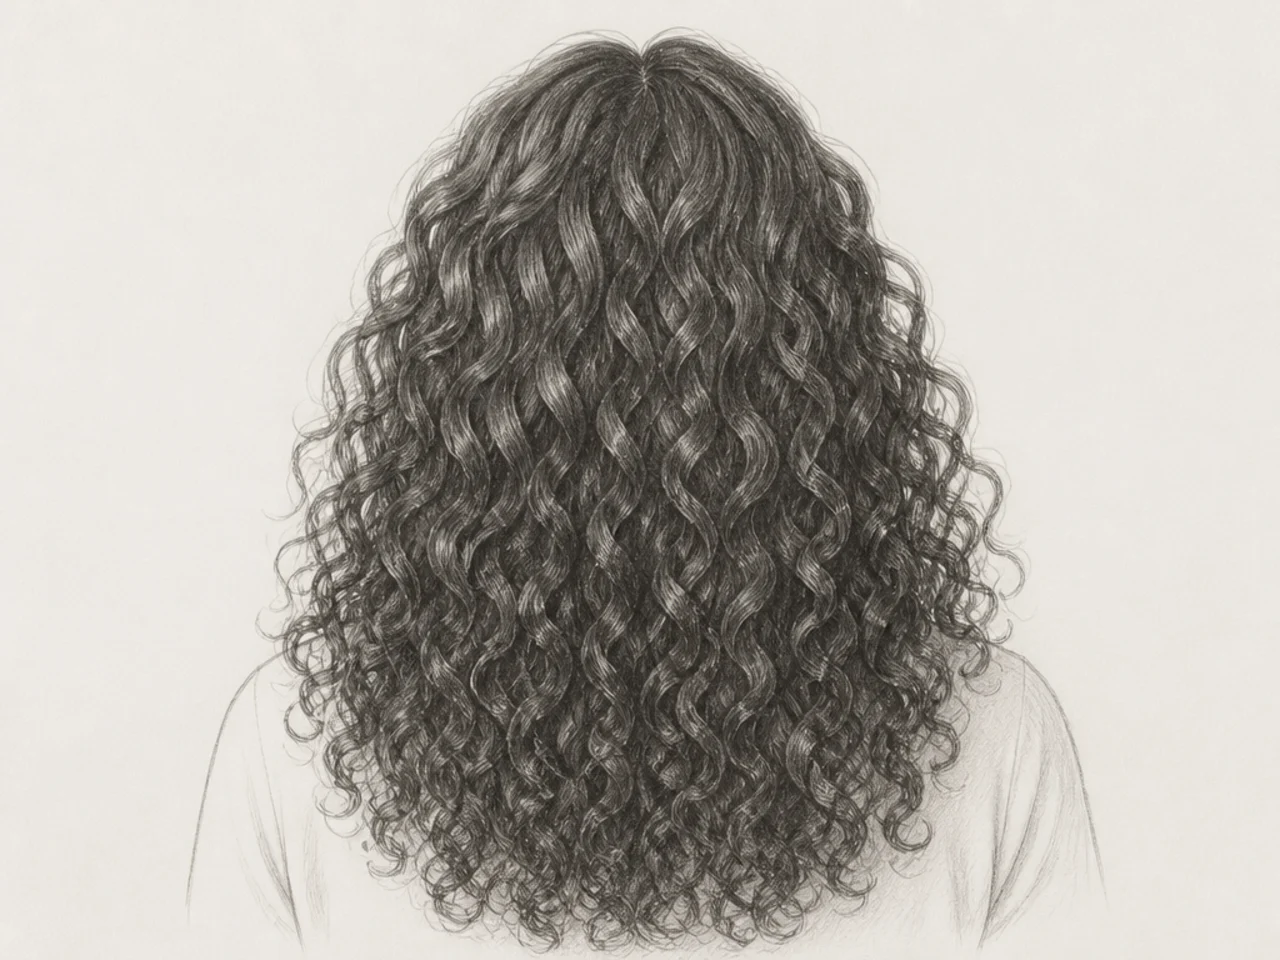
13. Curly Hair From Behind
No face to carry the drawing, so the mass has to do everything.
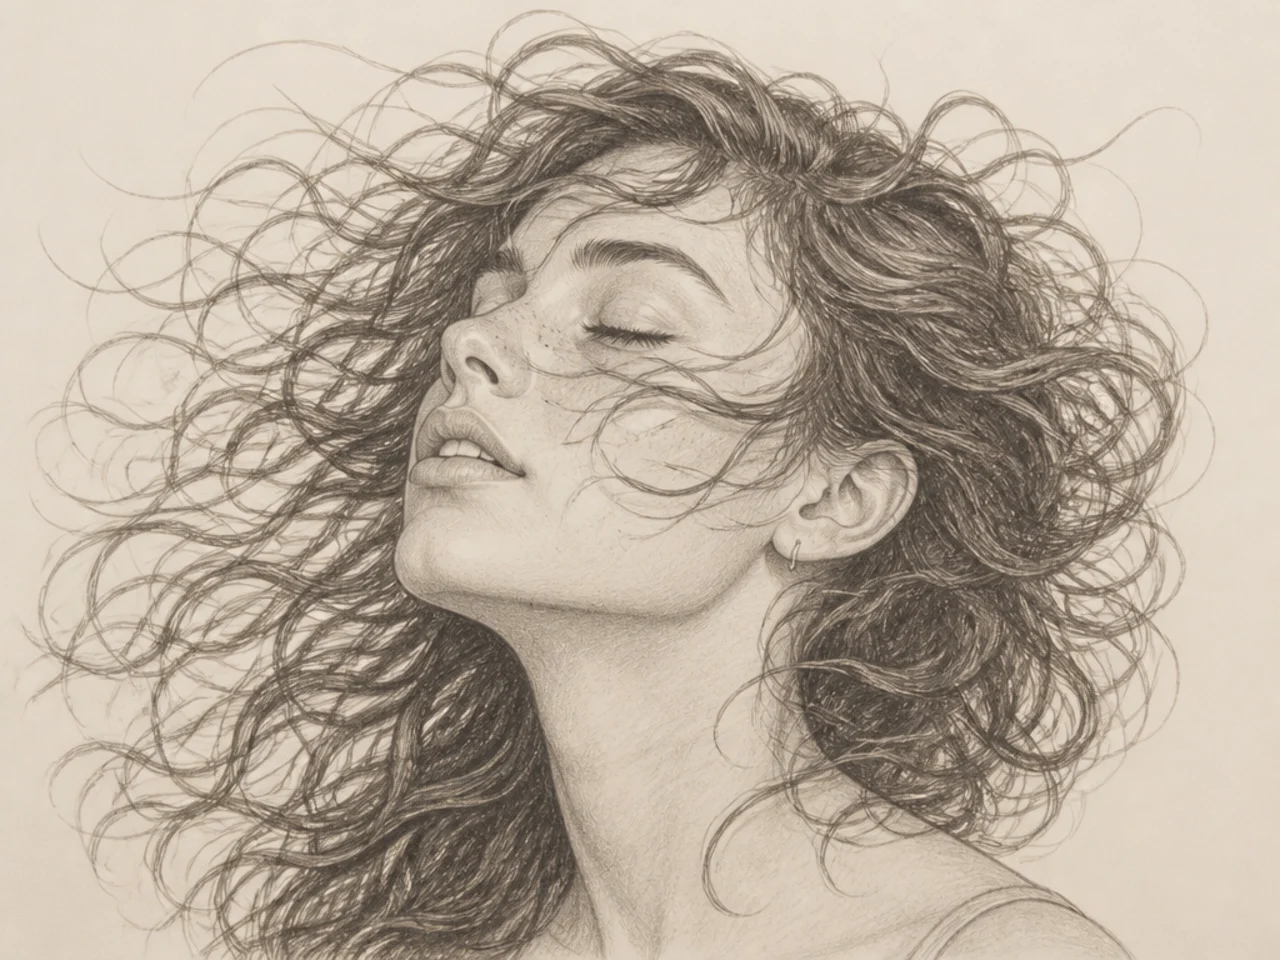
14. Windblown Curls
Silhouette broken into flying strands at one edge only.
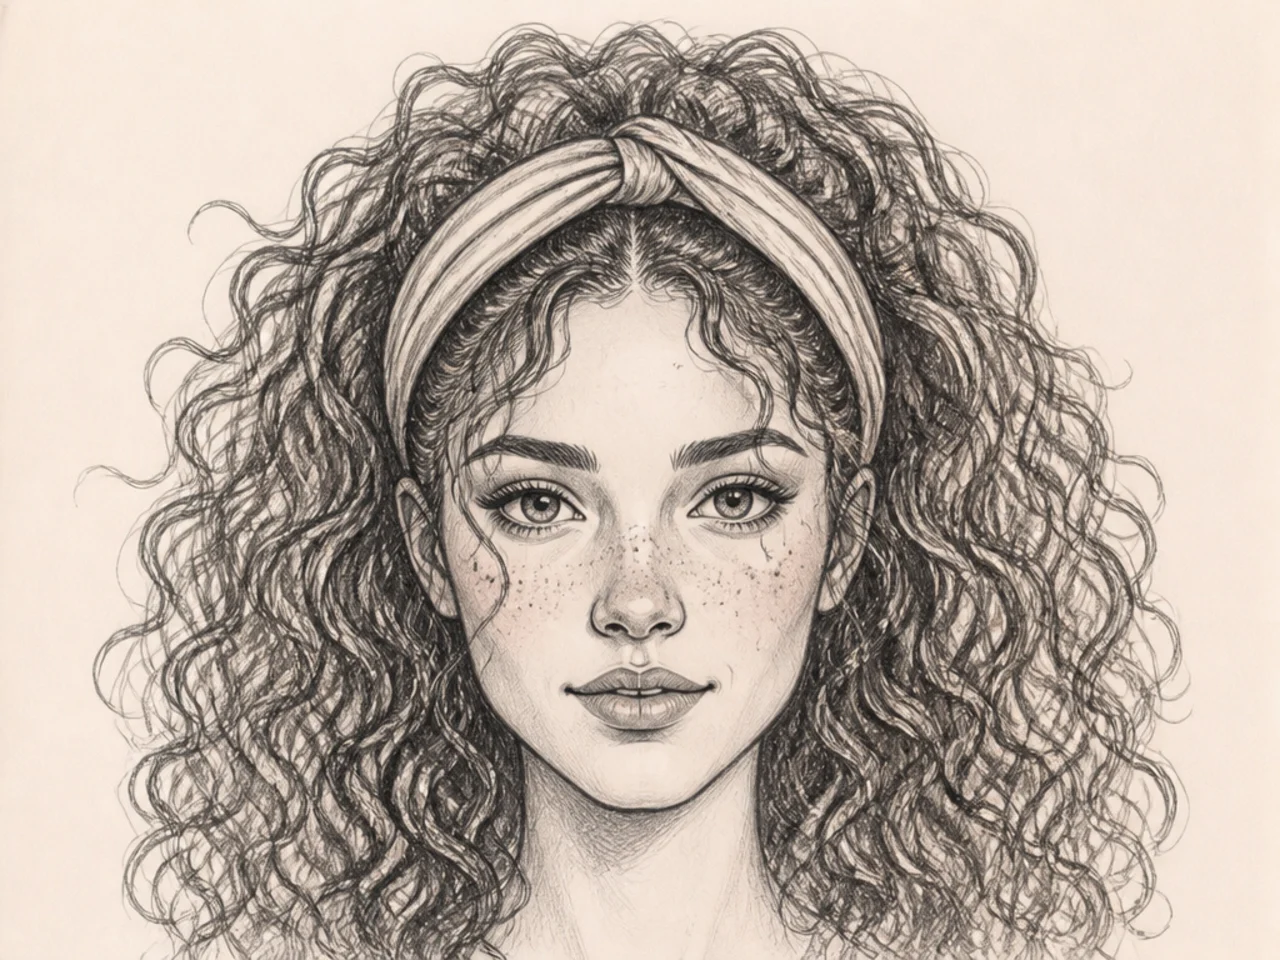
15. Curls with a Headband
A hard line against a soft mass. Good contrast practice.
16. Ringlet Study
A single ringlet drawn large, focusing on ribbon twist.
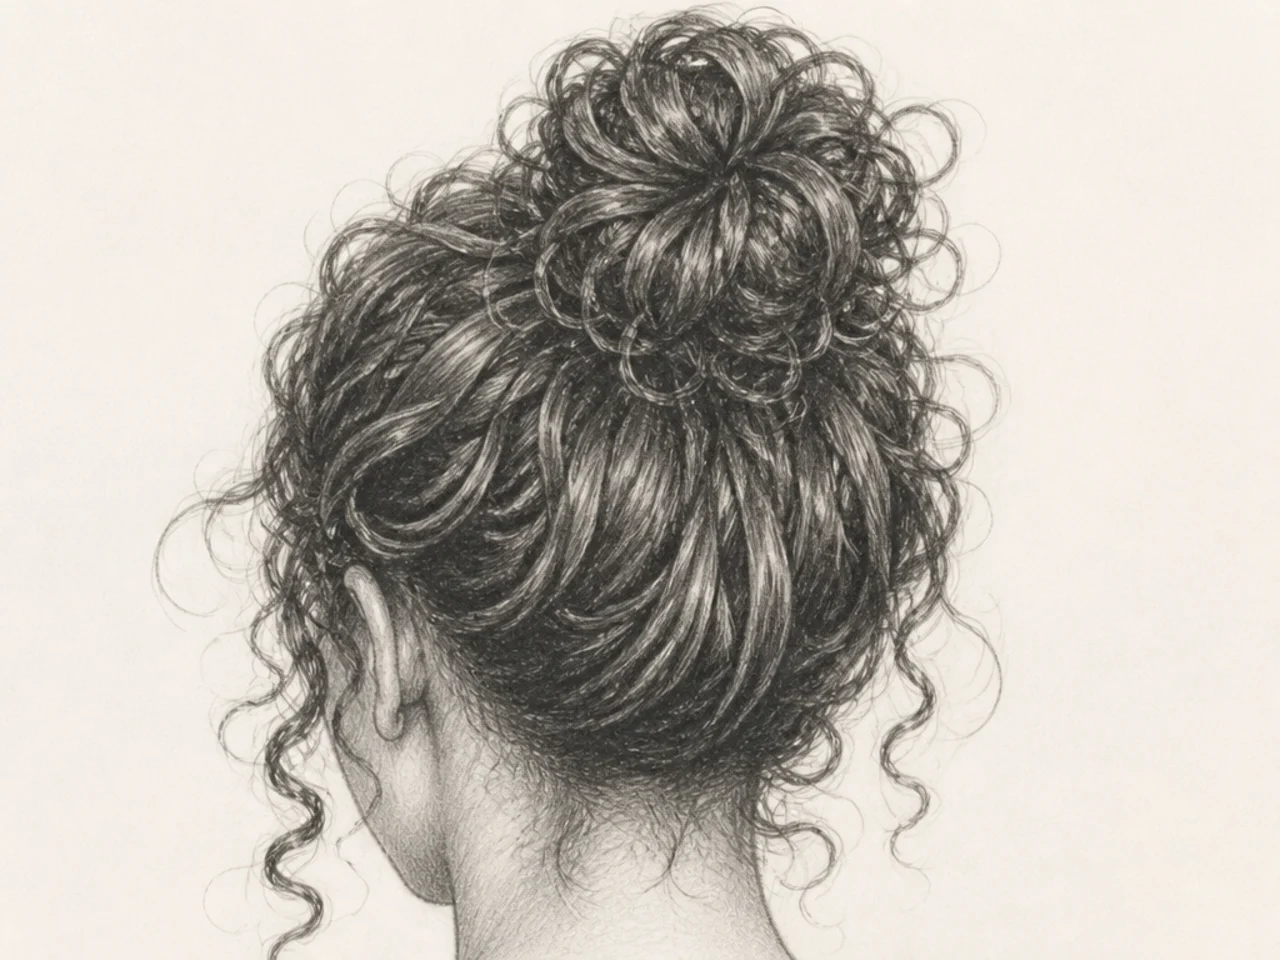
17. Curly Bun
Compressed curls, so texture reads smaller and denser.
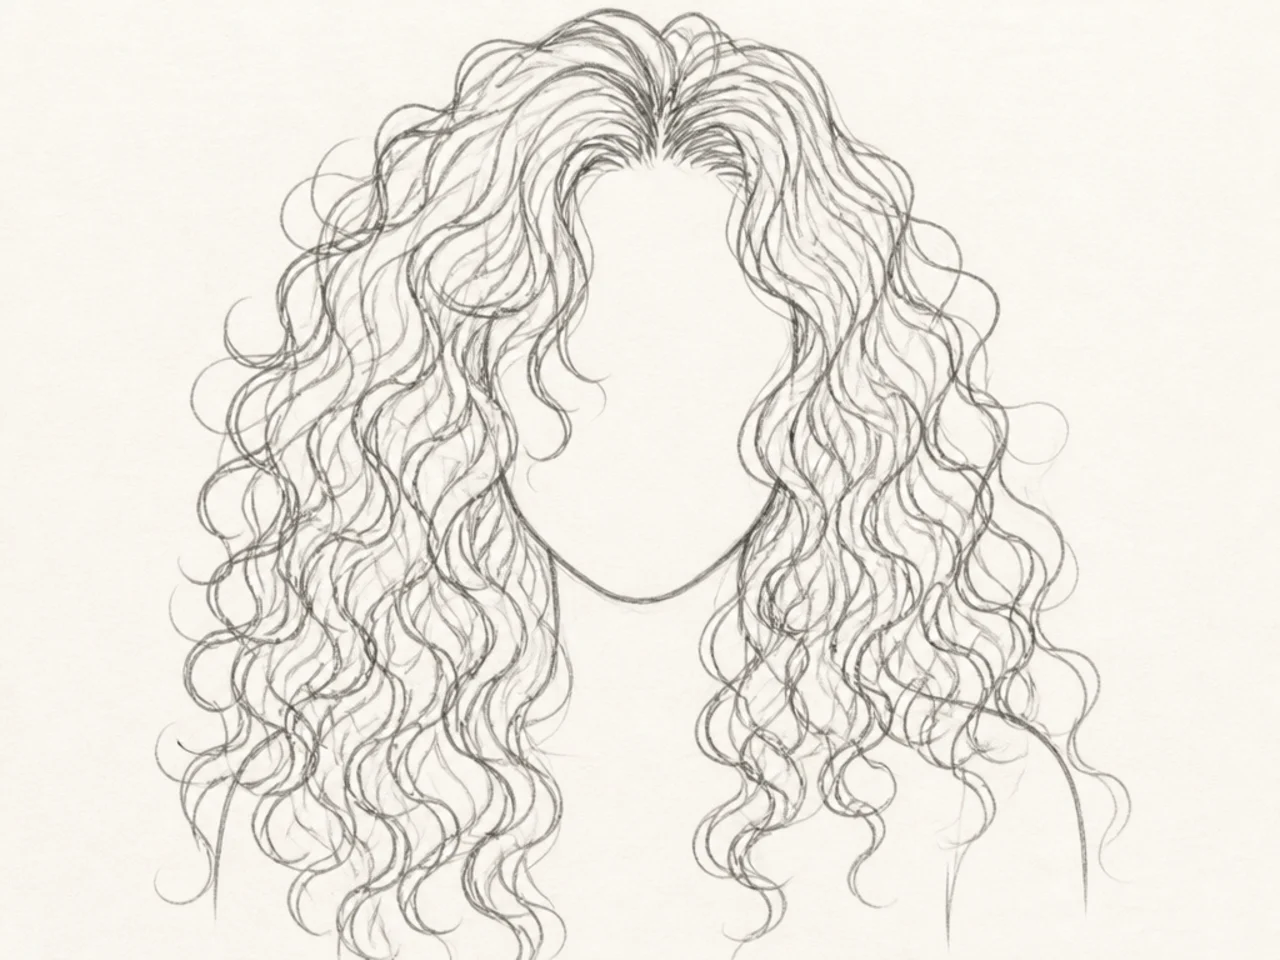
18. Line-Only Curls
No shading at all. Forces good silhouette decisions.
19. Curls with a Fringe
Two curl directions meeting at the hairline.
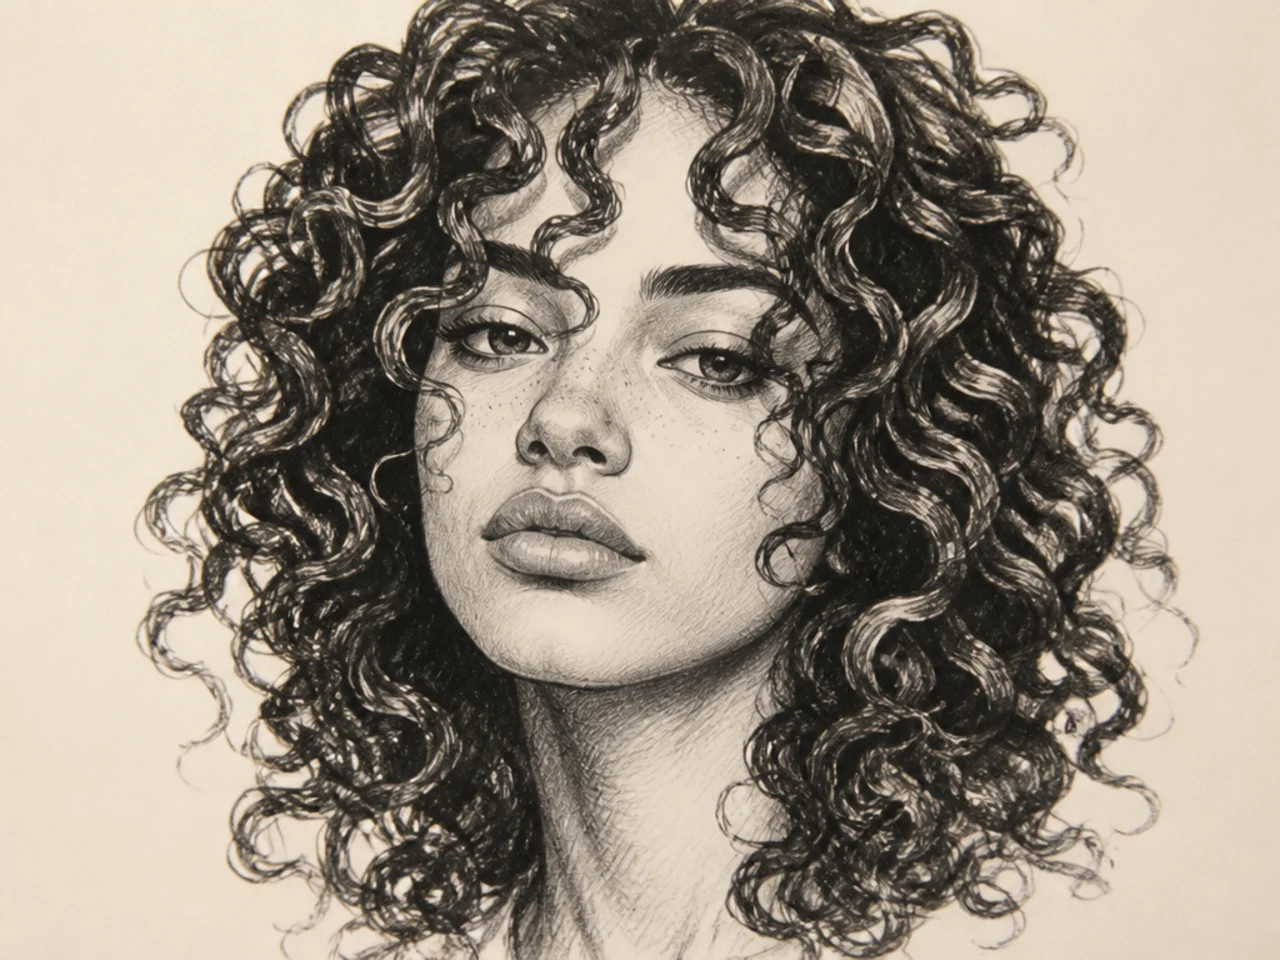
20. High Contrast Curls
Black and white only, no mid-tones.
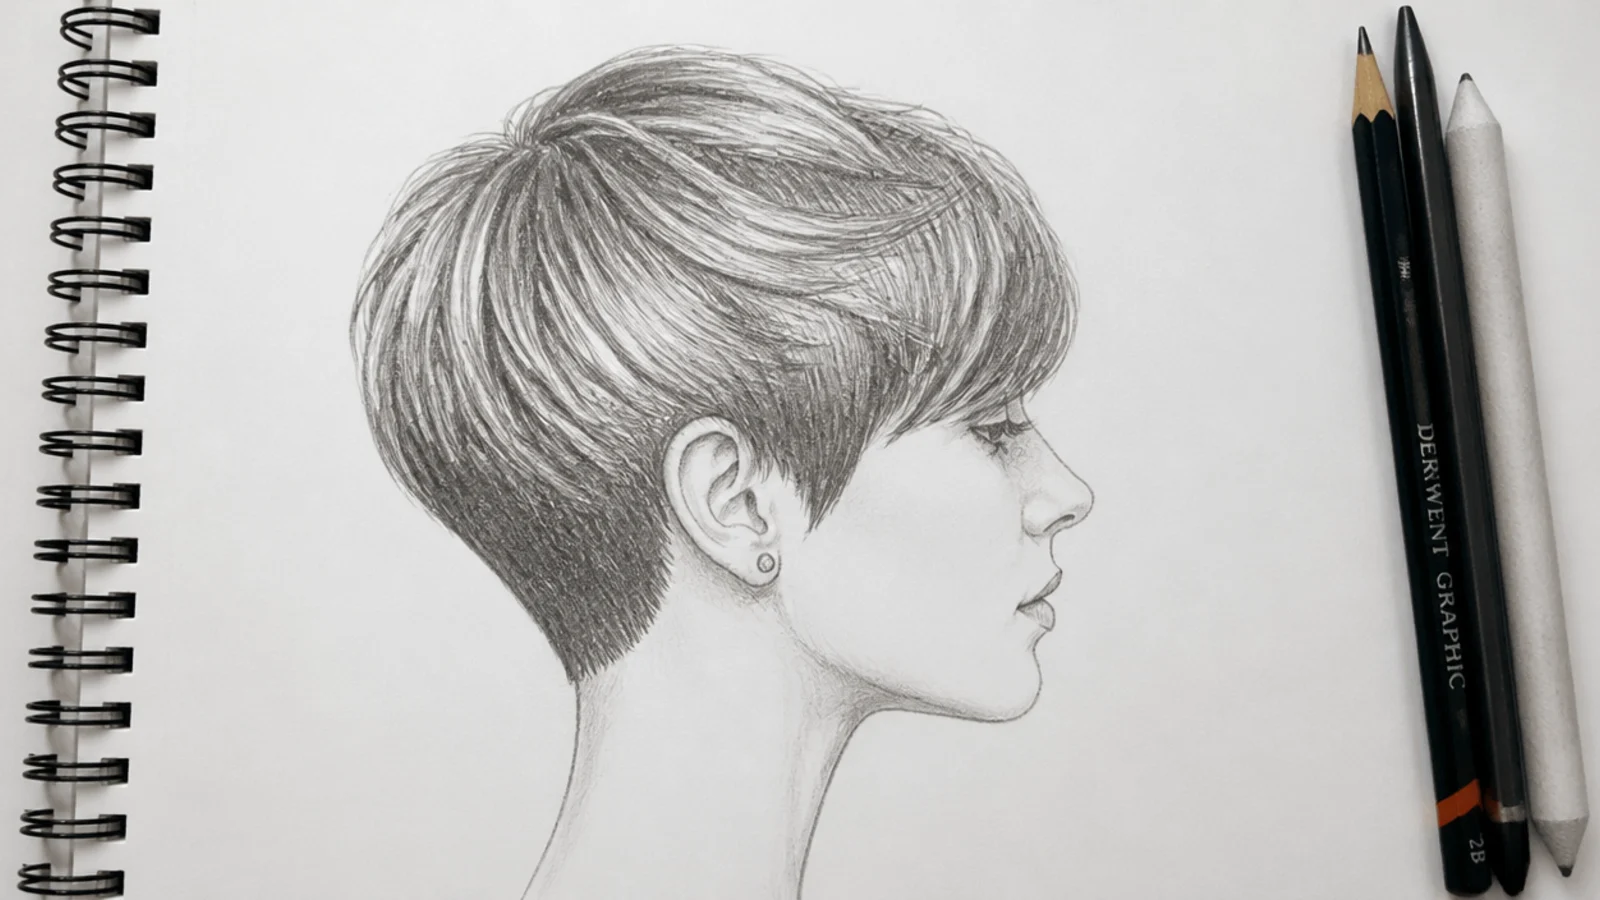
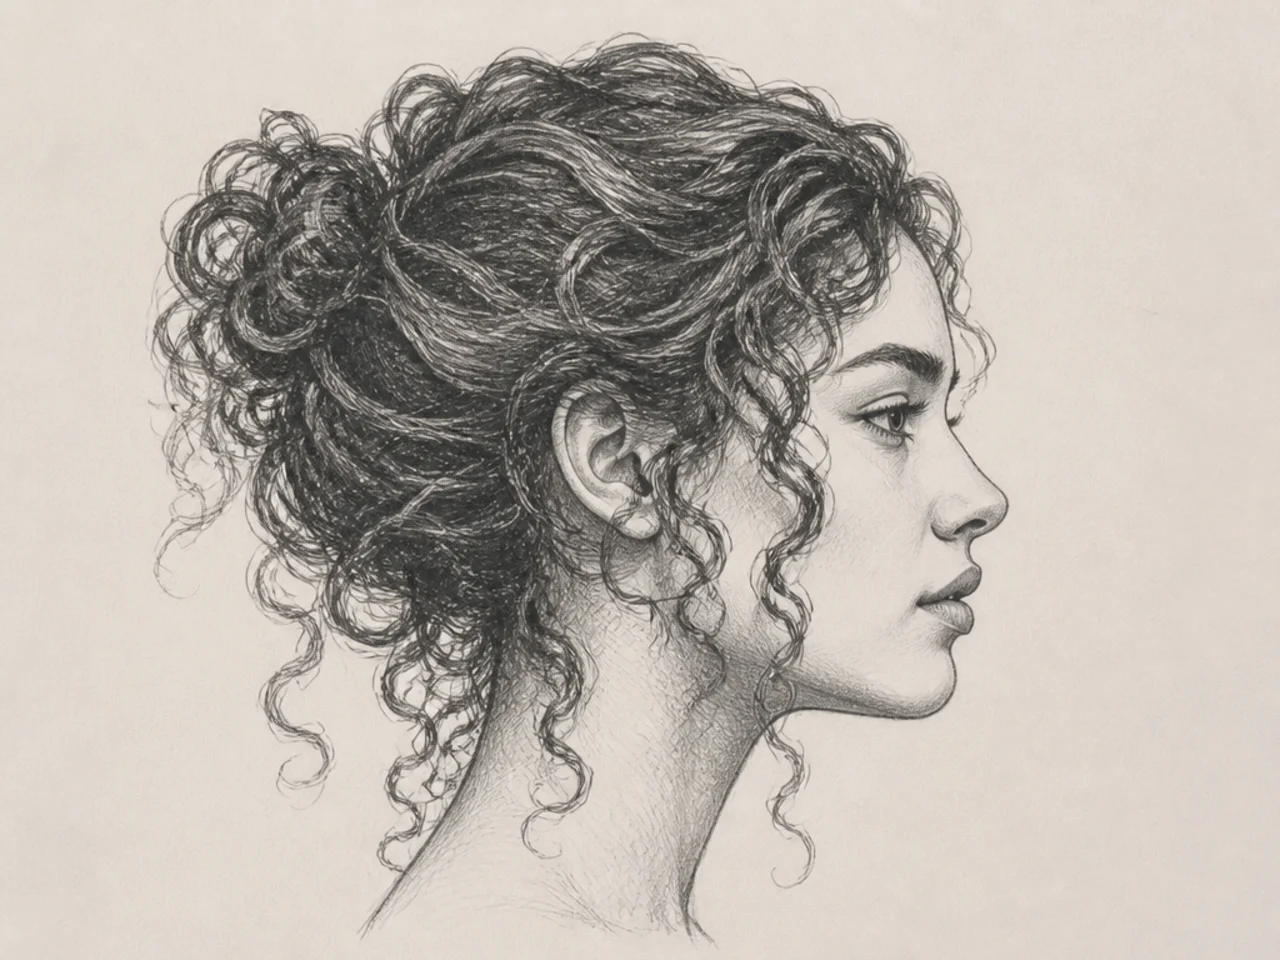
21. Curls in Profile
The silhouette does most of the work from the side.
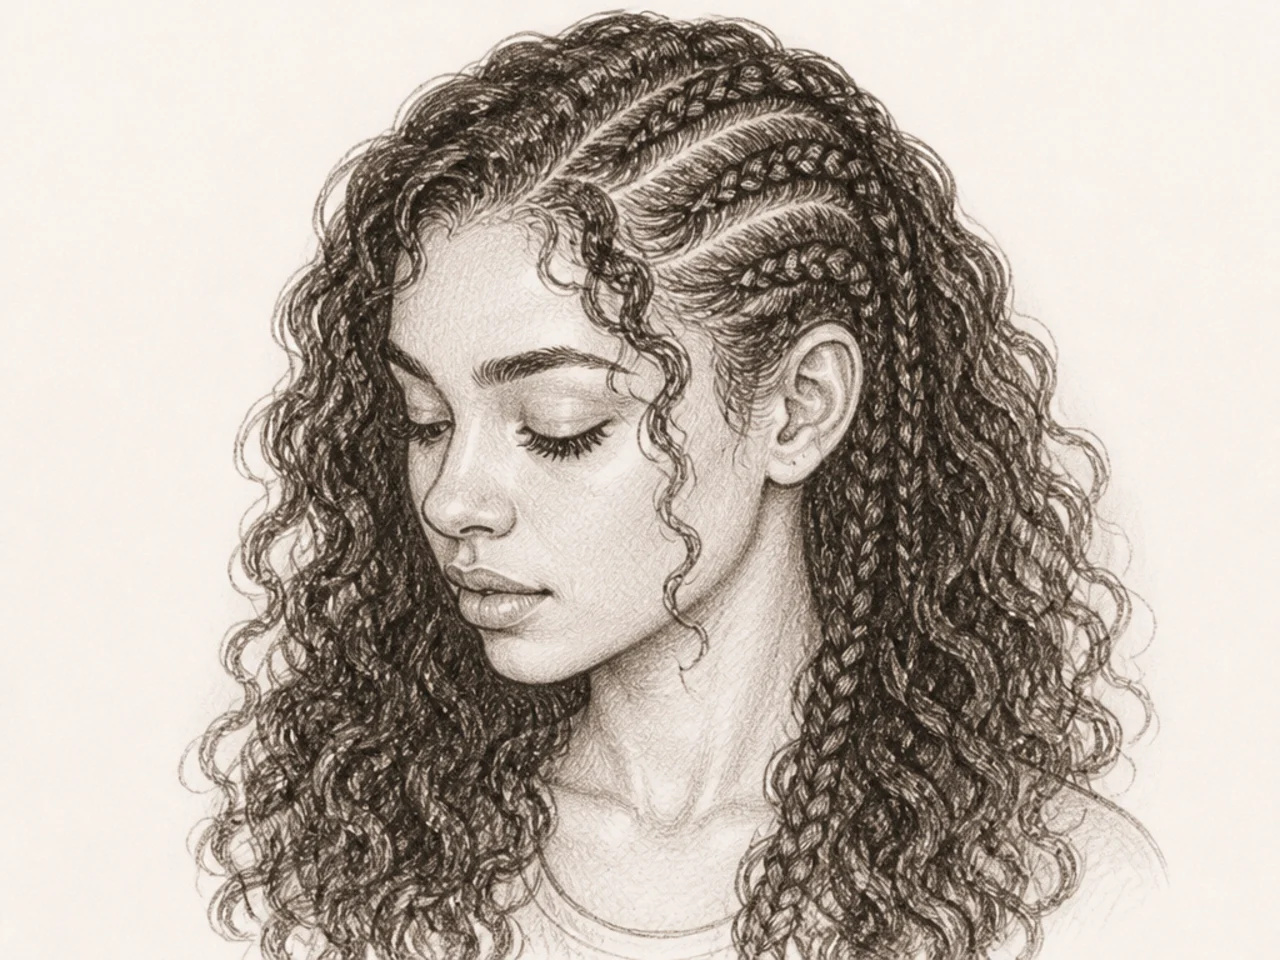
22. Braided Curly Hair
Pattern over texture. Draw the braid rhythm, not each curl.
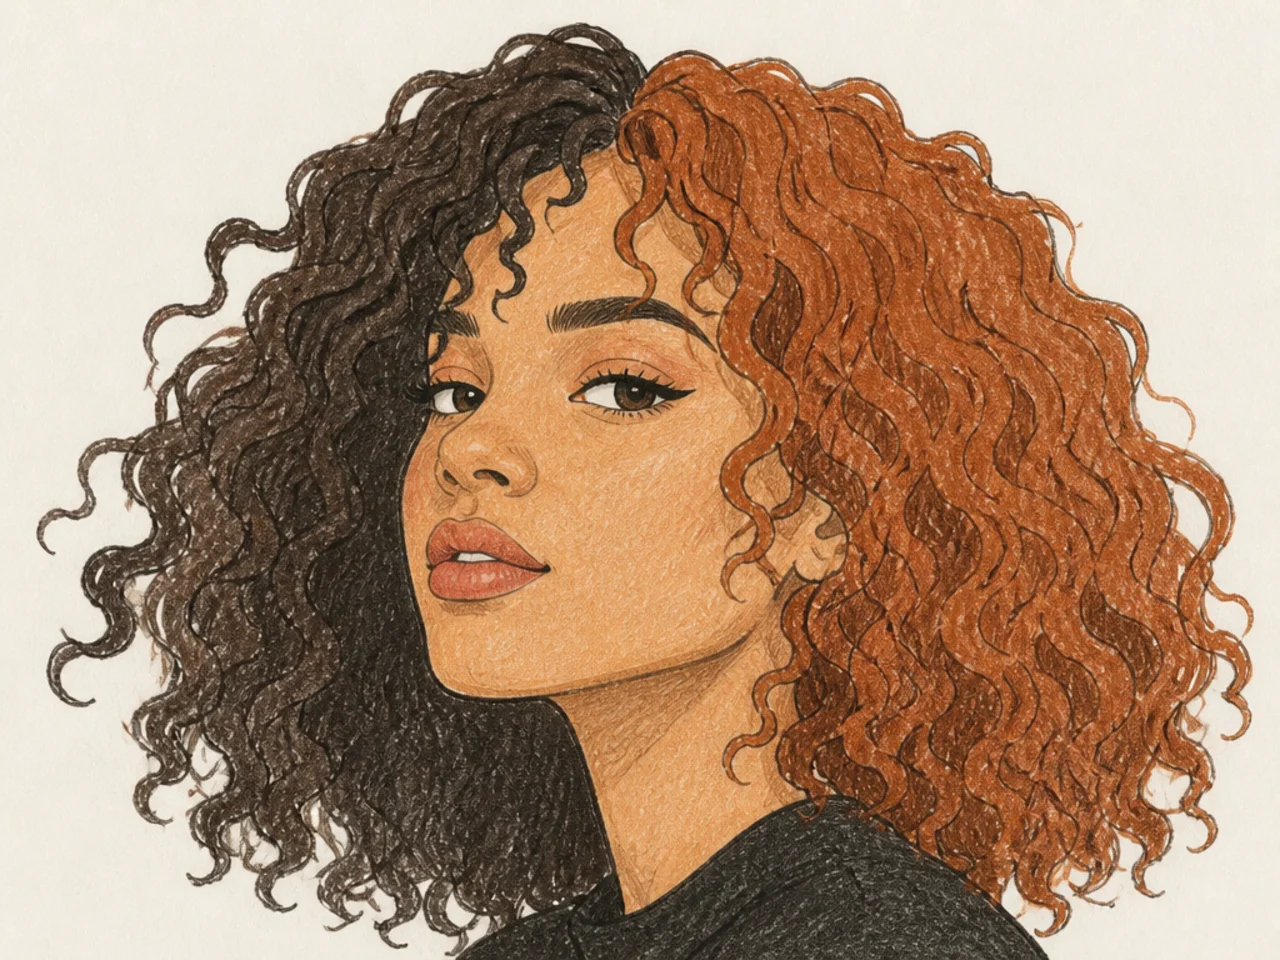
23. Curls with Colour Blocking
Flat colour masses before any rendering.
24. Six-Curl Rule Study
Only six fully rendered curls in the whole drawing.
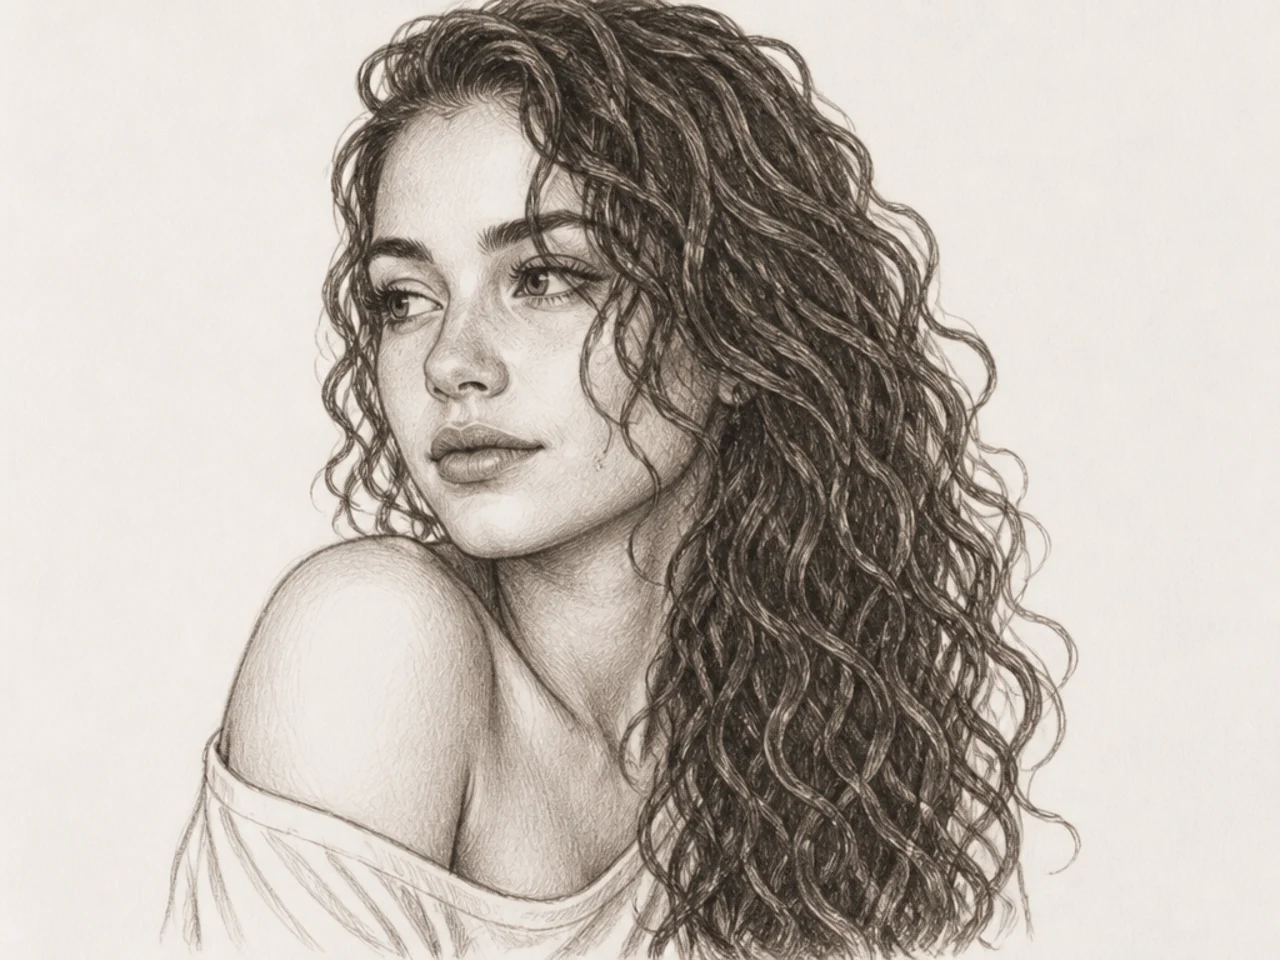
25. Curls Over the Shoulder
Where the hair meets the body — the most-missed transition.
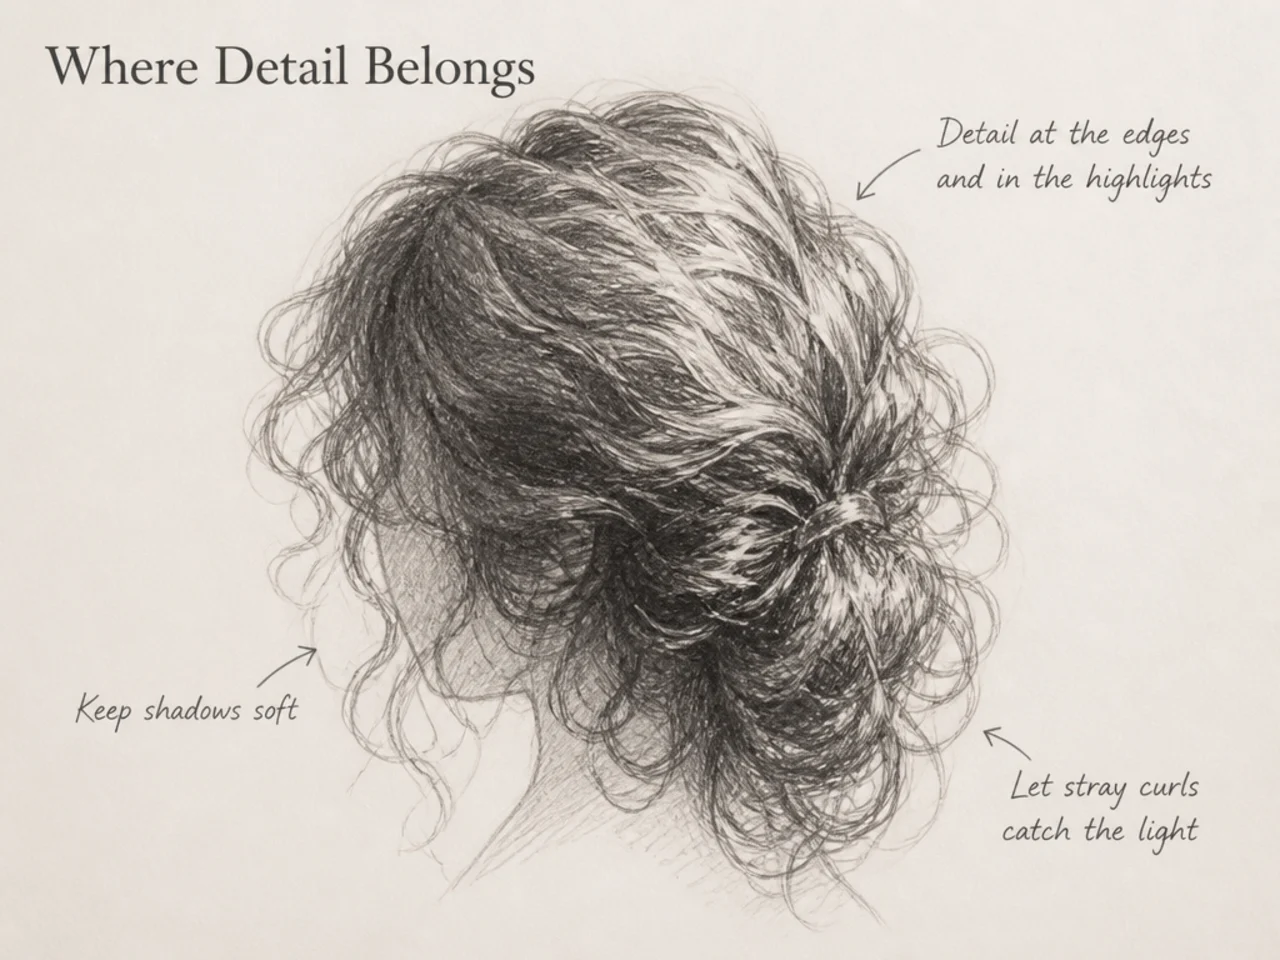
Where Detail Belongs
If a drawing looks busy and flat at the same time, the detail is in the wrong place.
At the silhouette edge: yes. Broken outline, a few curls escaping, this is where curly hair announces itself.
Where the light hits: yes. Two or three fully rendered curls along the lit plane.
Around the face: yes, lightly. The eye goes there anyway.
Through the shadow mass: no. Detail in shadow is invisible in life and noisy in a drawing.
Everywhere at once: this is the noodle problem, and it is the single most common failure.
Mistakes to Avoid
Drawing every curl. The noodle problem, and the cause of most unconvincing curly hair.
Even-width curl lines. Curls are ribbons — vary the width as they turn.
Detail in the shadow mass. Invisible in life, noisy on paper.
A smooth outline. Curly hair is recognised by an irregular, broken silhouette.
Starting with the curls. Silhouette, masses, carving, then detail — in that order.
FAQ
How do you avoid noodle hair? Draw the mass first and render only a few curls at the edges.
What is the first step? The silhouette — it does most of the work.
How much detail is needed? A strong outline, two or three tonal masses, and about six rendered curls.
Final Thoughts
Squint at your reference until the curls disappear and only shapes remain — that is what you should be drawing first. Detail is the last ten per cent, and putting it in early is what makes curly hair look like noodles.
For the full method see 20 steps to draw curly hair like a pro. More in Hair Drawing & Art.