
15 Simple Steps To Style A Long Shag Haircut Daily
A daily routine for a long shag in fifteen steps, in the order they actually happen. Each step says what goes wrong if it is skipped, because almost every flat long shag is a drying order problem rather than a cutting one.
In this article · 22
- What a Long Shag Needs From Styling
- Choosing Products for Your Texture
- The 15 Steps
- 1. Detangle Under the Conditioner
- 2. Blot With a Cotton Tee
- 3. Apply Leave In to Soaking Hair
- 4. Add Mousse for Layer Separation
- 5. Scrunch Upward in Sections
- 6. Dry the Fringe First
- 7. Clip the Crown Roots
- 8. Rough Dry the Roots to Eighty Percent
- 9. Diffuse the Lengths on Low Speed
- 10. Leave the Cast Until Bone Dry
- 11. Break the Cast With Oiled Hands
- 12. Separate the Face Framing Pieces
- 13. Tousle the Crown With Fingertips
- 14. Set the Shape With a Light Mist
- 15. Refresh With Water the Next Morning
- Styling and Upkeep
- Mistakes to Avoid
- FAQ
- Final Thoughts
A long shag that goes flat by lunchtime is usually not undercut. It is dried in the wrong order, and root direction cannot be fixed once it has set.
The shape is built while the hair is wet. Every decision that matters happens between the shower and the point where the roots dry. After that you are only maintaining.
The layers have to separate, not smooth. A long shag reads as stacked pieces. Anything that pulls them into one surface, including a brush through the ends, undoes the cut.
What a Long Shag Needs From Styling
Lift at the crown. The short crown layers have to sit on the longer ones underneath. If they lie flat against the scalp the whole cut reads as a long layered lob.
Definition in the mid lengths. The layers only show if the strands clump into pieces. Undefined hair fills the gaps between layers and hides the shape.
Weight left at the ends. Long hair is heavy at the bottom, and that weight is what stops the layers from flaring outward into a triangle.
A fringe pointing where you want it. The front sets the whole look and dries fastest. Left to itself it dries flat to the forehead.

Choosing Products for Your Texture
Fine hair wants mousse. It sets a light cast without weight. Cream on fine hair collapses the crown before the ends are dry.
Thick hair wants cream then gel. Cream for moisture, gel for the cast that holds the clumps together. Mousse alone will not hold a heavy section.
Curl wants more than feels reasonable. A palm of product on soaking hair is normal. Too little shows as frizz in the top layer within an hour of drying.
Straight hair wants a texture spray at the end, not a cream at the start. Straight strands do not clump, so separation has to be added dry rather than set wet.
The 15 Steps
1. Detangle Under the Conditioner
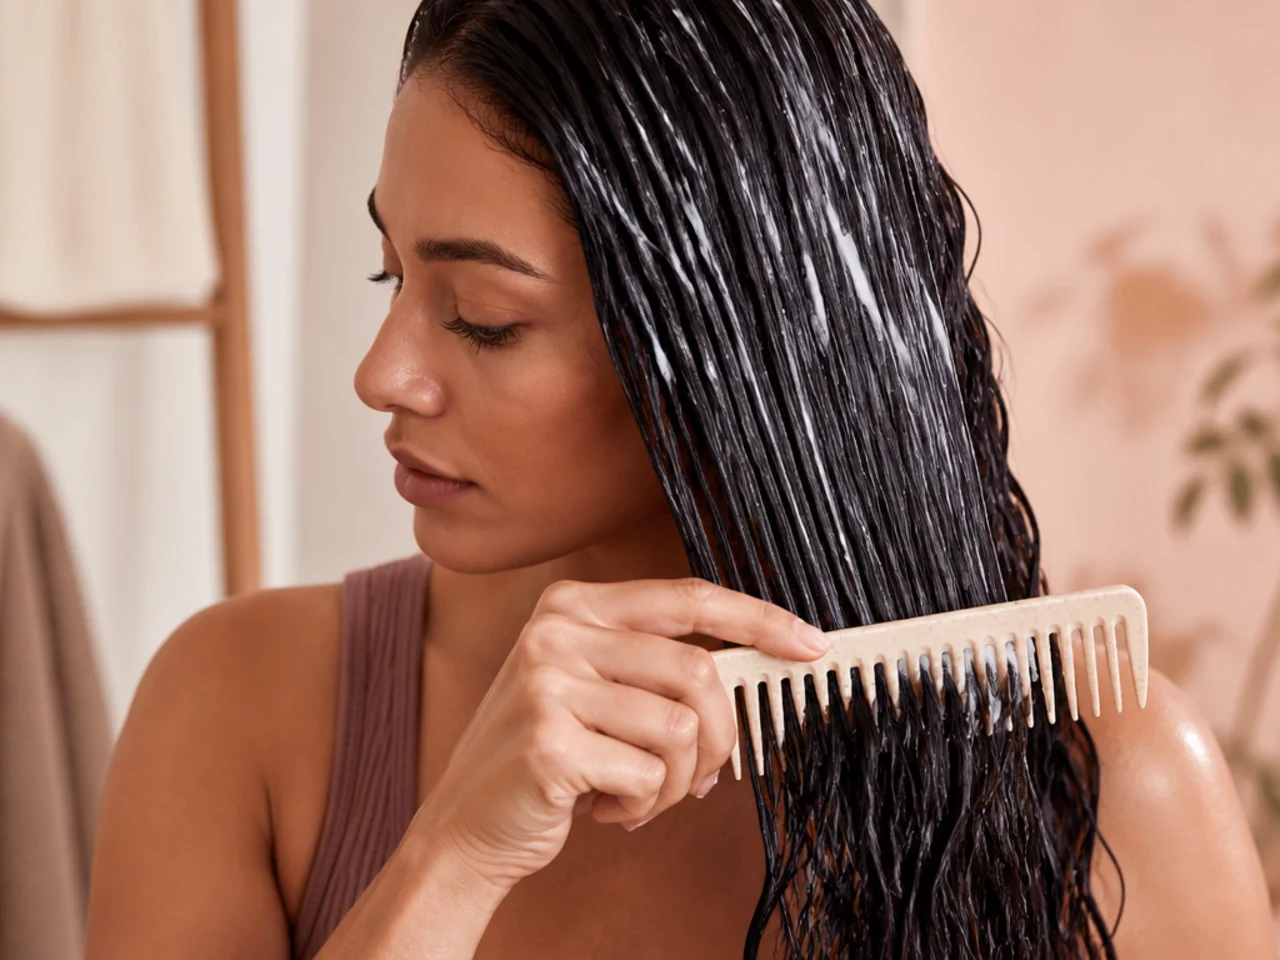
Comb it through while the conditioner is still in and the hair is at its most slippery. Detangling later, on damp hair with no slip, is where the mechanical breakage happens, and long shag layers show broken ends immediately because every layer has its own visible tip.
2. Blot With a Cotton Tee
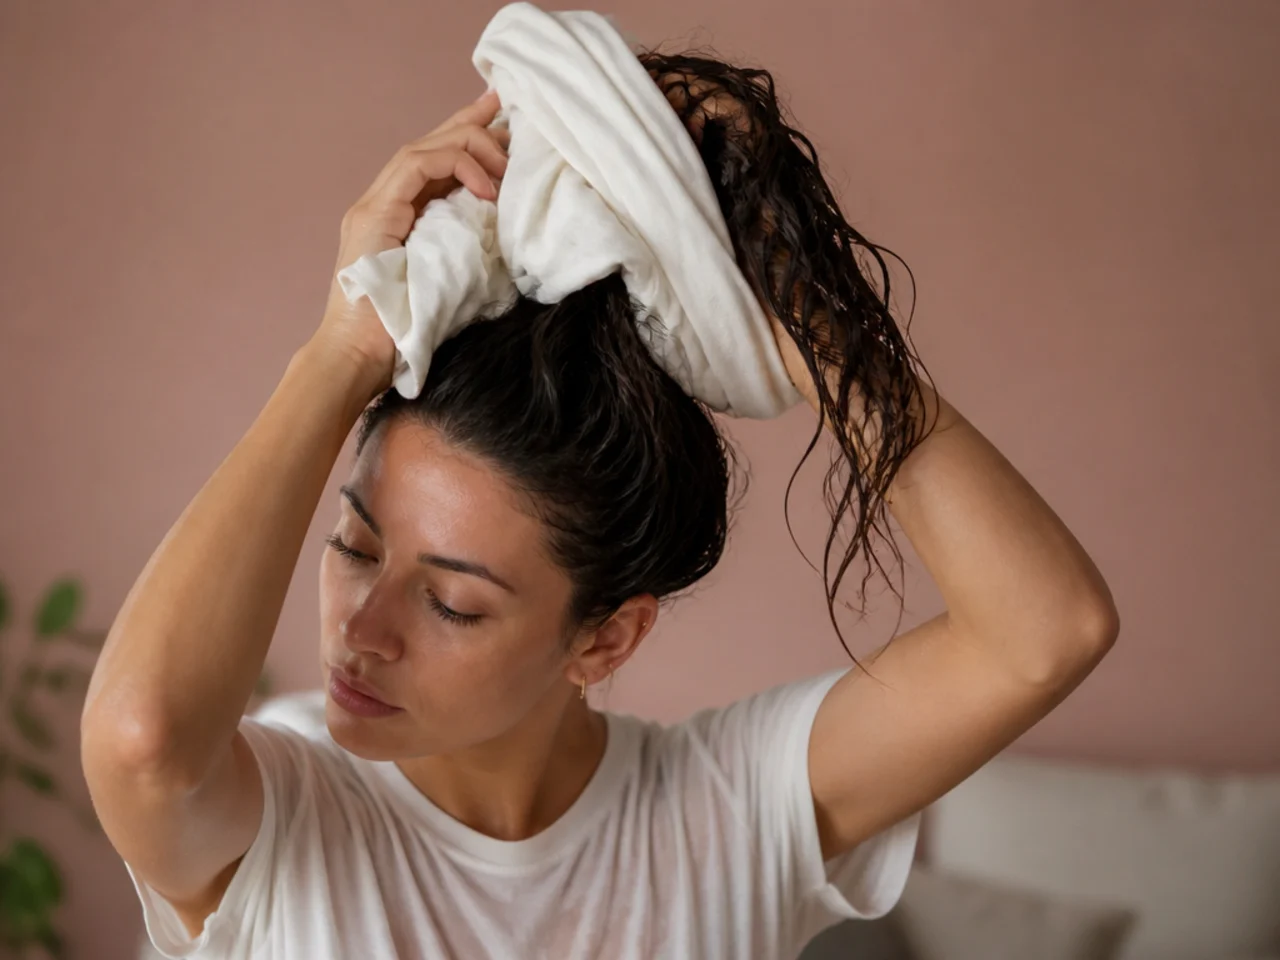
Squeeze upward with a cotton shirt rather than rubbing with a terry towel. Terry loops catch the cuticle and lift it, which is what turns a defined layer into a fuzzy one, and on long hair the damage accumulates over the whole length.
3. Apply Leave In to Soaking Hair
Not damp, soaking. Product spreads evenly through water and locks the shape while the hydrogen bonds are still reforming. Applied to half dry hair it sits on the surface, adds weight and holds nothing, which is the single most common reason a routine stops working.

4. Add Mousse for Layer Separation
A second product goes on top to build the cast that holds each clump apart. Skip it and the layers dry as one sheet, since without a cast the strands fall back together as the water leaves and the separation the cut created disappears.
5. Scrunch Upward in Sections
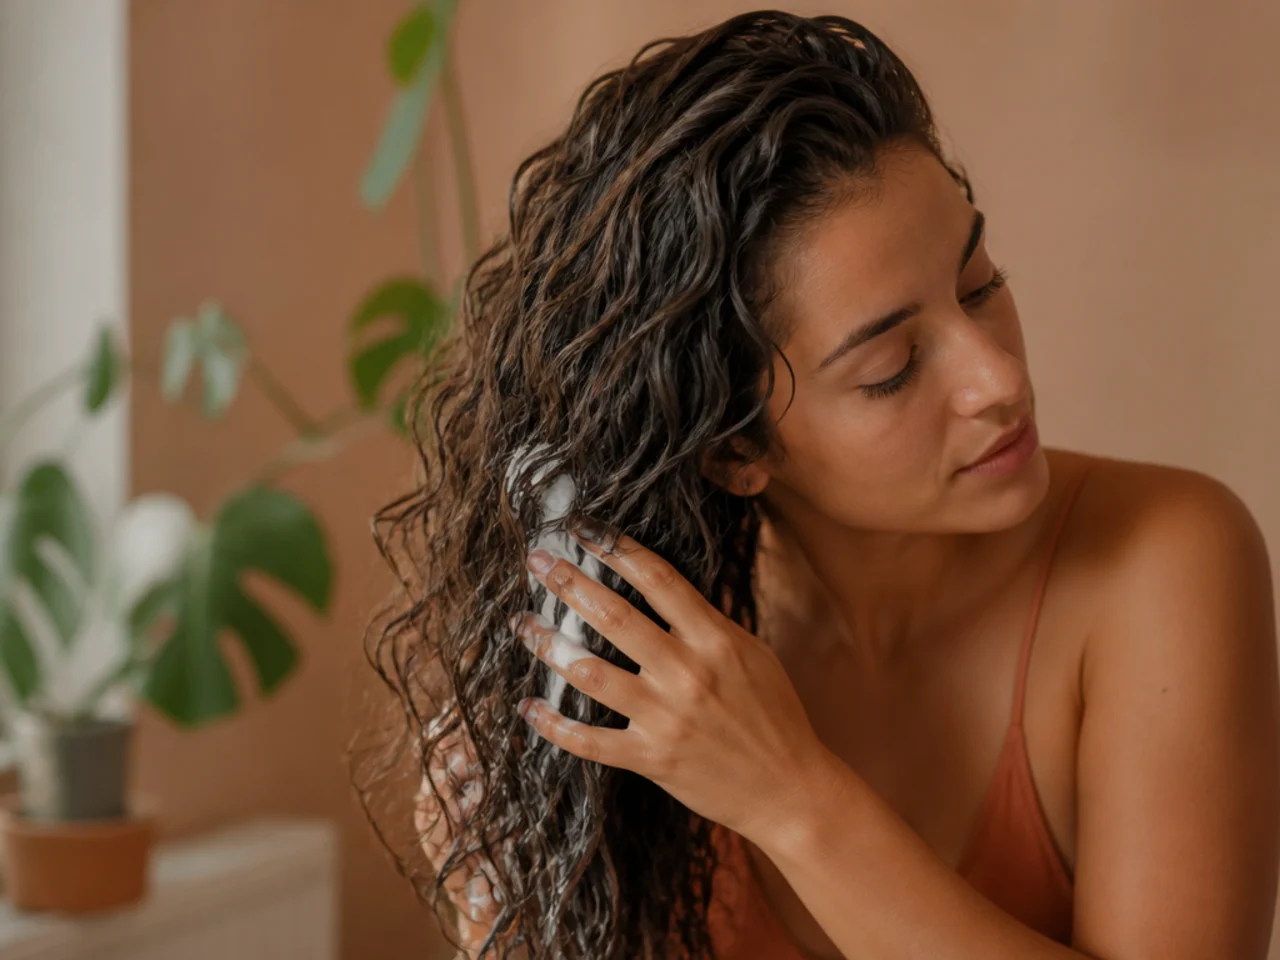
Cup a handful and push it toward the scalp, working in four or five sections so nothing is missed. Raking downward instead stretches the layer out straight, and a stretched layer dries long and flat rather than bending where the cut intended.
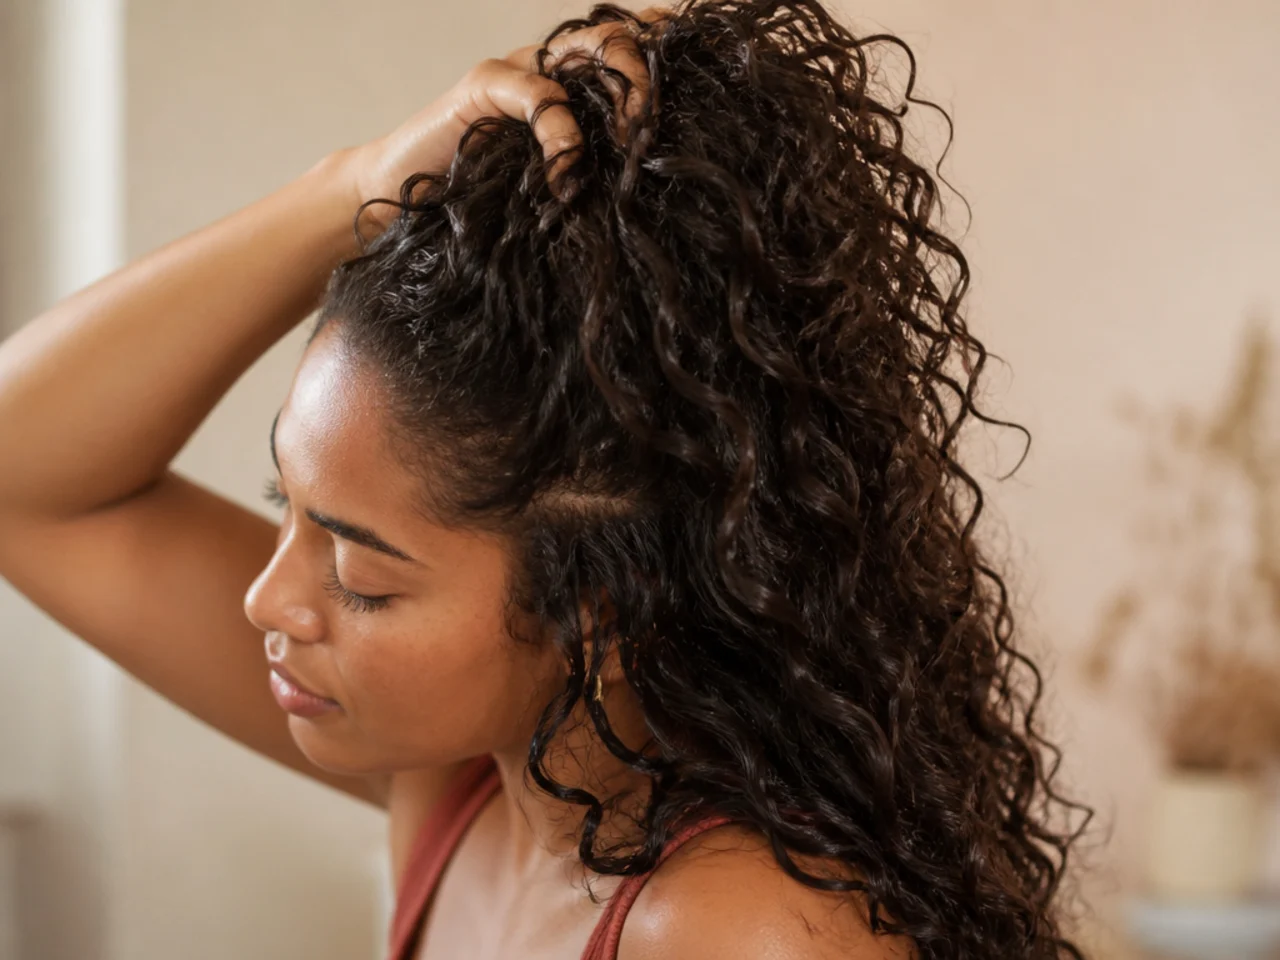
6. Dry the Fringe First
The fringe is the shortest hair on the head and dries first whether you plan for it or not. Direct it now with fingers and warm air, because once it is dry in a downward direction the only correction is wetting it again from the root.
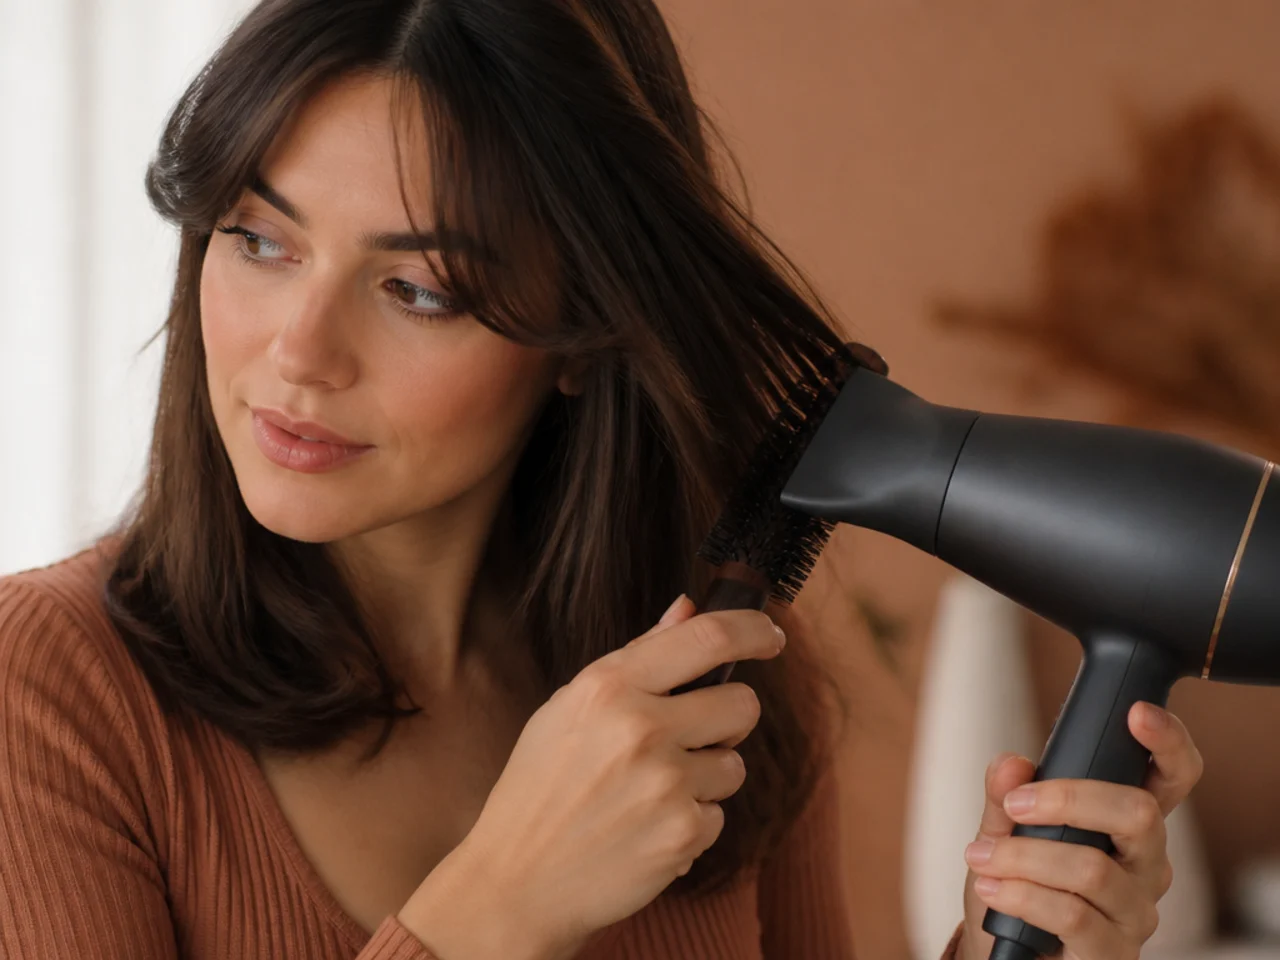
7. Clip the Crown Roots
Two or three clips set into the roots at the crown hold the hair off the scalp while it dries. Without them the crown dries in the position gravity chose, and no amount of teasing afterwards puts back the lift the shag depends on.

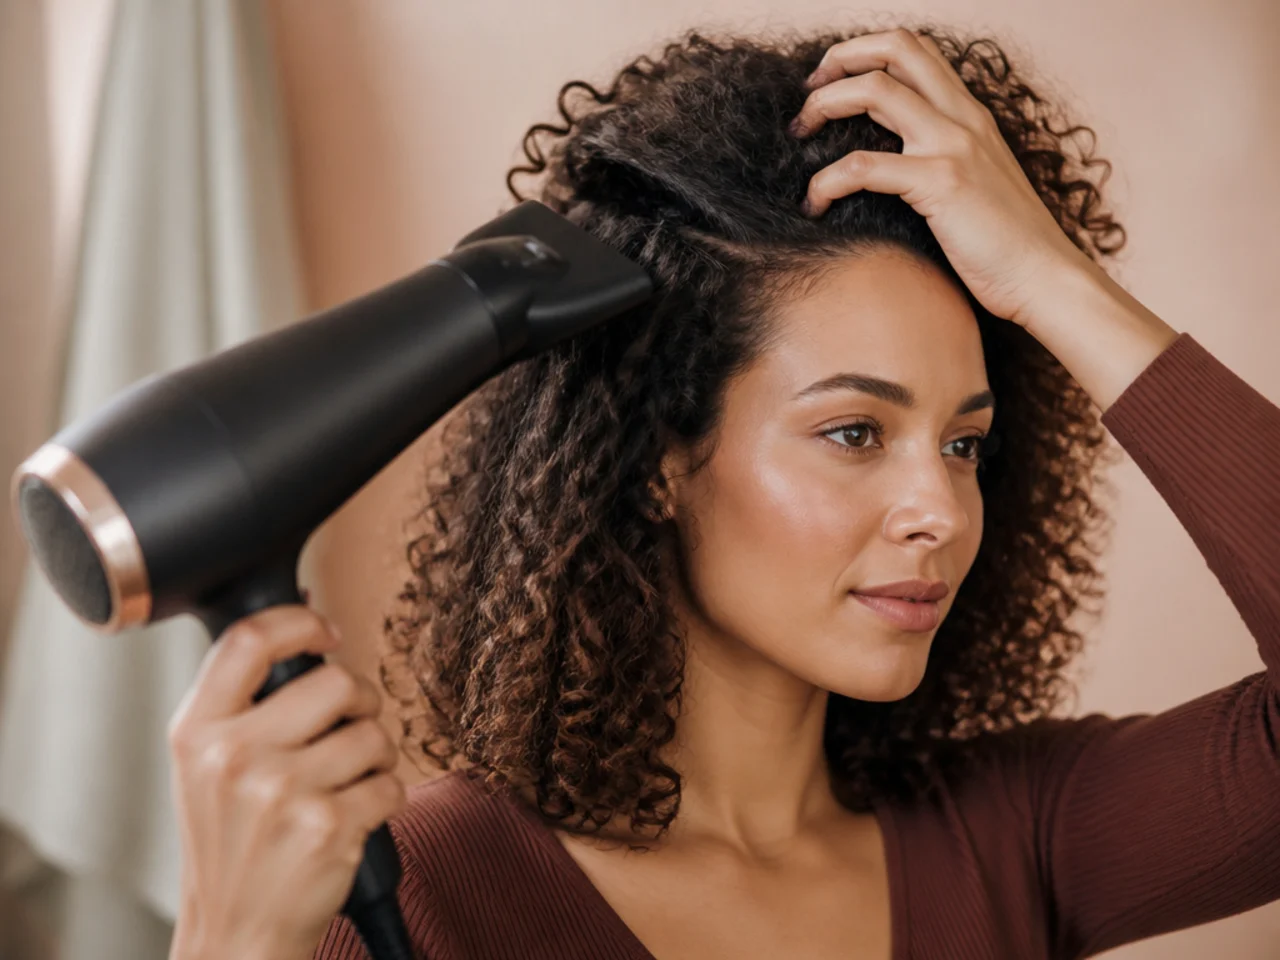
8. Rough Dry the Roots to Eighty Percent
Fingers at the scalp, dryer on medium, ends left alone. Root drying is the only part where handling helps, and stopping at eighty percent matters because roots dried completely rigid hold the shape but also hold every crease your fingers made.
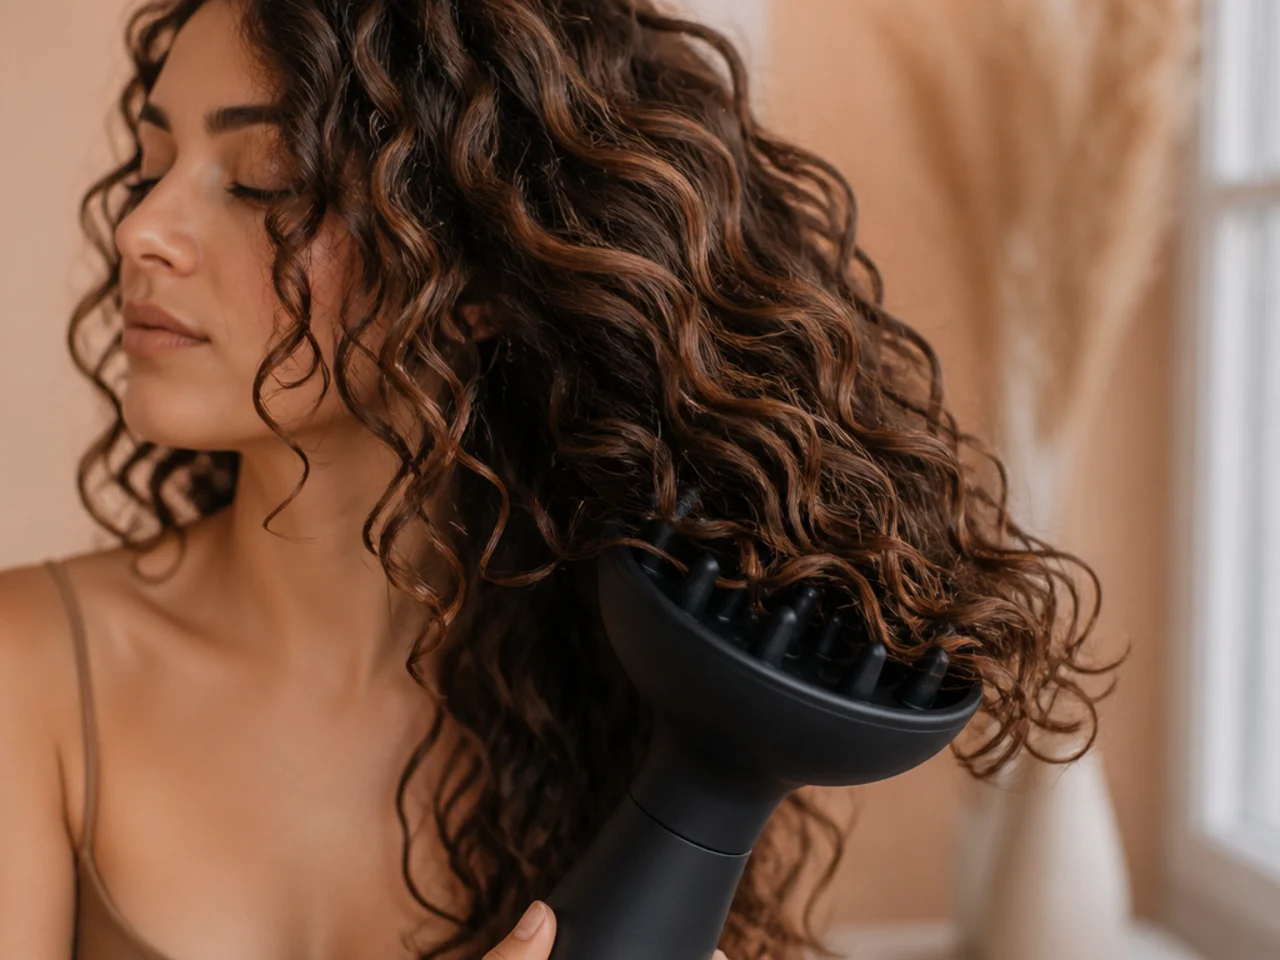
9. Diffuse the Lengths on Low Speed
The bowl supports each clump while it dries so nothing gets blown apart. Use low speed and medium heat, because it is moving air rather than temperature that separates a clump, and a high speed setting turns a defined layer to frizz in seconds.
10. Leave the Cast Until Bone Dry
Do not touch it, check it or fluff it. A cast broken at ninety percent dry lets the strands reopen and reabsorb moisture from each other, and the frizz that appears at that point cannot be put back into a clump without rewetting.
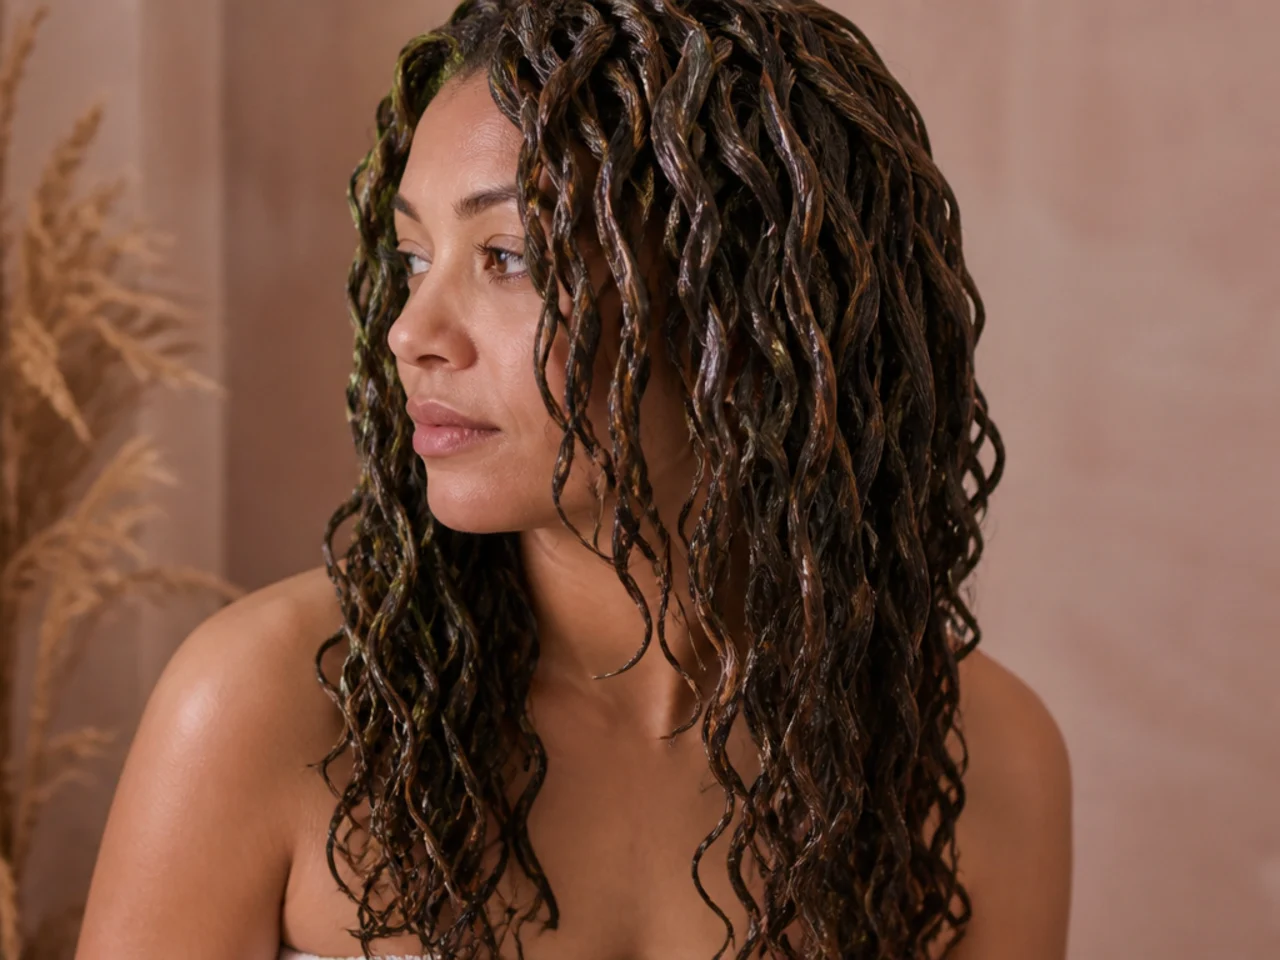
11. Break the Cast With Oiled Hands
A few drops of oil on the palms, then scrunch upward until the stiffness goes. Oil on the hands rather than in the hair is the point, because it lubricates the break without coating the strands and flattening what you just built.
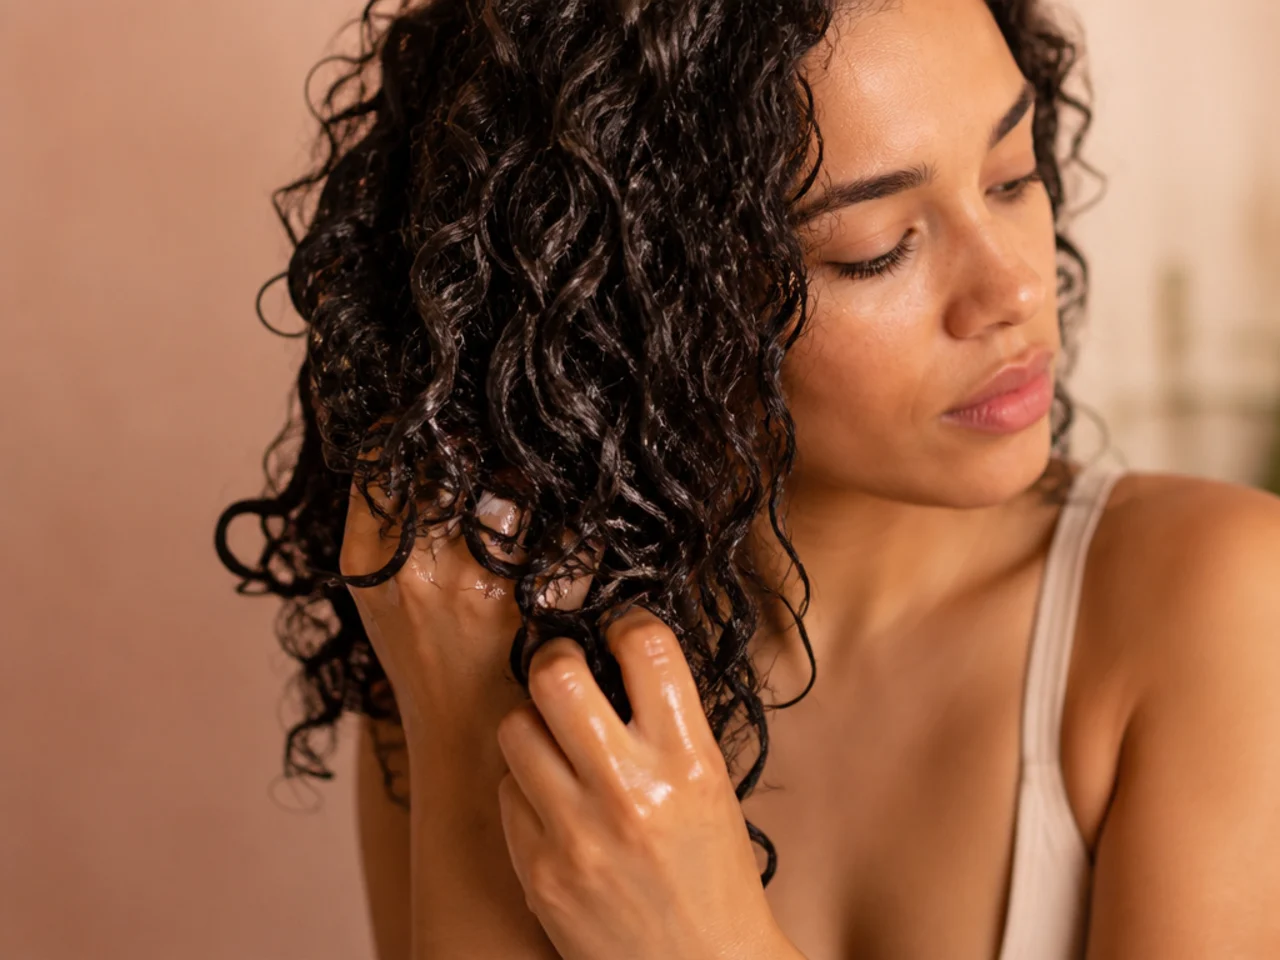
12. Separate the Face Framing Pieces
Pull the front pieces forward one at a time so they sit against the face rather than behind the ear. These are the layers the cut is designed around, and if they fall back into the bulk the shag reads as long hair with a fringe.
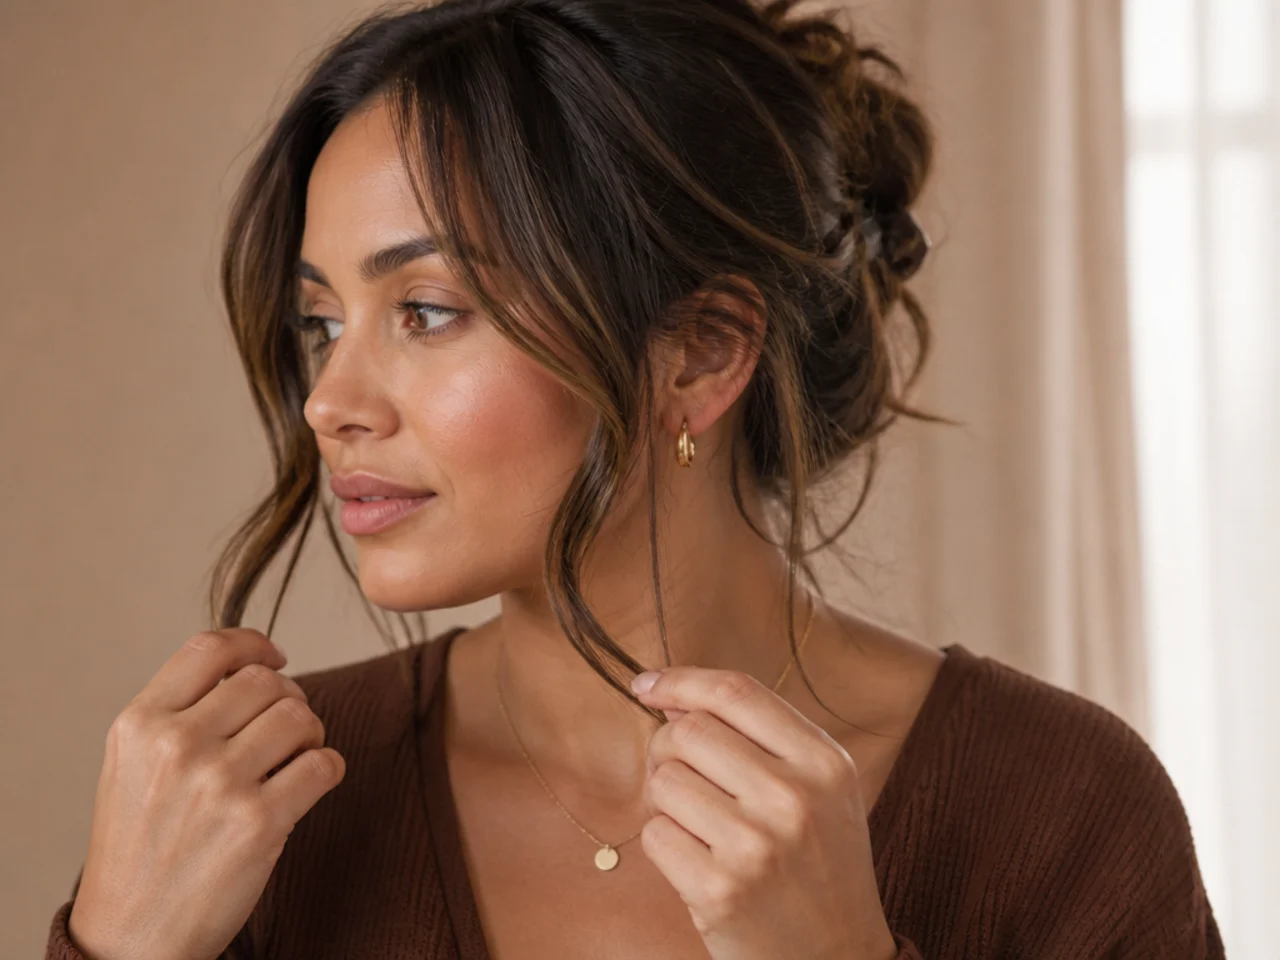
13. Tousle the Crown With Fingertips
Fingertips at the roots only, lifting and dropping. Working further down pulls the crown layers into the lengths below, which closes the gap between them and removes the stacking that makes a shag look like a shag.

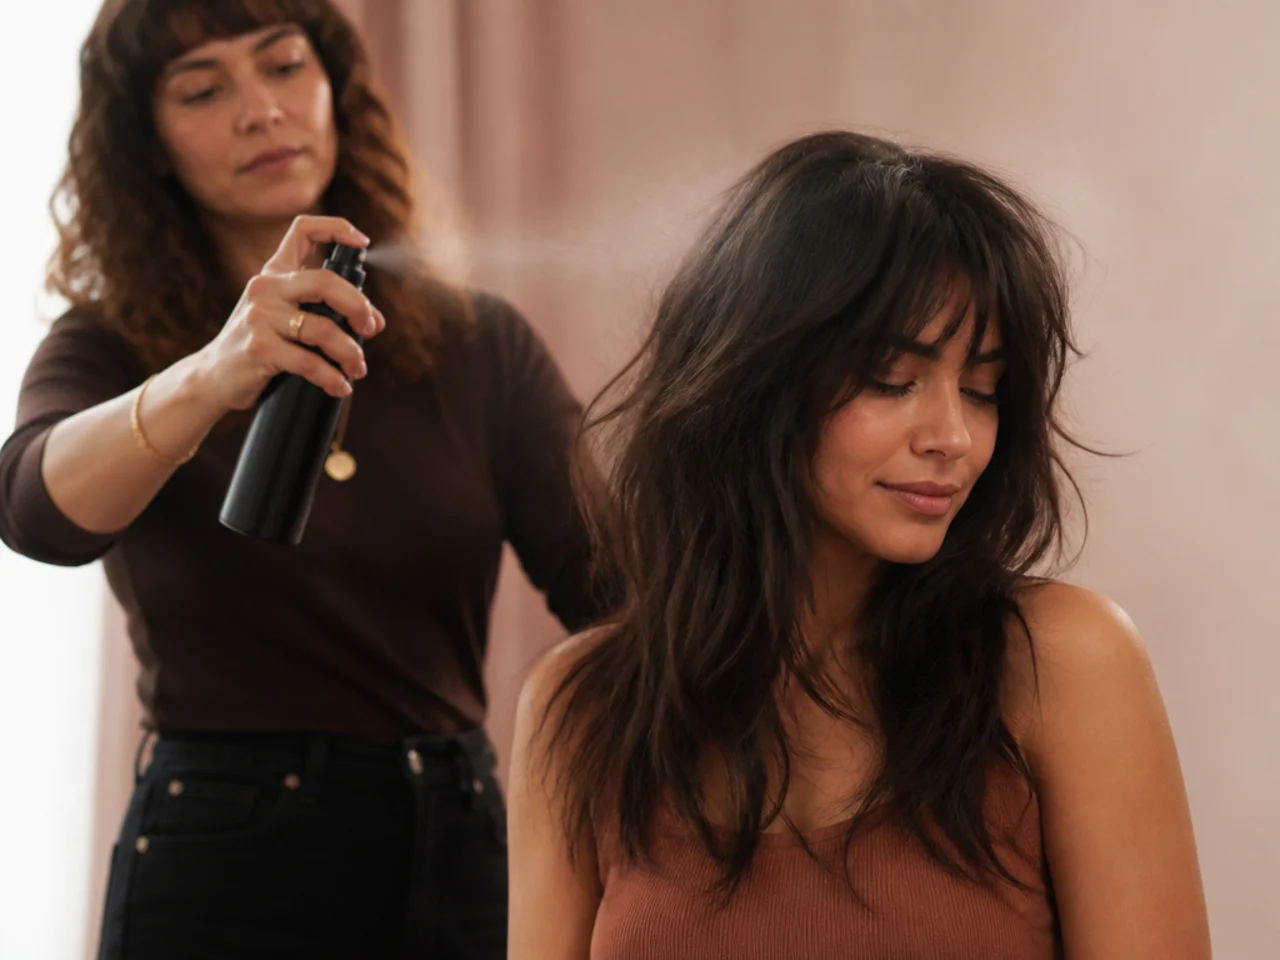
14. Set the Shape With a Light Mist
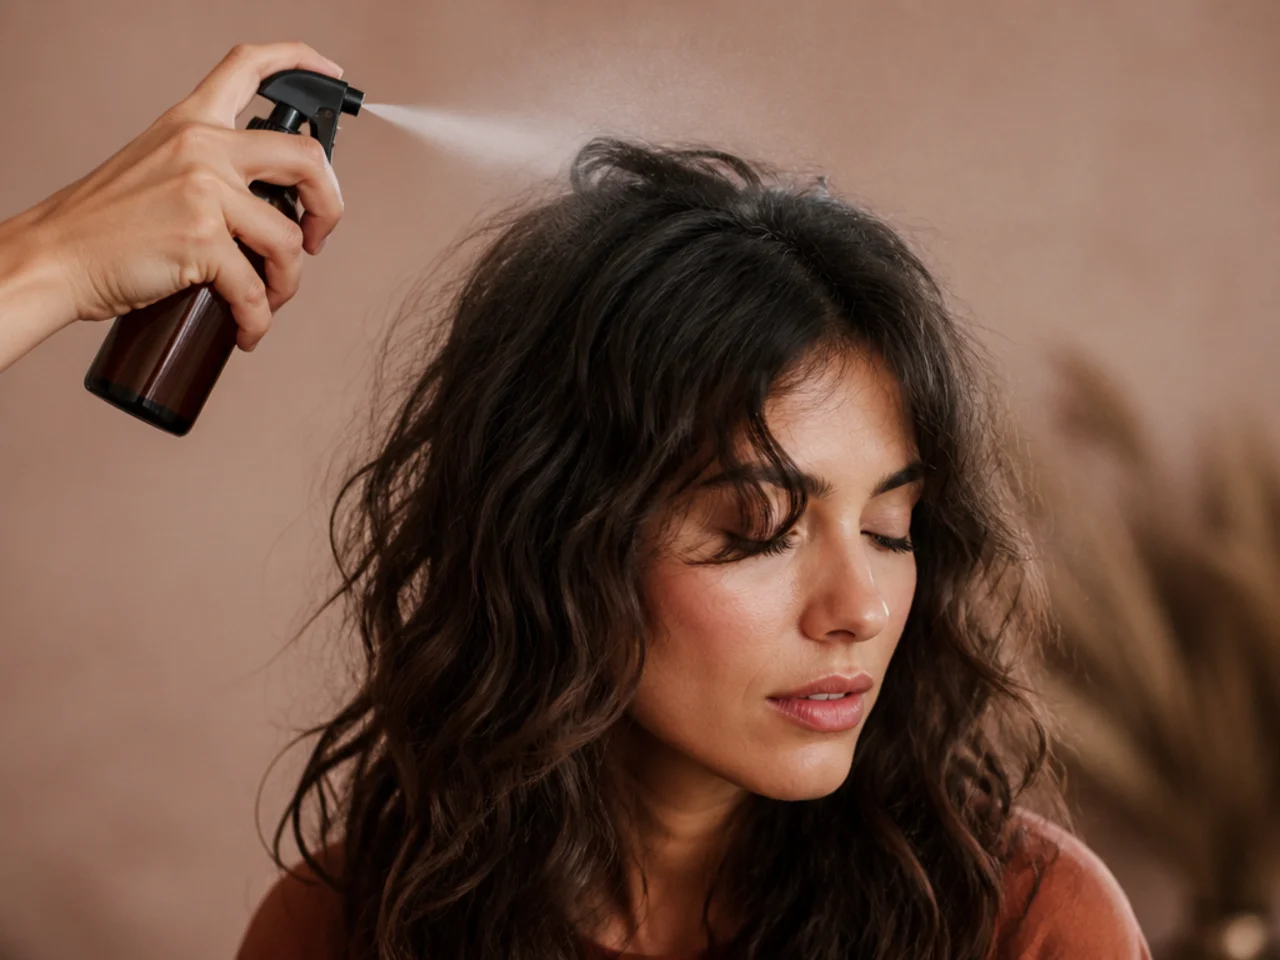
A fine texture or salt spray held at arm's length. Held closer it lands as droplets that wet a small area and drop it, and on a long shag one flat patch at the crown reads across the whole shape.
15. Refresh With Water the Next Morning
Water on the roots and a squeeze through the ends reactivates yesterday's product. Adding a fresh layer instead builds residue that weighs the crown down by day three, and by then the only fix is washing it all out and starting over.
Styling and Upkeep
Wash less than you think. Long shags hold their shape for two or three days. Every wash restarts the whole routine from step one.
Sleep in a loose pineapple. Gathering the length loosely on top of the head keeps the crown off the pillow, which is where flattening happens overnight.
Use a silk pillowcase if you skip the pineapple. Cotton drags on the cuticle and turns defined layers fuzzy by morning.
Trim the face framing at week six. Those pieces grow past the cheekbone first and take the front of the shape down with them.
Keep one product, not four. Each additional layer changes how the previous one dries, and a routine that worked stops working for reasons you cannot isolate.

Mistakes to Avoid
Applying product to damp hair. It needs to be soaking. On damp hair the product coats rather than sets and the shape never forms.
Brushing the dry hair. A brush pulls every layer into one surface. Fingers only, once it is dry.
Drying the ends before the roots. Wet roots settling afterwards pull the dried ends back down, and the crown loses its lift.
Breaking the cast early. At ninety percent dry the strands reopen and frizz. Bone dry or leave it alone.
Adding product on day two. Water reactivates what is already there. A second layer builds up and flattens the crown.
FAQ
Why is it flat? The roots dried in the wrong direction, and that cannot be fixed dry.
Can it be done without heat? Yes, if you leave it completely alone until it is dry.
How long does it take? Ten to fifteen minutes on wash day, under two on the days between.

Final Thoughts
The order is the technique. Product on soaking hair, fringe dried first, roots before ends, and nothing touched until the cast is hard. Change the order and the same products on the same haircut produce a flat afternoon.
For the same shape cut with more weight removed at the crown see long wolf cut hair. See also shag haircut curly hair. More in Mullet and Wolf Cut.



