

20 Easy Shag Haircut Ideas For Curly Hair Types
Twenty curly shag ideas sorted by curl type, and the measurement that governs all of them — shrinkage. A layer cut at the collarbone wet finishes at the chin dry, so a curly shag has to be cut where the hair actually sits.
In this article · 27
- Why Curls Change the Shag
- Choosing Your Layer Placement
- The 20 Curly Shag Ideas
- 1. Short Shag on Type 2A Waves
- 2. Curtain Bangs on Type 2B Waves
- 3. Collarbone Shag for Type 2C Hair
- 4. Rounded Perimeter Shag on Type 3A Curls
- 5. High Layered Shag on Type 3B Curls
- 6. Curly Fringe Shag for Type 3C Hair
- 7. Type 4A Coily Shag Cut Dry
- 8. Tapered Shag on Type 4B Coils
- 9. Cloud Shaped Crown on Type 4C Hair
- 10. Shoulder Length Curly Shag
- 11. Curly Shag With Face Framing Pieces
- 12. The Curly Shag That Reads as a Wolf Cut
- 13. Curly Shag Mullet for Men
- 14. Internal Layers Only on Dense Curls
- 15. Curly Shag on Fine Sparse Curls
- 16. Curly Shag on Coarse High Density Hair
- 17. Deep Side Part Curly Shag
- 18. Curly Shag Grown Out Past the Shoulders
- 19. Ribbon Highlights Through a Curly Shag
- 20. The Wash and Go Curly Shag
- Styling and Upkeep
- Mistakes to Avoid
- FAQ
- Final Thoughts
Most curly shags are cut at the length the hair hangs at wet, which is not the length it will ever be seen at.
Curl shrinks as it dries. Type three curls typically finish about a third shorter than they hang wet, and type four coils can lose more than half.
A shag is layer placement, nothing else. Get the placement wrong by five centimetres on curly hair and the shape moves from shaggy to triangular.
Why Curls Change the Shag
Cut dry or the measurements are guesses. The only honest way to place a layer on curly hair is to cut it where it sits when it is dry.
Curl diameter decides how much length a layer eats. A tight coil spends several centimetres on one full turn, so the same cut length shows far less drop than it does on a wave.
Weight collects where the curl is widest. That is usually just below the ear, and it is the place layers have to remove volume from or the outline goes triangular.
Curls travel in clumps. Layers cut through the middle of a clump leave loose ends with nothing to lean against, which is the frizz that gets blamed on the shampoo.
Choosing Your Layer Placement
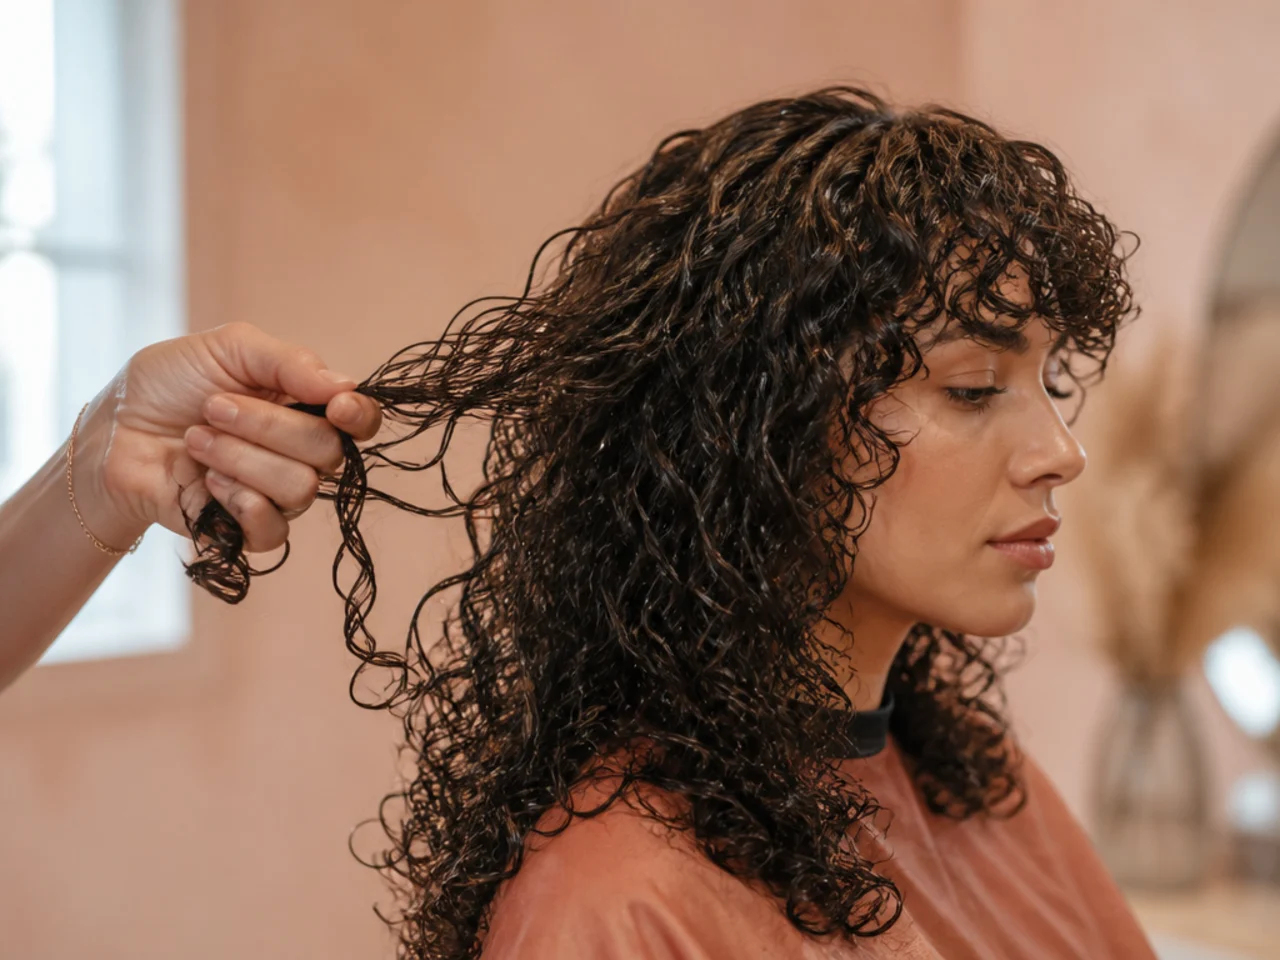
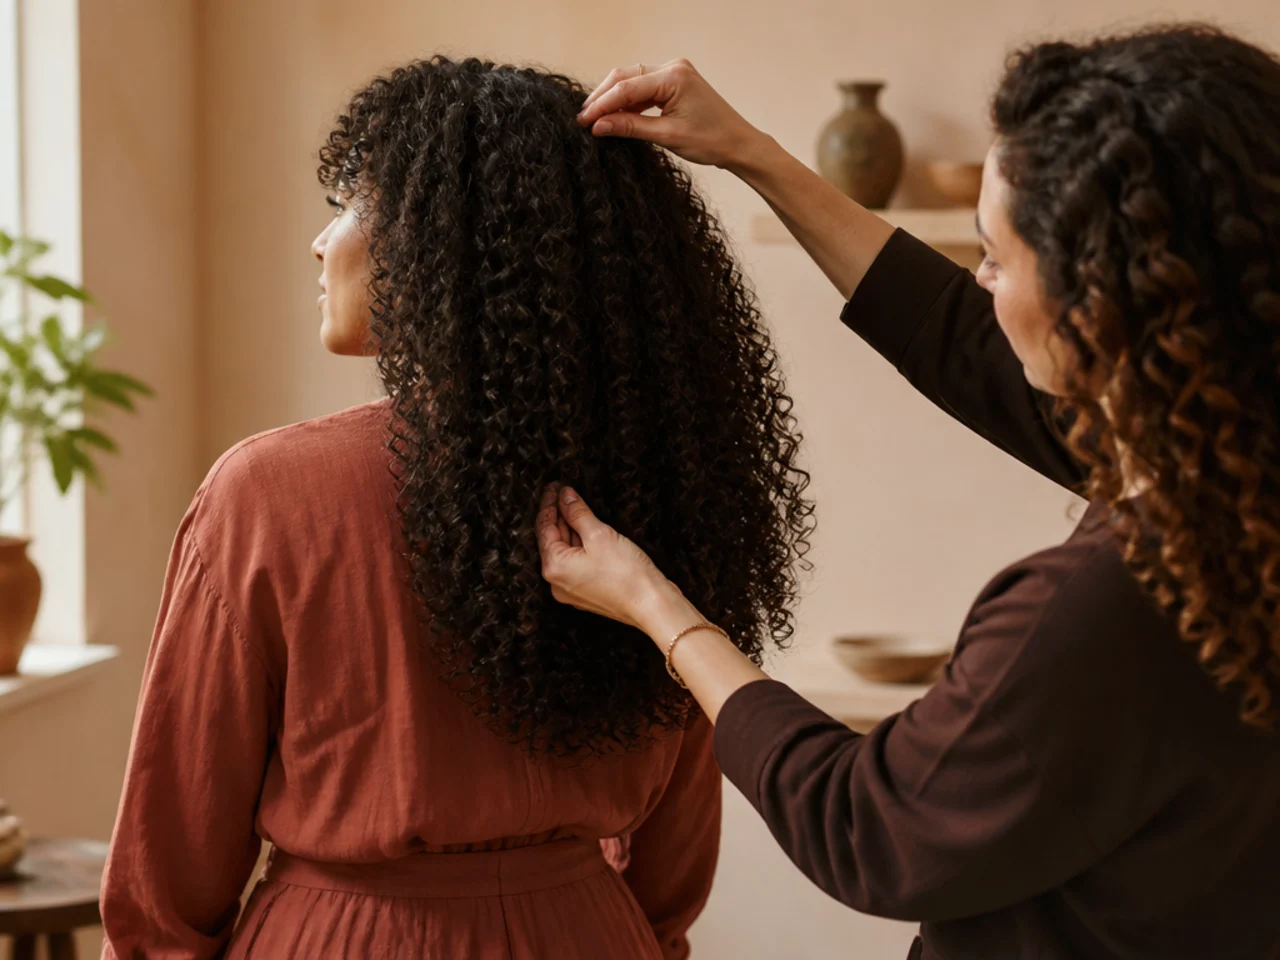
Start the shortest layer above the widest point. On most heads that means at or just above the ear, so the removed weight lands where the bulk is.
Looser curl takes shorter layers. A wave needs a real length difference to show movement, where a coil shows the same effect from two centimetres.
Keep the perimeter round, not blunt. A straight bottom edge on curls collects the heaviest clumps in one line and reads as a shelf.
Decide the fringe last. It shrinks the most of anything on the head, and its length only makes sense once the layers around it are in place.
The 20 Curly Shag Ideas
1. Short Shag on Type 2A Waves
A loose wave has almost no shrinkage, so the layers can be cut close to where they will fall. That also means nothing hides an uneven line, and 2A hair needs a real difference between layers before any movement is visible at all.
2. Curtain Bangs on Type 2B Waves
The bend in 2B hair starts around the mid length, so a curtain fringe leaves the roots flat and picks up its wave at the cheekbone. Cutting it to the cheekbone rather than the brow lets the wave arrive before the ends do.

3. Collarbone Shag for Type 2C Hair
At 2C the wave is tight enough to build width at the jaw, and a collarbone perimeter gives that width somewhere to fall past. Cut shorter than the collarbone and the same volume has nowhere to go but sideways.

4. Rounded Perimeter Shag on Type 3A Curls
The bottom edge is cut on a curve so the sides finish slightly shorter than the back. On 3A curls a flat perimeter stacks the heaviest clumps along one line, and the curve breaks that line into a graduated edge instead.
5. High Layered Shag on Type 3B Curls
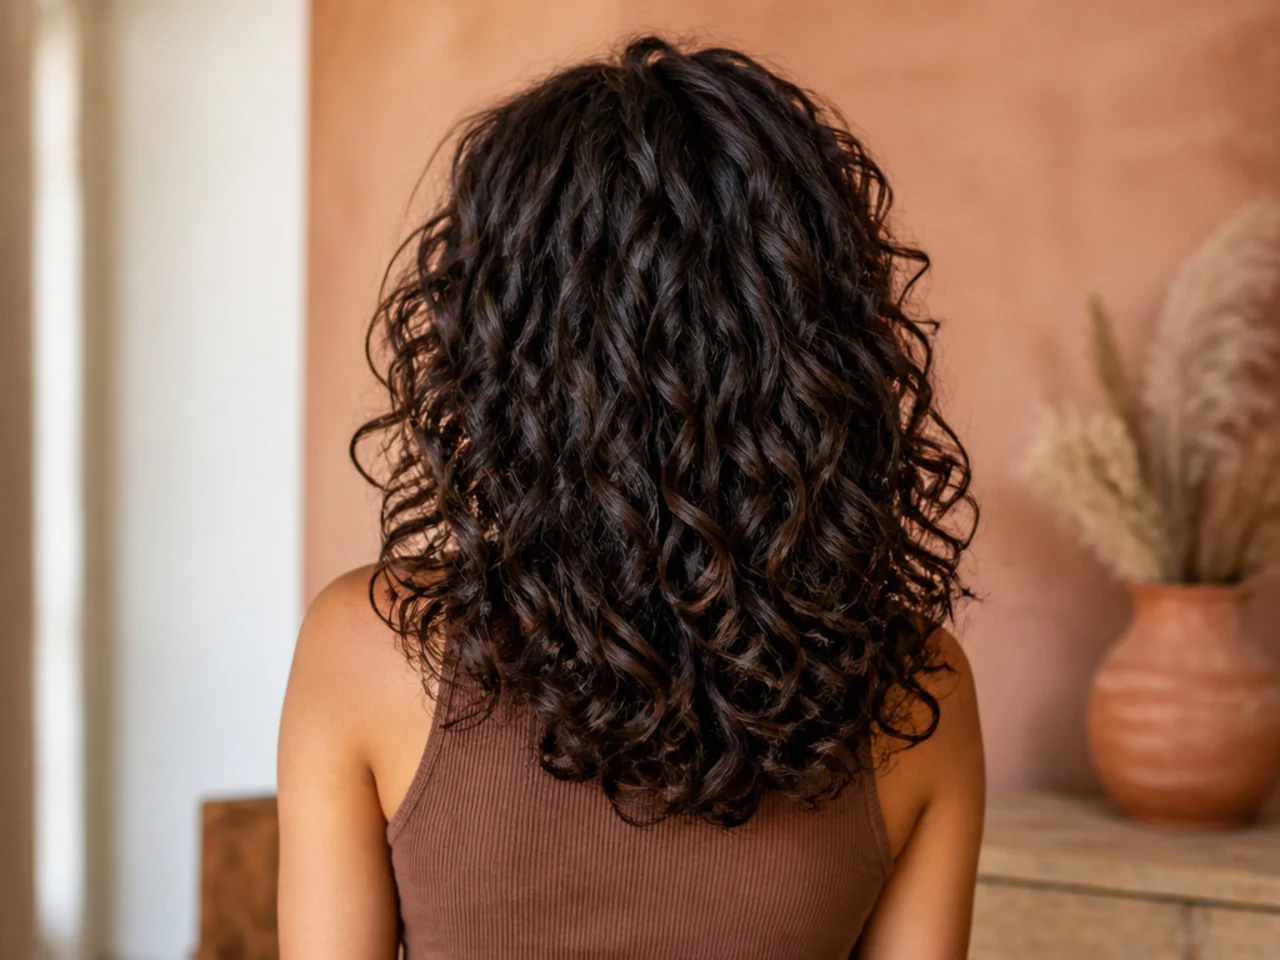
3B spirals are dense enough to support layers starting above the ear without the crown collapsing. That height puts the shortest pieces above the widest part of the curl mass, which is the only position from which they reduce it.
6. Curly Fringe Shag for Type 3C Hair
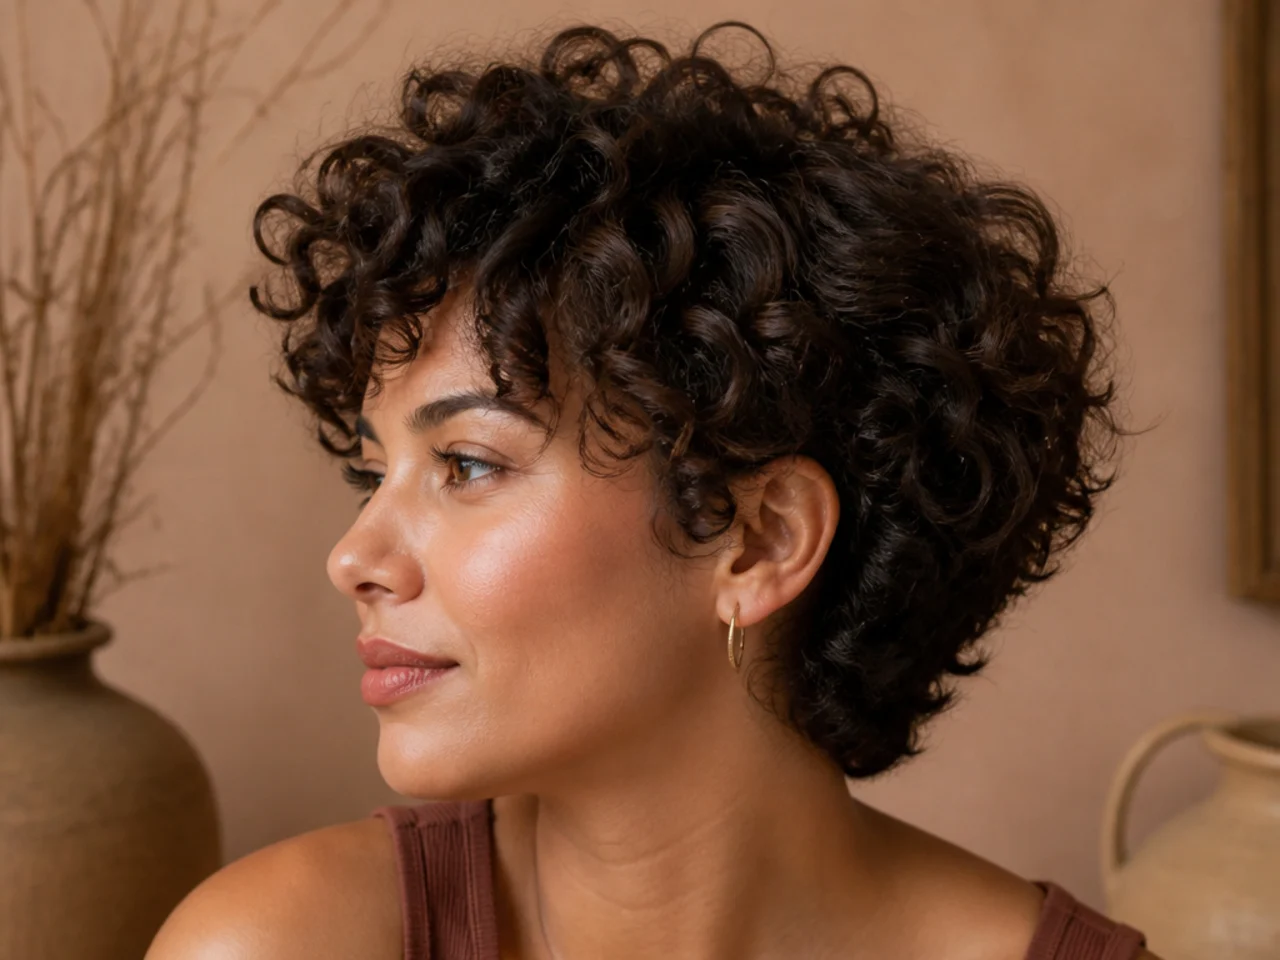
A 3C fringe shrinks by roughly a third, so a fringe intended to reach the brow has to be cut nearer the bridge of the nose. Cut it at the brow wet and it dries somewhere above the hairline with nothing to be done about it.
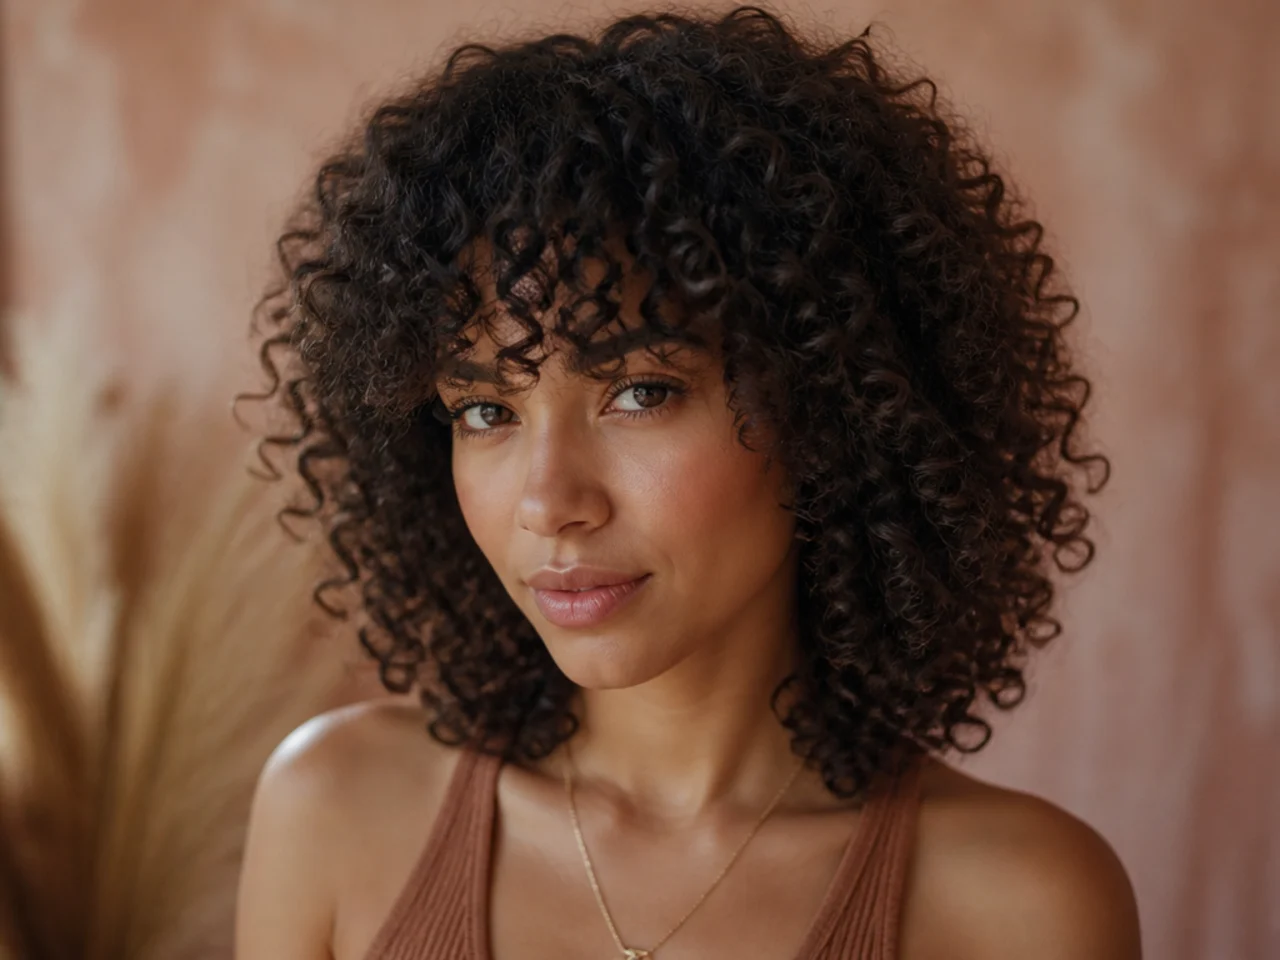
7. Type 4A Coily Shag Cut Dry
4A coils are tight enough that a wet cut is close to meaningless, since the hair returns to a fraction of its stretched length. Cut dry coil by coil, the layers land where they will be seen and the round silhouette holds.
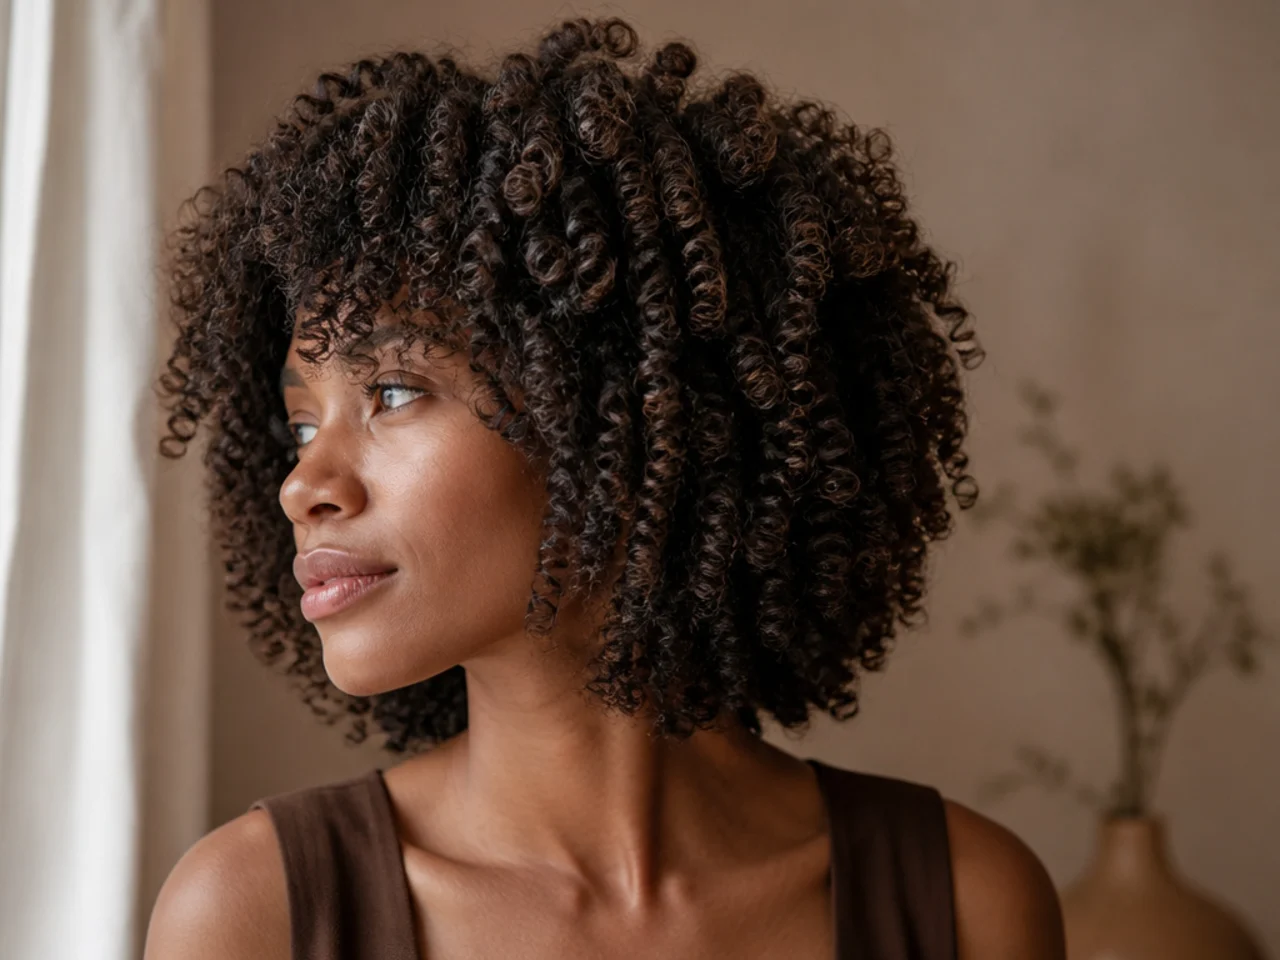
8. Tapered Shag on Type 4B Coils
The sides are cut gradually shorter toward the ear while the crown keeps its full length. This is a taper rather than a fade, so hair is left behind all the way down, and the remaining length keeps the shag reading soft instead of graphic.
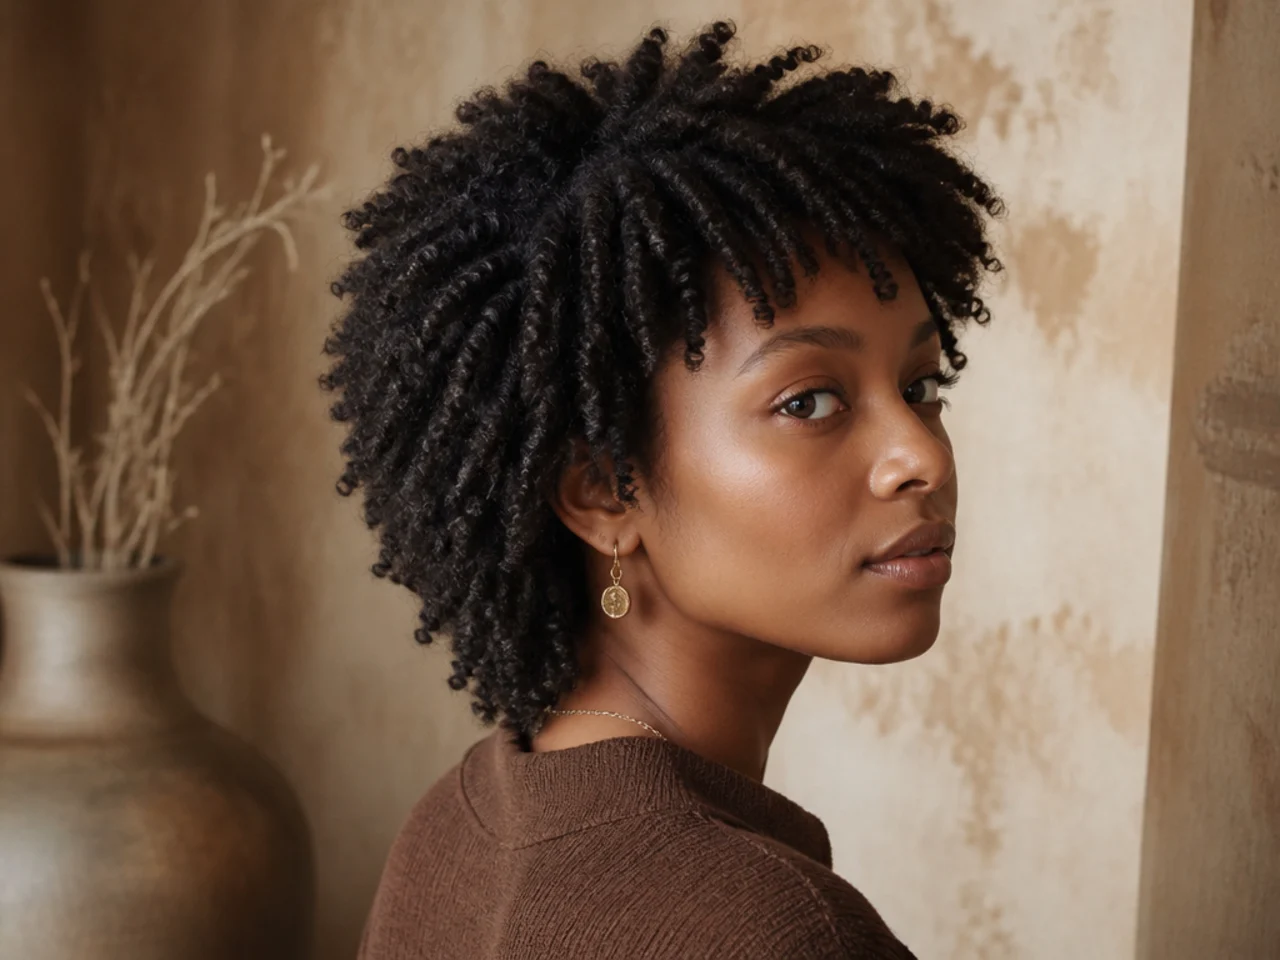
9. Cloud Shaped Crown on Type 4C Hair
4C hair has the most shrinkage of any type and the least visible layer separation, so the shape is built as one rounded volume with the layers working inside it. The layering controls where the silhouette is widest rather than creating visible steps.
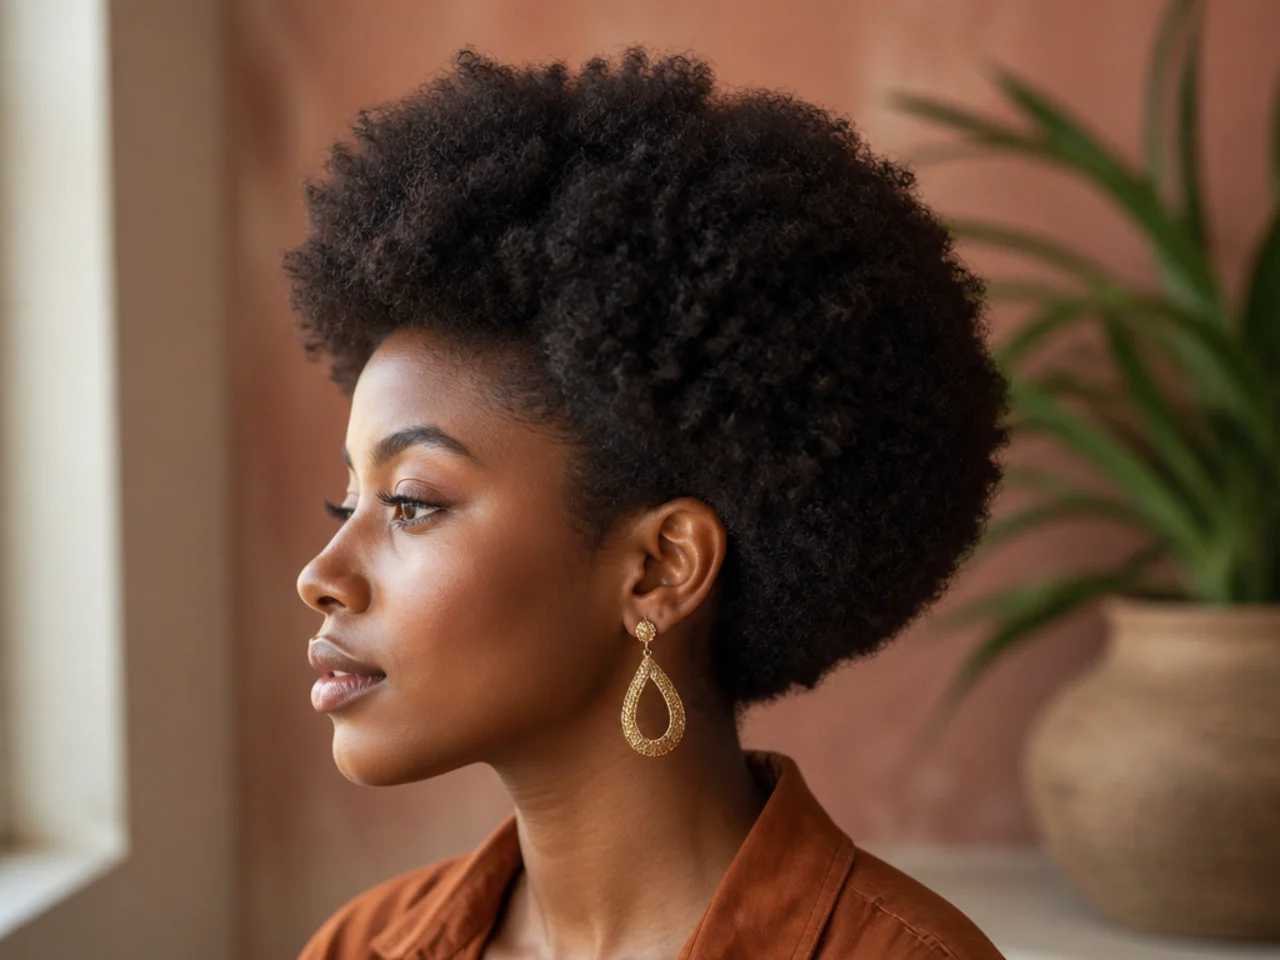
10. Shoulder Length Curly Shag
The shoulder is the length at which curls start pushing outward as they meet the fabric, so the layers have to remove enough weight above it to stop the flick. Left too heavy, the ends turn out and the outline widens exactly where it should narrow.

11. Curly Shag With Face Framing Pieces
Two shorter sections at the temples, cut a full curl turn shorter than the rest. On curly hair a difference of less than one turn is invisible, because the extra length is simply absorbed into the same spiral rather than showing as a shorter piece.

12. The Curly Shag That Reads as a Wolf Cut
Take the crown layers shorter and leave the perimeter long and the shag crosses into wolf cut territory. The difference is the size of the gap between the shortest layer and the length, and on curls that gap needs to be larger to register.

13. Curly Shag Mullet for Men
Weight kept at the nape, layers stacked through the crown, sides left scissor cut rather than clippered. It is the same layer logic as the curly mullet, with the nape length doing the work of separating the two shapes.

14. Internal Layers Only on Dense Curls
Very dense curls can be lightened without touching the outline by removing weight from inside the shape. The interior layers collapse the bulk from within, so the perimeter stays intact and the cut loses width without losing its edge.
15. Curly Shag on Fine Sparse Curls
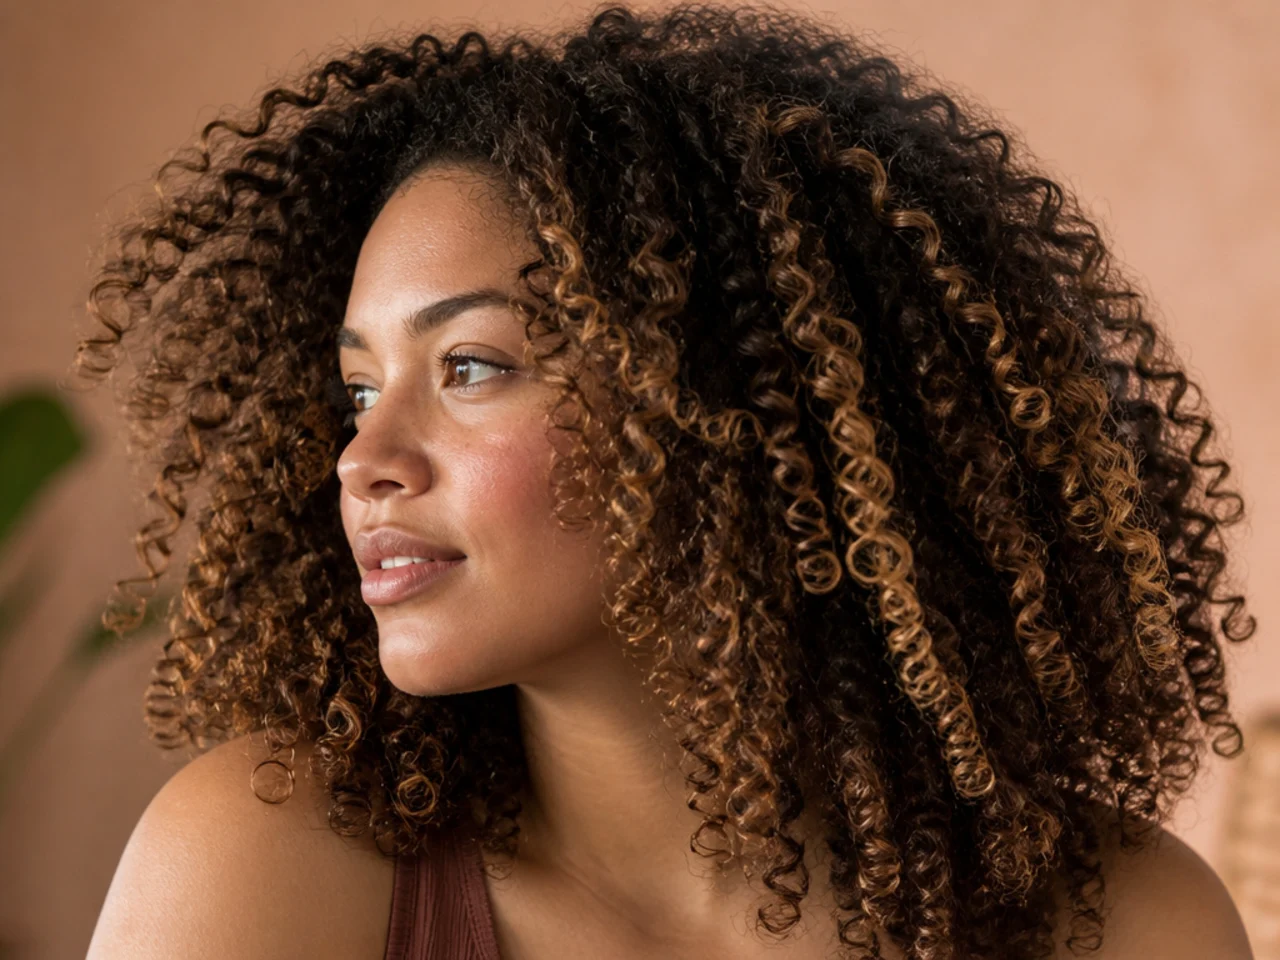
Fine curls have little to spare, so the layers stay few and long. Every layer removes strands from the perimeter, and on sparse hair that shows immediately as see through ends rather than as movement.

16. Curly Shag on Coarse High Density Hair
Coarse strands resist being bent by anything lighter than themselves, so the volume has to come out through cutting rather than product. More layers, placed higher, is the only reliable route on this combination.

17. Deep Side Part Curly Shag
Parting well off centre pushes more of the curl mass to one side, which lifts the roots on the heavier side as they fight the natural fall. That root lift is free volume, and it lasts as long as the part is held.

18. Curly Shag Grown Out Past the Shoulders
Past the shoulder the weight of the length starts pulling the curl pattern straighter at the root. Layers keep some of that weight off, which is why a long curly shag holds its curl at the top where uncut long hair goes flat.

19. Ribbon Highlights Through a Curly Shag
Colour painted in continuous ribbons follows the curl as it turns, so the lightened section appears and disappears around the spiral. Painted in blocks instead, the same colour shows as flat patches wherever the curl happens to face the light.

20. The Wash and Go Curly Shag
Layers cut so the curls fall into place with nothing but a leave in and a diffuser. It works because the placement does the shaping, and it fails the moment the layers are cut wet, since none of them then land where they were planned.

Styling and Upkeep
Apply product to soaking wet hair. Curl clumps form while the water is still holding them together, and anything applied later cannot rebuild them.
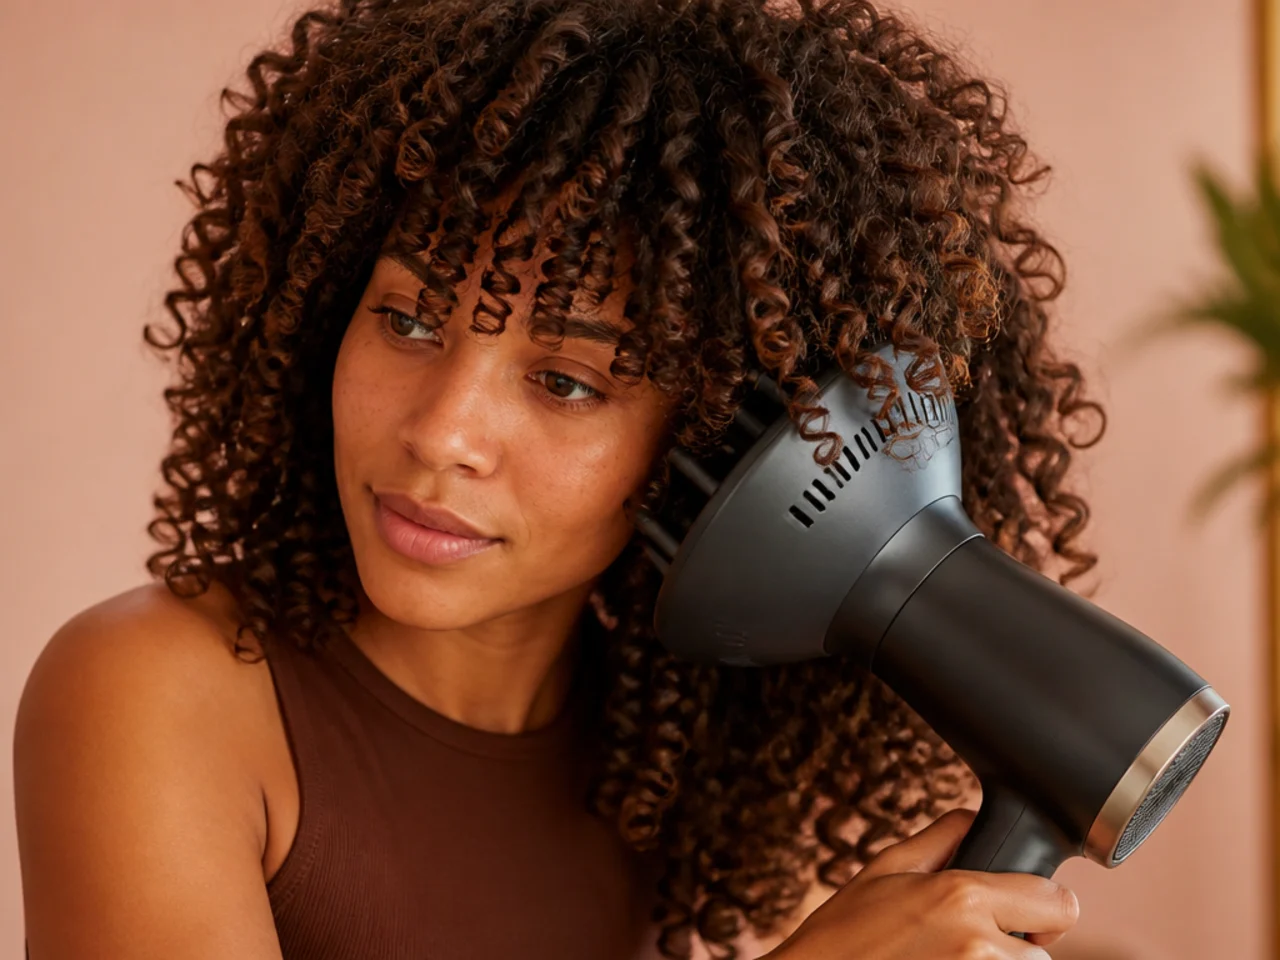
Diffuse on low speed and medium heat. High airflow blows the clumps apart, which is what turns a defined shag into a halo of frizz.
Do not touch it while it dries. Every touch breaks the surface cast that is holding the clump, and each broken clump is a piece of frizz.
Refresh with water first, product second. Curl reforms with water. Product applied to a dry curl coats it without reshaping it.
Sleep on satin or in a loose pineapple. Cotton drags moisture out of the strand and friction pulls the clumps apart overnight.
Mistakes to Avoid
Cutting it wet. Every layer finishes higher than intended, by a third on type three hair and more on type four.
Cutting straight across the perimeter. A blunt edge collects the heaviest clumps into one line and reads as a shelf on curls.
Using thinning shears on curls. They cut strands mid shaft, and each cut end springs out of the clump it was part of.
Starting the layers below the widest point. The bulk stays where it was, and the cut removes weight from where there was none.
Copying a fringe length from straight hair. Shrinkage means the same measurement lands several centimetres higher on a curl.

FAQ
Wet or dry cut? Dry, curl by curl, because wet length is not the length you will see.
Where do the layers start? Above the widest point of the curl mass, usually at or above the ear.
How often? Ten to fourteen weeks, with a fringe check around week six.

Final Thoughts
Ask for a dry cut and name the curl type, and most of the guesswork disappears. The layers are the shape, and on curly hair they can only be placed accurately where the hair is already sitting.
For the mens versions of this shape see curly haircut ideas for men. More in Mullet & Wolf Cut.



