

30 Medium Shag Haircut Ideas With Cozy Face Framing
Thirty medium shag ideas, and the distinction that decides whether yours moves or lies flat. A shag is short layers stacked on top of long ones, not a lob with thinned ends, and the face framing is cut after the shape rather than with it.
In this article · 37
- What Makes a Shag a Shag
- Choosing Your Medium Shag
- The 30 Medium Shag Ideas
- 1. Classic Collarbone Shag
- 2. Curly Shag With Curtain Bangs
- 3. Wavy Shag With Cheekbone Layers
- 4. Straight Shag With Choppy Ends
- 5. Shag With a Micro Fringe
- 6. Shag With a Money Piece
- 7. Razor Cut Shag
- 8. Point Cut Shag
- 9. Shag With Invisible Layers
- 10. Heavy Layered Shag
- 11. Shag for Fine Hair
- 12. Shag for Thick Hair
- 13. Coily Shag
- 14. Shag With a Curved Perimeter
- 15. Shag With a Blunt Perimeter
- 16. Middle Part Shag
- 17. Deep Side Part Shag
- 18. Shag Mullet Hybrid
- 19. Wolf Cut Shag
- 20. Shag With Jaw Length Framing
- 21. Shag With Collarbone Framing
- 22. Shag With Grown Out Bangs
- 23. Air Dried Shag
- 24. Diffused Curly Shag
- 25. Round Brush Shag
- 26. Shag With a Rounded Crown
- 27. Shag for a Flat Crown
- 28. Shag Cut Dry
- 29. Shag Cut Wet
- 30. Shag at Week Eight
- Styling and Upkeep
- Mistakes to Avoid
- FAQ
- Final Thoughts
A medium shag that falls flat is almost never cut too long. It is cut with the layers sitting too low, so nothing rests on anything.
A shag is short layers propped on long ones. The top layer sits on the layer beneath and holds it away from the head. That gap is the volume, and no product replaces it.
The face framing is a separate cut. It is shaped after the perimeter is set, against the face, so it lands where your bone structure is rather than where the section fell.
What Makes a Shag a Shag
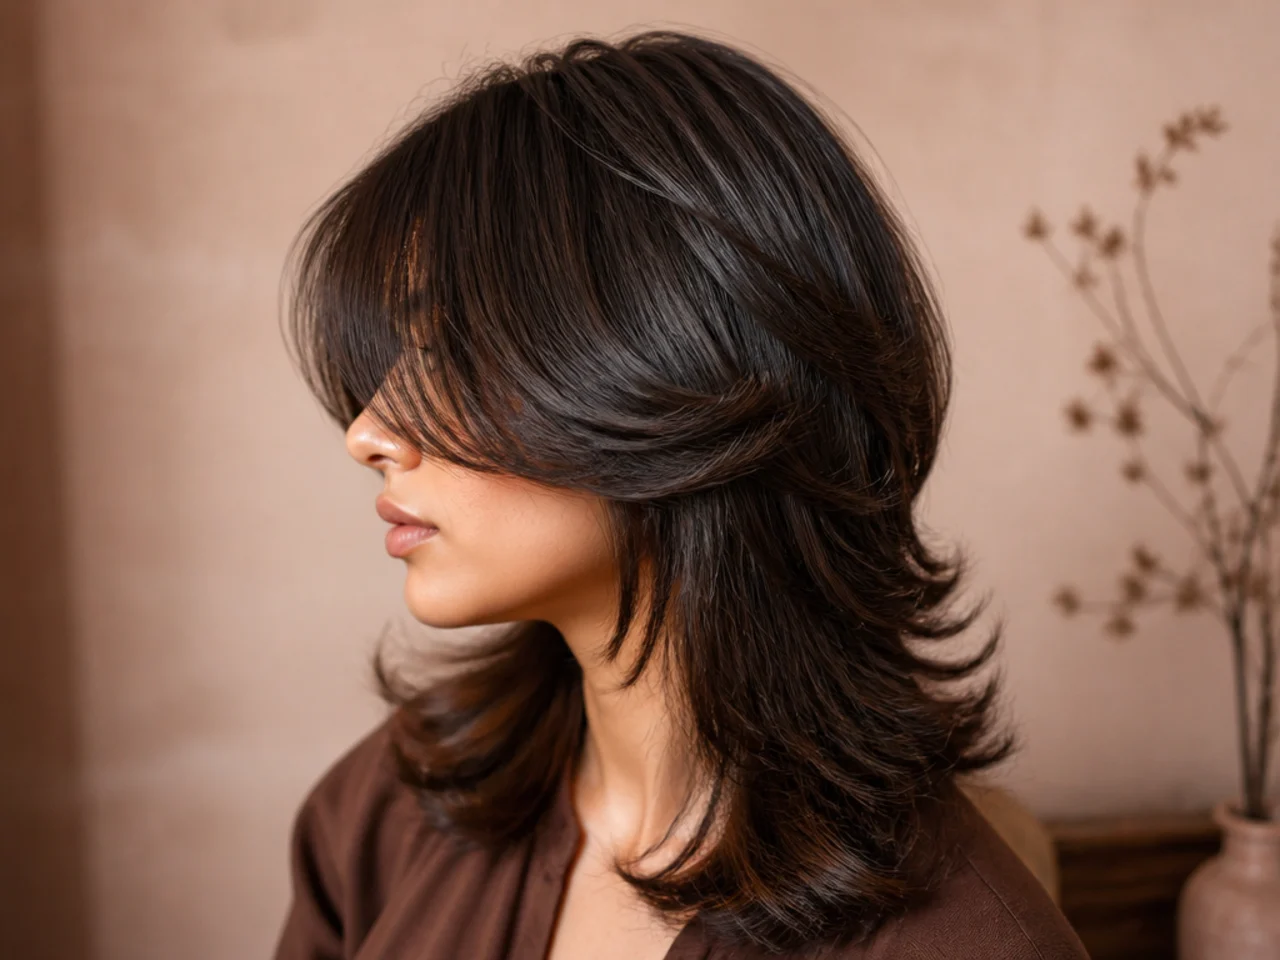
The layers are stacked, not blended. A stacked layer sits visibly on the one below it. A blended layer merges into it, which is a long layered cut and a different shape entirely.
The perimeter stays dense. Weight is removed from the interior, not the ends. Strip the ends and the shape tapers to a point instead of holding a soft edge.
The fringe belongs to the same cut. In a true shag the fringe and the face framing are one continuous line, which is why they grow out together instead of separating.
Texture is cut in, not styled in. Point cutting and razoring break the ends into pieces at different depths. A blow dry can imitate that for a day; only the cut keeps it.
Choosing Your Medium Shag
Pick the length by where your hair bends. Wave and curl want the perimeter cut just past the natural bend, so the ends turn under the layer rather than flicking away from it.
Pick the layer height by density. Thick hair takes a high crown layer without gapping. Fine hair needs the shortest layer no higher than the top of the ear.
Pick the fringe by your growth pattern. A cowlick at the front hairline will push a centre split sideways within an hour, so an off centre curtain is the honest choice there.
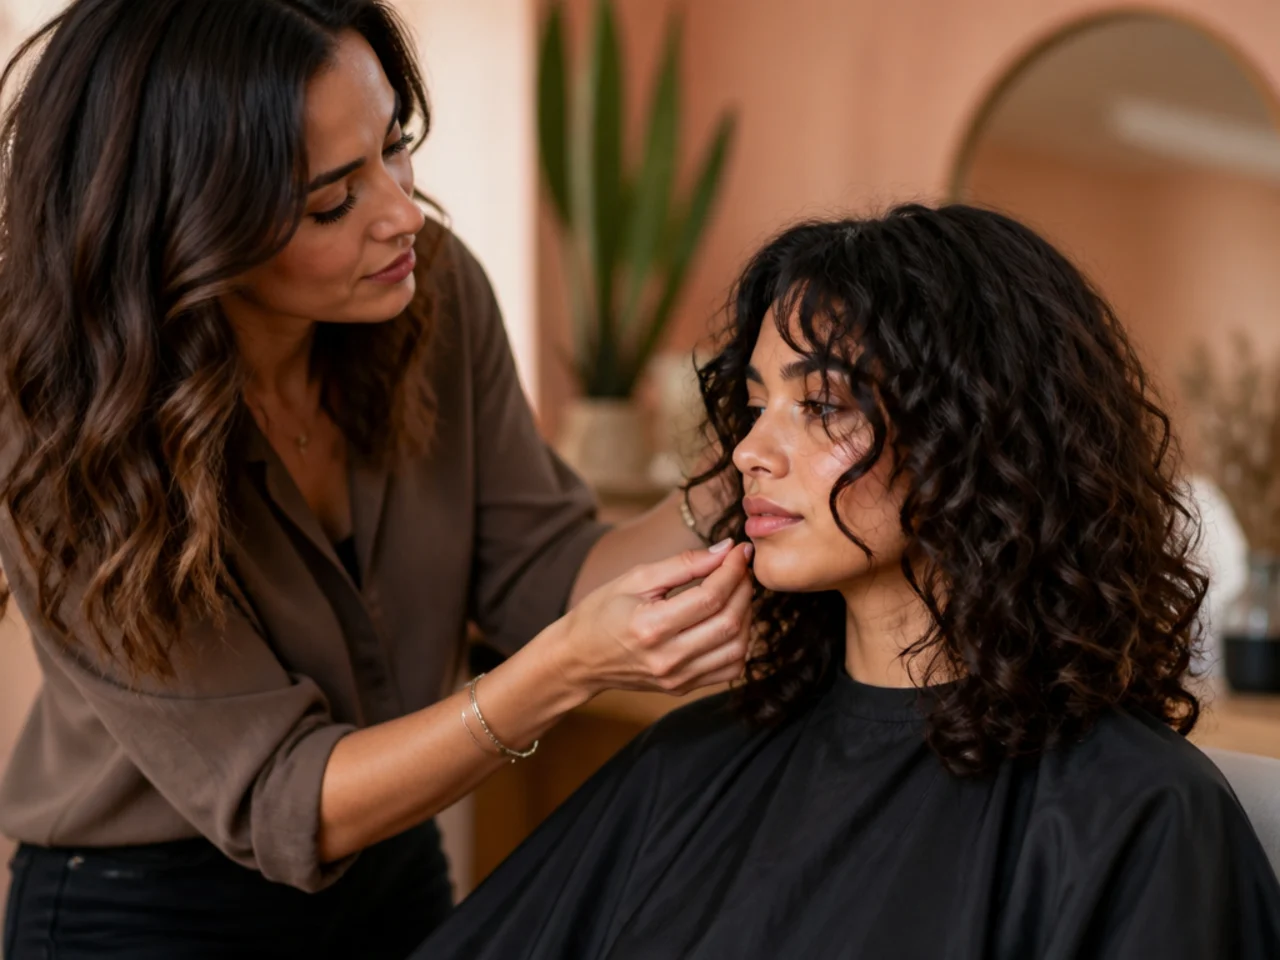
Pick dry cutting if you have curl. Curl shortens by a third to a half as it dries. Cut wet, it lands inches above where you agreed.
The 30 Medium Shag Ideas
1. Classic Collarbone Shag
The shortest layers sit at the crown and the longest at the collarbone, so every layer rests on the one below and is held out from the head. That stacking is the whole shape. Cut the layers all to one length and the same hair falls as a flat lob.
2. Curly Shag With Curtain Bangs
The fringe is split at the centre and cut progressively longer toward the outer edge, so it clears the eye once the curl springs up. Curl loses a third to a half of its wet length as it dries, which is why a curly curtain fringe cut wet ends up sitting on the brow.

3. Wavy Shag With Cheekbone Layers
The shortest framing piece finishes at the cheekbone, which is where a wave naturally turns outward. Cut the frame above that point and the bend lands at the widest part of the face, pushing width sideways instead of length downward.

4. Straight Shag With Choppy Ends
Straight hair holds a blunt line, so the ends are point cut into wedges to break it. Each notch removes weight from a different depth, so the ends separate into visible pieces rather than falling as one sheet of hair.

5. Shag With a Micro Fringe
A fringe cut above the brow leaves the forehead open, which lengthens the face against the width the layers add. It also needs trimming every two to three weeks, since a micro fringe reaches the brow line and stops reading as deliberate faster than any other length.

6. Shag With a Money Piece
Two lightened panels sit either side of the parting. Lighter hair reflects more light than the shade behind it, so the framing pieces advance visually and the darker layers behind them recede. It is the cheapest way to make a soft frame read as a defined one.

7. Razor Cut Shag
A razor tapers each strand to a point instead of cutting it square, so the ends fold into each other and the layers separate without a visible step. On fine or chemically treated hair that same taper frays, which is why the razor belongs on medium to coarse strands.

8. Point Cut Shag
Scissors held vertically take length out in notches rather than a line. The perimeter softens but keeps its density, which is what stops a medium shag from thinning to a stringy point at the bottom two inches.

9. Shag With Invisible Layers
The layers are cut into the interior and never reach the outline, so the perimeter stays thick while weight comes out of the middle. Fine hair gains most from this, because a layer that shows at the edge also shows the gap underneath it.

10. Heavy Layered Shag
Short layers start high on the crown and repeat every few inches down the length. Thick hair needs that repetition or the weight removed at the top simply reappears further down and the shape widens into a triangle by mid length.

11. Shag for Fine Hair
Keep the shortest layer at the top of the ear and no higher. Fine hair has fewer strands to fill the space beneath a layer, so a high layer leaves the section below looking see through instead of lifted, and no amount of mousse closes that gap.

12. Shag for Thick Hair
Weight is removed in horizontal slices from underneath rather than off the surface. Taking it from the top makes the remaining ends flick outward; taking it from below drops the whole shape closer to the head and lets the layers sit.

13. Coily Shag
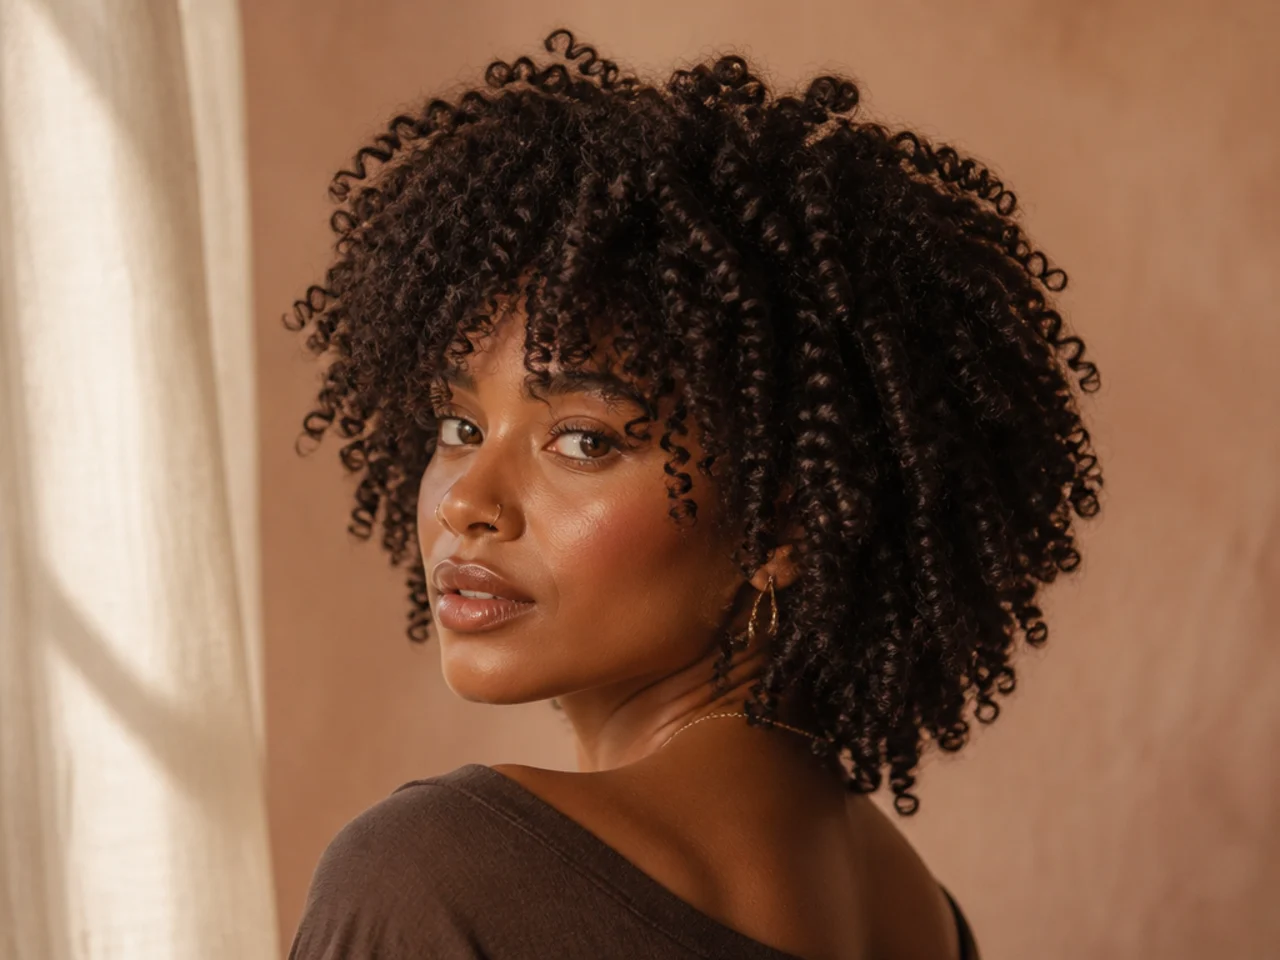
Cut coil by coil in its natural clump, dry and unstretched. A coil combed straight and then cut lands somewhere unpredictable when it springs back, and on tight textures the difference between stretched and released length can be several inches.
14. Shag With a Curved Perimeter
The outline drops from shorter at the back to longer at the front, so the ends frame the jaw rather than cutting straight across it. The curve also leaves the front pieces long enough to tuck behind an ear without pulling the layers out of shape.

15. Shag With a Blunt Perimeter
The ends stay in one straight line and the interior carries all the layering. Density at the very bottom is what stops fine or fading ends from tapering to a point, so the blunt edge is doing structural work rather than styling work.

16. Middle Part Shag
A centre part splits the fringe evenly and draws two vertical lines down the face, which counters the width the layers add at the sides. It only lies flat if there is no cowlick at the front hairline, since a cowlick pushes one half across the parting within an hour.

17. Deep Side Part Shag
Moving the parting off centre forces the roots on the heavy side to lie against their growth direction, and that resistance is what lifts the crown. It is the only volume in a shag that costs nothing and survives a full day.

18. Shag Mullet Hybrid
The crown is layered like a shag while the back keeps a longer tail below the shoulders. The step between the two is deliberate rather than blended, so give the nape length in inches at the consultation instead of trusting the word to carry it.

19. Wolf Cut Shag
More weight comes out at the crown and the fringe is left heavier than a standard shag carries. The result reads short from the front and long from the back, which is why the same cut looks like two haircuts across a set of photographs.

20. Shag With Jaw Length Framing
The shortest framing piece lands at the jaw, below the widest point of the face. Ending the frame under that point keeps the eye travelling downward, which is why it suits rounder shapes better than a frame cut at the cheek.

21. Shag With Collarbone Framing
The framing is barely shorter than the perimeter, so it reads as a soft slope rather than a separate layer. It is the least committal version of the cut and the only one that grows out without an awkward stage.

22. Shag With Grown Out Bangs
An old fringe is cut into the framing rather than trimmed back to itself. Once a fringe reaches the cheekbone it is long enough to join the top framing layer, which removes the awkward stage in a single appointment instead of five months.

23. Air Dried Shag
Product goes on soaking wet, while the hair is still deciding its shape. Once it is even half dry the bend has already set, and anything applied then coats the surface rather than holding the form.

24. Diffused Curly Shag
The diffuser bowl supports the curl while it dries so the clump keeps its shape. Use low speed and medium heat, because it is moving air rather than heat that pulls a clump apart and turns a defined curl into frizz.

25. Round Brush Shag
The brush is used at the roots and the fringe only. Pulled through the ends it smooths the layer separation flat, and layer separation is the one thing a shag cannot afford to lose.

26. Shag With a Rounded Crown
The crown layers are cut on a curve, each slightly longer than the one above it. That graduation builds a dome instead of a flat plane, and it is what separates a shag from a cut where the top simply sits on the head.

27. Shag for a Flat Crown
The top layers are cut shorter than usual so they land on the layers beneath and are propped up by them. Crown volume is always a shorter layer holding a longer one out from the scalp, never a product doing it from the root.

28. Shag Cut Dry
The stylist sees exactly where each layer falls, because nothing shifts afterwards. It takes longer and costs more, and on any texture with a bend in it, it is the only method that puts the layer where you both agreed.
29. Shag Cut Wet
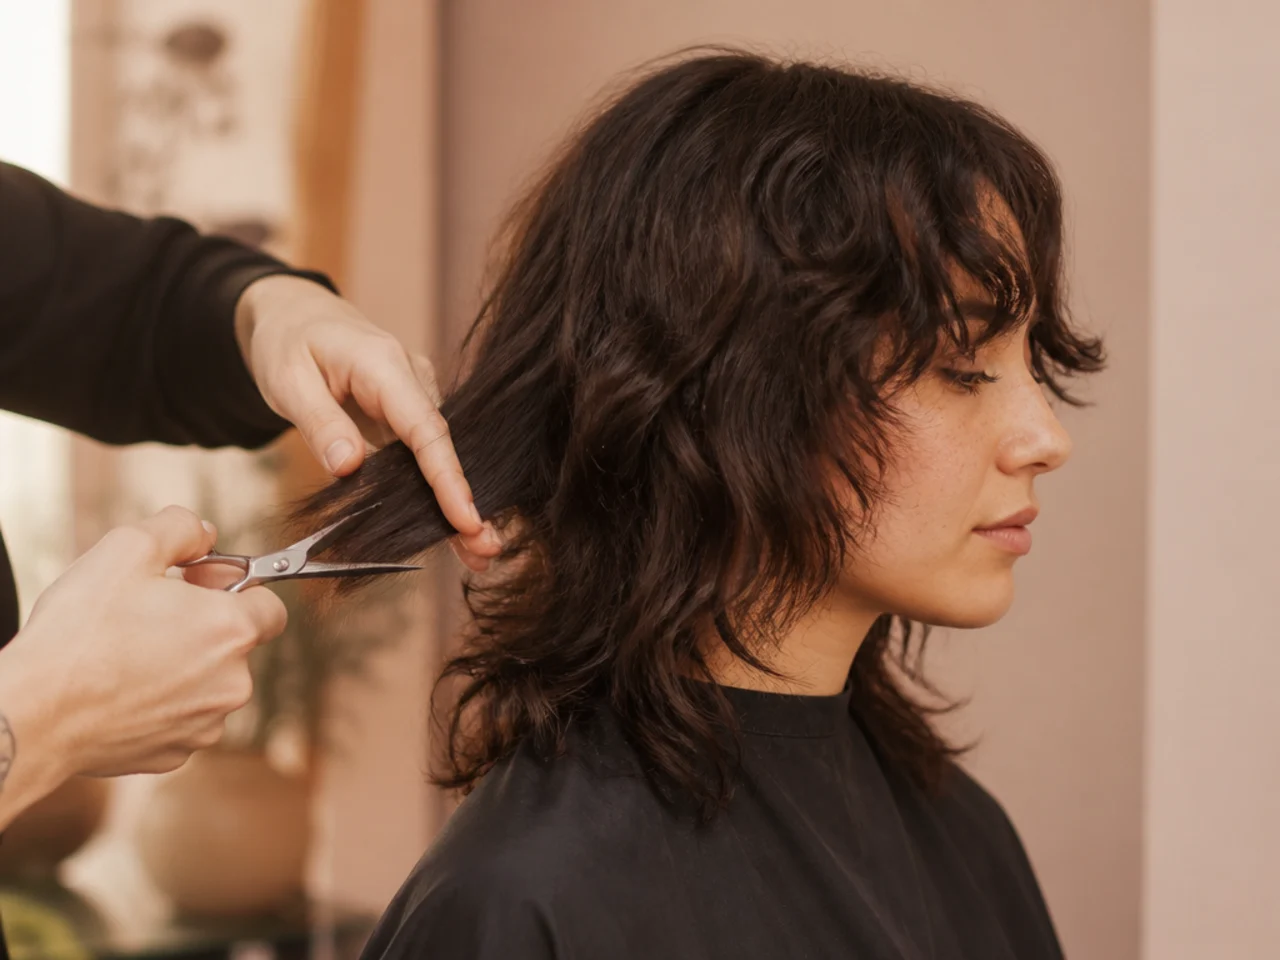
Faster and more precise on straight hair, where wet and dry length differ by very little. On wave or curl the same method overshoots every time, since the hair shortens as it dries and the layer you measured is not the layer you get.
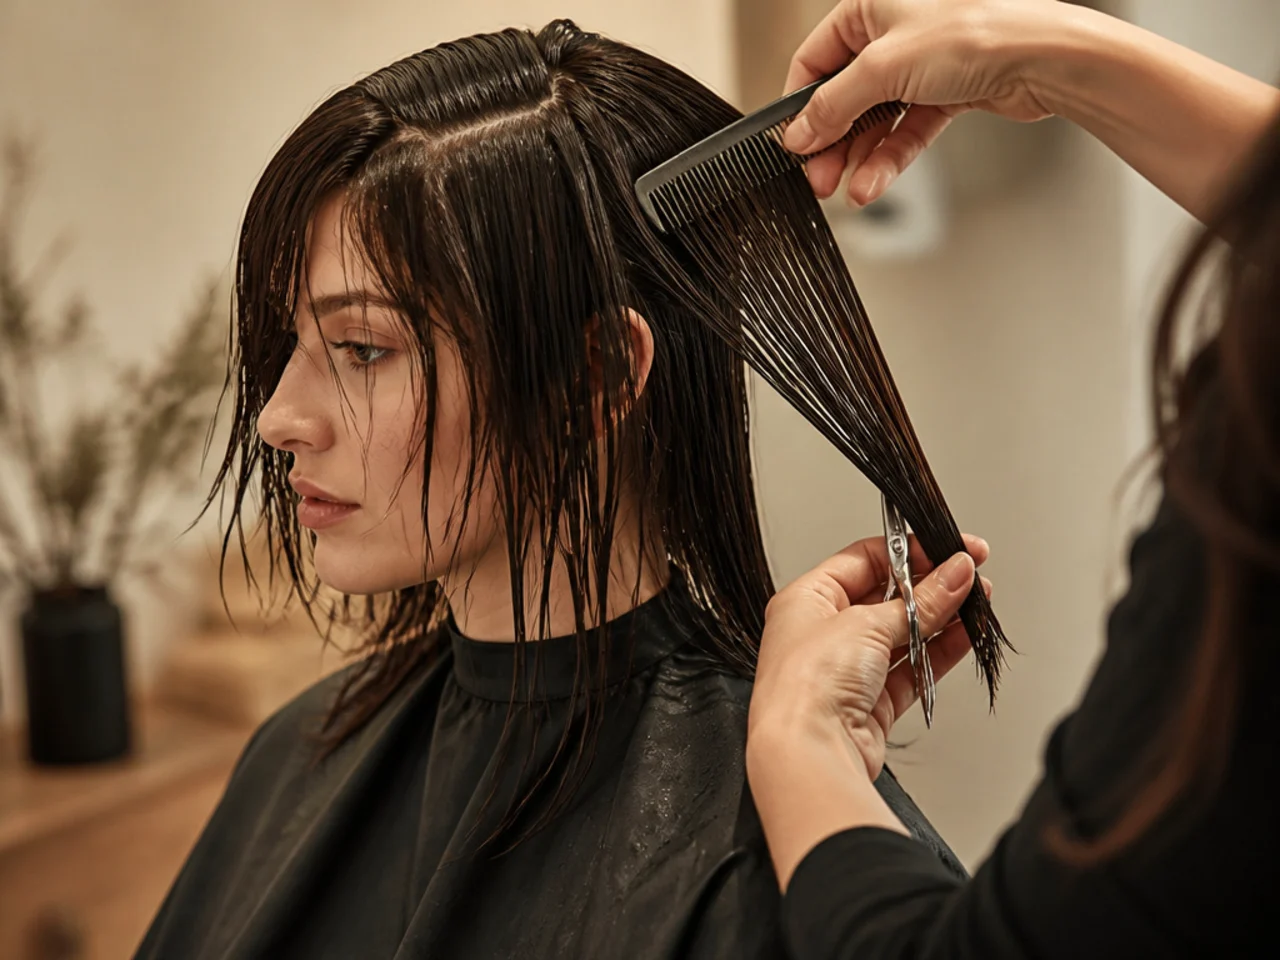
30. Shag at Week Eight
The layers have grown roughly an inch, the stacking has softened, and the shape now sits lower and reads closer to a long bob. A dry trim on the framing pieces alone restores most of the outline and buys another month before the full cut.

Styling and Upkeep
Apply product to soaking wet hair. Cream and mousse work while the bond is still reforming. On damp hair they sit on the outside and weigh the layers down.
Dry the roots before the ends. Root direction sets the crown shape. Once the ends are dry, wet roots pull them back down and you lose the lift.
Keep the brush out of the layers. A round brush at the ends smooths the separation into a single curve, which is the opposite of the cut.
Trim the framing at week five. The front pieces grow past the cheekbone first and take the whole shape down with them. Trimming them alone doubles the life of the cut.
Refresh with water, not more product. Dampening reactivates what is already there. Adding a second layer on day three builds up and flattens the crown.

Mistakes to Avoid
Asking for layers instead of a shag. Long layers blend into each other. A shag stacks them. Say stacked, and say where the shortest one should sit.
Cutting curl wet. It shortens by a third to a half as it dries. Every layer lands high and the framing pieces end up at the eyebrow.
Running thinning shears through the ends. It removes density exactly where the shape needs it and creates fine wispy ends that will not hold a bend.
Setting the crown layer too high on fine hair. A high layer with nothing beneath it shows scalp through the gap rather than lift above it.
Leaving it past twelve weeks. By then the stacking has closed up and the cut reads as a long bob. Rebuilding it costs more length than a trim would have.

FAQ
How long is a medium shag? Collarbone, give or take an inch.
Does it suit fine hair? Yes, with the layers kept low and the perimeter left blunt.
How often does it need cutting? Eight to ten weeks, with a framing trim at week five.

Final Thoughts
Ask for the shape in two measurements: where the shortest crown layer sits, and where the shortest framing piece finishes. Everything else in a medium shag follows from those two numbers, and both are things a stylist can put a comb against rather than interpret.
More cuts built on the same stacked layering are in Mullet and Wolf Cut. See also curly shag haircut and shag haircut with bangs.



