
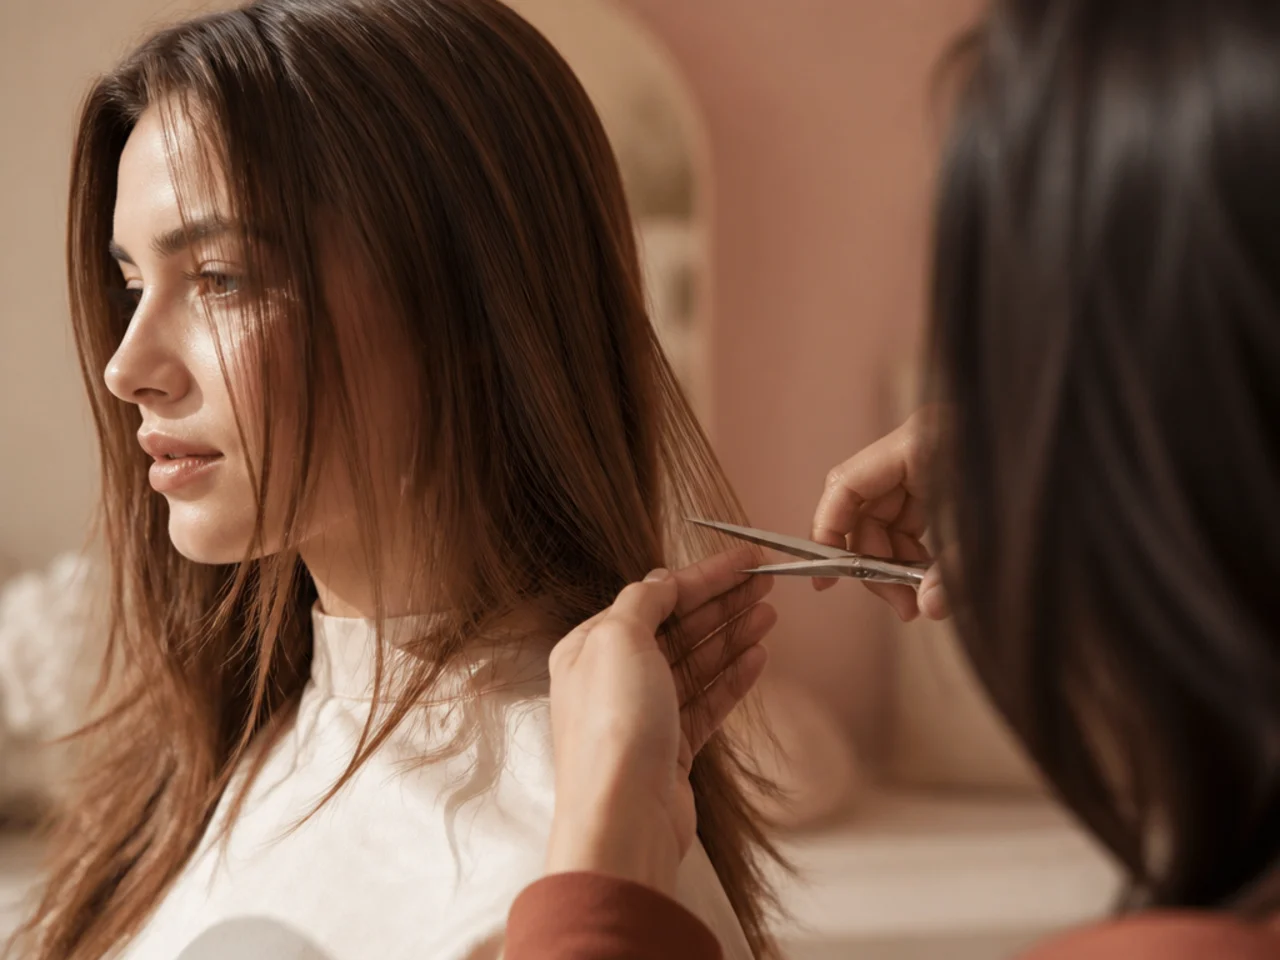
15 Things I Learned Getting A Shag Cut On Fine Hair
A shag on fine hair lives or dies on two decisions — a blunt perimeter and layers that start low. Get either wrong and the ends go see through, which is the one thing fine hair cannot recover from quickly.
In this article · 22
- What a Shag Does to Fine Hair
- Choosing How Short to Go
- The 15 Things I Learned
- 1. Ask for Layers and Refuse Thinning Shears
- 2. The Perimeter Has to Stay Blunt
- 3. Dry Cutting Shows Where Fine Hair Falls
- 4. Slide Cutting Hollows Out the Ends
- 5. Start the Shortest Layer Low
- 6. A Curtain Fringe Covers More Ground
- 7. Volume Lives at the Root Not the End
- 8. Texture Spray Goes on Dry Hair Only
- 9. Conditioner Belongs Below the Ears
- 10. A Round Brush Undoes the Cut
- 11. Diffusing Upside Down Sets the Lift
- 12. The Cut Looks Wrong on Day One
- 13. It Grows Out Into a Long Layer
- 14. Trimming Too Often Shortens the Crown
- 15. A Shag Is Not a Wolf Cut
- Styling and Upkeep
- Mistakes to Avoid
- FAQ
- Final Thoughts
The mistake I made first was treating a shag on fine hair as a thick hair cut with less hair in it, and it is not — the layering has to be planned in the opposite direction.
The volume is structural. Short crown layers rest on the longer ones beneath and hold them up. Nothing is being thickened, so fine hair can do this as well as thick hair can.
The weight at the perimeter is the whole budget. Fine hair has very little of it, and every layer spends some. That is the constraint the entire cut has to be designed around.
What a Shag Does to Fine Hair
It changes how the hair stands, not how much there is. The stepped layers stop each section lying flat against the one below, and that separation is what reads as volume.
Every layer is spent weight. On thick hair layering removes bulk that was in the way. On fine hair it removes the density holding the perimeter together, so the count matters far more.
The fringe covers the thinnest ground. The hairline is where fine hair looks sparsest, and a soft fringe hides it without borrowing density from the crown.
It only reads correctly dry styled. Washed and left alone, fine layers separate into slippery pieces and the shape disappears. Two minutes of rough drying is the difference.

Choosing How Short to Go
Collarbone is the reliable length. Long enough to keep real weight sitting at the perimeter, short enough that the crown layers still lift the hair above it.
Ask for fewer layers than the picture has. Reference photographs are nearly always thick hair. Copying that layer count on a fine head removes about half the density in the mid lengths.
Decide about the fringe on its own. It is the one part of the cut that takes months to undo, so it should not be a decision made in the chair at the end.
Say the three instructions out loud. Blunt perimeter, layers starting no higher than the jaw, no thinning shears. Those are things a stylist can act on, unlike a photograph.
The 15 Things I Learned
1. Ask for Layers and Refuse Thinning Shears
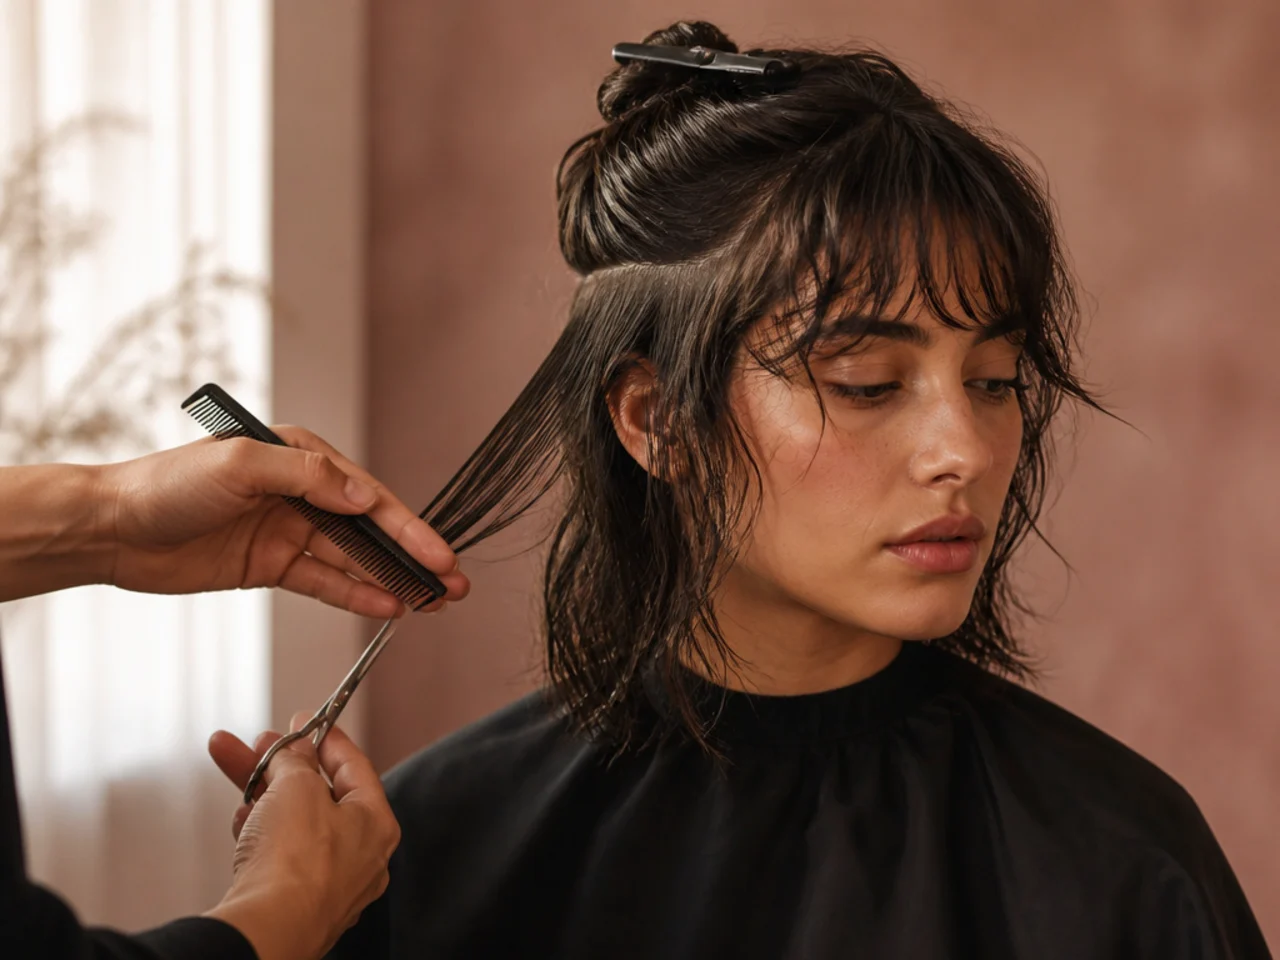
Thinning shears remove hair in wedges from inside the section, and fine hair has no interior density to give away. The mid lengths end up see through while the outline stays the same, so the cut looks thin rather than layered. Layers cut with the points of the shears shorten strands without hollowing anything out.
2. The Perimeter Has to Stay Blunt
The bottom line is the only real weight in a fine haired shag, and a blunt edge concentrates it into a visible boundary that makes the whole shape read thicker. Texturise that line and the ends fade out gradually instead, so the cut looks like it is already growing out on the day it was done.

3. Dry Cutting Shows Where Fine Hair Falls
Wet fine hair stretches under its own water weight and clings to the head, so a layer placed wet lands higher than intended once it dries. Cutting dry puts every layer where it will actually sit, which matters most on the shortest crown pieces where two centimetres changes the shape.
4. Slide Cutting Hollows Out the Ends
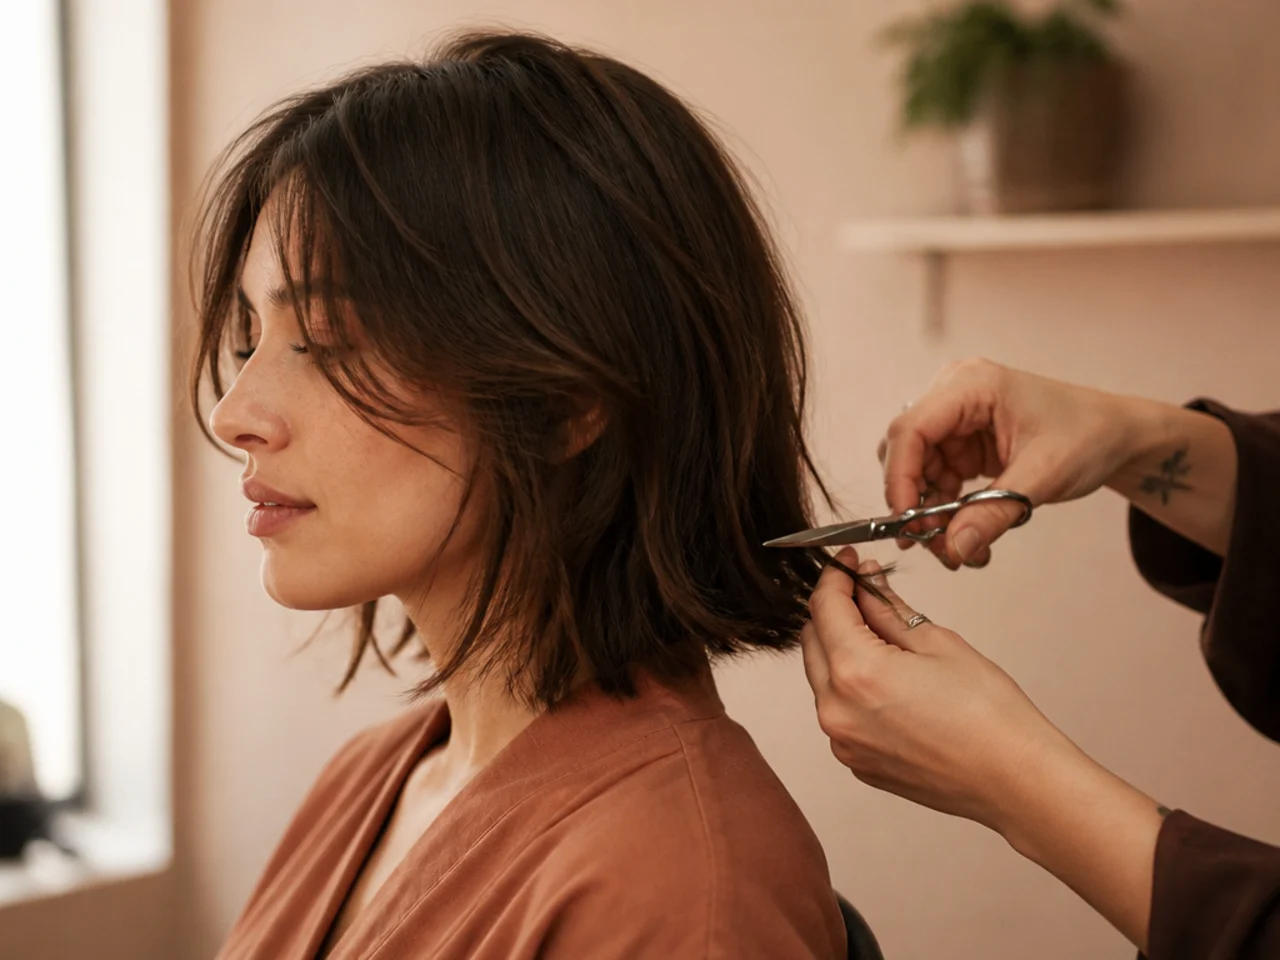
Sliding the shears down a strand removes length continuously along the whole section rather than at one point, which thins it from the middle outward. On fine hair that leaves the last few centimetres almost transparent, and no styling puts that density back.

5. Start the Shortest Layer Low
Layers taken above the cheekbone expose the crown, because there is not enough density above them to lie over the gap they create. Starting around the jaw gives the same lift with a covering layer left intact, and it is the single adjustment that fixes most bad fine haired shags.

6. A Curtain Fringe Covers More Ground
A blunt fringe is cut from hair growing on top of the head, which is the section fine hair can least afford to move to the front. A curtain fringe is taken from the front length and swept apart, so it covers the hairline while the crown keeps its density.

7. Volume Lives at the Root Not the End
Fine hair goes flat at the scalp, not at the ends, so product piled through the lengths adds weight exactly where it does the most harm. Lift comes from drying the roots in a direction away from the way they grow, because hair holds whatever direction it dried in.
8. Texture Spray Goes on Dry Hair Only
Texture spray works by coating strands so they hold against each other instead of sliding apart. Sprayed onto damp hair it dilutes into the water and just adds weight at the roots, which is the opposite of what fine hair needs from it.

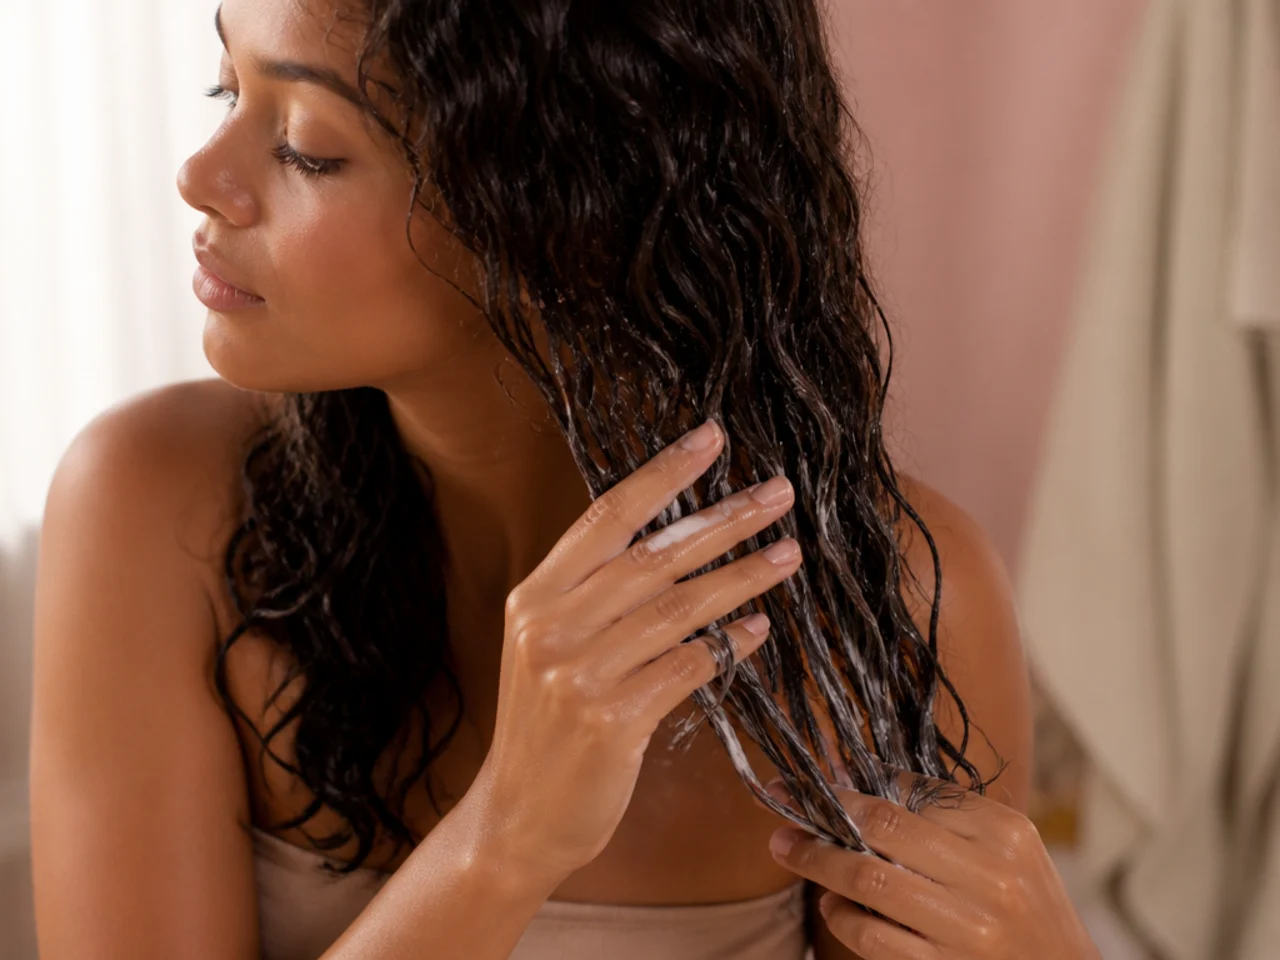
9. Conditioner Belongs Below the Ears
Conditioner smooths the cuticle, and a smooth cuticle slides against its neighbours instead of gripping them. Fine roots treated with it go flat inside an hour, so keeping it to the mid lengths and ends keeps the shag standing while the ends stay soft.
10. A Round Brush Undoes the Cut
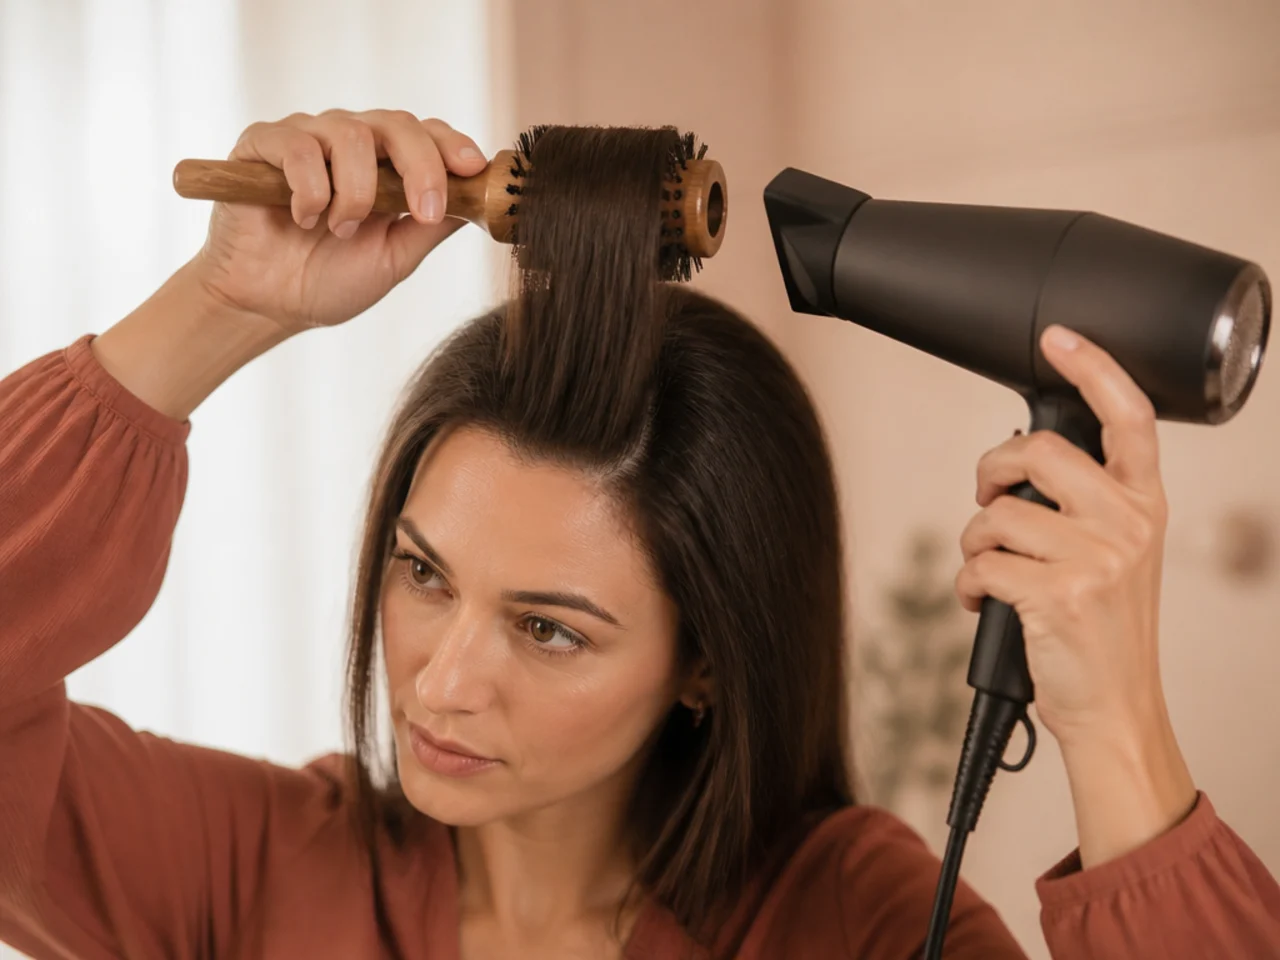
A round brush pulls every layer into one continuous curve, which is exactly the smooth surface the stepped layers were cut to break up. Rough drying with fingers keeps the steps separated, and the shape appears without a single styling tool.

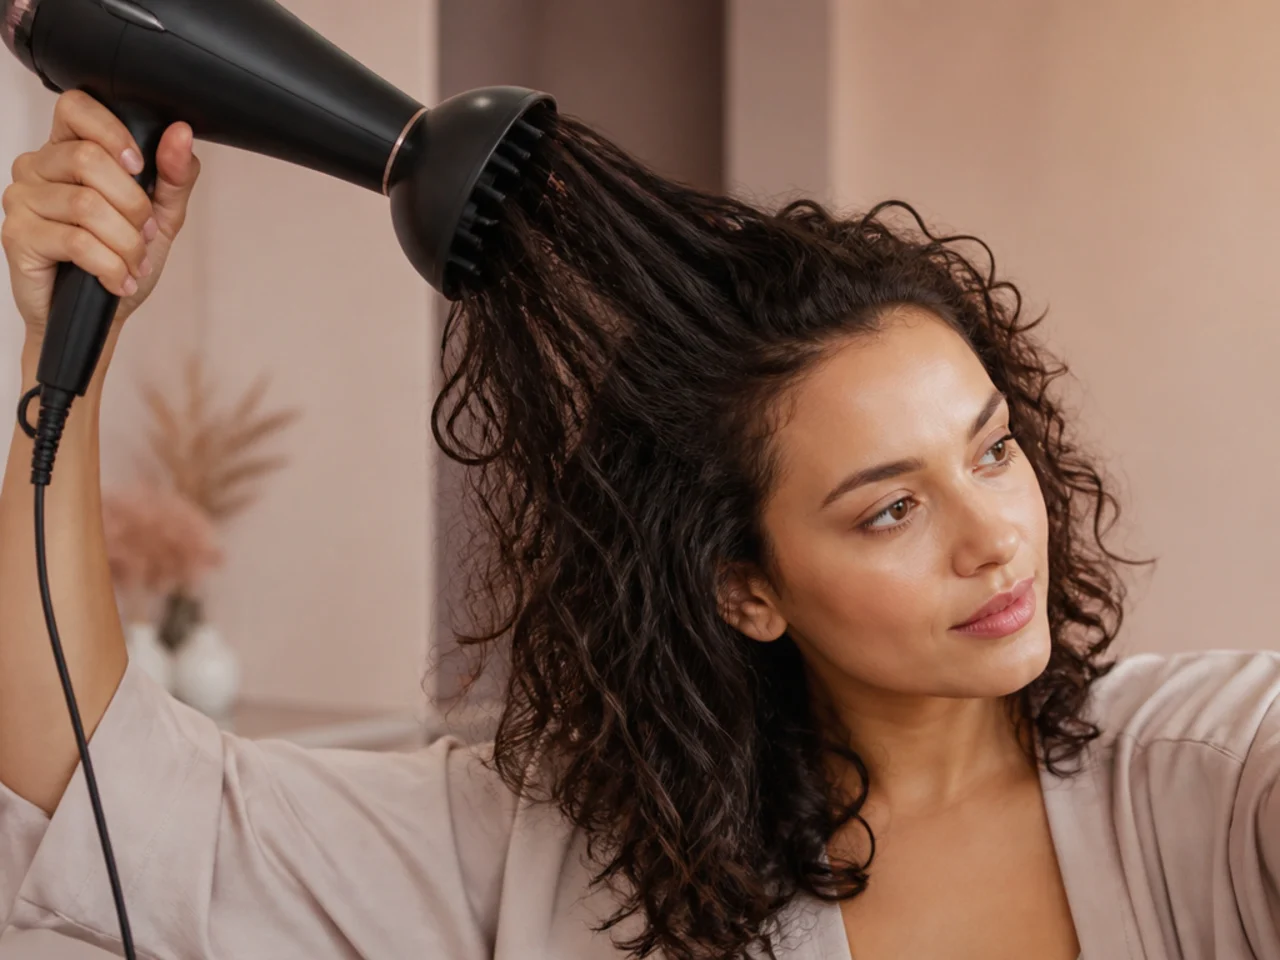
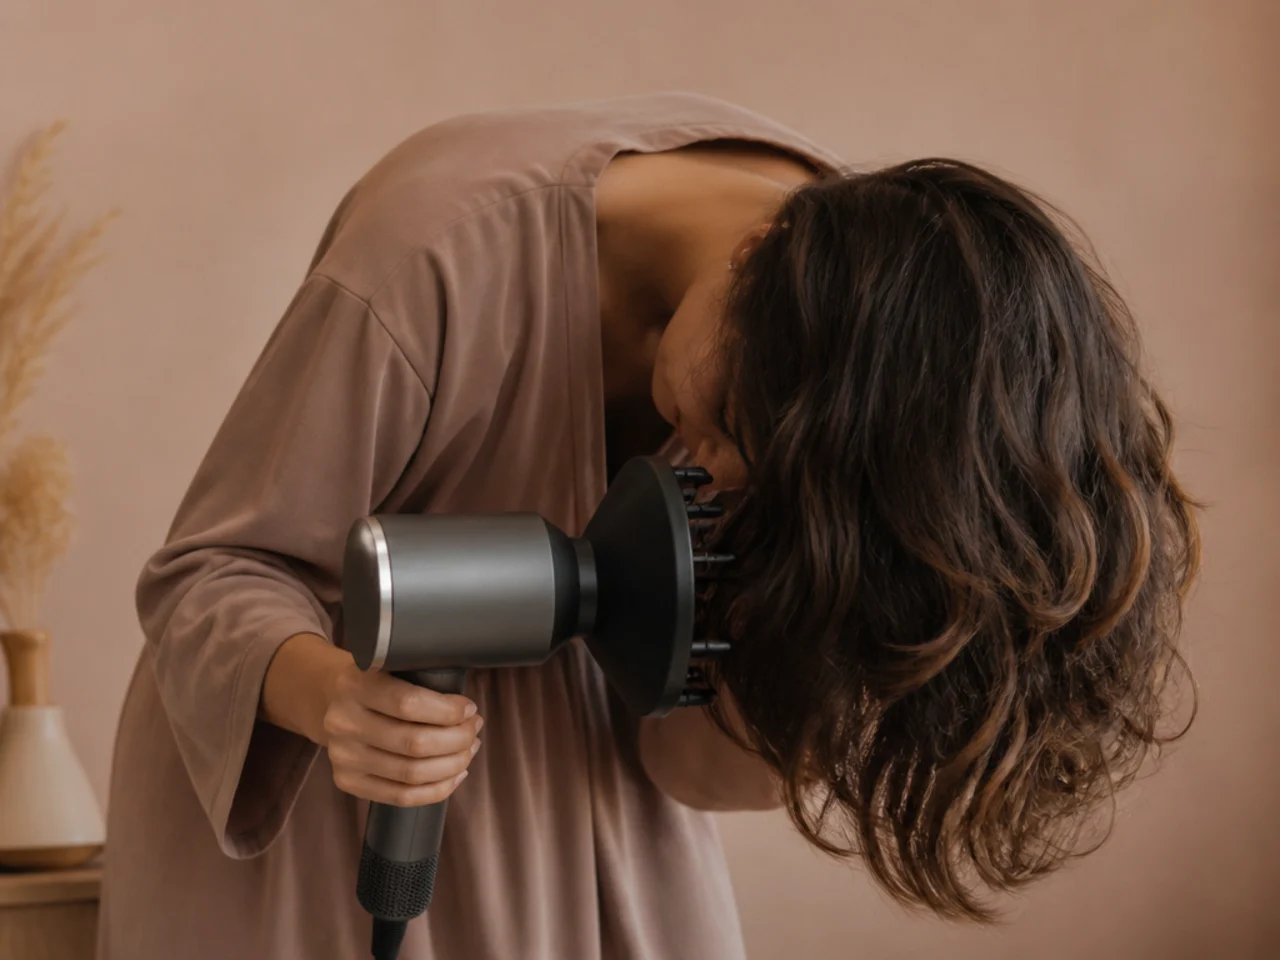
11. Diffusing Upside Down Sets the Lift
Drying with the head inverted dries the roots standing away from the scalp, and hair sets in the position it cooled in. Flipping back upright leaves the crown holding a height that no product applied afterwards can create.
12. The Cut Looks Wrong on Day One
Freshly cut and freshly washed, fine layers are clean and slippery, so they separate and the shape falls flat against the head. Once the natural oils return the layers grip each other and the cut appears, which is why day two is the fair test rather than the moment you leave the chair.

13. It Grows Out Into a Long Layer
Hair grows roughly a centimetre a month, so three months moves the shortest crown layer down by about three centimetres and the steps soften into an ordinary long layered shape. That soft failure mode is the real argument for a shag over any cut built on a hard line.

14. Trimming Too Often Shortens the Crown
Every trim that touches the crown takes the shortest layer shorter again, and after two or three appointments the top is no longer long enough to lie over the length beneath it. Ask for the perimeter only unless the crown has genuinely grown past the shape.
15. A Shag Is Not a Wolf Cut
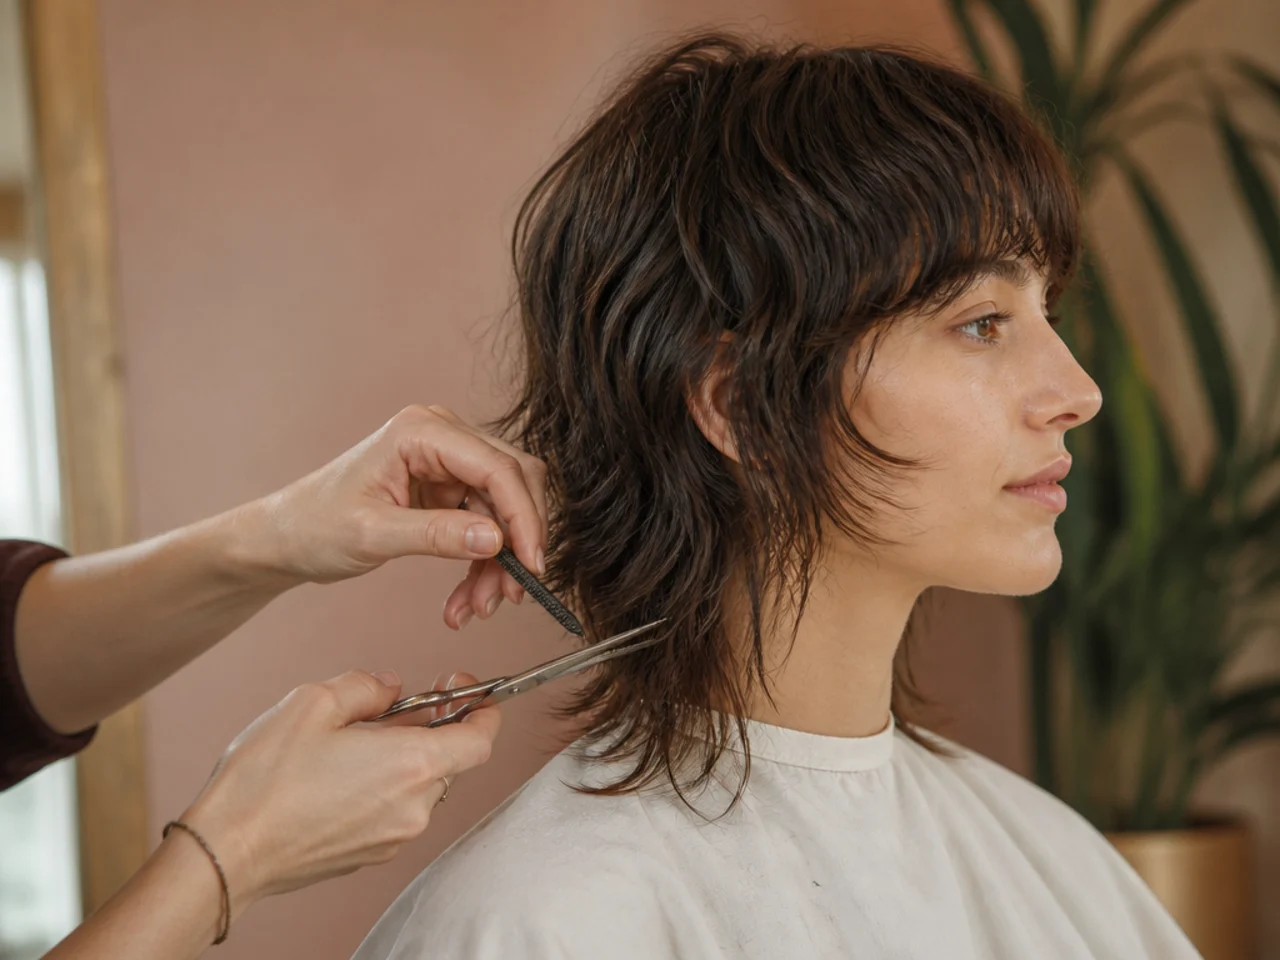
A shag is layered continuously from crown to ends with a soft fringe, while a wolf cut leaves a much harder step between a short crown and long lengths. On fine hair that step shows as a visible gap, because there is not enough density in the top section to bridge it.

Styling and Upkeep
Wash less than you think. Every wash strips the oils that were holding the layers against each other, and fine hair loses its shape faster from cleanliness than from anything else.
Dry the roots first, at the scalp. Once the roots are dry the direction is fixed, so anything you want from the crown has to happen in the first minute of drying.
Keep product above the ears. Root lift powders and texture sprays belong at the scalp, where the flatness is. Nothing needs to go on the ends except a little oil.
Book perimeter trims and crown trims separately. They are different appointments with different consequences, and treating them as one is what shortens the top over a year.
Photograph the cut on day two. That is the shape you actually have, and it is a far more useful reference for the next appointment than the salon mirror.
Mistakes to Avoid
Letting anyone use thinning shears. They remove density from inside the section, which is the one thing fine hair does not have spare.
Taking a photograph of thick hair to the appointment. The same layer plan on fine hair removes roughly twice as much of the total density, so the outcome is not the picture.
Layering above the cheekbone. It leaves nothing long enough to cover the crown, and the top of the head goes see through in daylight.
Texturising the bottom line. The blunt edge is the only weight the cut has. Softening it removes the boundary that makes the shape read as full.
Judging it on day one. Clean, fresh layers lie flat. The cut you paid for shows up once the hair has some grip again.

FAQ
Will a shag make fine hair look thinner? Only if the perimeter is texturised. A blunt bottom line reads as fullness.
Where should the layers start? No higher than the jaw, so the crown keeps something to lie over the gap.
How do I style it? Rough dry the roots away from the scalp, then texture spray on dry hair only.

Final Thoughts
Almost every fine haired shag that goes wrong went wrong at one of two moments — thinning shears touching the interior, or the shortest layer starting too high. Both are decisions made in the first five minutes of the appointment, and both are easy to rule out in advance.
The same weight rules apply on shorter cuts, which is worth reading if you are working with thin hair on a short shape. See also shag haircut curly hair. More in Mullet & Wolf Cut.



