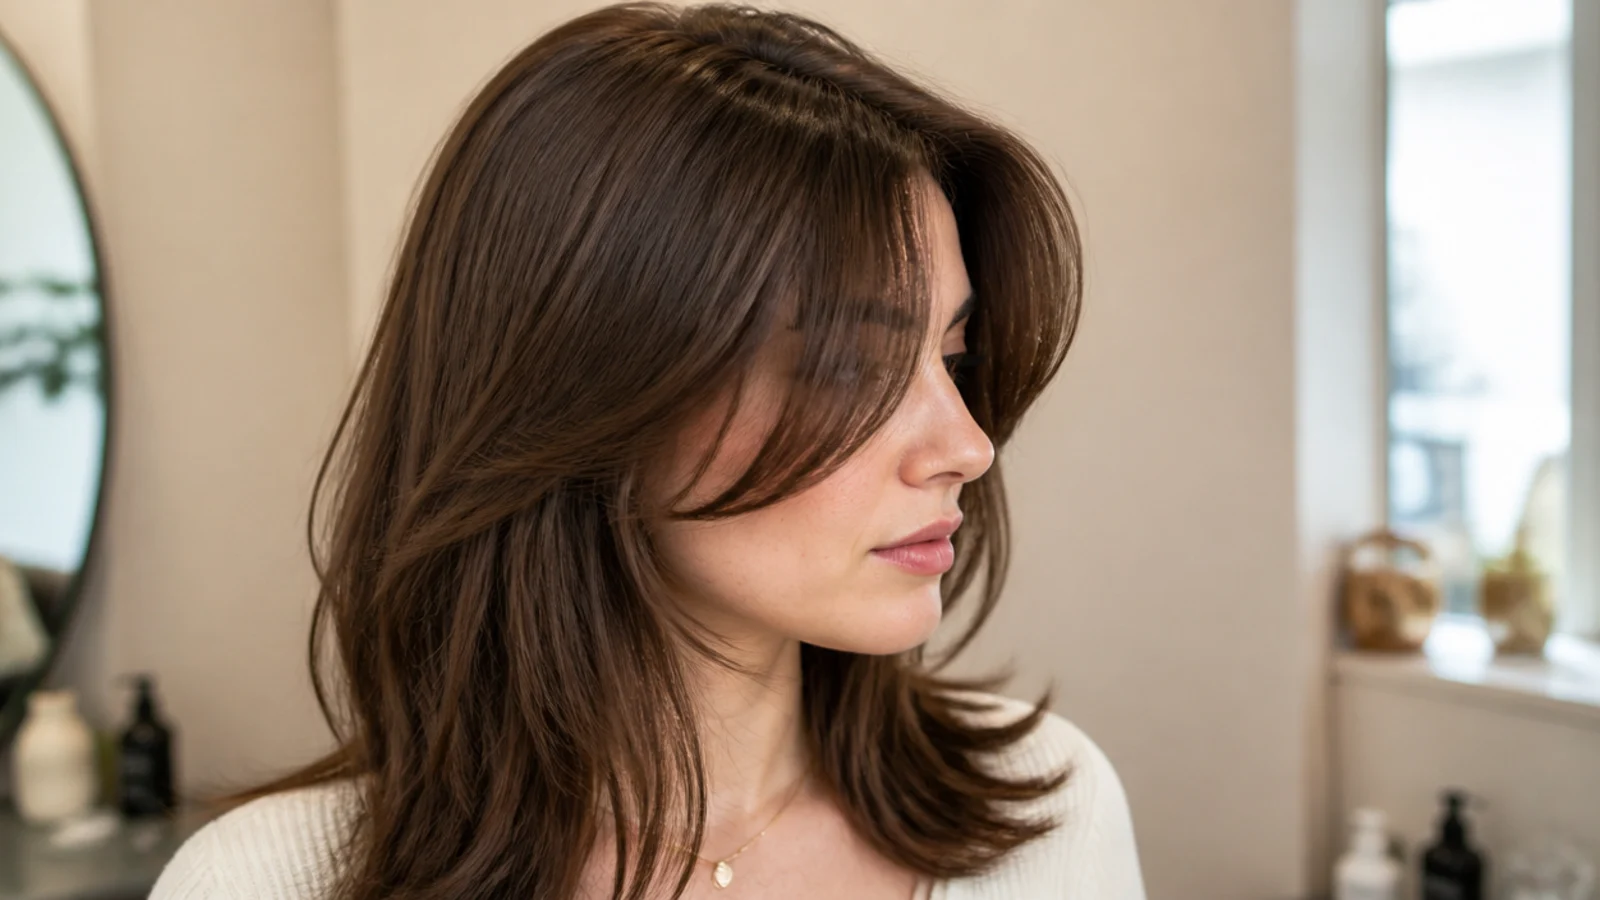
15 Short Curtain Bangs Ideas for Fine Hair and How Deep to Cut
Fifteen short curtain fringe ideas for fine hair, and the measurement that decides all of them — the fringe is taken out of the top of the head, so its depth is paid for in crown density. Cut it shallow and it reads see through rather than sparse.
In this article · 23
- What Short Curtain Bangs Are
- The Density Threshold
- Face Shapes
- Styling at Home
- Fixing Common Problems
- Trims and Growing Out
- The 15 Short Curtain Bangs for Fine Hair
- 1. Baby Curtain Bangs
- 2. See Through Wispy
- 3. Brow Grazing Straight Fringe
- 4. Cheekbone Length
- 5. French Bob
- 6. Shag Layers
- 7. Lob
- 8. Side Swept
- 9. Fine Wavy
- 10. Root Lifted
- 11. Micro Fringe
- 12. Pixie
- 13. Soft Blended Ends
- 14. Face Framing Highlights
- 15. Half Up
- Final Thoughts
Fine hair rarely fails at a short curtain fringe because of the fringe. It fails because of how much hair was taken out of the top of the head to make it.
The fringe is borrowed from the crown. Everything in the triangle at the front hairline used to be part of your top section, and it does not grow back for about three months.
Blunt reads as density, thinned reads as sparse. Every strand ending on the same line makes one continuous edge. Point cut and texturised ends scatter, and scattering is exactly what fine hair cannot afford.
What Short Curtain Bangs Are
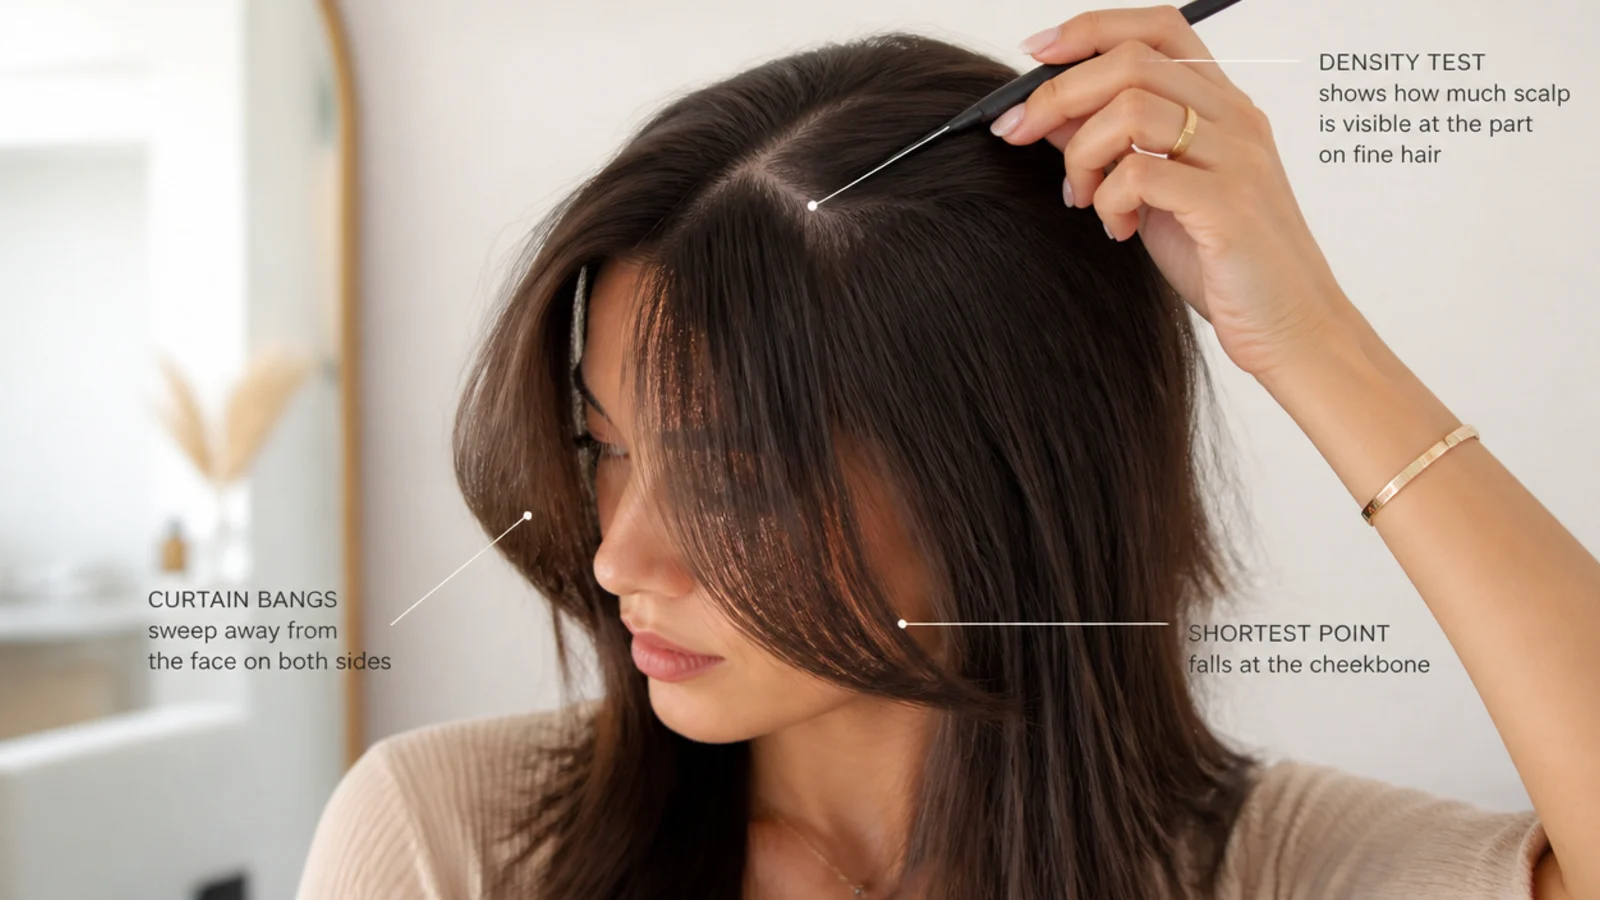
Centre split, shortest in the middle. The edge graduates outward and away from the face on both sides.
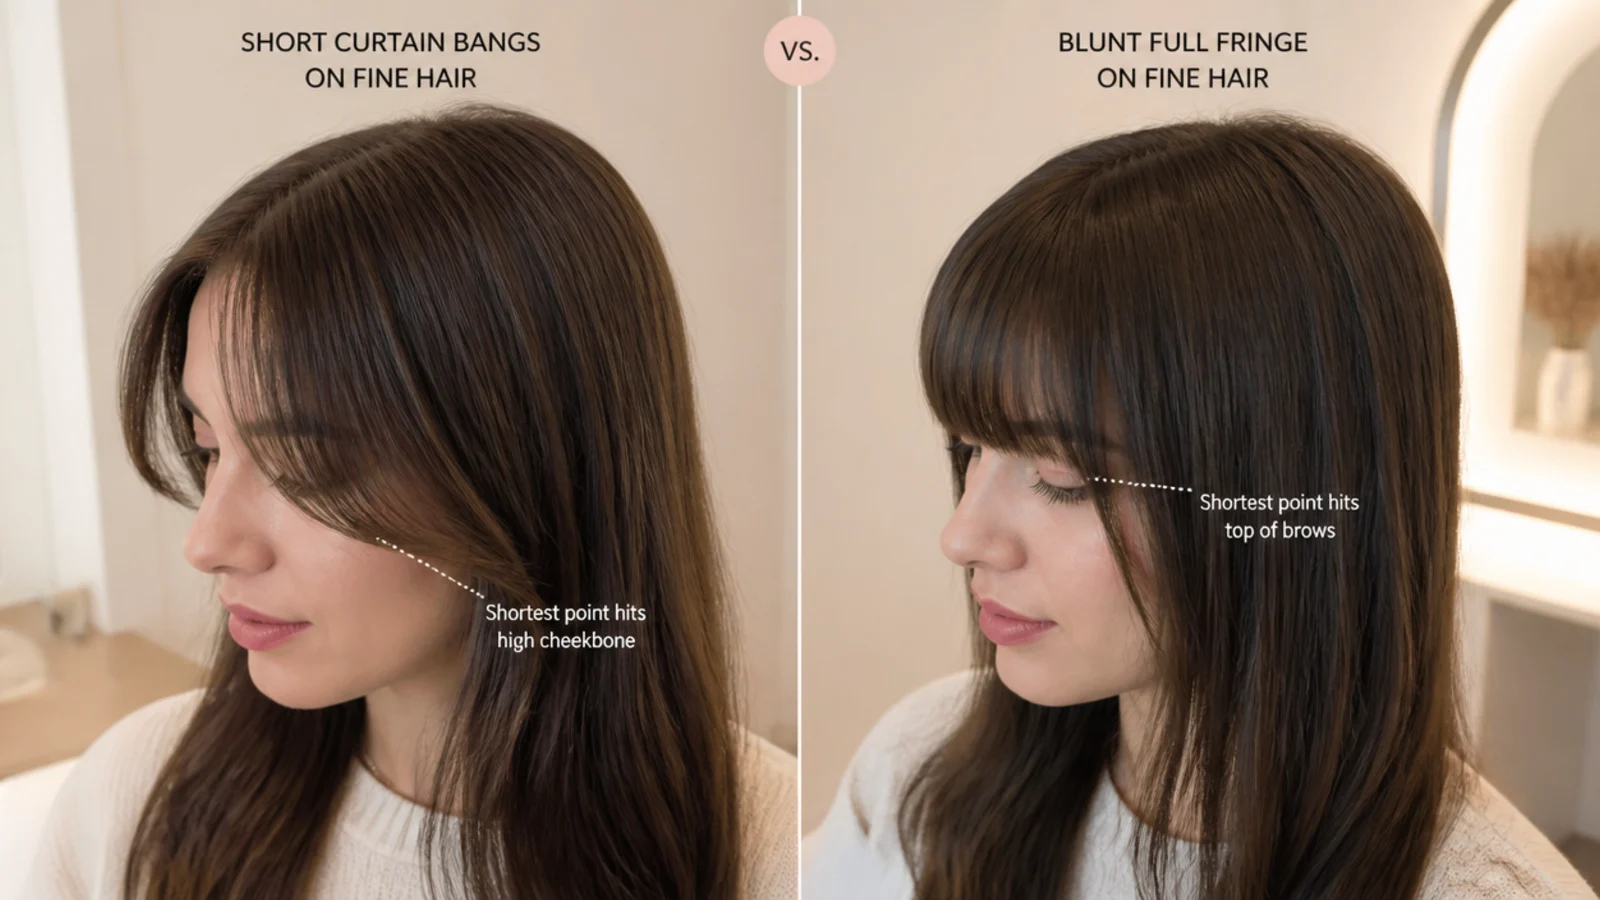
Short refers to the middle point. A standard curtain fringe starts at the cheekbone. A short one starts at or above the brow, which is two inches higher.
The triangle decides the density. Its depth back from the hairline and its width across the head are the two numbers that matter, and on fine hair the depth matters more.
They sit forward of the part. Which is why they can add the appearance of fullness at the front while the crown behind them stays exactly as it was.
The Density Threshold
Fine is not the same as sparse. Strand diameter and strand count are separate. Fine hair that grows densely carries a fringe with no difficulty at all.
Check the part, not the ponytail. If the scalp already shows along your part in daylight, a deep fringe section will widen that view rather than cover it.
Narrow the width before you shallow the depth. A fringe that spans only the front of the hairline keeps its edge solid while taking less hair overall.
One inch of depth is the safe default. Beyond that you are trading crown coverage for fringe density, and on low density hair that trade rarely pays.
Face Shapes
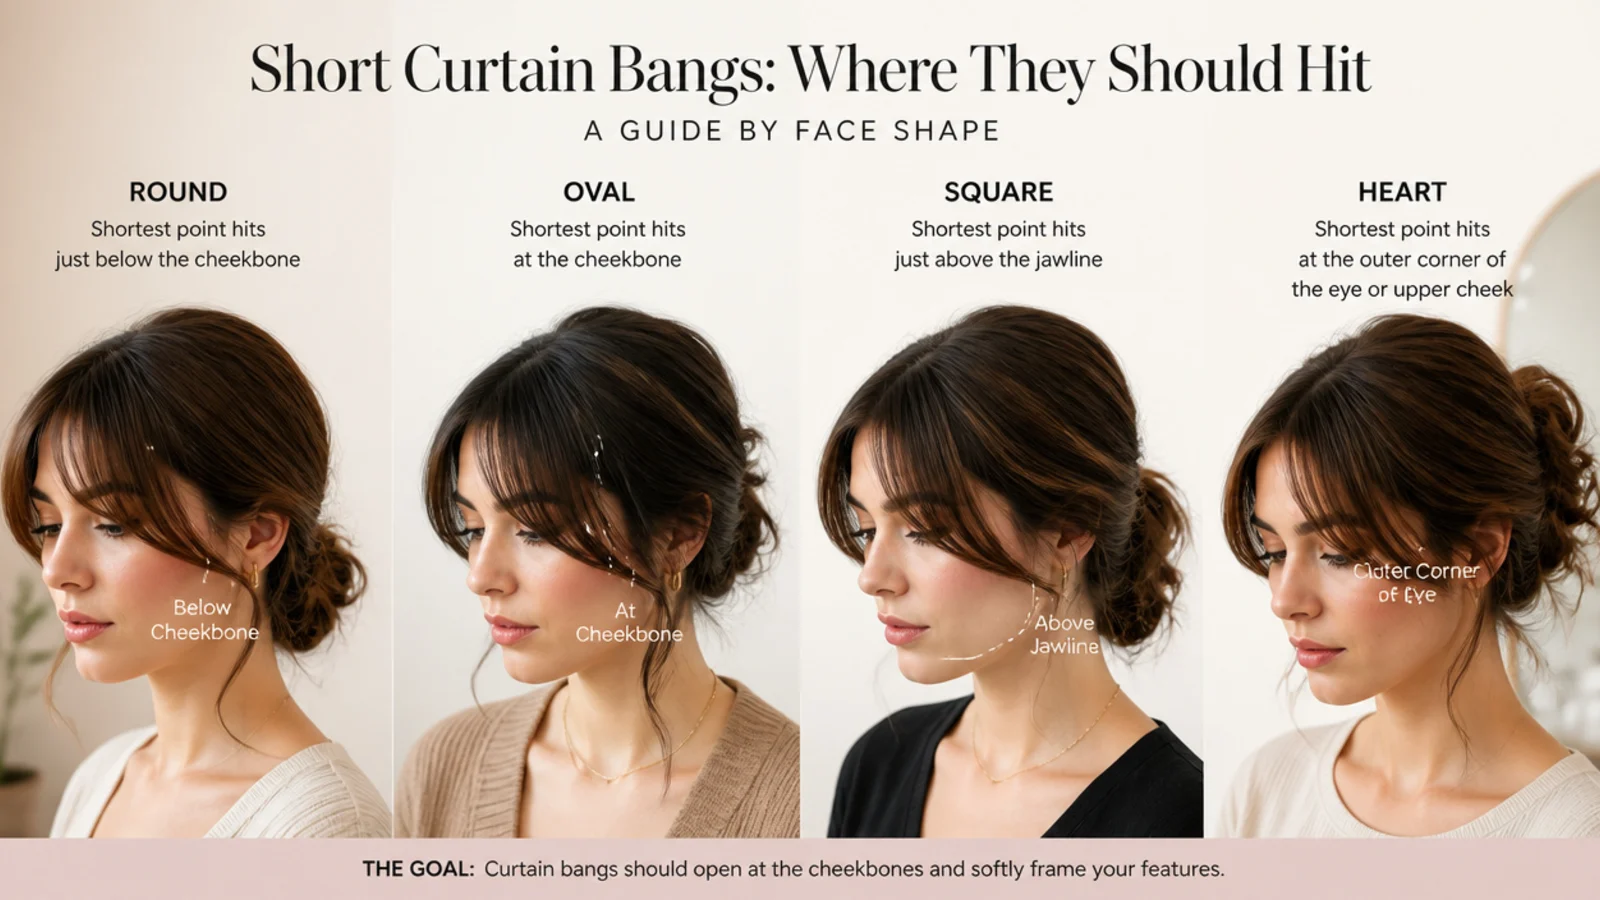
Round faces want the outer pieces at the cheekbone. The diagonal from the centre part to the cheek crosses the face at its widest point and takes width out.
Long faces want a shallower opening. Keeping length across the forehead shortens the visible face where a steep split lengthens it.
Square jaws want softness beside the jaw. Extend the graduation past the cheekbone so the outer ends land next to the corner rather than above it.
Heart shapes want the fringe wider than deep. Width across a broad forehead balances a narrow chin without stealing extra hair from the top.
Styling at Home
Dry it first, before the rest of your hair. The fringe sets in whatever shape it dries in, and it dries fastest, so it is already set by the time you reach it otherwise.
Over direct at the root. Dry the fringe pushed to the opposite side, then let it fall back. The root ends up standing rather than lying flat.
Cool air is the setting stage. Hair takes its shape as it cools. Ending on hot air undoes most of what the brush just did.
Nothing heavy at the root. On fine hair a cream or oil at the root is the fastest way to lose every millimetre of lift you built.

Fixing Common Problems
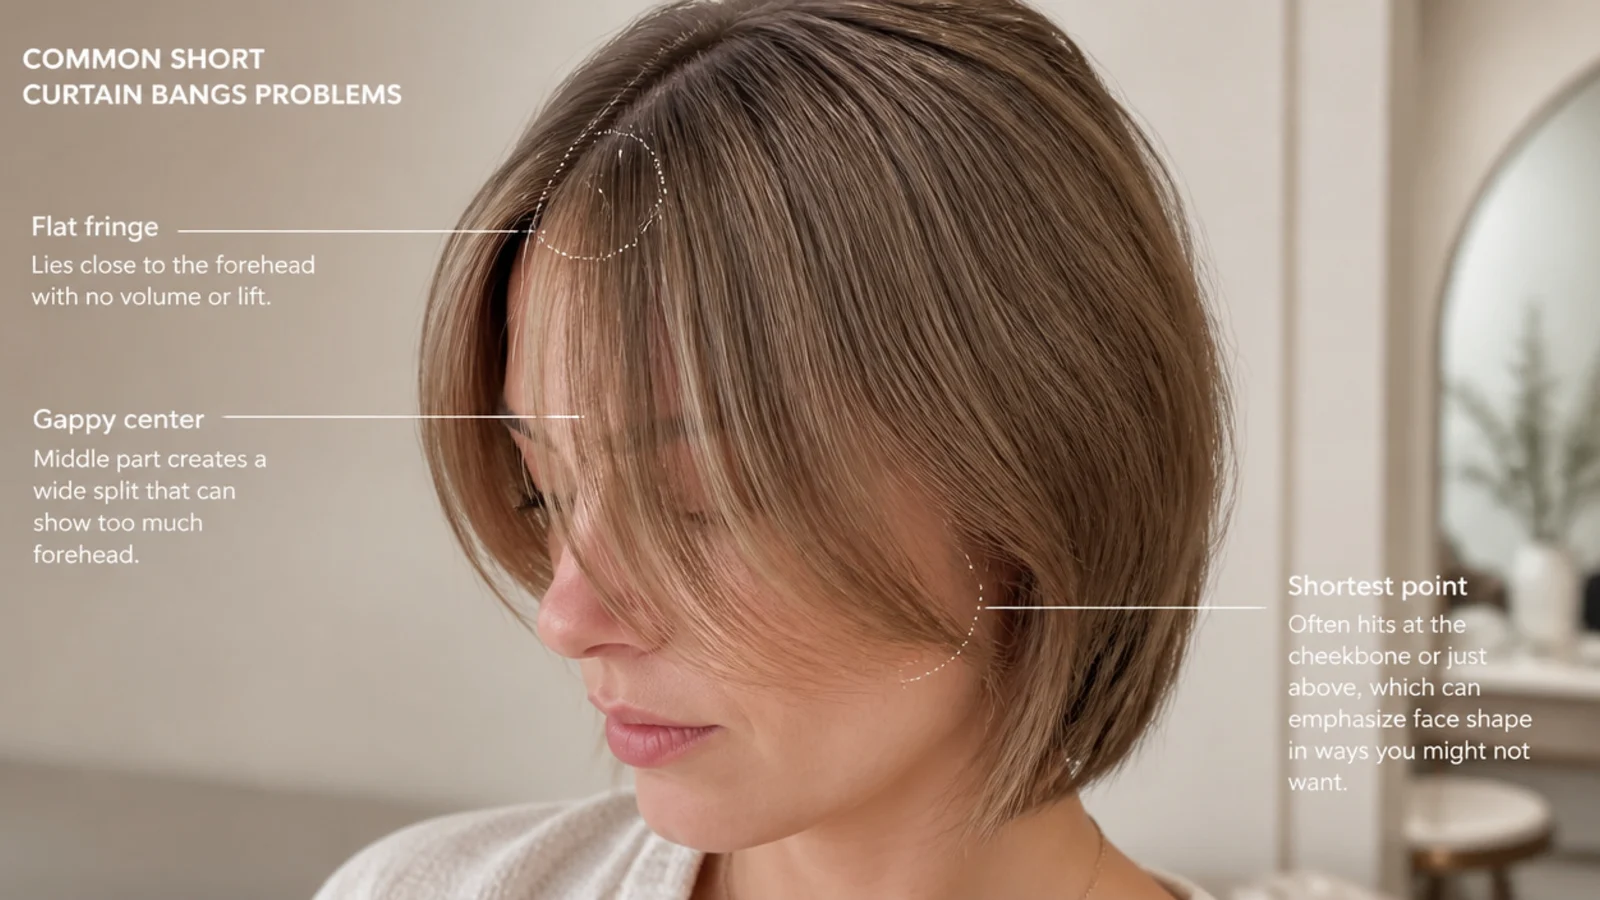
Flat by midday. The forehead is one of the most sebaceous areas on the face and the fringe rests on it. Dry shampoo in the morning, before the oil arrives.
Splitting into two clumps. A cowlick at the hairline. Wet the root only, dry it flat against the growth direction, then release it.
Scalp visible through the fringe. The section was cut too wide for the density available. Narrowing it at the next trim concentrates the same hair over less width.
Ends looking stringy. Usually texturising shears rather than damage. Ask for a blunt line and let the fringe grow back into it over about six weeks.
Trims and Growing Out
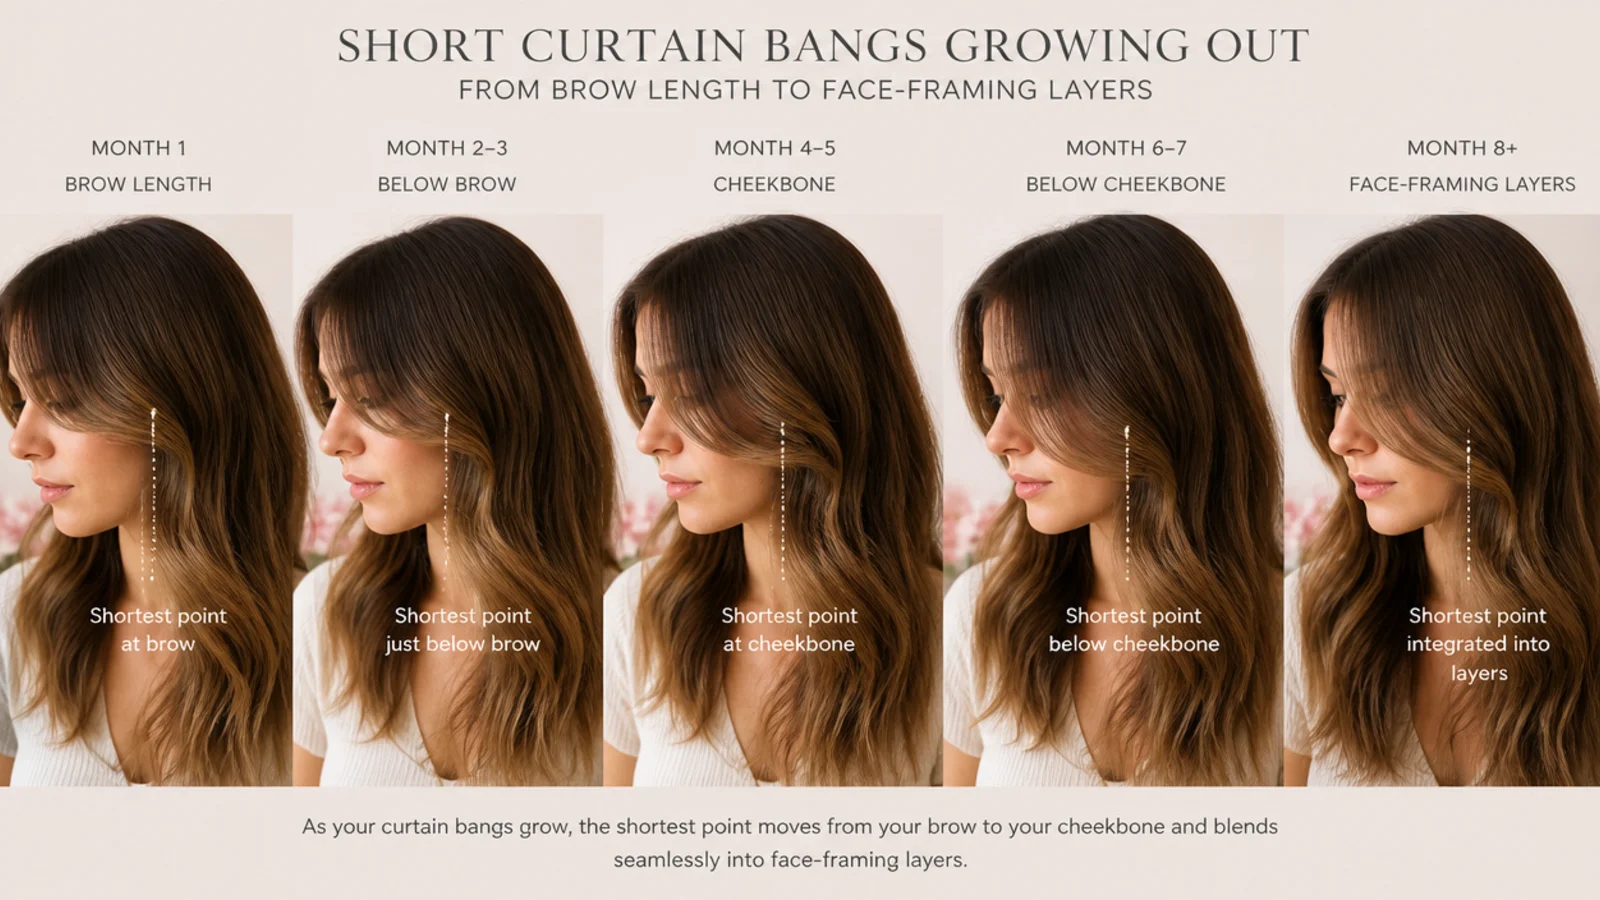
Three weeks on a brow length fringe. Hair grows roughly half an inch a month, and on a short fringe half an inch is the whole difference between skimming the brow and reaching the lashes.
Trim it dry and in place. Fine hair stretches when wet and springs back shorter, which is how a brow fringe becomes a baby fringe by accident.
Growing out takes about three months to cheekbone. From the brow that is roughly an inch and a half of growth, and cheekbone is where it starts blending with the rest.
Pin it back rather than cutting it shorter. Every corrective trim resets the clock, so the fastest route out of a fringe is to stop touching it.
The 15 Short Curtain Bangs for Fine Hair
1. Baby Curtain Bangs
Cut above the brow, which is the shortest a curtain fringe goes. Less length means less weight hanging off the section, so fine hair keeps its bend far longer here than at cheekbone, and the trade is a trim every two to three weeks.
2. See Through Wispy
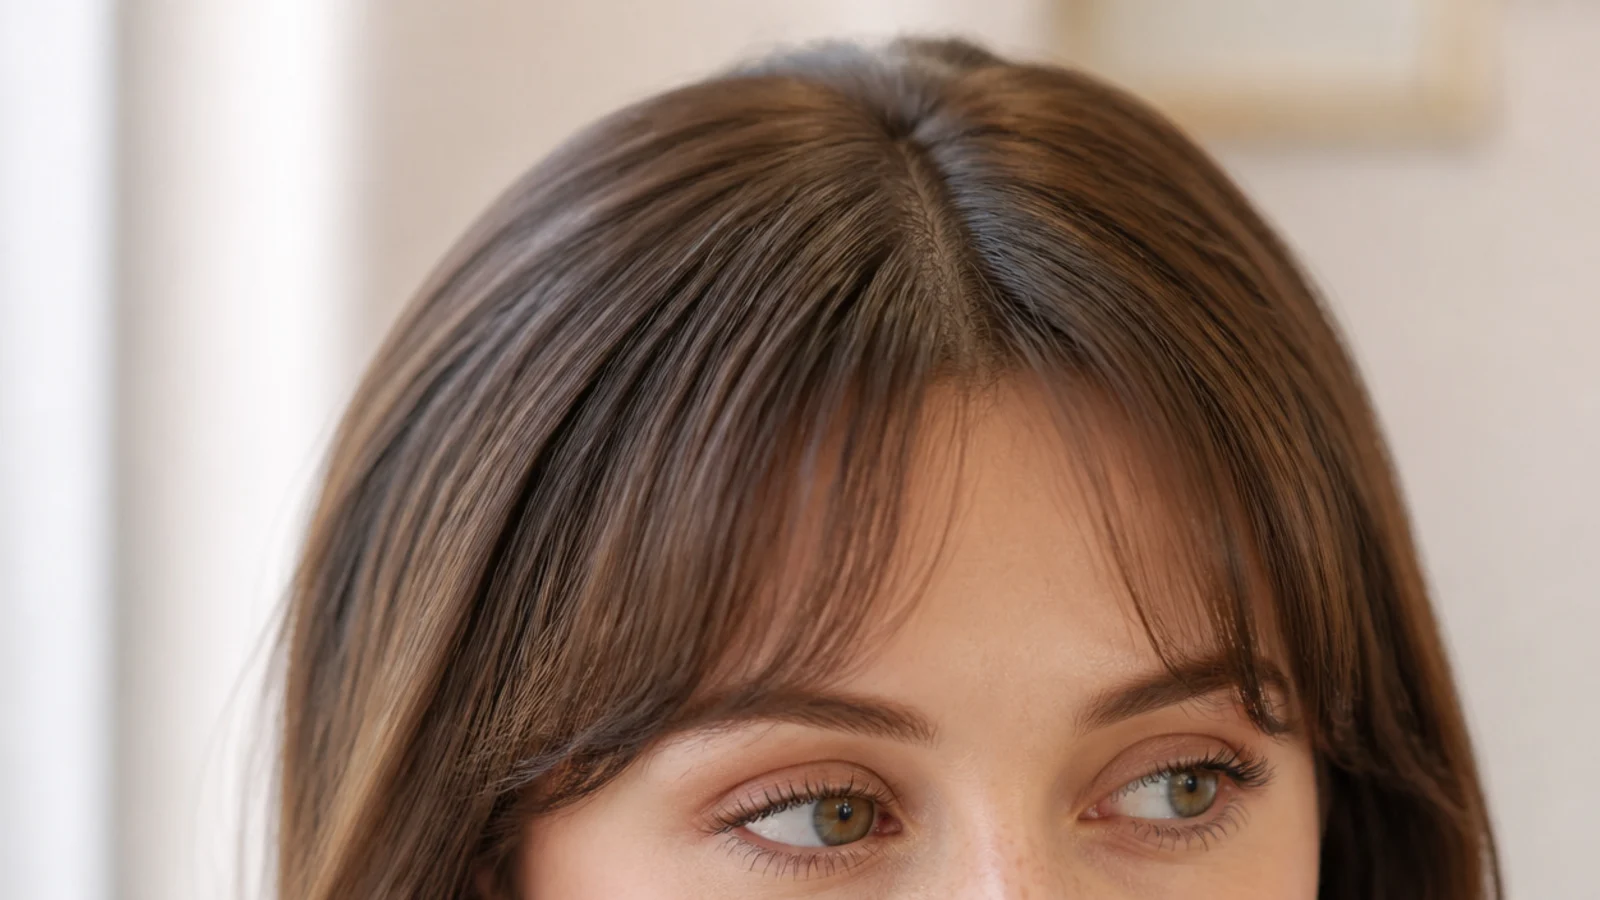
Deliberately sparse rather than accidentally sparse, and on fine hair that distinction is the entire strategy. You cannot build density that is not there, so a narrow shallow section allowed to separate reads as a choice instead of a shortage.
3. Brow Grazing Straight Fringe
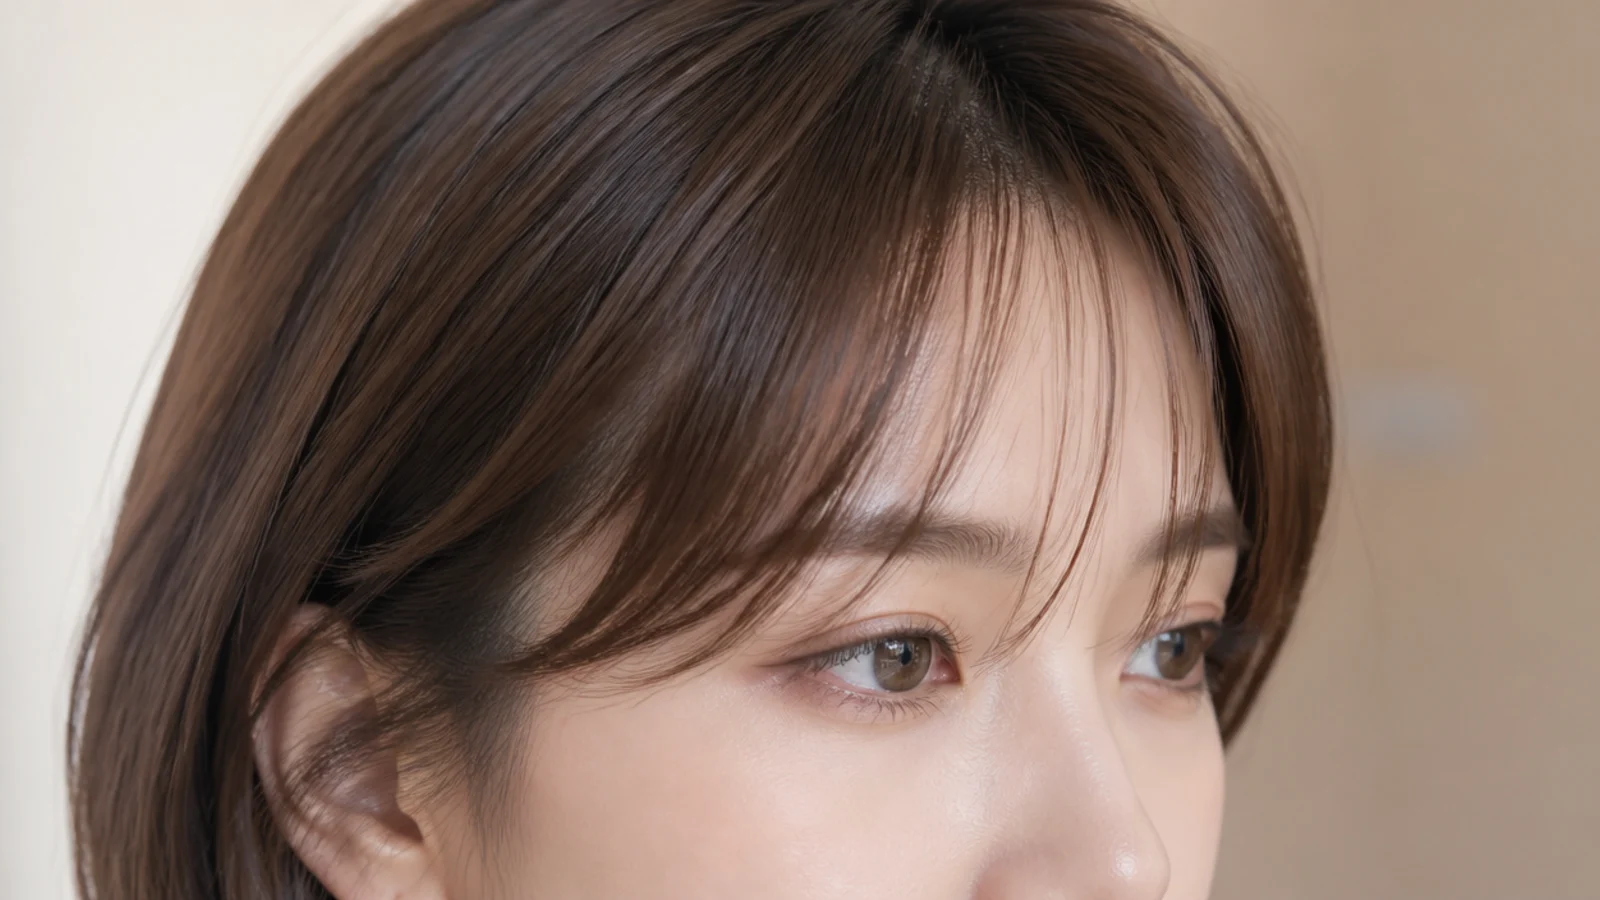
A blunt line at the brow is the strongest thing fine hair can do. Every strand finishing at the same height forms one uninterrupted edge, and the eye reads a continuous edge as thickness whatever the strand diameter behind it.
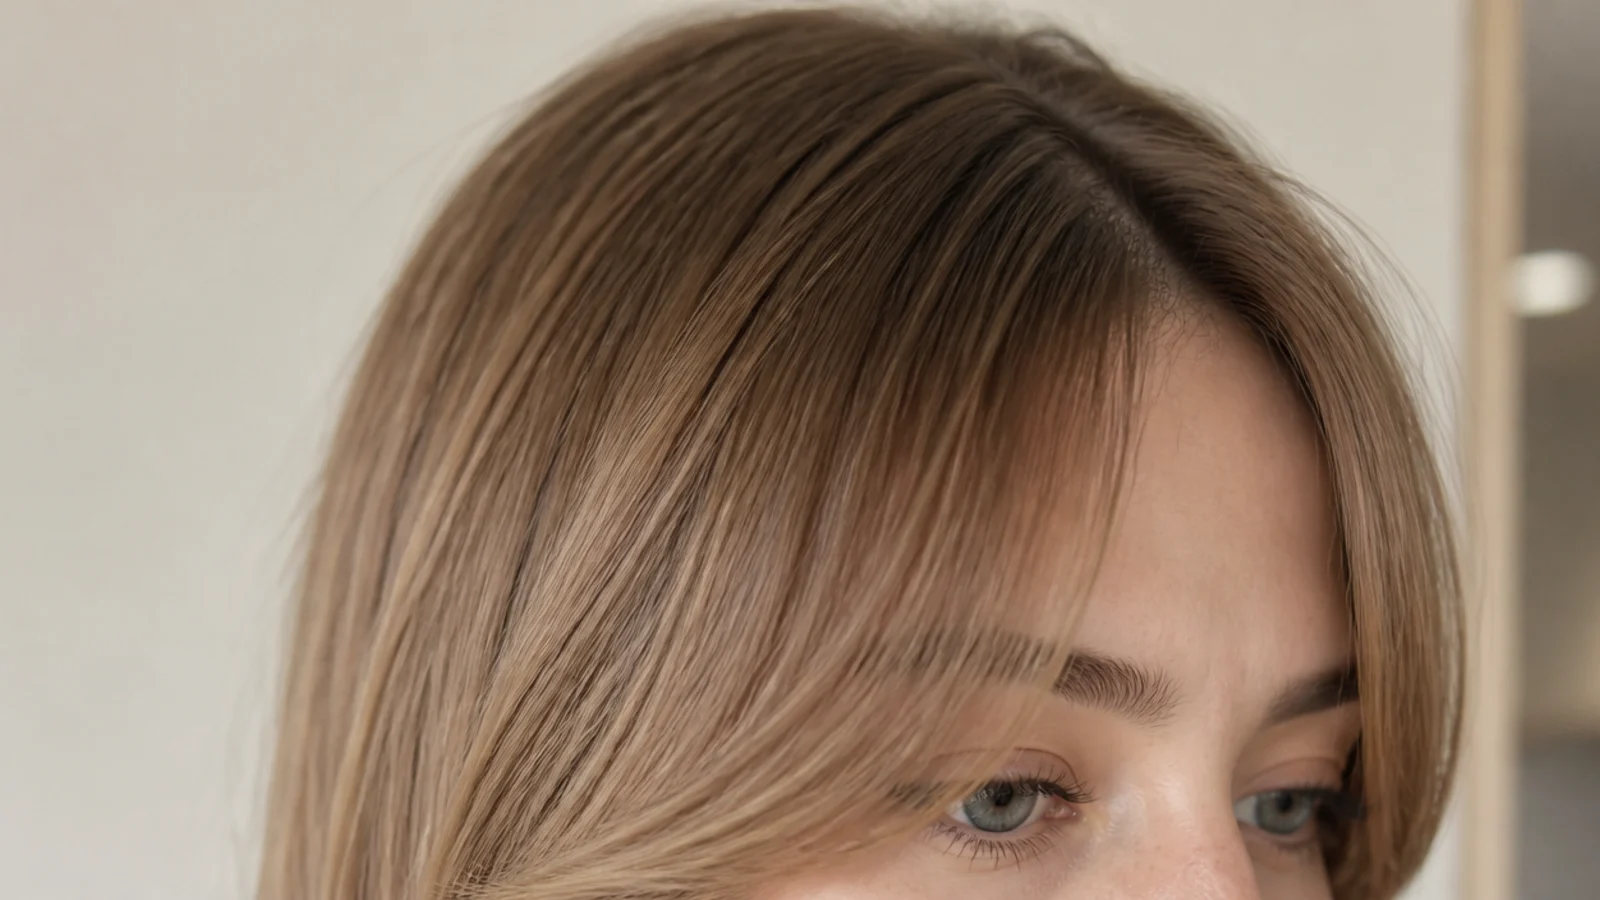
4. Cheekbone Length
The longest a short curtain fringe gets before it turns into face framing. That extra inch and a half of length adds weight at the root, so this version needs a set on fine hair where a brow length one holds by itself.
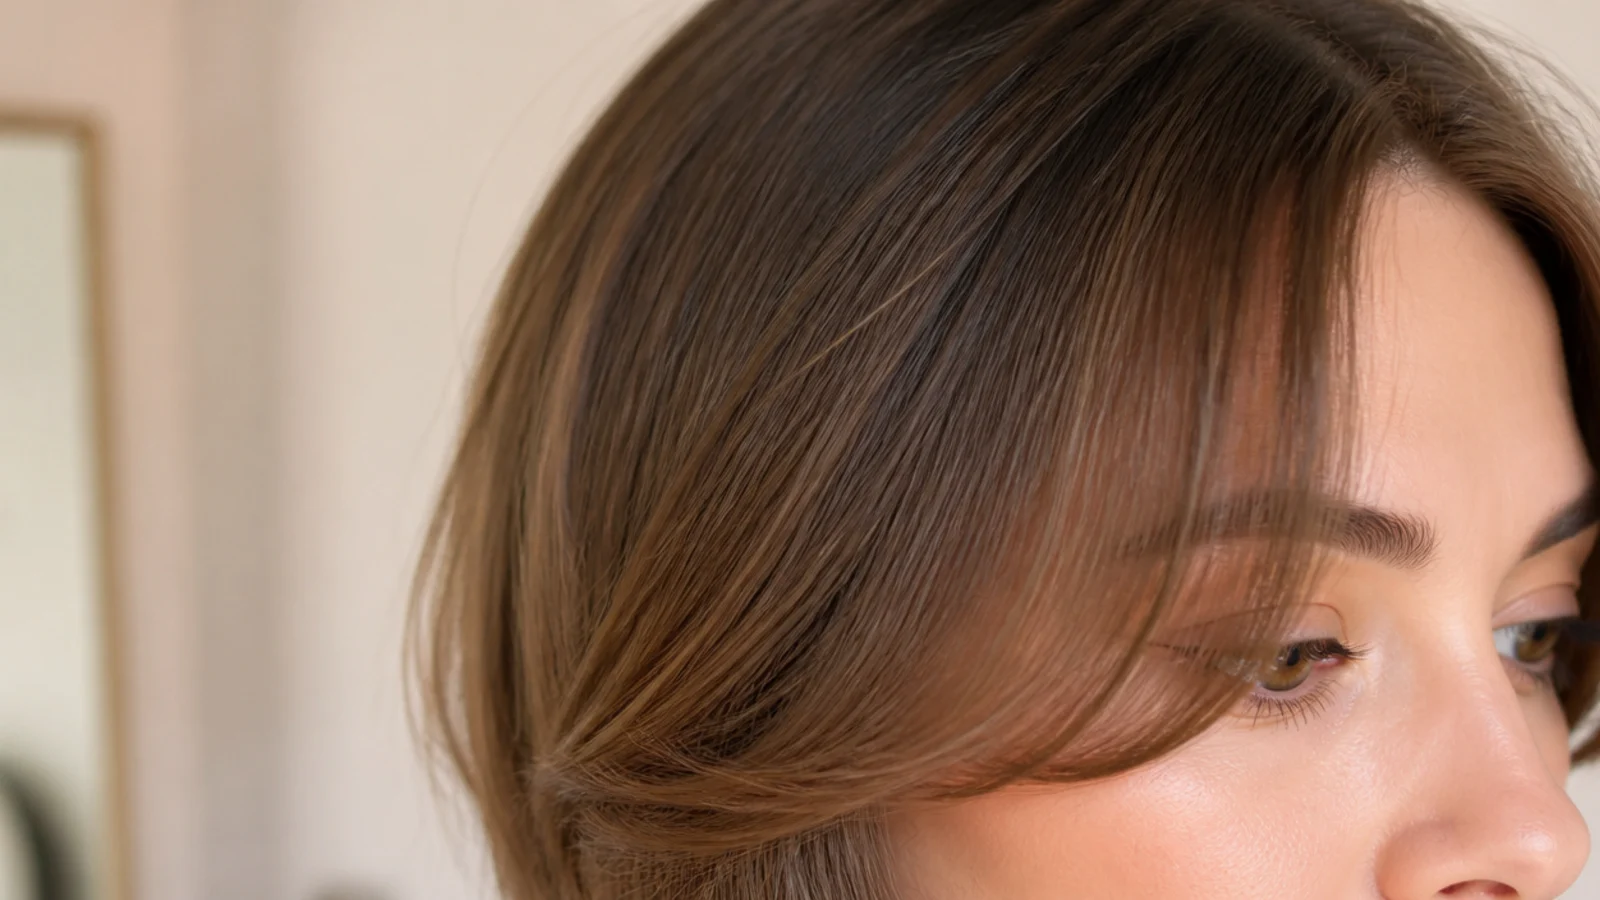
5. French Bob
Removing length removes weight, and weight is what pulls a fine root flat. A chin length perimeter holds visible lift at the root that the same head of hair cannot hold at shoulder length, and the short fringe sits on the same logic.
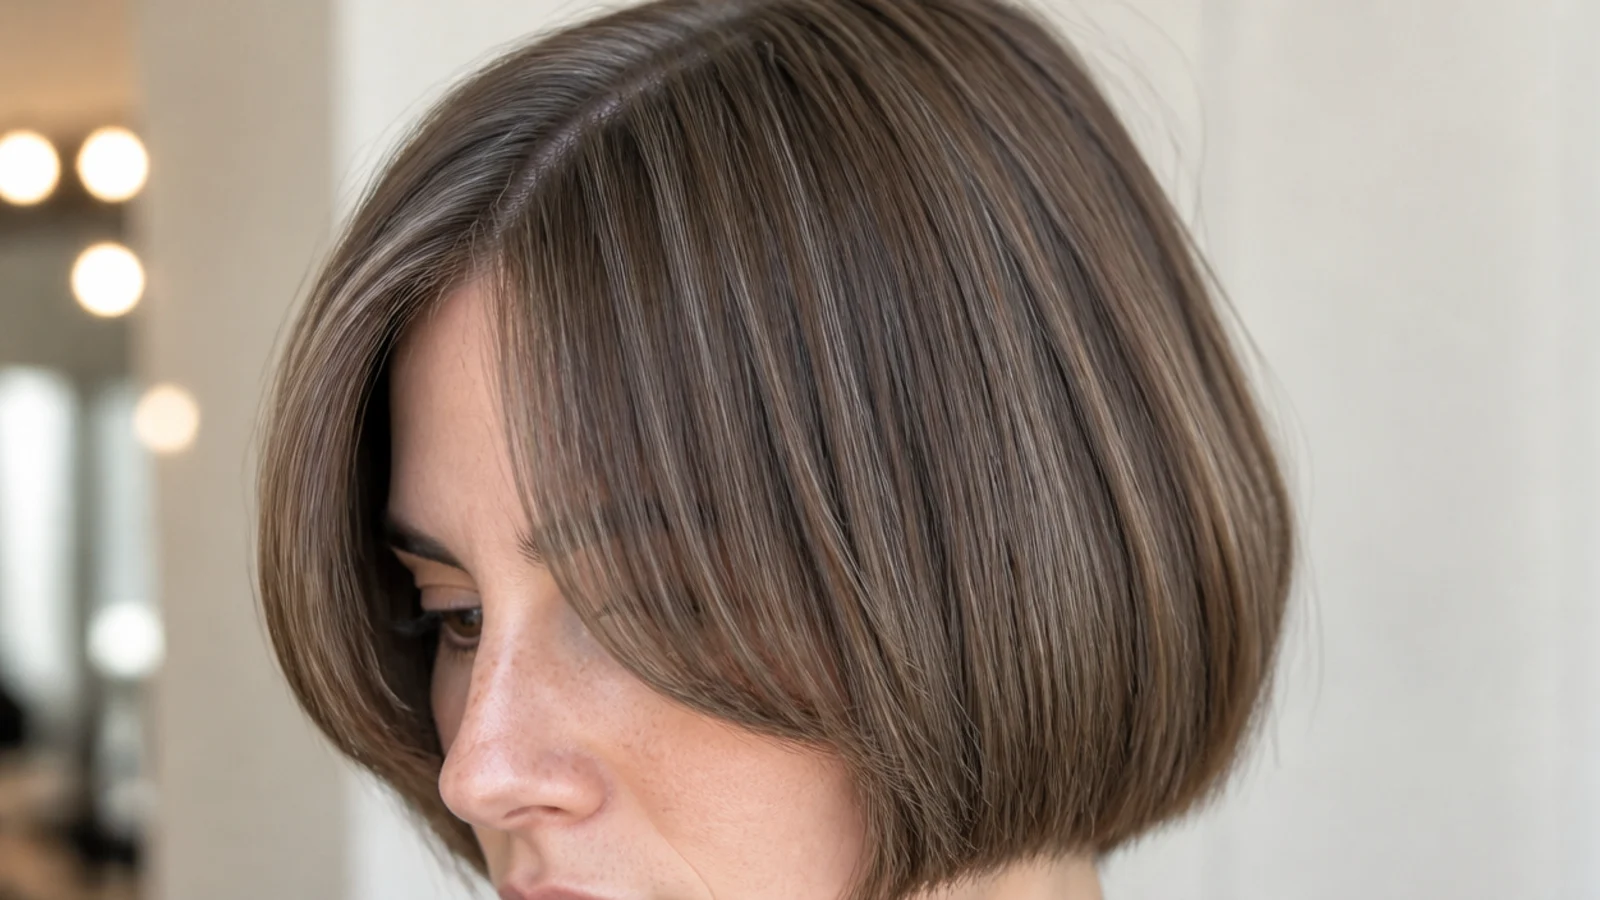
6. Shag Layers
Layers cost fine hair density at the ends, so the ones that work are long and few. Keep them below the ear and the fringe has something to blend into without hollowing out the perimeter it needs to look solid.
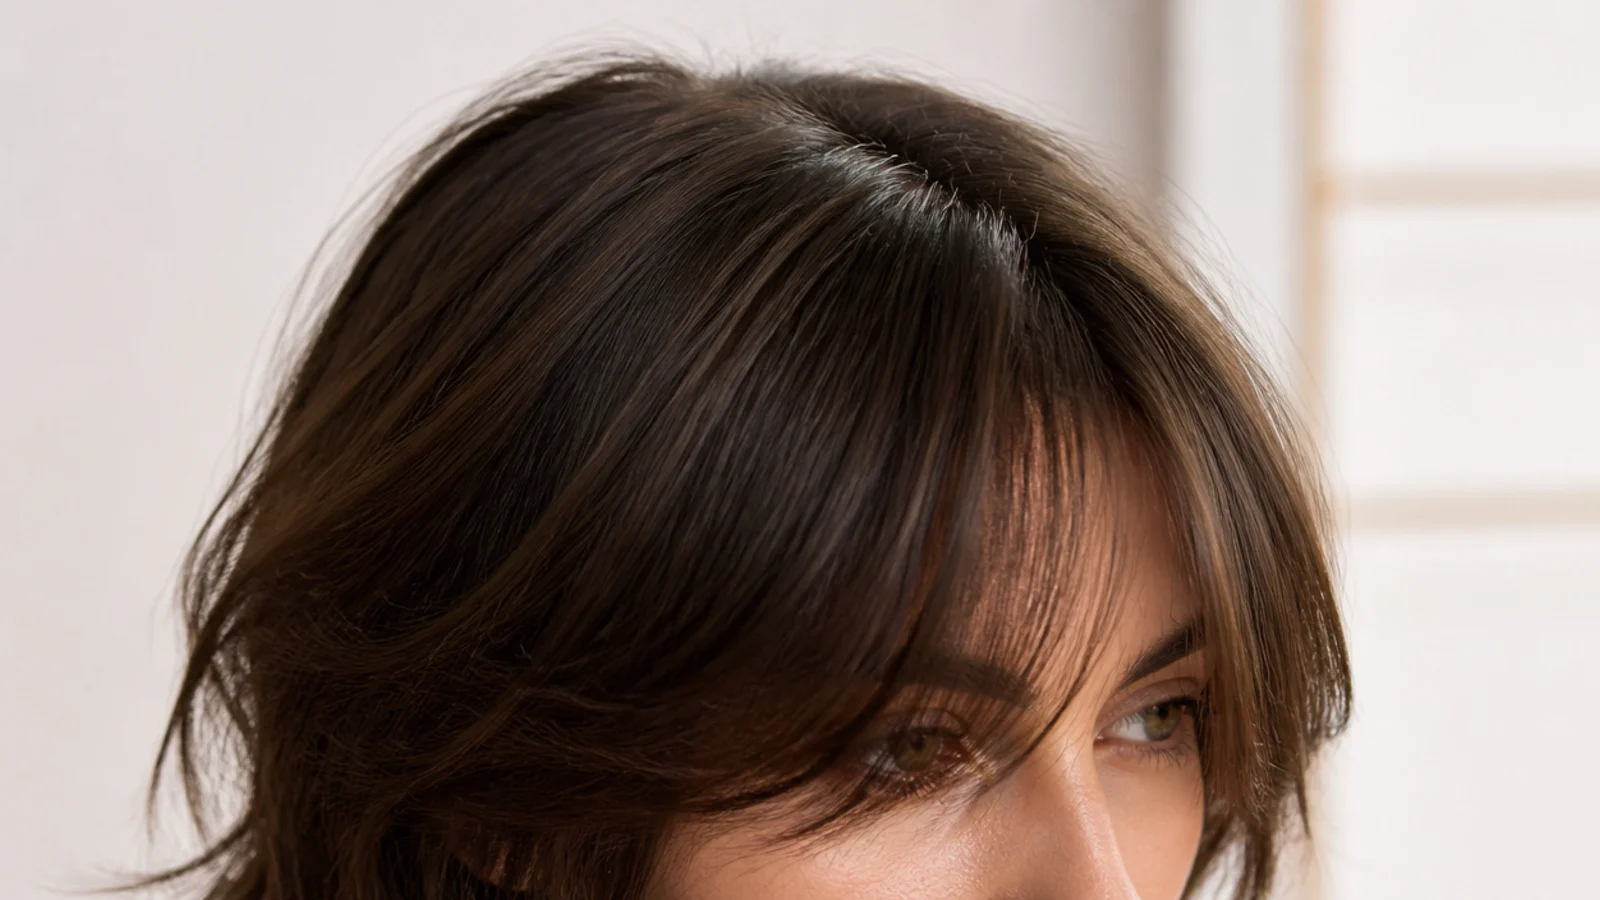
7. Lob
At collarbone length the fringe is the only short hair on the head, which puts the contrast at maximum. Keep the perimeter genuinely blunt so the two ends of the cut both read as solid rather than leaving the fringe carrying the whole shape.
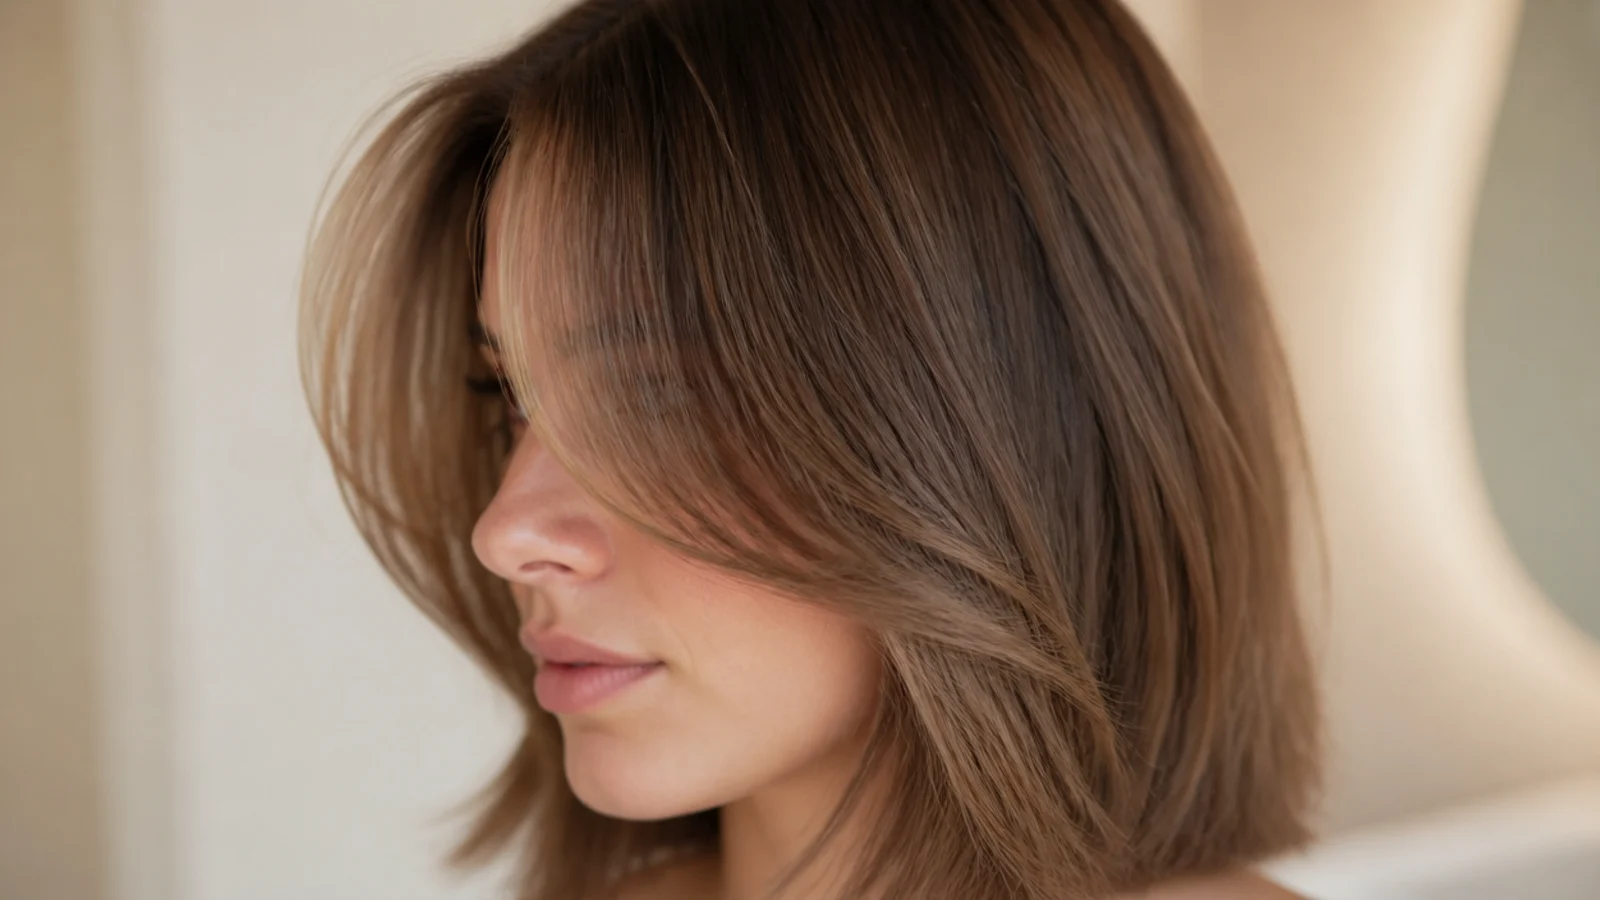
8. Side Swept
Sweeping the fringe across covers the first inch of the part, which is exactly where scalp shows most on low density hair. The direction has to be set at the root while damp or the hair falls straight back to centre.
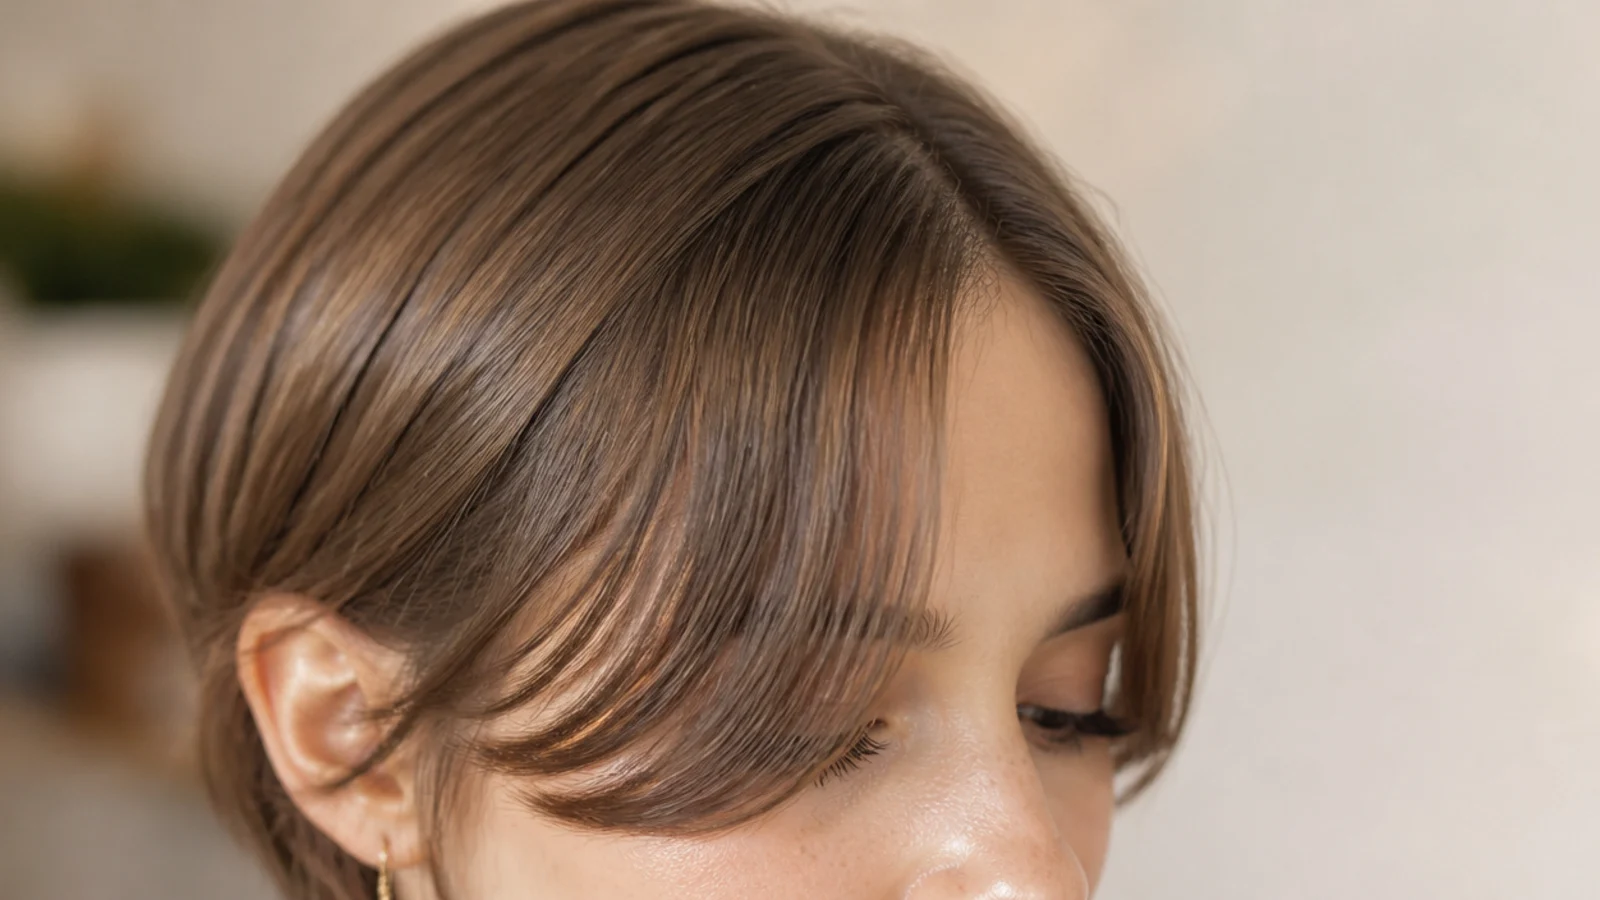
9. Fine Wavy
A wave holds neighbouring strands apart instead of letting them lie flat against each other, and that separation occupies more space than the same hair straightened. Air dry the fringe with the bend intact and the front gains fullness at no cost.
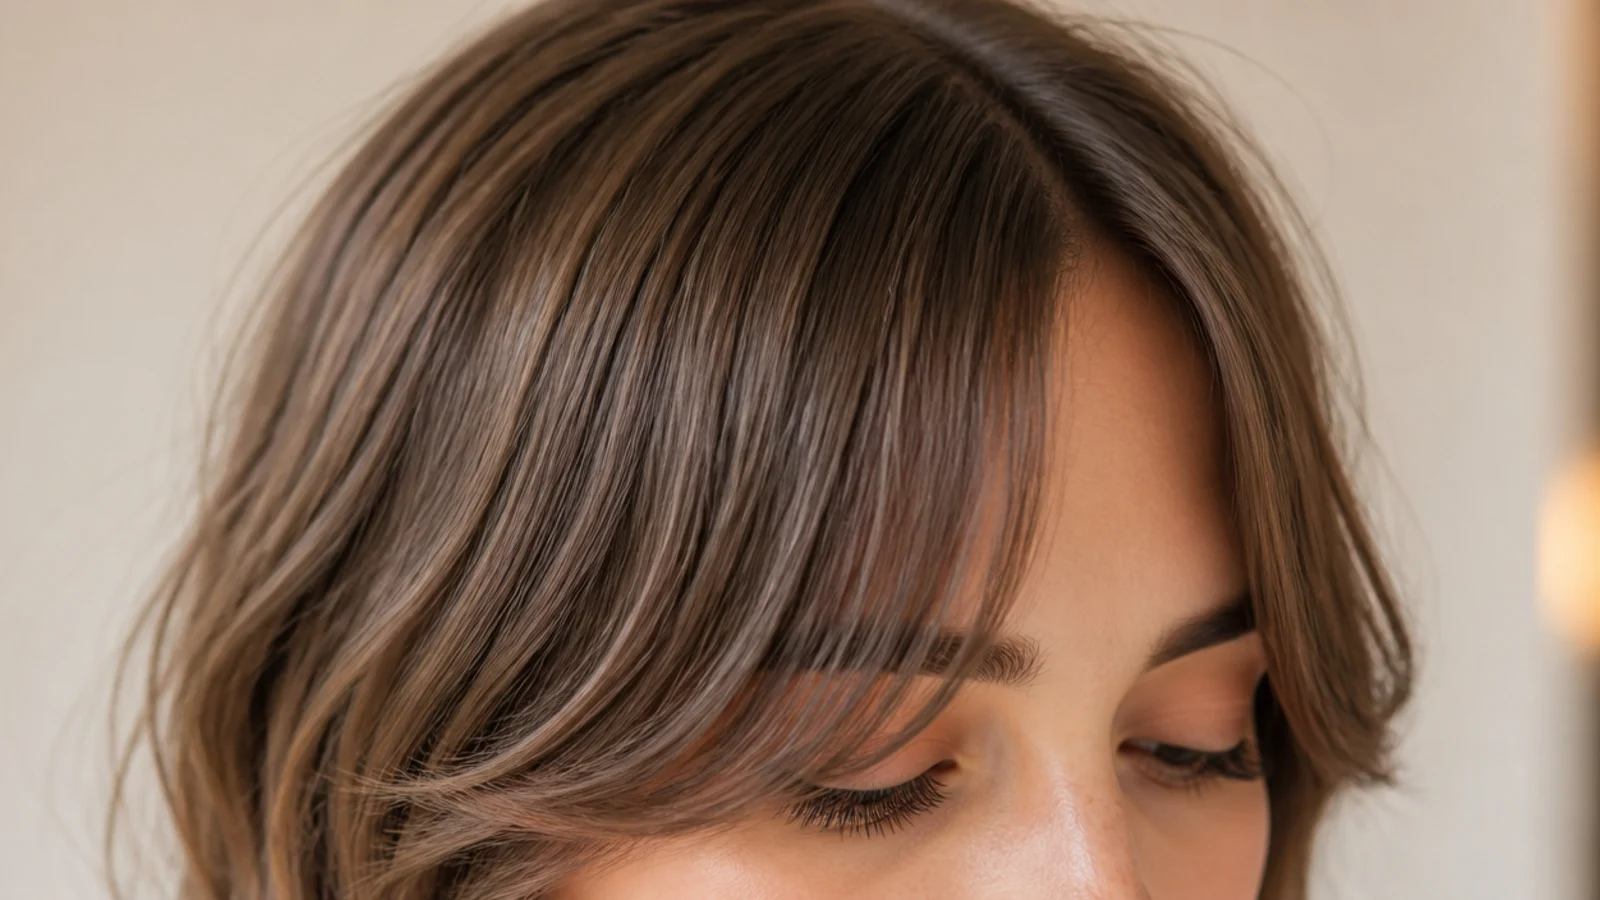
10. Root Lifted
The root is a lever, so a millimetre of lift where the hair leaves the scalp becomes a visible centimetre by the ends. That is why drying the first inch matters more on fine hair than anything done to the length.
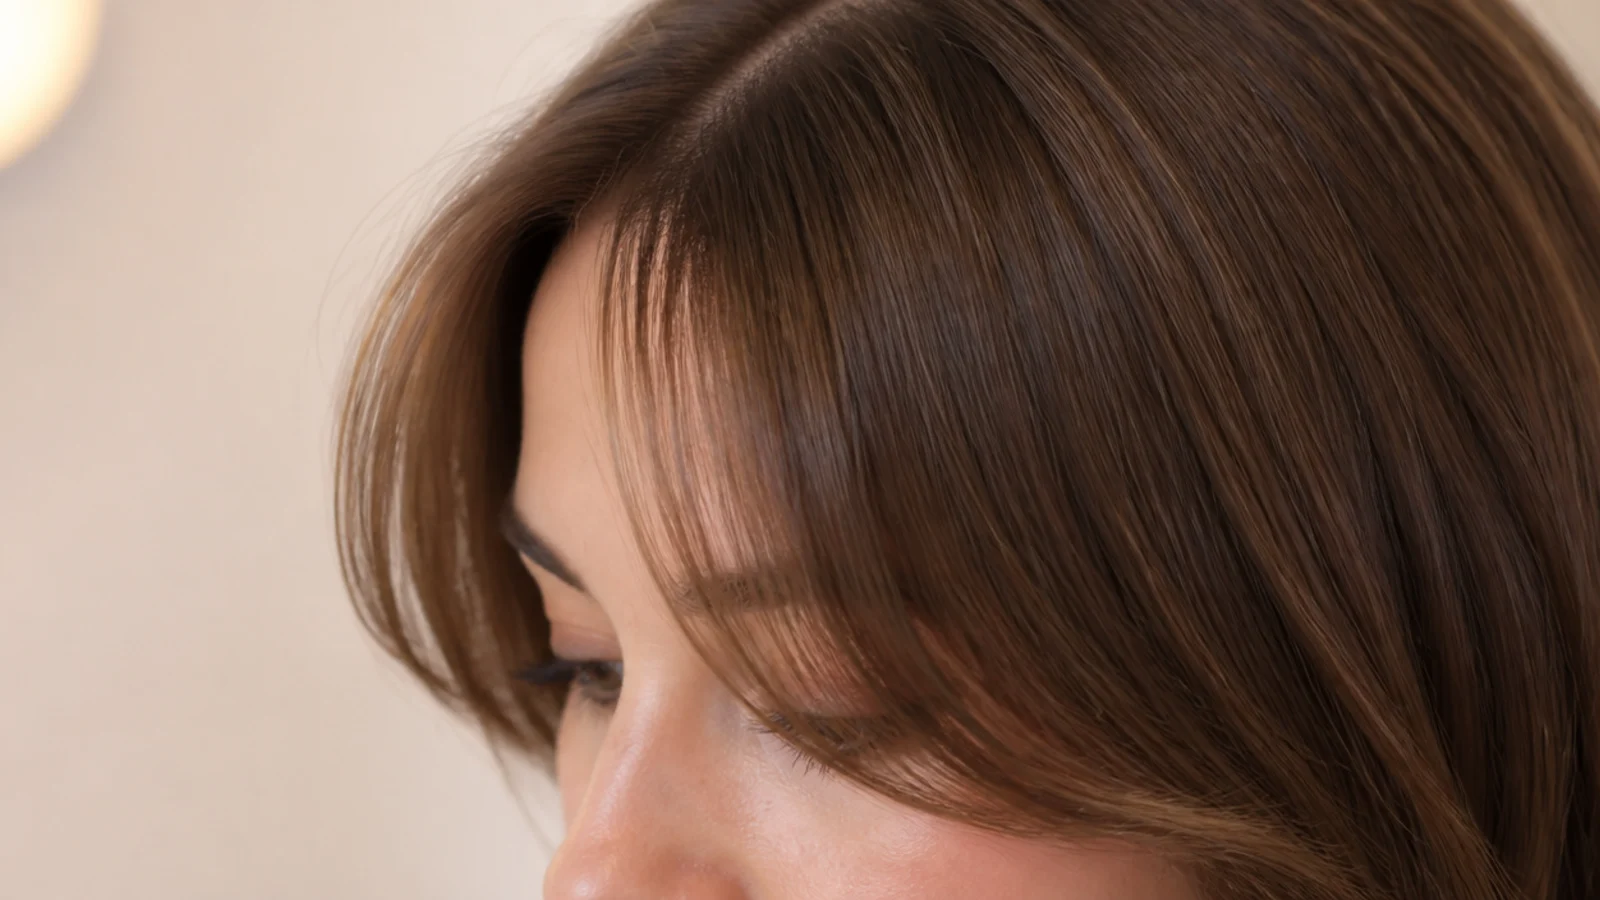
11. Micro Fringe
A narrow fringe spanning only the front of the hairline takes far less hair out of the top than a wide one. The same number of strands concentrated over less width gives a more solid edge, which is the trade fine hair should always take.
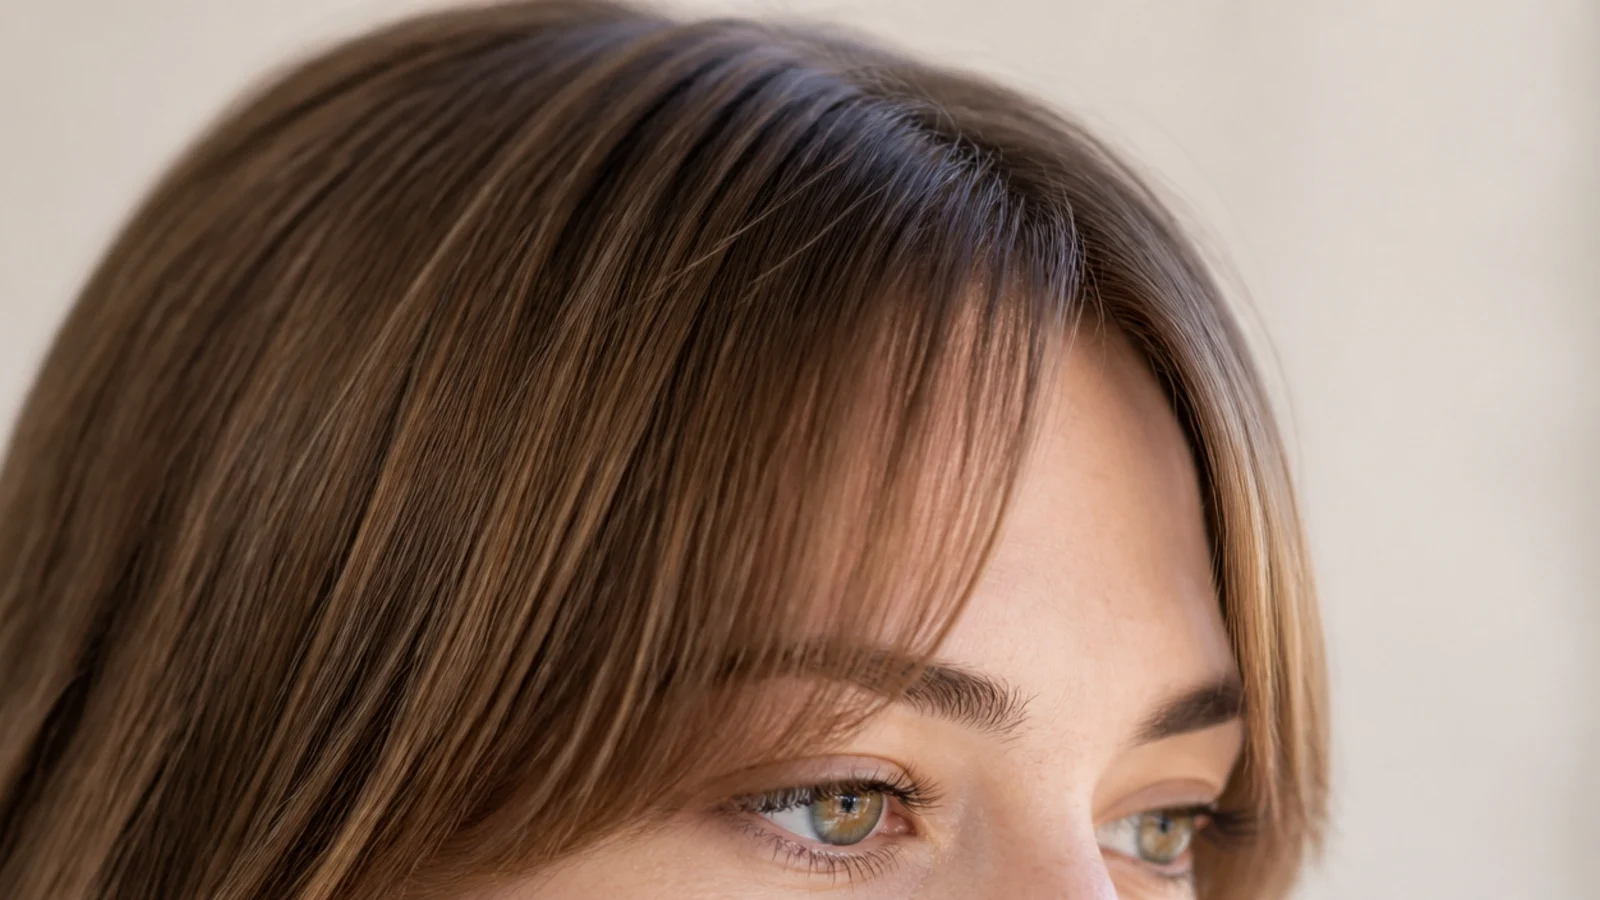
12. Pixie
The shortest hair carries the least weight, so a pixie is where fine hair looks densest without any styling at all. The fringe stays part of the cut rather than sitting on top of it because everything around it is short too.
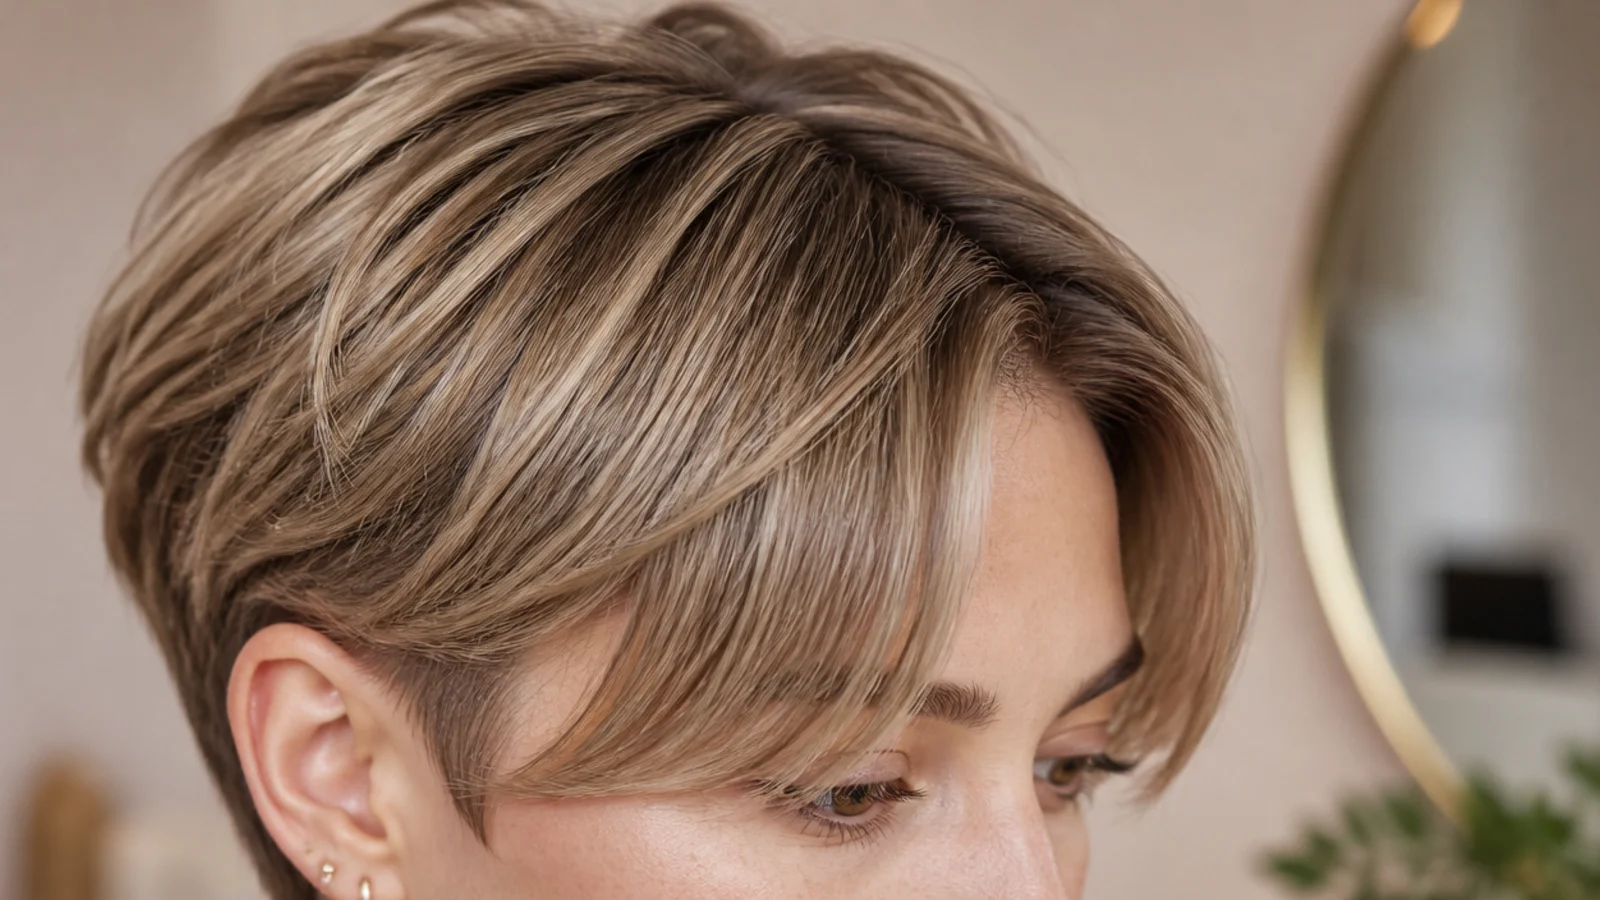
13. Soft Blended Ends
Connecting the outer fringe pieces into the length removes the step where fringe density stops and hair density starts. On fine hair that step is the most visible thing about a badly cut fringe, and blending it costs nothing in thickness.
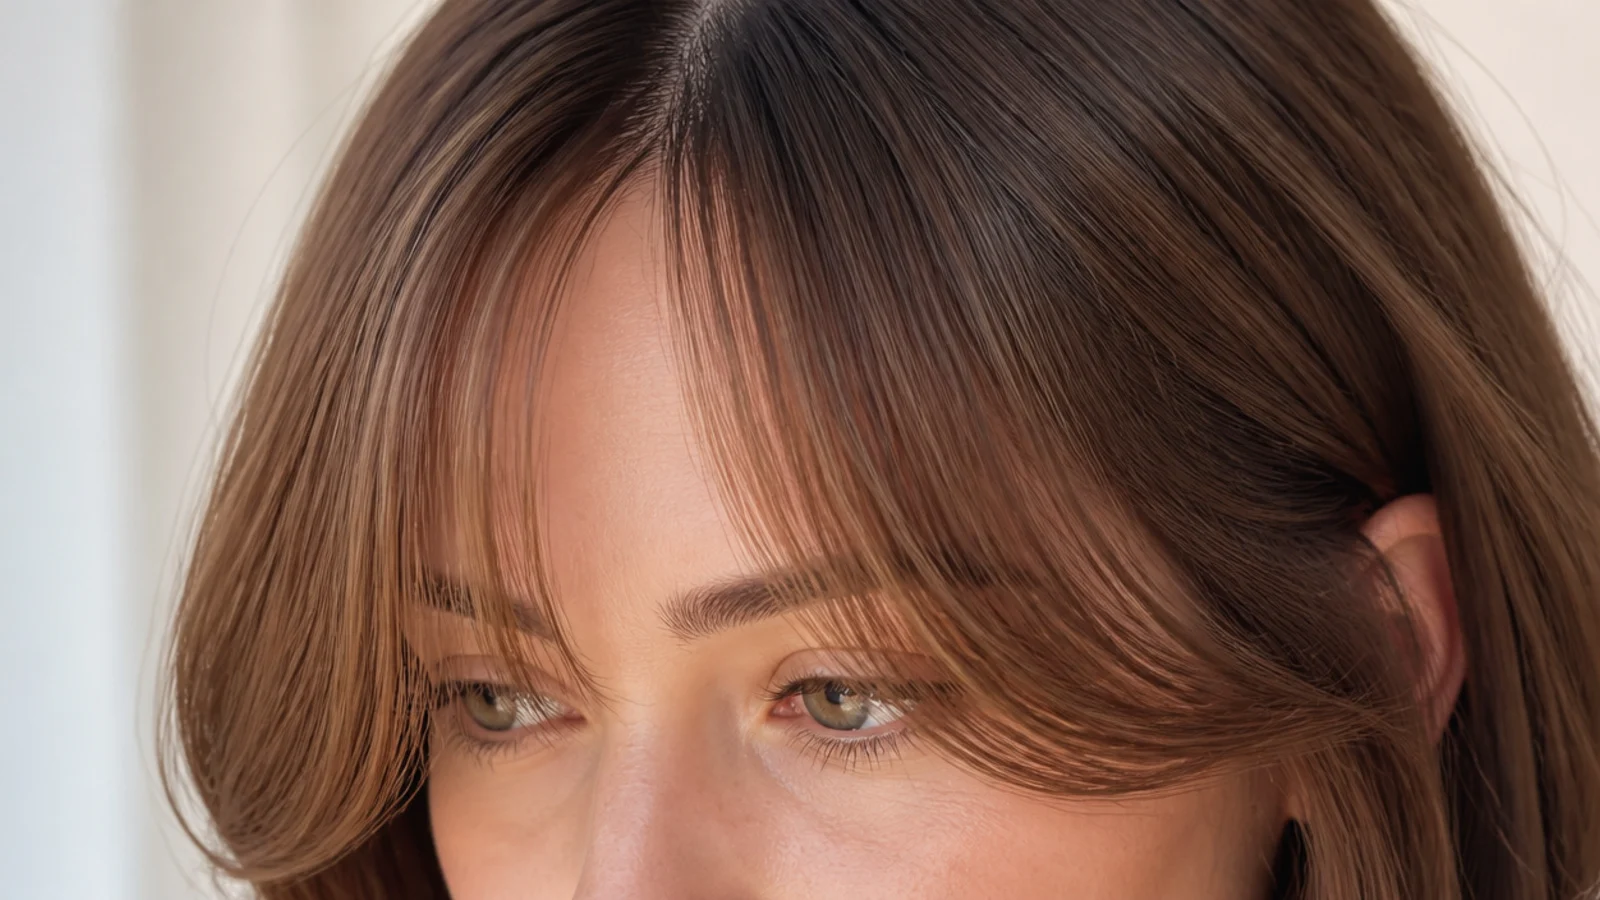
14. Face Framing Highlights
Lightening opens the cuticle and slightly swells the strand, which is why fine hair usually feels coarser after highlights than before. Placed on the fringe pieces that gain is exactly where it helps, though it comes with the dryness that goes with lifting colour.
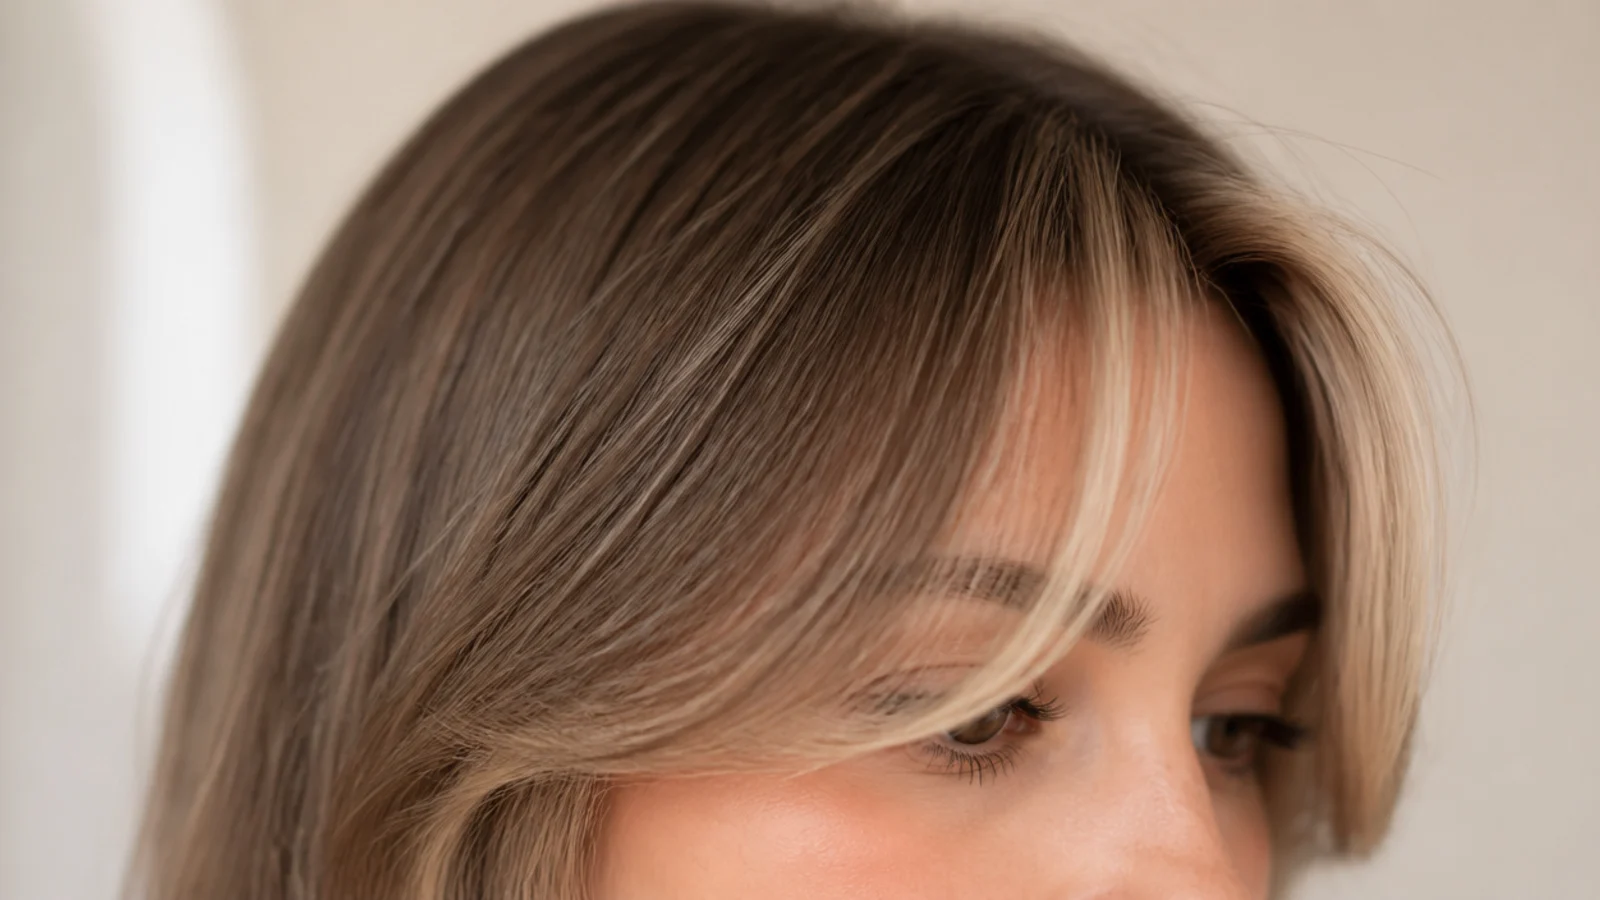
15. Half Up
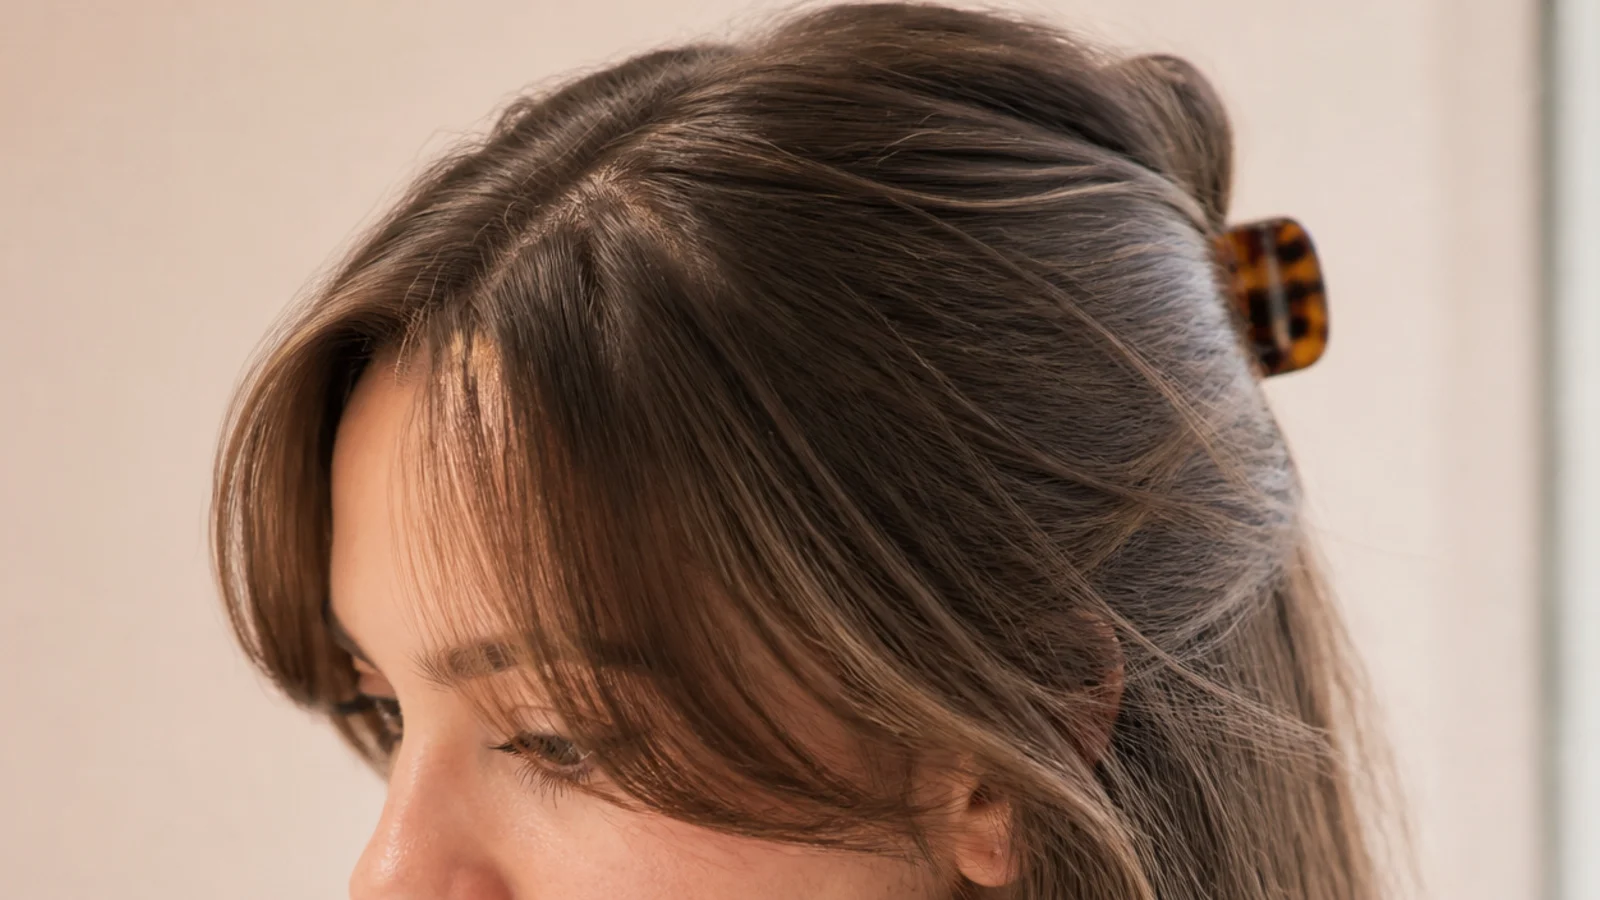
Taking the top section back lifts weight off the area immediately behind the fringe, so the fringe stands rather than being pressed down by the hair behind it. It also hides the crown, which is where fine hair shows scalp first.
Final Thoughts
The section is the cut. Ask for one inch of depth and no texturising shears, and you have already made the two decisions that separate a fringe reading as light and deliberate from one reading as thin.
Everything else is recoverable. A length that came out too short grows an inch and a half in three months, but density taken out of the crown takes the same three months and looks worse the whole way. For the longer version of this fringe see curtain bangs on fine hair, and for short hair generally see curtain bangs on short hair. More in Bangs and Fringe.