20 Steps To Tie A Long Wolf Cut Into A Cozy Ponytail
Twenty steps in order, and the piece of geometry that decides all of them — a crown layer only reaches the elastic if the elastic is closer than the layer is long. Tie it low and the short layers cannot get there.
In this article · 27
- Why a Wolf Cut Fights a Ponytail
- Choosing the Height Before You Start
- The 20 Steps
- 1. Start on Second Day Hair
- 2. Dry Brush From the Ends Upward
- 3. Mist the Crown Instead of Soaking It
- 4. Pick the Height Before You Gather Anything
- 5. Tilt Your Head Toward the Height You Chose
- 6. Drop the Face Framing Layers Out First
- 7. Section Off the Crown and Set It Aside
- 8. Backcomb the Crown at the Root
- 9. Smooth the Surface With Two Light Passes
- 10. Gather the Back Section at the Occipital Bone
- 11. Hold the Base Before You Add Anything Else
- 12. Bring the Crown Section Over Last
- 13. Tie With a Spiral Coil or a Fabric Scrunchie
- 14. Wrap Twice Rather Than Three Times
- 15. Split the Base and Pull Down to Tighten
- 16. Cross Two Pins Over Any Escaping Layer
- 17. Wrap a Long Strand Around the Elastic
- 18. Release the Face Framing Pieces From the Parting
- 19. Pancake the Tail in Small Pulls
- 20. Check the Nape and Finish With Flexible Hold
- Styling and Upkeep
- Mistakes to Avoid
- FAQ
- Final Thoughts
A wolf cut fights a ponytail for one reason, and it is not the texture — it is that the short crown layers cannot physically reach a low elastic.
A layer reaches the elastic or it does not. If the strand is shorter than the distance from its root to the tie, no amount of smoothing will hold it.
Raising the tie shortens that distance. Crown hair reaches a crown height elastic in a few centimetres and has to cross the whole skull to reach the nape.
Why a Wolf Cut Fights a Ponytail
The cut contains two very different lengths. A crown layer might be twelve centimetres while the perimeter is forty five, and only one of them has slack to spare.
The escaping pieces are the cut working correctly. Those short crown layers are what hold the volume up when the hair is down. They are not damage or breakage.
Tension is what breaks them. Pulled tight against a thin elastic, the shortest pieces take all the pressure at the base and snap there.
A cozy ponytail wants less tension, not more. Every fix below adds hold through placement and pinning rather than through pulling harder.

Choosing the Height Before You Start
Mid height, at the occipital bone, is the compromise. High enough that most crown layers reach it, low enough that the result still looks relaxed rather than sculpted.
High is the most forgiving. It puts the elastic closest to where the shortest hair is rooted, so fewer pieces are out of range.
Low is possible but needs pins. Expect to secure four to six crown pieces by hand, because none of them will reach the nape on their own.
Never plan the height after gathering. Gather twice and you have already dragged a brush through the same short layers twice, which is where the frizz comes from.
The 20 Steps
1. Start on Second Day Hair
Sebum coats the strand and gives the layers enough friction to stay where you put them. Tie a wolf cut on the day it is washed and the whole thing slides down within an hour, because clean hair has nothing to grip against.
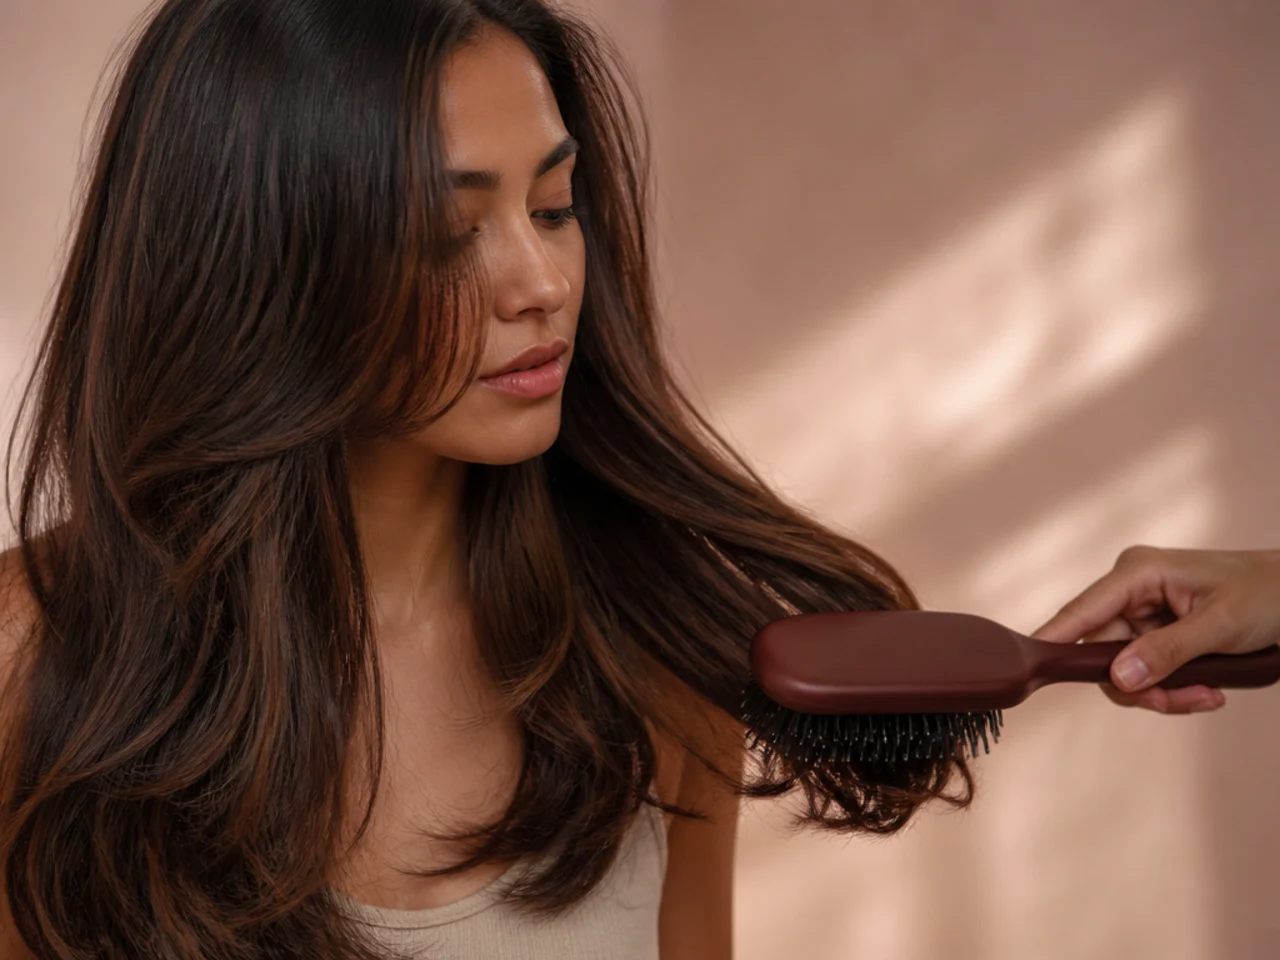
2. Dry Brush From the Ends Upward
Work in sections from the ends toward the roots so tangles are released rather than dragged. Start at the root and the brush pulls every knot down into the short crown layers at once, which is how those layers break at mid shaft and become permanent flyaways.
3. Mist the Crown Instead of Soaking It
Two or three passes of water at the roots is enough to make the crown biddable. Soak it and the short layers dry locked into whatever shape the elastic held them in, so they stand out at odd angles when you take it down.

4. Pick the Height Before You Gather Anything
Decide on high, mid or low while the hair is still loose, because the choice determines which layers can reach the tie. Changing your mind afterwards means brushing the same short pieces a second time, and they roughen faster than the length does.
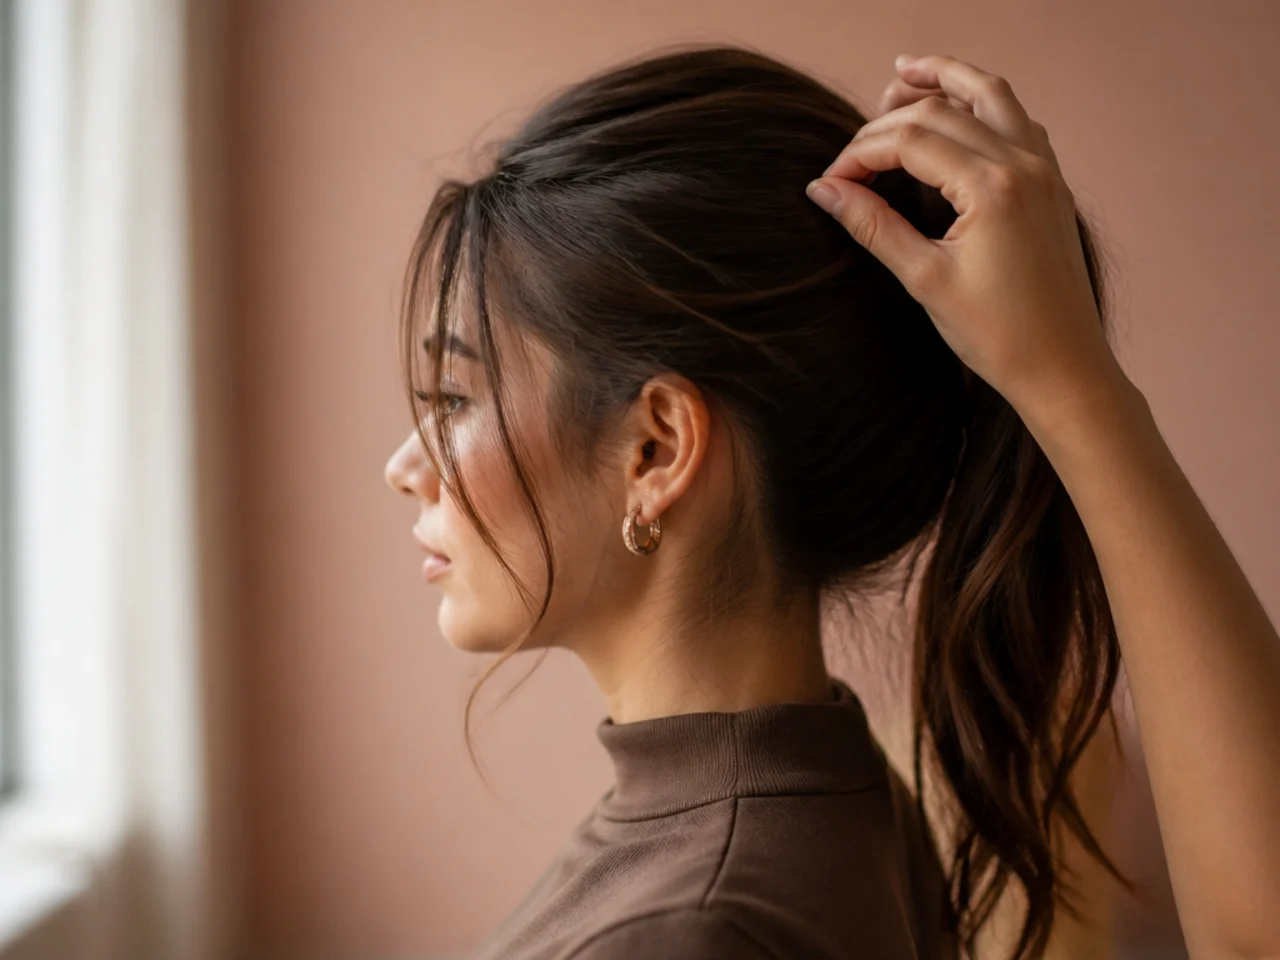
5. Tilt Your Head Toward the Height You Chose
Chin up for a high tie, level for a mid one. Gather with your chin on your chest and the ponytail sits loose the moment you look up, because you built in slack that the raised head immediately takes back.

6. Drop the Face Framing Layers Out First
Comb the shortest front pieces forward and leave them out of the gather entirely. Included, they get pulled taut and then slip free anyway, dragging a visible loop of loose hair out of the base with them.

7. Section Off the Crown and Set It Aside
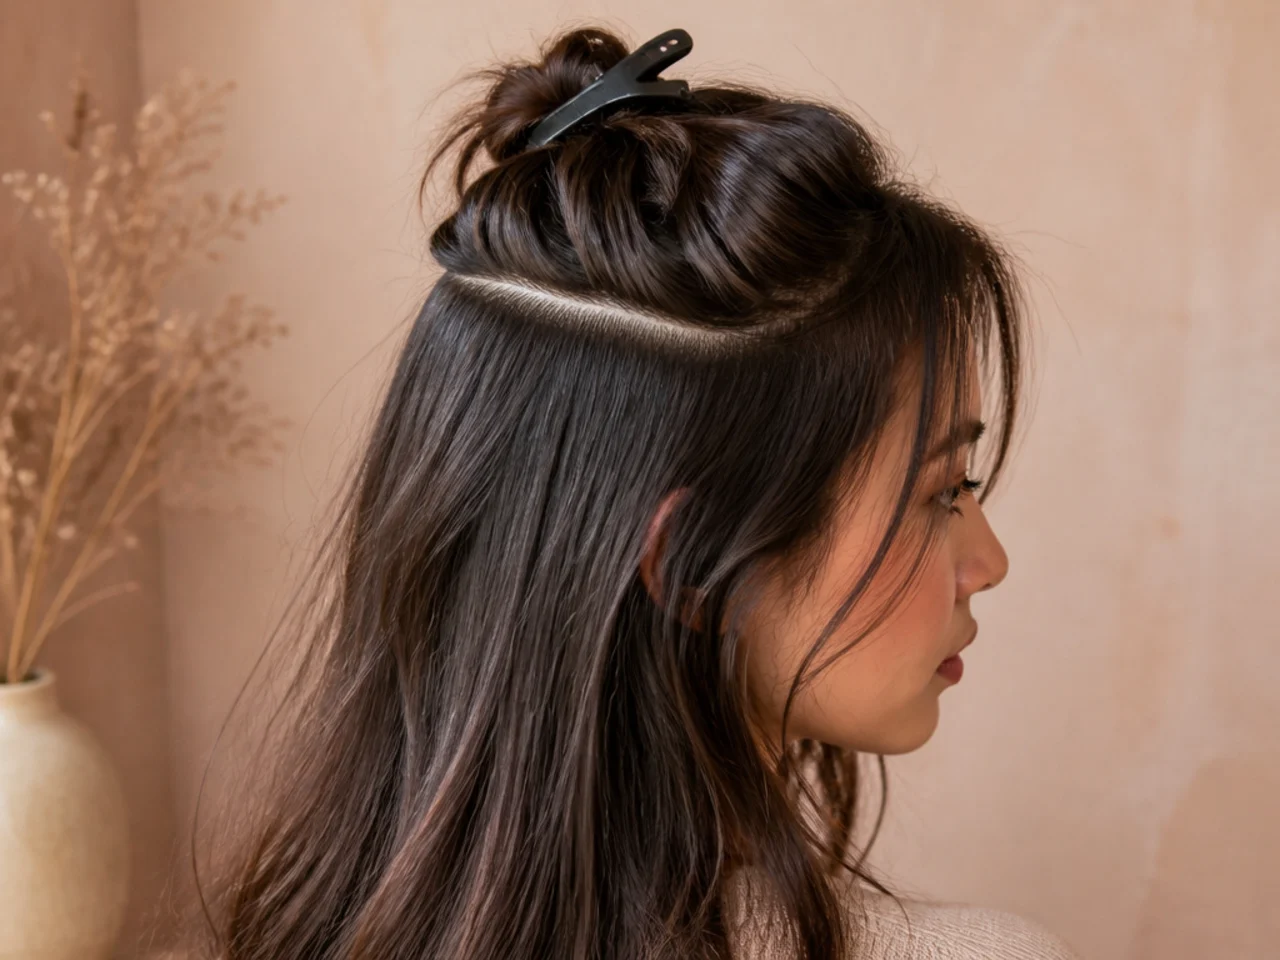
Clip the top section from hairline to crown out of the way and build the ponytail from the back and sides first. Gathering everything in one movement puts maximum tension on the shortest layers, which are the least able to take it.
8. Backcomb the Crown at the Root
Three short strokes at the base of the crown section, no more. The tangle gives the short layers something to sit against, and without it the top of the ponytail collapses flat and the scalp shows through at the parting.

9. Smooth the Surface With Two Light Passes
Take a soft bristle brush over the top of the backcombed section only, barely touching it. Press harder and you comb the tangle straight back out, which removes the lift you just built and leaves the crown flatter than before you started.
10. Gather the Back Section at the Occipital Bone
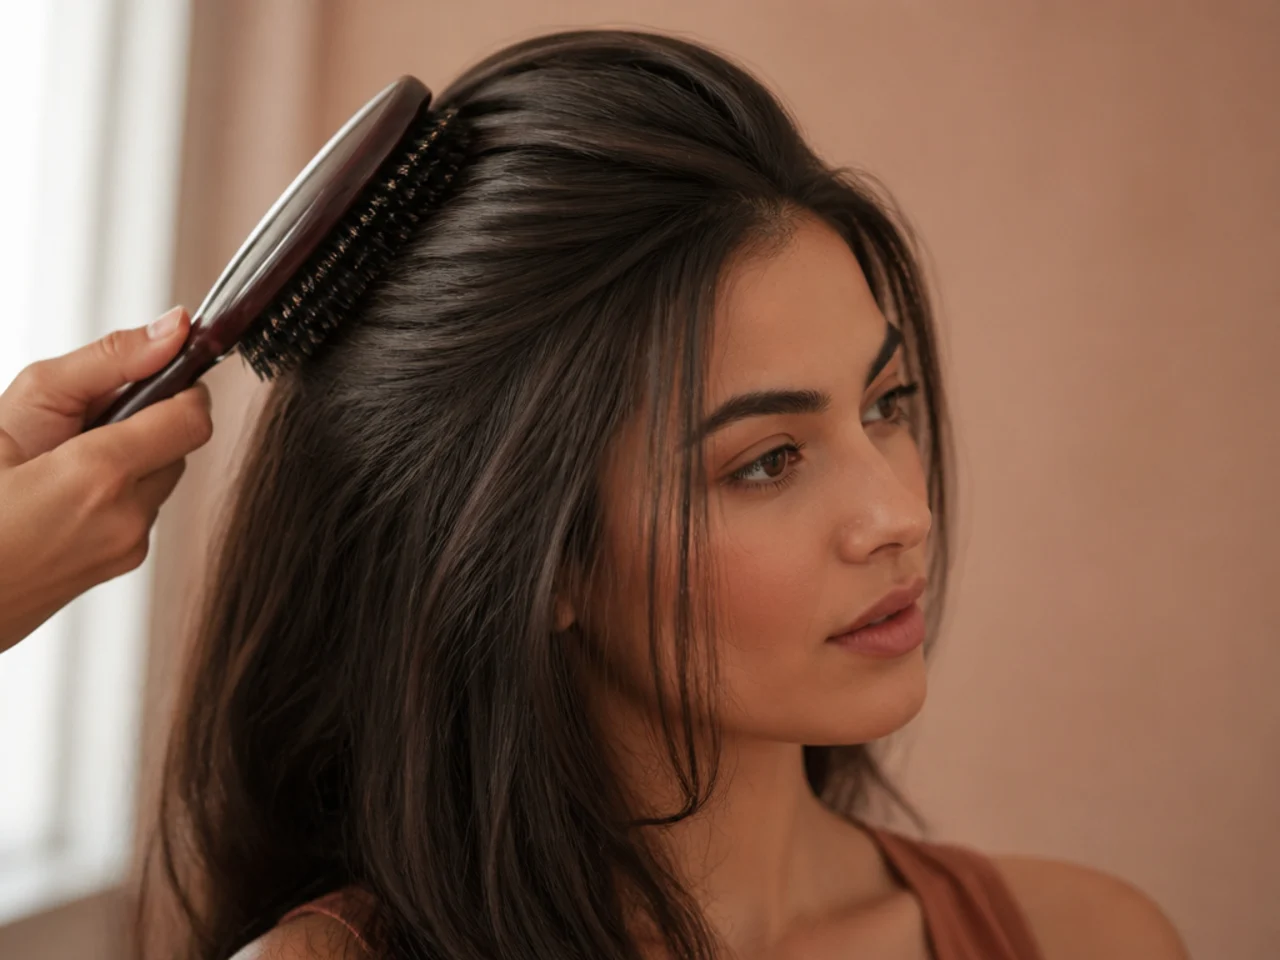
Find the bump at the back of the skull and gather there. Placed above it the ponytail loses the support of the bone and slides down through the day, and placed below it the crown layers are suddenly out of reach.
11. Hold the Base Before You Add Anything Else
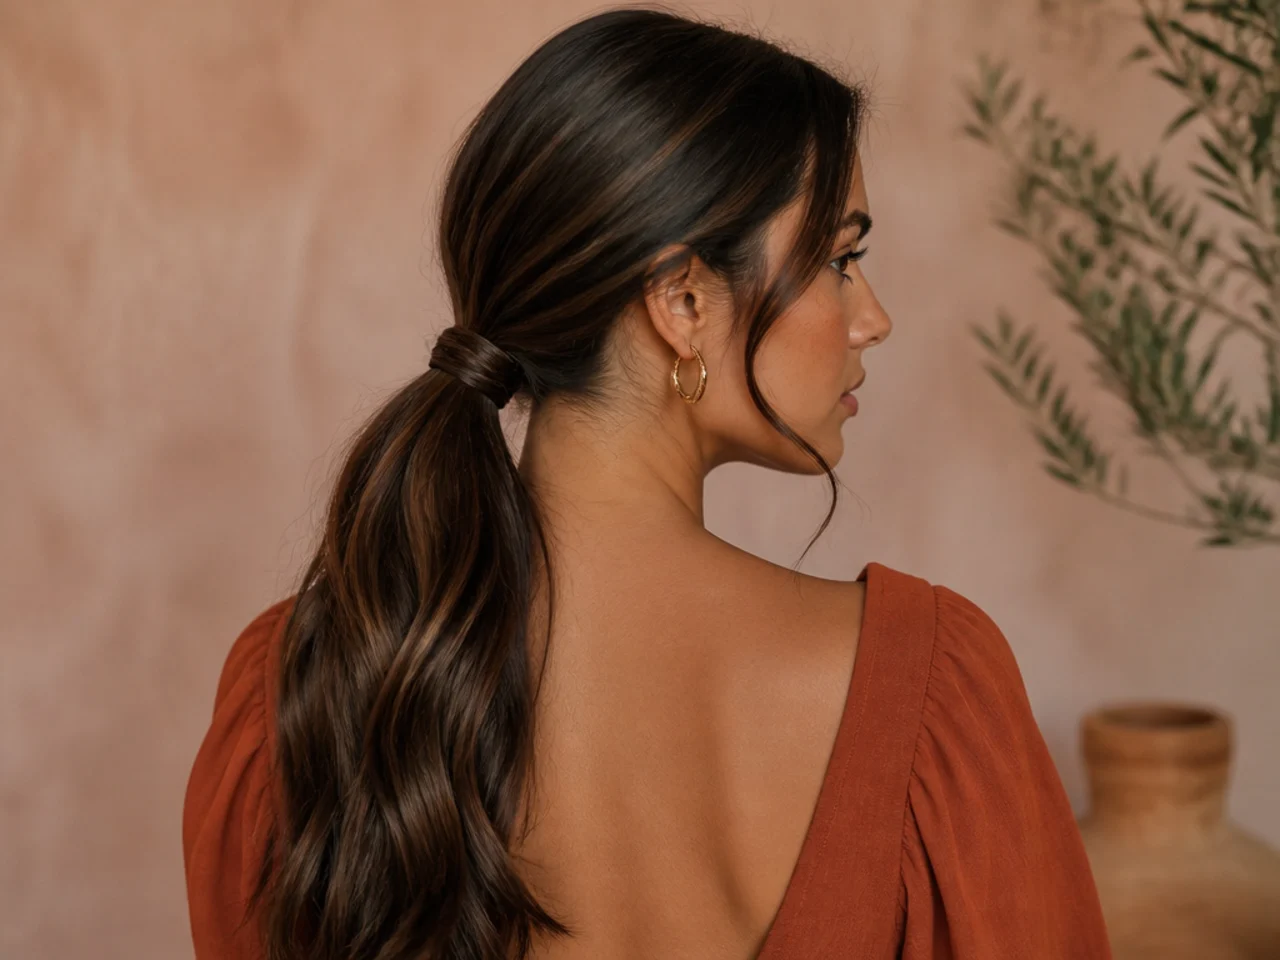
Grip the gathered section at the base with your weaker hand and do not release it. Let go to reach for the elastic and the whole gather re-settles unevenly, so the tension you built on one side is lost and the ponytail sits crooked.

12. Bring the Crown Section Over Last
Release the clip and lay the crown section over the top of the gather, keeping the lift you built. Adding it first flattens it under everything else, and the backcombing then does nothing except make the base bulky.
13. Tie With a Spiral Coil or a Fabric Scrunchie
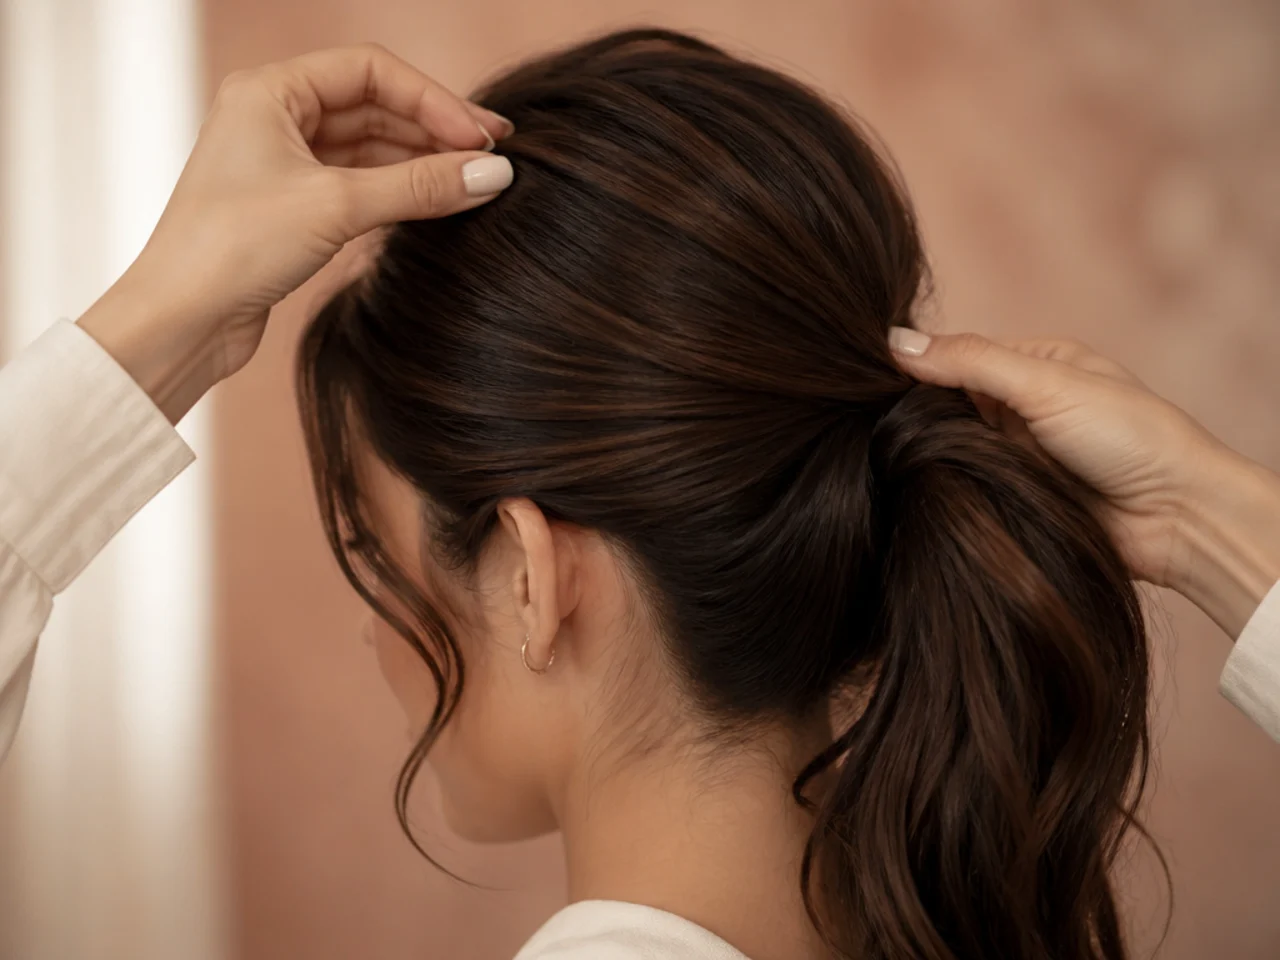
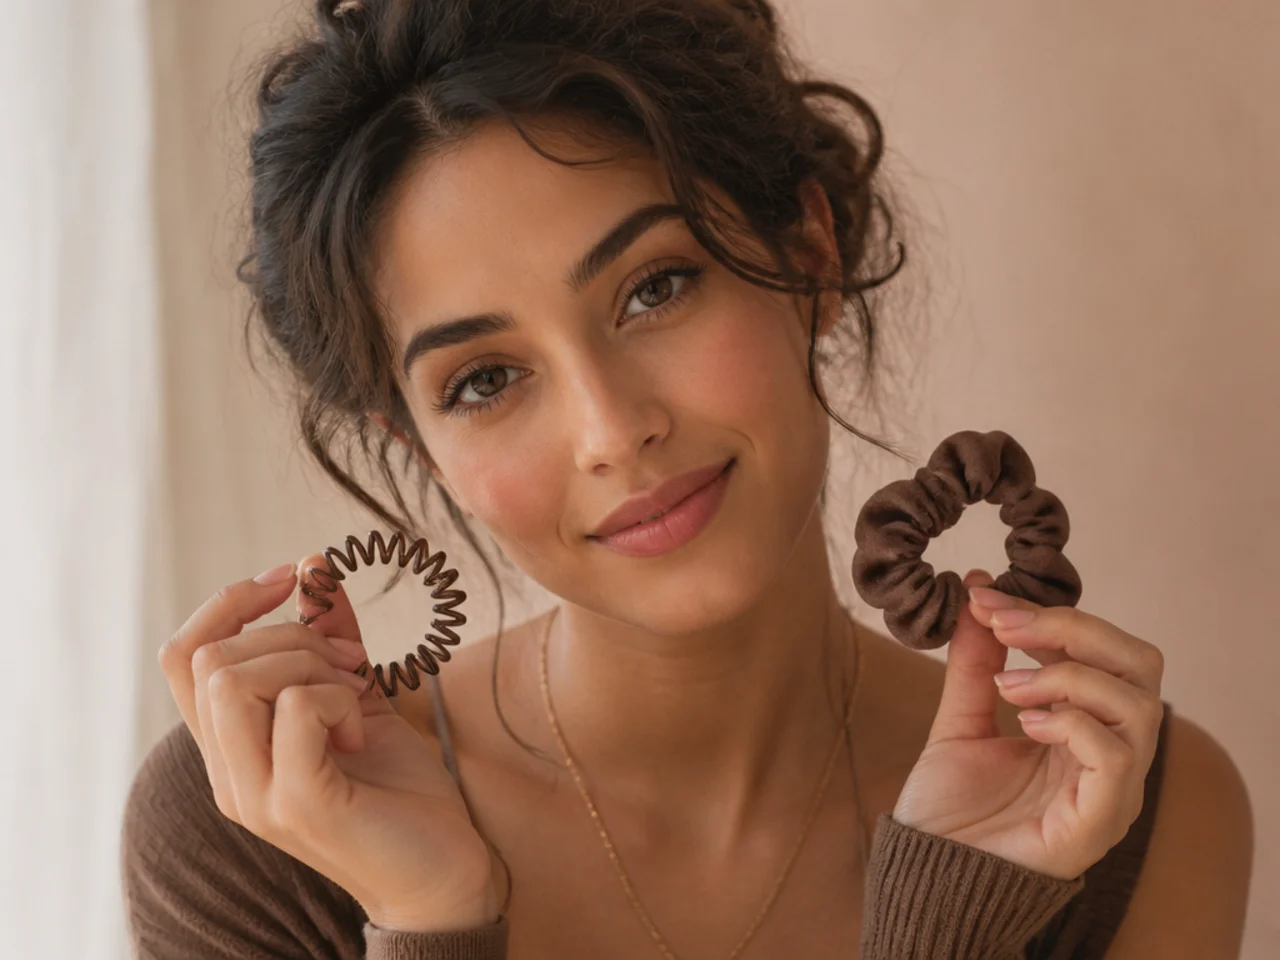
Both spread pressure across a wide band instead of biting into a few strands. A thin snag elastic concentrates all its grip on the shortest layer ends, and that is exactly where hair snaps and returns as crown flyaways weeks later.
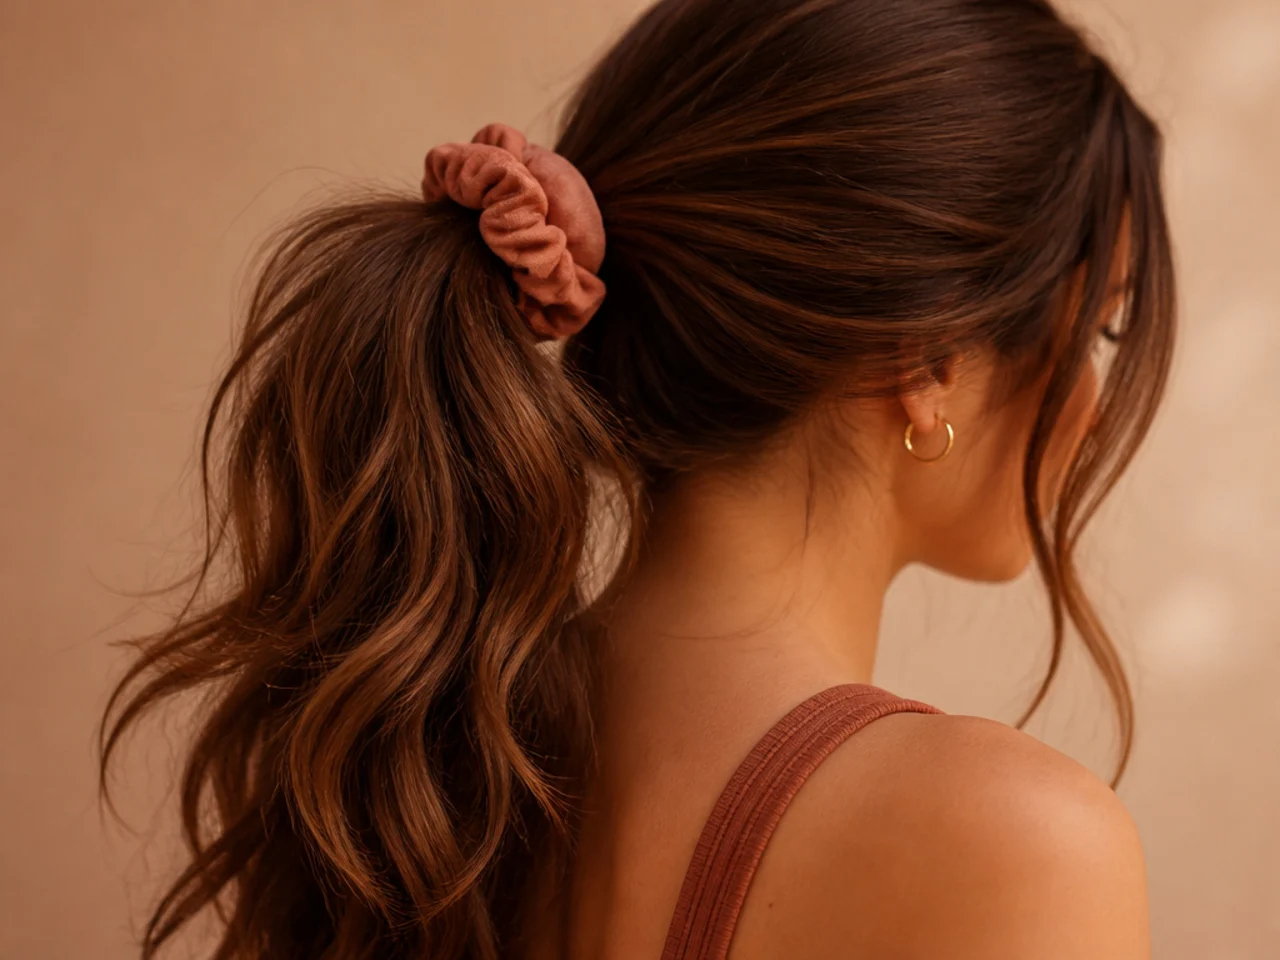
14. Wrap Twice Rather Than Three Times
Staggered layer ends already add bulk at the base, so two wraps usually hold. A third crushes the crown layers flat against the elastic and forces them out sideways, which produces the halo of short pieces standing up around the tie.

15. Split the Base and Pull Down to Tighten
Divide the ponytail in two just below the elastic and pull the halves apart and down. Tightening by yanking the tail instead drags the shortest layers straight out through the elastic and undoes the gather at the crown.
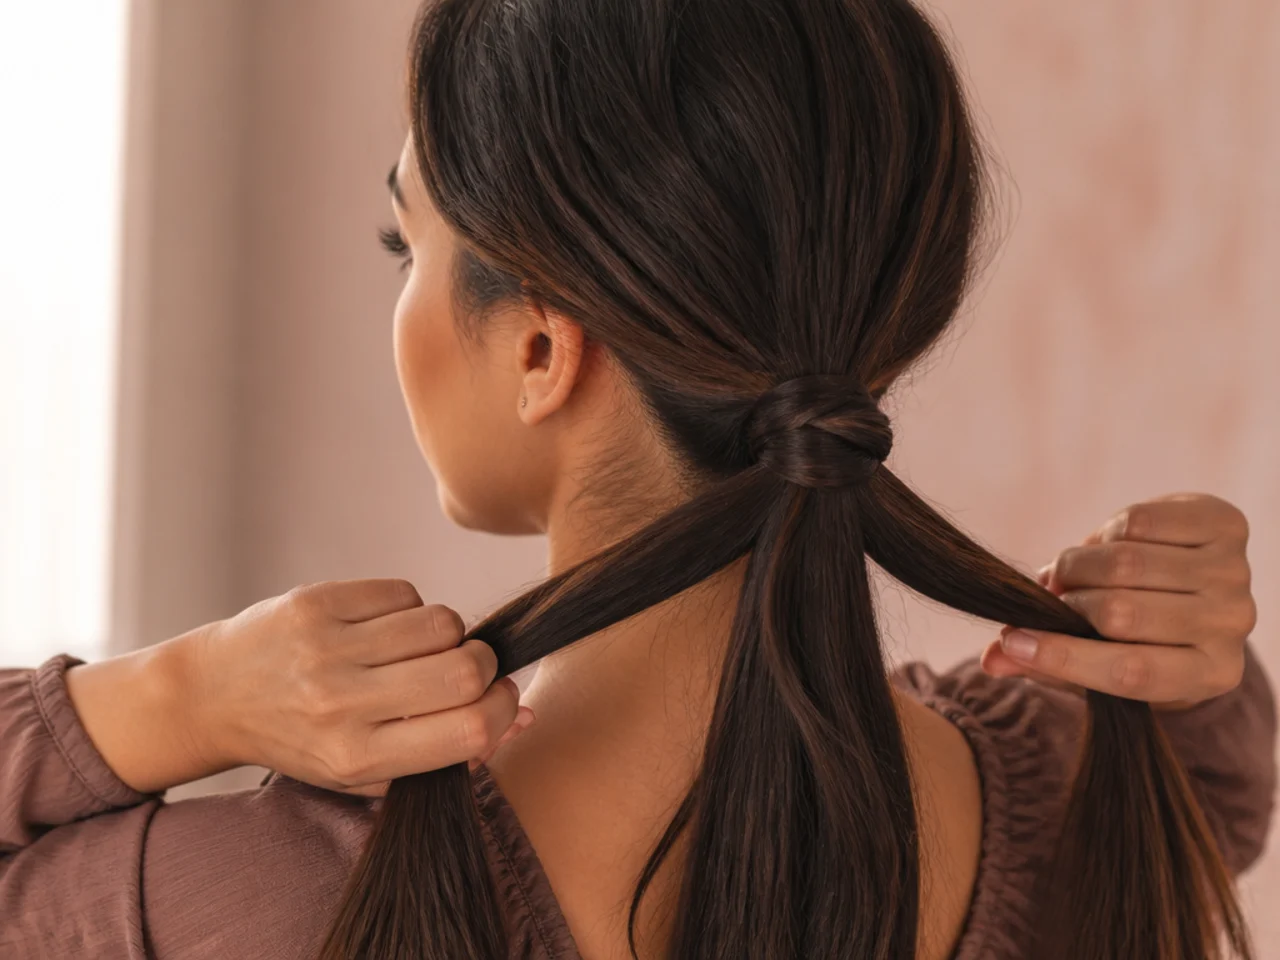
16. Cross Two Pins Over Any Escaping Layer
Pins slide out of layered hair when used singly, because there is nothing of matching length for them to grip. Crossed in an X they lock against each other, and one pair holds a crown piece that four parallel pins would not.
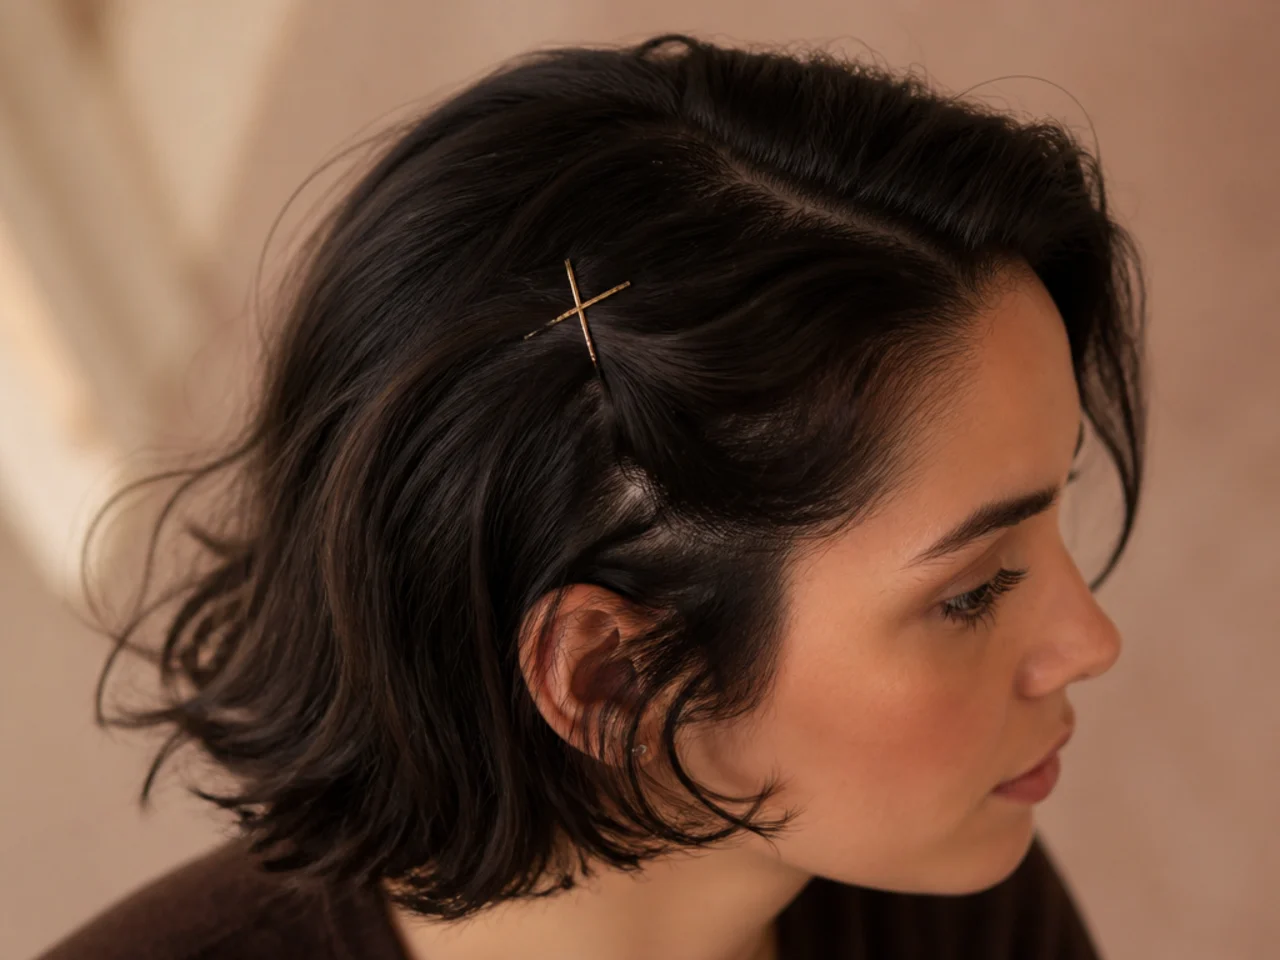
17. Wrap a Long Strand Around the Elastic
Take a strand from underneath the tail, where the hair is longest, and wind it around the tie. Choose a top strand instead and it is a crown layer that runs out of length halfway round, leaving a stub sticking out at the base.

18. Release the Face Framing Pieces From the Parting
Pull them forward from the root end rather than tugging the tips. Pulling the ends drags the whole front section loose from the gather, and what should be two soft pieces becomes a sagging panel across the temple.

19. Pancake the Tail in Small Pulls
Widen the tail by tugging a few millimetres at a time along its length. Large pulls separate the staggered layer ends into visible steps, which turns a soft tail into an obvious stack of three different lengths.
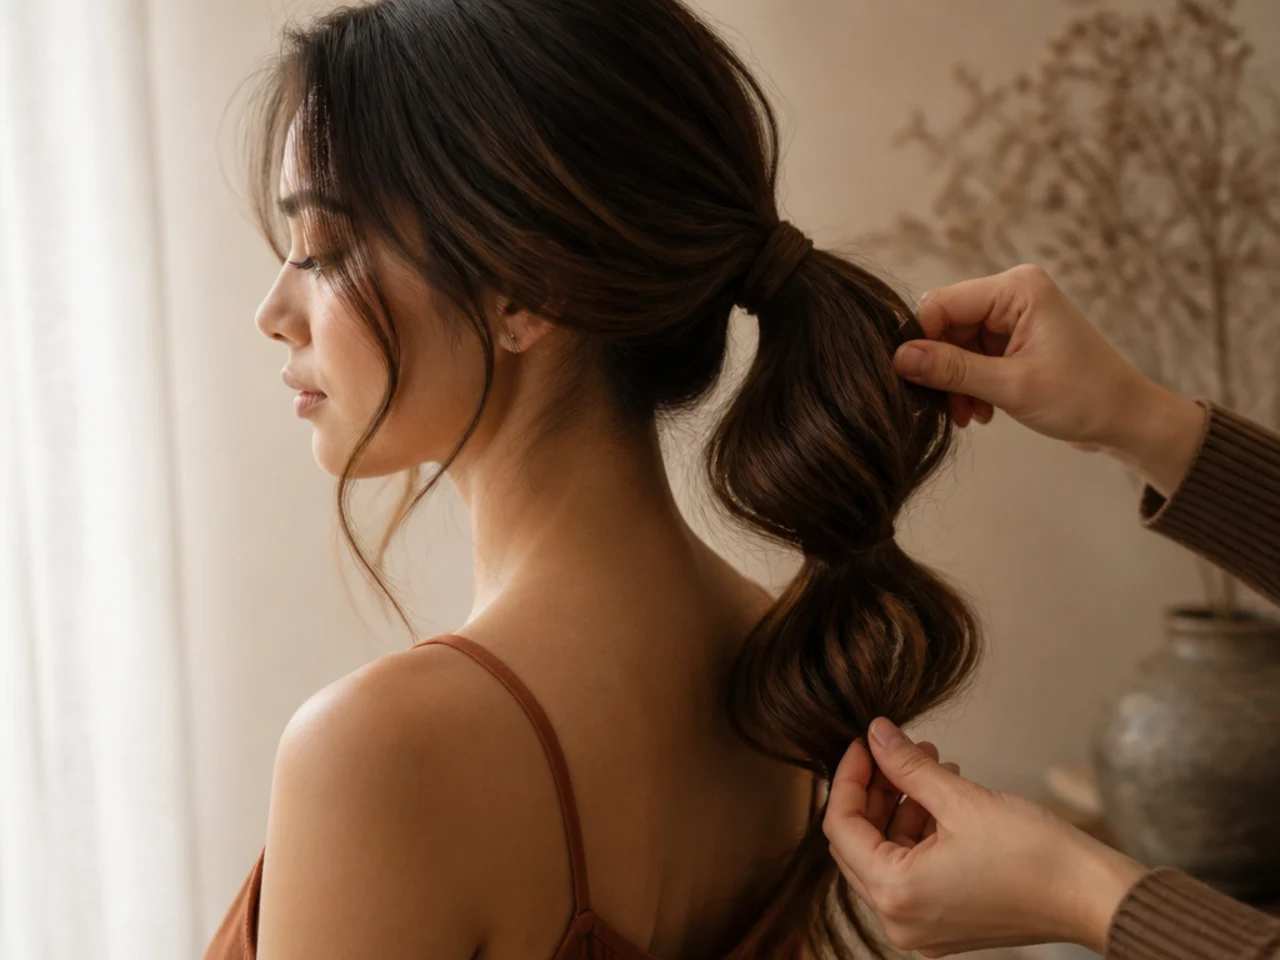
20. Check the Nape and Finish With Flexible Hold
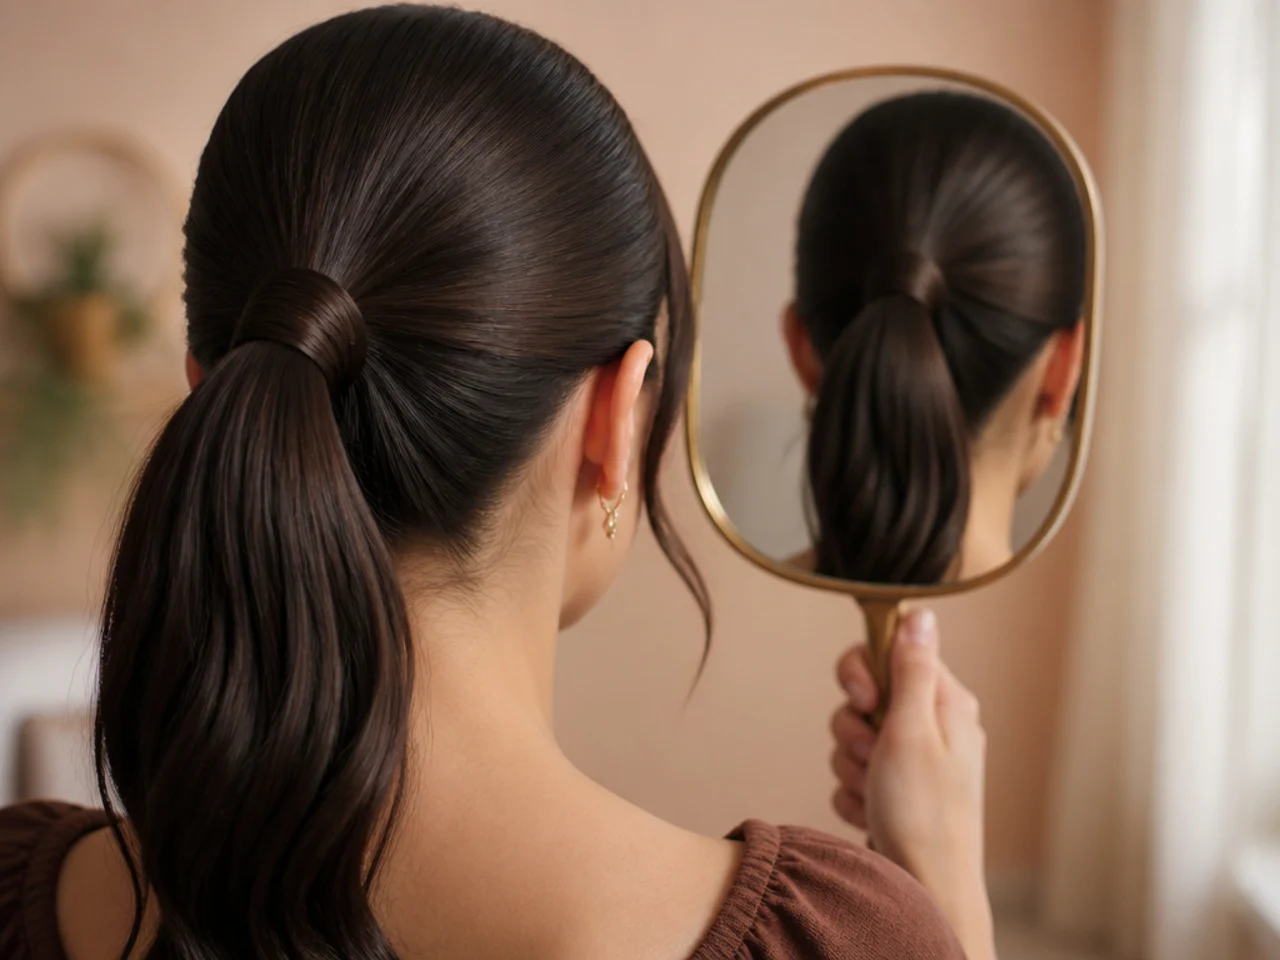
Look at the back in a second mirror, then use a flexible spray from twenty centimetres away. A firm hold spray sets the escaping crown layers into rigid spikes, where a flexible one lets them lie down against the head.
Styling and Upkeep
Move the height between wearings. The same tie in the same place every day loads the same strands, and that is how a thin patch appears at the crown.
Take it down before sleeping. Layers pressed under an elastic overnight set into bends that need water to remove.
Keep a spiral coil in your bag rather than a thin elastic. It costs nothing and it is the single change that stops crown breakage.
Re do it rather than tighten it. Pulling a slipping ponytail up drags the short layers out at the front and roughens them.
Trim the crown layers on schedule. A wolf cut trimmed every six to eight weeks holds a tie better than one grown out, because the layers stay at a predictable length.
Mistakes to Avoid
Tying it low and expecting the crown to hold. Those layers are shorter than the trip to the nape, and no product changes that.
Brushing the gather more than once. Each pass roughens the shortest layers, and they are the ones on show.
Using a thin elastic on layered ends. Concentrated pressure on staggered lengths snaps the shortest ones at the base.
Backcombing too far up the section. Tangle above the root shows through the smoothed surface as a rough patch.
Judging it from the front only. The nape is where a layered ponytail fails, and it is the part you never see.
FAQ
High or low? Higher holds more of the cut, because the shortest layers have less distance to travel.
Which elastic? A spiral coil or a fabric scrunchie, never a thin snag band.
Why do pins slide out? Layered hair gives them nothing to grip, so cross them in an X.

Final Thoughts
Measure before you tie. If a crown layer is twelve centimetres long, the elastic has to be within twelve centimetres of its root, and every other step here is a way of working around the pieces that are not.
For where the layer stack sits when the hair is shorter see the short wolf cut, and for a softer, more connected stack see the Korean wolf cut. More in Mullet & Wolf Cut.