

20 Flattering Shag Haircuts For Round Face Shapes
Twenty shag variations for a round face, chosen by where the layers start rather than by length. A round face is widest at the cheek, so the only rule that matters is that no volume sits at that line and the shortest framing piece finishes below it.
In this article · 27
- Why a Shag Works on a Round Face
- Choosing Your Length and Fringe
- The 20 Shag Haircuts for Round Faces
- 1. Collarbone Shag With Curtain Bangs
- 2. Long Shag Past the Collarbone
- 3. Shag With Chin Length Framing
- 4. Shag With a Deep Side Part
- 5. Shag With Layers Starting Below the Cheek
- 6. Shag With a High Crown Layer
- 7. Shag With a Narrow Silhouette
- 8. Shag With a Side Swept Fringe
- 9. Bottleneck Fringe Shag
- 10. Shag With a Wispy Fringe
- 11. Curly Shag With Height Not Width
- 12. Wavy Shag With a Long Front
- 13. Straight Shag With a Blunt Perimeter
- 14. Shag With Money Piece Framing
- 15. Shag Mullet for a Round Face
- 16. Wolf Cut Shag
- 17. Shag on Fine Hair
- 18. Shag on Thick Hair
- 19. Shag With One Side Tucked
- 20. Grown Out Shag at Ten Weeks
- Styling and Upkeep
- Mistakes to Avoid
- FAQ
- Final Thoughts
Round faces do not need longer hair. They need the volume moved off the cheek line, and a shag is one of the few cuts where you can specify exactly where that volume sits.
The widest point of a round face is the cheek. Any layer that ends there adds its bulk to the widest line, which is why length alone never fixes the problem.
A shag adds height, and height is the counter to width. Stacked crown layers build upward. That vertical is doing more work than anything happening at the ends.
Why a Shag Works on a Round Face
Stacked layers put volume at the top. The short crown layers sit on the longer ones and lift them, which builds height rather than width.
A split fringe draws two verticals. Curtain bangs fall on either side of the face as parallel lines, and parallel verticals narrow a shape the same way they do in clothing.
The perimeter can be kept narrow at the ears. Weight removed from underneath at ear height keeps the silhouette close where the face is widest.
Length below the jaw extends the shape. The eye follows the longest line. Ending the cut under the jaw keeps it travelling downward past the widest point.

Choosing Your Length and Fringe
Set the shortest framing piece at the jaw or below. This is the one measurement worth writing down. Everything else in the cut can be adjusted around it.
Choose a split fringe over a blunt one. A blunt fringe cuts one horizontal across the forehead and shortens the face above the cheeks.
Move the parting off centre. A diagonal parting sets a line across the roundness instead of down the middle of it, and it lifts the crown on the heavy side.
Ask for weight removed at ear level. That is the specific instruction. Saying "make it less round" gets you a shorter cut rather than a narrower one.
The 20 Shag Haircuts for Round Faces
1. Collarbone Shag With Curtain Bangs
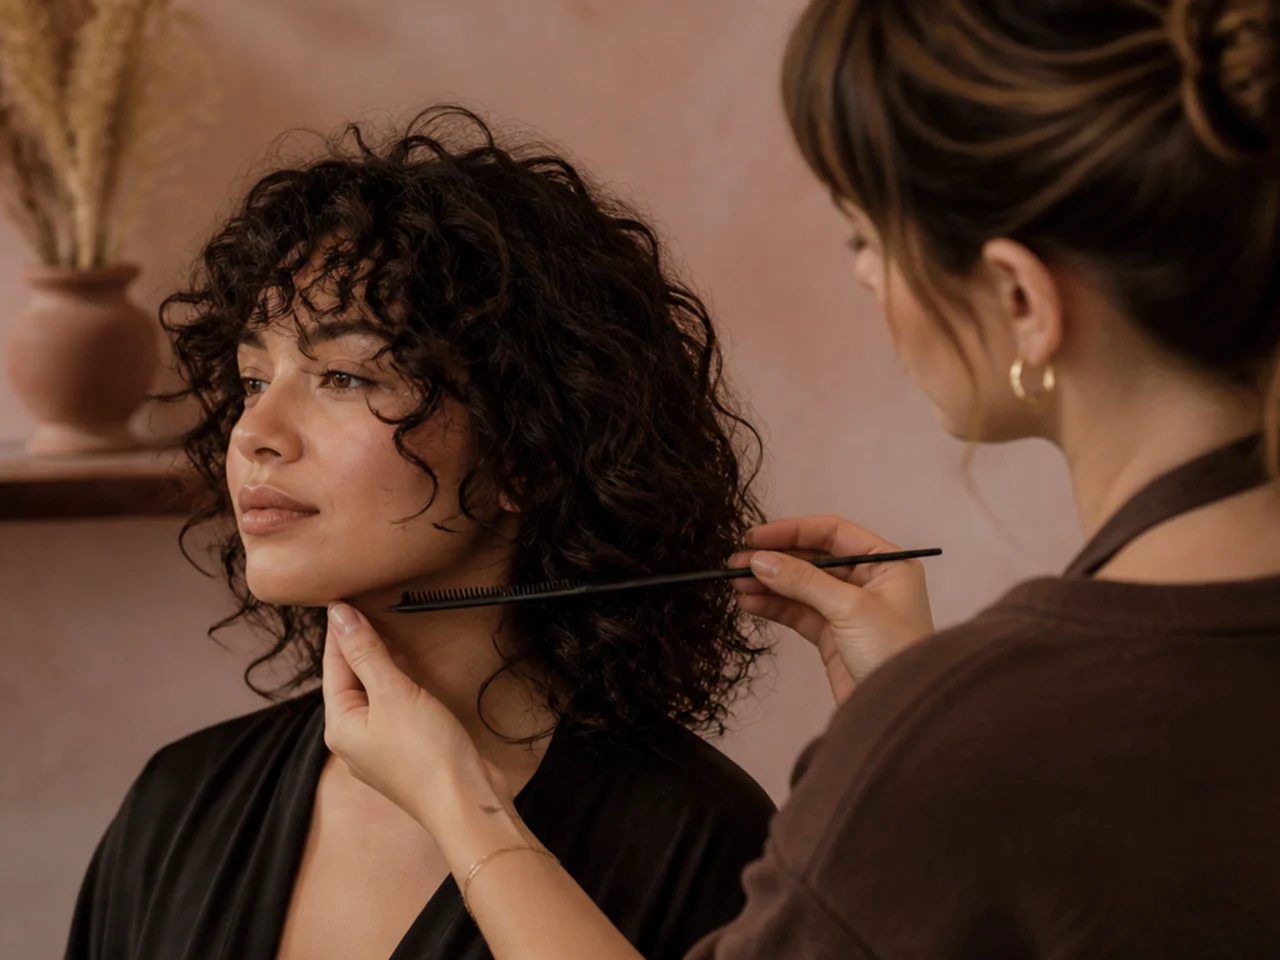
The fringe splits at the front and falls as two soft verticals down the cheeks, while the perimeter finishes well below the jaw. Two parallel vertical lines narrow the shape between them, which is why a split fringe consistently outperforms a blunt one here.
2. Long Shag Past the Collarbone
The extra length gives the eye further to travel below the widest point of the face. It only works if the interior is layered, because unlayered long hair hangs as a wide curtain either side of the cheeks and adds to the very line you were trying to break.

3. Shag With Chin Length Framing
The shortest face framing piece finishes at the chin rather than the cheek. Ending it under the widest point stops the framing from adding bulk where the face is already broadest, and it draws a longer diagonal down the side of the jaw.

4. Shag With a Deep Side Part
Moving the parting well off centre replaces the symmetry a round shape emphasises with a diagonal. It also lifts the roots on the heavy side, since they are being pushed against their growth direction, and that lift adds height at no cost.

5. Shag With Layers Starting Below the Cheek
The first interior layer begins under the cheekbone rather than at it. A layer end is a visible width, so where the layering starts sets where the shape is widest, independent of how long the hair is.

6. Shag With a High Crown Layer
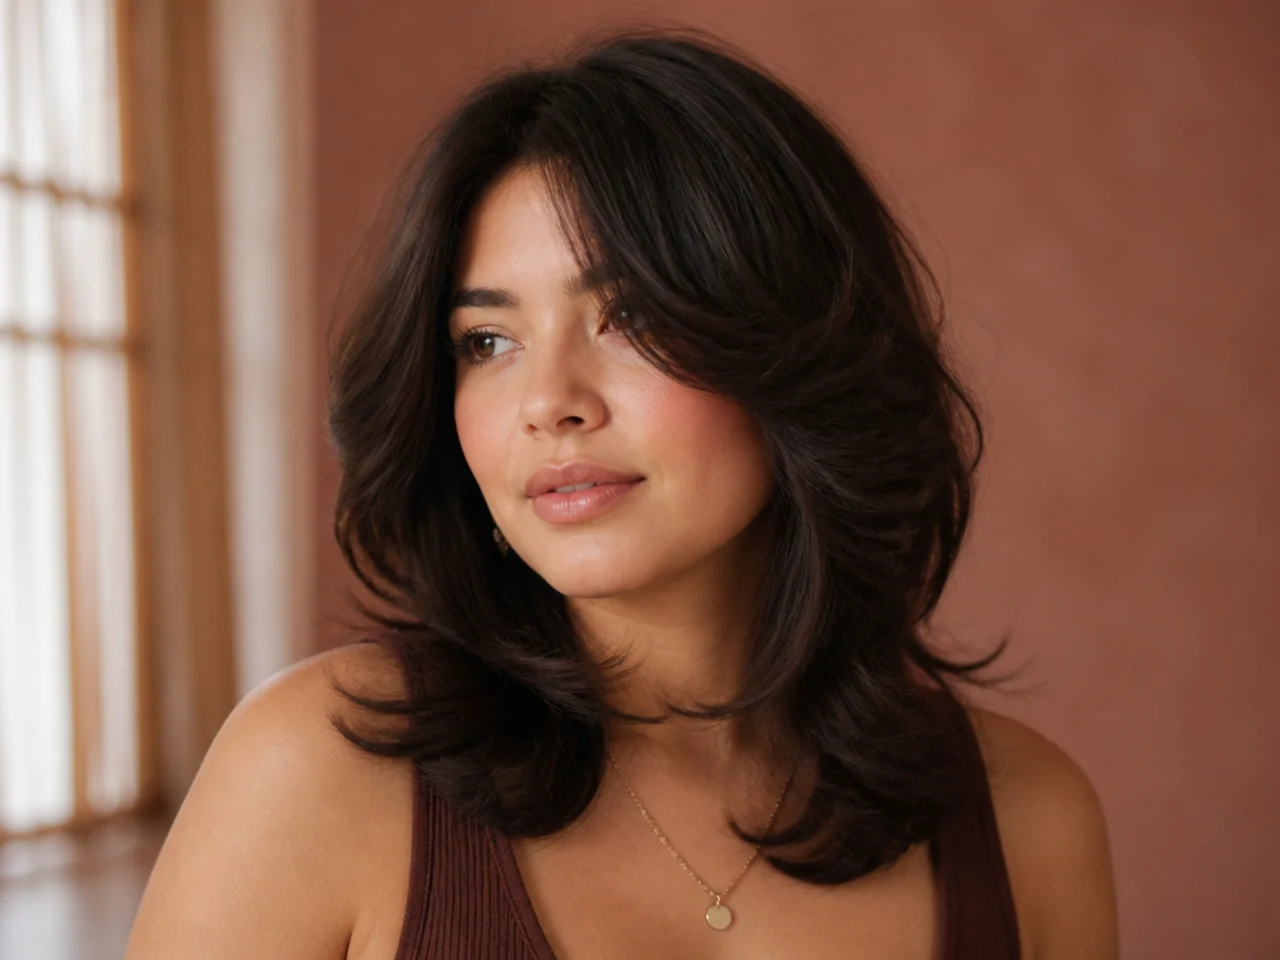
The shortest layer is set high on the crown so it props the layers below it into a dome. Height at the top adds a vertical dimension that competes directly with the horizontal width across the cheeks.

7. Shag With a Narrow Silhouette
Weight is taken out from underneath at ear height, which pulls the outline in exactly where the face is broadest. Removing it from the surface instead makes the ends flick outward and widens the same line.

8. Shag With a Side Swept Fringe
The fringe crosses the forehead diagonally rather than sitting straight across it. A diagonal line is read as longer than a horizontal one of the same width, which is why it lengthens the face. The same principle is worked through in side swept bangs for a round face.

9. Bottleneck Fringe Shag
Rounded and slightly shorter in the centre, then dropping steeply at the outer edges. Those steep sides run down past the cheek and narrow the visible width of the face between them without covering it.

10. Shag With a Wispy Fringe
A thin, see through fringe that lets skin show behind it. Solid weight across the forehead shortens the face by hiding the top third, while a wispy one keeps that height visible. The cut version is covered in french bangs for a round face.

11. Curly Shag With Height Not Width
Curl grows outward by default, so the crown roots are clipped while drying and the sides are left alone. Directing the volume up rather than letting it expand sideways is the difference between a curly shag that narrows a round face and one that frames it in a circle.

12. Wavy Shag With a Long Front
The front sections are cut long enough that the natural bend lands below the jaw. A wave turns outward at a predictable point, so moving the ends down moves the widest part of the wave down with them.

13. Straight Shag With a Blunt Perimeter
Straight hair hangs in a flat panel, and a blunt edge at the bottom keeps that panel reading as a single vertical line. Feathering the same ends spreads them sideways and softens exactly the edge that was doing the narrowing.

14. Shag With Money Piece Framing
Two lightened panels either side of the parting. Lighter strands catch more light and read as distinct lines rather than part of the mass, which reinforces the two verticals the framing was already drawing.

15. Shag Mullet for a Round Face
Short layered crown, longer tail at the nape. All the length sits behind the face rather than beside it, so it adds vertical extension to the silhouette without putting any weight near the cheeks.

16. Wolf Cut Shag
More weight removed at the crown and a heavier fringe, which stacks height at the top and keeps the ends light. The contrast between a full crown and thin ends is what makes the whole shape read taller than it is wide.

17. Shag on Fine Hair
Keep the shortest layer at ear height and leave the perimeter blunt. Fine hair cannot fill the gap under a high layer, and a see through section at the cheek reads as width without the volume that was supposed to justify it.

18. Shag on Thick Hair
Weight is removed in horizontal slices from underneath, repeated every few inches down the length. Thick hair rebuilds width below any single layer, so one pass at the top simply moves the widest point lower instead of removing it.

19. Shag With One Side Tucked
One side behind the ear, the other left forward. The asymmetry breaks the symmetry a round shape reads as circular, and it exposes one cheekbone, which reads as structure rather than width.

20. Grown Out Shag at Ten Weeks
Ten weeks of growth moves every layer about an inch and a half lower, which drops the shortest framing piece back toward the cheek. Trimming the framing alone resets the widest point without touching the length you have been growing.

Styling and Upkeep
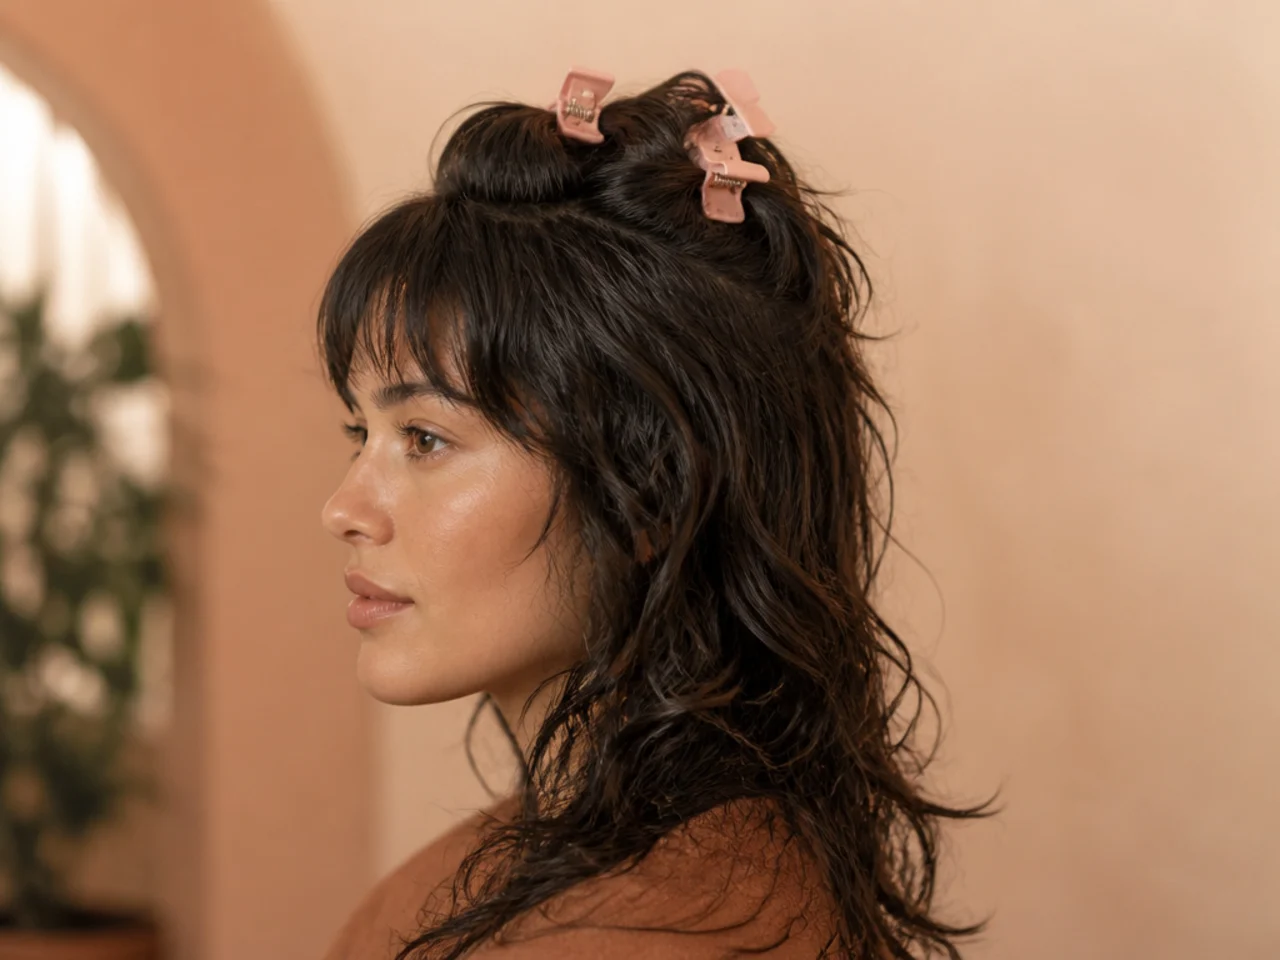
Clip the crown roots while drying. Height at the top is the counterweight to width at the cheeks, and it has to be set while the hair is wet.
Keep the dryer pointing up at the roots, not out at the sides. Airflow direction is the difference between a tall shape and a wide one.
Tuck one side. It costs nothing and removes the symmetry that makes a round face read rounder.
Trim the face framing at week six. Those pieces reach the cheek first and undo the whole plan before the rest of the cut needs anything.
Skip volume product at the sides. Root lift belongs at the crown only. Applied at the temples it widens the exact line the cut is working against.
Mistakes to Avoid
Framing that ends at the cheekbone. It places bulk on the widest line of the face. Move the shortest piece to the jaw or below.
A blunt fringe straight across the brow. One hard horizontal cuts the face short above the cheeks and makes the lower half read wider.
A centre parting with symmetrical framing. Perfect symmetry emphasises a circle. Offset the part by an inch and the whole shape changes.
Volume built at ear level. Whether from a curl, a layer or a product, it is the one place a round face cannot carry extra width.
Waiting twelve weeks between trims. By then the framing has grown back onto the cheek and the cut is doing the opposite of what it was designed for.
FAQ
Where should the shortest layer end? At the jaw or below, never at the cheek.
Which fringe? A split or side swept one. Not a blunt line across the brow.
Does length fix it? No. Placement does. Long unlayered hair widens the cheeks as much as short does.

Final Thoughts
Give a stylist one number and one direction: the shortest framing piece finishes at the jaw, and the volume goes up rather than out. Those two instructions cover almost everything a round face needs from a shag, and both are things that can be checked with a comb before the first section is cut.
If you want the same geometry at a shorter length see bob haircuts for round face shapes. More in Mullet and Wolf Cut.



