

25 Long Wolf Cut Looks For Women Over 40
A long wolf cut puts its shortest layers at the crown and keeps a long perimeter. That works while the crown still has density behind it, which is the one thing worth checking before the scissors start. Twenty five versions and where each one places its layers.
In this article · 32
- What a Long Wolf Cut Actually Is
- Choosing Where the Layers Start
- The 25 Long Wolf Cut Looks
- 1. Soft Layered Long Wolf Cut
- 2. Long Wolf Cut With Curtain Bangs
- 3. Collarbone Wolf Cut
- 4. Mid Back Wolf Cut
- 5. Wolf Cut With a Blunt Perimeter
- 6. Wolf Cut With Face Framing Layers
- 7. Wolf Cut on Straight Hair
- 8. Wolf Cut on Wavy Hair
- 9. Curly Long Wolf Cut
- 10. Wolf Cut on Coily Hair
- 11. Wolf Cut for Fine Hair
- 12. Wolf Cut for Thick Hair
- 13. Wolf Cut With Grey Blending
- 14. Wolf Cut on Natural Silver Hair
- 15. Wolf Cut With a Root Shadow
- 16. Wolf Cut With Balayage
- 17. Wolf Cut With a Money Piece
- 18. Wolf Cut With a Middle Part
- 19. Wolf Cut With a Deep Side Part
- 20. Wolf Cut With Low Starting Layers
- 21. Wolf Cut With a Bottleneck Fringe
- 22. Wolf Cut With Invisible Layers
- 23. Wolf Cut Worn Half Up
- 24. Dry Cut Long Wolf Cut
- 25. Wolf Cut at Twelve Weeks
- Styling and Upkeep
- Mistakes to Avoid
- FAQ
- Final Thoughts
A long wolf cut concentrates its shortest layers at the crown, which is the one part of the head where density is worth checking before anything is cut.
The shortest layer props everything below it. That is where the volume comes from, and it is also why placing it too high on a thinning crown makes the scalp more visible rather than less.
The perimeter is doing the density work. Layers subtract from the ends. A blunt outline puts every strand in the section at the same length so they stack, and stacking is what makes long hair read thick.
What a Long Wolf Cut Actually Is
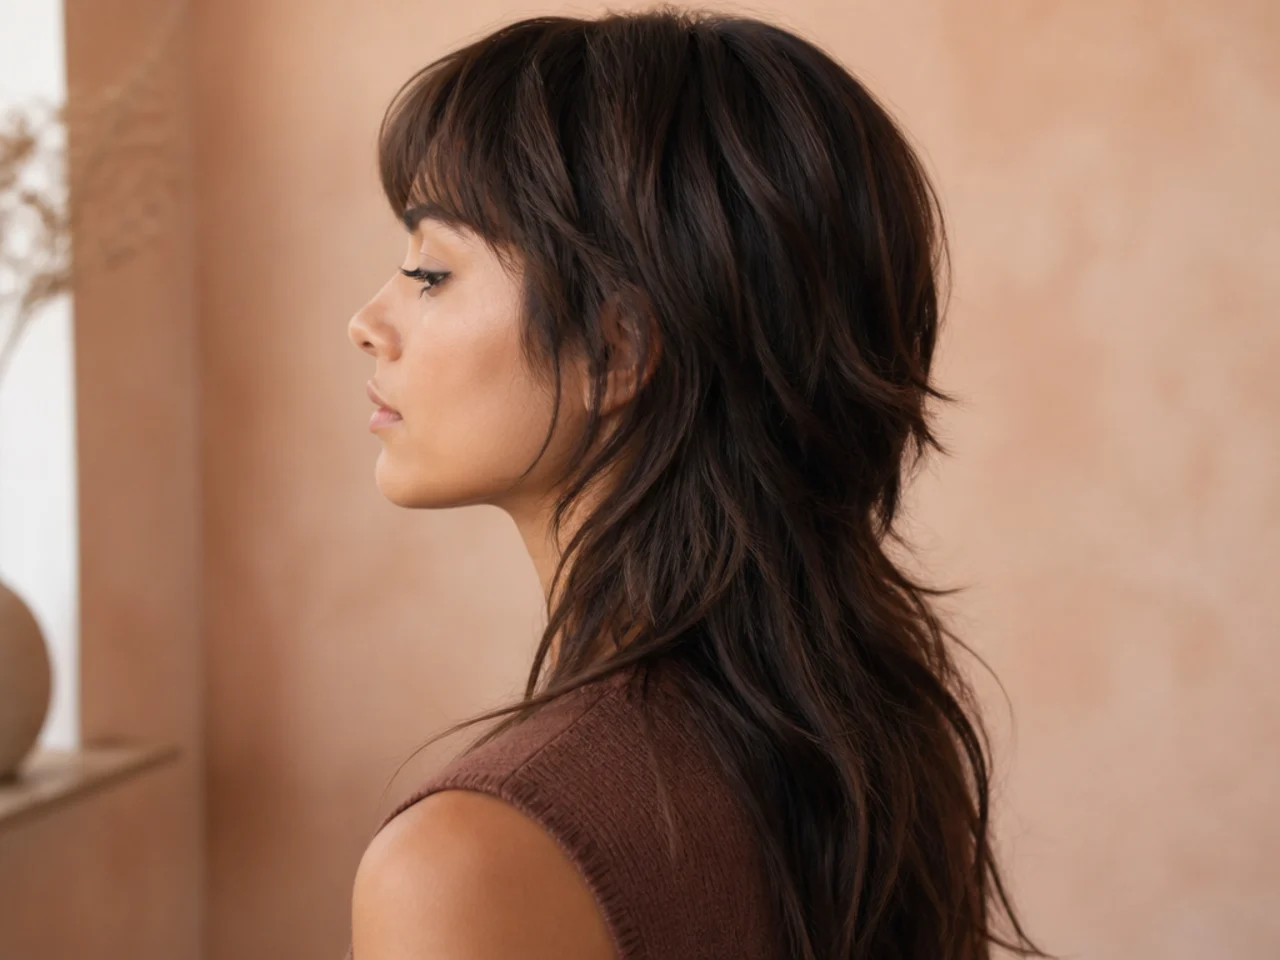
It is a shag and a mullet crossed. Heavy short layering through the crown, a long perimeter left underneath, and enough separation between the two that they read as different lengths.
The layers are graduated, not stepped. Each one is slightly shorter than the one beneath it, so the ends support each other. Widely spaced layers leave visible shelves and take a year of growth to close.
Length is what makes the long version work. With hair past the collarbone, the crown can be layered aggressively and there is still enough weight below to hang, which is not true on a short wolf cut.
Texture decides how much layering it can take. Curl hides a layer line inside the bend. Straight hair displays it exactly as cut, so straight heads want fewer layers cut closer together.
Choosing Where the Layers Start
Cheekbone for lift, jaw for softness. The higher the shortest layer, the more of the length below it gets propped up, and the less coverage stays over the part line.
Check the crown in daylight before choosing. If the part line has widened at all, keep the shortest layer at the jaw. High layering removes the hair that was covering it.
Ask for the layers close together. Spacing is the variable nobody mentions and it decides whether the cut reads as one shape or as three separate lengths.
Keep the perimeter blunt whatever happens above it. The outline is the only part of the cut that carries apparent density, so it should be the last thing anyone thins.
The 25 Long Wolf Cut Looks
1. Soft Layered Long Wolf Cut
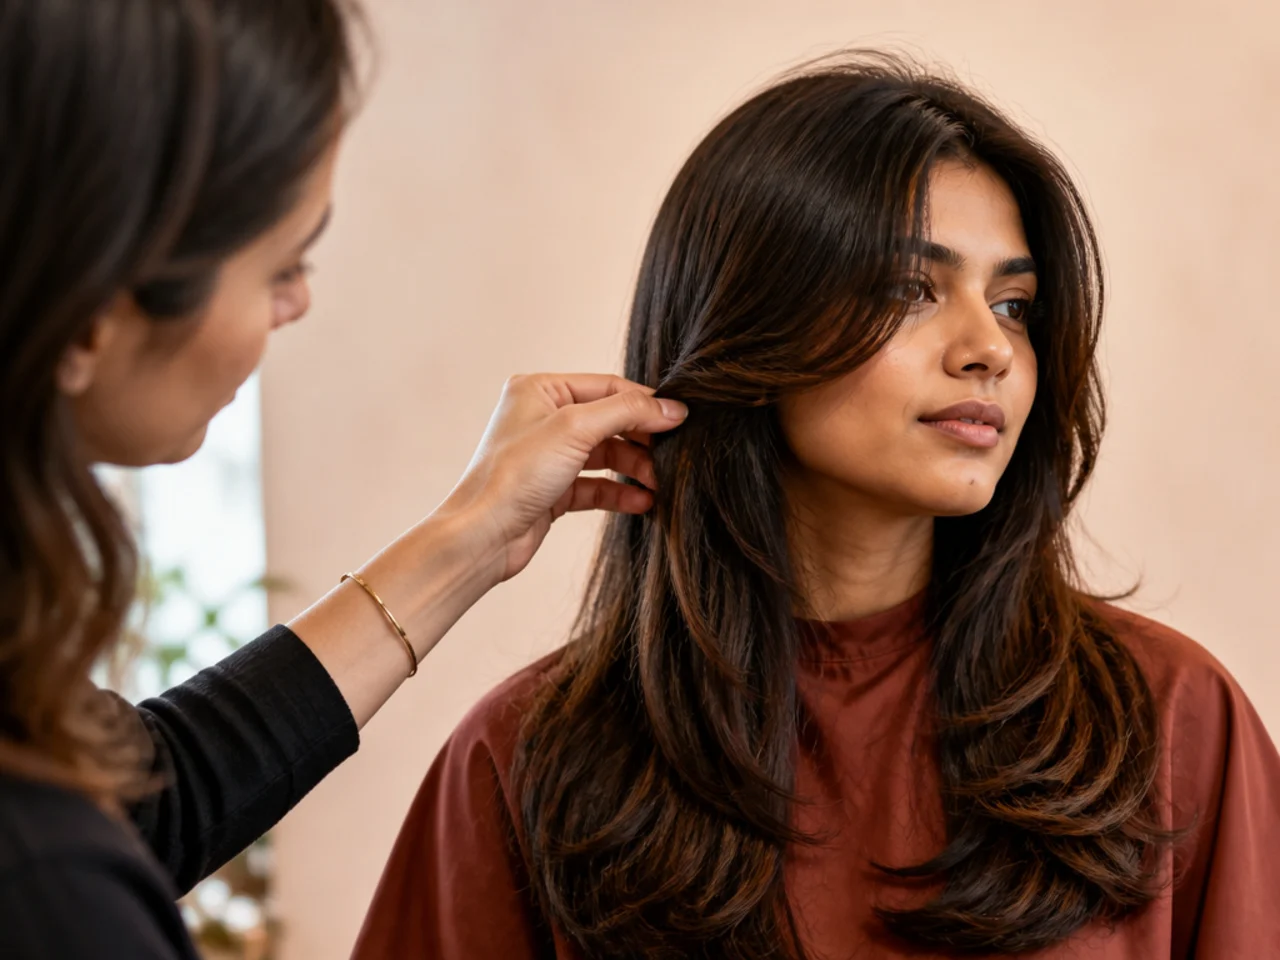
Layers cut long and spaced an inch or two apart rather than short and far apart. Because each layer is only slightly shorter than the one below it, the ends keep supporting each other and the shape holds together when it air dries rather than separating into visible tiers.
2. Long Wolf Cut With Curtain Bangs
A centre parted fringe cut on a diagonal from the brow outward. It gives the crown layering somewhere to end, which stops the shortest pieces finishing against a wall of unlayered hair at the hairline.

3. Collarbone Wolf Cut
The perimeter stops where the hair touches the collarbone. That contact point pushes the last two inches outward, adding a bend the hair would not hold on its own, which is free width at the bottom of the shape.

4. Mid Back Wolf Cut
The longest version worth cutting. The extra length adds weight, and weight pulls the crown layers down, so the layering has to start higher to produce the same lift as it would on a shorter perimeter.
5. Wolf Cut With a Blunt Perimeter
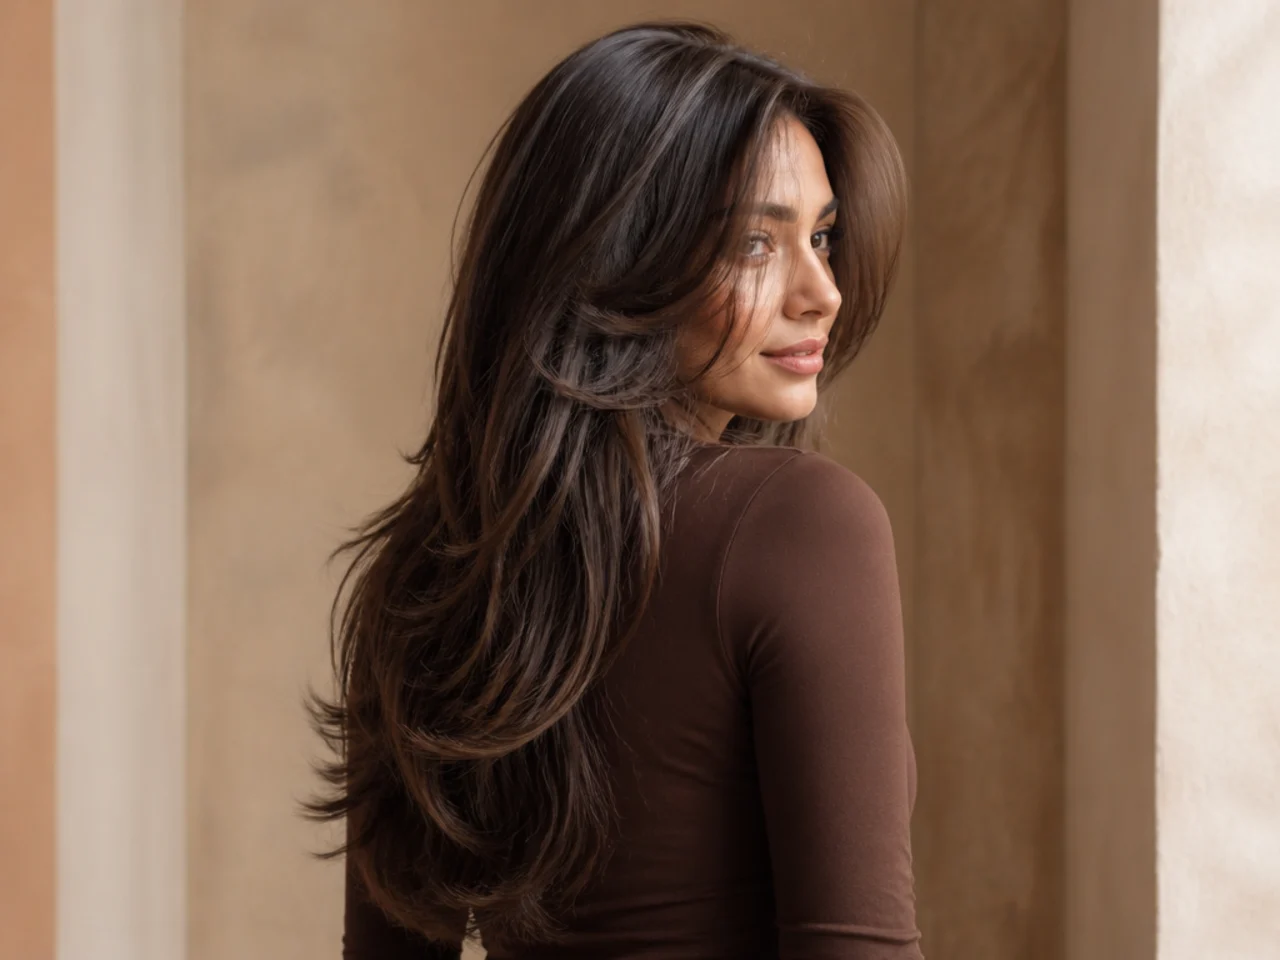
The bottom edge cut in a straight line while everything above it stays layered. Every strand in the outline ends at the same point, so the ends stack against each other and the hair keeps a solid edge instead of tapering into a point.
6. Wolf Cut With Face Framing Layers
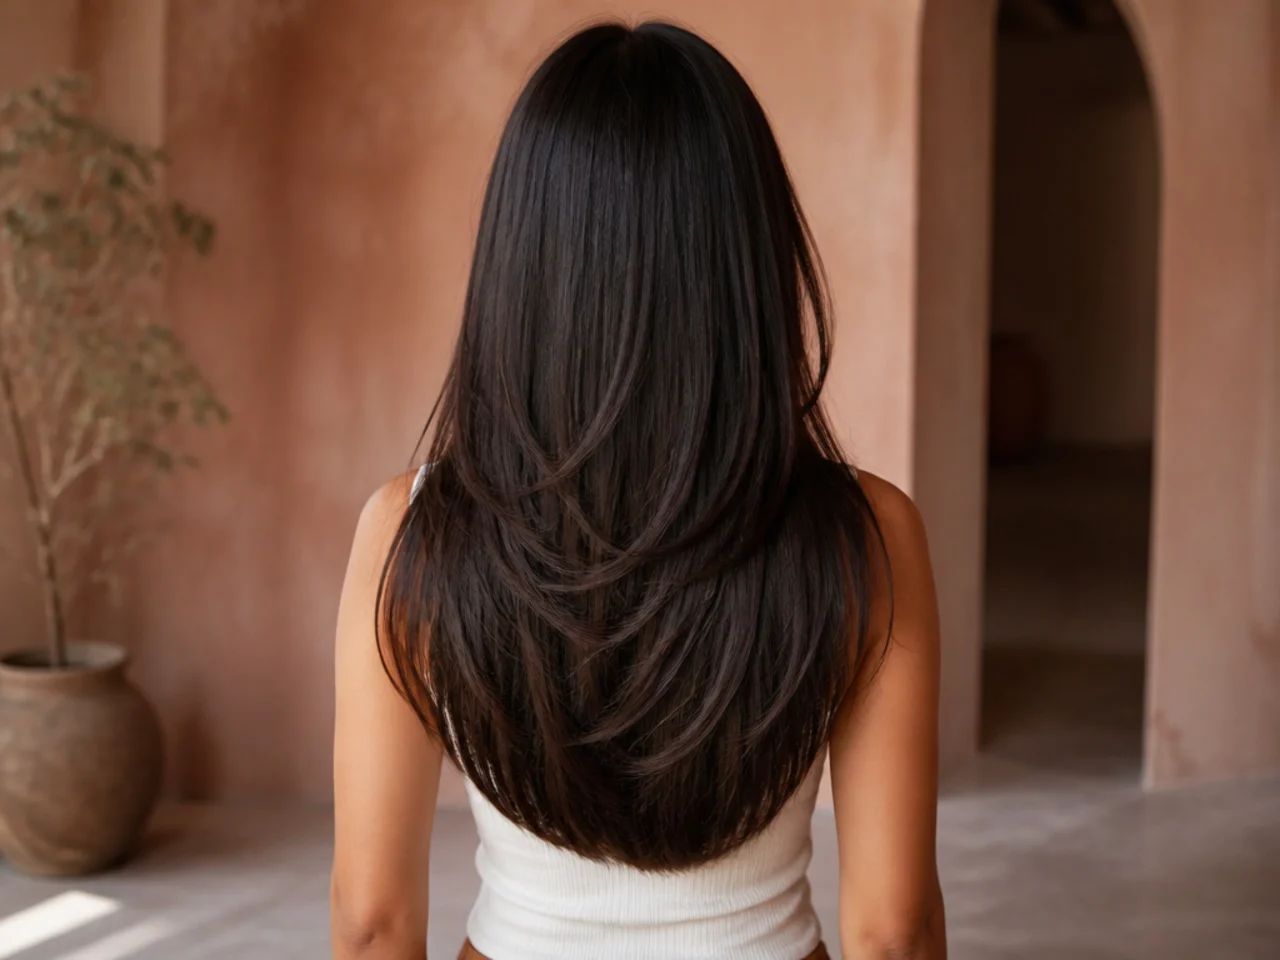
Two or three layers stepped down the side of the face from cheekbone to collarbone. Spacing them evenly gives the eye a continuous line, where a single short piece over long hair reads as one strand out of place.

7. Wolf Cut on Straight Hair
Straight hair shows the cut exactly as it was cut, with no bend to blur a layer line. Keep the layers long and close together, because on this texture a large gap between two lengths reads as a mistake rather than as movement.

8. Wolf Cut on Wavy Hair
The natural bend throws light in several directions and hides small inconsistencies. It also lifts the crown without help, which makes this the texture that gets the most shape out of the least drying.
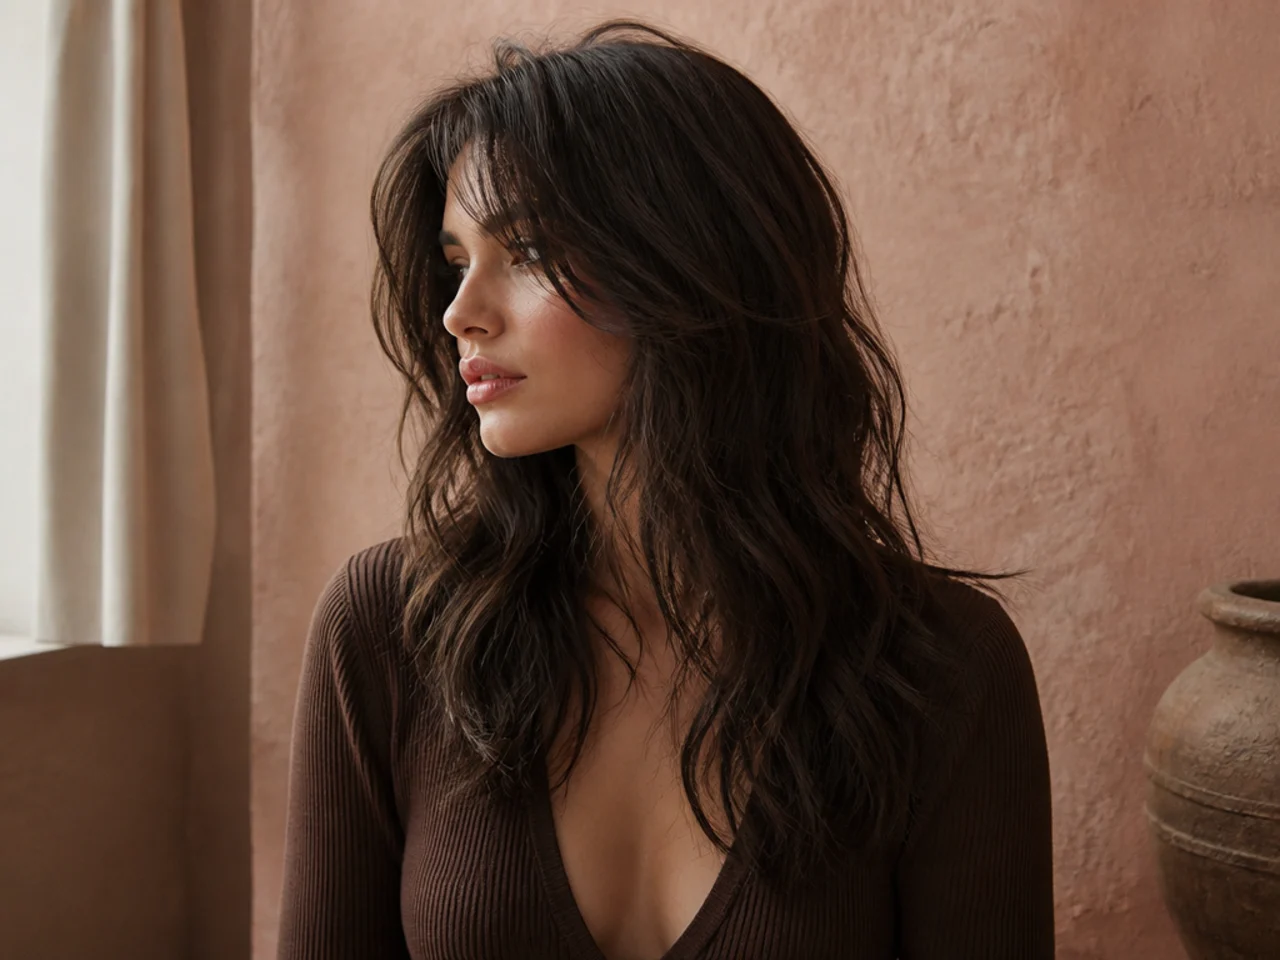
9. Curly Long Wolf Cut
Cut dry, curl by curl. A curl hangs an inch or more below its dry position when wet, so a wet cut removes the length the curl needed for its spring and the layers land far shorter than they were measured.

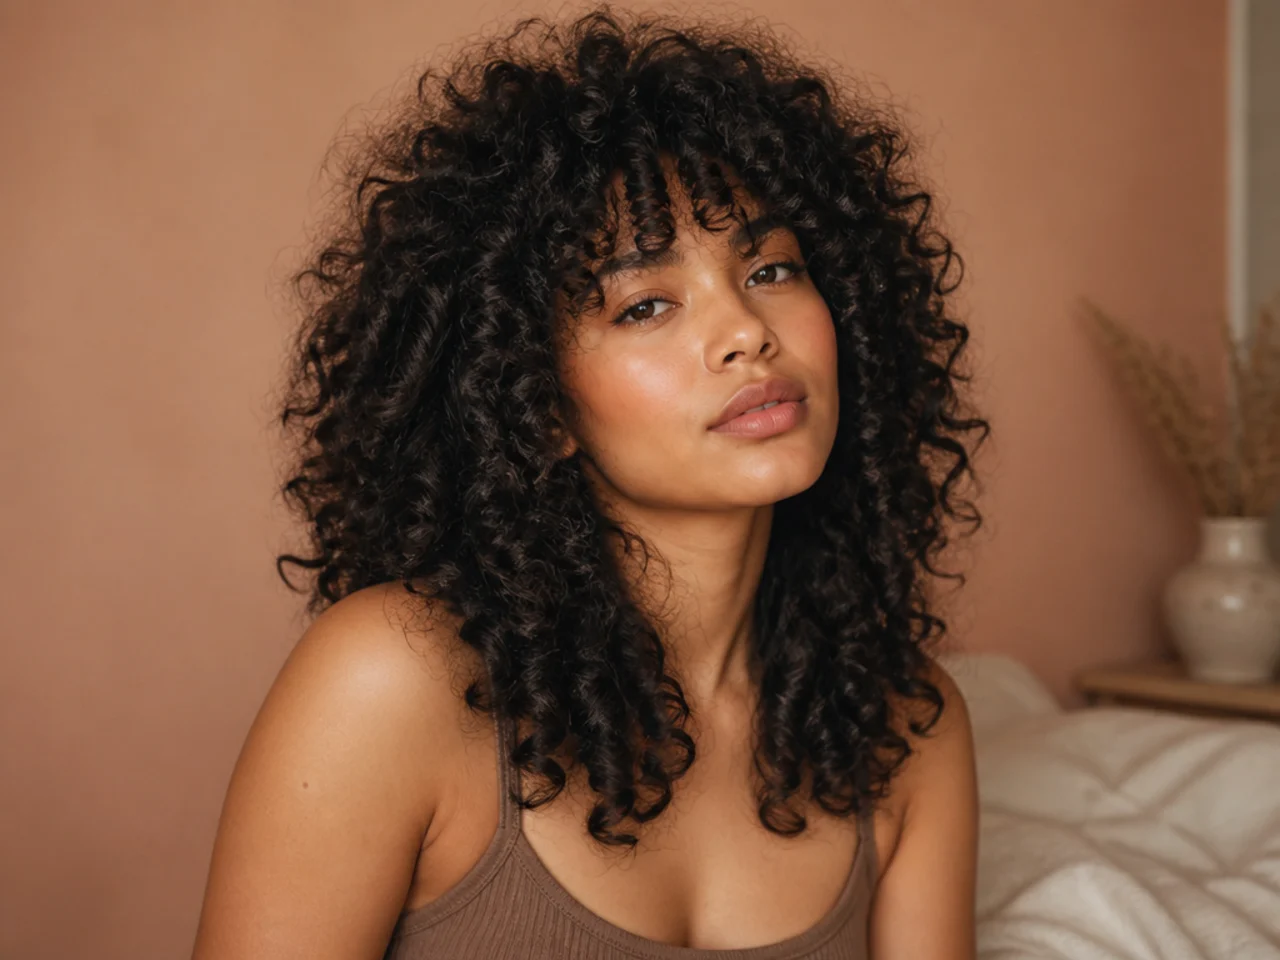
10. Wolf Cut on Coily Hair
Coils shrink the most of any texture, so layer placement is judged on the dry, stretched length and cut on the dry, unstretched one. The upside is that the shape holds itself off the scalp with no styling at all.
11. Wolf Cut for Fine Hair
Fewer layers, longer, closer together, and a blunt perimeter underneath them. Every layer takes a strand out of the outline for the year it needs to grow back, and on fine hair the outline is the only thing reading as thickness.

12. Wolf Cut for Thick Hair
Thick hair builds width at the mid lengths because the mass has nowhere to go sideways. Ask for weight removed from underneath the sections rather than off the surface, so the outline stays clean and only the bulk behind it comes out.

13. Wolf Cut With Grey Blending
Lighter pieces placed through the top so the greys read as one of several tones rather than as a separate colour. Because the contrast between grey and base is what makes regrowth visible, reducing that contrast is what buys the extra weeks.
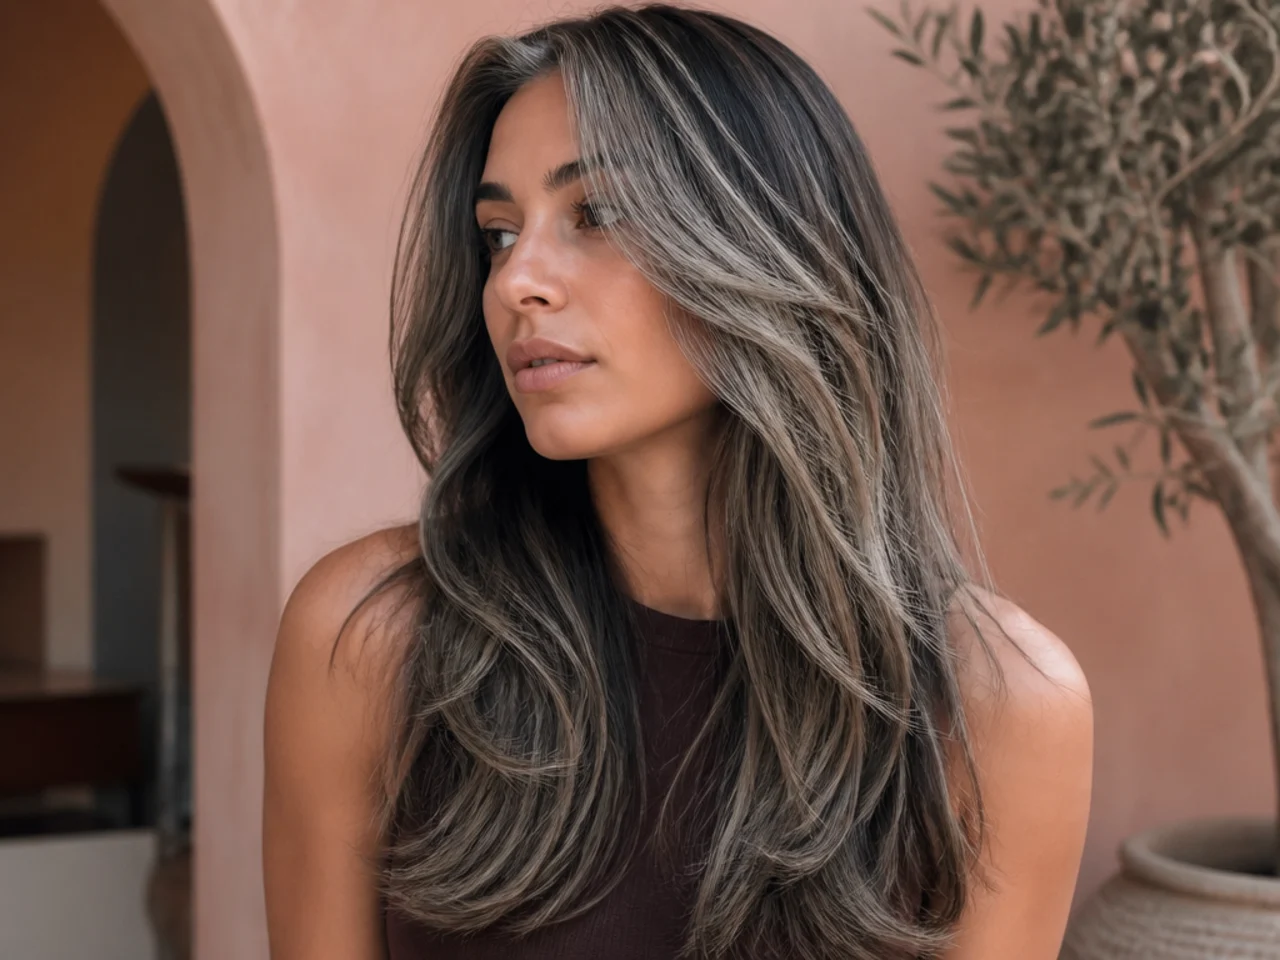
14. Wolf Cut on Natural Silver Hair
Grey strands carry no pigment and usually have a more open cuticle, so they scatter light and sit slightly stiffer than pigmented hair. That stiffness holds crown layers up on its own, which makes silver hair well suited to this cut.
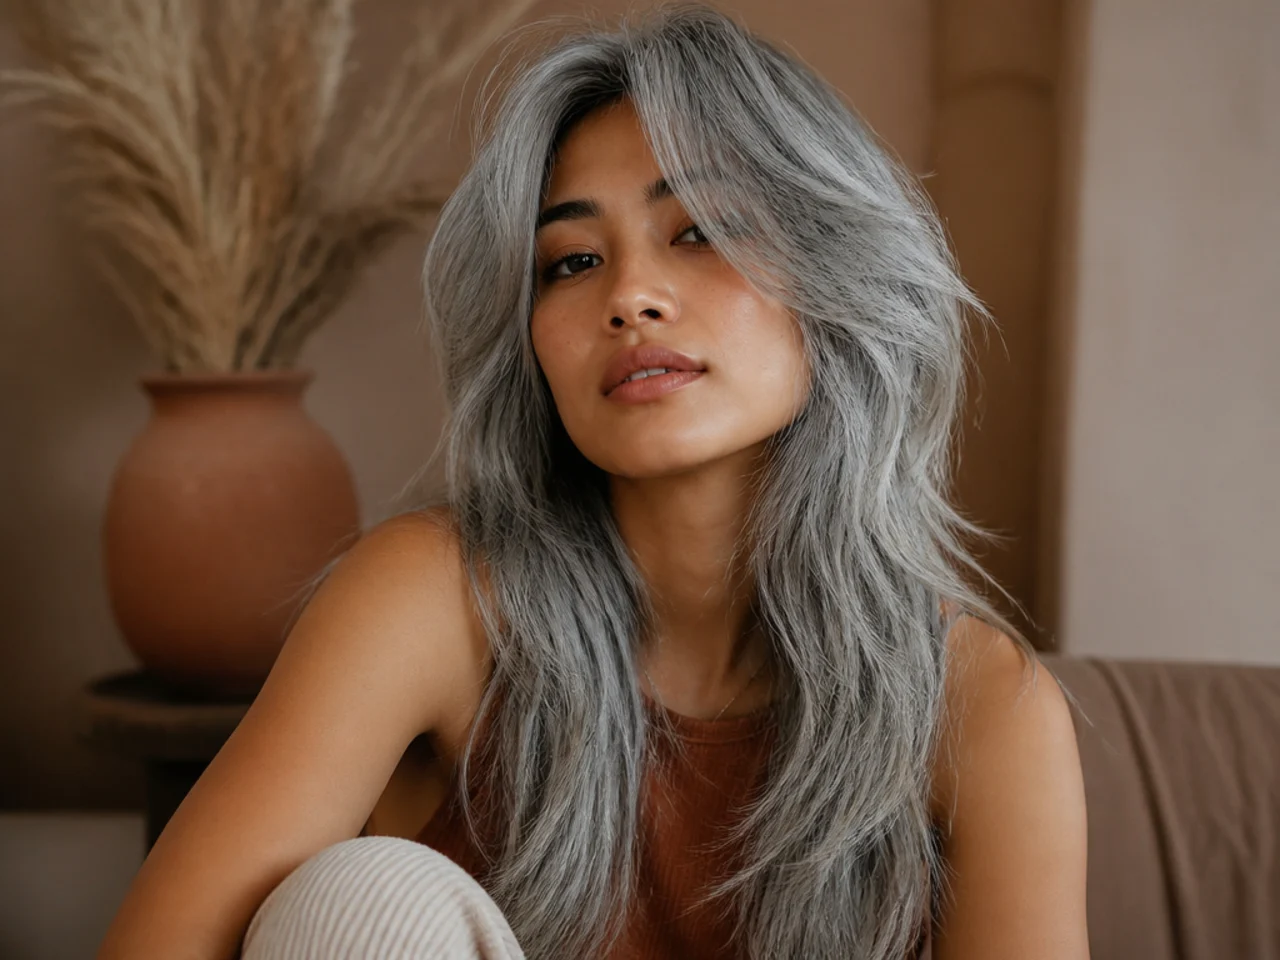
15. Wolf Cut With a Root Shadow
Colour kept darker at the root than through the lengths. Scalp is most visible where the part line sits, and reducing the contrast between hair and skin there stops the gap registering as a gap from above.

16. Wolf Cut With Balayage
Lightening painted down the surface so the brightest hair sits on the outside of the layers. Layered hair already presents several planes to the light, and putting the lightest tone on the outer plane exaggerates the separation between them.
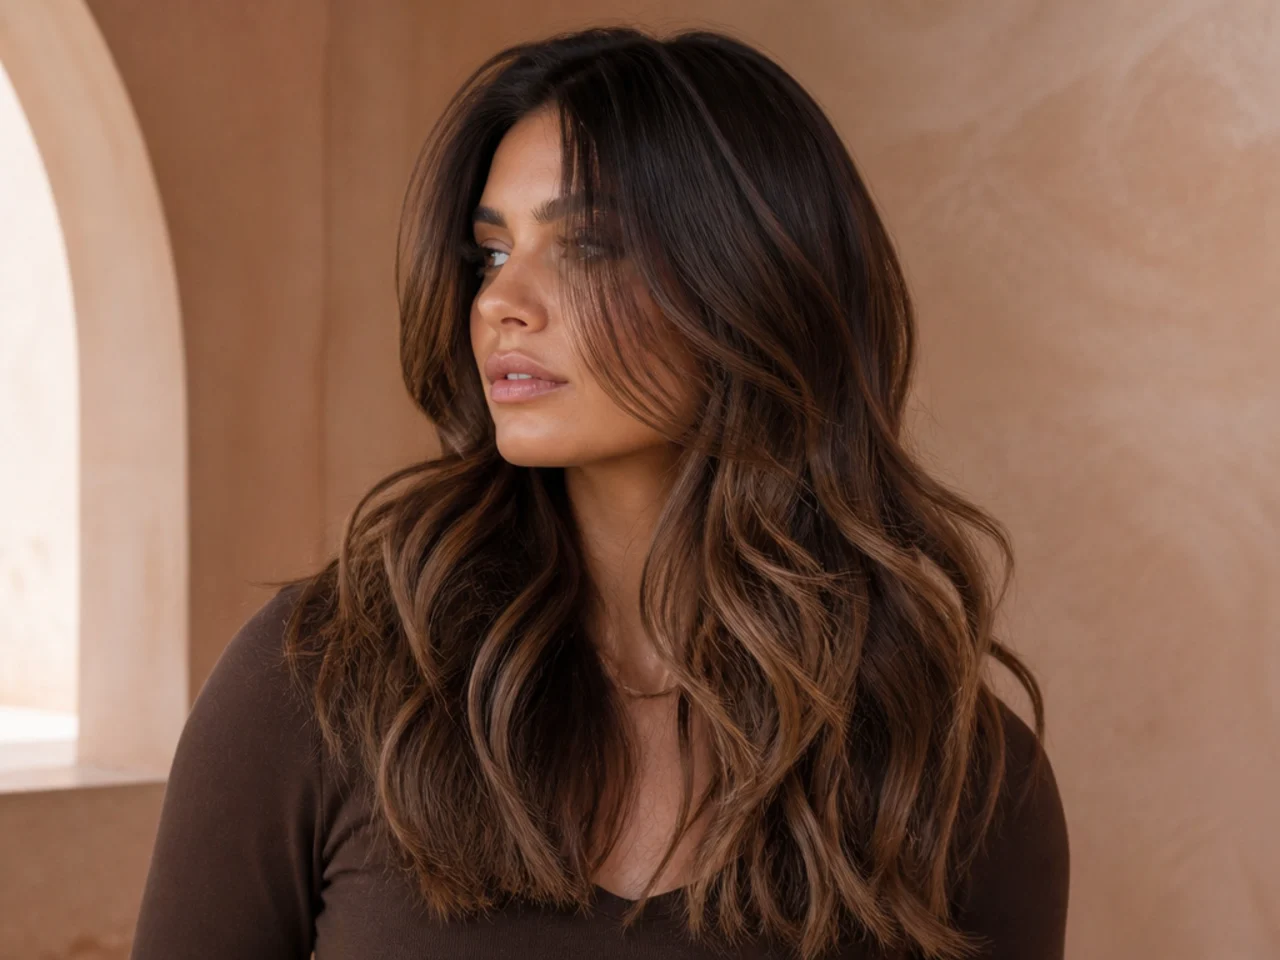
17. Wolf Cut With a Money Piece
Two lightened panels either side of the parting. Bleaching roughens the cuticle, so the treated strands catch on each other instead of sliding, and the panel sits fuller than the hair around it as well as brighter.
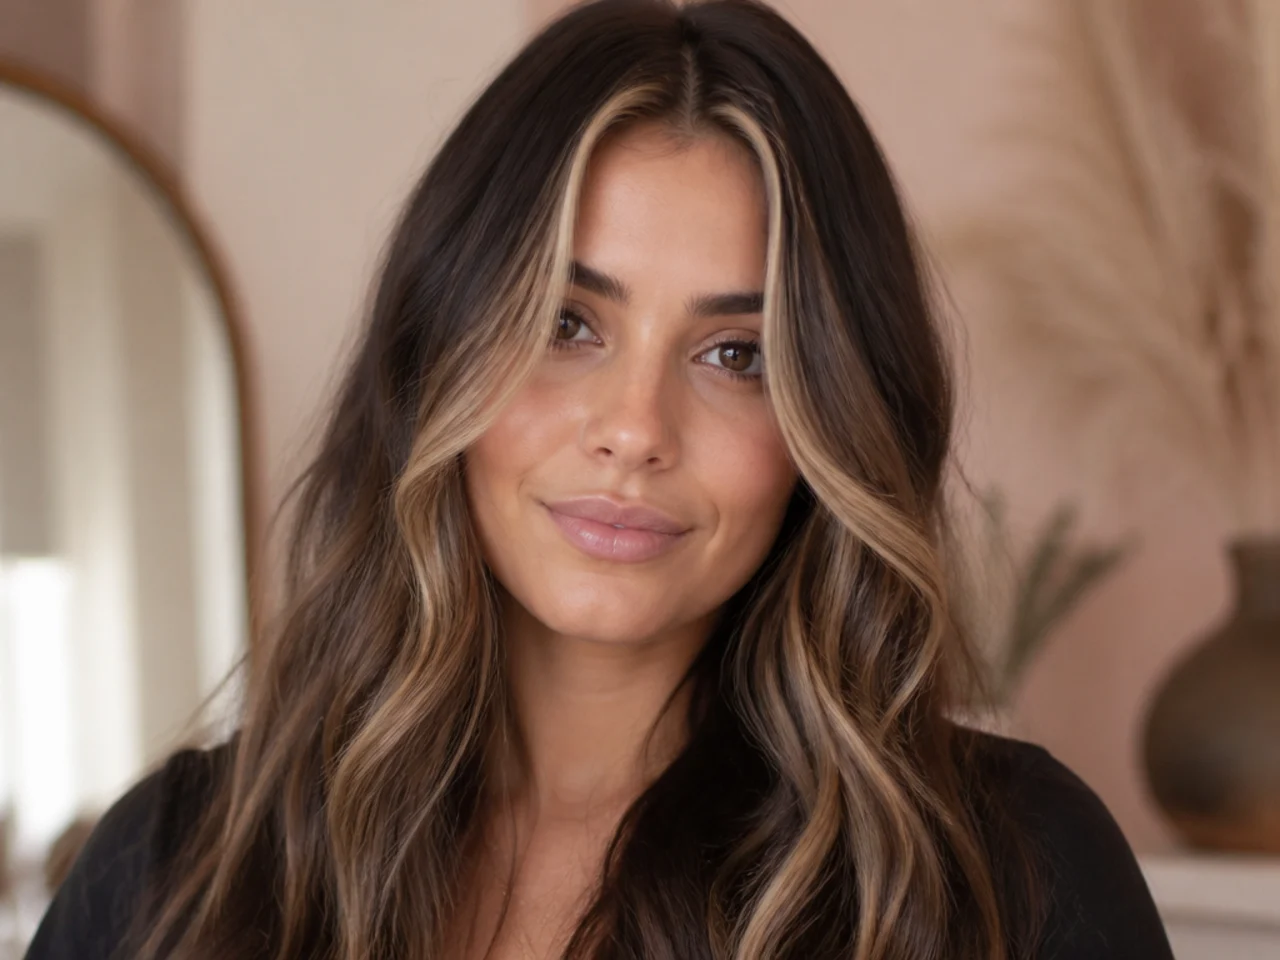
18. Wolf Cut With a Middle Part
Splitting the crown evenly sends both sides of the layering forward. It also puts the part line down the centre of the head, which is the spot most likely to show scalp, so it suits heads with density still at the top.

19. Wolf Cut With a Deep Side Part
Moving the parting two inches across drags hair over the widest part of the crown. The hair is being asked to travel against its growth direction, which lifts it at the root and covers the part line at the same time.
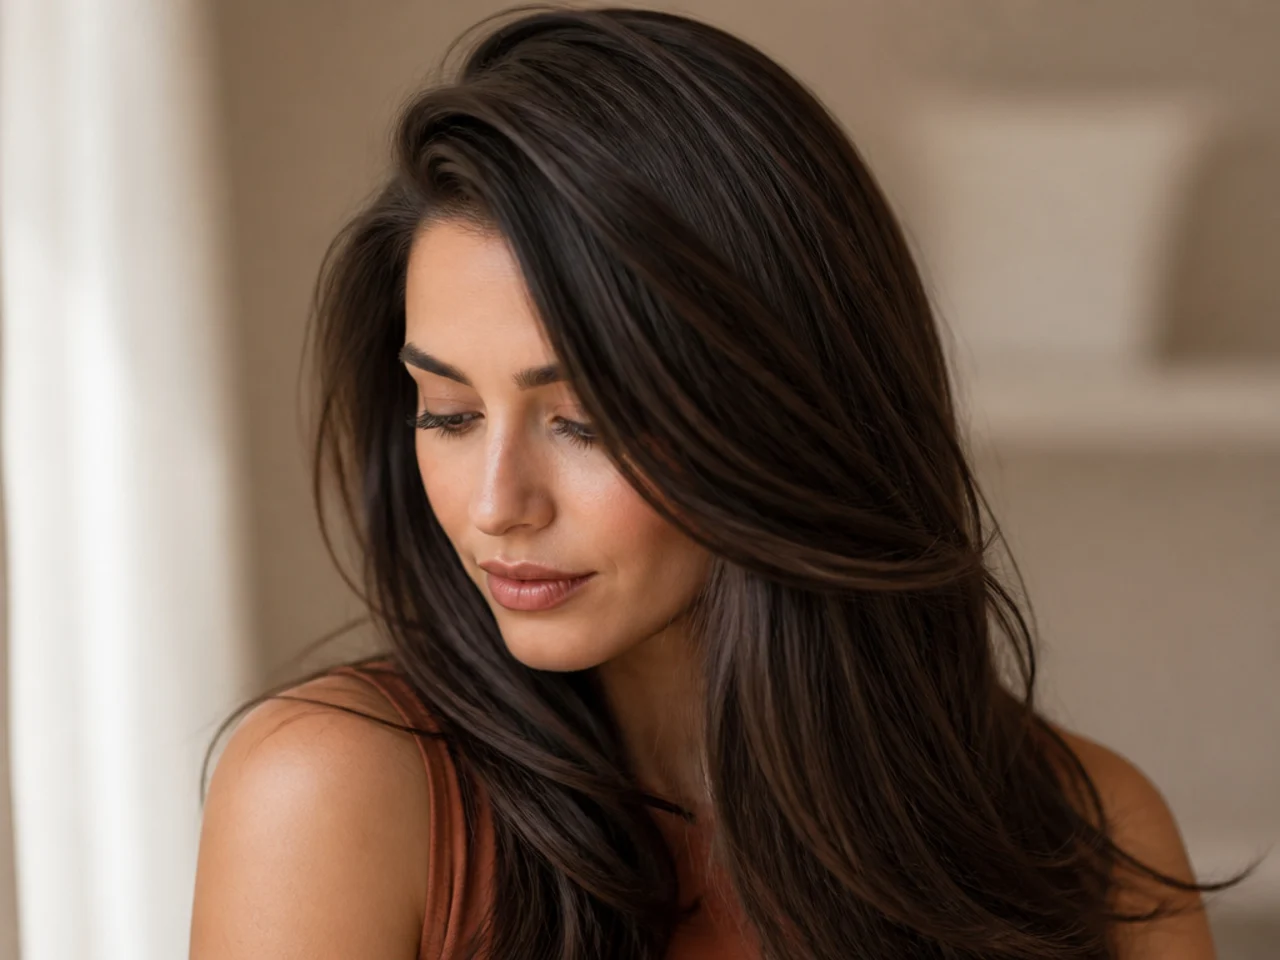
20. Wolf Cut With Low Starting Layers
The shortest layer set at the jaw instead of the cheekbone. It gives up some crown lift and keeps far more hair over the top of the head, which is the trade worth making if the part line has widened at all.

21. Wolf Cut With a Bottleneck Fringe
A fringe closed in the middle and flaring out at the temples. The closed section uses very little hair, so it can be taken from a shallow strip at the hairline without borrowing from the crown behind it.

22. Wolf Cut With Invisible Layers
Layering cut into the interior only, leaving the outer surface at one length. The movement happens underneath and the outline stays solid, which is the version for anyone who wants shape without visible steps.
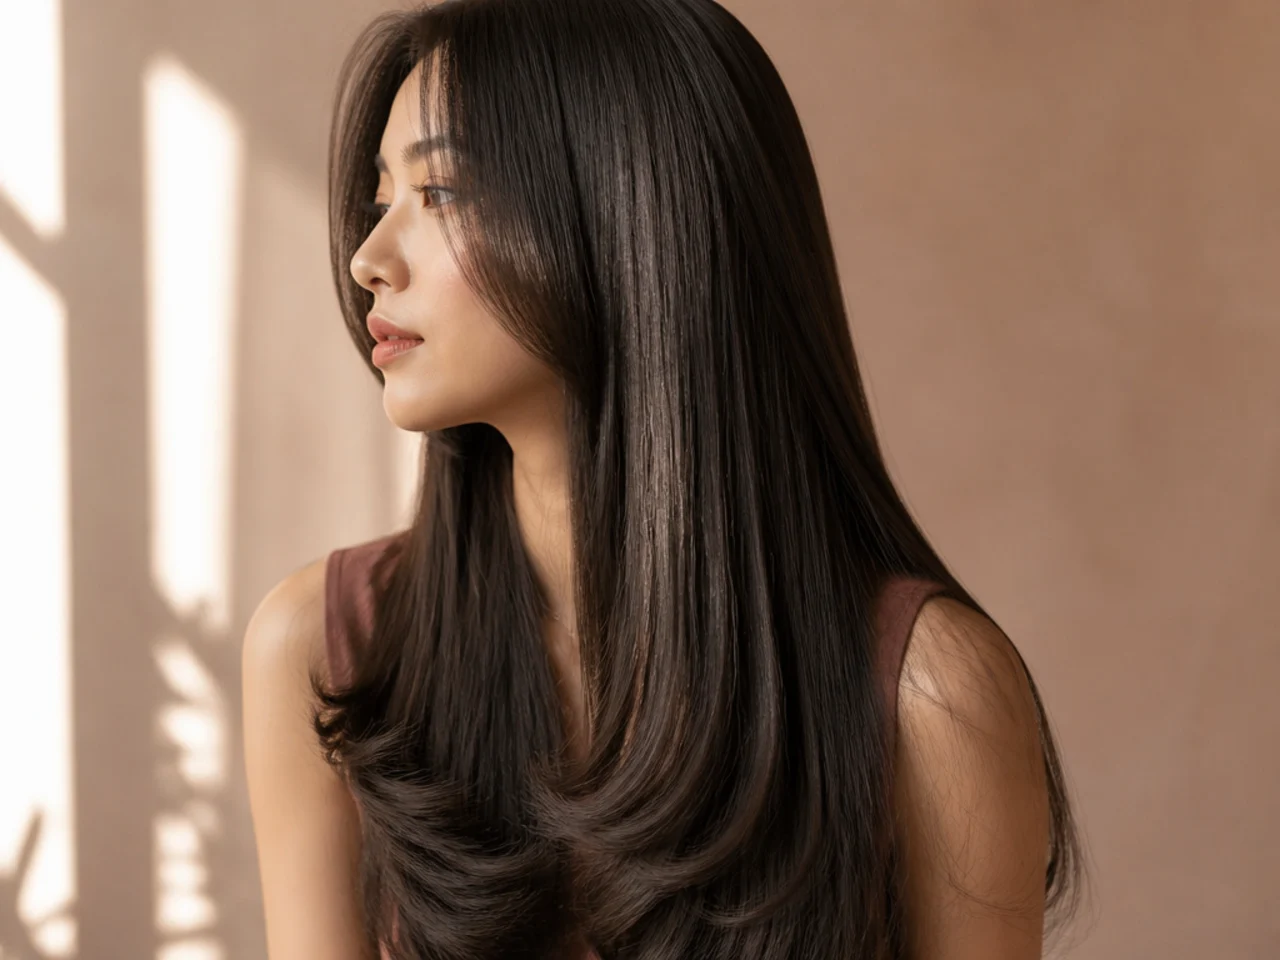
23. Wolf Cut Worn Half Up
Tied at the crown with the length left down. Pulling the short crown layers upward stands them on end and reveals the layering the cut was built around, so the same haircut reads far shorter from the front.

24. Dry Cut Long Wolf Cut
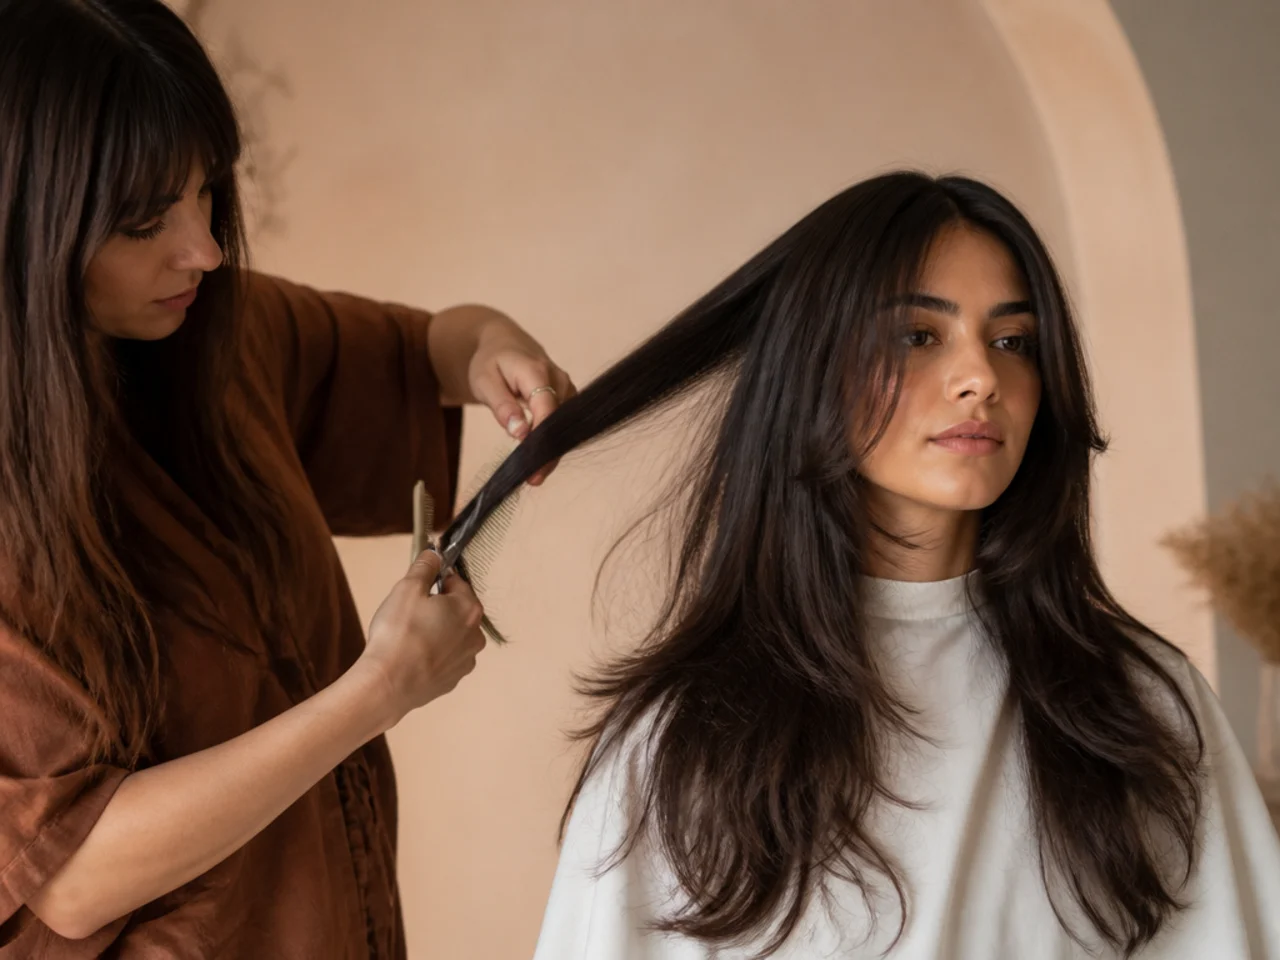
Cut without wetting the hair at any point. Every strand is trimmed where it will actually sit, which removes the guesswork on any texture that moves as it dries and is the difference between the layers landing where they were planned or an inch above.
25. Wolf Cut at Twelve Weeks
Three months on, the crown layers have added an inch and a half and the gap between them and the perimeter has closed. The shape is softer, still correct, and the point at which a trim restores it rather than rebuilding it.

Styling and Upkeep
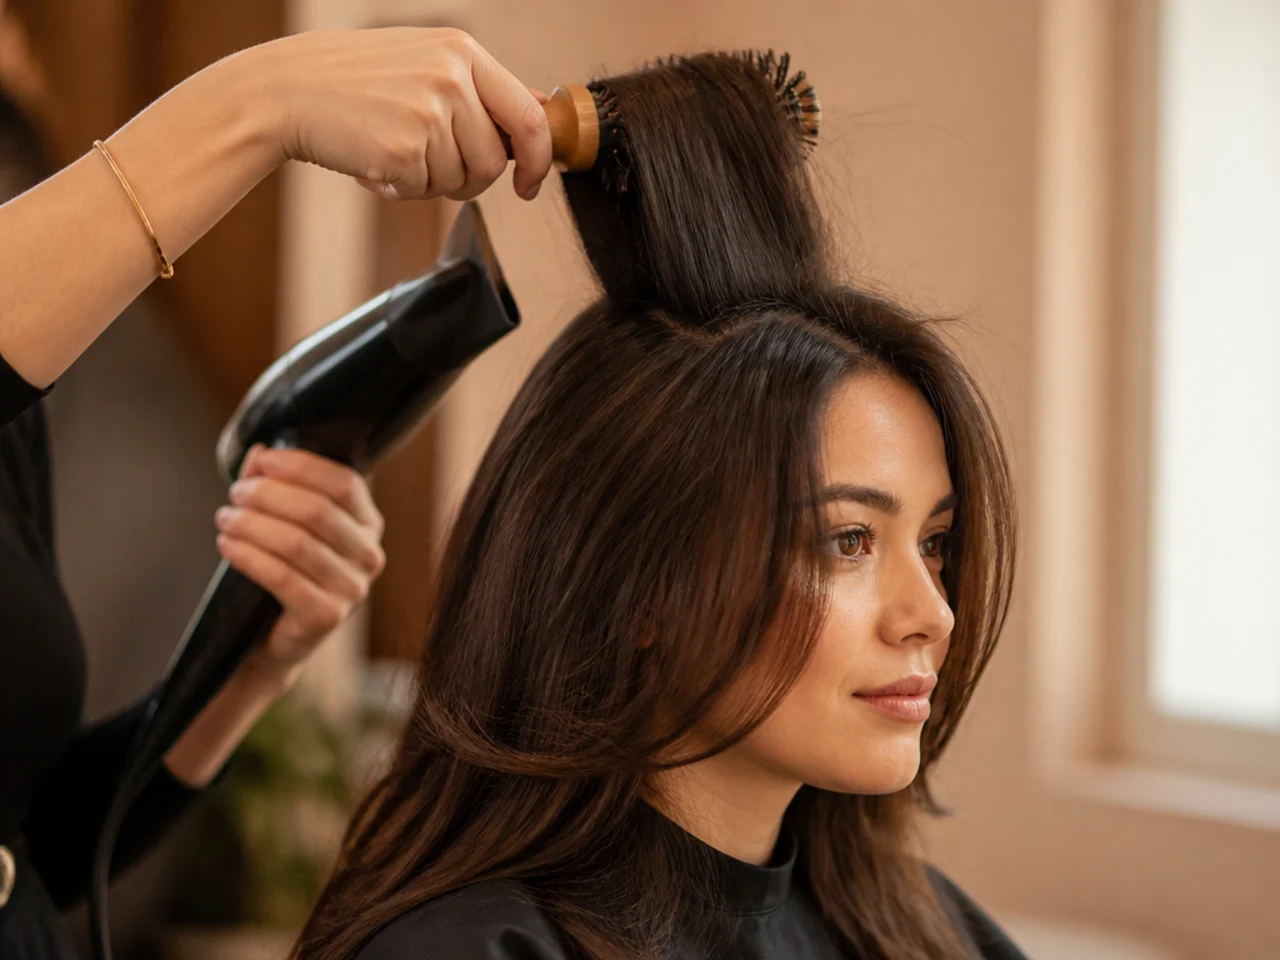
Dry the crown roots against their growth direction. A root dried into a bend cannot lie flat, and that bend is the whole source of the lift.
Let each section cool before releasing it. Hair sets its shape as it cools, so a section dropped off the brush while warm is straight again within minutes.
Condition the ends, not the roots. The oldest hair is the driest, and conditioner at the crown adds exactly the weight the layers were cut to remove.
Trim the perimeter every ten to twelve weeks. The layers can grow indefinitely, but the outline goes soft from the ends inward and takes the apparent density with it.
Keep a note of where the shortest layer was set. Cheekbone or jaw is the measurement that makes the same cut behave differently, and it is easy to misremember.
Mistakes to Avoid
Layering a thinning crown short. It removes the hair that was covering the part line, which makes the scalp more visible rather than less.
Spacing the layers widely. A large gap between two lengths reads as a shelf, and it takes most of a year to grow closed.
Thinning the perimeter. The outline is the only part of the cut producing apparent density, so it is the last place to remove weight.
Cutting curls or coils wet. They hang far below their dry position, so the layers land short by the amount the hair springs back.
Judging the cut before the top is styled. Crown layers do nothing until they are lifted, so a flat crown in the chair is not the finished shape.
FAQ
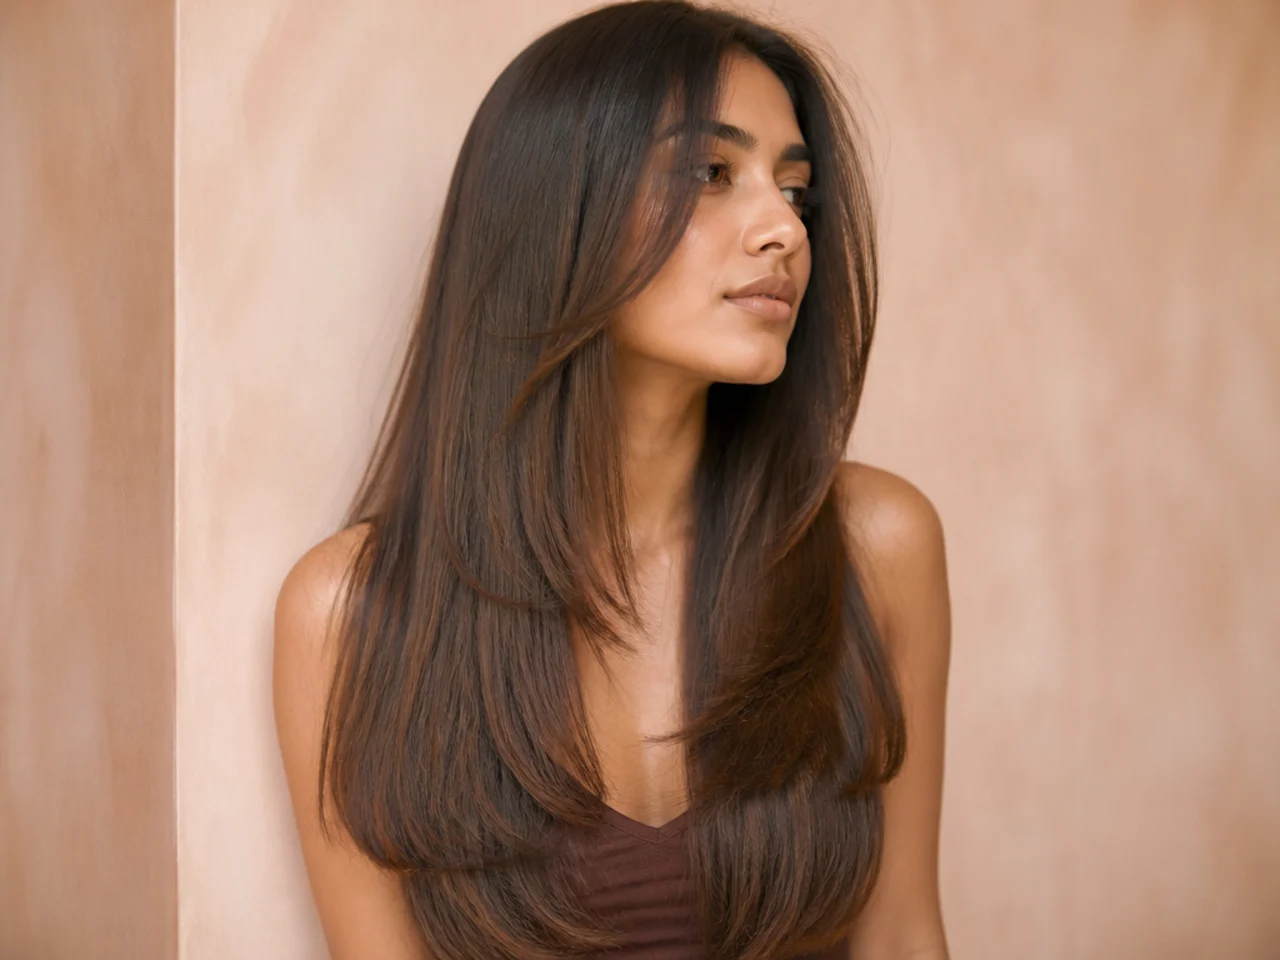
Where do the layers start? Cheekbone for lift, jaw for coverage.
Will it thin my ends? Only if the layers are short and widely spaced.
How often trimmed? Every ten to twelve weeks, for the perimeter.

Final Thoughts
Two decisions carry this cut — how high the shortest layer sits and how close together the layers are spaced. Everything else on the list is a variation on those two numbers, and both are easy to say out loud before anyone picks up scissors.
For the shorter version of the same shape see the short wolf cut, and for the softer, rounder layering it came from see the Korean wolf cut. More in Mullet and Wolf Cut.



