
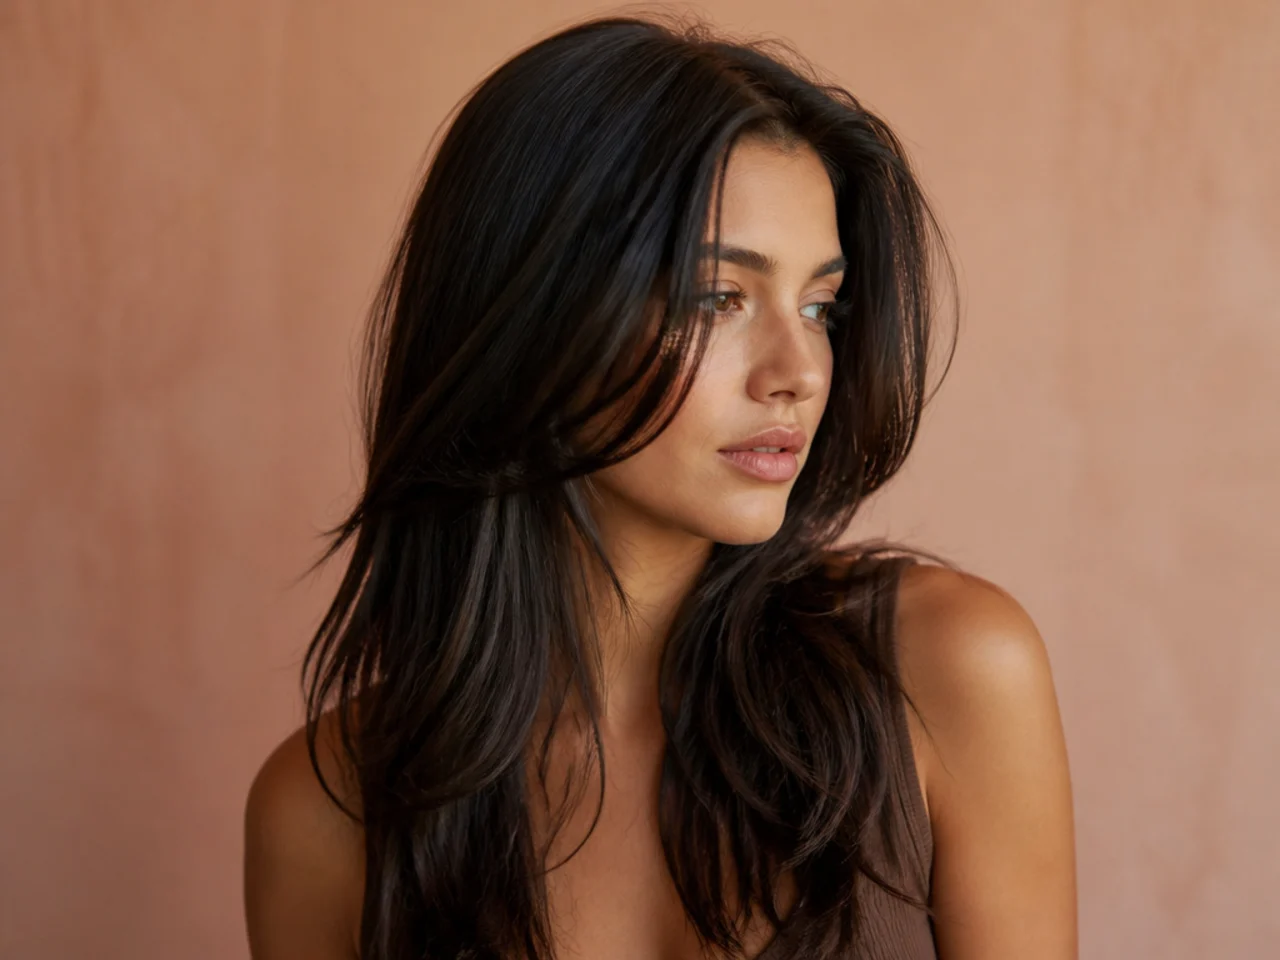
25 Long Wolf Cut Ideas Without Bangs Or Fuss
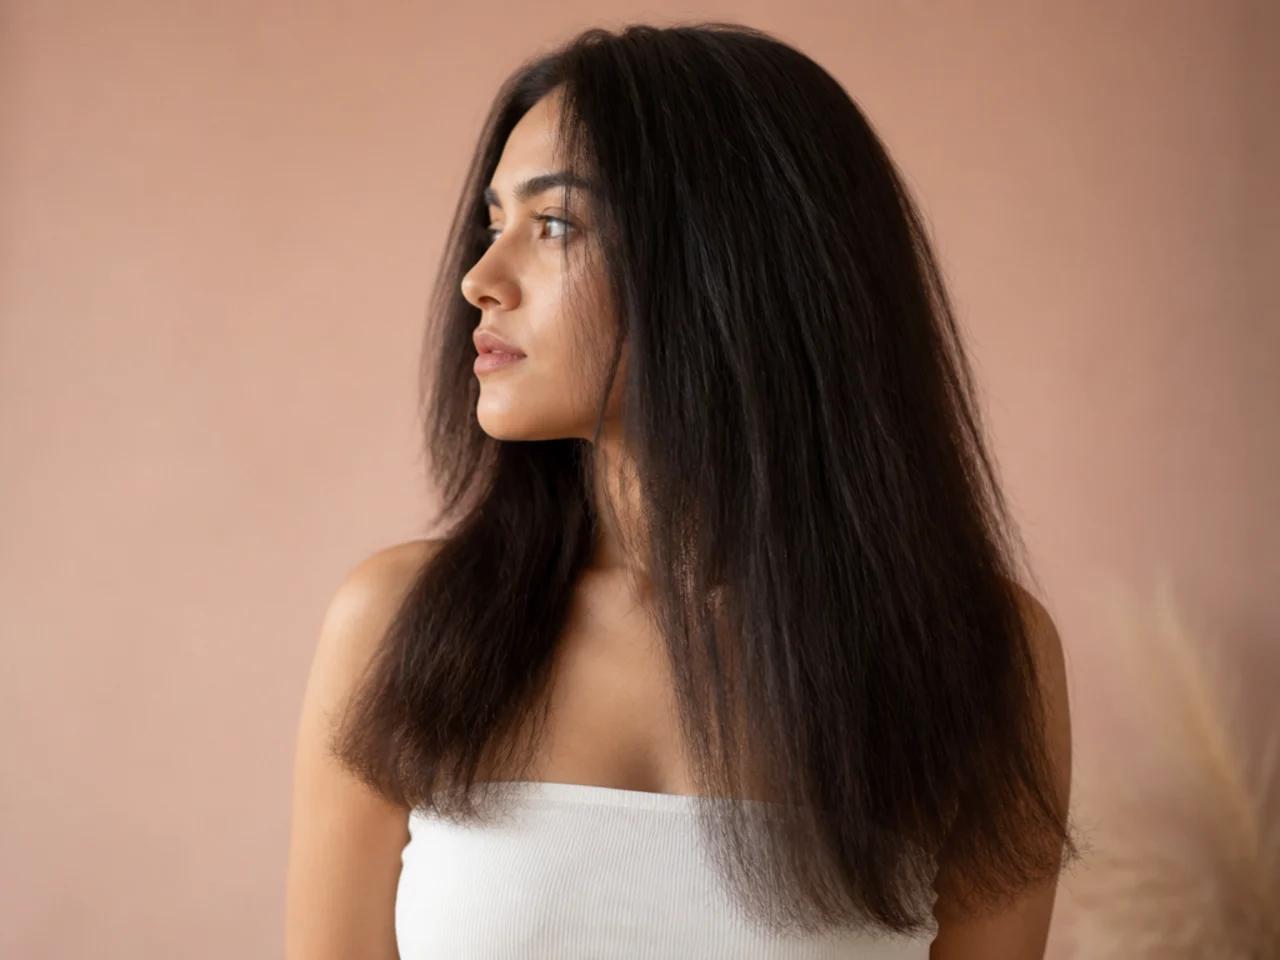
Twenty five long wolf cuts with no fringe at all, and the one decision that replaces it — where the shortest front piece starts. Above the chin it flicks and behaves like a grown out fringe, below it hangs flat and needs nothing.
In this article · 32
- Why This Works Without a Fringe
- Choosing Where the Front Piece Starts
- The 25 Long Wolf Cuts Without Bangs
- 1. Classic Long Wolf Cut Without Bangs
- 2. Centre Parted Wolf Cut
- 3. Deep Side Parted Wolf Cut
- 4. Chin Length Front Piece
- 5. Jaw Length Front Piece
- 6. Collarbone Front Piece
- 7. Butterfly Layers
- 8. Curtain Free Money Piece
- 9. Collarbone Length Wolf Cut
- 10. Mid Back Wolf Cut
- 11. Waist Length Wolf Cut
- 12. Invisible Layers on Fine Hair
- 13. Internal Thinning on Thick Hair
- 14. Wavy Wolf Cut Without Bangs
- 15. Curly Wolf Cut Without Bangs
- 16. Straight Wolf Cut Without Bangs
- 17. Coily Wolf Cut Without Bangs
- 18. Shag Leaning Wolf Cut
- 19. Mullet Leaning Wolf Cut
- 20. V Shaped Perimeter
- 21. Blunt Straight Across Perimeter
- 22. Point Cut Ends
- 23. Razor Cut Ends
- 24. Air Dried Wolf Cut
- 25. Grown Out Wolf Cut
- Styling and Upkeep
- Mistakes to Avoid
- FAQ
- Final Thoughts
A wolf cut with no fringe stops working the moment the shortest front piece is cut above the chin, because there is nothing below it to hold it down.
The lift comes from the crown, not the fringe. Short layers at the top sit on the longer ones beneath and prop them up, and that mechanism does not need bangs at all.
Without a fringe, the face framing piece is the frame. Where it starts is the only decision that changes how the cut sits on your face.
Why This Works Without a Fringe
Volume is a stacking effect. A short crown layer physically rests on the length beneath it and holds it away from the head, which is where the shape comes from.
The parting becomes the only vertical. With no fringe the face gets its line from the part, so a centre part reads longer and a side part reads wider.
The shortest face framing piece replaces the fringe. It does the same framing job with far more weight behind it, which is why it needs no brush.
No fringe means no six week clock. Bangs change character as soon as their shortest point passes the jaw, and a cut with none of them holds its character for months.

Choosing Where the Front Piece Starts
Chin for a visible frame. Short enough to be seen, and short enough to flick outward unless the ends are softened.
Jaw for the safe default. Enough weight below the shortest point to hang flat with nothing done to it.
Collarbone for a cut you never think about. The frame is felt rather than seen, and the shape survives being slept on.
Add two inches on curls before you commit. Curl draws up as it dries, so the front piece finishes far higher than the length you measured.
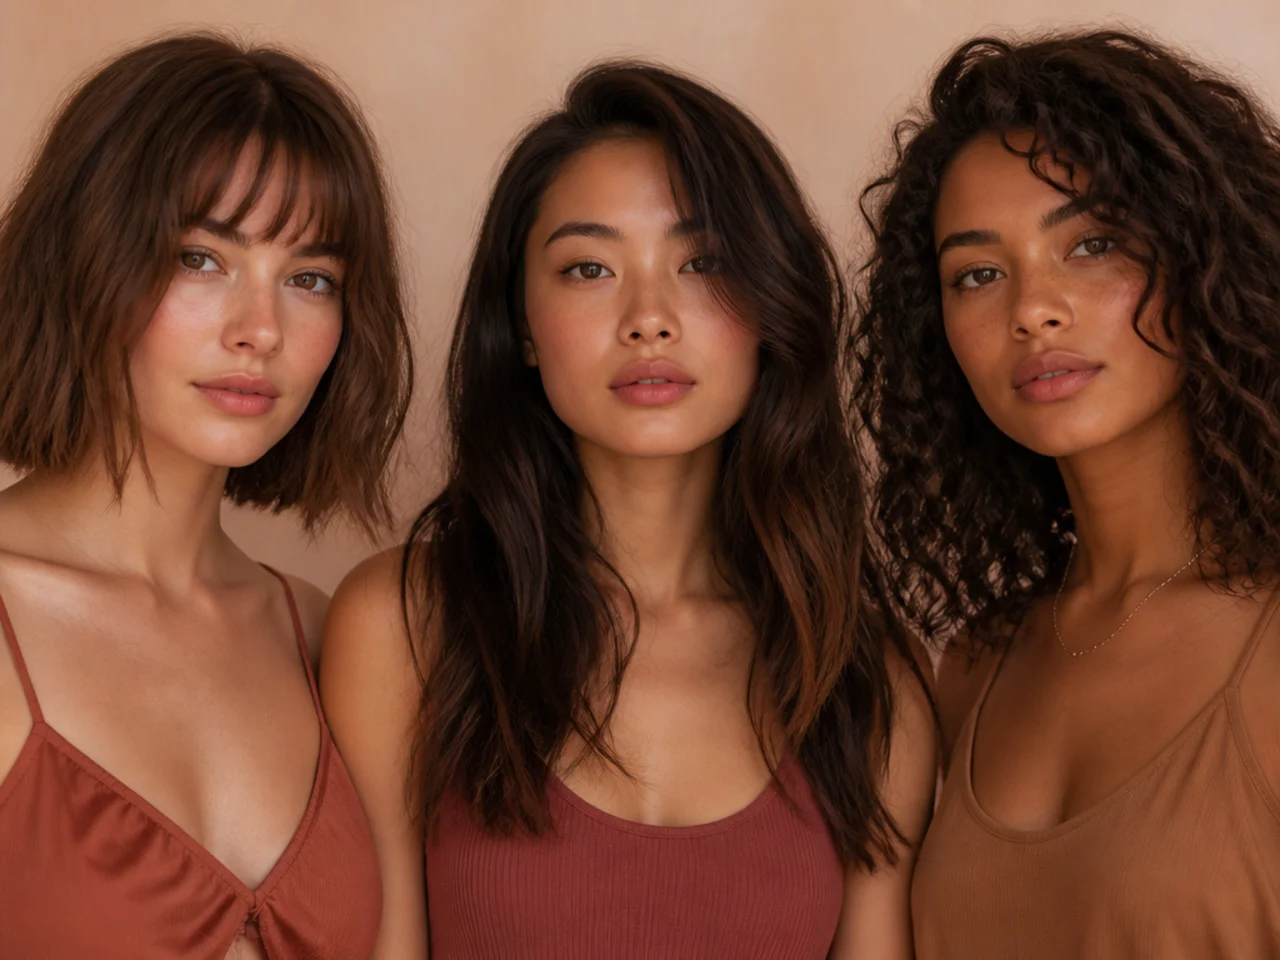
The 25 Long Wolf Cuts Without Bangs
1. Classic Long Wolf Cut Without Bangs
The crown layers are cut short enough to rest on the lengths and hold them off the head, and the front sections are simply the forward end of that stack. Removing the fringe changes nothing structurally, it only moves the framing job down to the shortest face piece.
2. Centre Parted Wolf Cut
With no fringe the parting supplies the only vertical line the face gets, and putting it at the centre draws the eye up and down rather than across the cheeks. That is why it flatters a round face more reliably than any layer placement does.
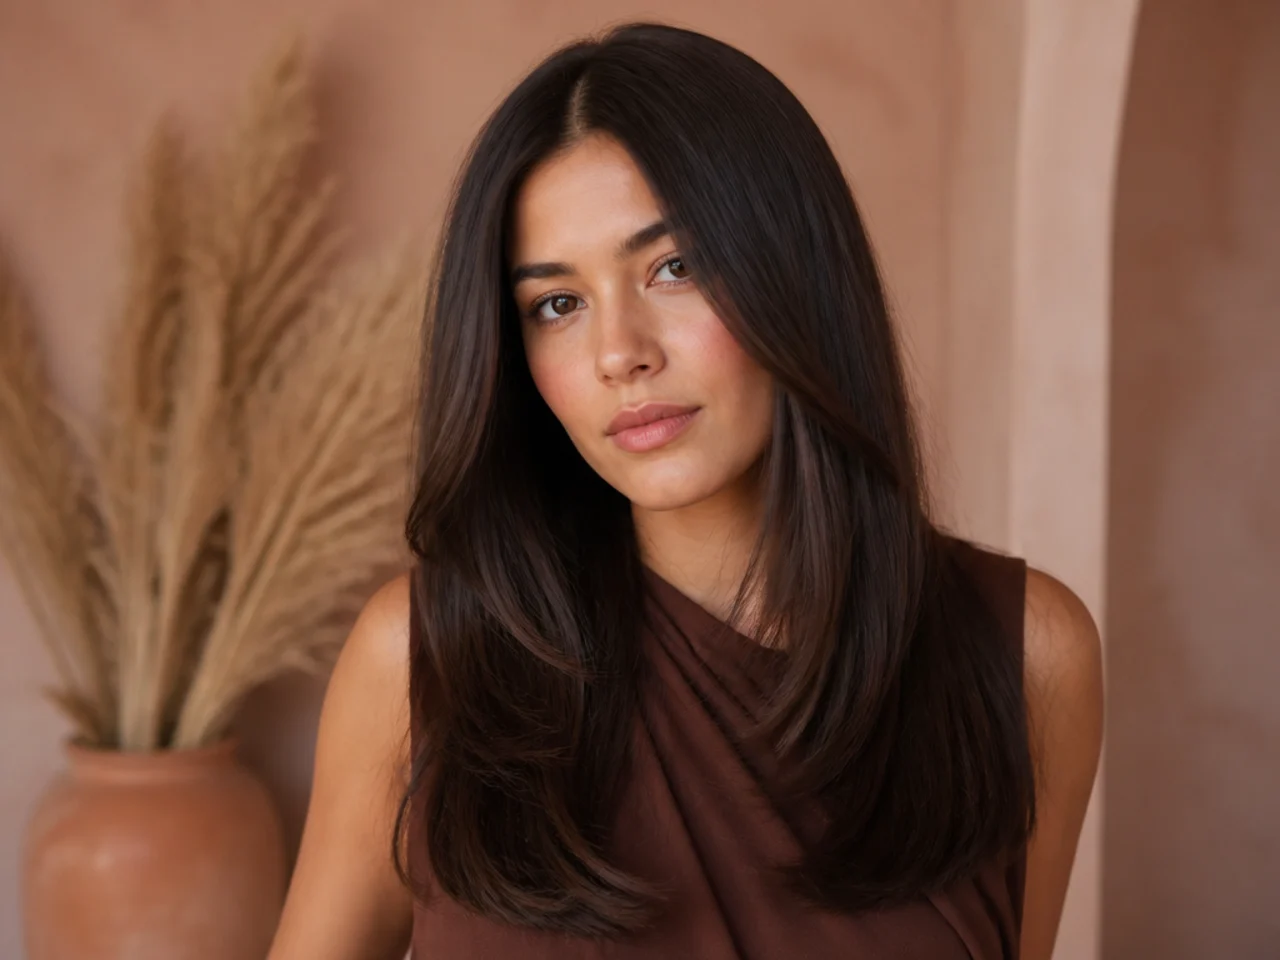
3. Deep Side Parted Wolf Cut
Moving the parting well off centre sends most of the hair one way, and the extra weight on the heavy side makes it fall diagonally across the head. It also lifts the roots on that side, because they are now being pushed against the direction they naturally grow.

4. Chin Length Front Piece
The shortest framing piece cut level with the chin sits high enough to be read as a deliberate frame. With so little weight below it, the end flicks outward as it dries, so it has to be point cut or it holds a hard hook.
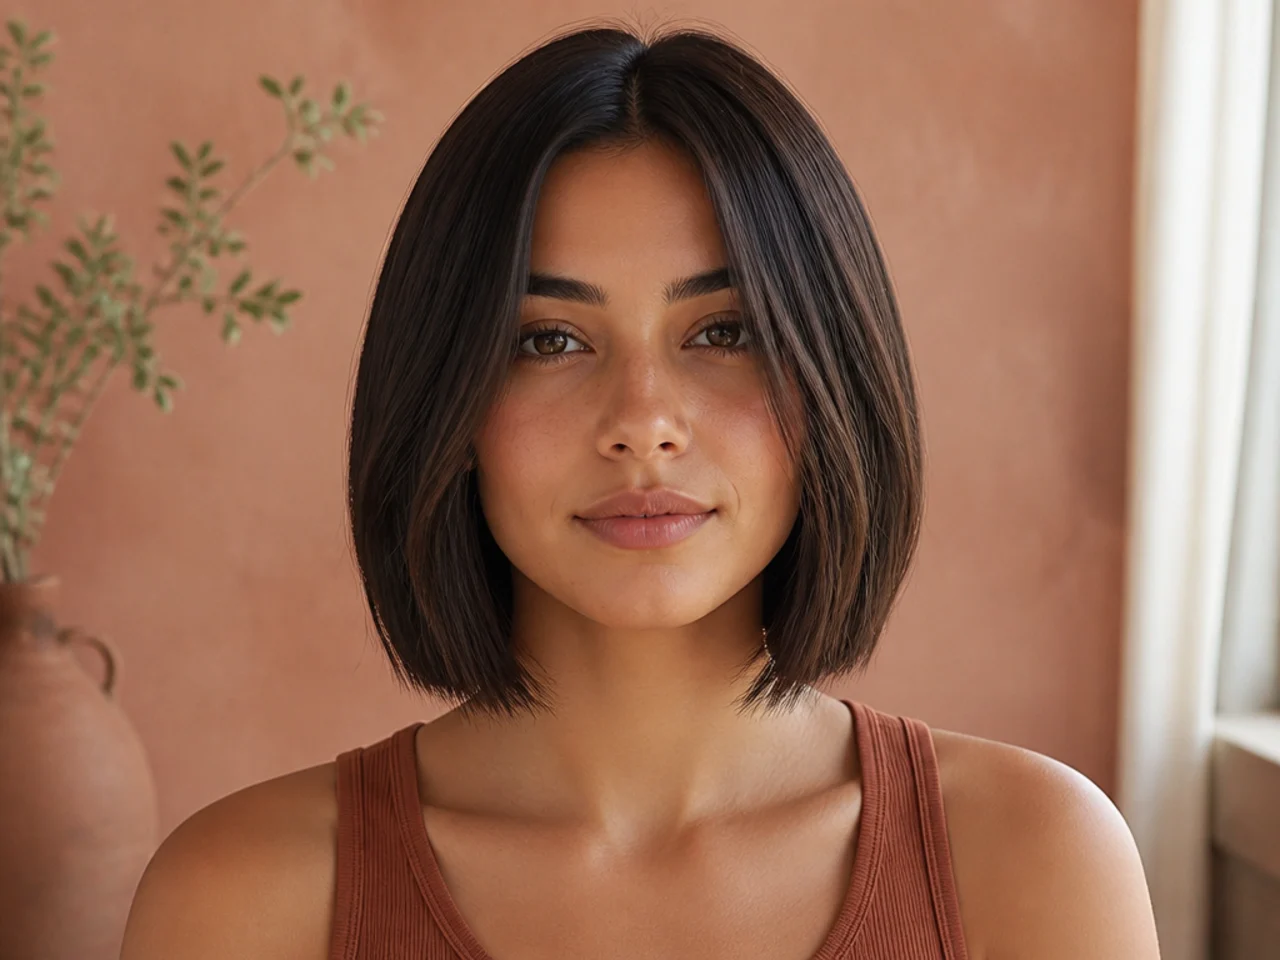
5. Jaw Length Front Piece
Just below the jaw is roughly the shortest a framing piece can be and still hang straight without help. The length beneath it supplies enough weight to overcome the natural lift at the end, which is why this version needs no styling at all.

6. Collarbone Front Piece
The gentlest frame available, and the one that survives sleeping on it. The shortest piece is long enough that its weight overwhelms any bend it wants to make, so it falls the same way every day.

7. Butterfly Layers
Two clear tiers, one landing around the collarbone and one at the full length, with a visible gap between them. The top tier is cut with the hair pulled forward so the shortest pieces land at the face rather than at the back of the head.
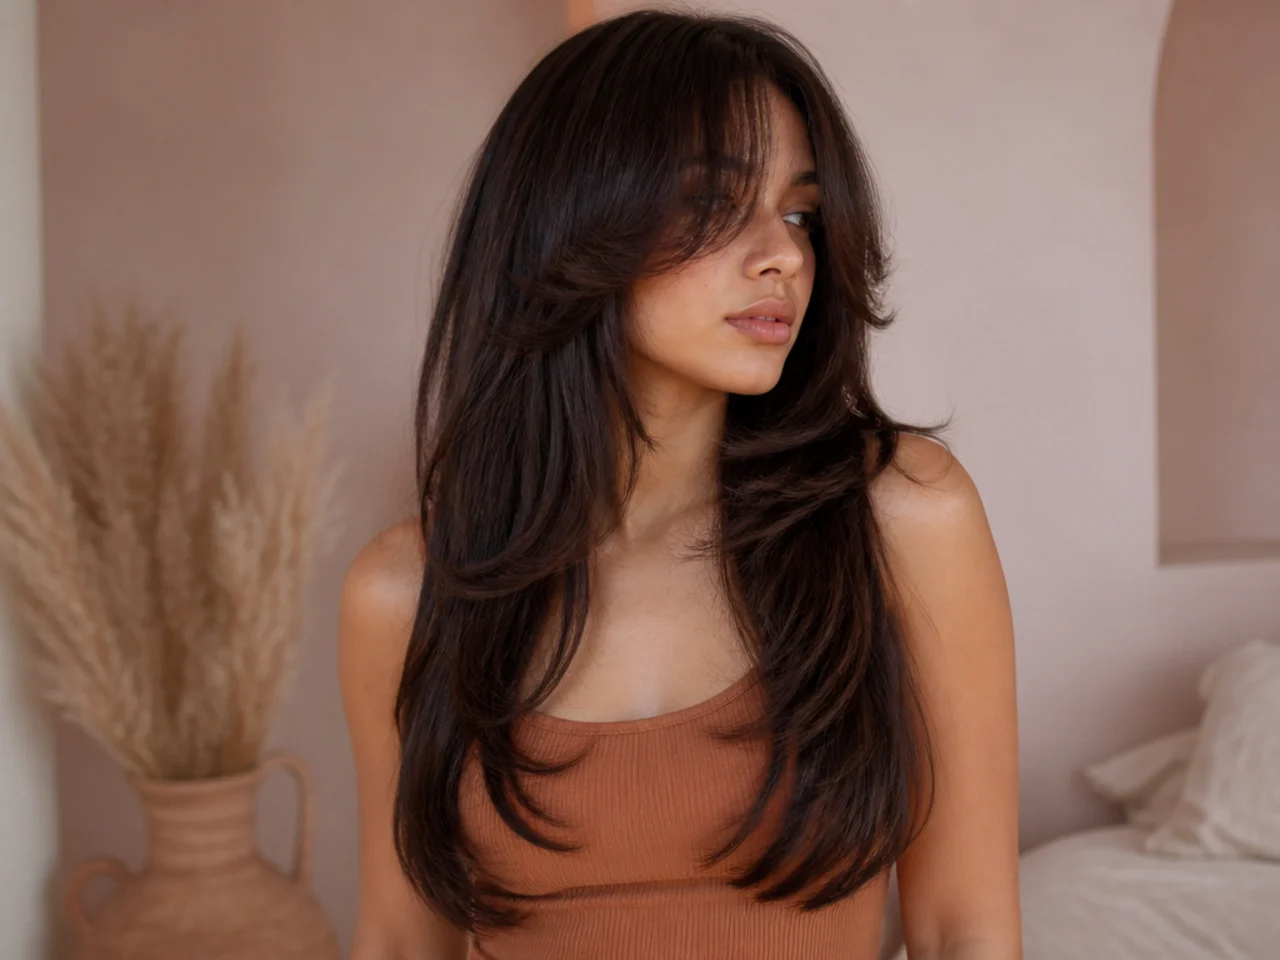
8. Curtain Free Money Piece
Colour placed on the two front sections does the framing job without any cutting, which suits anyone unwilling to shorten the front. Keep the lift to about two levels, because a bigger jump makes the front read as detached from the rest.
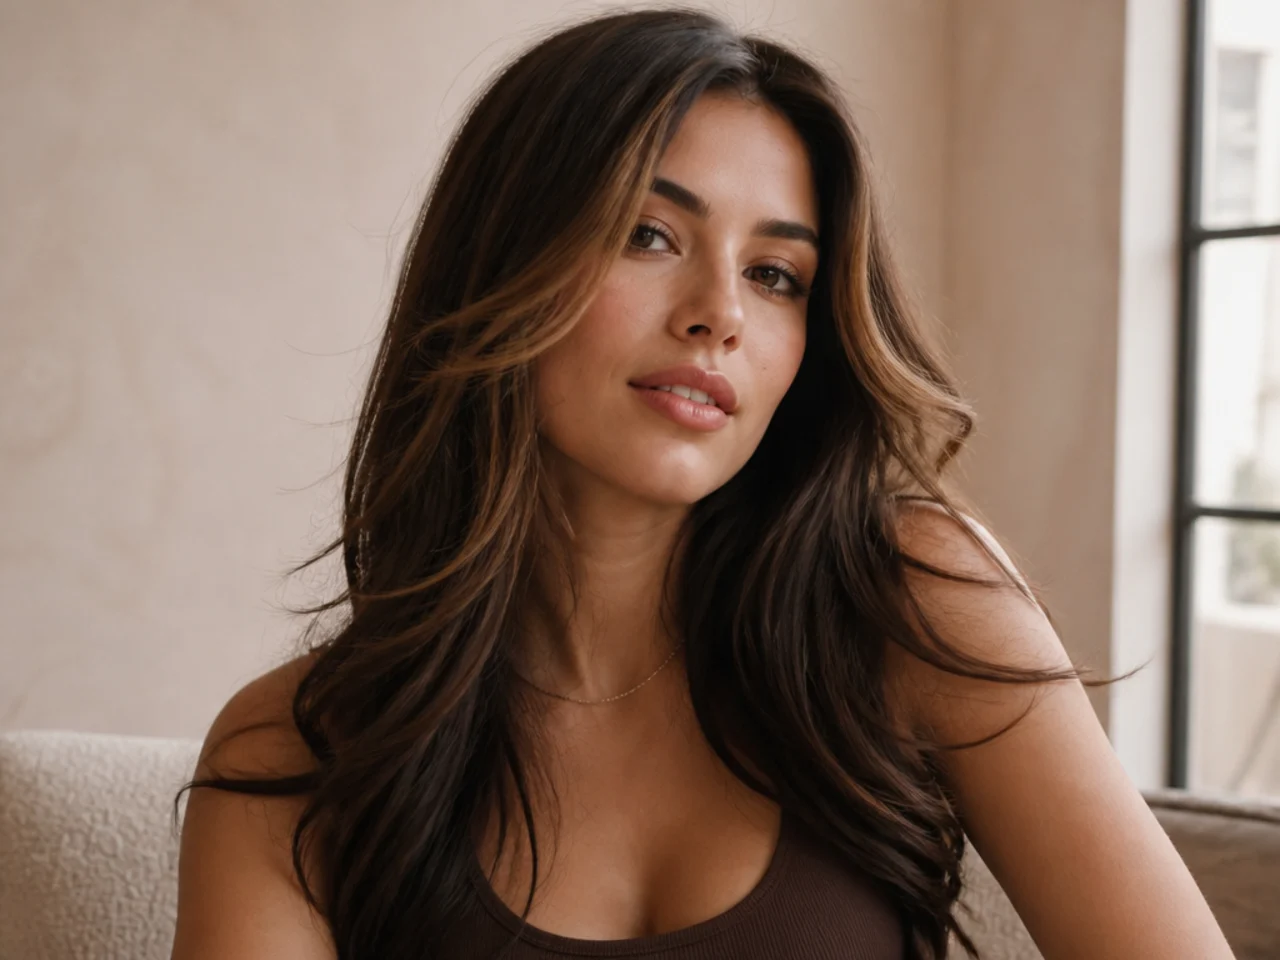
9. Collarbone Length Wolf Cut
The shortest perimeter that still leaves room for layers to stack in tiers above it. Cut it much shorter and the ends land on the shoulder, which pushes them outward and puts a permanent kink in the line.

10. Mid Back Wolf Cut
Enough length to carry three tiers of layering without any of them crowding the one above. The extra weight also pulls the crown flat, so the top layer has to be cut genuinely short for the lift to survive.
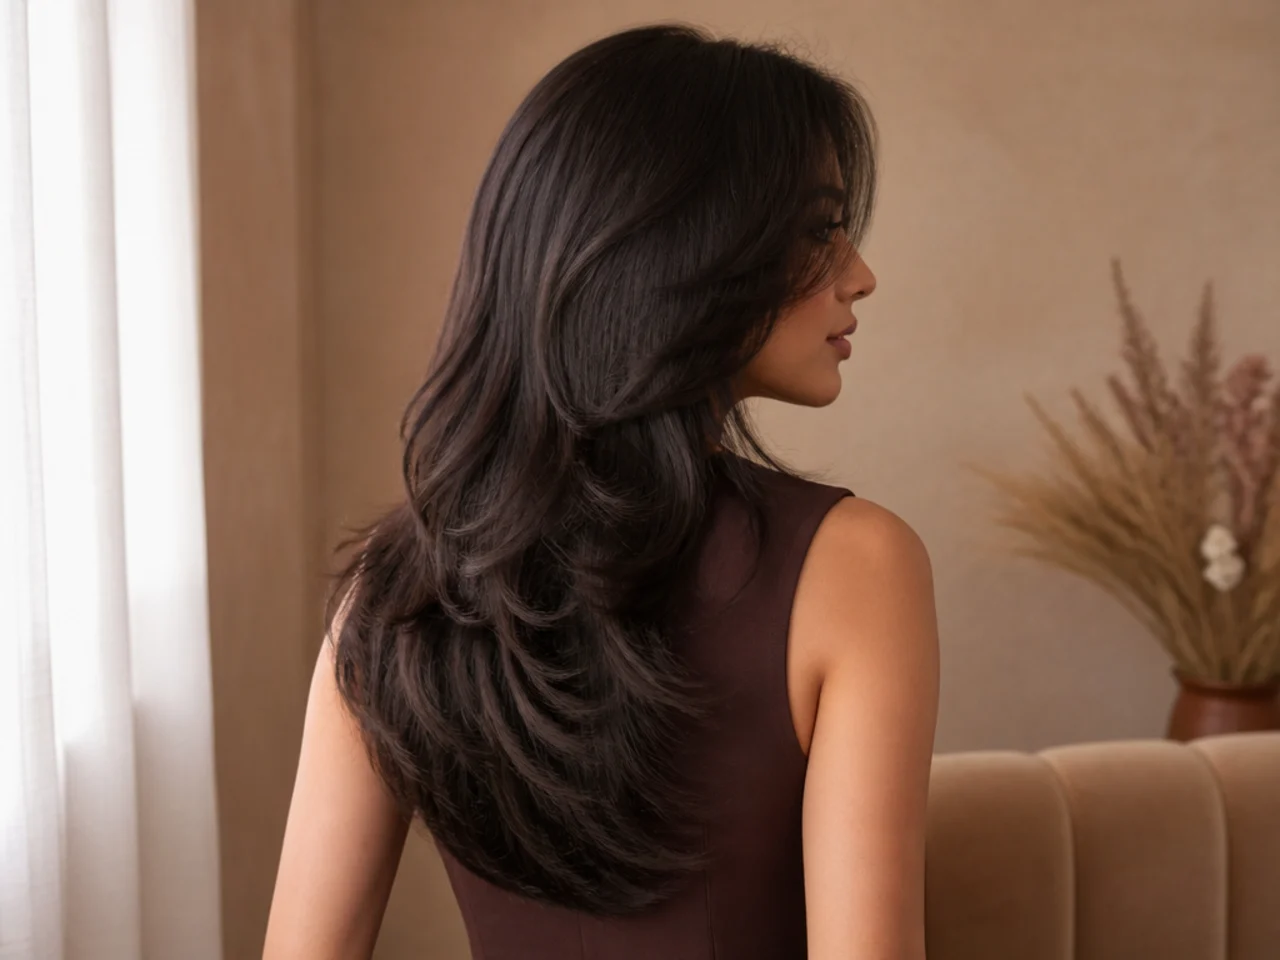
11. Waist Length Wolf Cut
The gap between the shortest crown layer and the longest end is what makes any of this read as a wolf cut. At waist length that gap is enormous, so the crown texture has to be strong or it disappears against the sheer volume of length below.

12. Invisible Layers on Fine Hair
The layers are cut inside the section so the outer perimeter keeps its full blunt width. Fine hair reads as dense because of its outline, so cutting into that outline is exactly what makes it look thinner.

13. Internal Thinning on Thick Hair
Bulk taken out of the interior, starting a couple of inches down from the root, lets the shape collapse inward into a taper. Thin only the ends on a thick head and the width simply moves upward, which is how a pyramid happens.

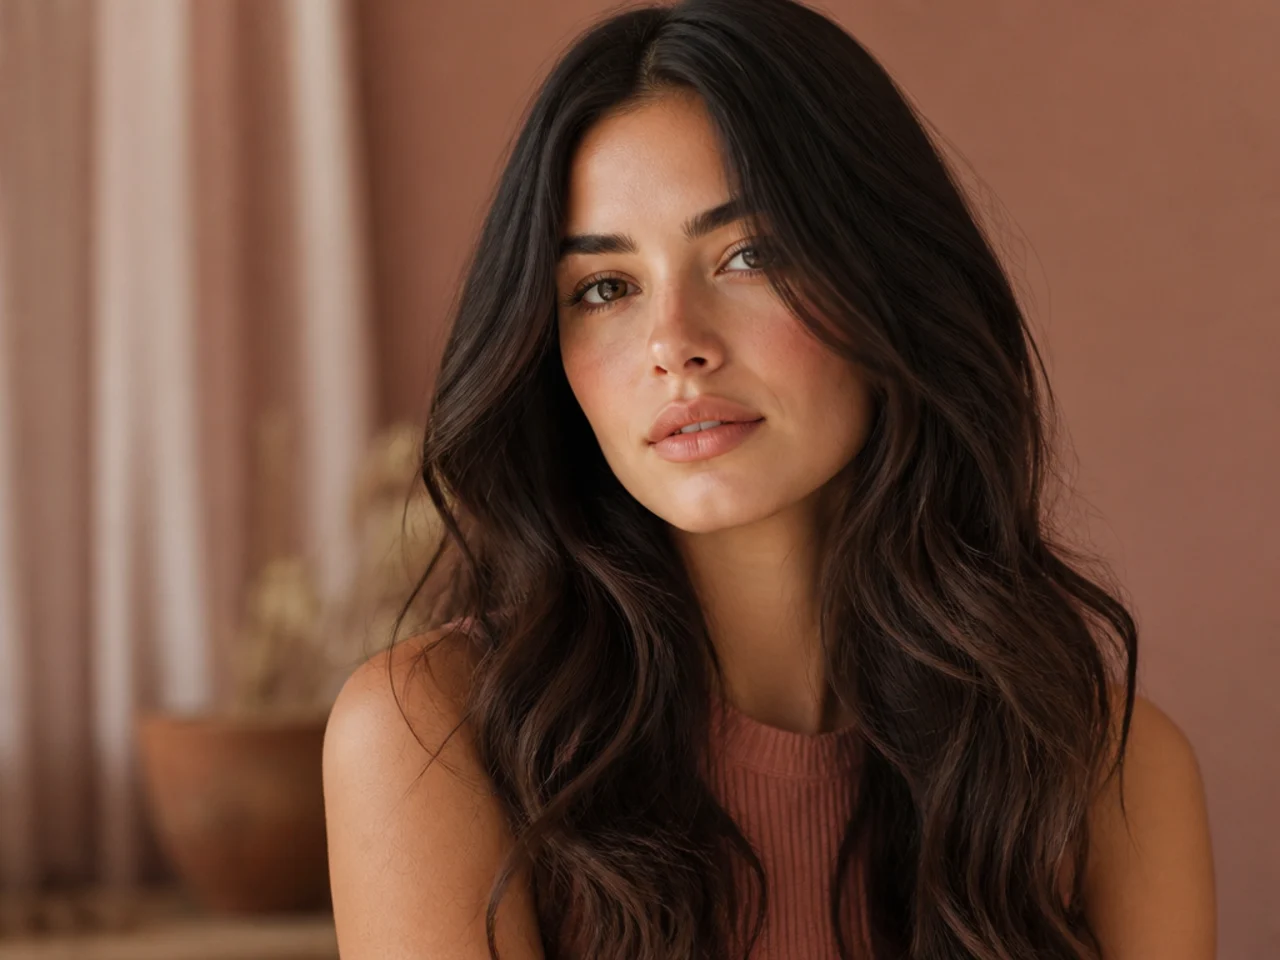
14. Wavy Wolf Cut Without Bangs
A wave bends light in several directions at once, which blurs the boundary between one layer and the next before the eye can find it. That forgiveness is why the wolf cut suits wavy hair better than any other texture.
15. Curly Wolf Cut Without Bangs
Cut dry, curl by curl, and start the shortest front piece below the chin. Curl draws up two to three inches as it dries, so a front piece cut at the chin finishes at the cheekbone and behaves like a fringe nobody asked for.

16. Straight Wolf Cut Without Bangs
Straight hair shows every layer line in full, because a straight strand hangs in a single line with no bend to scatter light. The steps have to sit closer together than they would on a wave, or the eye reads each one as a shelf.

17. Coily Wolf Cut Without Bangs
Shrinkage is at its most extreme here, with worn length often half of stretched length. The whole cut therefore has to be planned at worn length, which means cutting dry and checking each section where it actually sits.
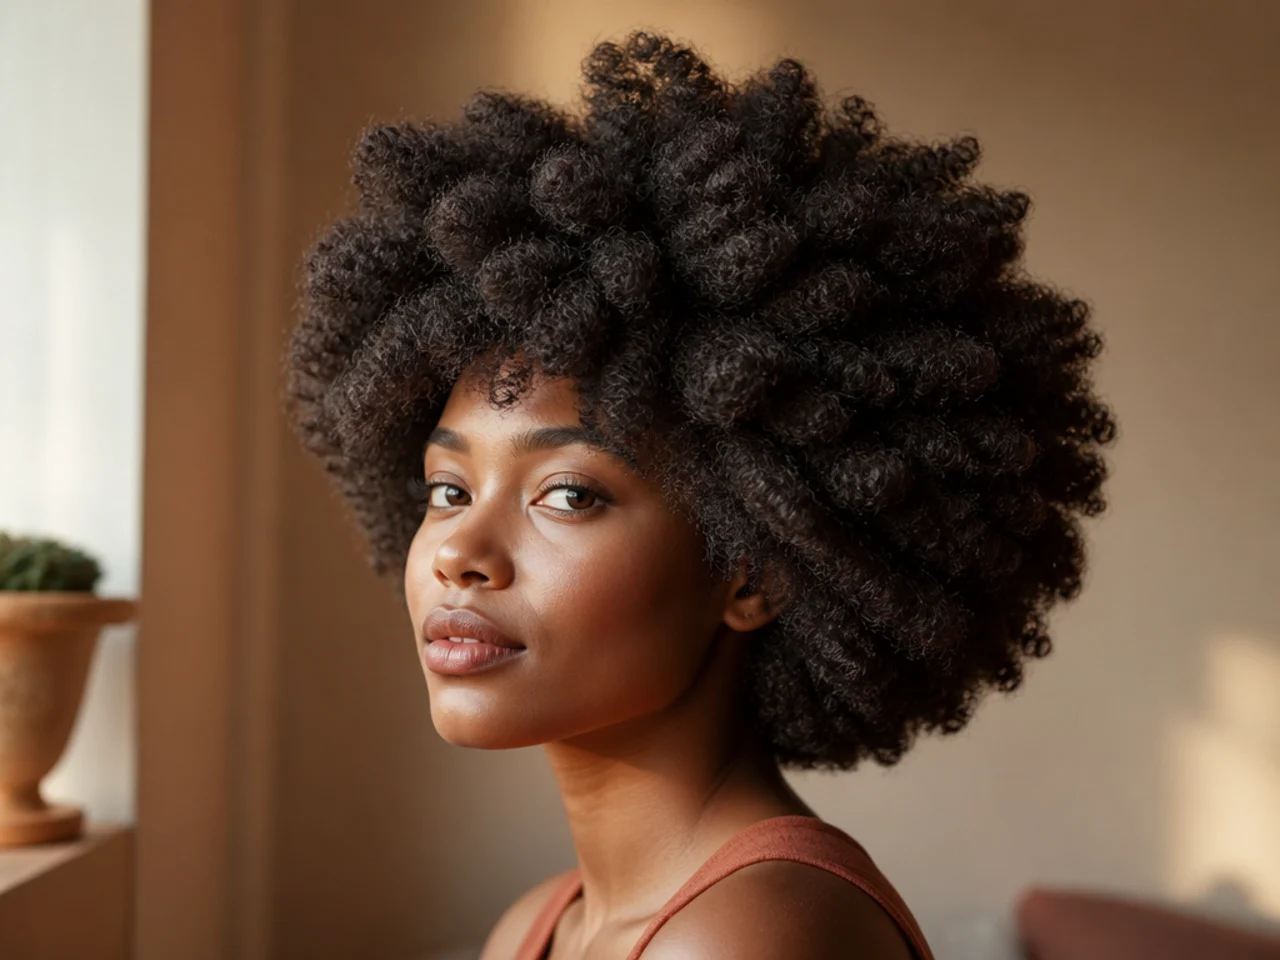
18. Shag Leaning Wolf Cut
Layering spread evenly down the whole head instead of concentrated at the crown, which makes the texture softer and the shape less top heavy. It also grows out with nothing to correct, because no section is dramatically shorter than its neighbour.
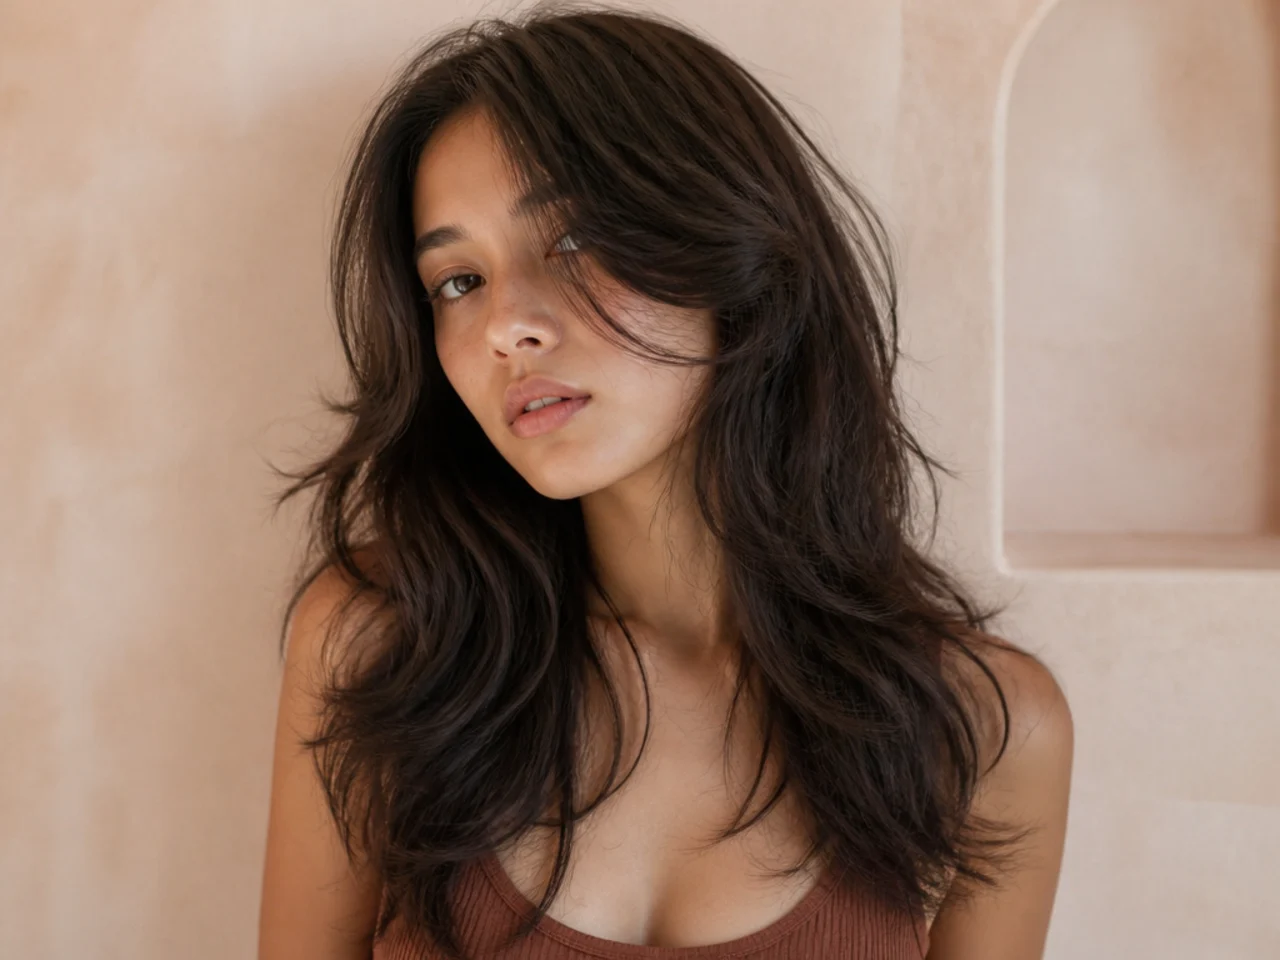
19. Mullet Leaning Wolf Cut
A short crown and short sides against long length at the back, with the disconnection left visible on purpose. The contrast reads bolder, and the grow out runs longer because the short crown has the greatest distance to travel before it rejoins the rest.
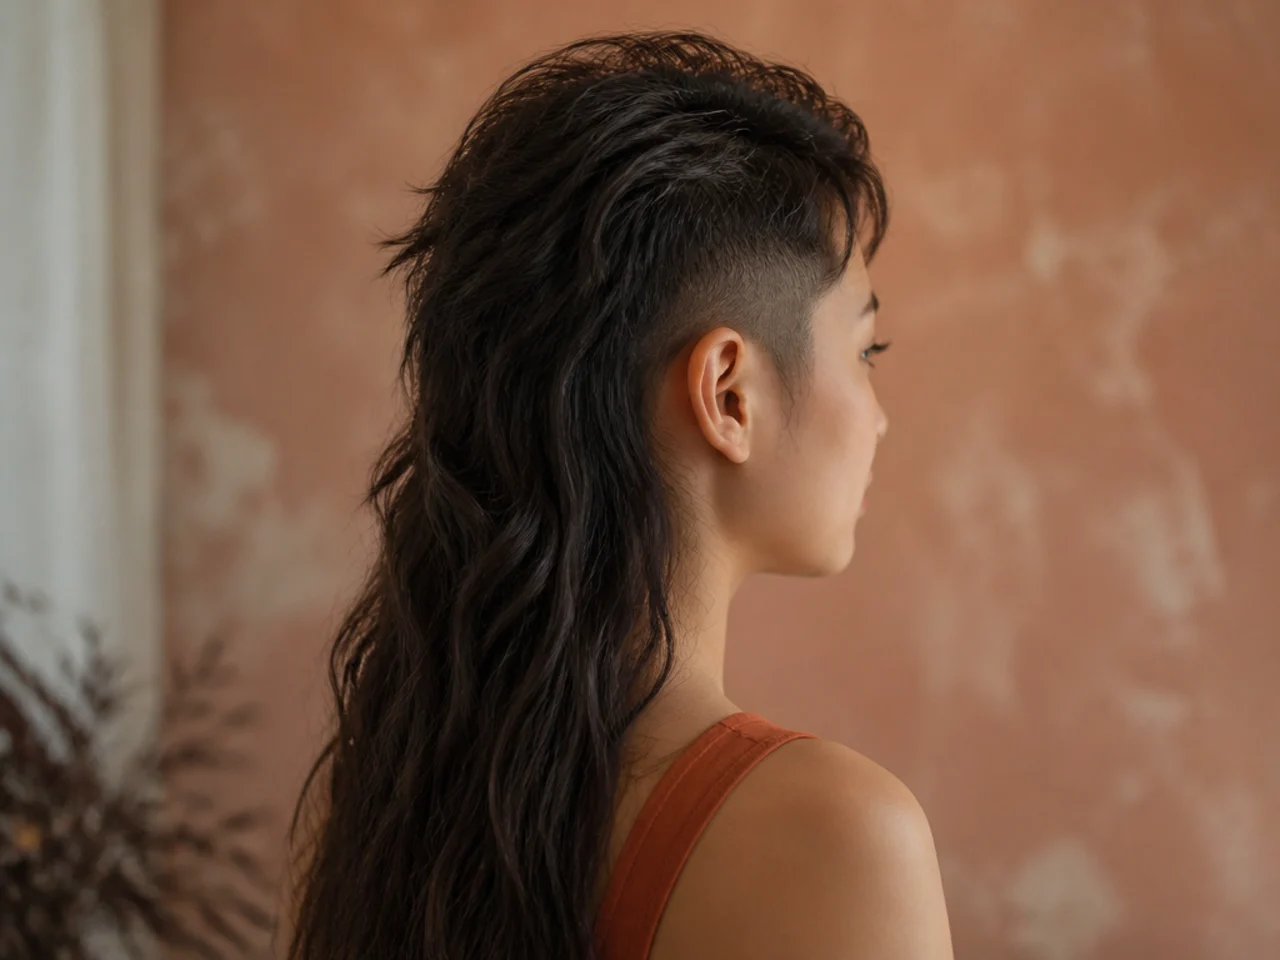
20. V Shaped Perimeter
The back cut to a point, with the sides finishing shorter than the centre back. The eye follows the taper down the middle, which narrows the silhouette, and it removes the weight that otherwise pools at the outer corners.
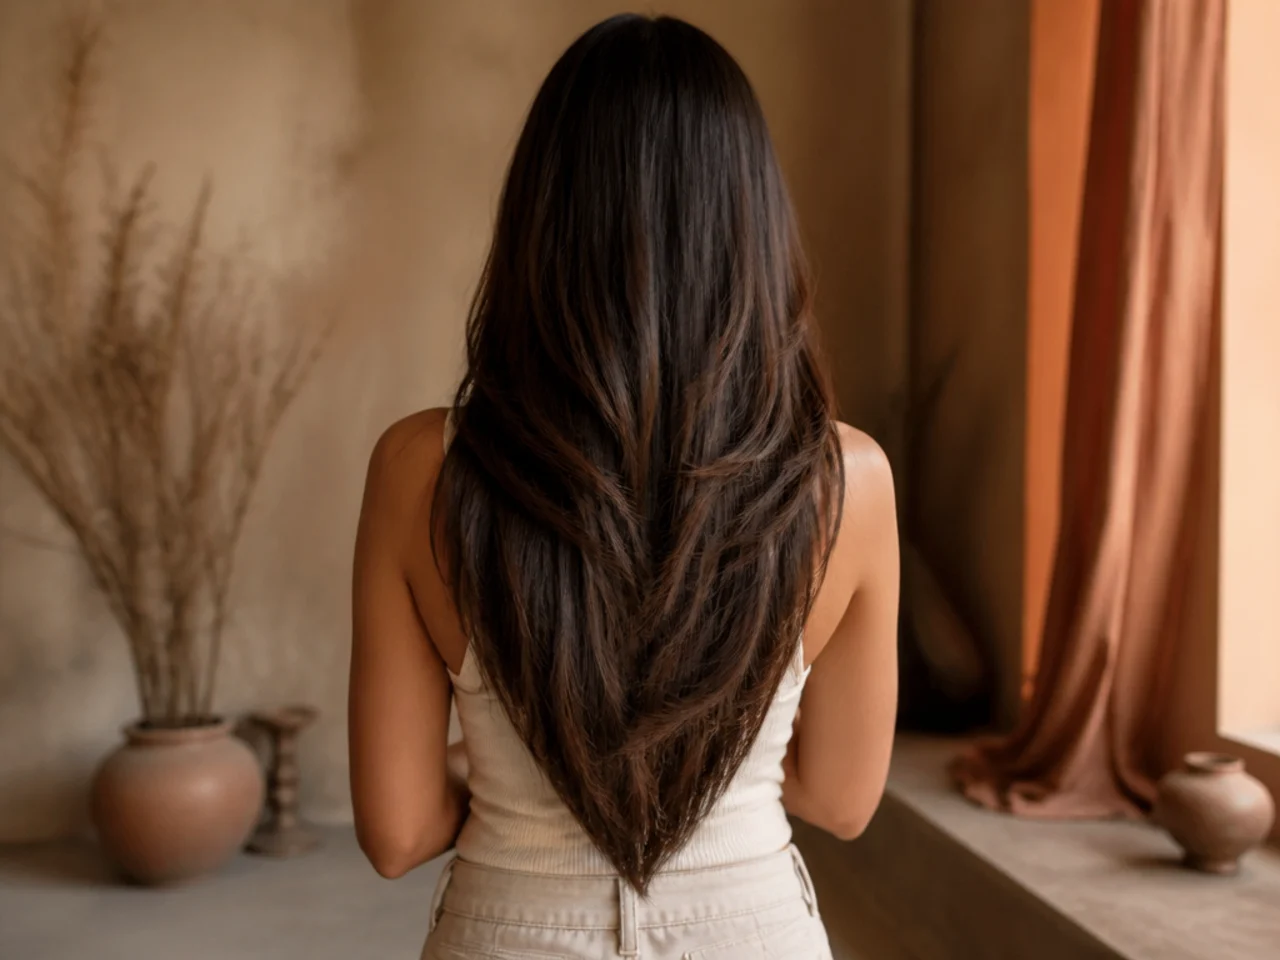
21. Blunt Straight Across Perimeter
Full density kept at the very ends makes the hair look thicker where thinness usually shows, which is why fine hair benefits from it. The layers above have to be kept light in return, or the shape ends up heavy at the top and heavy at the bottom with nothing in between.

22. Point Cut Ends
Holding the scissors vertically removes length in a zigzag, so no two hairs finish at exactly the same place. That staggered edge is what stops a layer reading as a hard line across the hair.
23. Razor Cut Ends
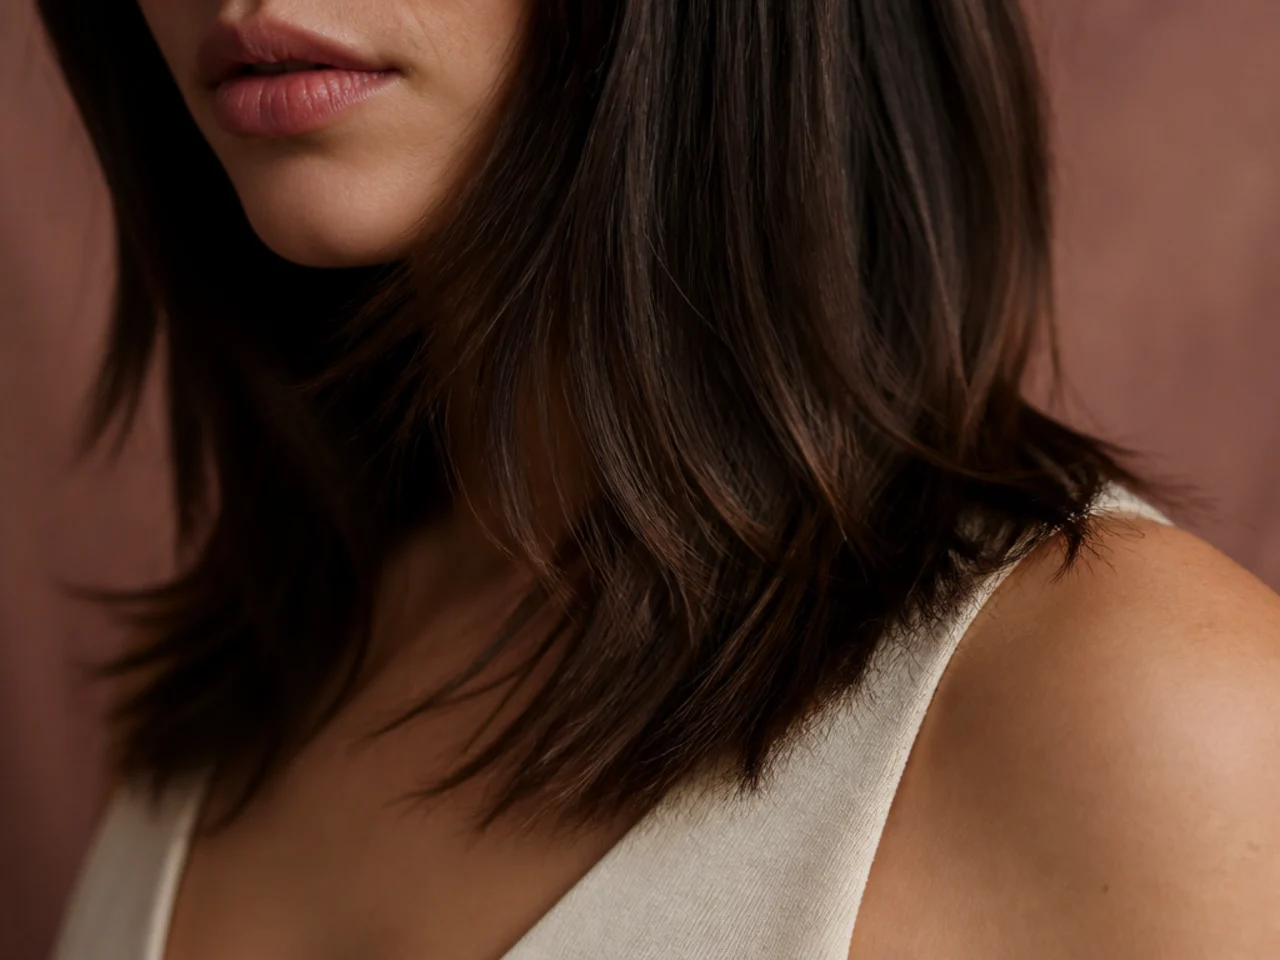
A razor bevels each strand to a taper so the ends sit closer together and finish finer, which is the sliced look behind the korean wolf cut. It roughens the cuticle, so straight and wavy hair take it well and curls generally should not.
24. Air Dried Wolf Cut
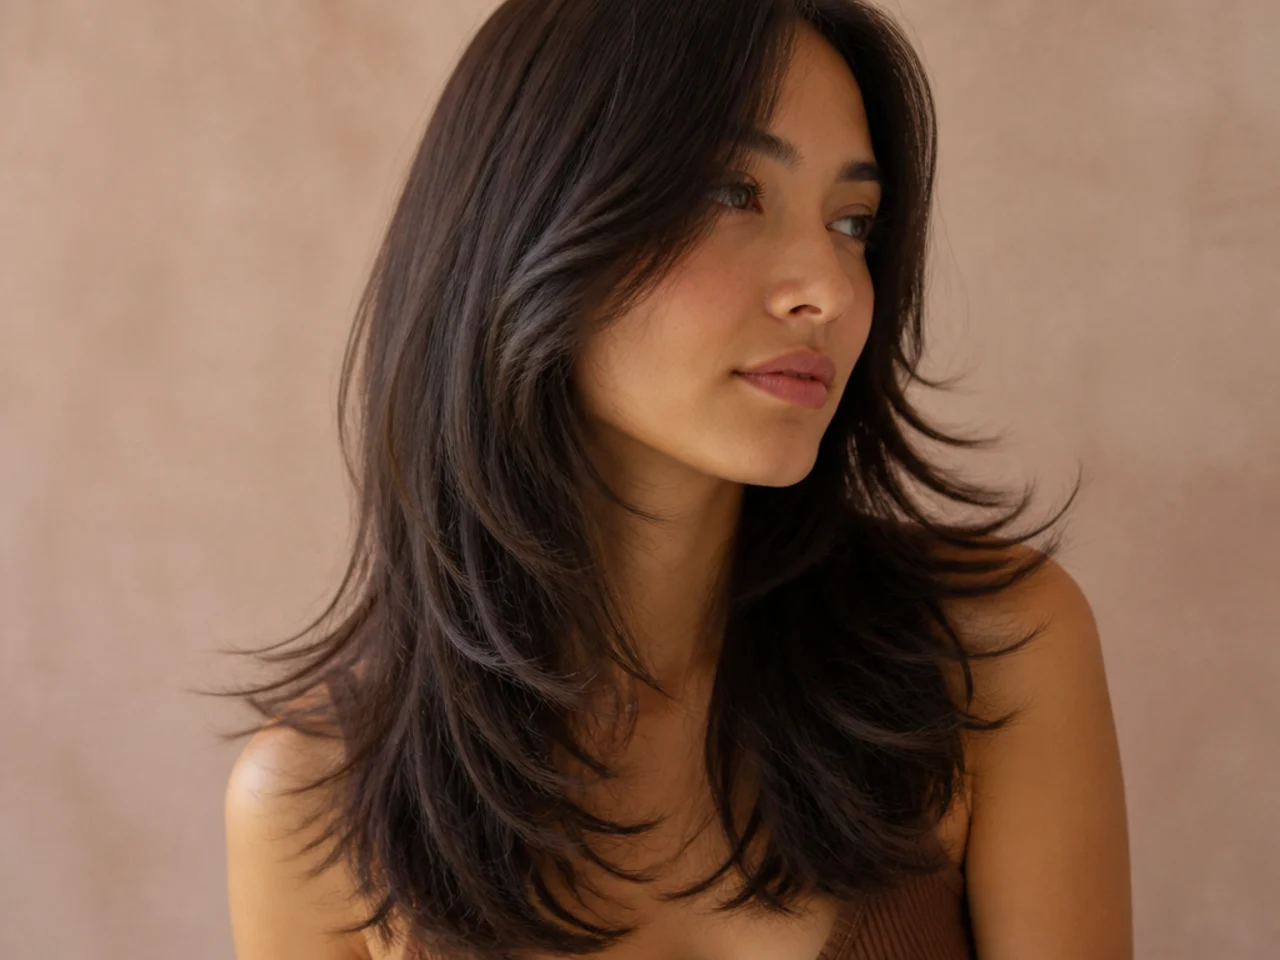
Cut dry, dried with a leave in and no brush, so the layers land exactly where they will actually sit. Cut the same shape wet and the layers finish two to four centimetres shorter once the texture springs back.

25. Grown Out Wolf Cut
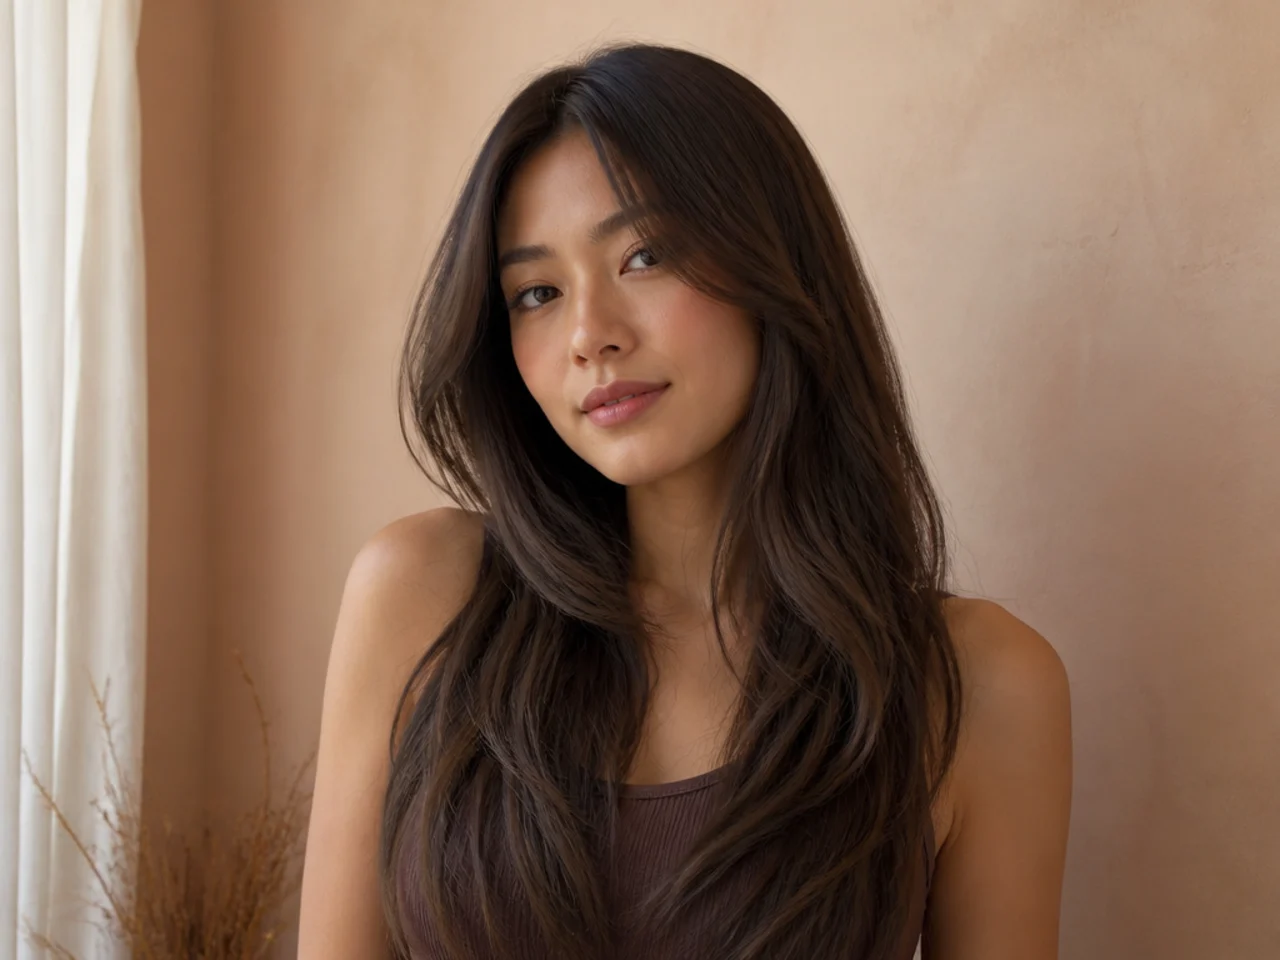
Three to four months in, the crown layer has closed most of the distance to the lengths and the shape flattens from the top down. Refreshing only the crown brings the lift back, and it keeps the length you have spent months growing.
Styling and Upkeep
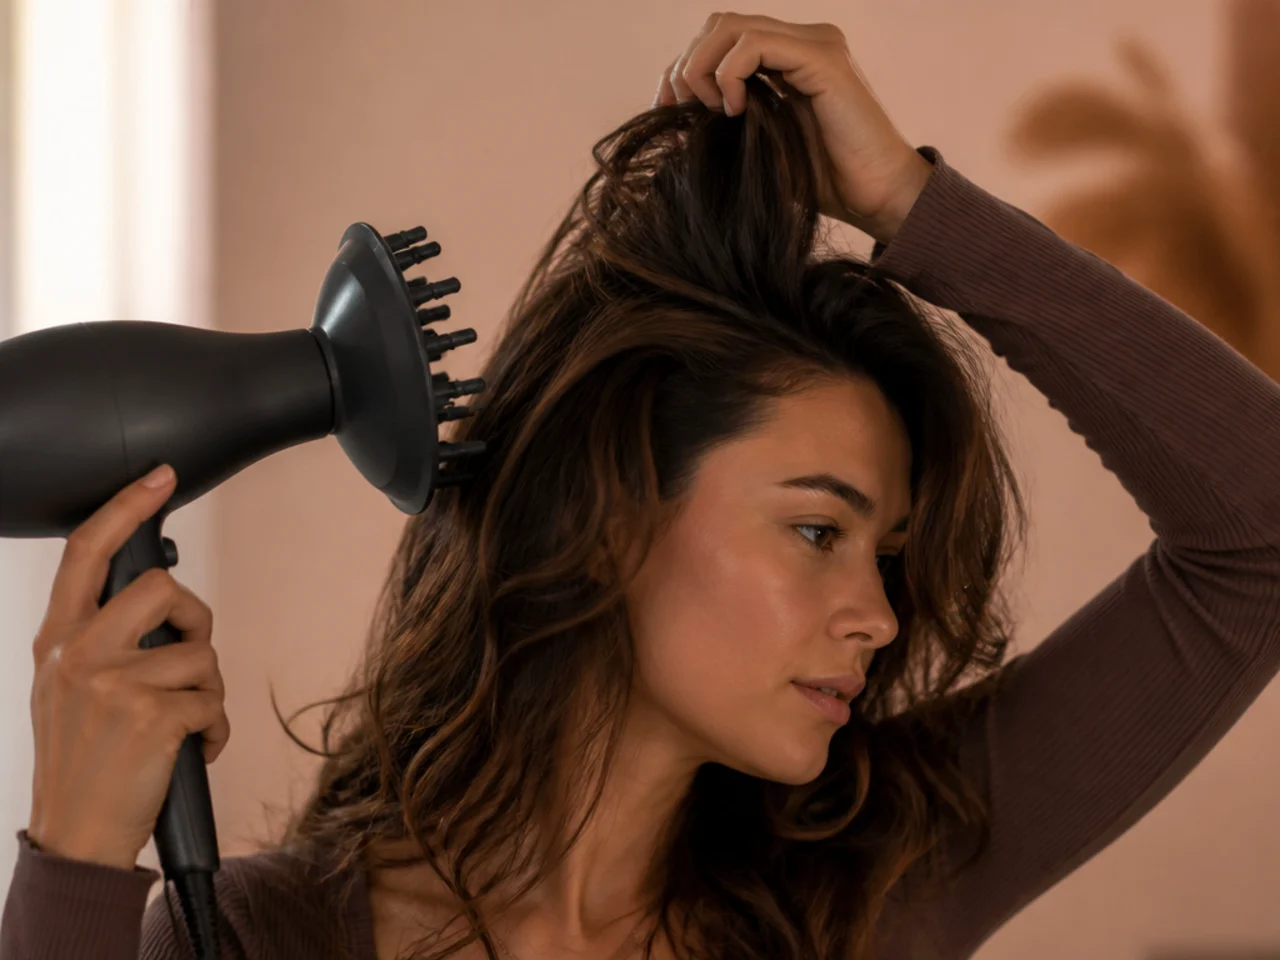
Dry the roots at the crown first. The lift is a root effect, so a crown dried last is a crown dried flat.
Overdirect the part for volume. Drying the roots against their natural fall gives the crown somewhere to stand.
Leave the ends alone. Weight at the tips is what holds the length down and stops the shape widening.
Refresh the crown layers between full cuts. They flatten first and they are the cheapest thing to fix.
Book every three to four months. With no fringe there is nothing on a six week clock.
Mistakes to Avoid
Starting the front piece above the chin. Too little weight below it, so it flicks outward and reads as a grown out fringe.
Cutting curls wet. Two to three inches of shrinkage puts every layer higher than planned.
Layering into the perimeter on fine hair. The blunt outline is what makes fine hair look dense, and cutting into it removes exactly that.
Thinning only the ends on thick hair. The width moves up rather than away, and the shape becomes a pyramid.
Letting the crown layer grow long. The distance between shortest and longest is the cut, so a long crown quietly turns it into plain layers.
FAQ
Where does the front piece start? At the jaw or below, so it hangs flat instead of flicking.
Does it need daily styling? No, only the crown roots need drying with any intent.
How long between cuts? Three to four months, with a crown refresh in between.

Final Thoughts
Ask for the crown layer and the front piece by name. Say how short the crown goes, say where the shortest face piece starts, and the fringe becomes something you never needed in the first place.
For the same shape at a shorter length see the short wolf cut, and for the sliced softer version see the korean wolf cut. More in Mullet and Wolf Cut.



