

25 Layered Wolf Cut Ideas That Look Expensive
Twenty five layered wolf cuts, and the property that separates the expensive ones from the rest — a gradient the eye cannot find the edge of, sitting above a perimeter with enough weight to hold an outline.
In this article · 32
- What Makes Layers Look Expensive
- Choosing Your Layer Spacing
- The 25 Layered Wolf Cut Ideas
- 1. The Long Layered Wolf Cut
- 2. The Invisible Layer Wolf Cut
- 3. The Curtain Layer Wolf Cut
- 4. The Face Framing Wolf Cut
- 5. The Heavy Perimeter Wolf Cut
- 6. The Feathered Perimeter Wolf Cut
- 7. The Short Crown Wolf Cut
- 8. The Butterfly Layer Wolf Cut
- 9. The Low Stack Wolf Cut
- 10. The Razor Cut Wolf Cut
- 11. The Point Cut Wolf Cut
- 12. The Blunt Ended Wolf Cut
- 13. The Wavy Layered Wolf Cut
- 14. The Curly Layered Wolf Cut
- 15. The Straight Layered Wolf Cut
- 16. The Fine Hair Wolf Cut
- 17. The Thick Hair Wolf Cut
- 18. The Shoulder Length Wolf Cut
- 19. The Collarbone Wolf Cut
- 20. The Mid Back Wolf Cut
- 21. The Wolf Cut With a Shadow Root
- 22. The Wolf Cut With a Money Piece
- 23. The Connected Layer Wolf Cut
- 24. The Disconnected Wolf Cut
- 25. The Grown Out Wolf Cut
- Styling and Upkeep
- Mistakes to Avoid
- FAQ
- Final Thoughts
Layered wolf cuts look cheap for a predictable reason — the step between two lengths was bigger than the shorter layer could hide, and the eye reads it as a shelf.
Expensive means a gradient with no findable edge. The layers still step, but each one is supported by the one beneath it, so the change of length registers as movement rather than as a line.
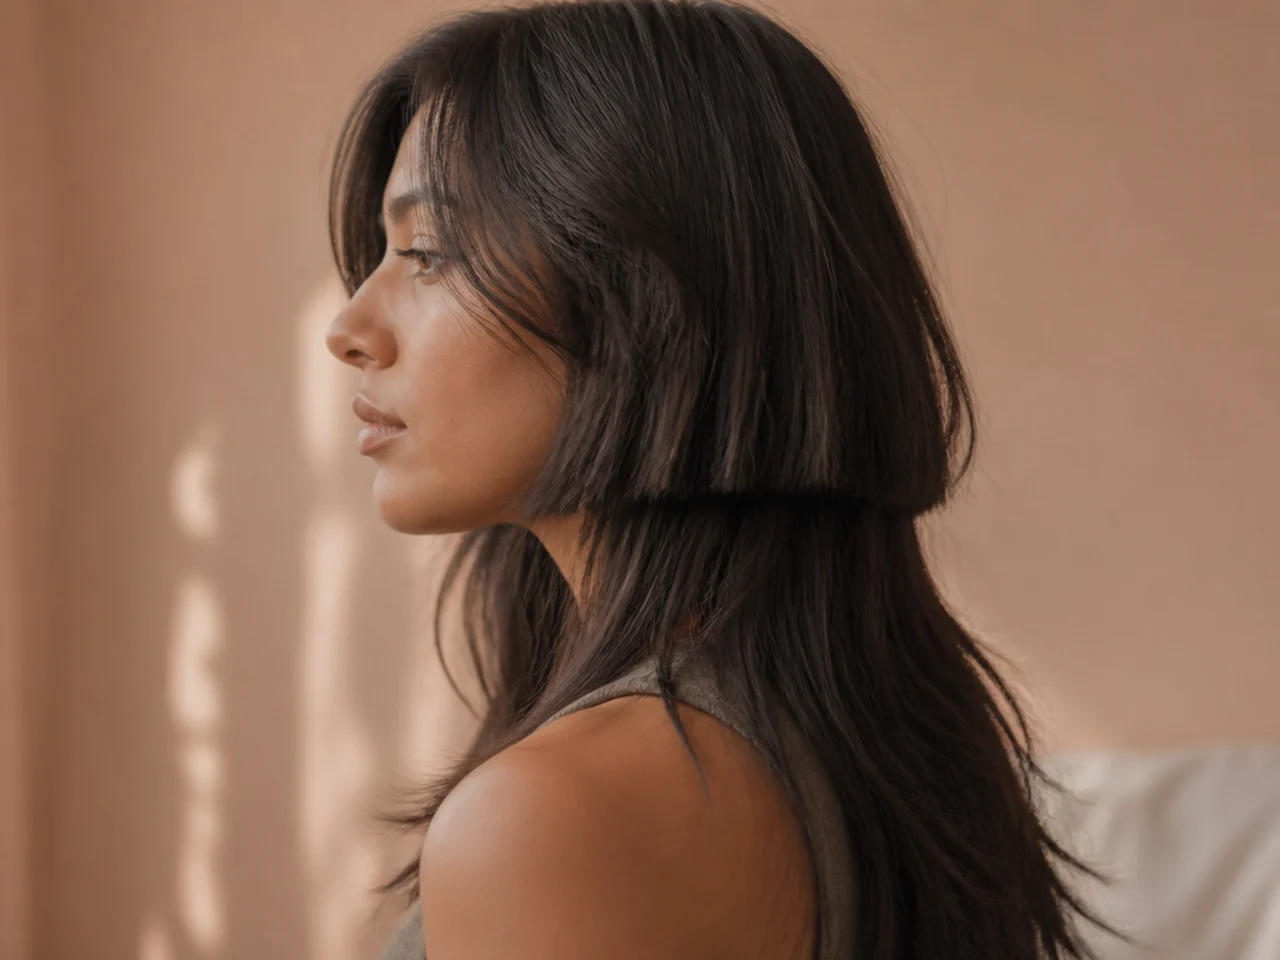
The perimeter has to keep its weight. A solid outline is what says the cut was deliberate. Ends thinned into wisps read as damage no matter how good the layering above them is.
What Makes Layers Look Expensive
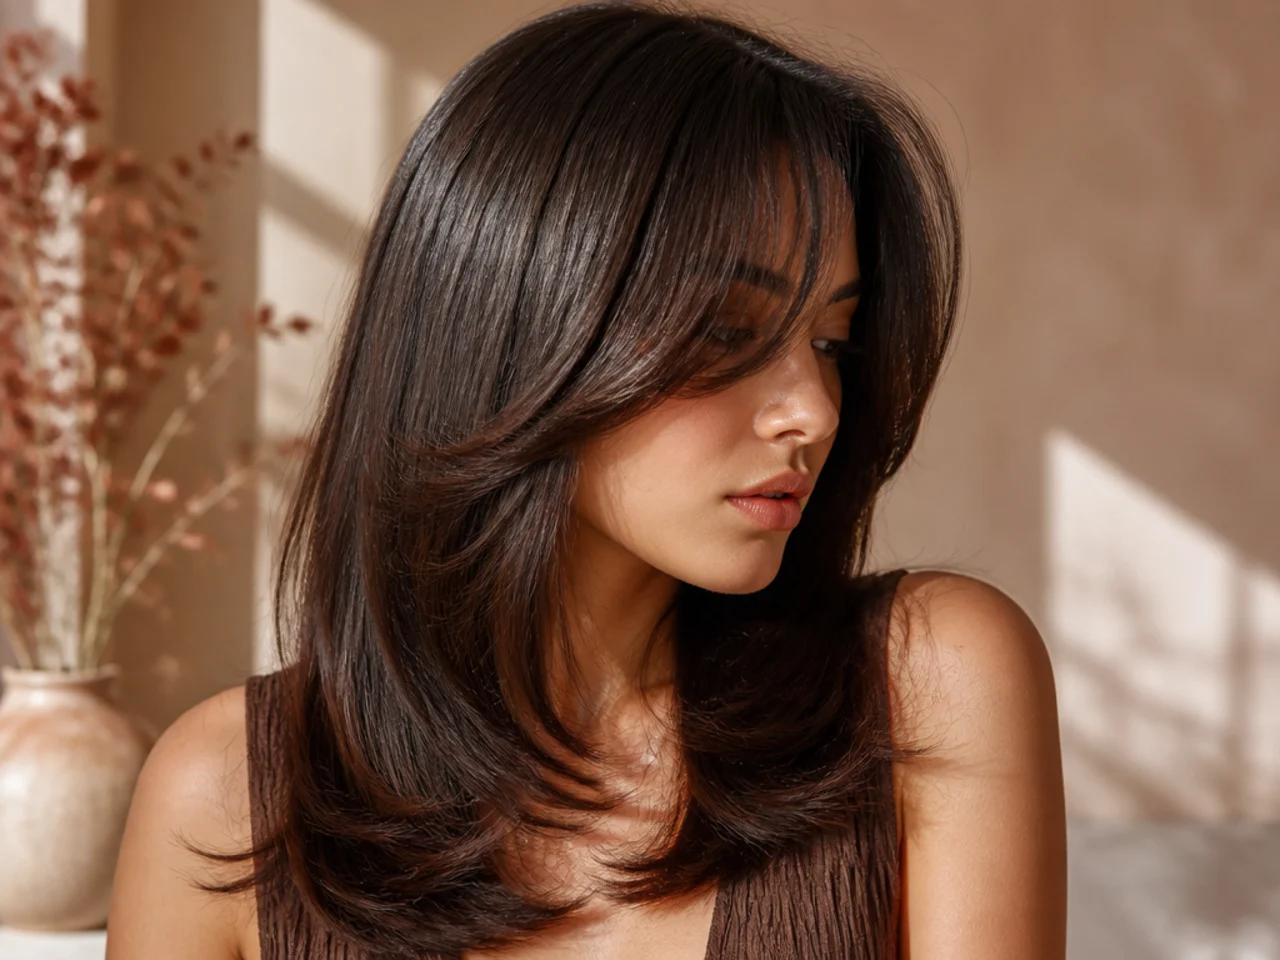
Gradual beats dramatic. A small step repeated many times costs more chair time than one big step, and it is the only way the transition disappears.
Weight at the bottom, movement in the middle. Take the bulk out internally and leave the perimeter alone. That combination gives a shape that moves without losing its outline.
Blunt ends catch light in a line. Strands that stop at the same place stack and reflect together, which is what produces shine. Heavily point cut ends scatter light in every direction and look dull.
No hard lines anywhere, including colour. A visible regrowth line does the same damage as a visible layer shelf, which is why a soft root shadow reads more costly than a precise root touch up.
Choosing Your Layer Spacing
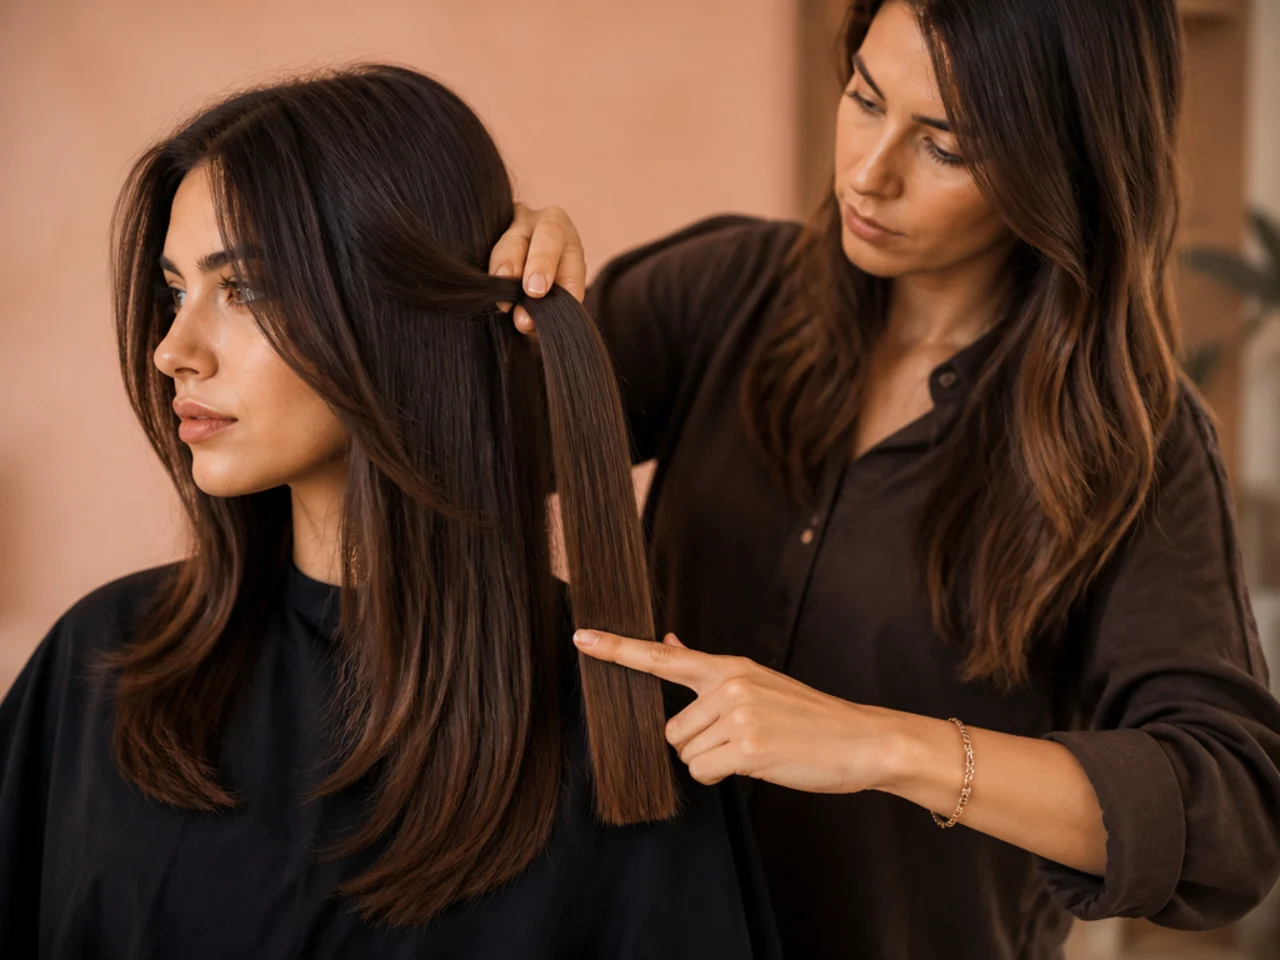
Set the shortest crown layer first. Every other length is measured against it, and moving it a couple of centimetres changes the whole silhouette.
Keep each step smaller than the layer below it. If a shorter piece is not partly supported by the length underneath, it stands away from the head instead of blending into it.
Decide the perimeter finish separately. Blunt for density and shine, point cut for softness, razored for separation. It is a different decision from the layering and it should be made on its own.
Cut to your texture, not to the photograph. Spacing that reads as clean separation on straight hair collapses into one mass on a curl pattern, and spacing that suits curls looks like steps on straight hair.
The 25 Layered Wolf Cut Ideas
1. The Long Layered Wolf Cut
Length below the shoulder blade gives the layer stack plenty of vertical room, so each step can be small and still read. The trade is weight, since long hair pulls the crown flat and the crown layers have to be cut shorter to compensate.
2. The Invisible Layer Wolf Cut
The layers are cut deep inside the hair so no edge shows from outside and only the movement is visible. It suits anyone who wants a wolf cut that behaves like one without announcing itself, and it grows out with nothing to correct.
3. The Curtain Layer Wolf Cut
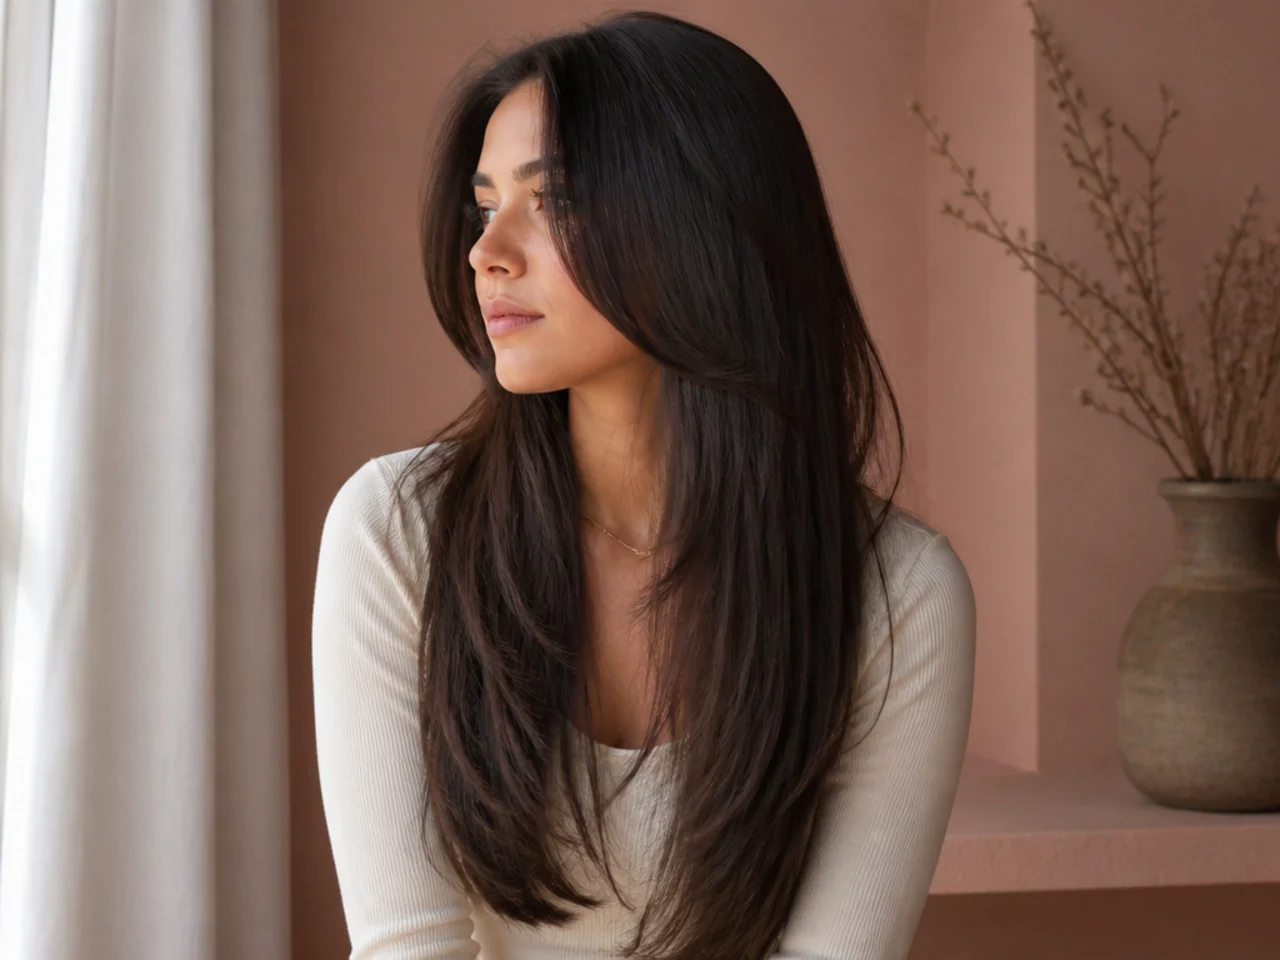
The front layers are cut in a curve that starts short at the centre and lengthens toward the cheek, so they fall open either side of the face. That curve is what makes the frame sweep rather than sit flat.
4. The Face Framing Wolf Cut
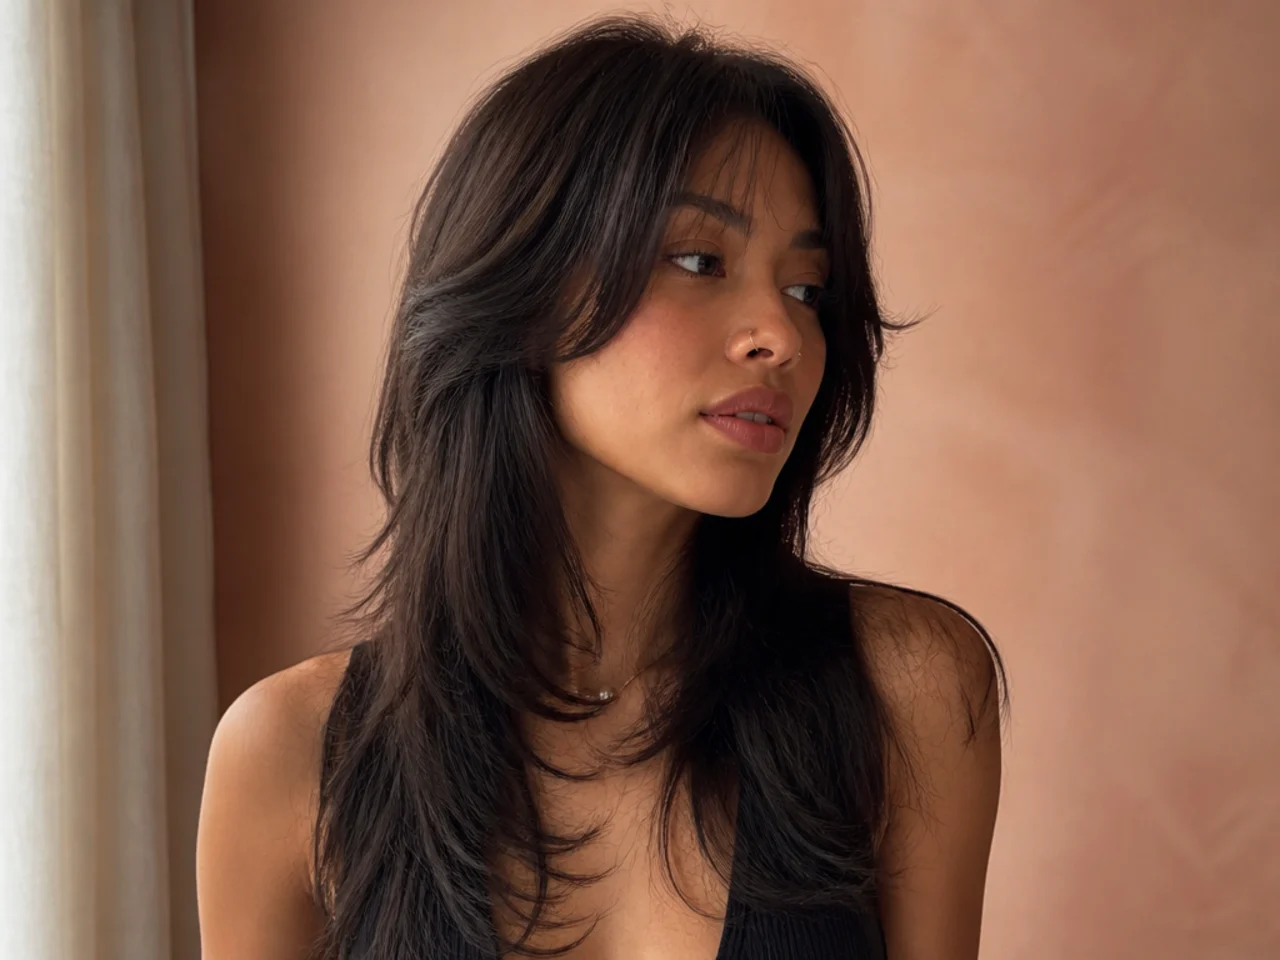
The shortest front piece is placed at the cheekbone and the lengths behind it step down from there. The frame is the one place the eye sees two lengths side by side, which is why it does most of the work in showing off the layering.
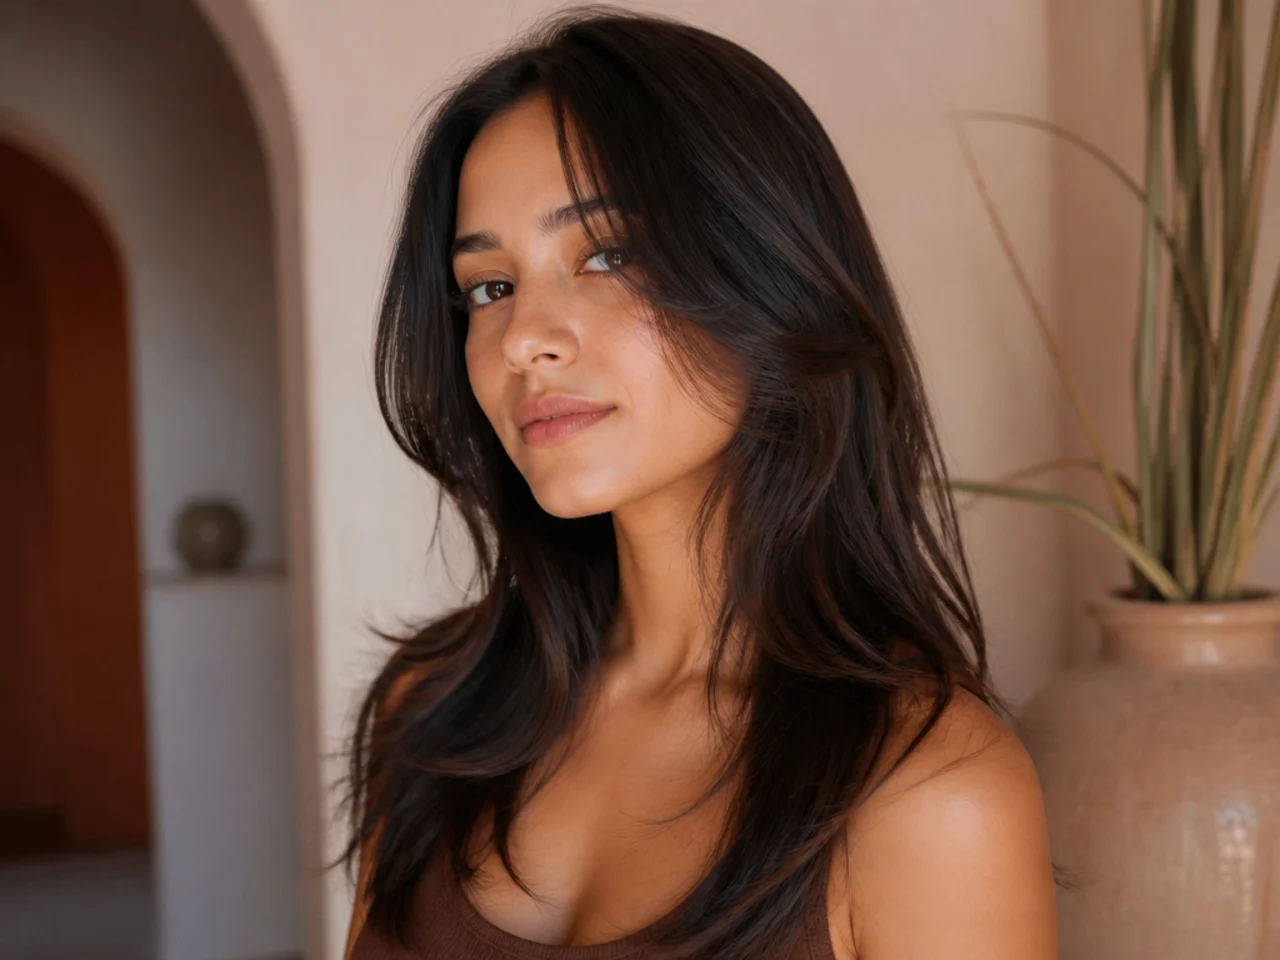
5. The Heavy Perimeter Wolf Cut
All the movement is cut internally and the bottom line is left blunt and full. The solid edge anchors the shape, which is what stops a layered cut from tapering away into wisps at the ends.

6. The Feathered Perimeter Wolf Cut
The opposite approach, with the ends tapered so weight comes off the bottom and the layers above spring up. It is the right answer on thick hair that would otherwise hang as a block, and the wrong one on fine hair.

7. The Short Crown Wolf Cut
The shortest layer sits well above the ear, pushing the top of the shape upward. Short layers rest on longer ones and hold them off the scalp, so this is where the volume in a wolf cut actually comes from.

8. The Butterfly Layer Wolf Cut
Two clear lengths rather than a continuous stack: a short set around the face and the full length behind. Blended at the join it reads as long from the back and heavily layered from the front, which is the whole appeal.
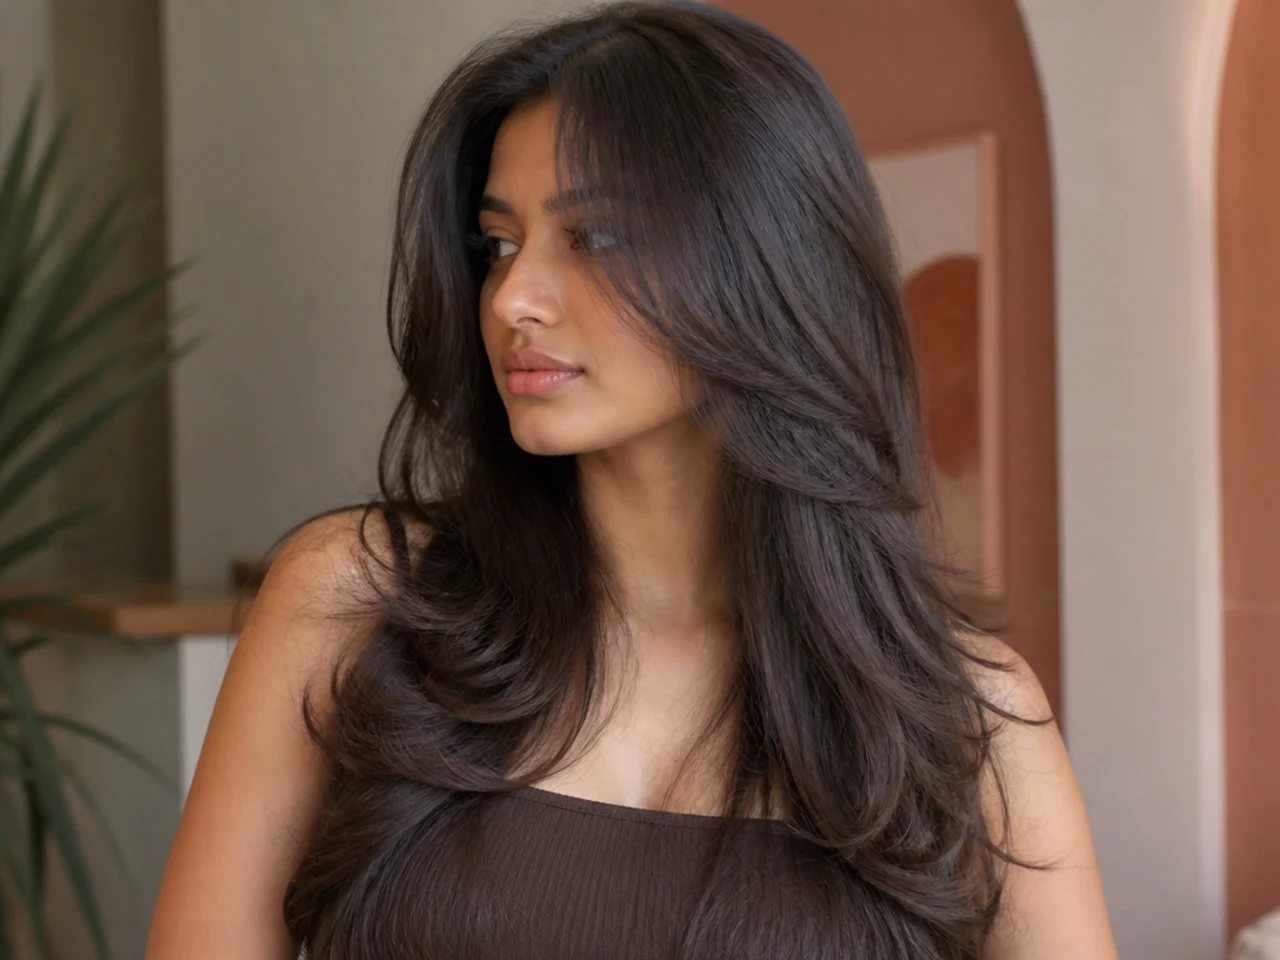
9. The Low Stack Wolf Cut
The layering begins below the ear, so the crown keeps its full length and the movement all happens through the lower half. It gives the least volume of any version and the longest interval between trims.
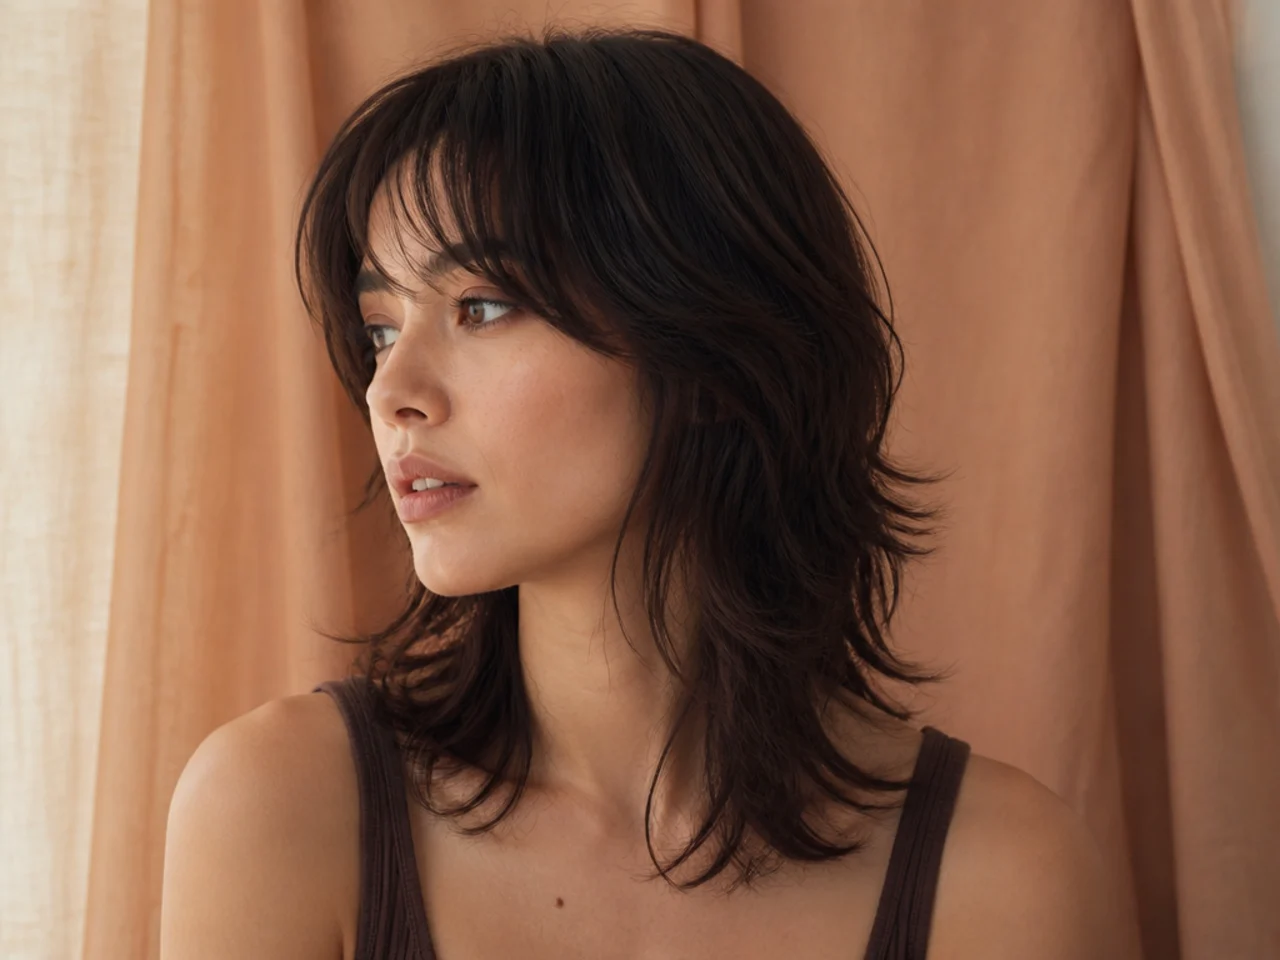
10. The Razor Cut Wolf Cut
A razor slices each strand at an angle so the end tapers rather than stopping square, and the hair separates into pieces without product. It also thins the end of every strand, which is why it belongs on coarse hair and not on fine.

11. The Point Cut Wolf Cut
Scissors held vertically remove length in a broken line instead of a straight one. Softer than a blunt edge but with more weight retained than a razor leaves, which makes it the safe middle choice on most textures.

12. The Blunt Ended Wolf Cut
Every strand at the perimeter stops at the same place, so the ends stack into one line and reflect light together. On fine hair this single choice does more for apparent thickness than any product.

13. The Wavy Layered Wolf Cut
An S-bend scatters light along the strand, which blurs the boundary between one layer and the next before the eye can locate it. Waves are the most forgiving texture for layering and hide small spacing errors easily.

14. The Curly Layered Wolf Cut
Curls occupy more vertical height than waves, so the layers need wider spacing to register as separate. Cut dry, because wet curls hang at two or three times their finished length and every layer would land in the wrong place.

15. The Straight Layered Wolf Cut
Straight hair shows every layer edge exactly where it was cut, so this is the least forgiving version and the one that most rewards a slow gradient. It is also the version where shine reads strongest, since the cuticle lies flat.

16. The Fine Hair Wolf Cut
Fine hair has few strands to spare, so every layer removed from the perimeter shows at the ends. Take few layers, keep them long, and leave the bottom line blunt so the outline stays solid.

17. The Thick Hair Wolf Cut
Thick hair sits as a triangle unless weight is taken from underneath. Remove it internally through the mid lengths, since cutting the outer perimeter only raises the widest point of the silhouette rather than reducing it.

18. The Shoulder Length Wolf Cut
The shoulder makes the ends flick outward because the hair meets an obstacle and bends. That flick is free movement, but it also means the perimeter will never hang straight down at exactly this length.

19. The Collarbone Wolf Cut
Just past the shoulder, so the ends clear the obstacle and hang properly again. It is the shortest length with enough vertical room for a full layer stack, which makes it the most reliable mid length option.

20. The Mid Back Wolf Cut
Long enough that the layer stack can be spread over a great deal of vertical space, so the steps are almost invisible. Long hair also carries the most weight, so the crown needs cutting shortest of all to lift against it.

21. The Wolf Cut With a Shadow Root
The root is left a shade or two deeper than the lengths so the colour changes gradually. There is no hard regrowth line to maintain, which is exactly the effect that makes colour look costly rather than recently done.

22. The Wolf Cut With a Money Piece
Two lighter sections either side of the parting. Because they sit on the shortest face framing layers, the brightness lands exactly where the eye already goes, which is why so little colour has such a large effect.
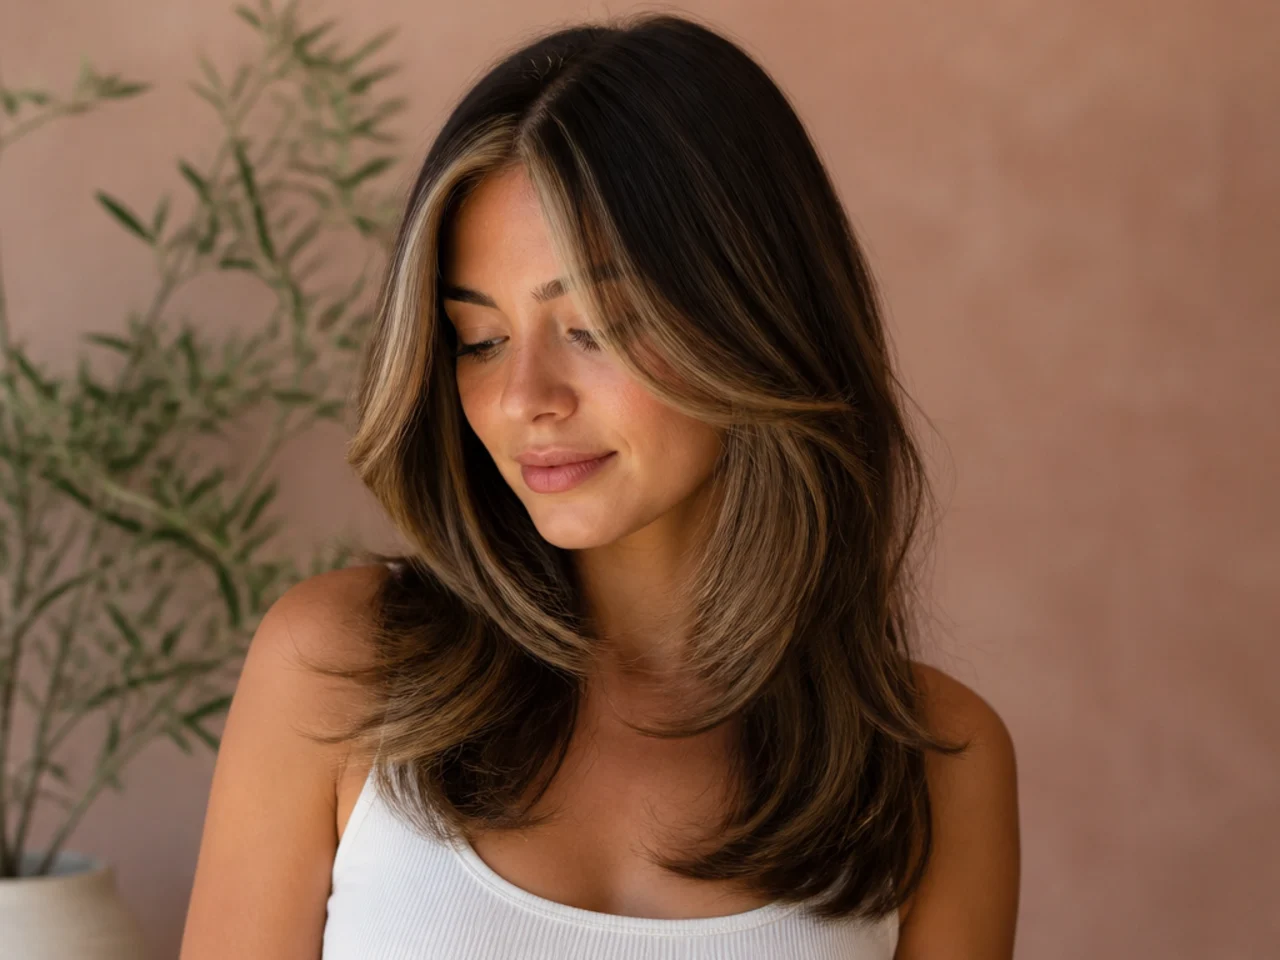
23. The Connected Layer Wolf Cut
No disconnection anywhere, so the layers run continuously from crown to ends. That connected approach is what defines the Korean wolf cut, and it produces a rounder, softer outline than the Western version.

24. The Disconnected Wolf Cut
A deliberate step between the crown layers and the length, with no blending across it. It is the hardest version to wear well, because a disconnection either looks intentional or looks like a mistake and there is no middle ground.

25. The Grown Out Wolf Cut
Layers grow down together, so their spacing stays roughly proportional and the silhouette survives far longer than a blunt cut would. The face frame drops first, and once it passes the jaw the cut stops reading as a wolf.

Styling and Upkeep
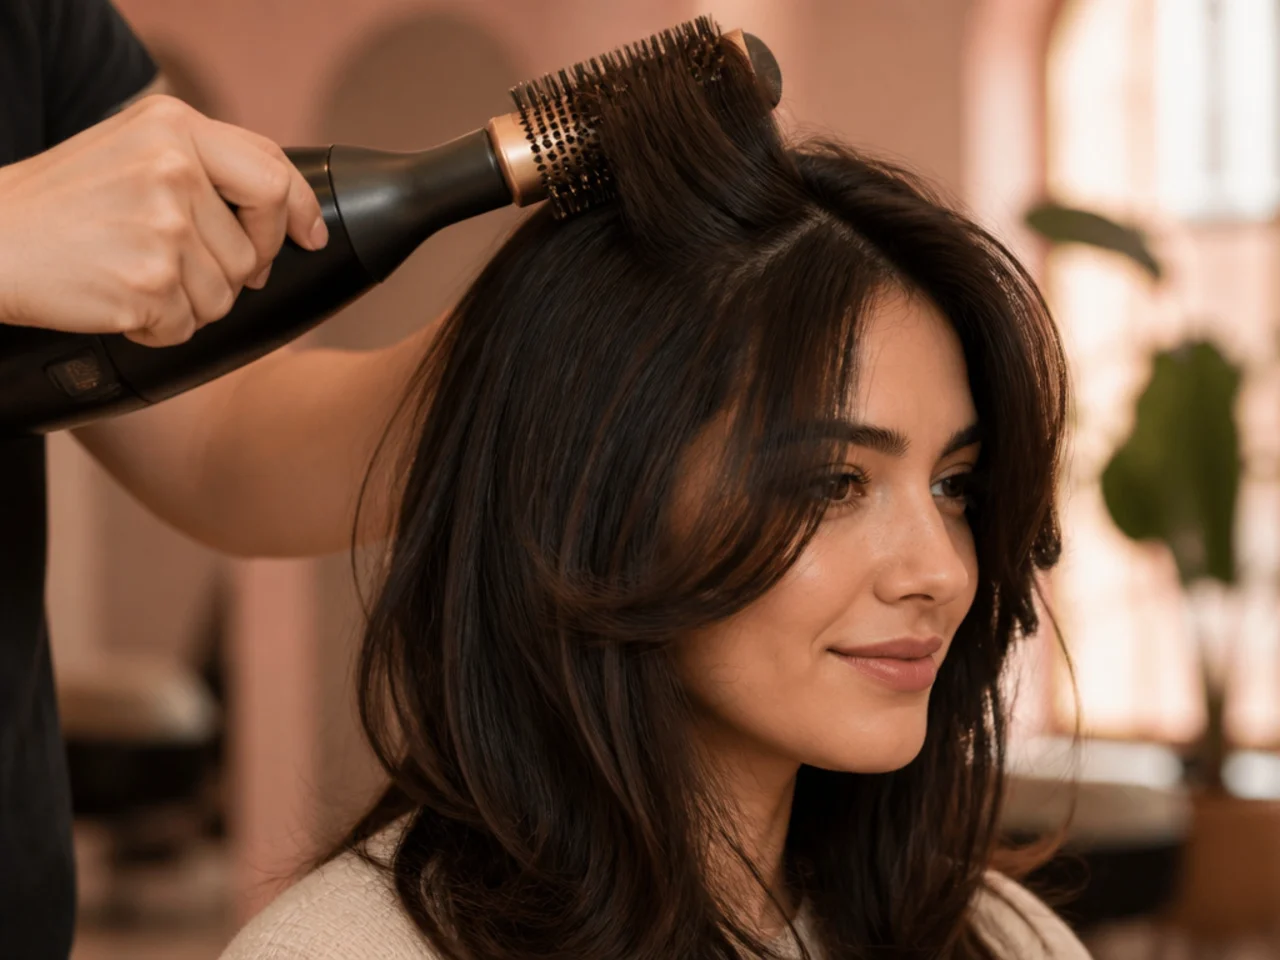
Dry the crown first and at the root. A wolf cut is a top heavy shape and the crown sets its direction in the first minutes of drying.
Use a light hold product, not a firm one. Layers have to separate to read as layers, and firm hold glues them into a single mass that looks like an ordinary long cut.
Finish the ends smooth. The perimeter is where shine lives, so a flat cuticle at the bottom line does more visually than volume at the top.
Trim the perimeter every ten weeks, not the layers. The layers hold their spacing as they grow. The ends split and stop reflecting light long before the shape gives out.
Photograph it in week one. The layer positions are the reference for the next appointment, and describing them in words afterwards is guesswork.
Mistakes to Avoid
A step bigger than the layer below it. The shorter piece has nothing to rest on, so it stands away from the head as a shelf.
Thinning the ends to remove bulk. It destroys the outline that makes the cut look deliberate. Take weight internally instead.
Cutting curls wet. Wet curls hang at several times their finished length, so every layer ends up somewhere other than intended.
Copying a photo from a different texture. Spacing that separates cleanly on straight hair closes into one mass on curls, and the cut cannot deliver the picture.
Chasing volume with a shorter perimeter. Cutting the bottom only moves the widest point of the shape higher up the head, which makes the triangle worse.
FAQ
What makes it look expensive? A gradient with no findable edge, over a perimeter that kept its weight.
How far apart should layers sit? Each step smaller than the layer beneath it, so nothing stands unsupported.
How often is a trim? Ten weeks, and it is the perimeter that needs it rather than the layers.

Final Thoughts
Every expensive looking layered cut is the same two decisions: small steps between the layers, and a perimeter left heavy enough to hold a line. Neither costs more hair, only more time in the chair.
For the version with far less vertical room to spread that stack through see the short wolf cut, and for the fully connected approach see the Korean wolf cut. More in Mullet and Wolf Cut.



