
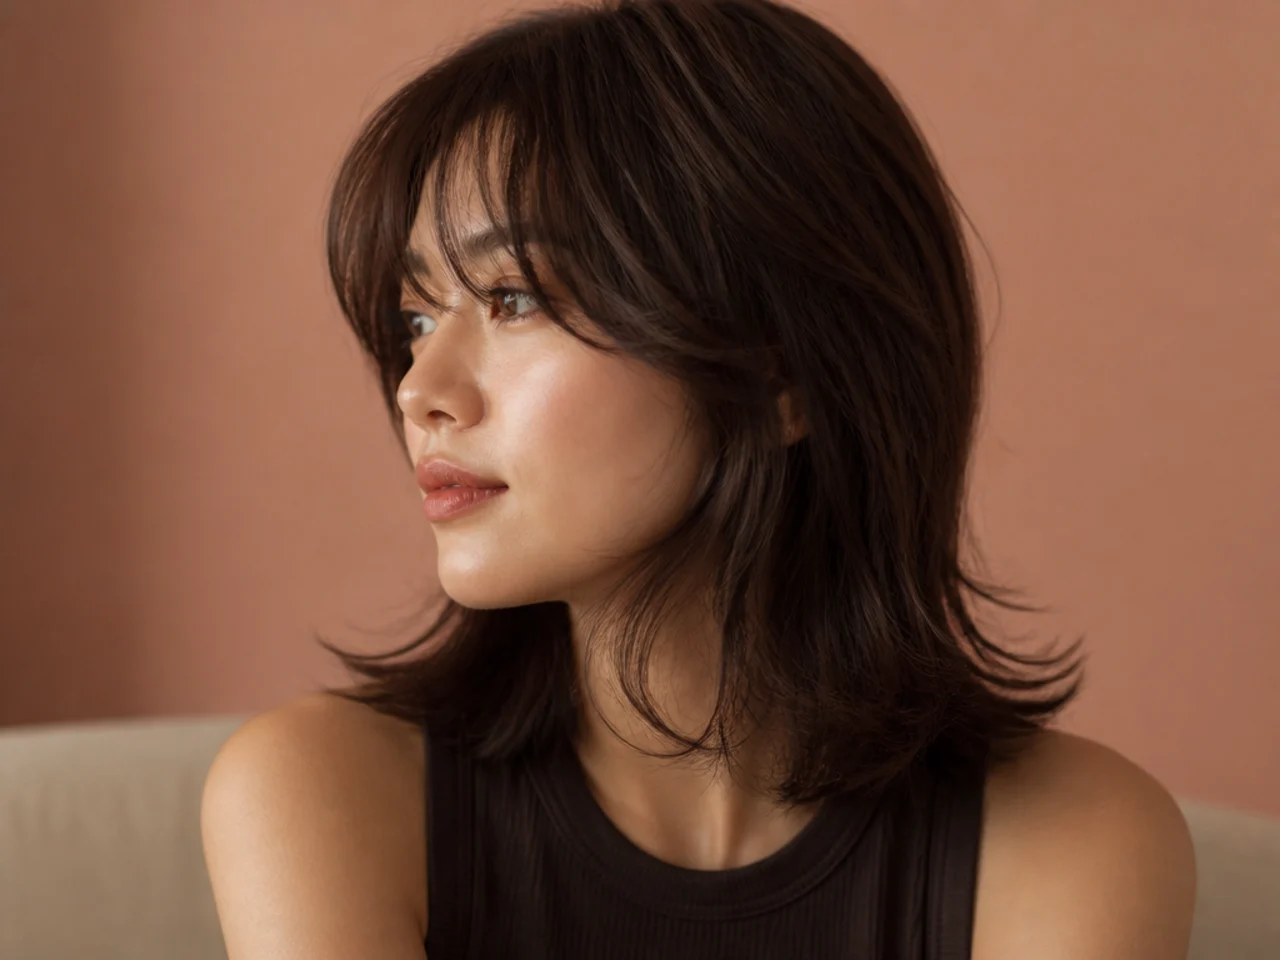
20 Shoulder Length Wolf Cuts That Look Effortless
Hair cut to exactly shoulder level cannot hang, because the shoulder pushes the ends back up. That one fact decides whether a shoulder length wolf cut reads as deliberately flicked or as three weeks overdue.
In this article · 27
- Why the Shoulder Changes the Cut
- Choosing Your Exact Length
- The 20 Shoulder Length Wolf Cuts
- 1. The Shoulder Skimming Wolf Cut
- 2. Wolf Cut Above the Shoulder
- 3. Wolf Cut Below the Shoulder
- 4. Wolf Cut With Flicked Ends
- 5. Wolf Cut With Curtain Bangs
- 6. Wolf Cut With Wispy Bangs
- 7. Wolf Cut Without Bangs
- 8. Wolf Cut With a Blunt Perimeter
- 9. Wolf Cut With a Textured Perimeter
- 10. Wolf Cut With a Disconnected Nape
- 11. Wolf Cut With Connected Layers
- 12. Shoulder Length Wolf Cut on Straight Hair
- 13. Shoulder Length Wolf Cut on Wavy Hair
- 14. Shoulder Length Wolf Cut on Curly Hair
- 15. Shoulder Length Wolf Cut on Fine Hair
- 16. Shoulder Length Wolf Cut on Thick Hair
- 17. Wolf Cut With a Deep Side Part
- 18. Wolf Cut With a Shadow Root
- 19. The Half Up Wolf Cut
- 20. Wolf Cut at Week Twelve
- Styling and Upkeep
- Mistakes to Avoid
- FAQ
- Final Thoughts
A shoulder length wolf cut looks effortless or looks overdue, and the difference is usually two centimetres of perimeter rather than anything to do with the layers.
Hair at exactly shoulder level cannot hang. The shoulder pushes the ends back up, so they flick outward whether you want them to or not.
So the flick has to be a decision. Cut above the shoulder to let it swing, cut below to let weight carry it past, or cut on it and style the flick deliberately. What does not work is pretending it will fall straight.
Why the Shoulder Changes the Cut
It is a physical obstruction. Nothing else in a haircut interrupts the fall of the hair, which is why this one length behaves differently from every other.
The flick is not damage. Ends that turn out at the shoulder are being deflected, not split. Trimming them does nothing, because the new ends land in the same place.
The layer stack has less room here. Shorter overall length means the distance from the shortest layer to the hem is smaller, so the same layer heights sit closer together and read as heavier.
The nape tail barely exists. At this length the longest section at the back is only a few centimetres past the layers above it, so a disconnection shows as a step rather than as a tail.

Choosing Your Exact Length
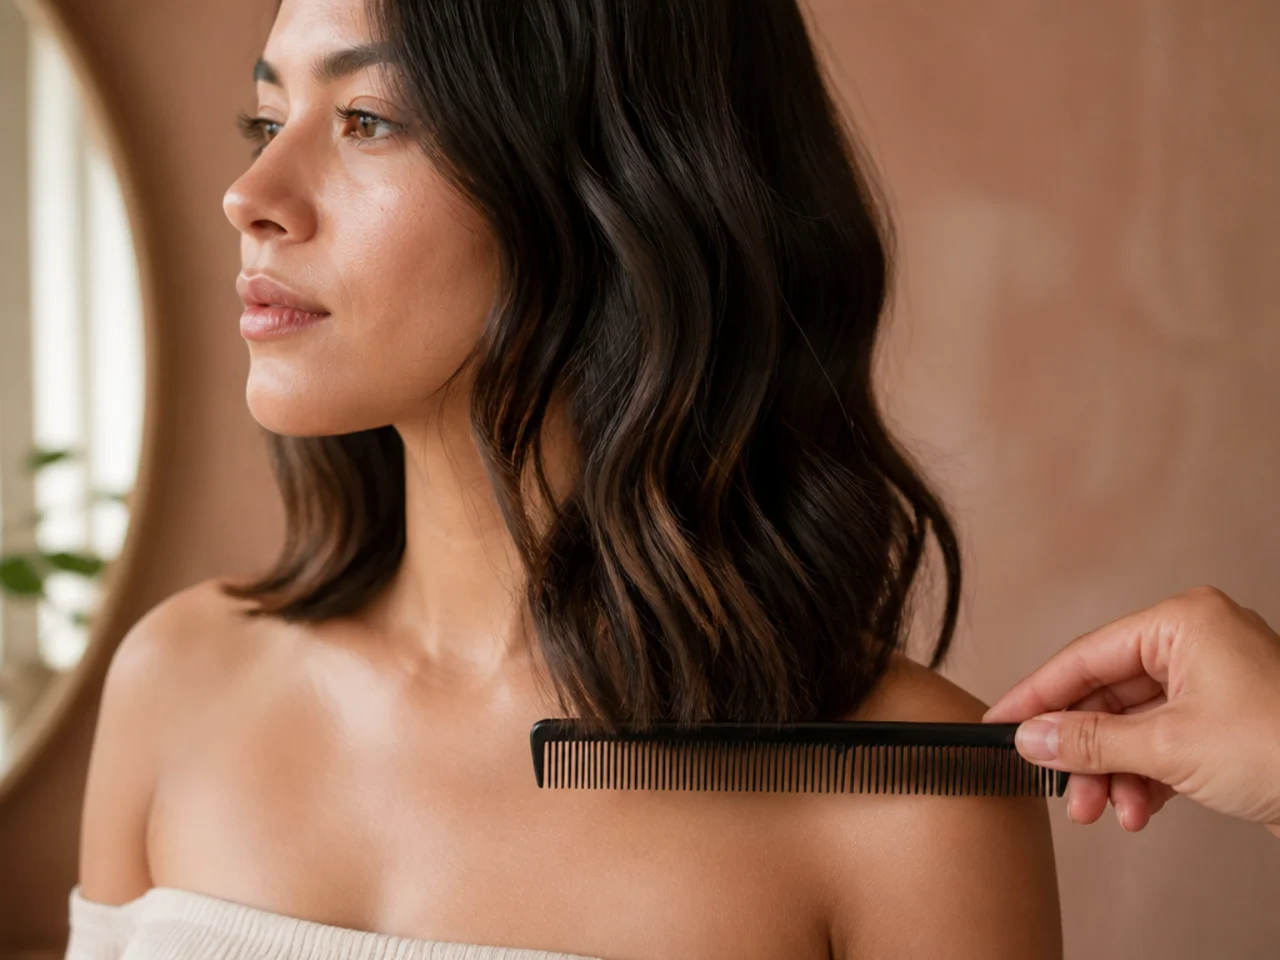
Two centimetres above the shoulder swings. The ends clear the obstruction entirely and move when you turn your head, which is where the effortless look actually comes from.
Four centimetres below the shoulder slides past it. There is enough weight below the contact point to carry the hair down the back rather than up and out.
On the shoulder needs styling. It is the most flattering length on most faces and the least self sufficient, because the flick has to be shaped rather than left to chance.
Start the shortest layer at the cheekbone. Higher than that on a shoulder length base and the stack compresses into a triangle, since each layer lands too close to the one under it.
The 20 Shoulder Length Wolf Cuts
1. The Shoulder Skimming Wolf Cut
The perimeter cut to land exactly on the shoulder, with the flick treated as part of the design. Bend the last two centimetres outward with a flat iron so the direction is consistent, because a flick that goes out on one side and under on the other is what reads as unkempt.
2. Wolf Cut Above the Shoulder
Two or three centimetres shorter, which lifts the ends clear of the obstruction. The hair swings freely when you move, and swing is most of what makes a layered cut look alive rather than arranged.

3. Wolf Cut Below the Shoulder
Long enough that the weight of the hair carries it past the shoulder and down the back. This is the version to ask for if you never style your ends, since the flick disappears once there is enough length below the contact point.

4. Wolf Cut With Flicked Ends
The flick made explicit: the perimeter bent outward all the way round rather than only where the shoulder pushes it. Consistency is what turns an accident into a shape, and it also doubles the number of visible edges, which reads as more hair.

5. Wolf Cut With Curtain Bangs
The curtain acts as the shortest layer in the stack and carries the layering up to the brow. Without it the layers appear to start at the cheekbone with nothing above them, which leaves the top of the shape looking cut off.

6. Wolf Cut With Wispy Bangs
Point cut fine ends that let light through the fringe. It takes less hair out of the top section than a solid fringe does, which matters because the crown is where the layer stack needs density to prop itself up.

7. Wolf Cut Without Bangs
Every strand stays in the main shape, so the crown keeps all its density for the layers. The front layer starts at the cheekbone and does the framing work a fringe would otherwise do.

8. Wolf Cut With a Blunt Perimeter
The hem cut straight across and left alone, so all the ends stop at one line. It contradicts the shaggy convention on purpose: the solid edge keeps weight at the bottom and stops the layers above it spreading sideways.

9. Wolf Cut With a Textured Perimeter
The conventional version, with the hem point cut so the ends taper away. It suits thick hair, where the tapering removes bulk that would otherwise push the shape outward, and punishes fine hair by making the ends translucent.
10. Wolf Cut With a Disconnected Nape
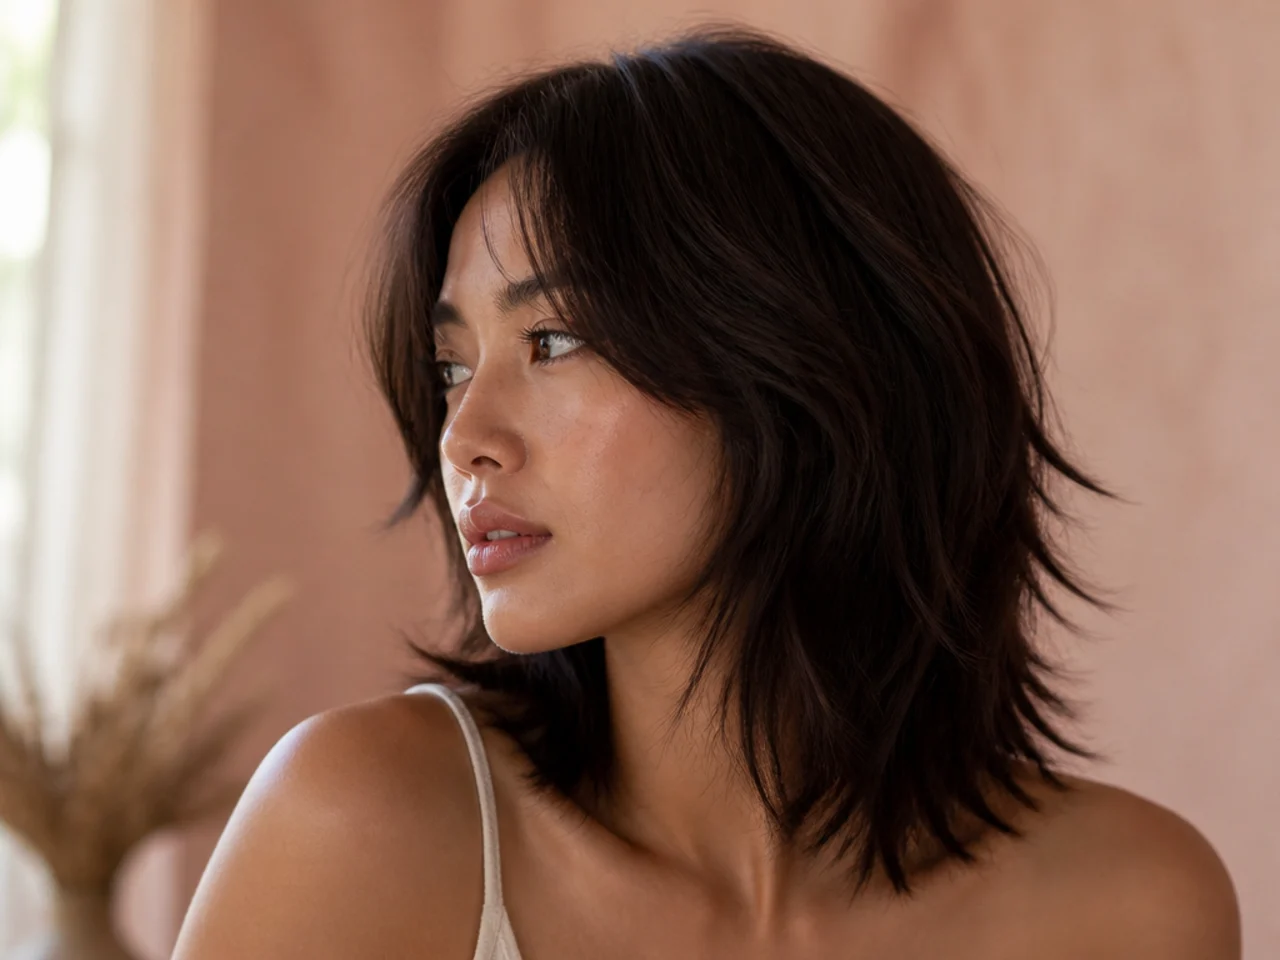
A deliberate step between the short back layers and the longer section beneath. At shoulder length the step is close to the hem, so it reads as a hard line rather than as a gradual tail and needs enough weight below it to hold.

11. Wolf Cut With Connected Layers
Every layer blended into the one below with no step anywhere, which is the approach behind the Korean wolf cut. At this length it is the safer choice, because there is less vertical distance available to disguise a disconnection.
12. Shoulder Length Wolf Cut on Straight Hair
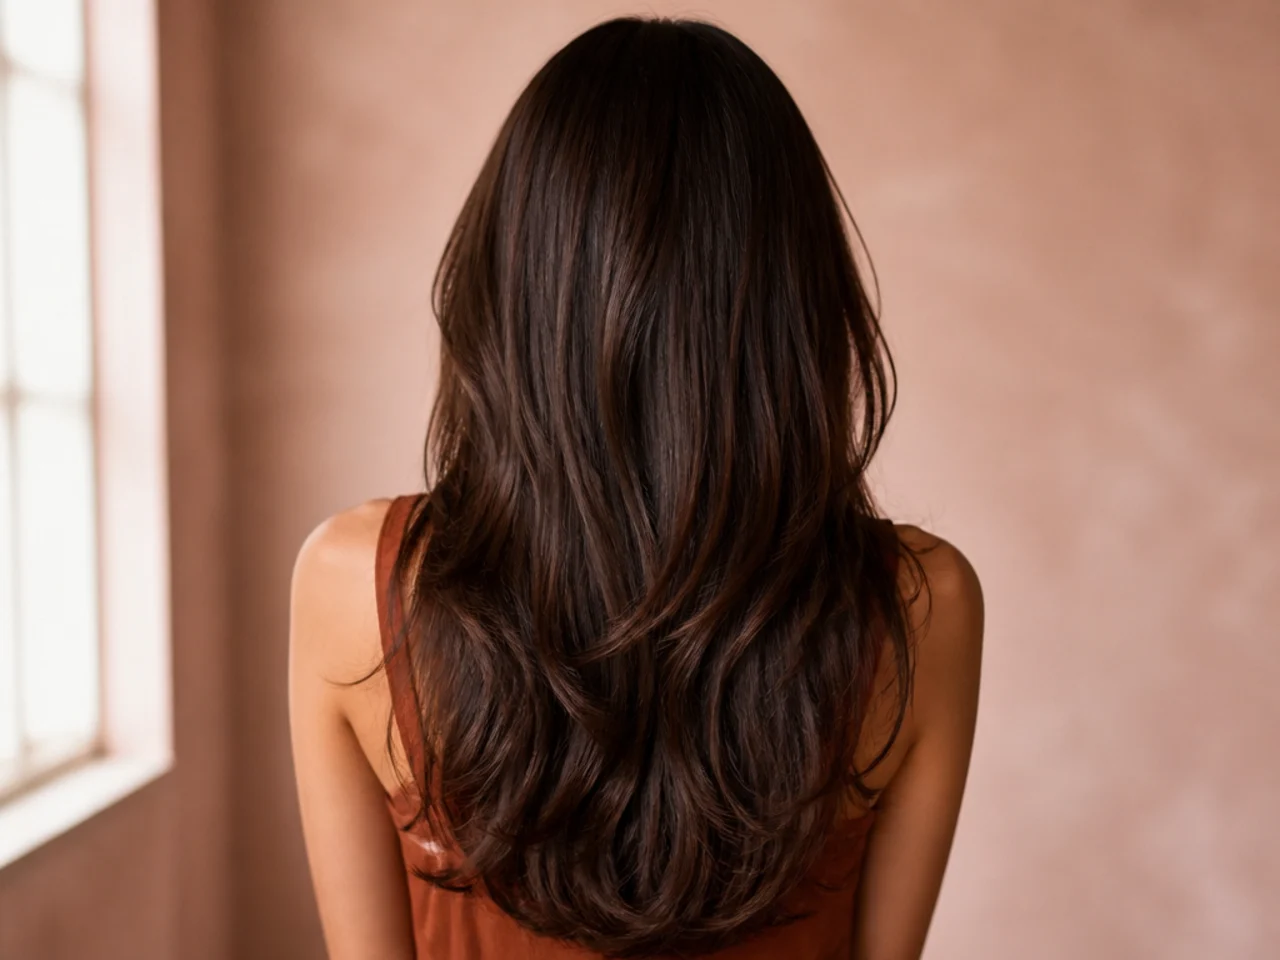
Straight hair shows every layer edge exactly as it was cut, with no bend to break up the line. It needs more blending passes than any other texture, and the flick at the shoulder has to be set with heat because nothing else will hold it.

13. Shoulder Length Wolf Cut on Wavy Hair
The easiest texture for this shape. A wave bends light in several directions, so the join between two layer heights is blurred before the eye can find it, and the shoulder flick happens on its own.

14. Shoulder Length Wolf Cut on Curly Hair
Curl retracts as it dries, sometimes by half, so this has to be cut dry or the shoulder length you asked for finishes at the jaw. Curls also make the shoulder flick irrelevant, since the ends are already turning in their own direction.

15. Shoulder Length Wolf Cut on Fine Hair
Keep the layers internal and the hem blunt. Fine hair reads as thin at the ends because that is where light passes through it, so a tapered perimeter takes away the one place density can be shown.

16. Shoulder Length Wolf Cut on Thick Hair
Thick hair collects bulk at the mid lengths and pushes outward there, which at shoulder length lands the widest point level with the jaw. Interior layering removes that bulk without shortening the outline, which is exactly what the stack is for.

17. Wolf Cut With a Deep Side Part
Sending the mass across the top lifts it off the scalp, because hair crossing a parting cannot lie flat. That lift is free crown volume, and it costs nothing but the decision of where to part.
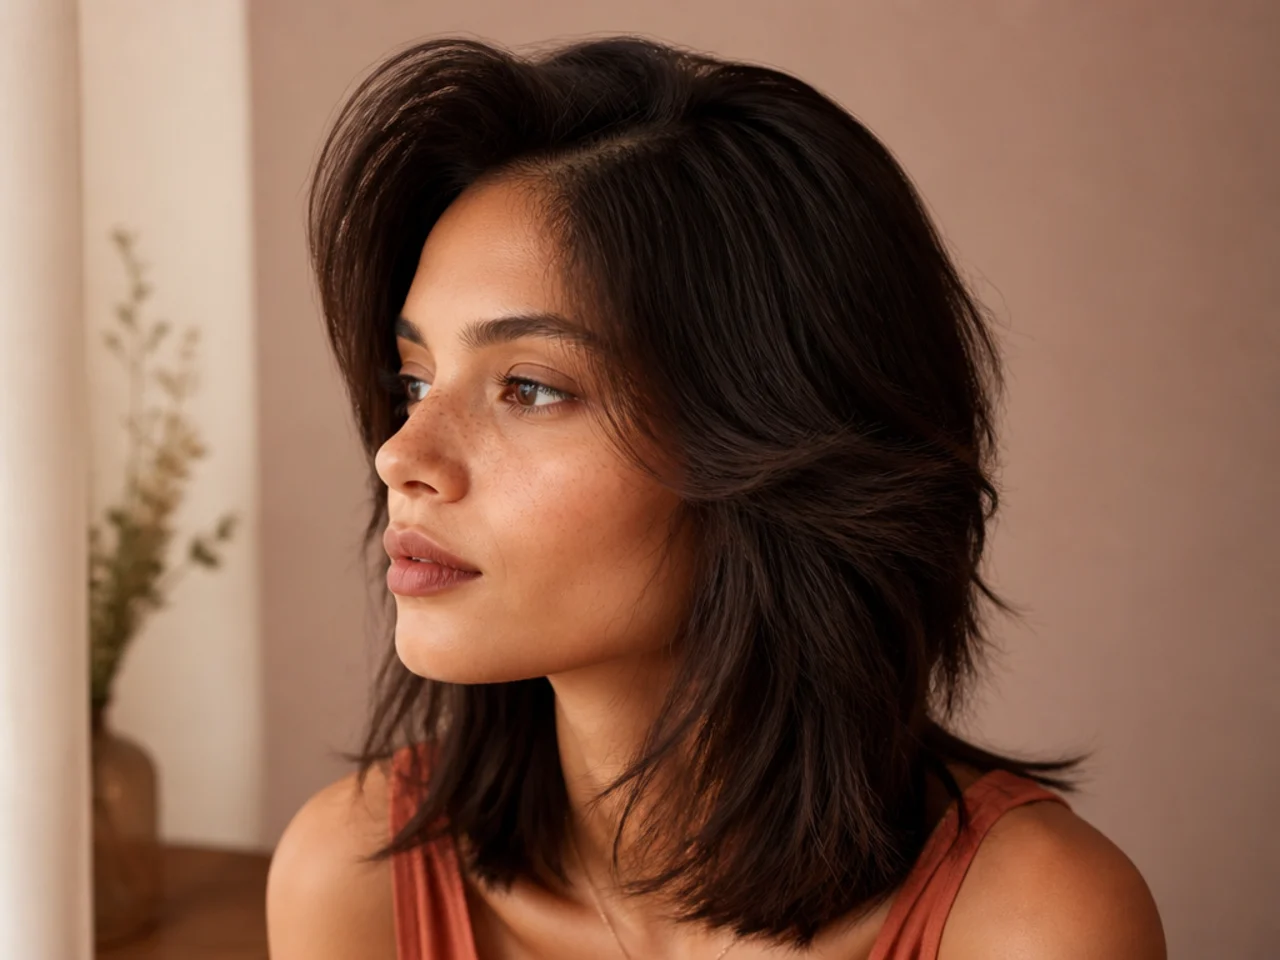
18. Wolf Cut With a Shadow Root
Two shades of depth left at the base makes the scalp harder to see, since scalp only shows when its tone is close to the hair beside it. It also disguises regrowth, which extends the interval between colour appointments.
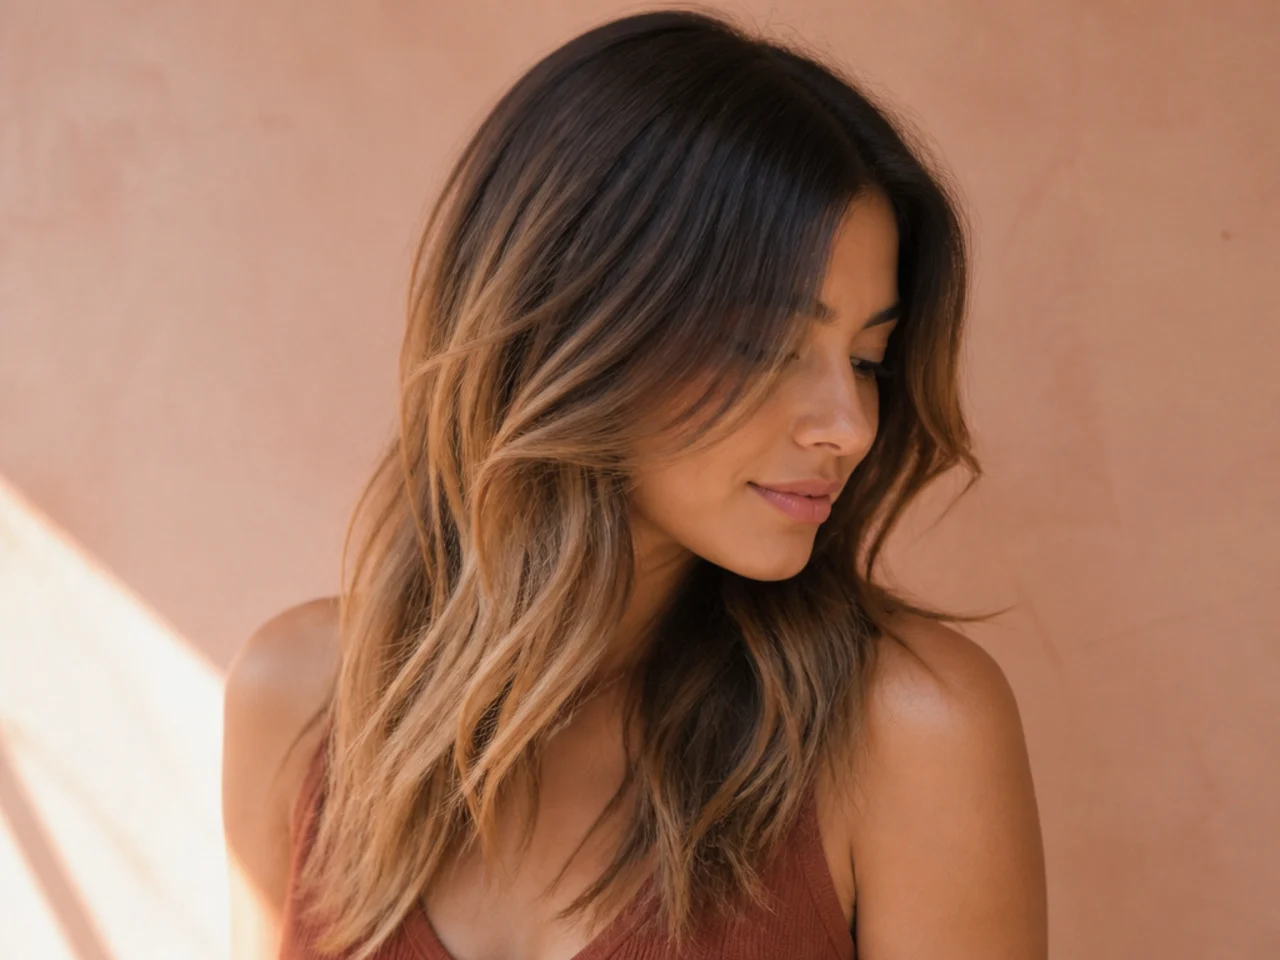
19. The Half Up Wolf Cut
Taking the top section up removes its weight from the layers beneath, so they sit out rather than being pressed down. It also hides the shoulder flick by lifting the perimeter clear of the contact point.

20. Wolf Cut at Week Twelve
Three centimetres of growth has moved the perimeter past the shoulder and dropped the shortest layer to the jaw. The shape still works, but the stack has closed up, and this is the point to book before the layers merge into one length.

Styling and Upkeep
Decide the flick and commit to it. Out on both sides or under on both sides. Mixed directions are what read as untidy.
Dry the crown roots first. The layer stack is held up from the scalp, and roots that dry flat cannot be lifted afterwards.
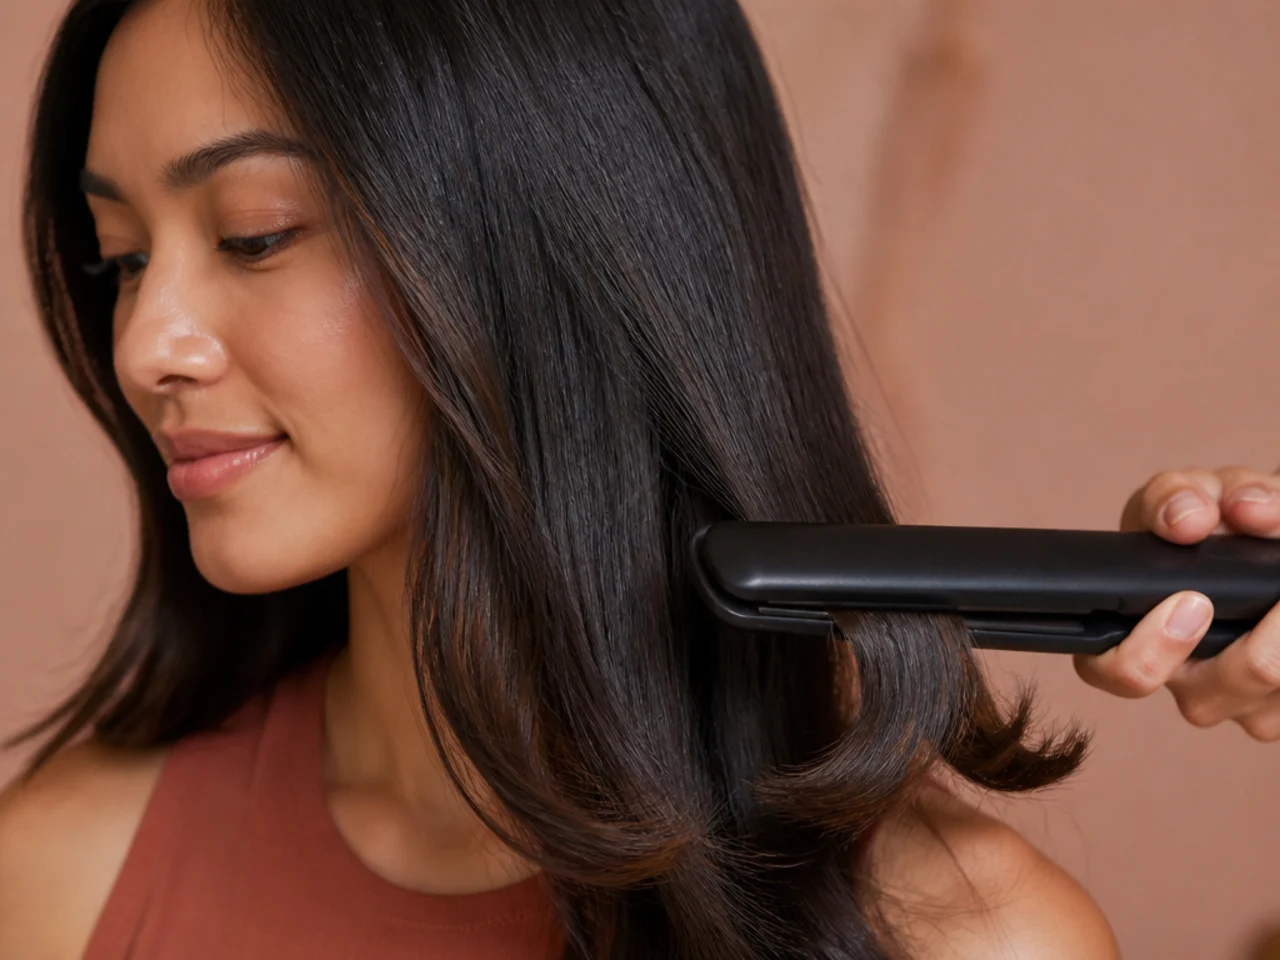
Bend the ends, do not curl them. A single outward bend in the last two centimetres holds far longer than a full curl and suits the shape better.
Book at ten to twelve weeks. The separation between layers is what you are paying for, and growth closes it steadily.
Check the perimeter against the shoulder each visit. It is one measurement, and it is the one that decides how the whole cut behaves.
Mistakes to Avoid
Cutting exactly to the shoulder by accident. It is a fine length to choose deliberately and a poor one to arrive at without a plan for the flick.
Starting the layers above the cheekbone. There is less vertical room at this length, so high layers stack too close and the shape goes triangular.
Texturising the hem on fine hair. The outline is the only place fine hair can display density, and tapering it makes the ends see through.
Trimming the flicked ends to stop them flicking. The deflection comes from the shoulder, not the ends. New ends land in the same place and do the same thing.
Letting it run past four months. The stack drops into the hem, the separation closes, and what is left is a heavy one length cut with no shape.
FAQ
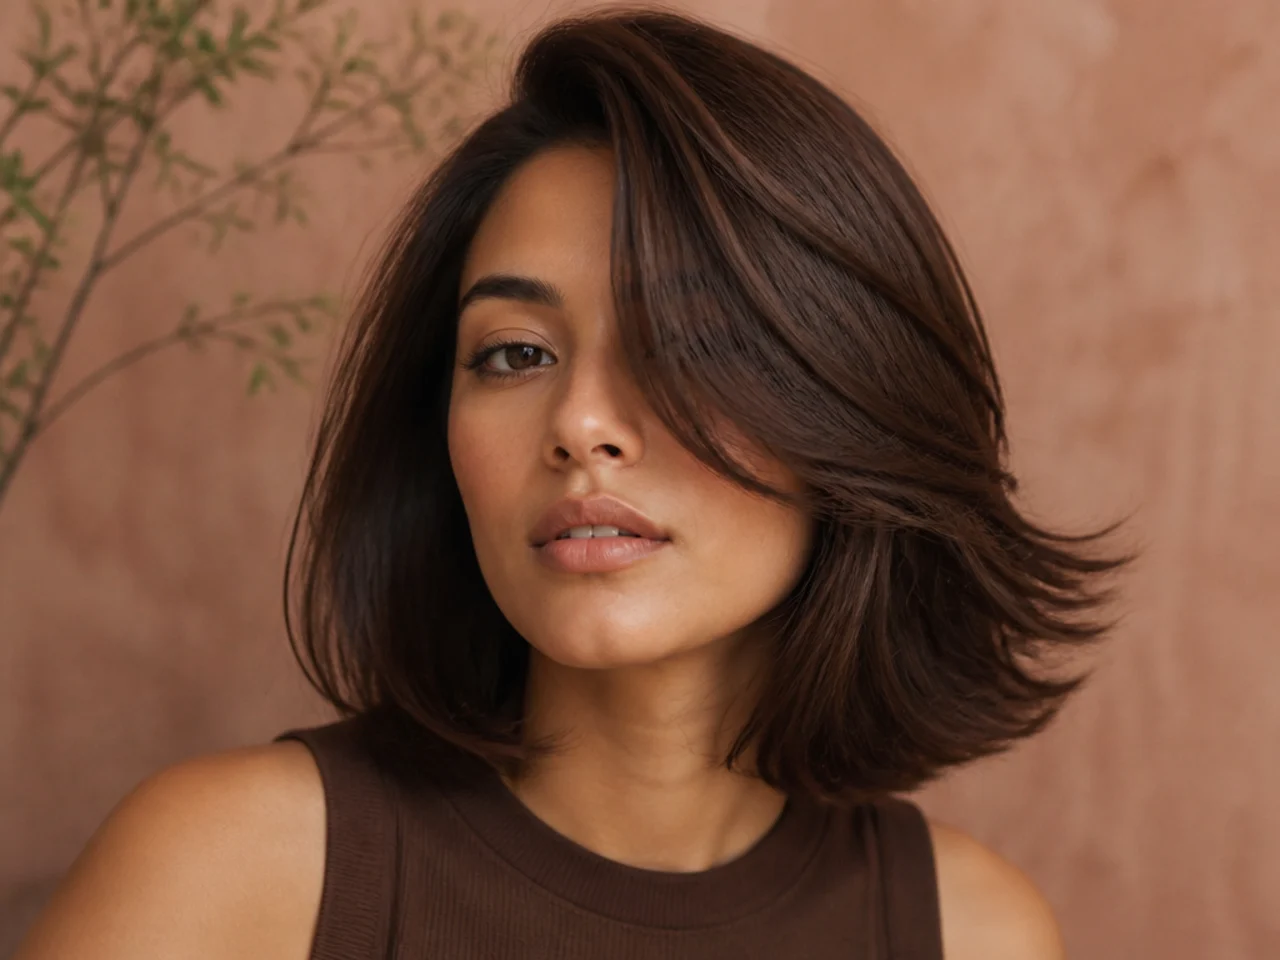
Why do the ends flick? The shoulder deflects them. Trimming will not stop it.
Where do the layers start? Cheekbone at the front. Higher goes triangular at this length.
How often trimmed? Ten to twelve weeks, before the layer stack closes up.

Final Thoughts
Give the perimeter a number relative to the shoulder. "Two centimetres above the shoulder, shortest layer at the cheekbone, connected through the nape" settles the three decisions that make this length behave, and leaves nothing for the shoulder to decide on your behalf.
For shorter versions of the same layer structure see short wolf cut ideas, and for the connected build that avoids a step at the nape see the Korean wolf cut. More in Mullet & Wolf Cut.



