
20 Stunning Wolf Cuts For Fine Wavy Hair
Fine wavy hair has enough pattern to clump and not enough weight to carry a heavy layer stack. That single constraint decides how high the crown layers can start and how much of the perimeter has to be left alone.
In this article · 27
- What the Wolf Cut Does on Fine Waves
- Choosing Your Layer Height
- The 20 Wolf Cuts for Fine Wavy Hair
- 1. The Short Stacked Crown
- 2. Wolf Cut With Curtain Bangs
- 3. Shoulder Length Wolf Cut
- 4. Collarbone Wolf Cut
- 5. Wolf Cut With a Blunt Perimeter
- 6. Wolf Cut With Invisible Layers
- 7. Wolf Cut on Loose Waves
- 8. Wolf Cut on Defined Waves
- 9. Wolf Cut With a Connected Nape
- 10. Wolf Cut With a Disconnected Nape
- 11. Wolf Cut With Wispy Bangs
- 12. Wolf Cut Without Bangs
- 13. Wolf Cut With a Middle Part
- 14. Wolf Cut With a Deep Side Part
- 15. Wolf Cut With a Shadow Root
- 16. Wolf Cut With Face Framing Highlights
- 17. The Air Dried Wolf Cut
- 18. The Diffused Wolf Cut
- 19. Wolf Cut With Sea Salt Texture
- 20. Wolf Cut at Week Ten
- Styling and Upkeep
- Mistakes to Avoid
- FAQ
- Final Thoughts
The wolf cut goes wrong on fine wavy hair for one reason: it gets cut for the volume the photograph has rather than for the weight the hair actually carries.
The volume is structural, not natural. Short crown layers rest on the longer layers underneath and hold them away from the head. That support is the shape, which is why a wolf cut can look thick on hair that is not.
The perimeter is where fine hair runs out. Layers belong in the interior. Take them into the outline and the ends turn stringy, and stringy ends are what make a wolf cut look grown out on week two.
What the Wolf Cut Does on Fine Waves
It stacks short layers over long ones. Each layer sits on the one below like tiles, and the lift you see is the layer underneath being propped up rather than blow dried up.
It puts the width at the top. The silhouette is wide through the crown and narrow at the ends, which is the opposite of the triangle fine hair falls into naturally.
The wave supplies the separation for free. A bend throws light in several directions, so the step between two layer lengths is broken up before the eye finds it, which is why waves forgive a wolf cut that straight hair would expose.
It only works dry. A wet wave hangs at full length and retracts one to three centimetres as it dries, so every layer cut wet ends up shorter than the one you asked for.
Choosing Your Layer Height
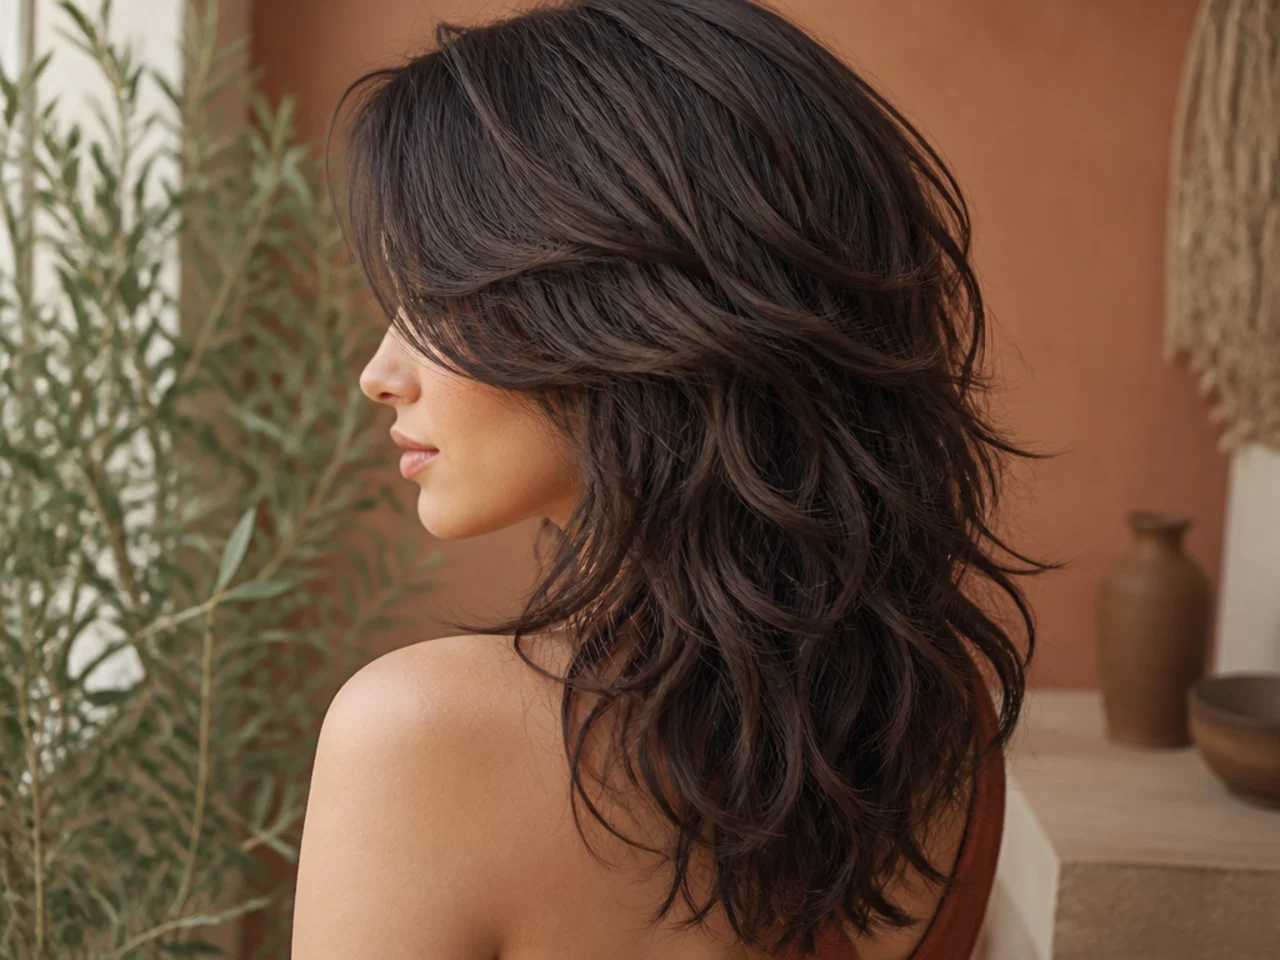
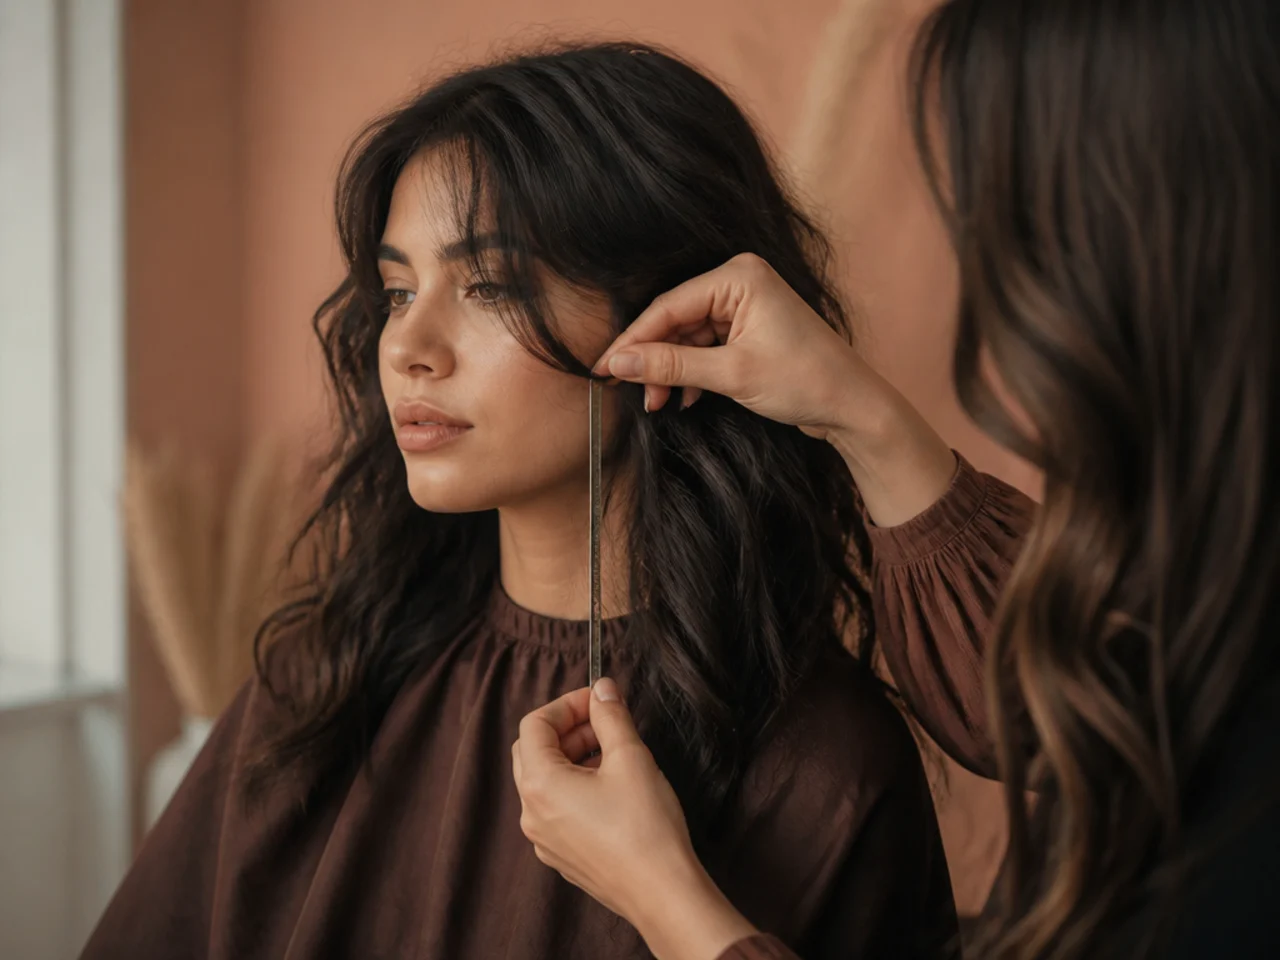
Start the shortest layer at the cheekbone. Higher and each layer holds too few strands to support the one below, so the crown goes airy and the mid lengths go flat.
Keep the perimeter blunt. Fine hair reads as thin at the ends because that is where light passes through it. One solid line at the bottom is the only place density can be shown.
Match the stack depth to your wave pattern. A loose wave barely holds a bend and needs shallower layering so weight is kept. A tighter wave carries its own shape and can take more.
Pick the length by your washing habits. A wolf cut is a wash and go shape only if it is air dried well. If you blow dry it smooth every morning, the layer stack is wasted effort.
The 20 Wolf Cuts for Fine Wavy Hair
1. The Short Stacked Crown
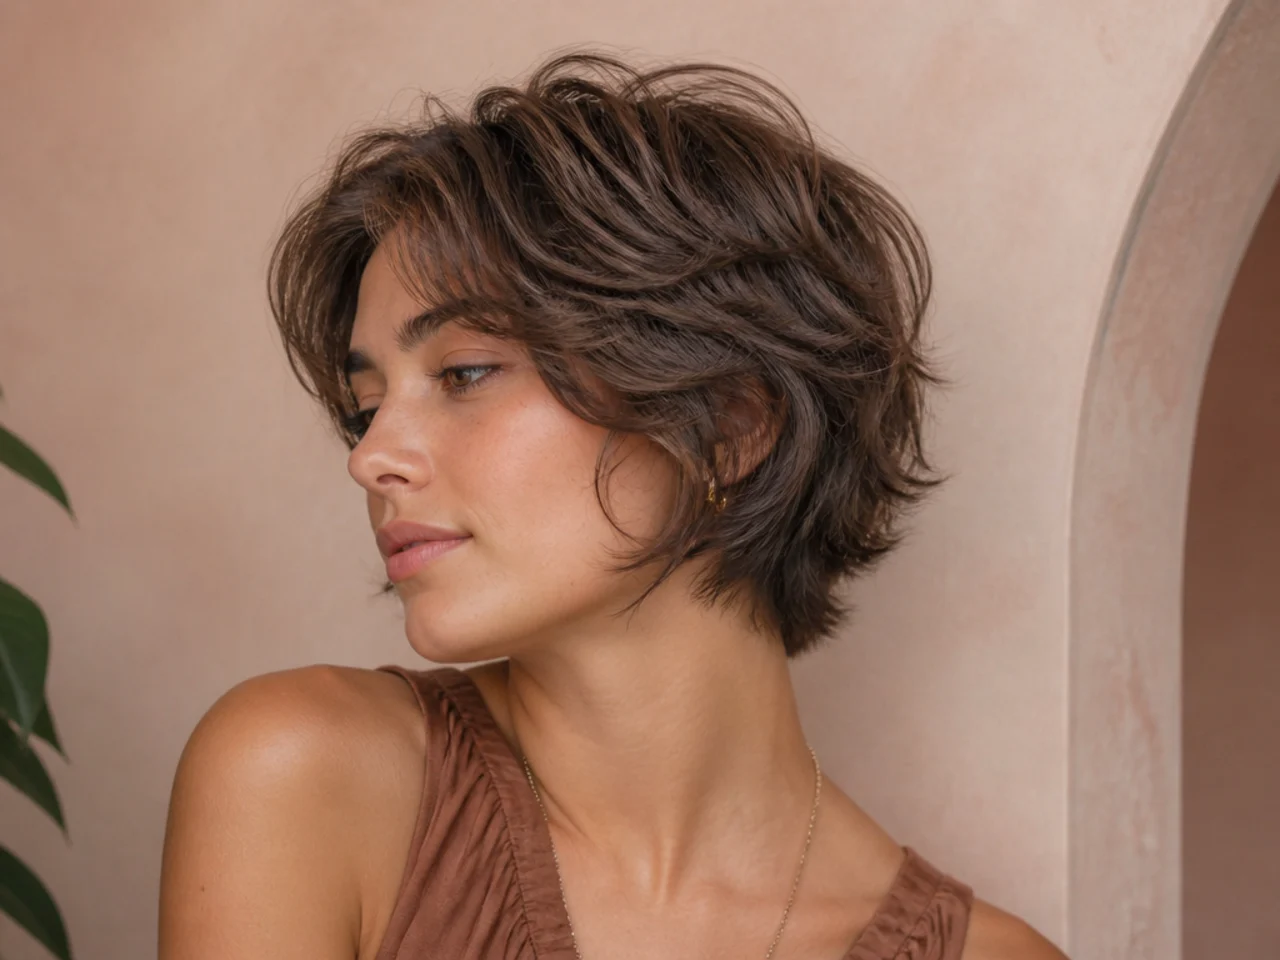
Three or four short layers concentrated through the crown, each an inch above the last. Stacked closely they hold each other up, where the same layers spread over the whole head would each be too far from their neighbour to give support.
2. Wolf Cut With Curtain Bangs
The curtain becomes the shortest front layer and continues the stack up to the brow. Without it the layering appears to start halfway down the face, which leaves the top of the shape looking cut off rather than tapered.

3. Shoulder Length Wolf Cut
The most forgiving length for fine hair, because the shoulder catches the ends and pushes them outward slightly. That small outward push separates the perimeter from the layers above it without a single cut being made.

4. Collarbone Wolf Cut
An inch or two longer, which puts more weight below the layer stack. On fine waves that weight is useful: it stops the layers above expanding sideways and keeps the silhouette narrowing toward the bottom.

5. Wolf Cut With a Blunt Perimeter
The bottom line cut straight across and left untextured. All the ends stop at the same point, so the eye sees one dense edge instead of a scatter of individual strands, which is the difference between full and sparse on fine hair.

6. Wolf Cut With Invisible Layers
Layers taken from under the top surface so nothing steps visibly on the outside. It is the safest version on hair thin enough that a visible layer edge reads as a gap rather than as movement.

7. Wolf Cut on Loose Waves
A loose wave has a wide, shallow bend that straightens out under any weight at all. Keep the layer stack shallow and the products light, because a single pump too much of cream pulls the pattern flat for the rest of the day.

8. Wolf Cut on Defined Waves
A tighter S bend holds its own shape, so it can carry more layering without collapsing. It also hides the join between layers better, because each bend redirects light and blurs the boundary the eye would otherwise read as a step.

9. Wolf Cut With a Connected Nape
The layers run continuously from crown to hem with nothing cut away at the neck, which is the difference that defines the Korean wolf cut. On fine hair the connection matters twice over, since a disconnection removes weight from the one area that has least.

10. Wolf Cut With a Disconnected Nape
The western version, with a distinct step between the short back layers and the long tail beneath. It gives a stronger silhouette, but on fine hair the tail must be left thick or it separates into strands within a fortnight.

11. Wolf Cut With Wispy Bangs
Fine ends point cut so light passes through the fringe. On thin hair this is safer than a solid fringe, because a solid one takes a large section of hair off the top and the crown behind it goes visibly flatter.

12. Wolf Cut Without Bangs
All the hair stays in the main shape, which is the version to choose if your density is genuinely low. Nothing is diverted into a fringe, so the crown keeps every strand it has for the layer stack.

13. Wolf Cut With a Middle Part
Symmetrical and the harder option on fine hair, since a centre parting exposes a line of scalp. Ask for the front layers to be cut slightly heavier so they fall across the parting rather than falling away from it.

14. Wolf Cut With a Deep Side Part
Sending the mass across the top lifts it off the scalp, because hair crossing a parting cannot lie flat against the head. That lift is free volume, and on fine hair it beats any extra layer for visible effect.

15. Wolf Cut With a Shadow Root
Keeping the root two shades darker than the lengths puts tone contrast at the scalp. Scalp only shows when its colour is close to the hair beside it, so darkening the base hides it without a single strand being added.

16. Wolf Cut With Face Framing Highlights
Lightening only the shortest front layer makes the stack legible, because tone separates the layers where a step in length alone might not on fine hair. Keep the base one solid tone or the whole shape blurs into itself.

17. The Air Dried Wolf Cut
The shape a wolf cut was designed for. Waves set as they dry, so touching them while damp breaks the clumps apart and leaves frizz where a clump would have been — the same rule that governs any wavy hair routine.

18. The Diffused Wolf Cut
A diffuser dries hair without a directed airflow, so the wave keeps its clump instead of being blown apart. Cup the ends up toward the scalp while drying, which compresses the wave and shortens it slightly for more visible bend.

19. Wolf Cut With Sea Salt Texture
Salt roughens the surface of each strand, so neighbouring strands catch on each other and stay clumped instead of separating. Use it sparingly on fine hair, since the same roughness is what makes over sprayed waves feel like straw.

20. Wolf Cut at Week Ten
The layer stack has dropped by around two and a half centimetres and the steps between layers have widened, which actually reads as softer rather than worse. This is the point to book, before the shortest layer merges into the one below it.

Styling and Upkeep
Apply product to soaking wet hair. Wave clumps form while the hair is still heavy with water and set as it dries. Product applied to damp hair lands on clumps that have already broken.
Stop touching it while it dries. Every pass of a hand separates a clump, and a separated clump dries as frizz rather than as a wave.
Lift the crown roots with clips. Fine hair goes flat at the top first, and two clips at the parting while it dries buy more height than any product.
Refresh with water, not more product. Waves reform when rewet. Adding a second layer of cream on day two just weighs down a pattern that only needed damp.
Trim the interior layers every ten to twelve weeks. The stack drops as it grows and eventually merges into one length, which is when the volume disappears.

Mistakes to Avoid
Cutting it wet. Waves retract as they dry, so every layer ends up shorter than agreed, and the crown layers are the ones that suffer most.
Layering into the perimeter. The outline is where fine hair displays whatever density it has. Texturise it and the shape looks like it is running out.
Thinning shears through the mid lengths. They leave short broken pieces with no weight to lie down, which on fine hair is added frizz rather than removed bulk.
Too much product. Fine waves are the easiest pattern to flatten, and the cream that defines them at one pump kills them at two.
Brushing it dry. A brush pulls each wave straight and destroys the clumps, leaving a layered cut with none of the texture the layers were cut for.

FAQ
Wet or dry cut? Dry. Waves retract as they dry and wet cut layers land short.
How high can the layers start? Cheekbone at the front, no higher on fine hair.
Will layers thin it out? Not if they stay internal and the perimeter is left blunt.

Final Thoughts
Ask for the layer height and the perimeter separately. "Shortest layer at the cheekbone, cut dry, perimeter left blunt" gives a stylist three decisions already made, where "a wolf cut" hands back the two that fine hair cannot afford to have guessed.
For shorter versions of the same shape see short wolf cut ideas, and for the drying sequence the texture depends on see a wavy hair routine that works. More in Mullet & Wolf Cut.



