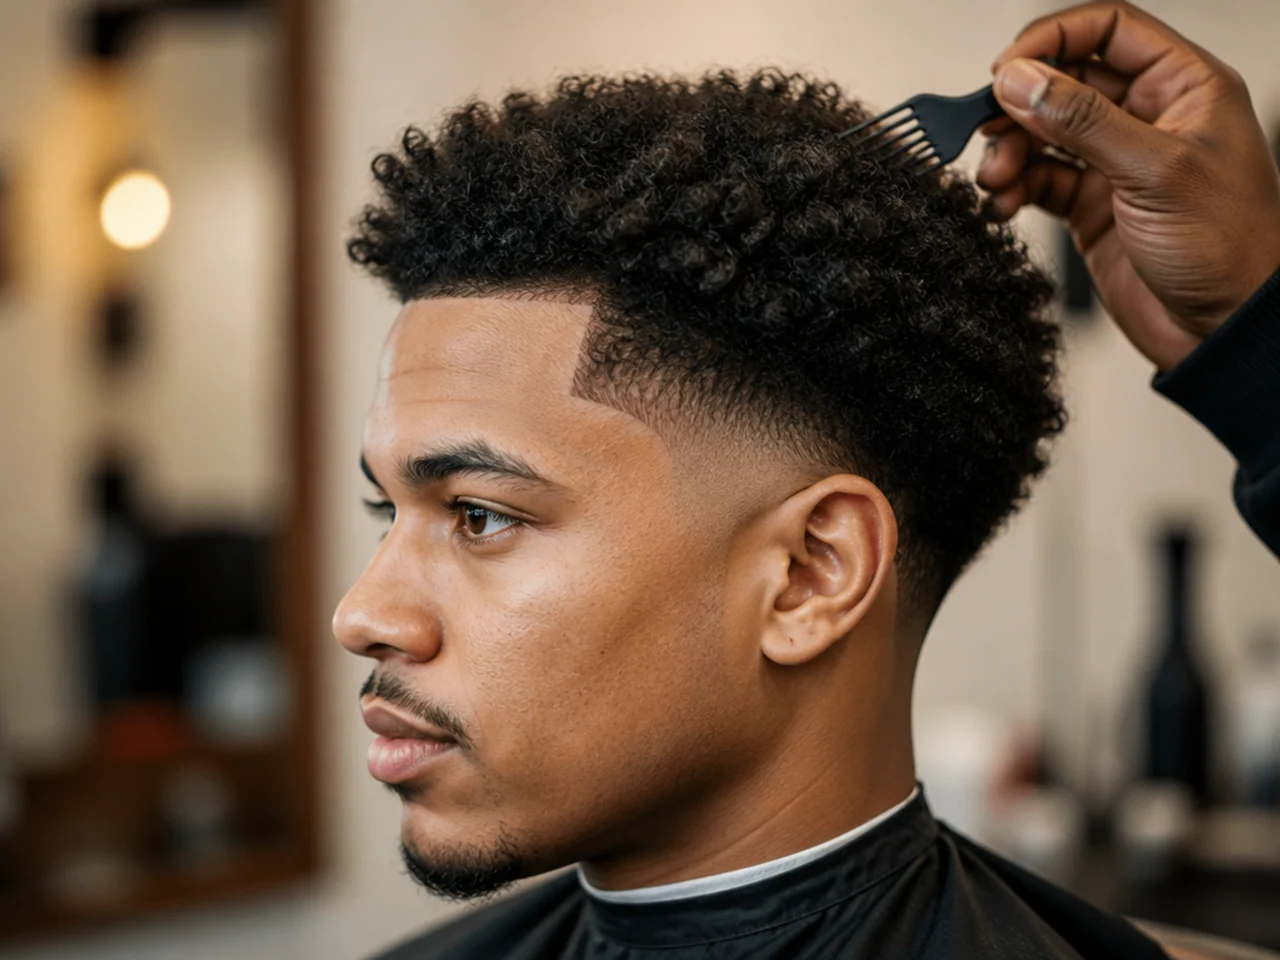
6 Steps to a Clean Taper Fade for Black Men
Learn the taper fade Black men how-to sequence — six barbershop steps that keep your 4A, 4B, or 4C coil pattern sharp from the pick-out to the final moisturize.
In this article · 12
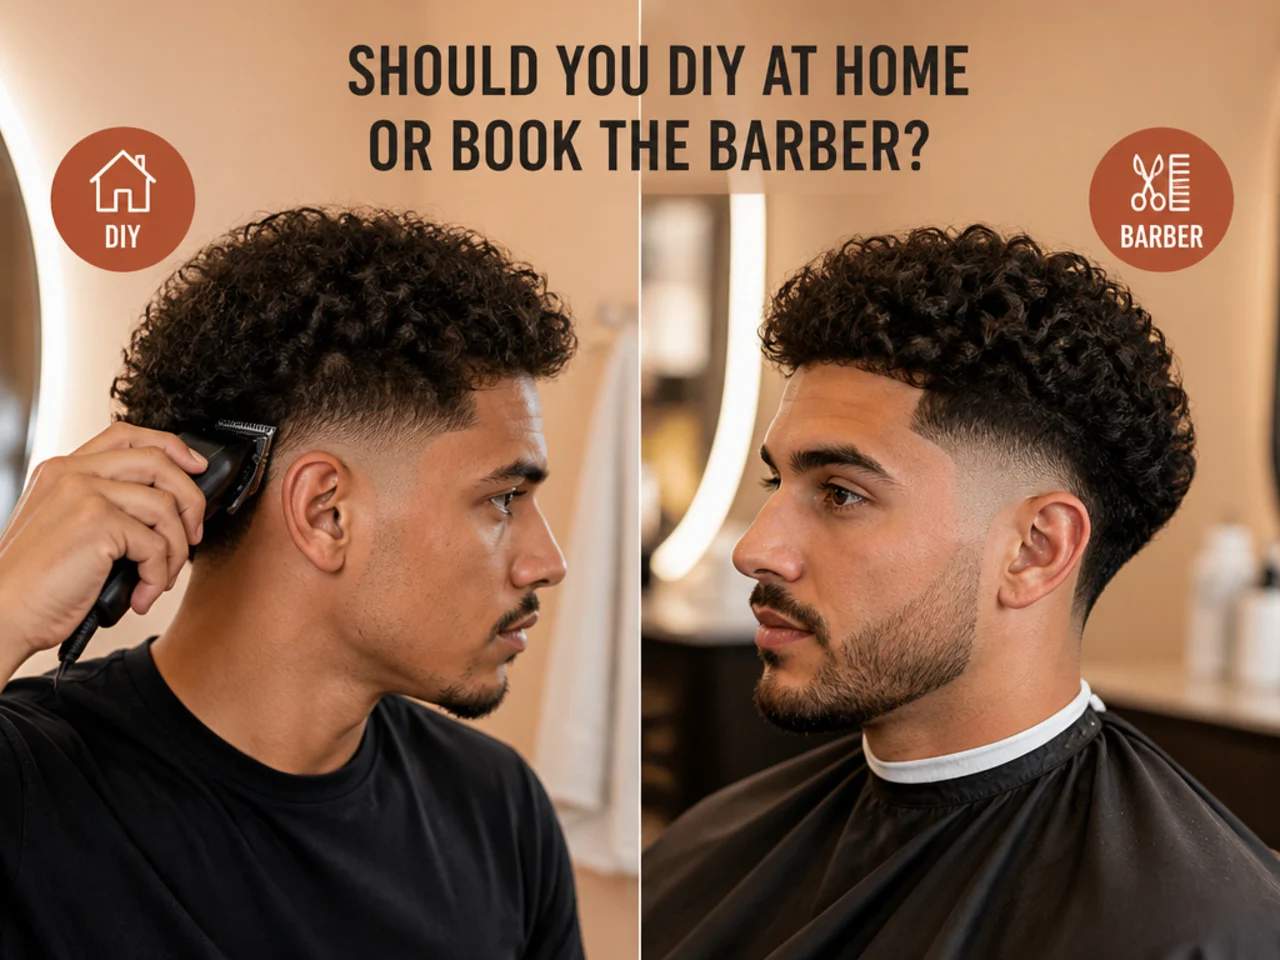
A clean taper fade on 4A, 4B, or 4C hair is six moves in a specific order — three at the top, three at the perimeter — and each one protects the coil pattern instead of chopping into it. Below is the taper fade Black men how-to walk-through your barber runs, from the pick-out to the final moisturize. Get the sequence right and the cut lands sharp on day one, still reads clean at week two.
For the wider family, start with the fade haircuts for Black men hub or the low taper fade pillar.
What Is a Clean Taper Fade for Black Men?
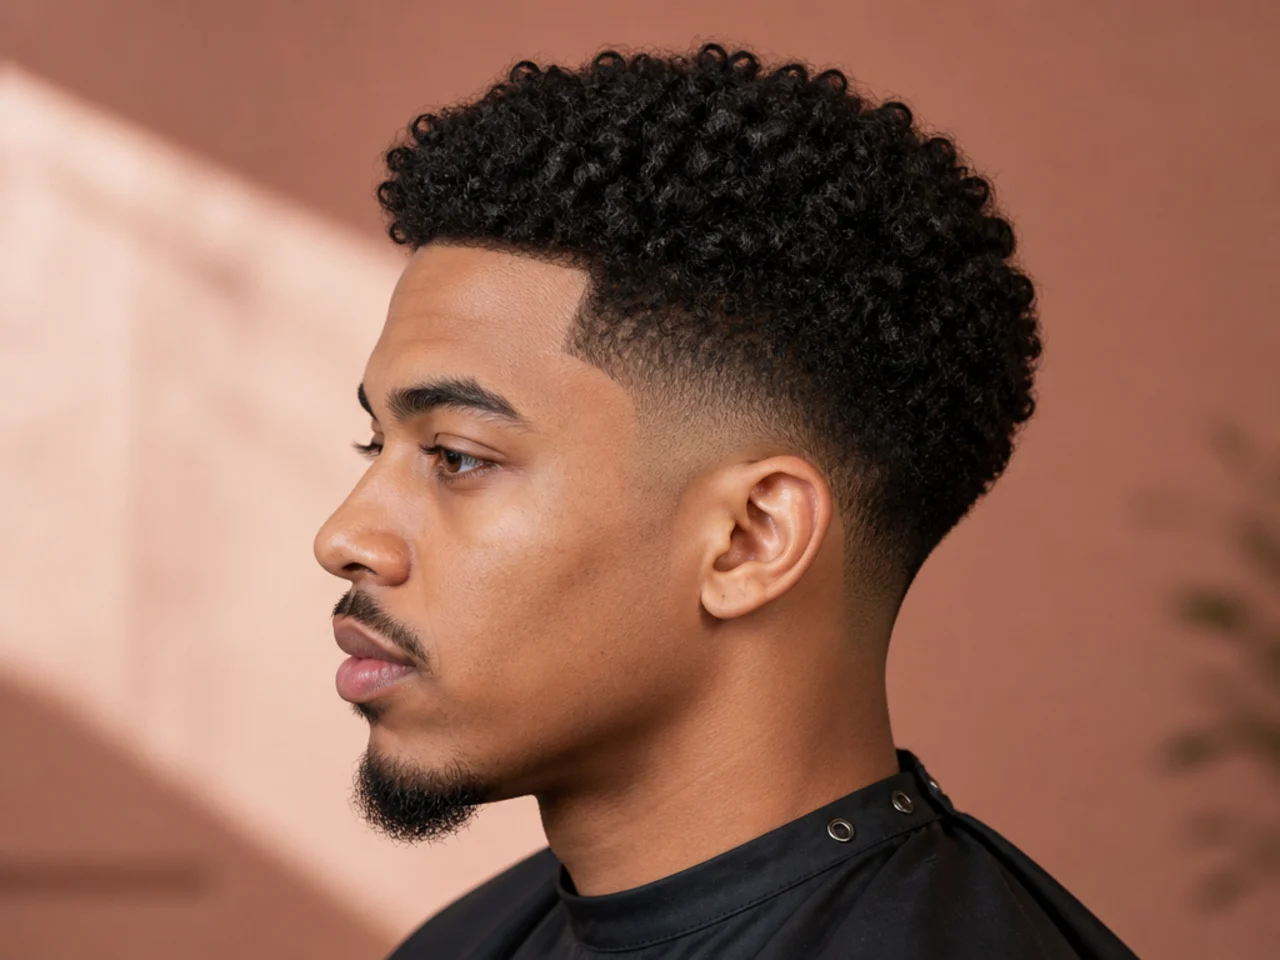
A taper fade shortens the perimeter — nape, temples, behind the ear — in a soft blend that stops at a #0.5 or #1 guard instead of running to bare skin. On 4A, 4B, and 4C texture, that half-guard of length at the shortest point is what makes the cut read clean. It preserves your natural pigment at the perimeter, keeps the coil pattern flowing from crown to sideburn, and grows out gracefully for two full weeks.
The "clean" part is where the six steps come in. A taper lives or dies by four small details barbers charge for: the pick-out that reveals the true length, the guard progression that stacks the blend, the arc that follows the shape of the head instead of running straight, and the razor line-up that squares off the whole silhouette. Miss any one of them and the cut reads good instead of great.
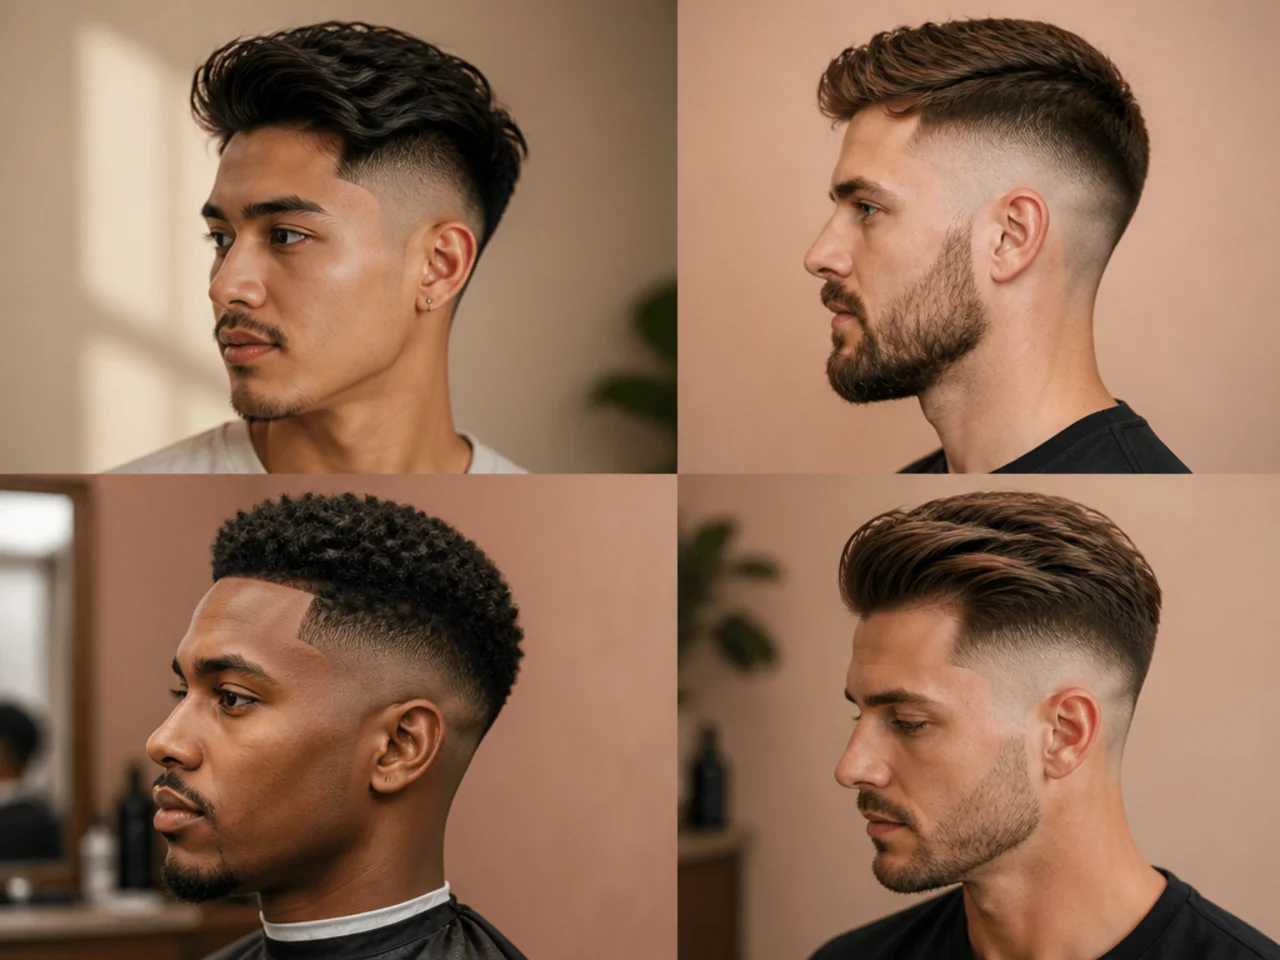
The finished shape works with any top — a #1 buzz, a two-inch afro, sponge coils, waves, cornrows, dreads. What follows is the base cut every version sits on top of. The taper haircut family covers the approach without the fade component; the 25 taper fade haircuts for Black men roundup has recipes across textures.
What You'll Need
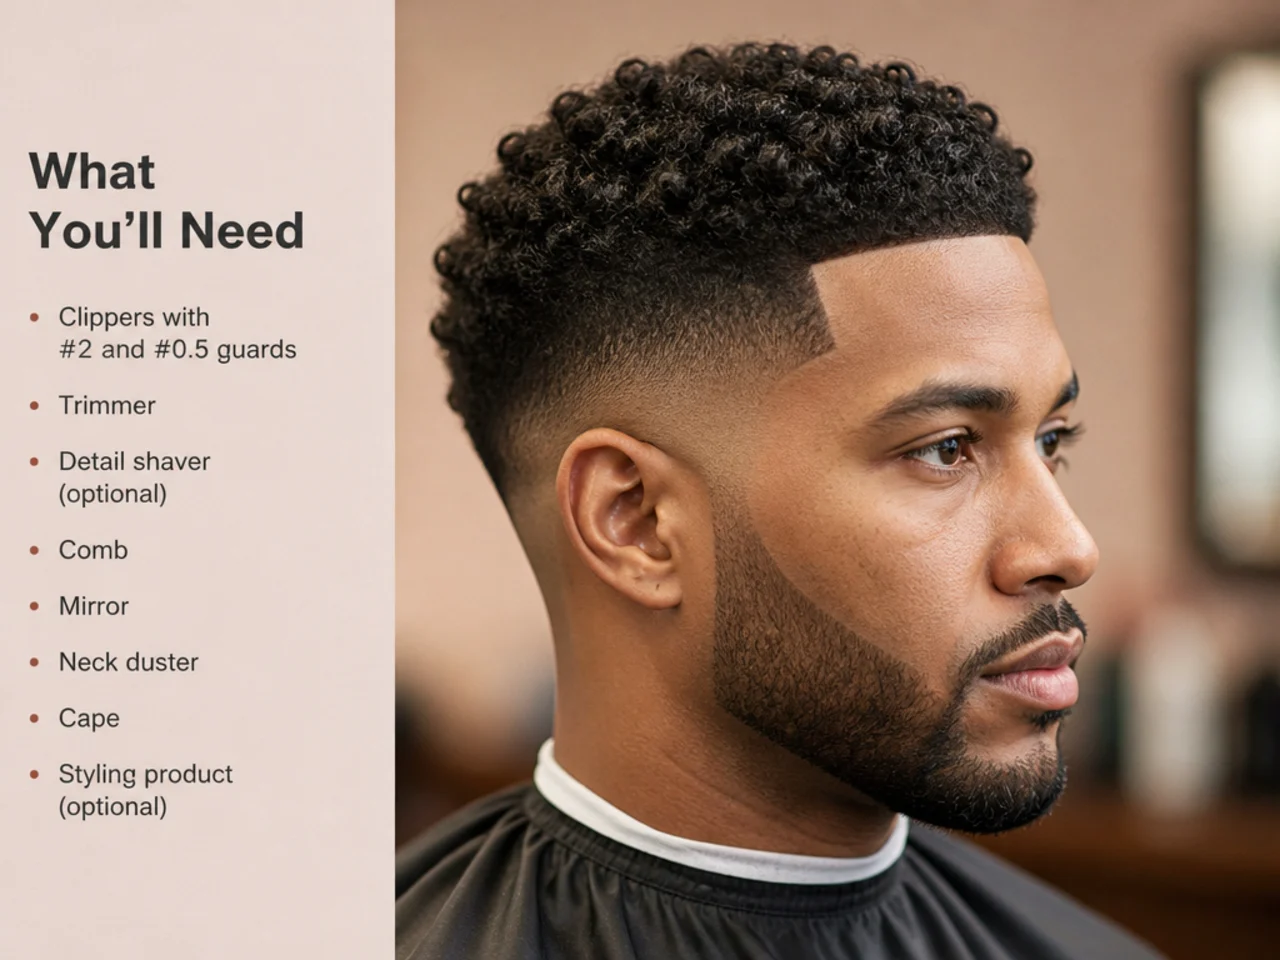
Six tools carry the whole cut. Buy them once and you can rebuild the shape at home between barber visits.
- A wide-tooth afro pick. Not a comb. Not a brush. The pick lifts the coil pattern away from the scalp so the true dry length is visible before the first pass. Wood or plastic — the material does not matter; the tooth spacing does.
- Clippers with guards from #0.5 to #4. The taper stacks four to five guards to build the blend. Wahl, Andis, and BaBylissPRO cordless clippers are the barbershop standard. The best hair clippers for men guide lists sets that ship guard-complete.
- A T-blade or foil trimmer. For the line-up at the forehead, temples, and sideburns. A T-blade cuts sharper edges than a rotary clipper.
- A straight razor or safety razor. For the final line-up pass — optional but sharpest. Skip if you do not own one; a T-blade alone gets you 90 percent there.
- A water spray bottle. For dampening the coil between passes so the pick moves through without snagging.
- A leave-in spray, a light oil, and a satin durag or bonnet. For the moisturize-and-finish step at the end.
Optional but useful: a barber cape or old towel for cleanup, a hand mirror for the back, and shears for anyone carrying more than an inch on top.
The 6 Steps
The order matters — every step depends on the one before it. Skip the pick and the guards cut blind. Skip the arc and the perimeter runs flat behind the ear. Skip the moisturize and the whole cut looks dry within a day. Below, each step covers what you are doing, why the order is fixed, and the mistake that shows up most on textured hair.
1. Prep and Pick Out the Top
Start with dry, product-free hair. Wash the day before or the morning of — clean pattern lays clean, coated pattern snags on the pick. Mist the top with a light spray of water from the bottle, then work the wide-tooth afro pick from the roots upward. Section by section, front to back, temple to temple.
Picking serves two jobs. It reveals the true dry length — 4B shrinks to about half of its picked height when compressed, 4C to about a third. And it separates the coil pattern into individual strands so the scissor or clipper reads a consistent surface across the whole top.
Why prep comes first: Every cut decision downstream flows from what the picked-out top actually is. If your barber measures against compressed 4C, they are guessing at half your real length. When you unpick after the cut, you find out you are two inches shorter than what you asked for.
Common mistake on textured hair: Cutting product-loaded hair. Curl cream, leave-in, and gel coat the strand and make it slippier under the pick and heavier under the scissor. If you moisturized yesterday, rinse before you sit in the chair. If you moisturized this morning, sit through a shampoo first. For a quick refresher on which pattern needs which product weight, the curl types breakdown walks the whole map.
2. Set the Taper Guard Progression
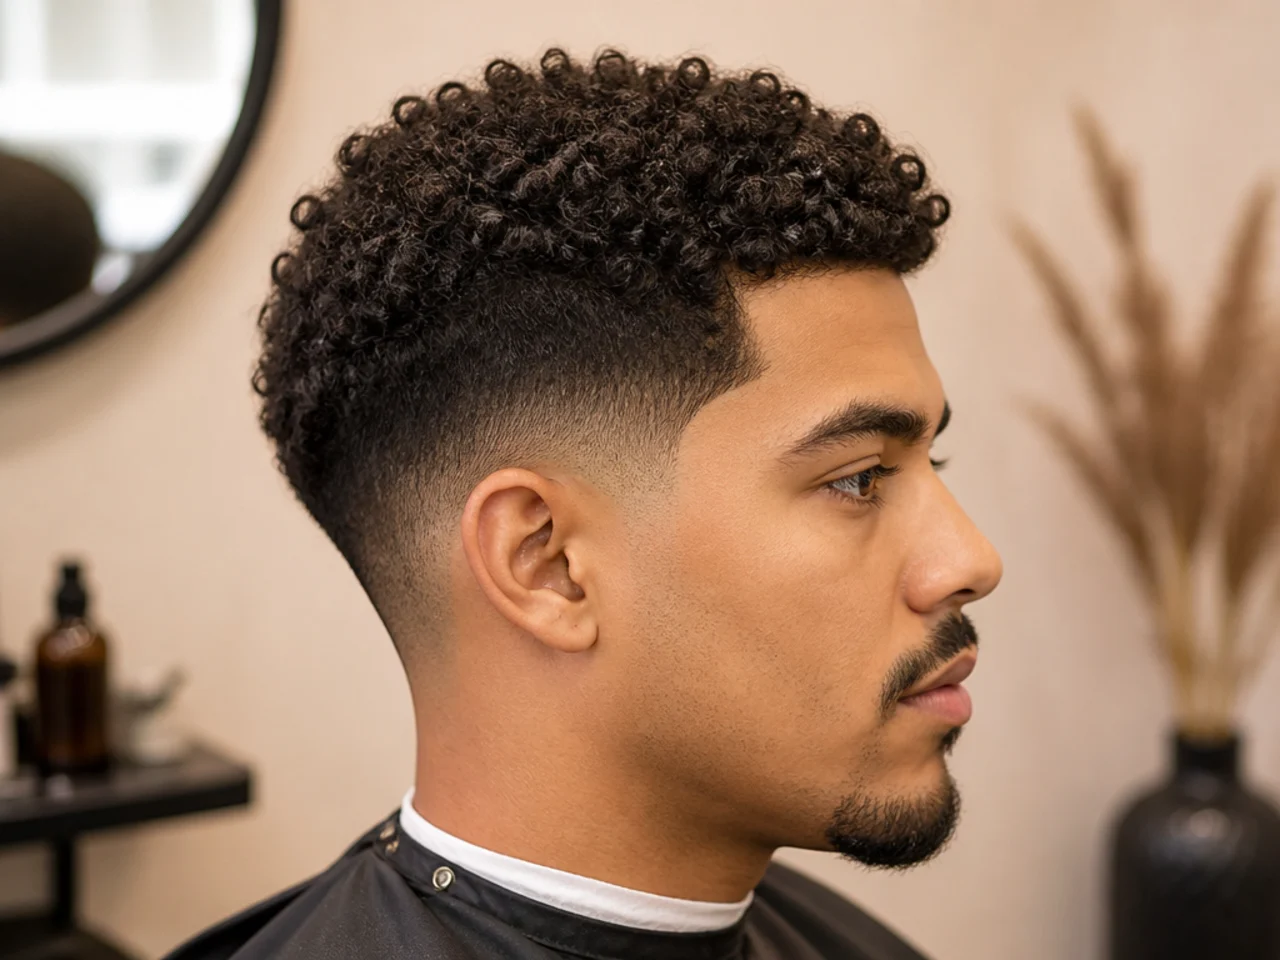
With the top picked out and the length locked, move to the sides. This is the part most home cutters get wrong — a taper is not one guard, it is four or five stacked into a soft slope.
The standard sequence: #4 from the top of the sideburn down to the ear, #3 through the bottom two-thirds of that same zone, #2 through the bottom third, #1 for the last inch above the neckline. A #0.5 pass right at the neckline tightens the base. Each guard covers less distance than the one before it — that is what makes the length shrink as you move down the head.
Every time you swap guards, flick the clipper away from the scalp at the top of each pass. Barbers call this the "scoop." It softens the line where the two guards meet, so you do not get a visible stripe when the cut dries down. Run the previous guard across the transition one more time after every switch — a #3 blends the #4 line, a #2 blends the #3.
Why guards and not skin: A taper stops at a #0.5 or #1 for a reason. On 4B and 4C hair, cutting to bare skin flashes the scalp lighter than the surrounding coil for the first three or four days after the cut, and the perimeter looks patchy until the pigment evens out. A #0.5 gives you sharp visual contrast without the color break — the whole taper-versus-fade haircut call in one guard number.
Common mistake: Pressing the guard flat to the scalp. The plastic already sits at the length it was designed to sit at. Hold the clipper as a light glide, not a scrape — pressing pulls the guard tight and shaves a fraction shorter than #0.5, breaking the uniform read across the taper.
3. Build the Arc Around the Ear
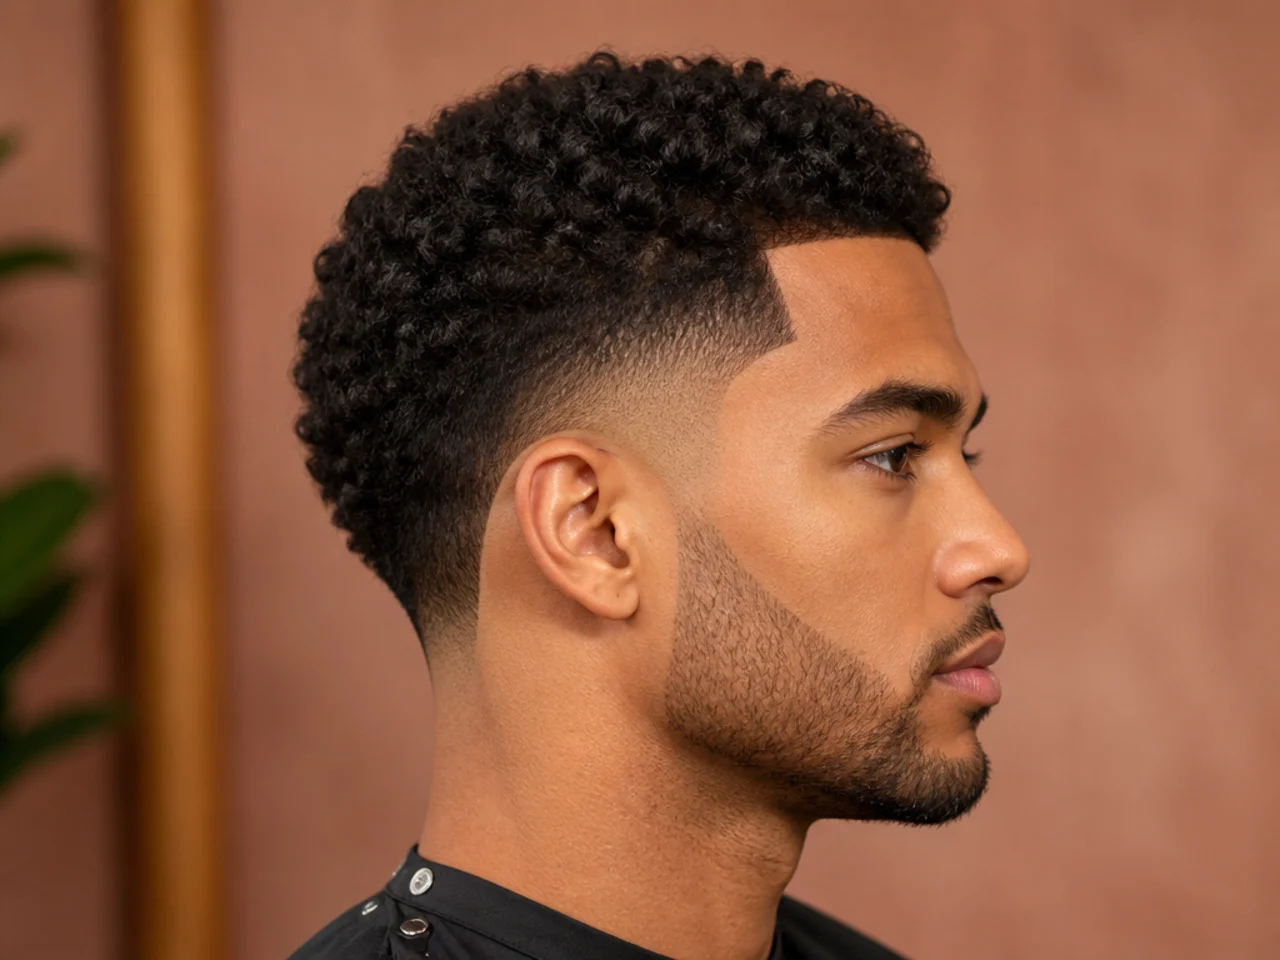
The ear is the hardest zone in the whole cut. Skin curves in three directions here — around the top of the ear, behind the ear, and down toward the mastoid bone. Run a straight guard through that curve and you leave a flat spot where the head goes round.
Work the guard around the ear in a soft arc instead. Start above the ear at the guard height set in step two, then curve the clipper's path to follow the natural round of the skull as you pass behind the ear. The taper line should mirror the ear's silhouette — you are not cutting a straight bar, you are cutting a shape.
Two techniques help. First, angle the clipper's blade slightly outward so the corner does the cutting instead of the flat middle. That lets you follow tight curves without gouging. Second, work the clipper in short, half-inch passes rather than long strokes. Short passes let you change direction on the fly.
Why the arc matters: A flat perimeter above and behind the ear is the single most visible sign of a rushed taper on textured hair. Fresh cuts read professional; the flat spot reads DIY within a week. On low taper fade shapes specifically, the arc is what separates a barbershop-clean cut from an at-home approximation.
Common mistake: Cutting the arc while looking at the front of the head. Turn the client's head so you can see the ear from directly behind. If you are cutting your own hair, hand-mirror the back before you commit to each pass.
4. Shape the Nape
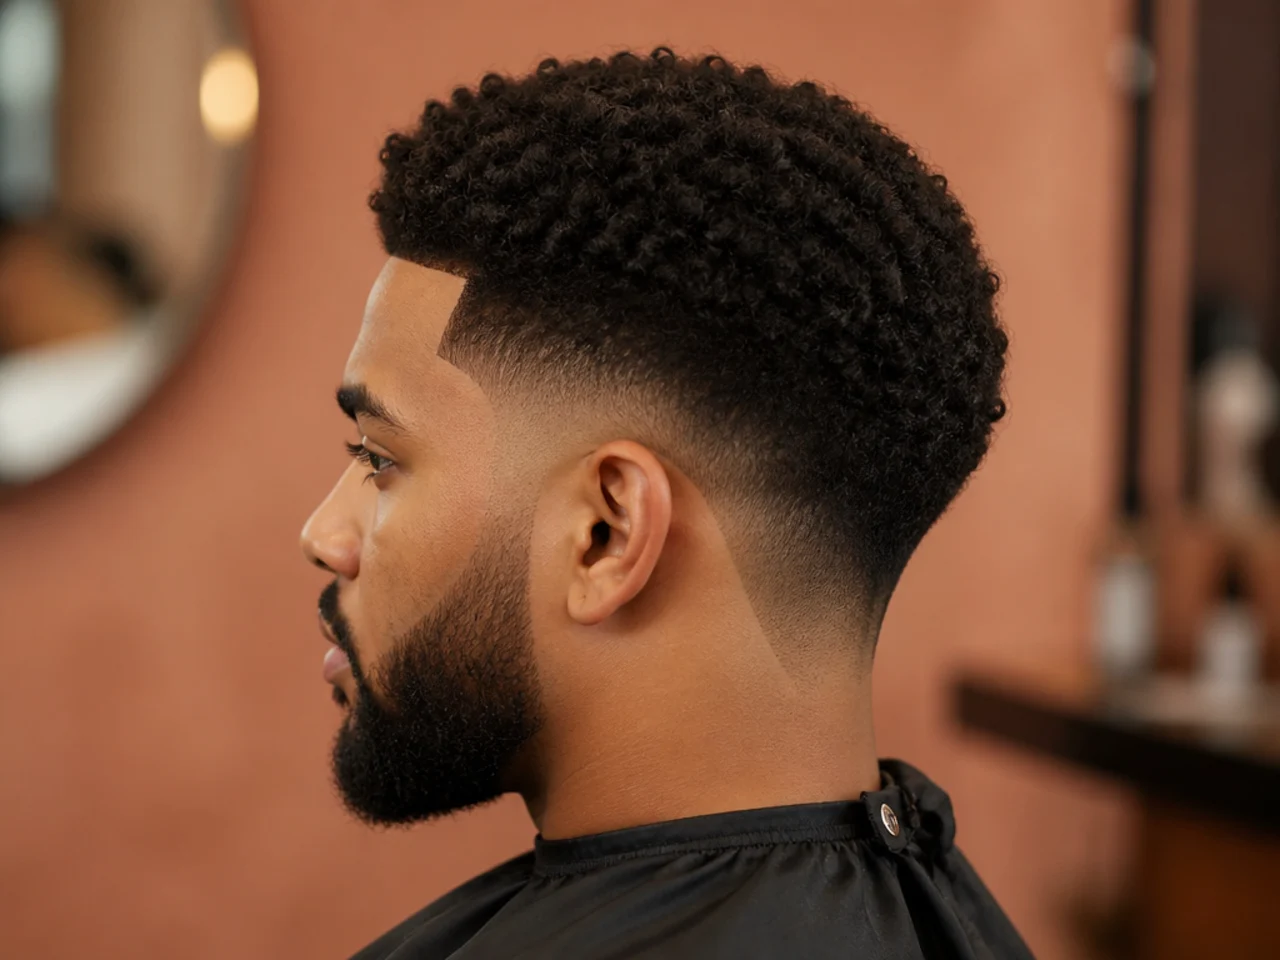
The nape sets the frame from behind — the angle you never see in the chair but everyone sees walking away. Pick one of three shapes before you cut: square (straight line, 90-degree corners — classic, works with waves and short crops), tapered (no hard line, the taper fades into the neck — soft and modern, works with afros and dreads), or blocked (square shape dropped an inch below the natural hairline — bold '90s Black barbershop energy, works with high tops and cornrows).
To cut it, comb any hair at the neckline flat with the pick, then run the T-blade across in a single confident pass. Cutting a nape in three attempts leaves three visible ledges — commit to one straight cut at the shape you chose.
Why the nape matters: It is the first thing the person behind you in line sees. A sharp nape reads polished from twenty feet away. A ragged nape kills the cut no matter how sharp the sides.
Common mistake: Rounding the corners on a square nape. Rounded corners age the cut — they read like a growout. If you want soft, pick the tapered nape from the start.
5. Cut the Line-Up (Edge-Up)
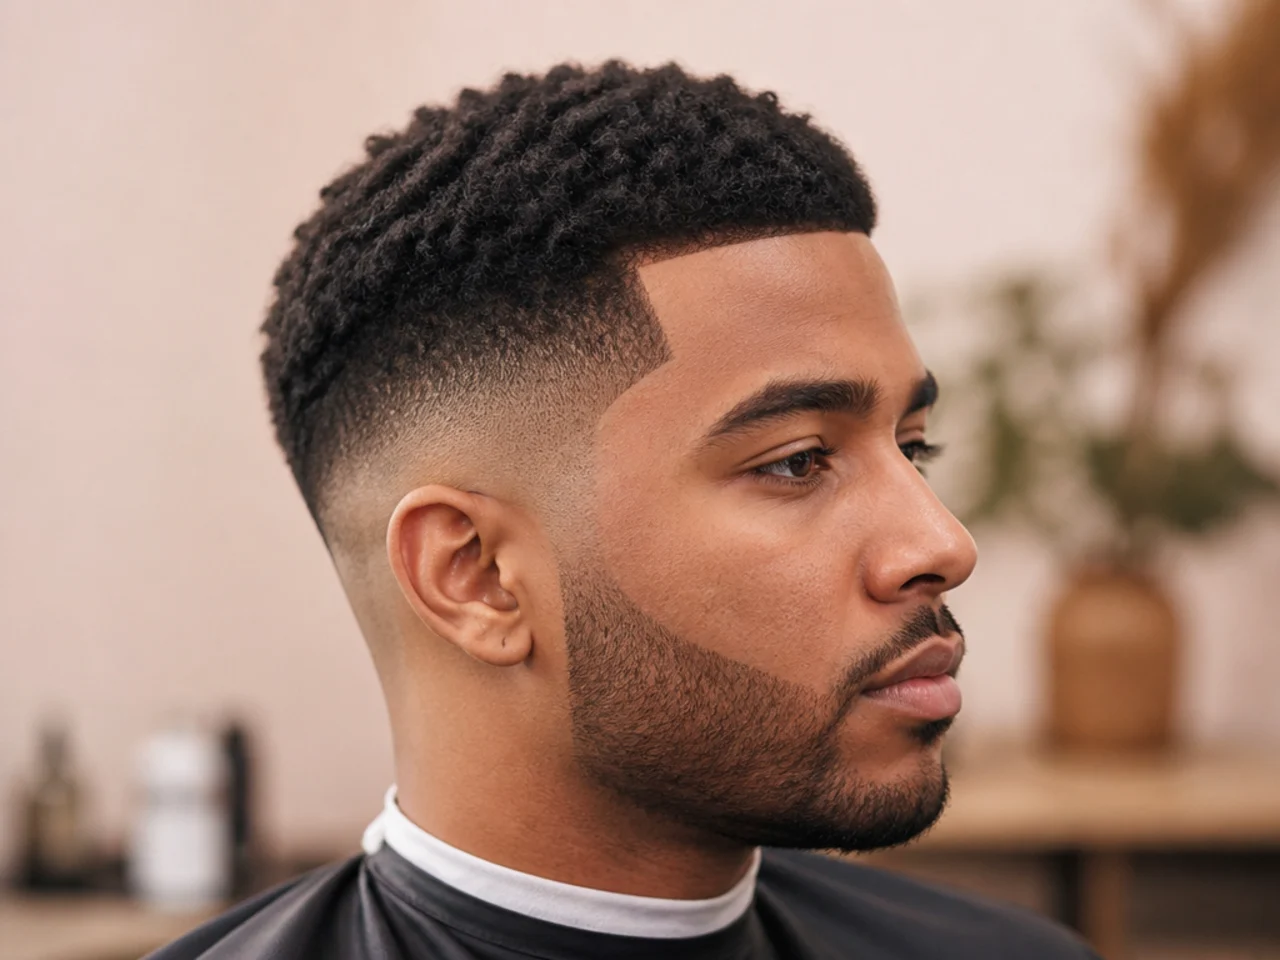
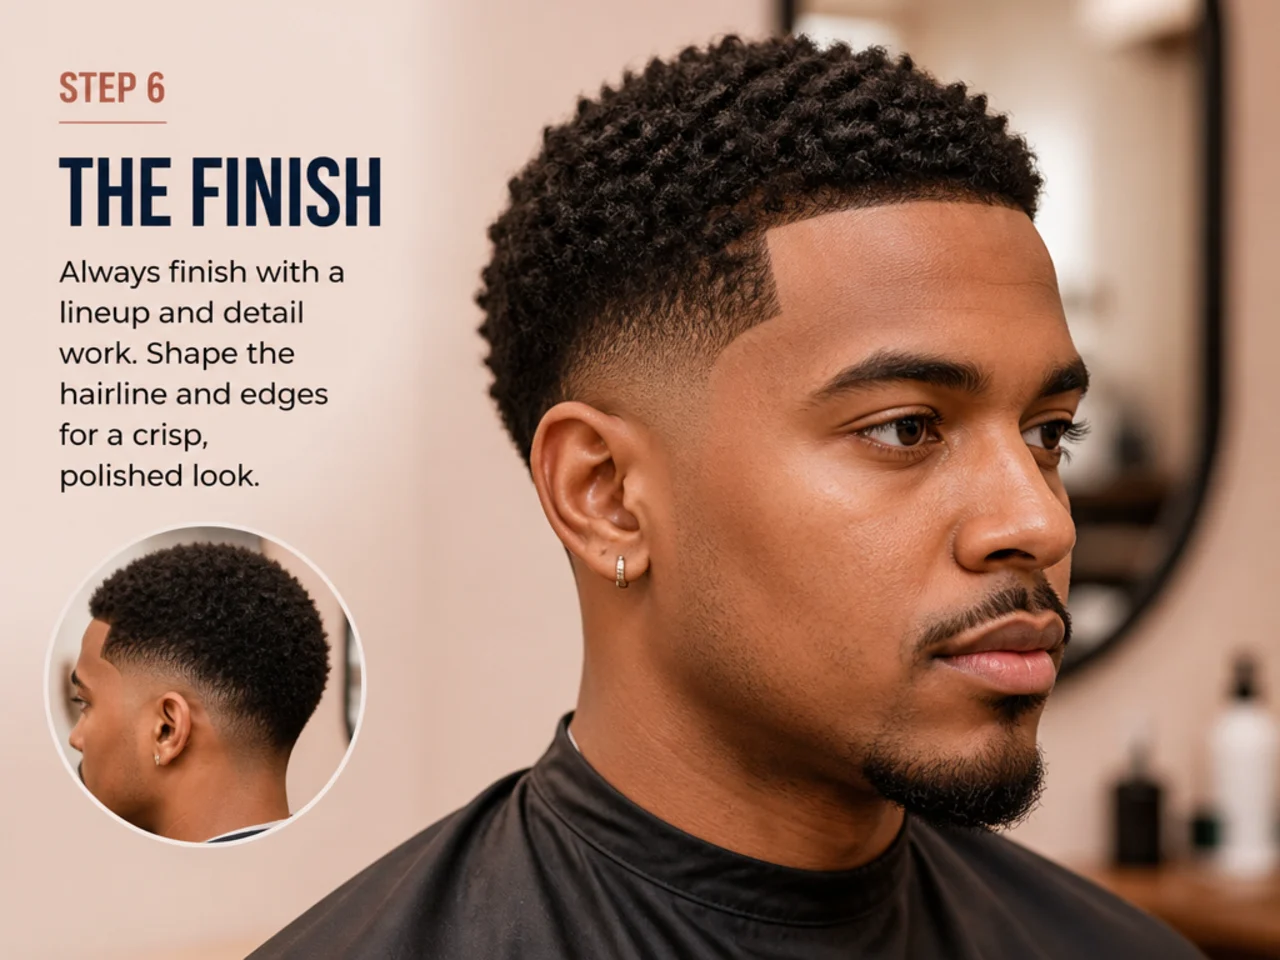
The line-up is where the cut earns its money. A razored, hard-line edge at the forehead, temples, and sideburns squares off the whole silhouette so the taper reads as a deliberate frame instead of a fade-into-nothing. This is what turns a good taper fade into a clean one.
Work T-blade first, straight razor last. Start at the corner where the front hairline meets the temple, set the blade against the natural hairline, and cut a straight line inward — matching the forehead line, not adjusting it. Repeat on the other corner. Those two corners set the anchor; every other line comes from them.
From each corner, cut the sideburn straight down — perfectly vertical from a front-on view, ending flush with the middle of the ear. On the front edge across the forehead, cut a soft curve that follows the natural hairline; a straight bar reads costume, a subtle arc reads real. If you have a straight razor, run it along each line for the final finish — the razor cuts one strand at a time and leaves the edge crisper than any clipper can.
Why the line-up matters: On textured hair, it tells the eye where the hair actually begins. Without it, the coil pattern reads as a soft cloud with no boundary.
Common mistake: Cutting the line-up higher than the natural hairline. Every time a barber pushes the line back, they take a millimeter of hairline that does not grow back on the same schedule. Ask for the line to match your growth. If you have been over-lined for years, ask for it to be softened forward over three visits so the growth can catch up.
6. Moisturize and Finish
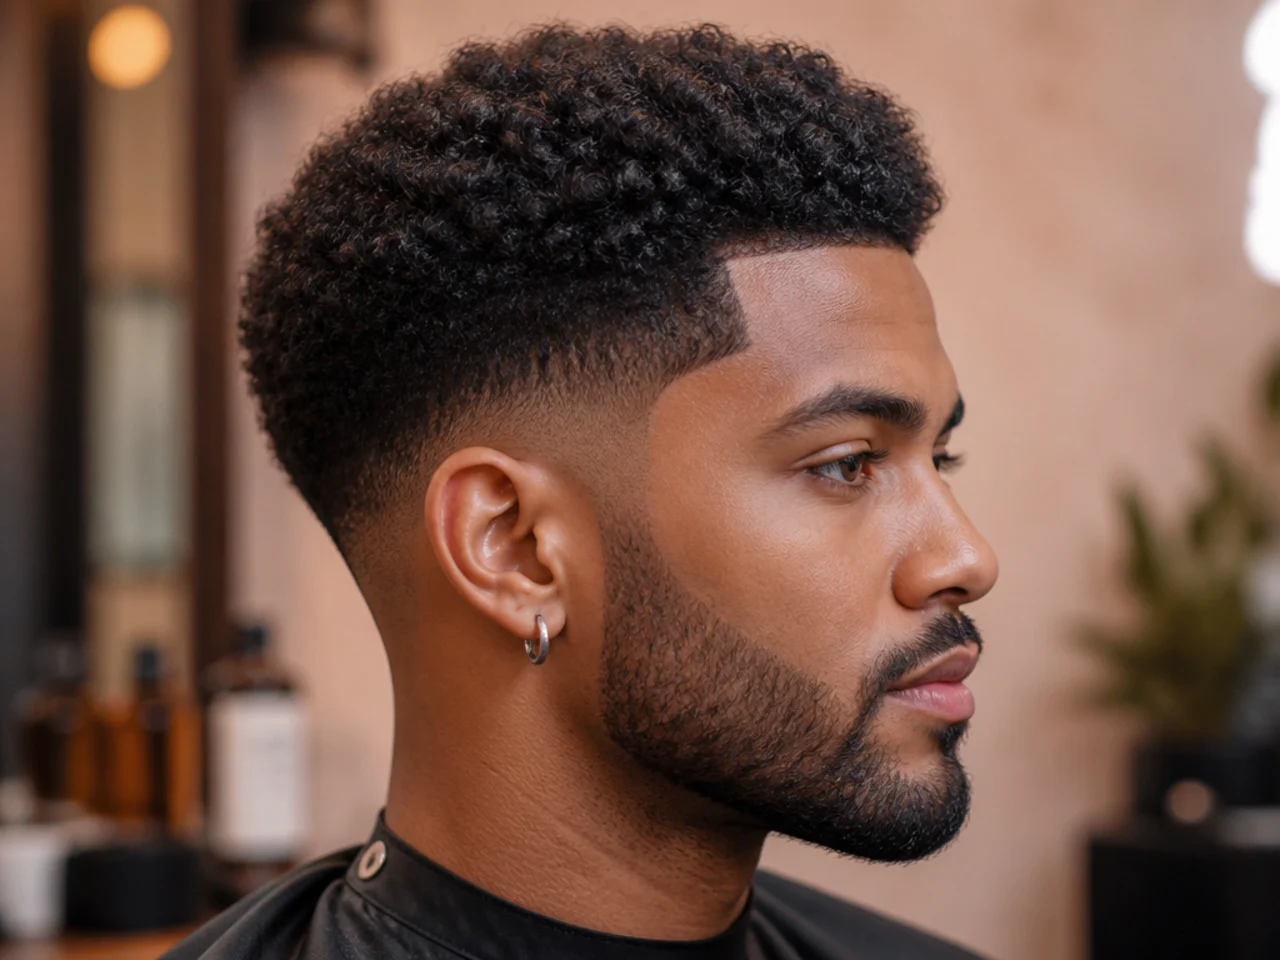
The cut is not done when the clippers stop. Every taper fade on textured hair needs a moisturize-and-close finish, and skipping it is why so many fresh cuts look dry and rough within a day.
Start with a fine-mist spray of water across the whole top and the tapered sides — enough to dampen, not soak. Work a dime of water-based leave-in through the top with your fingers, then follow with a pea of light oil (jojoba, sweet almond, or a lightweight castor blend) on the tapered zone. Leave-in hydrates; oil seals.
For the top, style according to the length you carried. Buzz and high-and-tight get a light oil rub-in and nothing else. Waves get a wave pomade, a boar-bristle pass, and a durag pulled tight for the first thirty minutes. Sponge coils get a curl sponge rotated in tight circles on damp hair. Afros get a pick from the roots upward and a pat into shape. Finish with a satin durag or bonnet for the ride home.
Why moisturize matters: Fresh-cut coils lose water faster than grown-out coils because the cut ends are freshly exposed. On the taper specifically, dryness at the shortest point makes the scalp show through the coil more visibly.
Common mistake: Applying oil first, then leave-in. Reverse order. Water first, leave-in second, oil third. Every time.
Troubleshooting
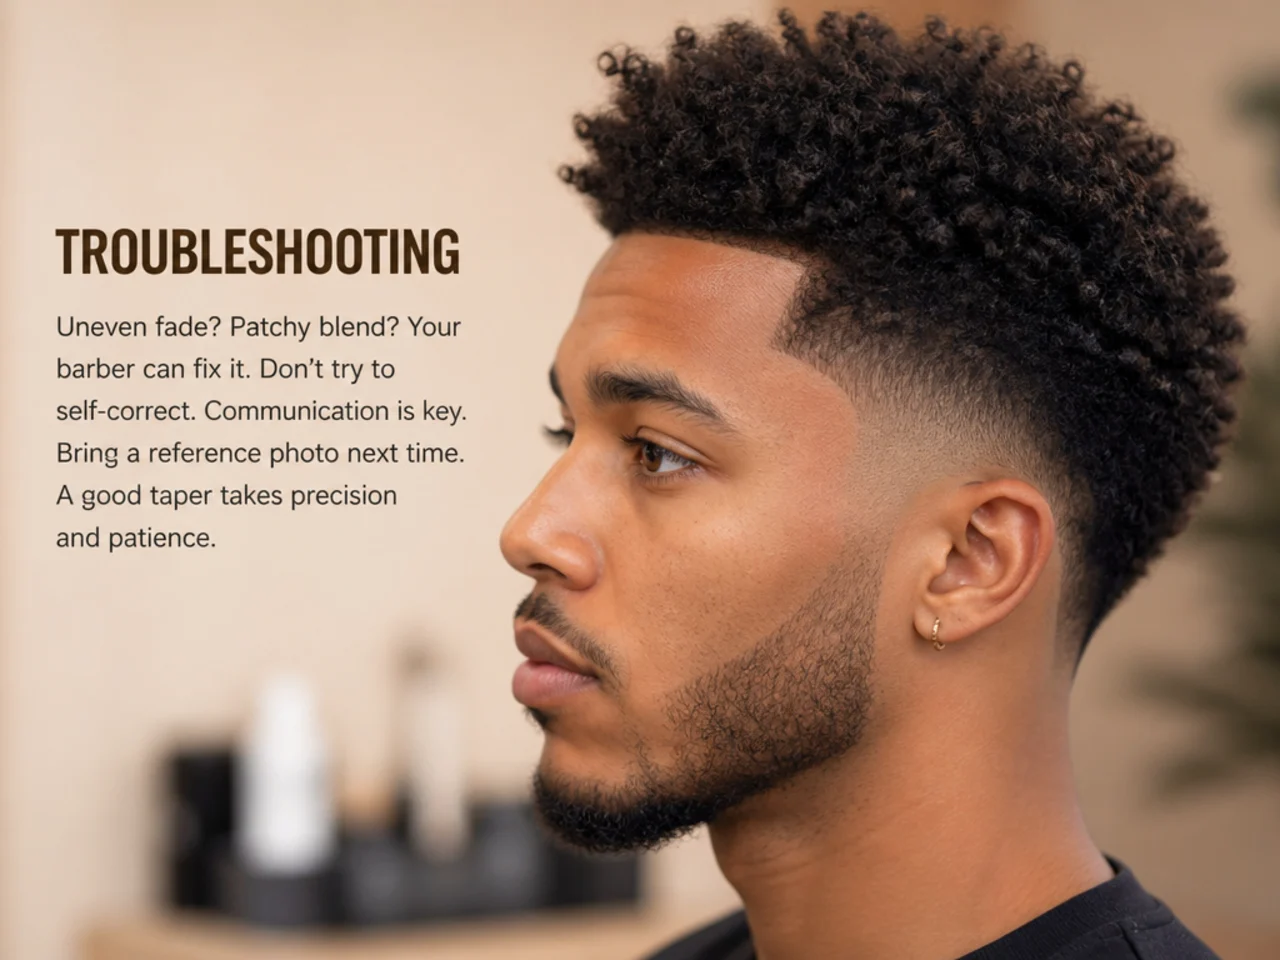
Five things that most often go wrong on a textured taper fade, and the fixes.
The taper has visible stripe lines. You did not blend between guards. Take the guard one number up from where the line shows and skim across the transition, angling the clipper away from the scalp as you finish each pass. If the line still shows, drop back a number and repeat until the eye stops catching it.
There is a flat spot behind the ear. You ran a straight guard through the curve. Re-cut the arc with short, half-inch passes and the corner of the blade leading. Angle the blade outward so it follows the round of the skull rather than cutting a flat plane.
The scalp flashes lighter than the coil at the shortest point. You went below a #0.5 — the fade cut past skin-level pigment. Give the perimeter three to four days to even out, then ask your next barber to hold the shortest guard at a true #0.5 going forward.
The top reads uneven the next day. You cut against unpicked, compressed coil. Re-pick and re-scissor the high spots dry — never wet, because wet-cut 4B and 4C shrinks and hides the true length. Ask your barber to always pick before cutting from the next visit.
The line-up disappeared within a week. Regrowth is fast on textured hair, and the line-up shows every millimeter of growth. Book a shape-up-only touch-up between full cuts — most shops charge $15 to $25 and it takes fifteen minutes.
Maintenance and Rotation
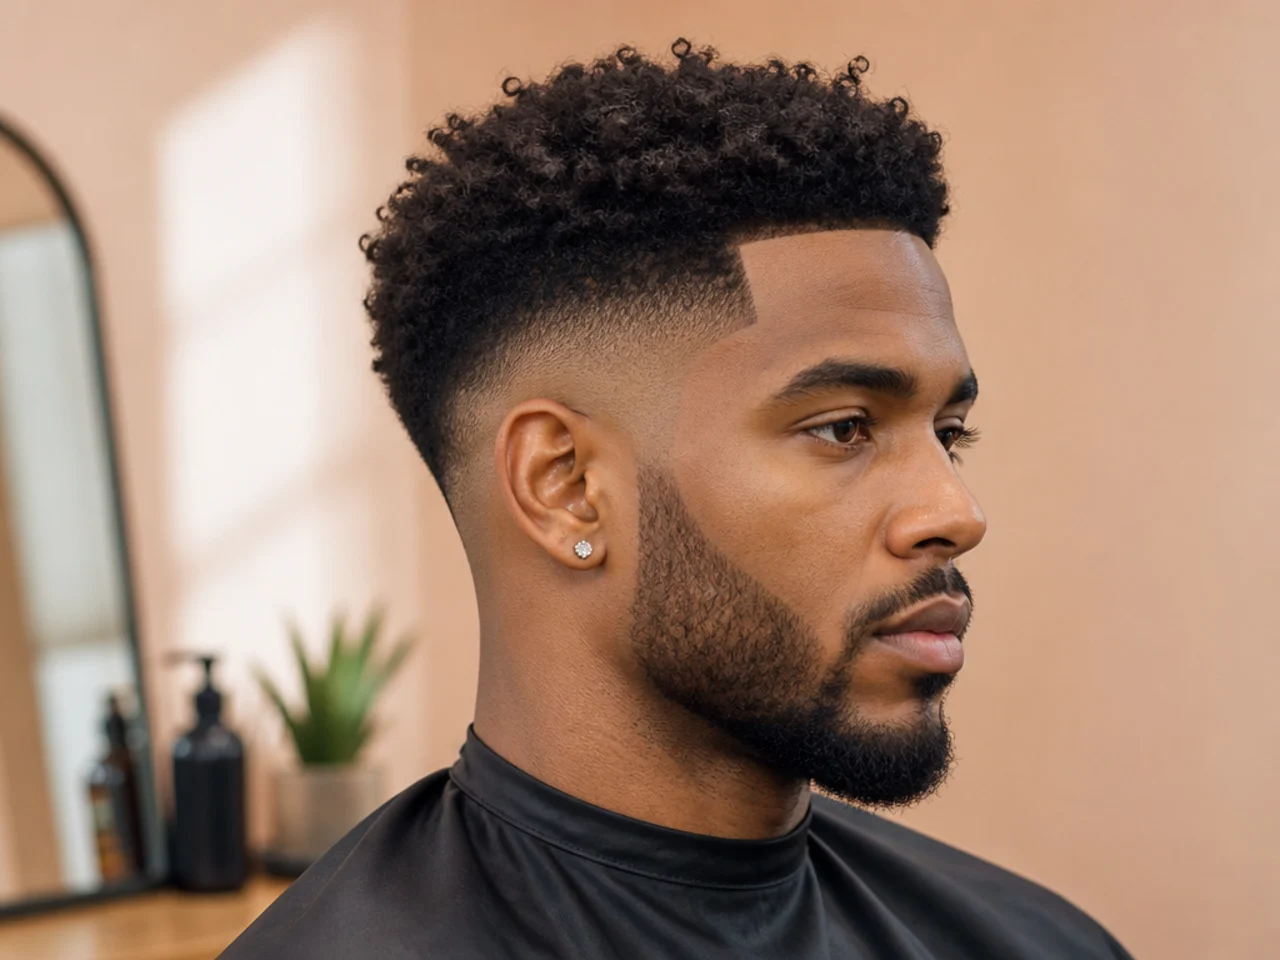
Book or DIY every two to three weeks. The taper line blurs at the transition by week two on textured hair — faster than any other fade family — and the line-up softens by day ten. The top holds shape longer; a full re-cut every four to six weeks is usually enough.
Between visits, keep a T-blade for the neckline and line-up. Fifteen seconds twice a week keeps the perimeter crisp. If you own decent clippers, re-blend the taper yourself at week two — start with the guard you finished on last, work upward, stop before you touch the top.
Wash one to two times a week with a sulfate-free shampoo, deep-condition weekly, and trim ends every eight to twelve weeks even while growing out — split ends drag the coil pattern down.
If you are growing the top toward an afro, use this cut as your base and shift to the afro taper fade sibling once you are past two inches. If you are keeping it short, the short taper fade roundup covers twenty top-length ideas that all sit on the same six-step base.
For any client with looser coil at 3C or 4A, the same six steps apply — the top is easier to pick and the moisturize step needs less oil. The low taper fade curly hair guide covers the looser-pattern version. For more everyday styling ideas beyond the fade, the curly hairstyles for men roundup covers non-fade options across textures.
FAQ
How do I ask my barber for a clean taper fade on Black hair? Say "low taper fade with a razor line-up." Confirm the guard at the shortest point — #0.5 for sharper contrast, #1 for softer — and specify the top length in dry inches with the hair picked out first. Show a reference photo where the model's texture matches yours.
What is the difference between a taper and a fade on 4A, 4B, or 4C hair? A regular fade goes to bare skin at the shortest point. A taper stops at a #0.5 or #1, so a whisper of length stays at the perimeter. On Black hair the whisper protects your natural pigment and keeps the coil pattern continuous from top to sideburn.
Can I do all six steps at home? The top four are doable — pick, guards, arc, moisturize. The nape and line-up are the hardest to run on yourself because you cannot see either without a mirror. Most guys have someone else finish the back and front while they handle the sides.
How long does a clean taper fade take at a Black barbershop? Forty-five minutes to an hour for the full cut with a line-up. A shape-up-only touch-up runs fifteen to twenty minutes. If your barber finishes in under thirty, they are either very skilled or skipping the arc — check the ear in the hand mirror before you leave.
How much should a clean taper fade cost? $35 to $65 for a standard cut with a line-up at a mainstream shop. Add a beard blend, hair design, or sponge finish and it climbs to $65 to $100. Full shape at a specialist shop with straight-razor work runs $80 to $140. See the haircuts for Black men hub for more.
Does the taper fade work on 4C hair as well as on 4A? Yes — it is the fade family most flattering to 4C. The taper stops before the dense 4C coil hits bare skin, so the pattern flows continuously into the sides. Ask your barber to pick out the top, cut dry, and skip thinning shears. The black haircuts for men guide covers the full 4C-friendly menu.